Community Brag Posts

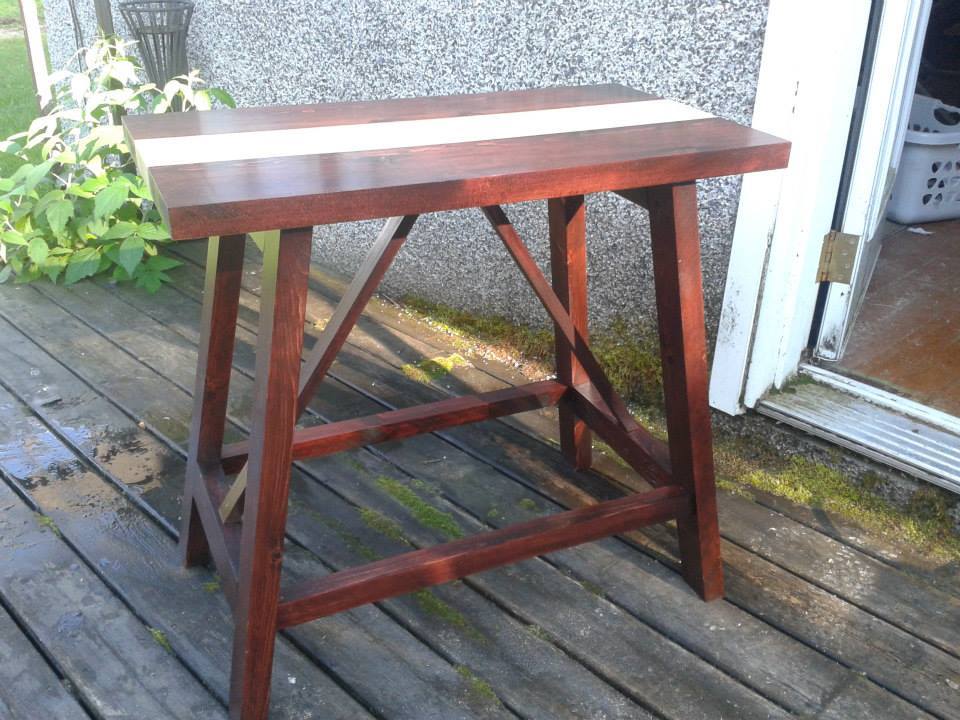
Truss Side Table

Submitted by fishbulb80 on Wed, 08/19/2015 - 15:07

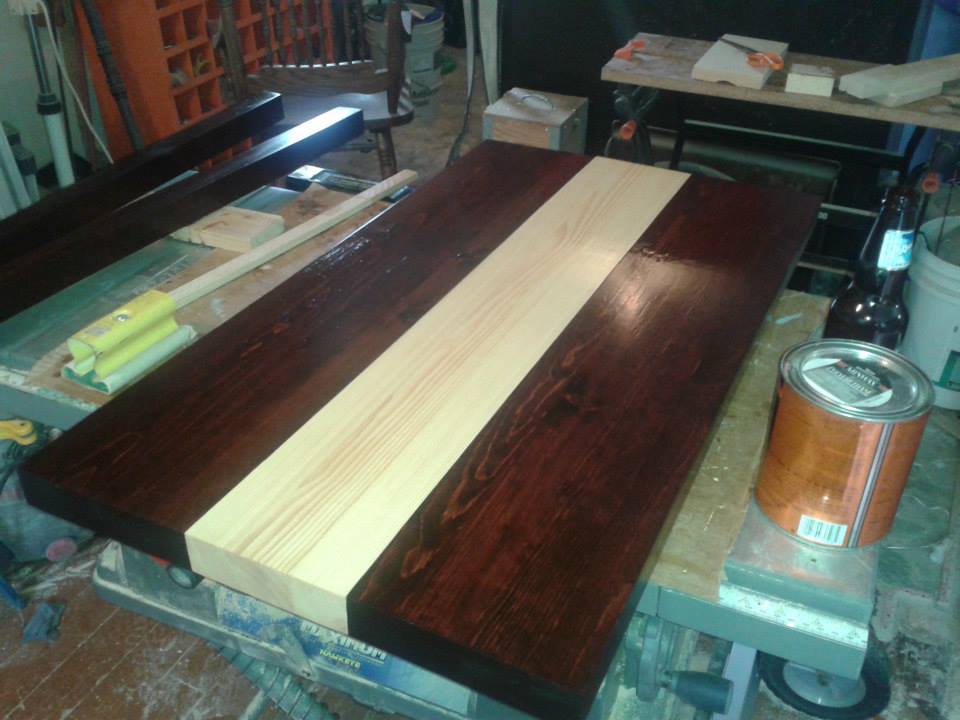
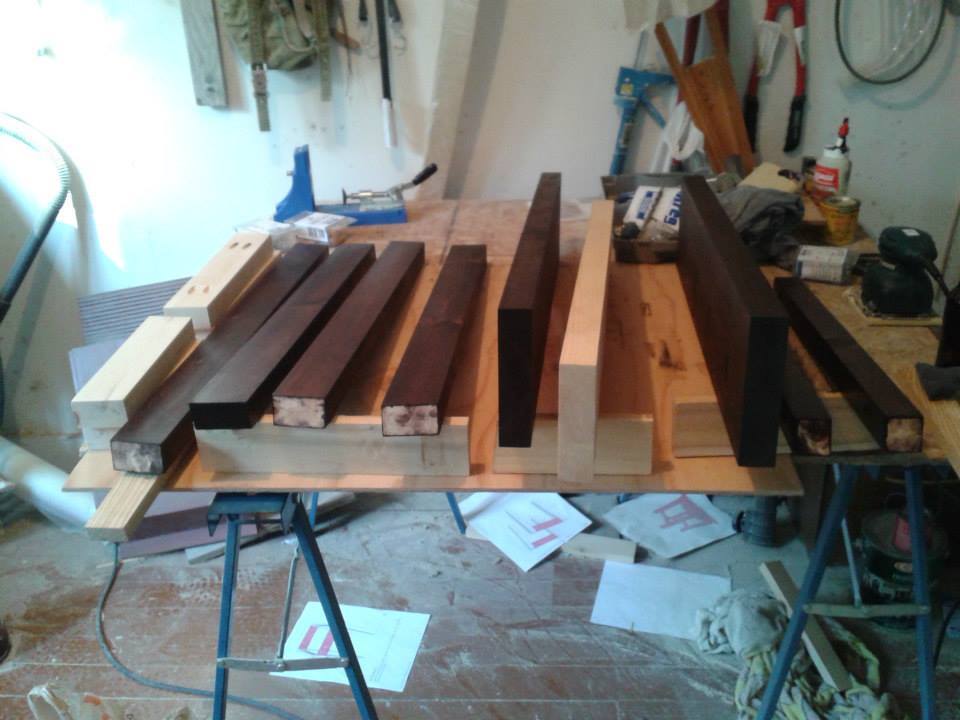
A modified version of the Truss End Table.  I used select pine instead of construction grade 2x4s.  Also, I laminated the table top together seamlessly instead of using 5 separate boards.

The legs were also increased to 28.5" instead of 27".

Built from Plan(s)
Estimated Cost
50$
Estimated Time Investment
Weekend Project (10-20 Hours)
Finish Used
Minwax Red Mahagony/Pickled Oak
Minwax Semi-Gloss Varathane.
Recommended Skill Level
Intermediate

Mini farmhouse bedside tables

Submitted by AmberT on Thu, 03/22/2018 - 09:54

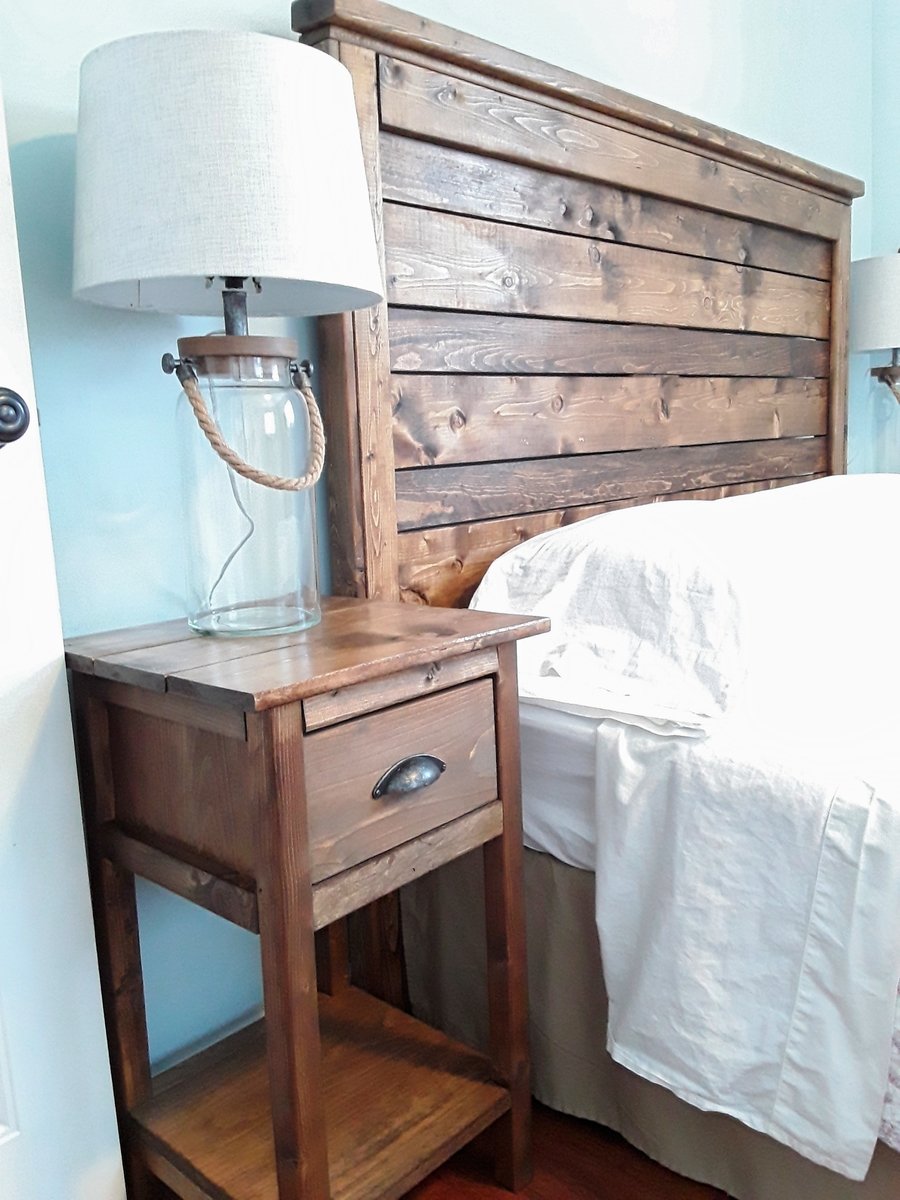
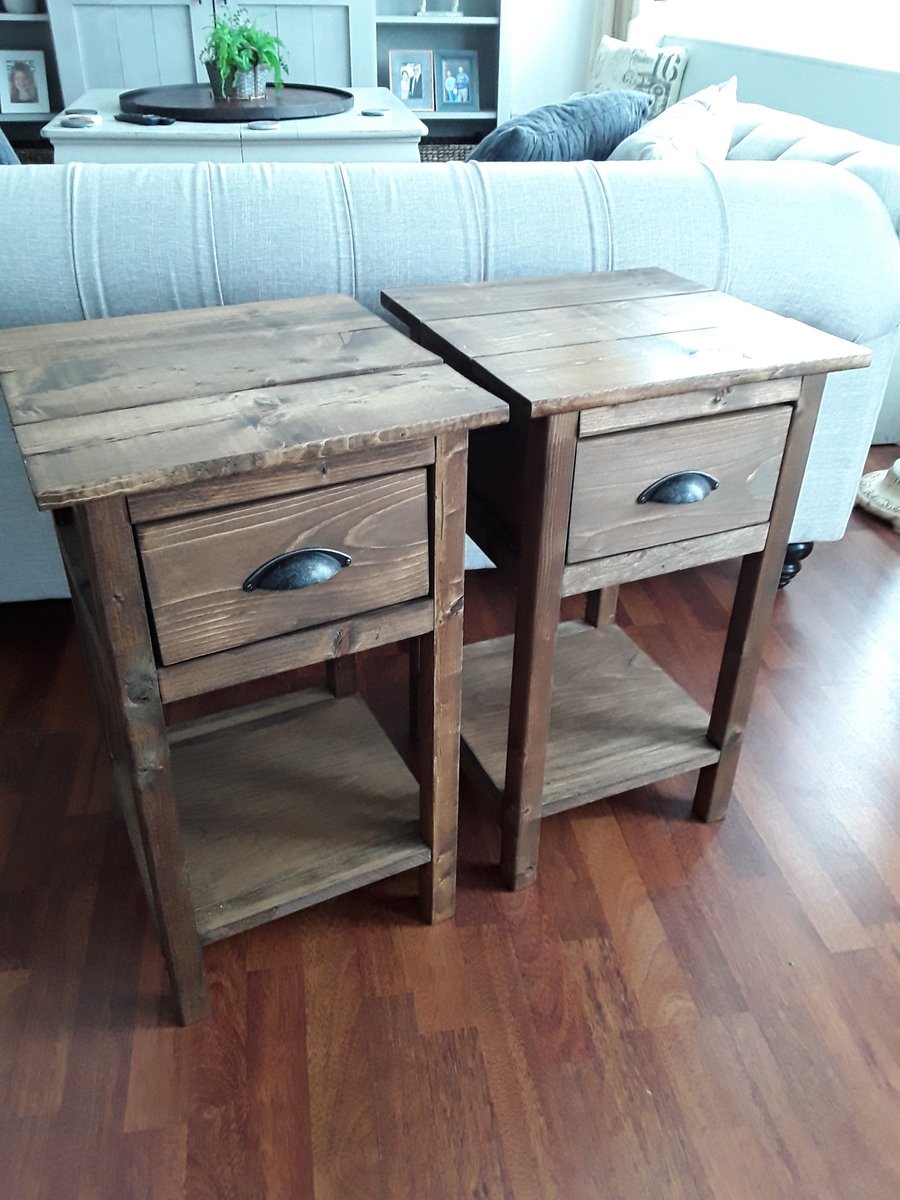
Side tables made from leftover pine and spruce, using Ana White's Mini farmhouse bedside table plans to match the headboard. Took about a day to do two.

Built from Plan(s)
Estimated Time Investment
Day Project (6-9 Hours)
Finish Used
Minwax Provincial Stain
Recommended Skill Level
Beginner

Sling Chairs

Super Cute, Super Easy & Super Affordable! Cant wait to build the adult size chairs!

Estimated Cost
$30 for both!
Estimated Time Investment
An Hour or Two (0-2 Hours)
Finish Used
Outdoor sealer
Recommended Skill Level
Starter Project

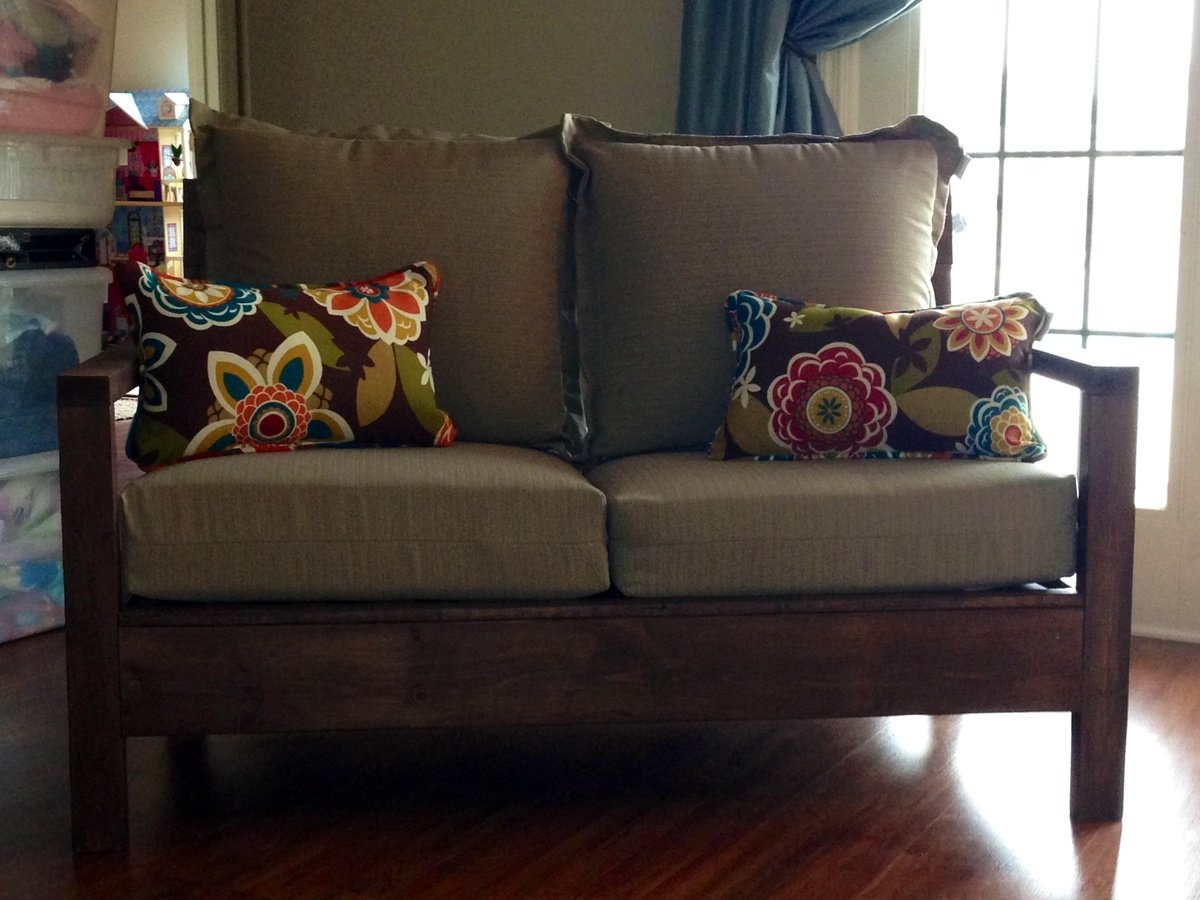
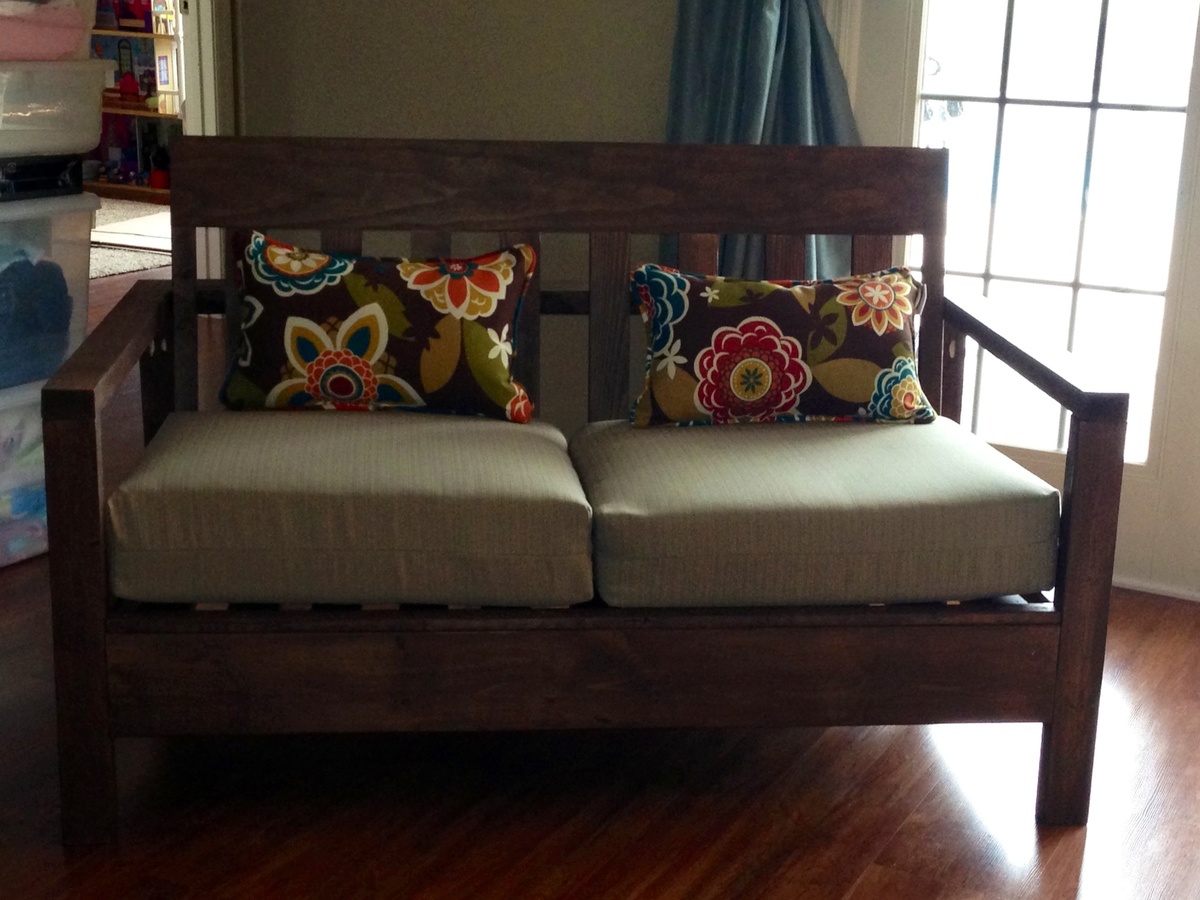
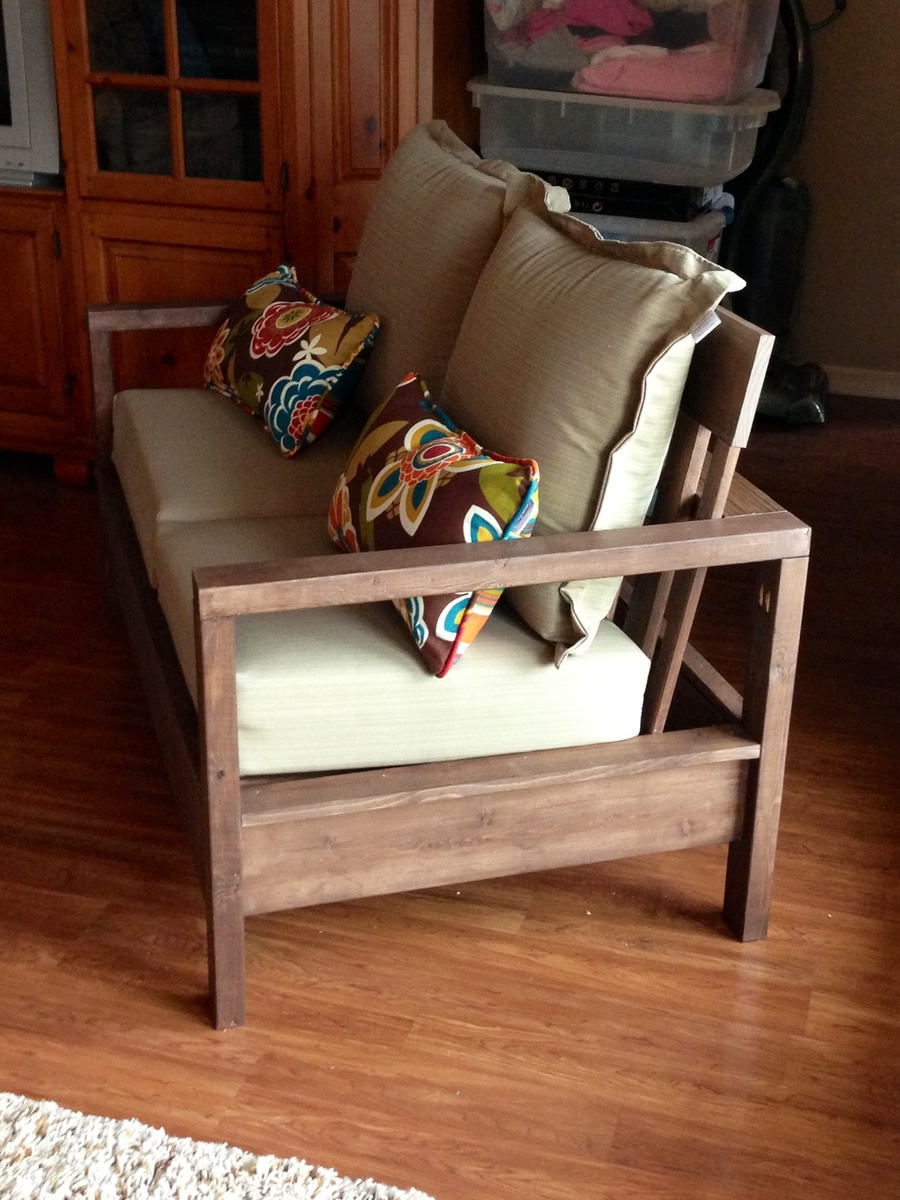
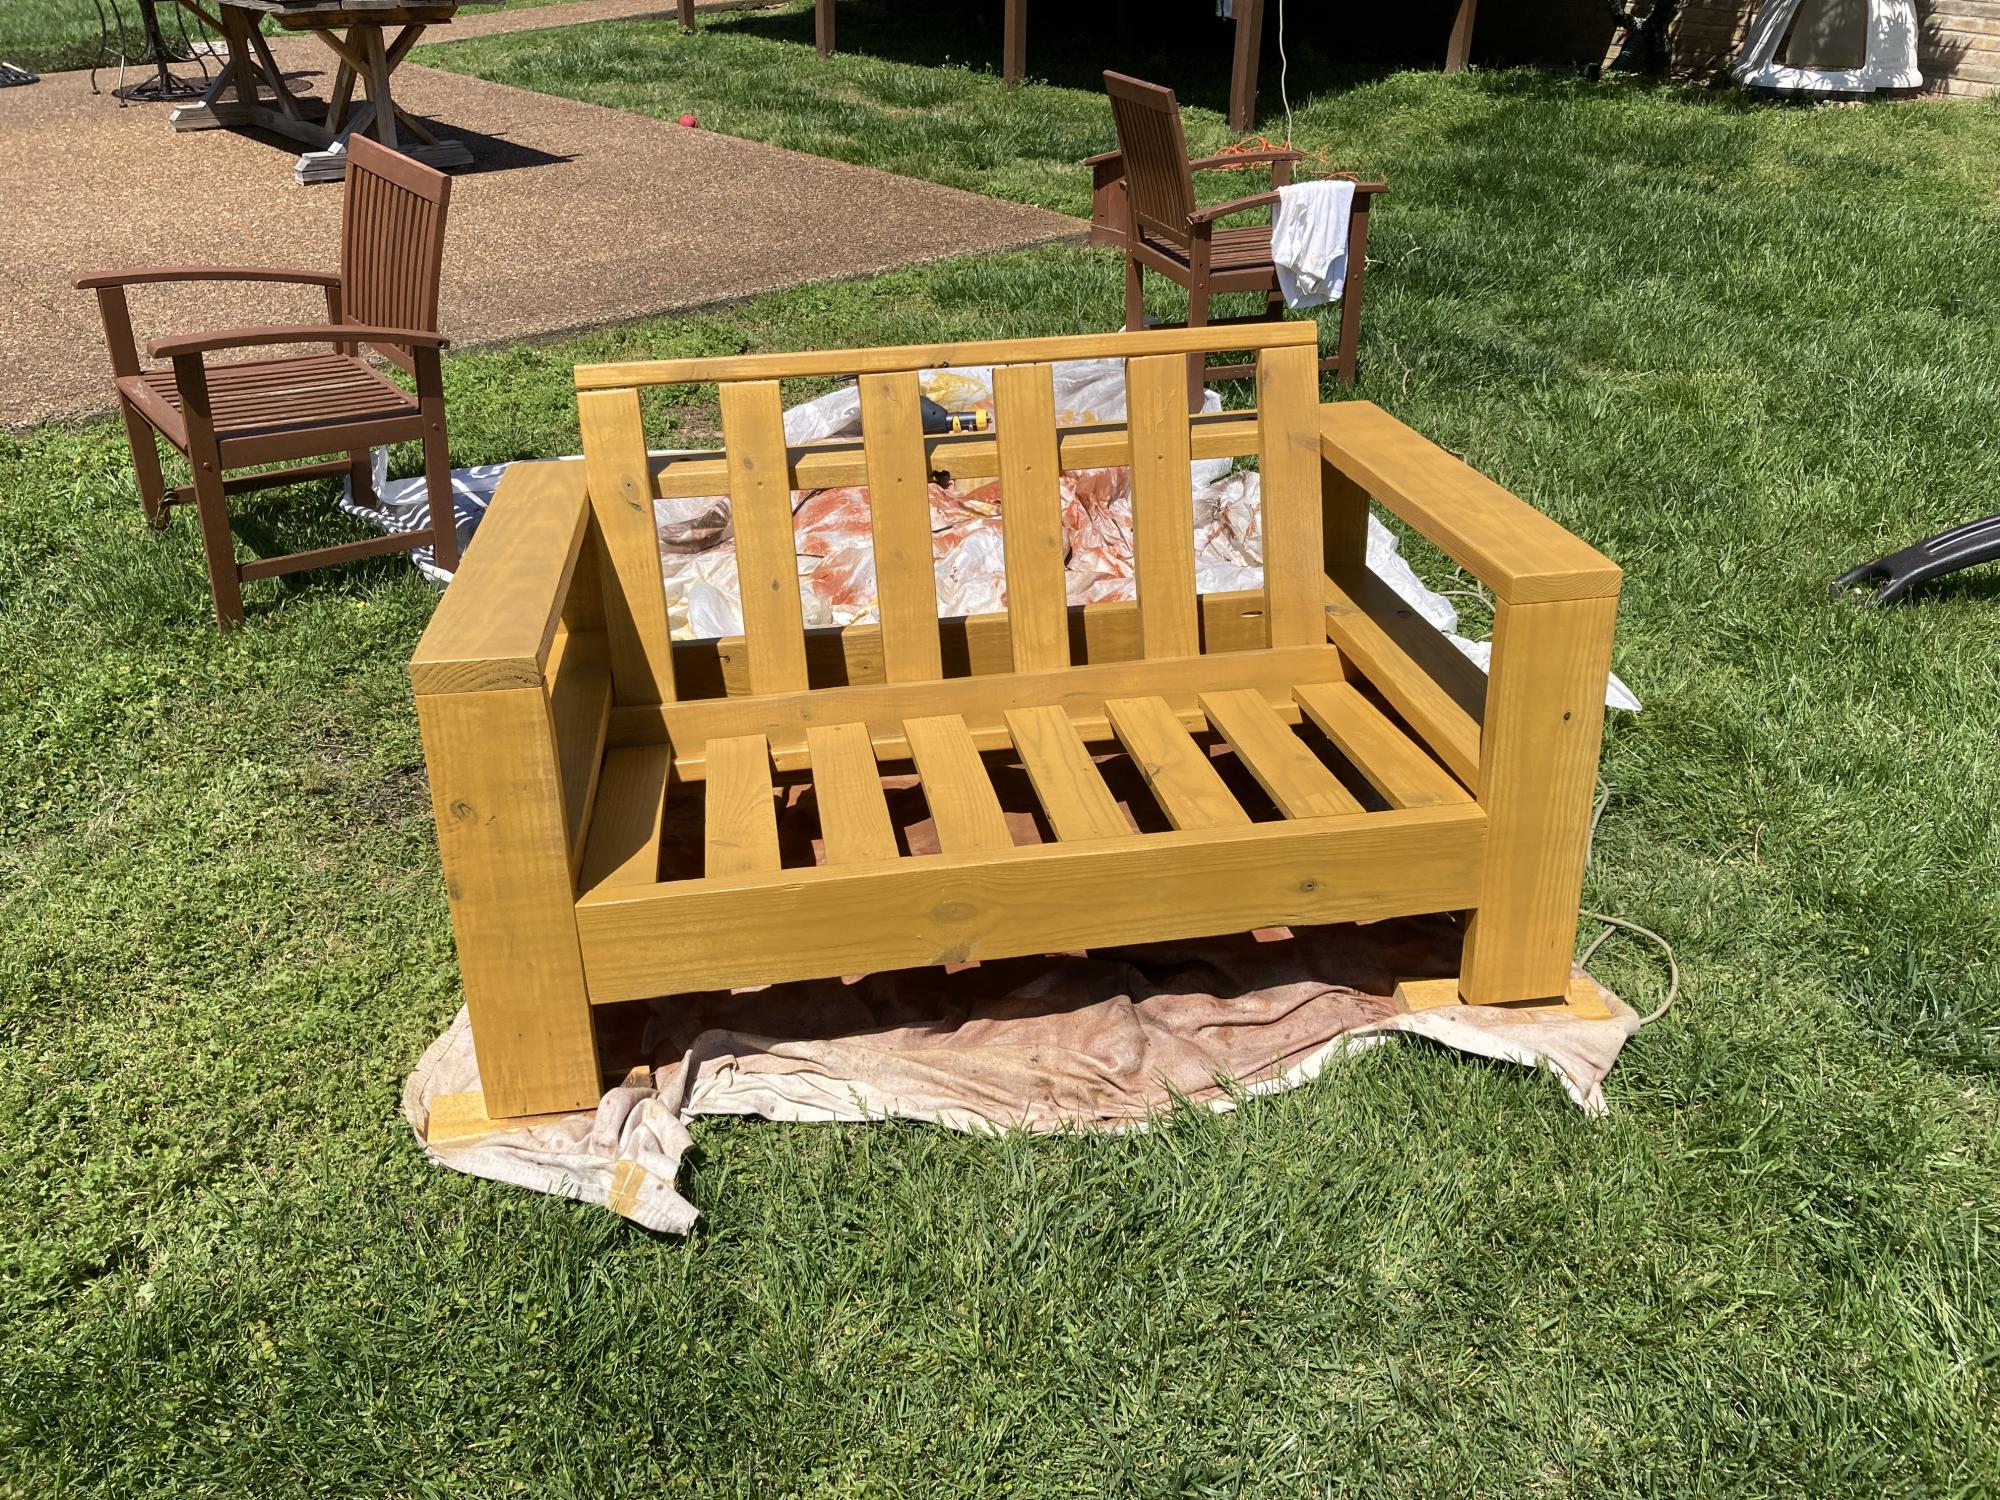
Simple Not-so-white Outdoor Loveseat

Simple not-so-white sofa. This is the nicest piece I've done yet, but also very time consuming. These plans ways take me waaaaay longer to complete than they suggest. But I am meticulous and stain everything ahead of time before assembling. This plan was great, but beware that the 1x4x8 and 1x6x8 for the back rest are not listed in the materials list! Also, I modified the process for attaching the back rest by adding some 1x2 pieces flush to the bottom back side of the 2x4 base support for the bottom of the back rest to sit on. I just wasn't comfortable screwing in the back when it wasn't flush. That being said, I would have attached the 1x2 pieces earlier before attaching the 2x4 base support. It's hard to get to in the end because of the back piece (2x6). I then just used the nailer to attached back rest to the upper 2x4. Now onto two matching chairs. Then we will be ready for a fire pit!

Estimated Cost
$55 lumber and $125 for cushions and pillows
Estimated Time Investment
Week Long Project (20 Hours or More)
Finish Used
Behr premium weatherproof wood stain in Padre Brown, two coats.
Recommended Skill Level
Intermediate

Comments

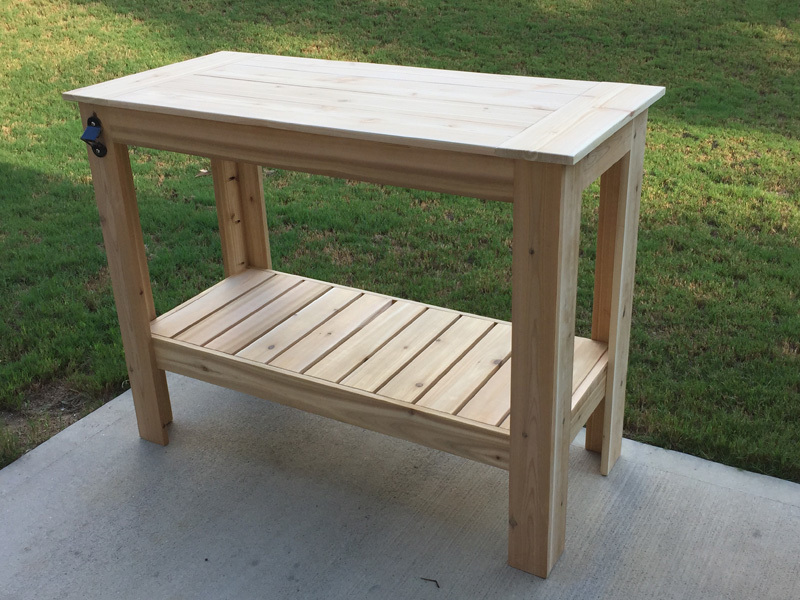
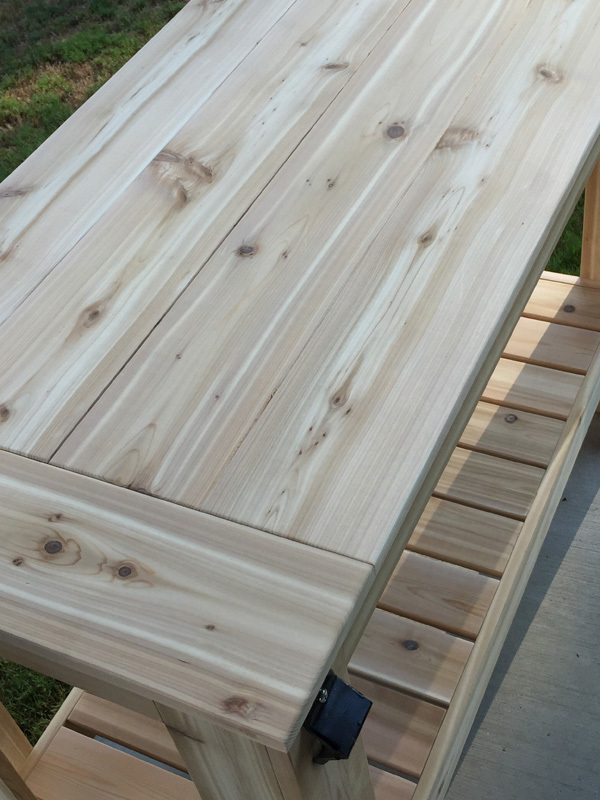
Grilling Table

Submitted by AndyH on Sun, 08/23/2015 - 16:45

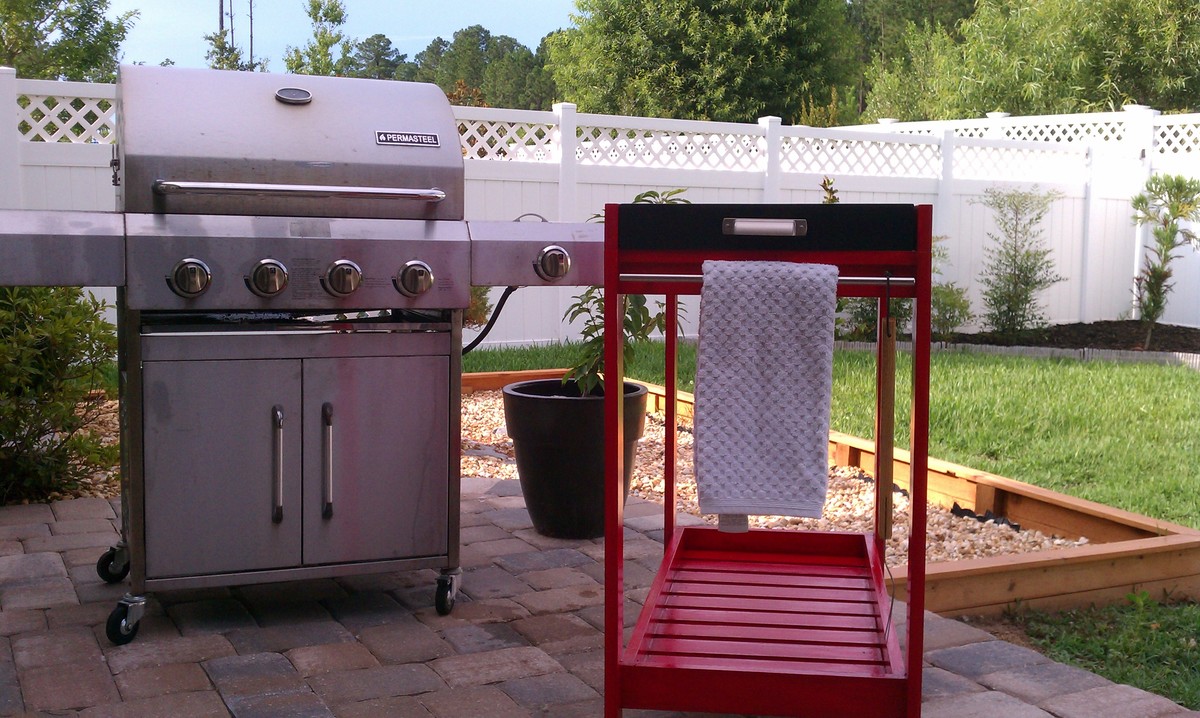
Grilling table made from Cedar.

Estimated Cost
$60
Estimated Time Investment
Day Project (6-9 Hours)
Finish Used
Minwax Helmsman Clear Satin
Recommended Skill Level
Beginner

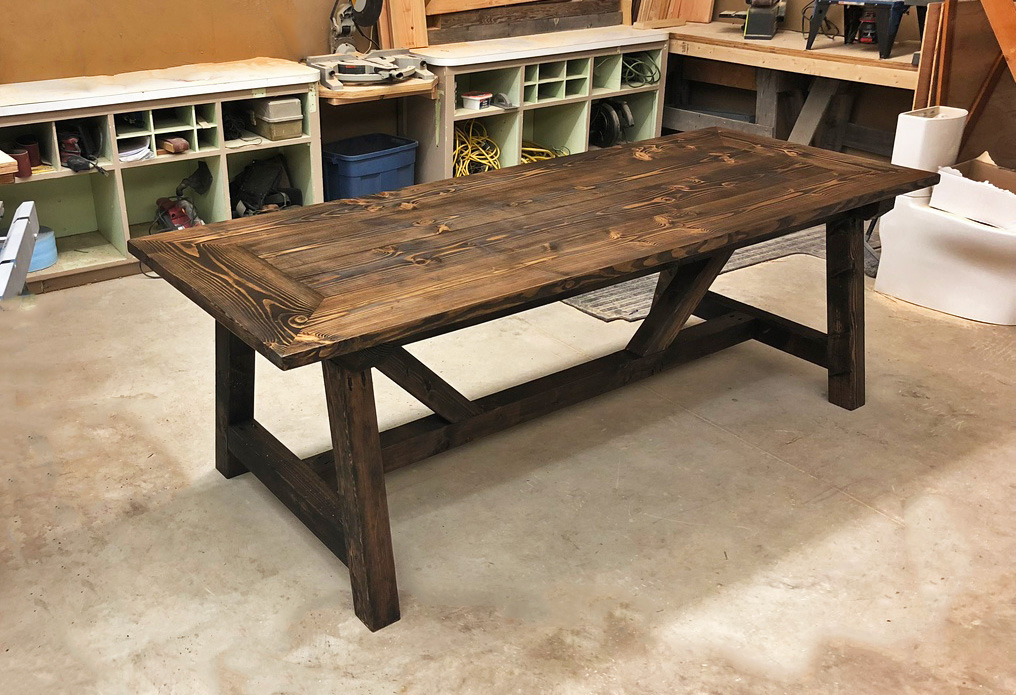
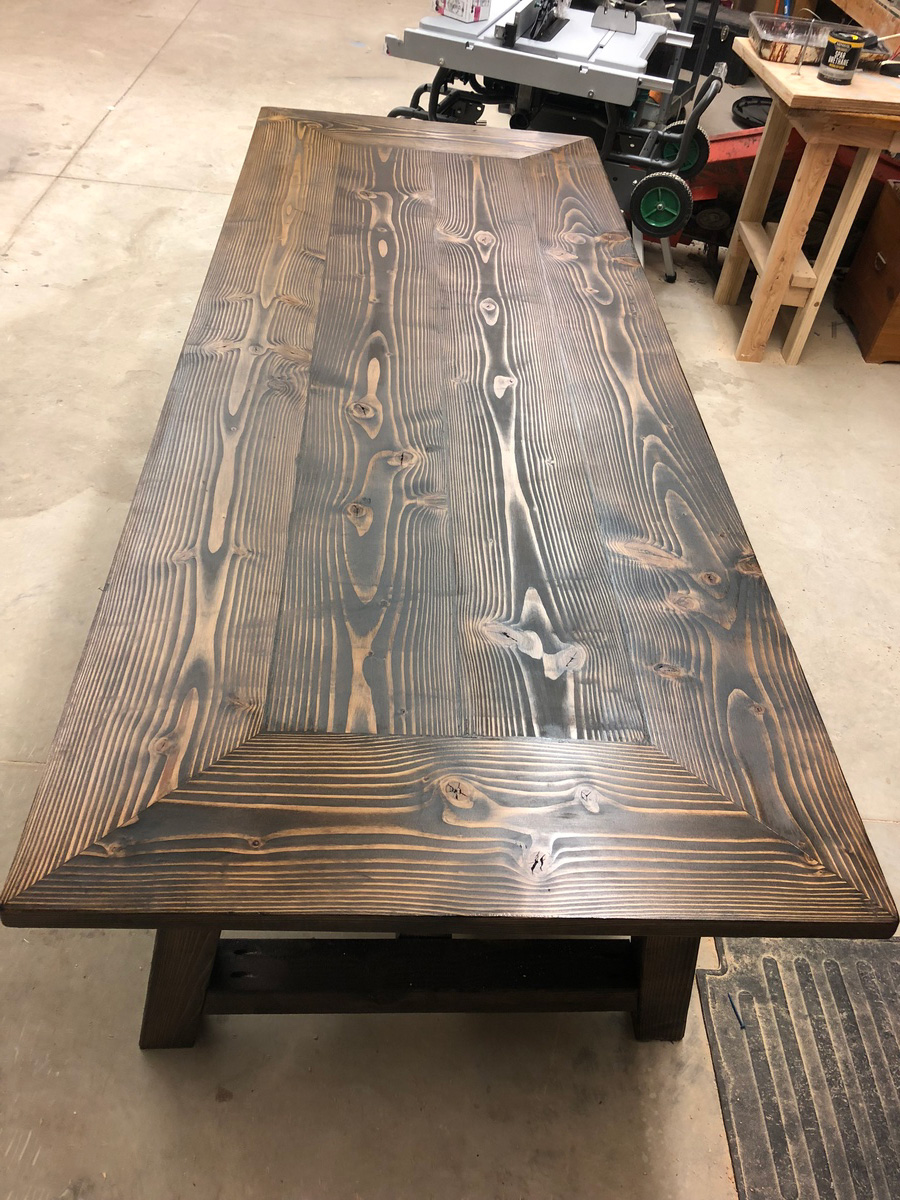
Modified outdoor truss beam table

Submitted by Billyjwest on Tue, 04/03/2018 - 18:43

I made this one three inches taller and two feet longer and decided to miter the top. I also used a LOT of glue and blue Craig screws.

Built from Plan(s)
Estimated Cost
120
Estimated Time Investment
Afternoon Project (3-6 Hours)
Finish Used
Minwax Jacobean for 5 minutes and gloss spar. I filled the plank so It doesn’t hold water.
Recommended Skill Level
Beginner

Outdoor Multipurpose Cart

Submitted by ddietz12 on Mon, 06/27/2011 - 09:05

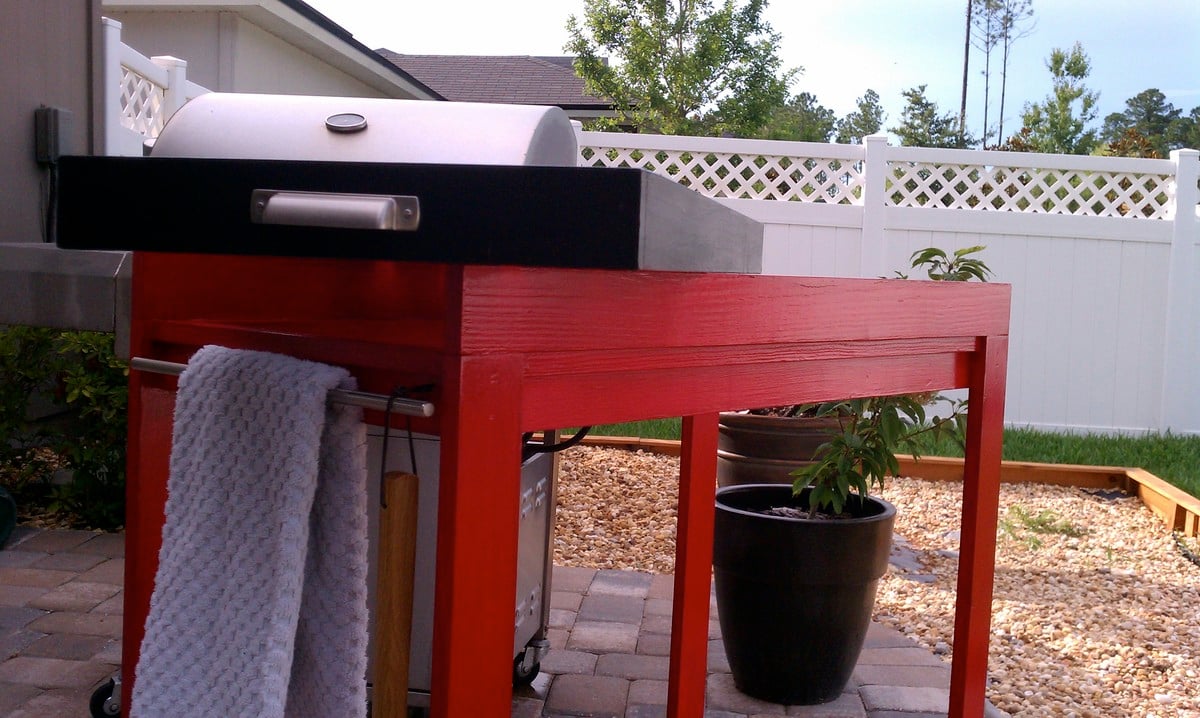
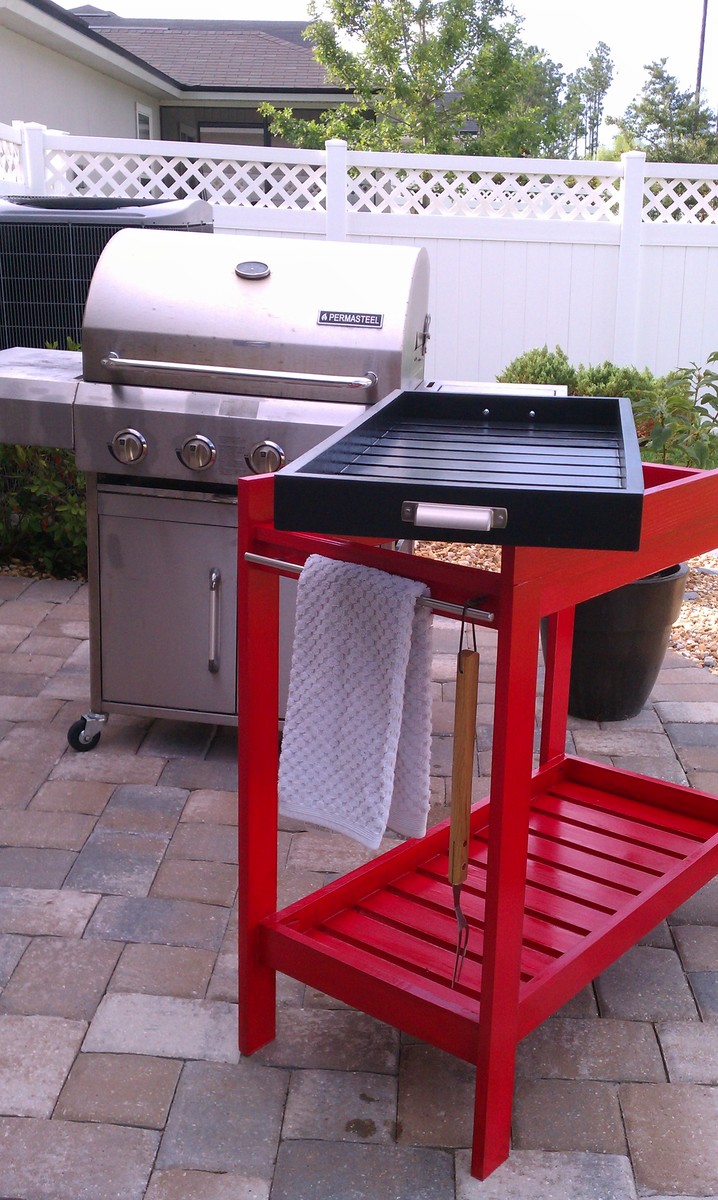
Ok, so I built this table for my Brother. He just purchased a new BBQ and I noticed he didn't have anywhere for staging his food. I was going to just build a table, but then I saw this rolling cart w/ removable tray. I thought it was a great idea. He can bring the tray inside, load it up with food and supplies, bring it to the grill, and then bring it to the table if he so desires. I made a few changes from the original . The biggest changes were that I did not put handles on it nor did I make it a rolling cart. The main reason was.....well....i just didn't feel like it. HaHa
If he decides he wants it to roll, it's a pretty easy fix to take care of that for him. Me personally, I just liked it as a stationary table. And since I built it, I can pretty much do what I want. (insert laugh) I also added an extra handle to one side of the cart. It can be used for a towel, BBQ tools, etc.
I did add extra side supports and added some additional trim to the side to take up some gaps. This aided in added strength and prevented the top tray from falling through the top. I noticed with the original plan that the tray only sat on the end pieces and there was nothing preventing it from falling right on through. Either that or I built it wrong. Either way it was an easy fix and I like the way it looks afterwards too.
Overall I am happy with the build portion of it, but extremely bummed with the finish. I tried my hand at painting it with outdoor paint and a clear outdoor top coat. For some reason I could just not get it smooth. Oh well, we live and learn. No more painting for me, I will stick to staining from now on.
I hope you all enjoy and maybe my Brother will invite you over for a BBQ. He at least better invite me over!!

Thanks Ana for another brilliant plan. Couldn't do it it without you! (or coffee)
Checkout the blog link for more pictures!
Estimated Time Investment
Week Long Project (20 Hours or More)
Finish Used
Valspar oil based outdoor paint.
Minwax® Helmsman® Spar Urethane
Recommended Skill Level
Intermediate

Comments

ddietz12

Mon, 06/27/2011 - 18:48

Stop being so hard on yourself. I think it came out awesome. Now go start building my lounge chair so I can lay out in the sun and get a tan!!!! Love, Your Wife :)

Guest (not verified)

Mon, 06/27/2011 - 19:31

That was such a funny write-up! Great job, it looks amazing and modern, and I want one!

Super Easy Bench (modified)

Submitted by spiceylg on Mon, 08/05/2013 - 16:44

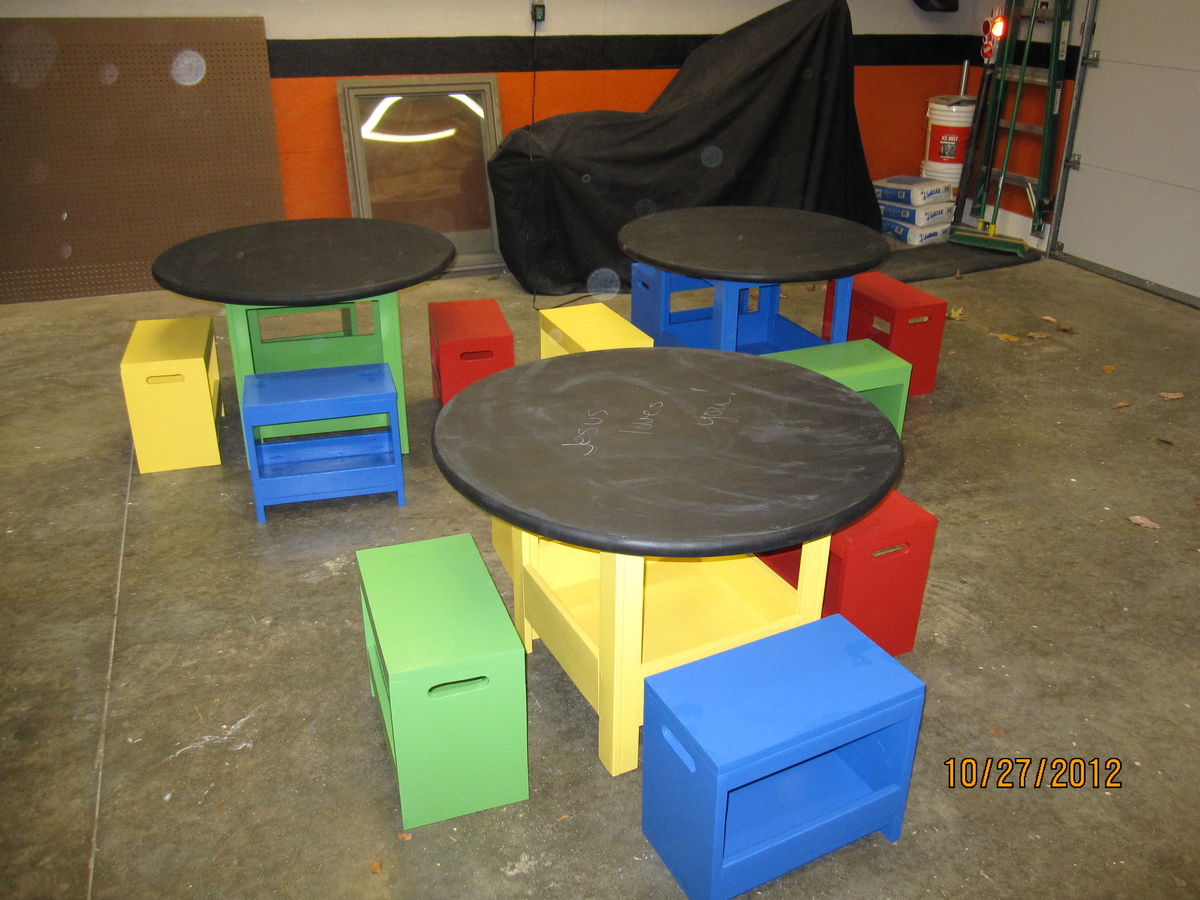
We built this bench for the same women's shelter for whom we built the storage table and benches at their request. They wanted a place for the children to come in and remove their shoes. Since it was for children, we modified the height to be the same as the other small benches, 14". Leftover gray primer was used and they requested the same color scheme as the previous build. Therefore the leftover paint from the other project was used plus three coats of semi-gloss Polycrylic. I think the paint brand is Olympic. It was a joint effort between a friend, my husband and I. It was built in an evening, but I put a week long project because of the coats of primer, paint, and top coat with all of the drying time.

Estimated Time Investment
Week Long Project (20 Hours or More)
Recommended Skill Level
Beginner

Comments

yurra-bazain

Fri, 08/30/2013 - 09:06

This is great! I love that you are still building things for the shelter! Your bench looks well-built and I am sure it will last them a lifetime.

DIY Industrial Factory Cart Coffee Table

I am so in love with my new coffee table. It the perfect addition to my living room.  My only regret is that I did not purchase a pair of caster wheels with brakes as my little man enjoys rolling the table around!


I took me a little over a month to complete, but you could easily knock this project out in one weekend.  

Estimated Cost
200
Estimated Time Investment
Weekend Project (10-20 Hours)
Finish Used
ECOS Paints WoodShield British Chestnut and Satin Varnish
Recommended Skill Level
Beginner

Guitar Display Case

Hi fellow builders!
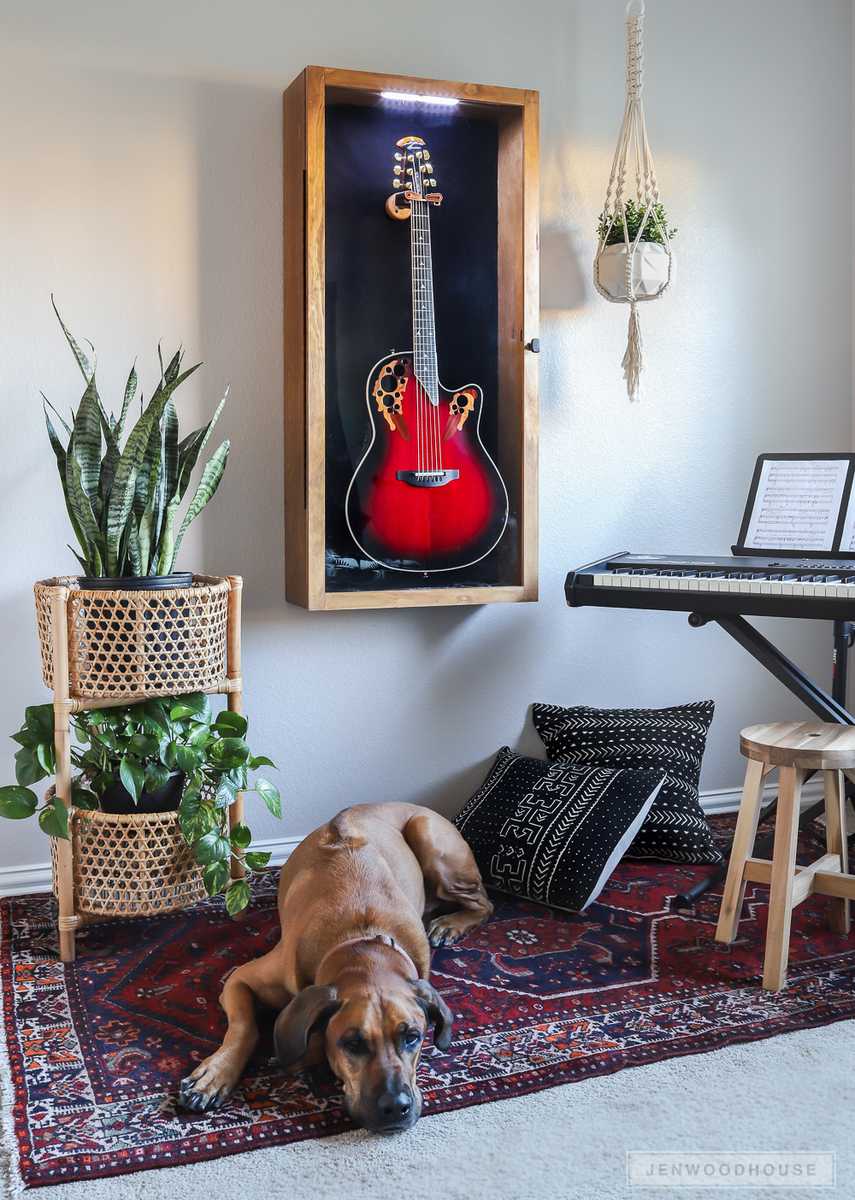
It's Jen from The House of Wood! Today I’m sharing this beautiful Guitar Display Case. I've been wanting a place to display my guitar, and this definitely fits the bill, with a glass (acrylic, actually) panel door, motion-sensored battery-powered LED lighting, and gorgeous rosewood guitar hanger. And I designed it so that you can build it out of half a sheet of plywood! Get the build plans for my Guitar Display Case at JenWoodhouse.com.
Estimated Cost
$25
Estimated Time Investment
Day Project (6-9 Hours)
Finish Used
Golden oak
Recommended Skill Level
Intermediate

Farmhouse bed, King

Submitted by JennyG on Fri, 07/01/2011 - 13:05

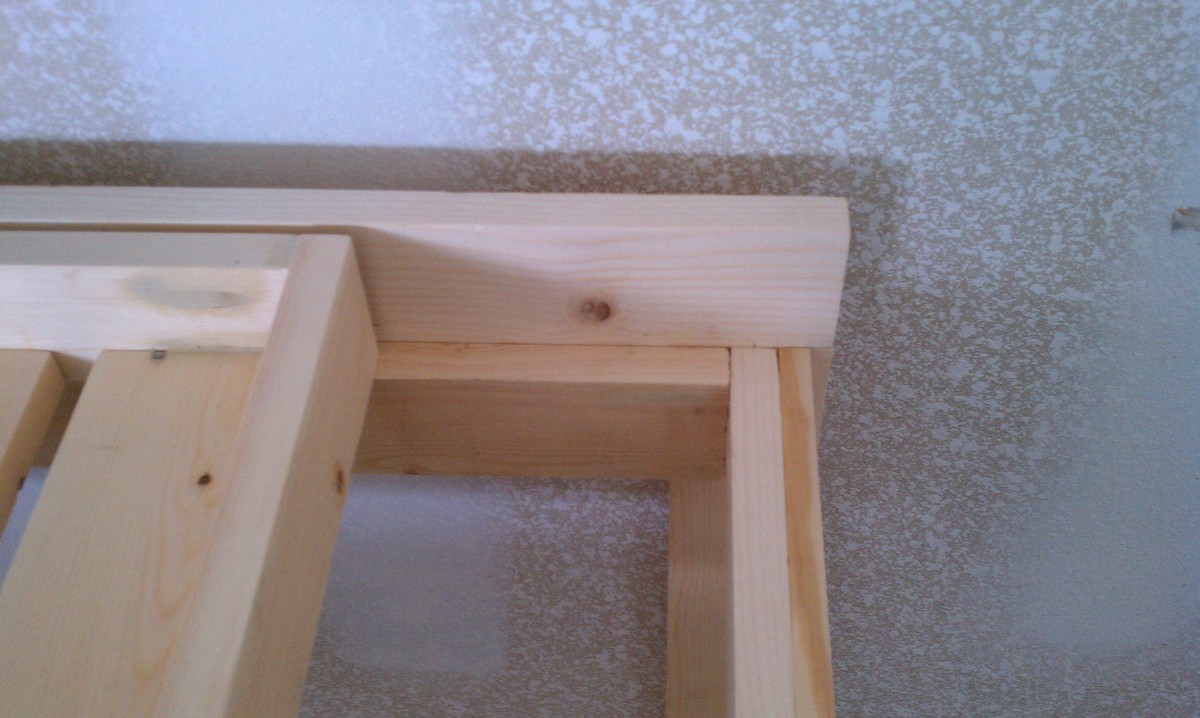
We raised the headboard about 6 inches from the plan and modified the size to king. (sidenote: did you know that California King is actually narrower and longer than a standard king? I always assumed it was the widest bed on the market.)To cover the "seam" of the 2x4s on the posts, we added crown molding. Slats are tongue and groove instead of 2x4s.

Estimated Cost
$250
Estimated Time Investment
Day Project (6-9 Hours)
Finish Used
black paint
Recommended Skill Level
Intermediate

Comments

robert (not verified)

Thu, 11/15/2012 - 22:25

did you put a groove with a router on the edges of your panels on the head and foot board? If so which one.

Fancy X Farm Table and Benches

Submitted by Newfey on Wed, 08/07/2013 - 14:05

I made this table and benches for my daughter

Estimated Cost
$100.00
Estimated Time Investment
Weekend Project (10-20 Hours)
Finish Used
I finished the table and benches with a solution of extra fine Steel wool disolved in Apple Cider Vinegar and dark brown RIT Liquid Dye. Then gave it a number of coats of Polyurethane.
Recommended Skill Level
Intermediate

Sliding Door Console

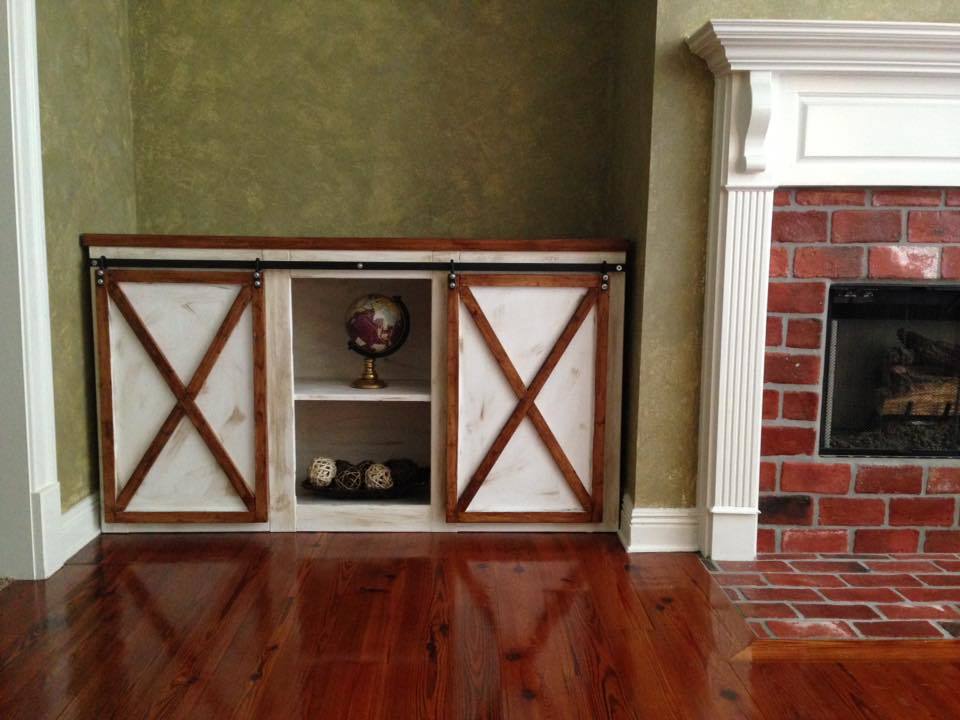
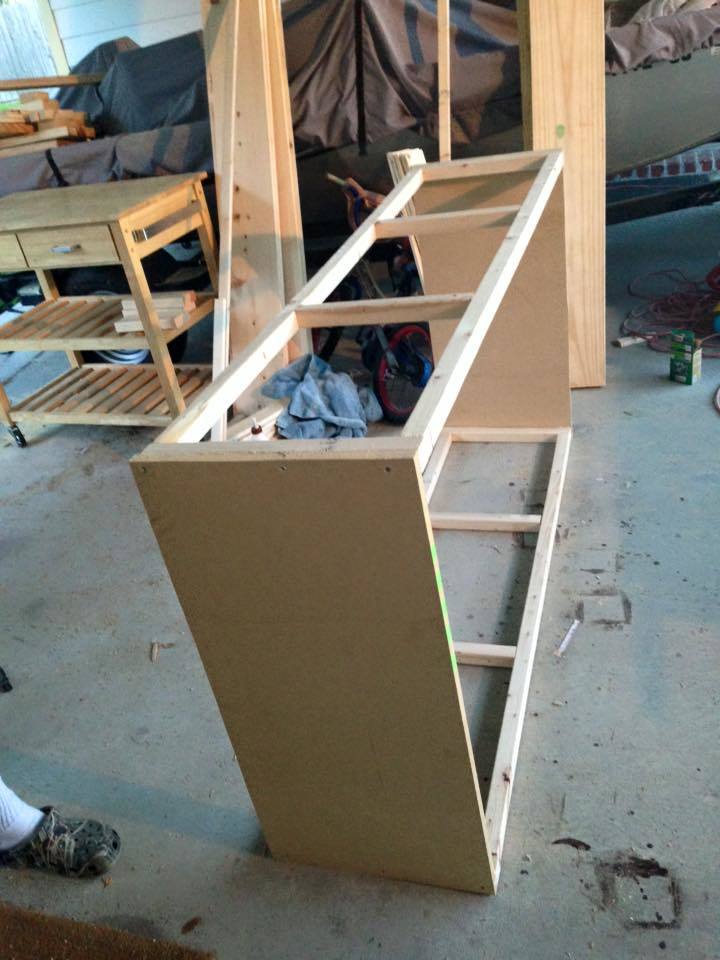
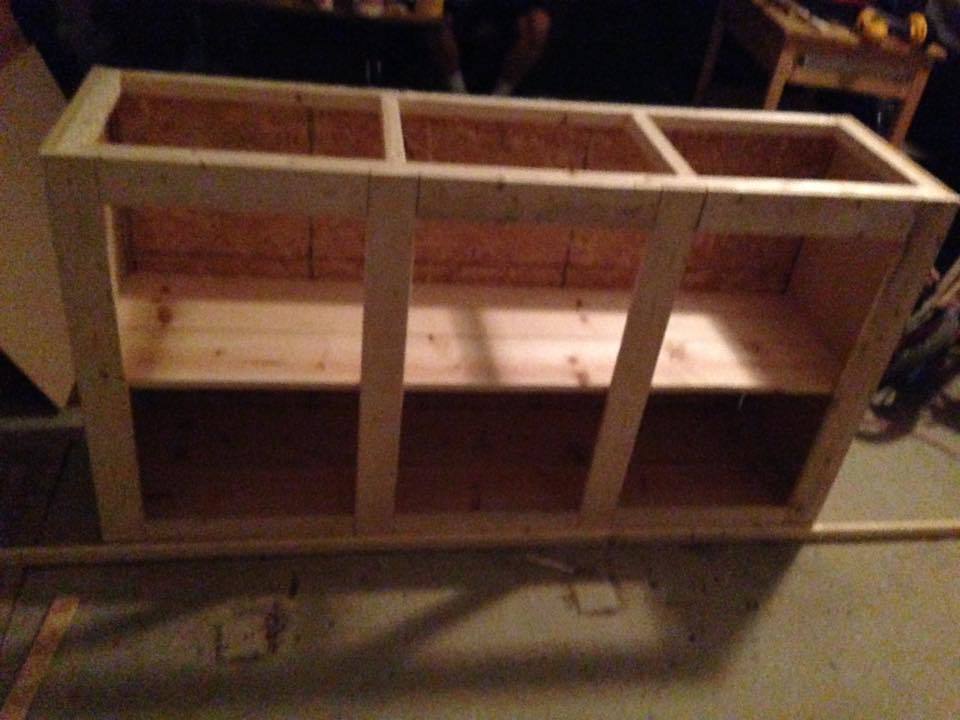
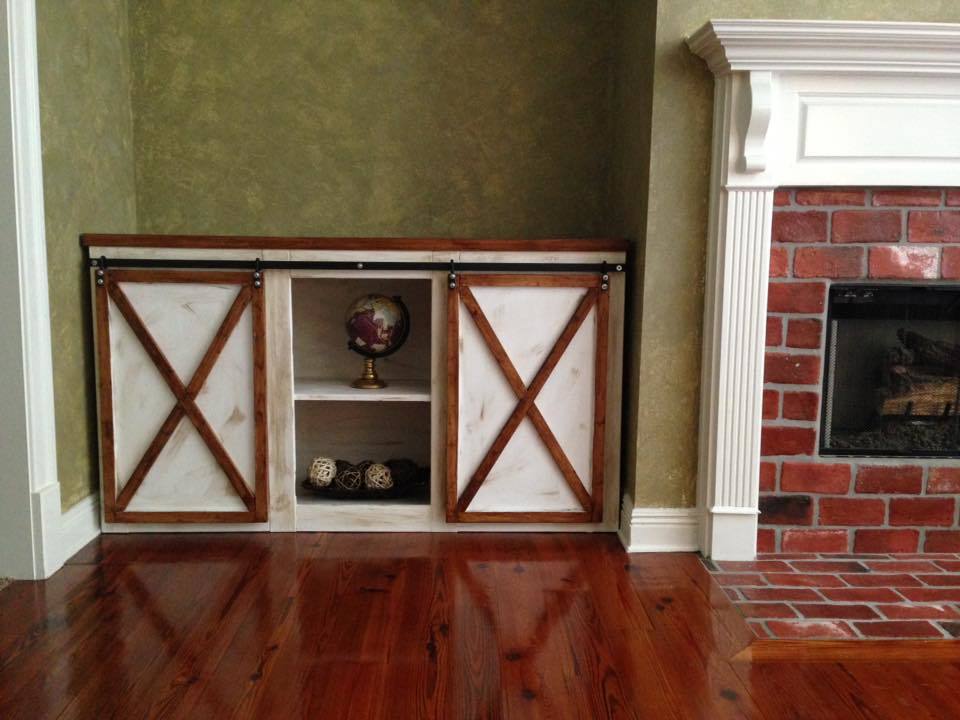
I loved the sliding doors on this project! We decided to go with J hooks instead of wheels and did three spaces for shelves instead of 4 due to the amount of space we were filling. 


This was an easy plan to follow, I just wish it would have had specific instructions for the sliding doors itself. I had to go on a search for an explanation on how to achieve it. 


My husband and I work on our projects a few couple hours a day, so I would say this took about 6-8 hours, the staining of course takes time to dry, so I did not include that in the assembly time line. 


Built from Plan(s)
Estimated Cost
I want to say we spent about $250.

We had stain and a few supplies from our previous project, but we did have to buy chalk paint and the brown gloss for finishing. I also excluded the cost for us buying the brad nailer.
Estimated Time Investment
Day Project (6-9 Hours)
Recommended Skill Level
Beginner

Comments

Mountainrivers

Sun, 02/12/2017 - 08:25

Can you please tell me where you got the hardware for this project? I see the link to Amazon, but no indication if I can purchase two additional hangers for the two doors.

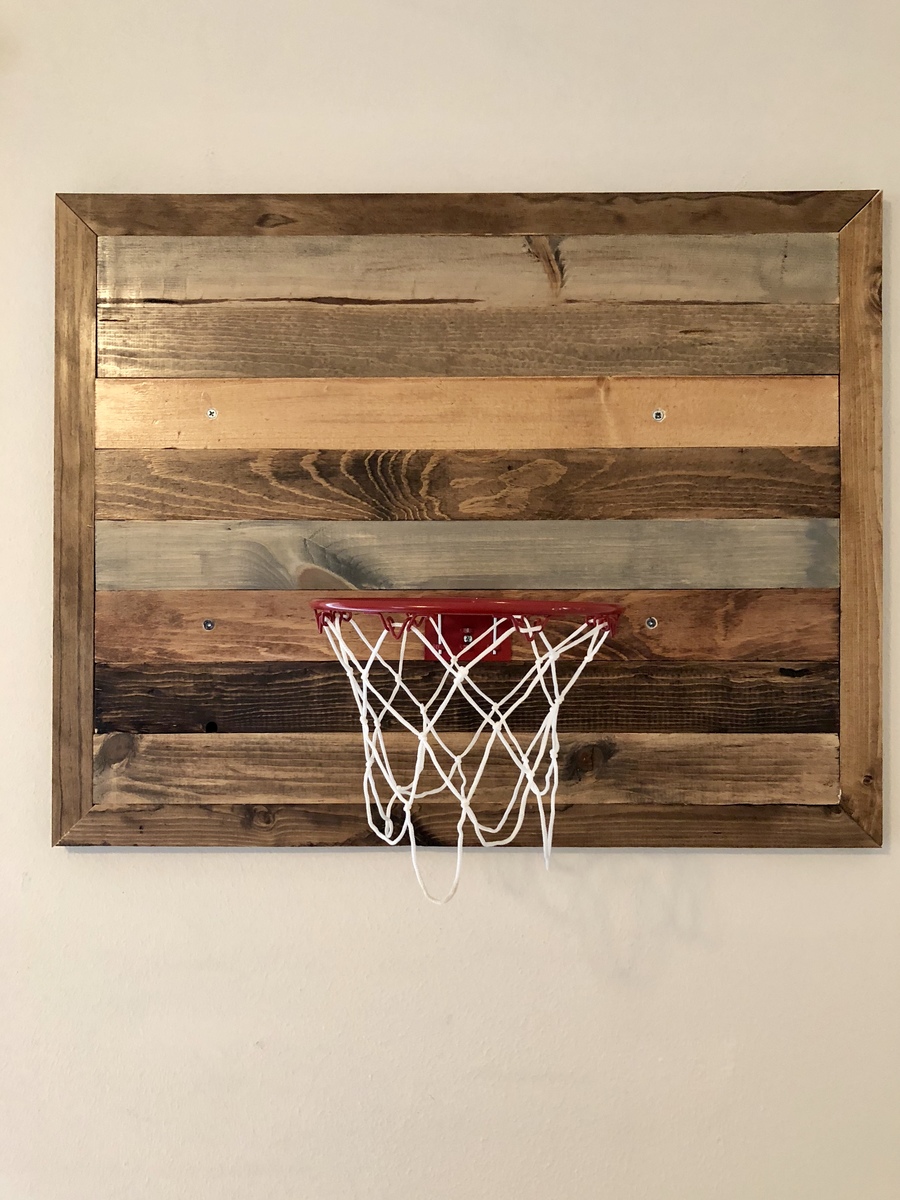
Indoor Basketball hoop

Submitted by Shells1104 on Wed, 05/16/2018 - 19:37

Joined 1 x 3 boards together with pocket holes and wood glue. The hoop is reused from an old " over the door" hoop. Decided to just drill straight through the boards into studs. Really easy and my son loves it!

Estimated Cost
$50
Estimated Time Investment
Afternoon Project (3-6 Hours)
Finish Used
weathered gray, early American, ibswich pine.
Recommended Skill Level
Starter Project

Comments

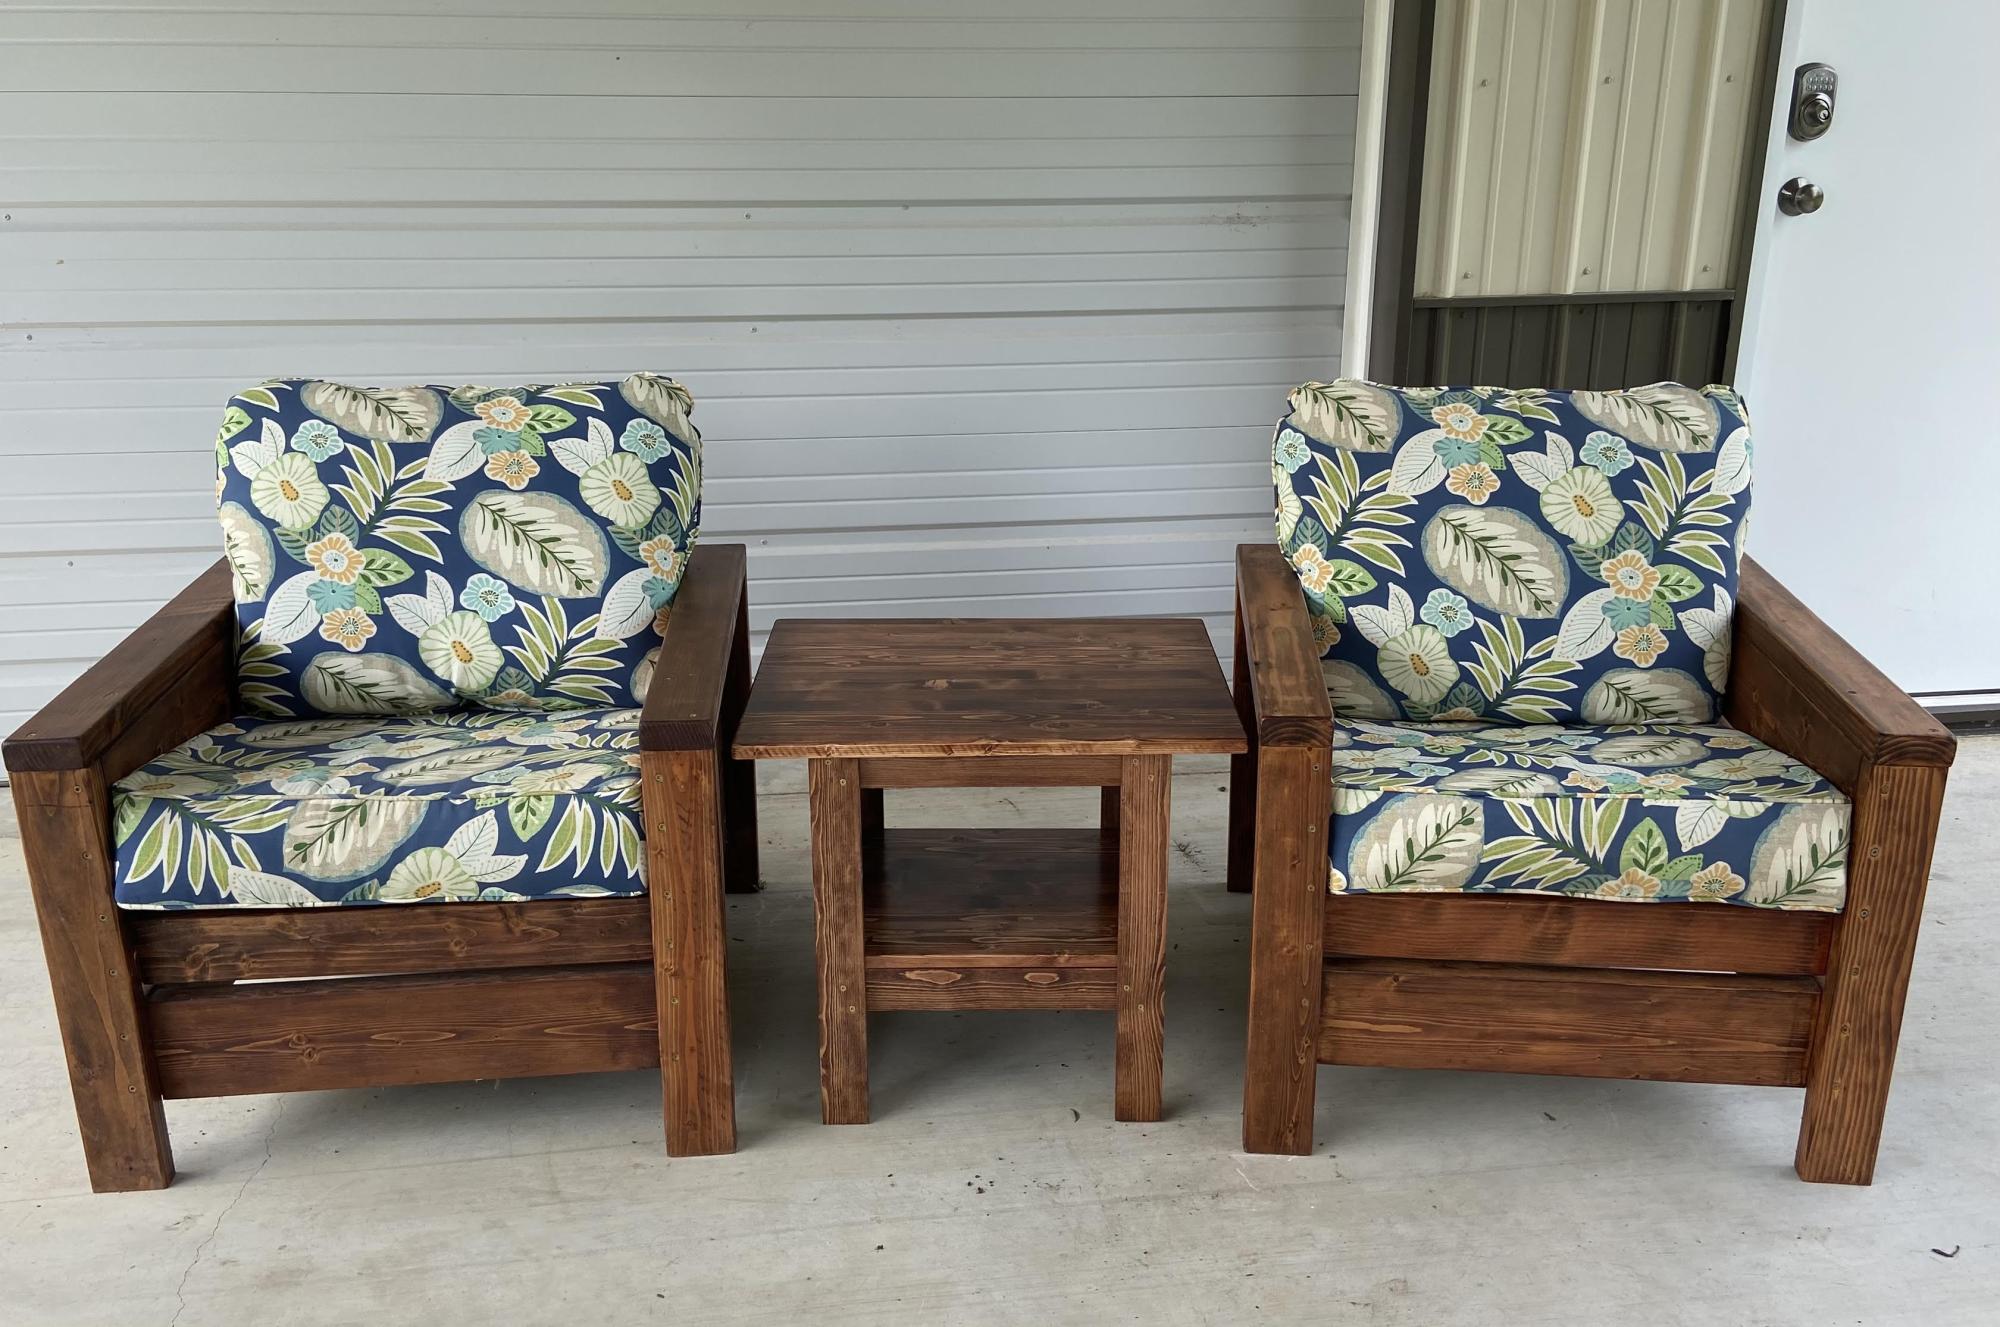
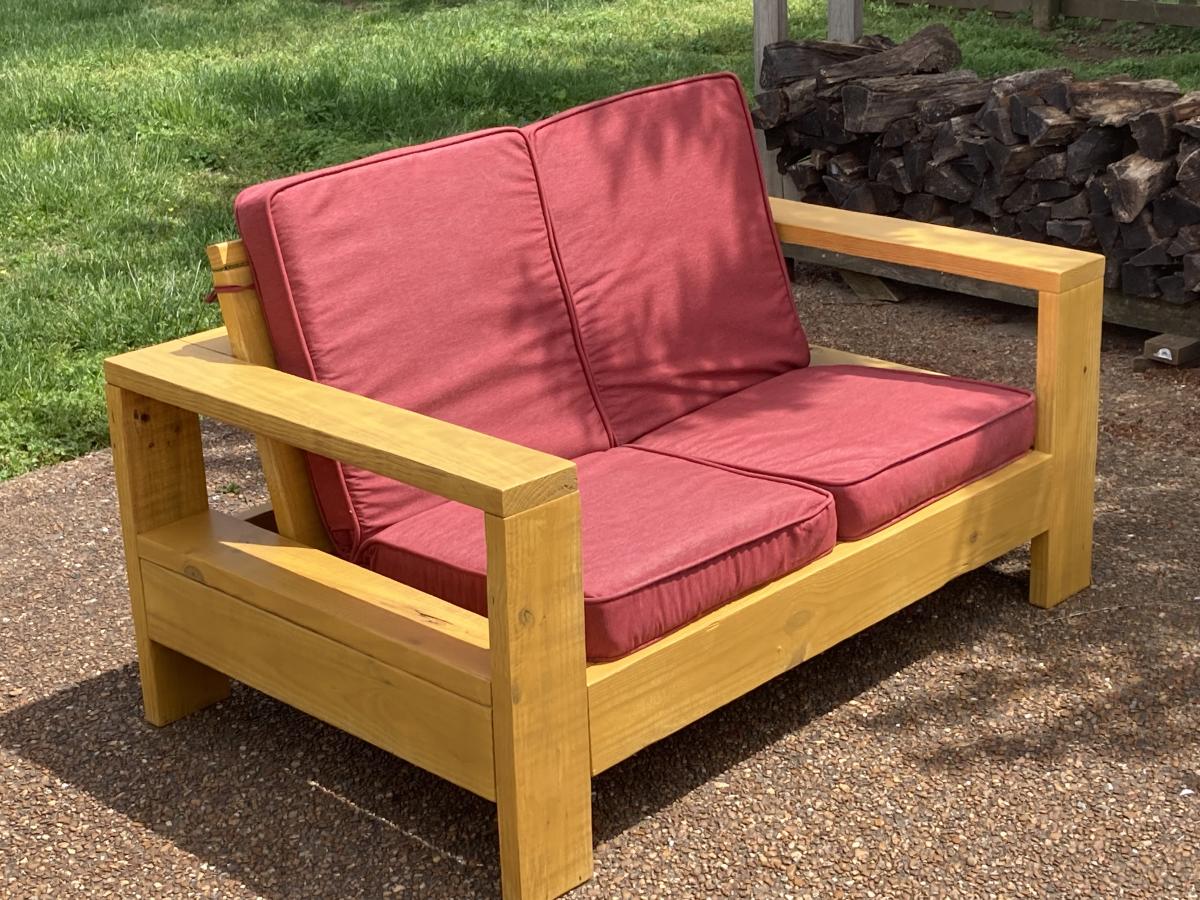
Outdoor Modern Comfort Loveseat

Submitted by Anonymous (not verified) on Mon, 04/25/2022 - 18:19

I used some 2x6 boards leftovers from some deck work. The build is solid.

Comments

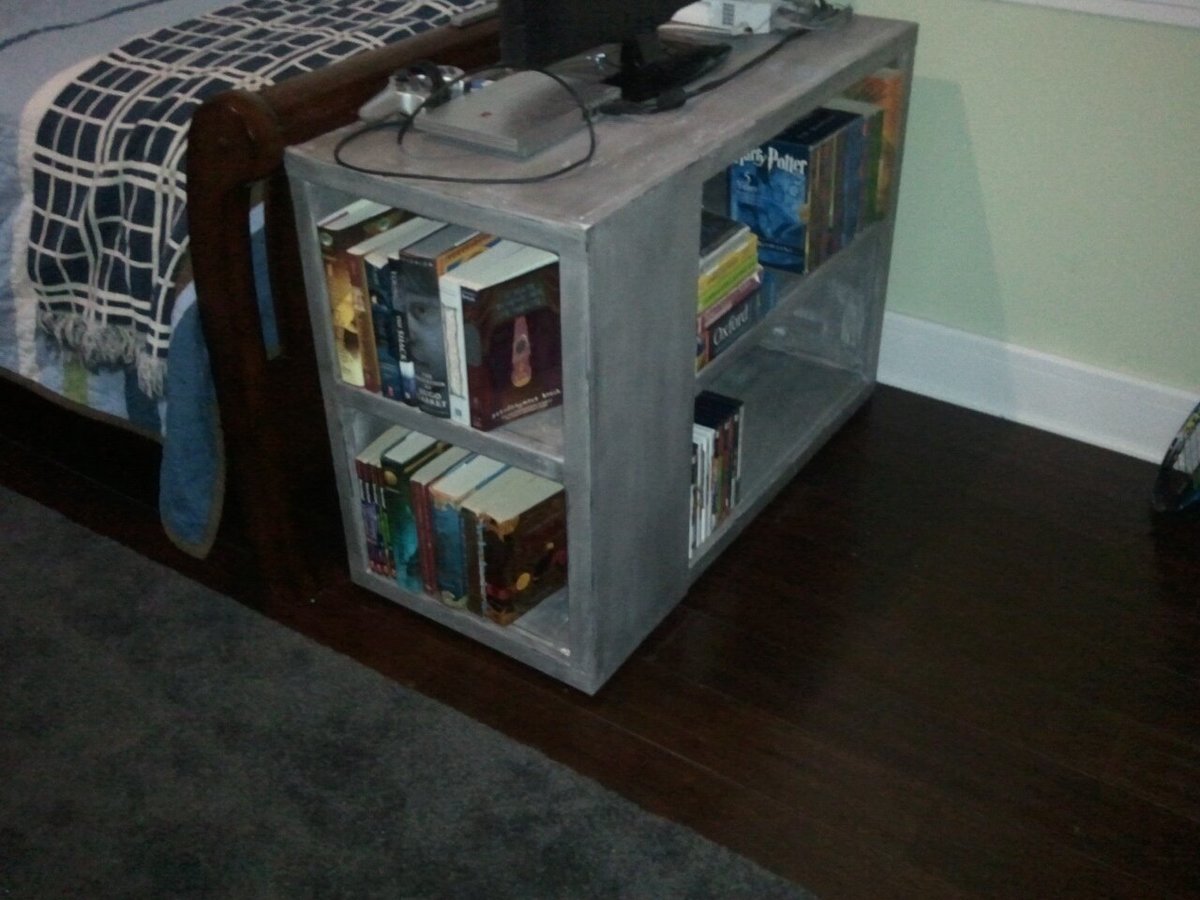
Modified modular bookcase

Submitted by tiffcampo on Mon, 07/04/2011 - 18:19

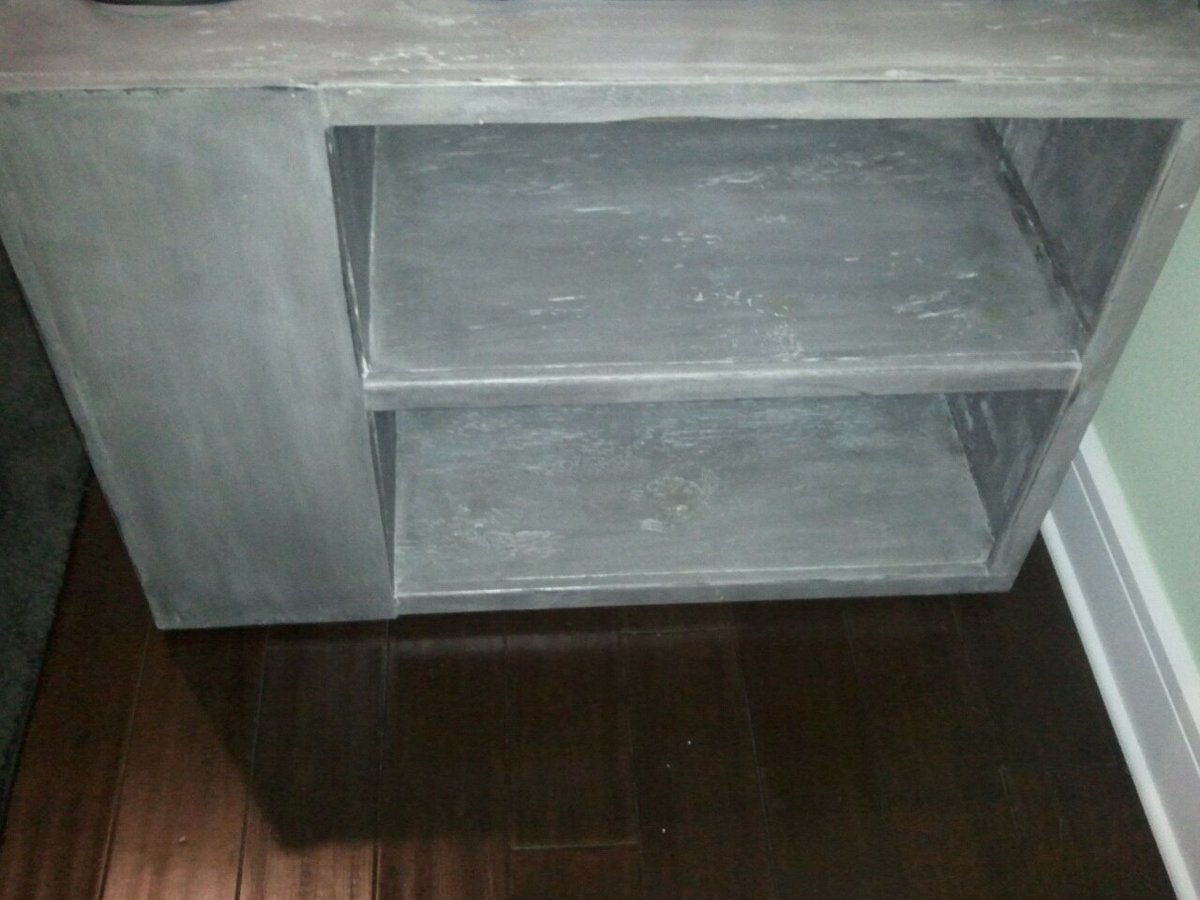
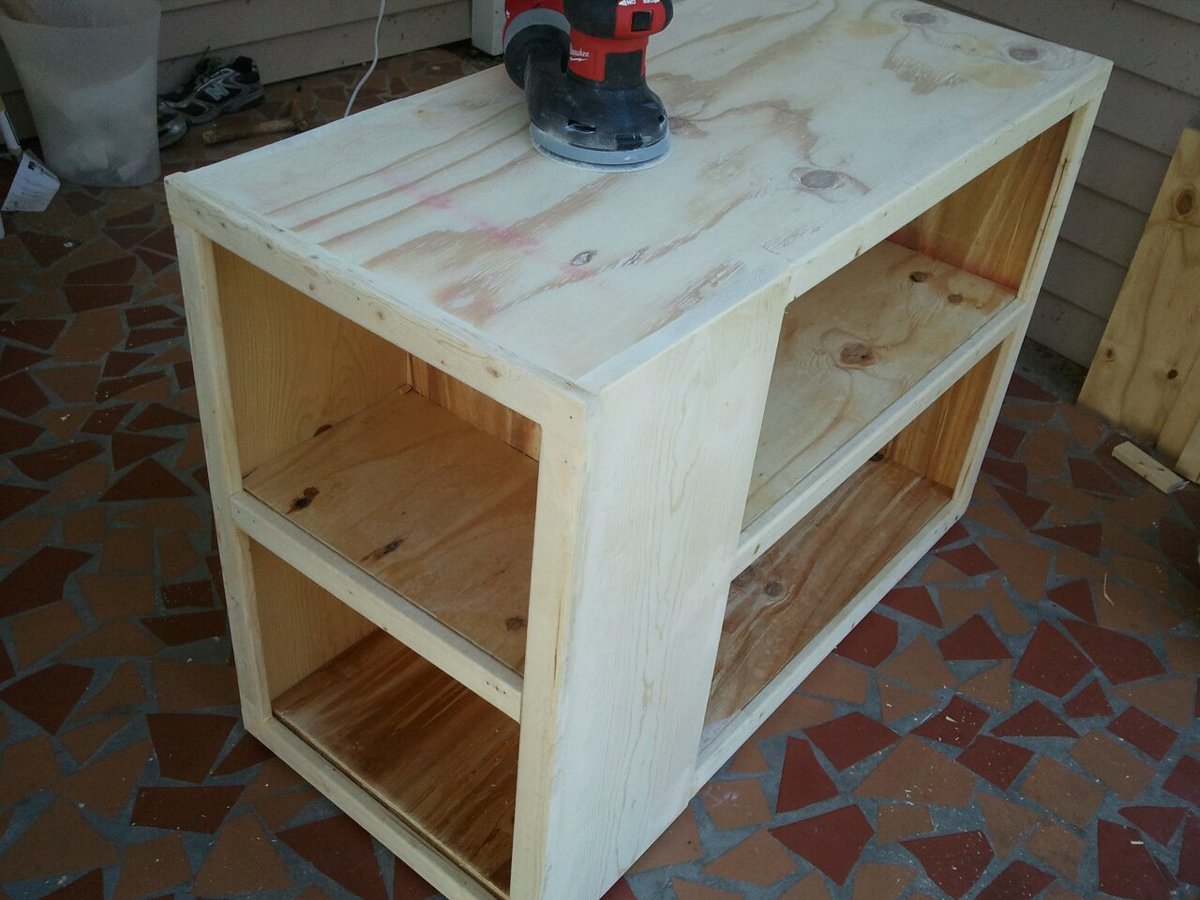
I started this build after coming across the plans on this site. My son has a small bedroom and had received a tv for his birthday. It has a small screen and so it needed to be pretty close. So, I adjusted the measurements to be compatible the width of the end of his bed. The only other change to the plans was the addition of the 1x2 trim on the center shelves. I didn't use the greatest quality plywood and it just looked a little unfinished without it.
He wanted black and I wanted white. I primed, then painted flat white. I then sanded out some places and on the 1x10 and trim to stain for an antique look. However, when I rubbed on the ebony stain, I really liked how it looked over the white paint. So, I rubbed the whole thing. Then sealed it. The result is sort of an antiqued gunmetal gray that we both love. Thanks again for the plans!! Next?!

Estimated Cost
$45
Estimated Time Investment
Weekend Project (10-20 Hours)
Finish Used
Olympic Interior Primer, Olympic Interior Flat in Snow Ballet, Minwax Ebony, Spray sealant in semigloss
Recommended Skill Level
Beginner

Comments

songbirdfeeder

Sun, 09/04/2011 - 18:28

You did a terrific job building this! My son is in an apartment while going to college and asked for a bookcase for Christmas. Problem is, he lives 8 hours away and I need to make something that will fit in his car!Haha! This looks like a lot of storage so I'm going to give it a try.

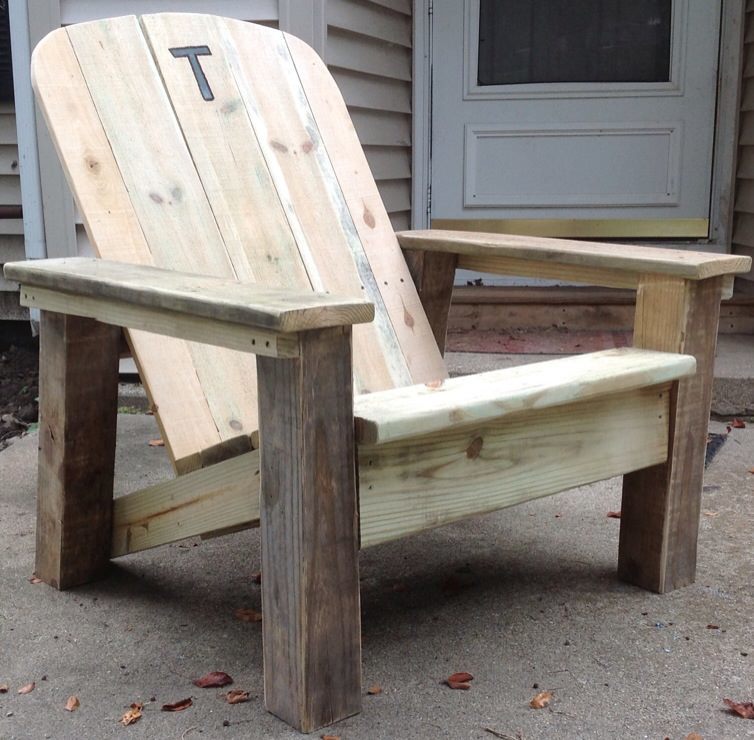
Reclaimed lumber Adirondack chair

Submitted by rkyount on Thu, 08/08/2013 - 13:23

For my brother's 35th birthday, I helped him build a fence and side deck on his house. Using the leftover lumber scraps and screws, I adapted the DIH Adirondack chair plans to build this for him. He wanted a big, sturdy chair with a wide arm rest that looks "rustic". I used 4x4 and 2x4 post scraps, deck boards, and fence pickets. I also widened the seat just a bit for comfort. This is definitely the perfect chair for him!

Estimated Time Investment
Afternoon Project (3-6 Hours)
Finish Used
Since it's all treated lumber, we'll just seal it whenever we do the deck with Thompson's Water Seal.
Recommended Skill Level
Beginner

Comments

rkyount

Fri, 08/09/2013 - 14:38

Thanks! I always enjoy building with your plans, and it was a bonus that I didn't have to buy anything to build this, since I used leftover materials.

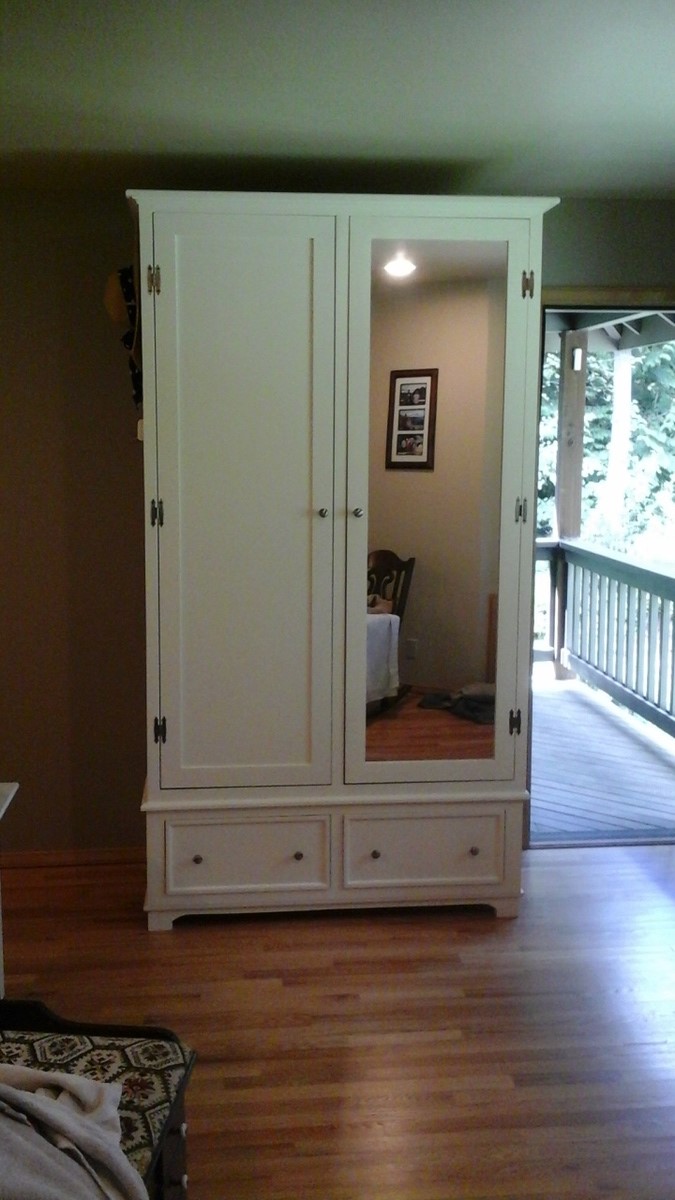
Armoire

Submitted by Smokeydog on Thu, 09/03/2015 - 13:56

Built this armoire for the master bedroom  and constructed it to match the existing furnishings.  This thing is huge and weighs a ton.  7 1/2 feet by 4 feet.  I had to make sections in the shop and then assemble and paint it in the second story bedroom.  If we ever need to move it out of the house we are fortunate to have a balcony off the bedroom.  With help from a whole bunch of guys we should be able to lower it down ... if it ever comes to that!

Estimated Cost
450.00
Estimated Time Investment
Week Long Project (20 Hours or More)
Finish Used
BEHR paint. Home Depot matched the paint perfectly.
Recommended Skill Level
Intermediate