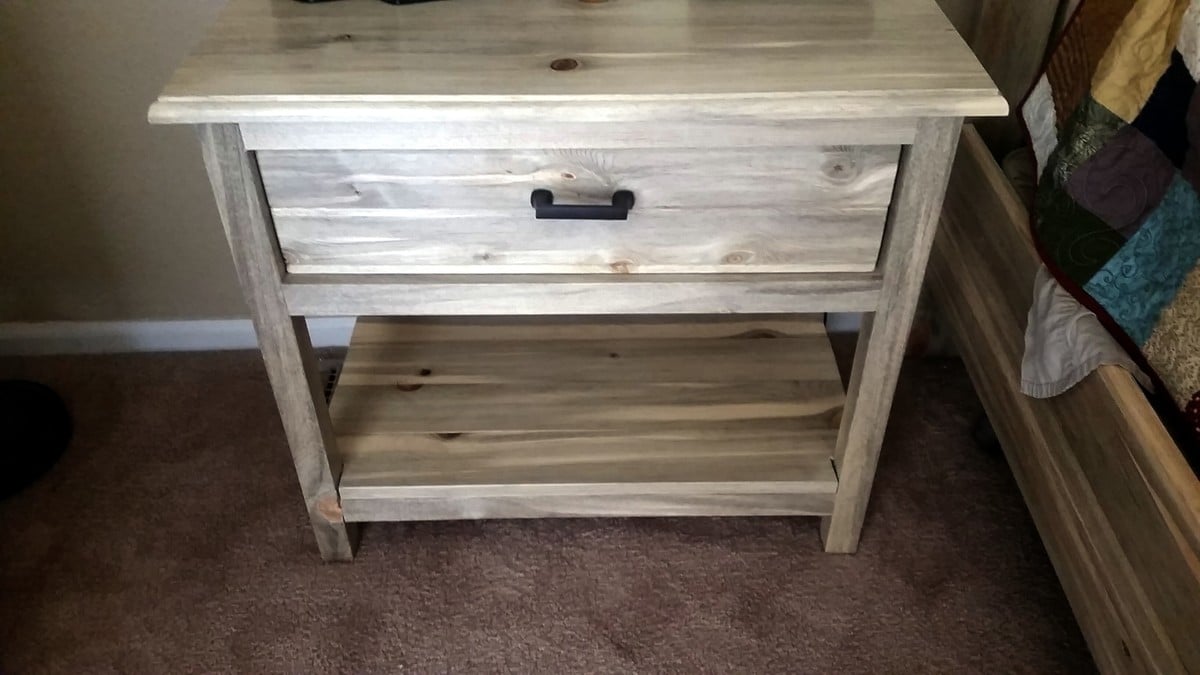
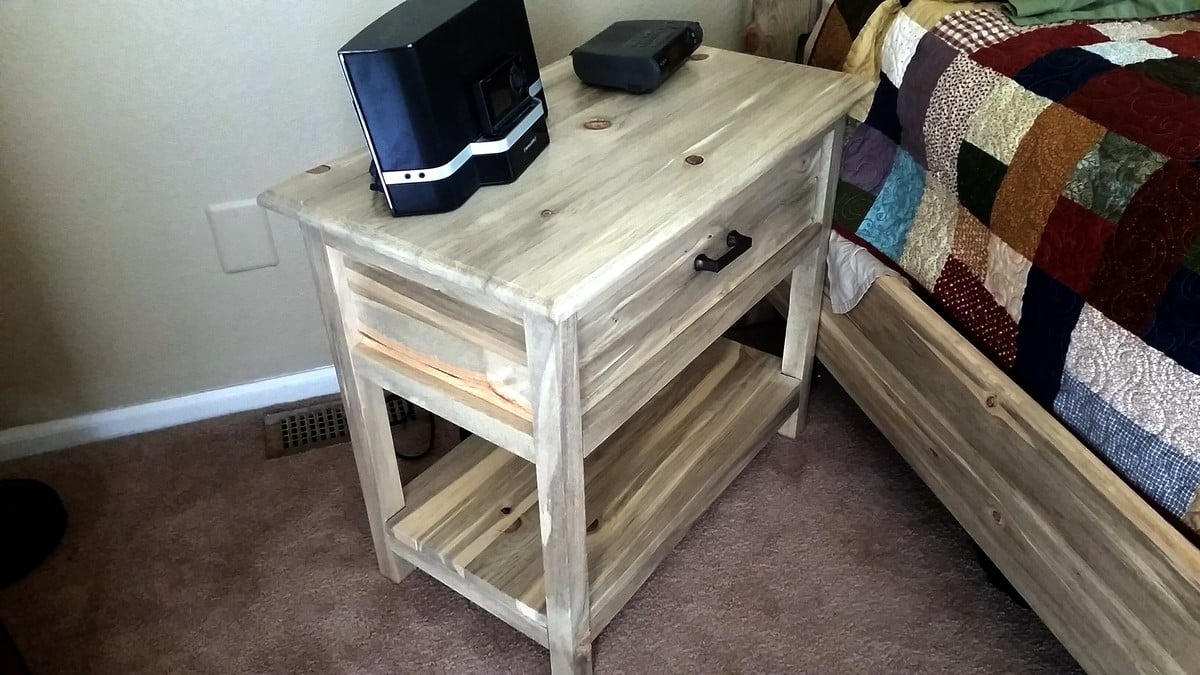
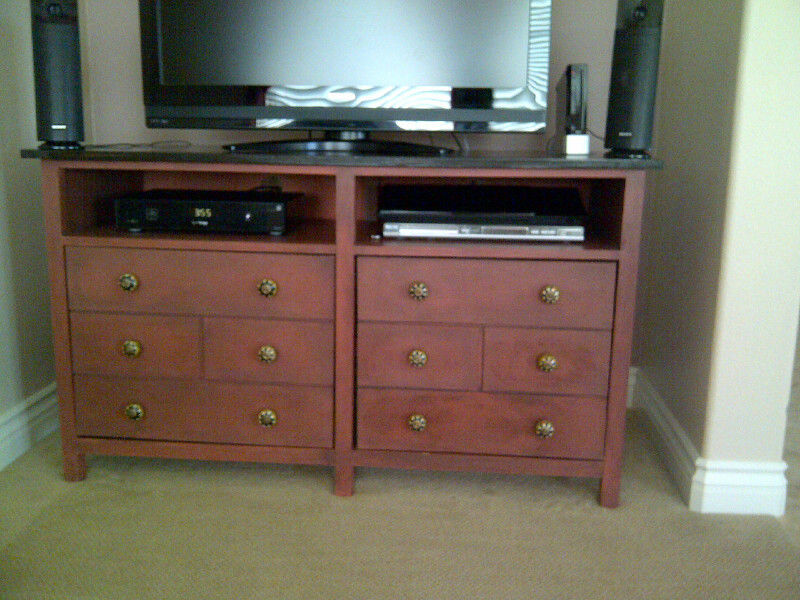
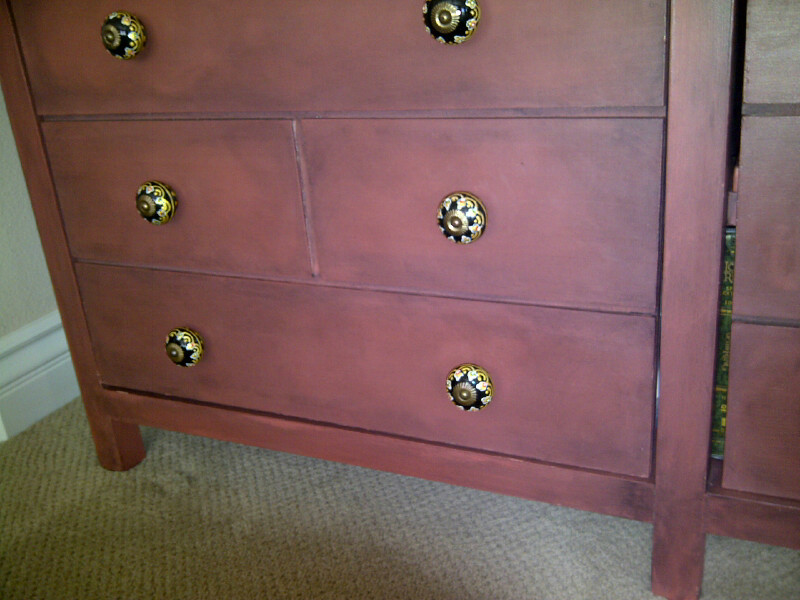
Mudroom Locker & Bench Completed Version
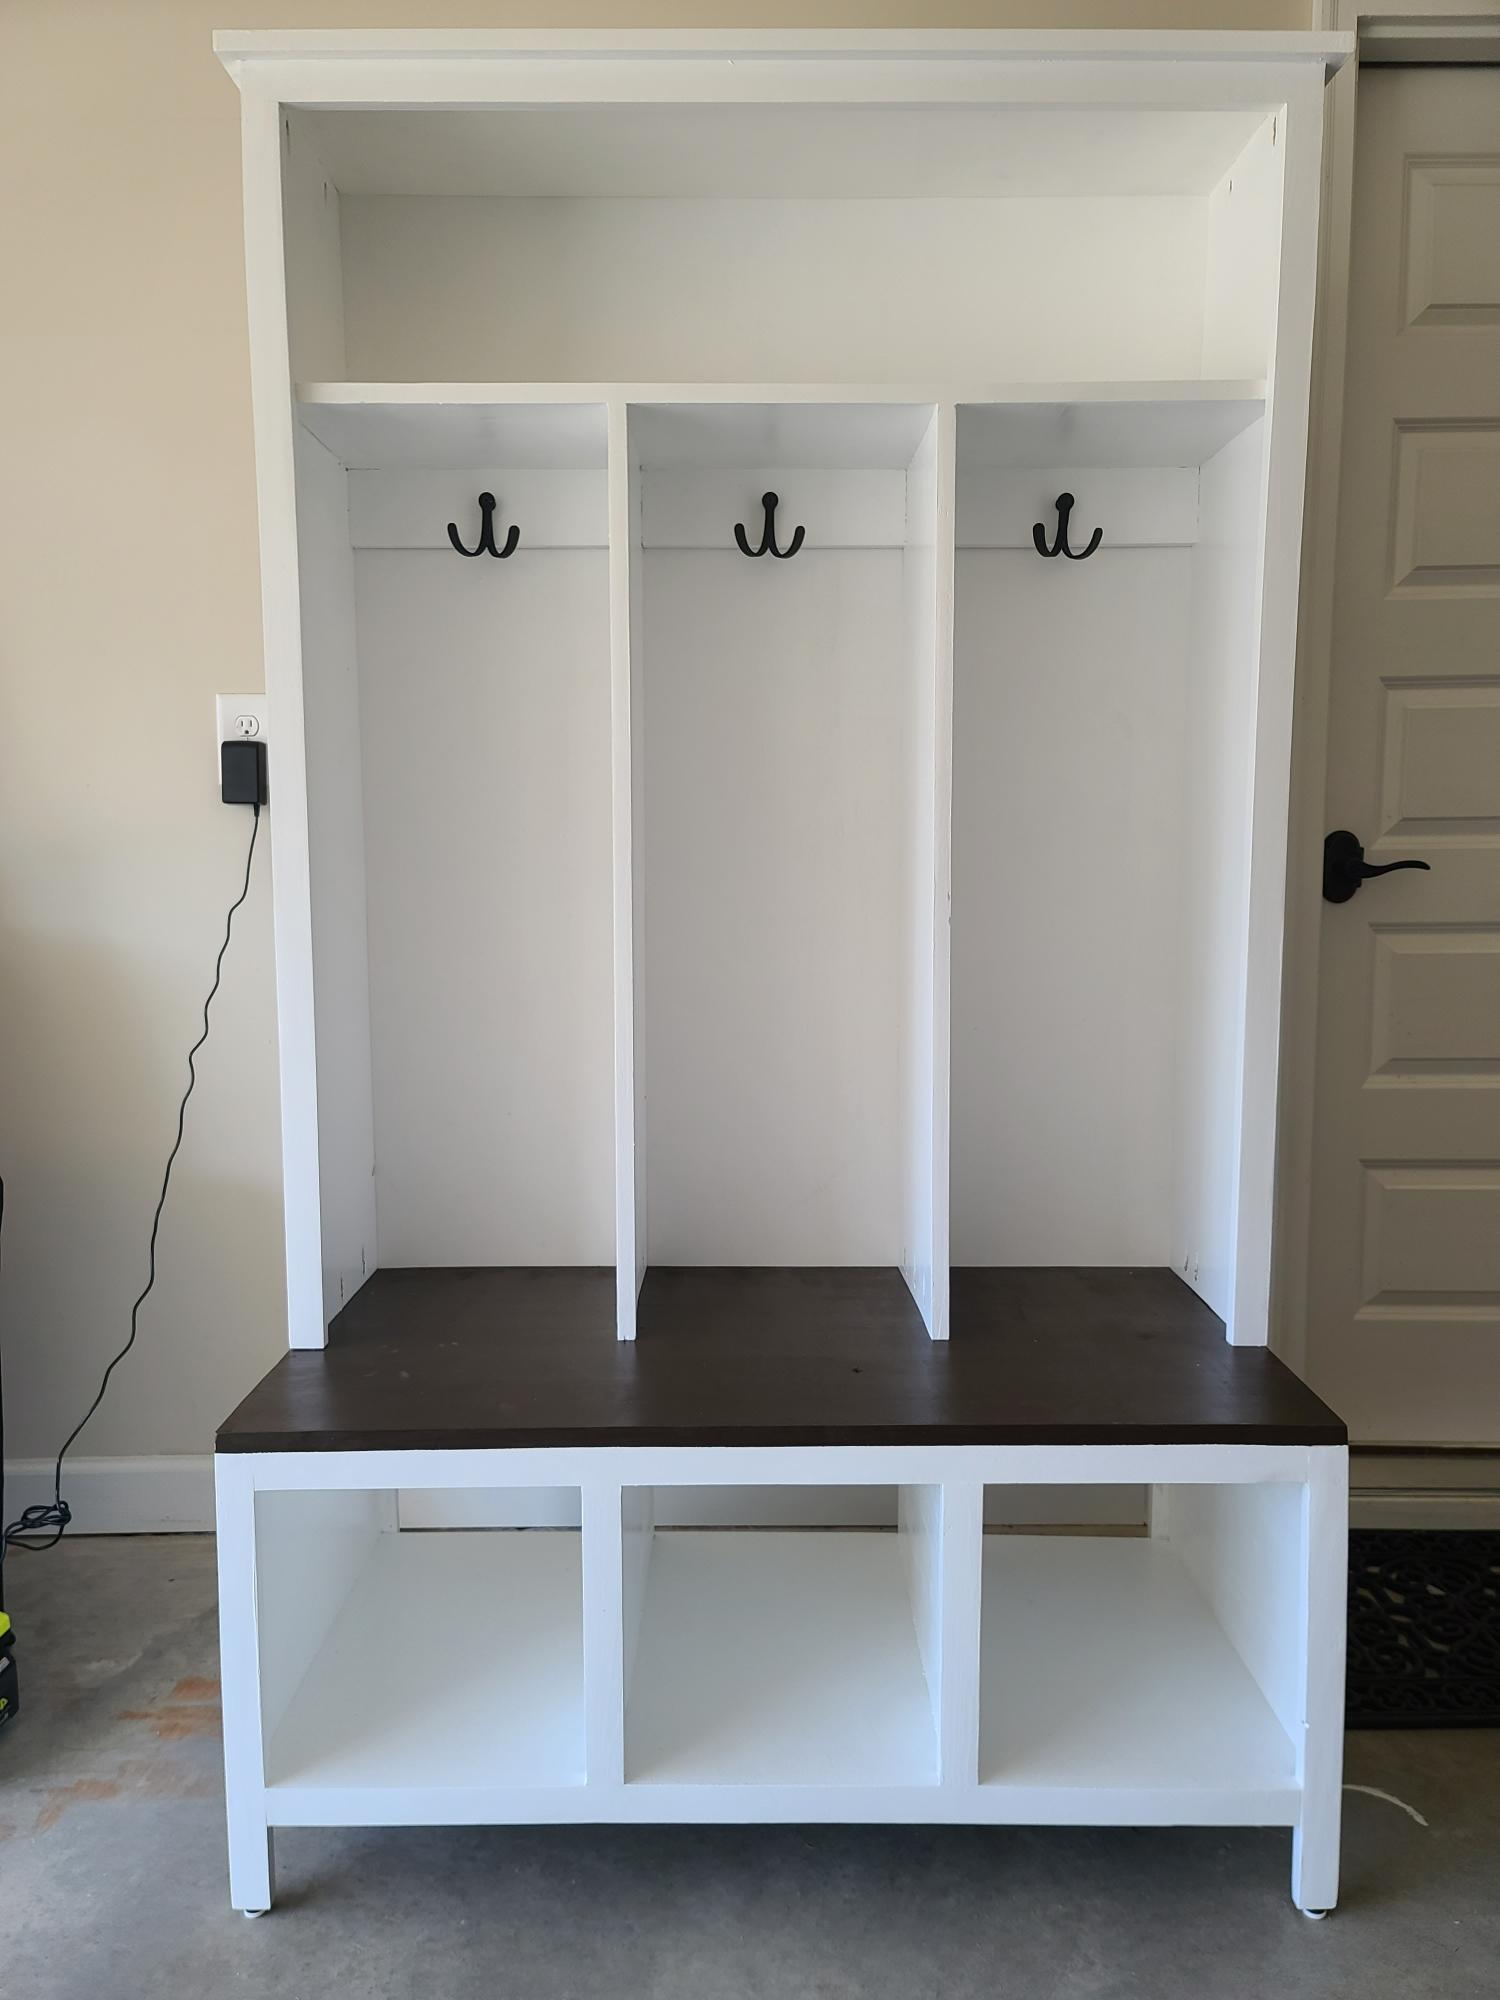
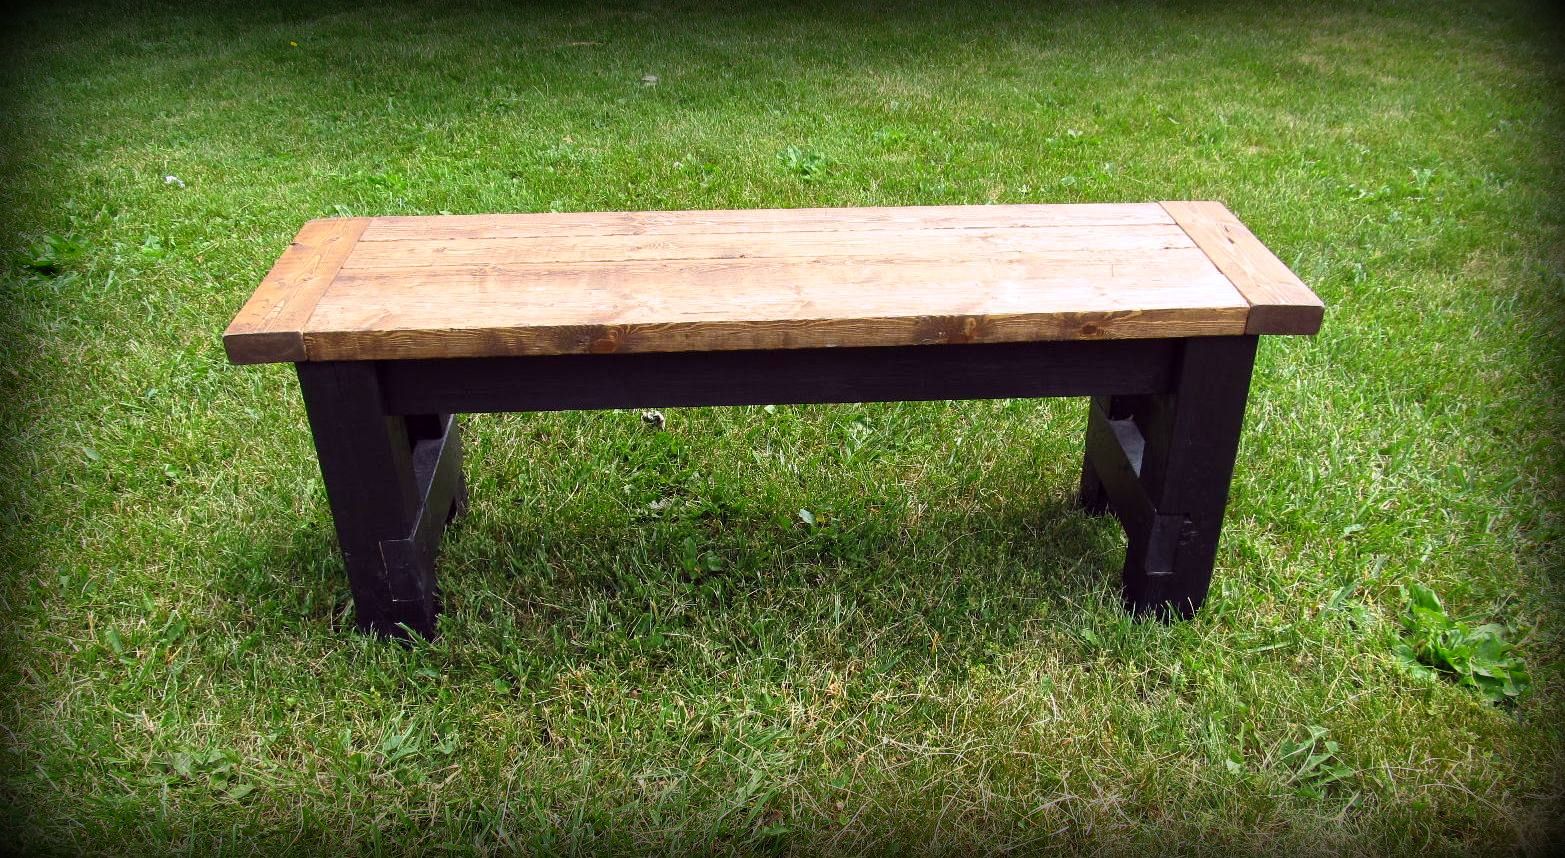
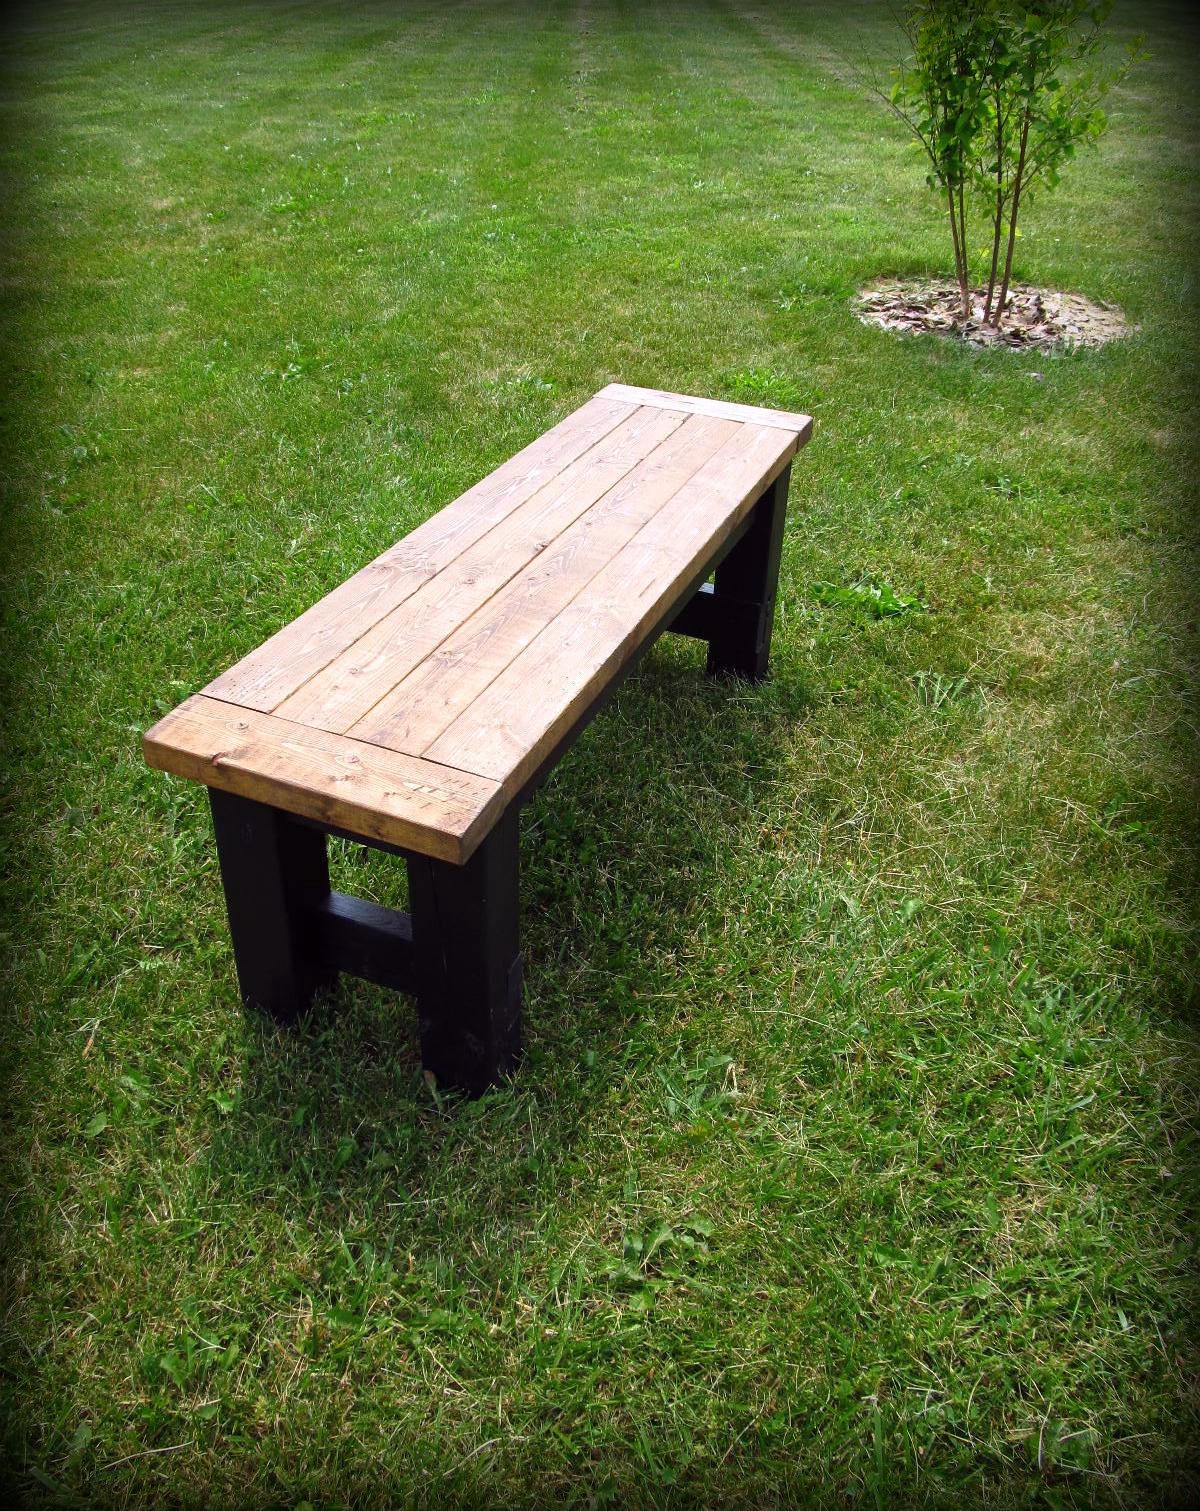
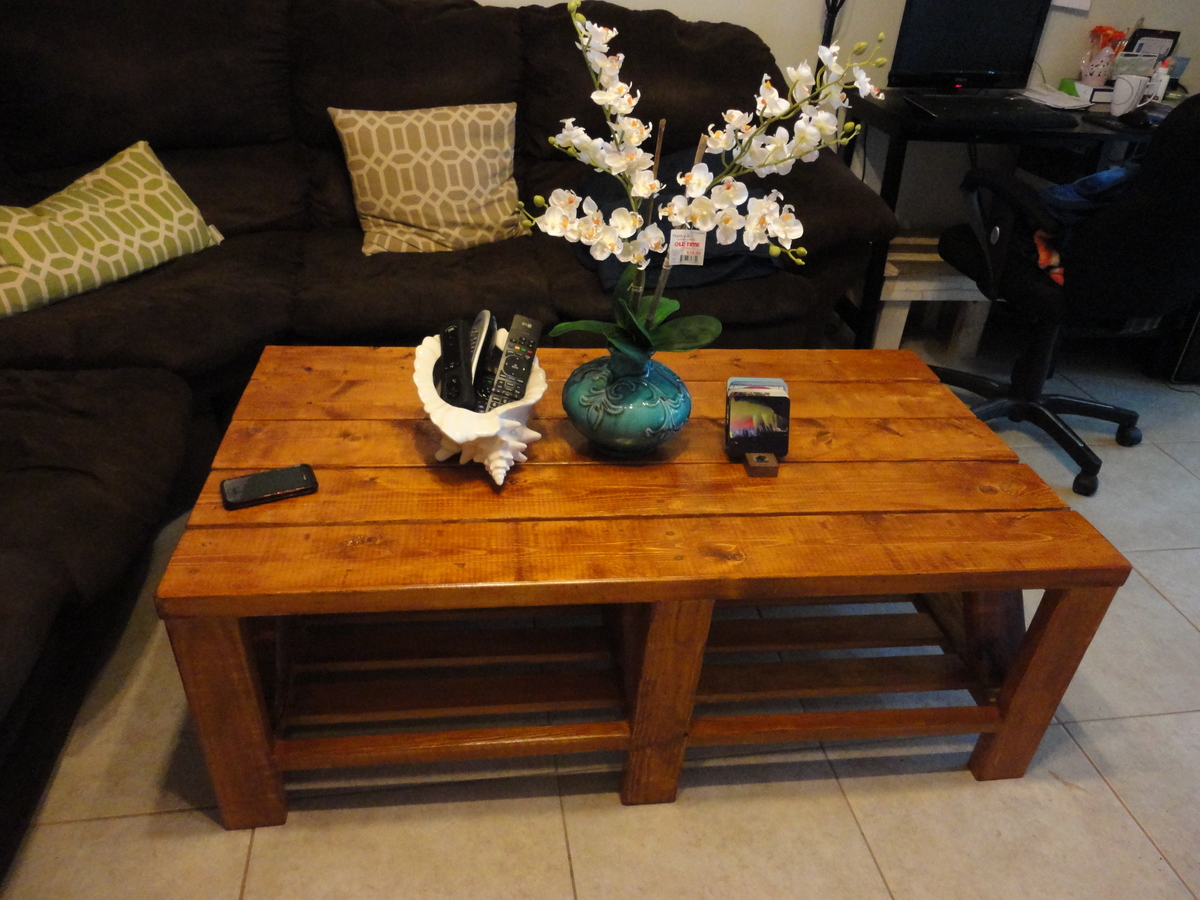
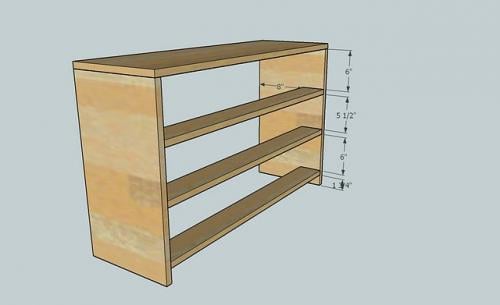
I had previously posted a work in process version, this is the completed project. Very happy with the results of combining the Easy Three Cube Bench and Small Locker Cabinet plans. If I had to change anything, I might widen the dividers to get a little more width, but this suits what we were trying to accomplish.
Learned something on this project, I hate painting! In the future when I know I am going to paint the completed project, I'm going to paint as much as I can before assembling.
Built from Plan(s)


Comments
Ana White Admin
Mon, 04/11/2022 - 14:49
Beautiful piece!
Thank you for sharing, it looks amazing!