Family Table
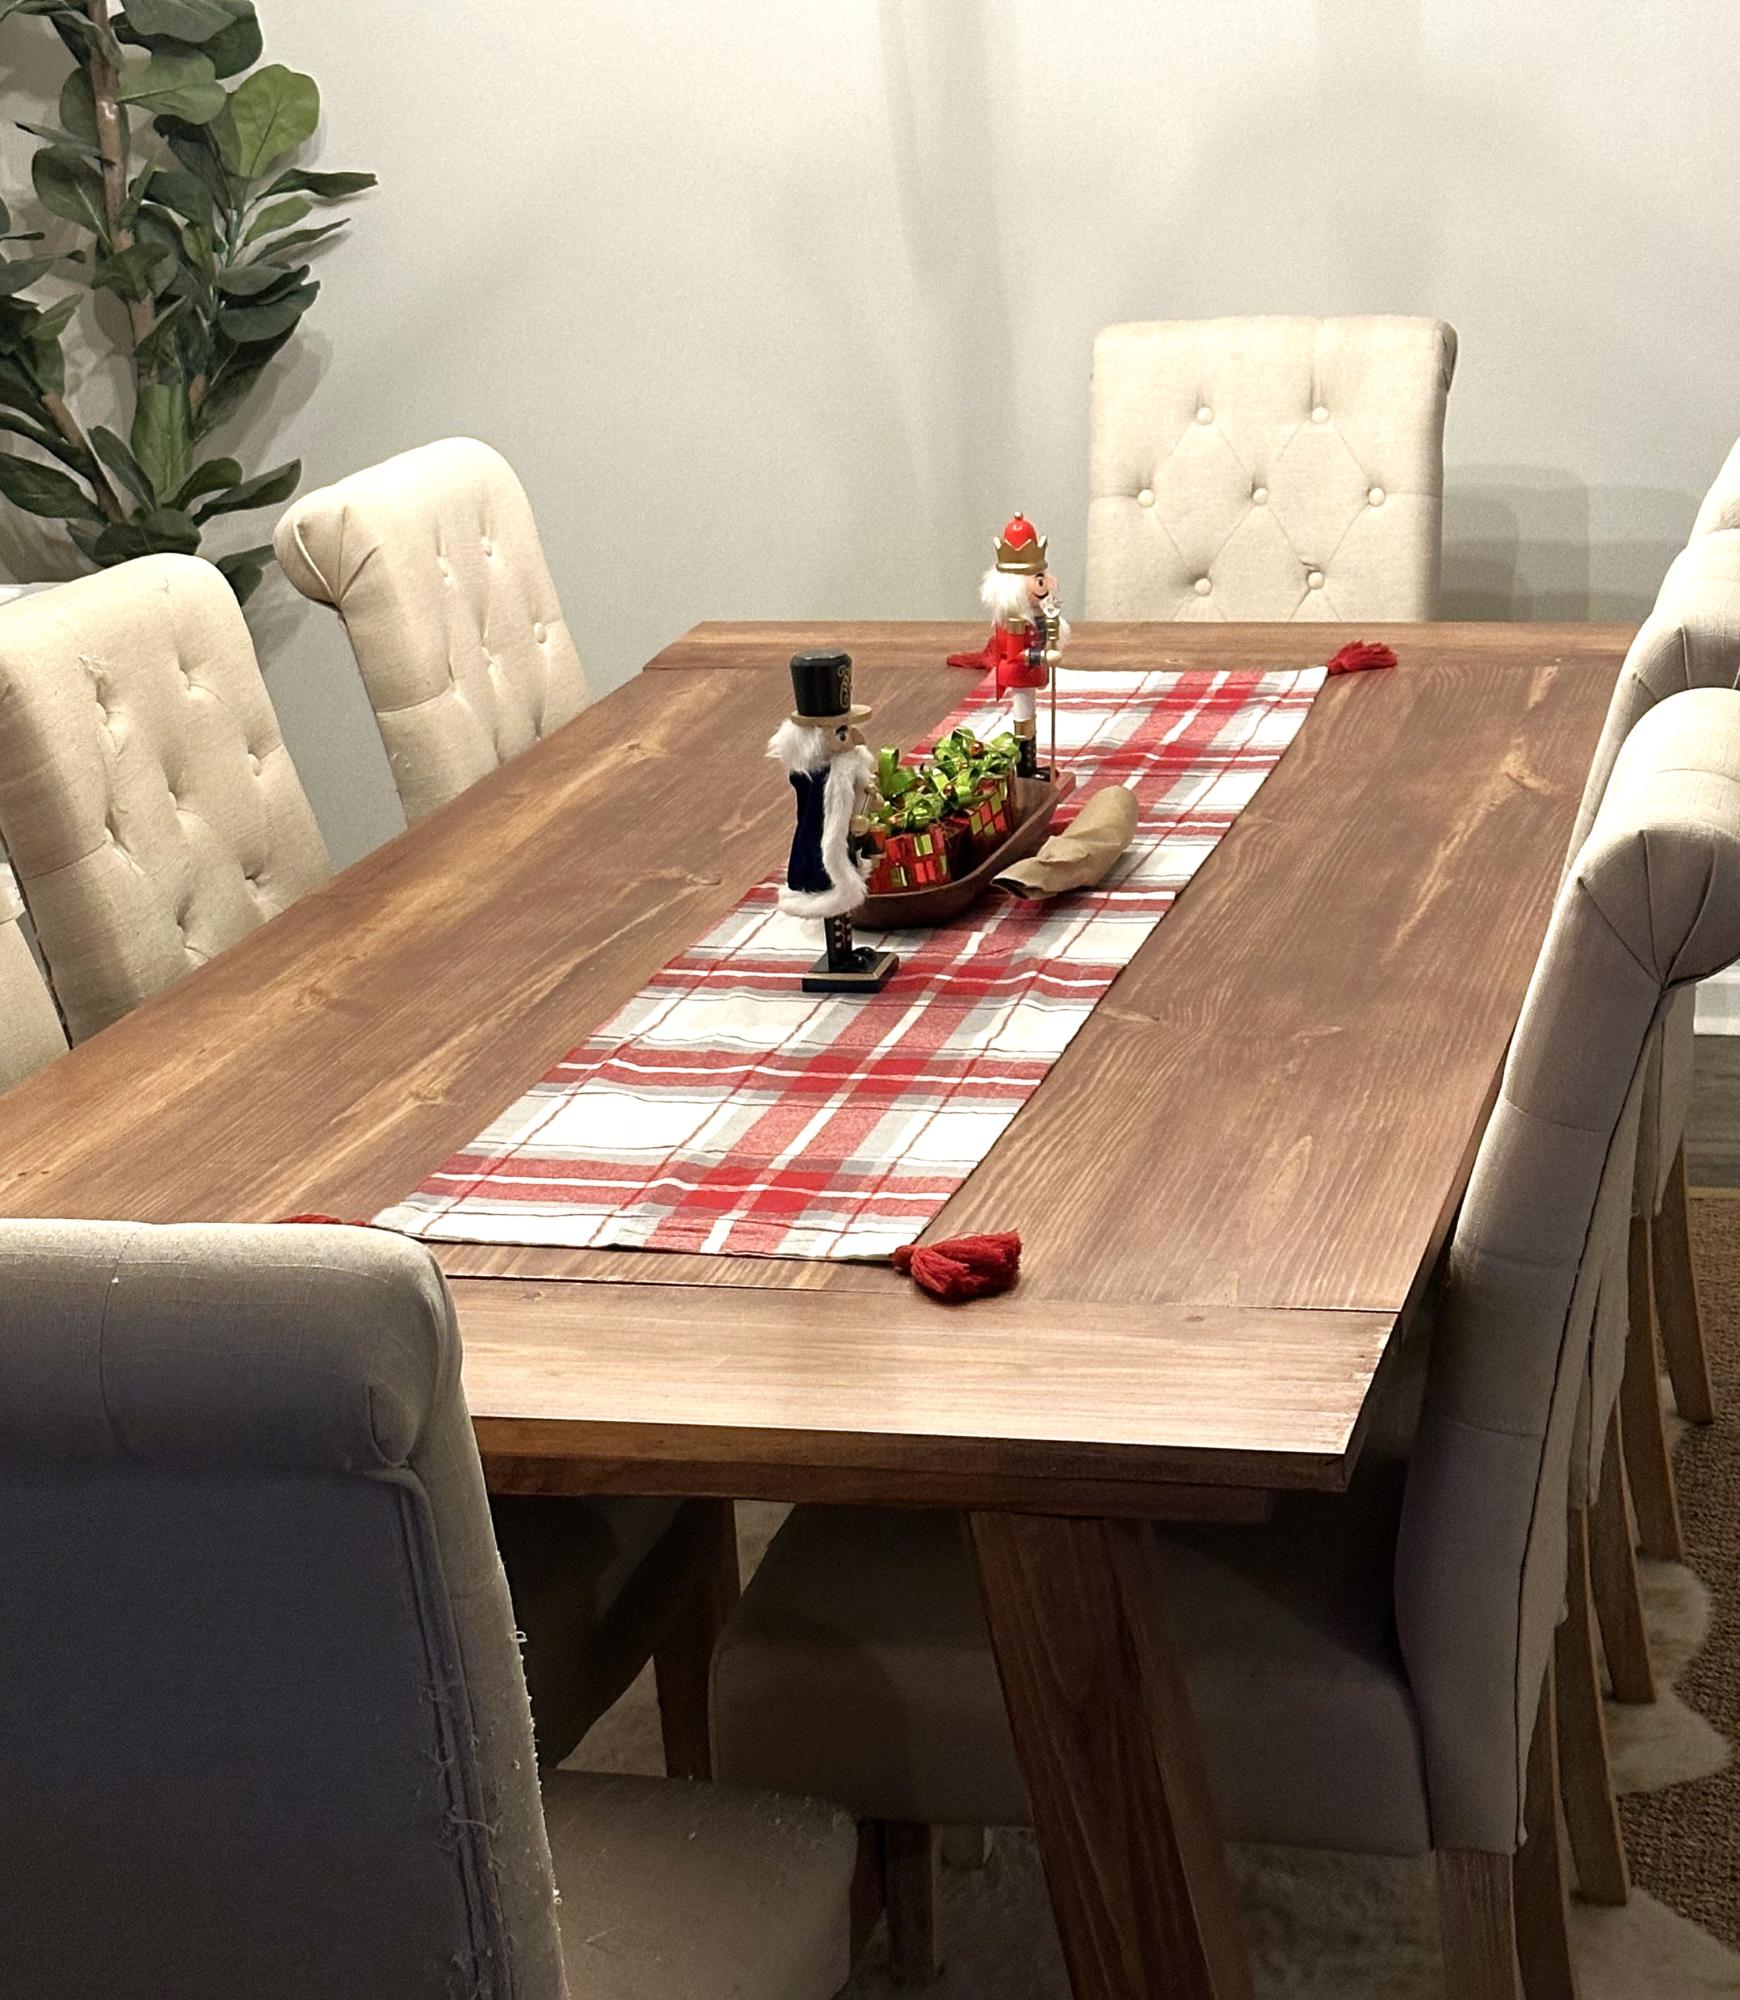
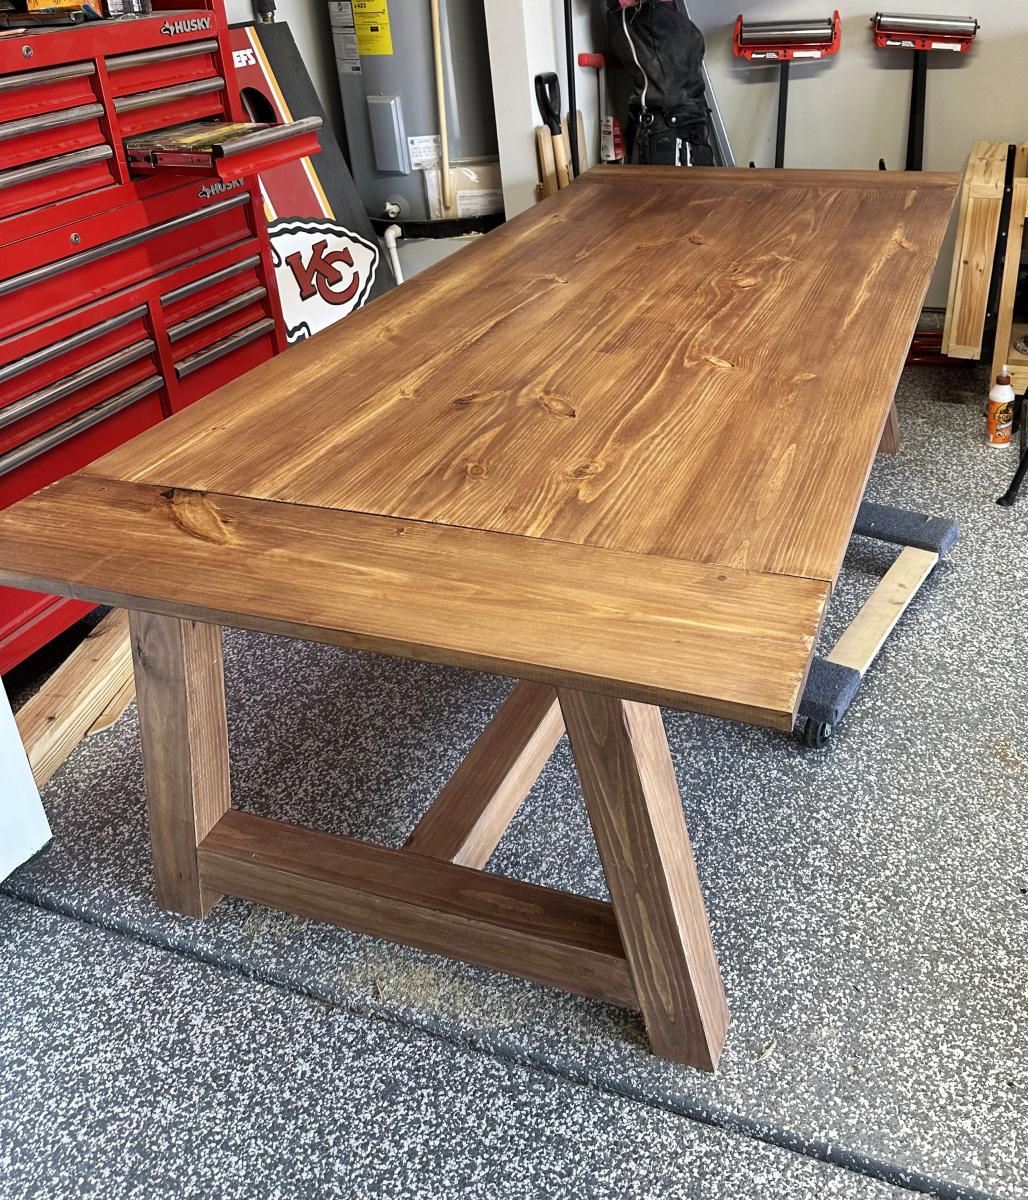
Holiday Table by Ryan B
Built from Plan(s)
Seasonal And Holiday
Holiday Table by Ryan B
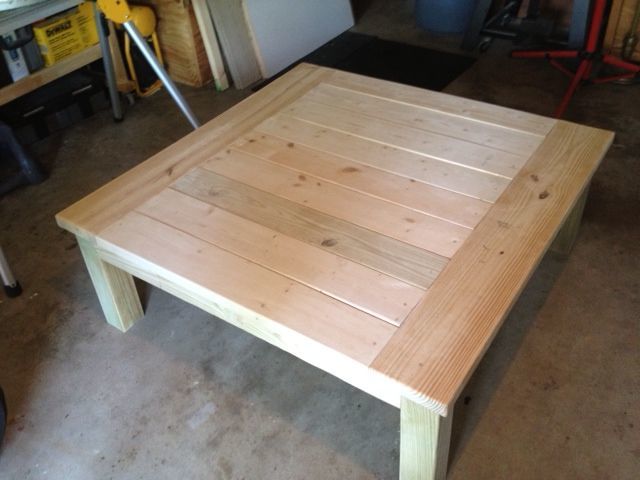
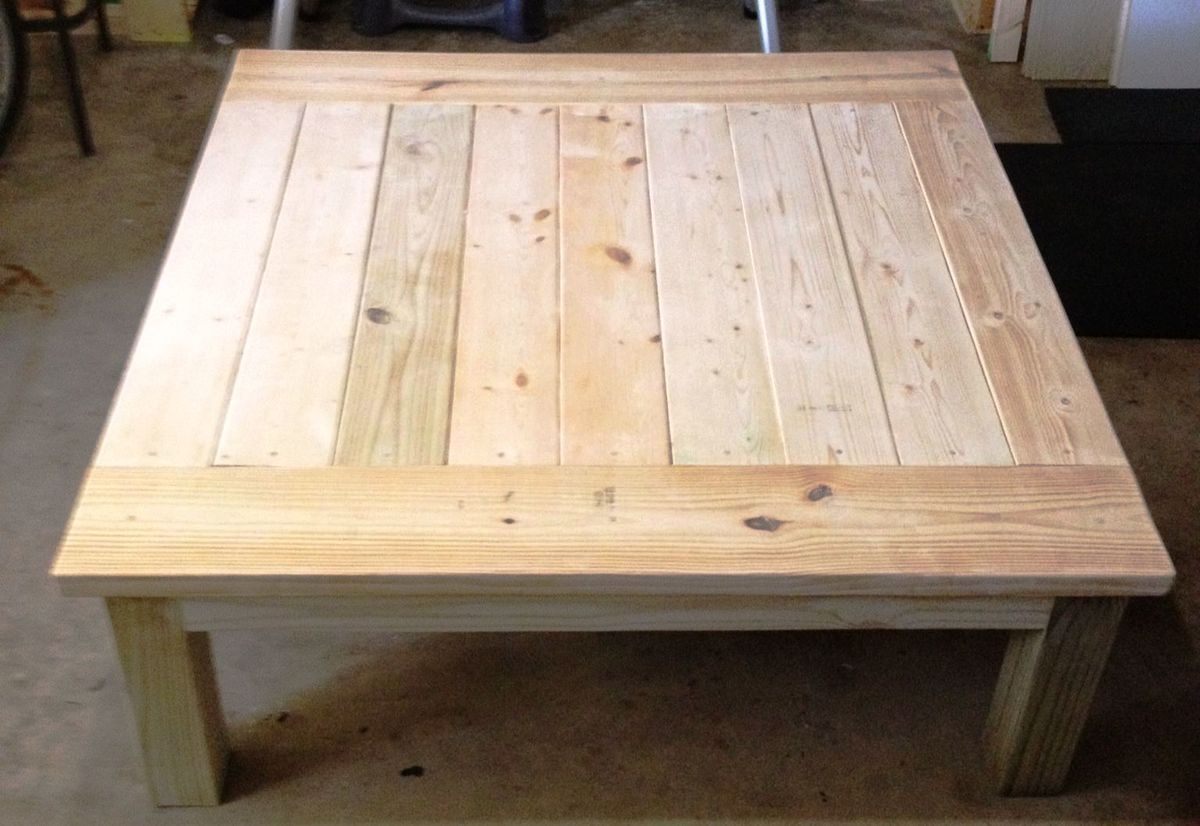
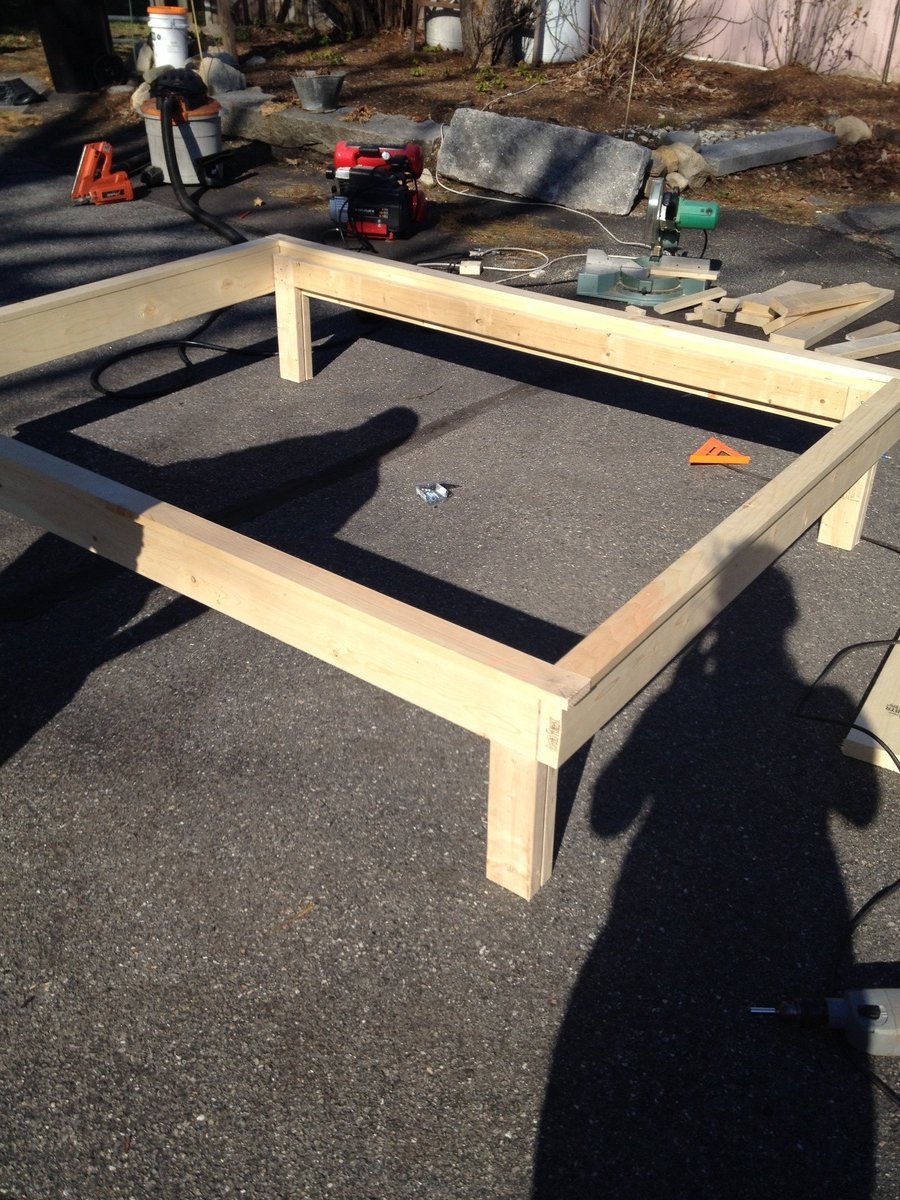
I made this out of discout lumber. Each board was only .51 so that made it pretty cheap but a bit challenging (I had to cut the boards to fit and also cut off the twisted ends without cutting too much off). There is still a bit of uneveness in some of the boards, I think it adds to the character of the table. I changed up the plan a bit and made this from 2x6's and the ends with 2x8's. final size is 49 1/2 x 49 1/2.
A friend wanted this so I'm not sure what she is going to finish it with but will post pics as soon as I get them. I may make another one for myself :)
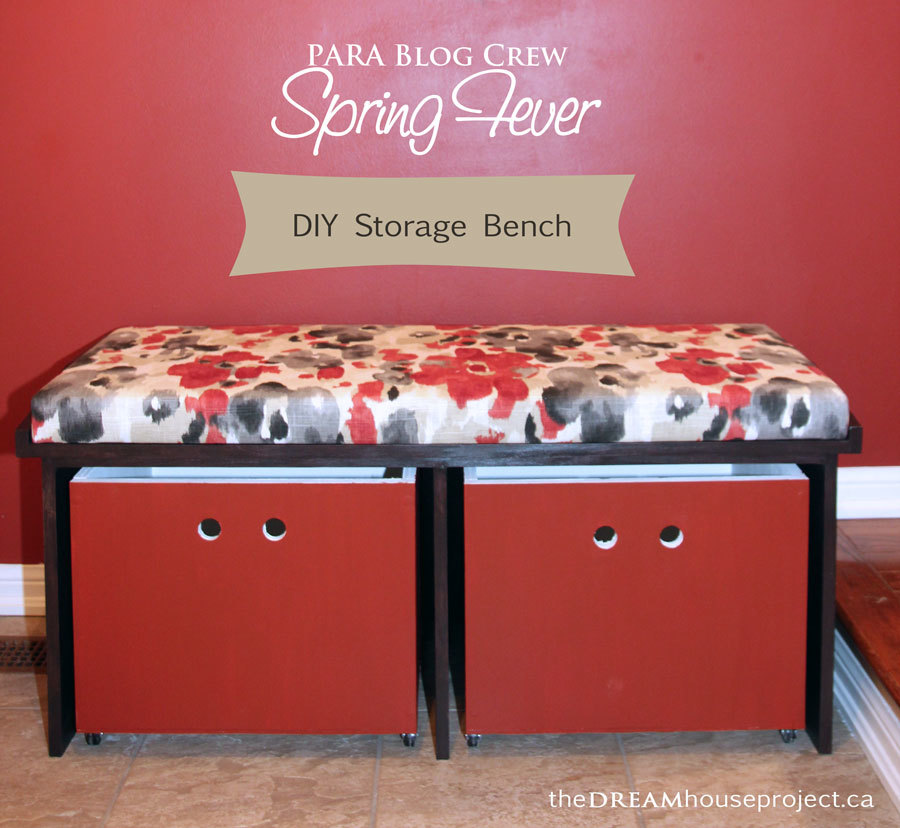
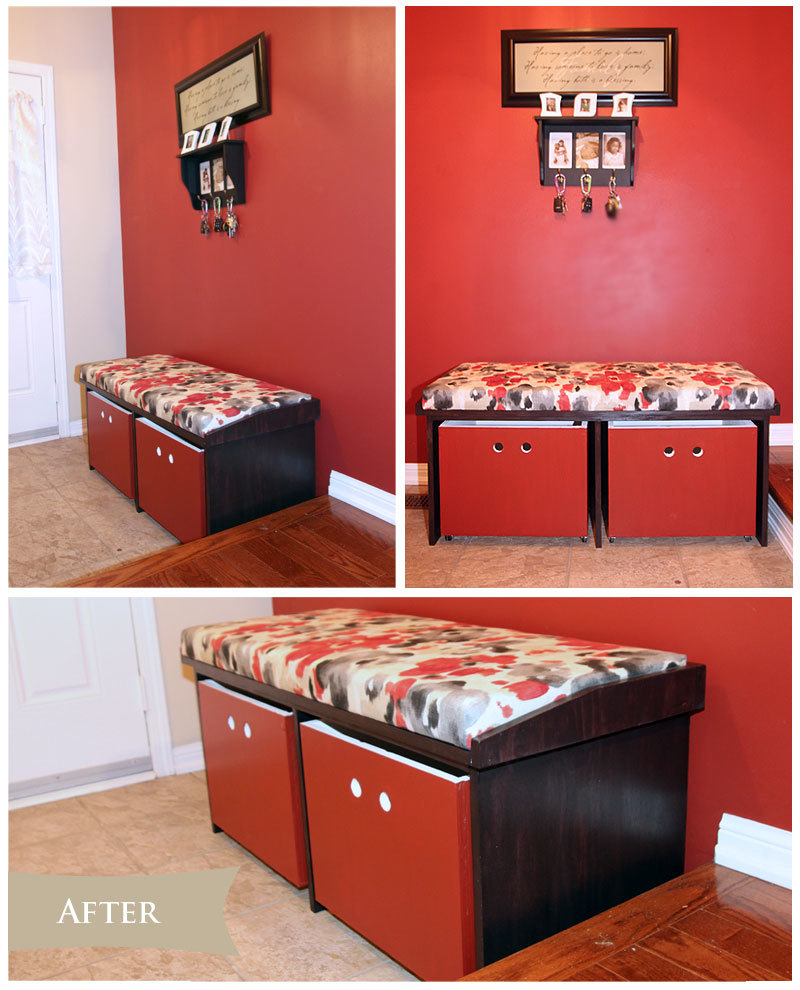
The entryway in my mom’s house was the perfect candidate for a spring update. Home to a broken, non-functioning storage bench and constantly cluttered with shoes, we decided it was time for an upgrade. It took us a weekend, some PARA paint & stain, a little fabric and lots of elbow grease, but we were able to take the entry way from boring to beautiful.

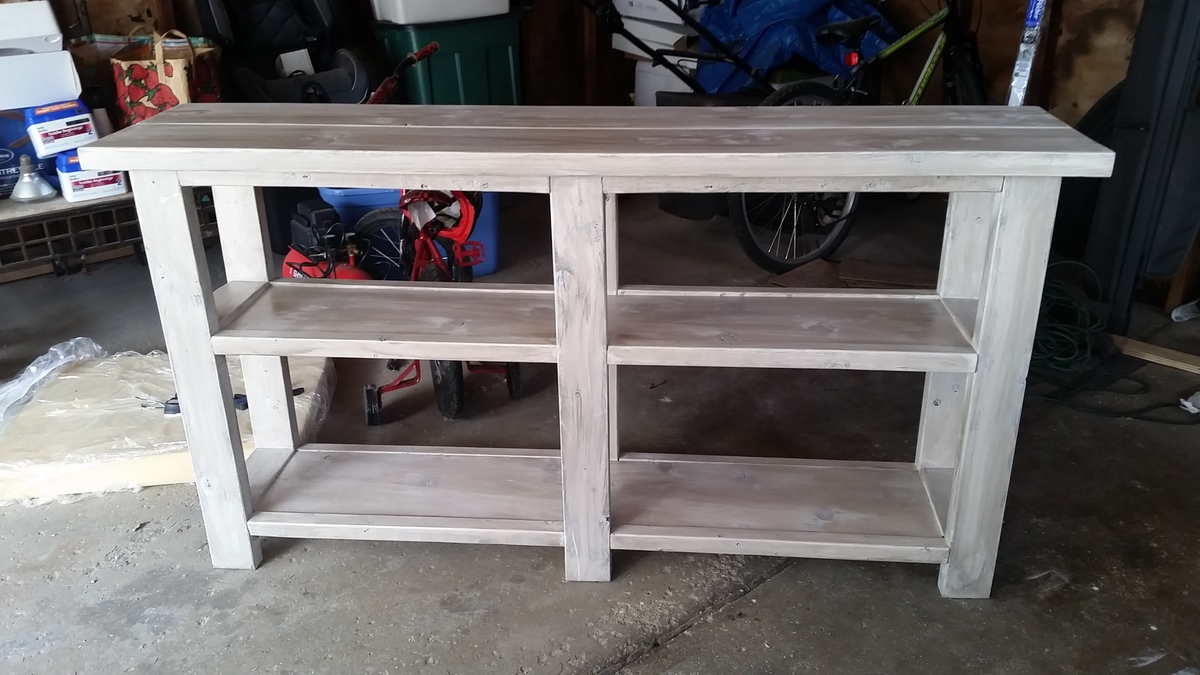
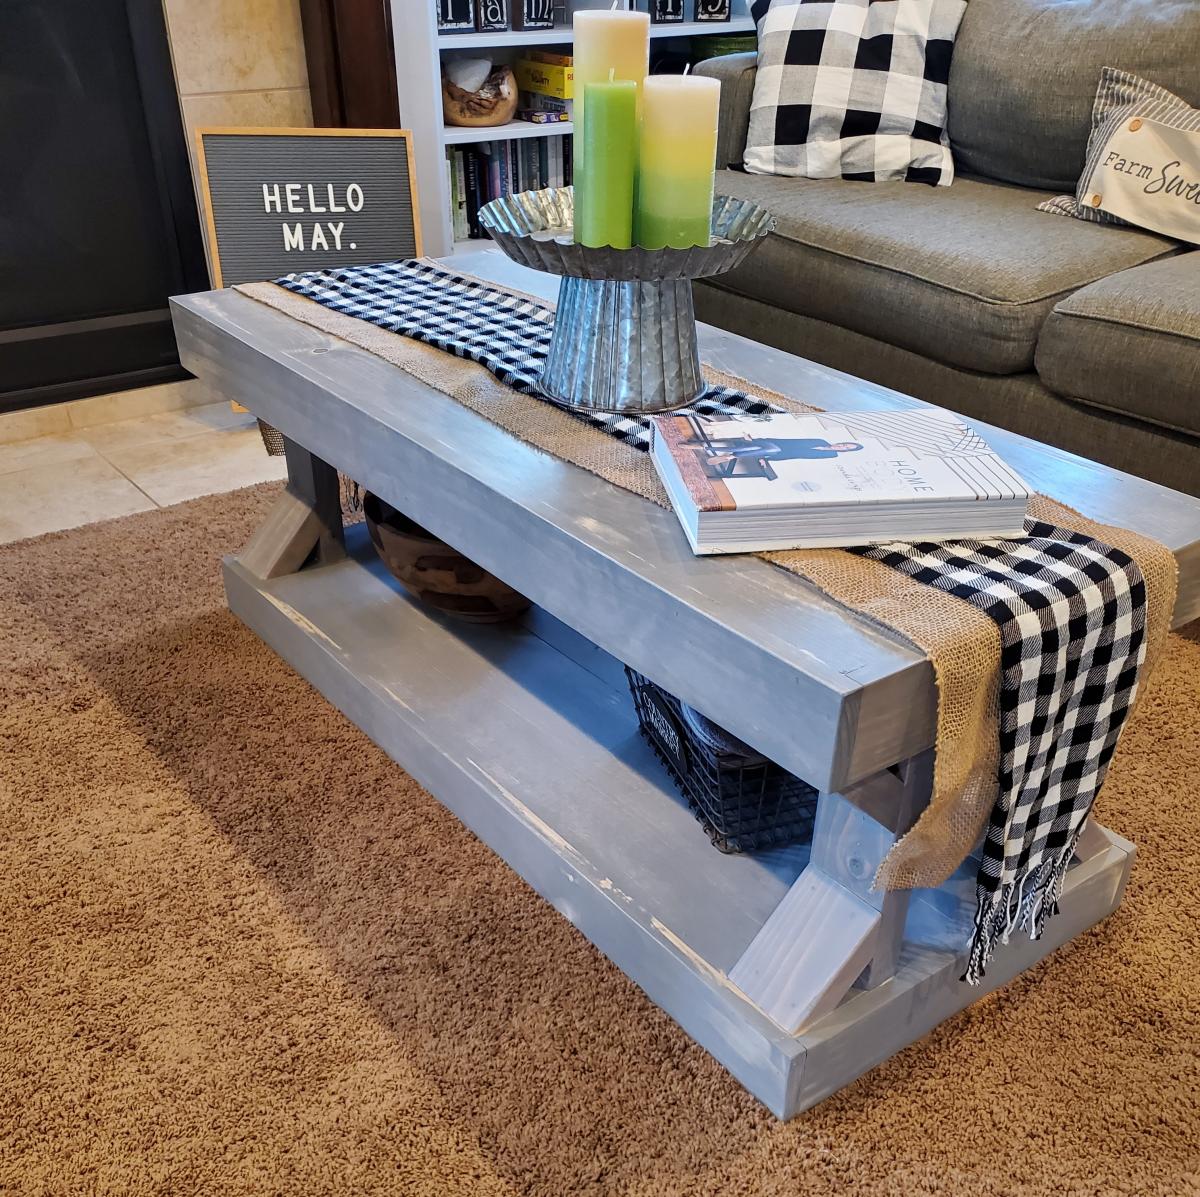
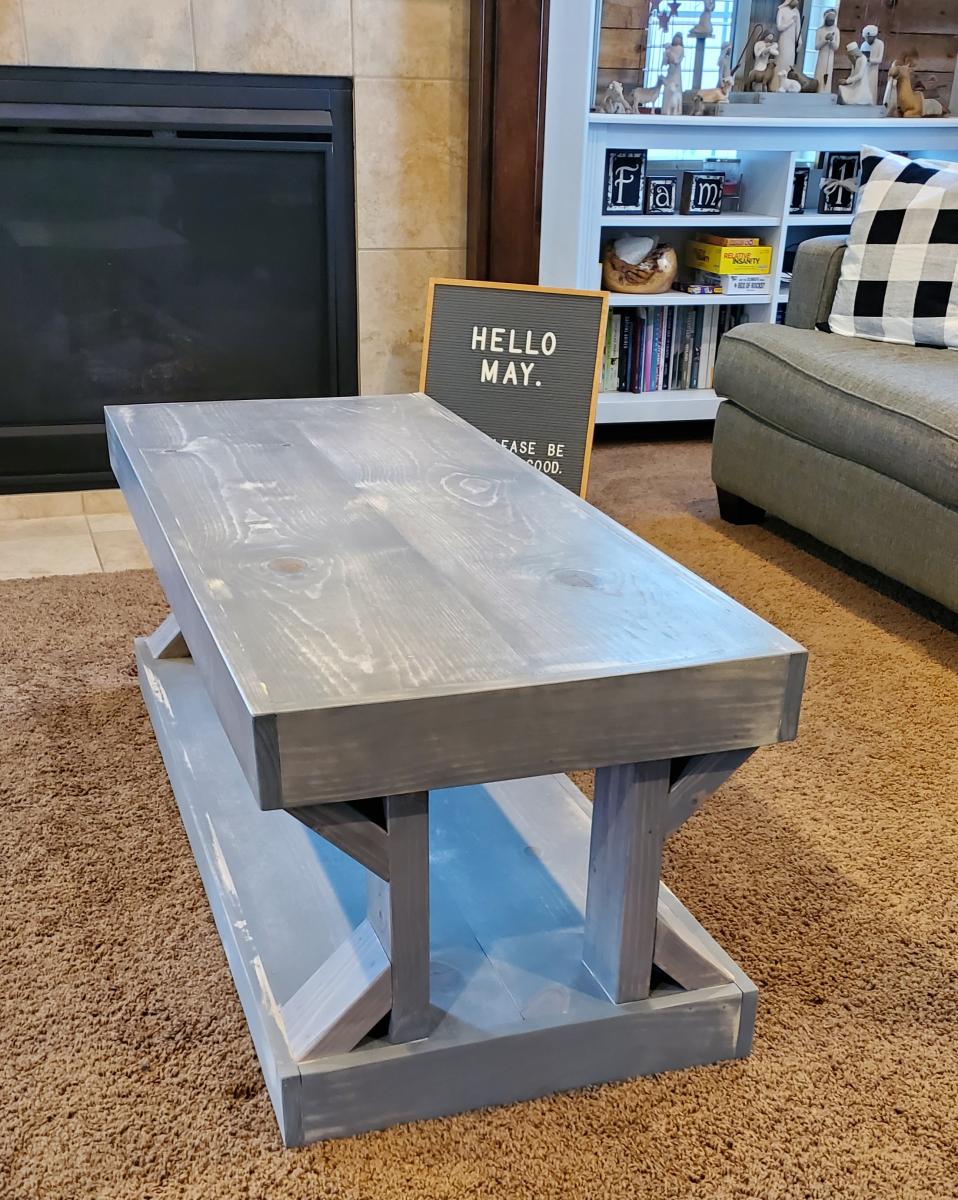
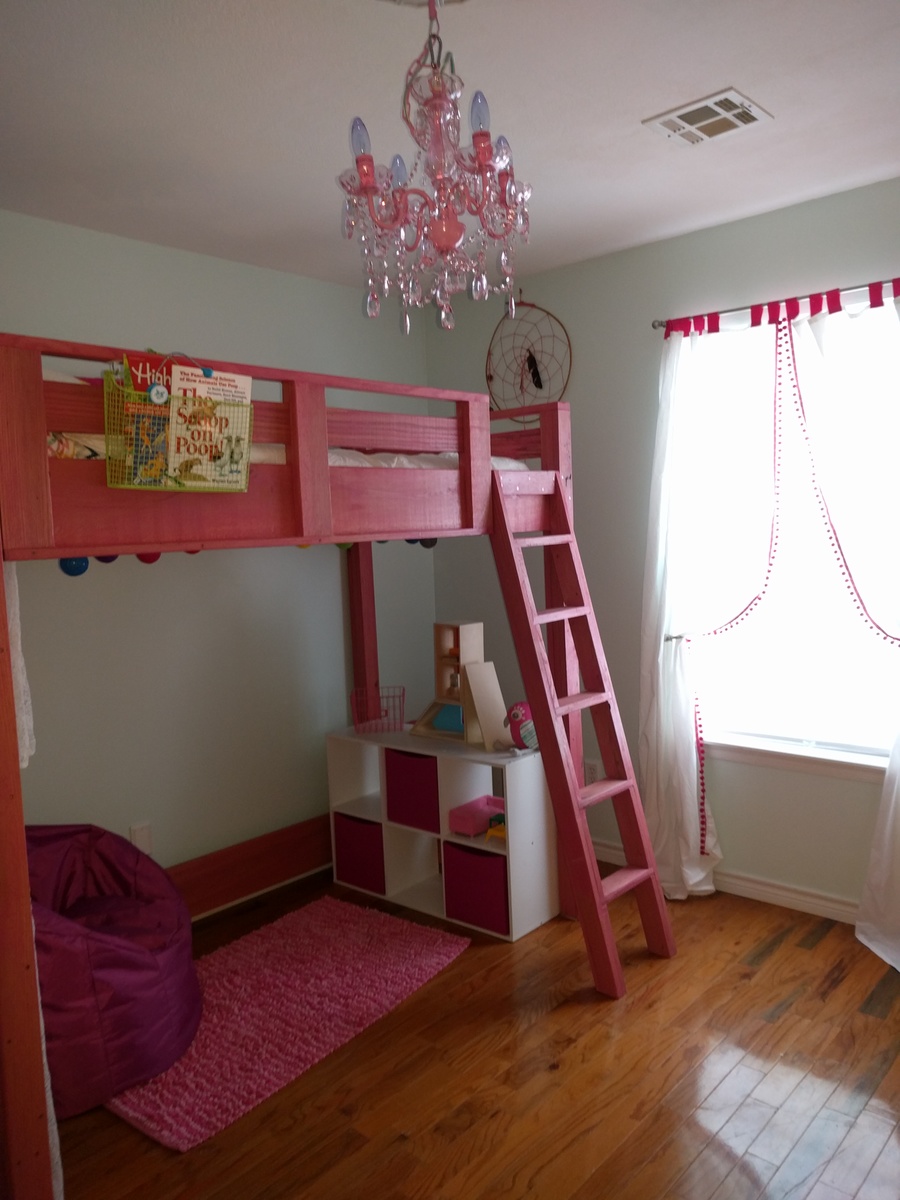
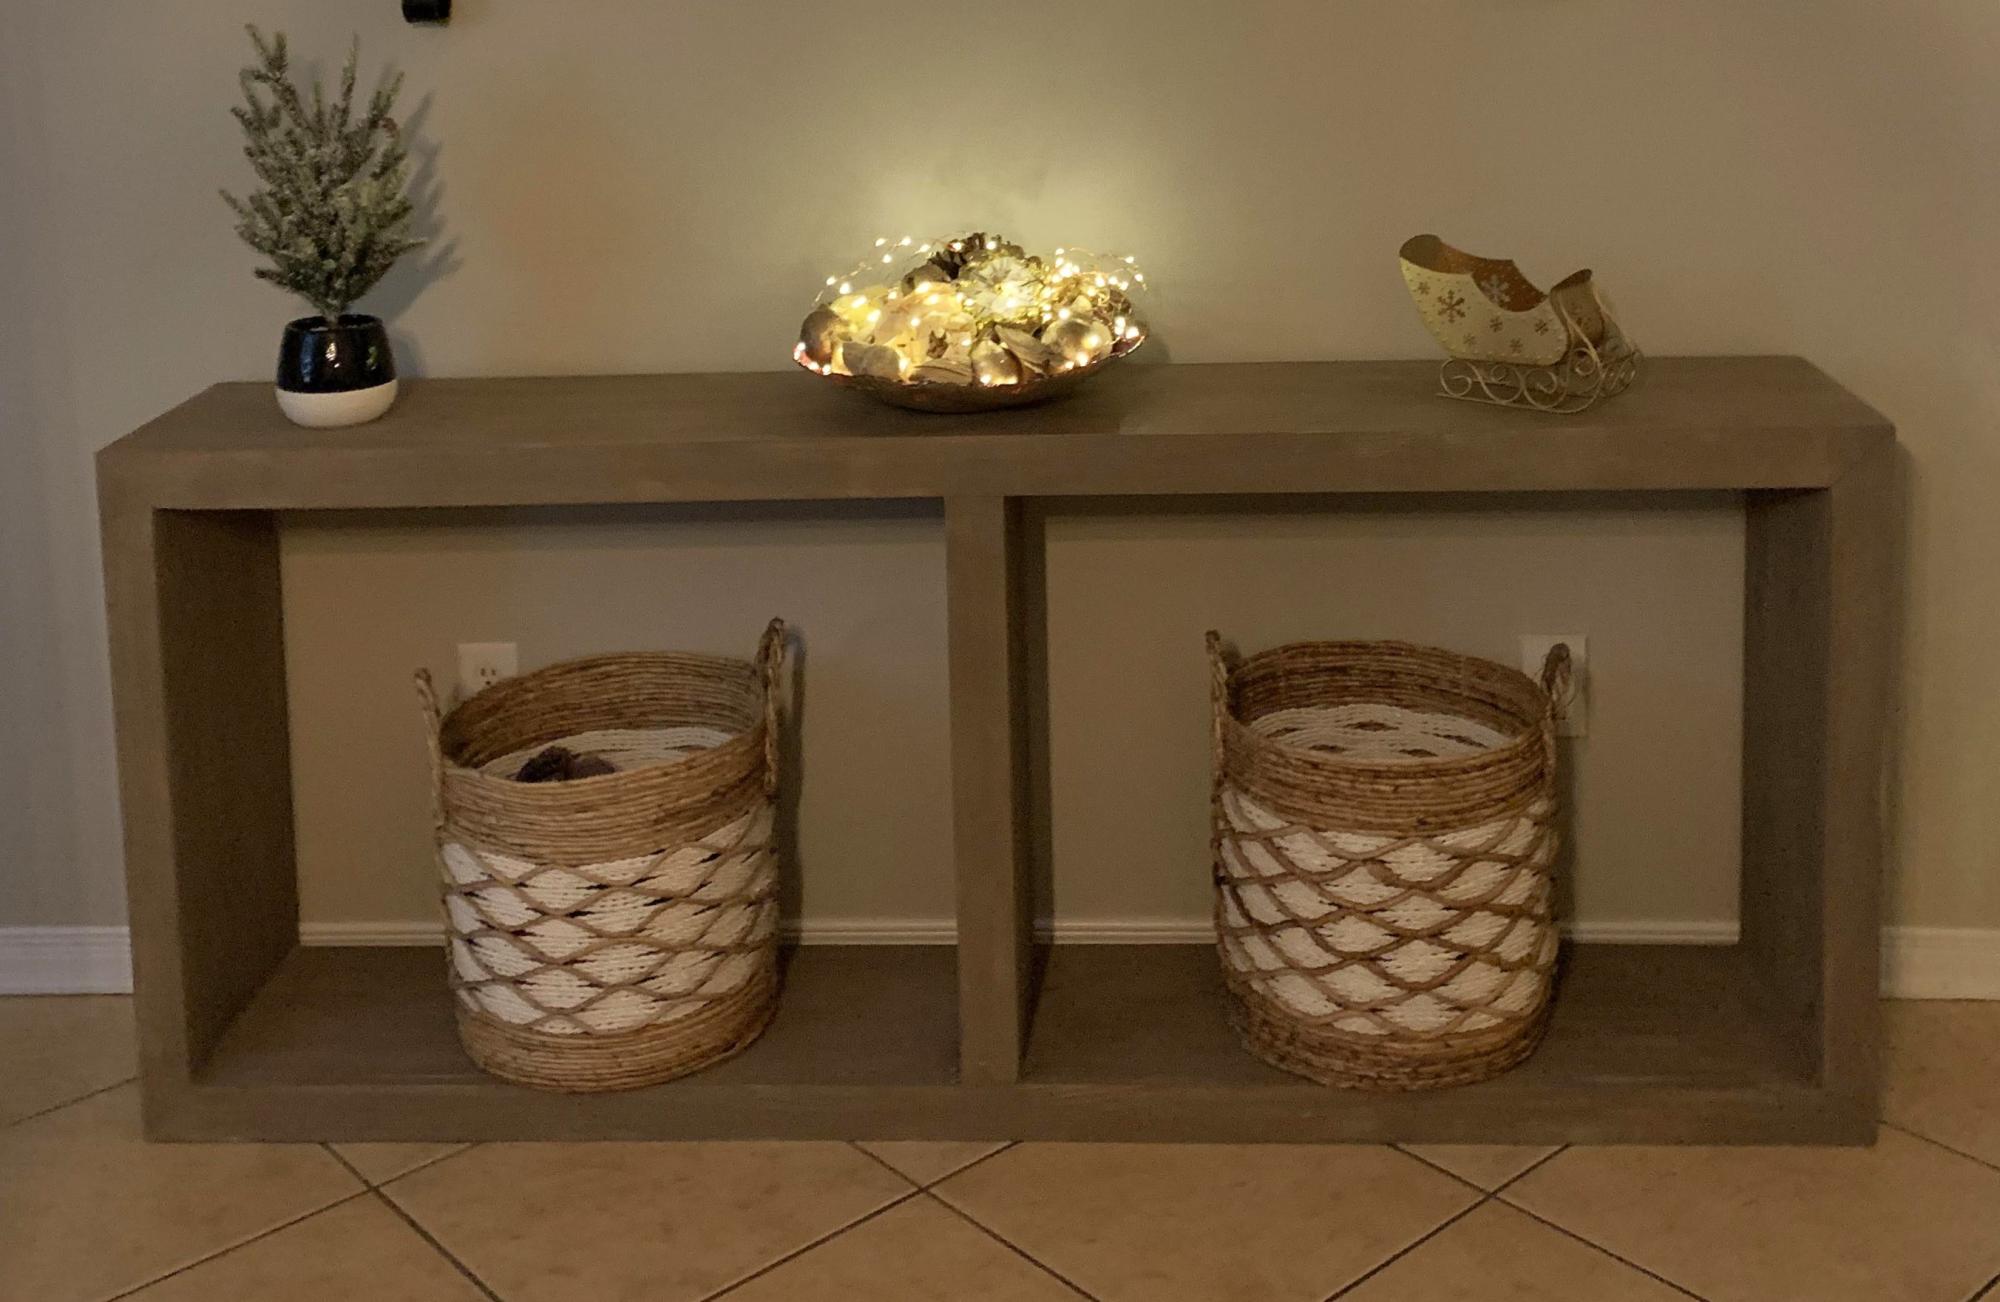
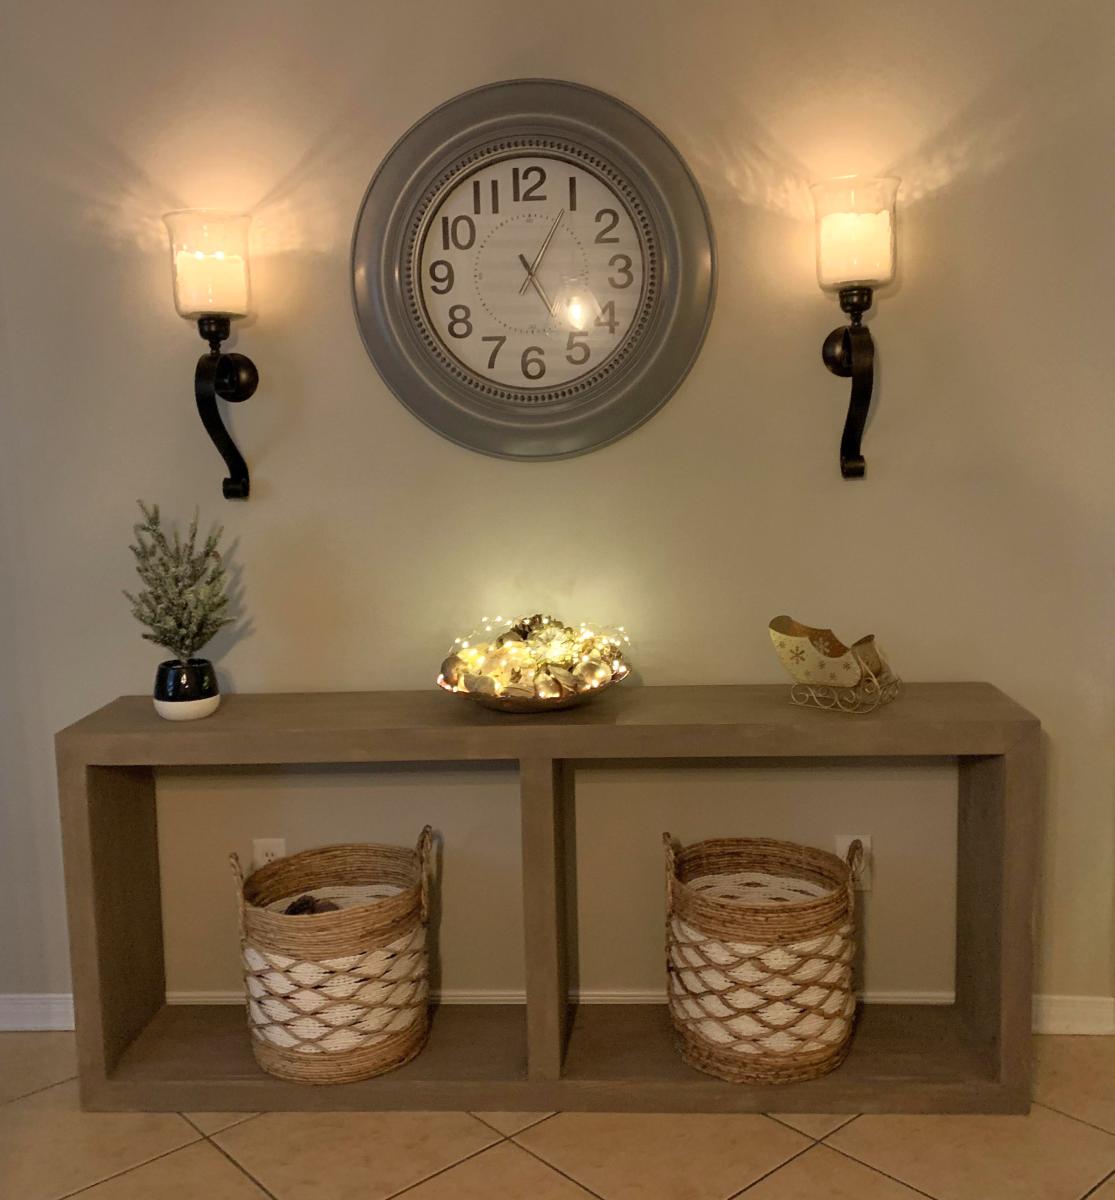
I loved this table but I knew I wasn't going to get the X right so I skipped em ;-) wish I knew before I had to shorten all the dimensions what a pain putting those 2x4 supports in would be!!! Used 1x10 for shelves and was quite a process trying to secure those!
I used a watered down white latex paint all over then 1 coat of weathered oak stain
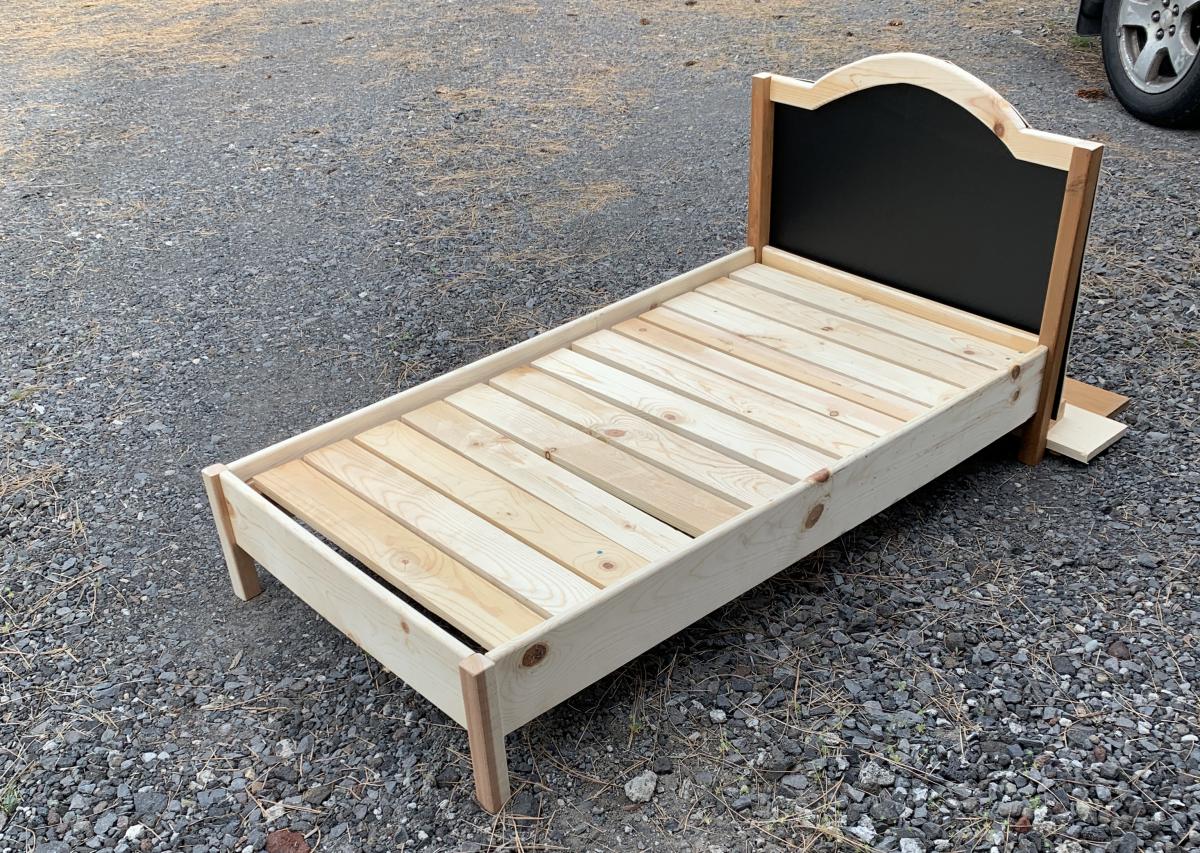
I made the Traditional Wood Toddler Bed in a weekend and it turned out great! I did add a twist though: A chalkboard replaces the wainscot!
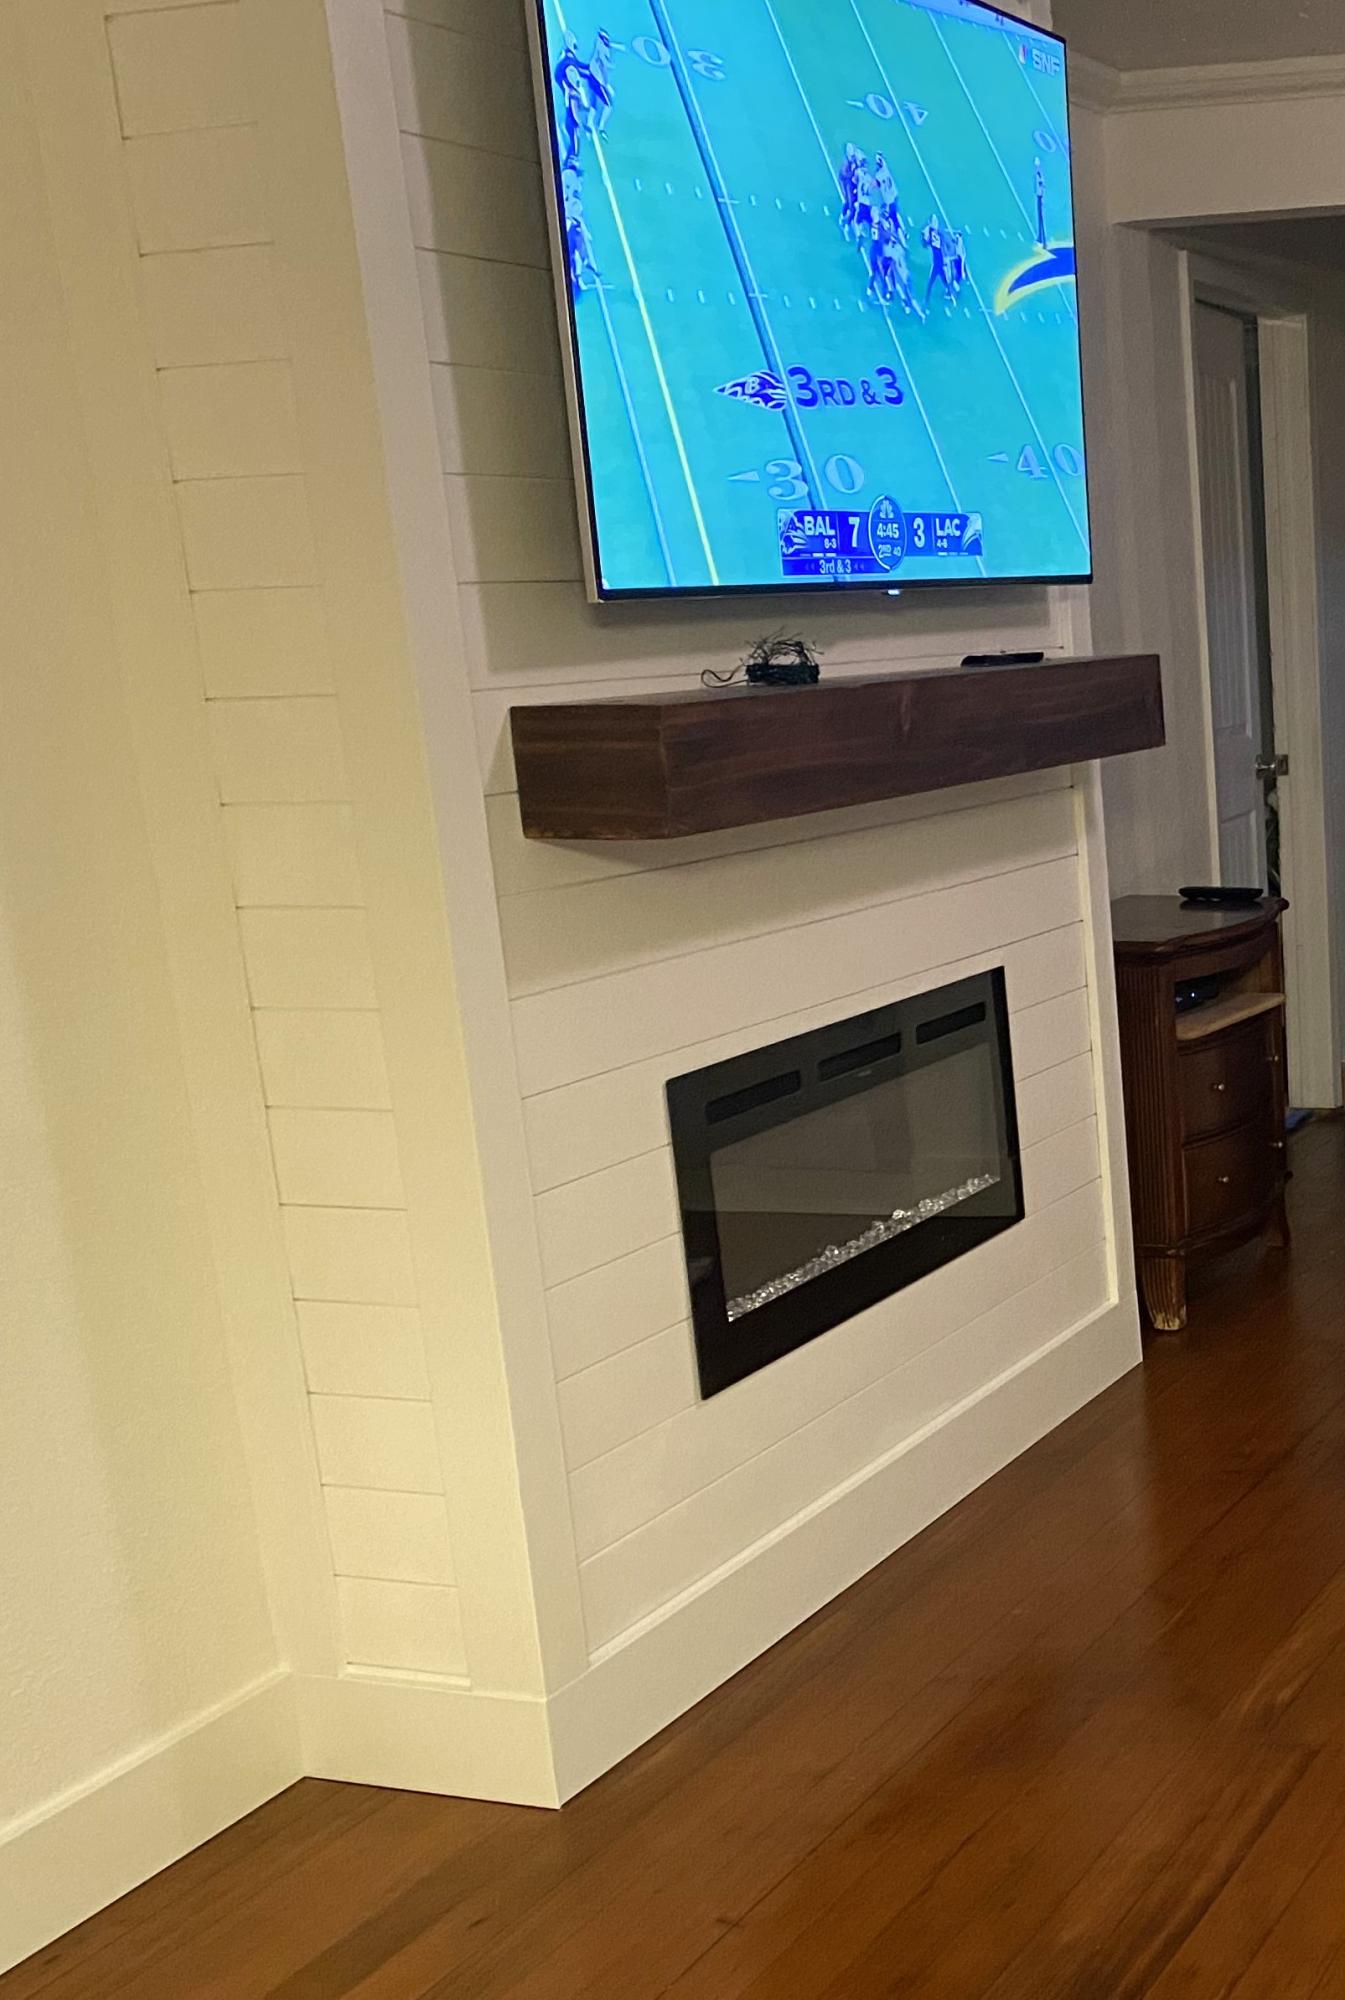
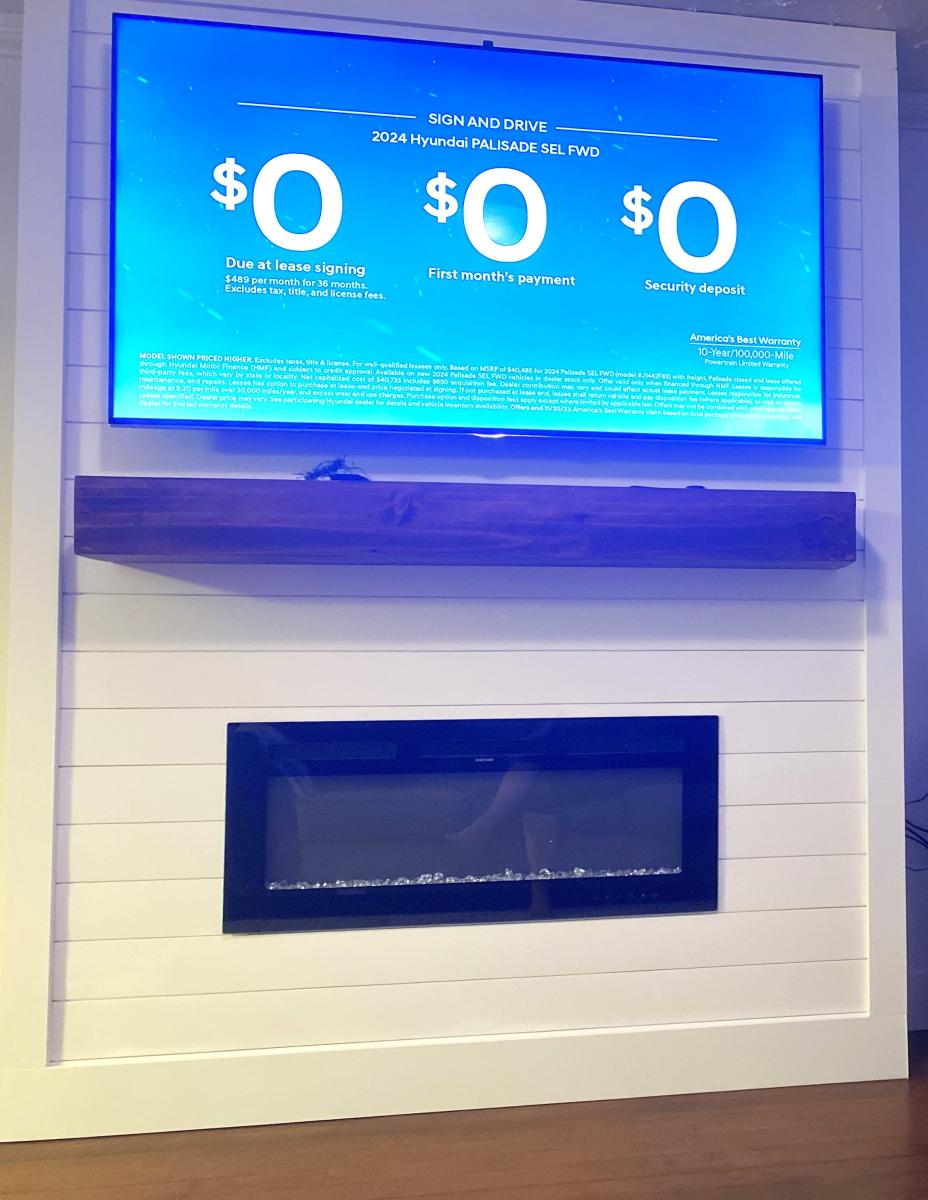
Added this easy to do built in fireplace to a plain, ugly wall. Now it’s just….WOW! Thanks Ana for the idea and inspiration. DIYers 🤘
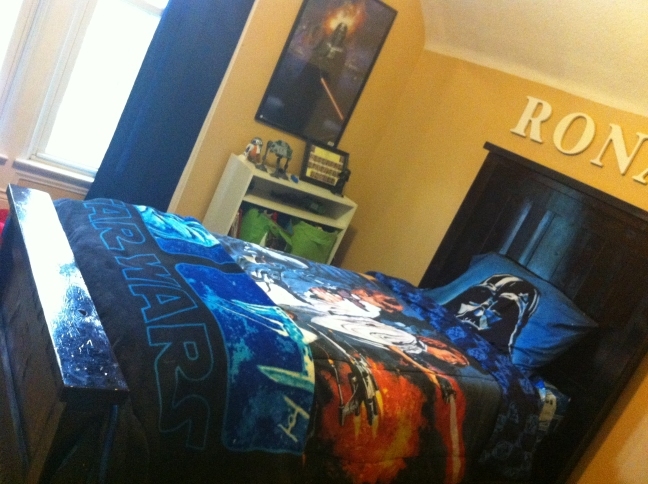
This was for a boys room so we wanted something sturdy, and oh man does this plan fit the bill.
Was easy to assemble, most of the project time went to sanding and staining to get the dark wood finish.
Finished in a poly gloss.

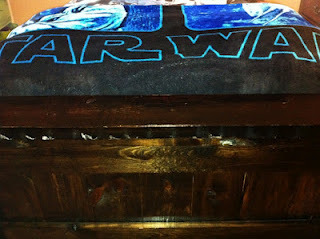
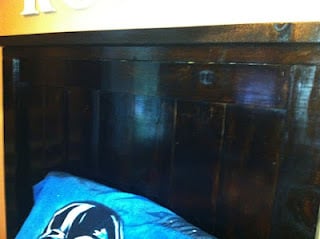
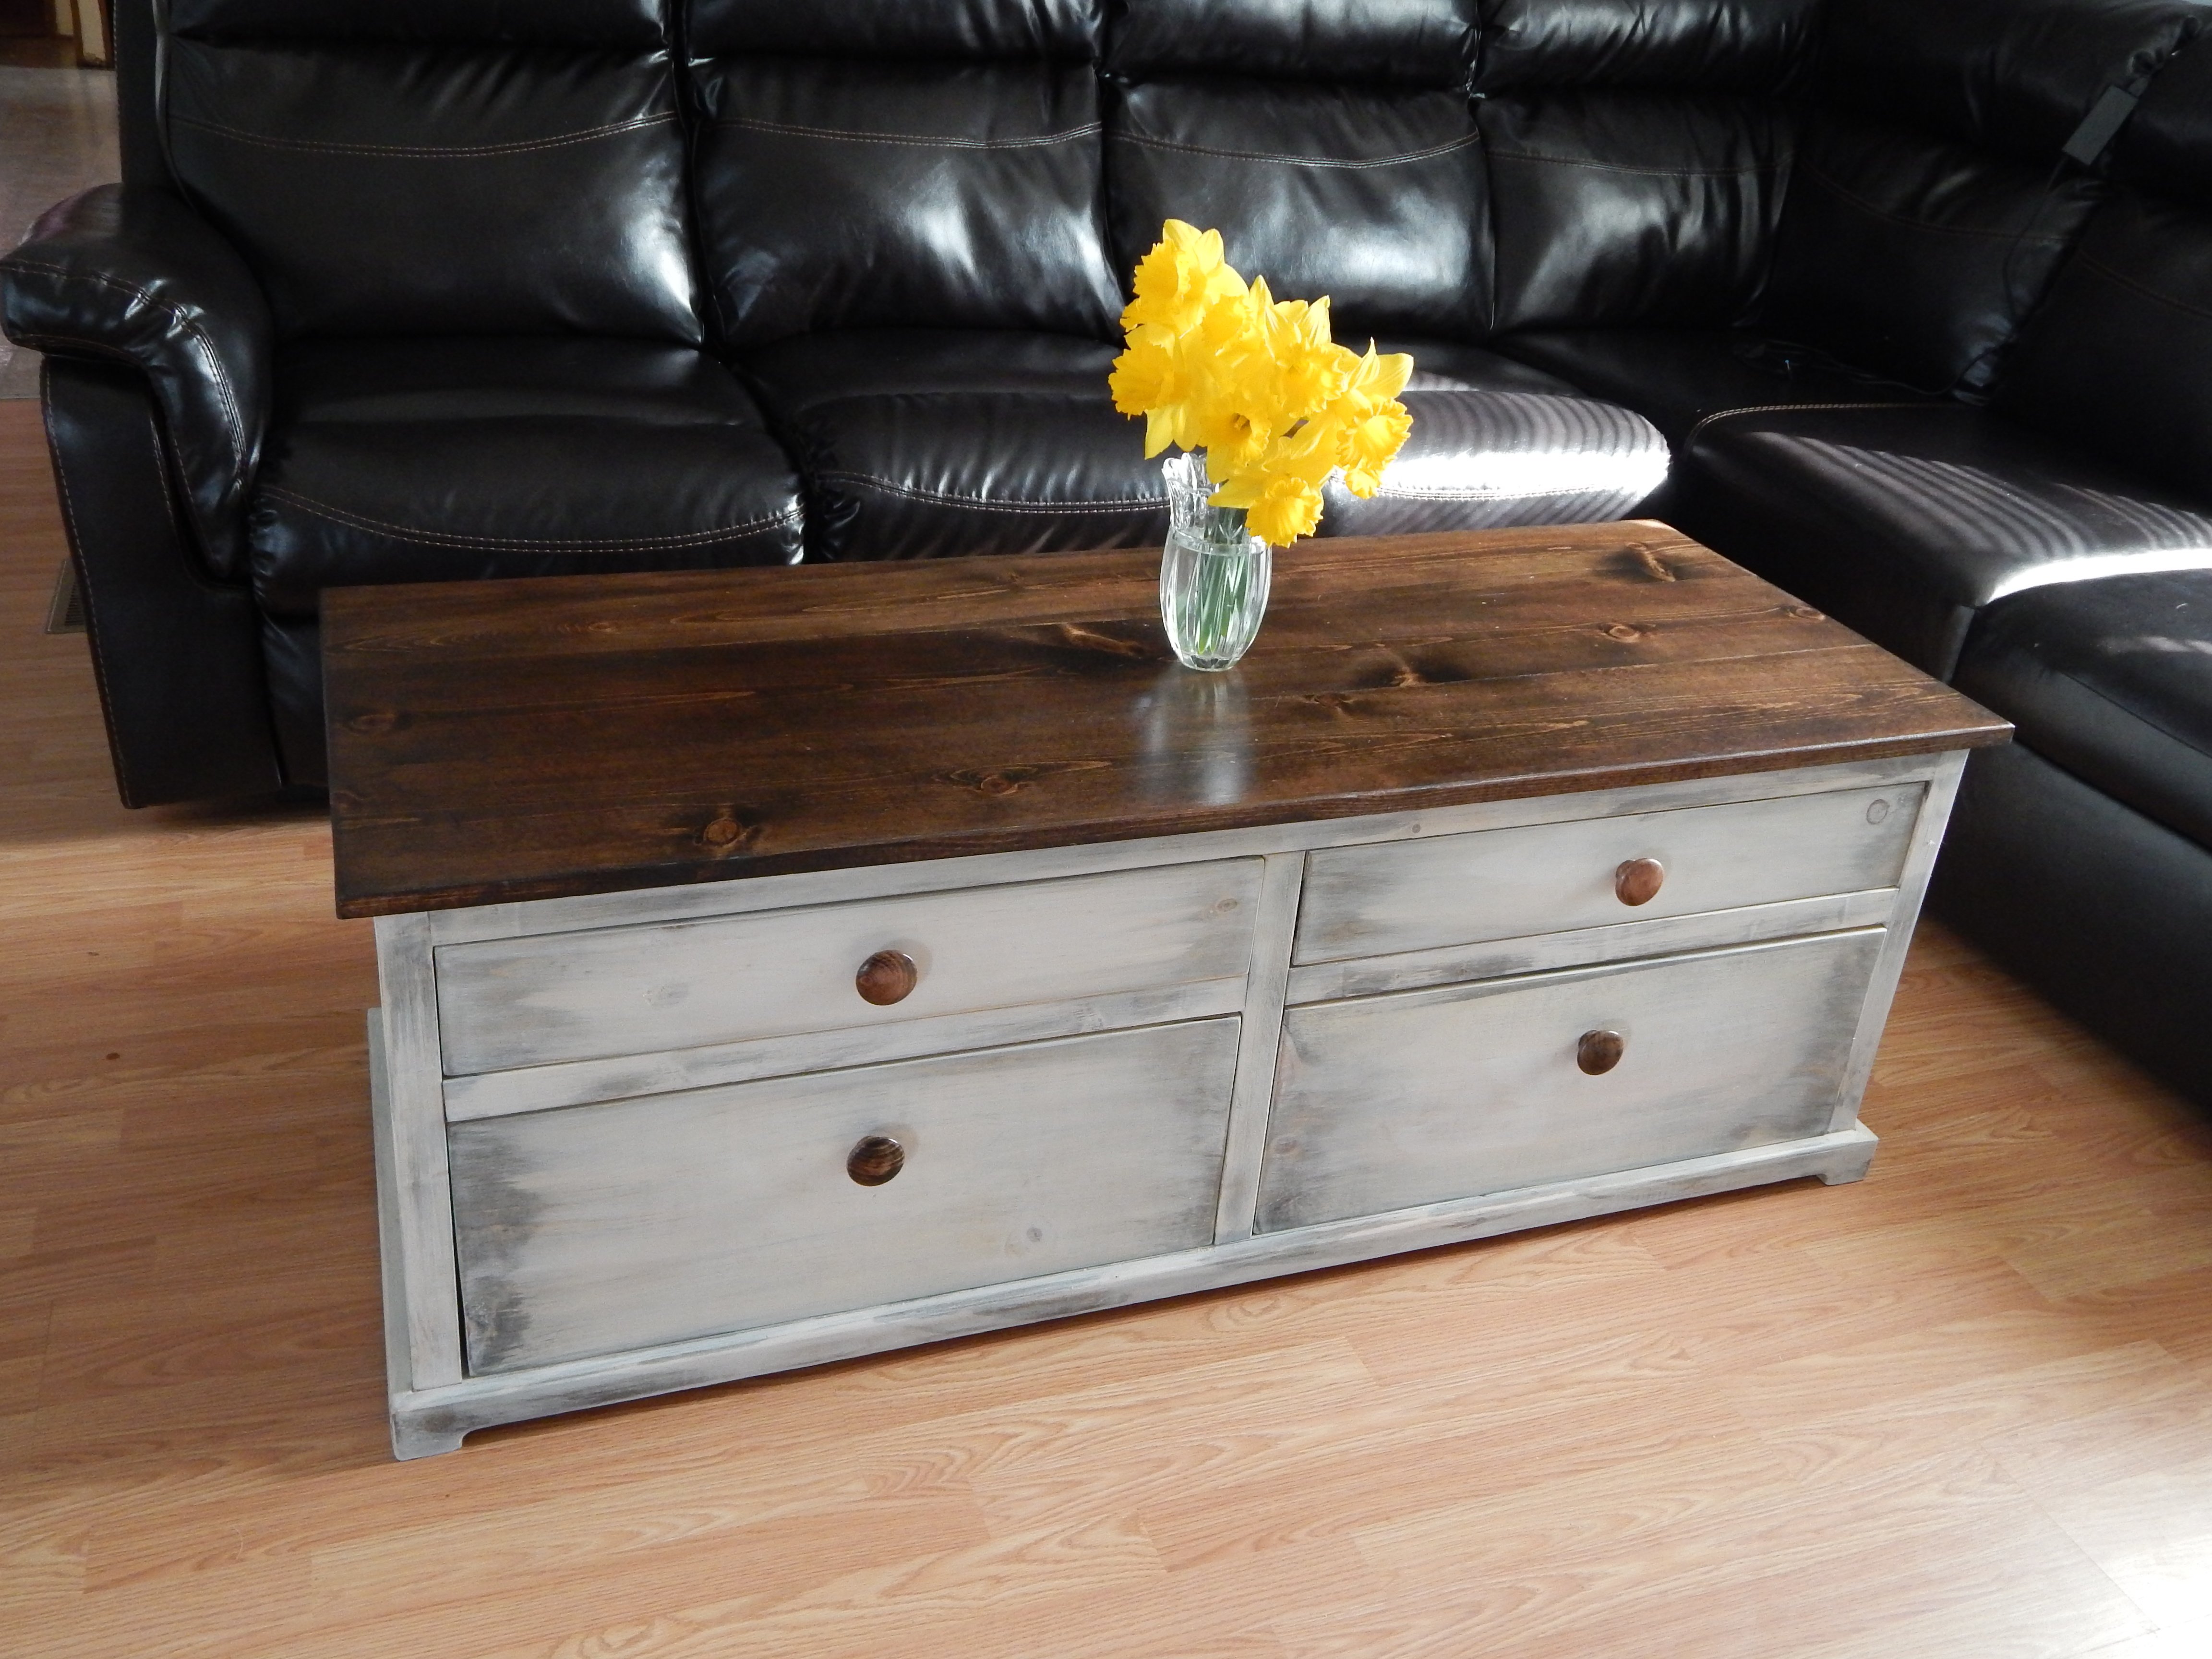
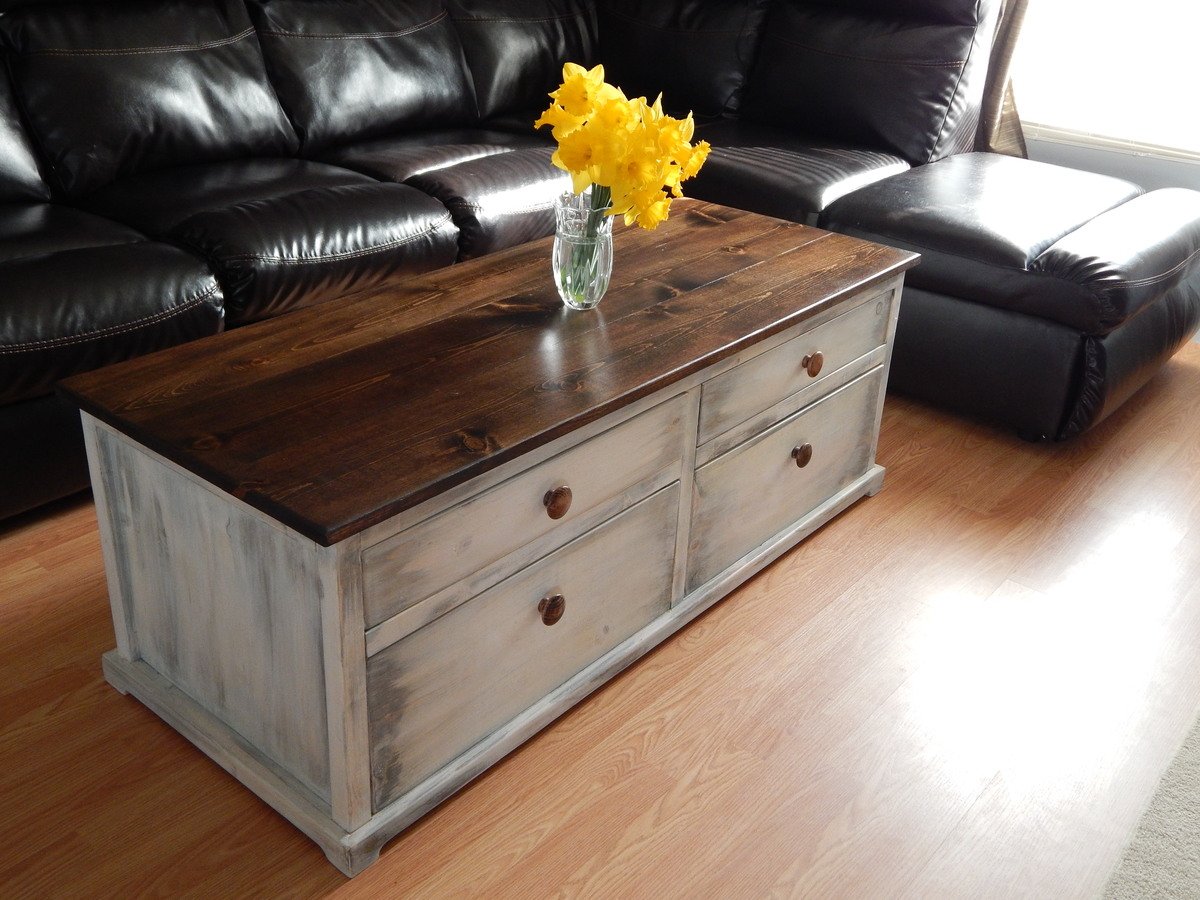
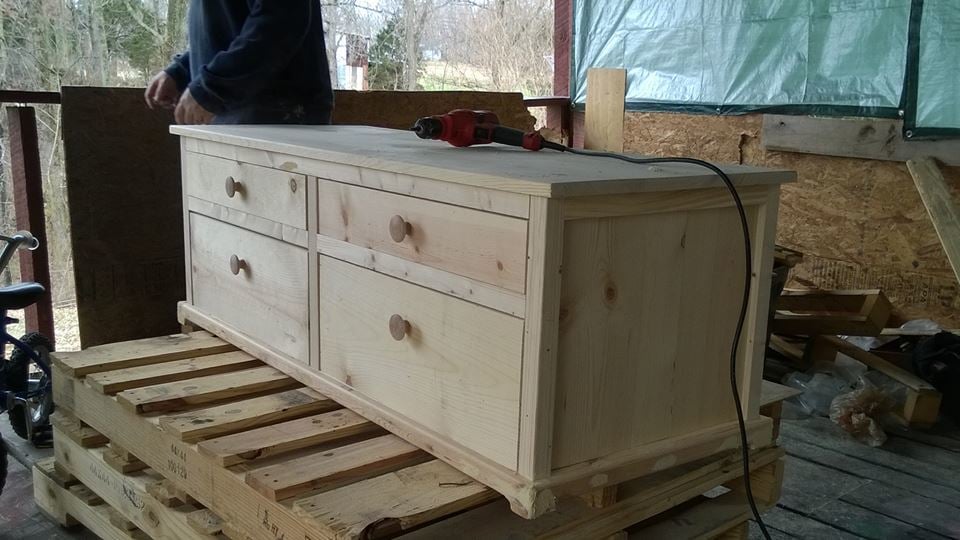
My wife saw the Harper Style coffee table by Pottery barn and loved it so as a gift to her i set out to recreate this table in a white wash look that is not available and after a week of creating plans and a weekend of work here it is with fully functional drawers that are accessible from both sides
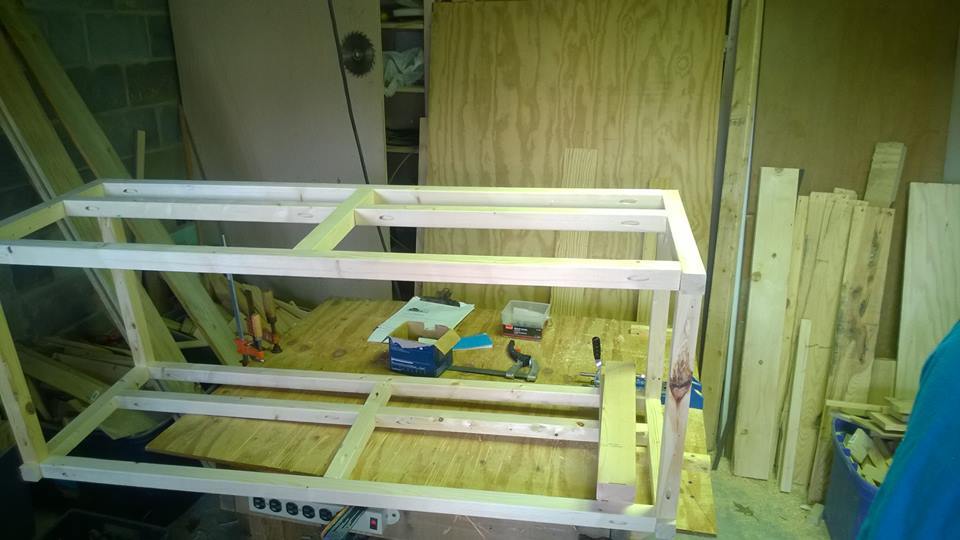

Fri, 04/11/2014 - 17:14
Plans can be made available upon request, just haven't had time to clean them up a bit
My husband built this bed with hand planed white oak. Such a wonderful addition to her big girl room.
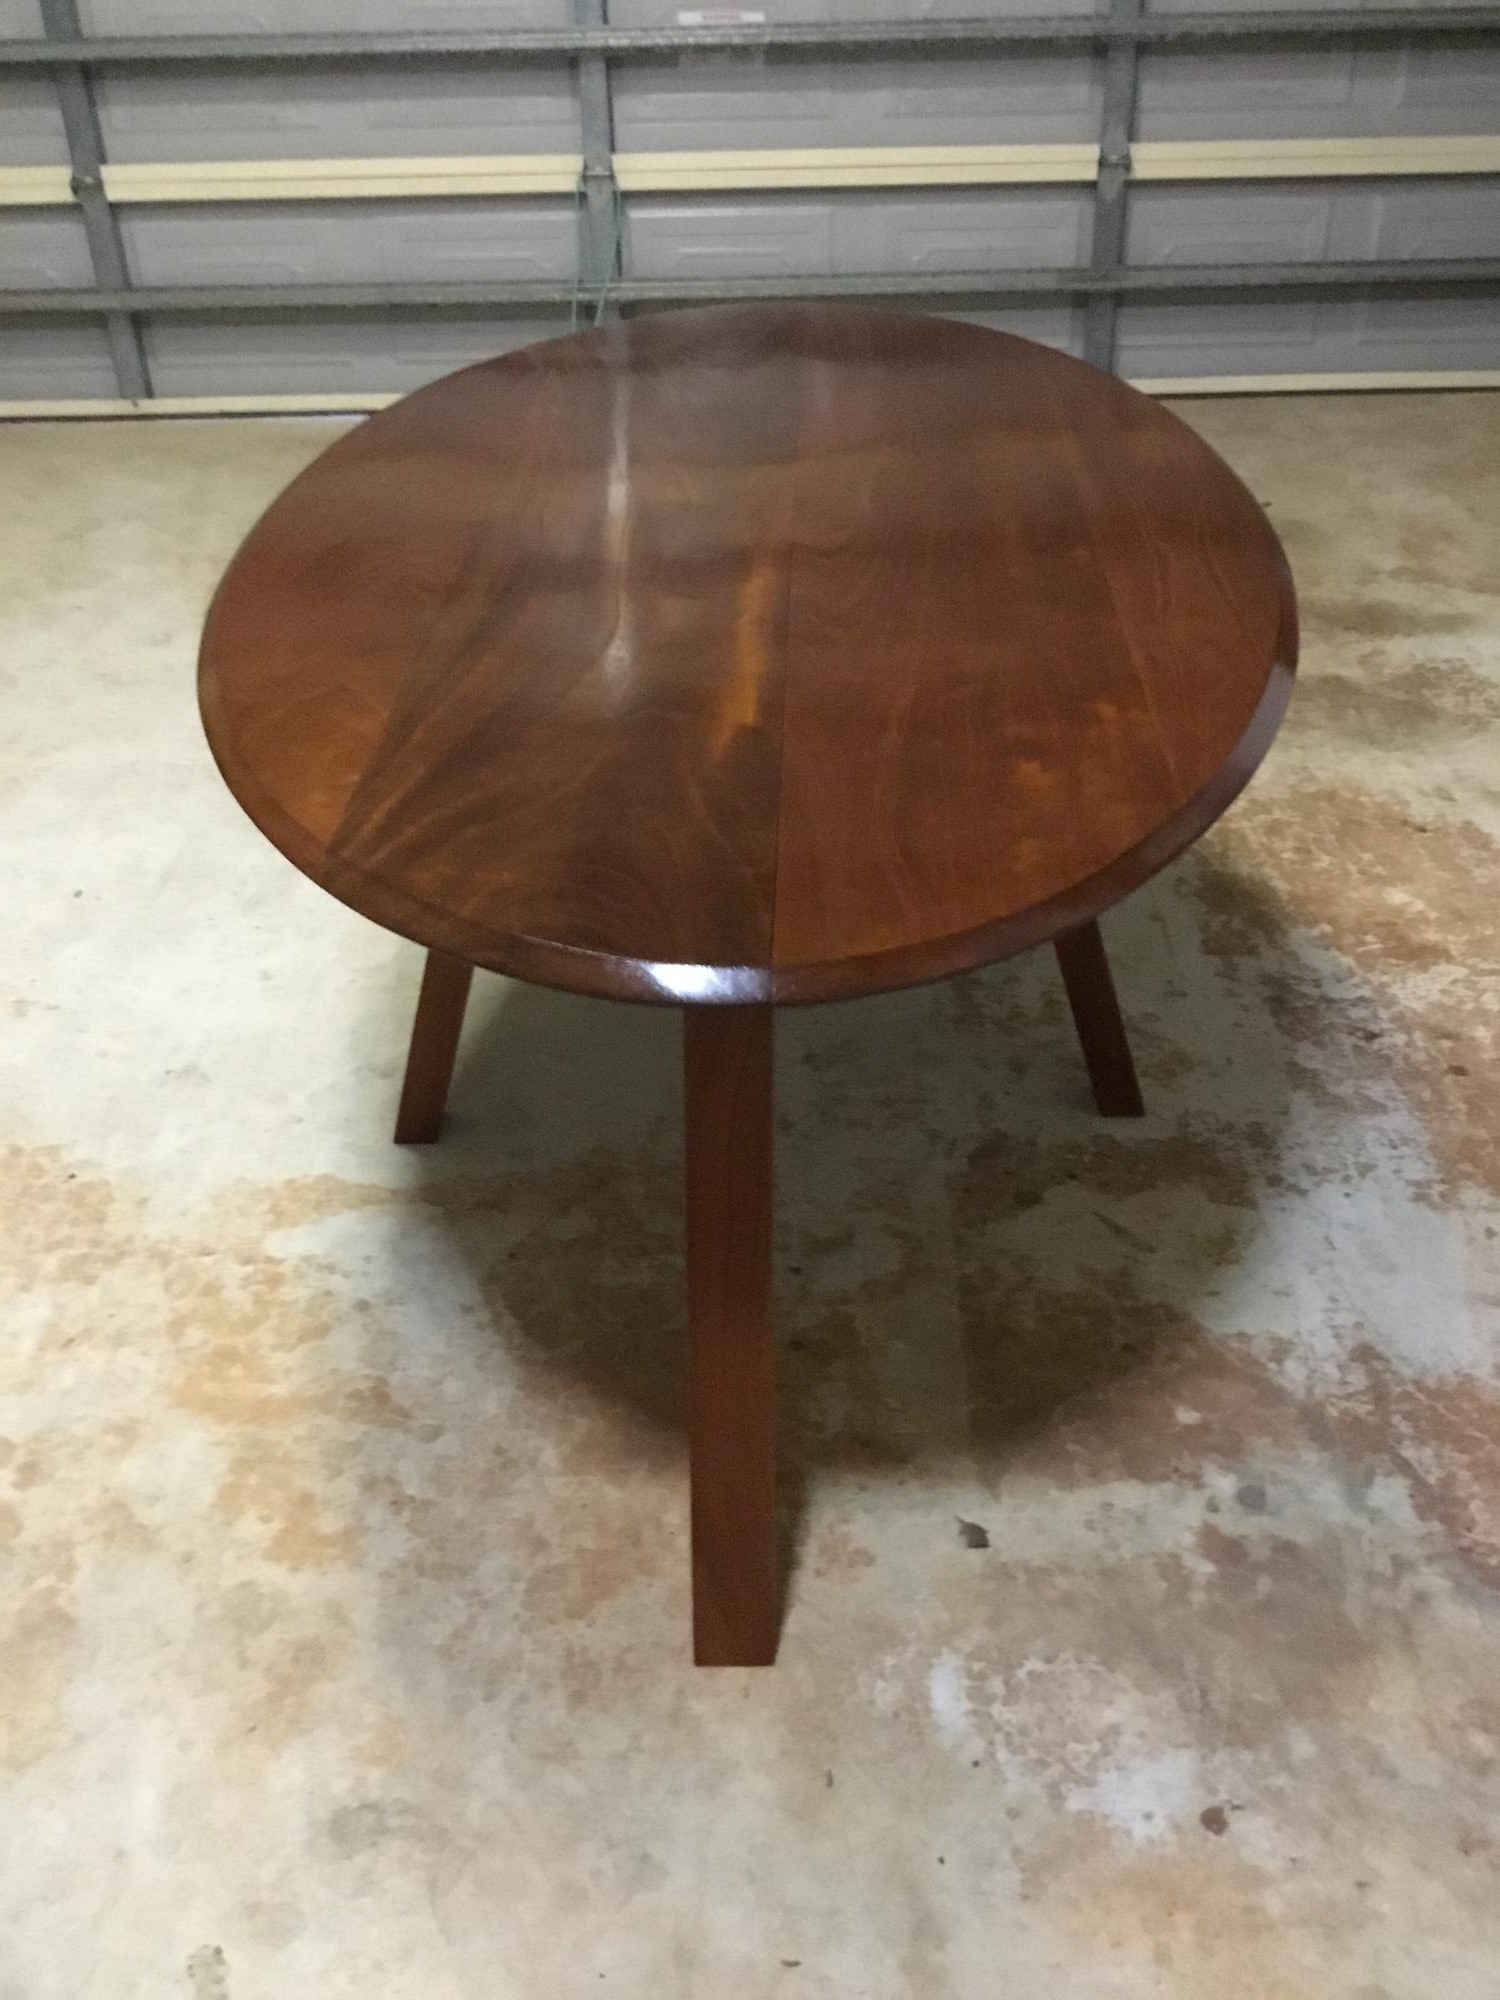
Hi Ana, this is not your design but one I just made up. The timber is Queensland red cedar and about 30 years old, I was given a tree and had it cut up. Came out great
Regards
Karl Penna, Queensland, Australia
DIY Waterfall Console
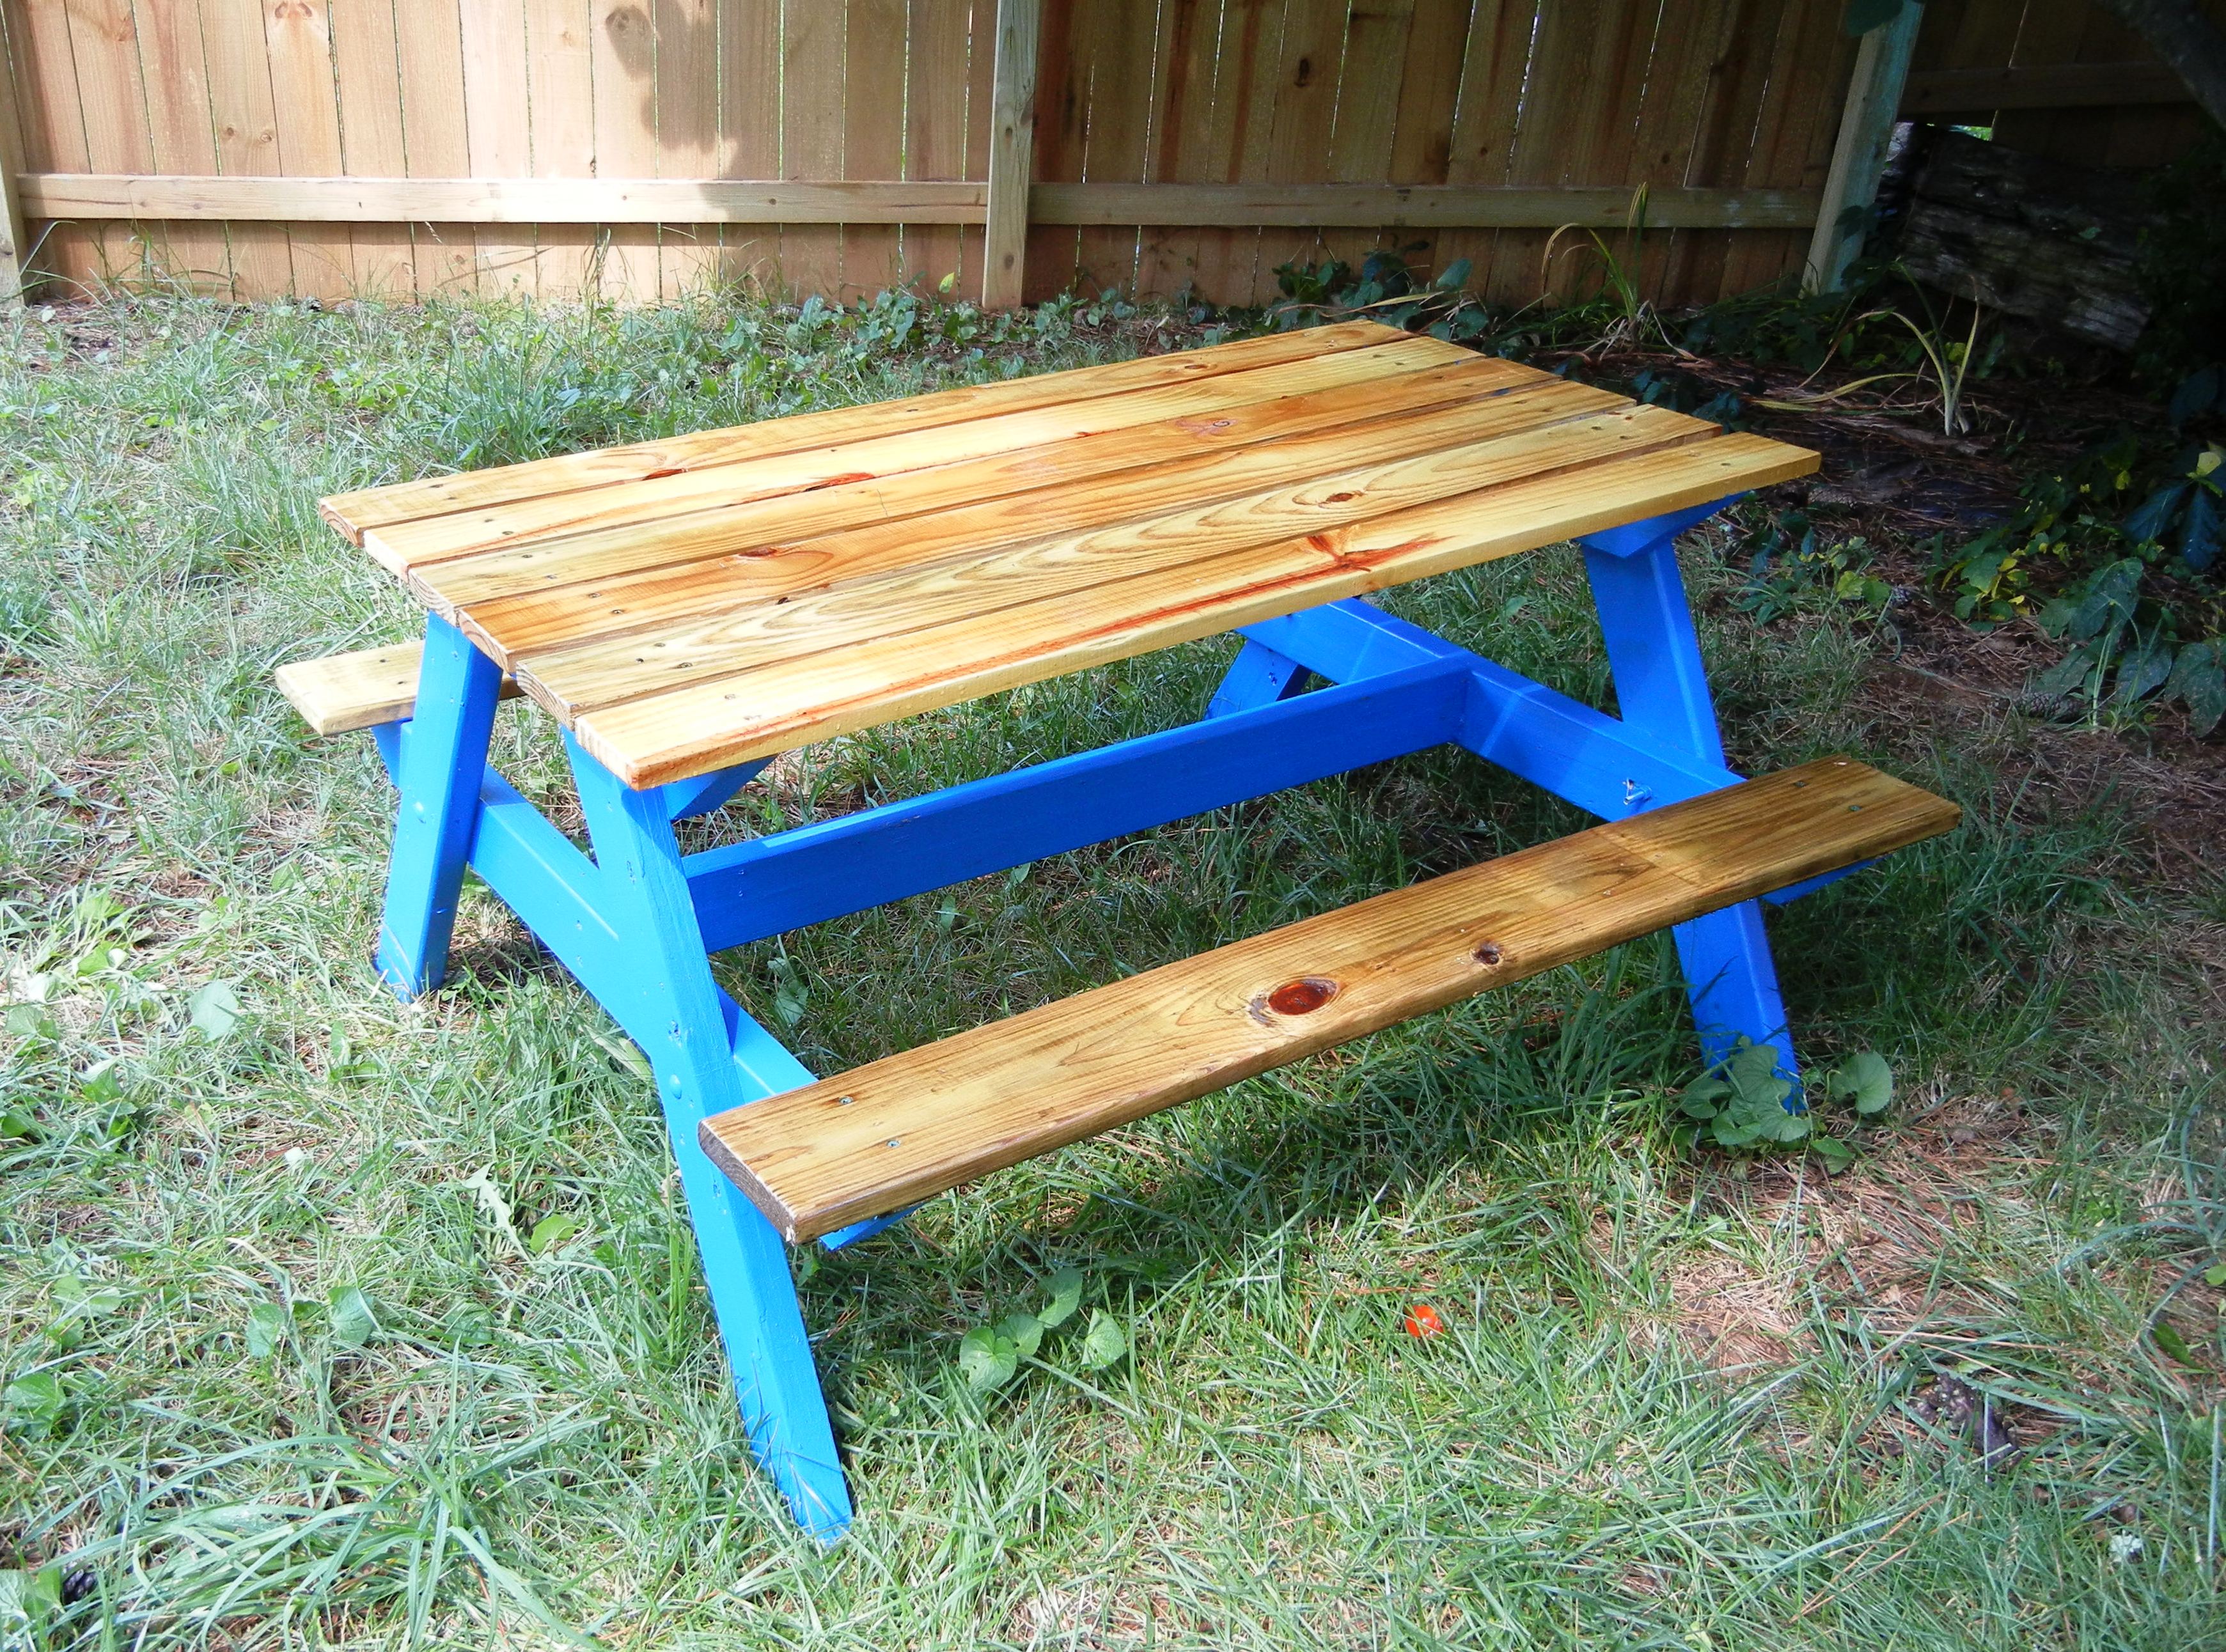
Children's picnic table

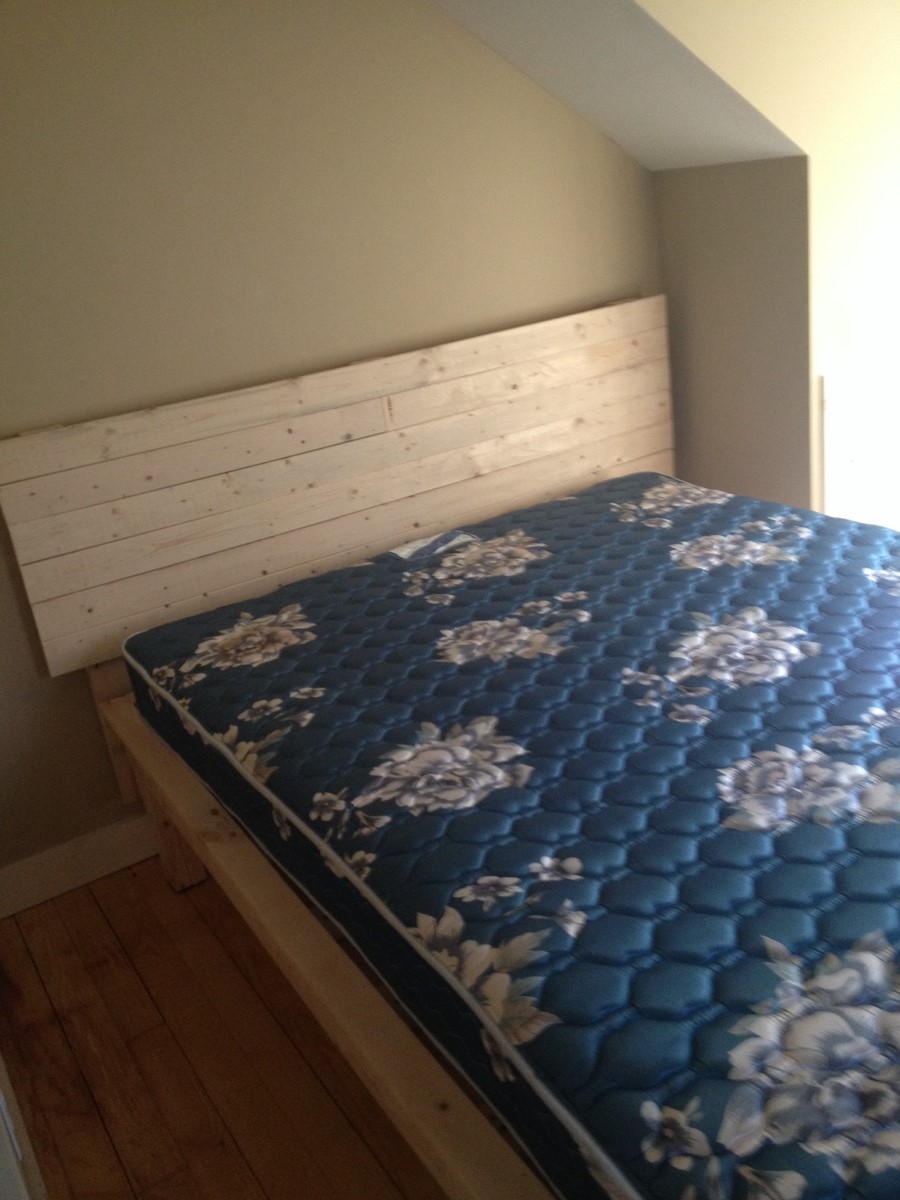
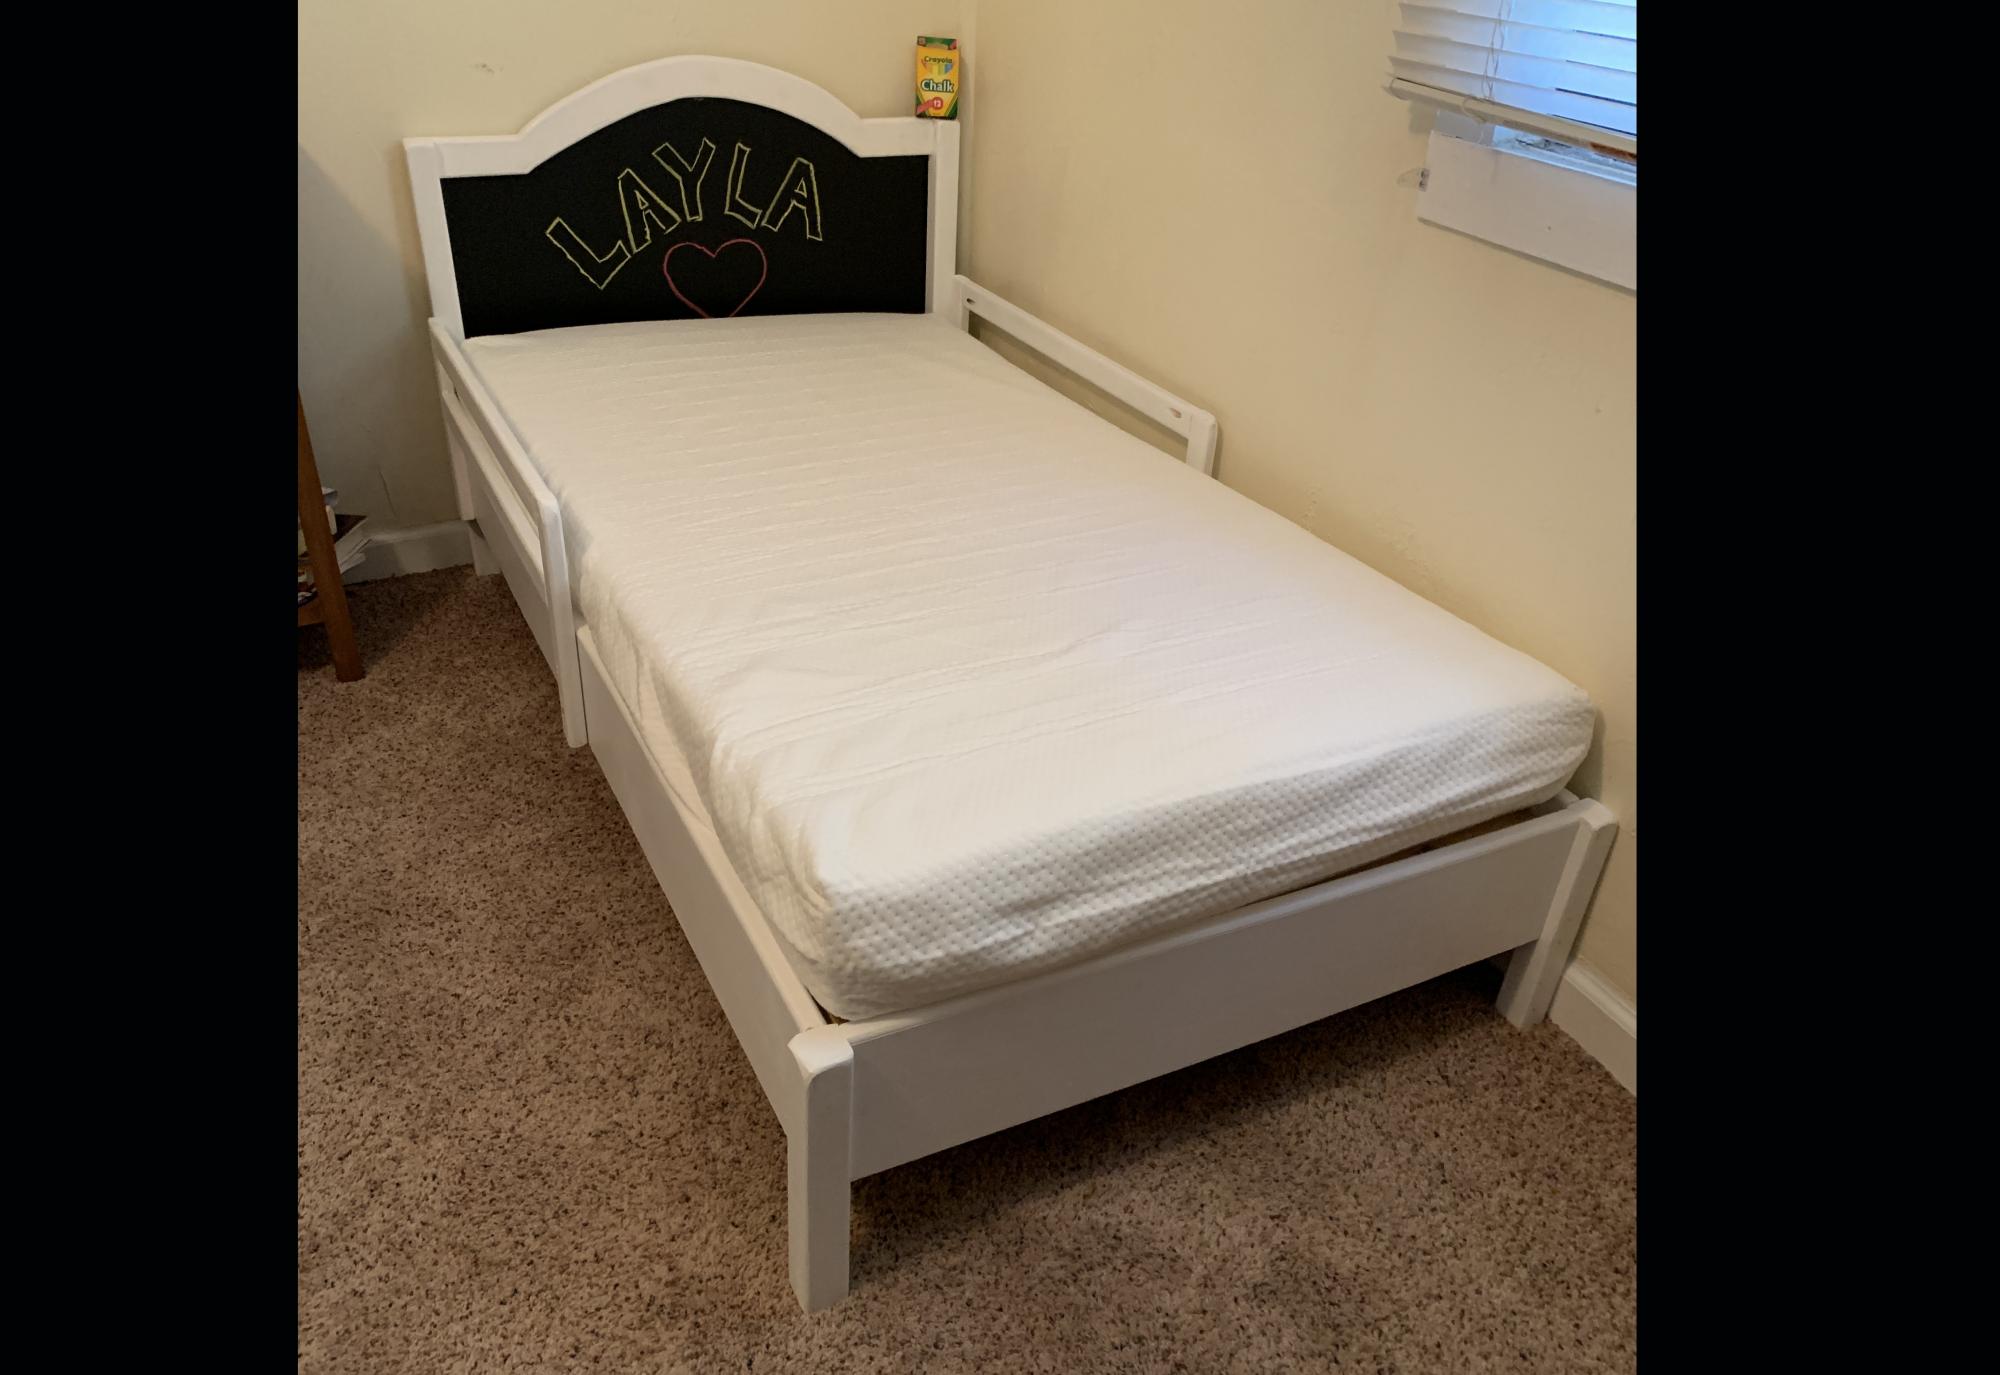
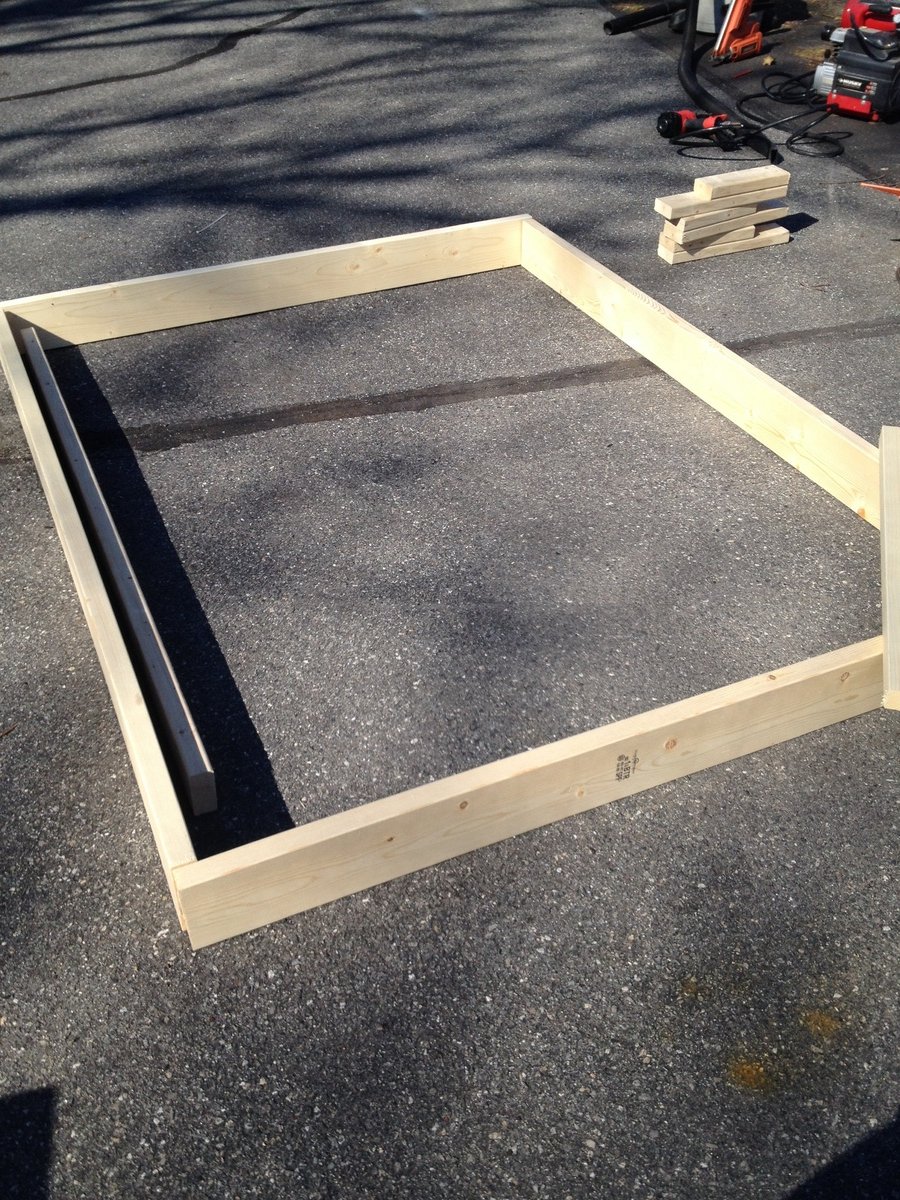
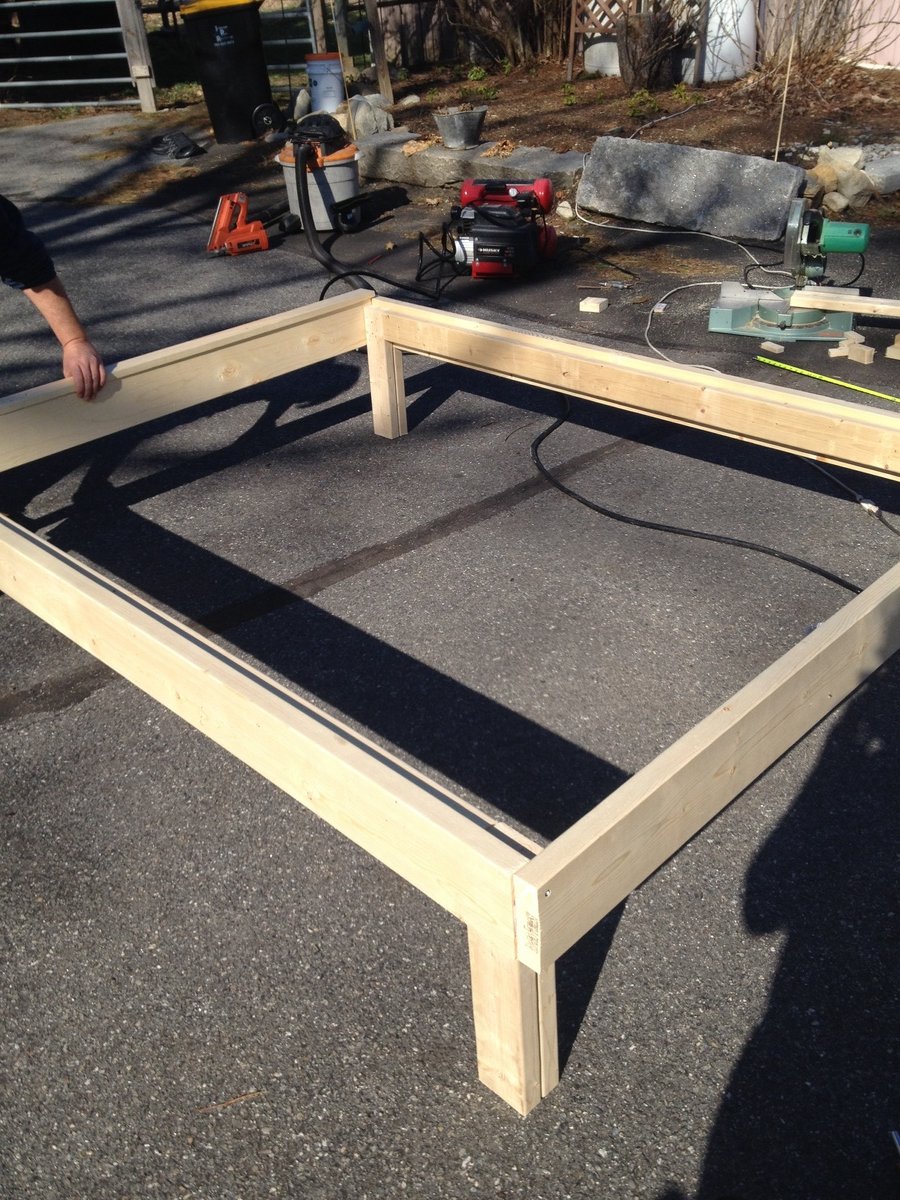
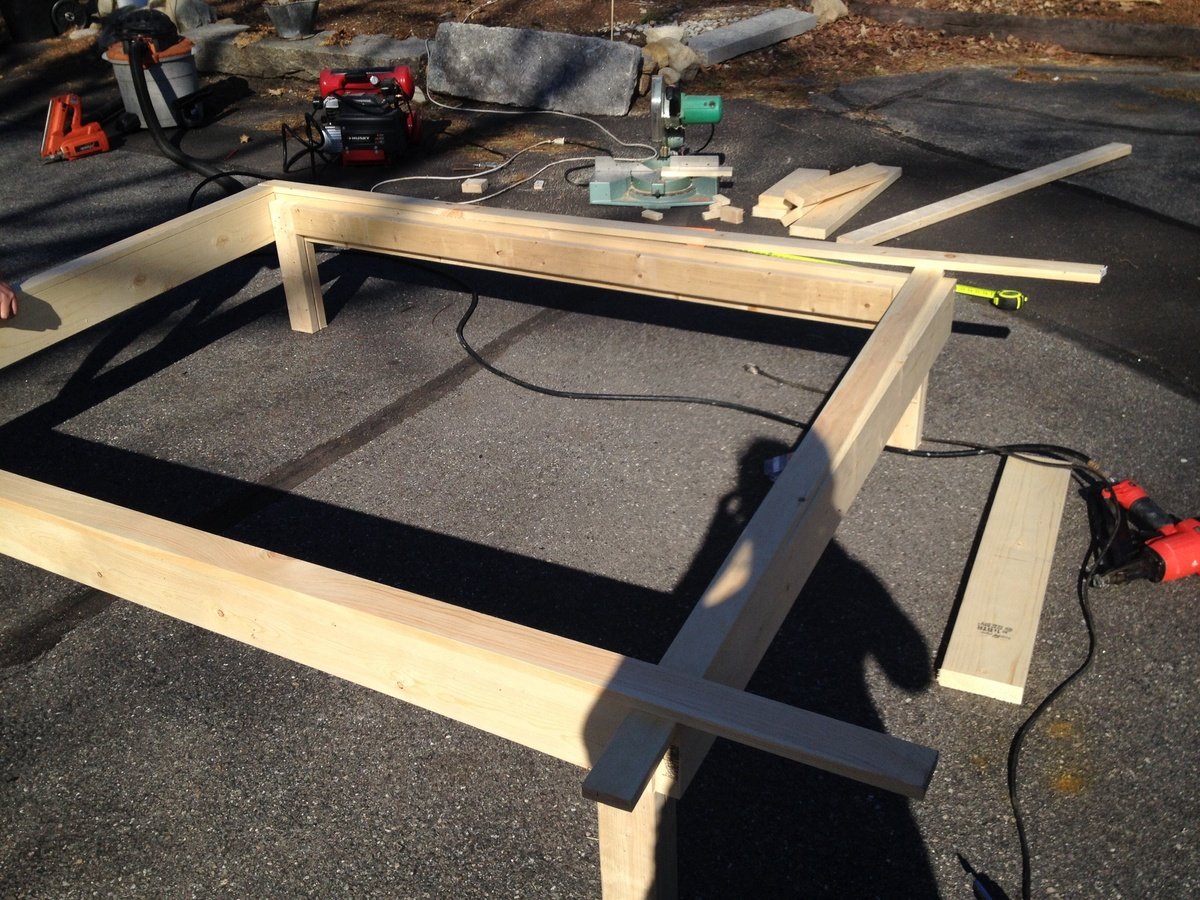
My dad and I made this in a queen size to match a mattress it already had. We changed the plans a little, making the legs from two boards to make it more stable. We used a nail gun to put together the lip of the frame and used wood screws for the rest. The headboard was made from the left over slats and attached with a 2x4 on the back of the frame. We also bought square sliders and screwed them to the bottom of the legs so that they don't scratch our wood floors.

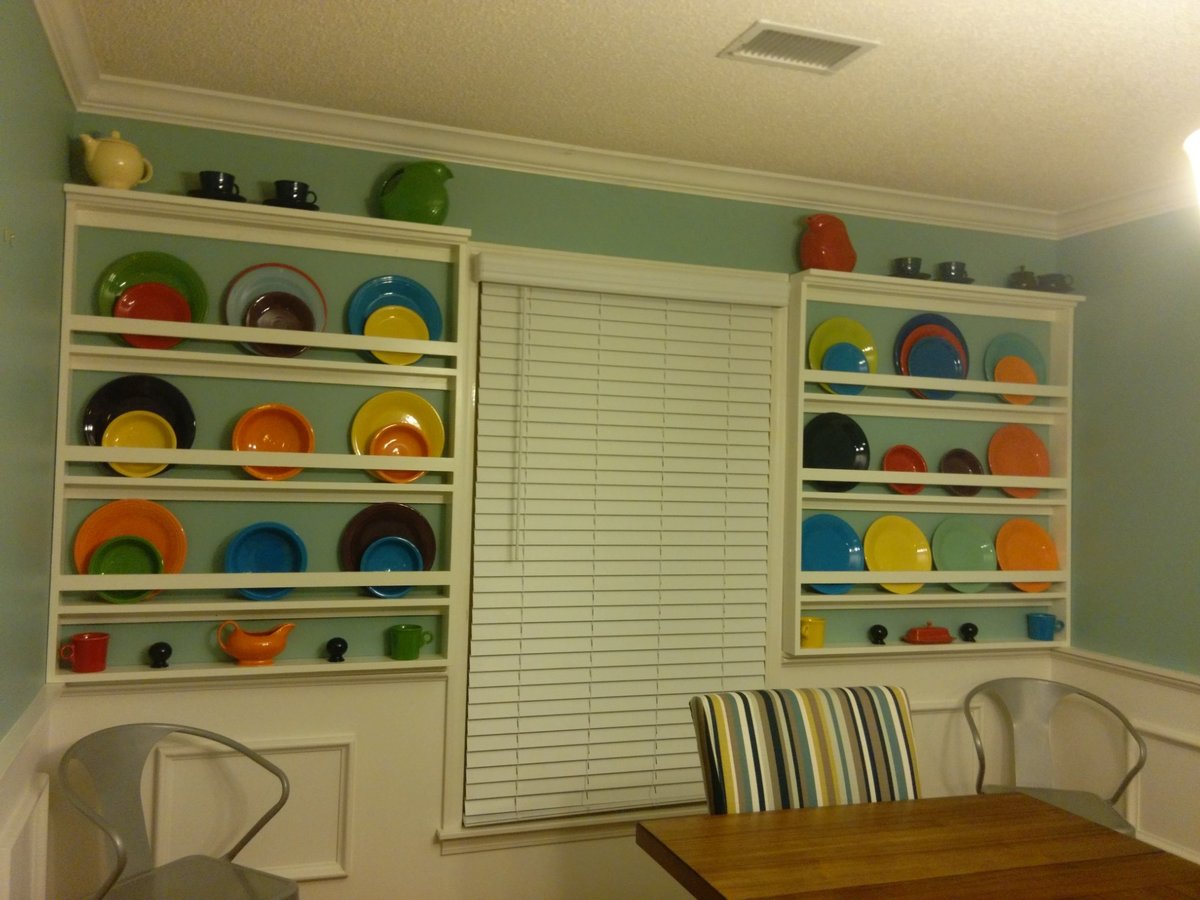
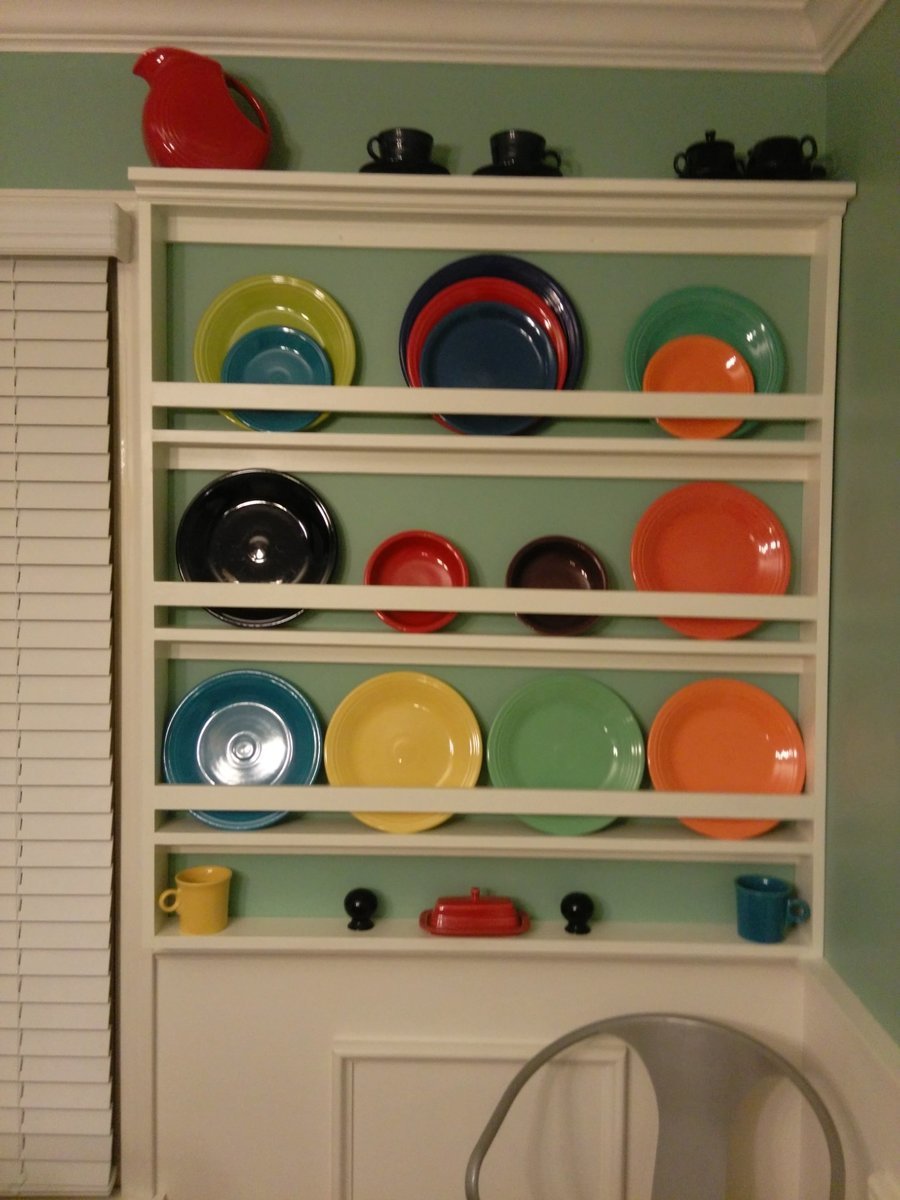
We took the plans and customized them to fit the area around our windows in the dining room. We also added a 1x6 to the top so we could fit larger items and added a trim piece. We made the shelves different heights to accommodate our plates and added a shorter shelf on the bottom
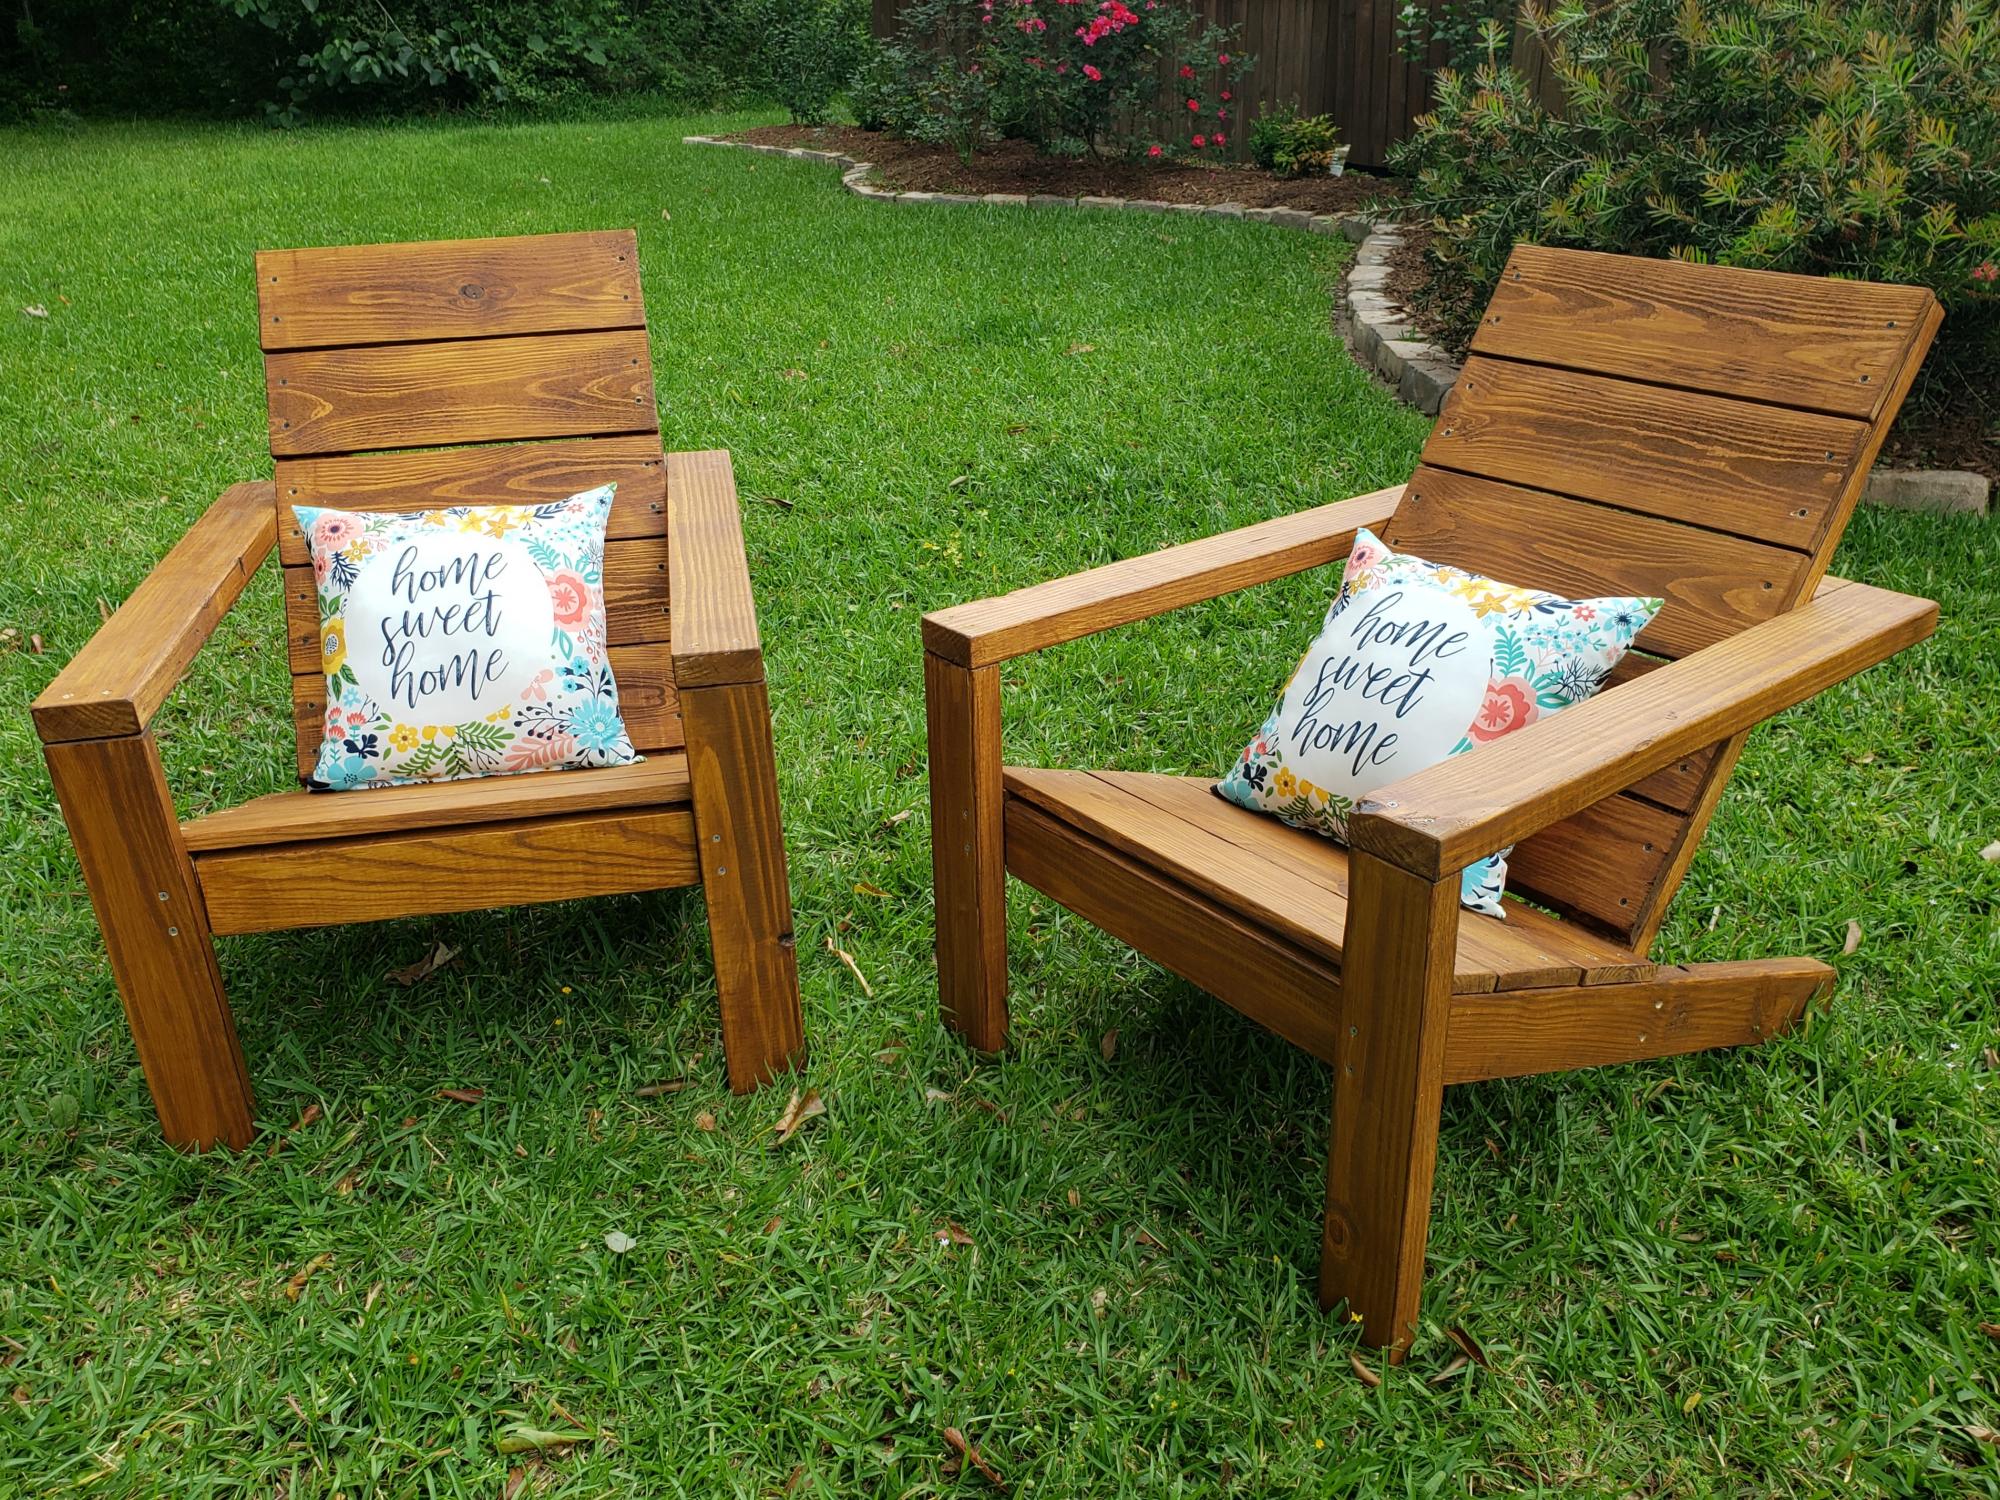
The plans were easy to follow and the finished result was perfect! We subbed 1x6s for the 1x10s, because we were using some reclaimed pallet wood. We cut, sanded, and stained/weatherproofed all pieces before assembly, which I would also recommend.
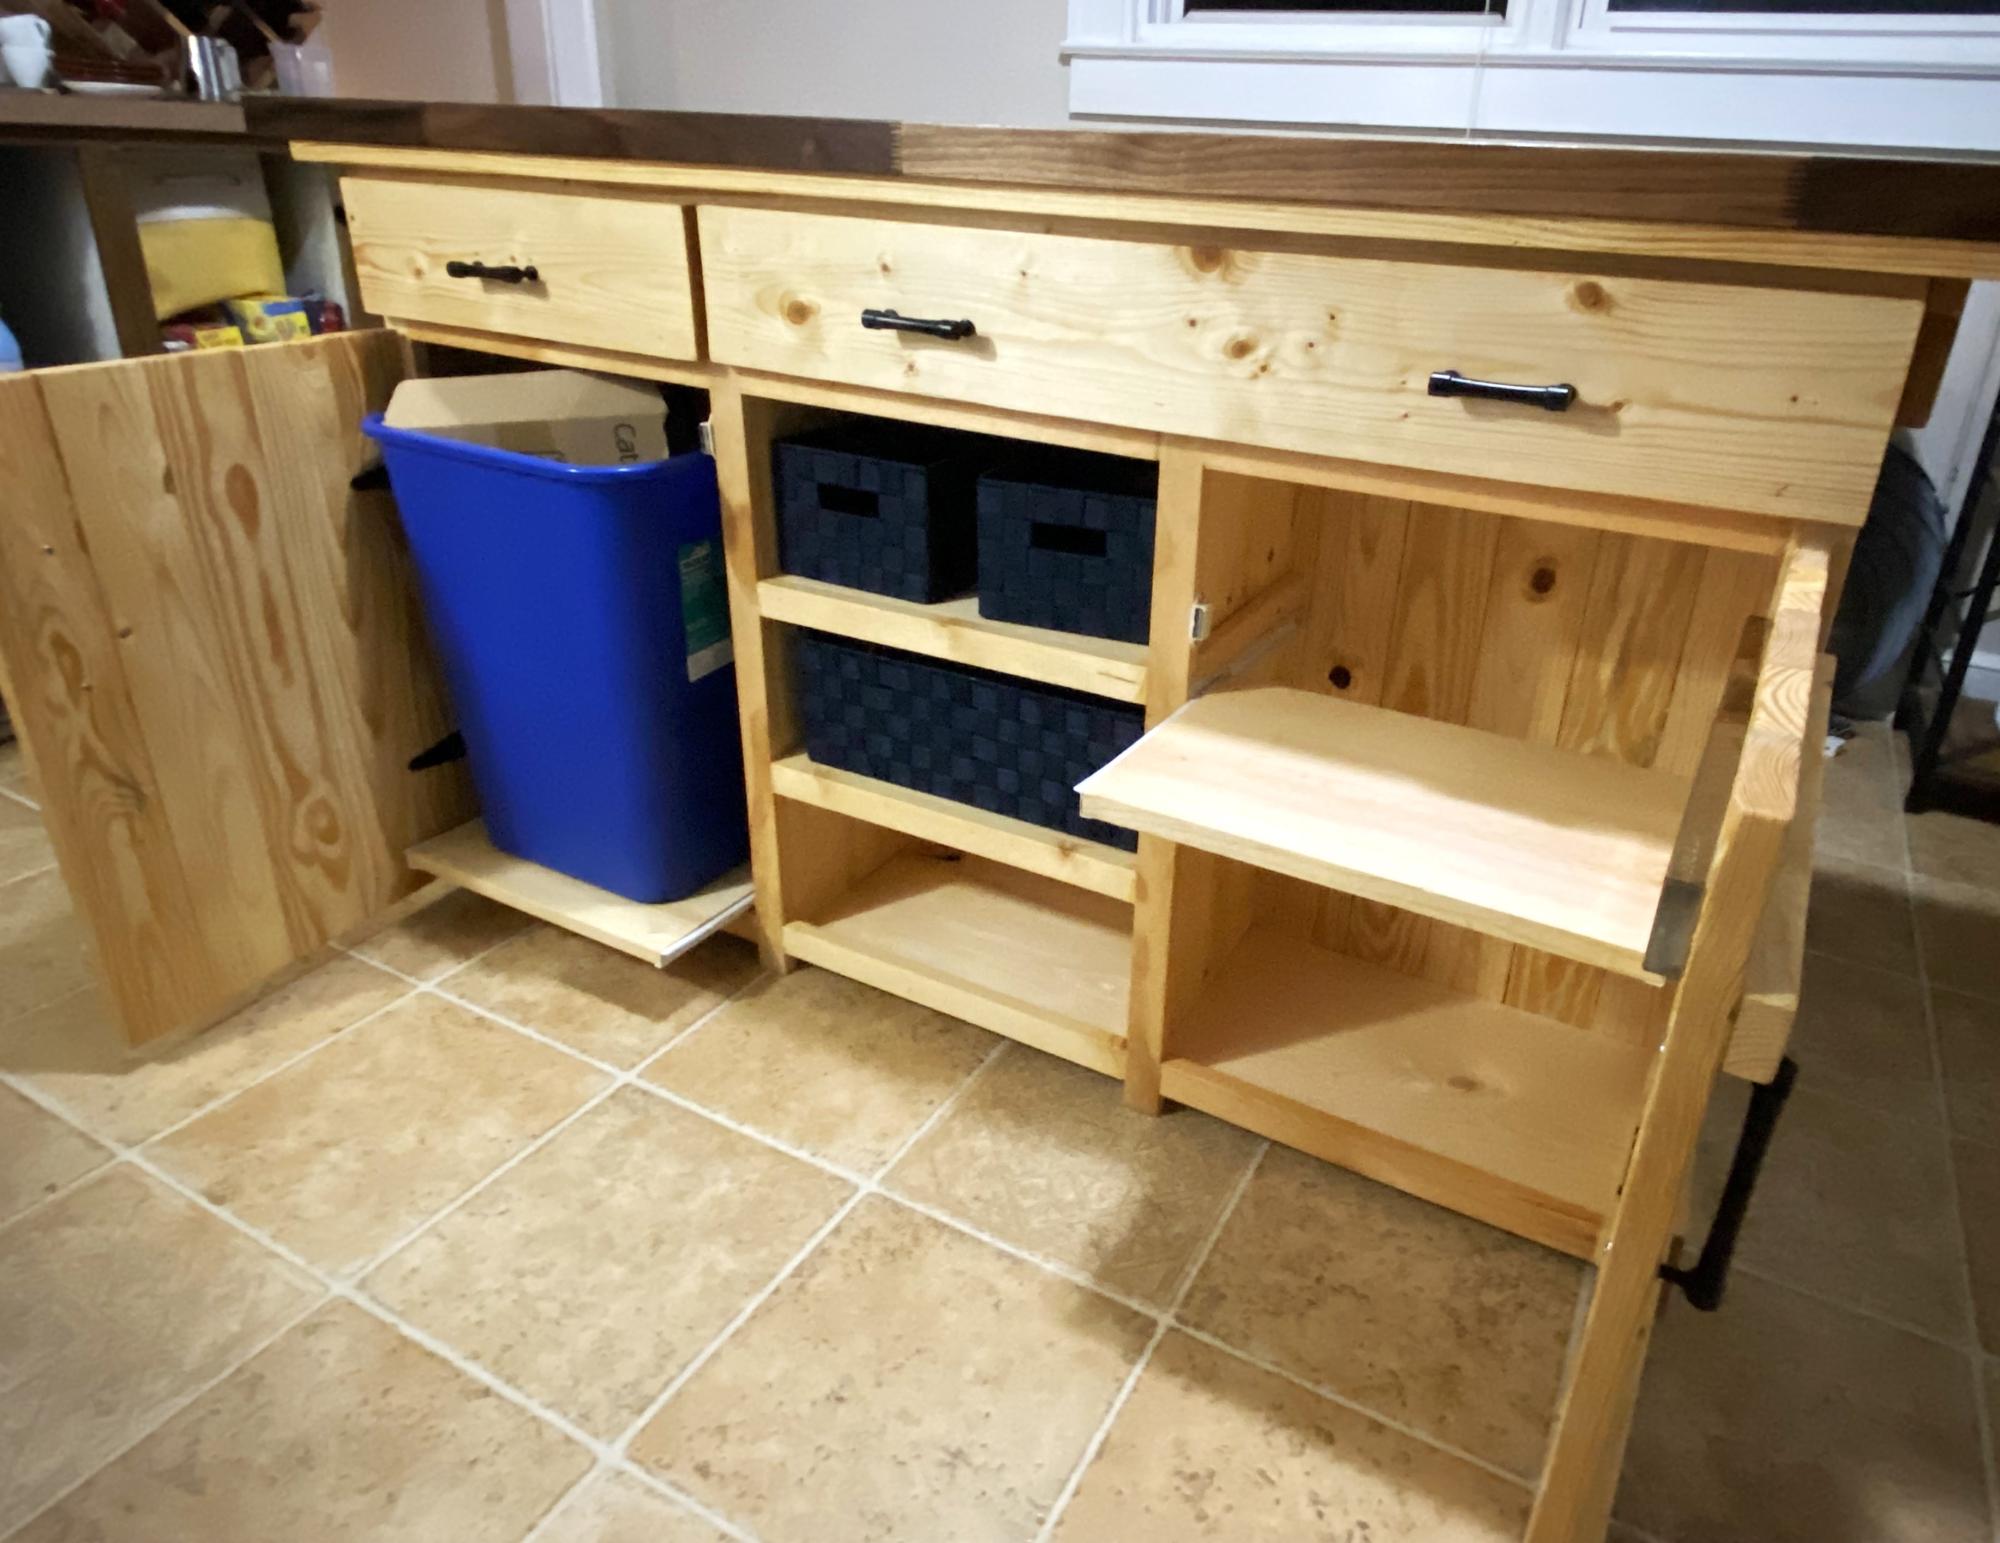
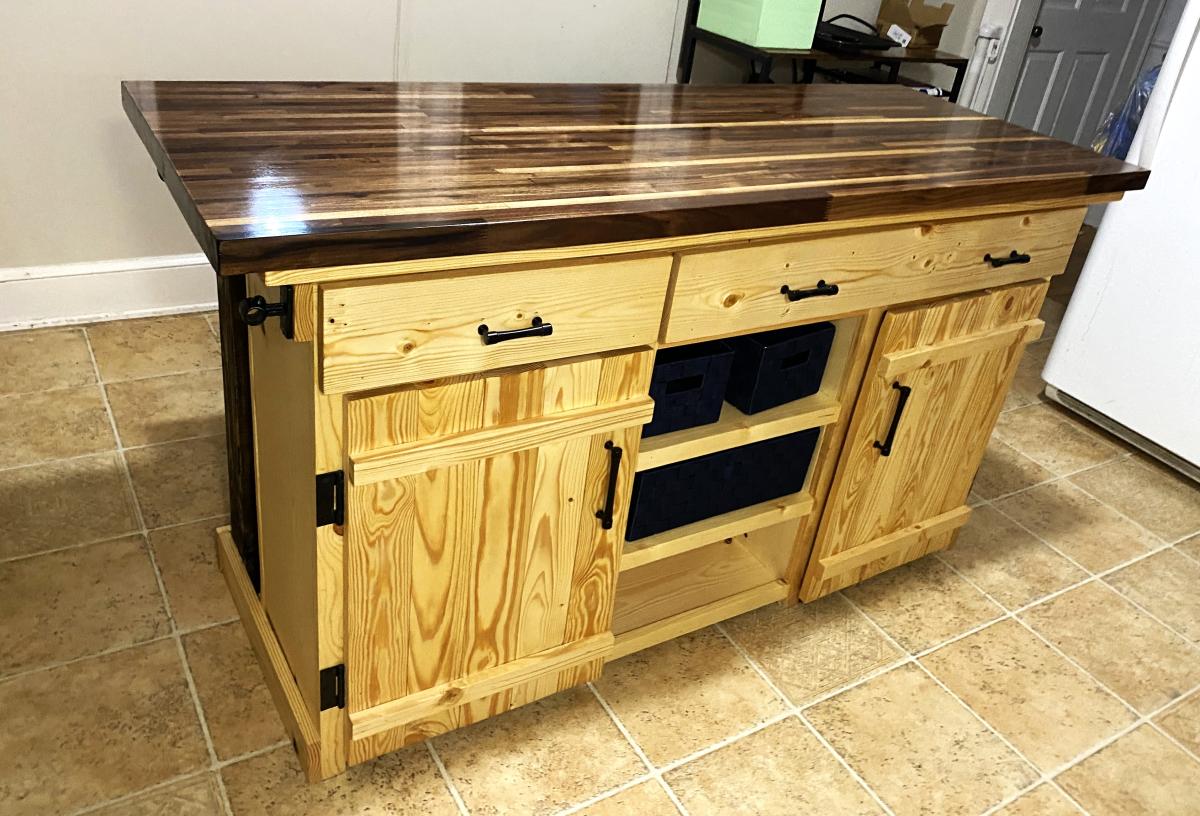
This was a labor of love for my son’s Christmas gift. He wants to be a chef and all he has wanted was an island in our kitchen. Thanks Ana for such an amazing and simple (enough) plan.
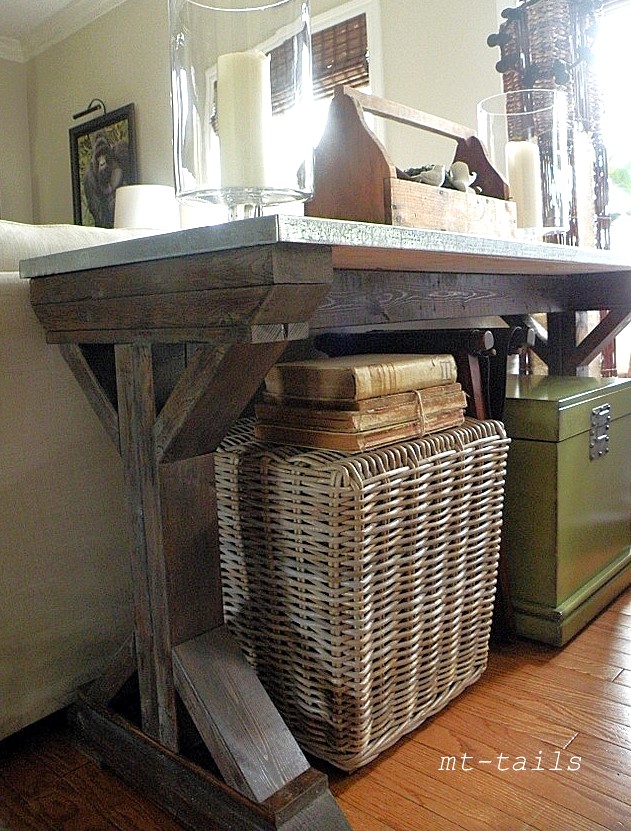
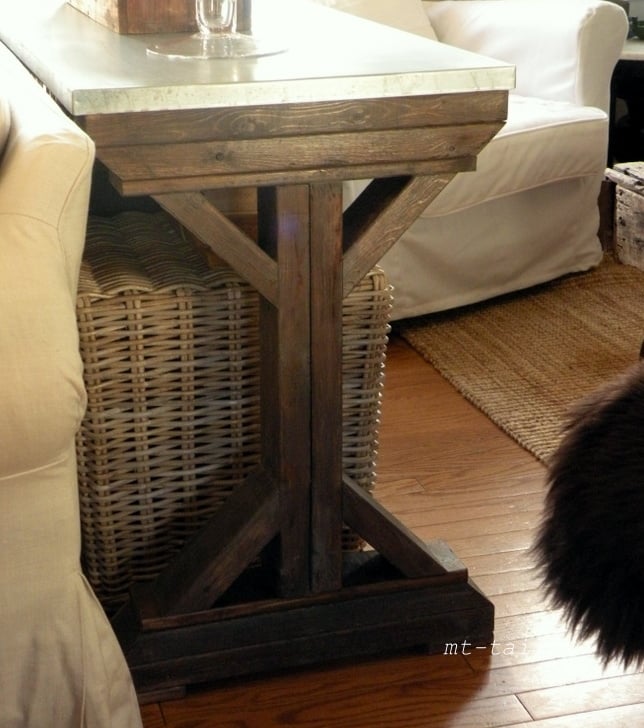
I found this plan for the fancy farmhouse table on Pinterest and decided to tweak it to work as a console table.
Mon, 07/02/2012 - 14:46
Absolutely gorgeous. And what a great idea to make it a console. I am trying to figure out if I can fit it anywhere in my house. I really want to know about the top. Did you cover it in metal. I would love to hear what you did.
Sat, 10/20/2012 - 20:49
I would really love the measurements for this console table if that's possible.I'm also doing the farmhouse kitchen table and this goes great with it & my open floor plan :)If I'm unable to get the measurements from you can you provide me with someone who has them or another link maybe... Thanks

In reply to DIY Farmhouse Console Table by HeatherM3569 (not verified)
Sun, 10/21/2012 - 15:42
If you click over to her blog (link provided above), she has a lot of additional information. In the post, it says, "We needed a table 55"w x 19"d x 30"h."
Mon, 07/27/2015 - 06:54
Console table looks great! What is the top made out of and how did you do the fabrication/install?
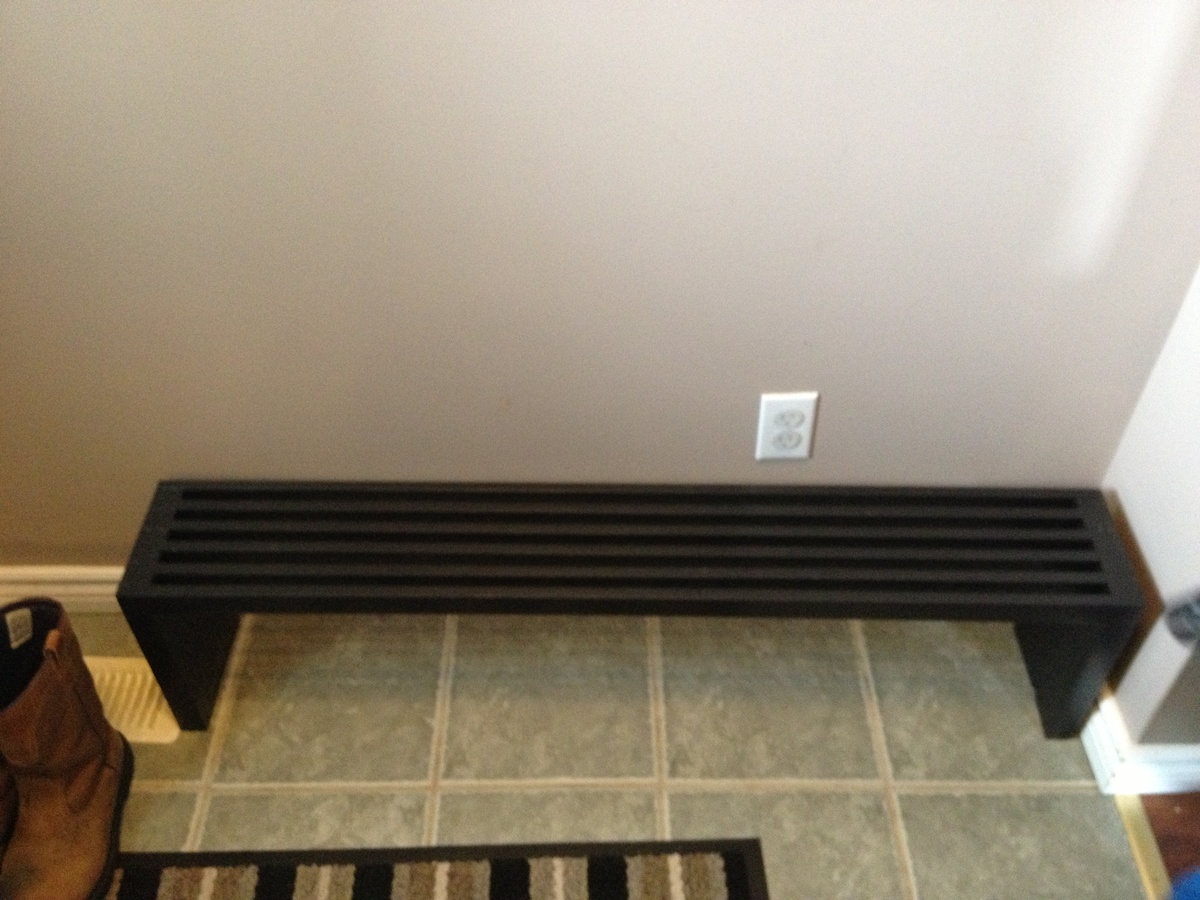
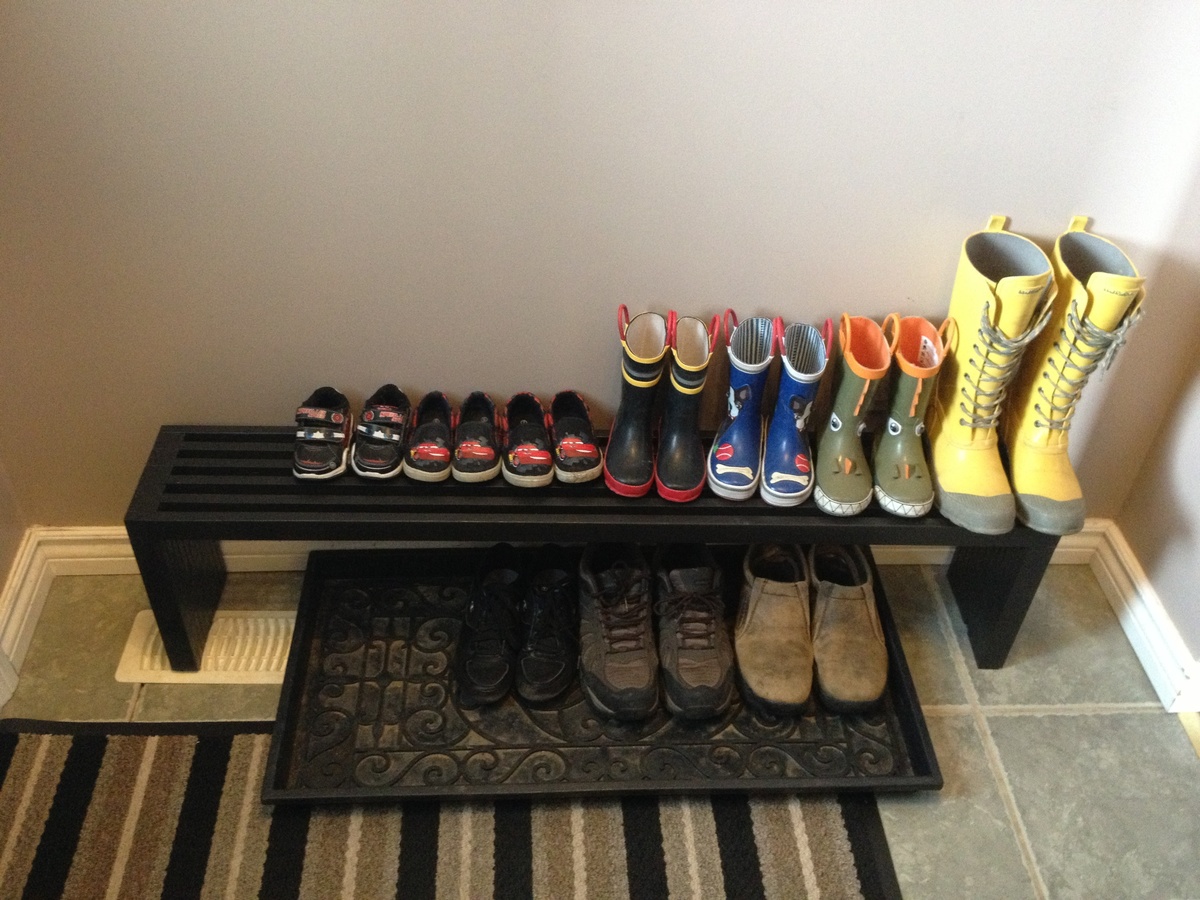
For our first project, my boys and I decided we wanted to build a shoe shelf for our front foyer. We loved the design of the modern slat top bench so adapted it slightly to fit our needs. Here's how it turned out.
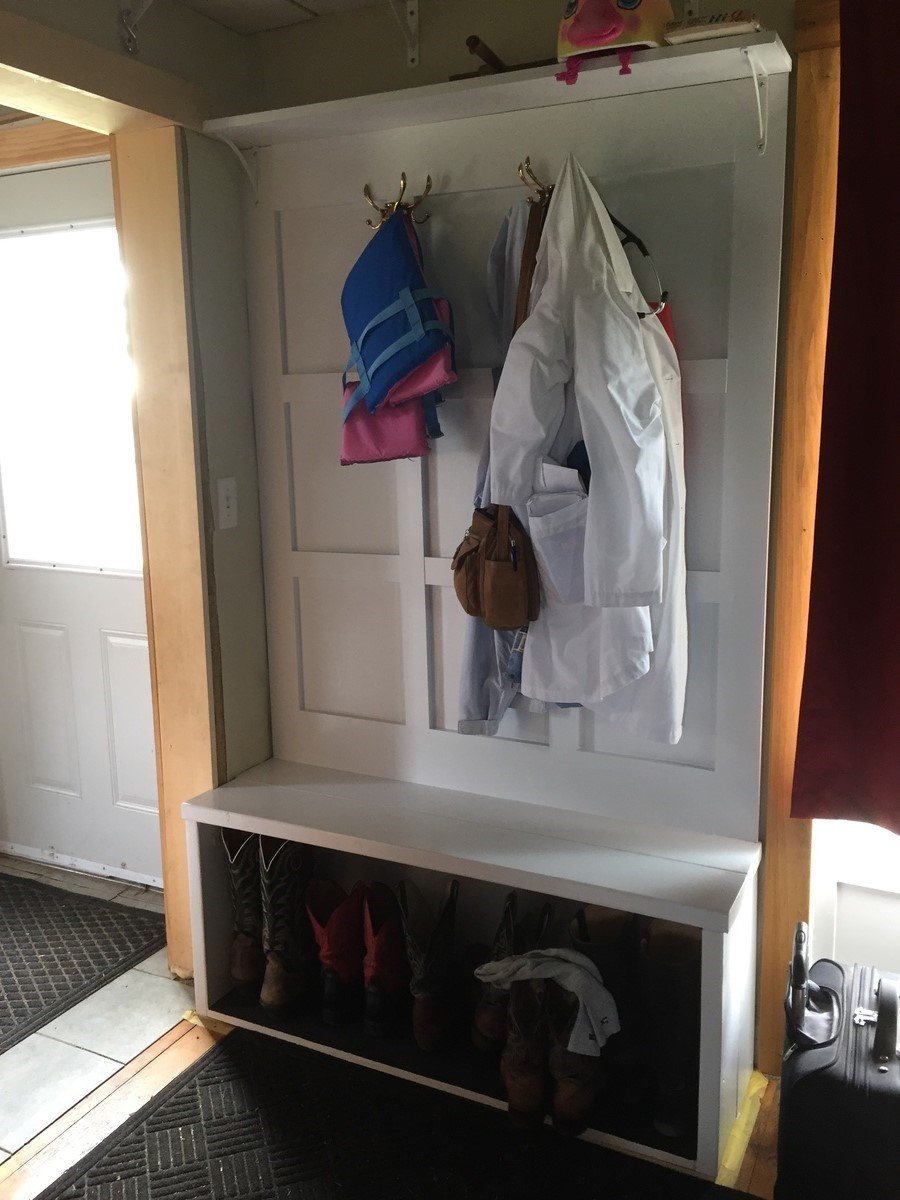
Altered plan somewhat to make it heavy duty seating when needed. 18" inside height is necessary for hubby's boots especially. Room for my lab coat too! It suits our 100 year old, nearly closet-less farmhouse well.
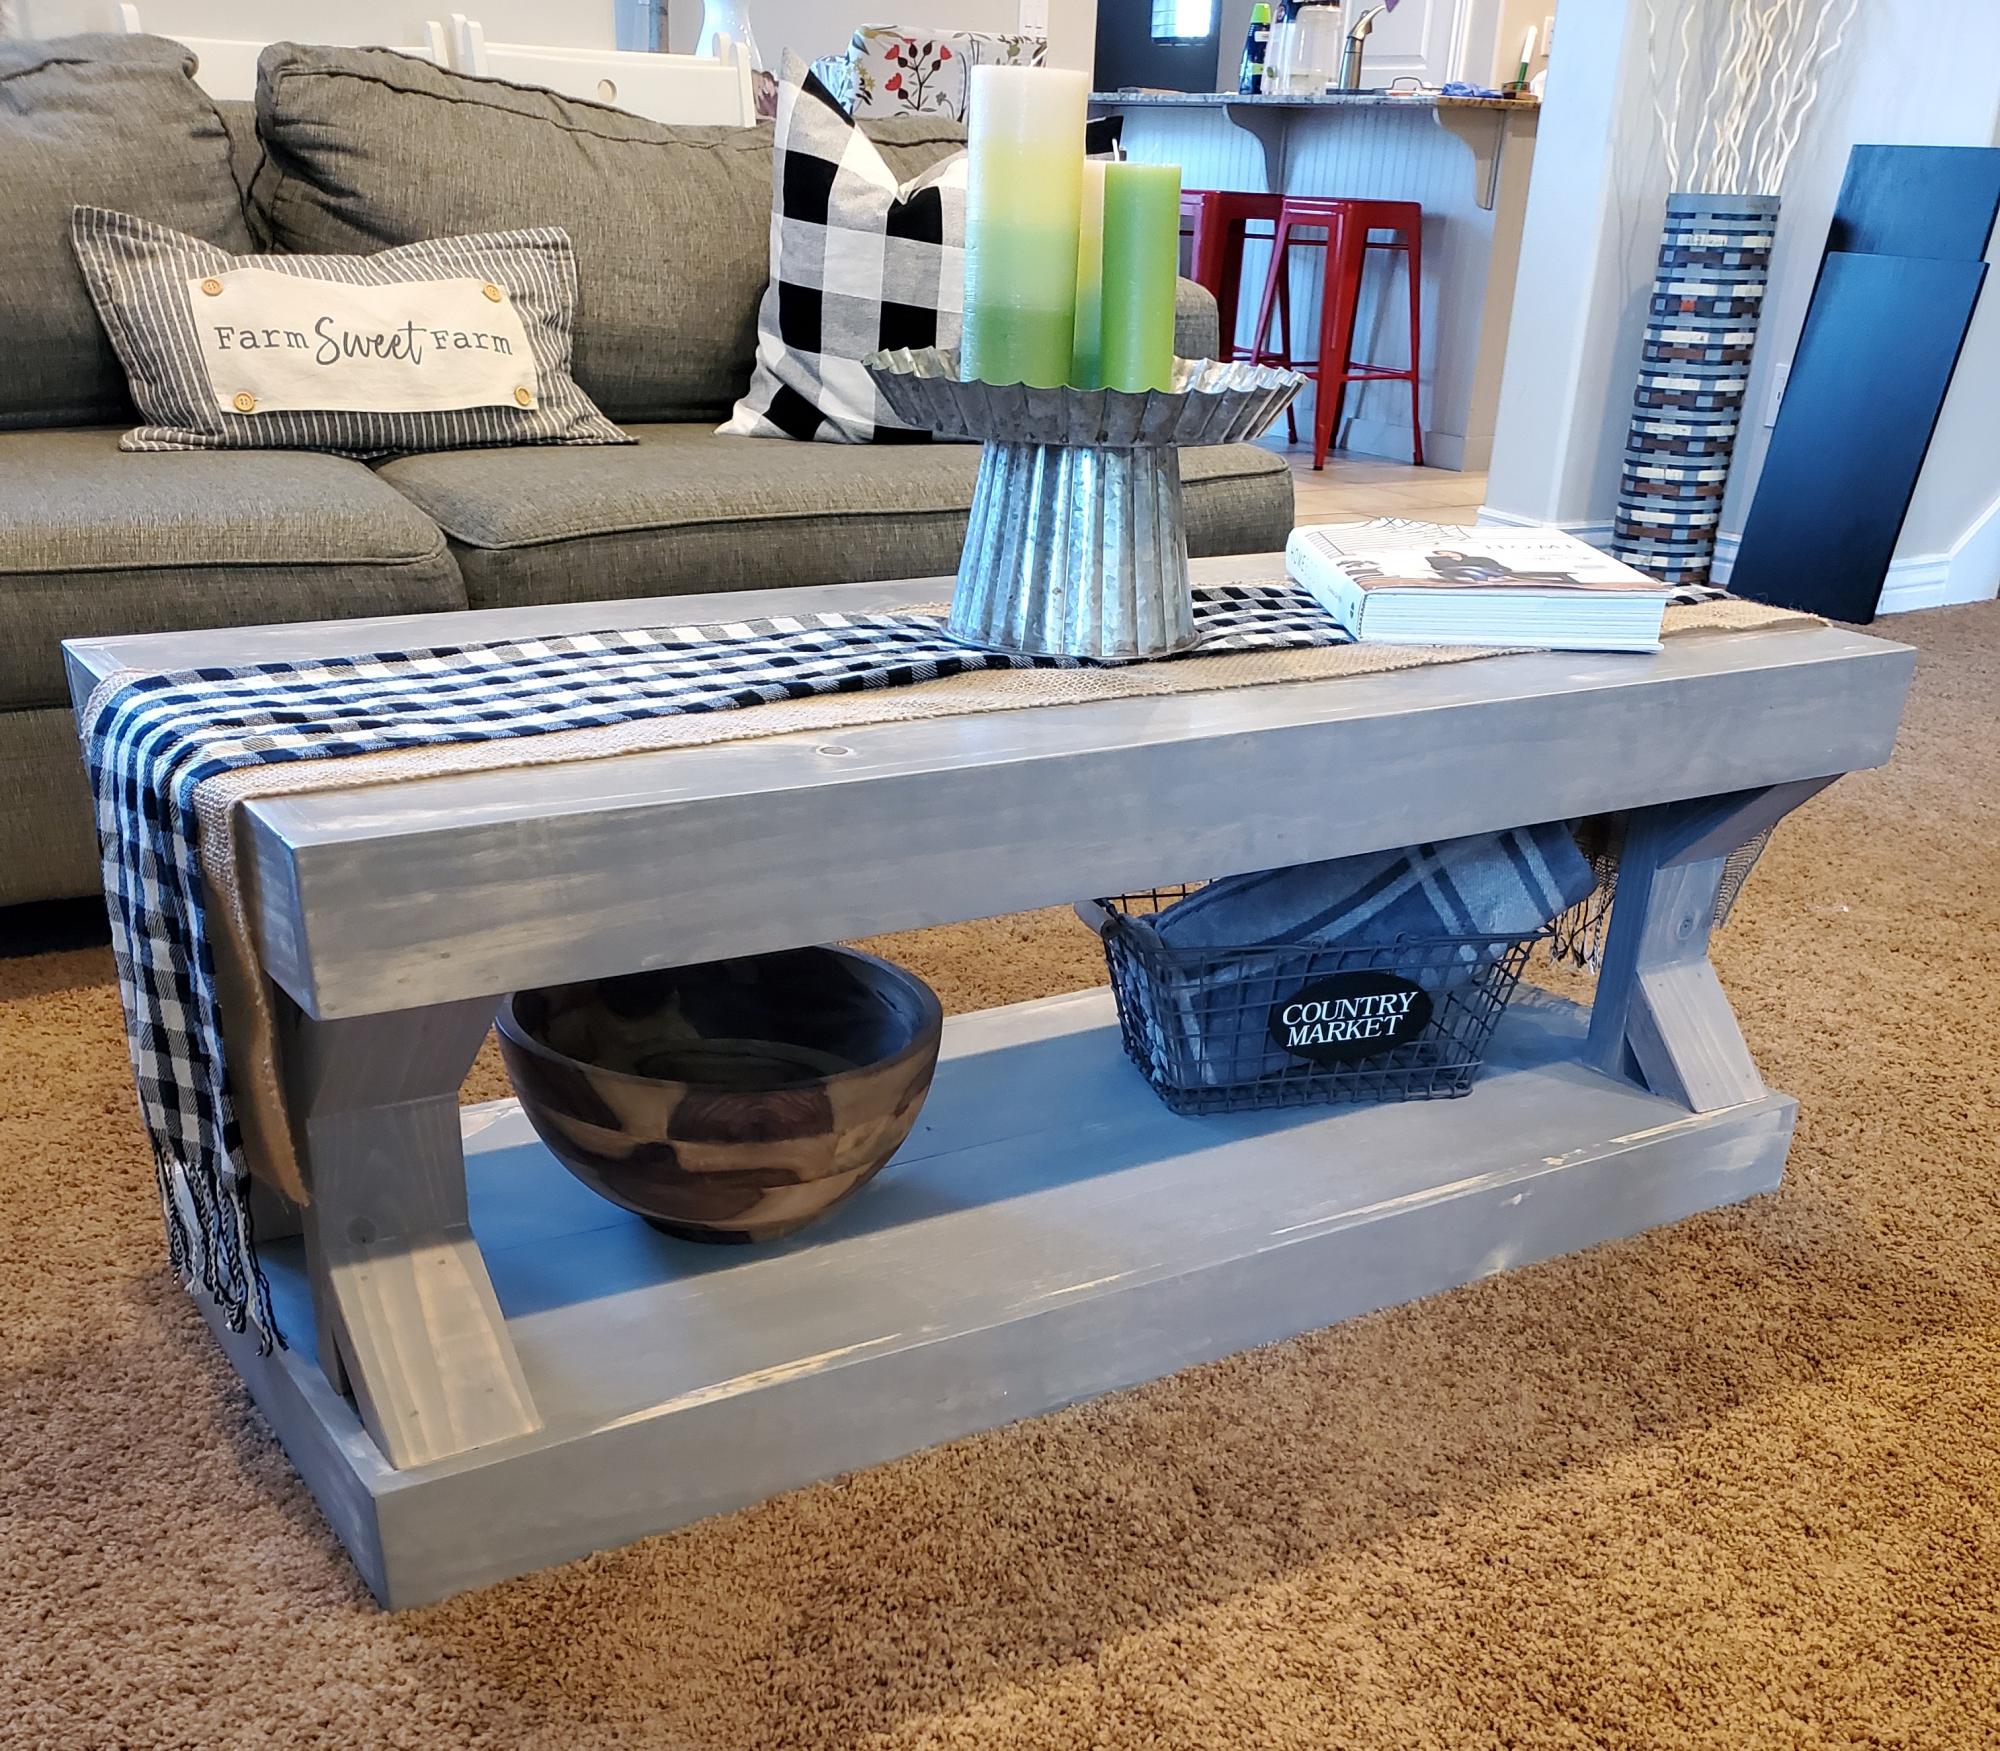
My sweet wife wanted a new coffee table so I decided to build one for her. Thanks Ana White, mission accomplished!