Modified Emerson Changing Table
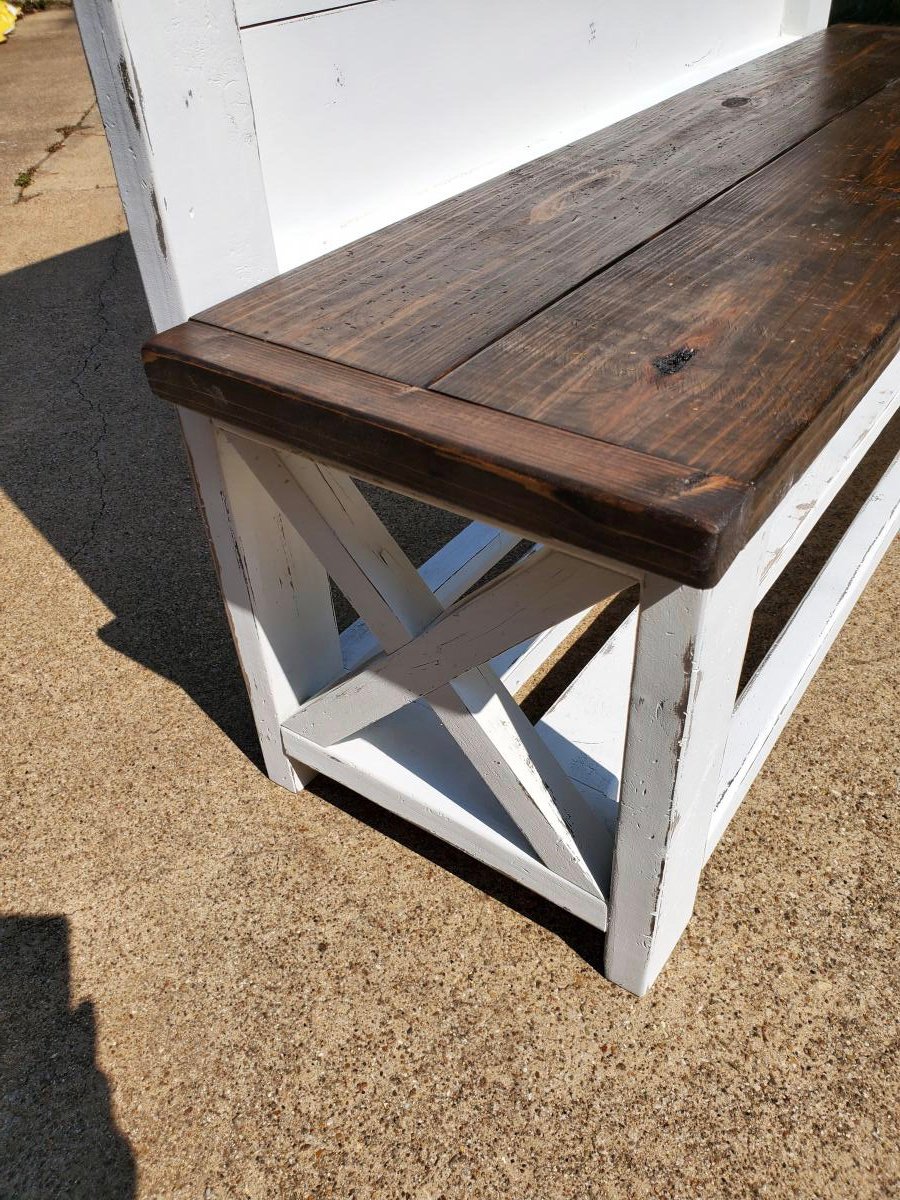
Emerson with extra trim and fancy feet. Also added a closet dowel and overhang. Built at 36 weeks for our baby Collin.


Emerson with extra trim and fancy feet. Also added a closet dowel and overhang. Built at 36 weeks for our baby Collin.


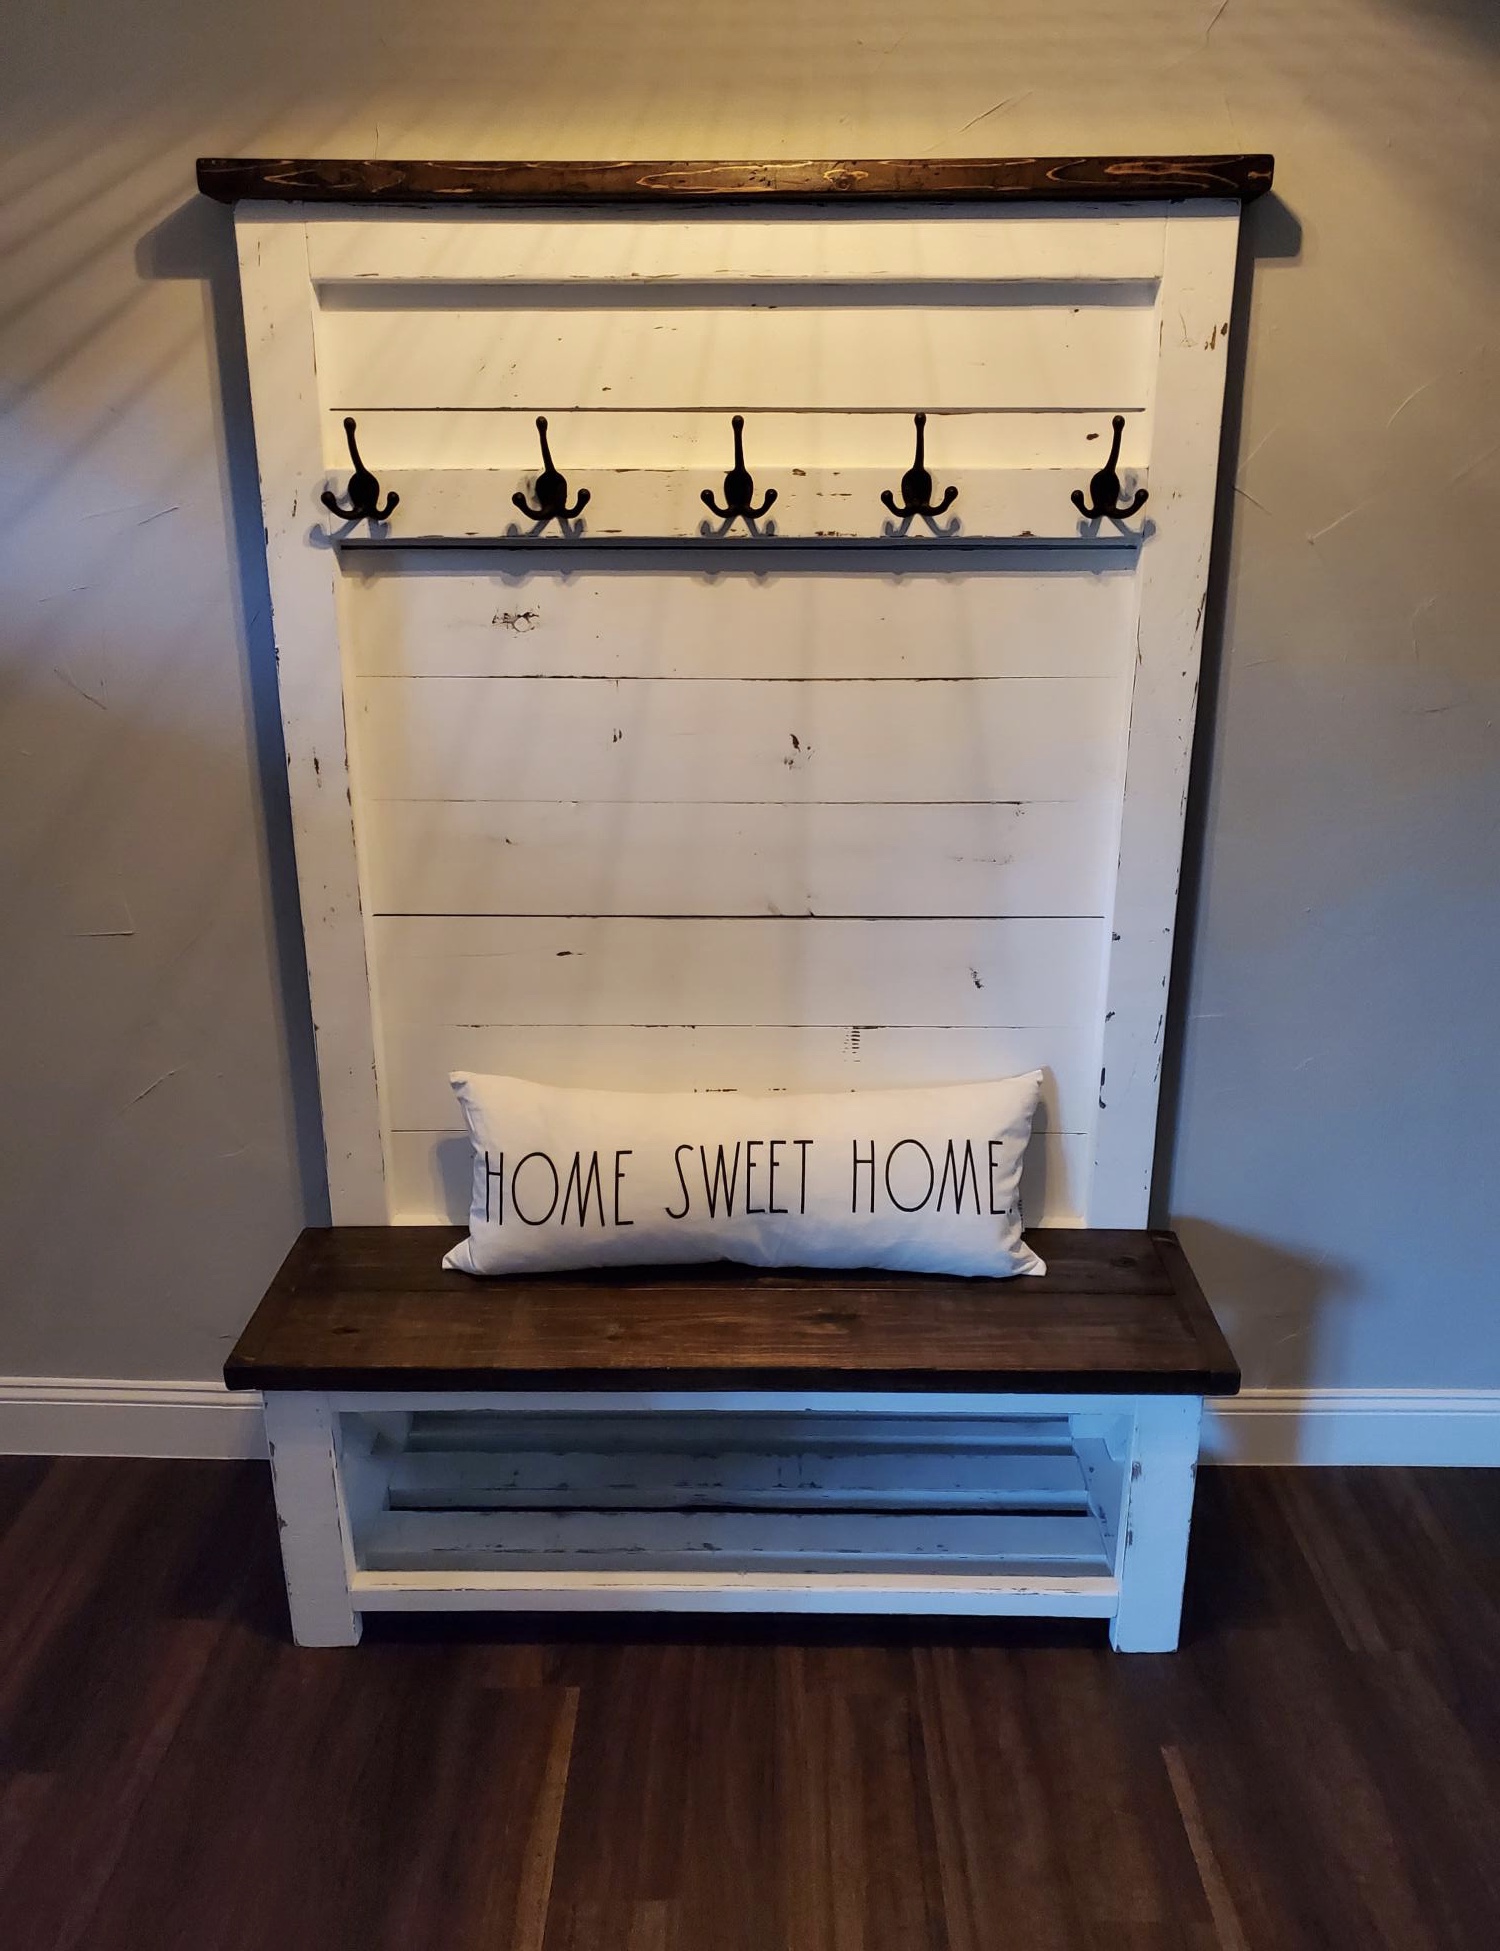
first furniture build from scratch. A few minor differences. I decided to distress by staining entire piece with minwax espresso stain, then painting over with white chalk paint and sanding through. Decided to leave bench and to molding stained for effect. Love the piece and so does my wife.
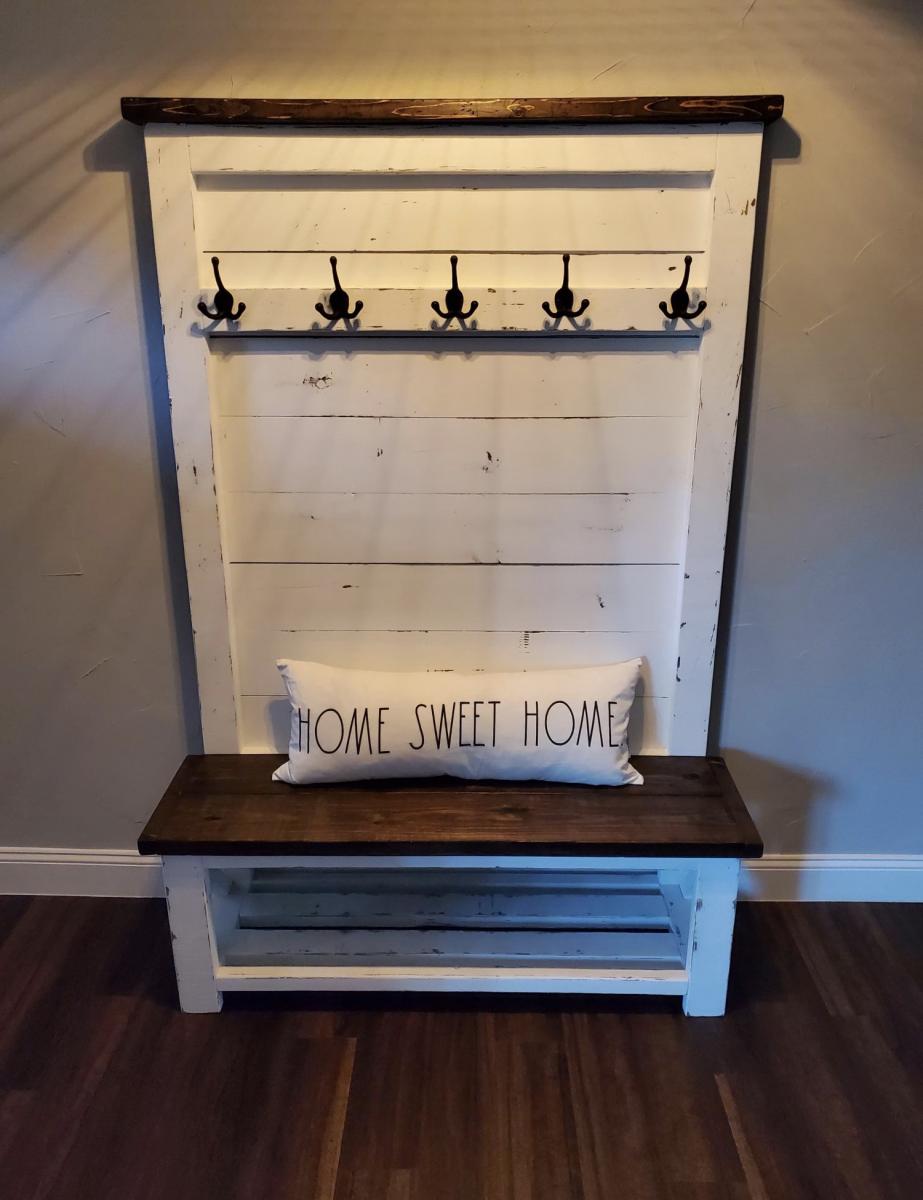
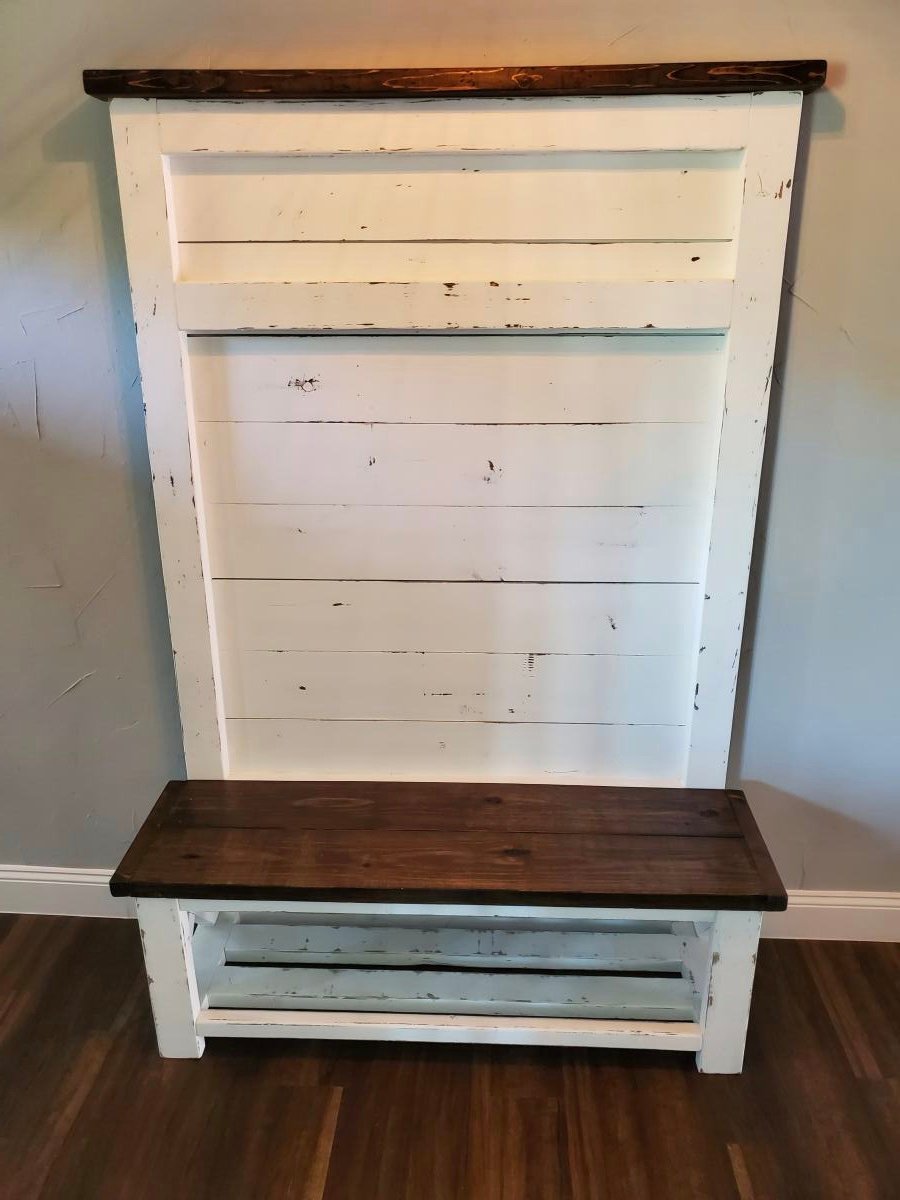
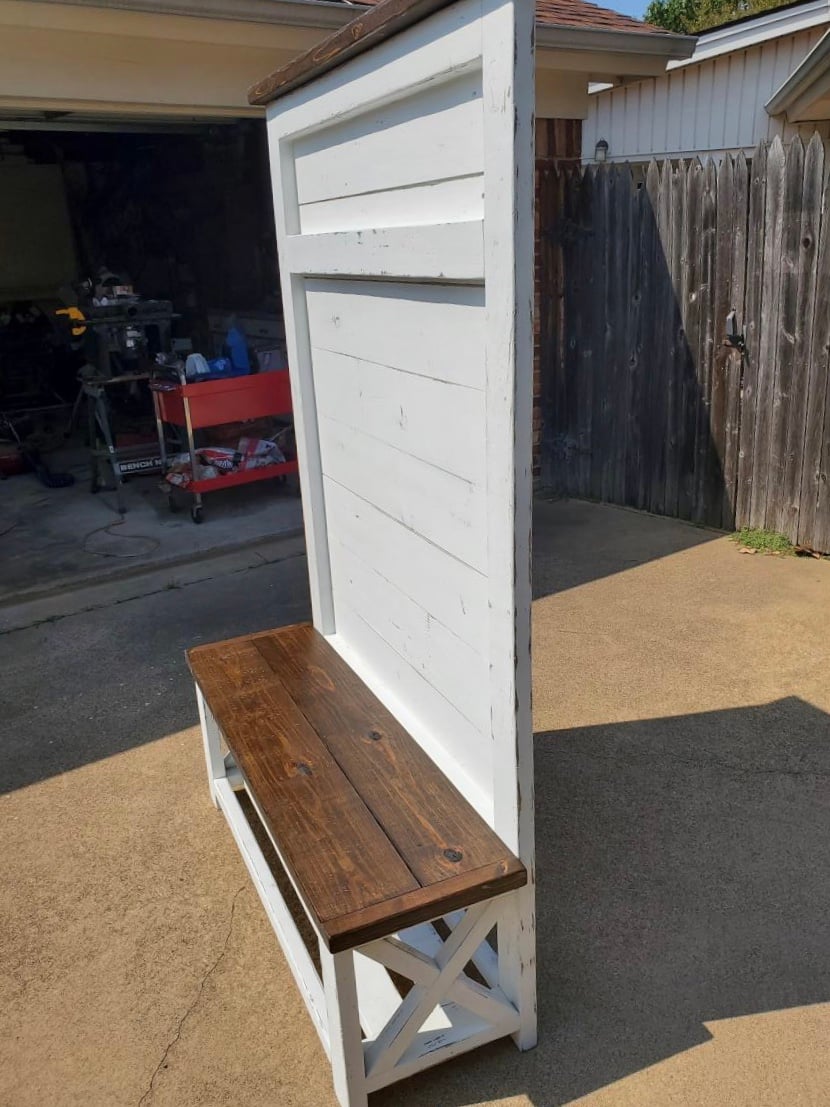
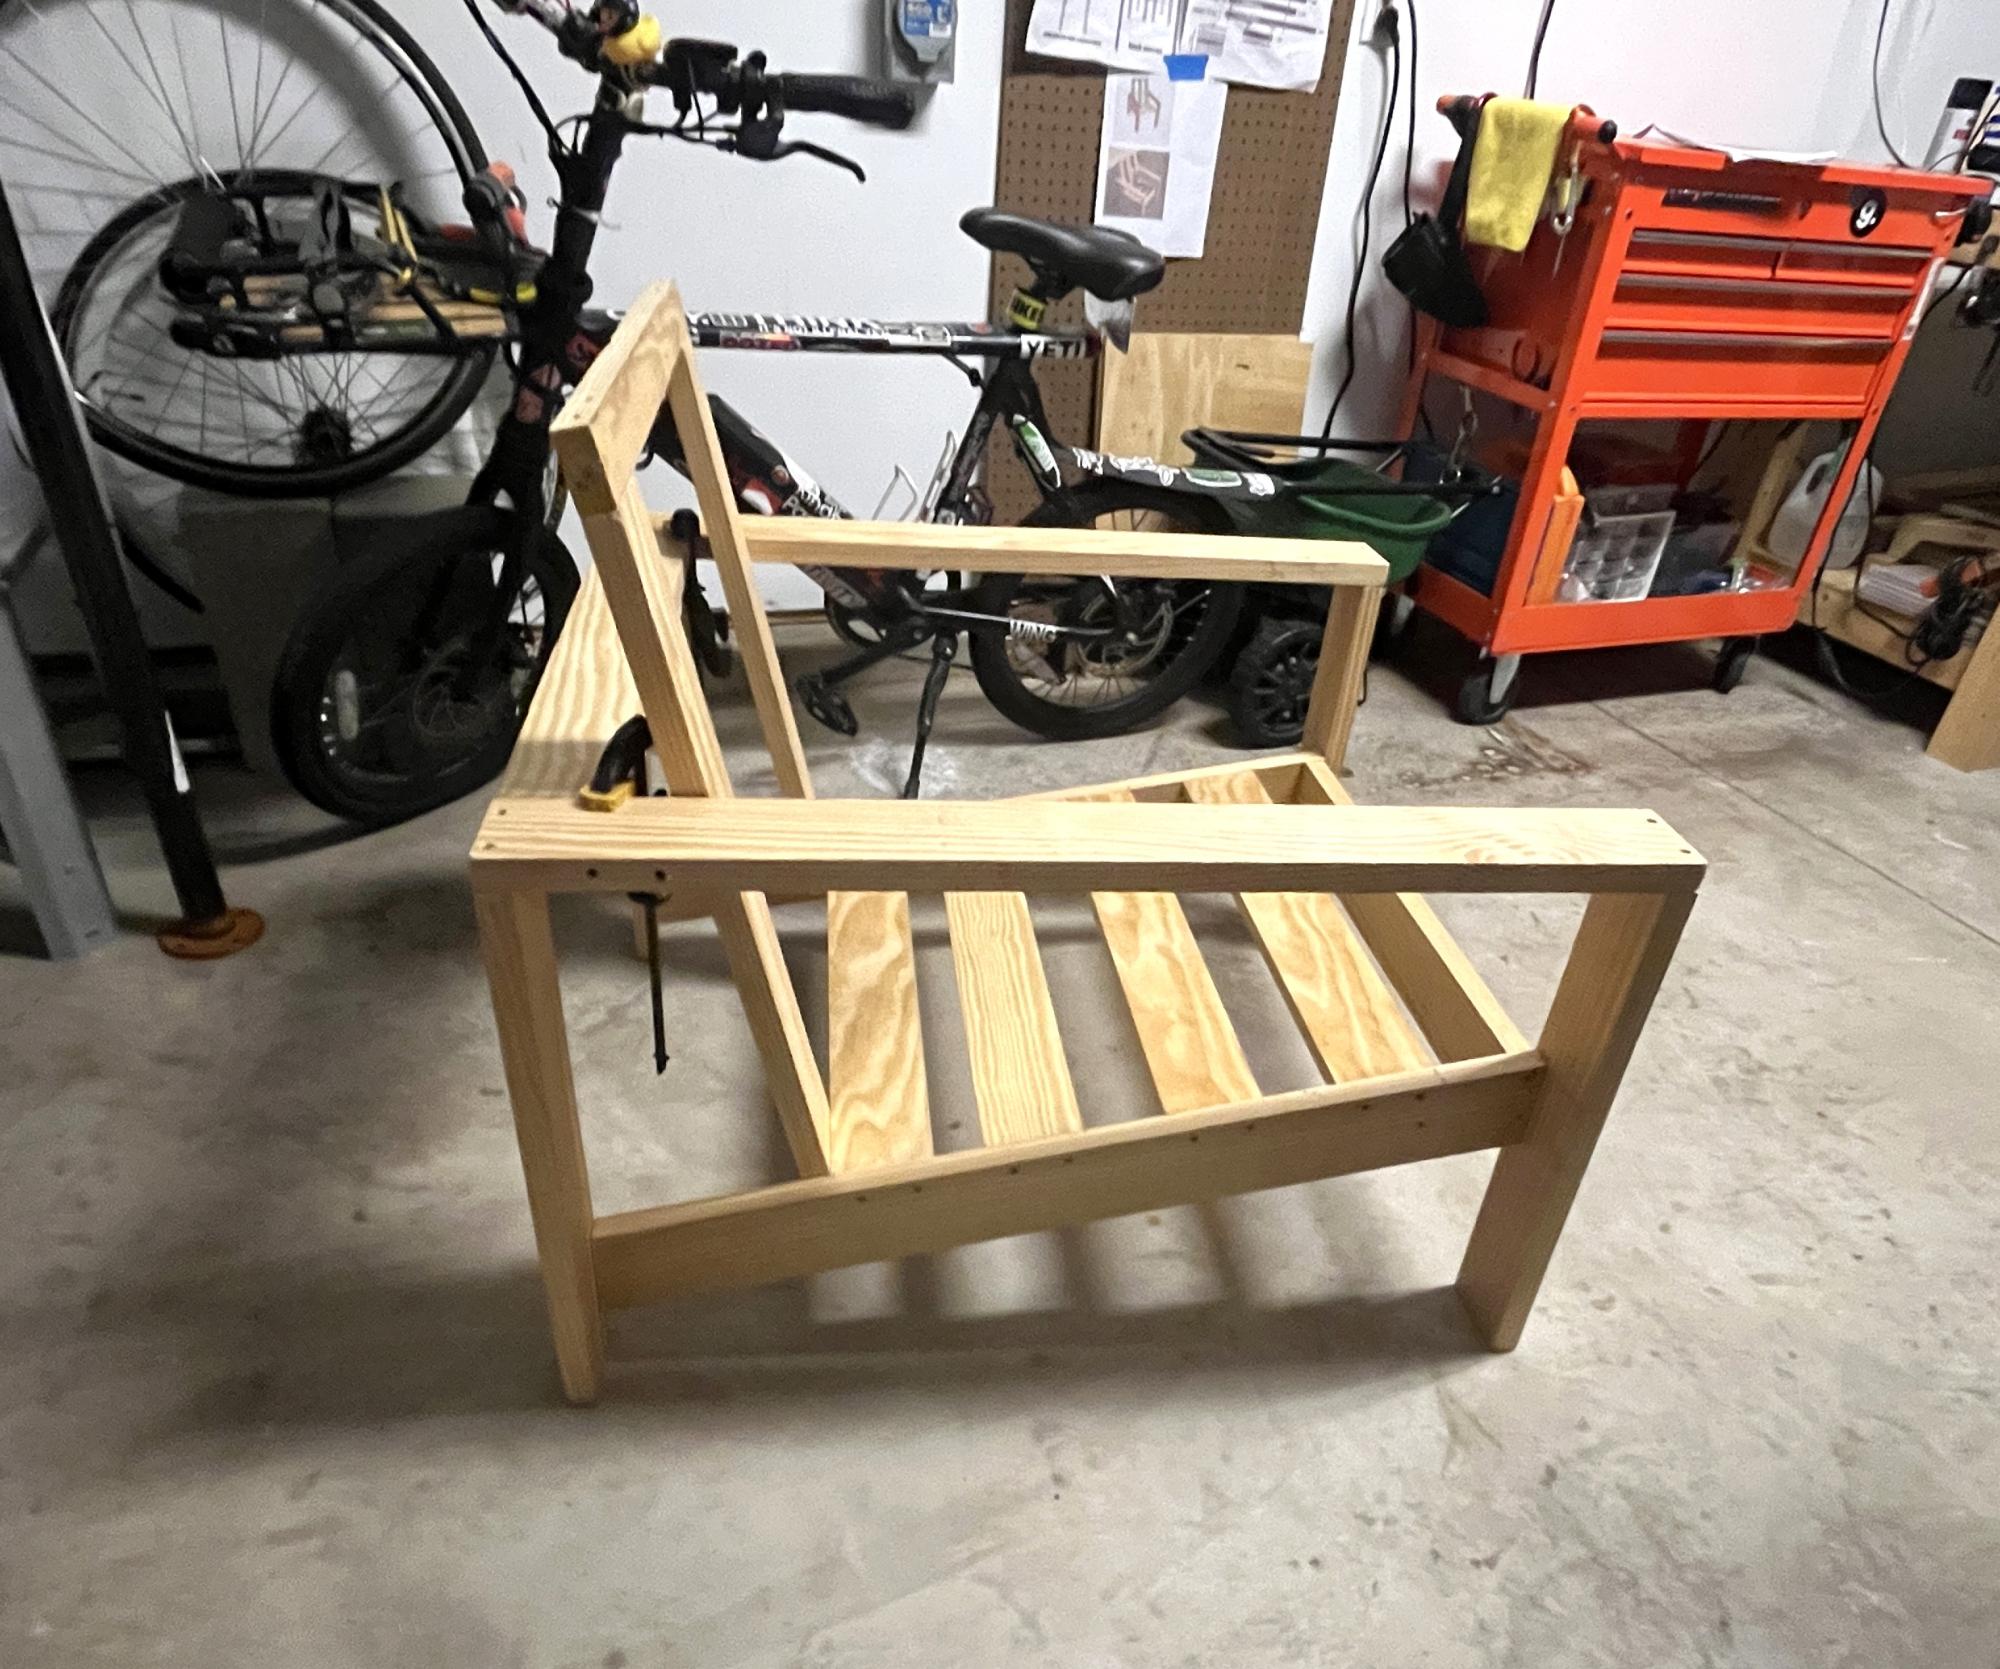
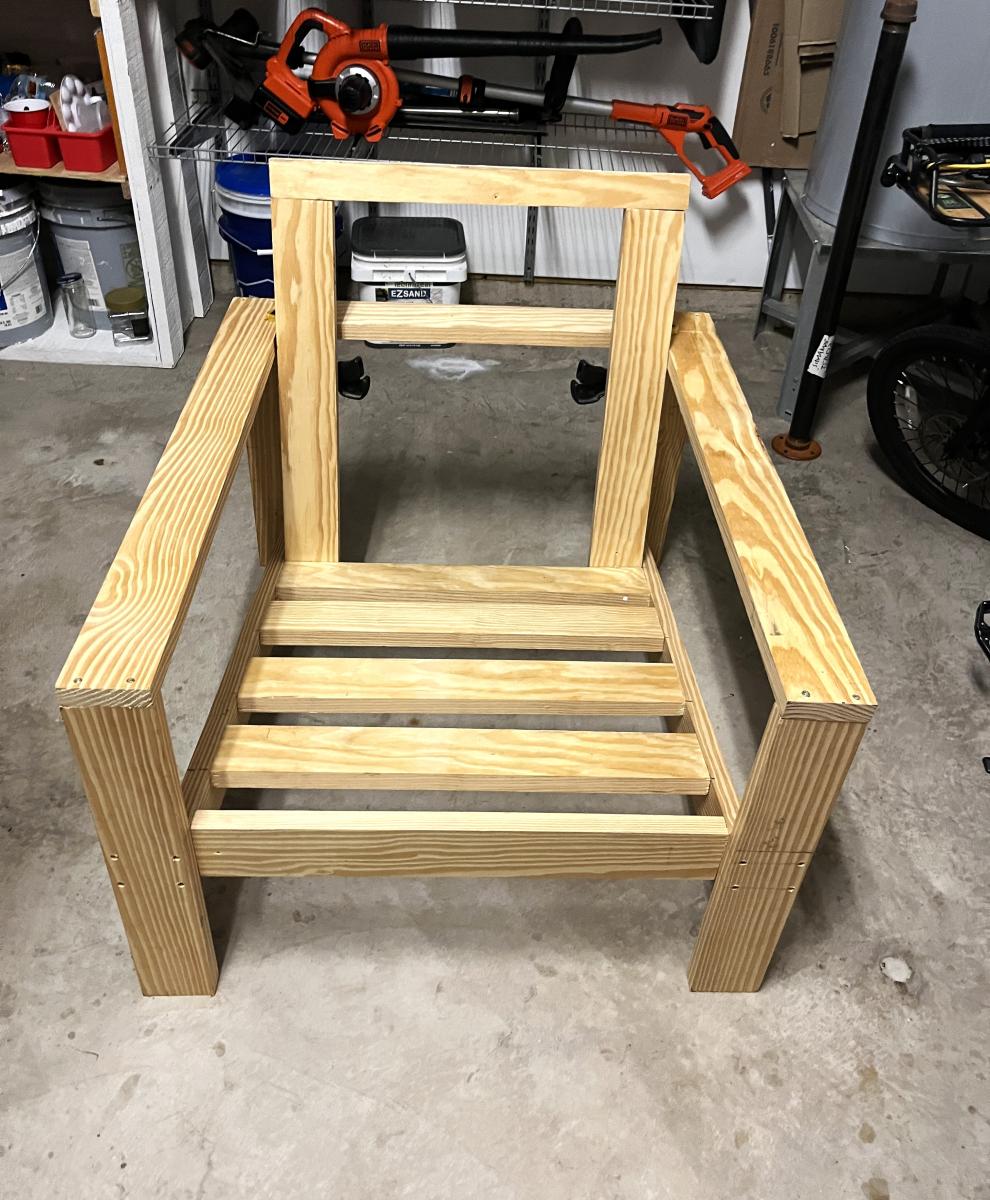
My first Chair!! - Angela
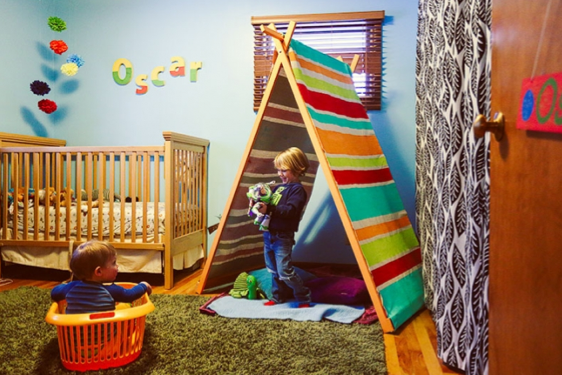
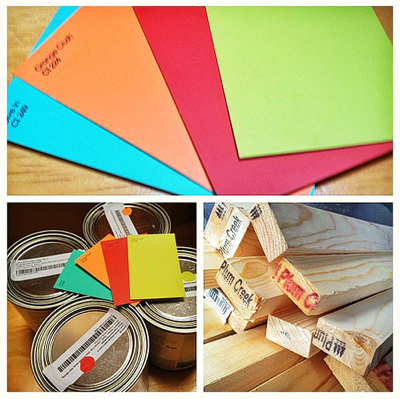
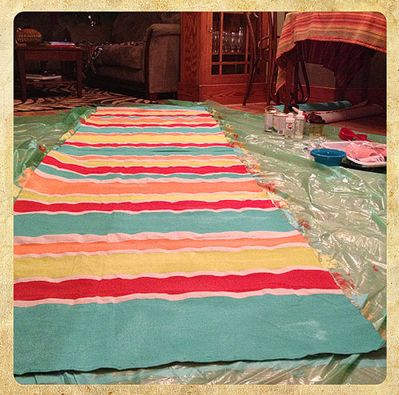
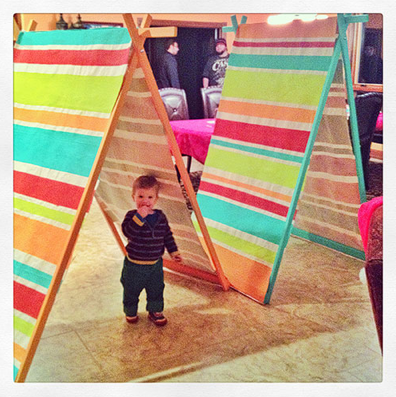
I followed the plans for the Kids Tent / Reading Nook but used a 9'x12' painter's drop cloth canvas instead of curtain panels. (I made 3 tents so I cut this into thirds...)
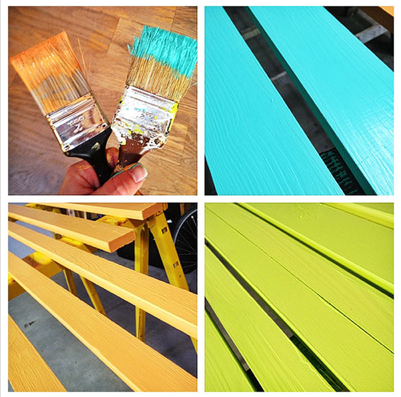
To make it even more fun, I painted stripes on the canvas by mixing regular latex paint (Valspar in Orange Crush, Twist of Lime, Dive In, and Cheery on Top) 2-to-1 with a textile medium.
This was a easy build and lots of fun to build! I pretty much followed the plans for this piece. The only thing I didn't add were the wheels on the bottom of the legs. Because I was using this mainly as a TV stand, I wanted it to not be moved. In the future if the TV goes up on the wall, I'll add the legs. Thanks for the plans!
This was my first project. It was fairly easy and has sparked a new interest in building my own furniture going forward. I decided to have my doors hinged instead of sliding, but overall had a lot of fun and love the results!! It turned out great!! Thanks Ana!!
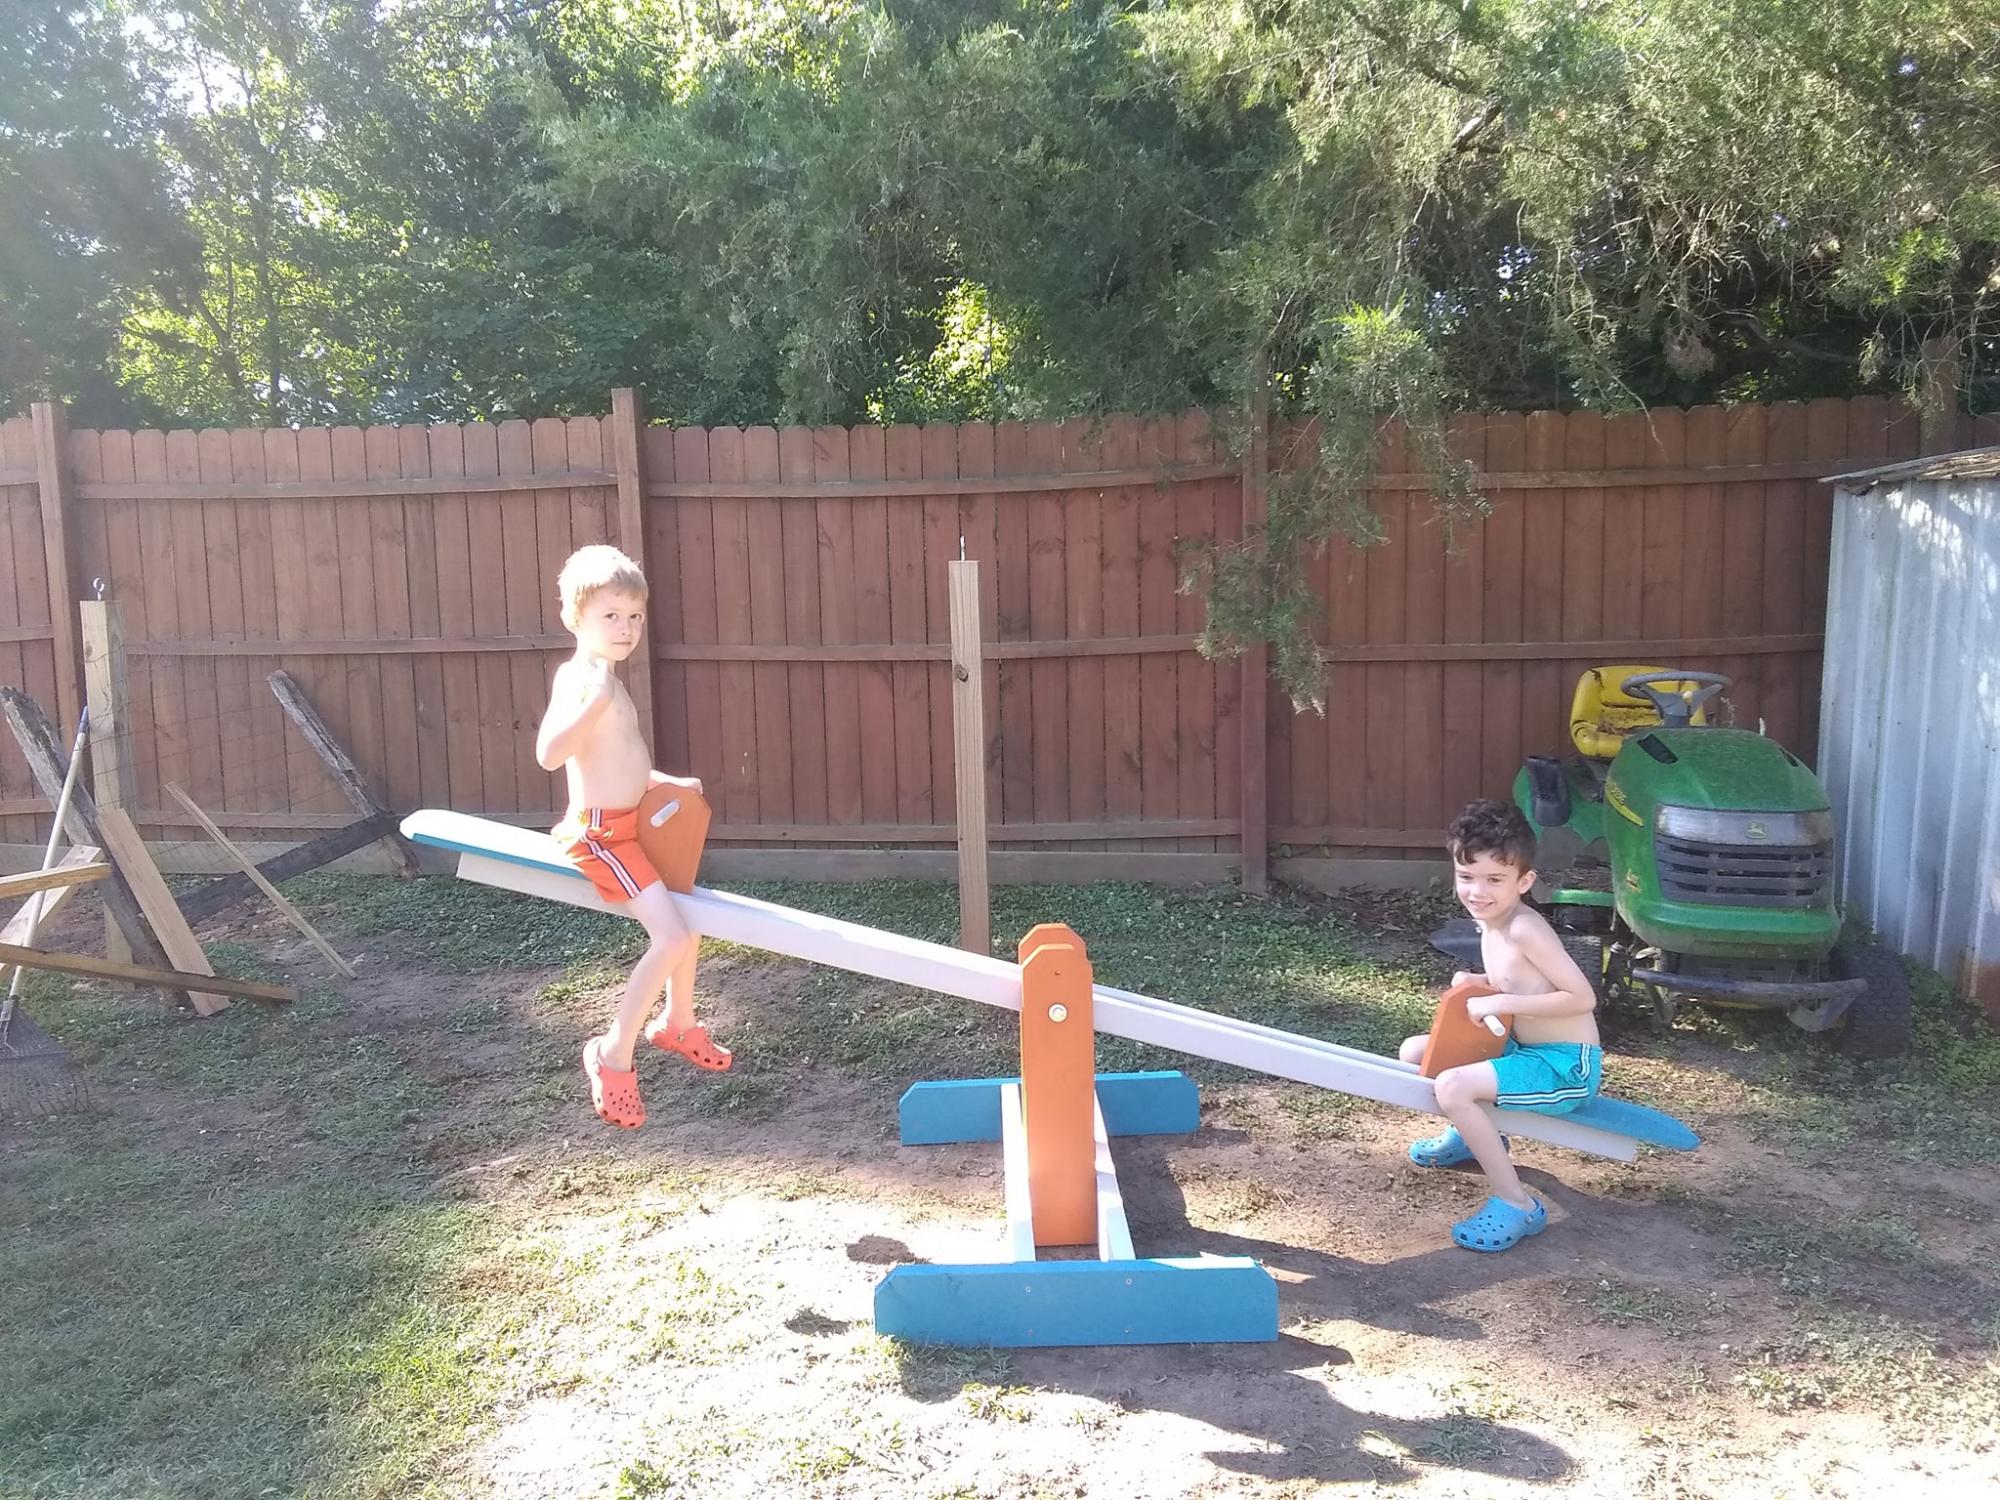
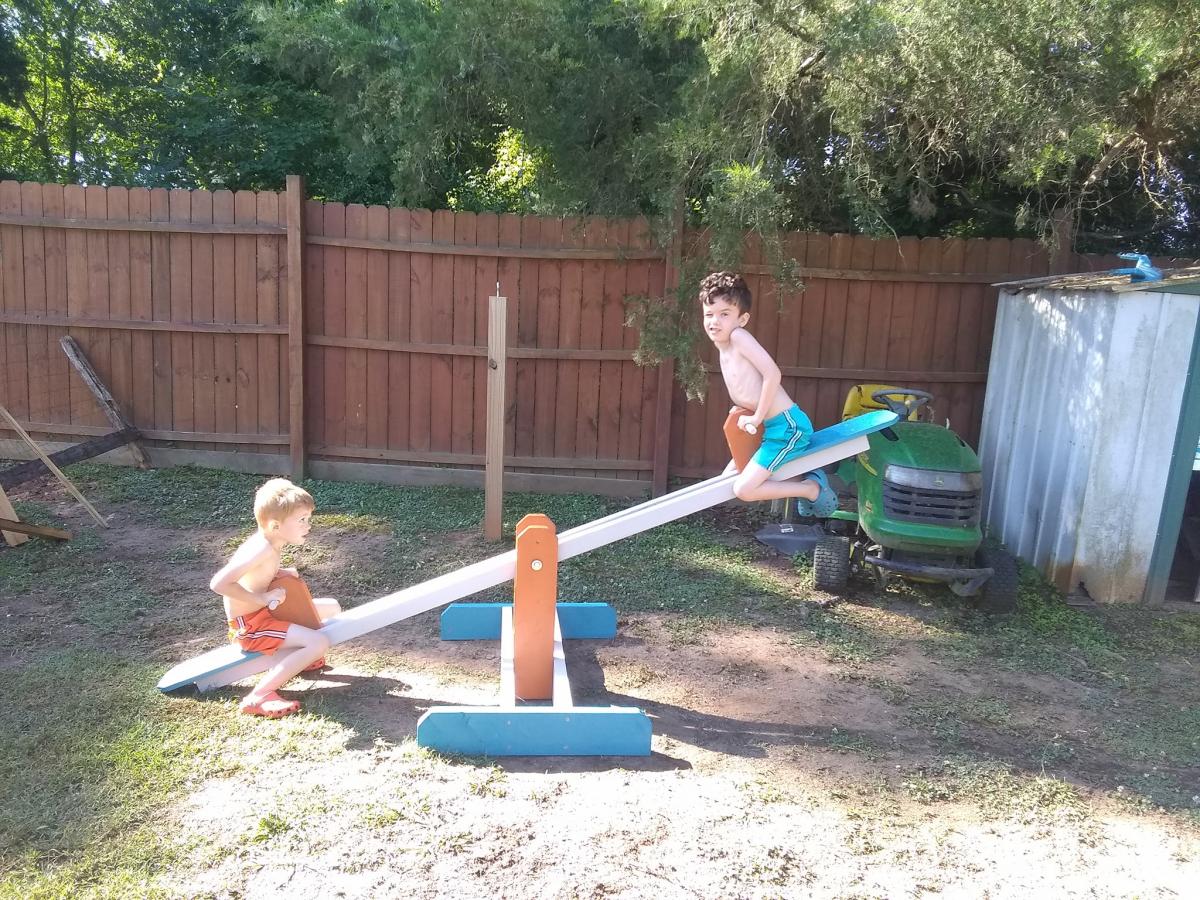
My husband and I made the boys a seesaw a few months ago. We had been spending a lot of time working on our chicken coop and I snuck around to make something for the boys as a surprise. They named it Blue Blade and it has been a fun new addition to their playground. It was straightforward to make. I used 2x3s instead of 2x4s since they were so much cheaper, and it worked really well. I love how it has the extra hole so we can make it taller as they grow.

I love having a place to keep my holiday cards as they come in the mail. It allows me to revisit them and share with the family!
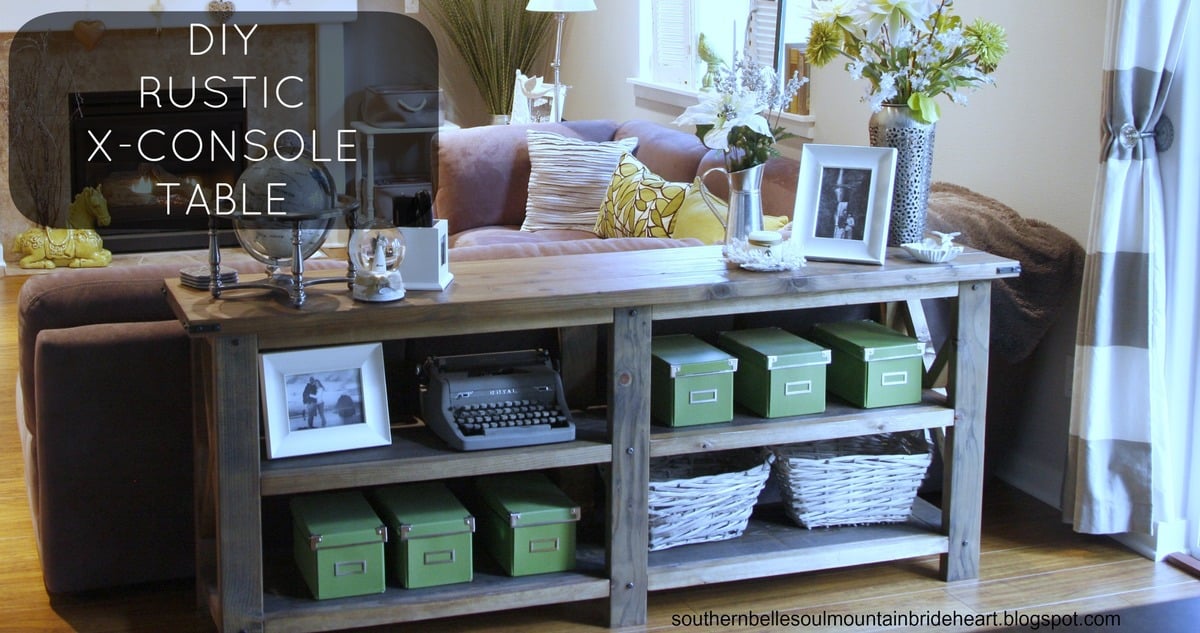
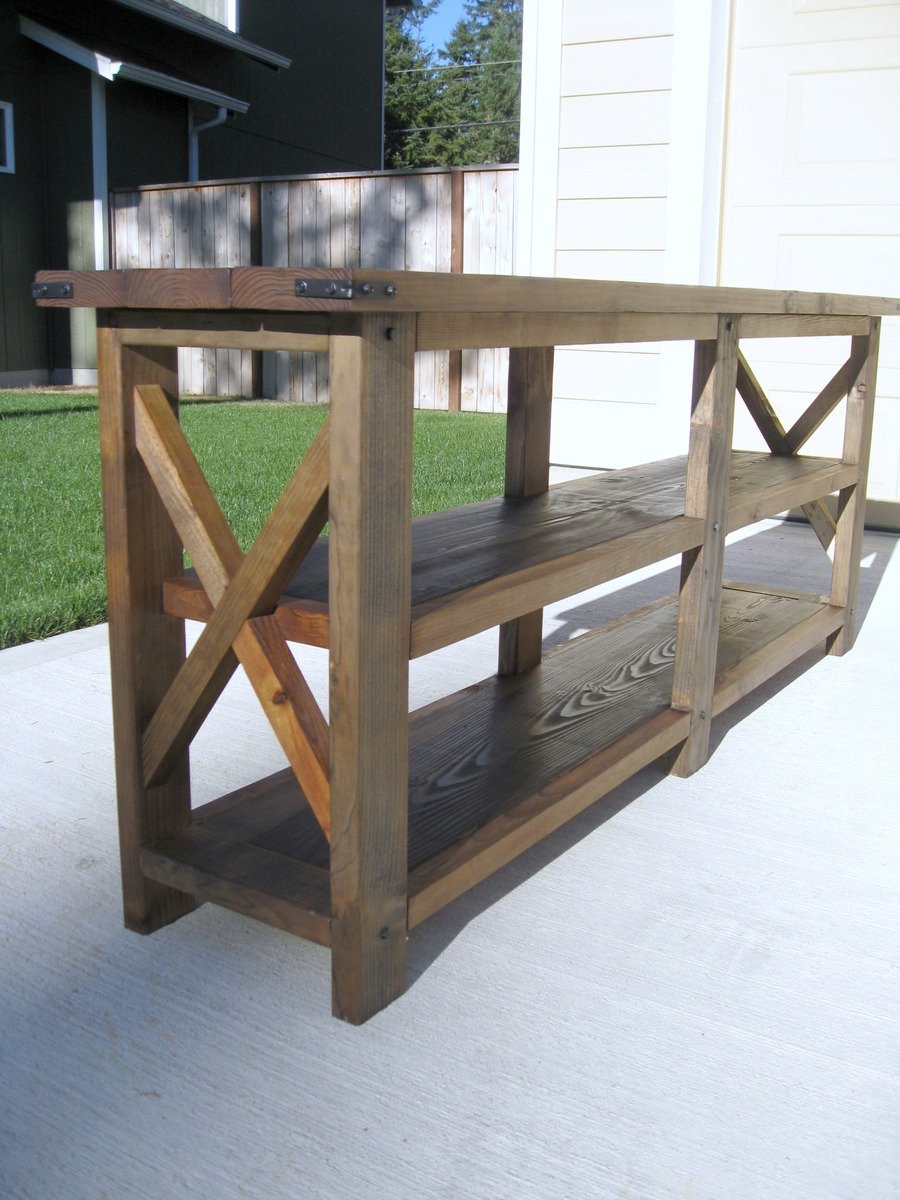
There was a large hole in our living room. A large hole between our couch and the kitchen! I have always been obsessed with console tables, but never in a million years thought of ever building one!
And so, with the help of my sweet Blake, we were able to create this amazing, rustic, industrial, shabby chic, yadda yadda yadda PERFECT FARMHOUSE X-CONSOLE TABLE!!!
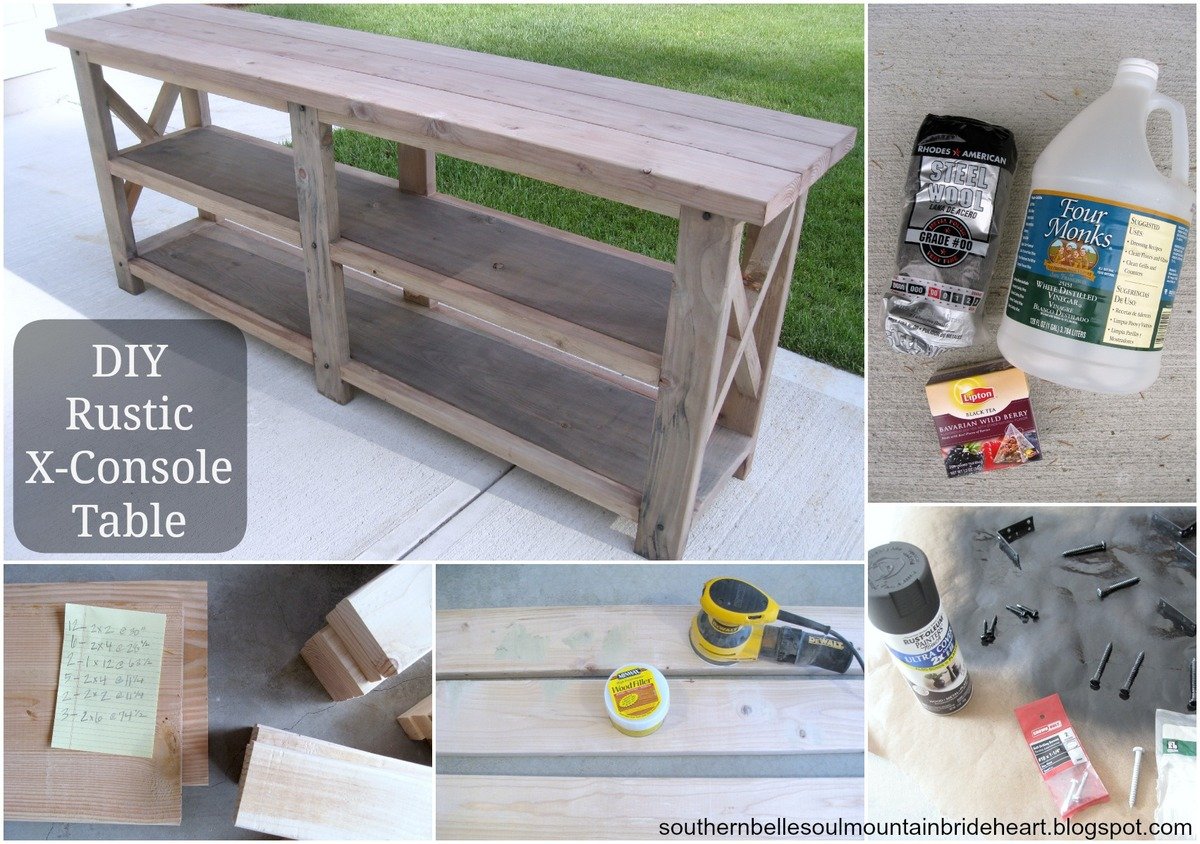
And no, we can't take all of the credit. We found this unbelievable plan on Ana White's Website here! She gives a perfect step-by-step-tutorial. All together, this project cost us roughly $75 and two days worth of time, but I can assure you, buying a solid wood console table at a store would cost nearly $500! Not to mention, WE made it, together...and so forever this will be ours. :)
Thanks Ana, we love ours! :)
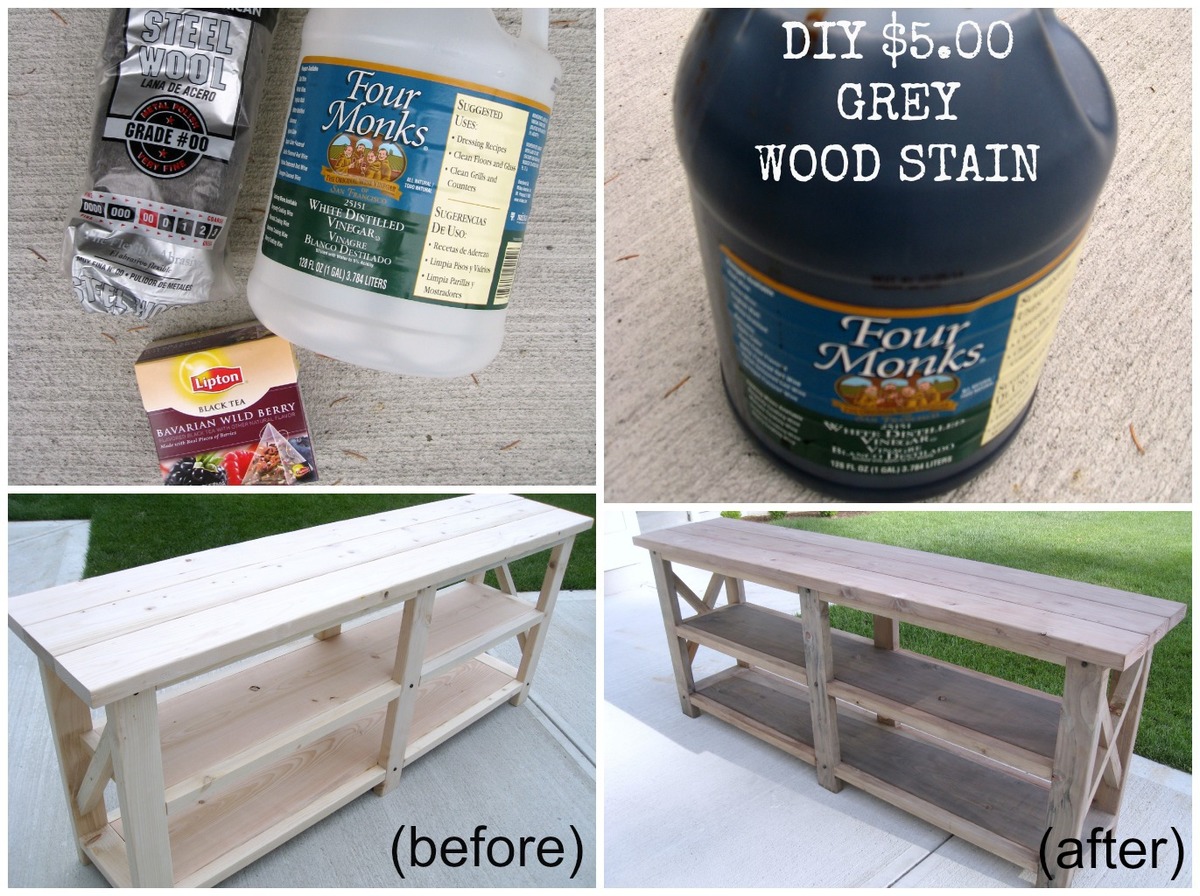
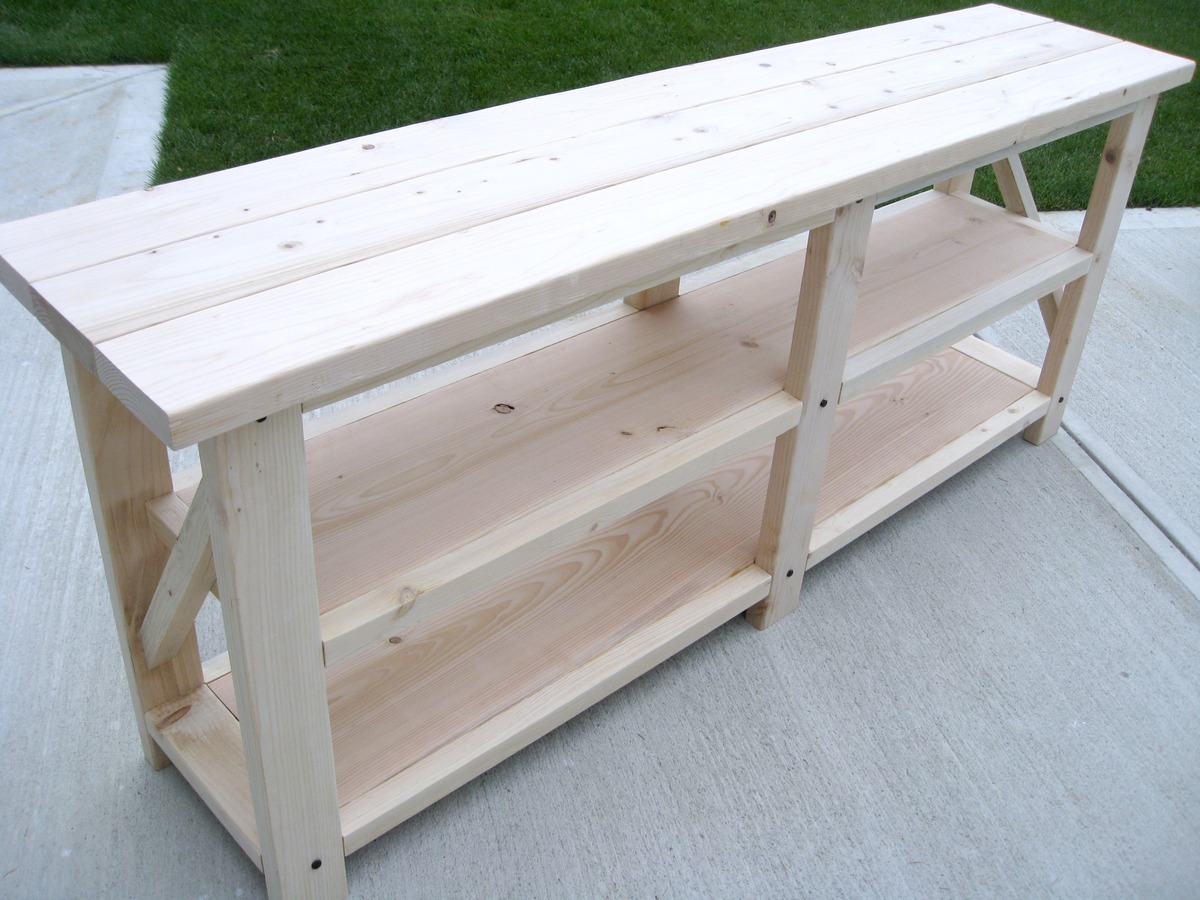
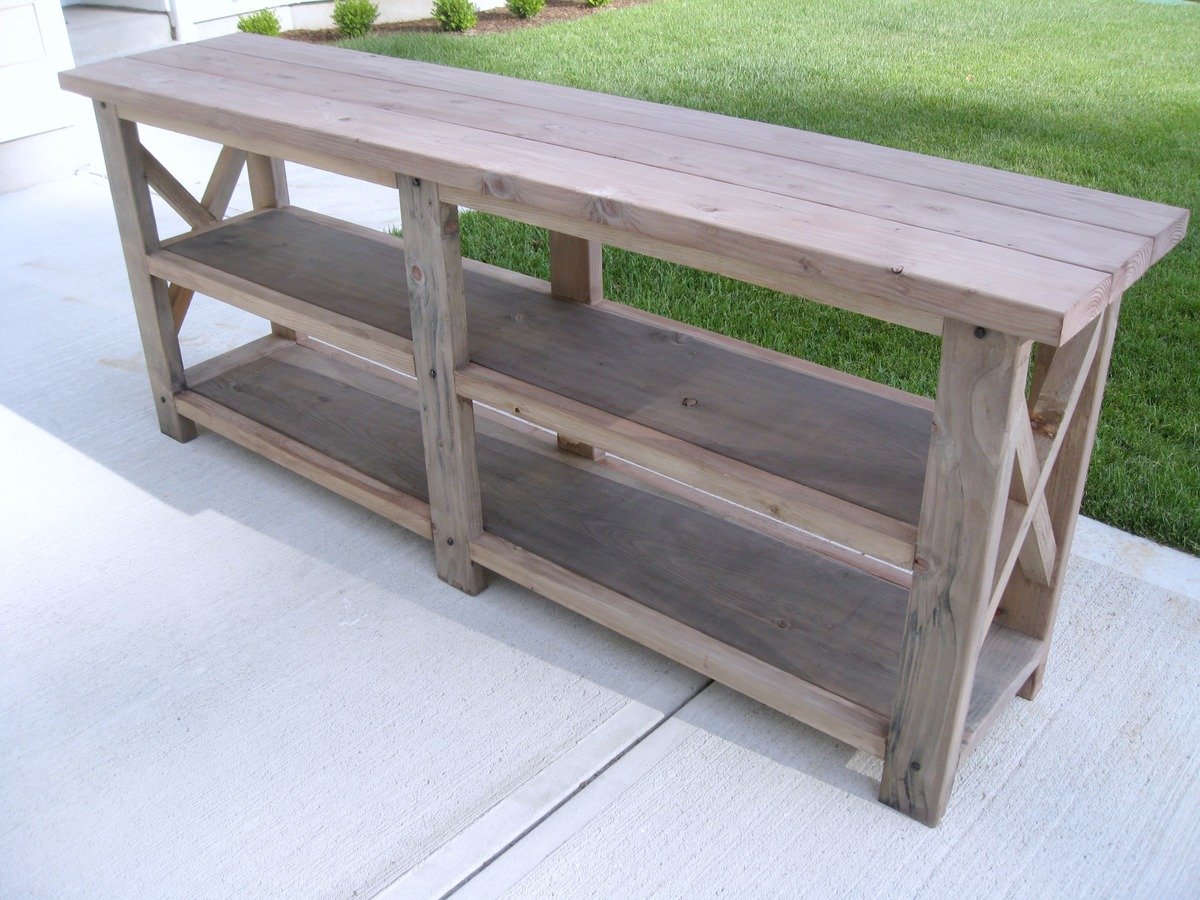
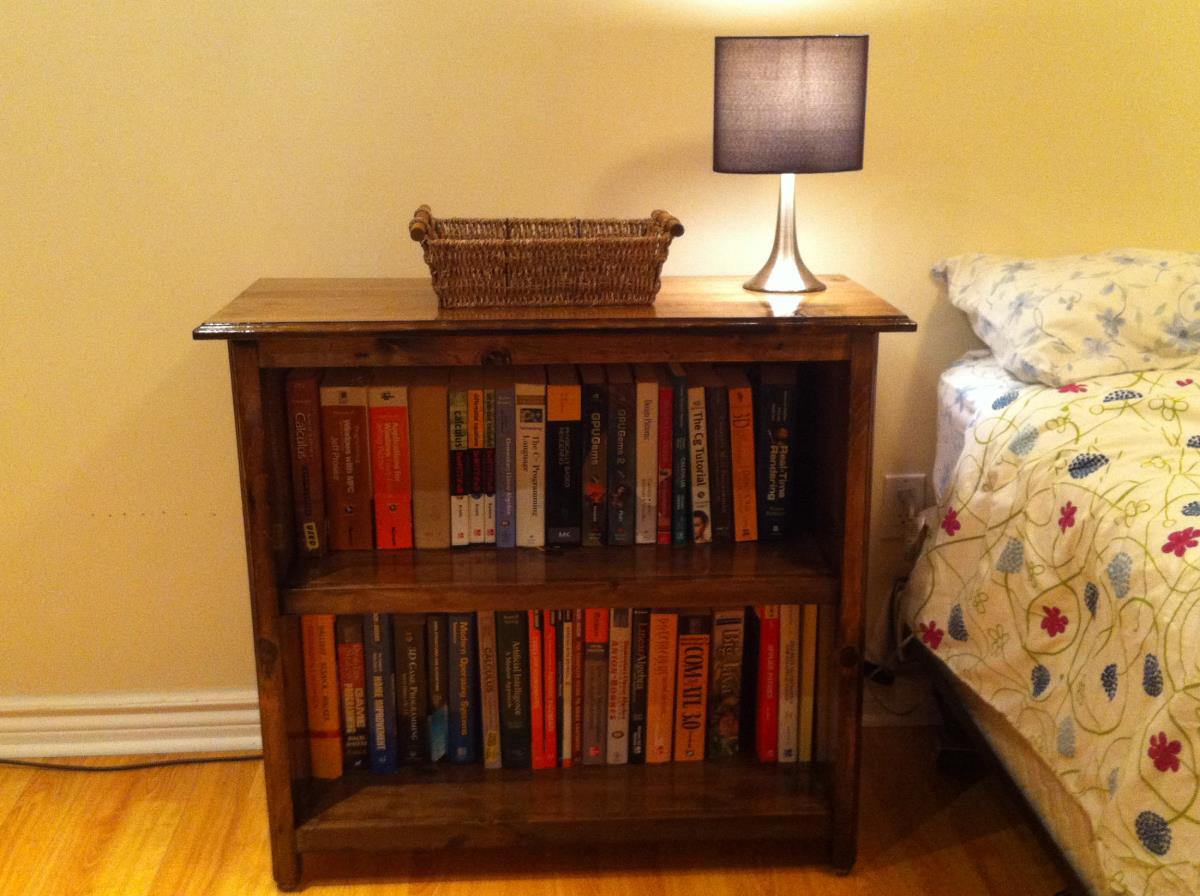
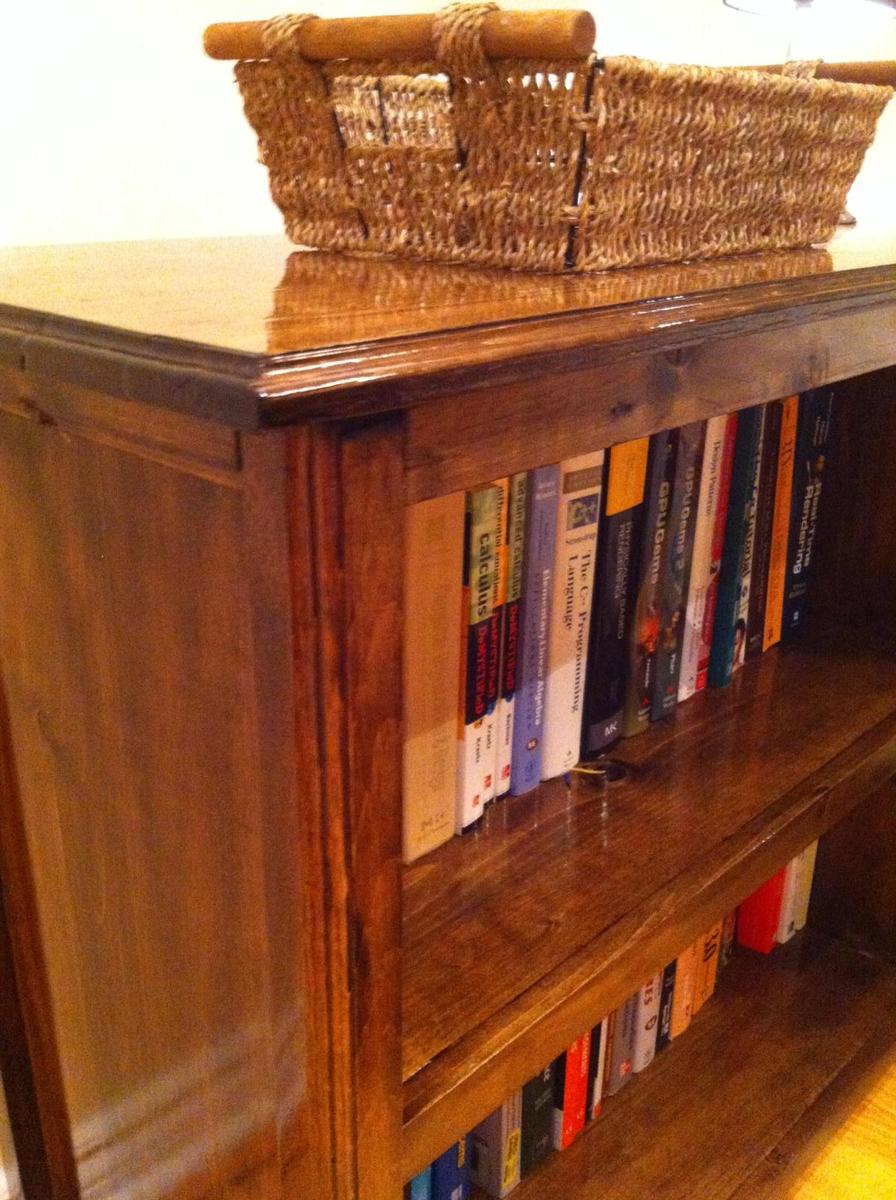
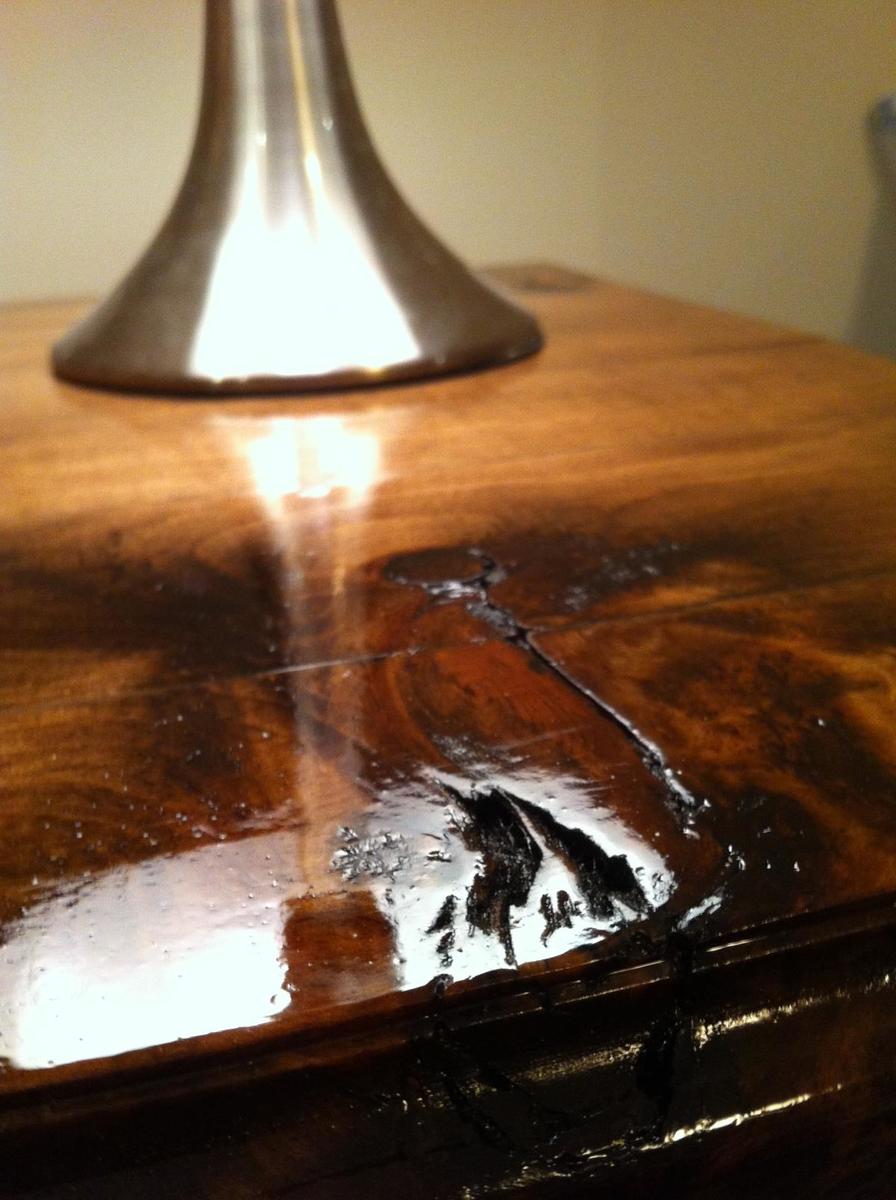
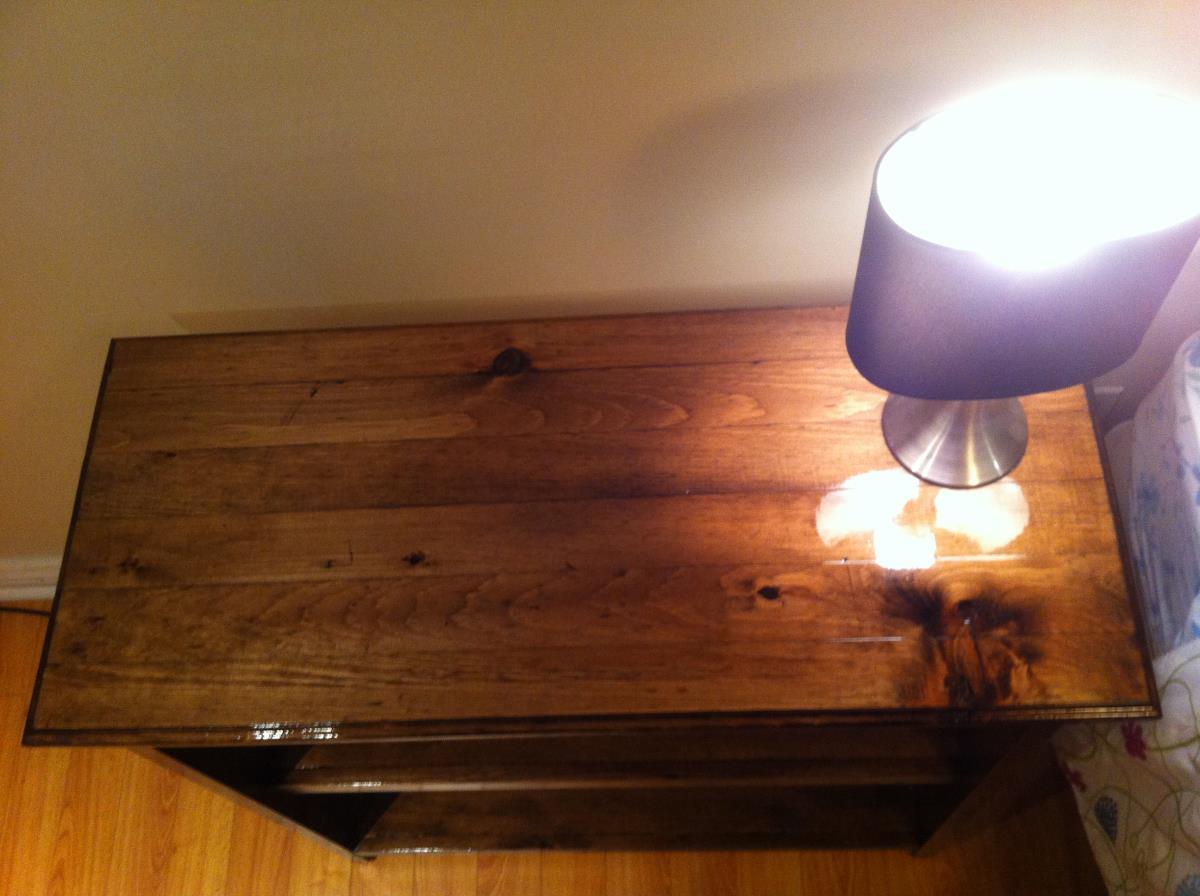
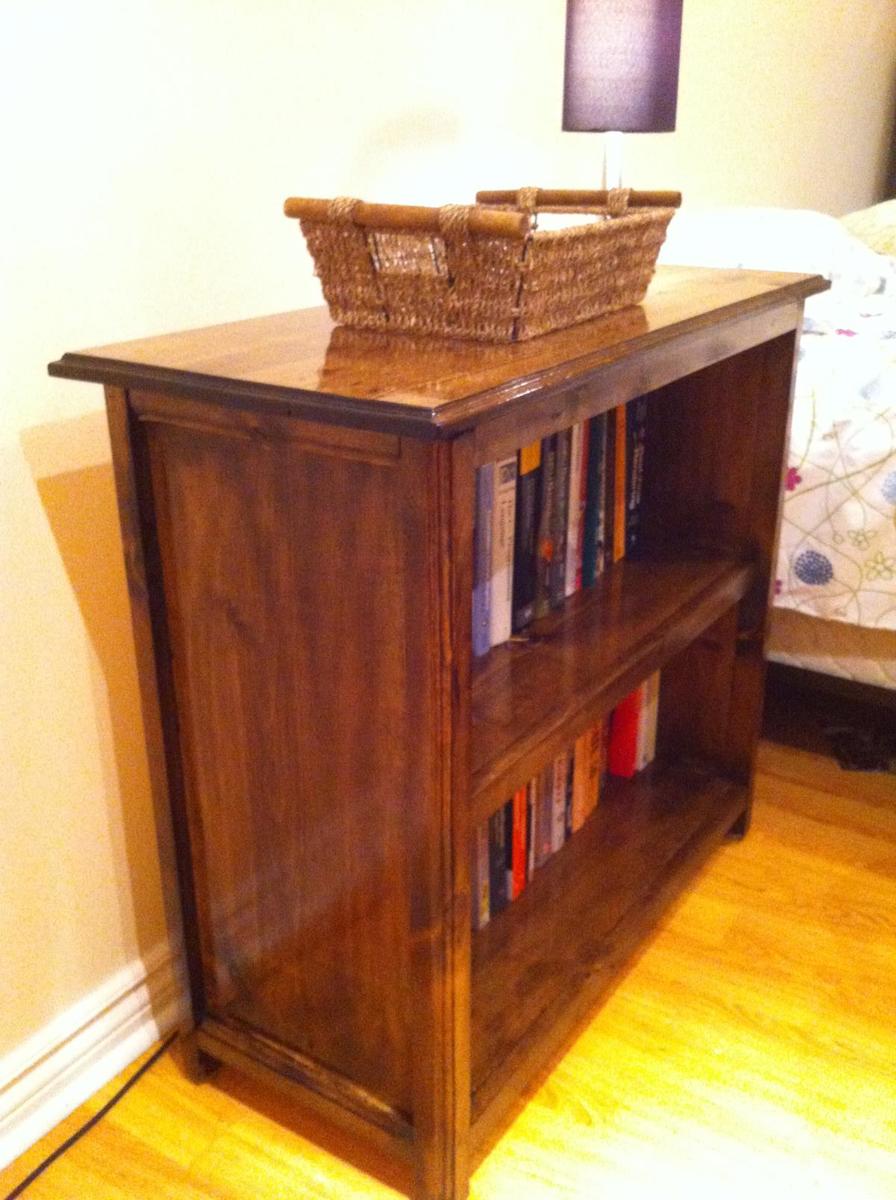
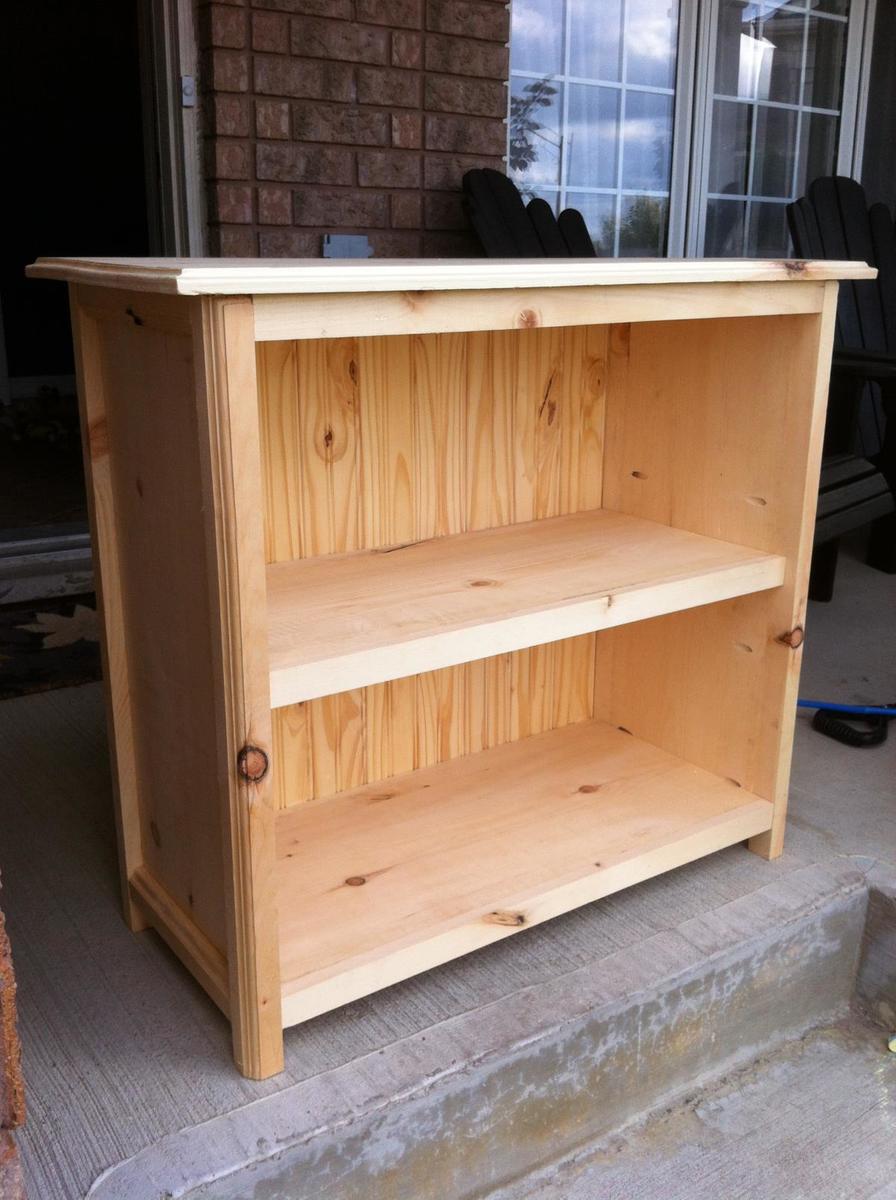
This is a modified version of the Kentwood Bookcase to be shorter and wider to fit my space. I used my router for the first time on this project giving the legs and top a little bit of flair. I also wanted it super glossy, so I applied three coats of Minwax high gloss polyurethane.
One lesson I learned for my next project is that "stainable" wood filler isn't actually stainable. I'm quite disappointed with how visible my Kreg pocket holes are on the front - I'll be sure to make sure they're all hidden next time.
Mon, 10/13/2014 - 13:32
This is beautiful! You did a good job, and I love the finish. I can't see the pocket holes in your finished pictures even after you pointed it out.
I used wood filler that was tinted the same color as the stain last time, and it was great.
Mon, 03/30/2015 - 20:23
Wow!!! This is so beautiful, and the stain job on pine...just wow!! You did such a great job with the router and I can't even find the kreg jig holes even though you said it. The plugs made for those work out perfectly though and are pretty cheap for a huge bag to have around.
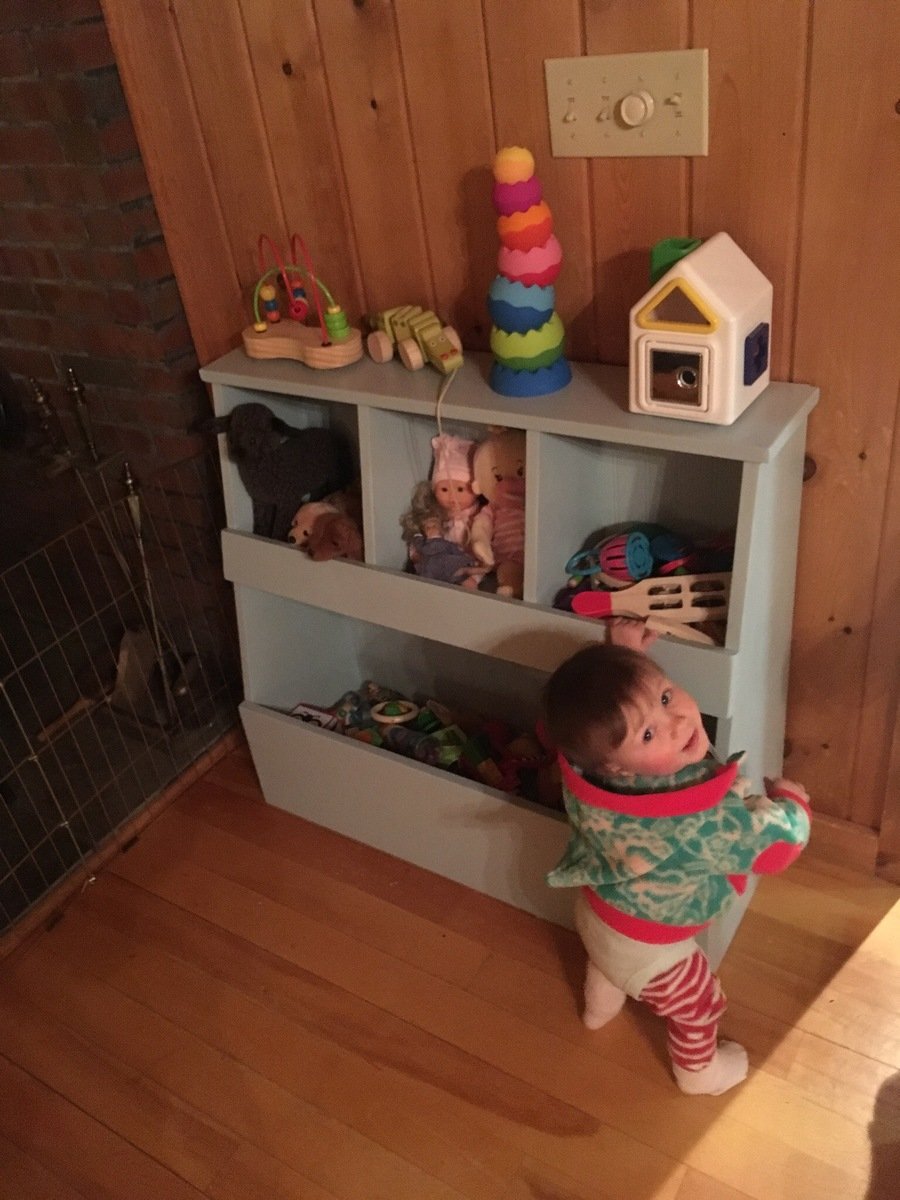
Loved making this toy bin with my mom-in-law. Simple and perfect for our needs.
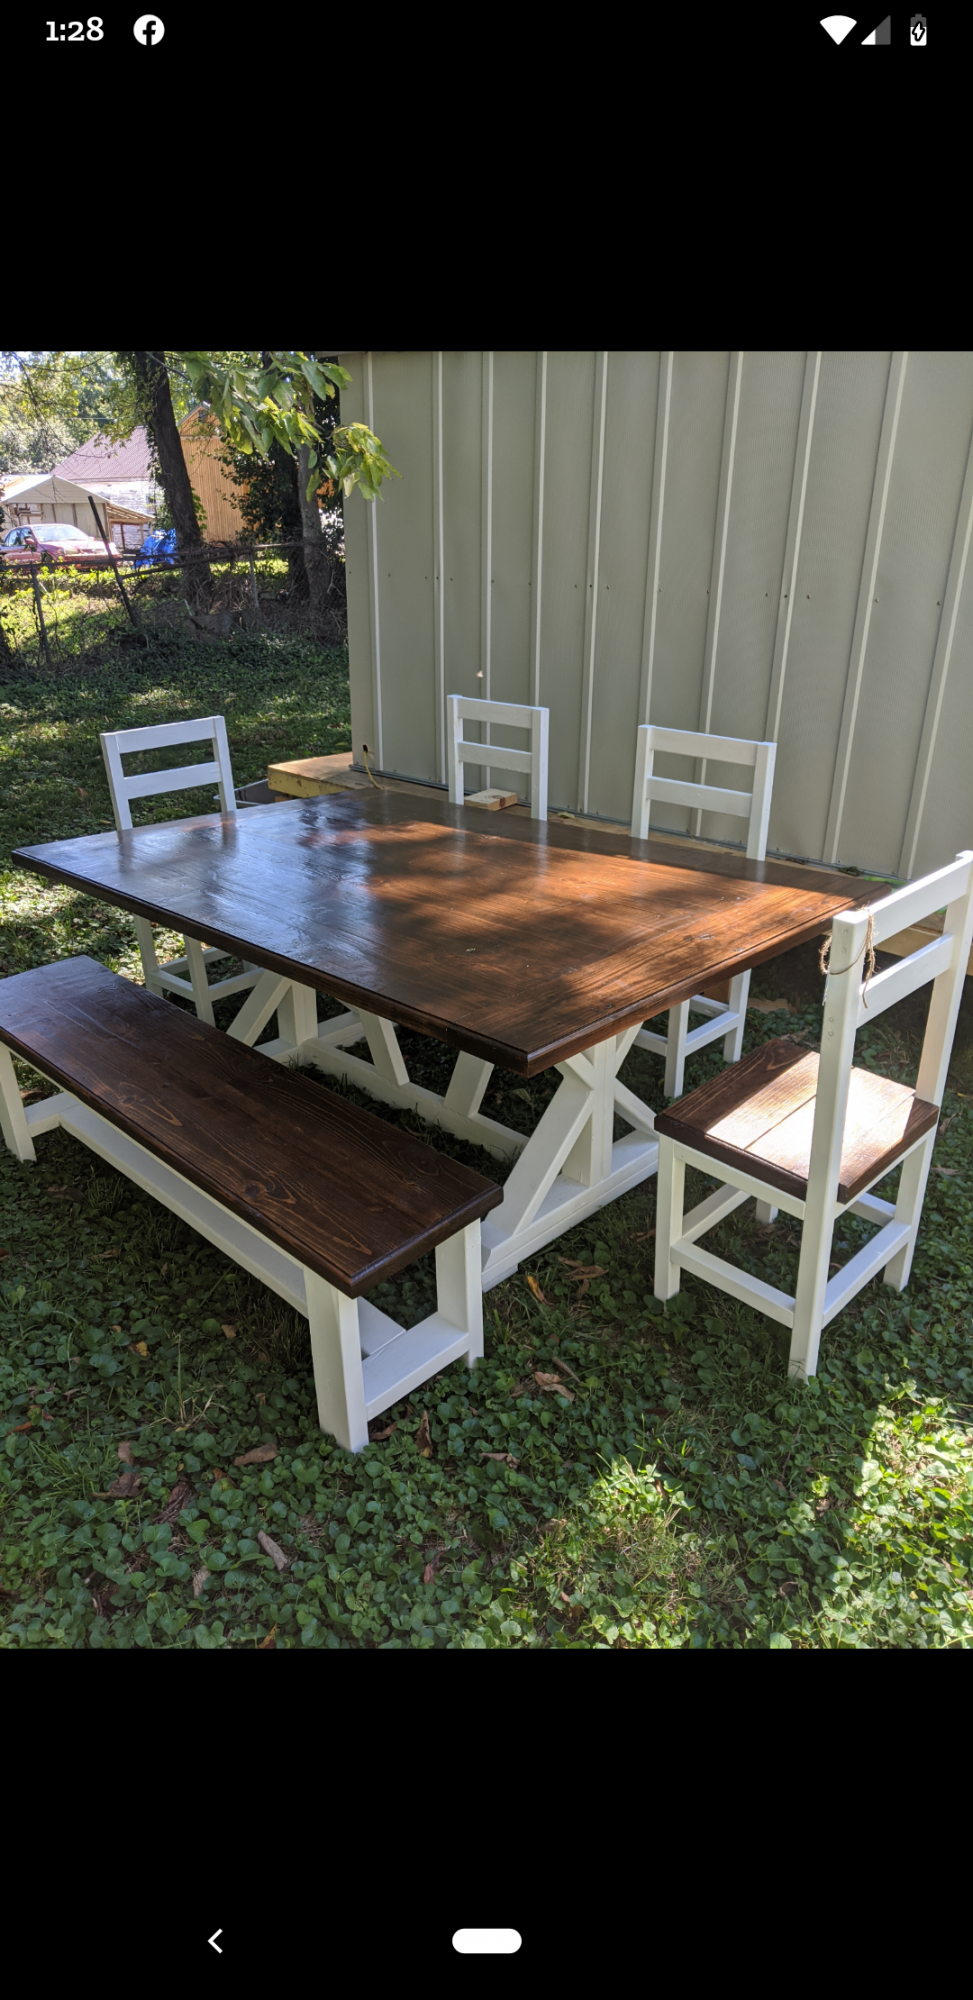
Just a few of our Fancy X farmhouse tables. Along the way, we where able to put our own spin on the original plans by Ana White.
I built this full size headboard for my son. It was a fun project and he loved the fact that I did this for him.
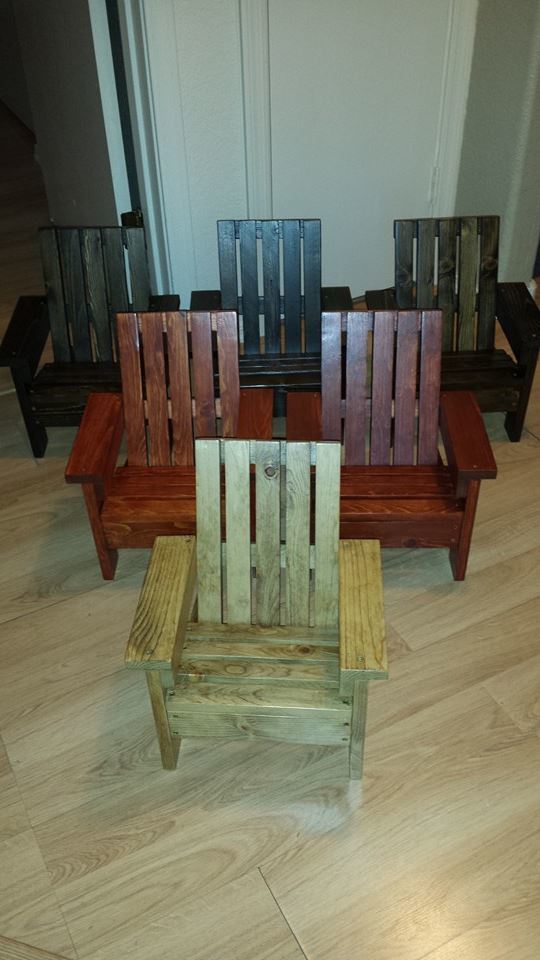
We built 7 for our 7 granddaughters (one girl already got hers so 6 pictured)! I used different stain colors for the different familys! Have to figure out a project for the 7 grandsons!
This was one of my very first wood projects and I LOVE it. I used a smaller circular saw, drill and orbital sander. I love how it turned out and now I have a DIY problem. :-)
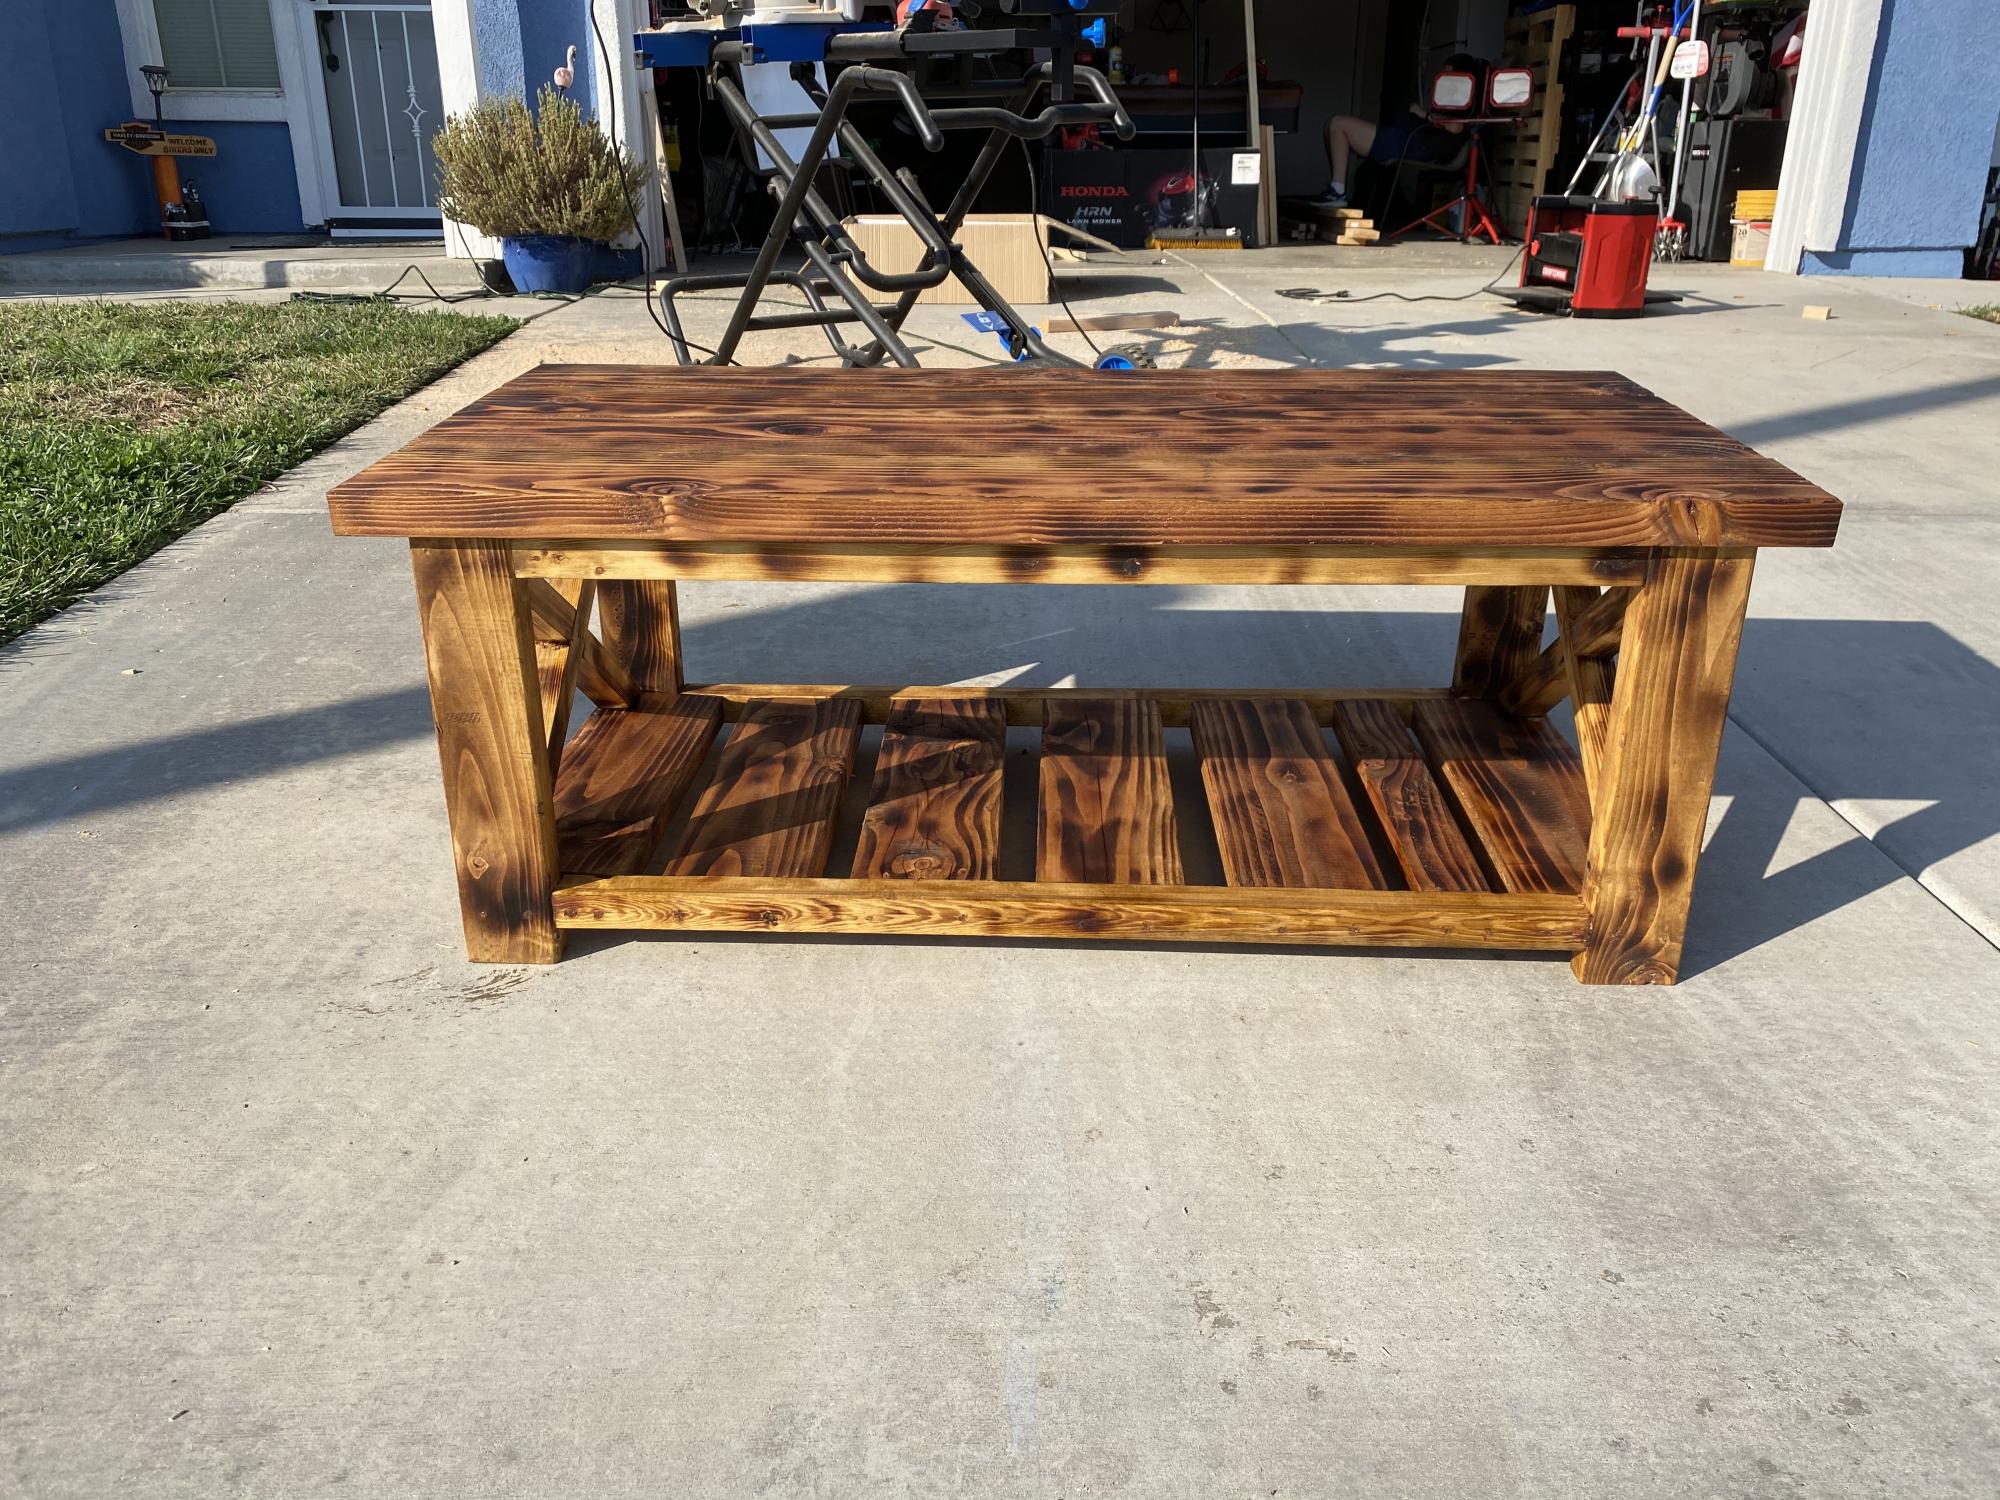
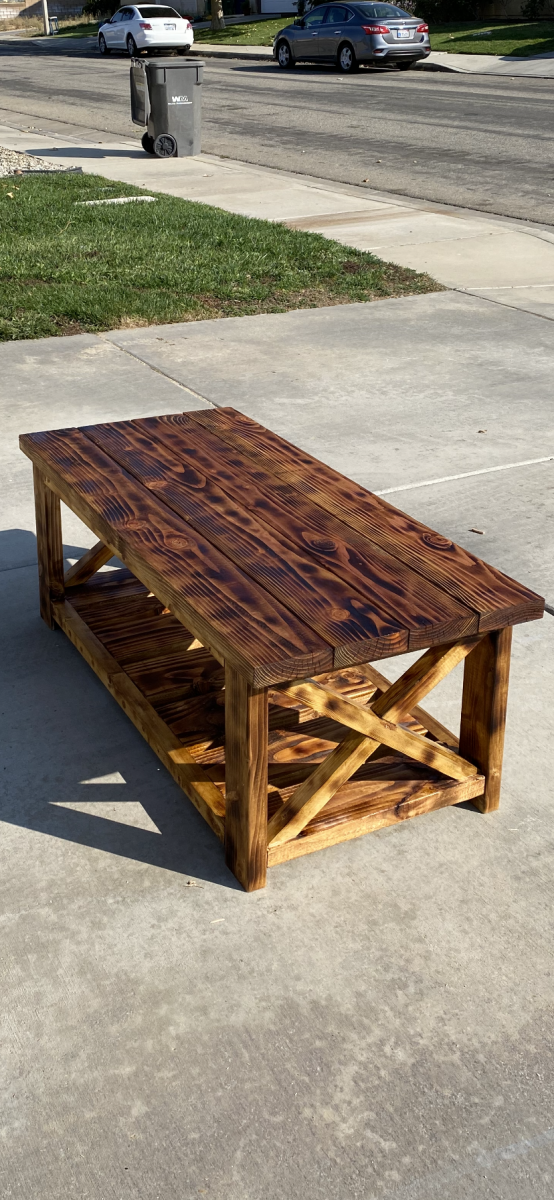
This is Ana’s beginner farmhouse coffee table. Was a blast to make and really enjoyed my first project
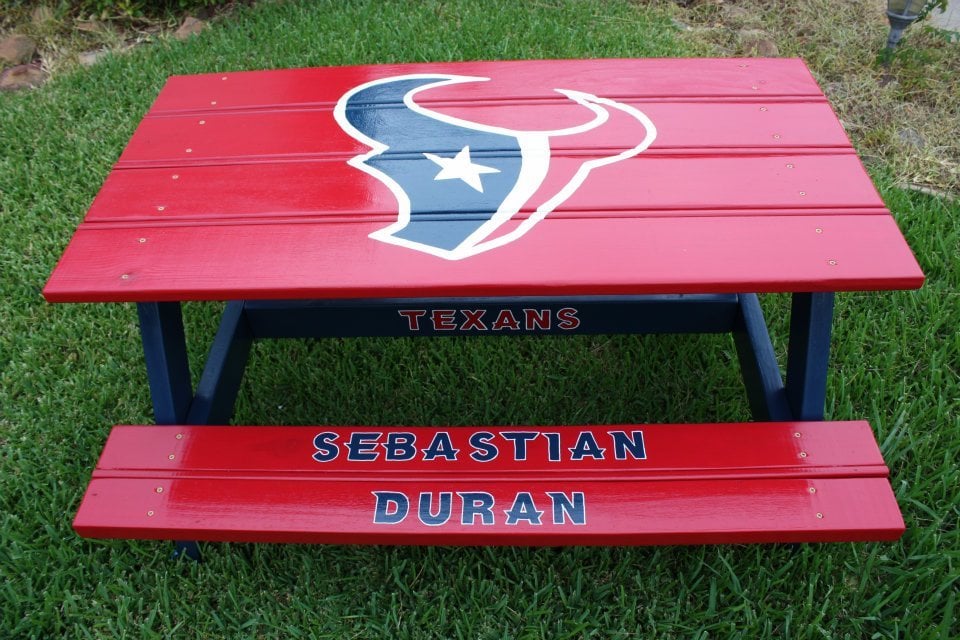
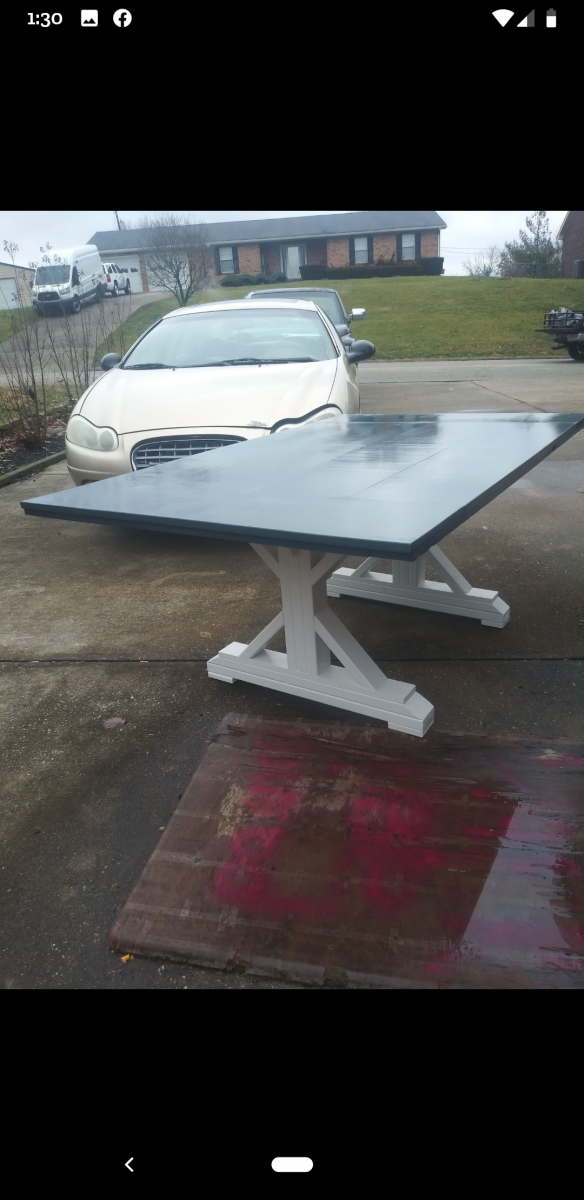
We have made several of these tables, but we have made an adjustment to where there are no gaps in the seats or the table tops!
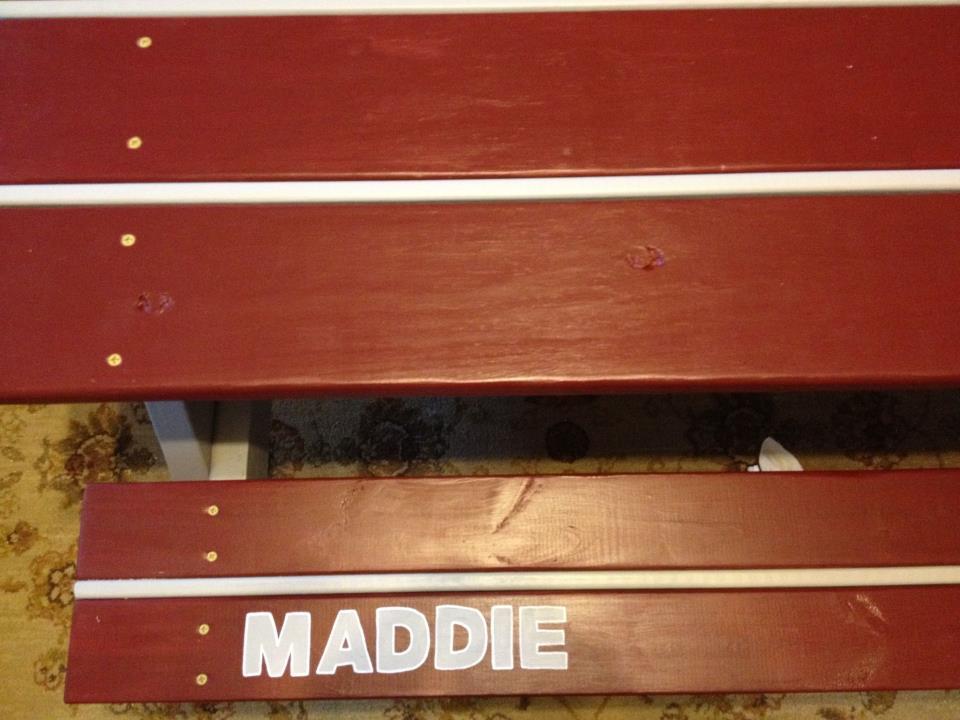
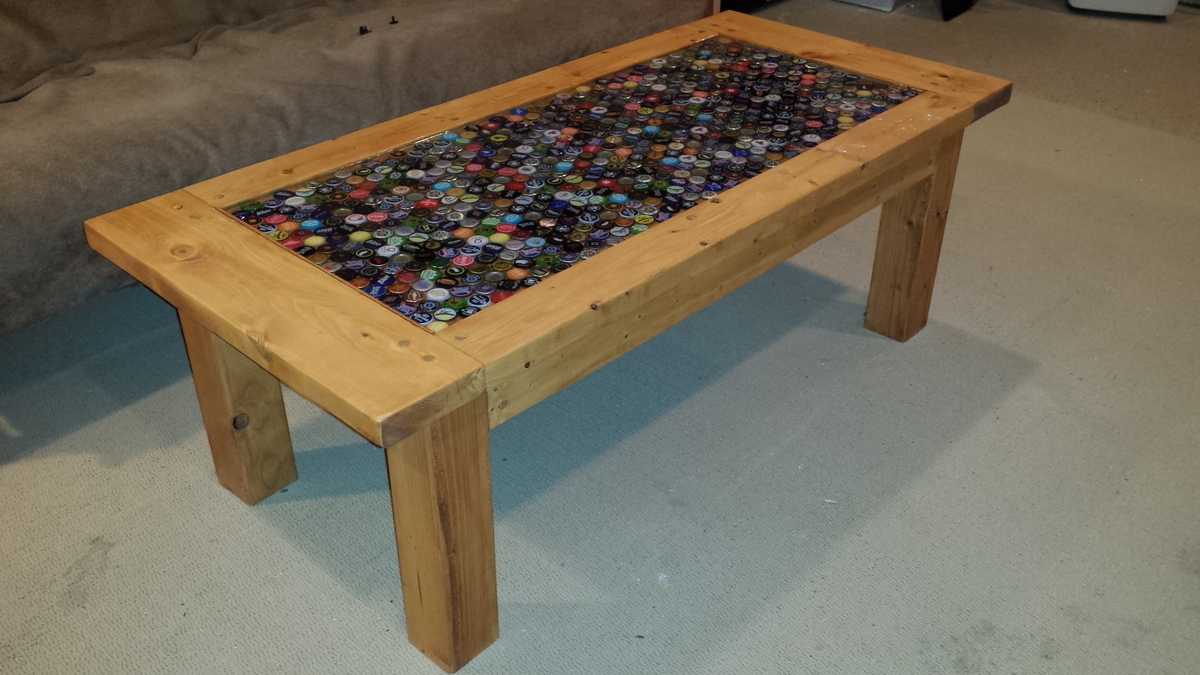
Modified the plans to incorporate 645 bottle tops instead of the center boards. Sealed the whole thing with a 2 part bar top epoxy.
Had to clean out my storage area to make room for my new woodworking shop, so a new shed was in order. Since my neighborhood does not allow large sheds i thought this would be the perfect fit for the small area right outside of the shop. I had to adjust the plan to make it narrow but longer. Used pressure treated fence pickets for the siding..