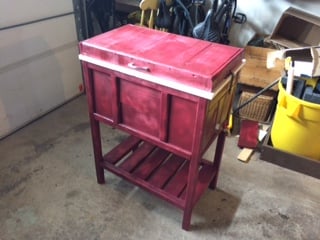
Entry Console
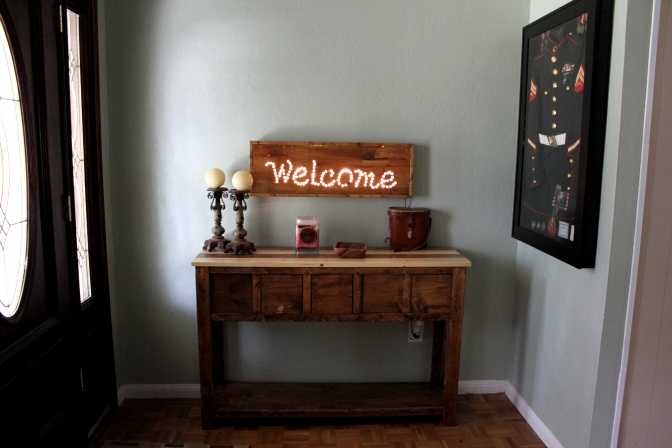
My entry was filled with a huge armoir/bar, that made the entire house feel cramped...So, I moved it and replaced it with this beauty!
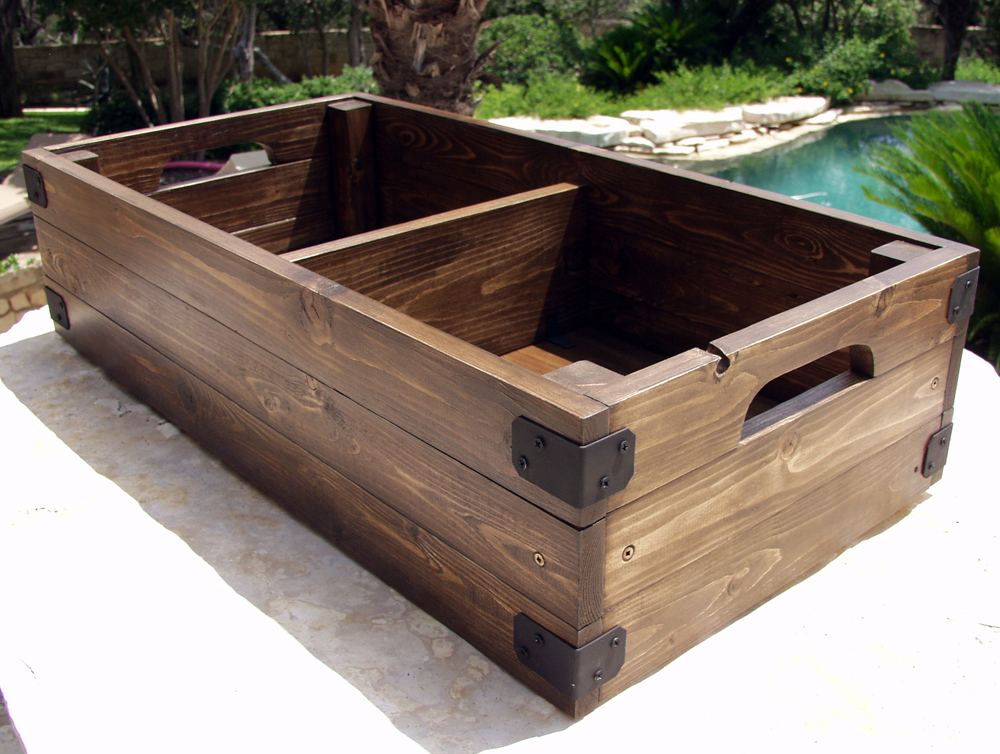
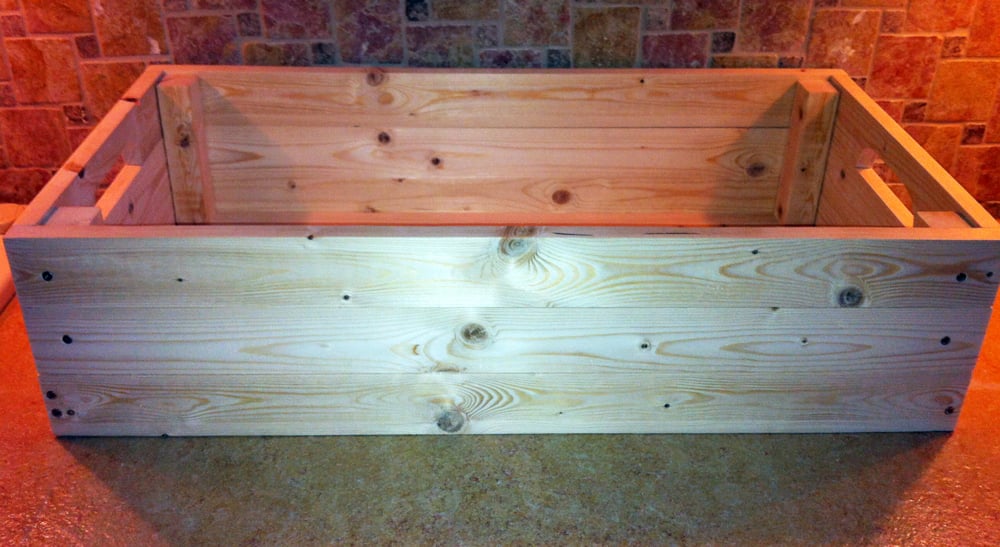
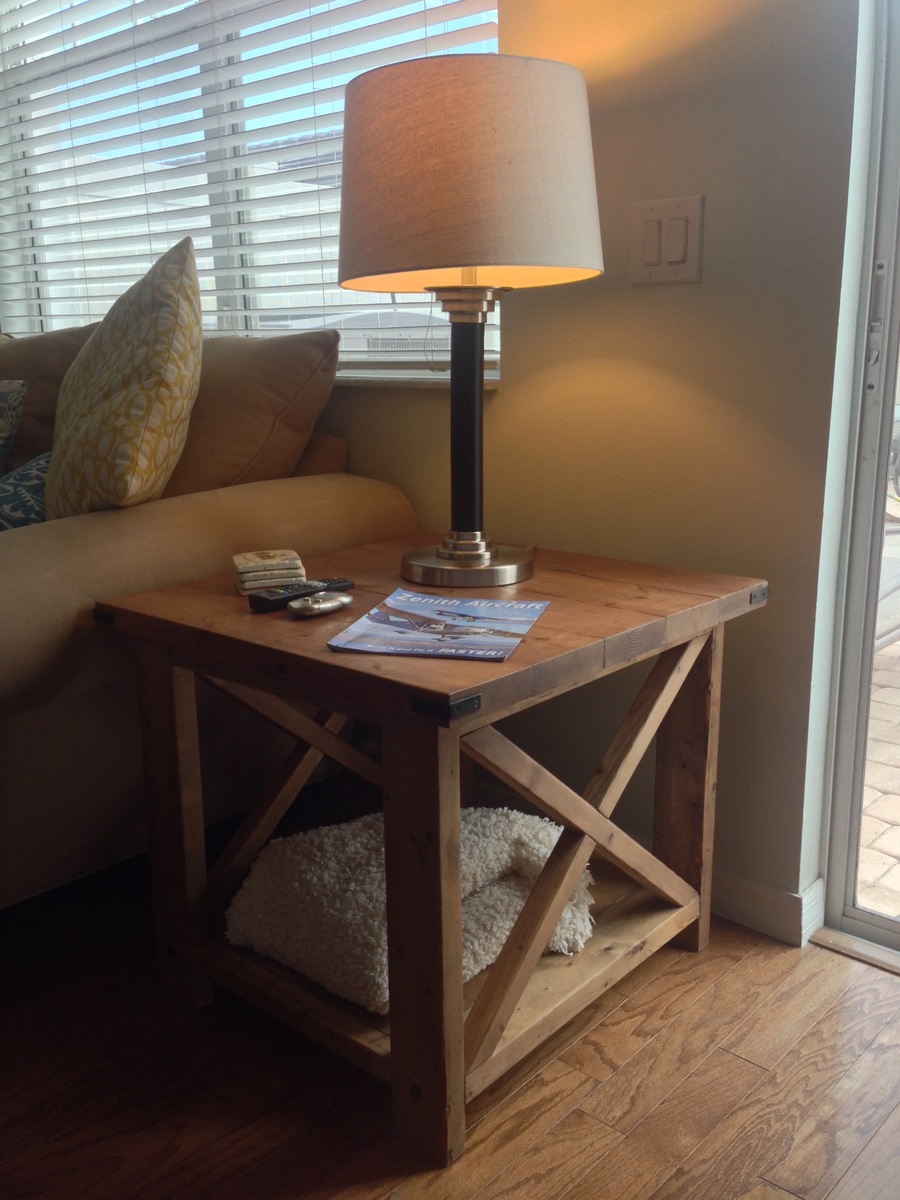
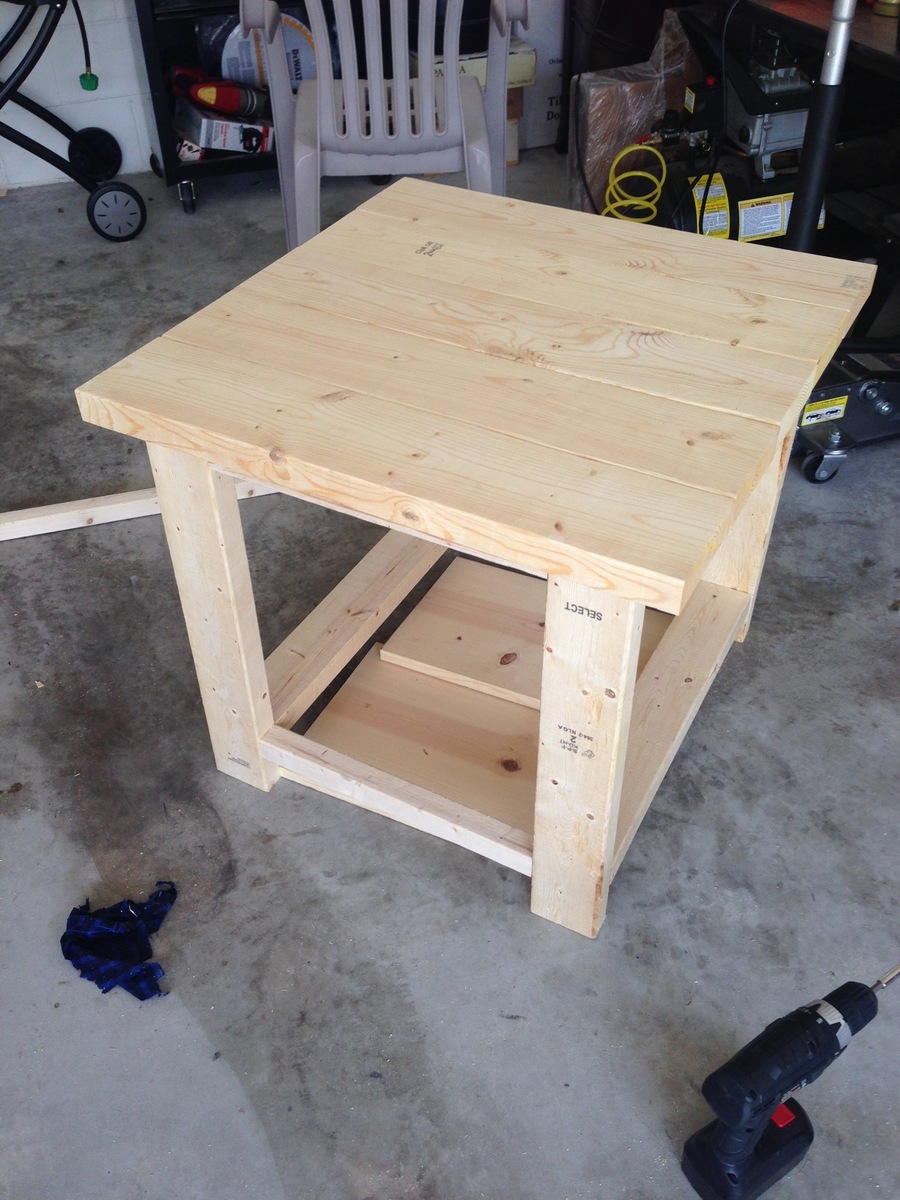
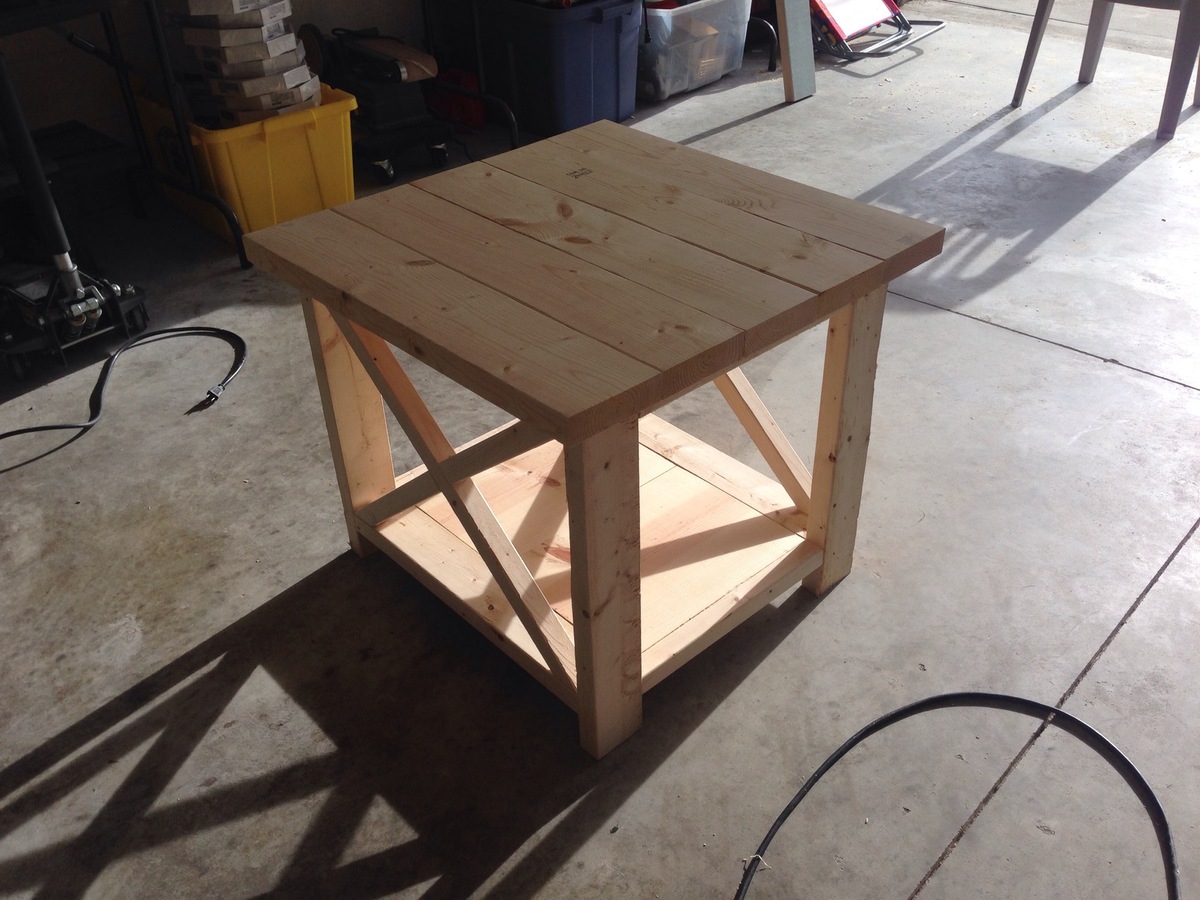
I wanted a shelf, so I used a 1x12 trimmed with 1x2's for this.
I modified and went with 5 drawers instead of 4...I have 5 boys, this way they each get a drawer for their stuff.
I also alternated finishes on the top boards to create a striped look.
Notice something missing? The hardware for the drawers! I cannot make up my mind on which ones to buy. ;) Any suggestions would be greatly appreciated!
I like the straight lines of this piece, so I want the pulls/knobs to be somewhat contemporary.
Built from Plan(s)
Estimated Time Investment
Day Project (6-9 Hours)
Finish Used
for the top- alternating stripes of natural and early american by Rustoleum
everything else- early american stain by Rustoleum
followed by 2 coats of satin poly
everything else- early american stain by Rustoleum
followed by 2 coats of satin poly
Recommended Skill Level
Beginner


Comments
OH3
Mon, 08/05/2013 - 09:22
OOHRAH SGT OF MARINES!
Love the way this came out - have you deceided on hardware yet? I suggest this http://www.restorationhardware.com/catalog/product/product.jsp?productI…
in oil rubbed bronze