Community Brag Posts

Doll house book shelf

Submitted by mybartmart on Tue, 12/25/2012 - 12:34

Doll house book shelf: made this for a friend and her daughters. At first I didn't realize my chop saw could not cut the 12 inch wood, had to use my circular with clamps. I think if I build again I might try mdf as it is cheaper or pocket drill some wood together.

This was a bit harder to build than I thought it would be had help from hubby!

Built from Plan(s)
Estimated Time Investment
Week Long Project (20 Hours or More)
Finish Used
White high gloss door and trim paint the blue is a custom colour I made and had tinted at Home Depot.
Recommended Skill Level
Intermediate

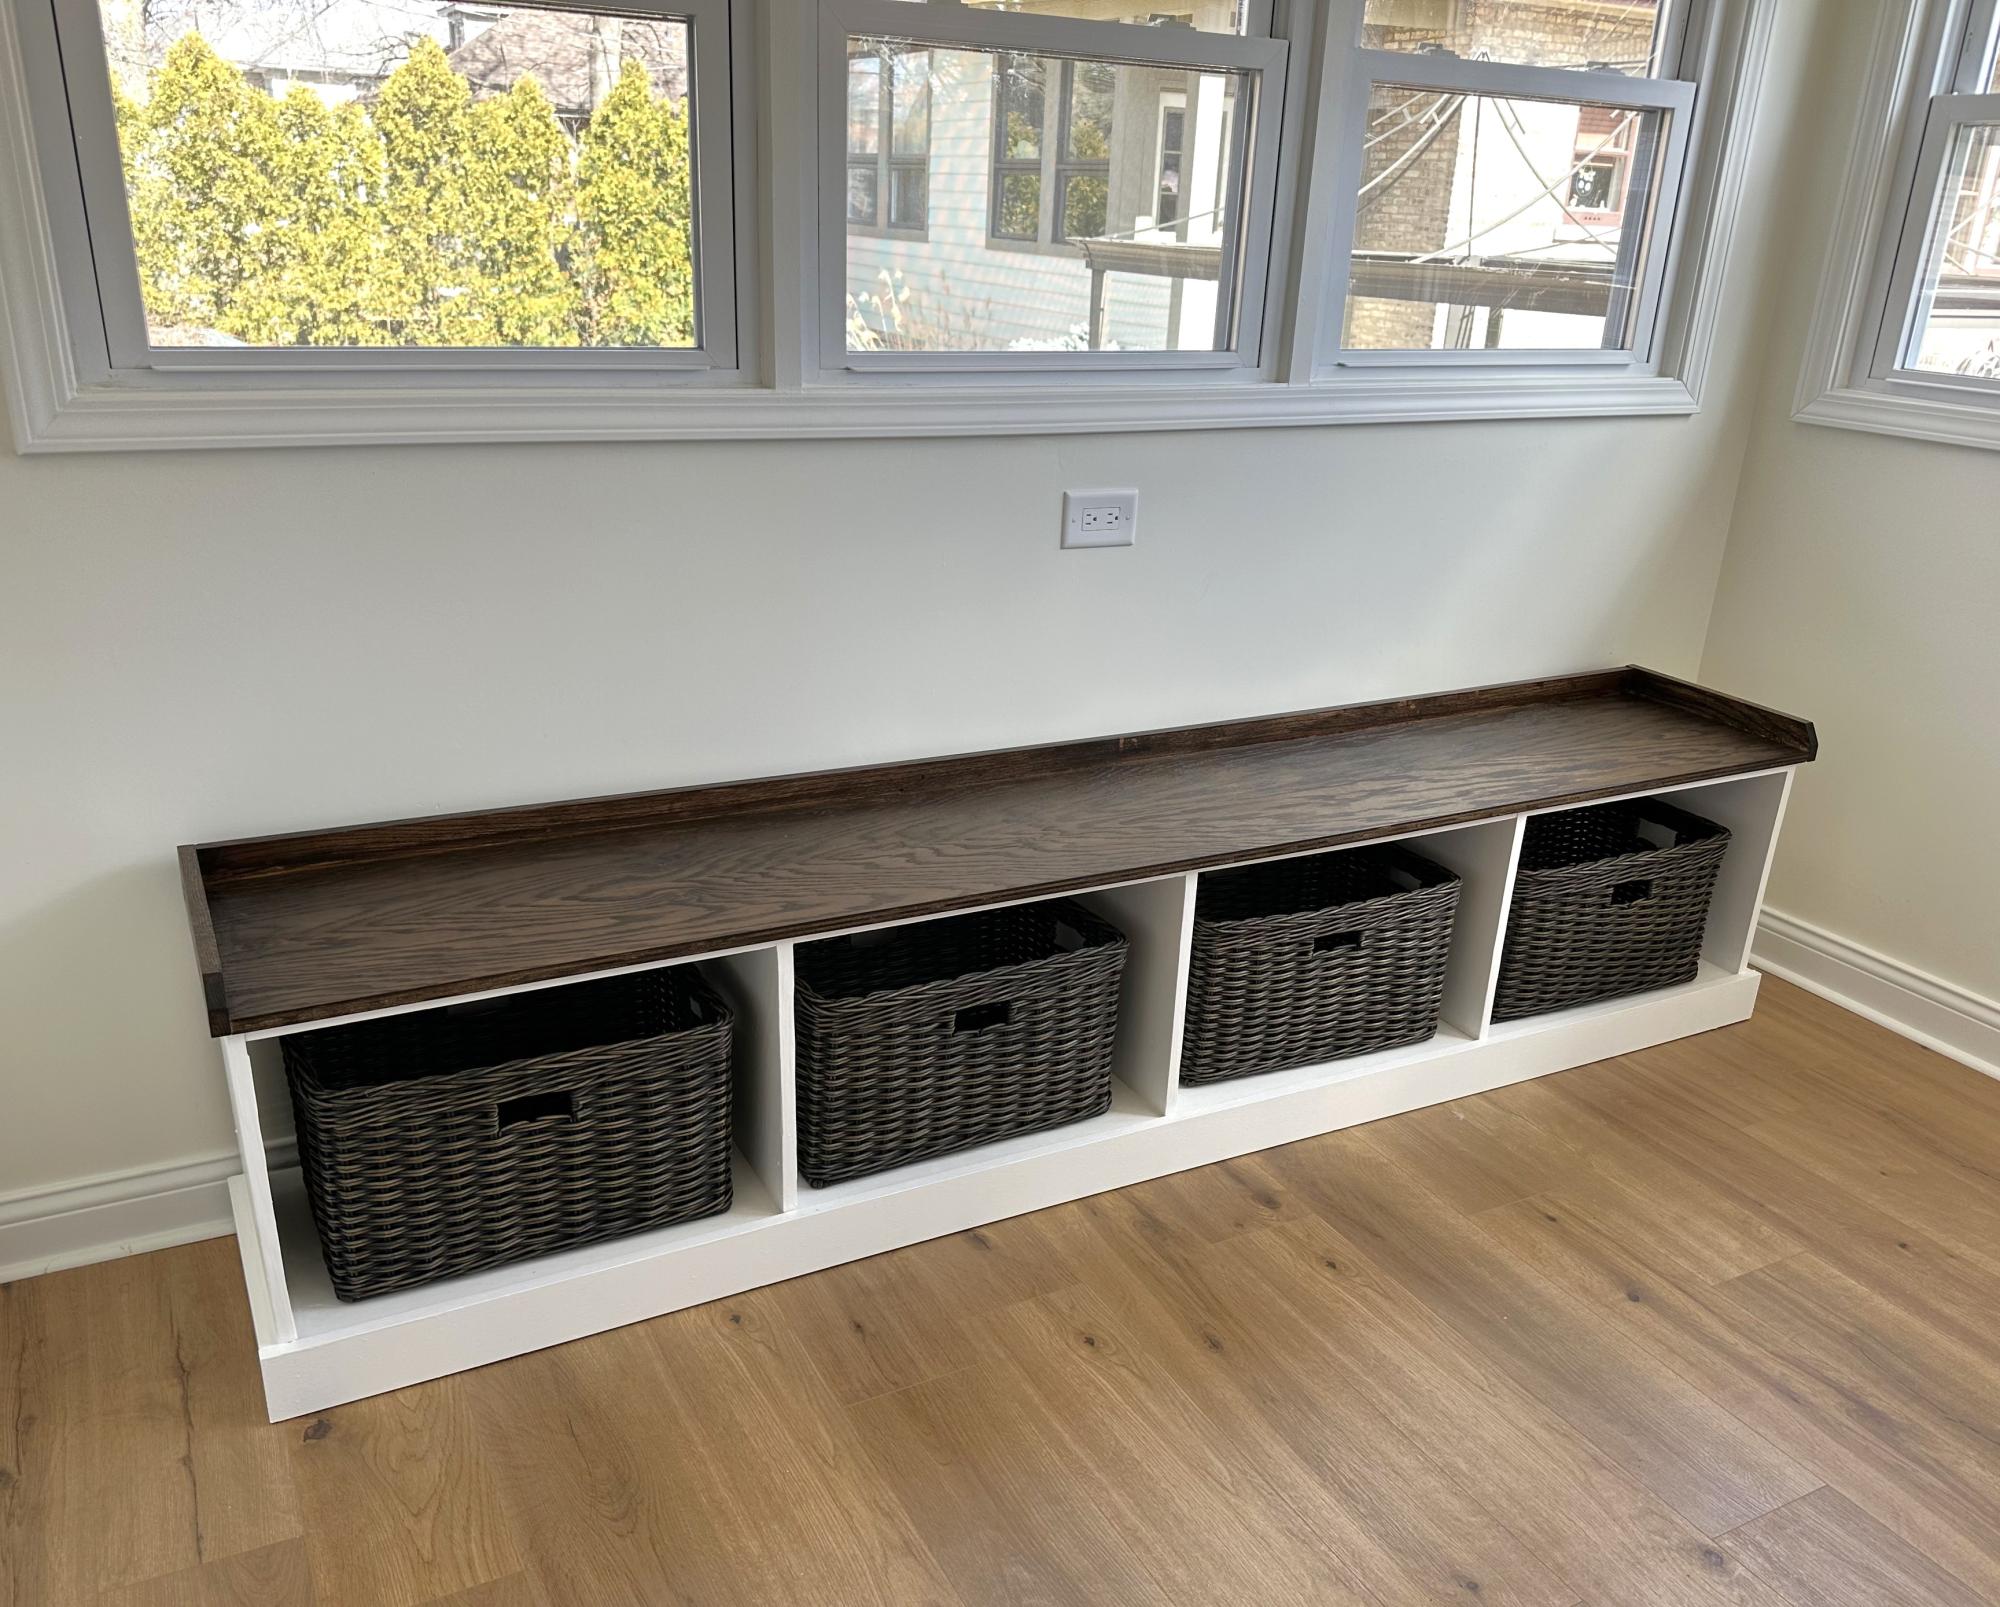
Mudroom Bench & Cubbies

Submitted by MegsBK on Sun, 10/05/2014 - 08:48

I used the Smiling Mudroom as a starting point, but had to make some modifications for size and to accomodate the fact that I couldn't secure much to the wall behind the bench because there is a pocket door in that wall.

The main difference in my plans is that the sides of the cubby/bench are continuous instead of broken into Cubby, Divider, and Bench. I think it would have been easier to keep things square (which I didn't, really) and certainly could have moved it all by myself without any husband help (but he needed to feel useful, right?) if I had built it as separate pieces. But, it was worth a shot.

Up close it's a bit rough looking here and there because I got the plywood that is only sanded on one side (Home Depot guy was less than helpful when I asked to find the furniture plywood). So I had to do a lot of extra sanding and filling myself and at some point I just threw up my hands and said "RUSTIC! It's done."

Minor errors aside, I am really happy with this. It was my first big project, and first one with the Kreg jig, and I had fun.

Built from Plan(s)
Estimated Cost
$200
Estimated Time Investment
Week Long Project (20 Hours or More)
Finish Used
Kilz primer
Benjamin Moore Advance semi-gloss "Oxford White"
Hooks: black single hooks along back are from Home Depot; white locker hooks are from local hardware store that is part of the Do it Best chain.
Recommended Skill Level
Intermediate

Comments

Veronica P

Wed, 10/08/2014 - 20:40

If there are any "minor errors" on your build, they're not visible in the picture! It looks gorgeous to me! :)

Farmhouse x desk from handmade haven

Submitted by Dbridge125 on Sun, 10/04/2020 - 18:58

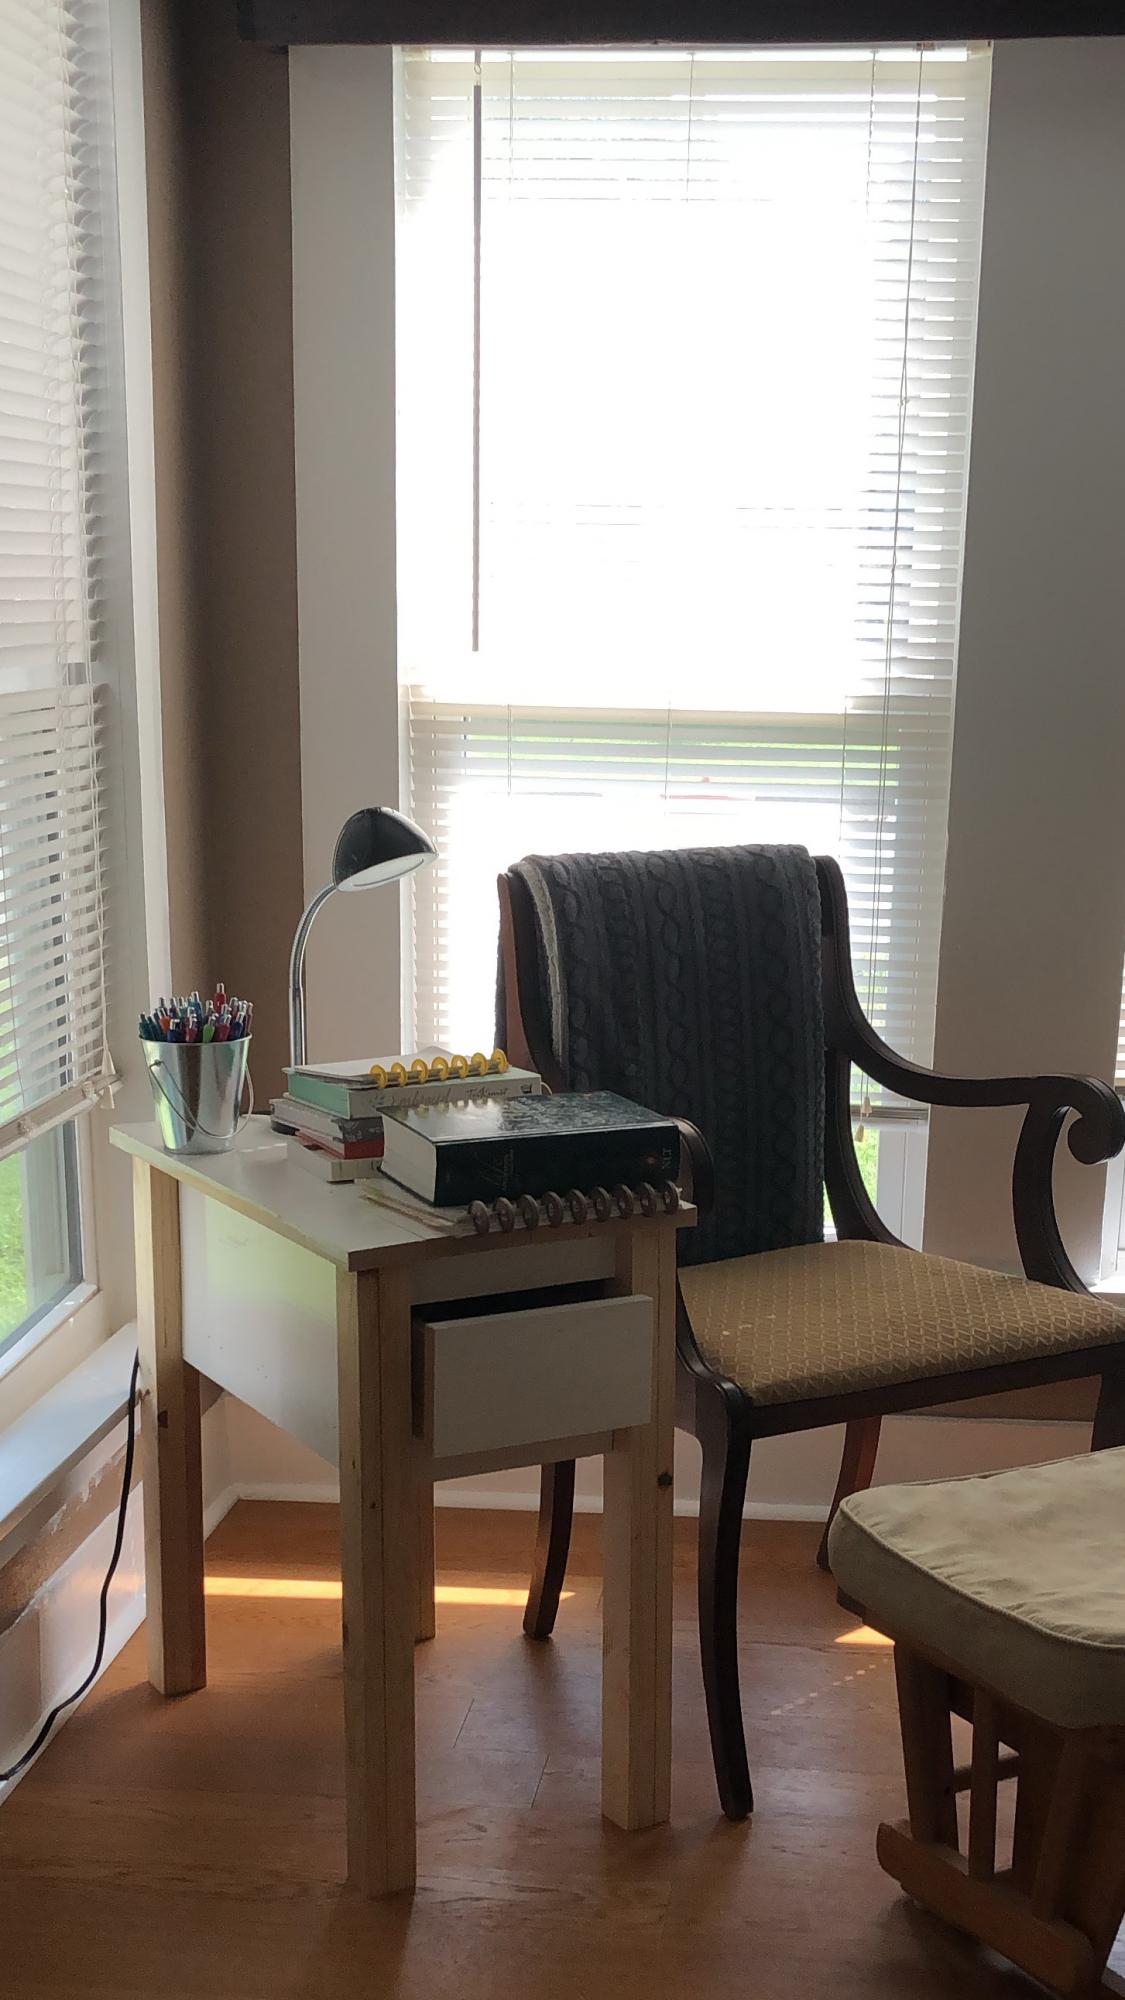
I used the plans from Handmade Haven and added a pencil drawer with dovetails

Comments

Clara Table and 4 Dollar Chairs

I recently built the Clara table and the four dollar stack-able chairs for my two kids as a Christmas present. Like most plans on this site, they were easy to follow and the materials were easy to find. I own a Kreg pocket hole jig, so putting the pieces together was really easy. It took me about two hours a chair and around three to assemble the table. I used glue along with the pocket holes, so the joints are nice and strong.
I sanded and finished the table and chairs with a stain called "Early American" and I thought it turned out nicely. I also coated the table top with a polyurethane, to give it a nice, durable finish. Not only did it add some shine to the top, but also made the #2 pine I used much more kid resistant!
Thanks again for the great plans, I look forward to building more.

Built from Plan(s)
Estimated Cost
$60
Estimated Time Investment
Afternoon Project (3-6 Hours)
Finish Used
Minwax Early American stain.

Sand all parts with 60-80 grit. Fill all holes with wood filler. Resand with 120 grit. Sand table top with 220 grit prior to stain. After two stain coats, coat table top with polyurethane. Resand with 220 after two to three hours. Coat with polyurethane and let dry overnight.
Recommended Skill Level
Beginner

Stacy Herringbone Daybed

Submitted by Anonymous (not verified) on Sat, 01/21/2017 - 08:06

My wife wanted a daybed for our guest room and this one was perfect. Thank you Ana and Stacy for the plans. My wife loves it!

Built from Plan(s)
Estimated Time Investment
Weekend Project (10-20 Hours)
Finish Used
we painted it using the color "Moss Print" by Behr
Recommended Skill Level
Intermediate

Comments

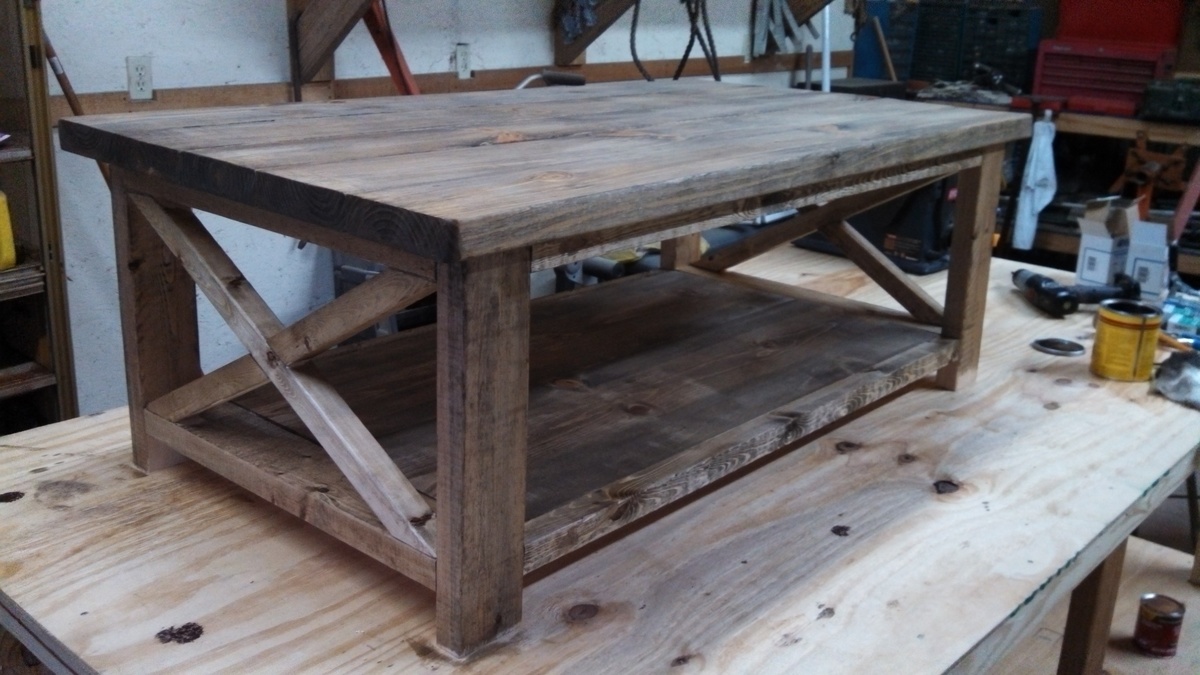
Rustic x coffee table

Submitted by Keldani5 on Wed, 10/07/2020 - 14:58

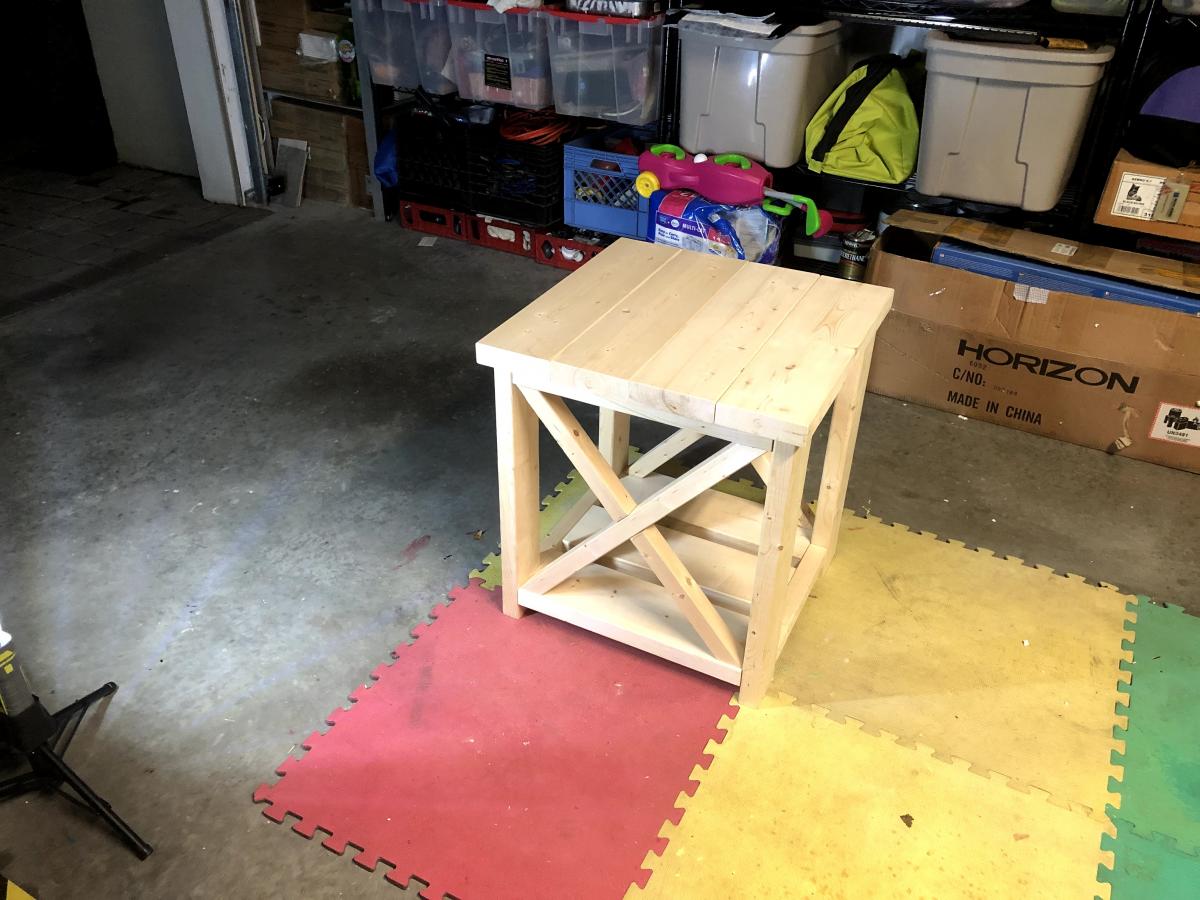
This project took regular pine, pocket whole screws. This took a weekend to build

Built from Plan(s)
Estimated Cost
80
Estimated Time Investment
Weekend Project (10-20 Hours)
Finish Used
Stain with a wax coat and white satin paint
Recommended Skill Level
Intermediate

Playhouse Loft Bed With Stairs And Slide, Playhouse Loft Bed, Loft Bed

My son was about to turn 3 and I really wanted to redesign his bedroom as a birthday surprise. We went with a Toy Story themed room, he just loves Toy Story. I started off by painting the walls blue with yellow stars like Andy's room in the movie. I added some custom painted art work and then it was off to find a cool playhouse bed. My husband and I were shopping around and we could never really find what we were looking for in the store. So we decided to build one ourselves using plans from this website. I used the playhouse loft bed and the playhouse loft bed stair plans, for the bed and the stairs. I used the castle loft bed plan as inspiration for the slide. The project took us about 5 weeks from start to finish. We both have full time jobs and we did most of the work on the weekends. I looked at each plan very carefully and made notes. I had to modify the stair plans slightly to fit the space where we wanted to put the bed. The stairs look narrow, but they work just fine. My husband and I can both use them to get up in the bed. The stairs feature hinged stair tread with built in storage. We built them like that at first, but then later decided to make them stationary stair treads, with plywood. I didn't like the way the hinges looked and the top stair was so deep that I was worried my son would fall in there and get stuck. The storage idea was neat, but his safety was more important to me. The bed turned out really nice and VERY sturdy. Both my husband and I are able to get up there with my son (not at the same time). Another modification that I made was instead of slats to hold on the mattress, I used a piece of plywood. I wanted the roof in the playhouse to look finished, and I didn't want to see his bedding hanging down from the slats. I painted the top of the plywood white, where the mattress goes to blend in with the slats, and the other side was painted blue to match the walls inside the playhouse. I did modify the playhouse front facade to have 2 windows and one door. I like the symmetrical look. The total project cost about $400. I used birch plywood and select pine boards, and about 6 quarts of paint. I noticed AFTER we had finished the bed using the birch plywood, that Home Depot had cabinet grade plywood on a random end cap, that was just as nice for $12 less a sheet. If I could do it all over again, I would definitely use that!. I wanted the paint to have a nice smooth finish, without having to do a lot of sanding or patching. We had Home Depot cut the plywood to the dimensions we needed. I had my husband cut the rest of the wood dimensions listed in the plans, and then I painted all of them before we put the pieces together. I used a small roller and self priming paint. The paint finish looks great. After assembling the bed I can not imagine what I would have gone through trying to paint it after the fact. The slide was a bit tricky, I looked at the plan for the castle loft bed and attempted to use those dimensions, and for the most part they worked. But when we went to assemble the slide, we did end up recutting some of the wood to different dimensions. I used a piece of the melamine coated closet shelf material for the slide. It is already finished in white and its nice and slick, like a slide should be! I hate MDF, but for this it seemed the best fit. We cut the top edge at an angle to meet up with the slide platform. PLEASE BE CAREFUL with this material. After it was angle cut the edge was razor sharp and I sliced my fingers up. Once it was installed it butted up perfectly to the slide platform, and the edge was hidden and not a danger. But use caution during the install. Clamps are your friend! We used Kreg clamps for everything. They kept the wood in place while we were screwing the parts together. The coolest thing that my husband came up with was clamping two identical pieces for plywood together, and drawing the template for the slide support walls. Then he used his circular saw to cut them out. We ended up with two mirror image pieces. They looked awesome. I left them clamped together when I sanded the edges as well. We really didn't have any building experience other, than building tables and chairs for children, We got the deluxe Kreg jig kit and a miter saw on Craigslist for $50 each and they were both practically brand new. This was the first time we had ever used a Kreg jig and we are both addicted. That thing is the bomb. We locked my son out of his room for a week while we assembled everything. We had the big reveal at his birthday party and all of the guests were excited to see it after seeing my facebook teaser posts of our progress. There were 8 kids up there at one time and the bed did not budge. They all enjoyed the slide. I did the planning and paint and my husband did an awesome job making all of the cuts and sanding everything. We are both very proud of the final product. My son love his new big boy bed. DISCLAIMER: This bed is not recommended for a child under 6 years old. My son is mature for his age and we monitor him carefully.

Estimated Cost
$500
Estimated Time Investment
Week Long Project (20 Hours or More)
Finish Used
BEHR PAINT IN BRIGHT WHITE AND RIVIERA PARADISE SATIN FINISH
Recommended Skill Level
Beginner

Comments

krissy2696

Wed, 07/06/2016 - 10:05

Hi, my husband is building this bed for my 6 yr old daughter, but in purple blue and white. We adding the slide too. May I ask what size bedroom you guys have for your son, and did the bed fit well? Did you have to make any adjustments for it to fit in the bedroom?  Thanks in advance! Your bed looks great! I hope ours turns out as good.

Christine N in PA

Variation Twin Farmstyle Bed

Submitted by nicolemayo on Sun, 10/12/2014 - 21:28

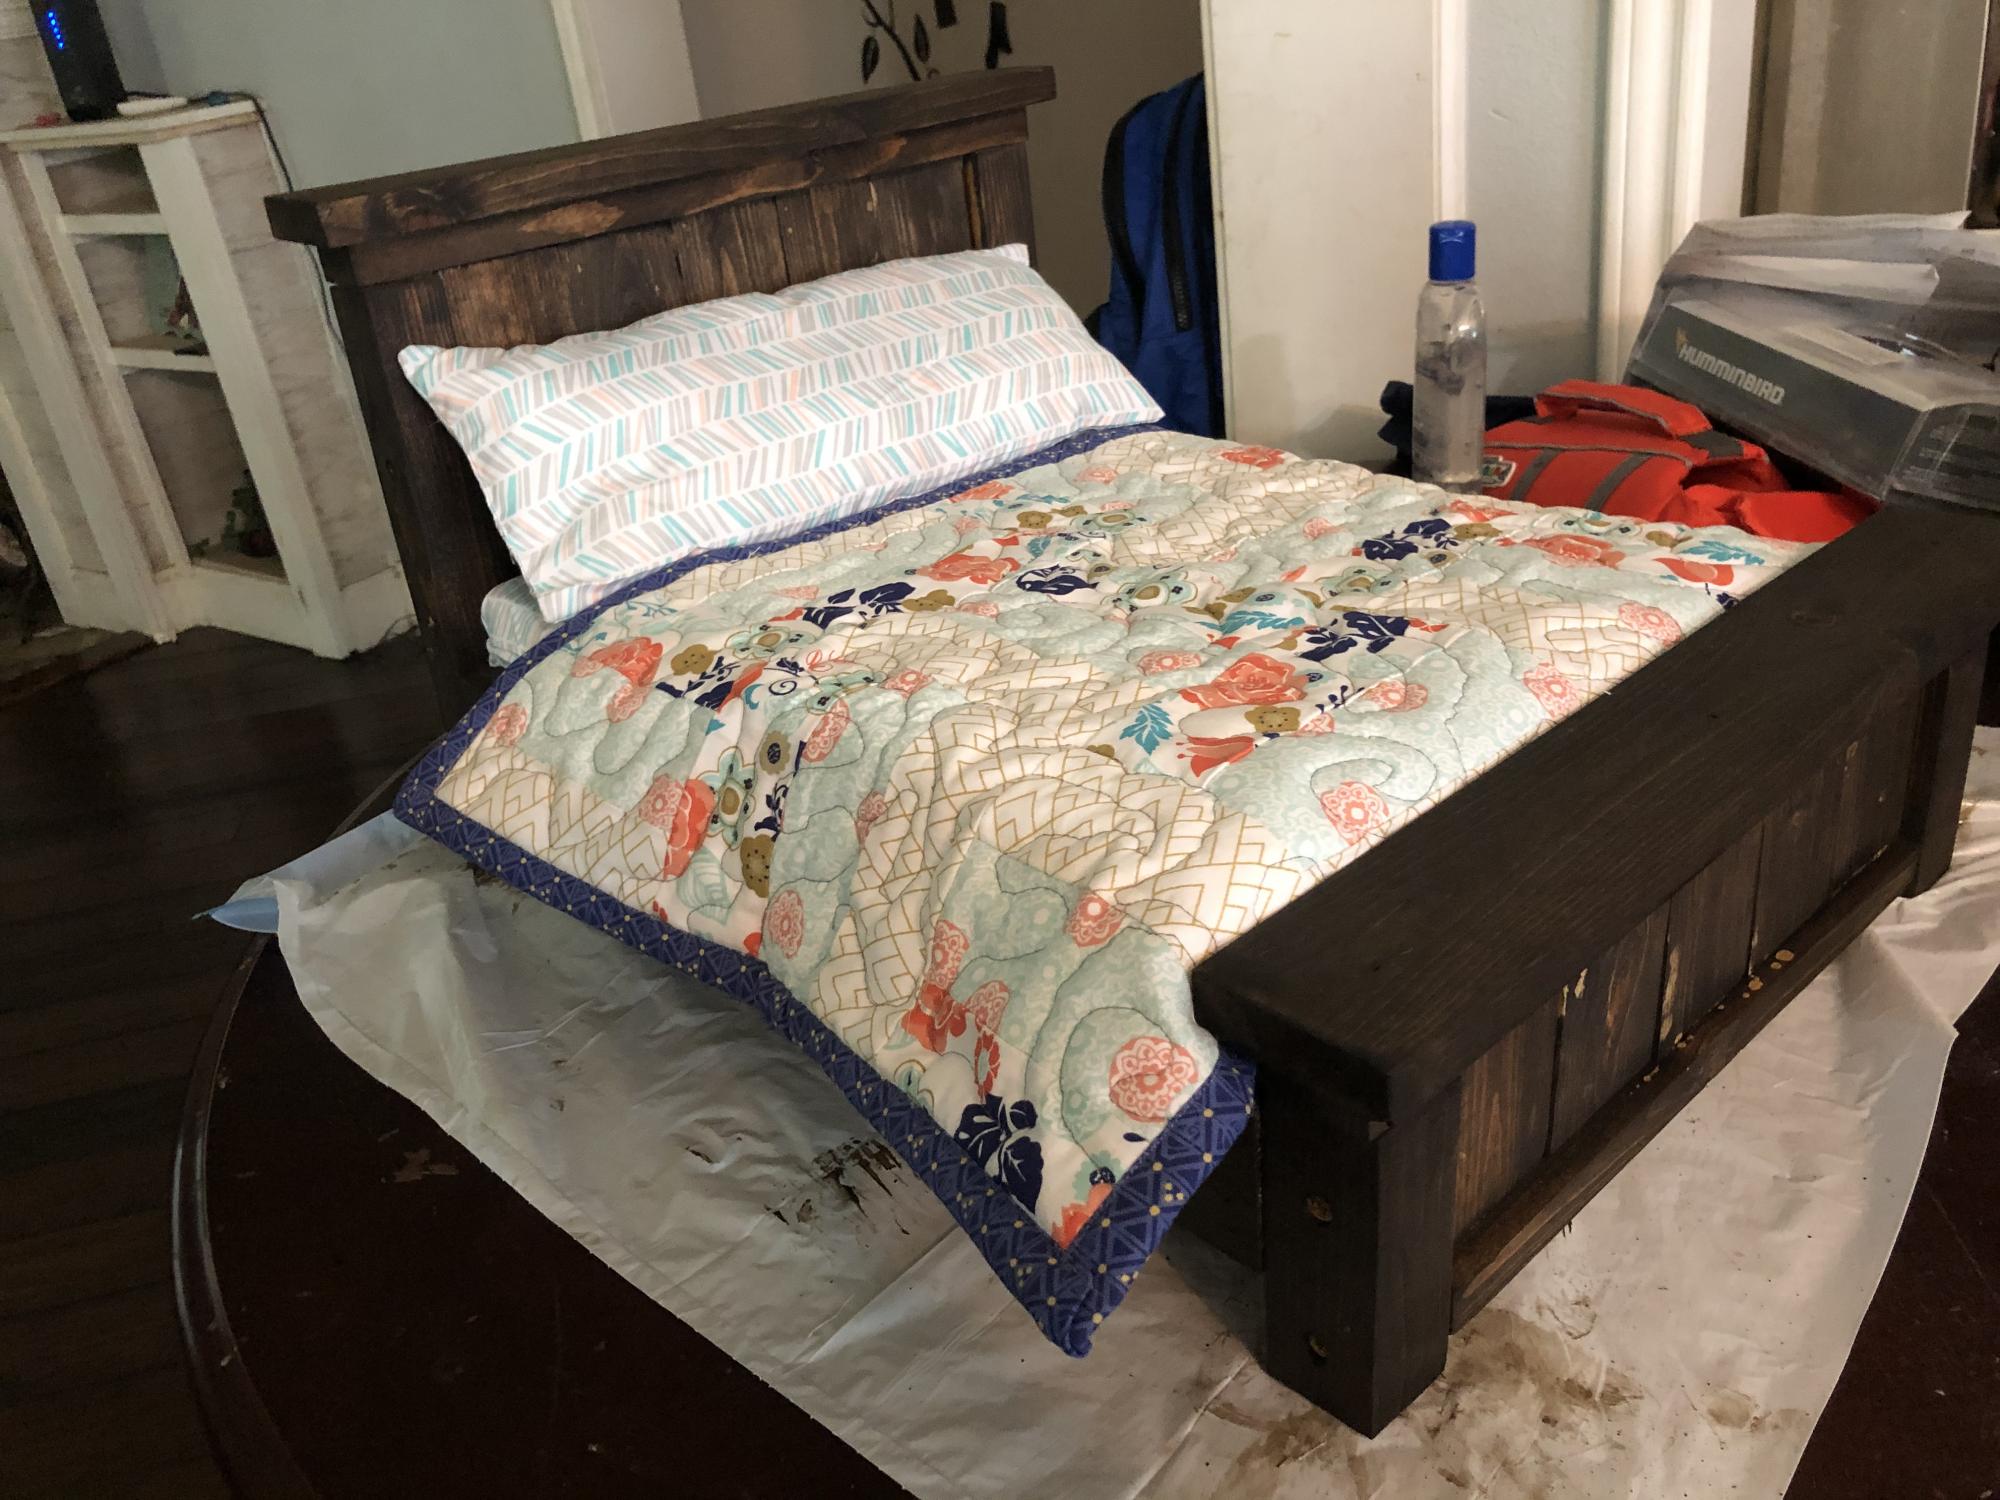
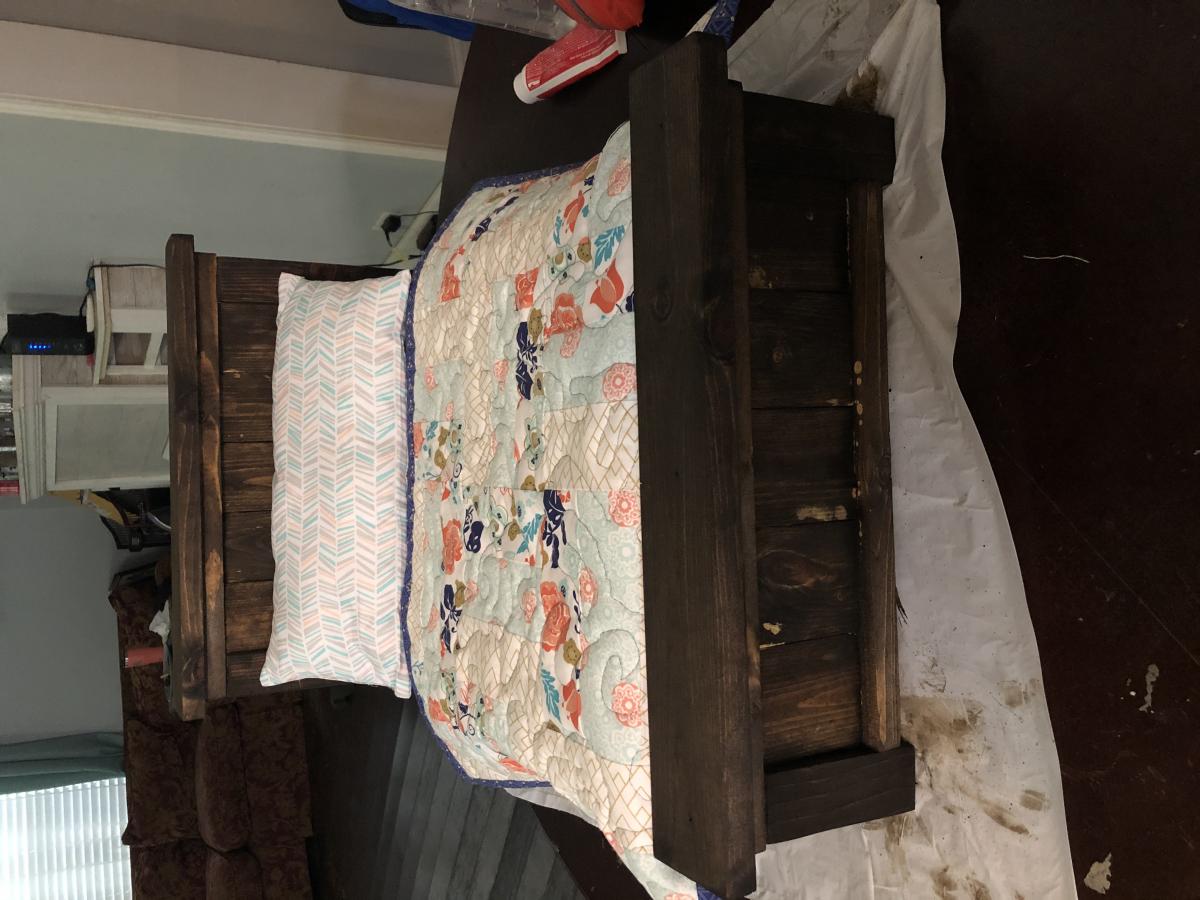
This is a variation from a brag photo I saw on the Modified Twin Farmhouse Bed. I built two for my girls and also created plans of the variation. We love these beds! They are so beautiful!

Built from Plan(s)
Estimated Cost
$100
Estimated Time Investment
Weekend Project (10-20 Hours)
Finish Used
White Gloss Interior Paint
Recommended Skill Level
Beginner

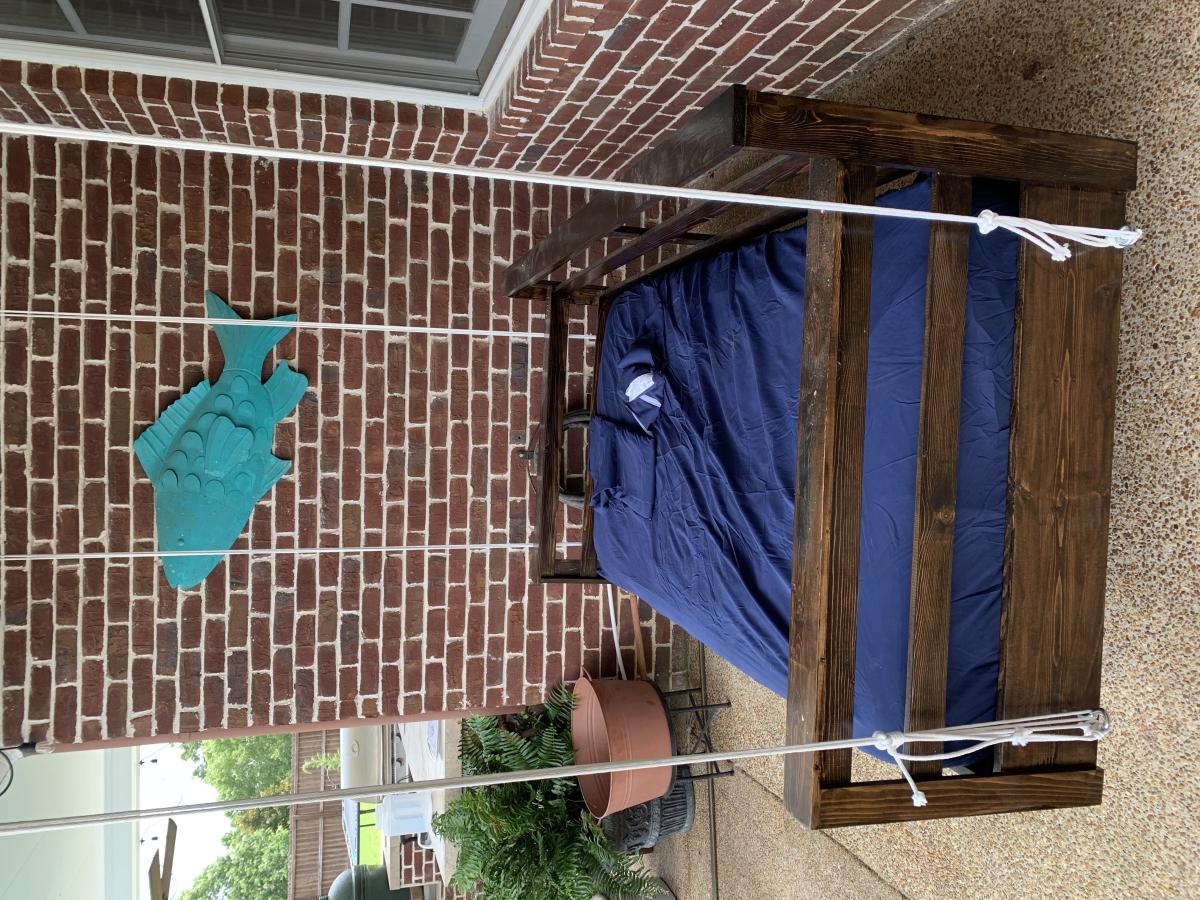
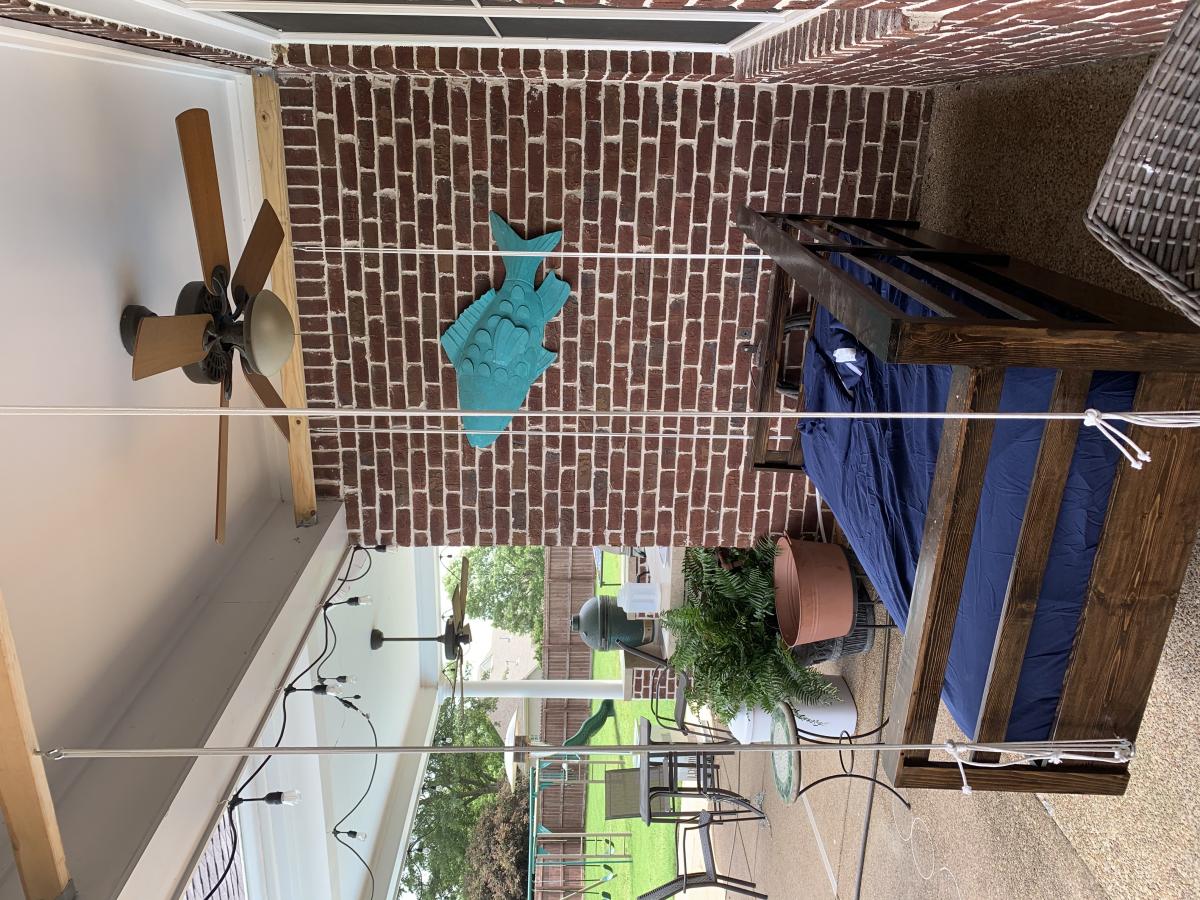
Outdoor couch

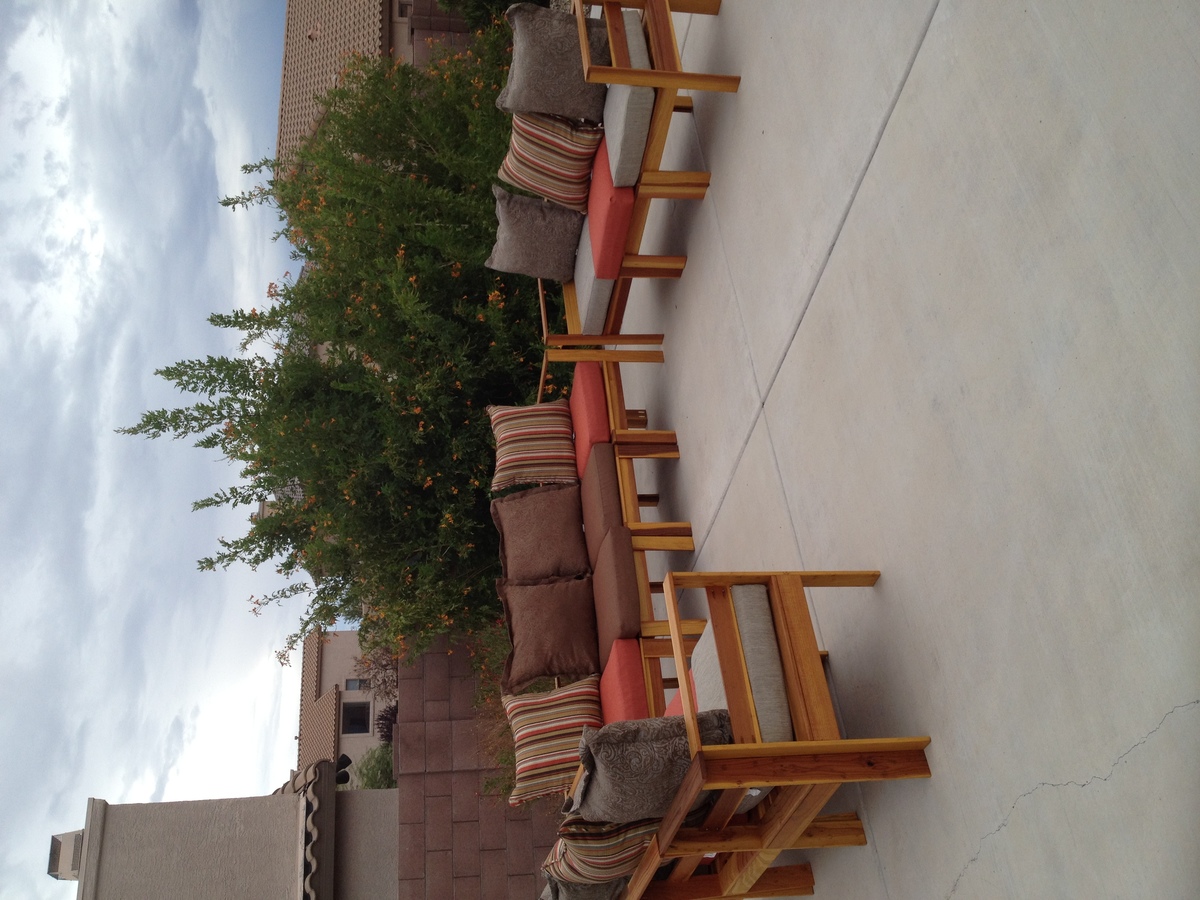
Submitted by travhale on Mon, 01/23/2017 - 19:33

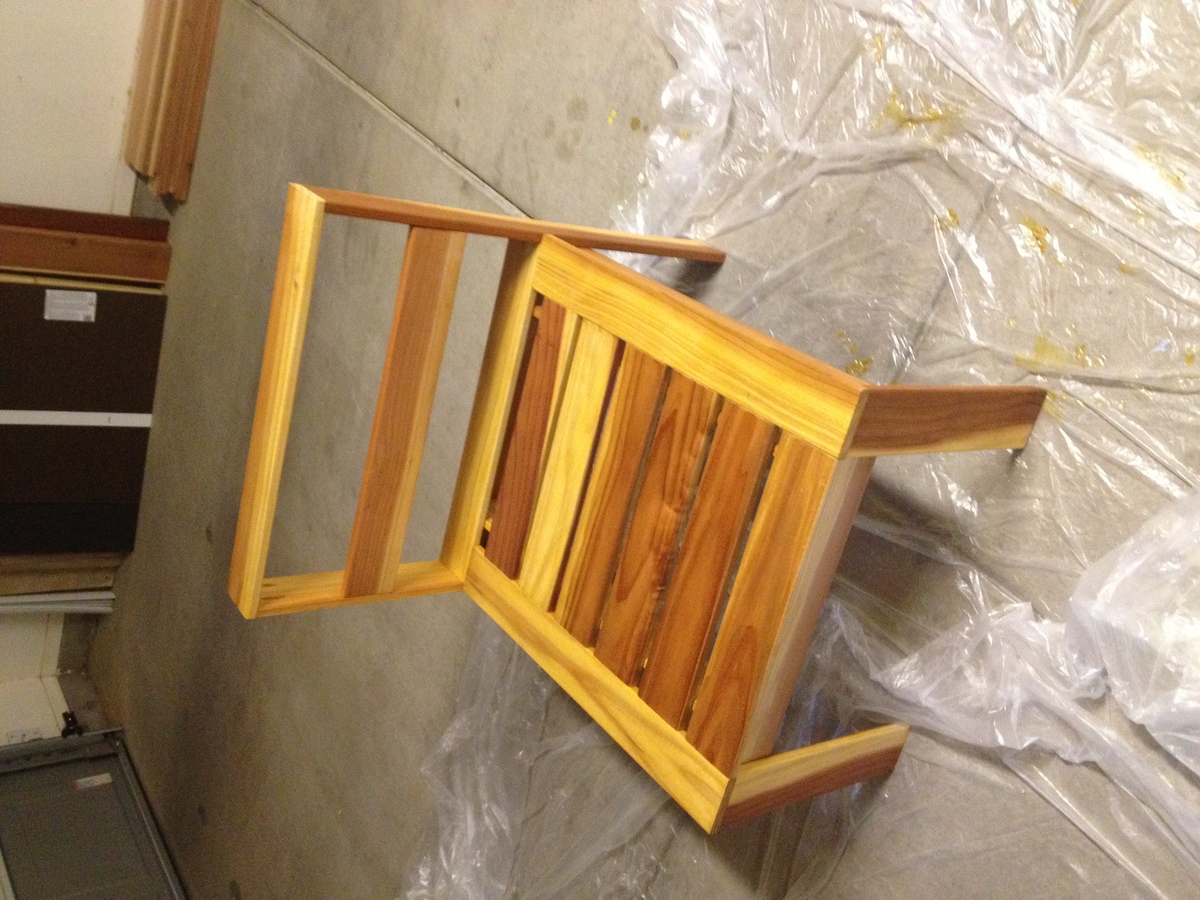
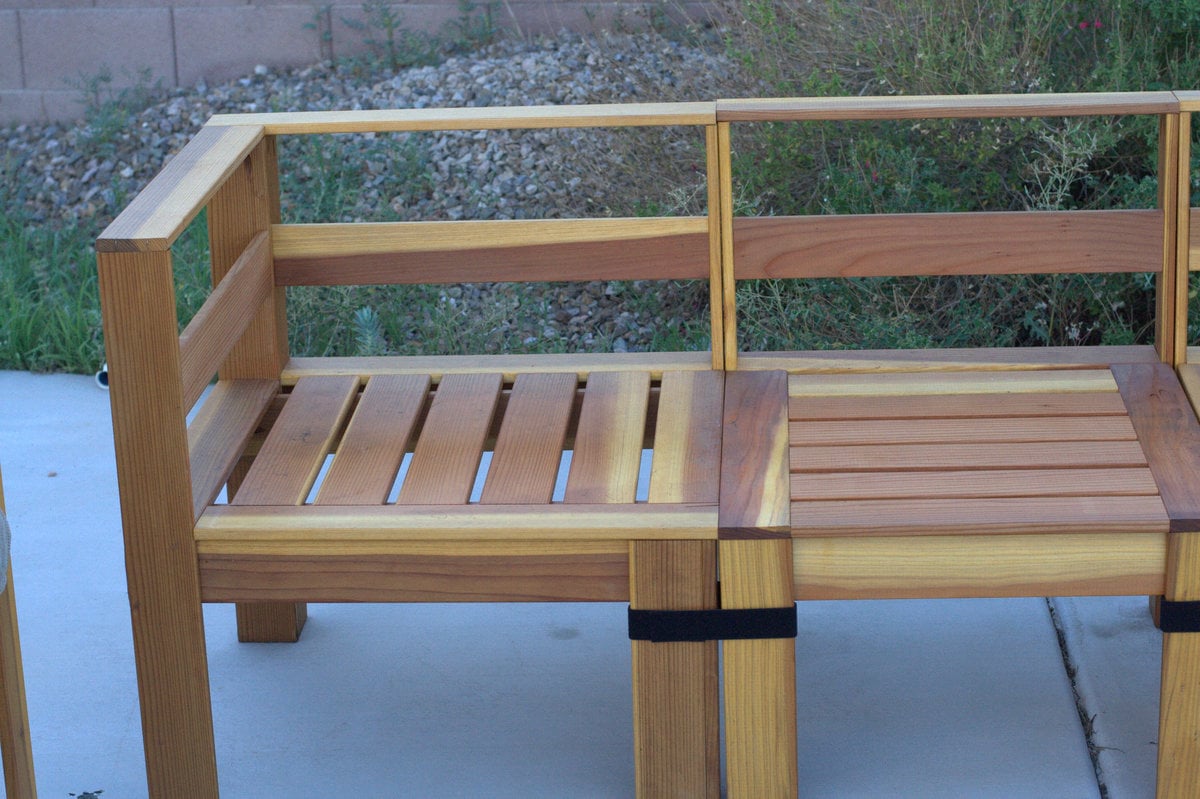
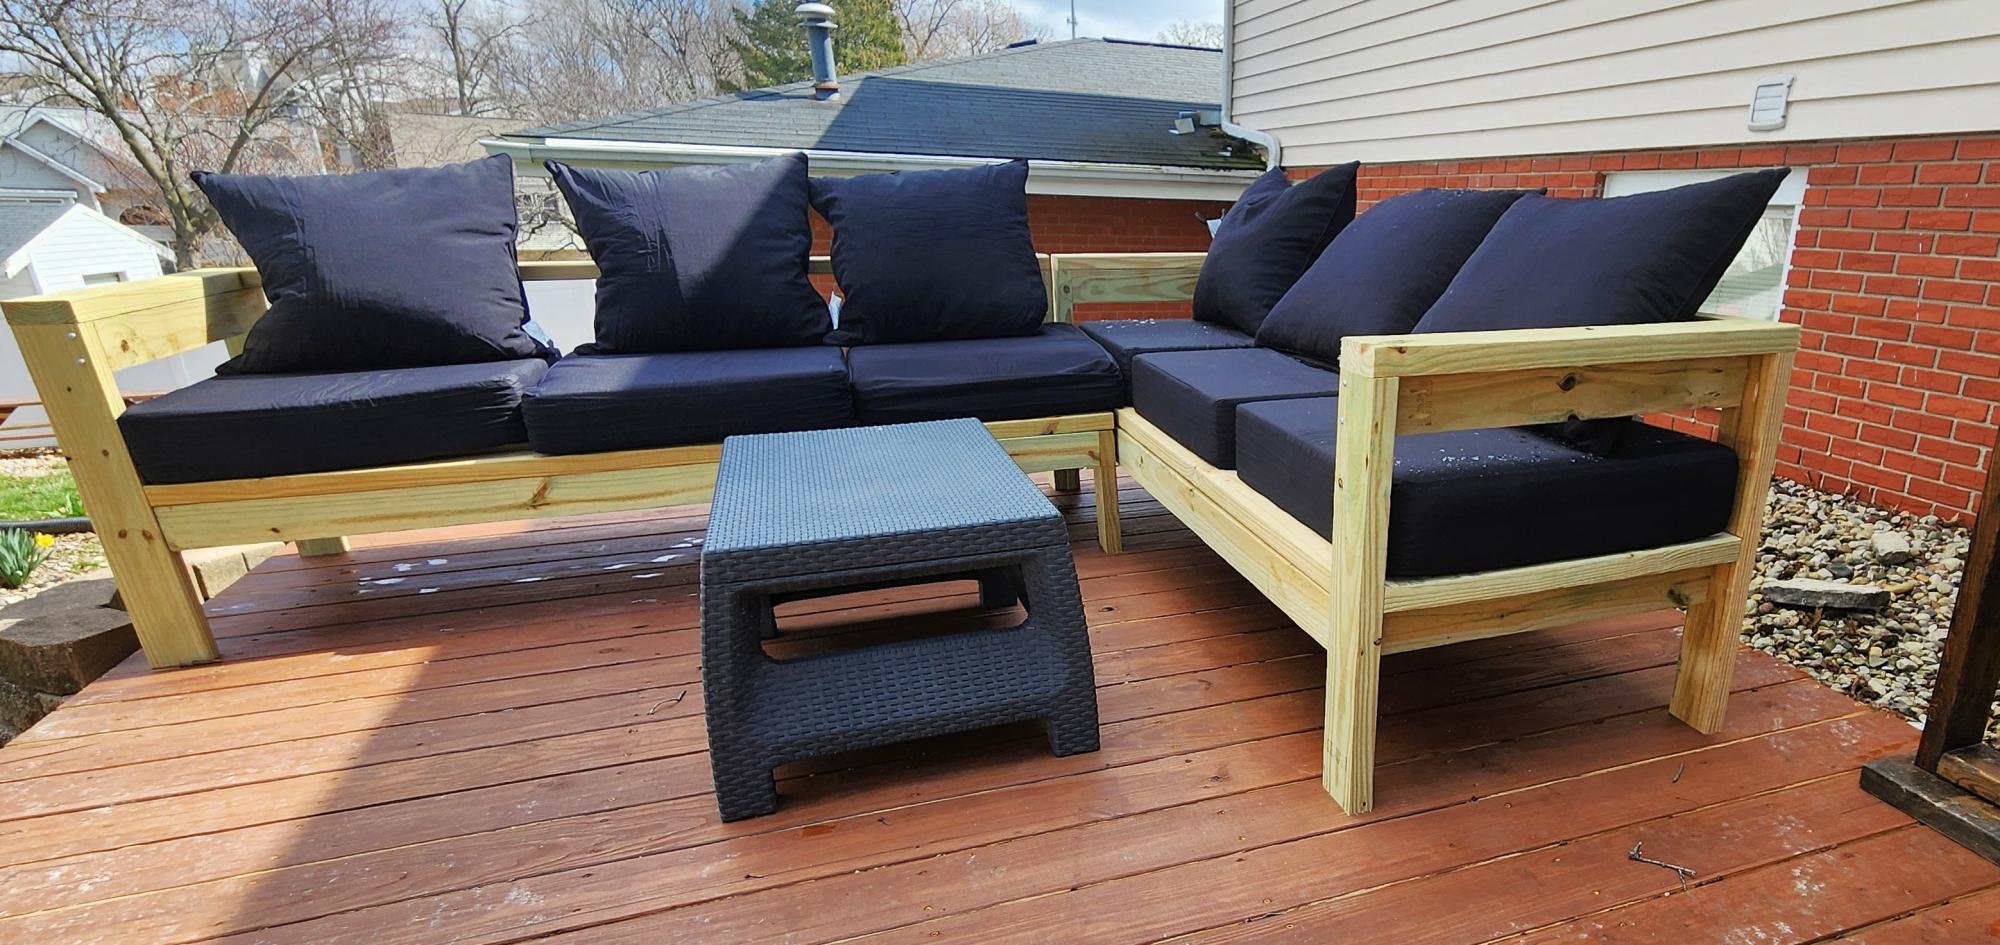
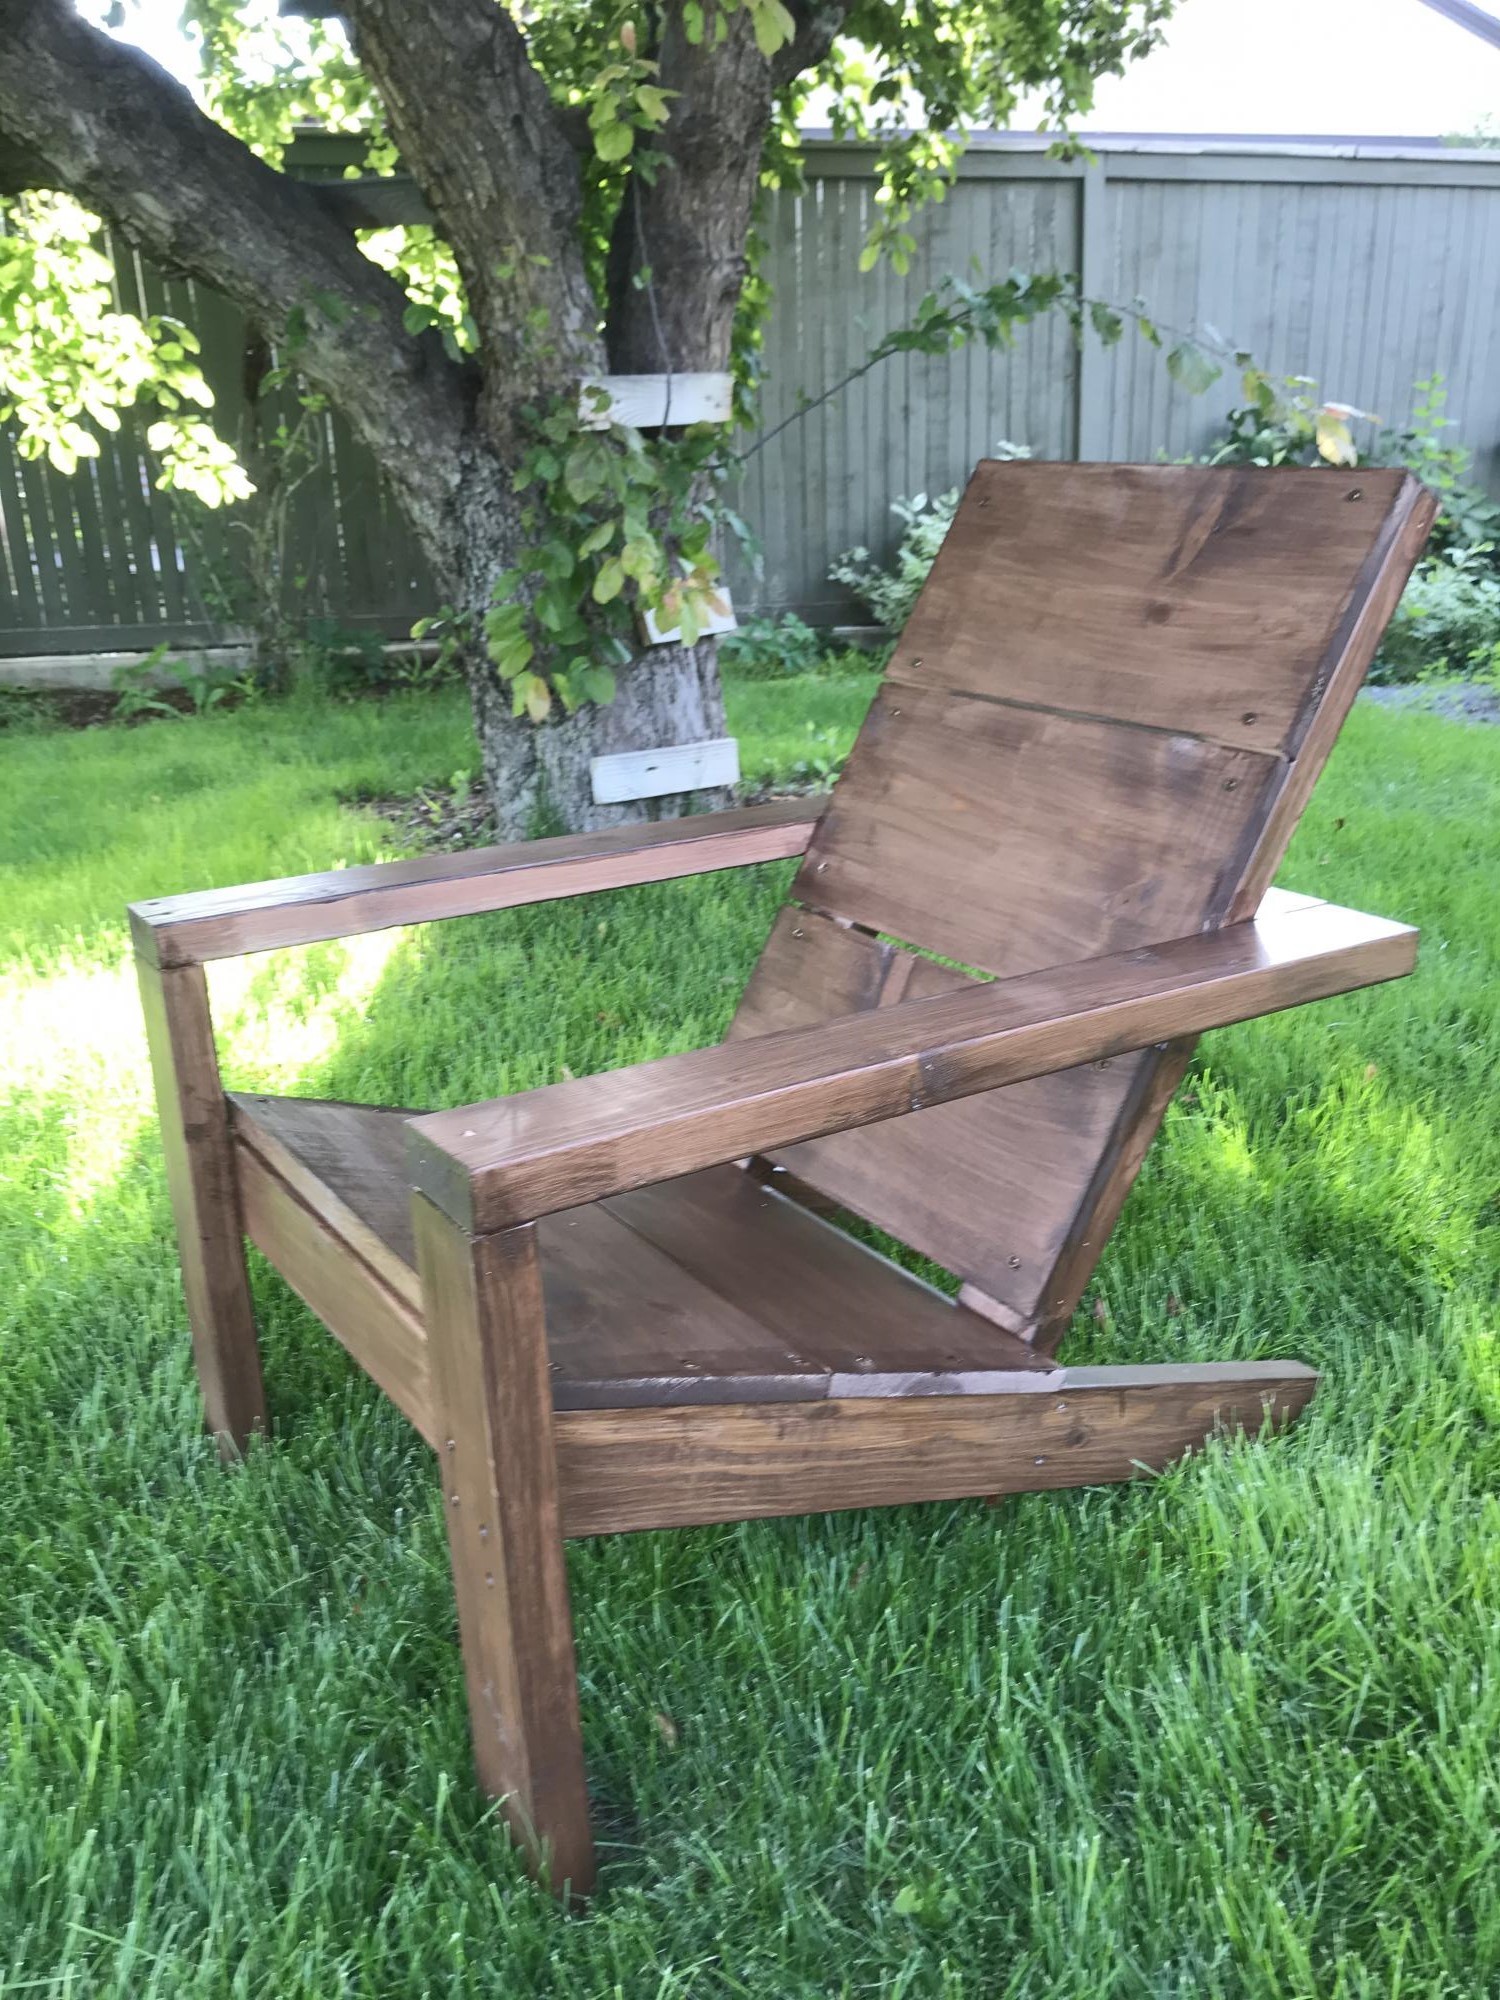
Reclaimed this wood from a >100 year old home that was being renovated. This is just the couch portion, I also built the sectional part. I really like how it came out. 

Estimated Cost
Wood was free. Maybe $10-15 in screws.
Estimated Time Investment
Afternoon Project (3-6 Hours)
Recommended Skill Level
Beginner

Childs toy stove

Submitted by stevendaun on Tue, 01/01/2013 - 07:14

I built this stove for a close family friend for her 3rd birthday. For the burners I used heart shaped wooden cutouts. I also added her first name initial to the backboard as well.

Estimated Cost
$30
Estimated Time Investment
Weekend Project (10-20 Hours)
Finish Used
High gloss spray paint
Recommended Skill Level
Intermediate

My first table

Submitted by mshotwell on Fri, 10/17/2014 - 07:34

This was my first table, great directions from Ana White and other postings. Turned out great, the main addition I had was to add some supports for the ends as it felt like it needed it.

Built from Plan(s)
Estimated Time Investment
Weekend Project (10-20 Hours)
Finish Used
Minwax Pecan Gloss Stain/Poly - Quart. We did two layers of stain, using steel wool in between coats. The finish turned out very nice and feels smooth. The top was sanded very smooth with 220 grit before staining.
Recommended Skill Level
Beginner

King Storage Bed *Forgot to post*

Submitted by Anonymous (not verified) on Wed, 01/25/2017 - 18:03

It was a long and brutal process, but so is child birth and I did that twice so... I was definitely a beginner at the start. I learned A LOT from this process and it paid off in the end! Couldn't be happier with the outcome!

Estimated Cost
A lot more than expected. Measure 10 billion times before you cut!!!
Estimated Time Investment
Week Long Project (20 Hours or More)
Finish Used
Espresso Minwax
Recommended Skill Level
Intermediate

Comments

Lift Top Coffee Table

Loved this plan! Slightly modified to include a shelf.

Estimated Time Investment
Day Project (6-9 Hours)
Finish Used
Stained with honey. Finished with semi gloss polyeurthane.
Recommended Skill Level
Intermediate

Comments

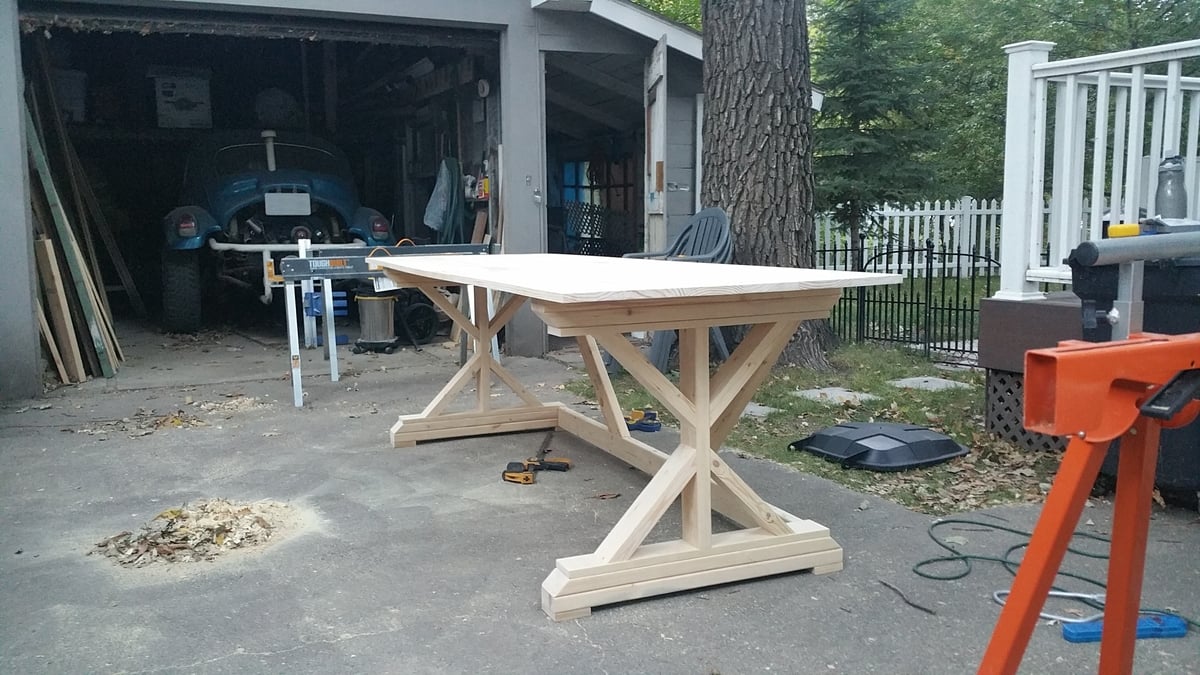
Pedestal farmhouse table

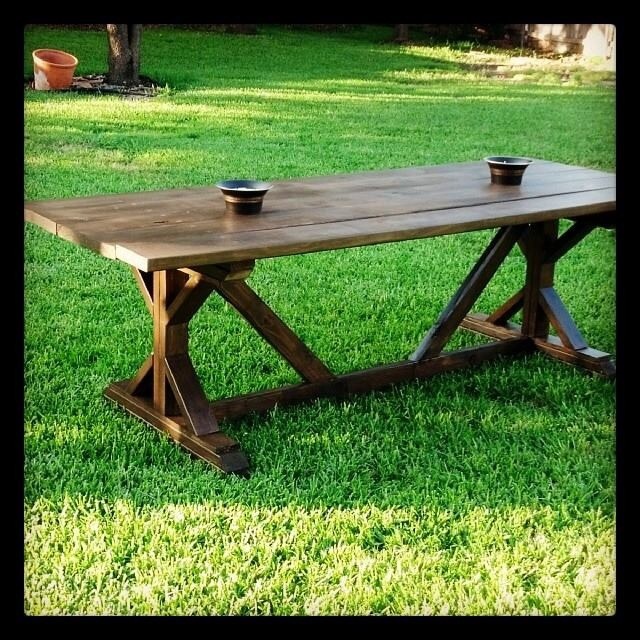
Submitted by Nate74 on Tue, 01/01/2013 - 23:33

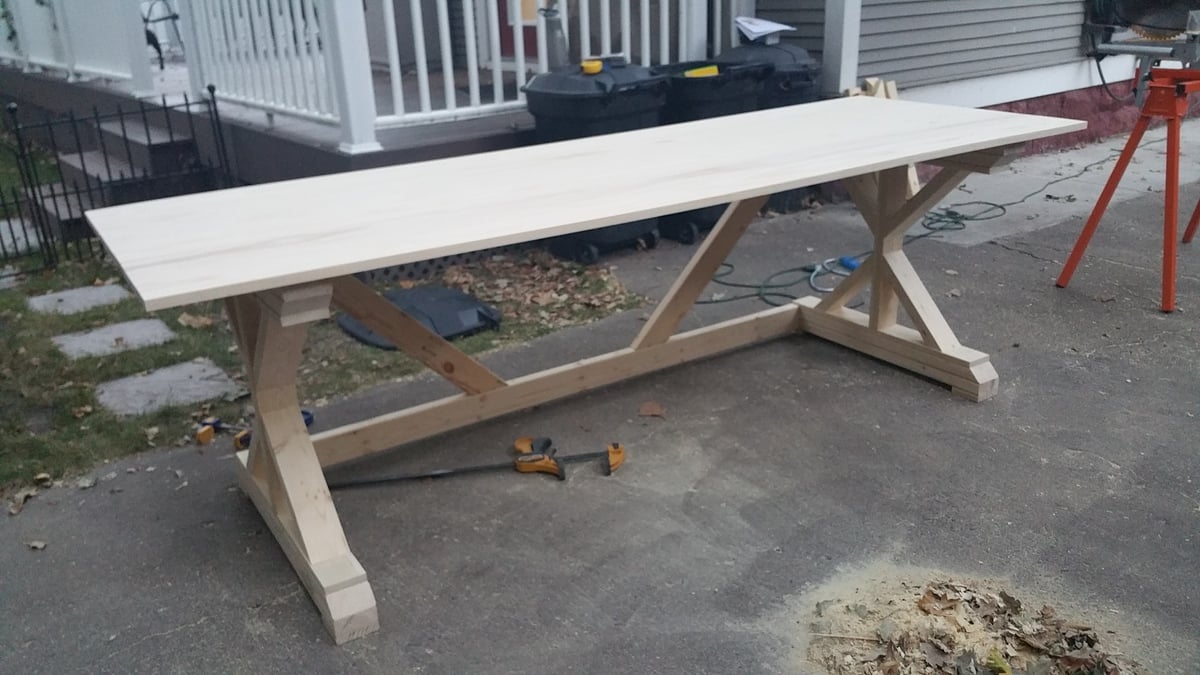
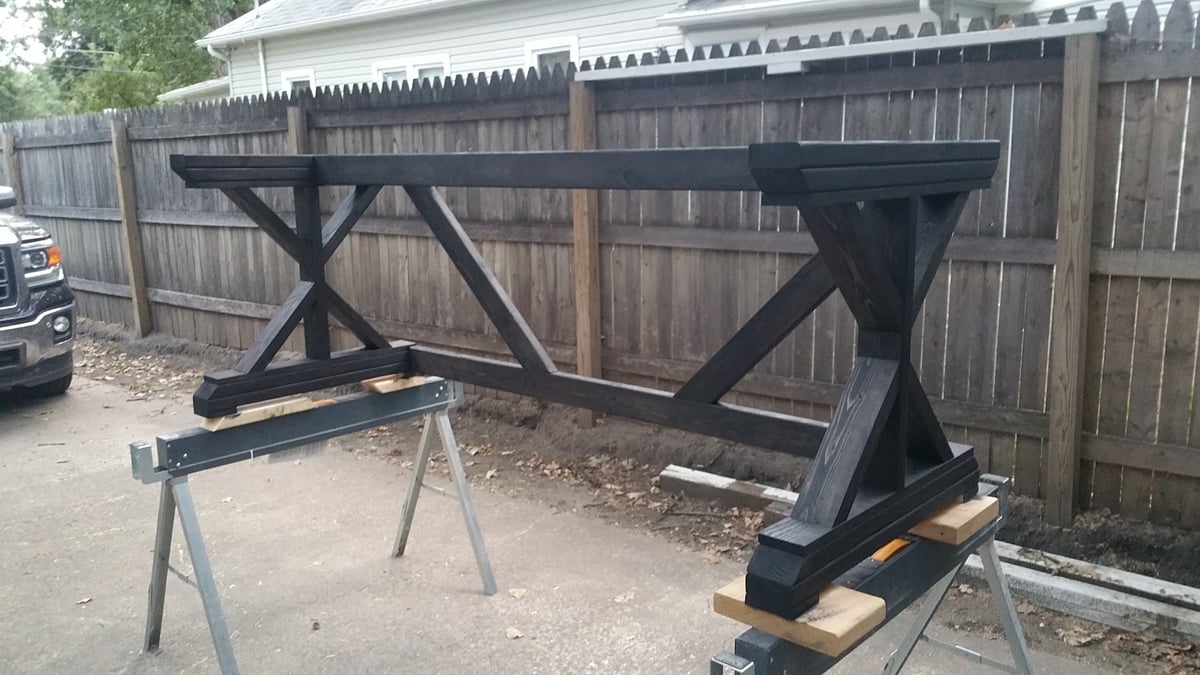
After my wife pinned the triple pedestal table, I took a look at the plans and redid them for a double pedestal table 78"x40". This is the first wood project that I have done in close to 12 years, it was good to get back to wood and I look forward to builing some more.

Estimated Cost
$200
Estimated Time Investment
Weekend Project (10-20 Hours)
Finish Used
Varathane stains and minwax wipe on poly. The stains I used are Varathane Kona on the pedestal legs and a mixture of Tuscan (2 coats) and 1 coat of Kona over top, on the table top and spreader beam. This was followed by 4 coats of Minwax wipe on poly.
Recommended Skill Level
Beginner

Rustic Storage

Submitted by Scrapwood on Mon, 10/20/2014 - 11:52

To build I used mostly all pallet wood.  This made things interesting because not one drawer was the same and had to custom fit each drawer.  

Estimated Time Investment
Week Long Project (20 Hours or More)
Recommended Skill Level
Advanced

Flat Wall Book Shelf

Submitted by Anonymous (not verified) on Sun, 01/29/2017 - 18:33

Turned out great! Instructions were very easy to follow. My first attempt at building a piece of "furniture". 

Built from Plan(s)
Estimated Cost
$40
Estimated Time Investment
Day Project (6-9 Hours)
Finish Used
Minwax gunstock stain and quick dry polyurethane (2 coats)
Recommended Skill Level
Beginner

Flip Top Storage Bench

Submitted by Bander on Thu, 01/03/2013 - 16:13

We needed somewhere to store shoes and sit while changing shoes, so I built this based on the flip top storage bench plans at http://ana-white.com/2012/10/plans/flip-top-storage-bench-new-plans

Total length of the project was 6 feet, so I added a 1x3 support at the middle. I made the storage top deeper so that it would hold adult shoes by using 1x6s instead of 1x4s.

I made the top into two "doors" so that they would be smaller and easier for our children to handle. I also rounded off the front edge with my router to make it easier on bottoms and shins.

Estimated Cost
$50
Estimated Time Investment
Weekend Project (10-20 Hours)
Finish Used
Finish was with MinWax prestain conditioner and MinWax Gunstock stain according to label directions, then 3 coats of polycrylic with light sanding between the coats.
Recommended Skill Level
Intermediate

Comments

Linda7

Fri, 02/08/2013 - 11:14

You've done a beautiful job. I like the extra length and how you divided the top so it's not so unwieldy.

Triple Pedestal Farmhouse Table

Submitted by jbryan5 on Thu, 10/23/2014 - 07:23

Built from the Triple Pedestal Farmhouse Table plans. It took at lot longer than I wanted, but I was taking my time to avoid mistakes. All of the wood is "2 x ?" pine studs. the table is solid and very heavy.

Estimated Cost
$140
Estimated Time Investment
Week Long Project (20 Hours or More)
Finish Used
1 . Stained with 1 coat Early American 2. 3 Coats Minwax Semi-Gloss Polyurethane
Recommended Skill Level
Intermediate

Johanna Bookcase

This was a great project to get back into woodworking after many years of not building anything. Used my table saw for cutting the 30 degree miters. Plans didn't call for it, but I made dado joints for the shelves using a router. This made the bookcase very solid. For the miters I cut them first and then measured and cut the piece to the finished length. I cut the vertical shelf supports after the shelves were in which insured they were the exact length. A great suggestion is to use The Hillman Group "Procrafter" #8 x 2-in Yellow Zinc Square-Drive Wood Screws. The #2 square drive never slipped out and the screws were self drilling and countersunk themselves. No need to predrill a countersink hole or anything else. Added the chimney after seeing it on another brag post. This cute little item brought a big smile to my granddaughter's face on Christmas morning. The time investment of 10 hours for me was due to rusty woodworking skills and needing time to think about things. Could probably build the next one in five hours. Painting took as long as the building.

Built from Plan(s)
Estimated Cost
$100
Estimated Time Investment
Weekend Project (10-20 Hours)
Finish Used
Trim is Velspar gloss latex enamel in Positively Pink.
Recommended Skill Level
Beginner

Comments

Small Hall Tree

This project was something my wife wanted, but I didn't want to spend alot of money. I managed to build this project for less then $25.00 minus the paint. We are not sure what color it's going to be and I think I might add a shelf to it at a later date. We had to cut this down by 19 inches to fit it into our hall way. Hopefully I will get the rest of it finished in the next month or so depending on the weather.

Built from Plan(s)
Estimated Cost
$24.30
Estimated Time Investment
Afternoon Project (3-6 Hours)
Finish Used
No clue yet.
Recommended Skill Level
Beginner