Community Brag Posts
From Logs to Famhouse Table
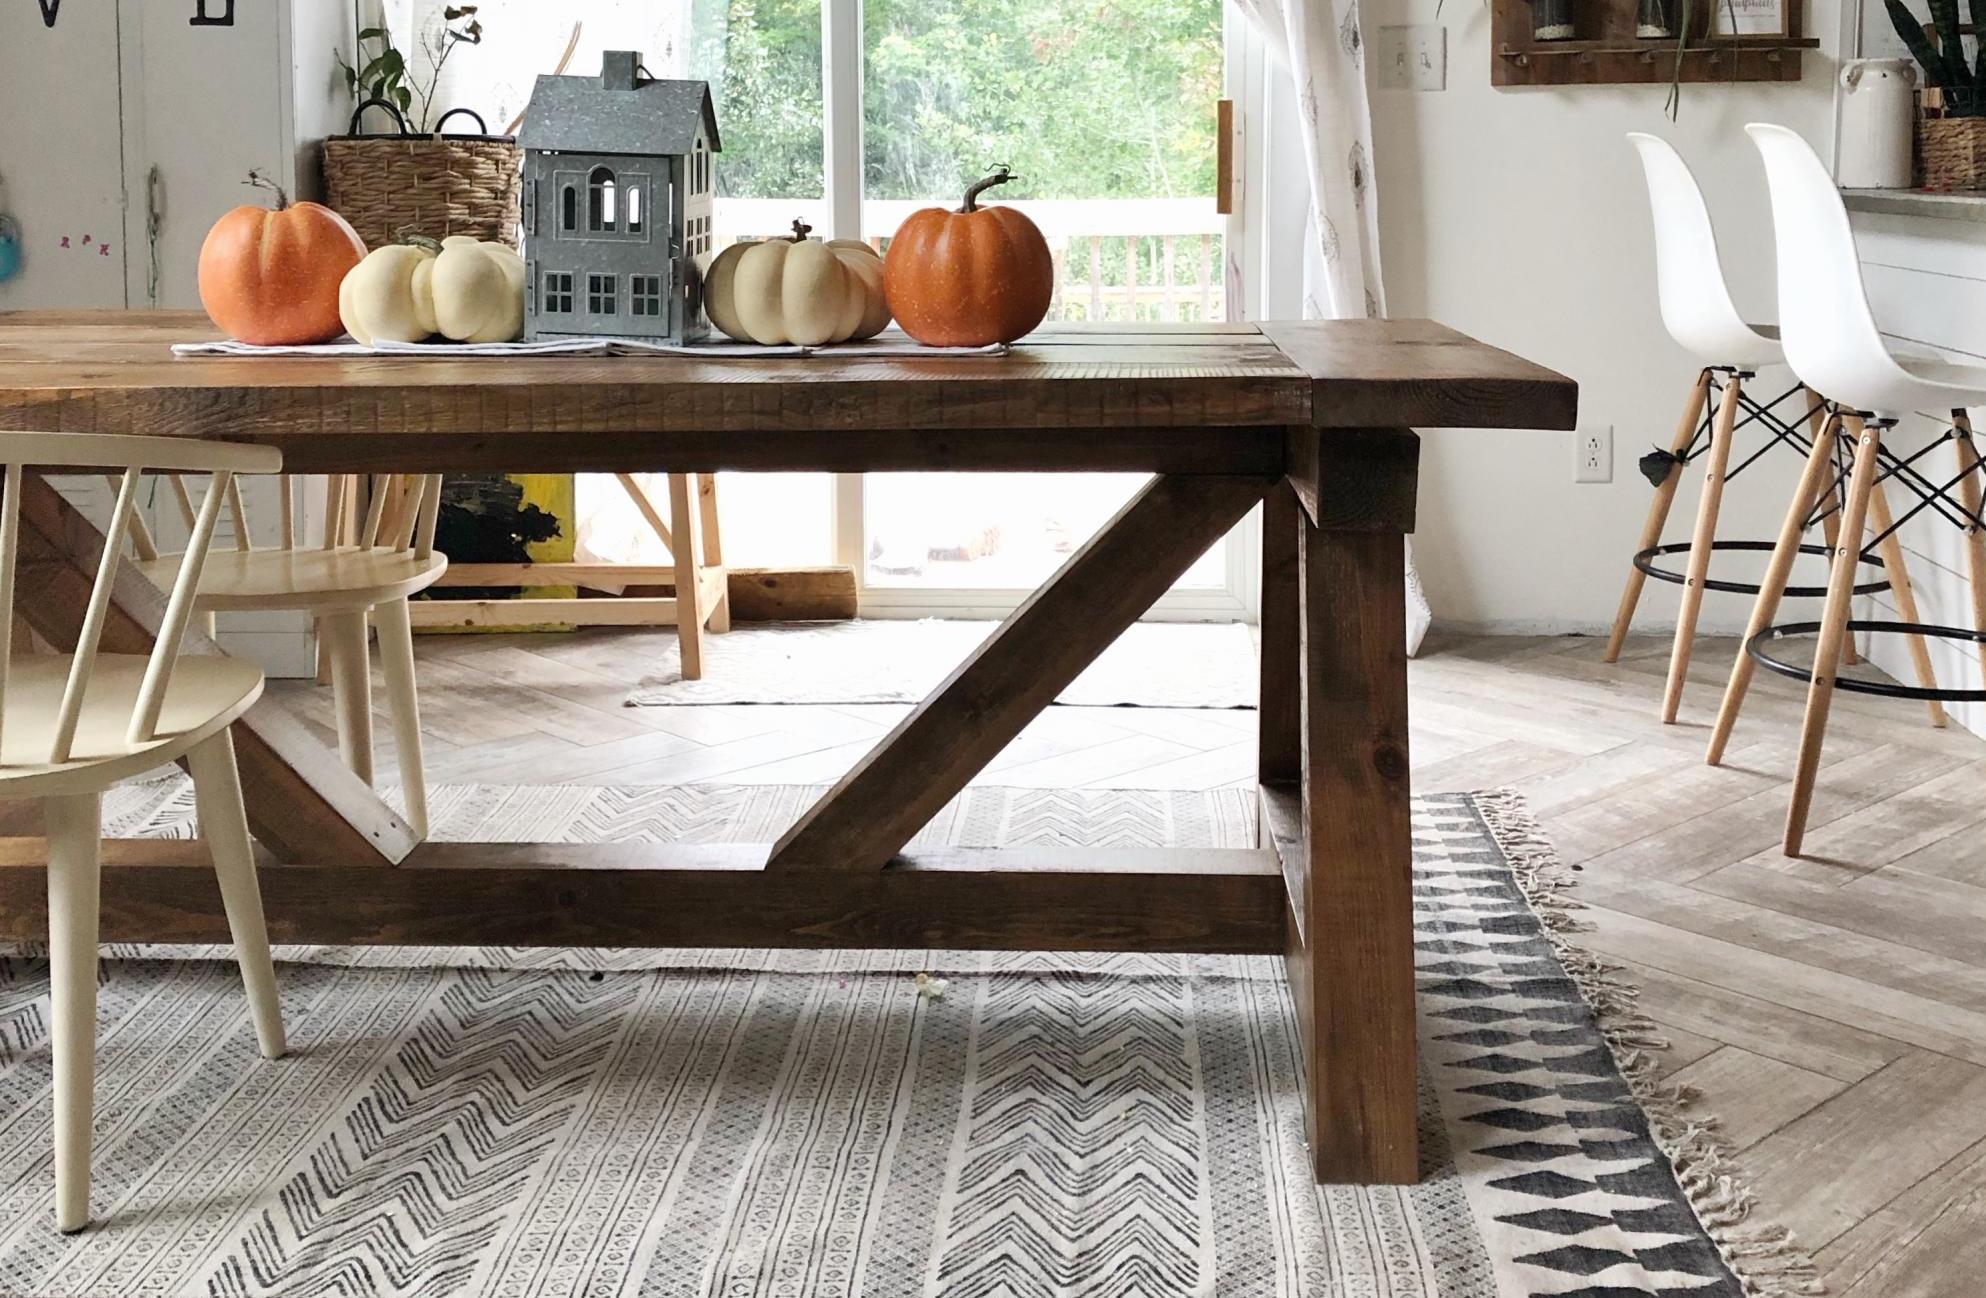
So this DIY Farmhouse Style Table has been on my “make it” list for a while now. And what better time to make it than now, since we just got a saw mill. Check out the blog link below to read all about it.
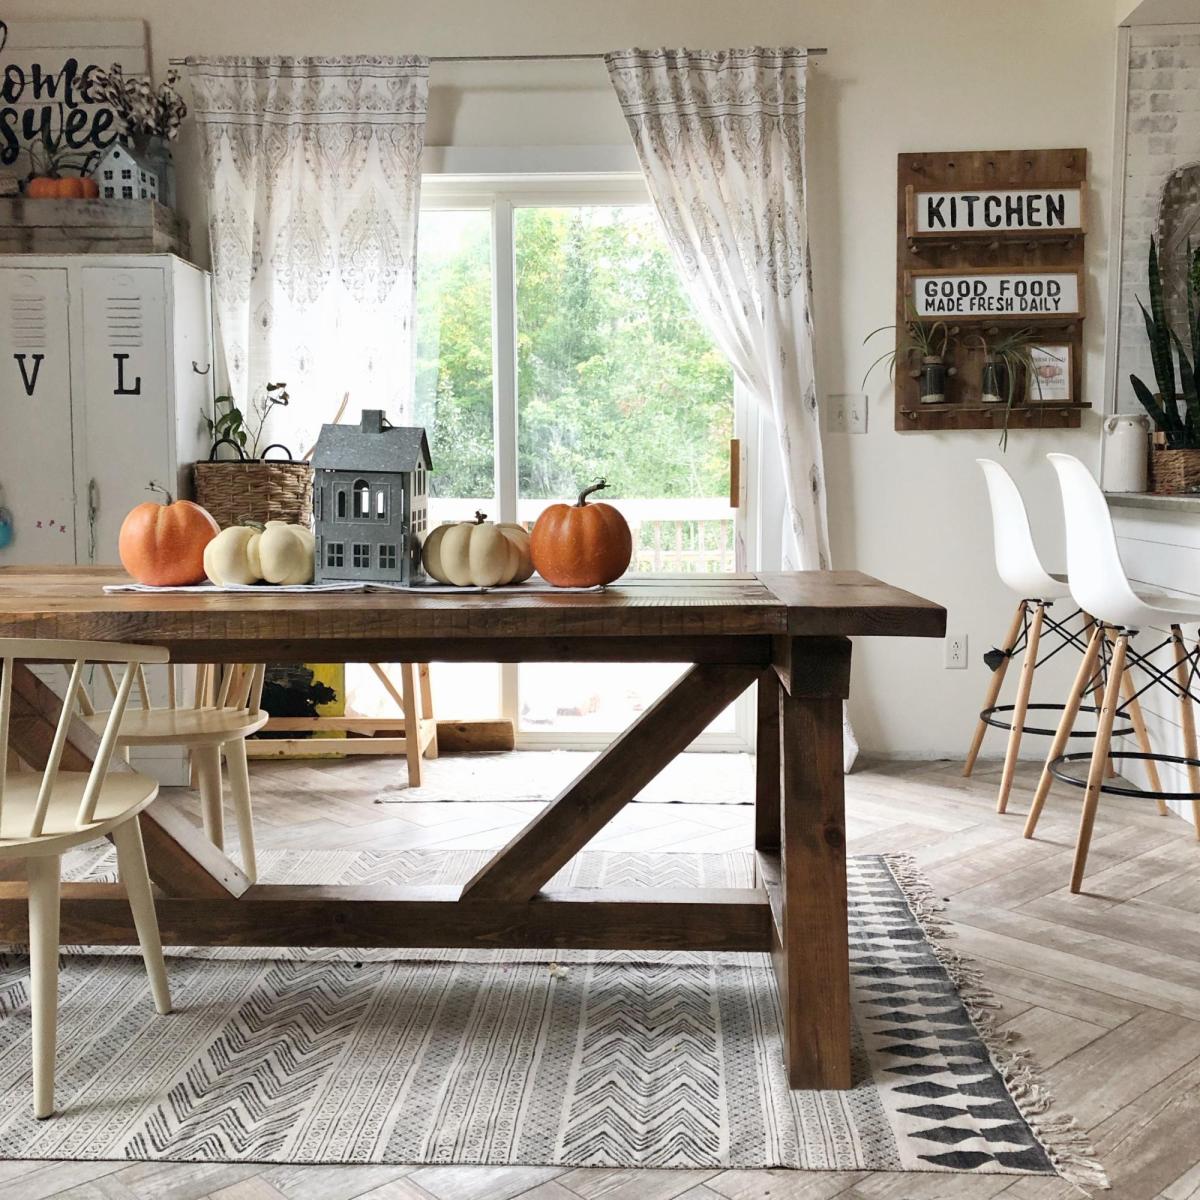
Minwax Polycrylic Clear Sealer
Kids Outdoor Kitchen
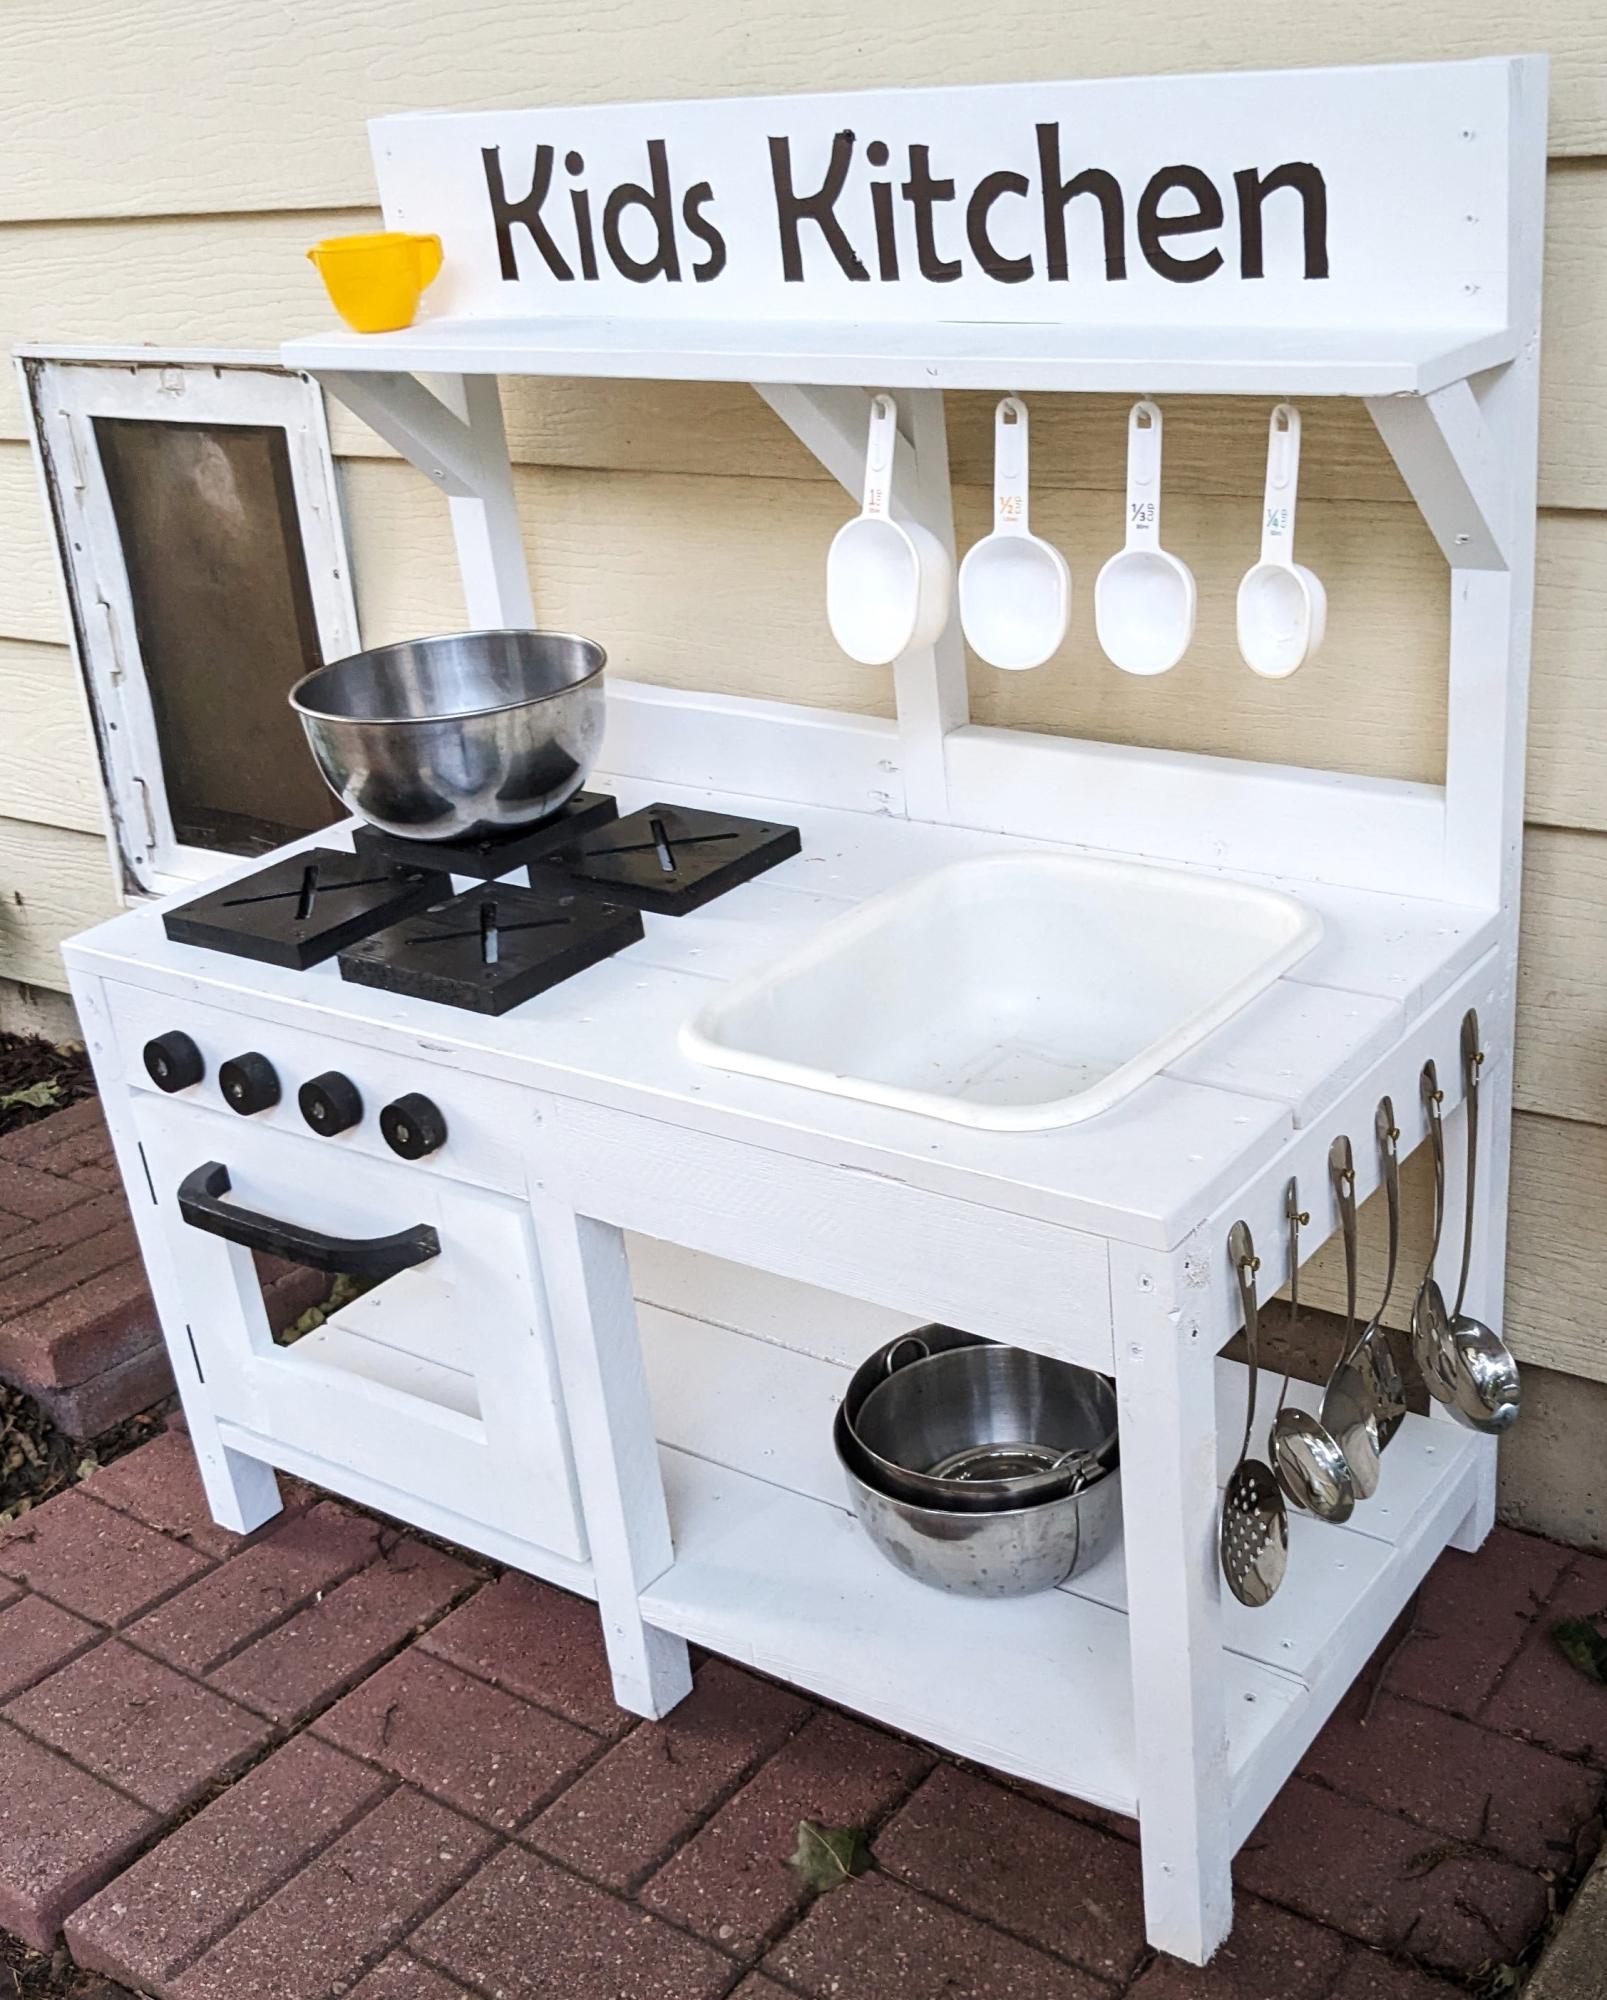
For our 2 1/2 year old granddaughter.
BenchWright Coffee Table
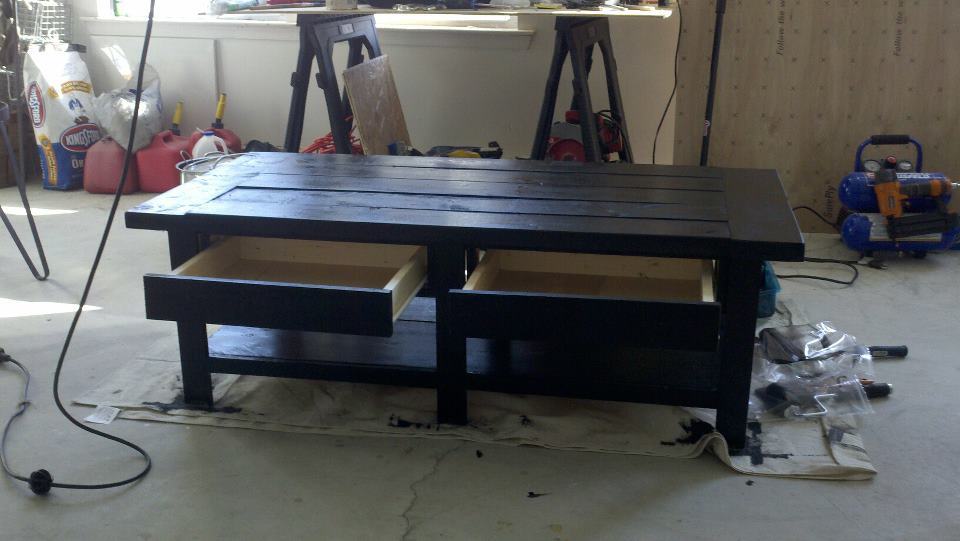
Pottery Barn Inspired Ana-White Collection
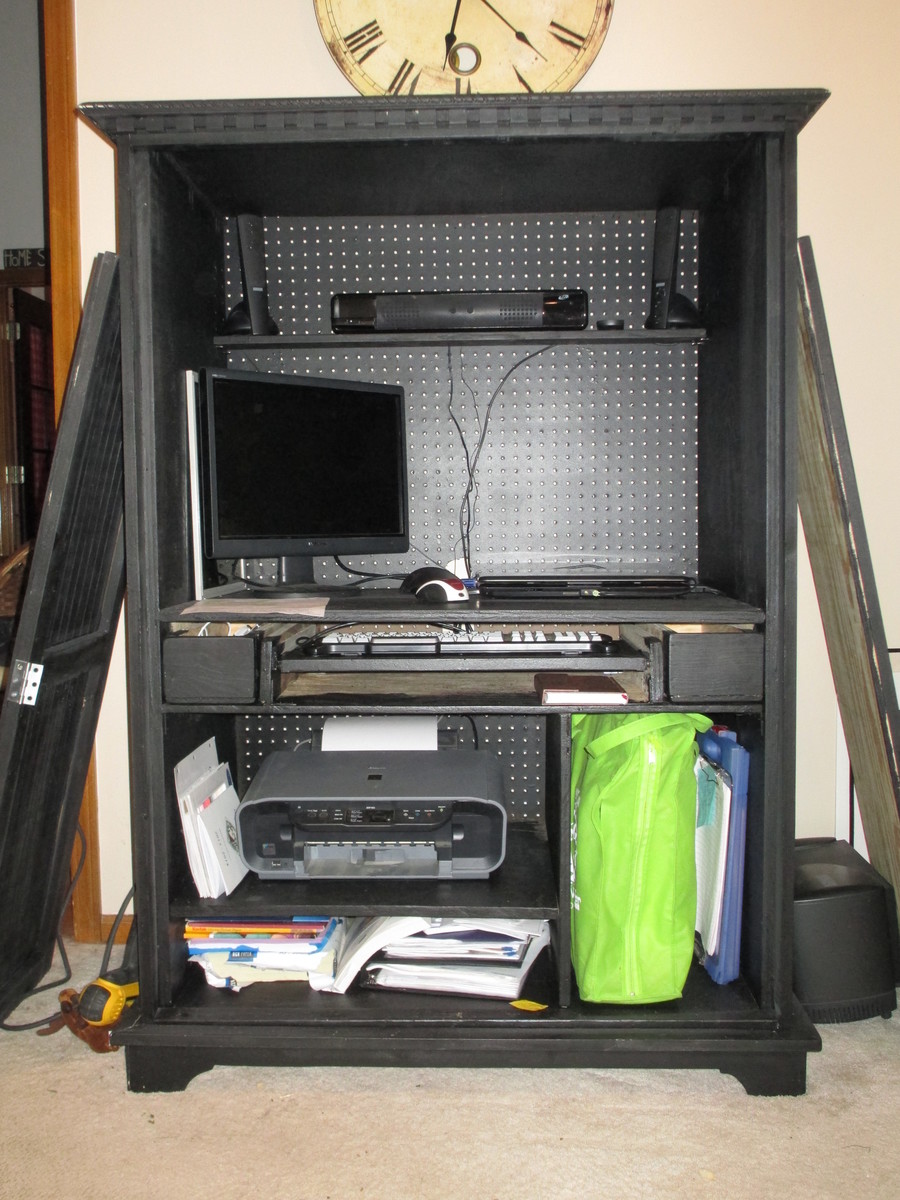
Computer Armoire aka my new office
From these plans: http://ana-white.com/2013/05/plans/toy-or-tv-armoire
For my quilting business, I needed an office for the paperwork, etc. that comes with running a business. With no spare room for an office, I built this armoire to hold my computer, business papers, and the bags that contain my quilting samples, forms, etc.
On the inside, I used pegboard for the backing so the electrical equipment would have ventilation. I also thought I might be able to hang stuff from the pegboard as well. If I had to do it again, I would set up the keyboard slide and side drawers a little differently. I used scrap wood for that part. I should have just gotten another piece of 3/4 inch plywood and fixed it right, with pocket holes. I'd intended to put drawer pulls on the drawers, but the doors hit the drawers when they close. So, I will need to cut some holes in the drawers to use as pulls.
Workbench
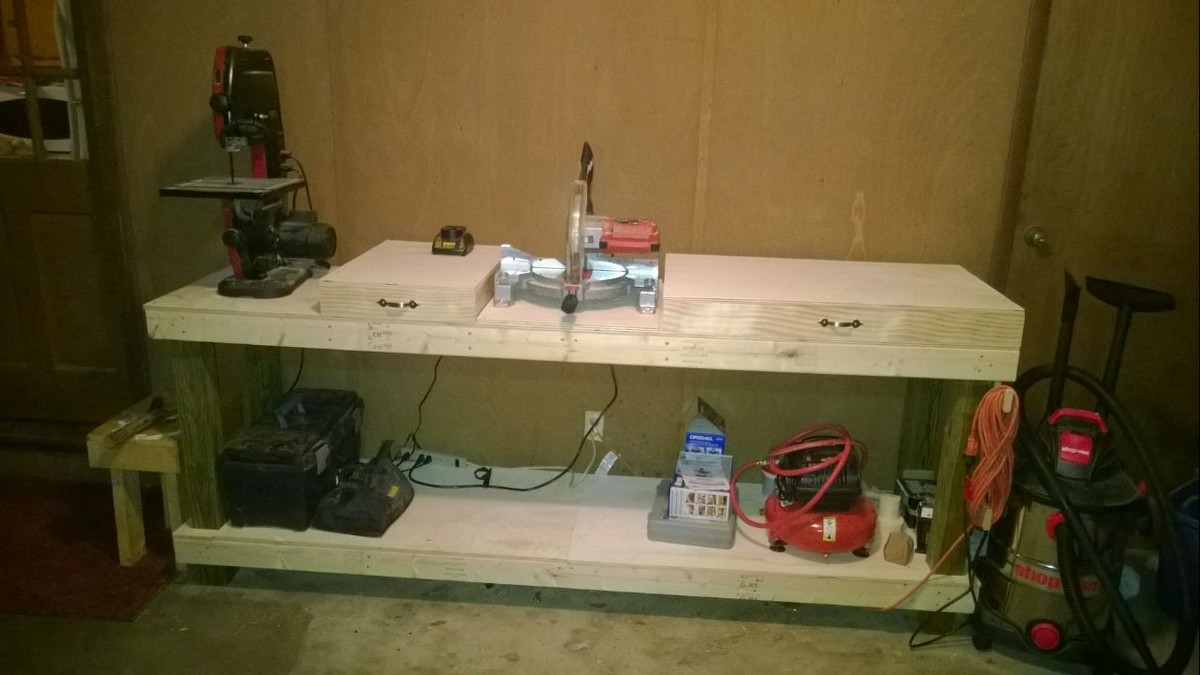
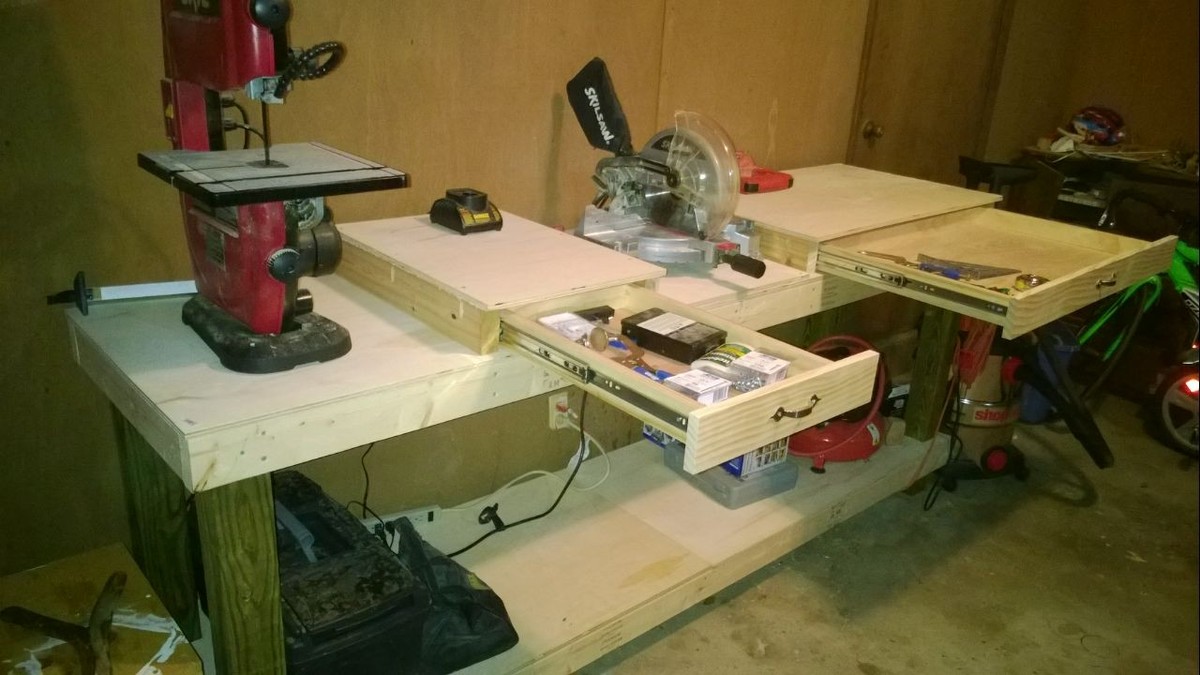
I built this to accommodate my miter saw but I also wanted a place for my band saw. I added drawers to make the table level with the miter saw and they add some extra storage space.
Comments
Mon, 03/07/2016 - 14:14
Very Nice!
I can see a lot of work getting done there, great job and thanks for sharing!
Refreshment center console with barn door
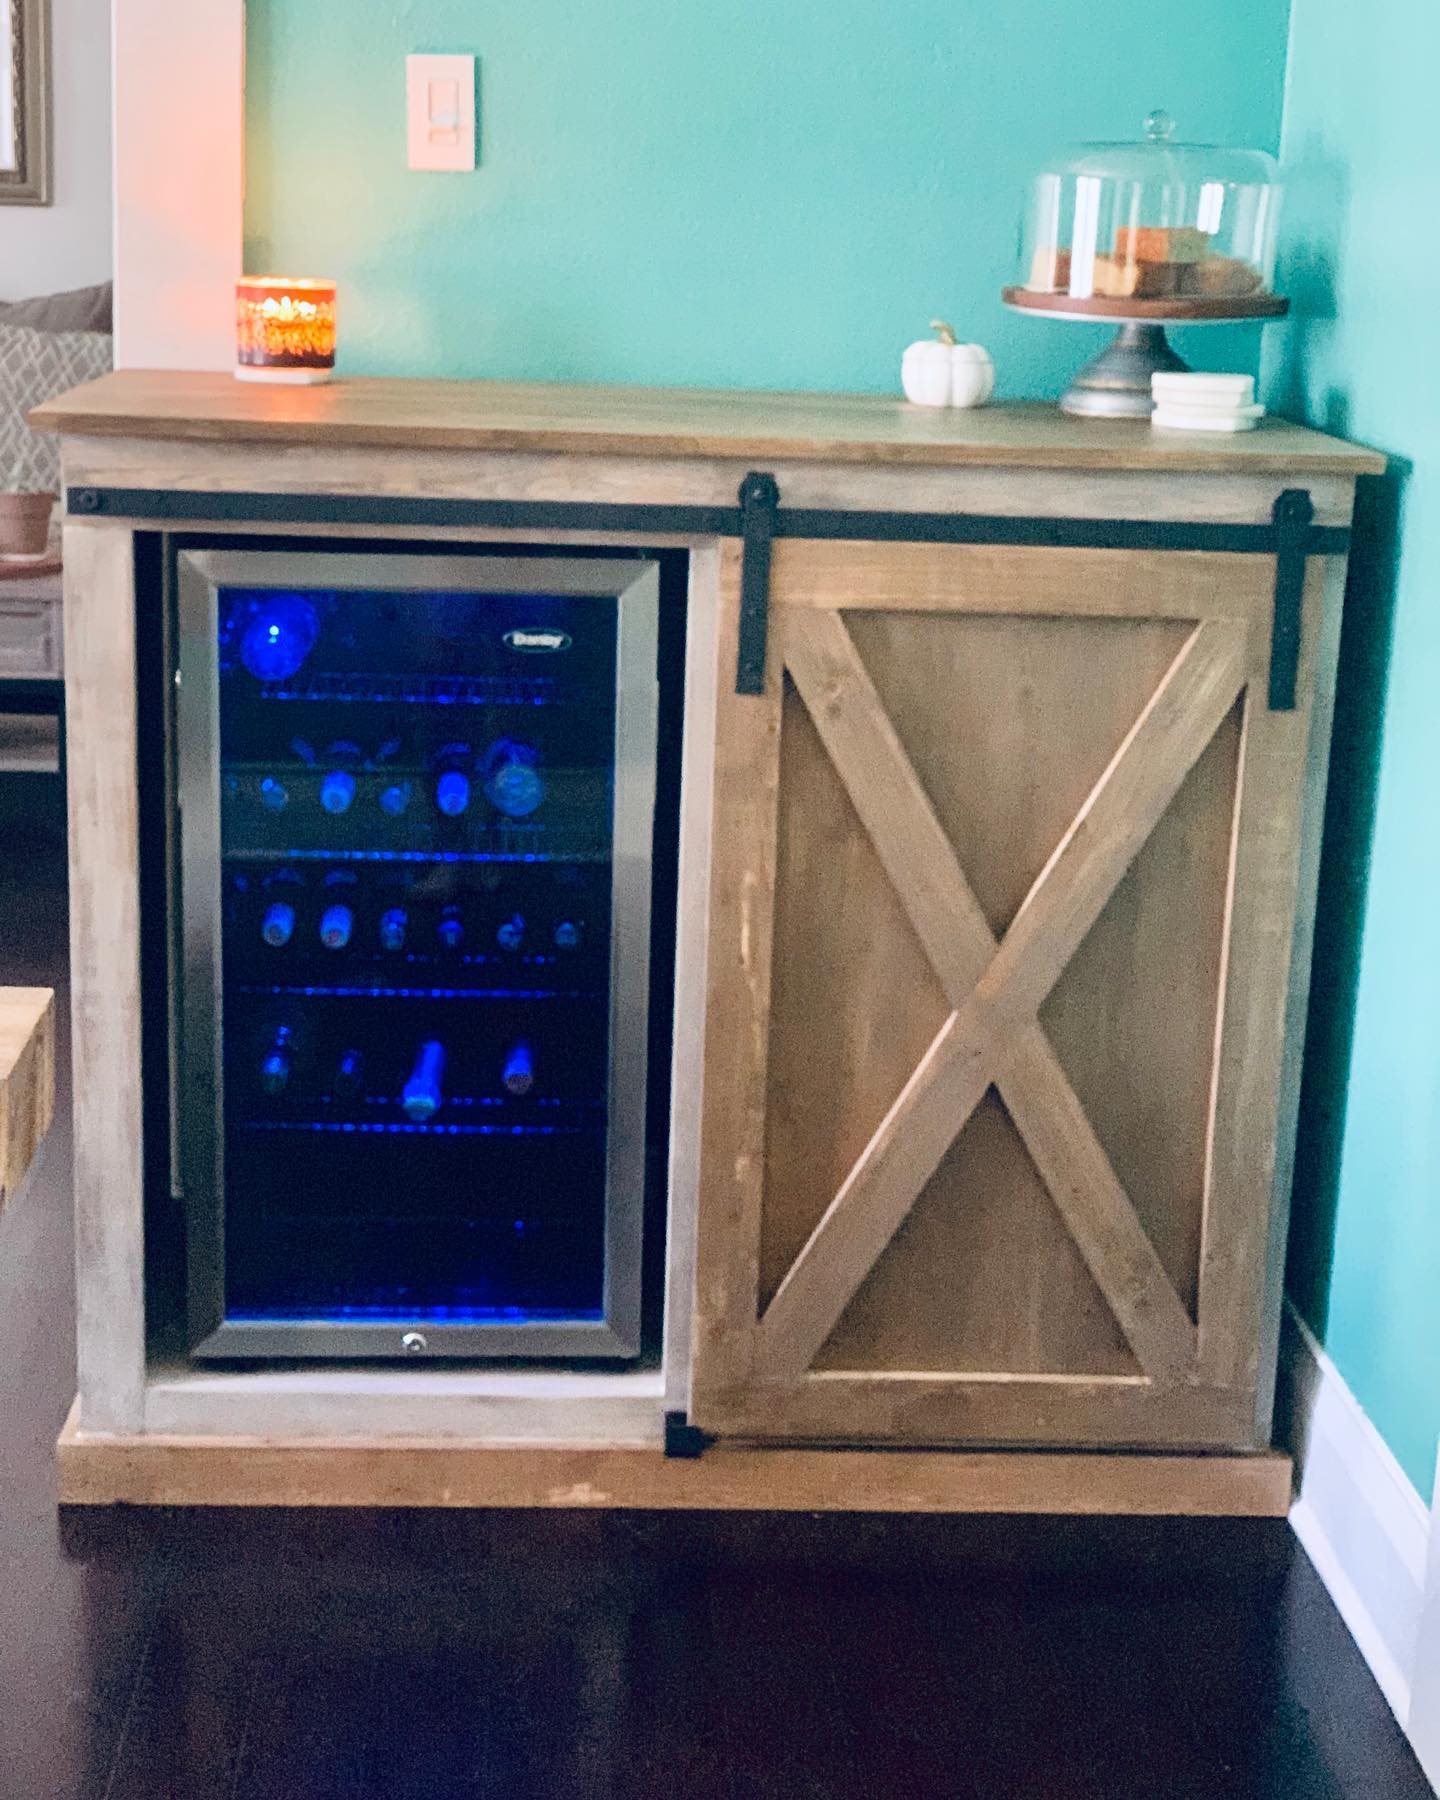
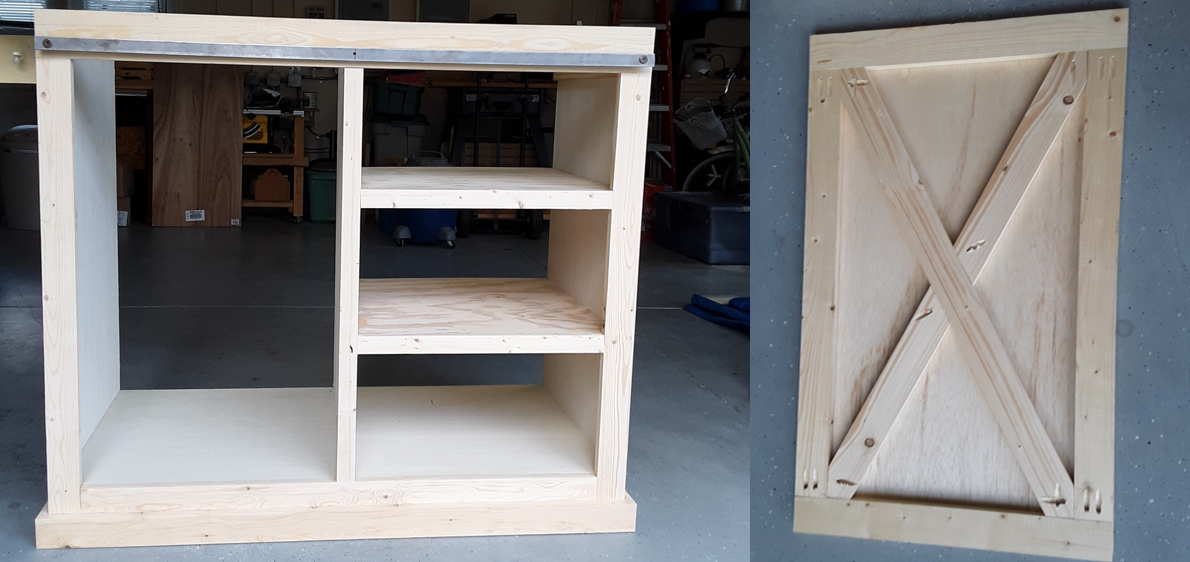
My wife and I built this Refreshment Console as a birthday present for our daughter. She had previously purchased a beverage refrigerator and wanted us to adapt it inspired by your barn door console project. Thus, we modified your plan to accommodate the height of the refrigerator. Also, she wanted three shelves with a closed back on the right side of the cabinet. Simply plan adjustments were all that was needed.
Using your plans, material list and excellent video we were able to construct the barn door rails and hangers using 1 ½ inch fender washers which sandwiched three 1-inch fender washers. The metal bar was sized to fit the top of the cabinet and connected to the top trim board using spacers, washers and bolts. As we decided to place a middle support for the bar, we added a t-nut into a center plywood partition so that we could use the same bolts, spacers and washers to support the rail.
As we were following a rustic theme, we decided to add the X Braces to the barn door and used a project panel board as the top. The barn door is guided at the bottom using a simple U shaped metal bracket that we lined with felt for a smooth glide.

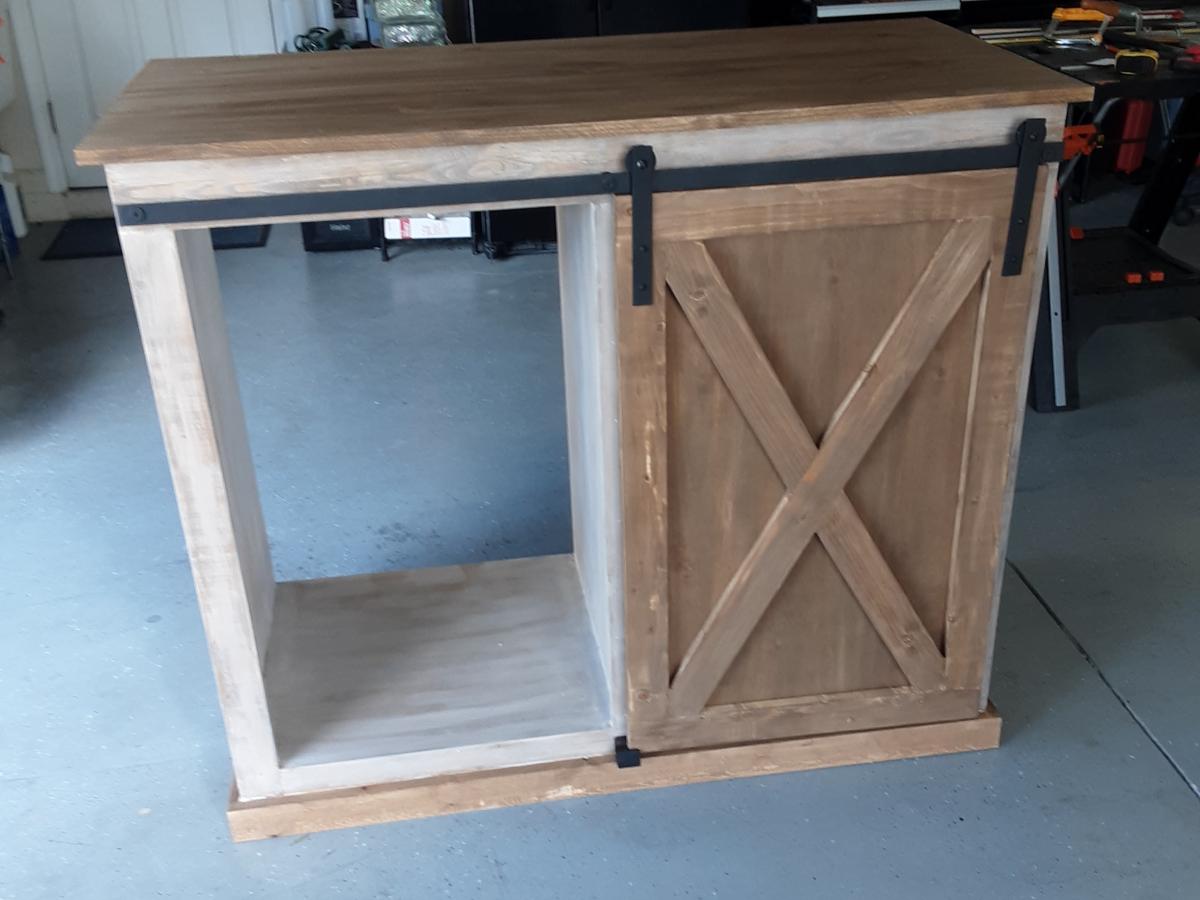
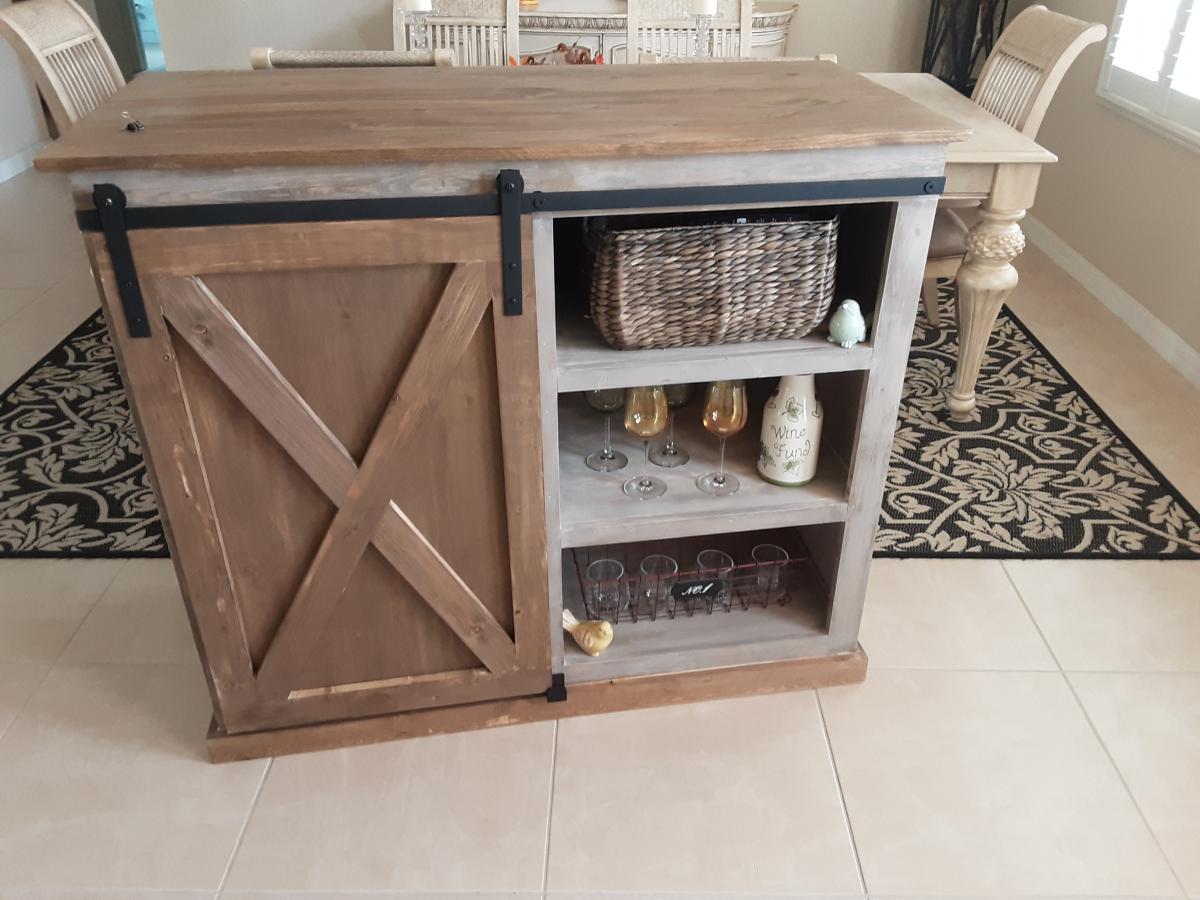
Cabinet carcass and surrounding trim painted with one coat of Behr Premium Plus Ultra Satin Finish Metropolis Grey.
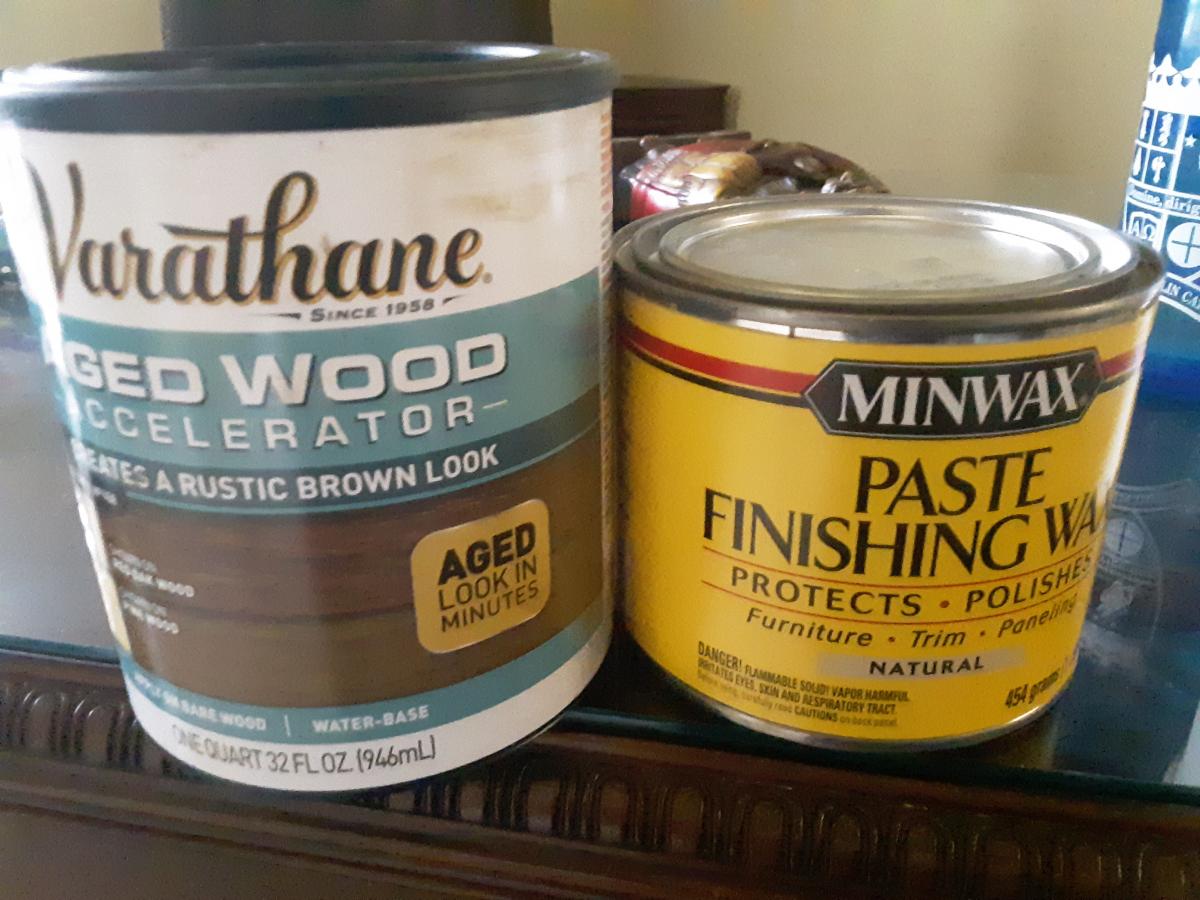
Entire cabinet finished using MinWax Paste Finishing Wax Natural applied with a rag and buffed for a durable finish.
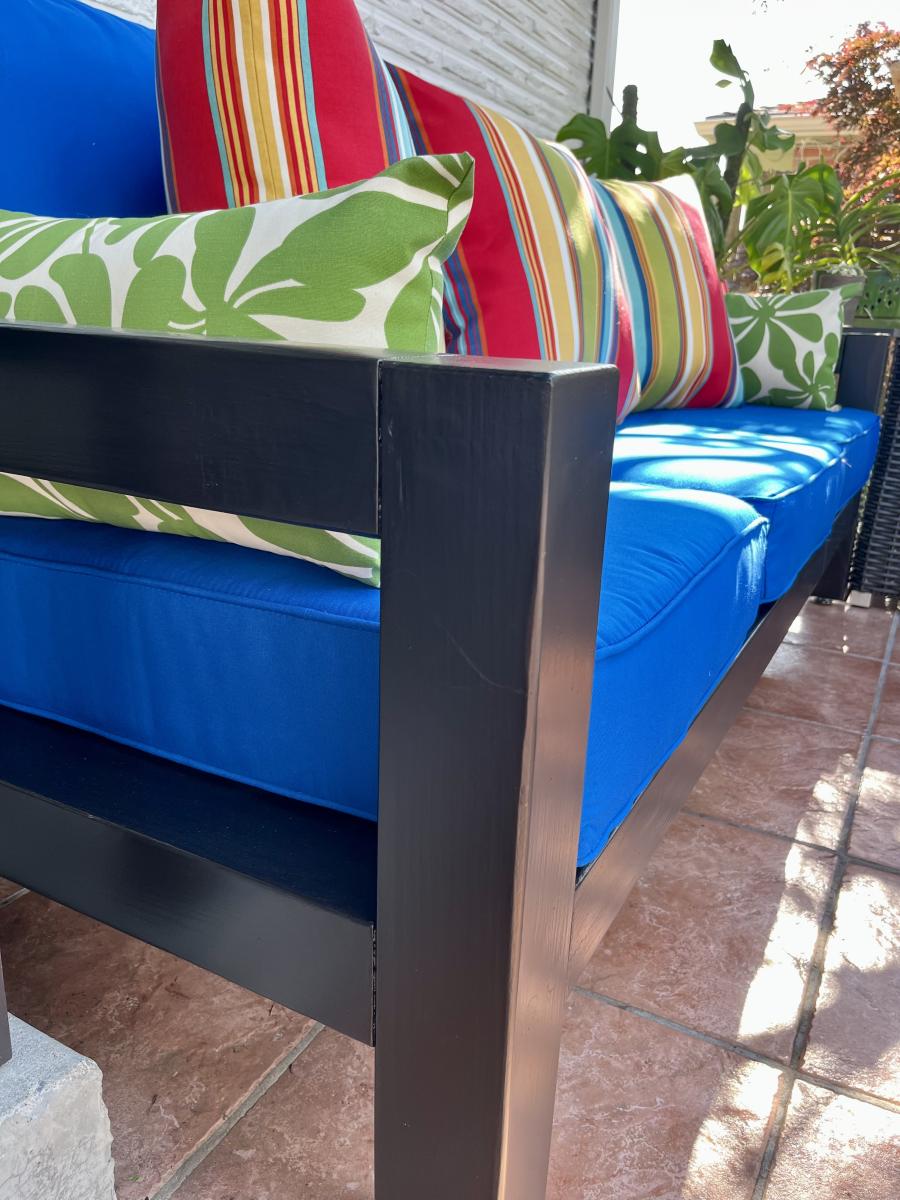
Minimalist Farm Style Outdoor Sofa
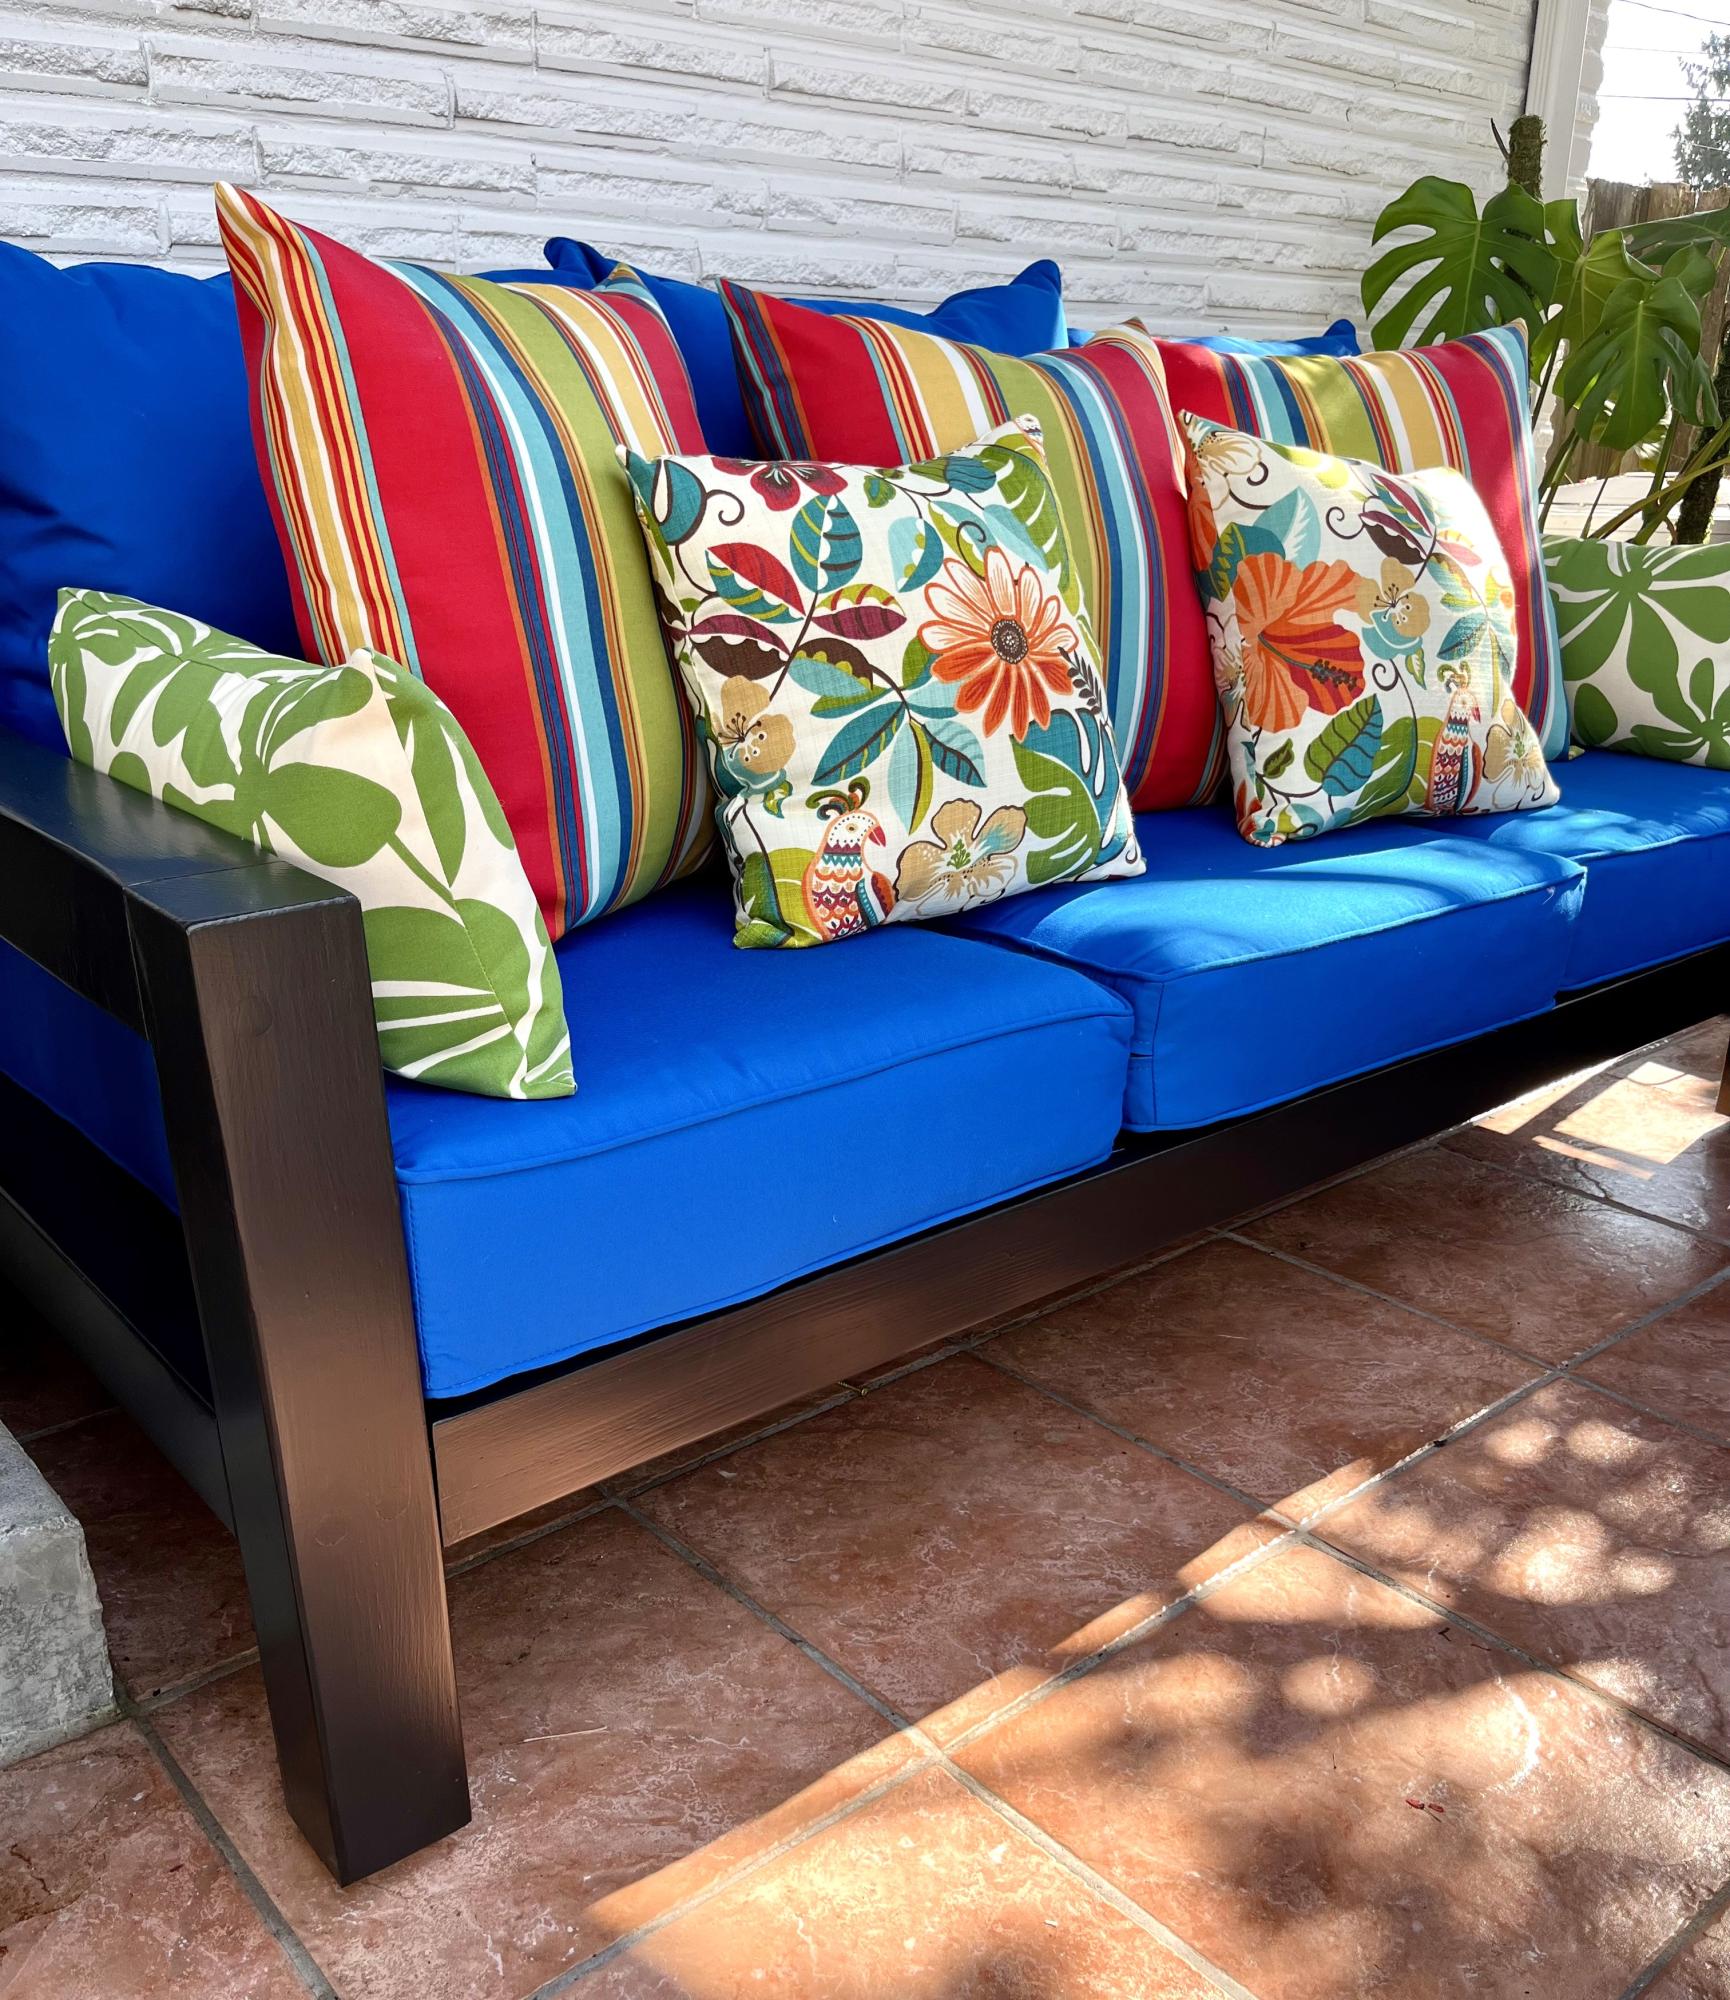
It was easy to make and we decided to paint it instead of stain. It goes perfectly with our mid century modern home!
F. Kimmel
Pallet Bookshelves
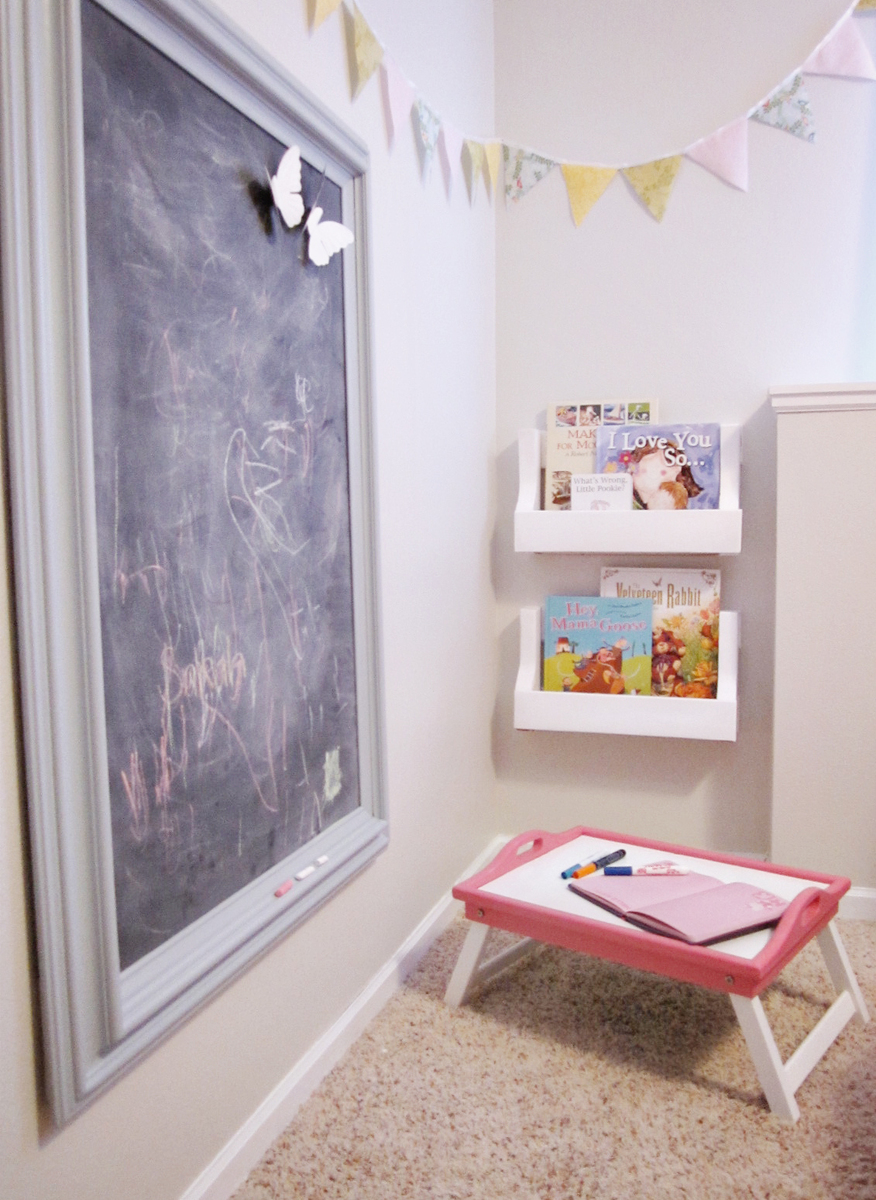
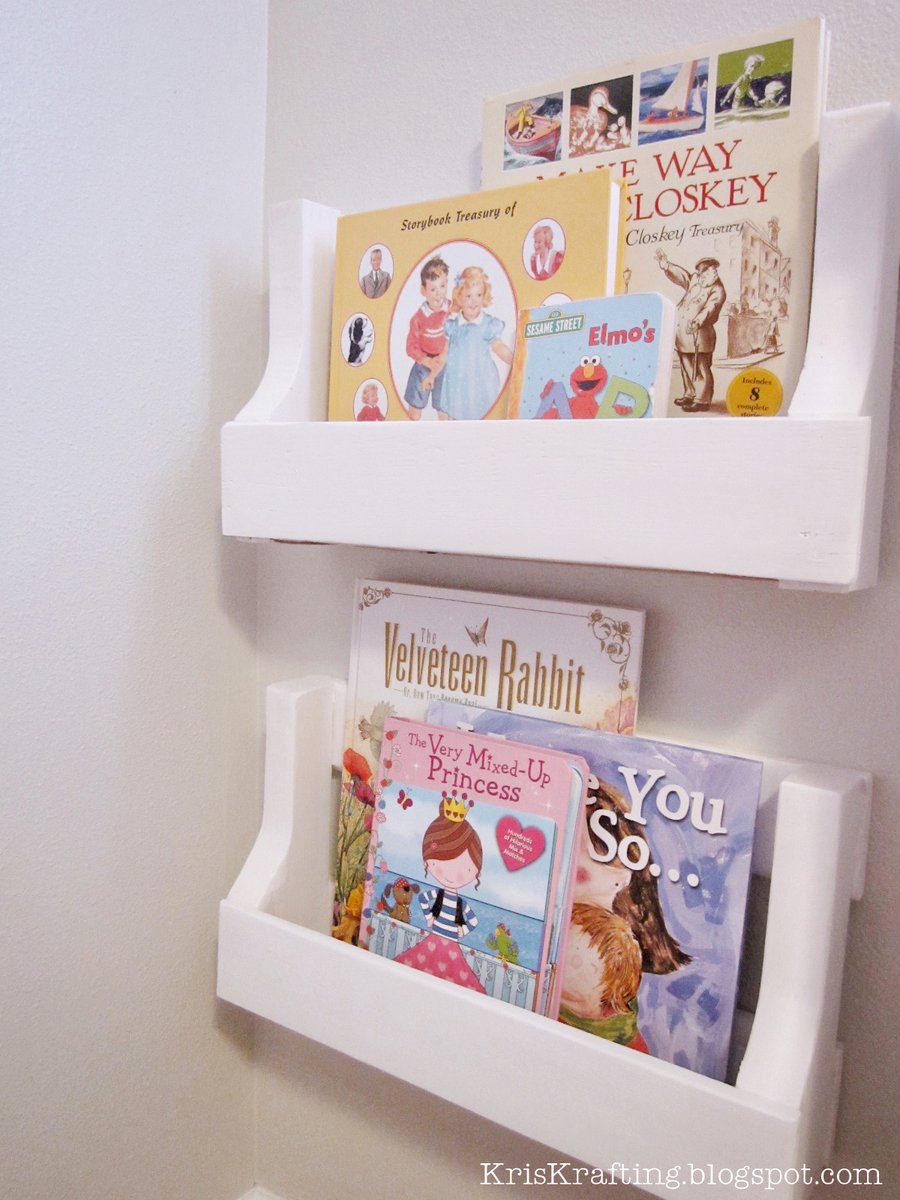
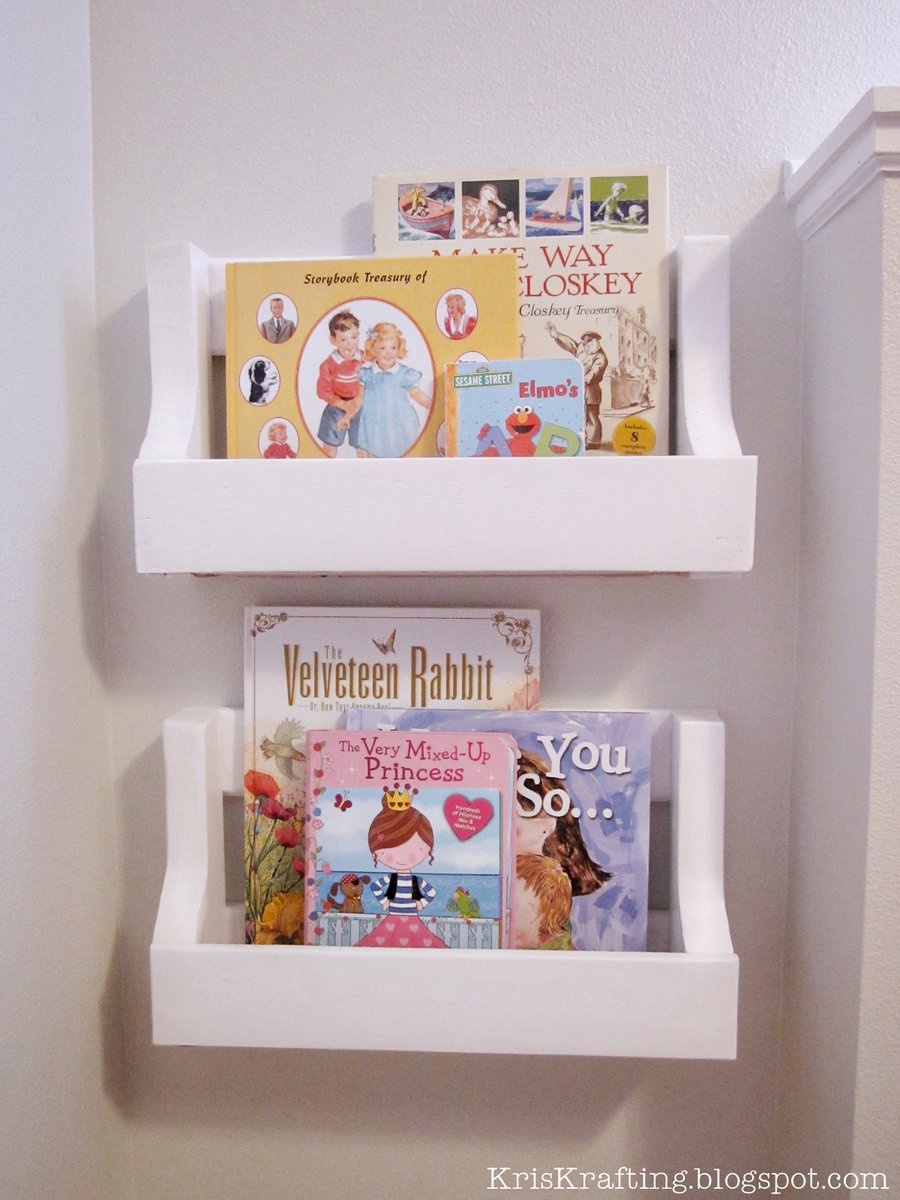
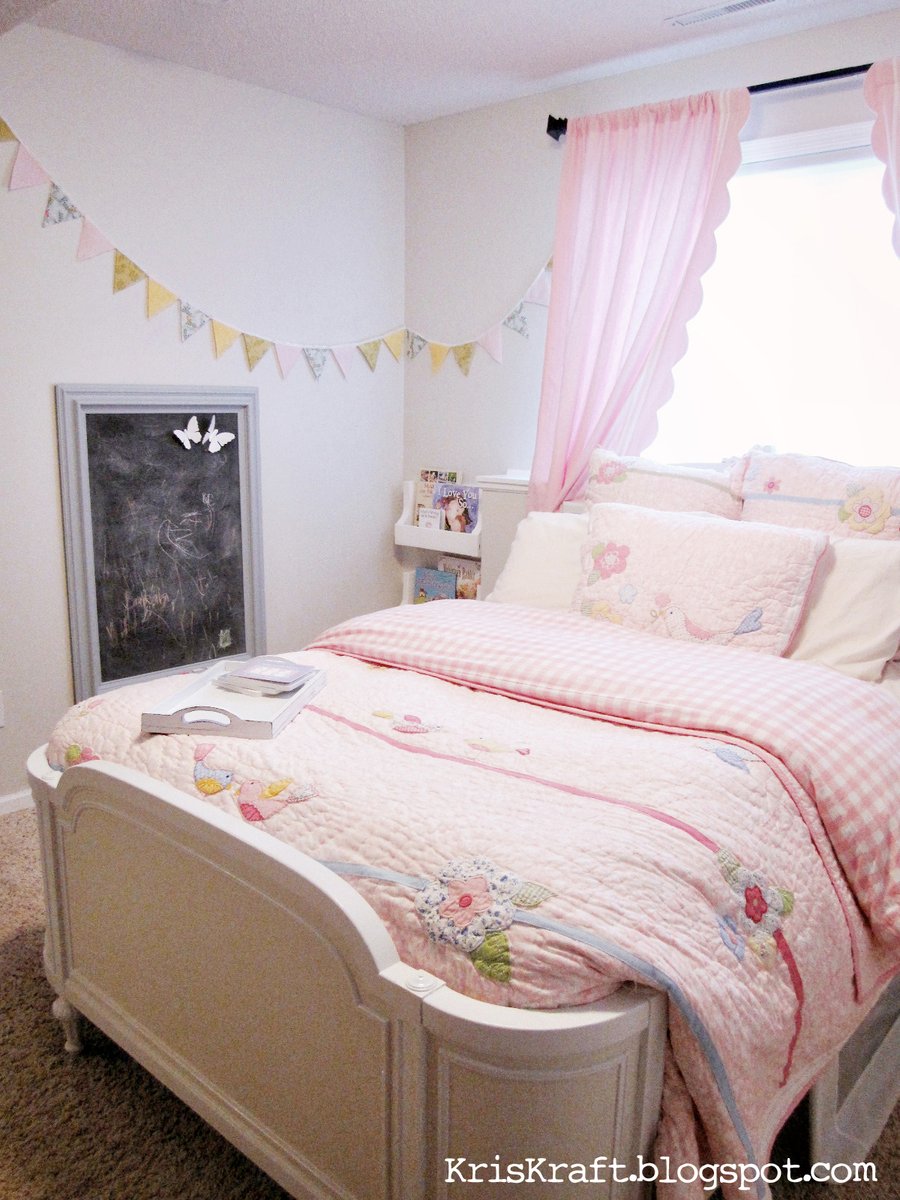
My daughter's room has a strange little cut-out section in one of its corners. We debated for a while over how to make it look like it's supposed to be there. After discussing all of our options, I remembered that we had a wood pallet in our garage. I also remembered seeing a great plan on Ana White's website for a book shelf made from a pallet, so I decided to give it a try. Fortunately cutting the pallet down in half made it the perfect size for this corner. Sarah loves books and drawing, so it makes a perfect little reading/art area. I love how it turned out, especially since it was FREE!
Comments
Modified Kids Lounge Bench
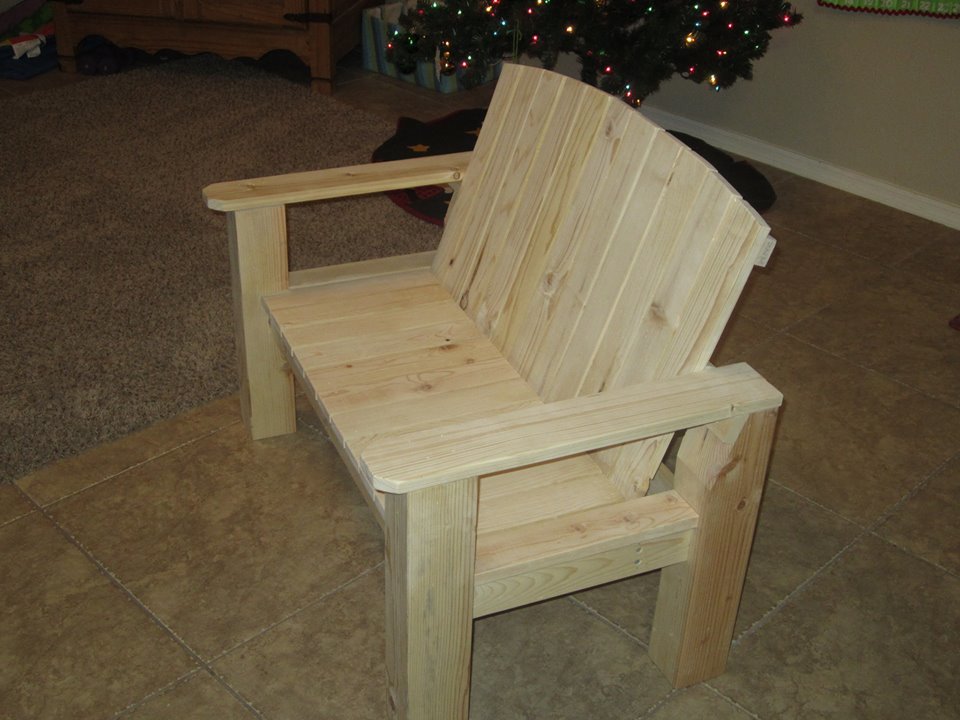
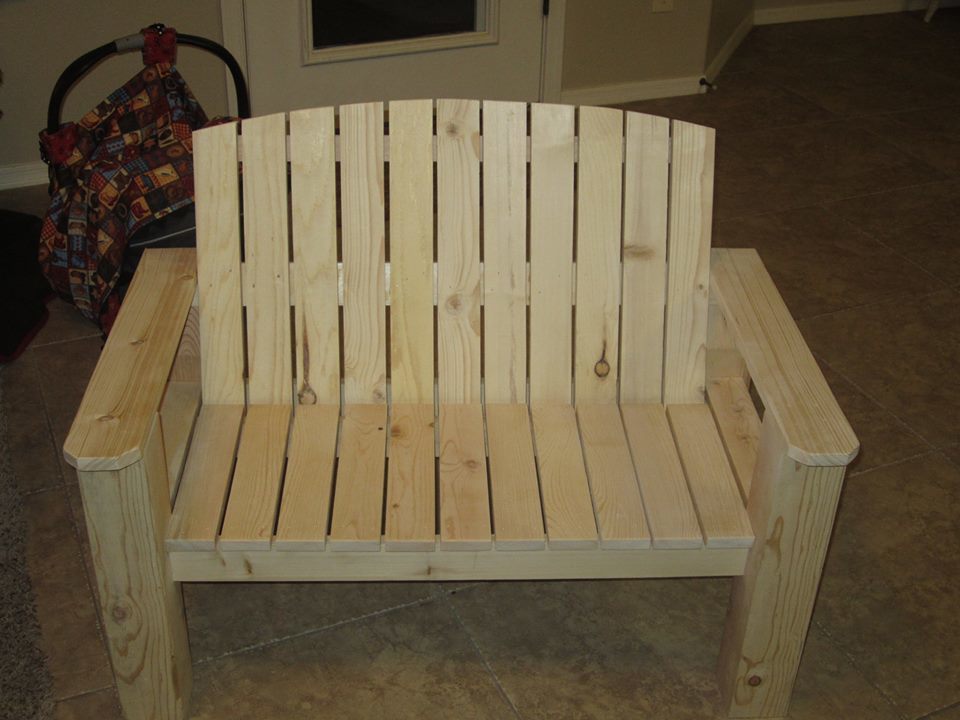
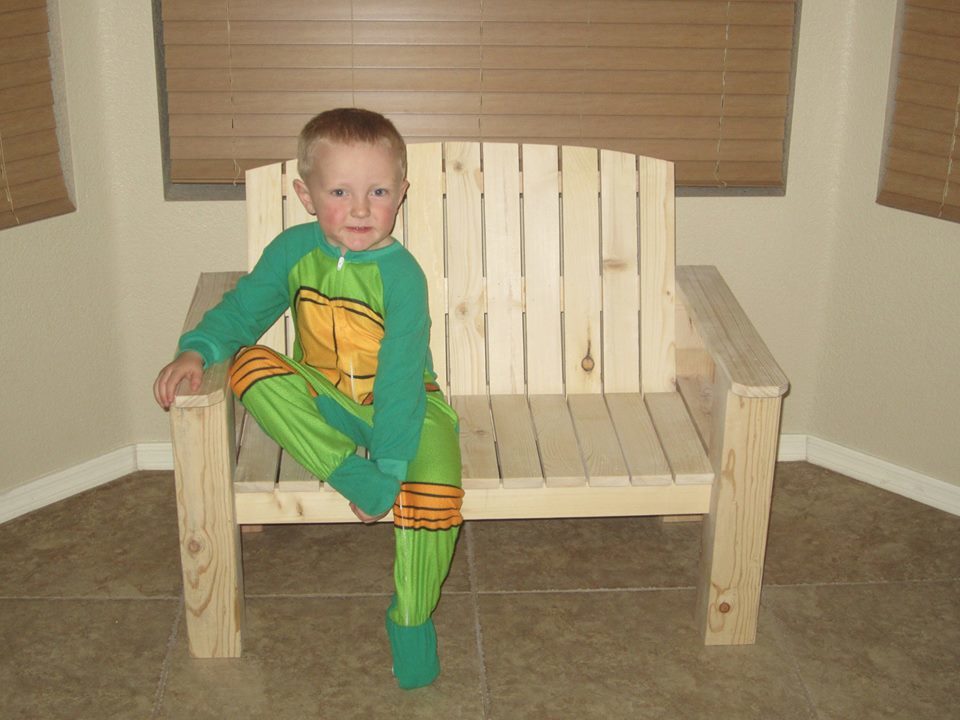
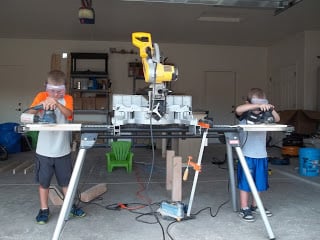
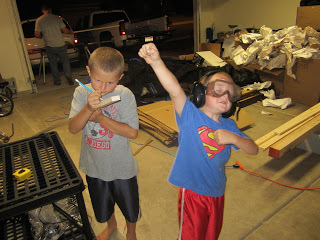
In getting my boys (ages 8, 5, and 3) started in woodworking, I decided to try this bench. We had a ton of fun building it together.
As you can see, I beefed it up a lot - using 4x4's for legs and recessing the frame into the legs themselves. The boys did all of the sanding and assembling and 80-90% of the cutting. I was just there as training wheels. It took much longer to build with the 4 of us than if I had done it myself. I estimate I could have done this in 3-4 hours. Group effort made it about 20-22 hours.
My 5 year old was the one who campaigned for the arched backrest. I think that they did a great job, and just wanted to share.
New Kitchen Cabinet

Had a blast building this project. from printing the plan to first coatings of stain was roughly 10 -14 hours including 2 trips to HomeDepot. I opted to use the PineShop Laminated Pine Shelving / Project Wood It has a really great look when done, and as Im in Canada some prices where a little higher than i had hoped. when purchasing the laminated pine panels, i got 3 panels at 48 inch long by 16 wide (for the top bottom and shelf and 2 panels at 36 inch long by 16 inch wide for the sides. these are actually 16 inch wide so if you need to make them narrower run them through your table saw or have the home depot team trim them to the width you prefer or buy the narrower 12 inch panel . Again it was a blast to build, between the kreg screws needed and the panels and lumber and 1/4 plywood back panel and 3 centre mount drawer slides this project came in at $245 Canadian the Stain i used i have plenty of on hand, but if you don't have any on hand add $10 or $20 to your price
Farmhouse table
I just finished this table for our new house at the beach; I did a small modification at the moment of fixing the breadboards; besides the pocket holes I also used dowels for extra strength. If someone sits on the front of the table it could be a problem.
Another detail I included,is a simple way to clamp the diagonal pieces, much more firmly than with tape.
I am quite happy with the results, I will now finish the table with lacquer.
I Built an Outdoor Sofa Set!
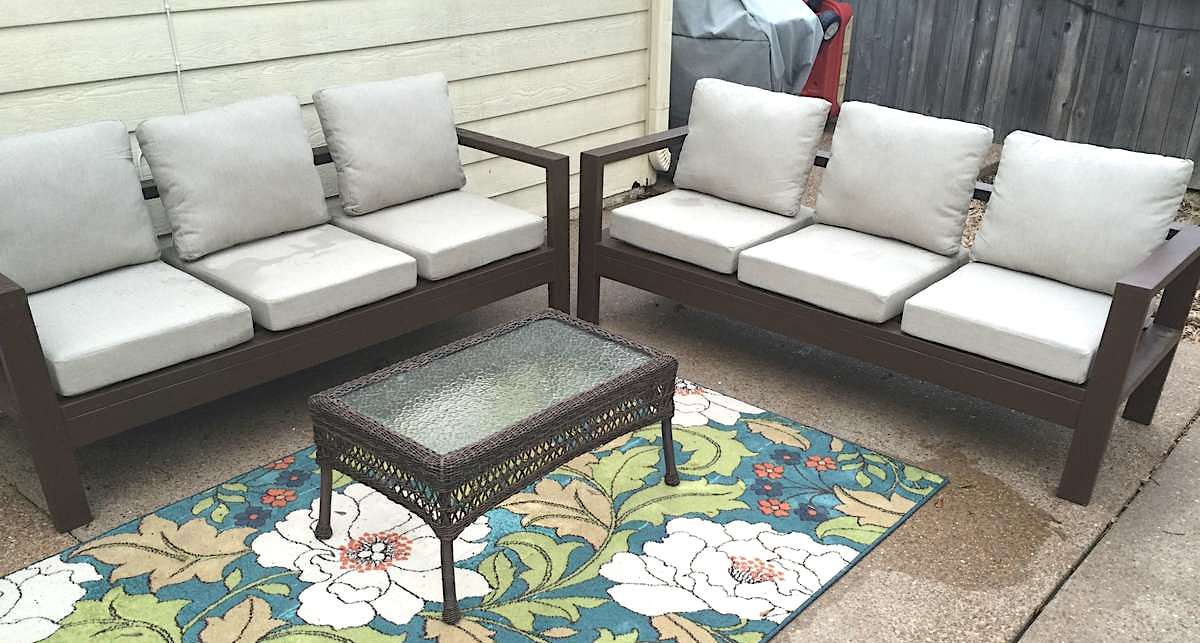
I have been wanting outdoor seating by my pool forever but couldn't afford anything I liked. When I came across Ana White's plans for the outdoor sectional I knew I had to build two. They are just what I was wanting and cost under $200. It took my brother & I one afternoon to buy the supplies and put it all together. Since this furniture is outdoors 24/7, I had to caulk the seams & paint the whole thing. That process took two days. The biggest expense was of course the cushions from Home Depot that Ana White recommends for this sectional. I have to admit, they are well worth every penny. They look amazing! Can't wait to spruce them up with some throw pillows.
Briana Side Table
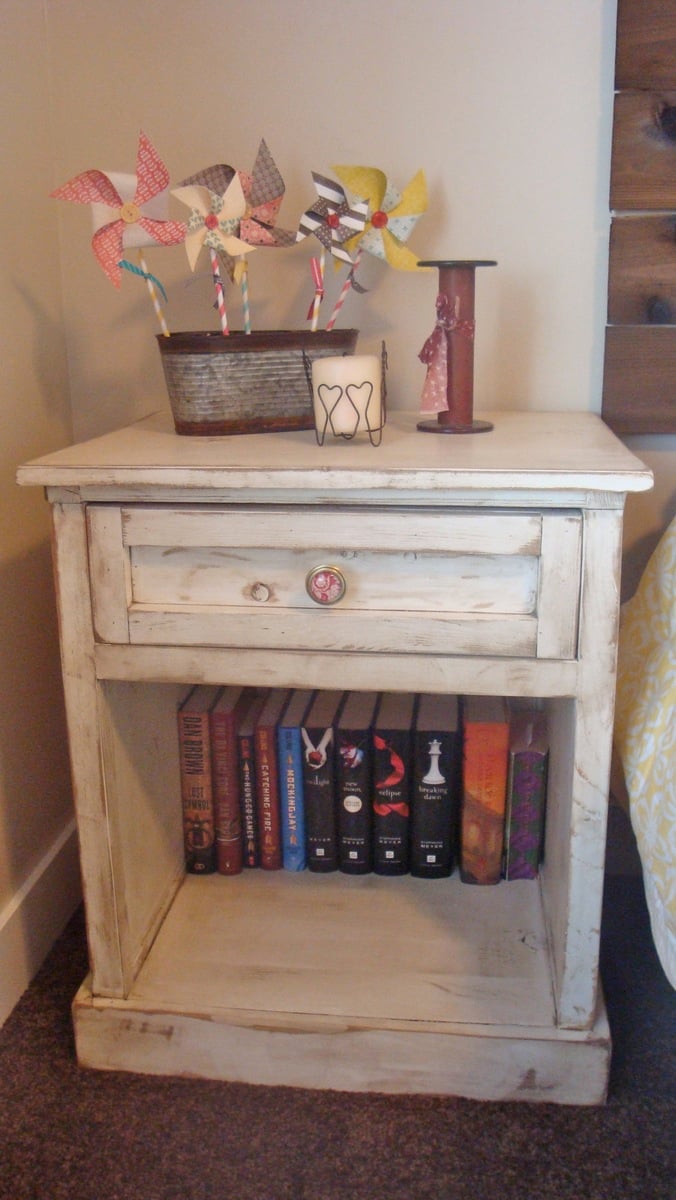
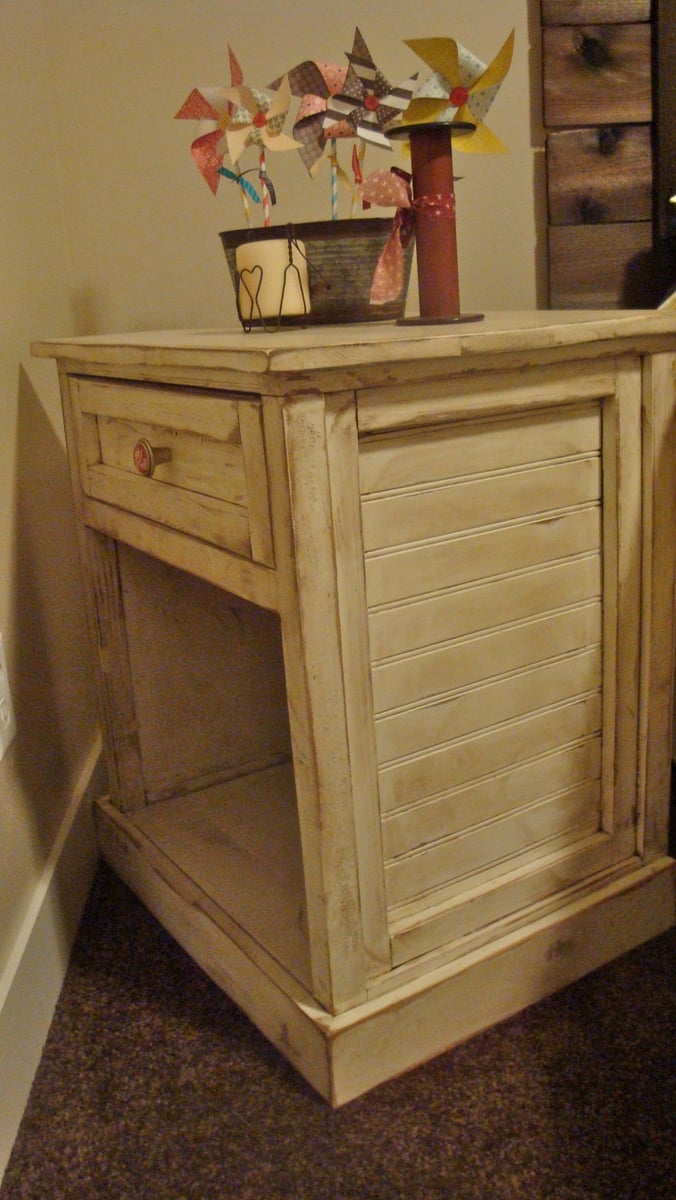
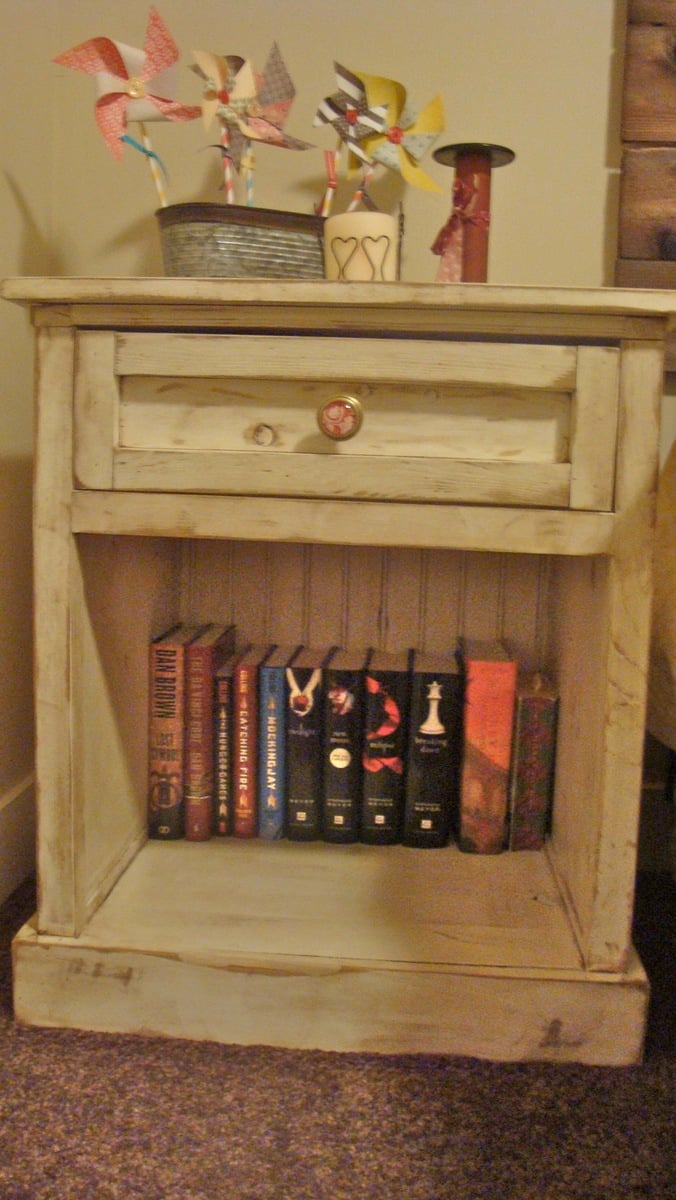
This was my first attempt at doing a project with a drawer. It definitely took time to make sure everything was level so that the drawer would side in and out smoothly. You can't see see it in these pictures but I used bead board in place of the plywood on the back and on the sides. I also used 1x8s glued and screwed together instead of the 3/4" plywood. I can't take credit for the finish on the project though. My wife is the one in charge of making my projects look great. She's the one that did the fun antiqued finish on the side table.
Comments
Wed, 02/29/2012 - 19:22
Polo Outlet
Anyway,your works Your work is very interesting, I am sure.Waiting for more of your new works, you are very popular.
Wed, 02/29/2012 - 19:26
Polo Outlet
Anyway,your works Your work is very interesting, I am sure.Waiting for more of your new works, you are very popular.
Thu, 03/08/2012 - 23:48
michael kors outlet
I enjoyed these consultation and expression onward to greasing one's palms and showing the hold. In that respect nonentity of more than worldwide sake that elevating youngsters! Devotes Pine Tree State more or less themes since emerging soundness programing.
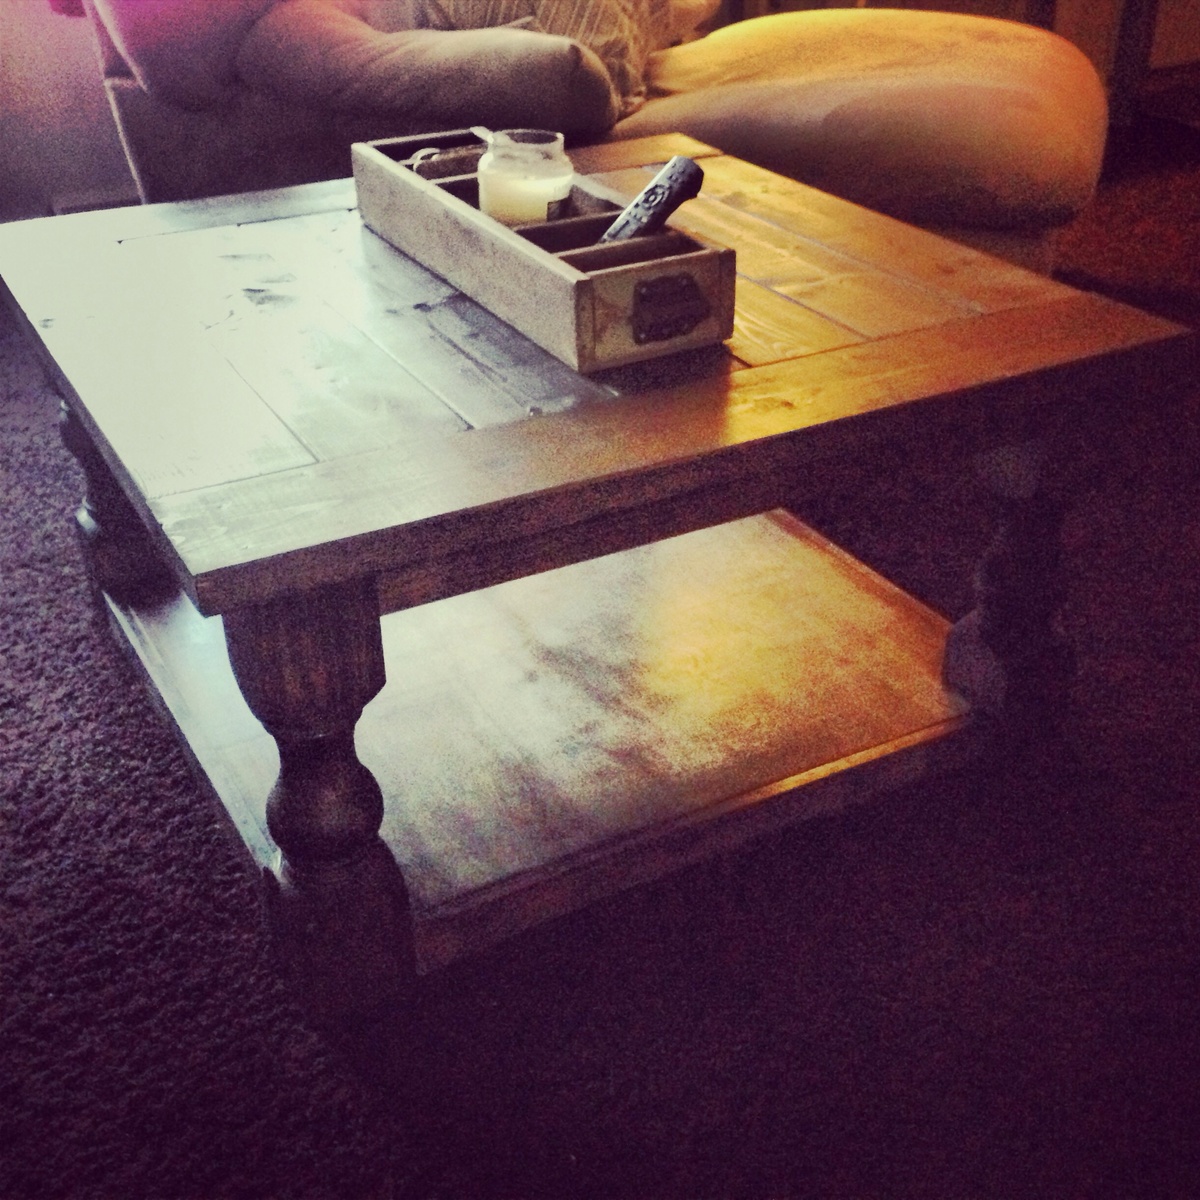
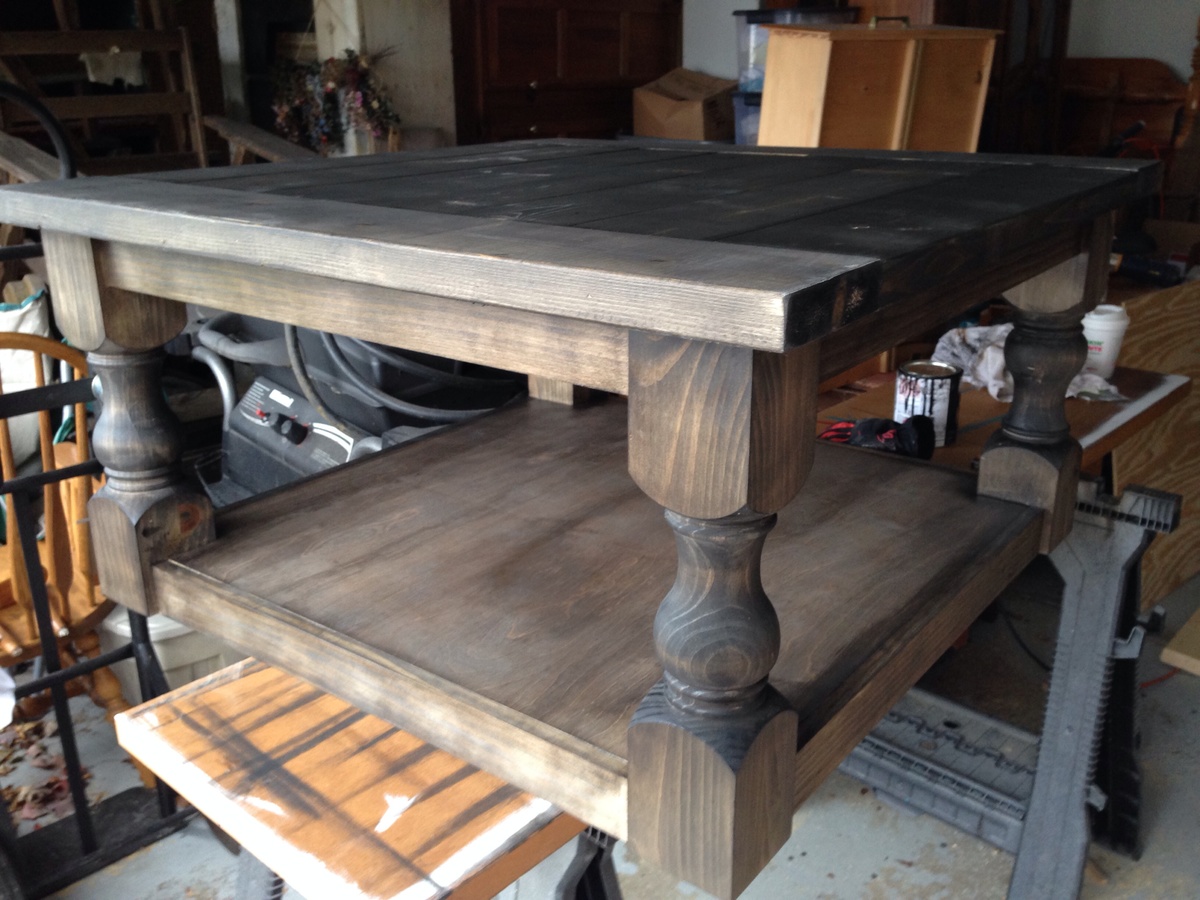
Corona coffee table
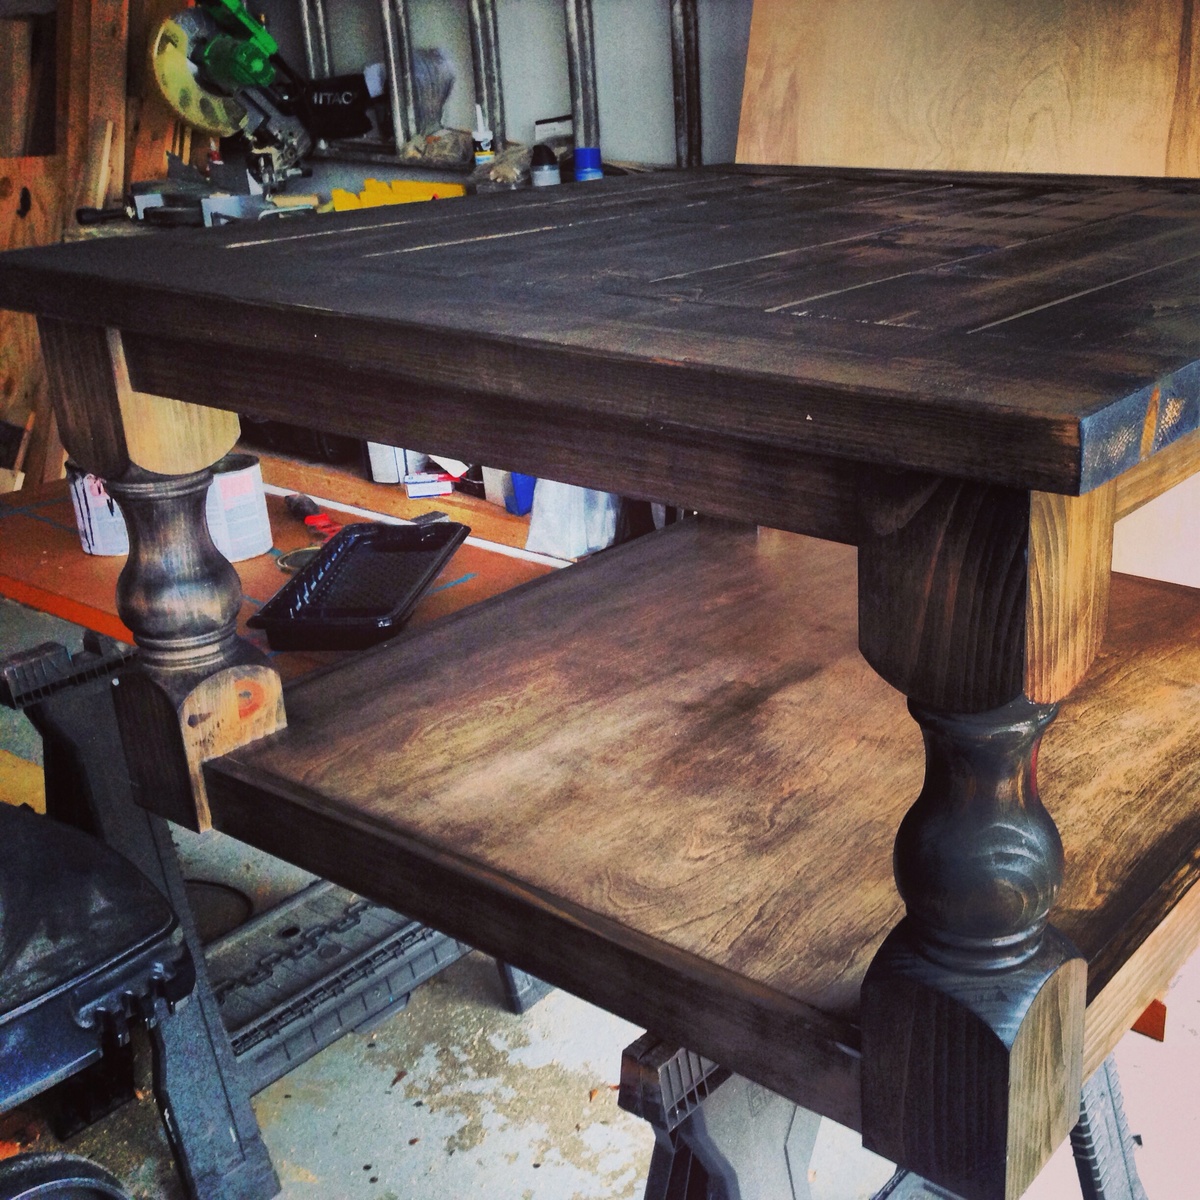
Got the plans from this website and built the table for our family room!
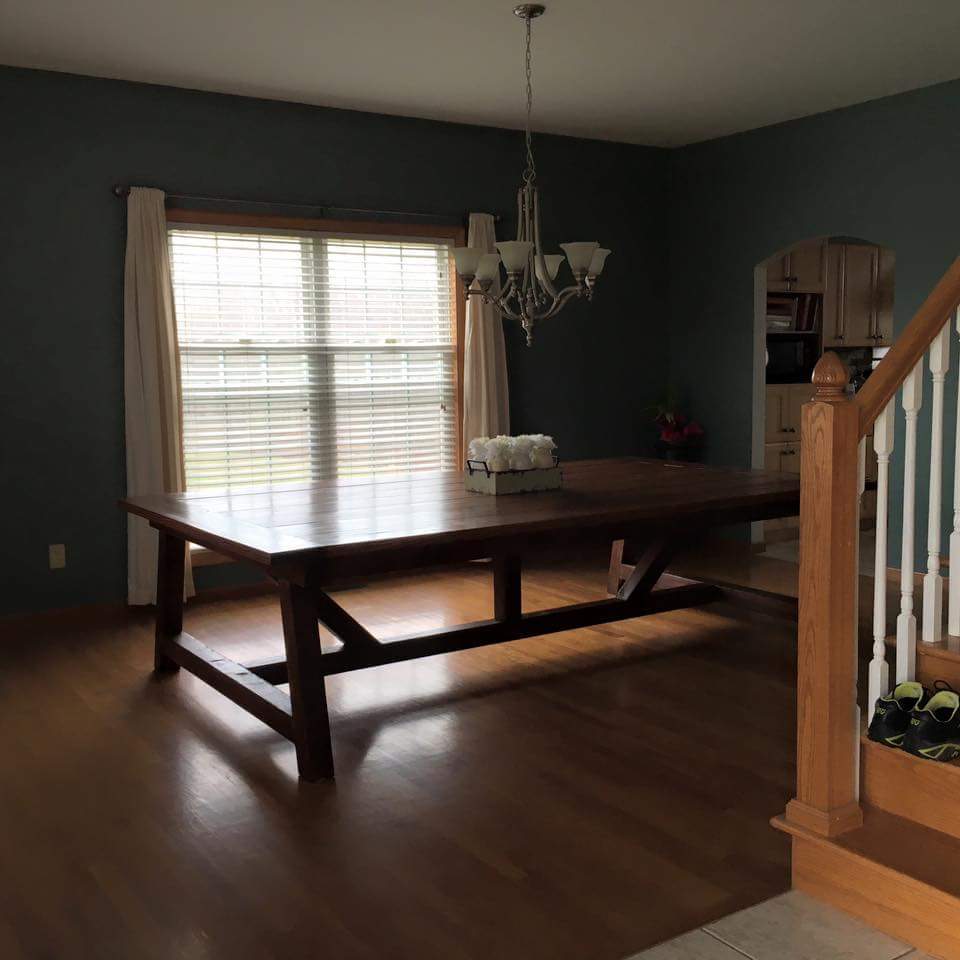
Loved this plan! made ours 6x9
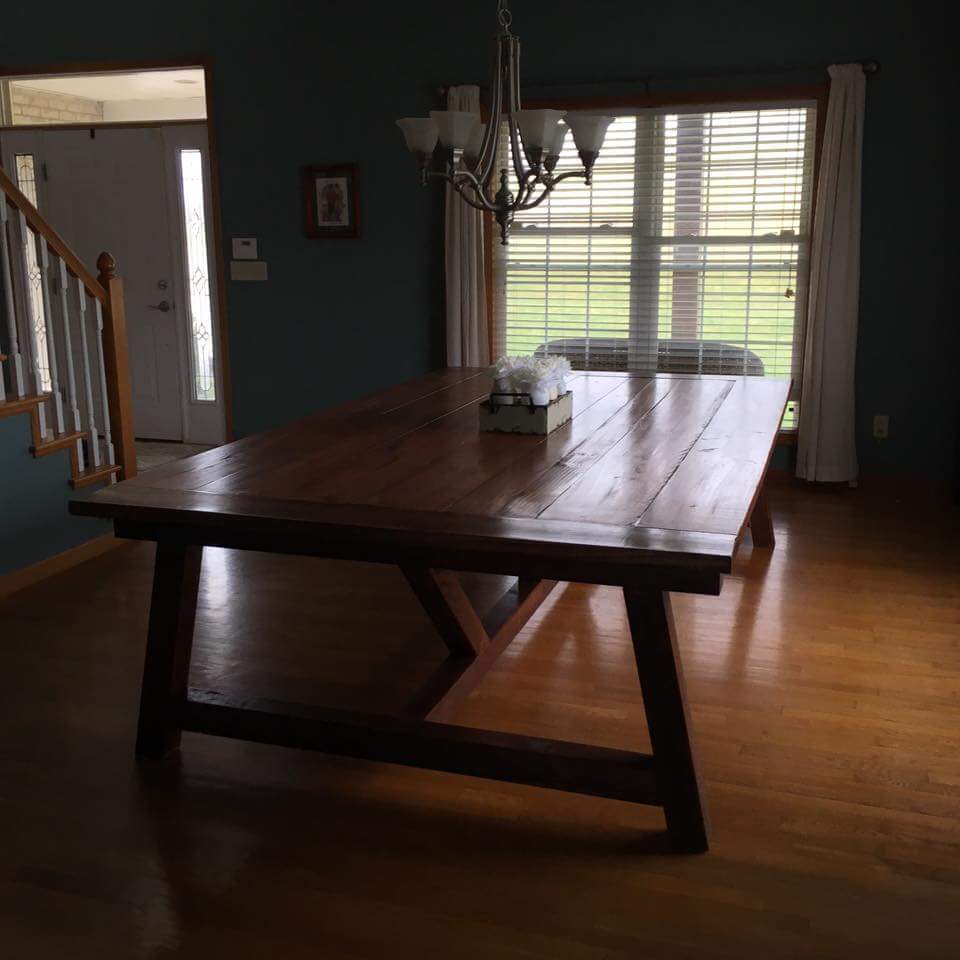
this project turned out better than I hoped
First Farmhouse Kitchen Table & Floating Shelves
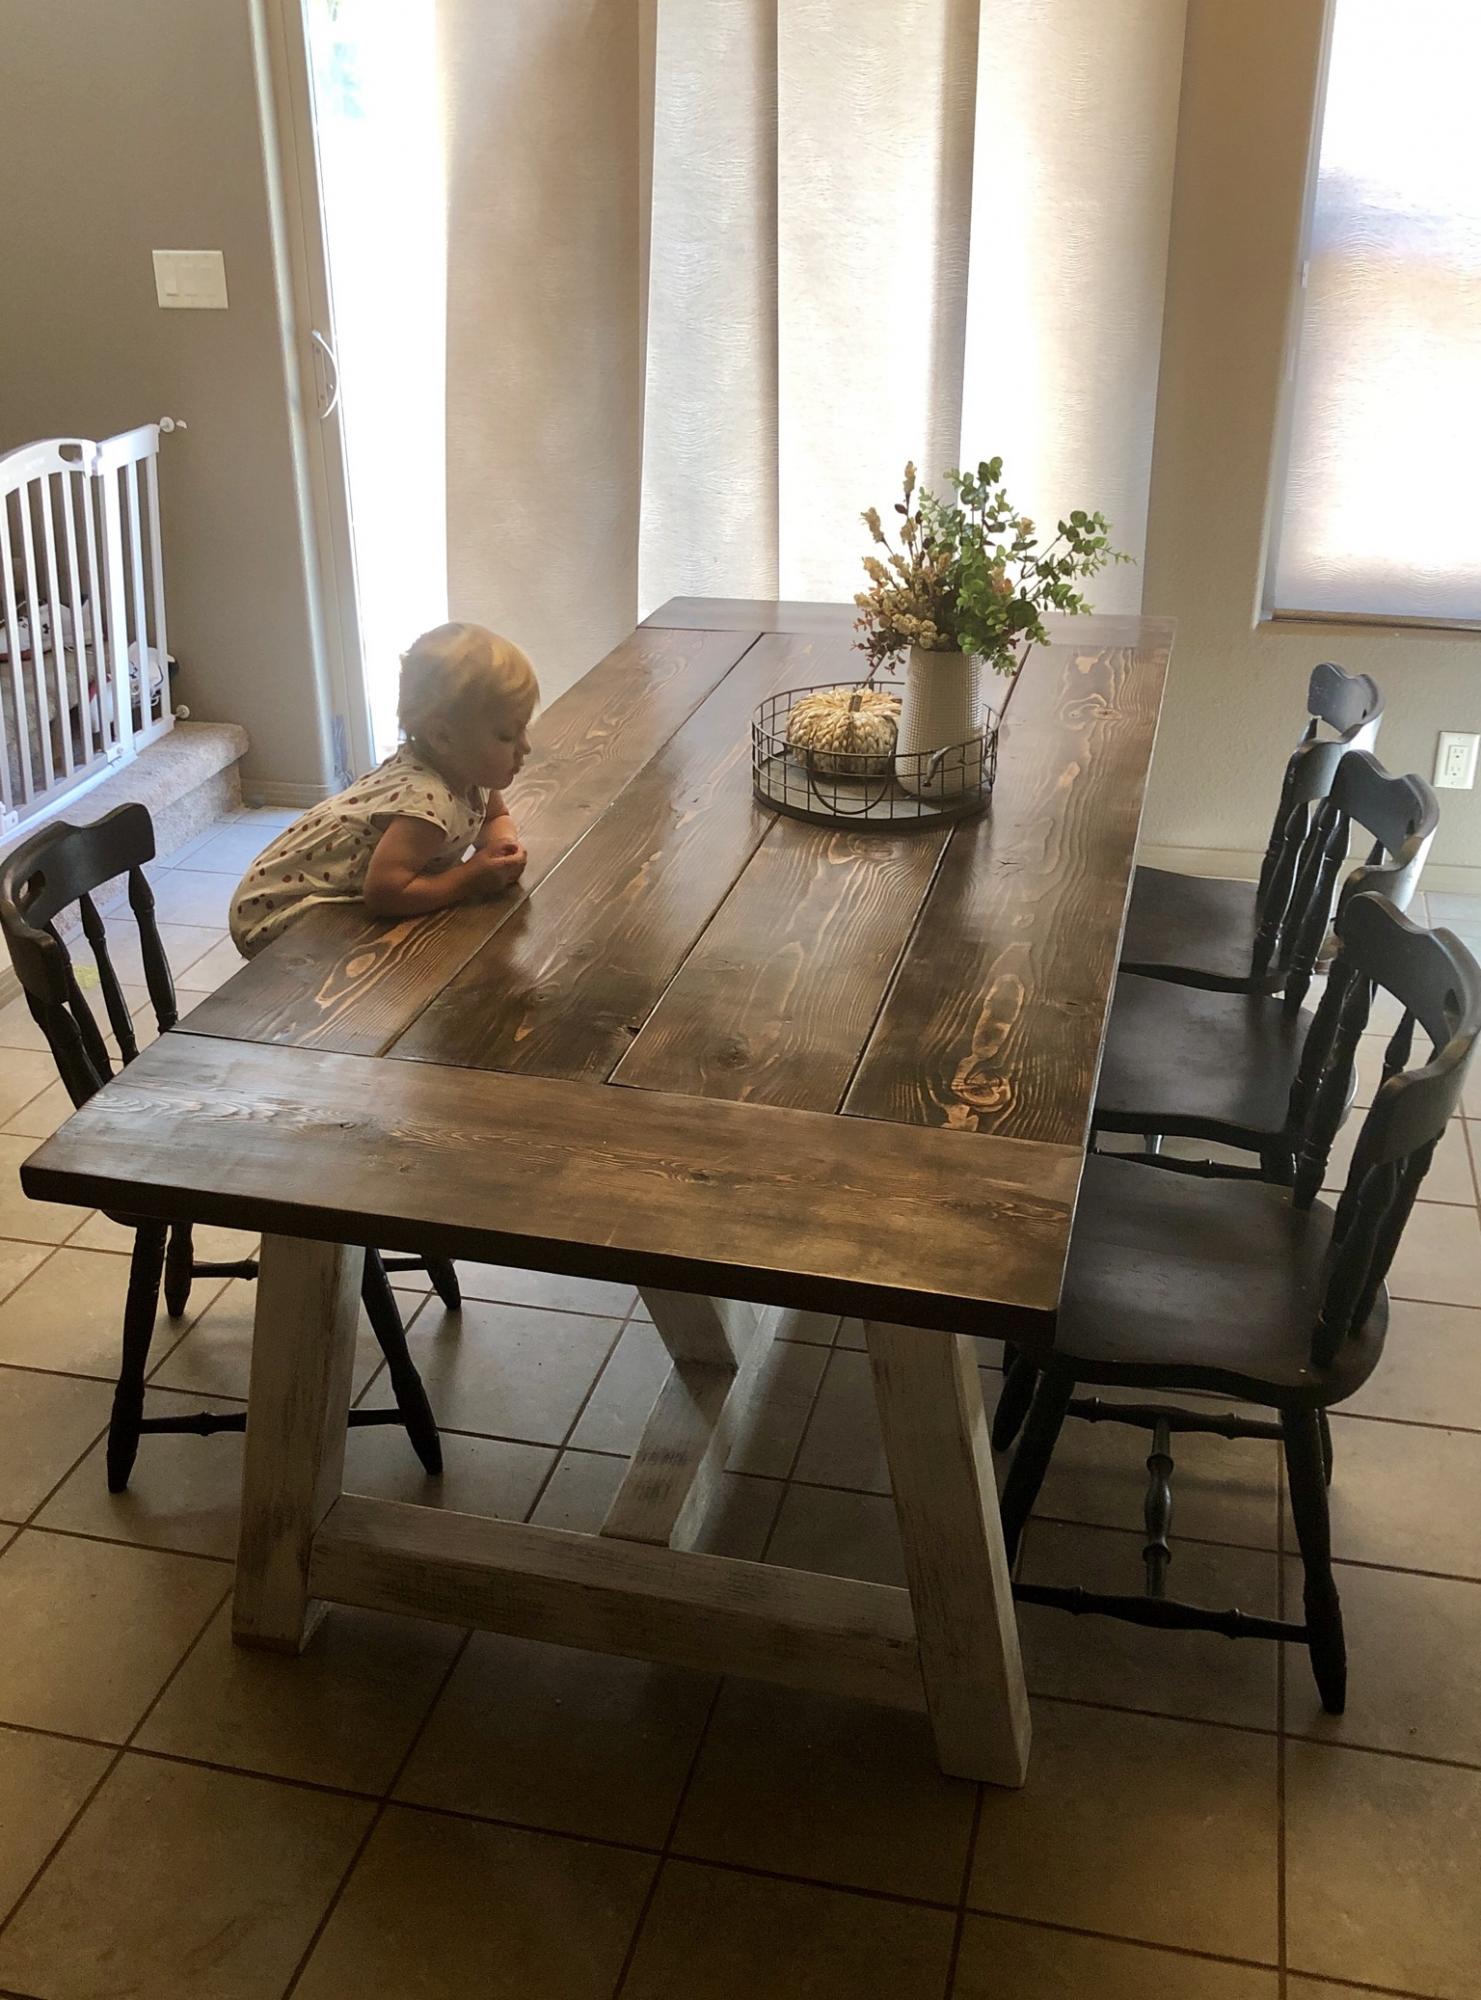
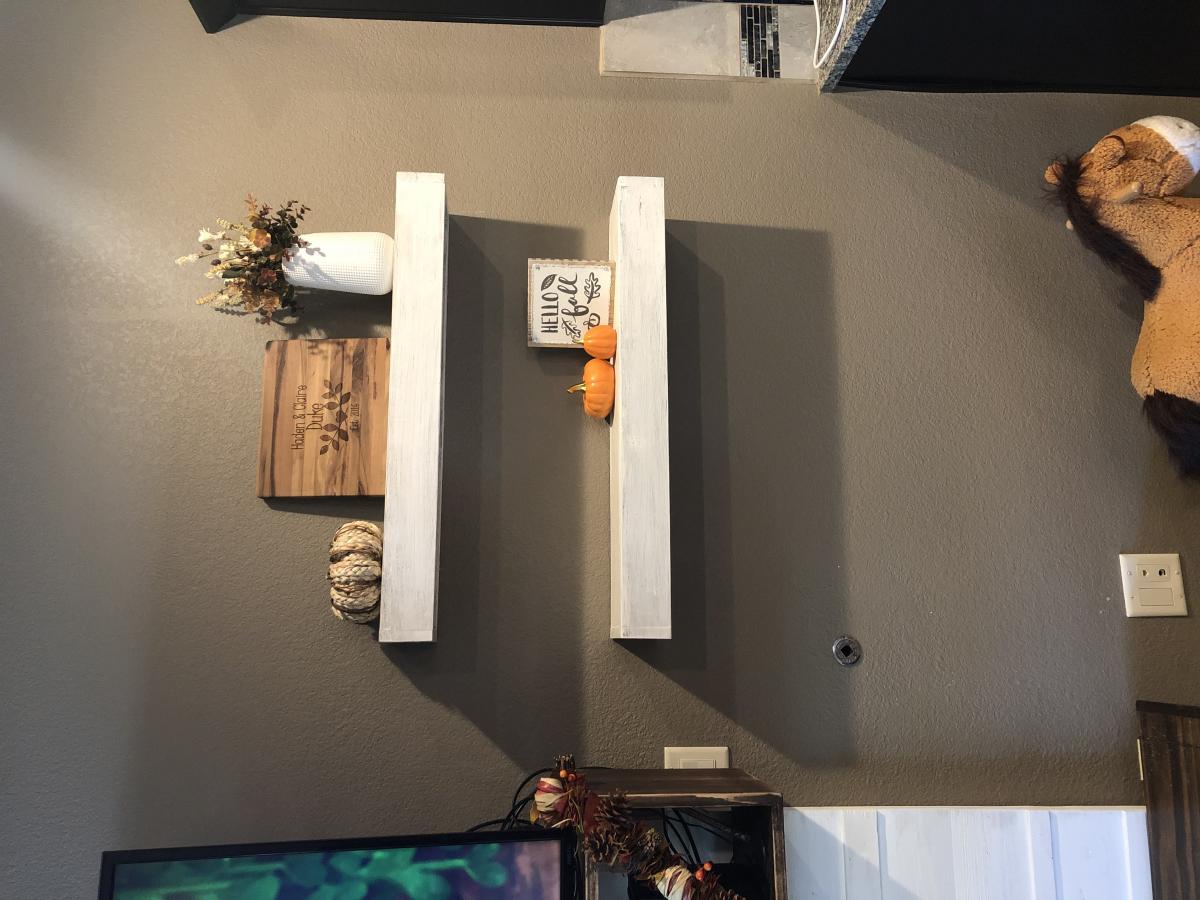
Been loving our Ana White plans!! The table and shelves turned out exactly how we wanted them to & they were SO much cheaper than paying for lesser quality furniture store finds. We’ve received so many compliments!
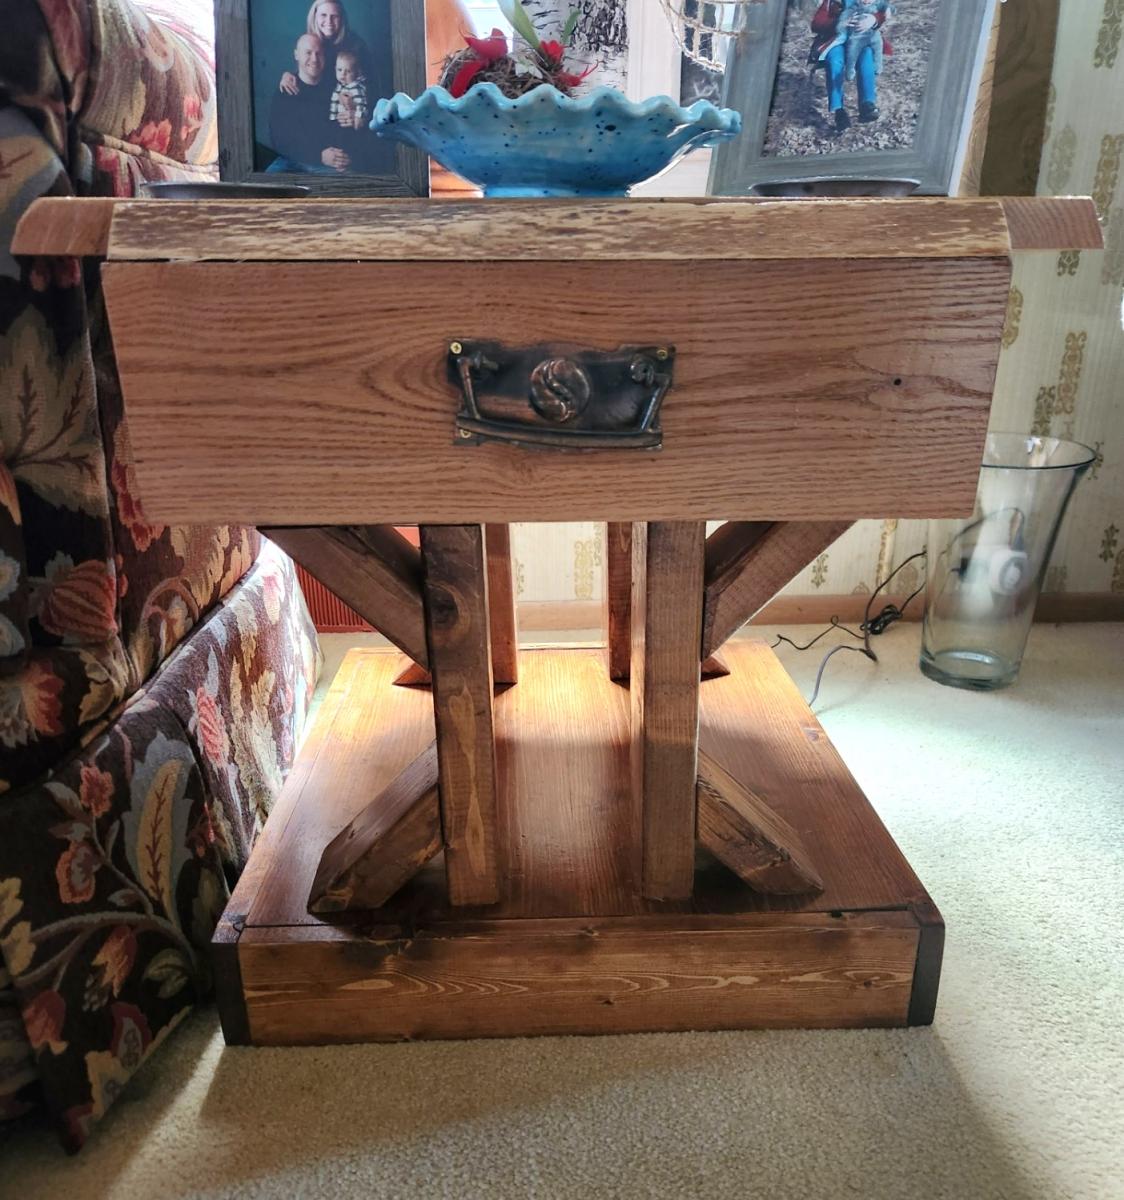
Live Edge Modern Farmhouse Tables
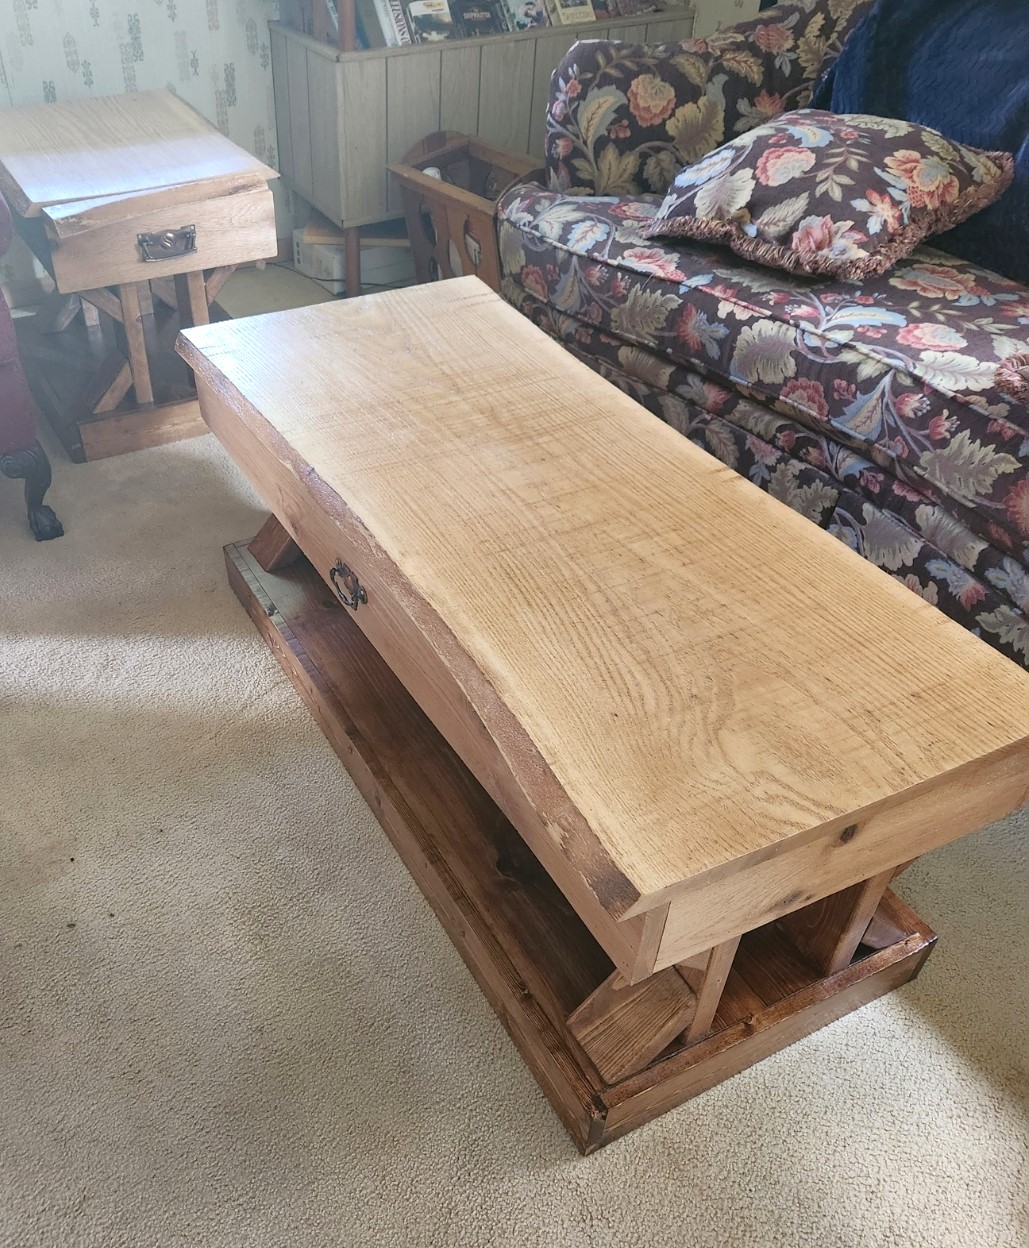
Here is my version of the modern farmhouse end table and coffee table. I used a 4/4 slab of live edge red oak for the tops and put a drawer in each end table.
Red Craig
Lydia Twin Bed
I used the Lydia Toddle Bed plans and made the adjustments to be a twin size bed.
Comments
Fri, 09/06/2013 - 16:04
bed rails
I actually took mine off a bed I took apart awhile ago. But you can get them from Rockler - http://www.rockler.com/product.cfm?page=10&rrt=1
It looks like they are about $15-$16 for a set of 4
Narrow Farmhouse Table
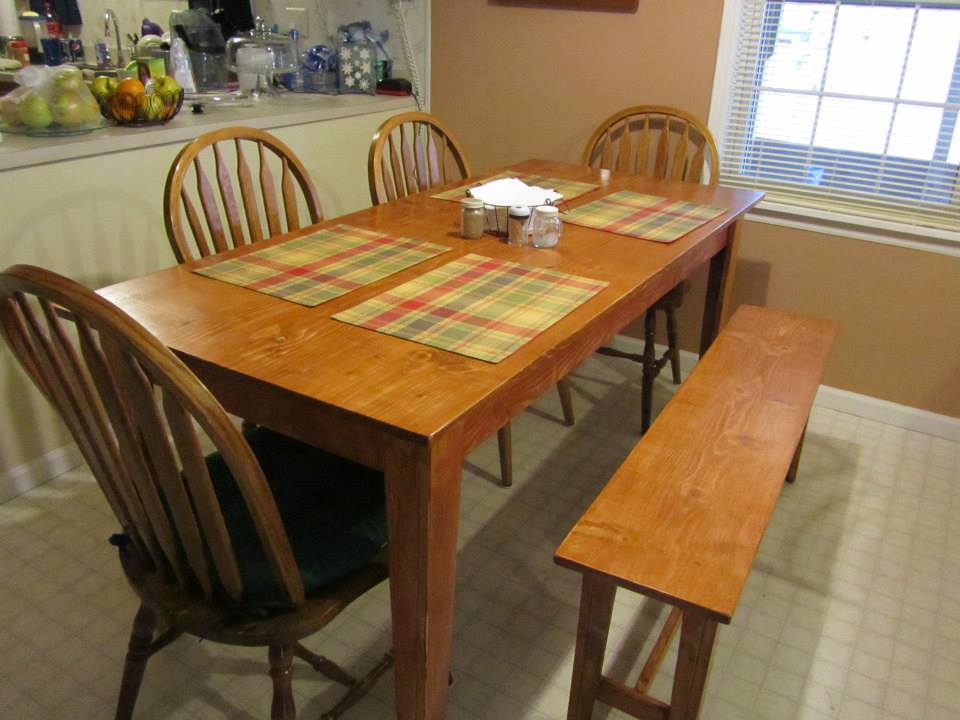
This is a narrow farmhouse table that I was asked to build for my neighbors. The plan was very easy to follow and didn't take long to do at all. I used 1x12x8' shelving board from the local home improvement center for most of the application. When mating the top together, I used a biscuit joiner, (aside to what the plans called for), for added strength. Also, I remember from years back that you should alternate the "rings" in the lumber to prevent bowing. This gave me a smooth, level table top without using a planer. Using the shelving board made this table very light, I love this table!!
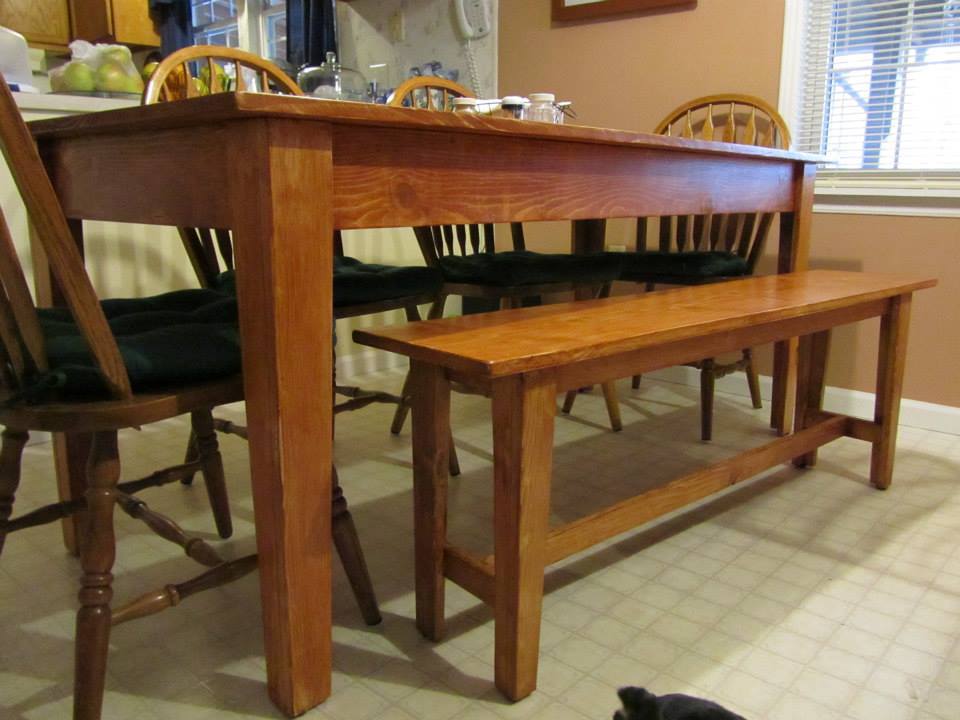
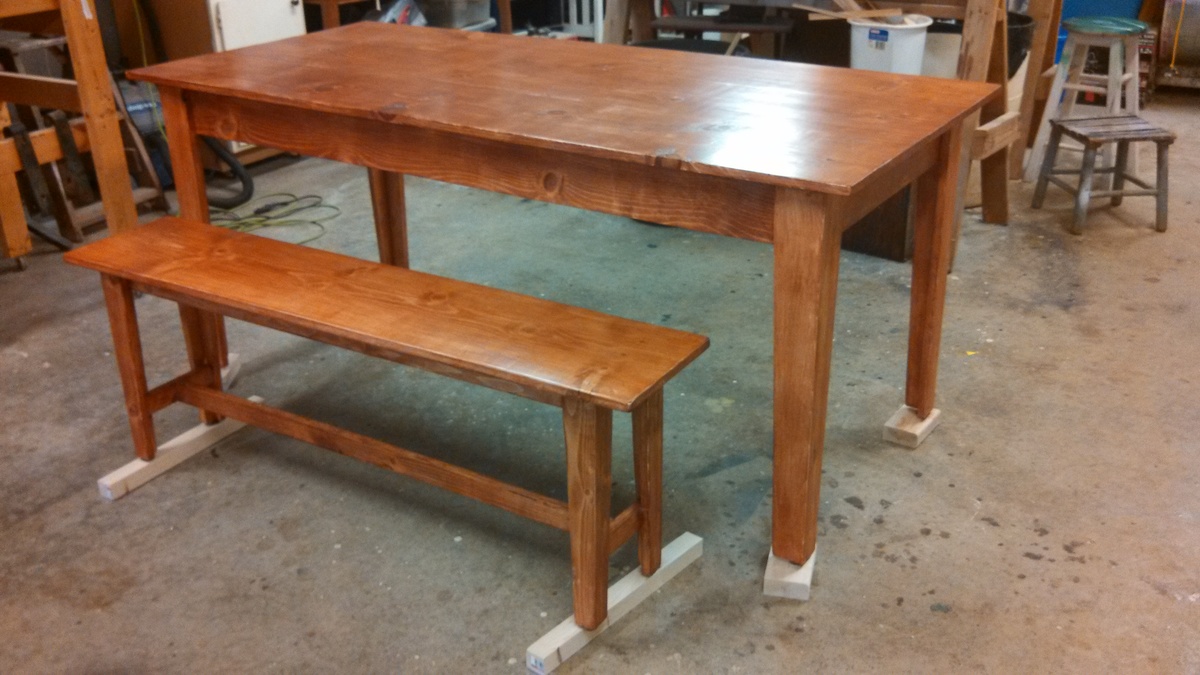
Farmhouse table and bench
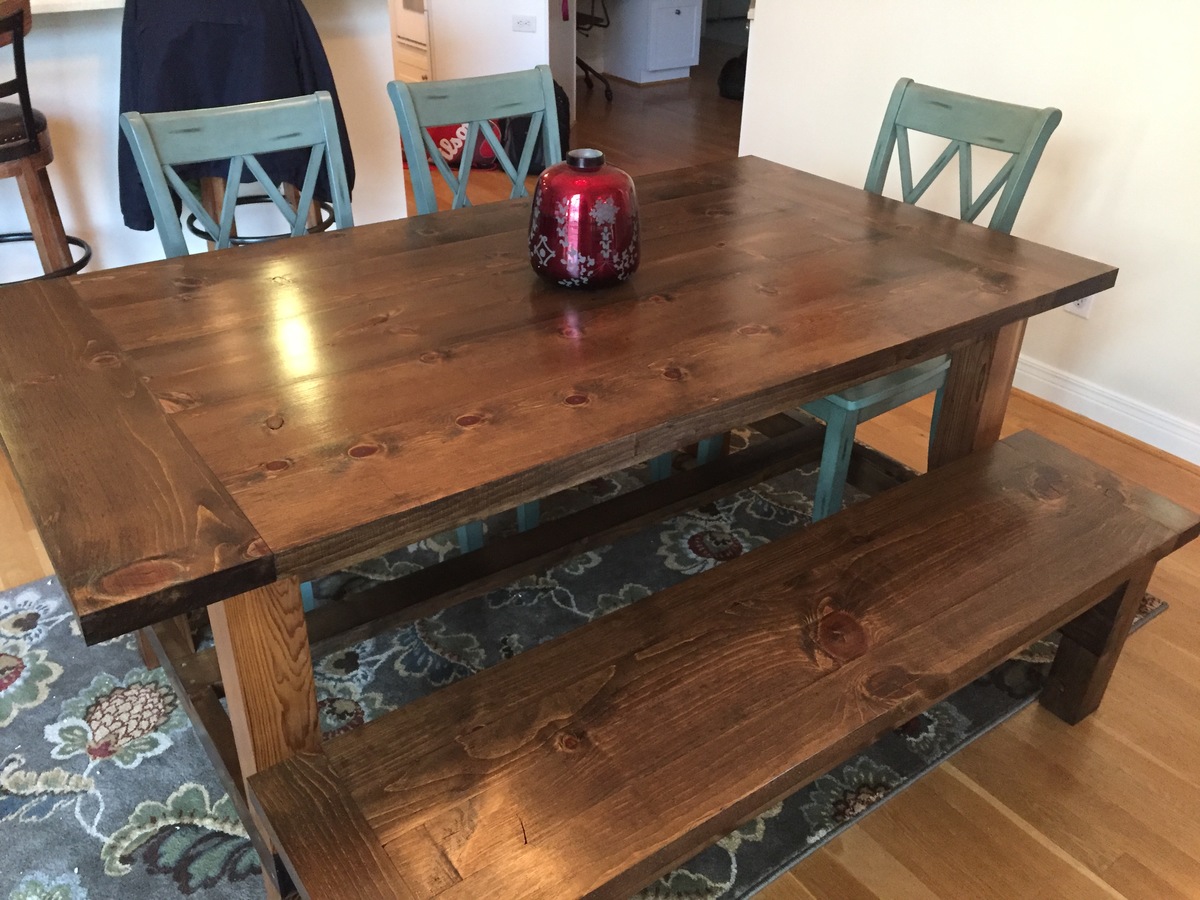
We loved the farmhouse table plan and the bench. We modified a bit to make it 6ft. We just loved how it turned out. We used cedar for the legs. We wanted something to contrast a bit. I didn't stain the legs just coated with poly.
