Community Brag Posts

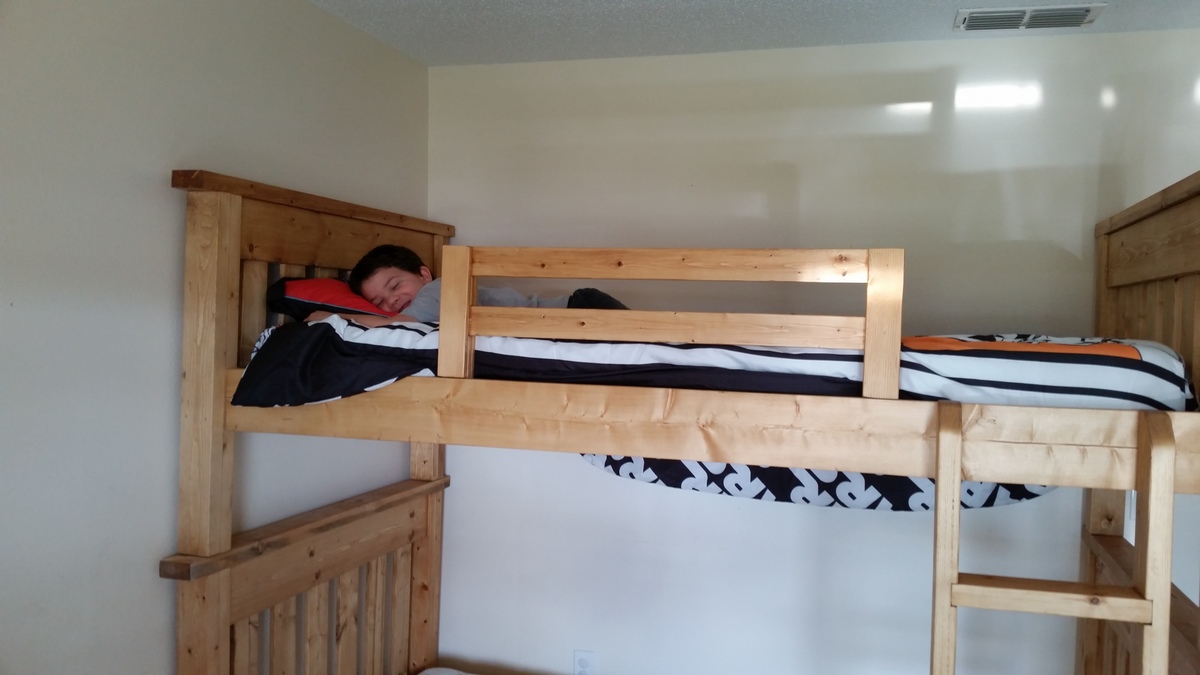
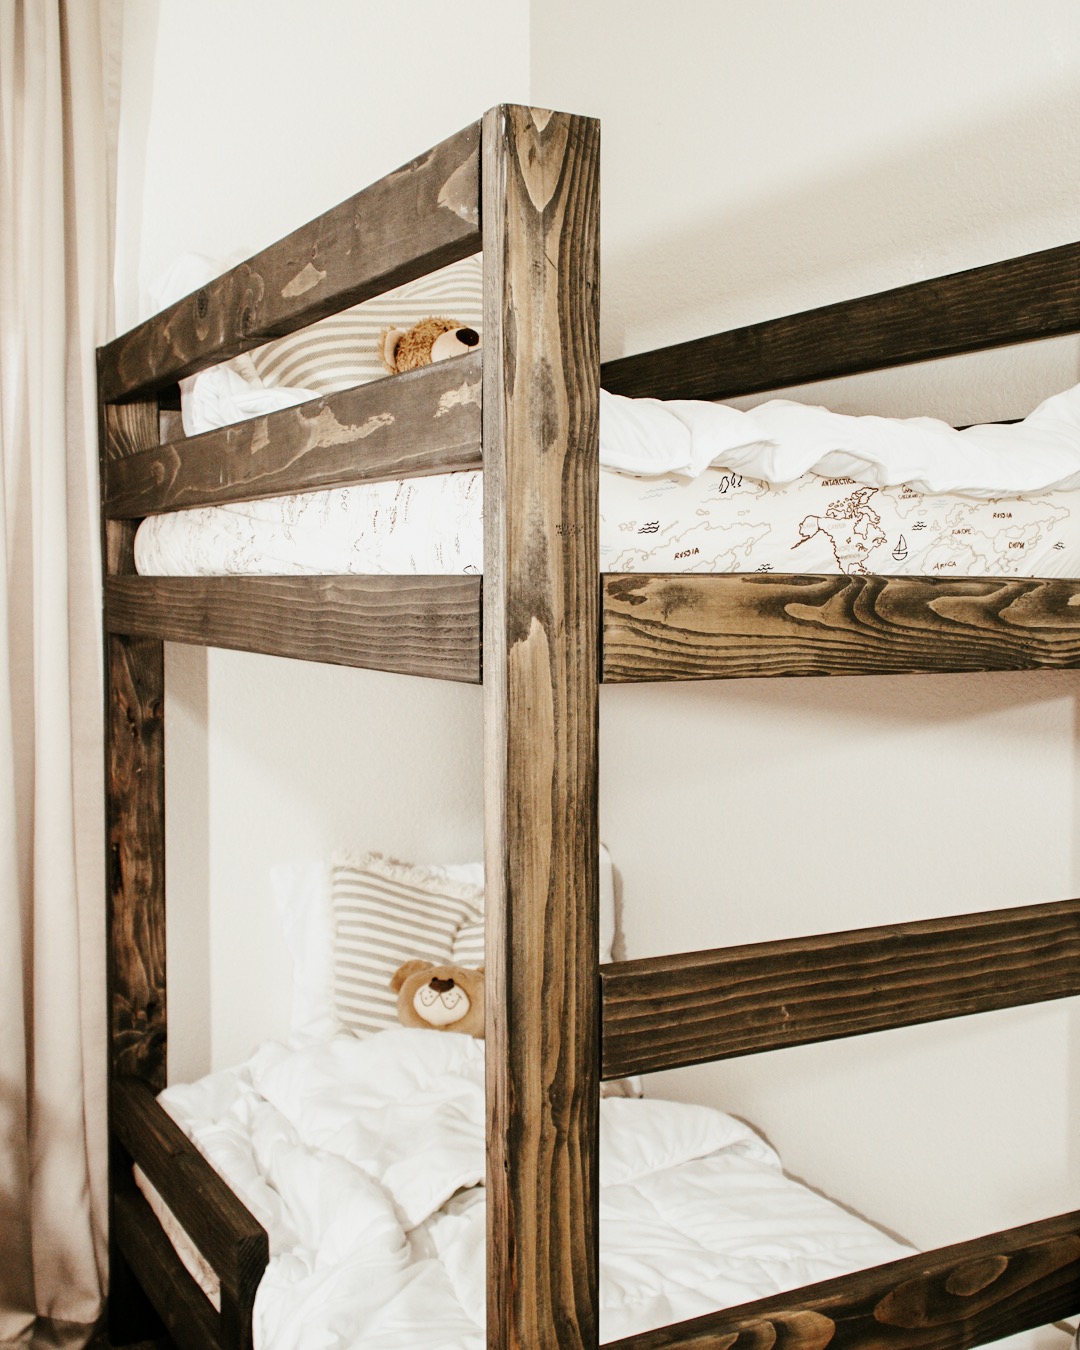
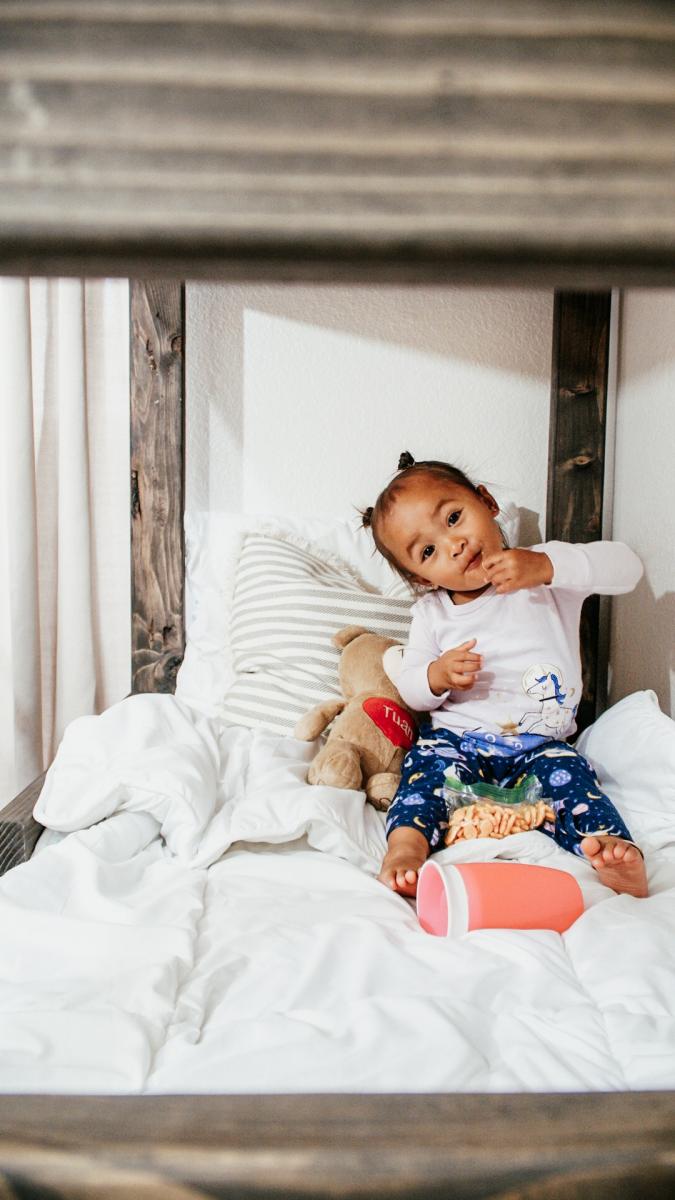
Simple Twin Bunk Beds

Submitted by Anonymous (not verified) on Mon, 02/15/2016 - 14:38

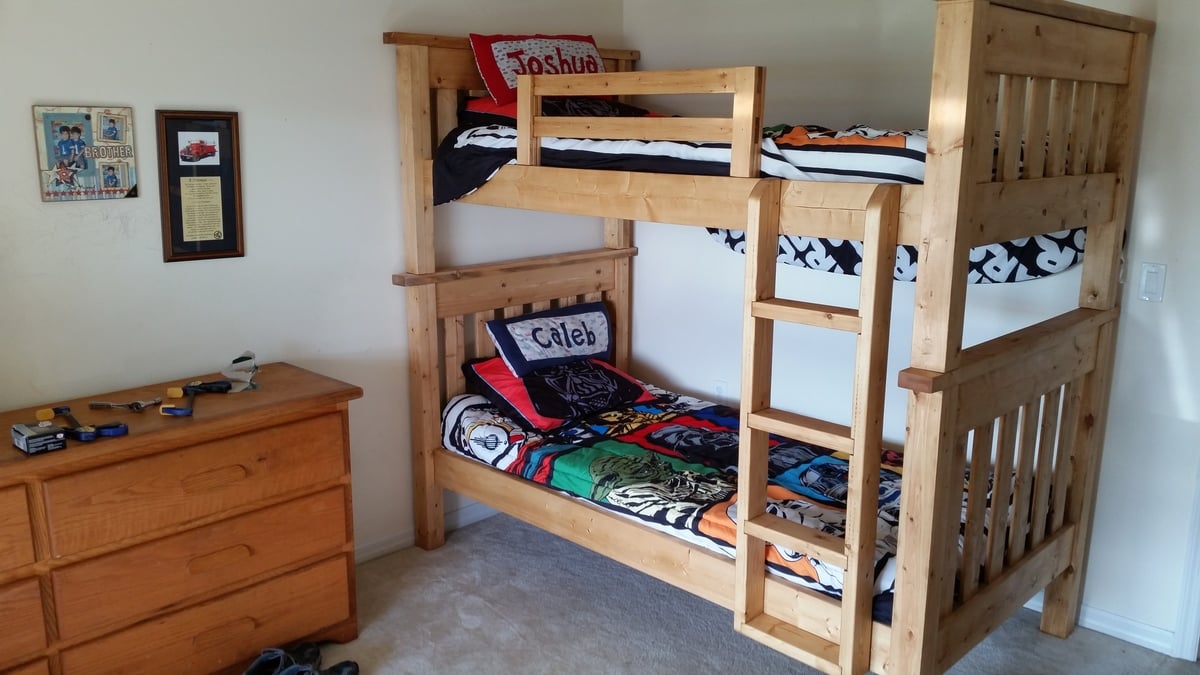
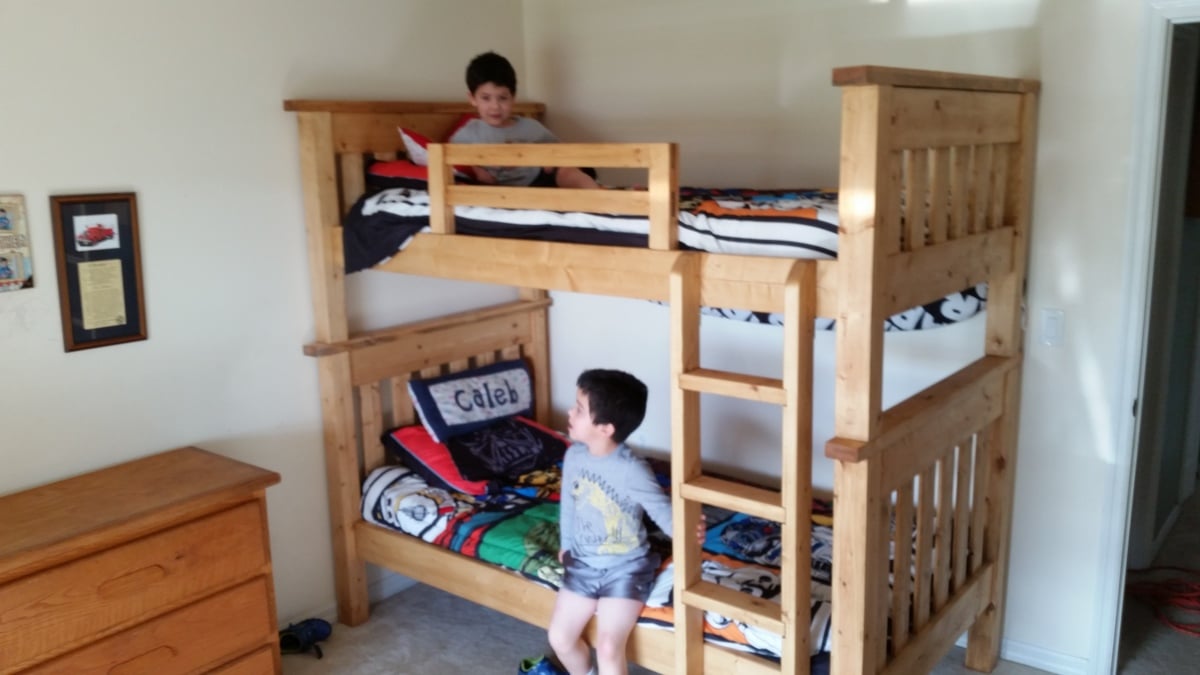
I built the Simple Bed into bunk beds. The plans for this project are pretty straight forward. The only change I made in the plans, was use 2" x 4" angle plates to mount the side rails to the head and foot boards. This made it easy to assemble and disassemble if the beds needed to be separated or moved. I also had to use two 2"x4"'s mated together to make the bed posts since 4"x4"'s are only available pressure treated. The ladder is constructed of 2"x4" with the steps spaced 10" on center. 

Built from Plan(s)
Estimated Cost
$300
Estimated Time Investment
Week Long Project (20 Hours or More)
Finish Used
I stained the beds with Minwax "Puritan Pine 218". I prepped the wood with Minwax Pre-Stain Conditioner. Pre-Stain Conditioner prevents the stain from looking blotchy.
Recommended Skill Level
Intermediate

Comments

How to Quit Woodworking in 8 Simple Steps (Almost) - Coffee Table Edition

Submitted by Anonymous (not verified) on Tue, 10/01/2019 - 19:42

First off, I appreciate you for taking the time to click on my project. Rest assured, this project didn't make me quit woodworking, I know the title was a little "click-batey". I don't want to discourage you from replicating this table because of the title of this post, as this has been my favorite project I've done to-date. The struggles that made me want to quit were laughably self inflicted and by my own doing, they weren't due to the instructions online. That being said, it did make me second guess whether I bit off more than I could chew. I promise not to disappoint with the story behind this build, so lets get into it.

My wife and I moved into a new home in the suburbs of Chicago and like many first time homeowners thought to ourselves, "We'll have no problem filling the house with all of our stuff." Then after settling in we had the realization of, "Wow...we really don't own that much furniture, this is going to get expensive FAST!" So after a decent amount of DIY and woodworking "research", I decided to give furniture building a shot. It all started with a desk...or so I thought it would. I fell into the hobby first by thinking that I needed to build an L-Shaped desk for my office. After having a few meals in our new home, I realized a new dining table would have to take precedent. After building the dining table, I was ready to tackle the desk, but then quickly realized that we didn't have anywhere to sit and eat. So I ended up doing more "research" and found a beautiful design based upon a Williams Sonoma box-joint bench. Following the bench build, I was ready to build the desk for my office...WRONG again! I was getting quite good at building furniture now, so the new couch we just purchased required a new coffee table that wasn't 30 years old and purchased 11 years ago at a garage sale for $5.

After finding the coffee table design on Ana White's site, I knew the build would not only be a challenge, but rewarding in the long run. About a day into the build I thought to myself, I really need to get the office desk done. So *Enter* a really terrible idea, "I'll do both the coffee table and the desk at the same time, it'll be no problem!" Hind sight is 20/20, because I was a moron for thinking that. We're fortunate enough that space wasn't an issue, I have about a 20' x 12' workshop that was able to accommodate both projects simultaneously. Unfortunately, I gave myself a deadline and the 3-4 days a week of traveling for work wasn't helping. I don't suggest doing that. I had all the pieces joined after the first week, but wanted to stain and finish each piece before putting the table together. This was due to the fact that I didn't want to be crawling on the ground and under the table trying to stain and finish. Finishing each individual component was painstaking to say the least, but glad I built the table the way I did. Luckily, the coffee table along with the L-Shaped desk took about 2 weeks total, and I could't be happier with both project.

Thank you again for taking the time to view my post, the story was a bit long winded but hopefully entertaining and insightful. I would appreciate you adding this as a pin or engaging the post socially and sharing. Please feel free to reach out if you have any questions, I'll do my best to respond in a timely manner.

Sincerely,

Jeff G.

Built from Plan(s)
Estimated Cost
$250 USD
Estimated Time Investment
Week Long Project (20 Hours or More)
Finish Used
The stain utilized:
1. One coat of Minwax English Chesnut (Sand to 220, apply stain and wipe off after 10 minutes)
2. One light coat of Minwax Weathered Oak (Paint on a light coat of stain and wipe off after 3 minutes)

Finish:
1. Three coats of General Finishes Arm-R-Seal Satin (Oil Based)
2. Lightly sand after each application of finish, thoroughly clean before next application
Recommended Skill Level
Intermediate

Comments

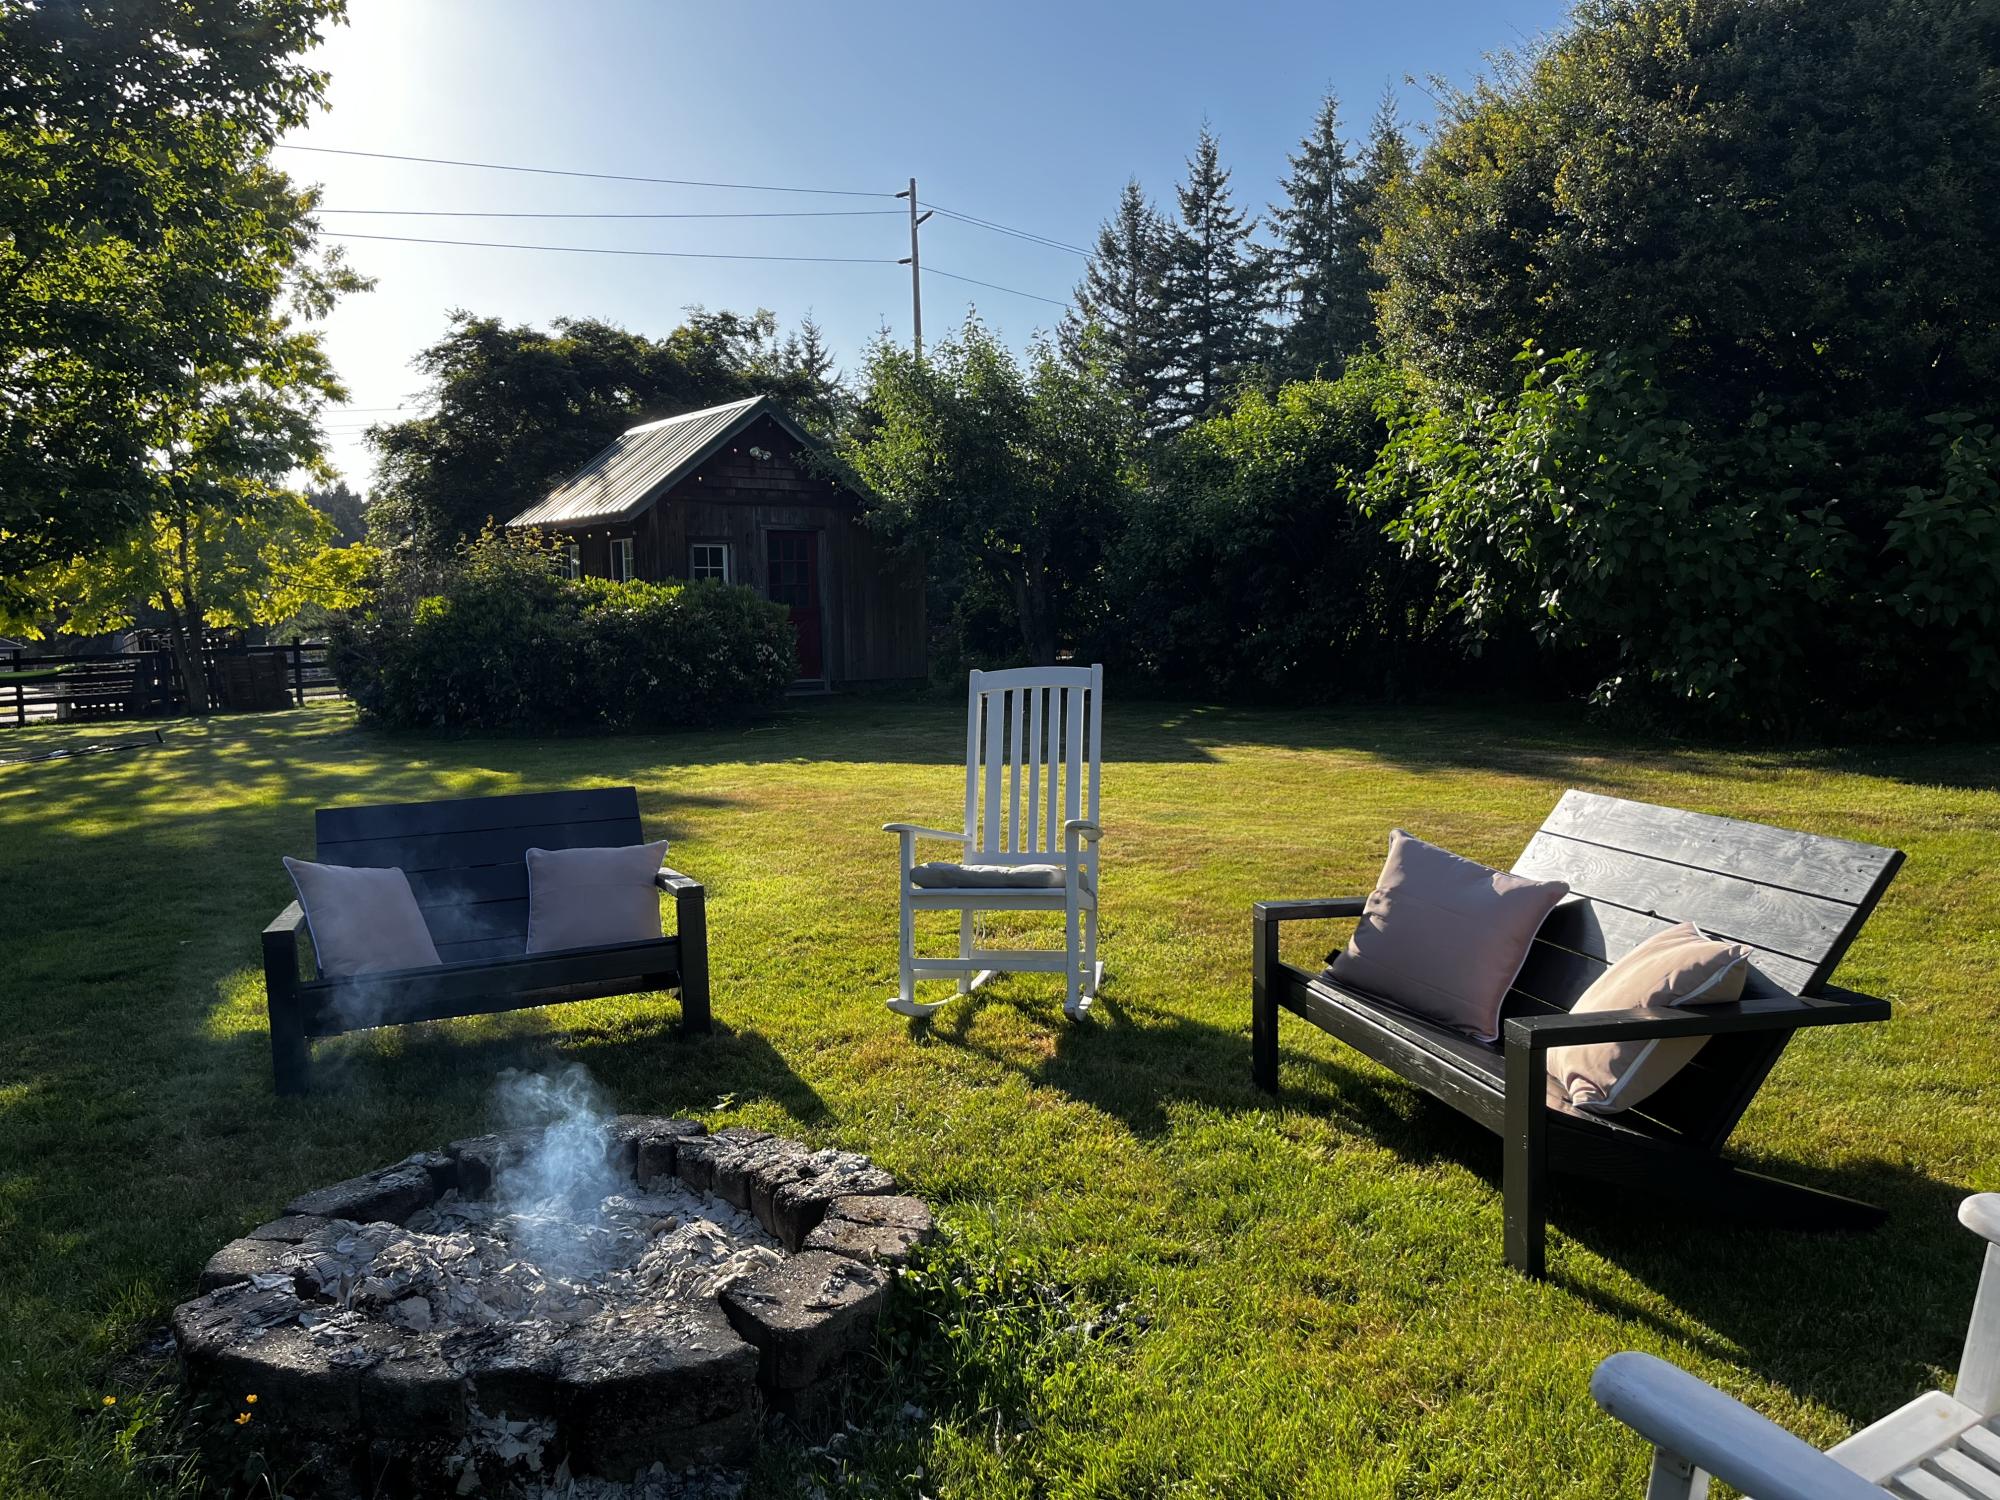
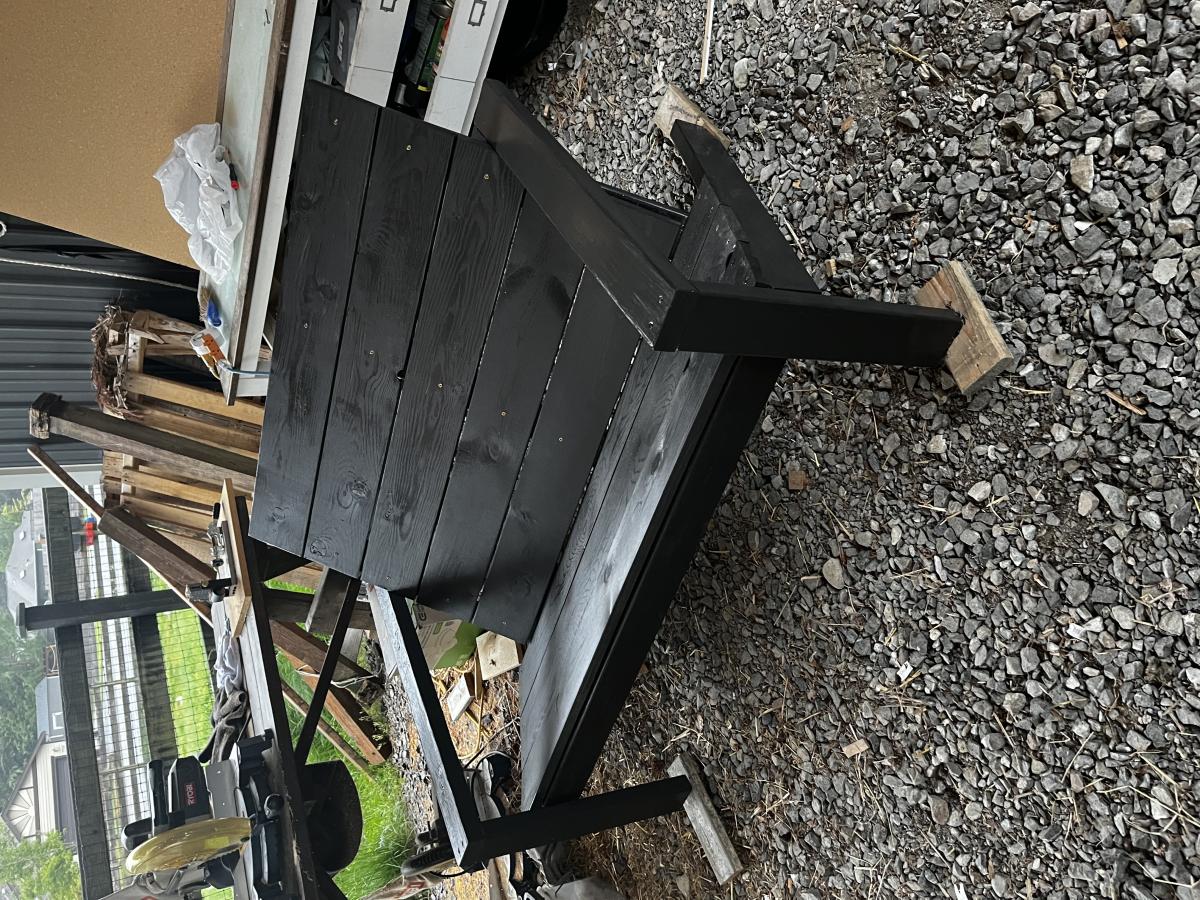
Essential Adirondack Chair Two Seater

Submitted by Anonymous (not verified) on Wed, 05/31/2023 - 12:04

I followed plans from someone who modified the Essential Adirondack plan to make it seat two. It is a fun and quick build!!

Comments

Barn wood frame

I made the barn wood frame for less than $30 (the plexiglass alone was $23!). It's better than the $80 they were going to charge me at the frame shop for the same style! I used an opaque black stain to both hide my not so accurate miter cuts and give it a modern feel. I'm very satisfied with the results!

Estimated Time Investment
Afternoon Project (3-6 Hours)
Finish Used
Cabot solid color acrylic deck stain in black. This stuff takes forever to dry, but I prefer this to black paint.
Recommended Skill Level
Starter Project

Comments

Guest (not verified)

Sat, 02/18/2012 - 09:24

I need a large frame for a family photo. I cant spend the money right now. This has been very helpful. Great job

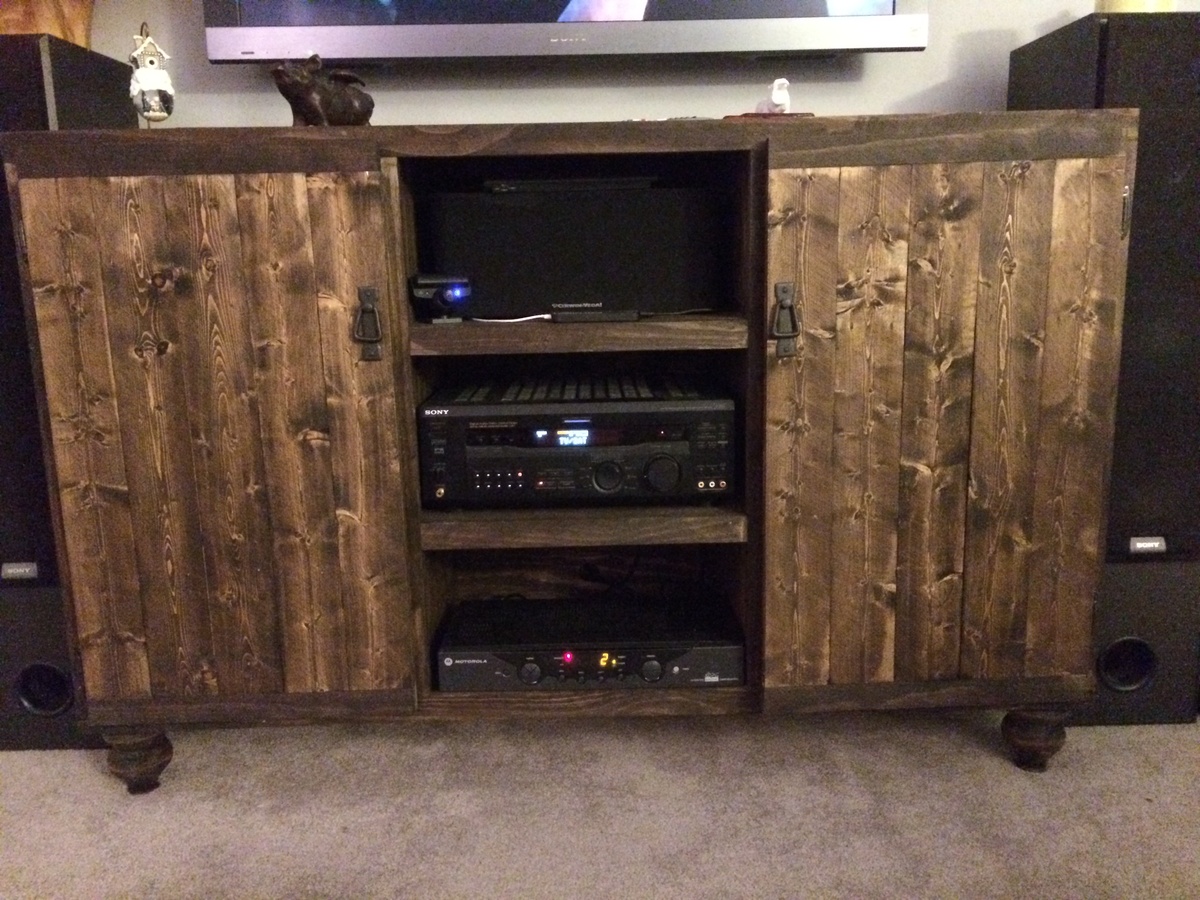
Emerson Buffet

Submitted by Tomifer on Tue, 12/03/2013 - 20:01

We made this based on the Emerson Buffet plans, but modified to fit our current TV accessories. We also added legs, instead of the framed base. 

Estimated Time Investment
Weekend Project (10-20 Hours)
Recommended Skill Level
Beginner

Media Stand

We built this media stand for our home and we had many that followed. We put a backing on ours to hide the cords and such. It makes it feel a lot classier & takes under 5 minutes to add! We used 1/8" particle board and we used our neumatic nail gun. 

All in all, this is a super easy beginner project that adds a big bang to the space!

Built from Plan(s)
Estimated Cost
80.00
Estimated Time Investment
Afternoon Project (3-6 Hours)
Finish Used
This is our custom beachwood stain. A few stains from Minwax mixed together.
We then Distressed it & applied 3 coats of semi-gloss polyurethane
Recommended Skill Level
Beginner

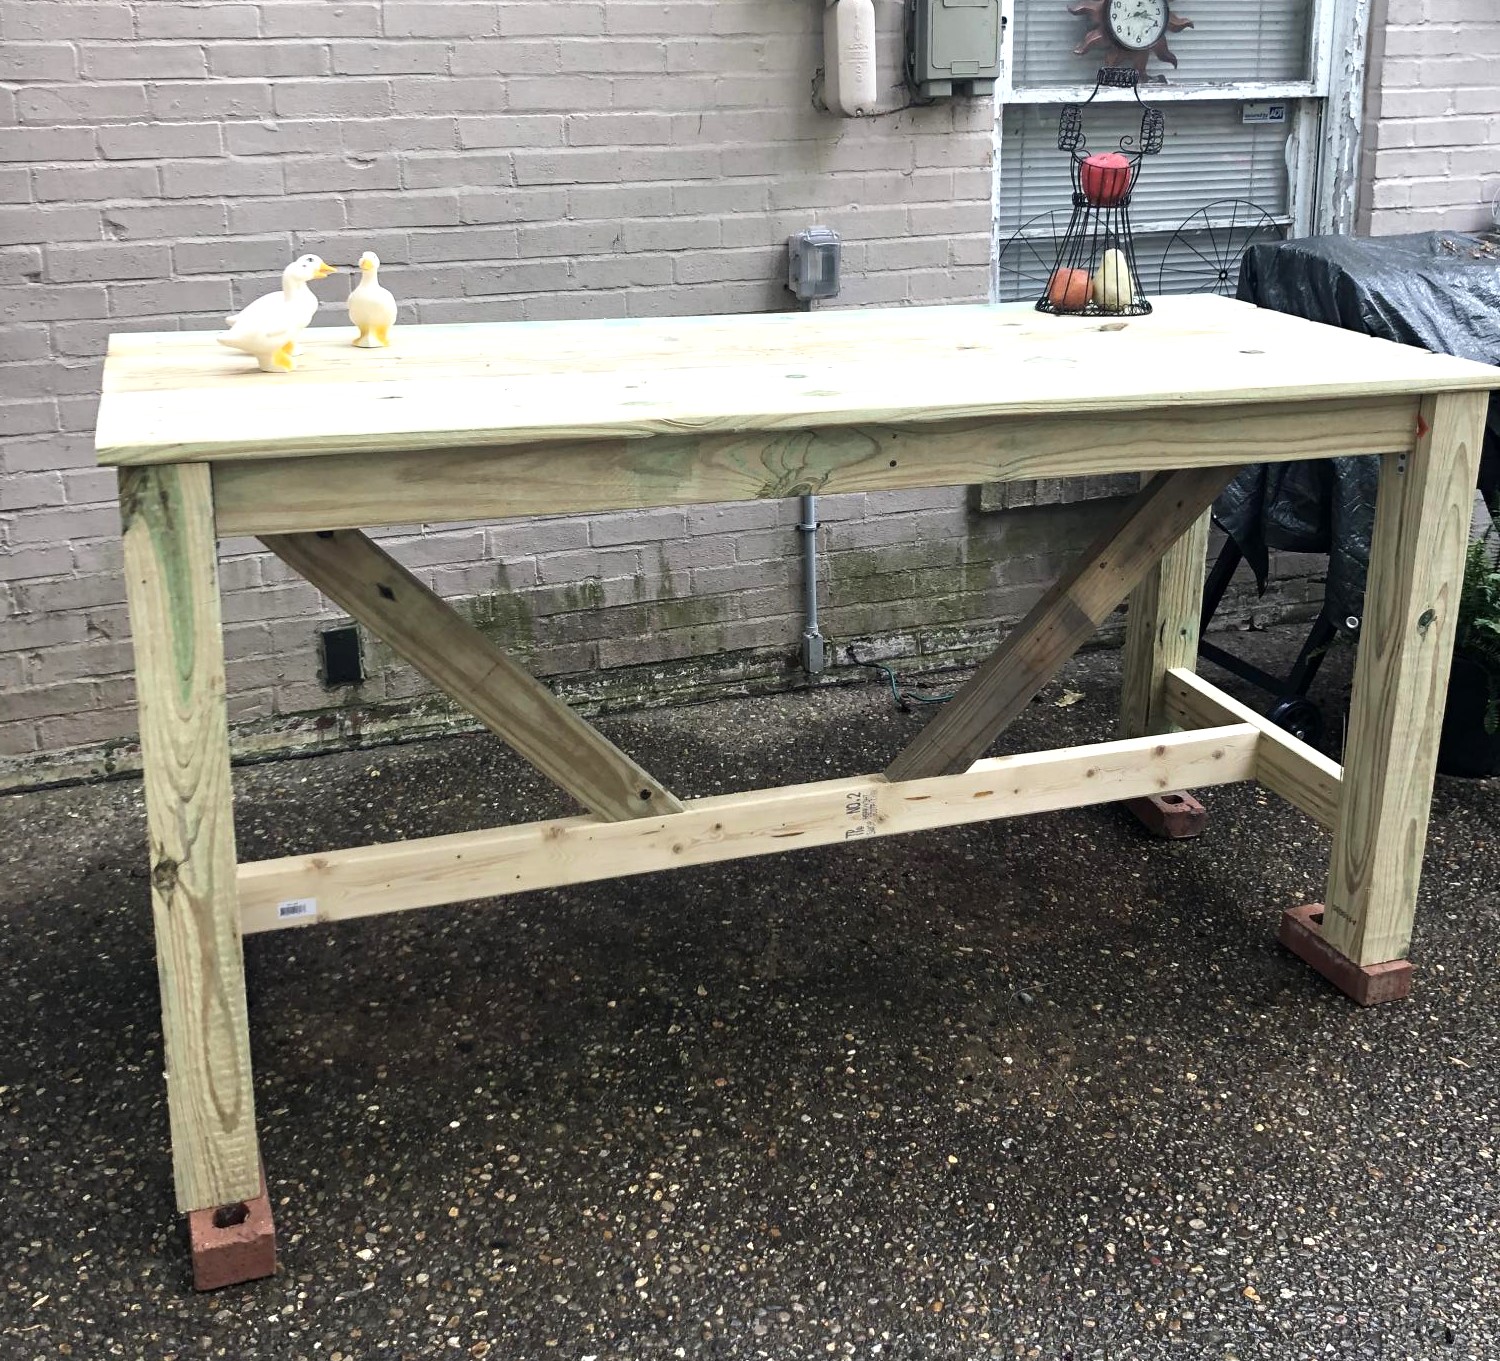
Outdoor buffet table

Submitted by Anonymous (not verified) on Mon, 06/05/2023 - 15:03

My first project using Ana White plans. Used pressure treated lumber and Kreg pocket hole jig. Cost: $126.

Built from Plan(s)

Comments

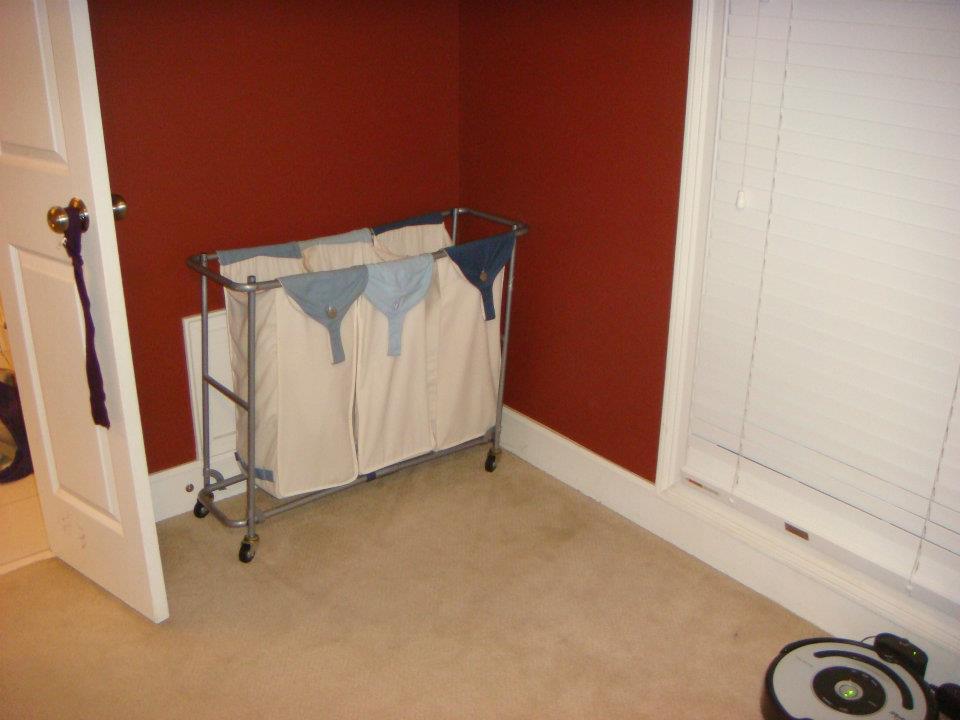
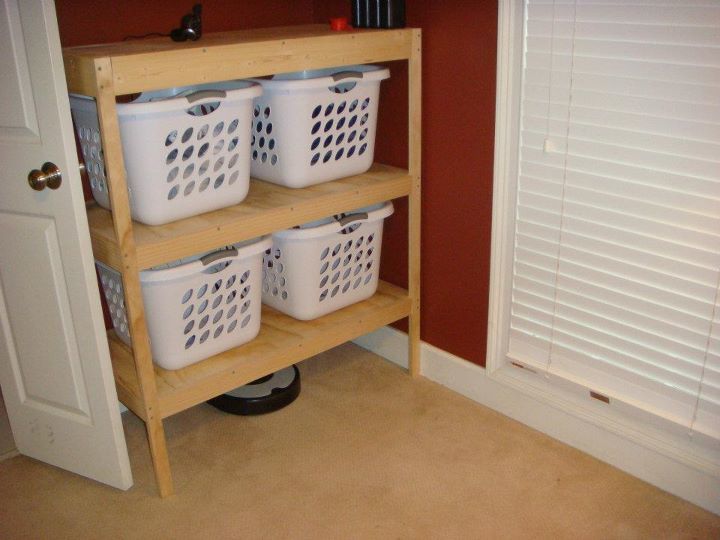
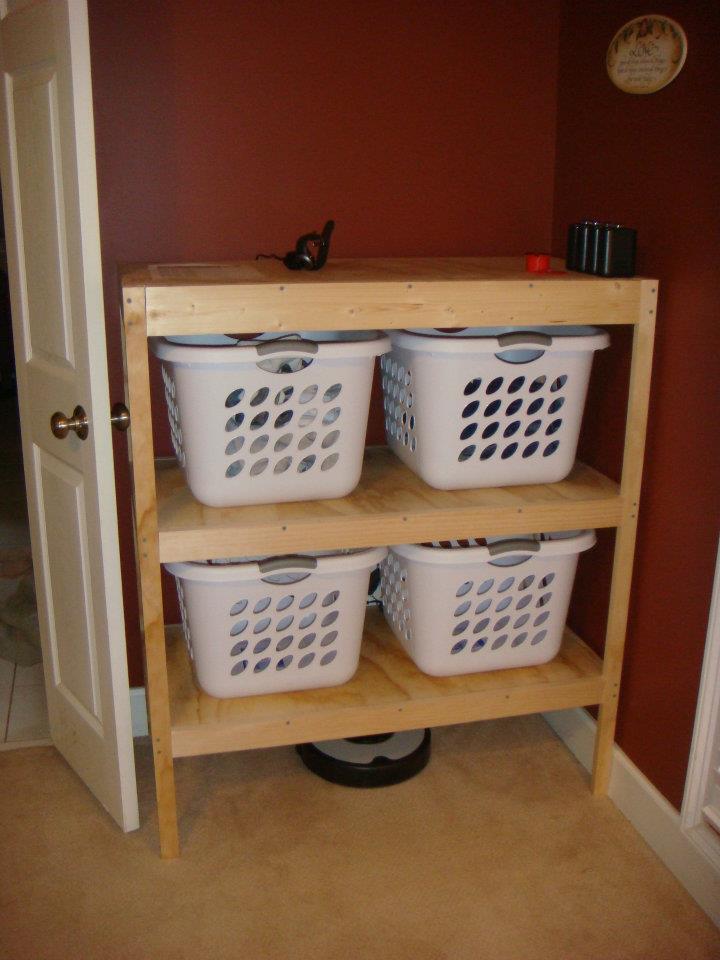
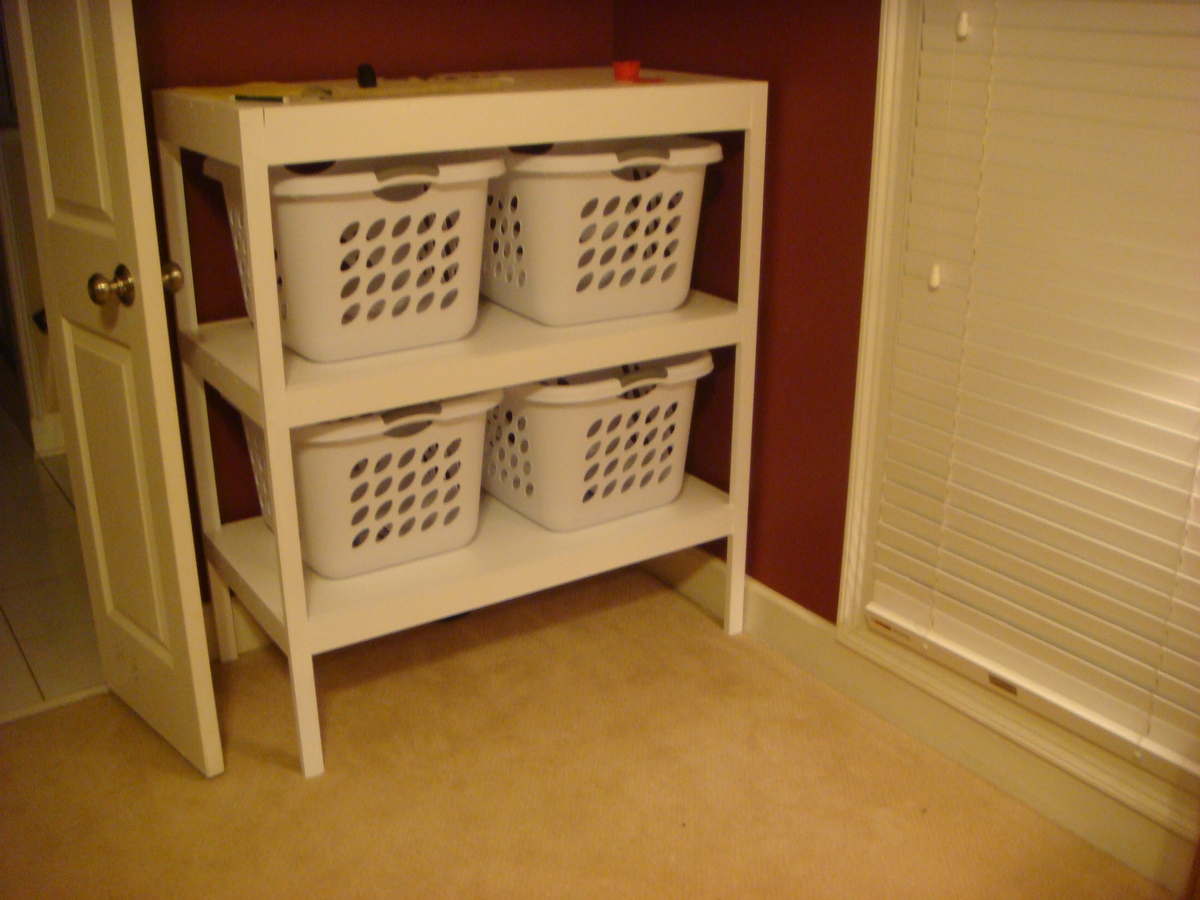
Laundry Station

Submitted by docfin02 on Sun, 01/22/2012 - 19:14

My original plan was for a laundry cart or stand for laundry baskets. I ended up building one that is pretty big for 4 baskets, a shelf on top, and elevated 10" on the bottom for our Roomba vacuum to be stored.

Built from Plan(s)
Estimated Cost
$80 + paint
Estimated Time Investment
Afternoon Project (3-6 Hours)
Recommended Skill Level
Intermediate

Comments

Fancy Hall Tree Bench

Submitted by blmalloy on Thu, 12/05/2013 - 12:08

I saw the plans for this and had to have it! My husband had it assembled pretty easily (we've built several dining tables/benches, but this was our first piece that went out of that box, lol) and the whole project took maybe a day or two including staining. We left of the end pieces just because we were trying to get it done quickly for Thanksgiving; we intended to add them on later, but I kind of like it open. Everyone who has seen it loves it!

Built from Plan(s)
Estimated Cost
$75
Estimated Time Investment
Day Project (6-9 Hours)
Finish Used
Rustoleum Ultimate in Early American with two coats of poly. If I had to do it again, I would stain the pieces used for the bench before they were assembled; staining inside those cubes was a bit difficult.
Recommended Skill Level
Beginner

Comments

Val Manchuk

Sat, 12/07/2013 - 21:46

Your hall tree looks really good! (Early American is my favorite stain color!)

Val @ artsybuildinglady.blogspot.ca

DIY Toddler Bunk Bed

Submitted by Anonymous (not verified) on Wed, 10/02/2019 - 17:54

I needed a solution to getting my bed back from my children. Since we live in a small apartment, this toddler bunk bed was the best option for our family! We are a military family so I wanted to build something that could be taken with us every time we move. The plans were easy to follow and has such a professional result!

Built from Plan(s)
Estimated Cost
$200
Estimated Time Investment
Weekend Project (10-20 Hours)
Recommended Skill Level
Beginner

Comments

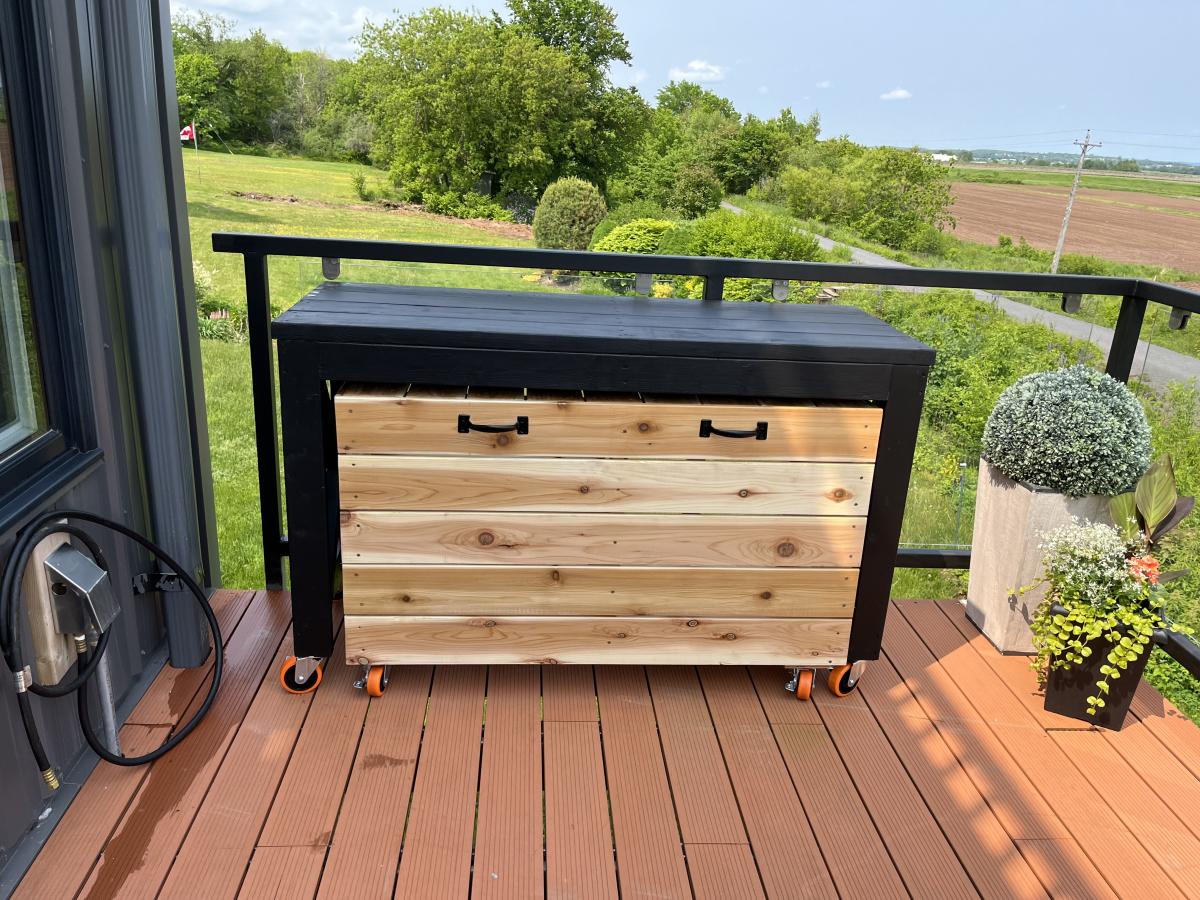
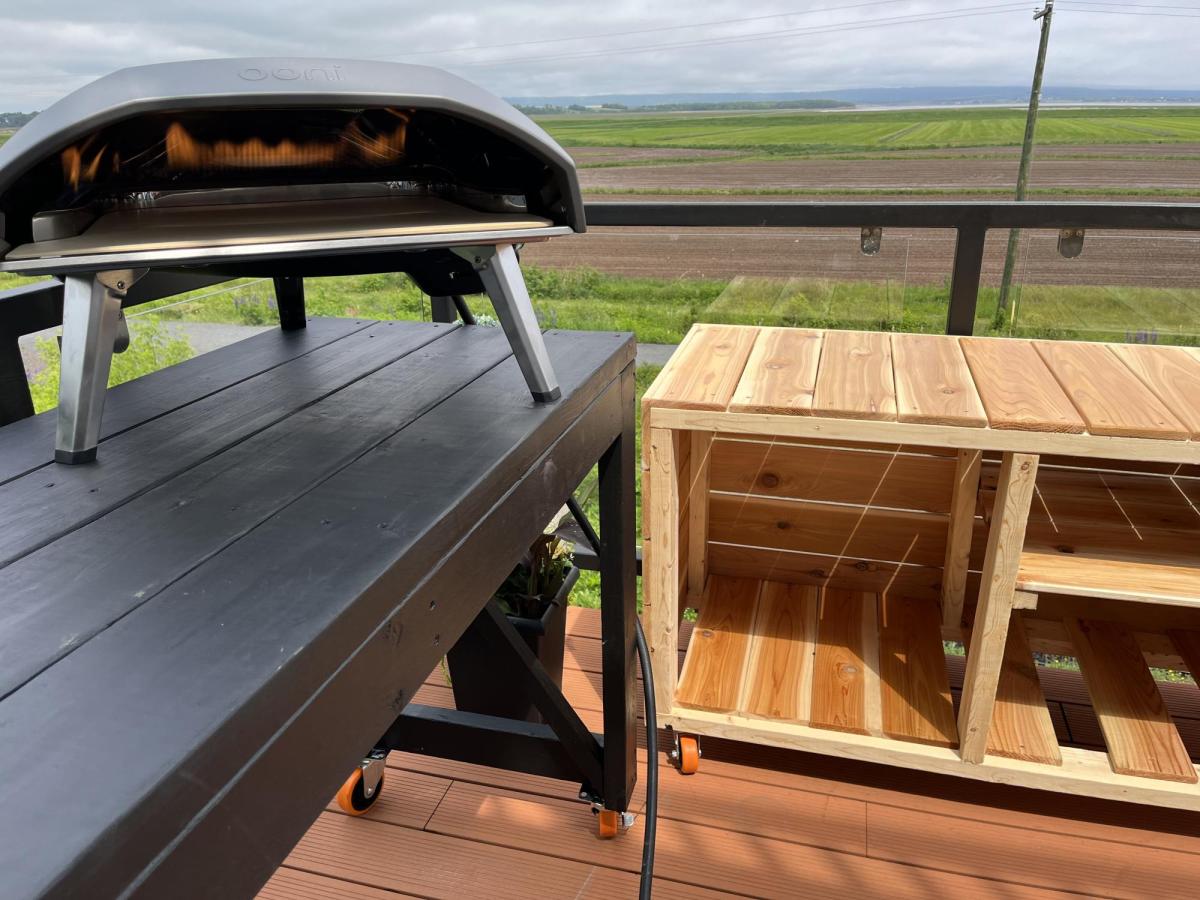
Pizza Oven Cart

Not quite big enough for Pizza Oven, but love the plans!

Comments

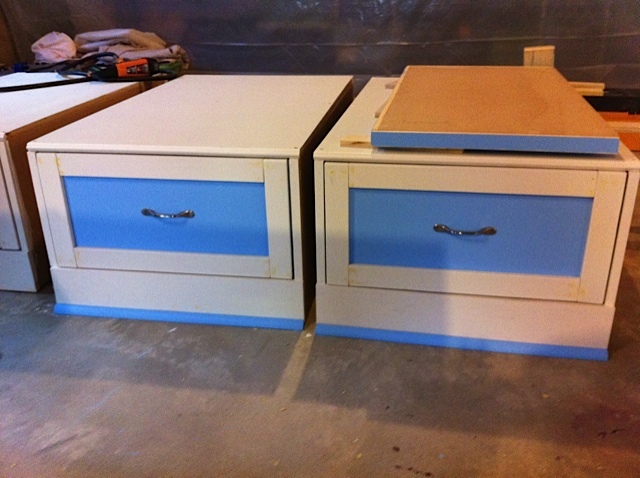
Dresser Cabinet with doors!

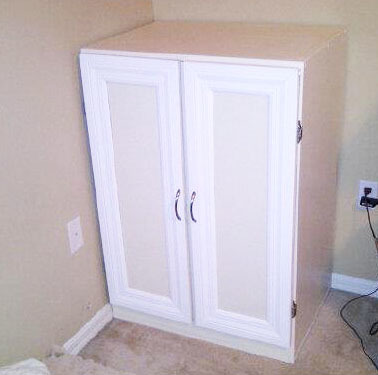
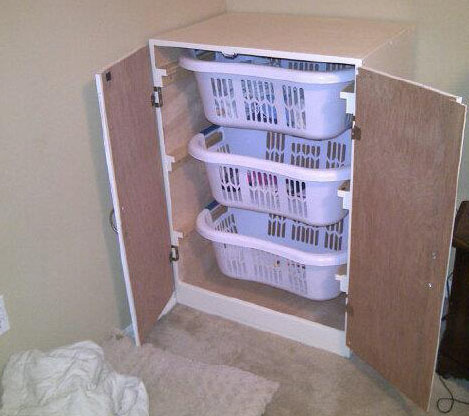
This is our version of a dresser cabinet. Thought we would share. We used mostly birch plywood and began by staining it but ended up painting it after the stain didn't work out.

Built from Plan(s)
Estimated Cost
100 dollars
Estimated Time Investment
Weekend Project (10-20 Hours)
Finish Used
eggshell cream with eggshell white for the door trim
Recommended Skill Level
Intermediate

Comments

sandrabees

Tue, 04/17/2012 - 07:34

Great job! I am in the process of building mine. Trying to figure out how to do my doors. I did a double set (6 baskets). Figuring hinges out is baffling! Lol

Moms train table in white

Submitted by Lsh108 on Tue, 12/10/2013 - 13:00

I used the basic plan but made a few changes. First I wanted a track layout that was screwed down. Easy to start playing for a two year old. And a reversible top that could be used for activities. The top therefor is one piece of ply. With a hole drilled in one end for inserting a finger to start the lift/flip. I used a little thinner ply than recommended to give a little lip around the trim to not allow the crayons and trains to roll on the floor. This also allows me to put two inserts on the plain side. I have a half chalkboard/ half whiteboard inserts. This gives it more flexibility. I also added a theater front to the mix that I store in the cavity of the box with the other top inserts. Finisher with white paint and minwax spray lacquer.

Built from Plan(s)
Estimated Cost
$200
Estimated Time Investment
Week Long Project (20 Hours or More)
Finish Used
White paint and minwax clear satin lacquer
Recommended Skill Level
Beginner

Our Farmhouse Sunflower Bedroom

Submitted by cjschulz on Mon, 02/22/2016 - 21:58

We combined two plans to accommodate for a boxspring with a mattress. We also liked the plan with the 4x4 posts so we tweaked the two plans and made it work.

Estimated Time Investment
Weekend Project (10-20 Hours)
Finish Used
To achieve a rustic look I "sloppy painted" with 2 shades of grey, white and some black. Once the paint was thoroughly dry, I used a course grit sandpaper to lightly take off paint in some areas, leaving it thicker in spots. I then applied barn wood grey stain and immediately wiped it. I finished with a satin poly.
Recommended Skill Level
Intermediate

Comments

Dvega

Fri, 03/25/2016 - 09:44

Hi! What grey do you use , latex or it was stain?


cjschulz

Tue, 09/17/2019 - 23:07

I used two shades of grey, white and black enamel paint to "sloppy paint" in various areas.  Then I sanded off the paint, leaving some areas thicker than others.  When I liked the look recreating "rustic barn wood" I then stained over the entire surface with barn wood grey stain.

Wood Sideboard

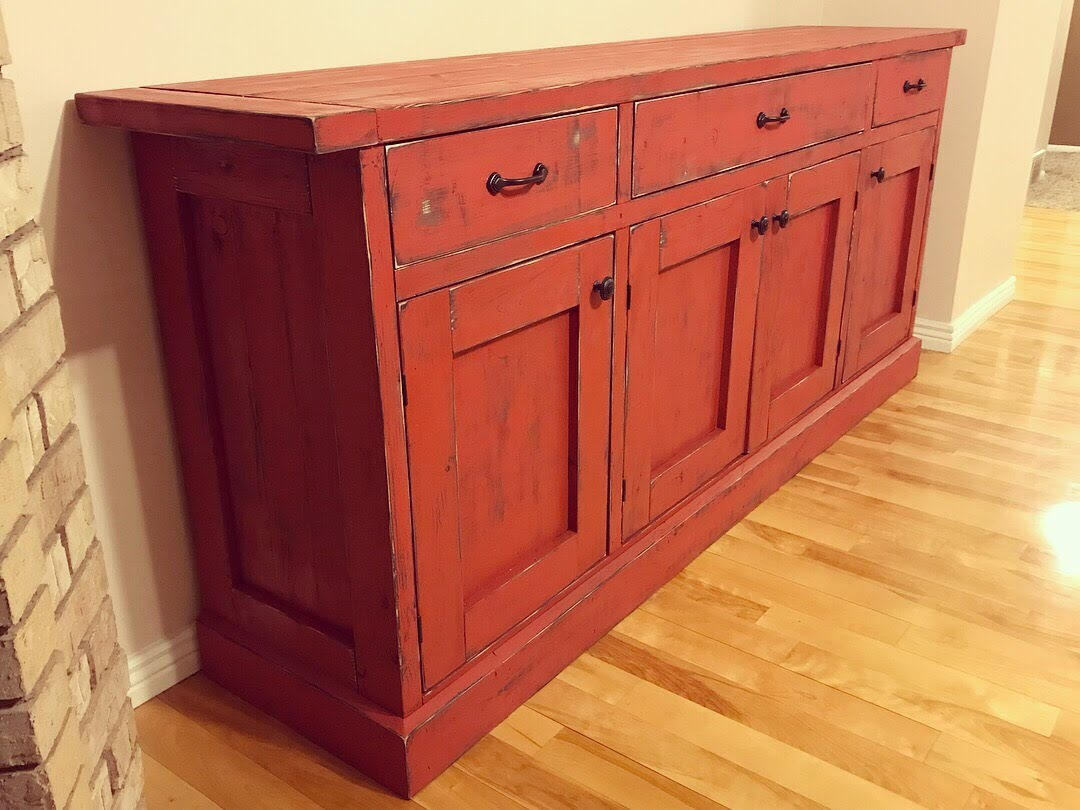
Submitted by Anonymous (not verified) on Thu, 10/03/2019 - 12:22

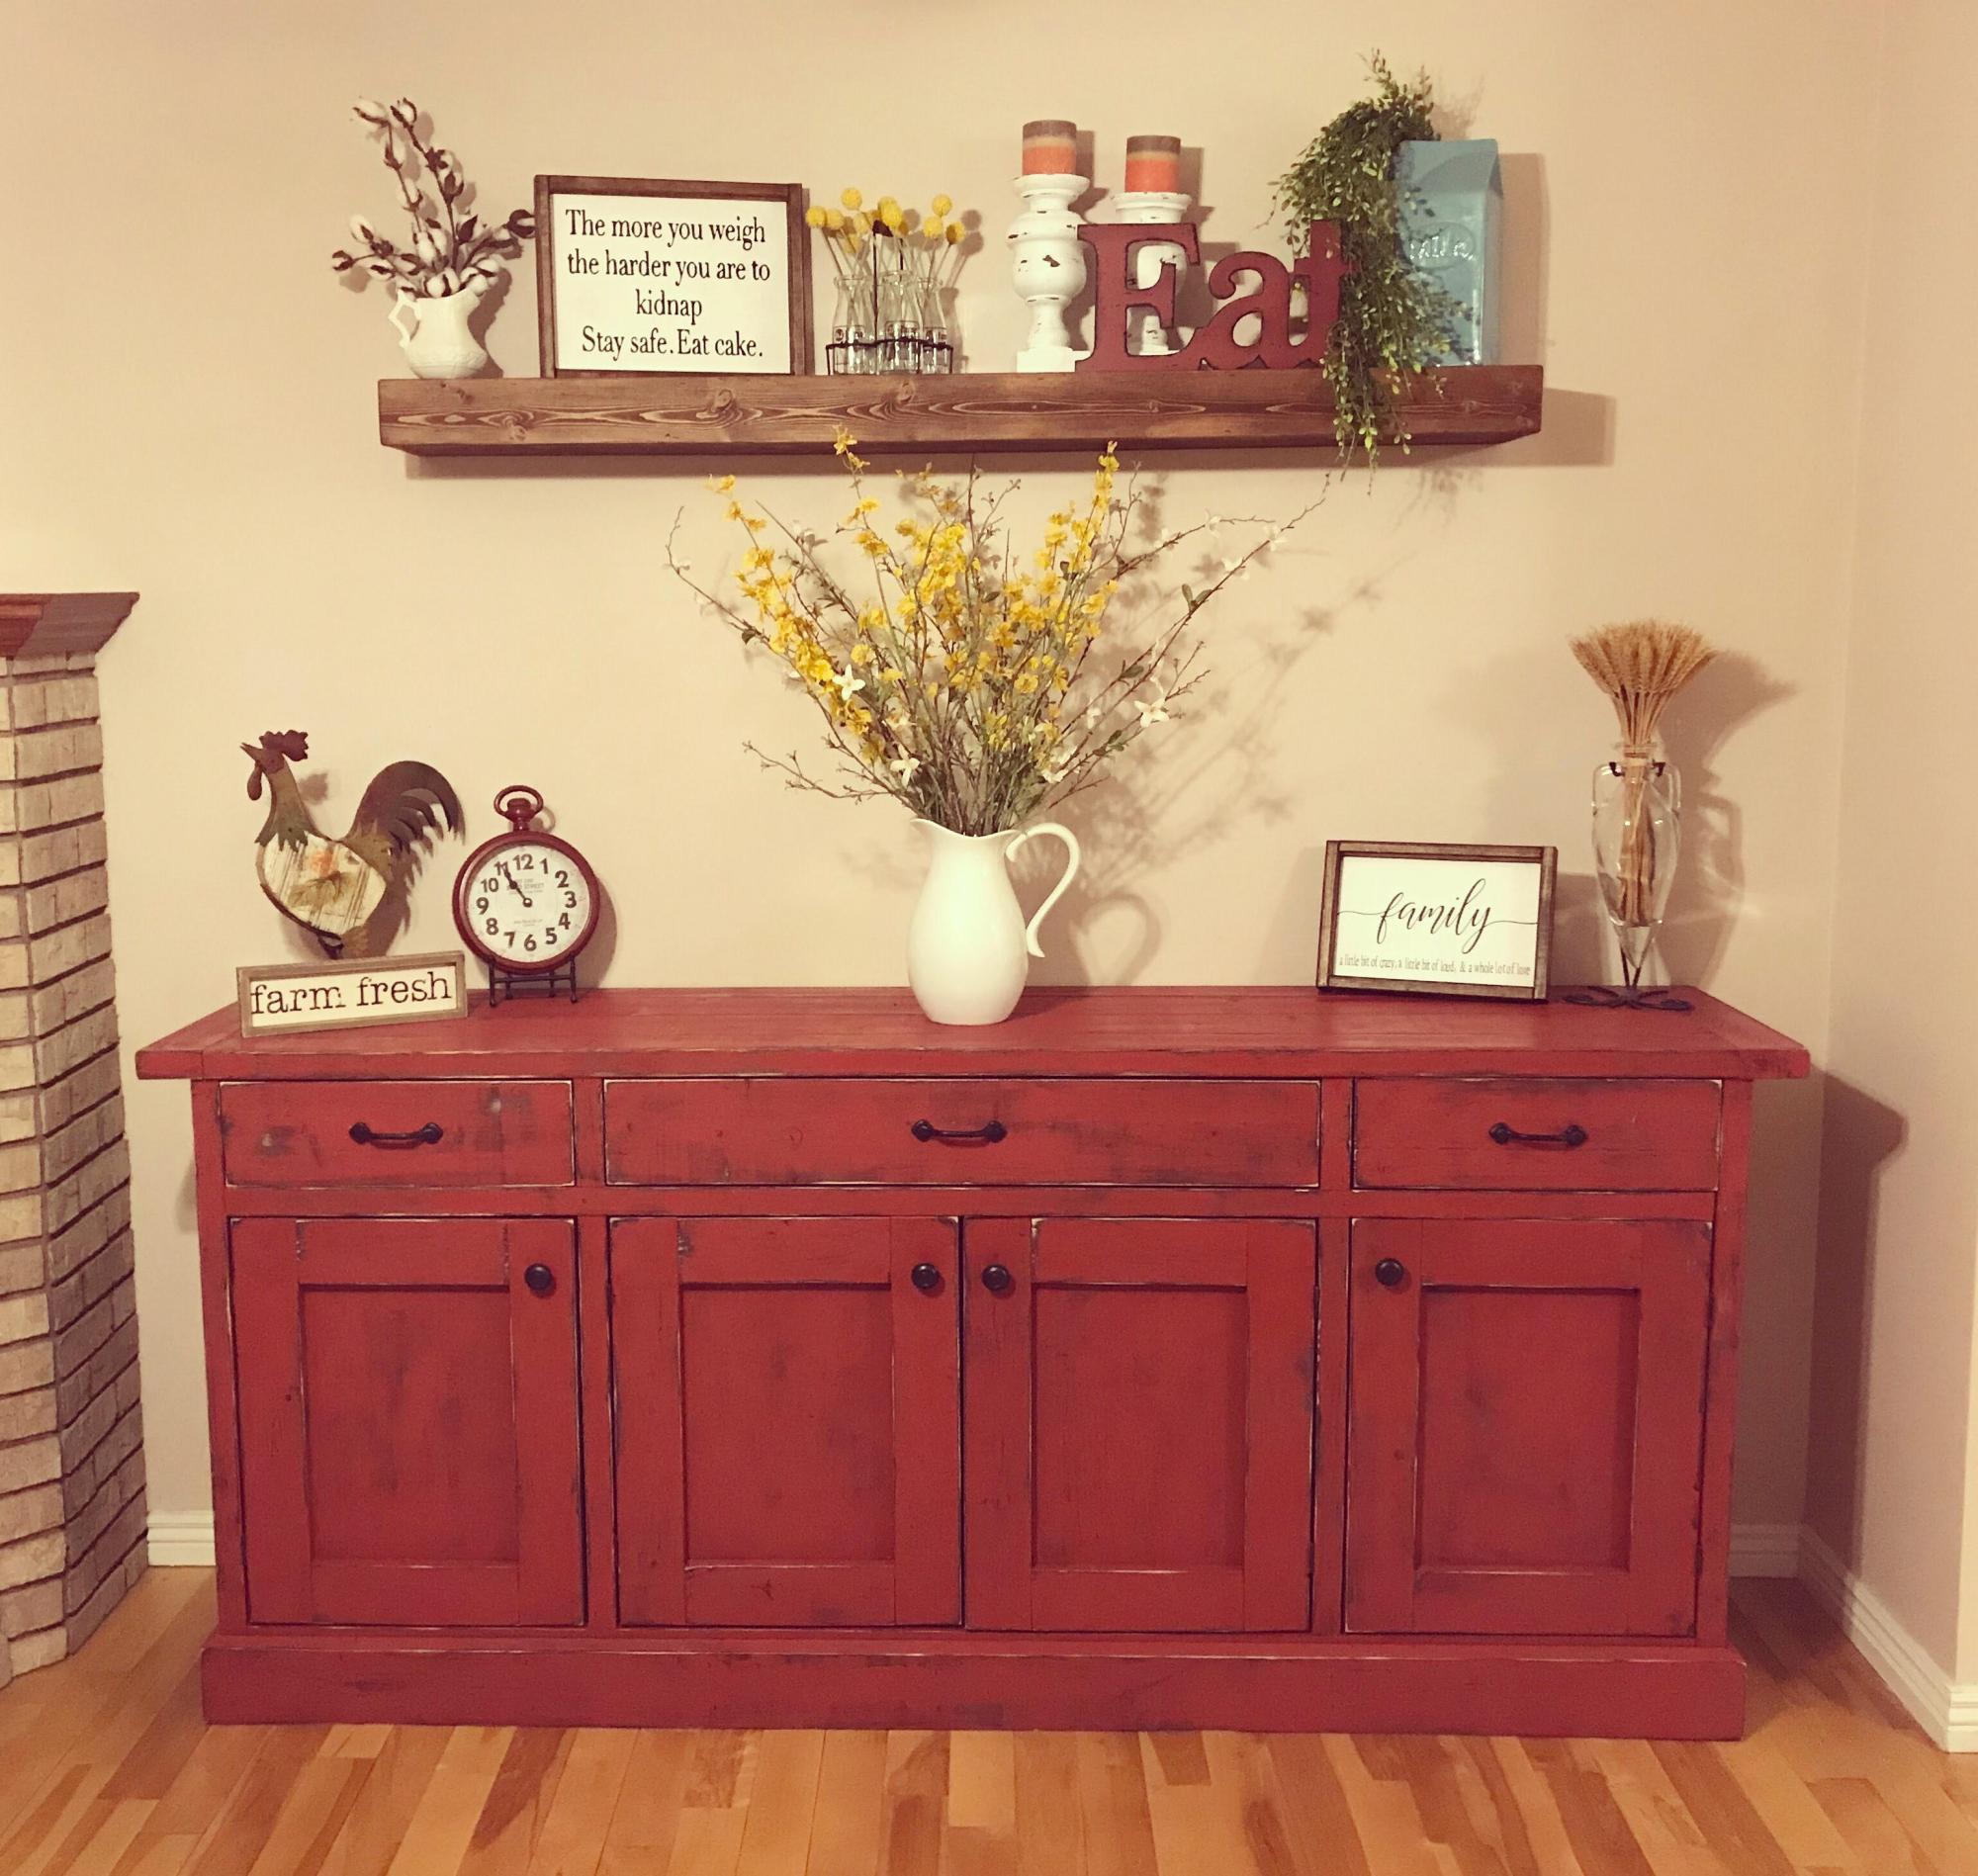
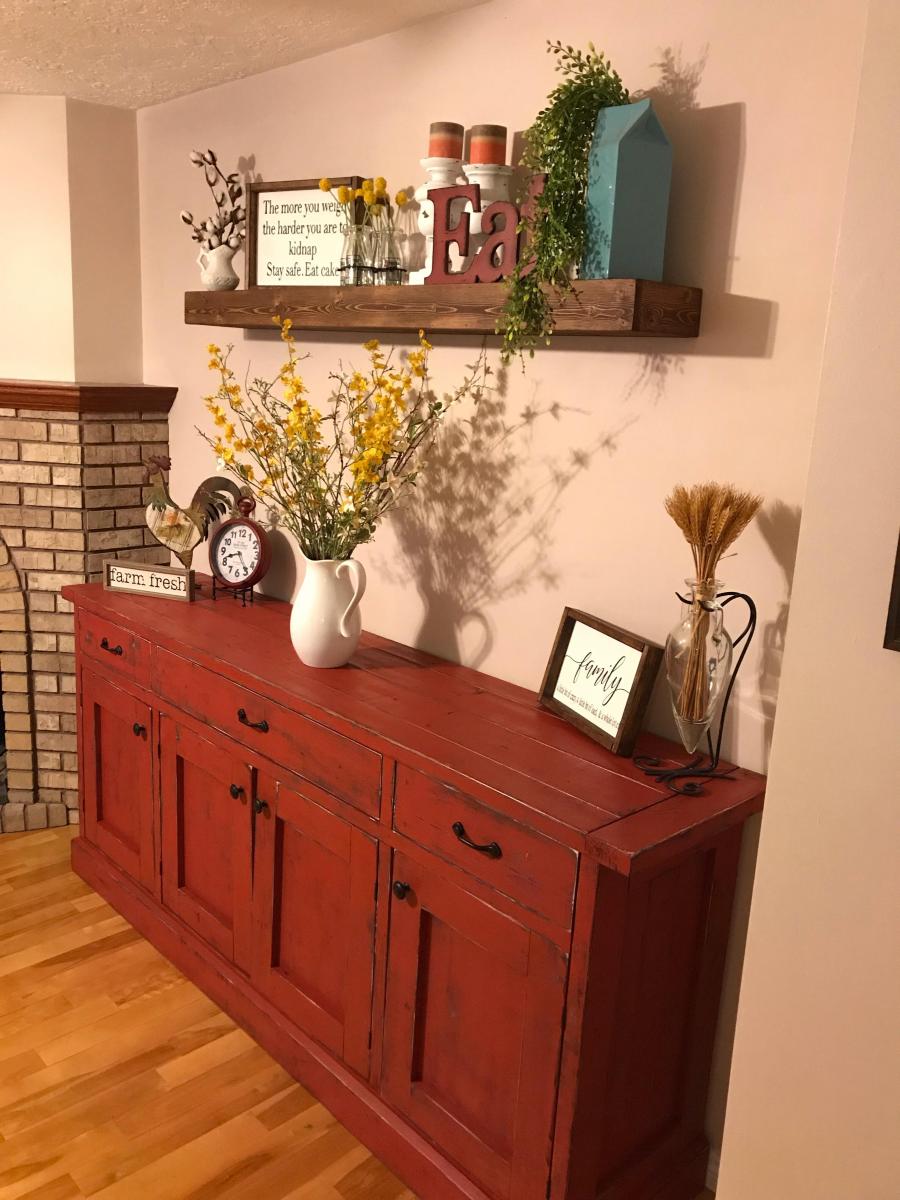
My wife and I originally saw this Ana White planked sideboard and knew it was exactly what our dining room needed! We had the perfect spot for it! The plans were generally easy to follow and it was actually my first time installing drawers! It turned out amazing and we all love it! We love the added storage it provides for dishes and other kitchen accessories.

Built from Plan(s)
Estimated Cost
$250
Estimated Time Investment
Weekend Project (10-20 Hours)
Finish Used
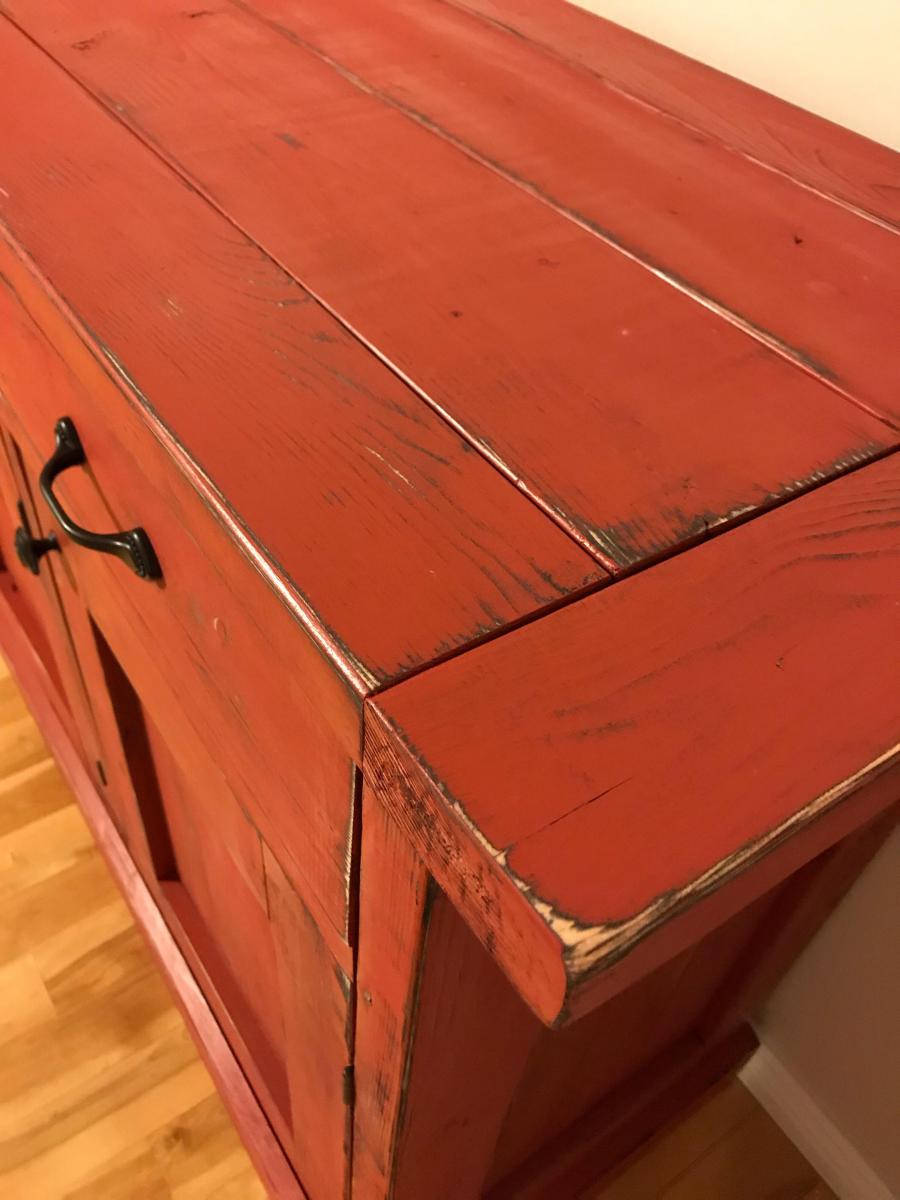
We wanted a unique distressed finish, so after sanding everything good I actually used a black spray paint on most of project (mostly cracks and edges). After the black spray pain dried I Brush painted the entire project with Behr ultra paint (sorry I cannot find the color anywhere!). After the paint dried I sanded in random places, especially the edges to let the black come through, as well as some of the bare wood. This way it had a very rustic worn look of the three different colors (red, black, raw wood).
Recommended Skill Level
Intermediate

Comments

Coffee Bar & Blender Station

Submitted by Anonymous (not verified) on Fri, 06/16/2023 - 15:22

I built this project after my wife saw a brag post from one of Ana White's followers. She was excited to regain some of her kitchen counter space by moving the Keurig machine and Vitamix blender. The build was completed in a single weekend.

Comments

Storage Bed Step (Modifications for Kid's Storage Step Stool)

Submitted by melissa2 on Fri, 02/03/2012 - 12:59

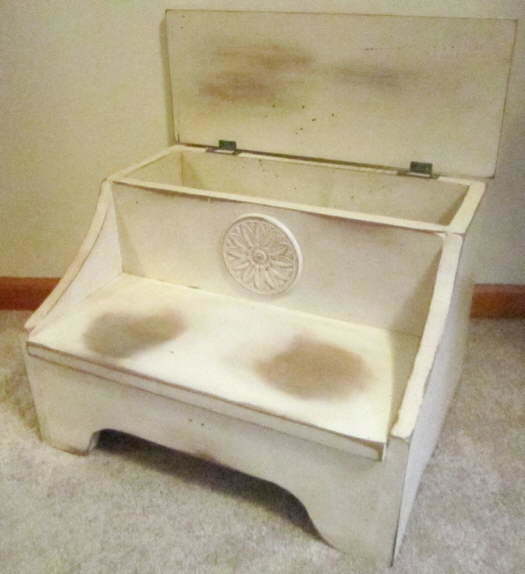
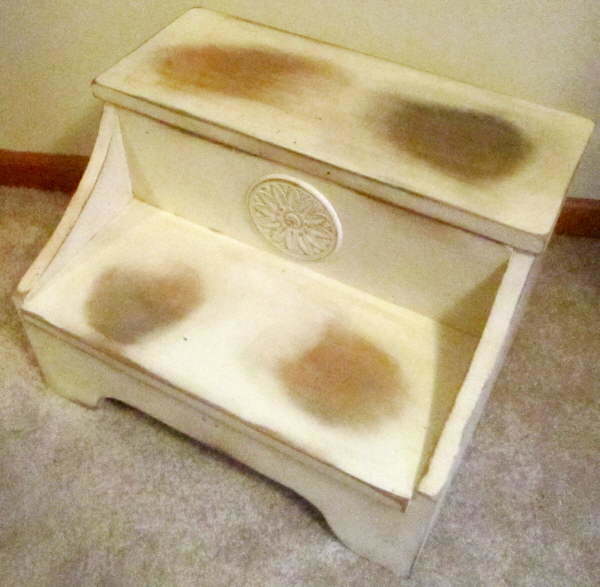
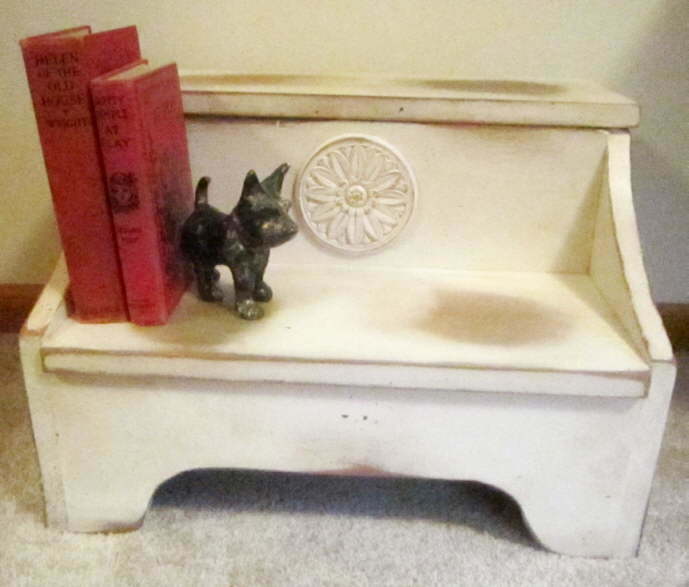
I've wanted a storage bed step for years. They can be used for all sorts of things from storing books (not just in the bin, but also on the lower step) to remotes to . . . well, whatever clutter you need to stash away! But all those professionally-made ones are a steep price. The children's step on the site ( http://ana-white.com/2010/09/some-more-stairs.html ) is just perfect for modifying for a more adult look. An applique, wider steps, sloping sides, and a decorative cut on the front help transform child's furniture into practical storage space for children, teens, and adults!

Before I start, here's a bit of encouragement for those of you like me who don't have access to a lot of power tools: I made ALL of the cuts with a jigsaw! So if that's all you have, don't be afraid to try it!

The main thing to do is to take your time. Think things all the way through and do them in the way that you feel will be the easiest for you. Use a pencil and draw all over that wood (for this plan--I recommend a paint finish!). For example, I realized I would need to assemble a significant amount of the middle section first, because there was no way to get the bottom step securely attached without doing this. I couldn't attach its back edge to the interior, with tools I have access to, if the plan's assembly order was followed. Other than putting the lid on last, I had to use a completely different order for assembly, and it was so unusual that I'll leave that order up to you. So, take your time--but you can do it!

Bed Step's Interior and Top
----------------------------

Adding 4" to the plan's side-to-side lengths brings it about up to the size of a traditional adult bed step. It also adds a LOT more storage space under that top step! However, you'll notice from the photo that I wanted an inset lower step. With it inset, sloped sides could be added--these double as built-in bookends! The lower step/tread, therefore, won't have 4" added to it. Instead, it should be cut to the same width as the interior boards (such as the footer). The lower step then becomes 16" (the same new length as the interior pieces), while the top one becomes 18" (4" added). Here's how I modified these pieces:

* 2 - 1 x 12 @16" (rather than 12") for the actual box's front and back (they're called "sides" in the plan). Here's a really easy change. The hole in the front one to pull open the lid can be omitted. This cut seems to make it look more like a child's step, isn't on adult ones I've seen, and the overhang of the top tread, especially on the side edges, is enough to open the lid. With a lot of planning and measuring, it can be helpful to add the applique to the box's front before too much of the assembly is complete, because it's easier to attach it to a flat board. On the same board, draw where the top of the lower step tread should hit. This is one of many helpful lines you can draw on the wood before assembling the bed step.

* 2 - 1 x 6 @ 16" (instead of 12") for the storage box bottom and the footer of the lower step (where it says "Molly" in the plan). On the footer, add a decorative jigsaw-cut-out design of your choice. Remember to leave a significant amount on the bottom for support.

* 1 - 1 x 8 @ 16" for the lower, inset tread

* 1 - 1 x 8 @ 18" for the top tread

Bed Step's Sides
-----------------

The above instructions pertain to the bed step's pieces that make up the center section. But the sides of the bed step can be a little intimidating due to the slope change, and here's where a pencil will come in really handy! First, a sigh of relief. The pieces are cut to the same length, so there's no change there. Cut out two 1 x 12 pieces at 14". Another sigh of relief: Your lower step will hit in the right place, because it's inset, and you've already drawn on another board where it should hit on the other side! In some ways, this can be a bit easier than having to get those original-plan L-shaped cuts just so.

Because the 1 x 12 I used was really off with measurements (it was 11 1/4"), I can't really give precise measurements for the step's two sides. But I'll try to explain what I did as best as possible in hopes that it will be helpful if you want to copy this look. The side pieces require a lot of thinking, in order to get that slope to hit the right areas. When I was finished with this bed step (before painting it), it was covered in pencil marks!

You won't want to cut as far down as the instructions say, in order to have the side slopes end a bit higher than where the lower step hits. Because the dimensional lumber I used was not a standard width (it was 11 1/4"), I only cut down about 5 1/8" instead of 6". But don't follow this measurement--base it on the wood that you have, instead. When you measure, keep in mind where the other boards will hit the sides, and measure. Basically, where the top of the arch sits shouldn't need to change from the plans, but you probably won't want to have your lower arch cutting point as low as 6".

I freehanded the slope to the needed size on a piece of paper, and then traced it to both pieces on opposite sides. The bottom arched cut already in the plans should be drawn on, as well. Remember to measure and draw, measure and draw, getting it exactly as you want it before making those cuts.

If you're going for the homemade antique look, it's easier, which is one reason I like the distressed look. You can just tell yourself it's supposed to look whatever way it ends up looking!

I hope these tips will help you make a bed step, as well as encourage you to try to modify other Ana White plans to fit your own needs. Have fun!
Built from Plan(s)
Estimated Cost
$25 (if you have building and finishing supplies on hand)
Estimated Time Investment
Week Long Project (20 Hours or More)
Finish Used
I'm getting boring with matchy-matchy stuff--the finishing on this was the same as other plans I've blogged on. However, some things were added prior to the top coat/sealer to make it look like it has had even more wear as a well-used step.

* An ice pick was used randomly to make deep scrapes in the wood.

* Sanding on the treads was done with an orbital sander to "speed up" the wear marks.

* A "wash" of watered-down black, brown, and yellow craft paints was applied, then wiped off with a paper towel. This added staining in different shades. Antiquing medium was applied in some areas. These supplies are available in craft stores in the craft paint section--if they're not in your house already!
Recommended Skill Level
Intermediate

Farmhouse Table

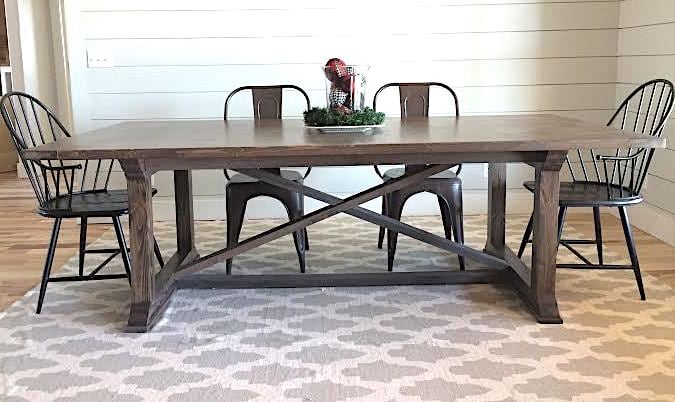
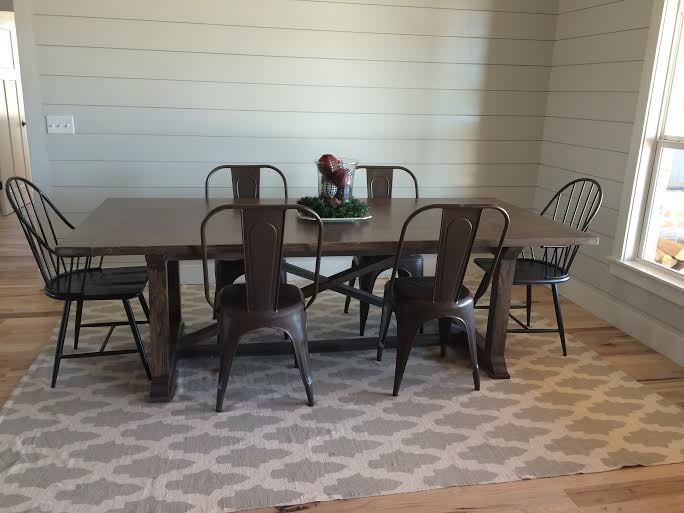
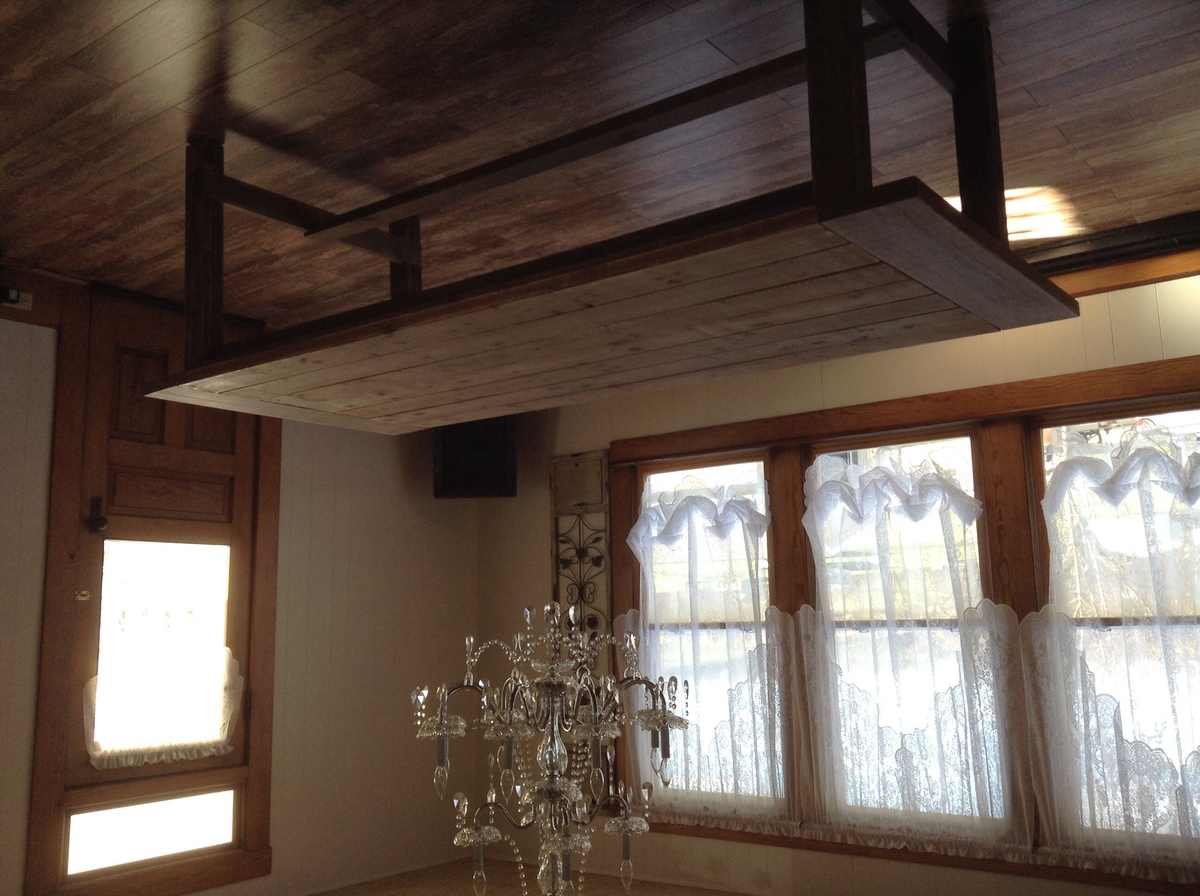
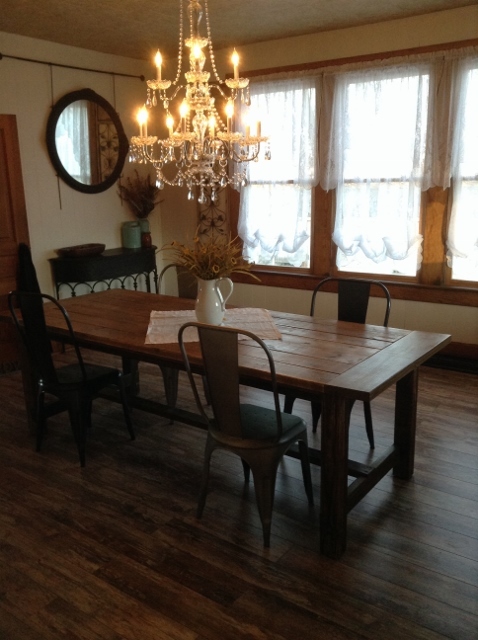
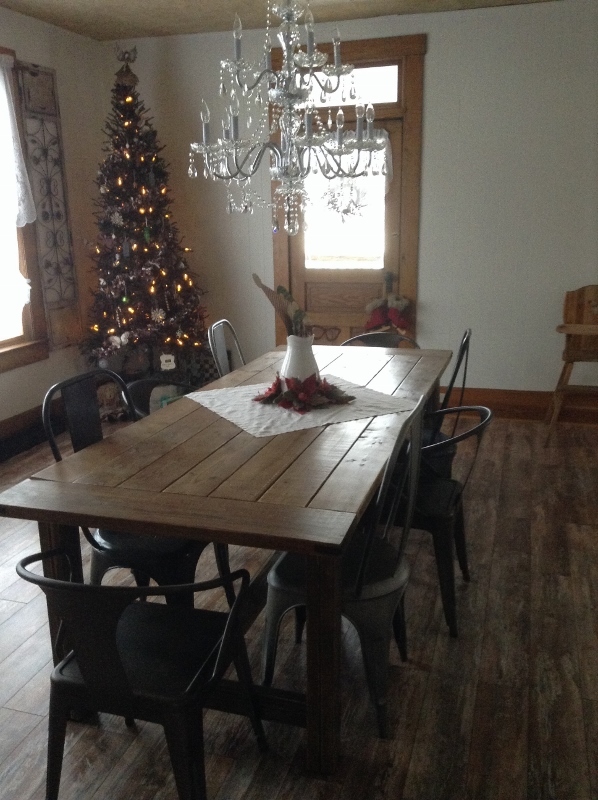
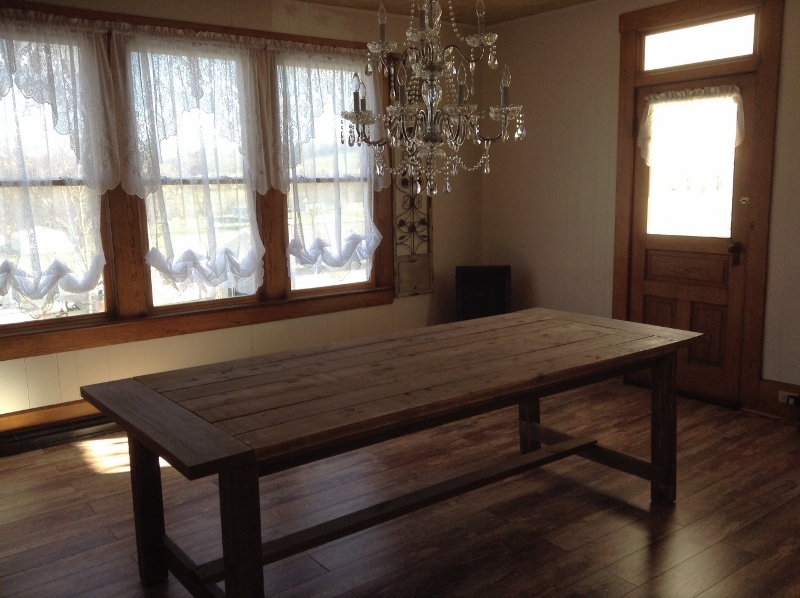
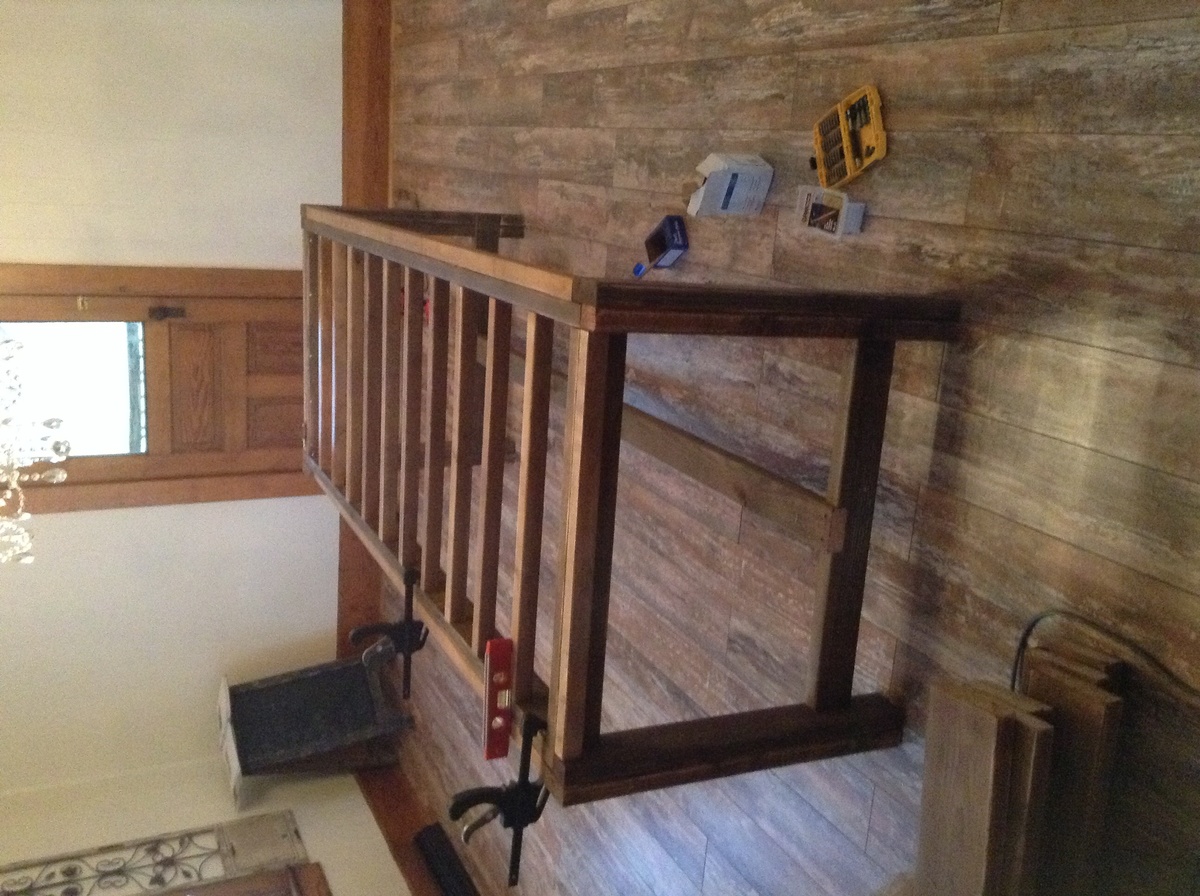
We recently moved back to my hometown and bought a beautiful farmhouse that was built in 1908. We knew Ana's Farmhouse Table plan was perfect for our dining room! We followed Hillary, from The Friendly Home, advise and black tea stained the wood, then sanded it with an 80grit paper. The next step was to apply the oxidizing solution, made up of 000 steel wool dissolved in white vinegar. We will continue to use this finish technique on other builds so we now keep a massive mason jar in the basement. If you decide to do the same, remember not to tighten the lid. The mixture creates a gas expansion in the jar that could pop the top! Once this was applied we let it dry completely and started sanding again. This is the fun part. The love of my life, who had never attempted to build anything before, felt like an artist! It was so much fun to hear him exclaim he had created another masterpiece! Once we had all the pieces sanded , we put the whole thing together and applied 2 coats of min wax. Unlike Hillary, we did not add color to our wax, but decided we liked the color just as it was.

Estimated Cost
$85
Estimated Time Investment
Weekend Project (10-20 Hours)
Finish Used
Tutorial from The Friendly Home
Recommended Skill Level
Beginner

Comments

Benchright Coffee Table

Submitted by brass2005 on Thu, 02/25/2016 - 19:27

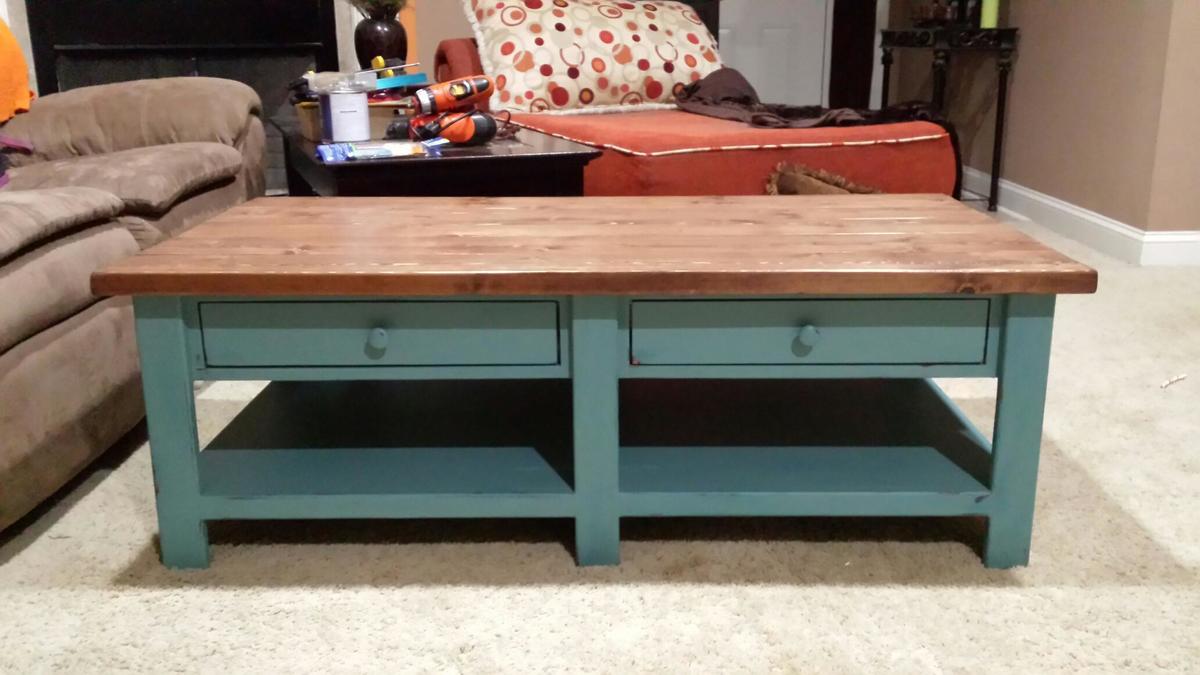
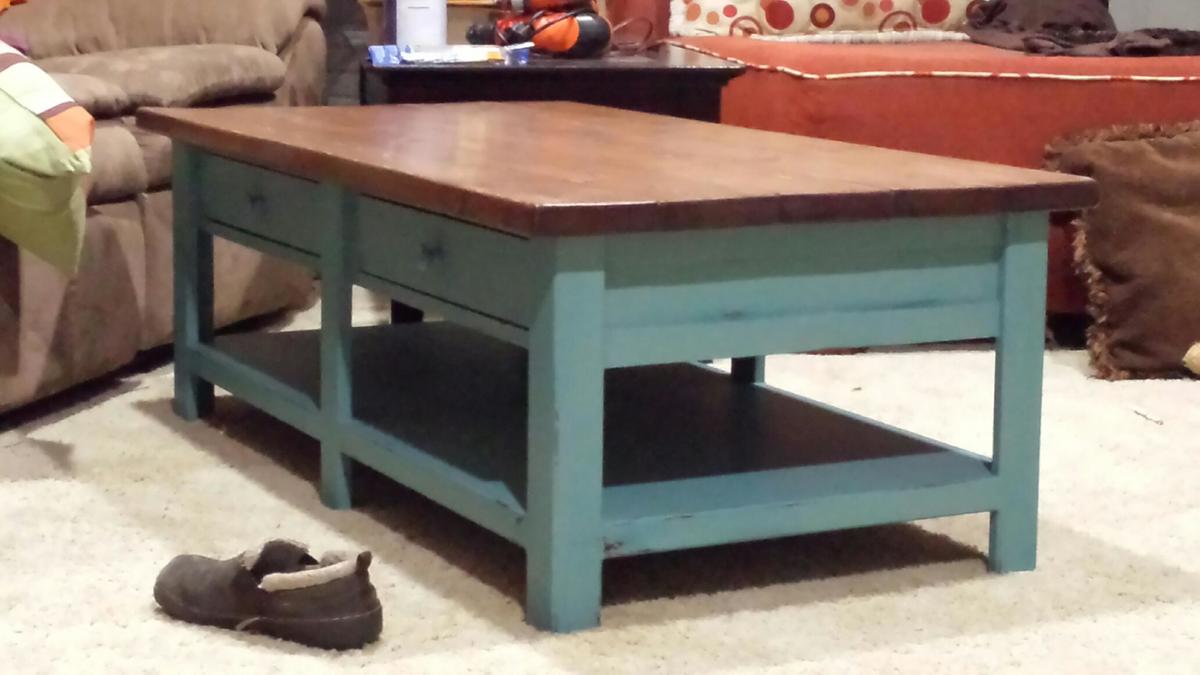
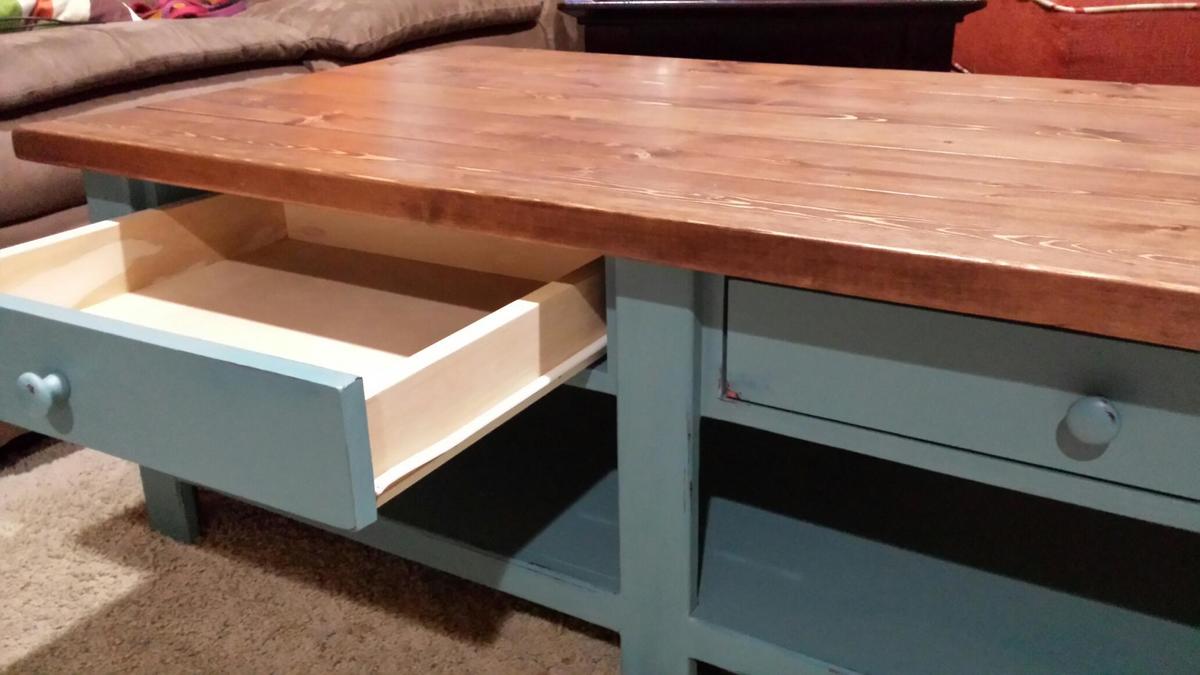
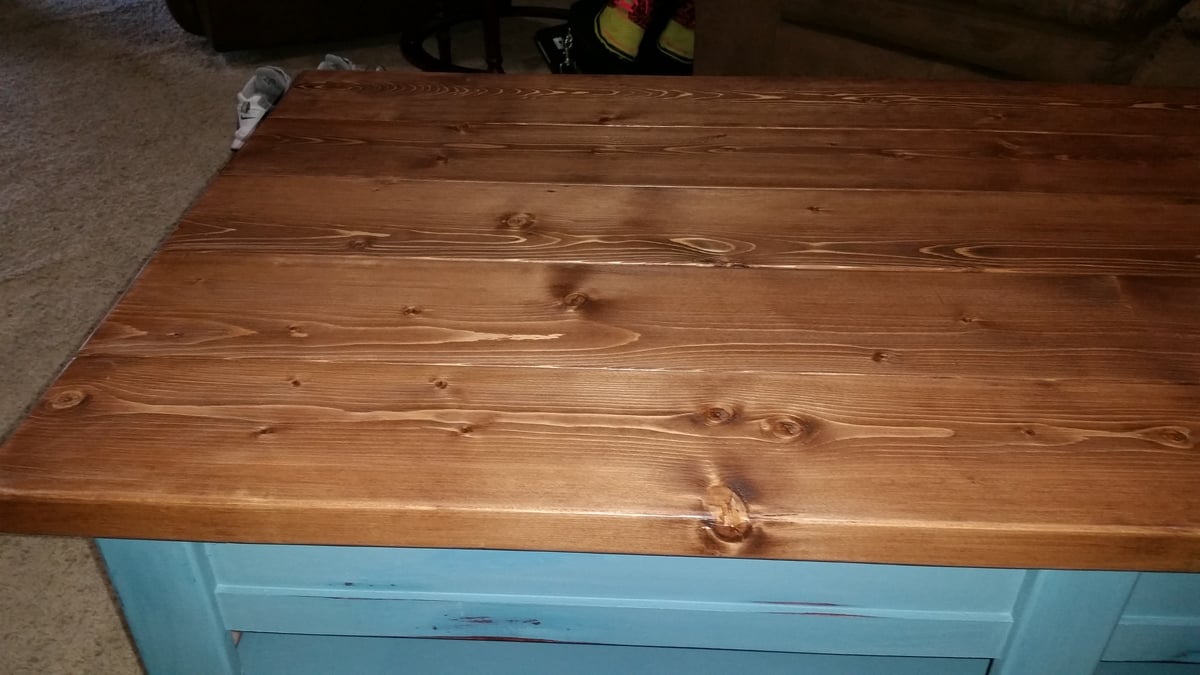
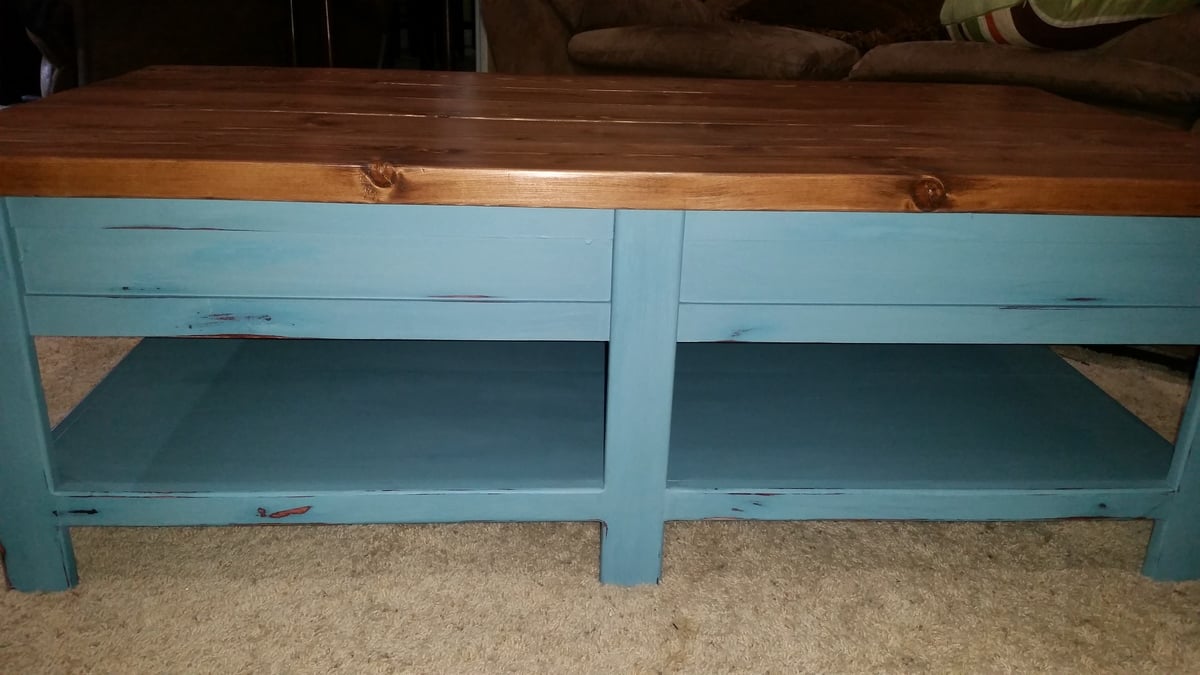
This was my first build other than some outdoor chairs. I learned tons while building and I got to spend time with my sister doing it. Also learned about chalk paint and other finishes from big sis. 

Estimated Cost
$75 I used 1 4' x 8' sheet of pine cabinet plywood for everything but the top to bring the cost down from $150.
Estimated Time Investment
Weekend Project (10-20 Hours)
Finish Used
General finishes Georgian cherry gel stain. Blue coral chalk paint. minwax early American stain with general finishes gel topcoat for top.
Recommended Skill Level
Beginner

Comments

Built-in Bookshelves

Submitted by seeca13 on Sat, 10/05/2019 - 13:34

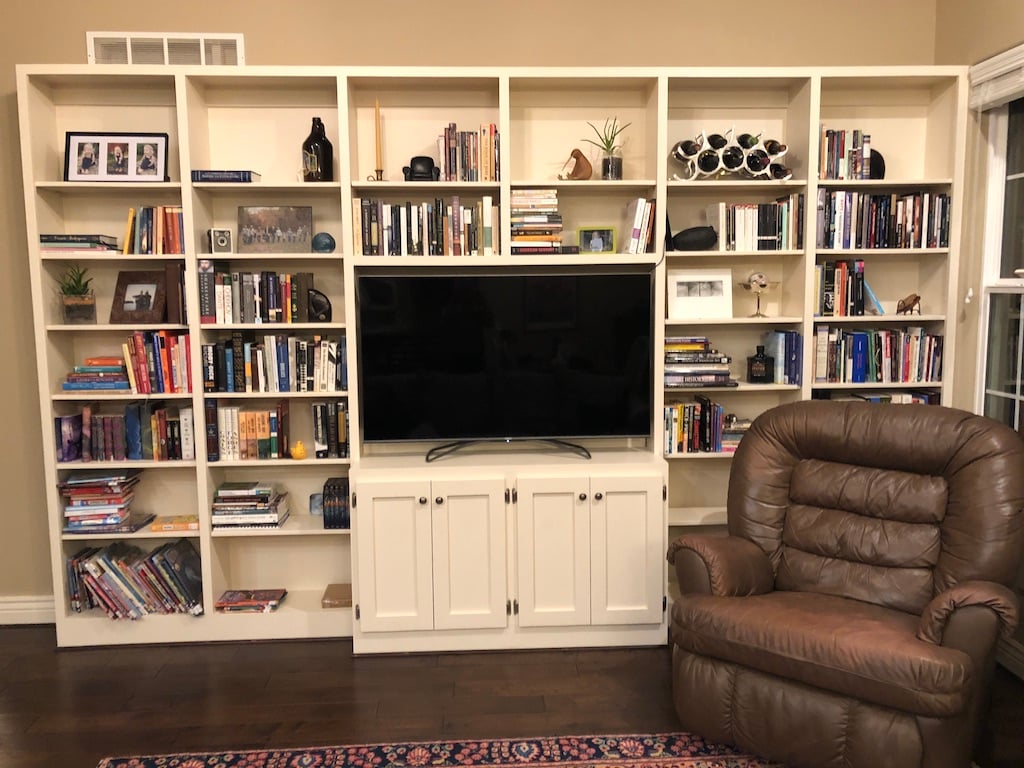
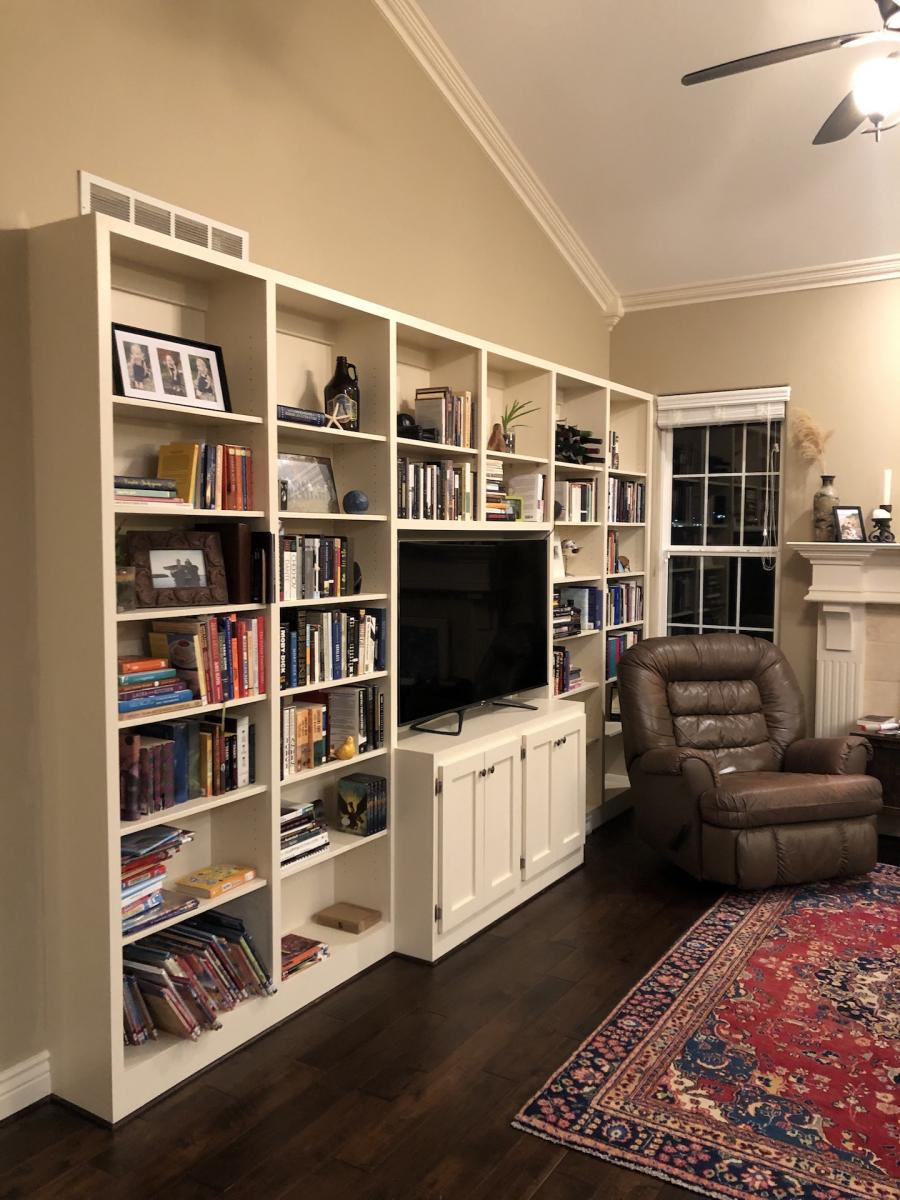
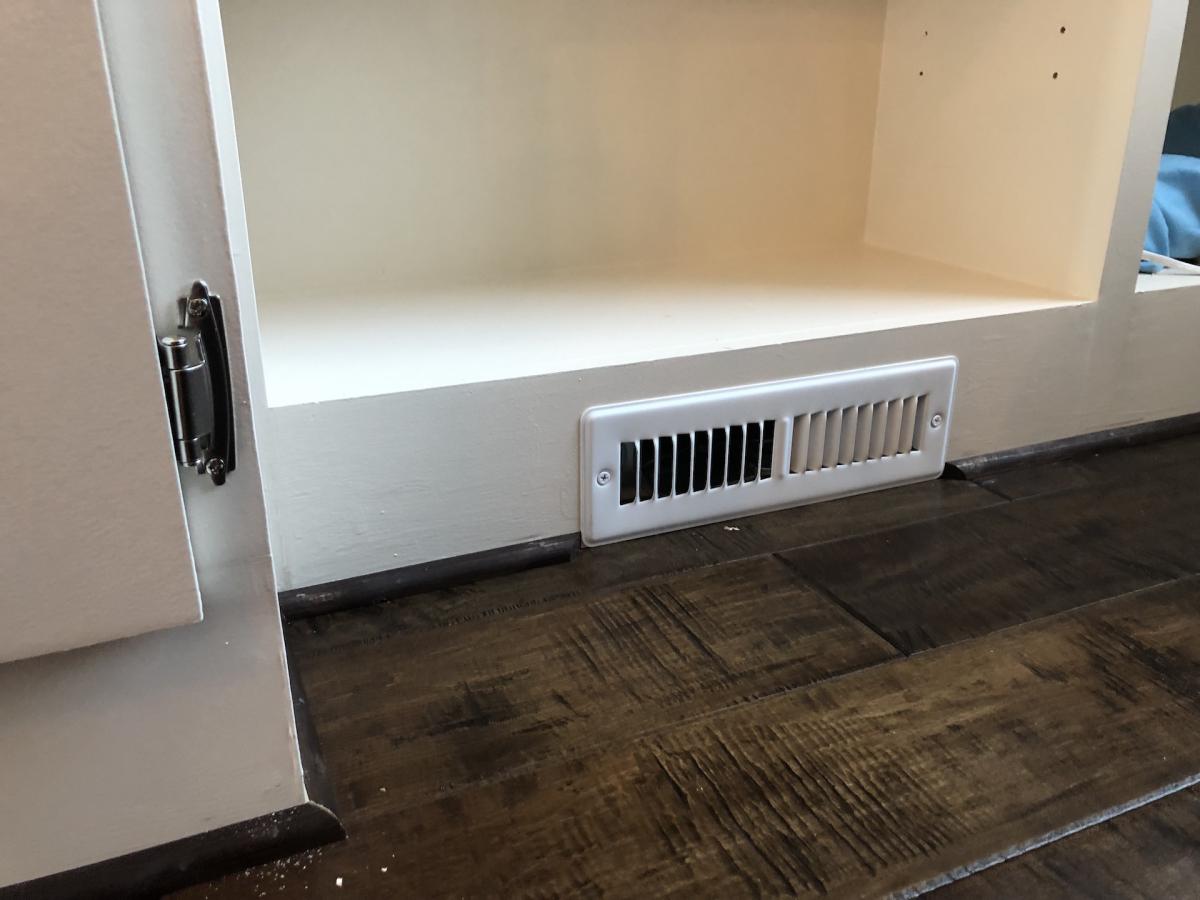
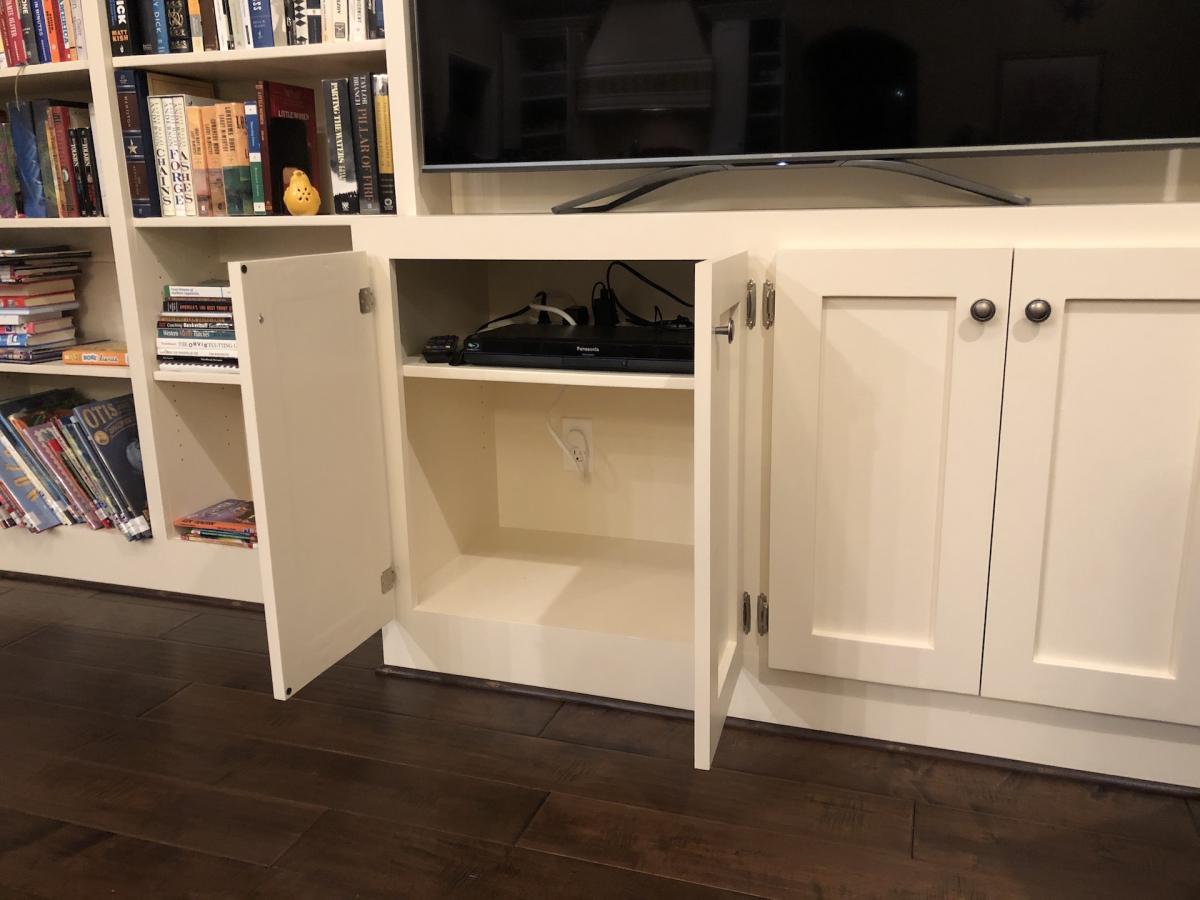
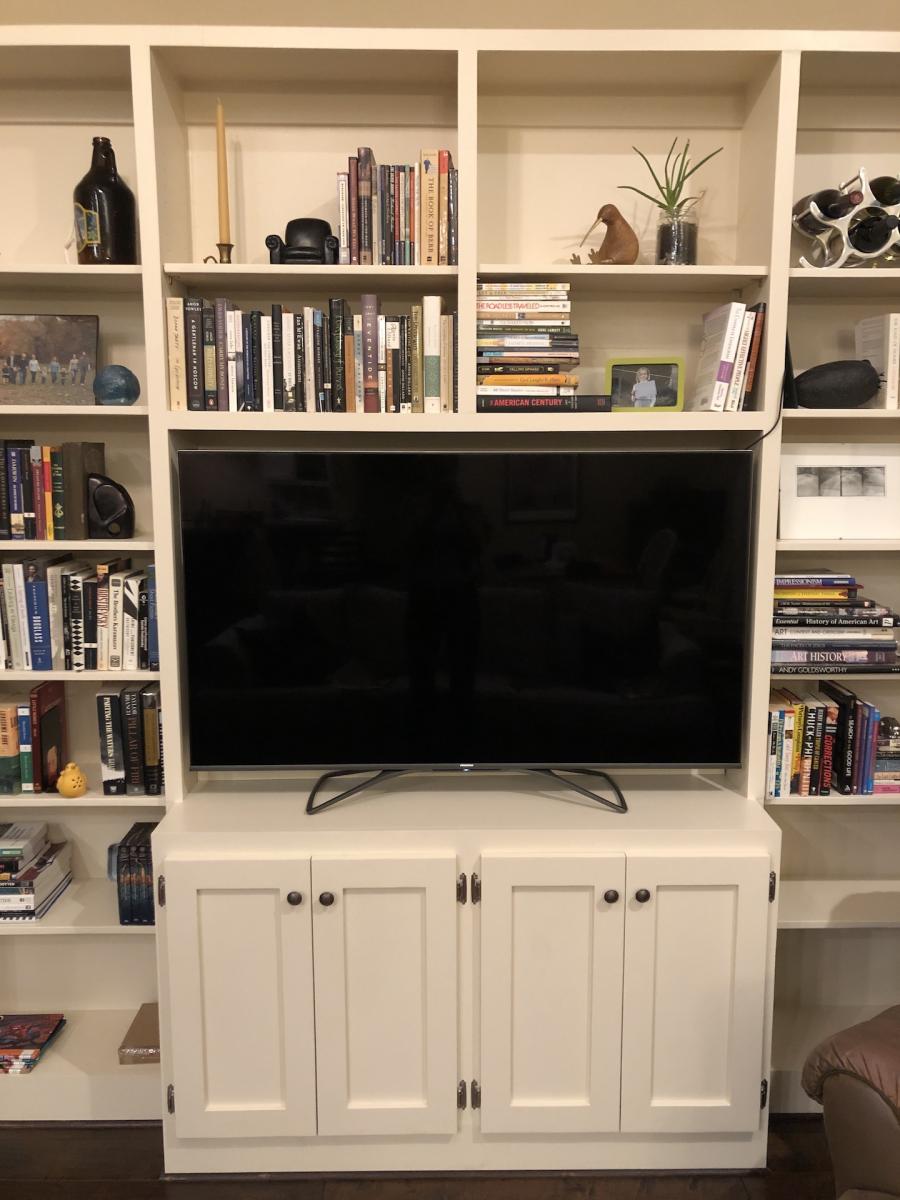
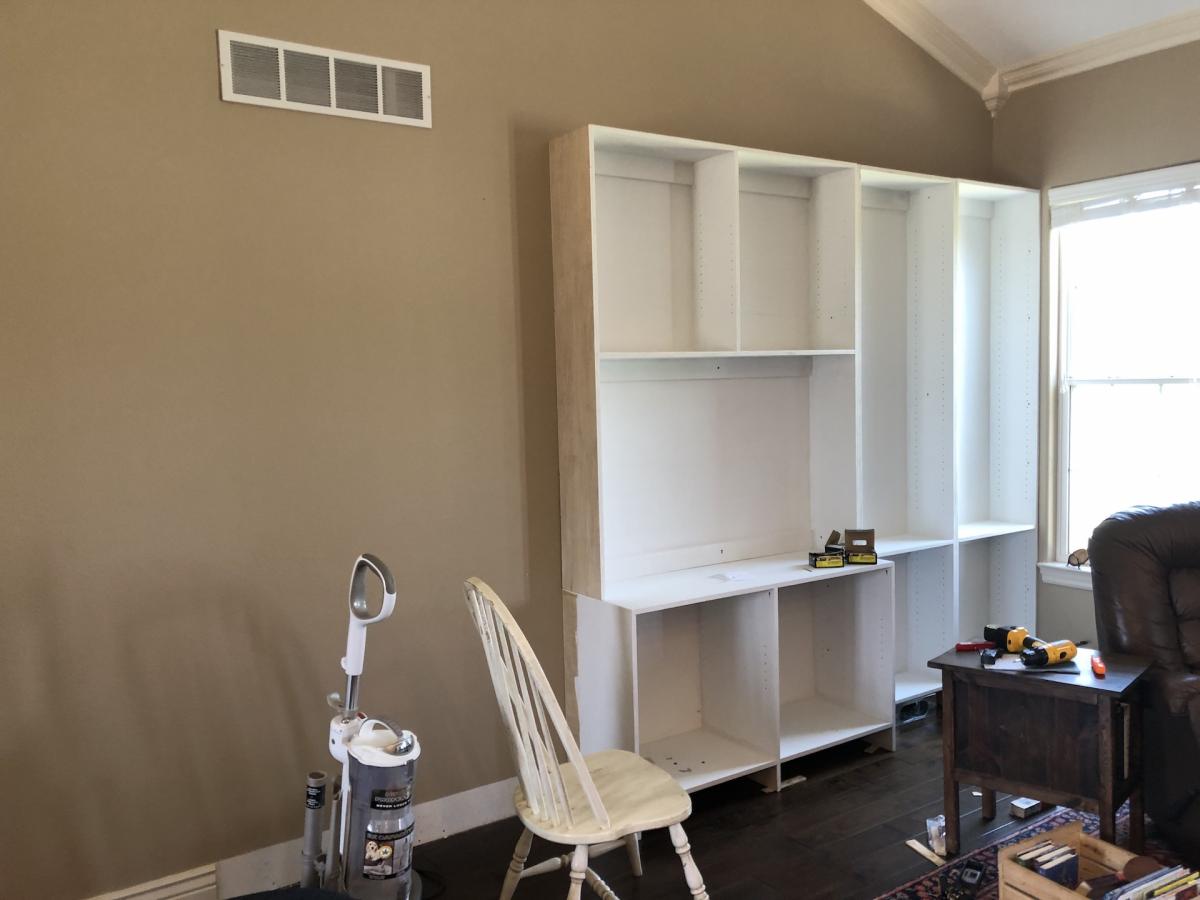
I built this project in 6 separate pieces before installing it in our home. I pulled the baseboard and attached it to the wall to give it a built-in feel.  For the majority of the project, I used 3/4" plywood with the exception if 1/4" plywood for the back of the shelves as well as the centers of the cabinet doors.  For the trim, I used select pine boards.  I had to work around an airconditioning vent that was in the floor.  I was able to divert it to run out the bottom of the bookcase. 

This build is loosely based on the Willy Bookcase.  I actually found another brag post on the Willy Bookcase that was immensely helpful in constructing my project.  I'm so grateful for the brag boards!  Instead of fixing all of the shelves like the Willy, I used a Kreg shelf pin jig to make the shelves adjustable.  The shelf that lines up with the TV is fixed for stability. 

The estimate below covers all of the wood, paint, screws, hardware, etc.  For fun, I'm including an in progress photo to illustrate the process.  Thanks for looking!

Also, a note - this is a relatively easy project, however, I listed it as "intermediate" because of the cabinet doors.  They definitely made it more complicated!


Built from Plan(s)
Estimated Cost
600
Estimated Time Investment
Week Long Project (20 Hours or More)
Finish Used
Sherwin Williams paint custom matched to trim.
Recommended Skill Level
Intermediate

Comments