Community Brag Posts
Queen Farmhouse Guest Bed
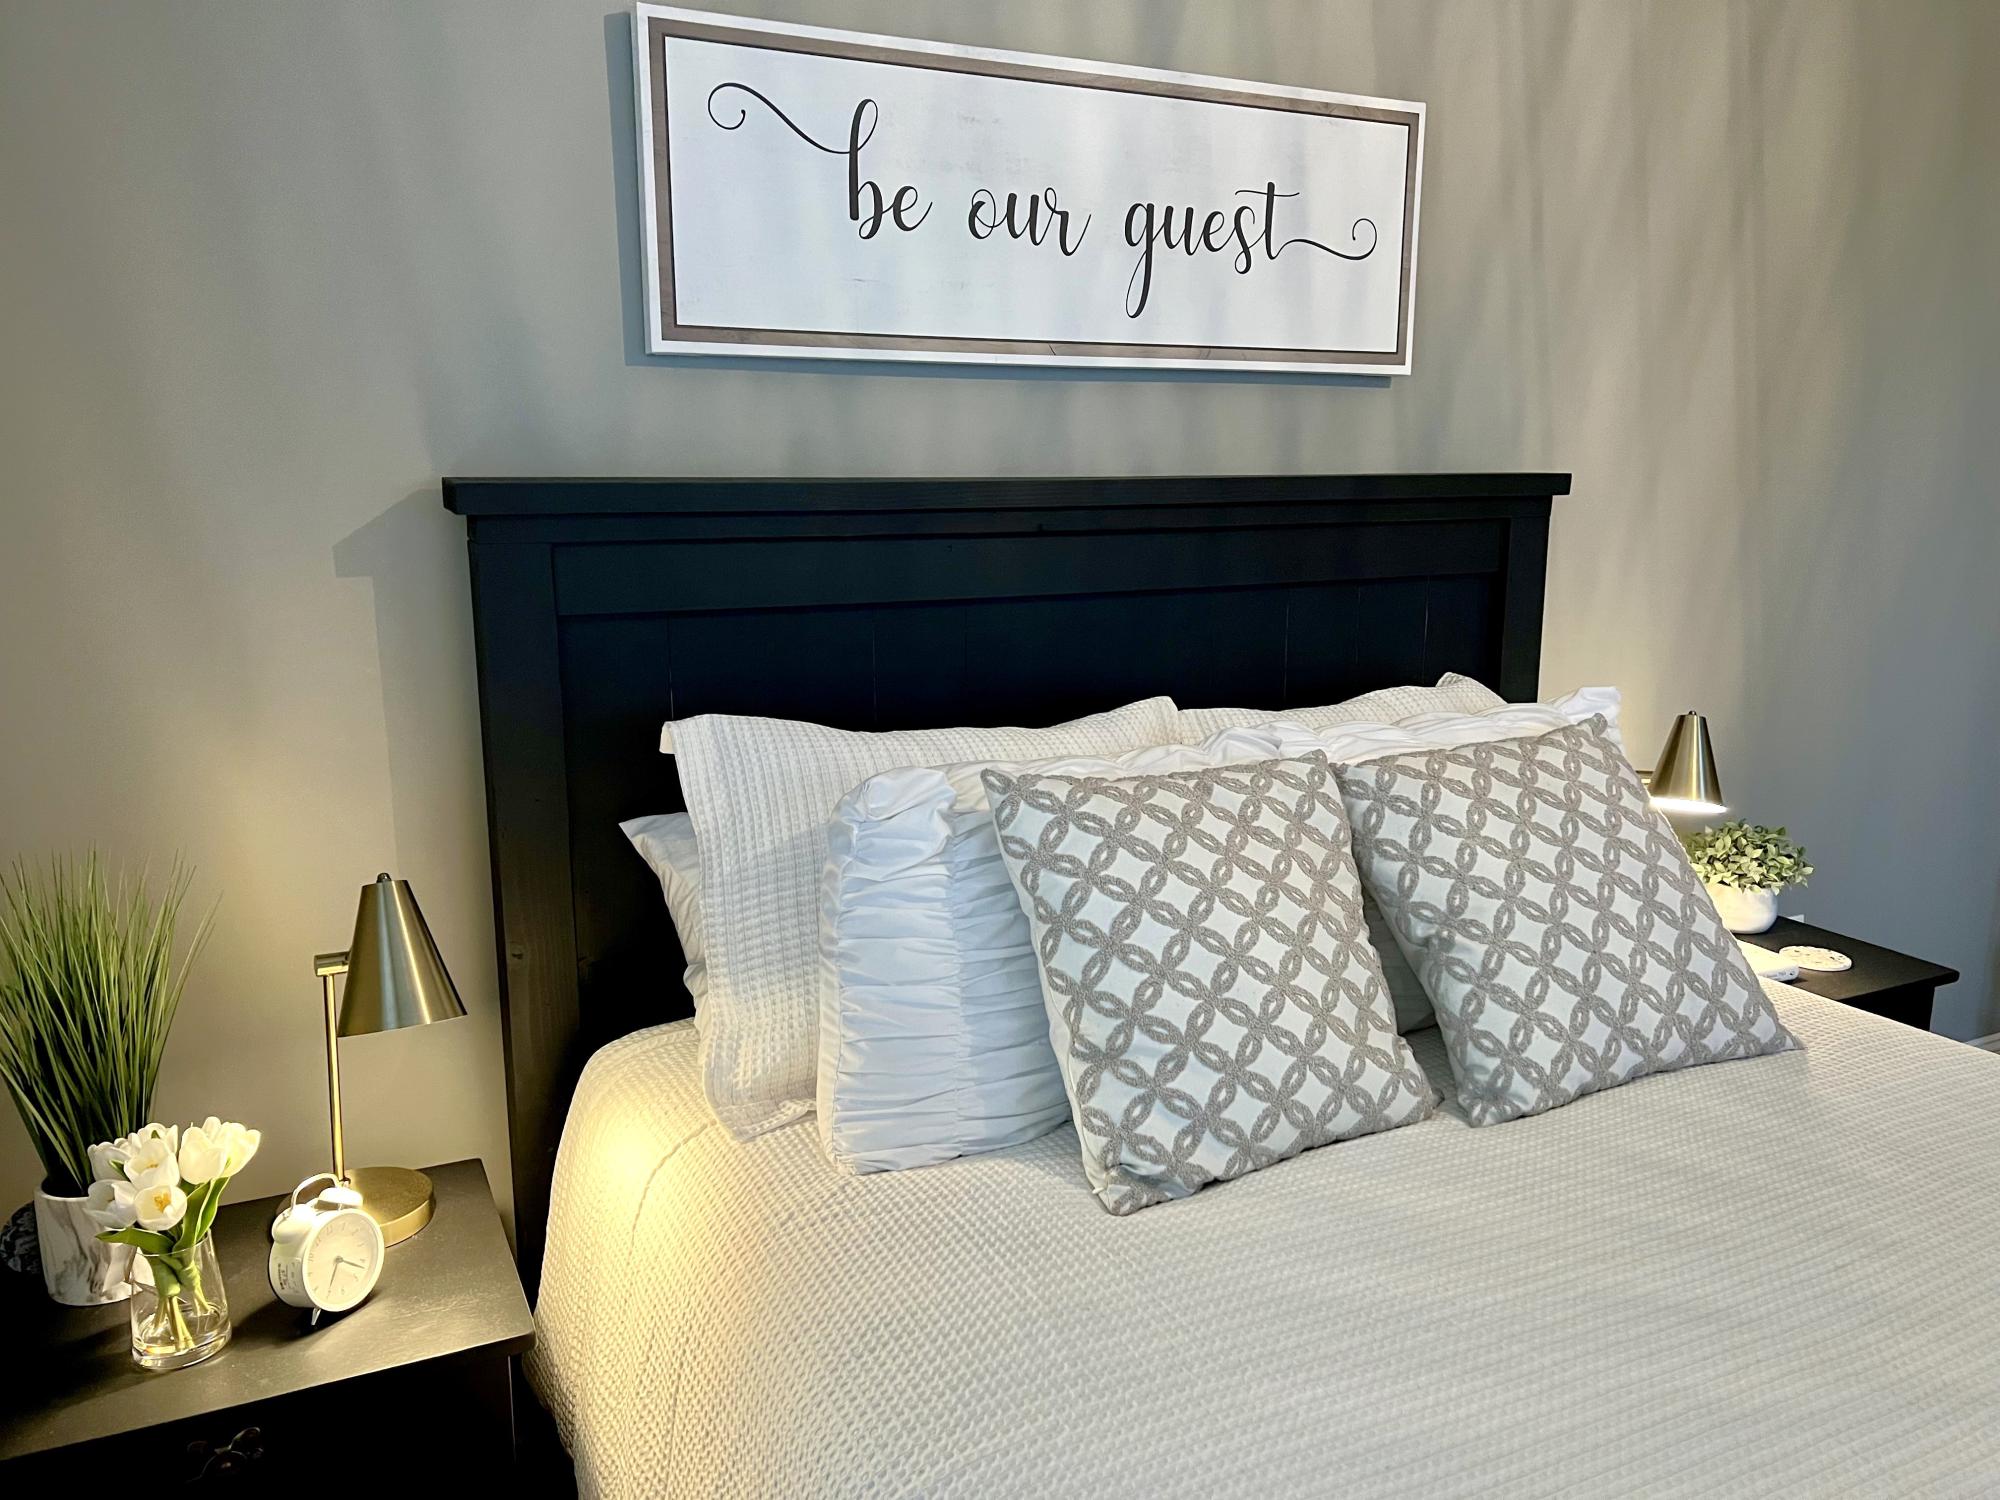
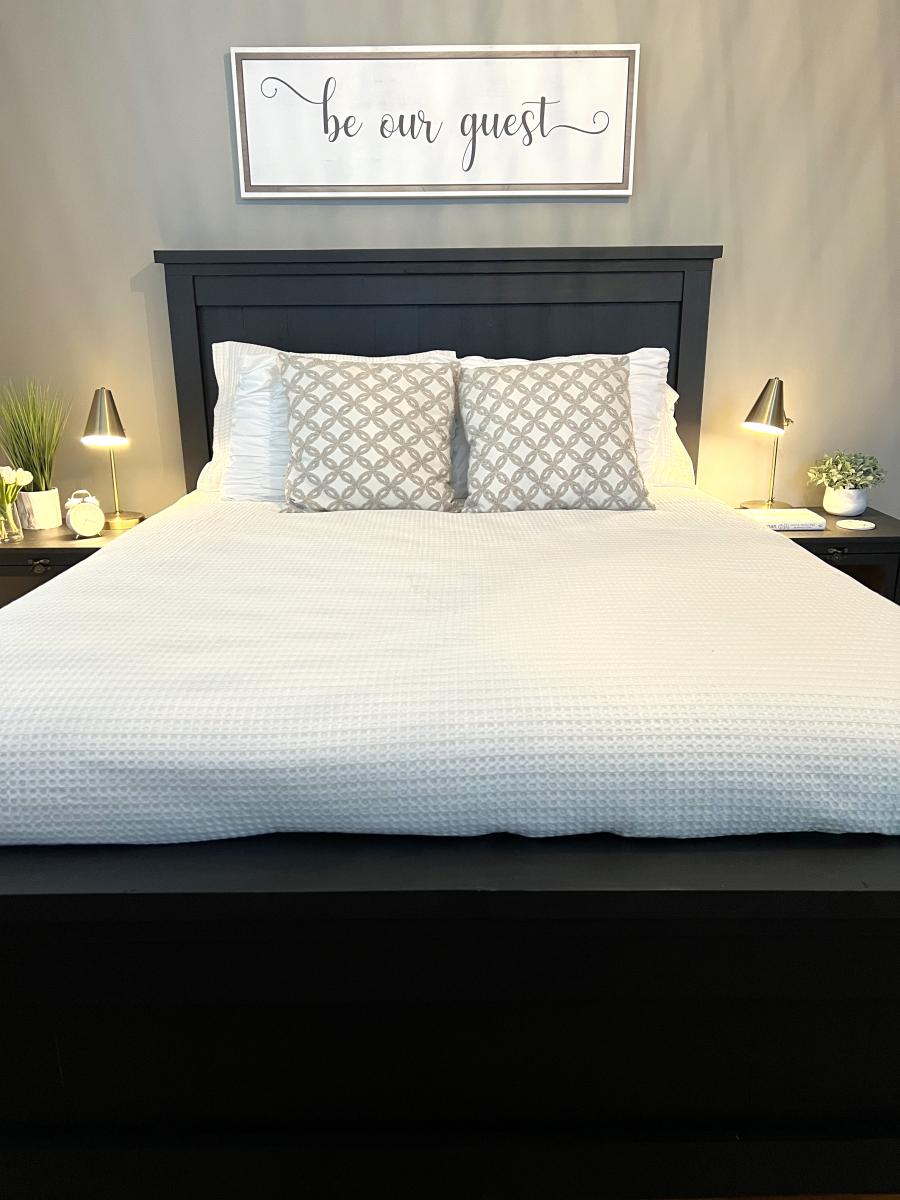
Ana - built this Queen Farmhouse Bed from your plans and videos. Really a warm, guest room that I built inspired from your work and detailed plans — thanks again!
Chris K
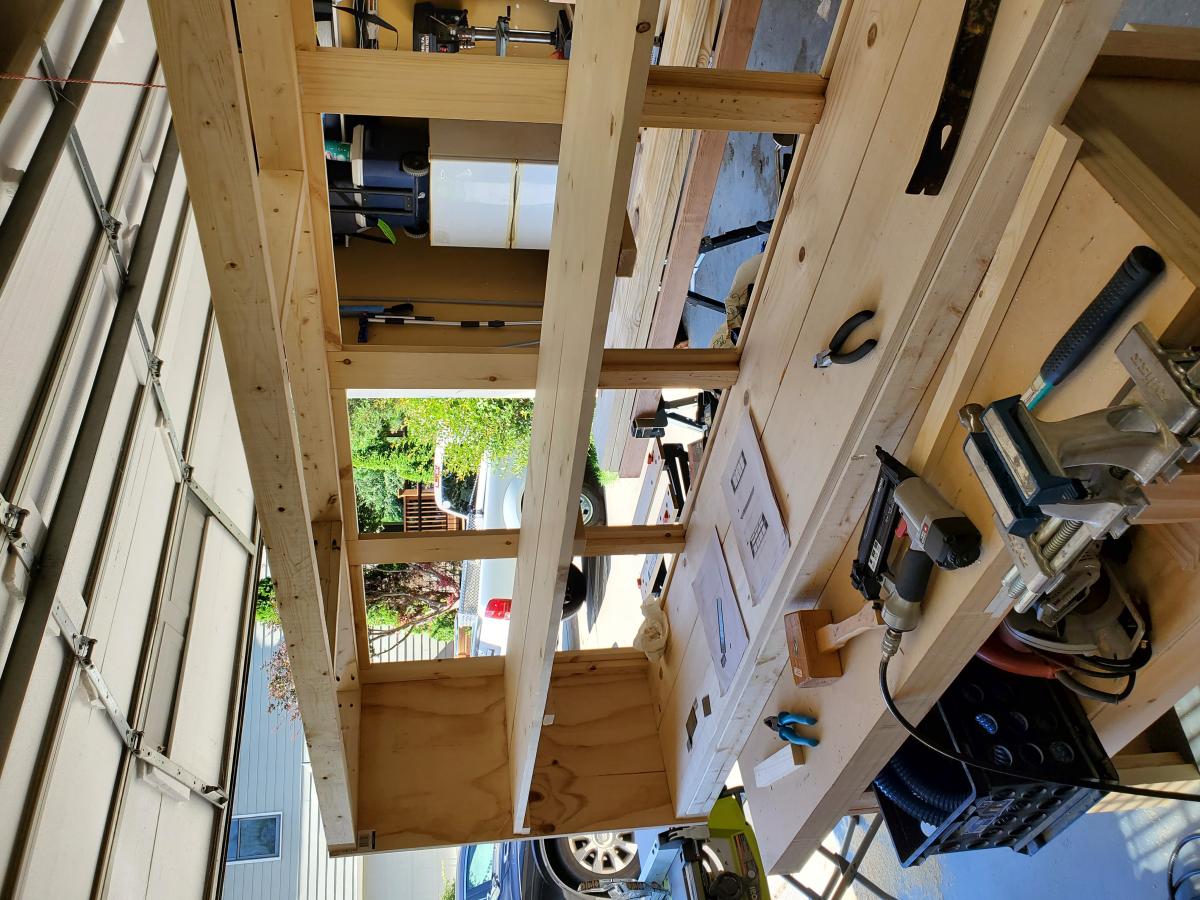
Completely Free Workbench!
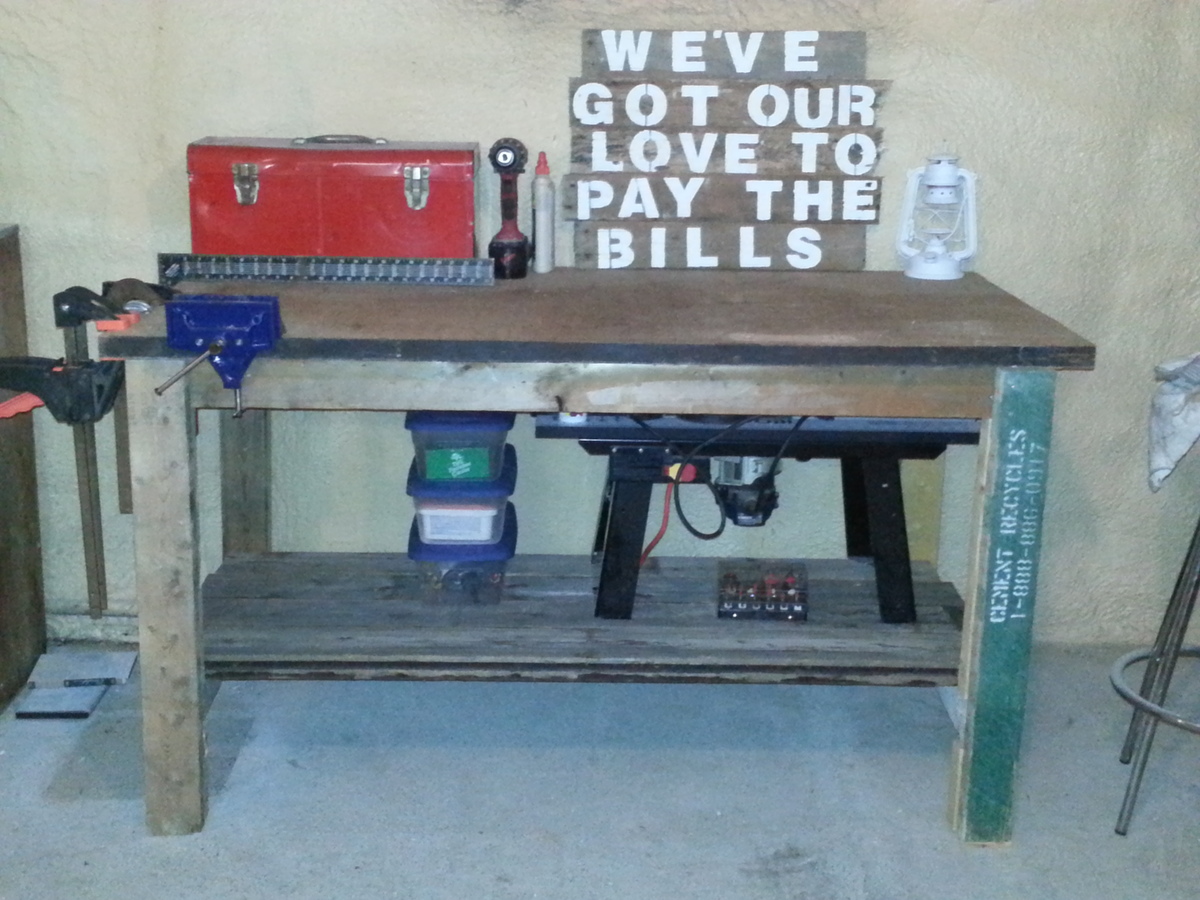
2 wood pallets, 1 2x4 from an old wall teardown, and an old door we were going to pitch = 1 free workbench!
(used the extra pallet wood to make the decor sign. I wanted to make it girly. :) )
Tailgate Bench
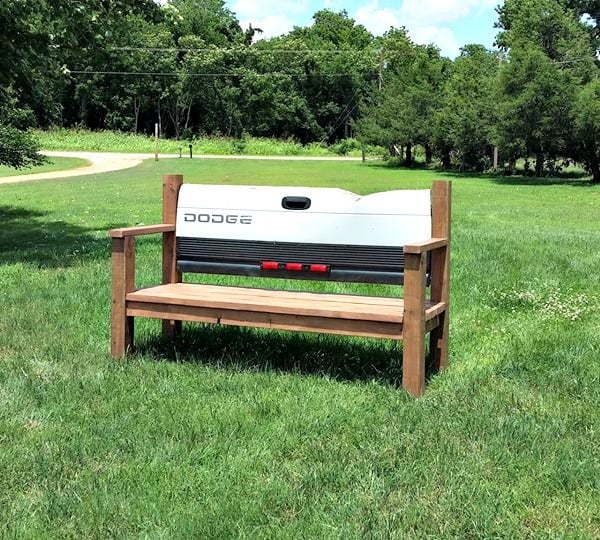
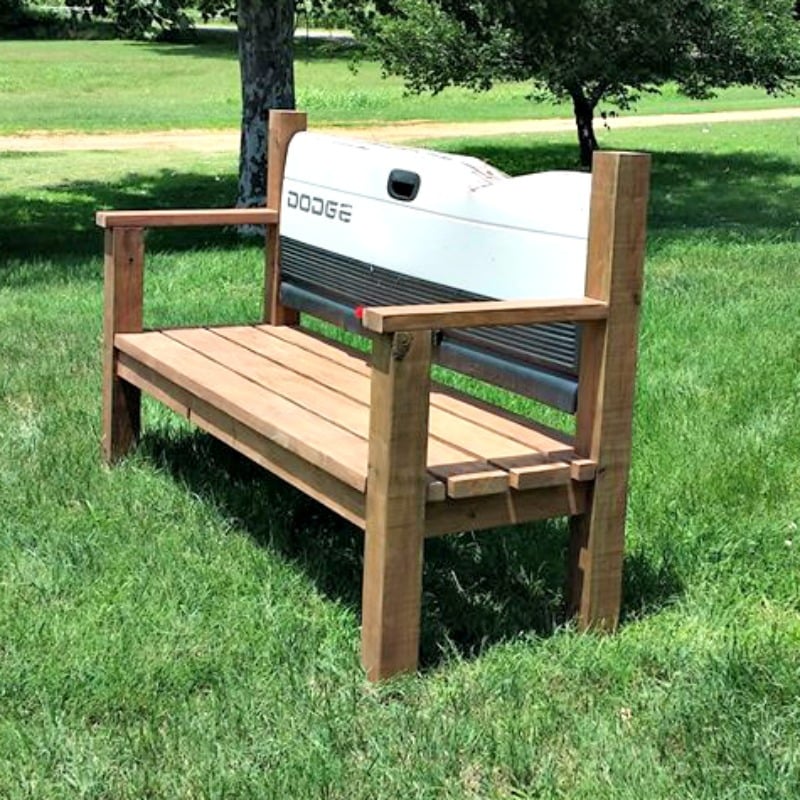
I want to give a big THANK YOU!! to Ana. I found your website a few years ago when I wanted to move my toddler to a big girl bed. Since then I have built several things but this is the first that I have shared on the site. Long story short this is a bench that I made for my father in law for Father's Day. It was a pretty simple build that I believe came together pretty well. Next, a tailgate bench for my own dad for Father's Day. Luckily he doesn't mind that it will be late.
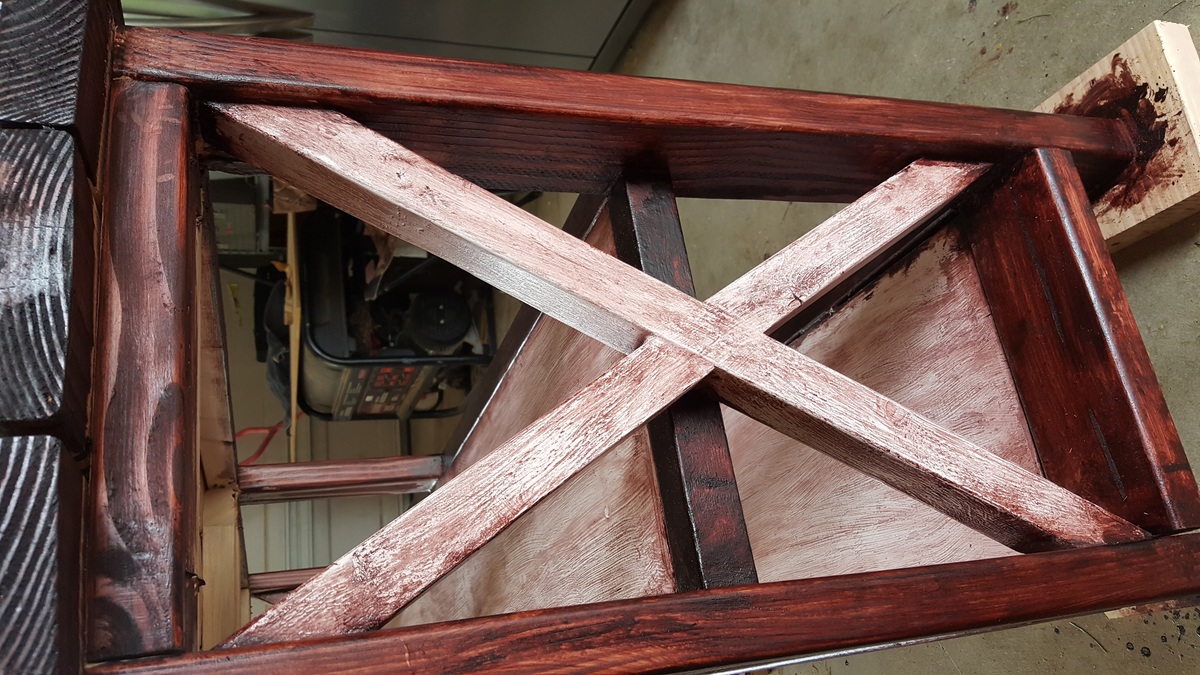
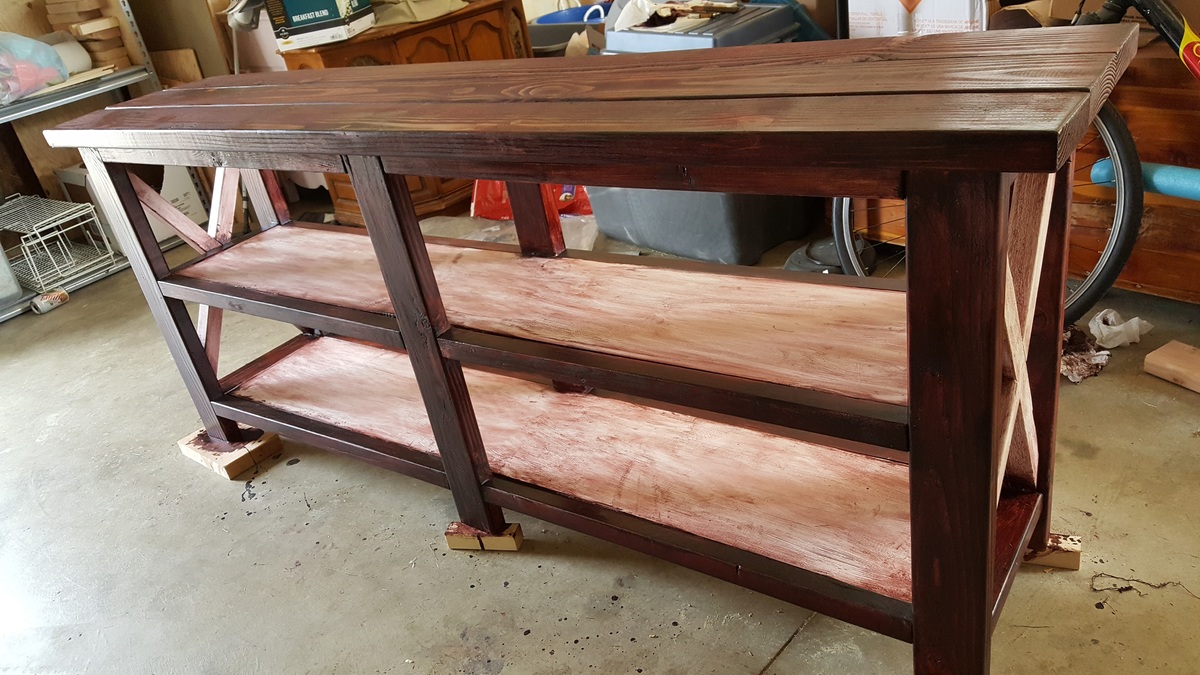
Rustic X Console
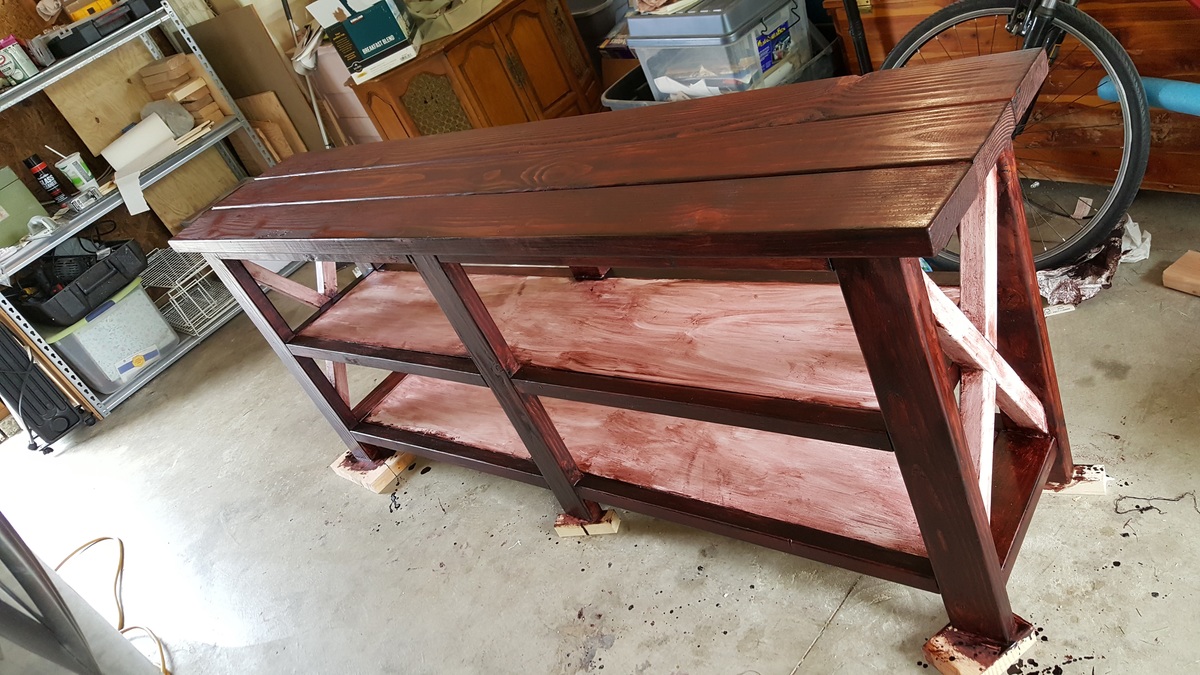
I spent about 2 weeks off and on working on this project. I was happy with the outcome. It was a project for my daughter for her 23rd birthday. She loved it! Thank you for the plans!
Farmhouse Mini Bedside Table
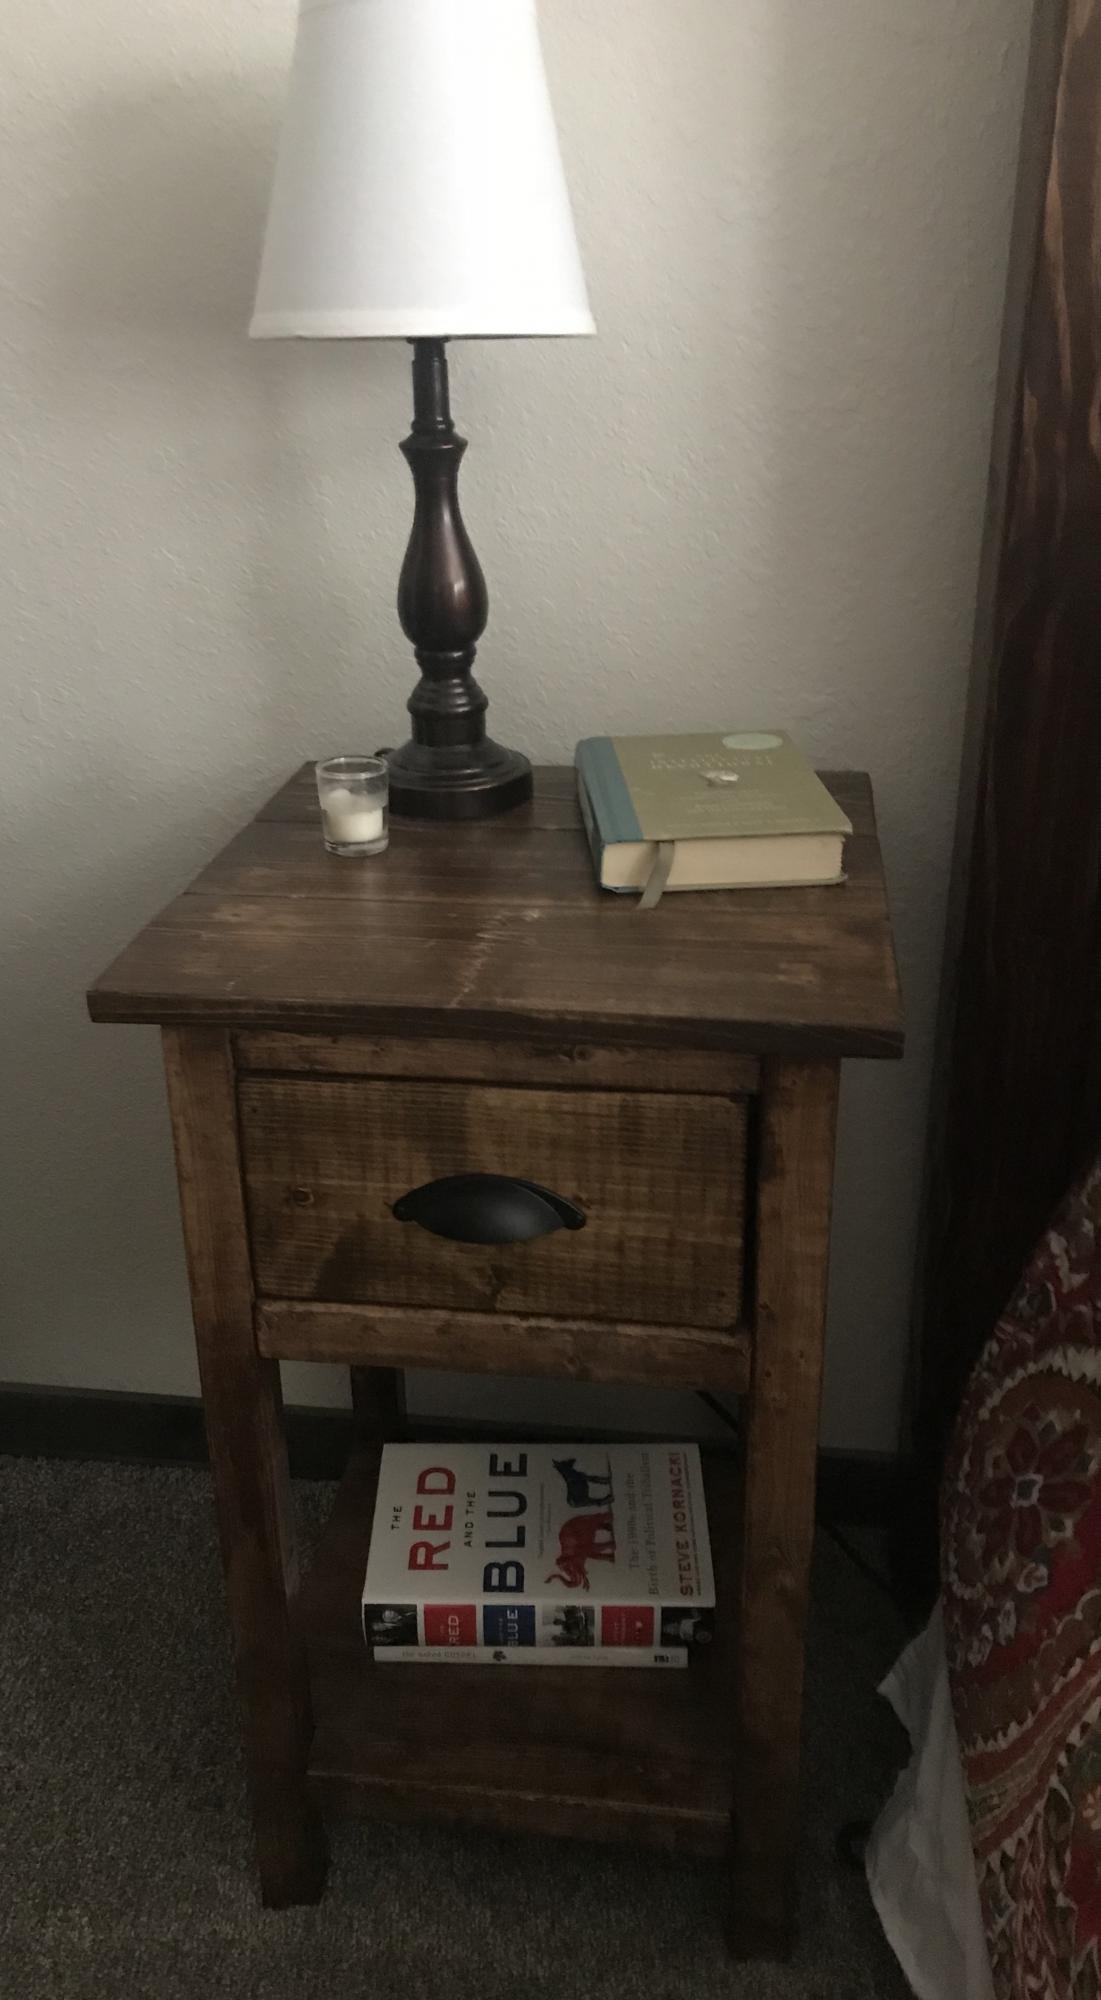
The hardest part of this project was definitely finding straight 2x2’s at Lowe’s! This was my first drawer too, but after a little headache getting it square I couldn’t be happier with it! It goes perfectly with our Farmhouse/Barndoor Headboard. I can’t say enough good about this site ♥️
Floating Shelves Small Bathroom

Built 2 floating shelves and mixed stains together to get the look I was looking for. I love them.
Shontelle M
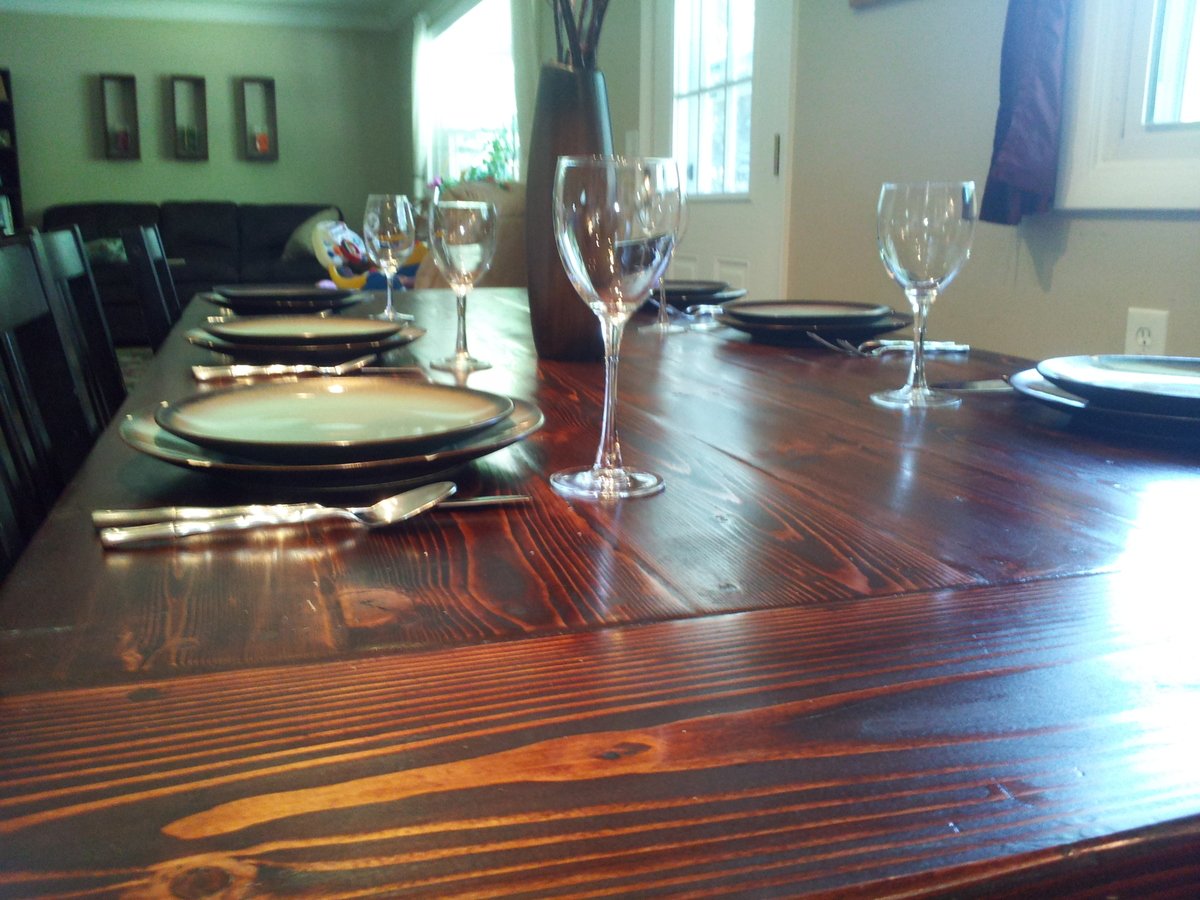
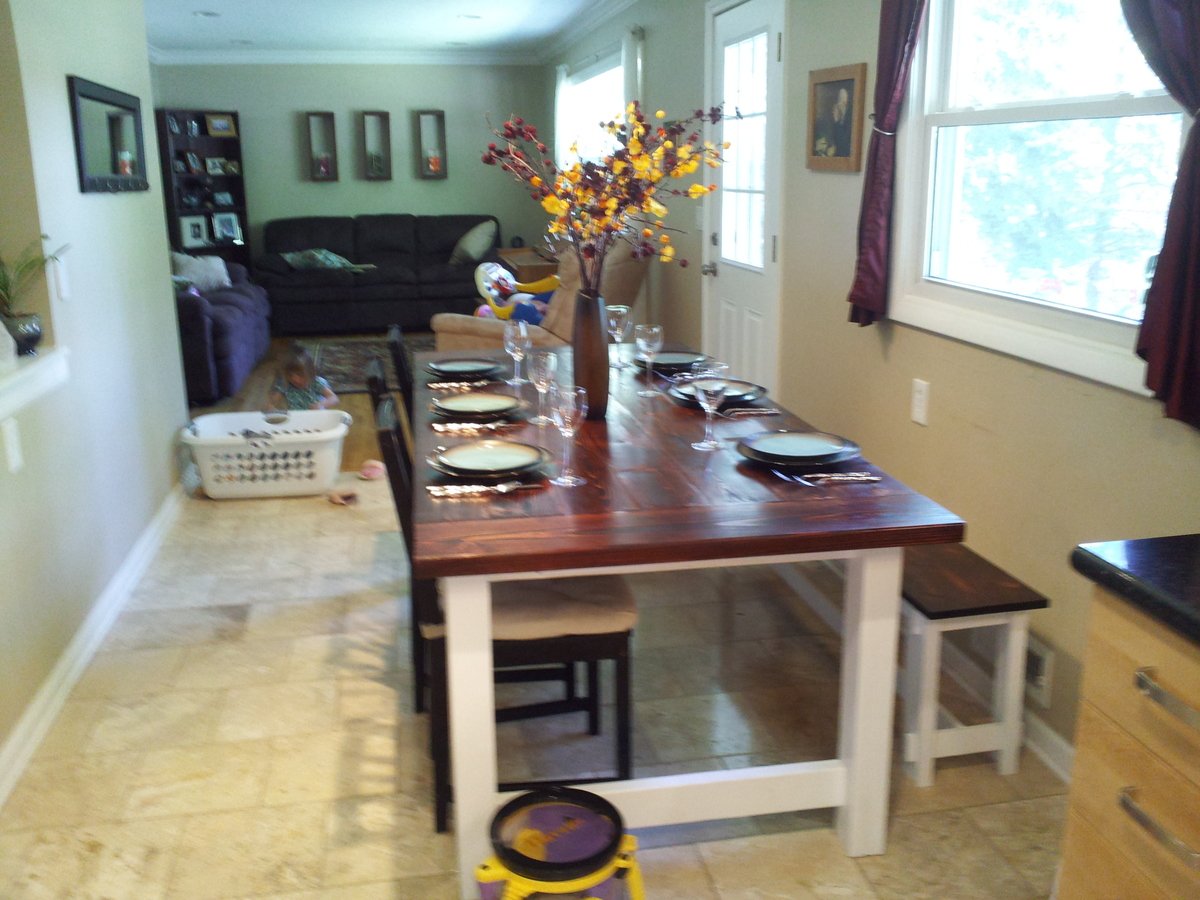
Farmhouse Table and Modern Bench
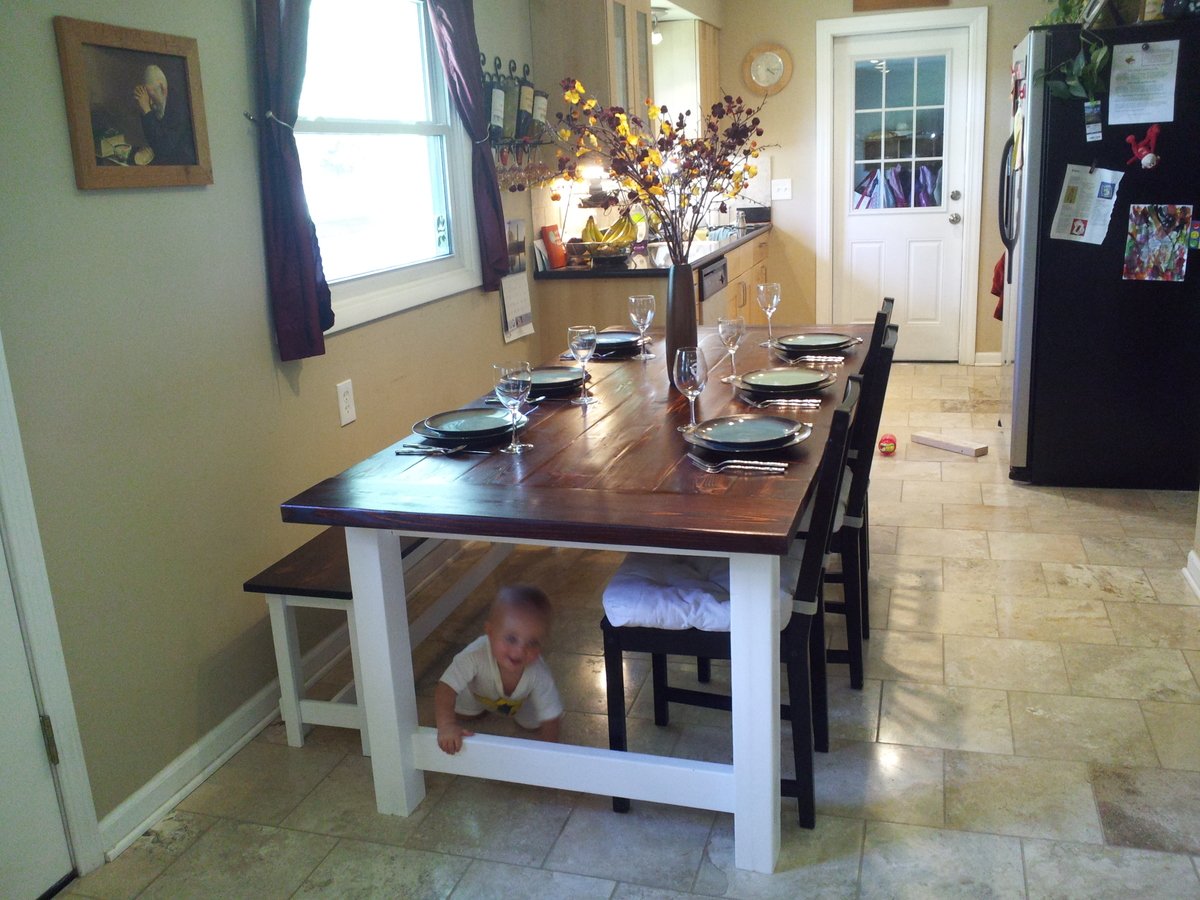
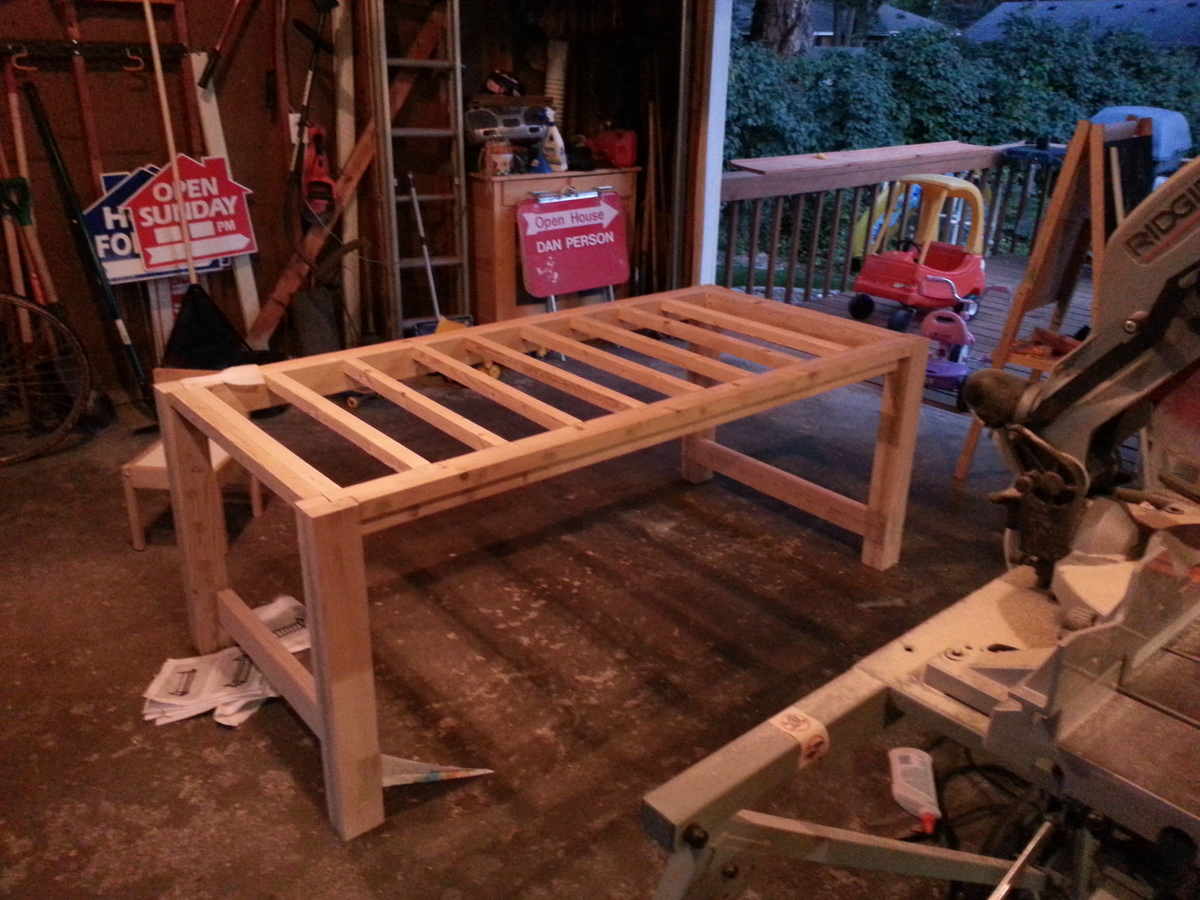
I followed the plan exactly except that I left out the stretcher. It turned out beautifully and fits our kitchen perfectly. I wanted to complete the building in a weekend, but even with a helpful husband the kids distracted me. It ended up taking me three weeks working during naptimes and after bedtime.
My recommendations:
-I used 2x4s for the legs, but if I had to do it over again, I'd just buy 4x4s and use those. I did my best to fill in the seams in the legs, but I still notice them from certain angles.
-Sand, sand, and sand again. I hate spending time sanding, but this is a project where it's totally worth it. I sanded everything really aggressively with 60 or 80 grit paper and after I filled in screw holes and cracks, sanded again with 120. Then I hand sanded with 220. I'm really glad I did.
-Don't cut the table top boards (2x6s) till you are ready to place them. You want to make sure you have a really tight fit here.
-Because I didn't want any cracks on the table top, I filled in the seams between the boards with Elmer's wood filler. I was really nervous about how it would stain, but I just was super careful to sand any excess wood filler off the boards before staining. The wood filler appears a bit darker than the wood, but I think it looks ok. Better than cracks.
-I notched out the table legs with the skill saw and I thought they looked pretty rough and it was a long process. When I made the bench legs, I used my table saw to notch. I'm not sure if this is recommended or not, but the notches were much cleaner looking and it was a lot easier.
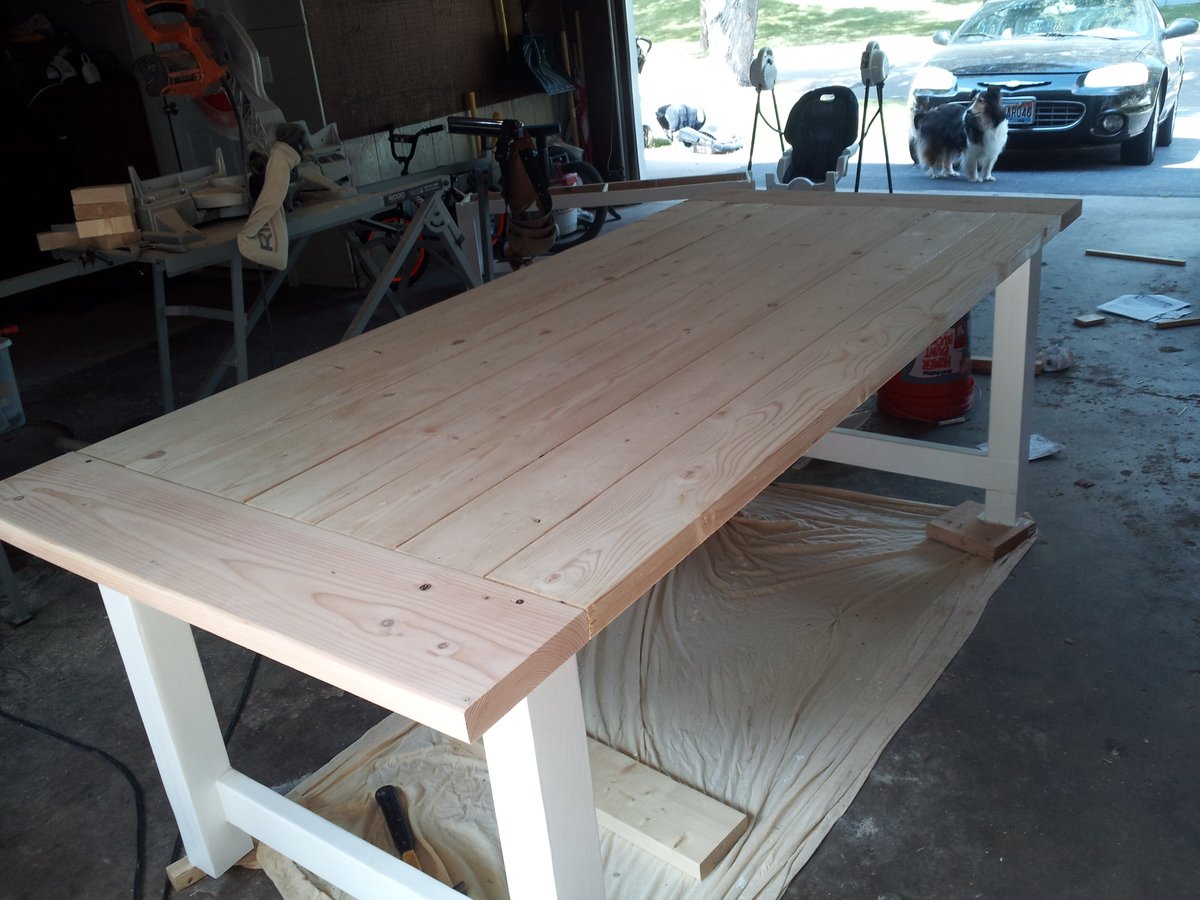
White paint on the legs.
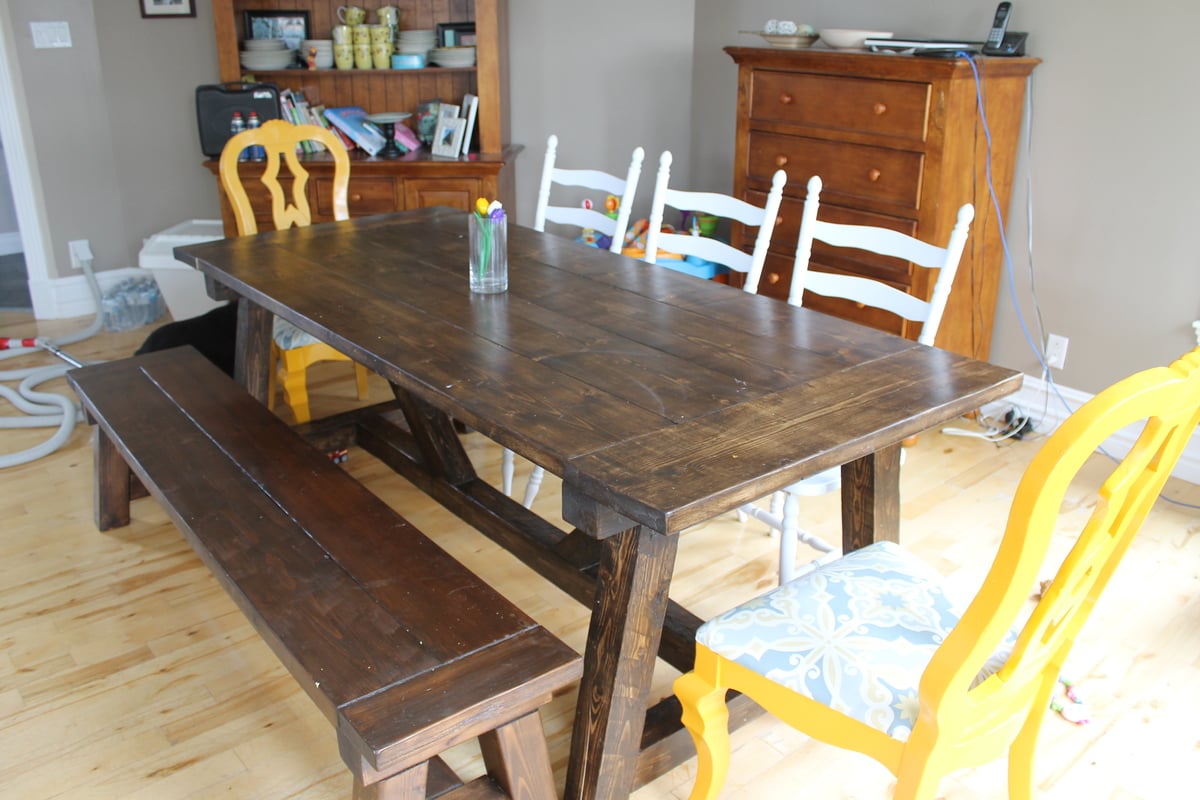
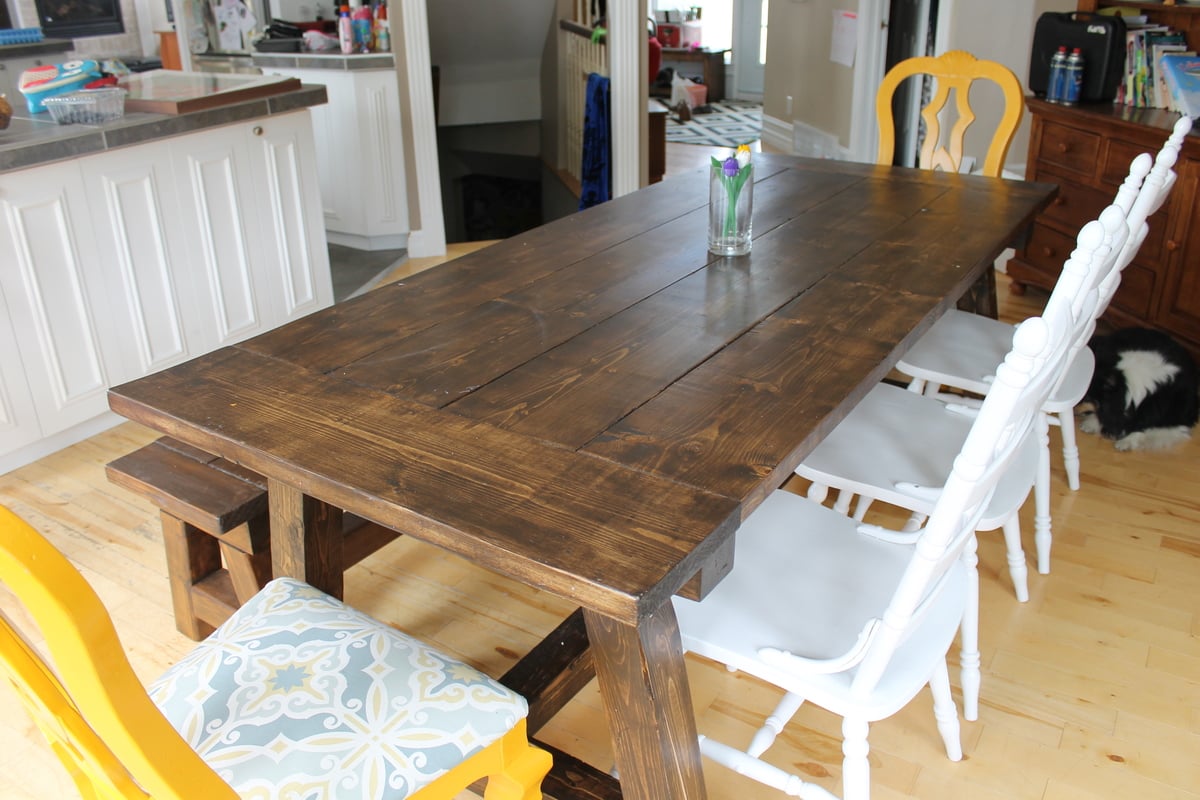
4x4 truss beam table and bench
We needed a big sturdy table for 8-12 persons for our big dinning room but didn't want to pay 3000$ for it. Then i found Ana-white's site and thought "why not!". It's my first project, i started whit the bench and then made the table. All buy myself, my husby doesn't even know how to use a saw. He help me carry it inside thought ;) The plans were realy easy to follow. Somebody stop me, i'm refurnishing my hole house, i can't stop! In 2 months i'v made 2 dinning tables, 2 patio tables, 1 coffe table, 5 benches. So if i can do it, you can too!
Seesaw
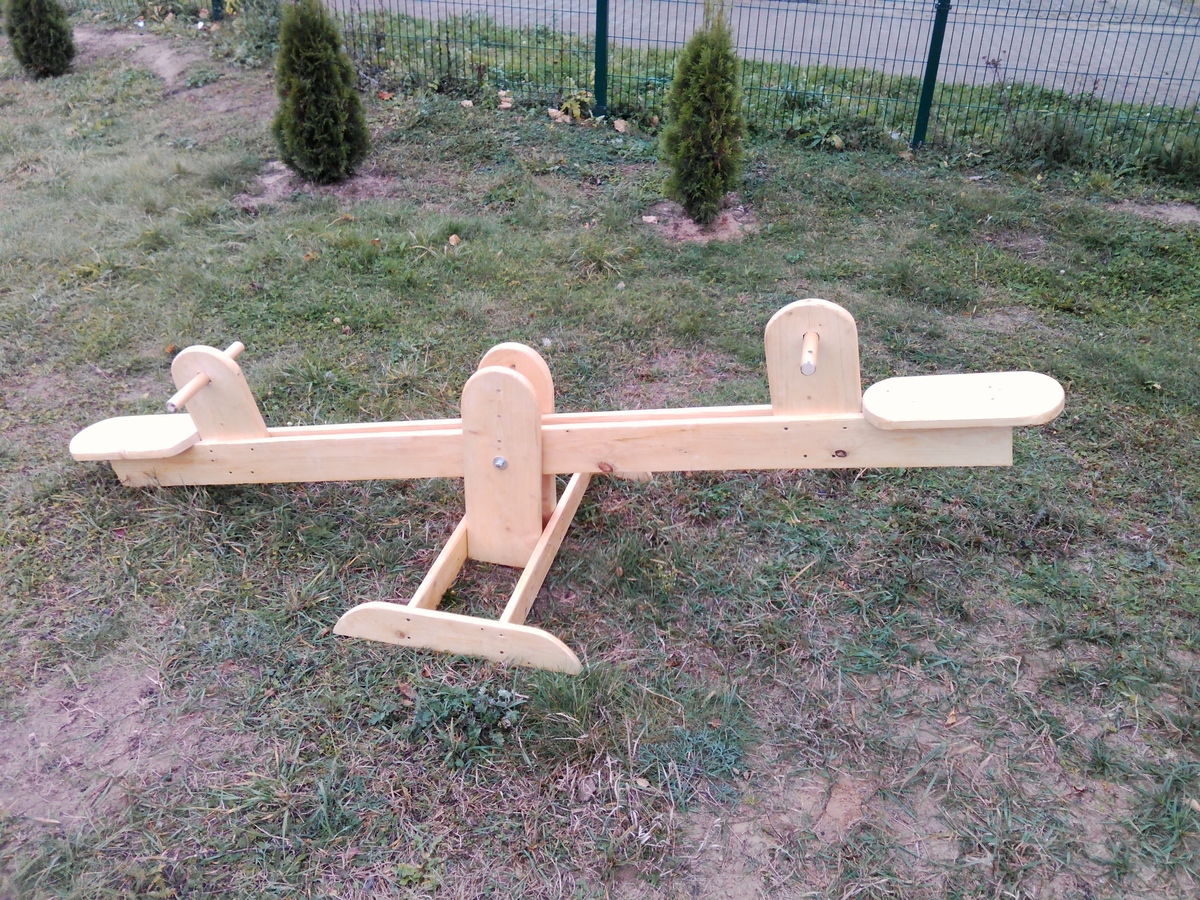
Thanks Ana for the great plans!
Comments
Modern Patio Furniture- My Take
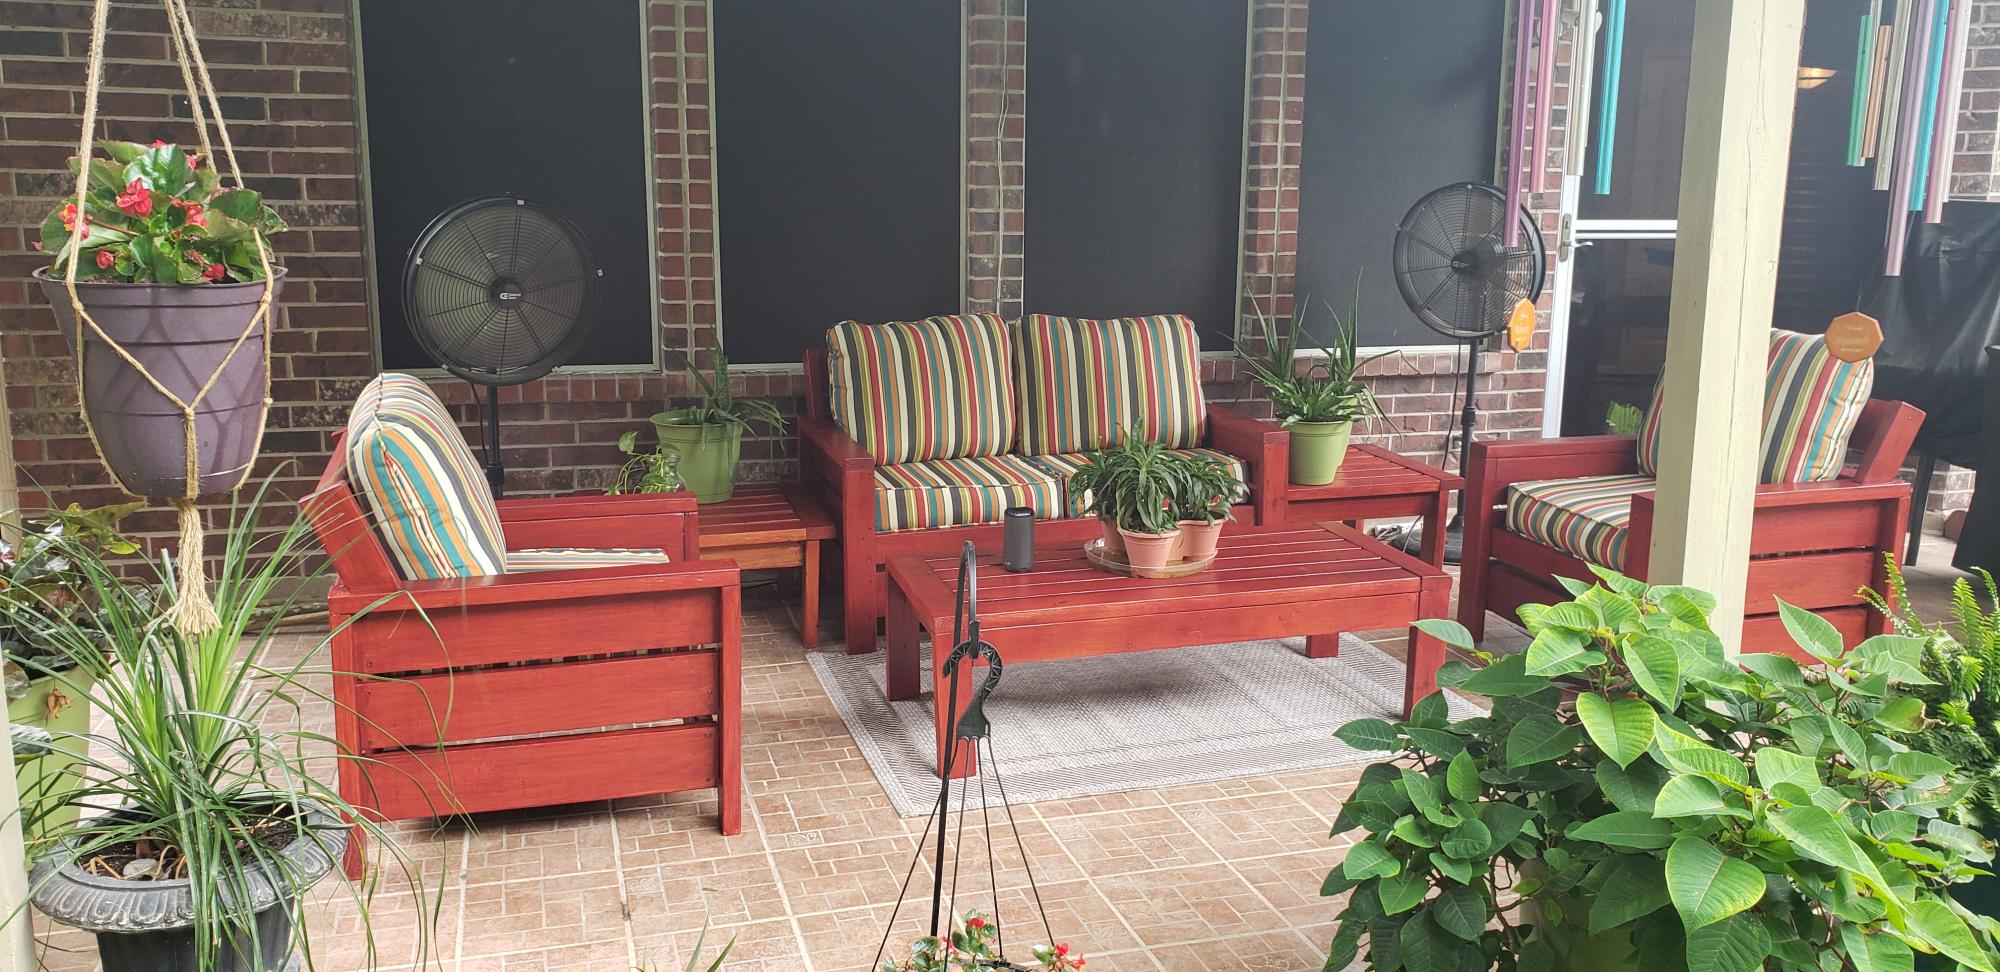
This was my very first build project! Ana White you are AWESOME. Each plan was so easy to follow. I added the headrest based on a version I found in the brag posts. It really does ensure that the back cushions stay in place!!!! Love it!!!!
Comments
Sat, 08/15/2020 - 19:22
nicely done
Thanks. These have been the best alternate plans yet. I was looking for a headrest option as well, wasn't sure they looked as good, but this interpretations is beautiful. i will be copying it for my furniture.
In reply to nicely done by goose71
Mon, 01/10/2022 - 09:52
Would love to see our…
Would love to see our altered plan that covers the backrest!
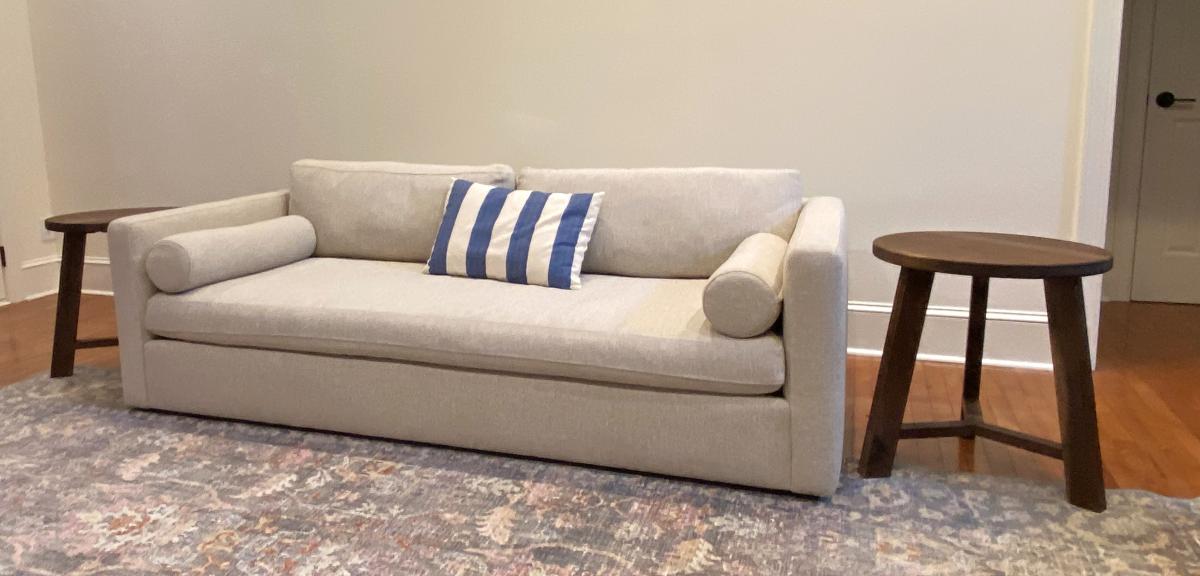
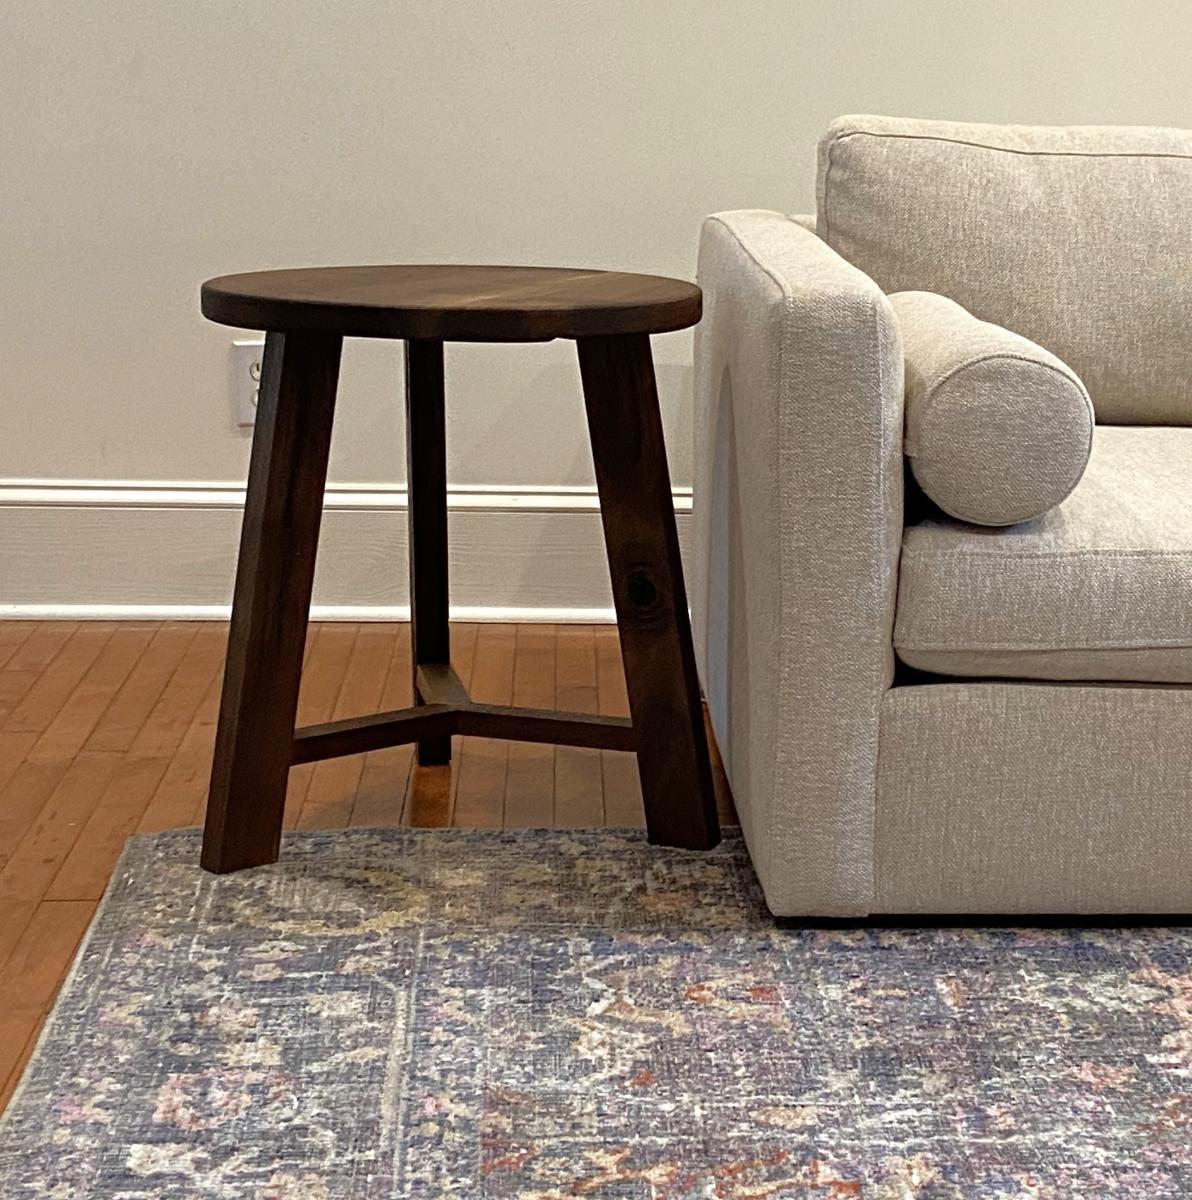
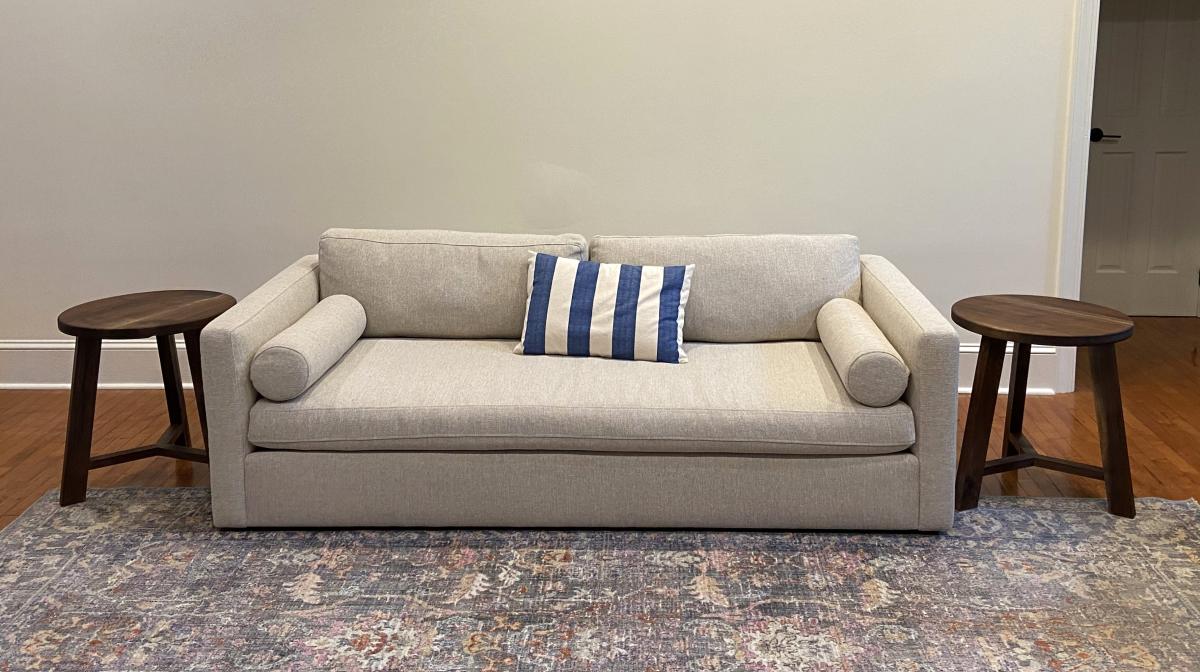
Rustic Round End Tables
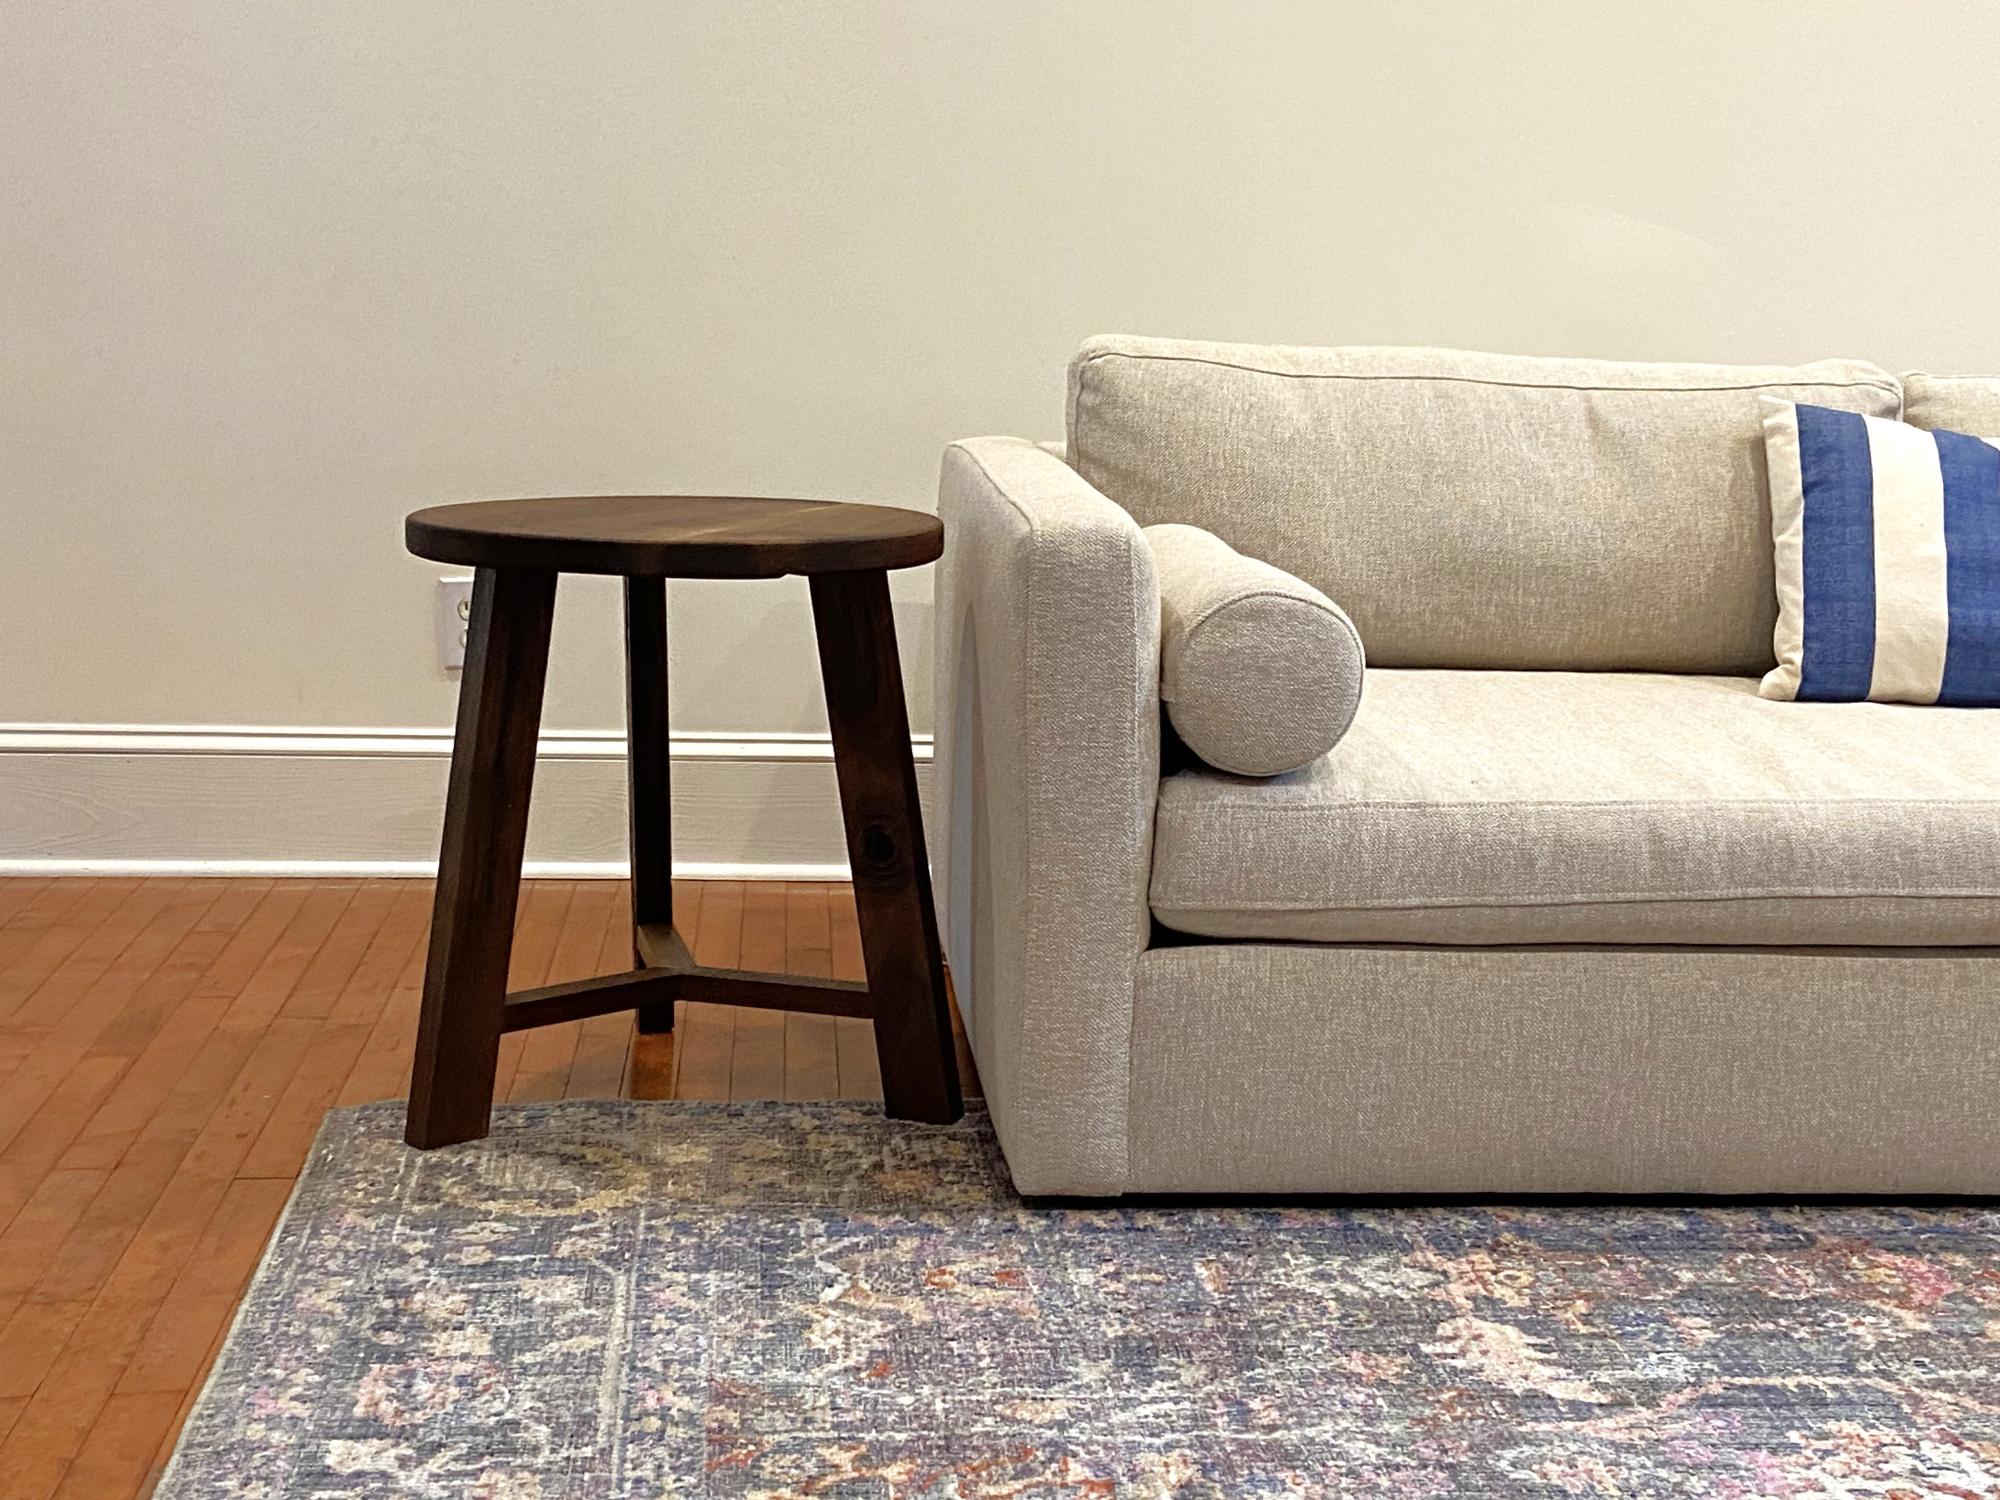
I used the End Table plans modified slightly. I cut all of the boards from a 10’ walnut slab. My wife Julie, and I finished them with Danish Oil. A great project; ready to start the next one!!
Stephen Russell
Farmhouse Toddler Bed with Arch!
My husband built this toddler bed for our 18-month old son, who decided very recently to become a proficient crib climber! He built it over the course of a about a month, just working on it on the weekends. He made a few changes to Ana White's plans. He followed the measurements on this blog as our toddler mattress was wider than her plans allowed for: http://janaebeth.blogspot.com/2010/05/pictures-of-bed-and-pictures-of-w….
Other changes to Ana White's plans? He bought 2x2's for the legs, and chiseled out spaces as large as what Ana had you attach a second smaller piece of wood to create. This made the legs more sturdy and attractive.
He also doweled all the headboard and footer vertical boards together to keep them from warping.
He used small nails, and made sure to tap them in with a nail setter, and then puttied them so you can't see any nails in his work. He puttied all other visible cracks and spaces in the wood, and then sanded it all down.
He sanded the corners of the footer down a bit so that they would be a bit more forgiving if our son ran into one of them.
My husband did make the arch for the bed. He did this marking dots on the highest and lowest points of the arch on the piece of wood we were going to cut. I held a piece of thin rope attached to a pencil a foot away, while my husband pulled it taught and drew an arch that followed his dots. He then just cut along the line very carefully, and sanded well.
He put all the slats that Ana recommended on the bed, contrary to some advice given in the comments section, as he wanted it to be as sturdy as possible. This was a good choice as they moment we brought the finished bed into our son's room, he started to jump on his new bed.
We are very happy with the finished product. We could have bought a cheap Wal-mart plastic ugly thing for the amount we spent on our beautiful solid wood toddler bed. So glad we went the DIY route. Thank you, Ana White!
Rustic Trundle Coffee Table
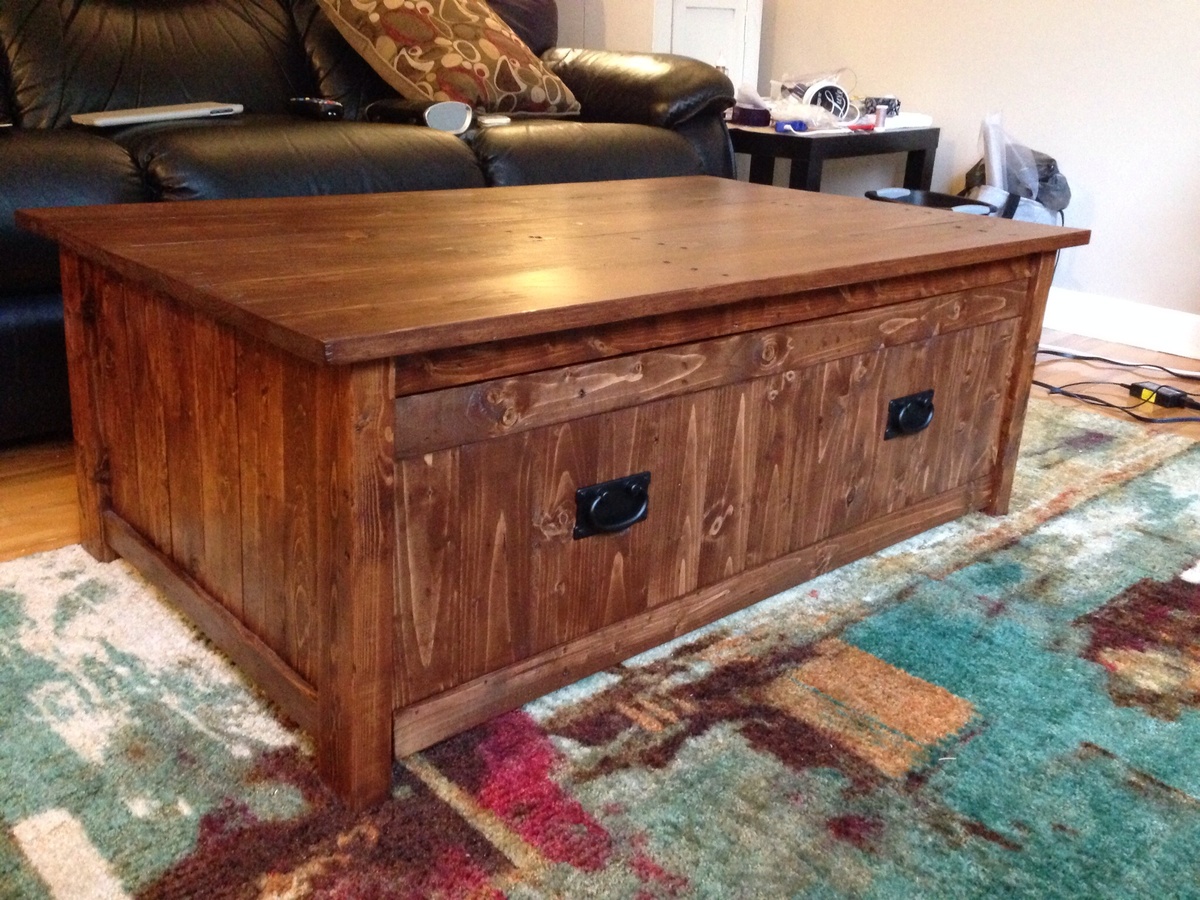
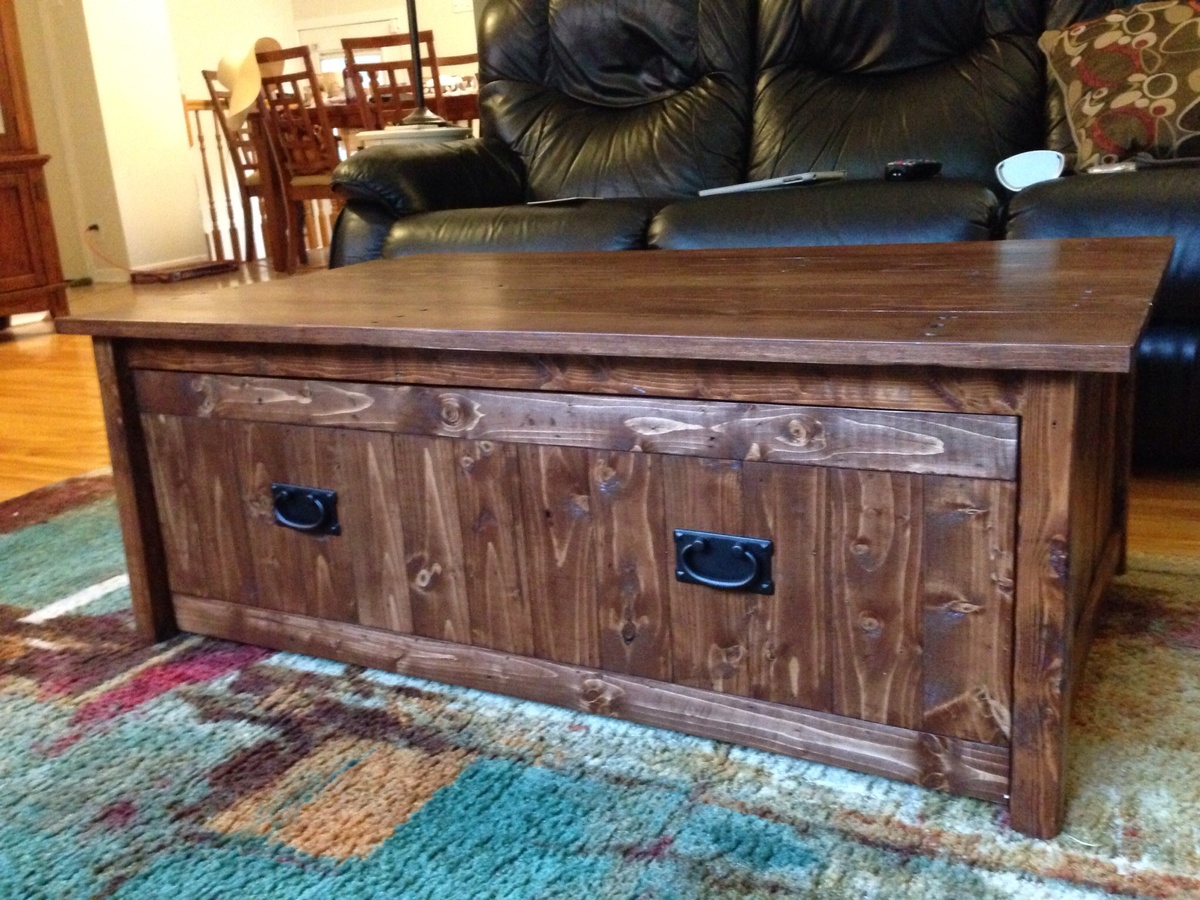
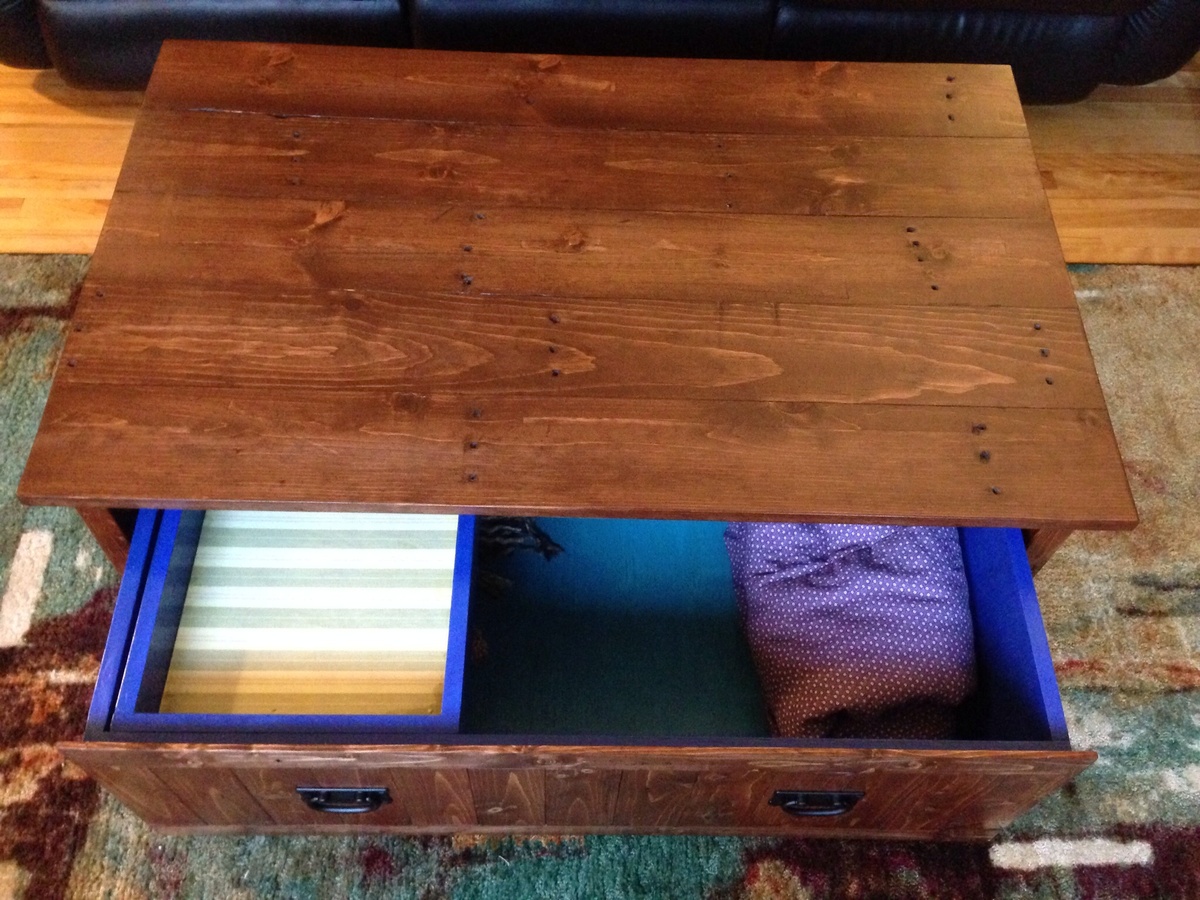
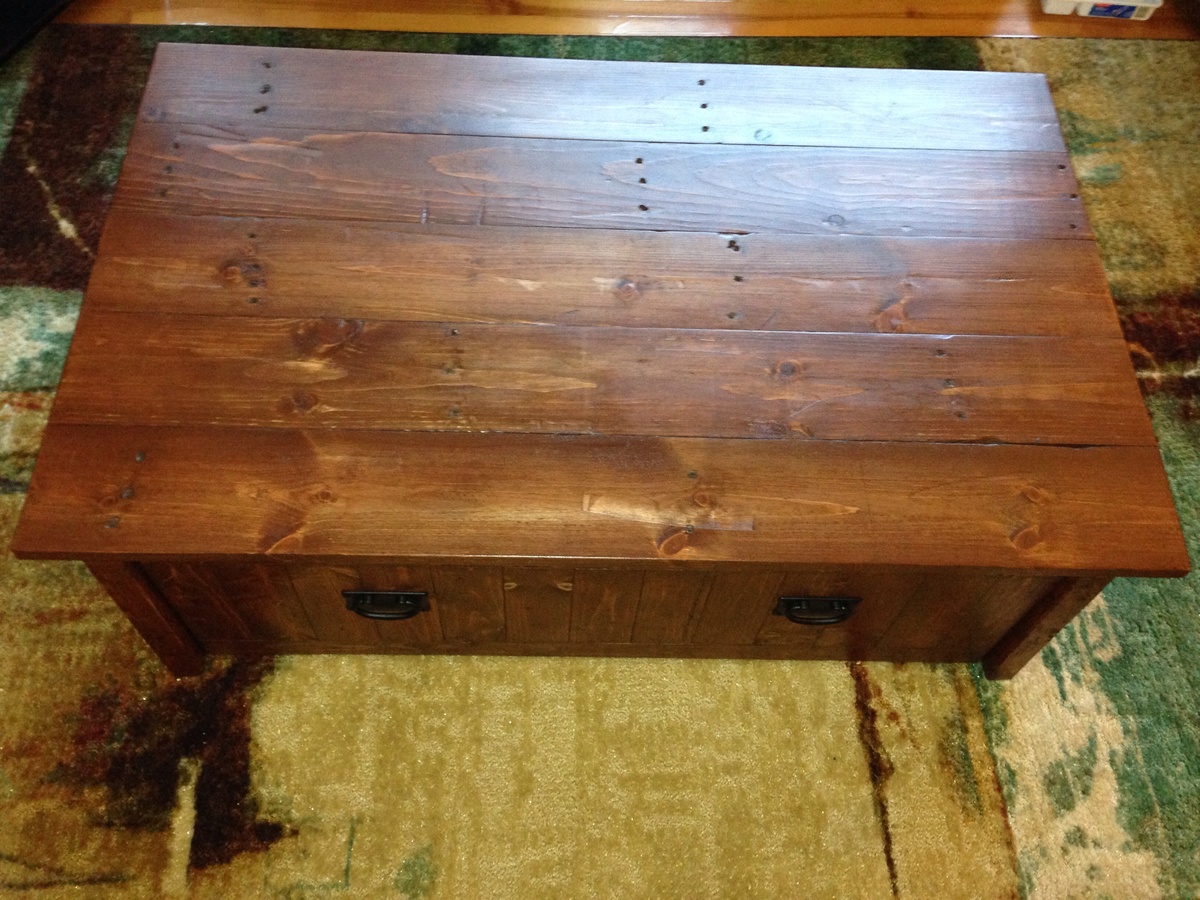
I used reclaimed pallets for the top and sides of the table. I made a mistake though when making the trundle and ended up having to buy some tongue and groove pine. It ended up working out very well though. Inside the trundle I nailed a small rail and created a drawer for remotes and small items. This is only my second piece of furniture and I'm very happy with how it turned out!
Fancy X farm table
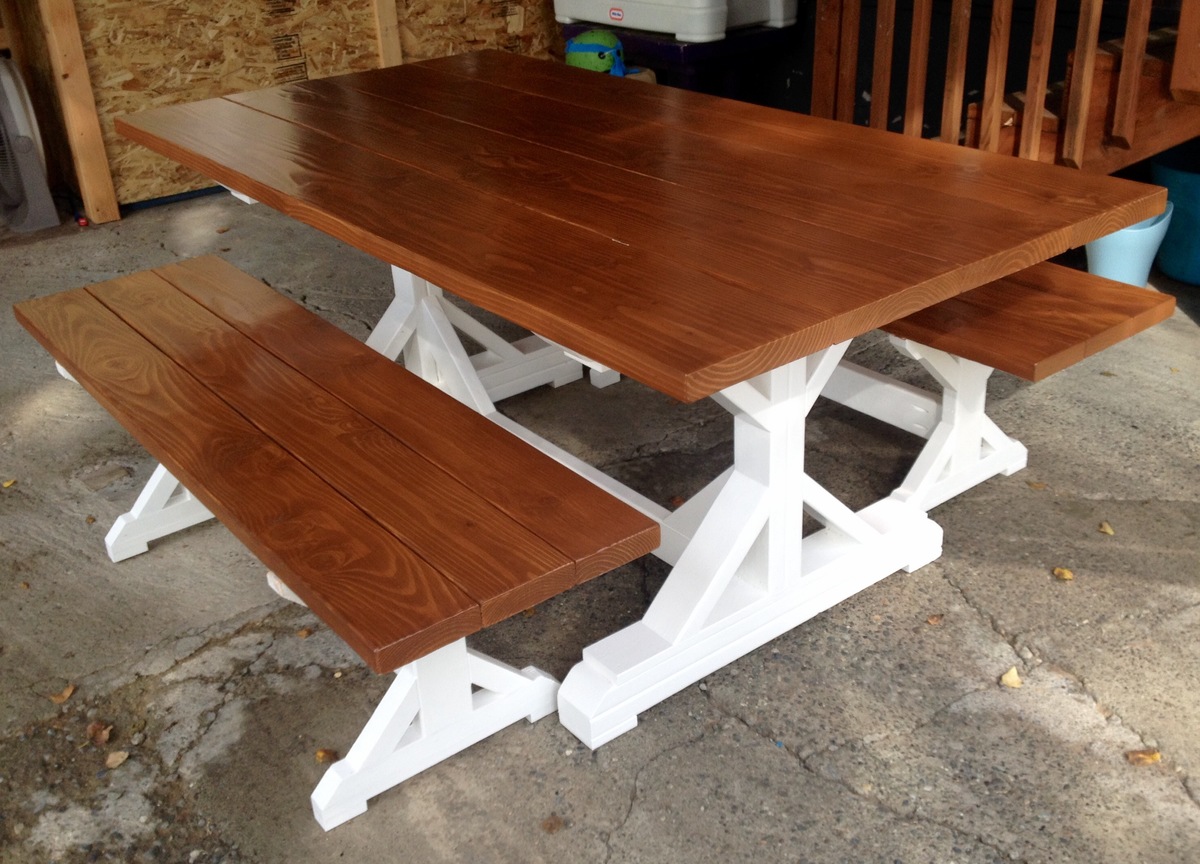
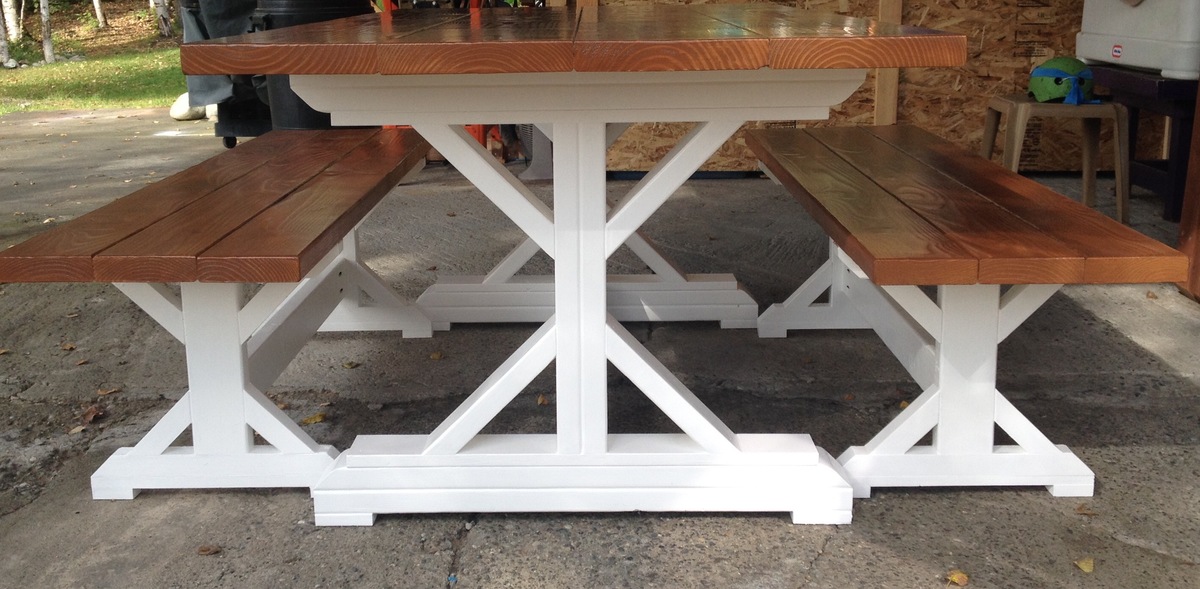
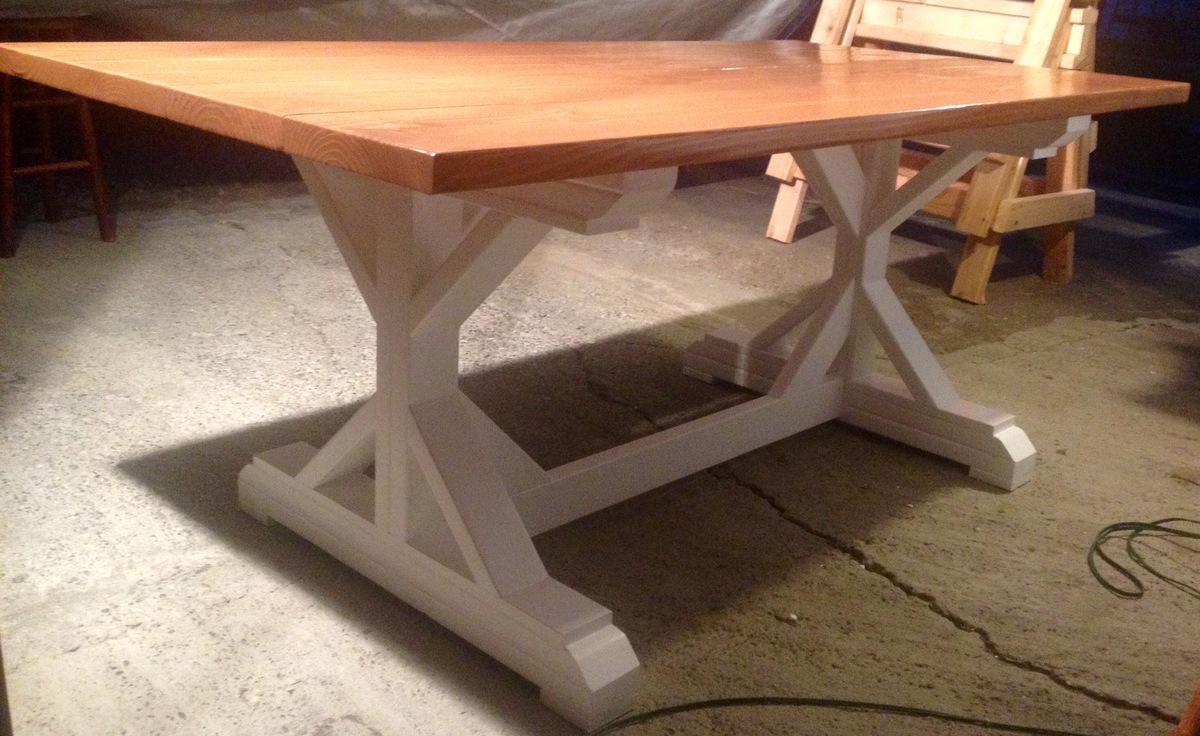
This is my first attempt at furniture. Anna's plans were very easy to use and I had a lot of fun building this table!
Comments
Tue, 10/18/2016 - 21:19
Thanks! I used a exterior
Thanks! I used a exterior semi transparent from Behr. The color is sable.
Grandy Barn Door Console
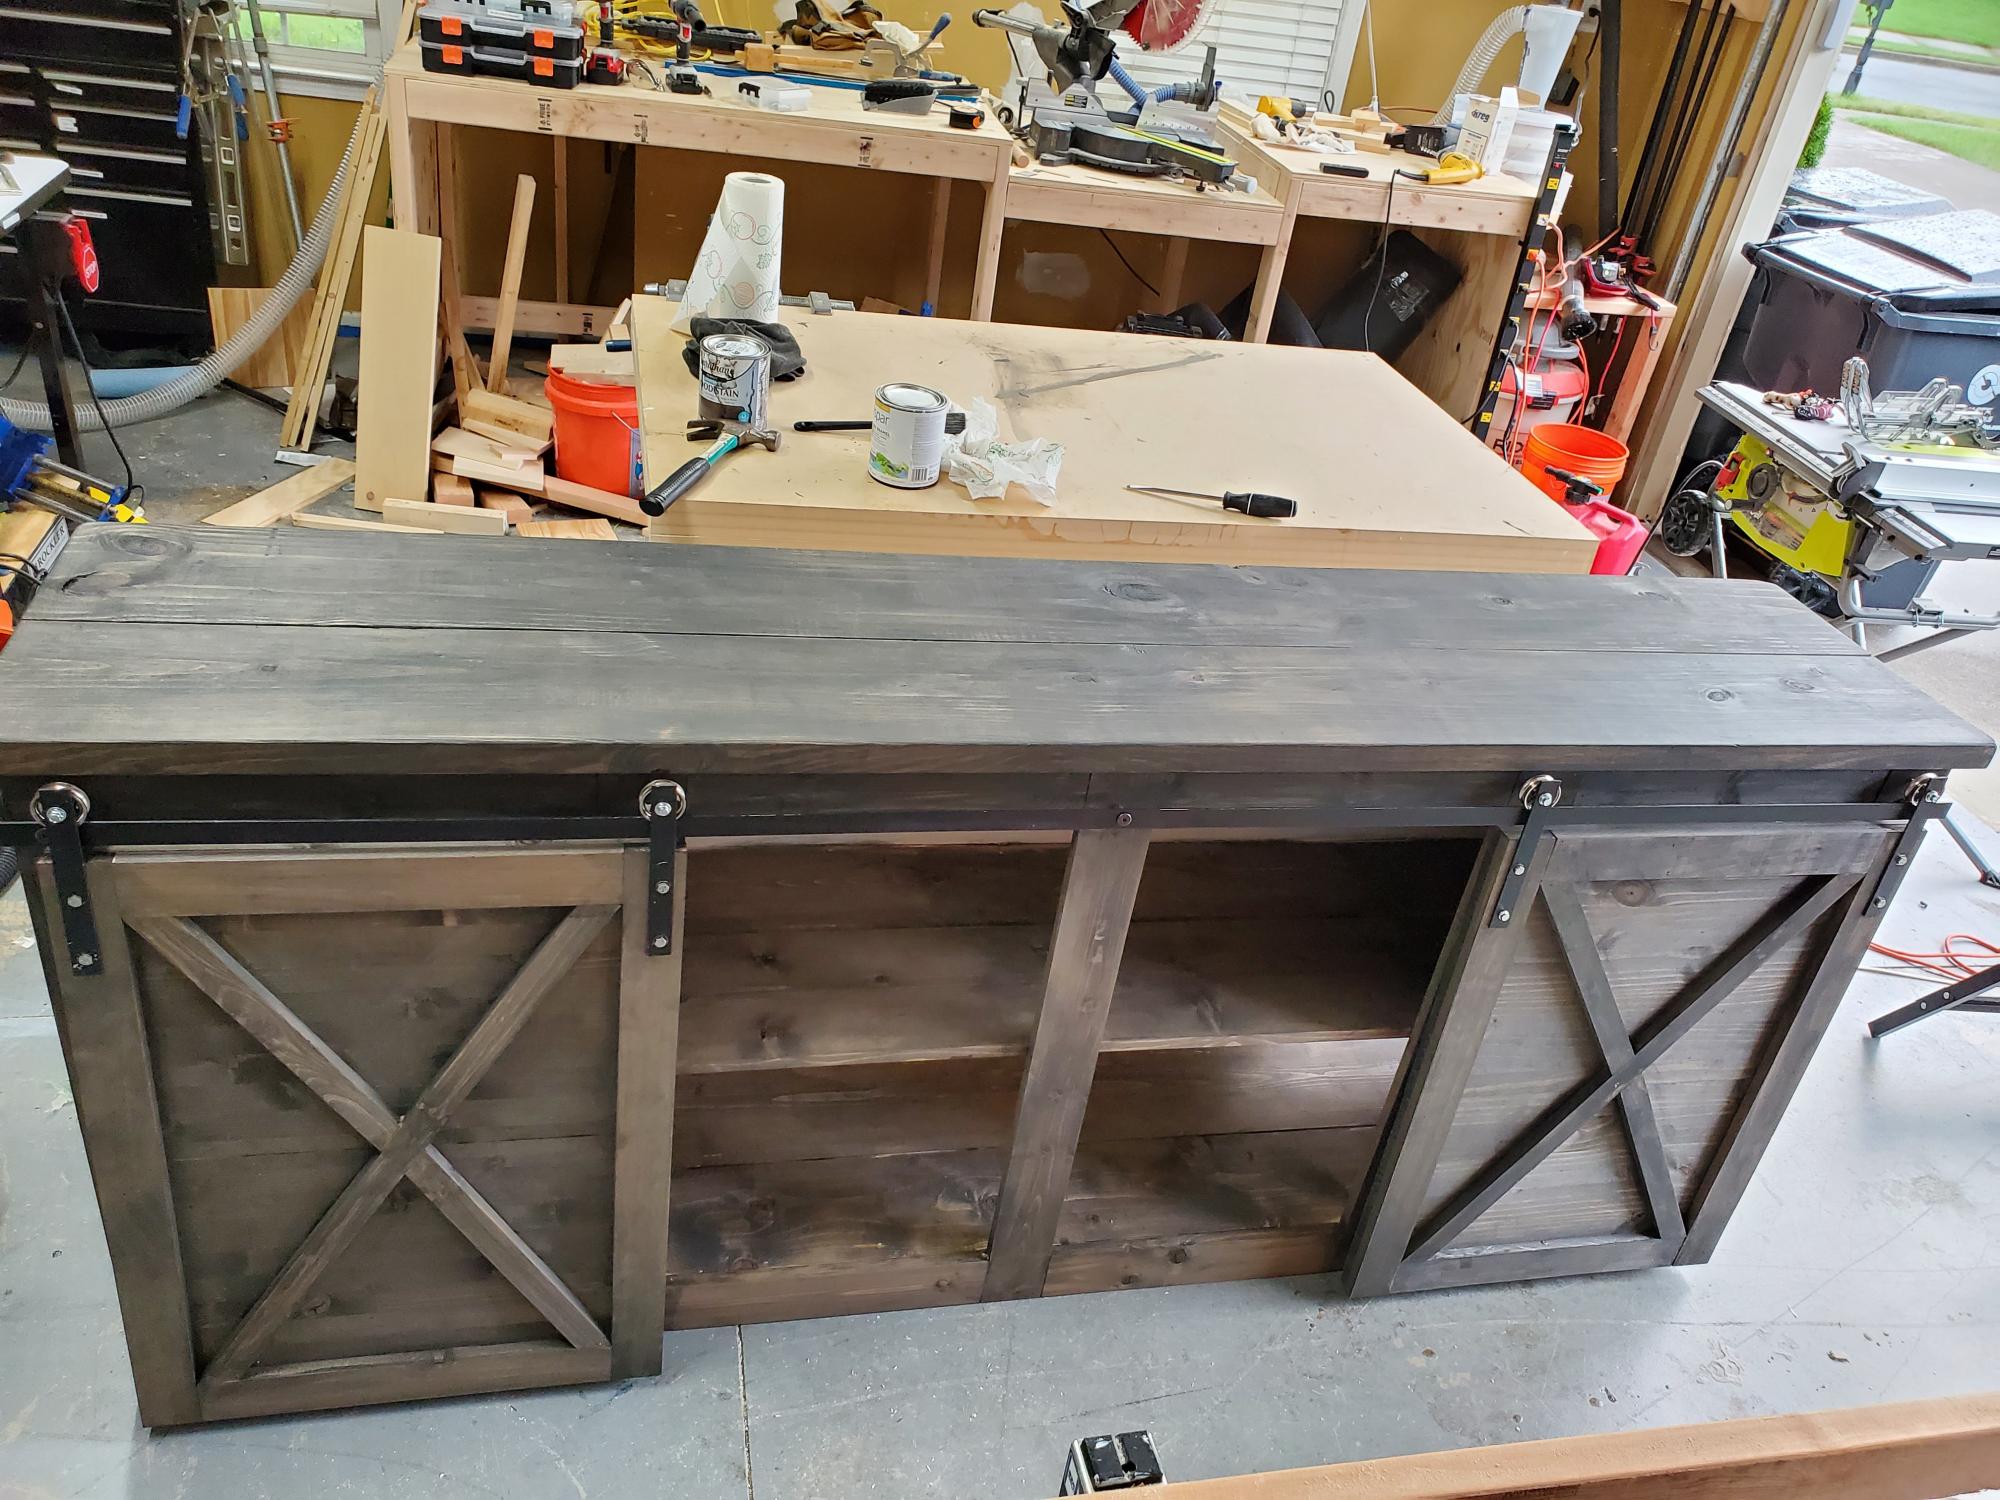
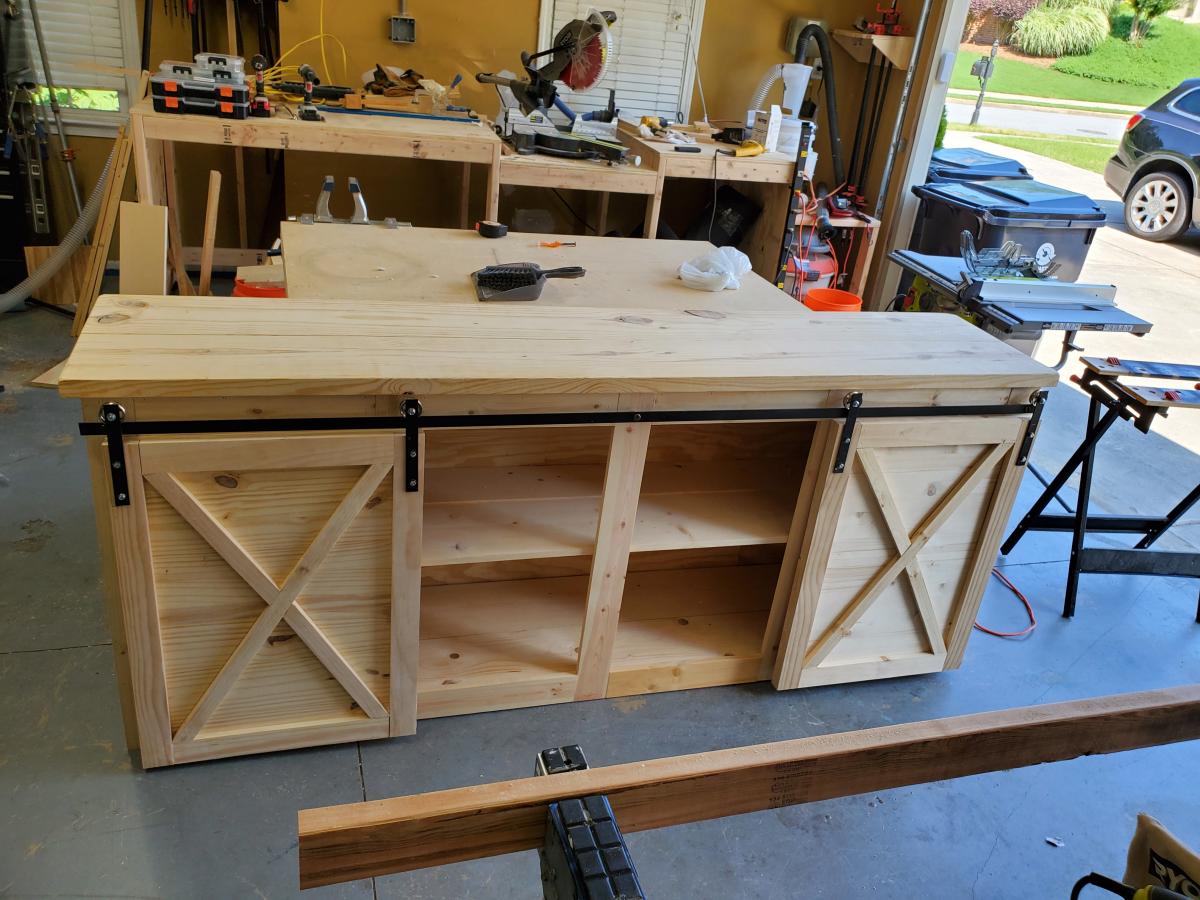
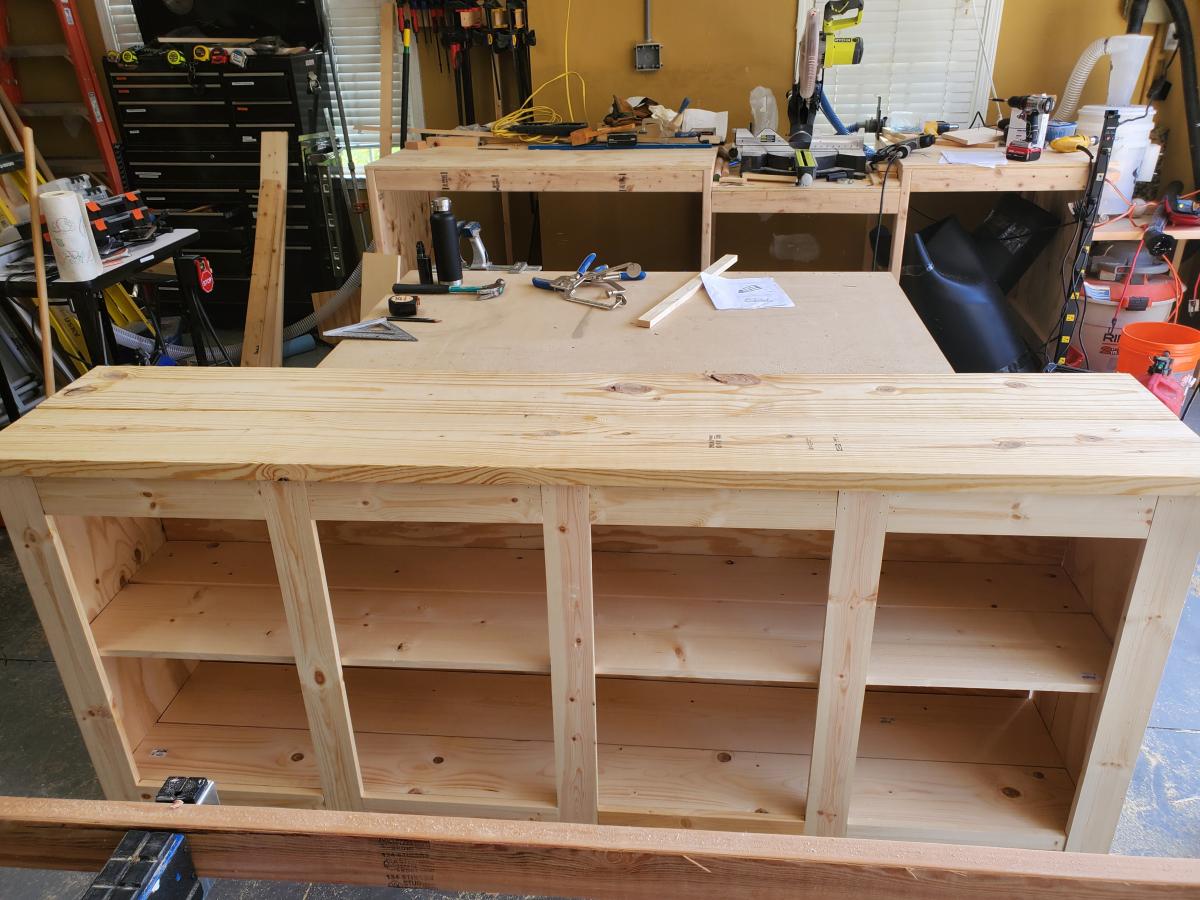
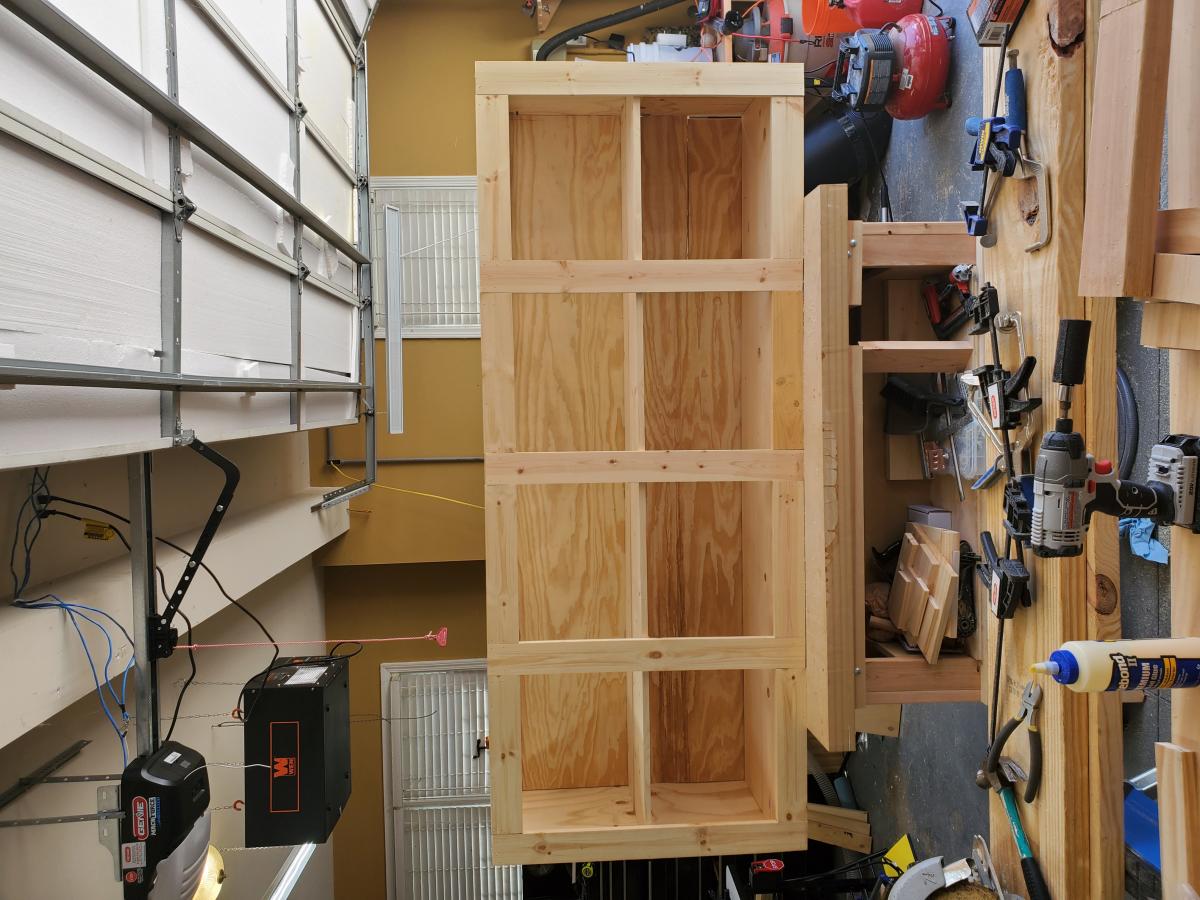
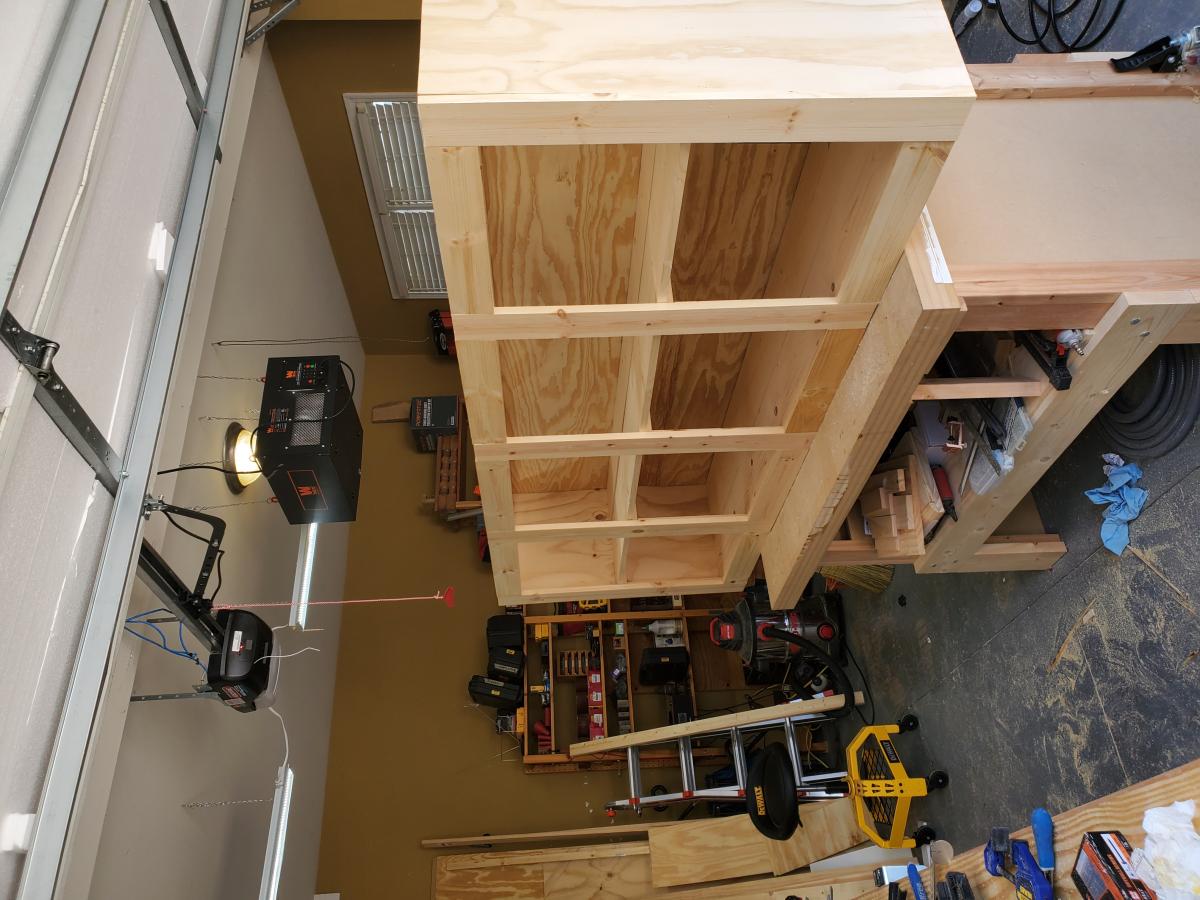
This project took me a weekend to build. I included pics of the build from start to finish. I love the new barn door hack using the pulley wheels.i used just a regular smoke stain and wax to finish the job.
DIY Outdoor Lounge Sofa
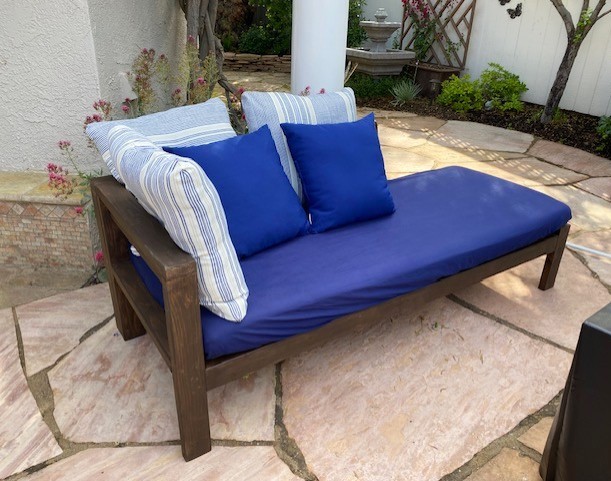
2x4 Outdoor Chaise Lounge
This was an easy quick build. I used Ana's plans for the 2x4 Outdoor Chaise Lounge without making any adjustments.
Julie B
Twin Farmhouse Princess Bed
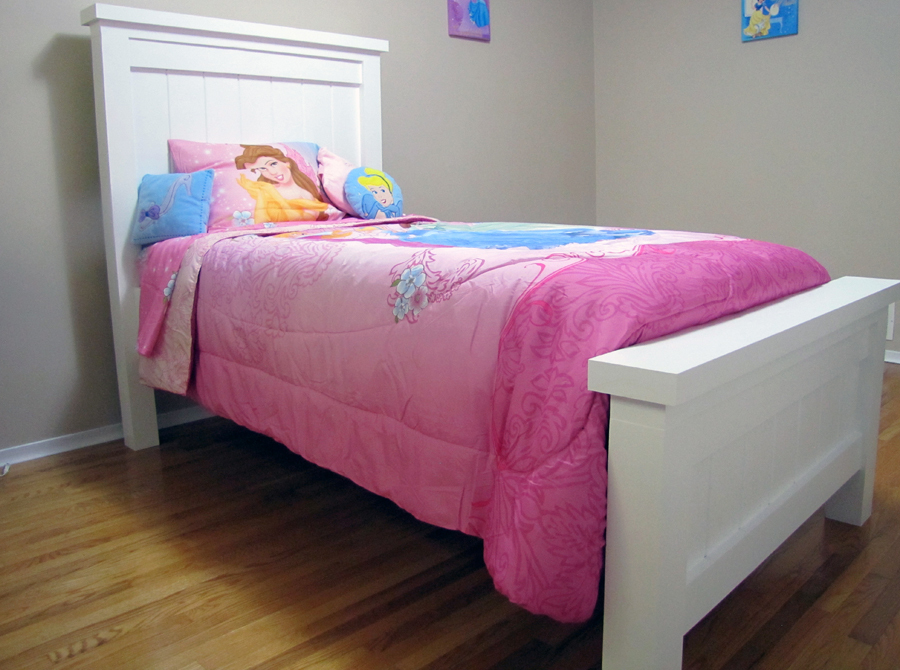
It was time for my daughter to leave her toddler bed and get in to a real big girl bed... made with paint grade pine and finished in a white melamine finish. Likely the most solid piece of furniture in our entire house.
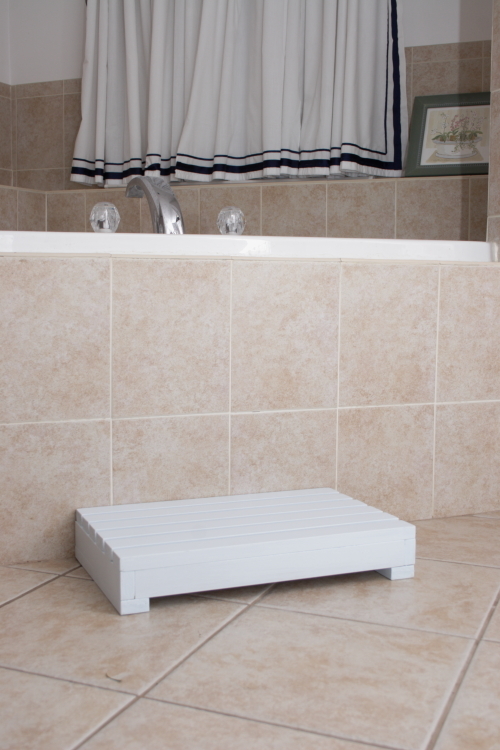
Helper Step
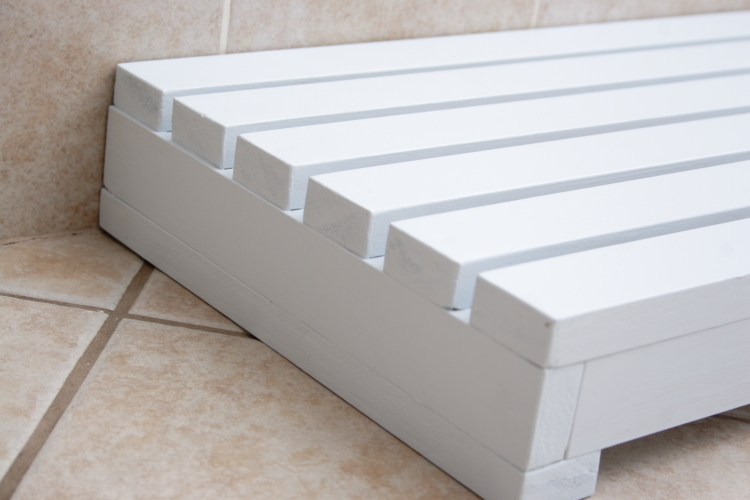
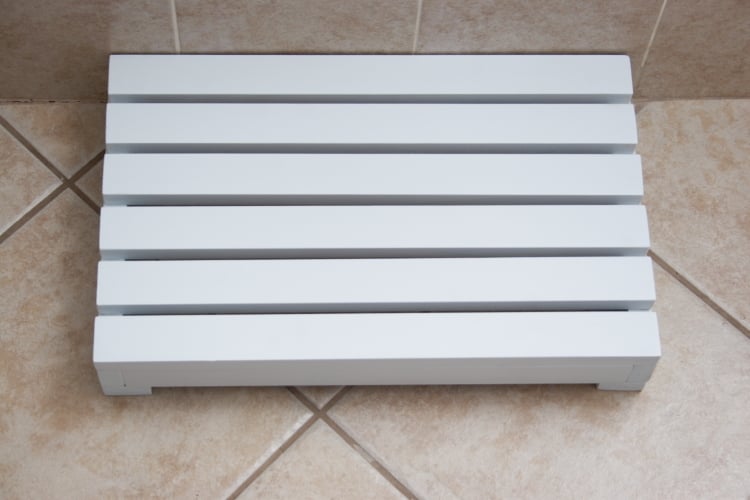
This was my first build. I obviously started small!
Please note due to the dimensions of the wood I used, I had to make slight changes.
The 1x2 measured 3/4"x1.5" so I had to add a 6th board on the stepping surface. Also, there is slightly more than 1/4" gap between the boards due to the width differences. Due to the dimensions of the boards, the height is only 3" instead of the original 3.75". The final dimensions are 17.5x 11x 3.
This step flexes when it is stepped on by an adult so if it is used by heavy people, adding a center support would be a good idea. Otherwise, it's perfect for kids or occasional adult use. The flexing may be due to the use of pine instead of a hard wood.
I don't like the look of the wood-filler filled holes, so next time I will try using wood plugs. I really wanted to stain this but it looked awful with all of the little wood filled patches glaring at me through the stain even though i sanded them and they took the stain okay.
All in all, it was fun and I learned a lot. I watched videos about how to perform different techniques such as using a circular saw and countersinking screws. I read our circular saw manual and used the saw successfully. I also turned a one hour project into an 8 hour project!
Comments
Wed, 07/09/2014 - 20:57
I think it looks great. :) I
I think it looks great. :) I like that crisp white even if you weren't able to stain. I just completed my first project, too, and I'm ashamed to admit how long it REALLY took me. lol
Rekourt Dining Table
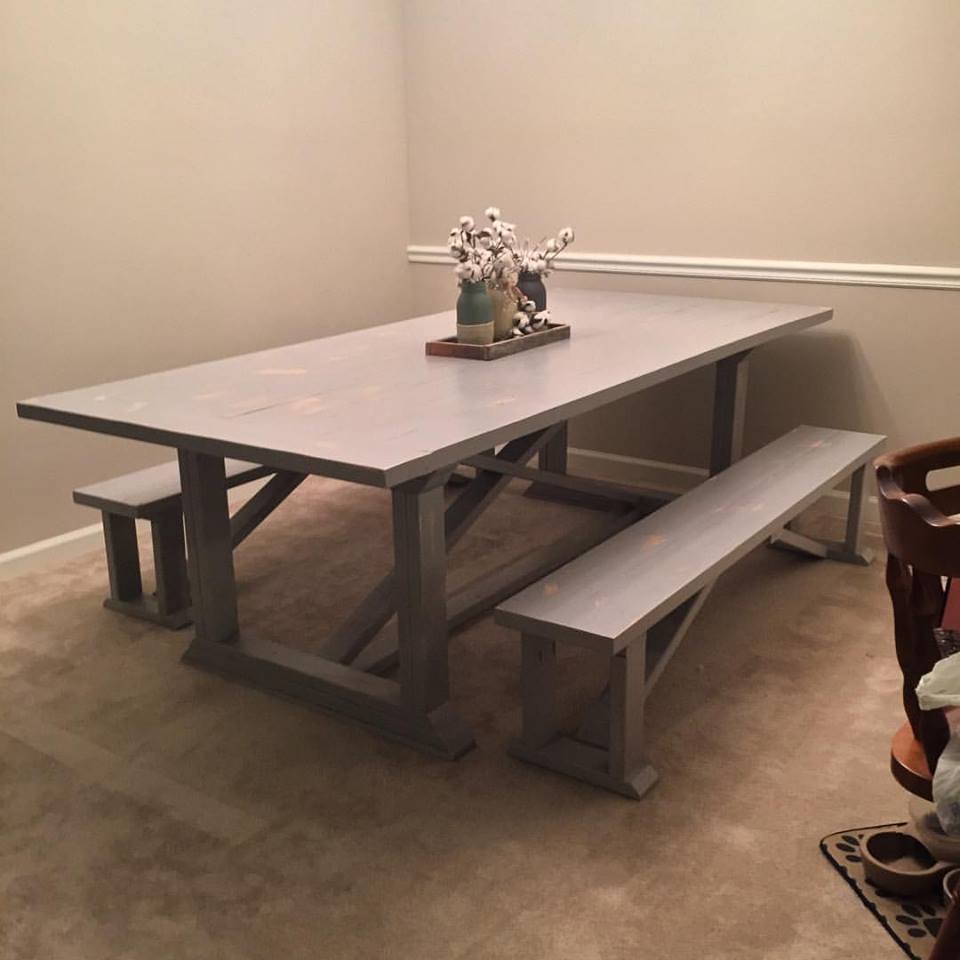
SUPER excited about my table and benches I got to make with my dad. We spent the weekend doing this and I was so surprised how easy it was! It took hard work but I am proud of the outcome. I decided to go with the aged grey chalk paint. I sanded to make it distressed. Then, I put polycrylic seal on it. I did about 3 coats as it will be a high traffic area. Plus, I didn't want to bother with wax after reading reviews of having to redo it.
My first real build!
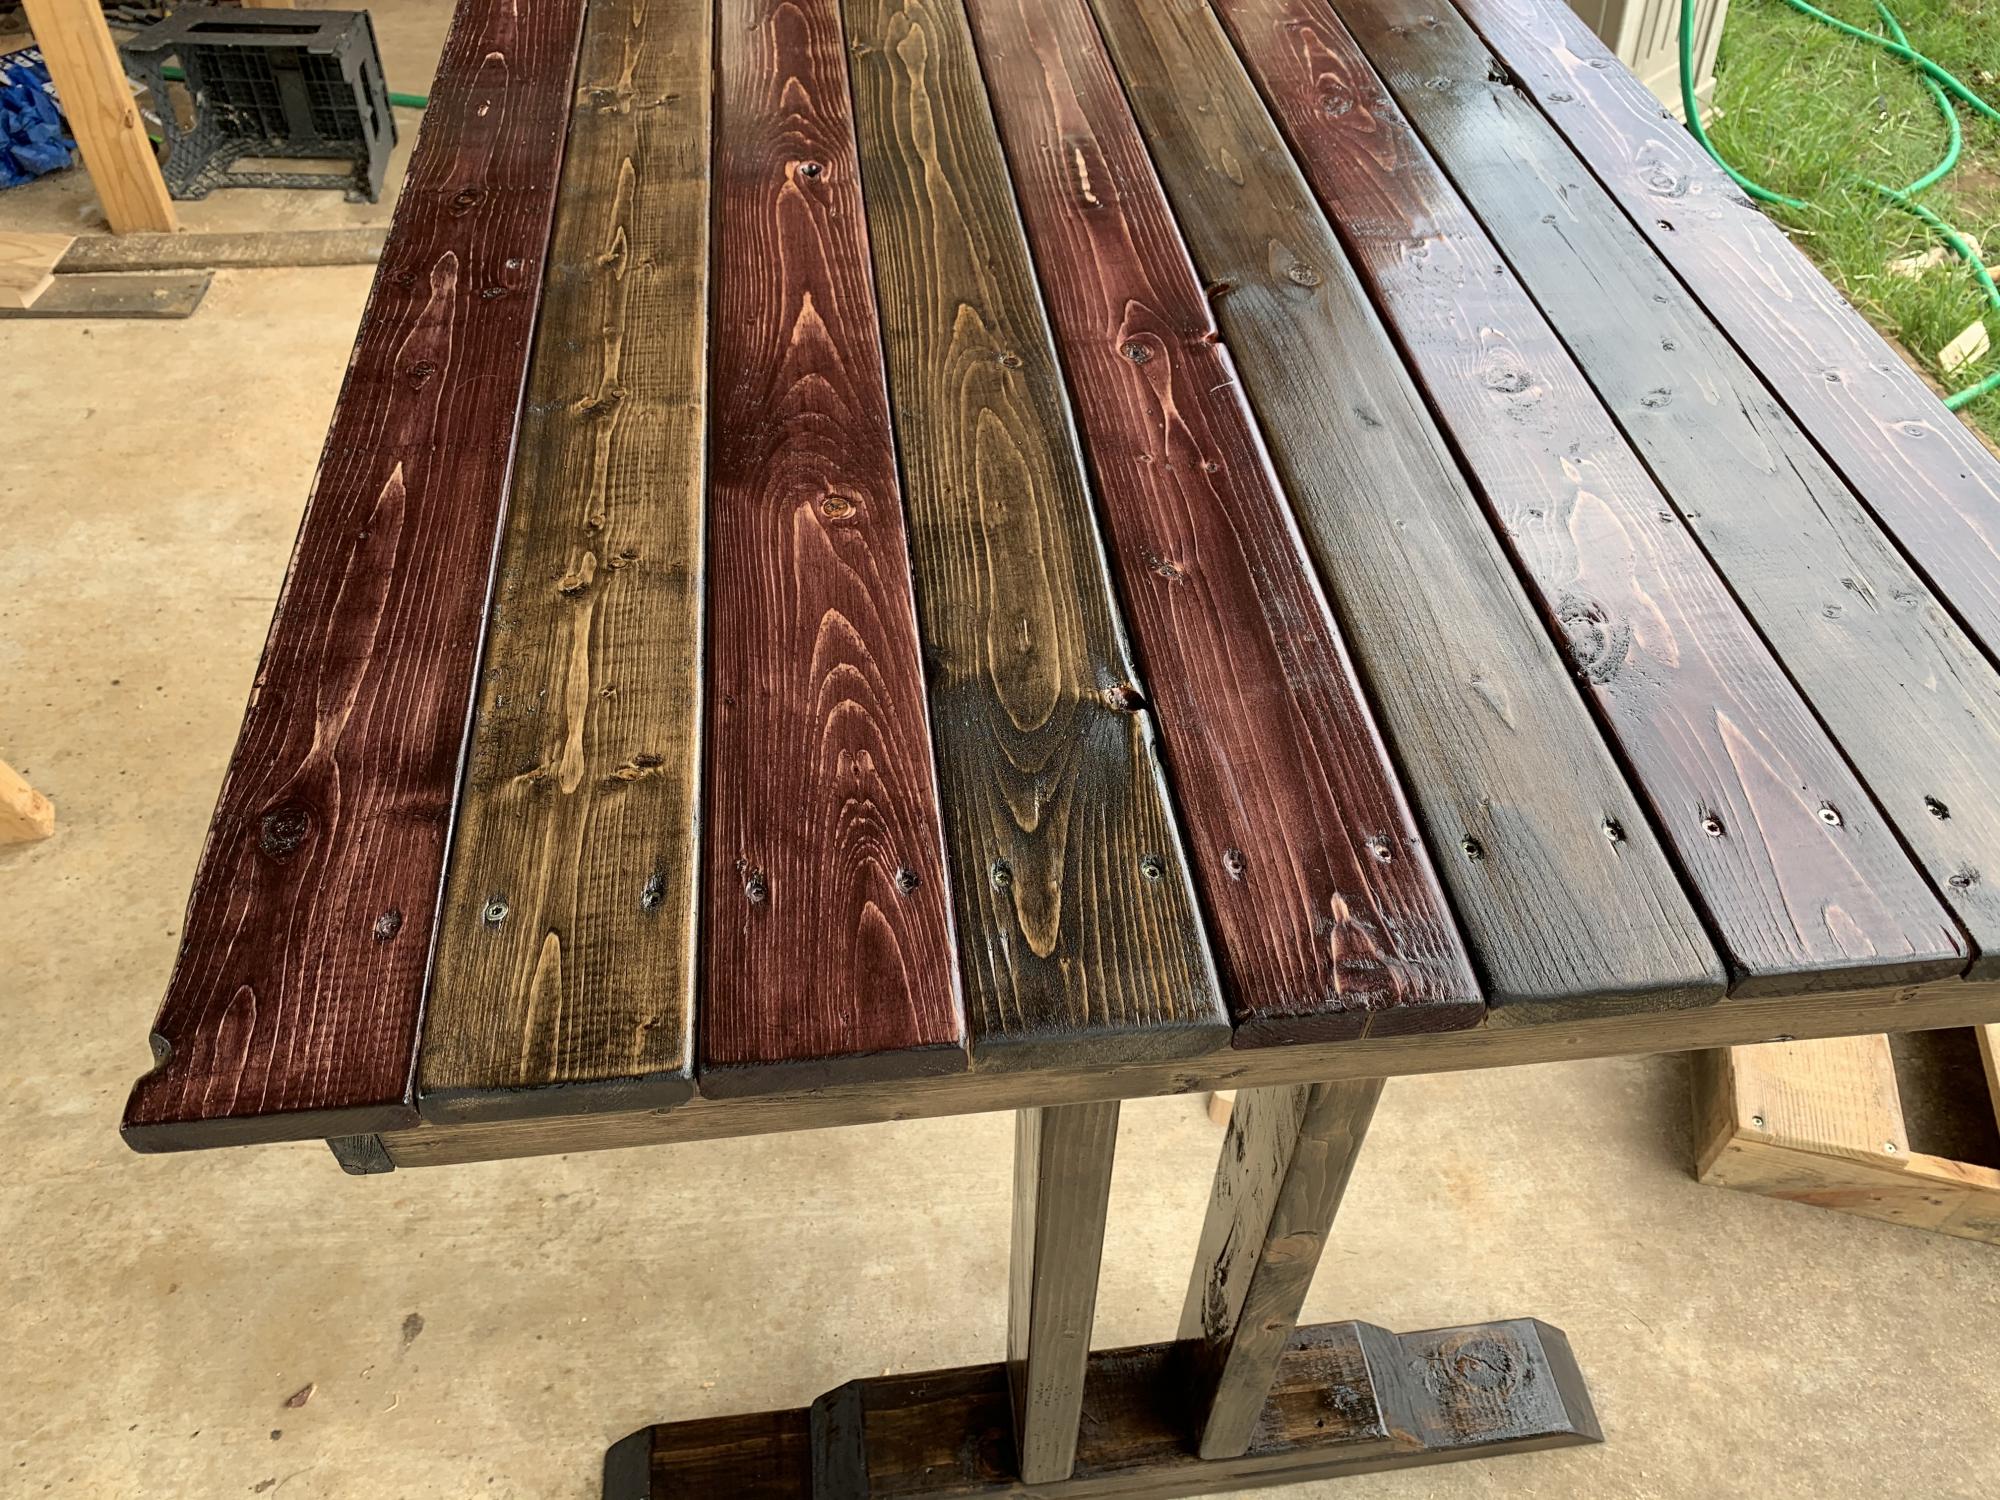
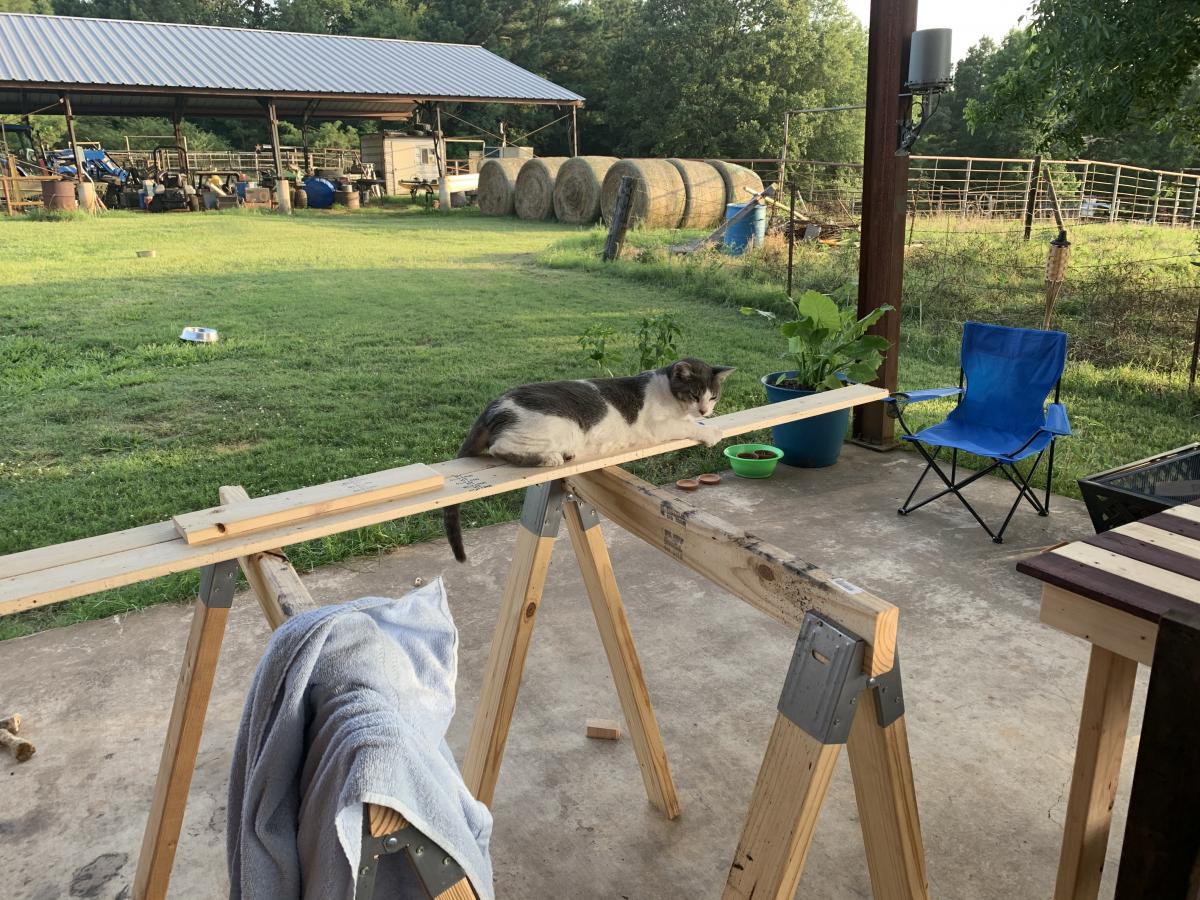
This started with me just slapping some wood together to see what I could do, then ended up with a beautiful (in my opinion) kitchen table. The table frame, legs, and base are all 2x4’s. The table top itself are all 1x4’s. I sanded down all the way to a 3,000 grit (yes, I said 3,000) and got the table top incredibly smooth. Plus, using the 3,000 grit paper really seemed to bring out the natural grain in the wood. I had a lot of fun with this build as it was my first real project. I also had a helper in this build. His name is Dr. Spencer Reid. He’s lazy and doesn’t do much but he is there for moral support. And lovins. 🐈
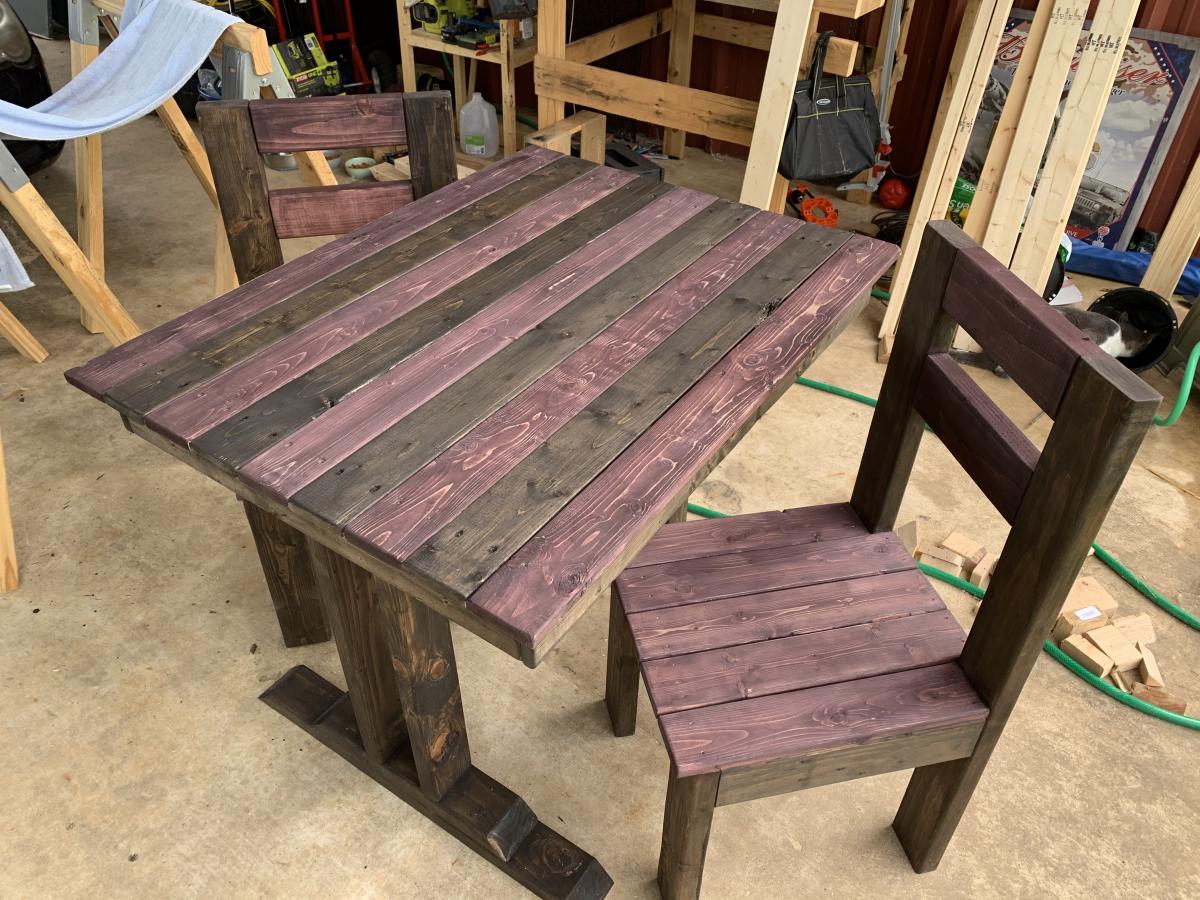
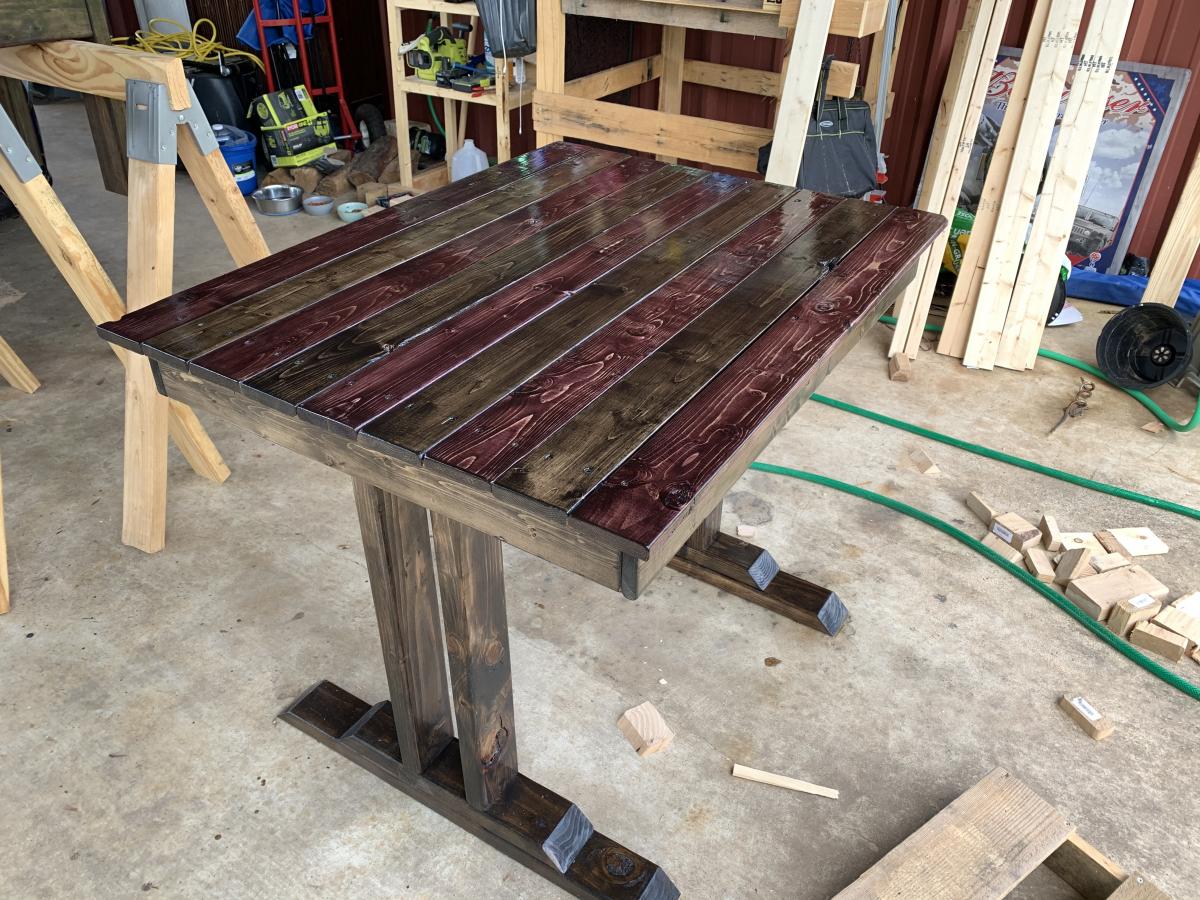
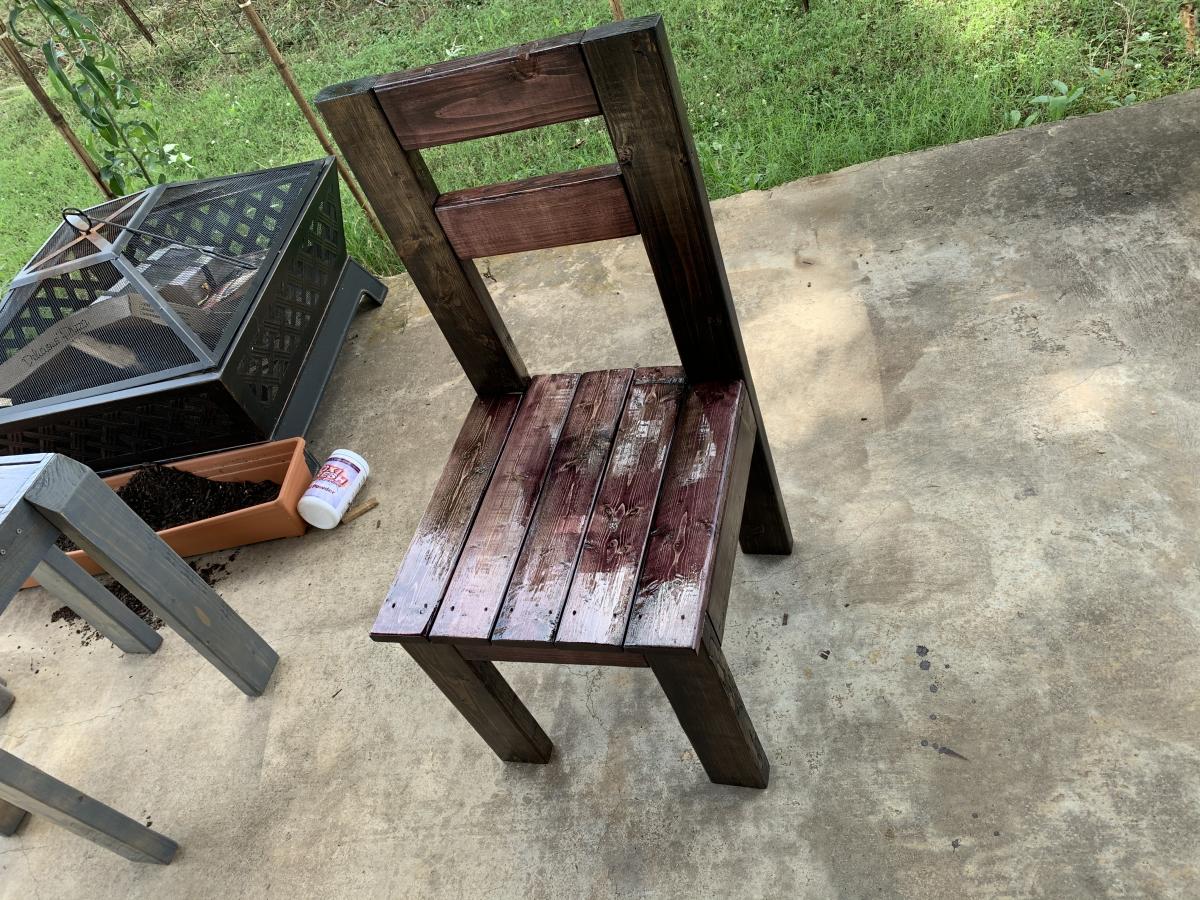
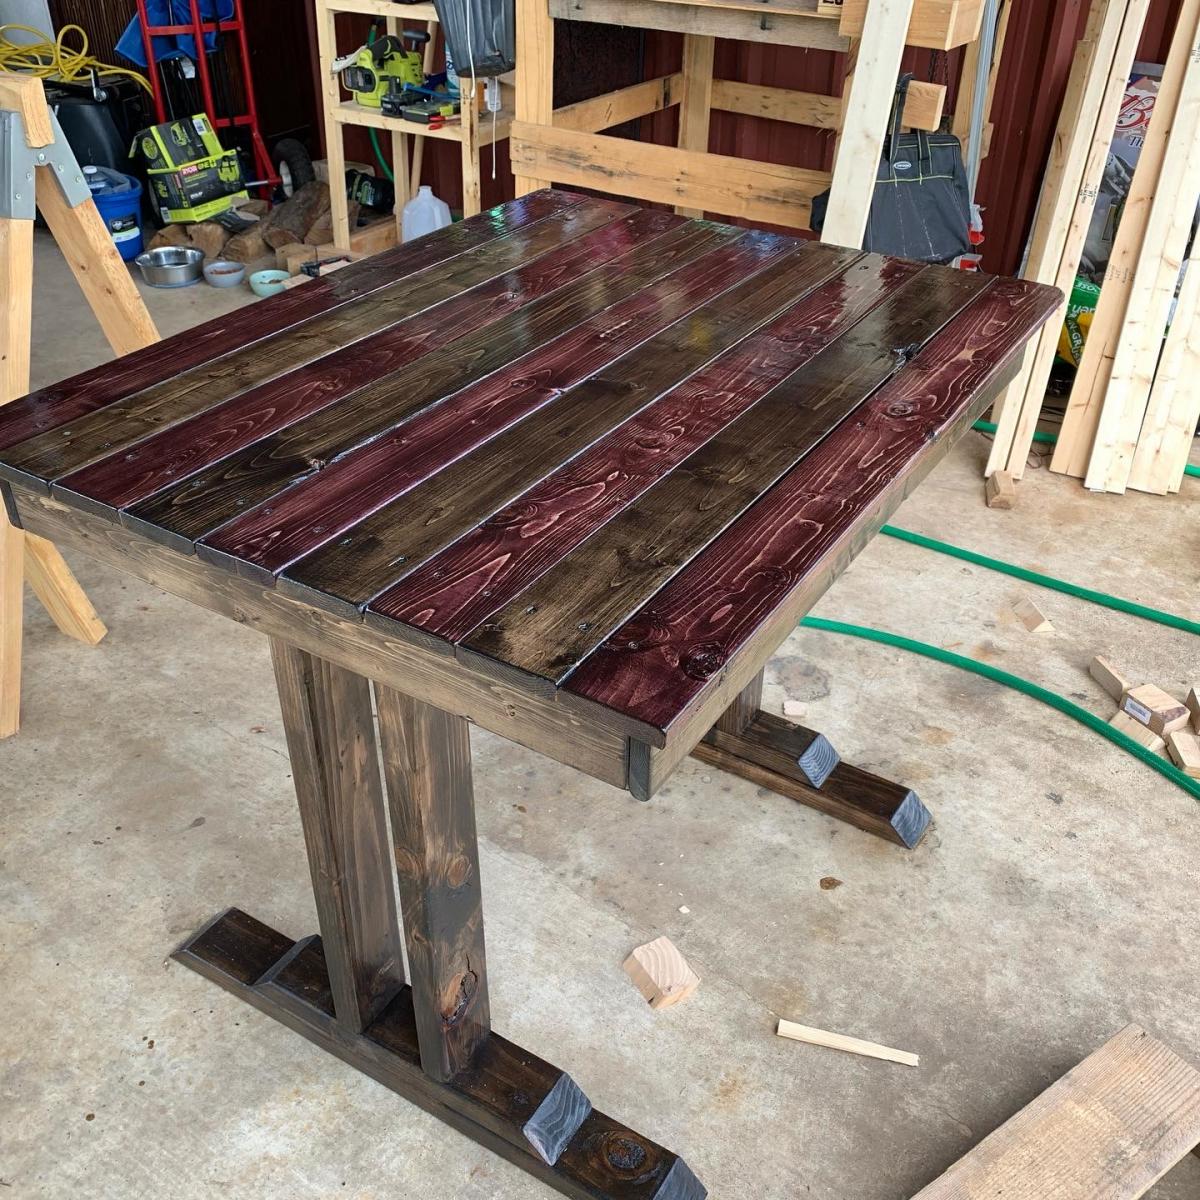
1 coat of Varathane Black Cherry
3 coats of Varathane Oil Based Polyurethane with light sanding in between each coat
