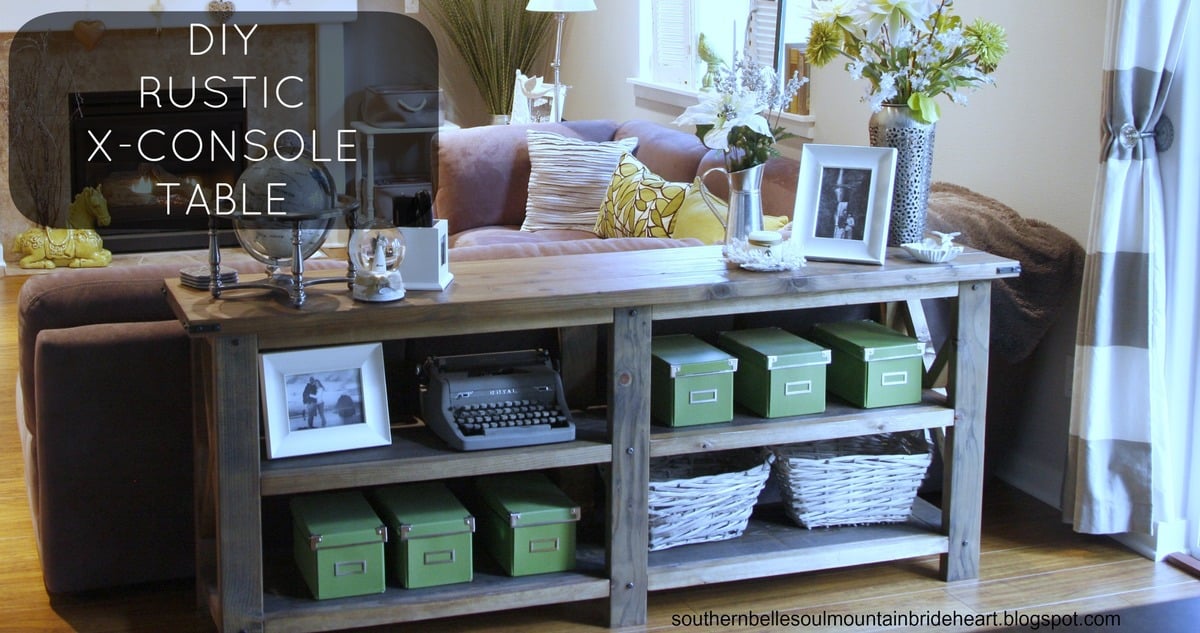
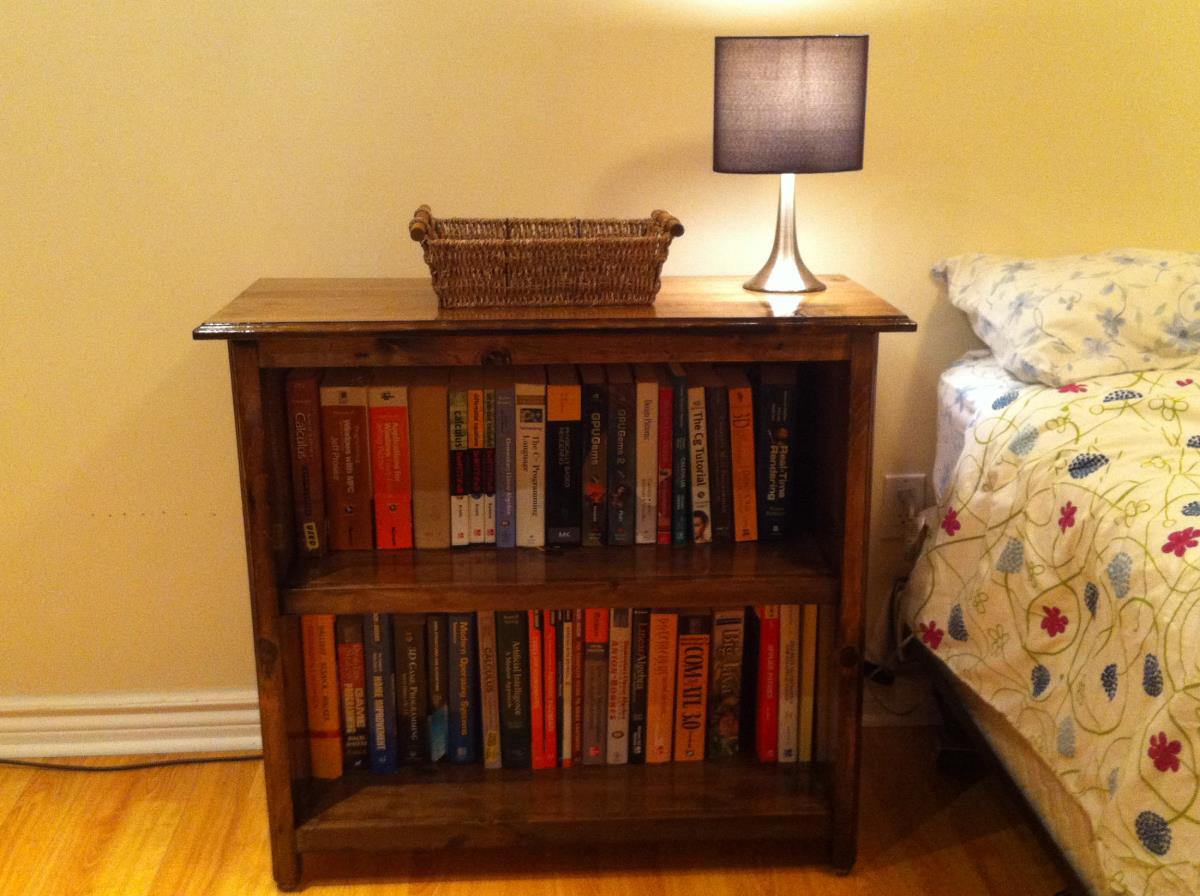
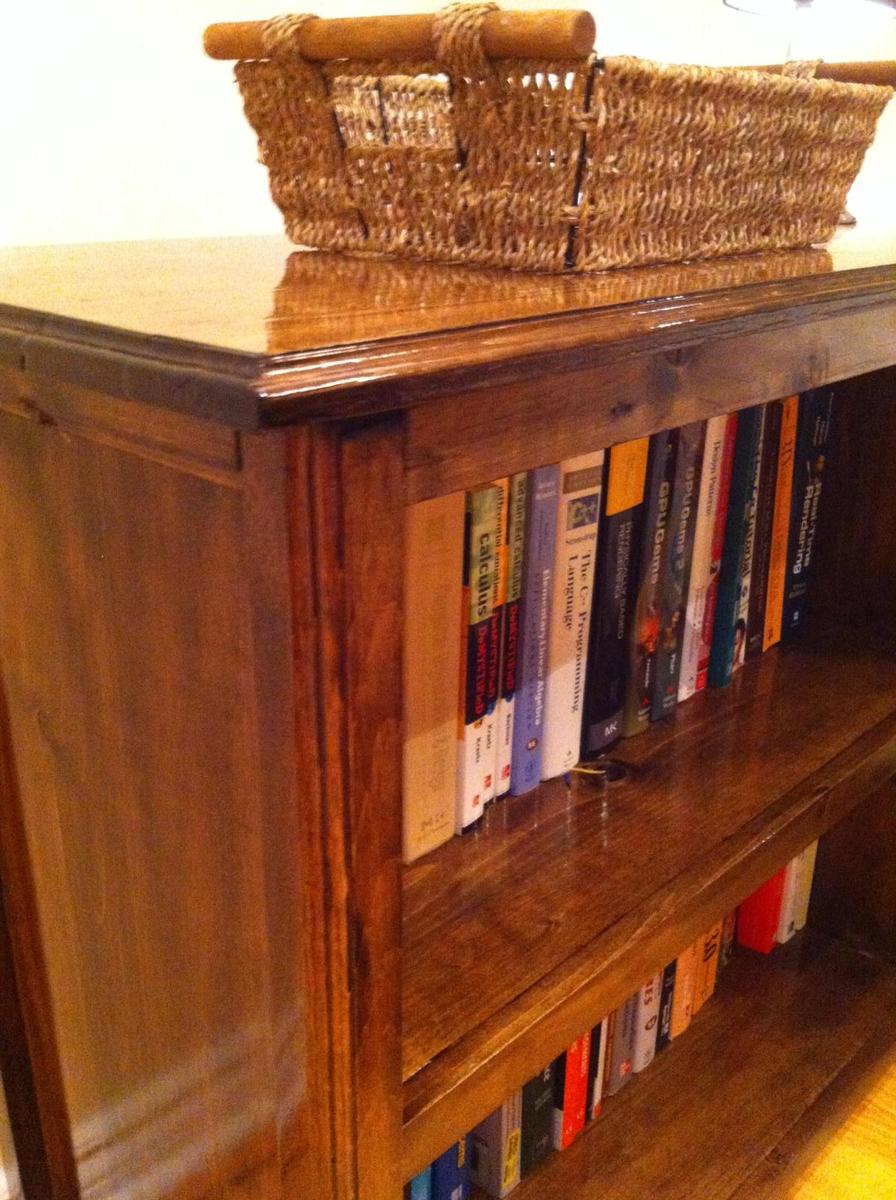
There was a large hole in our living room. A large hole between our couch and the kitchen! I have always been obsessed with console tables, but never in a million years thought of ever building one!
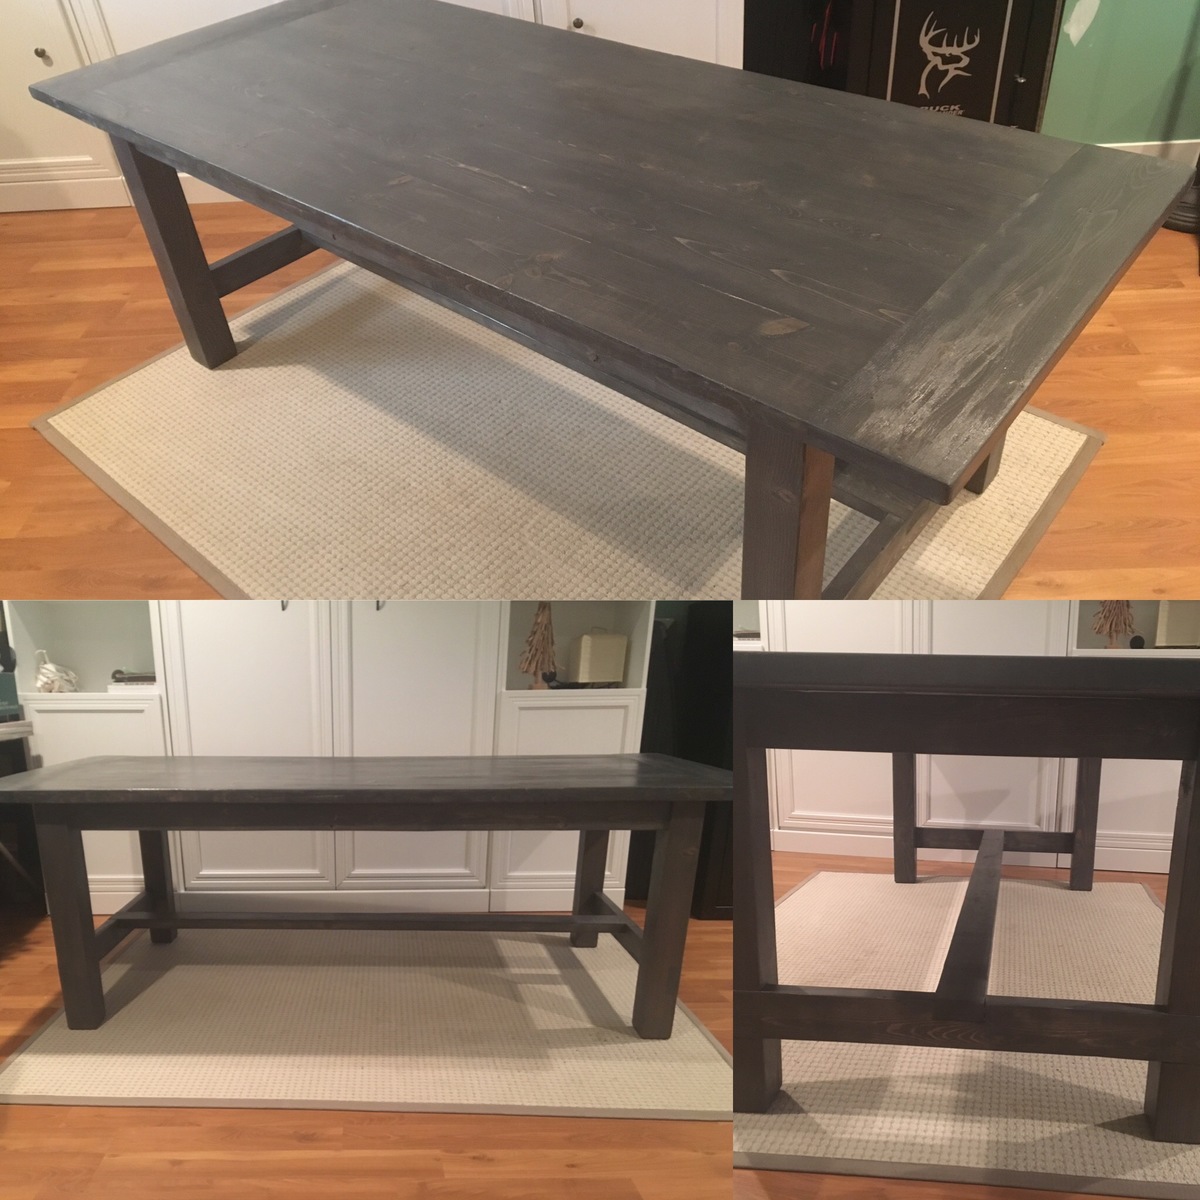
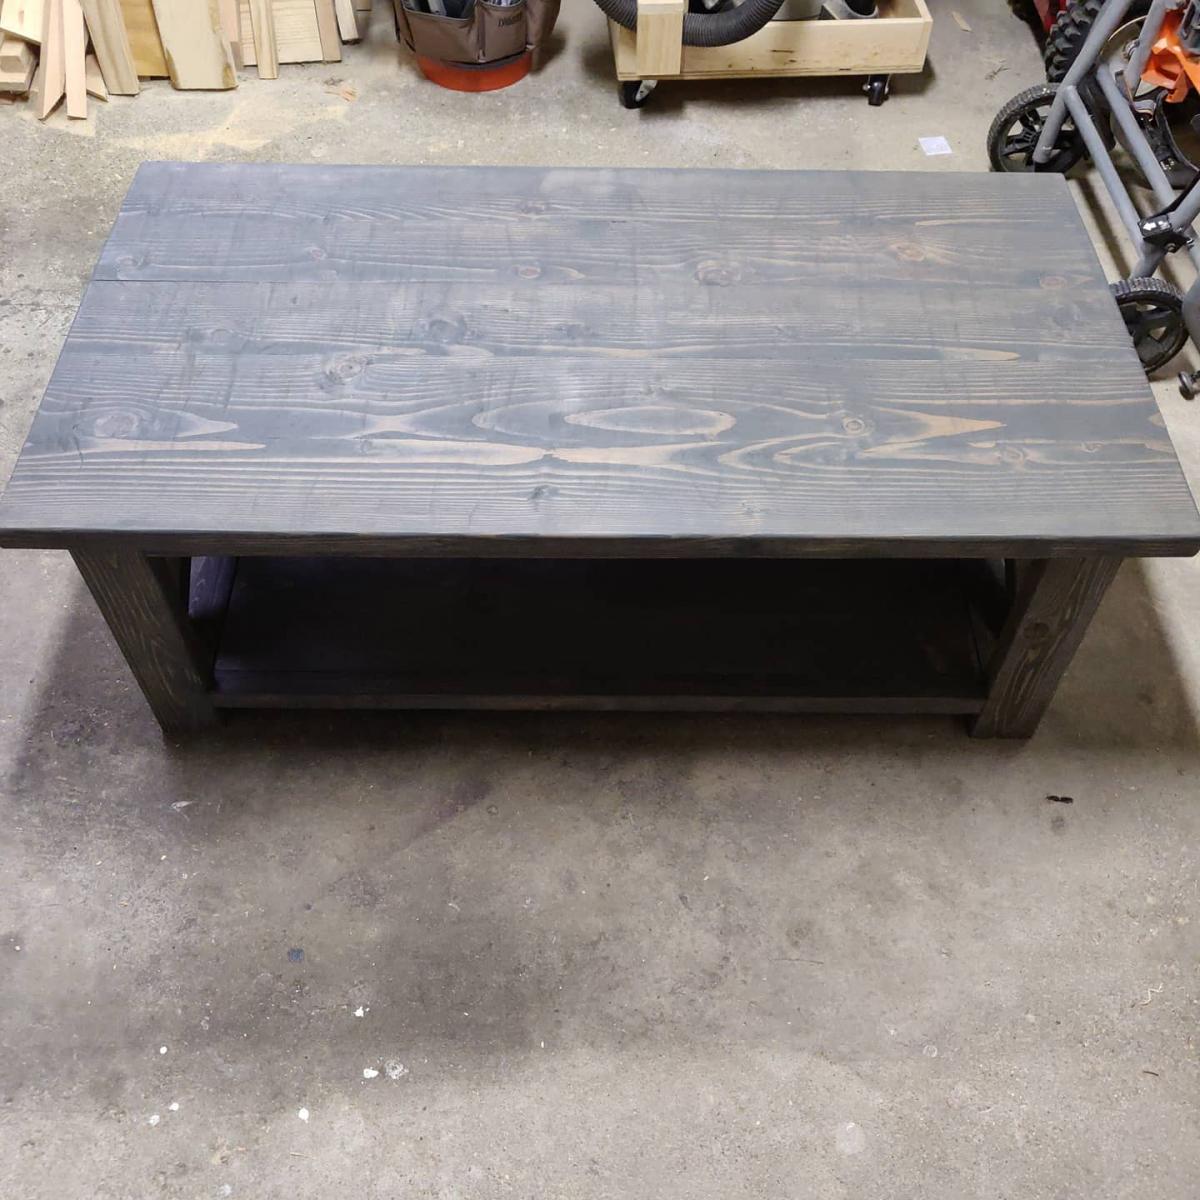
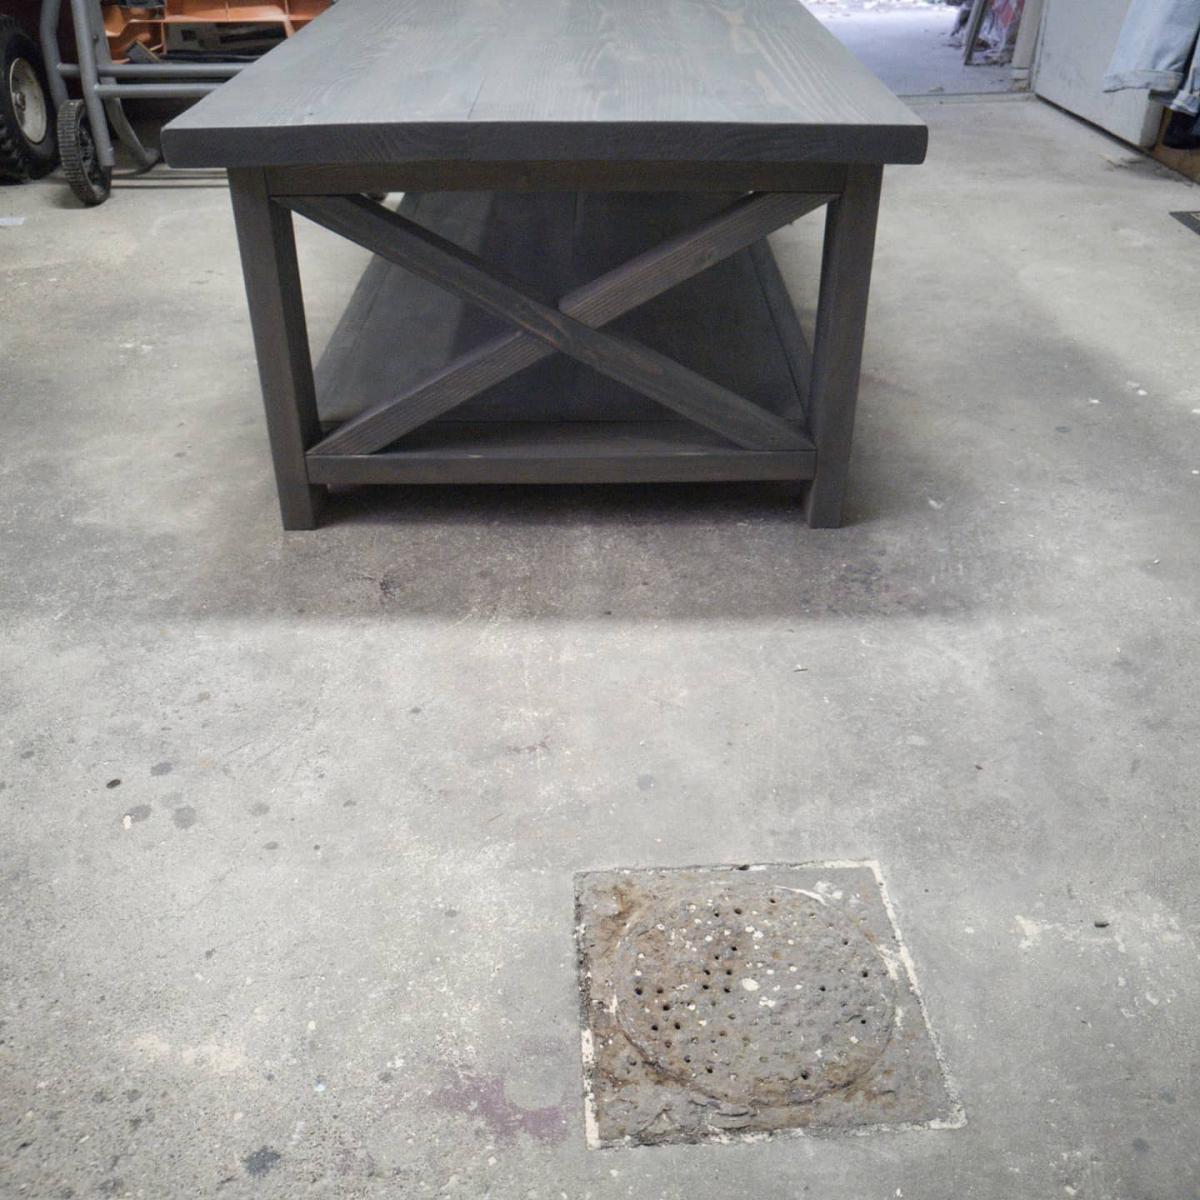
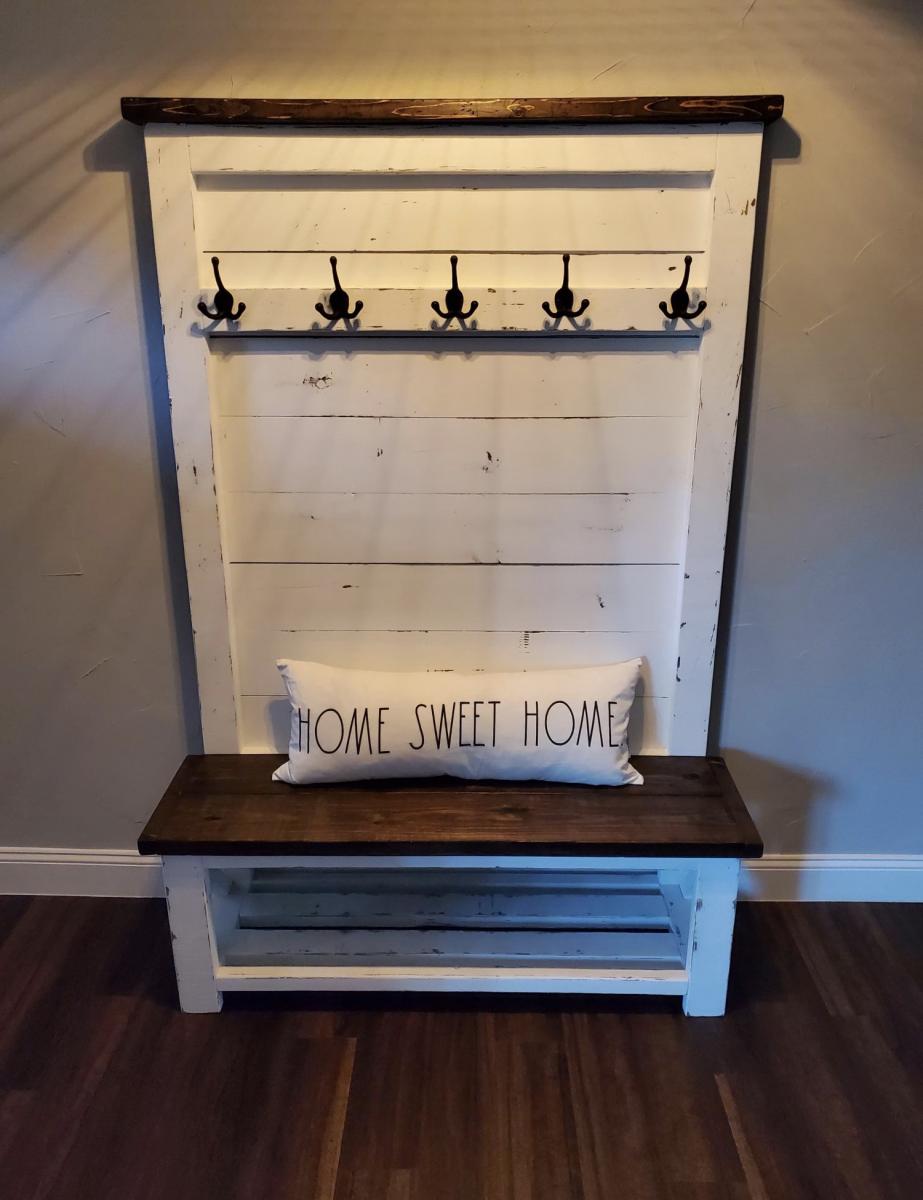
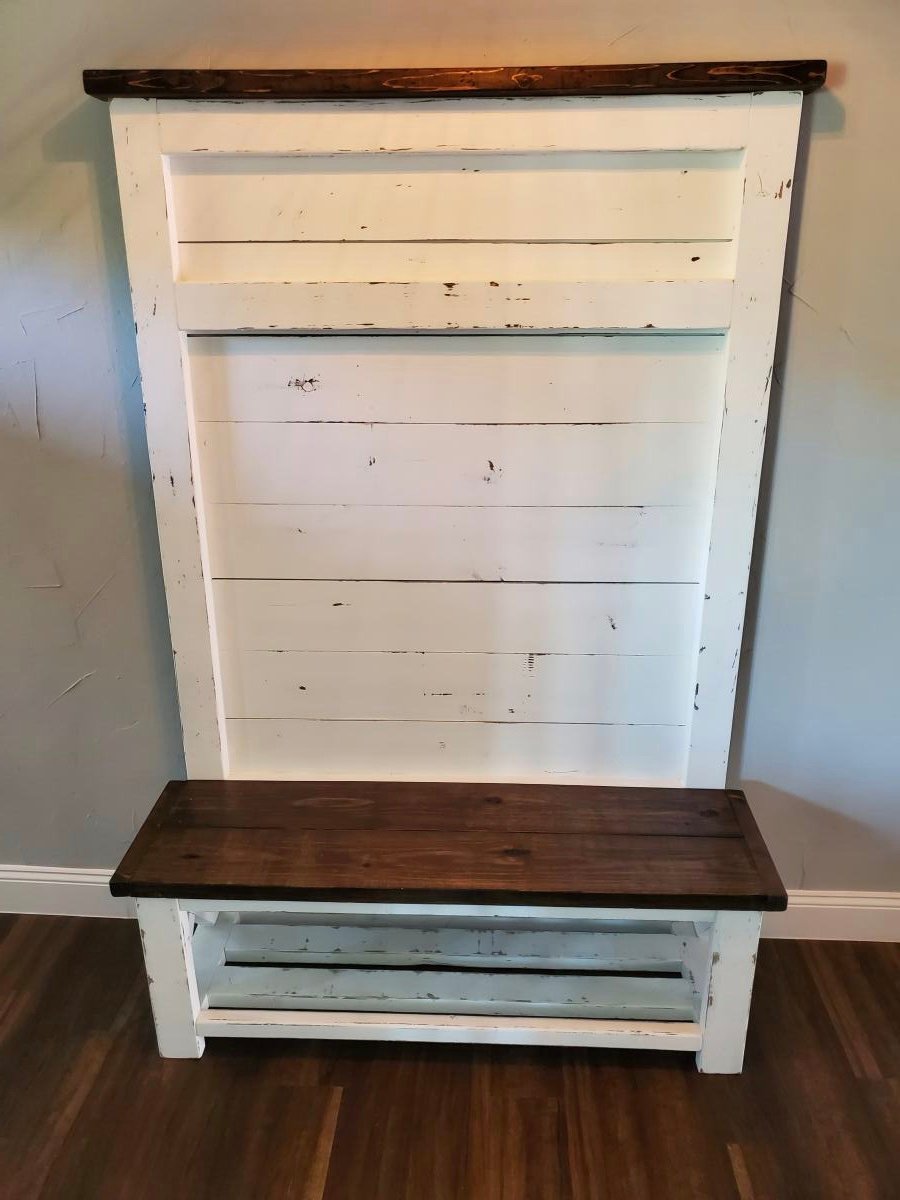
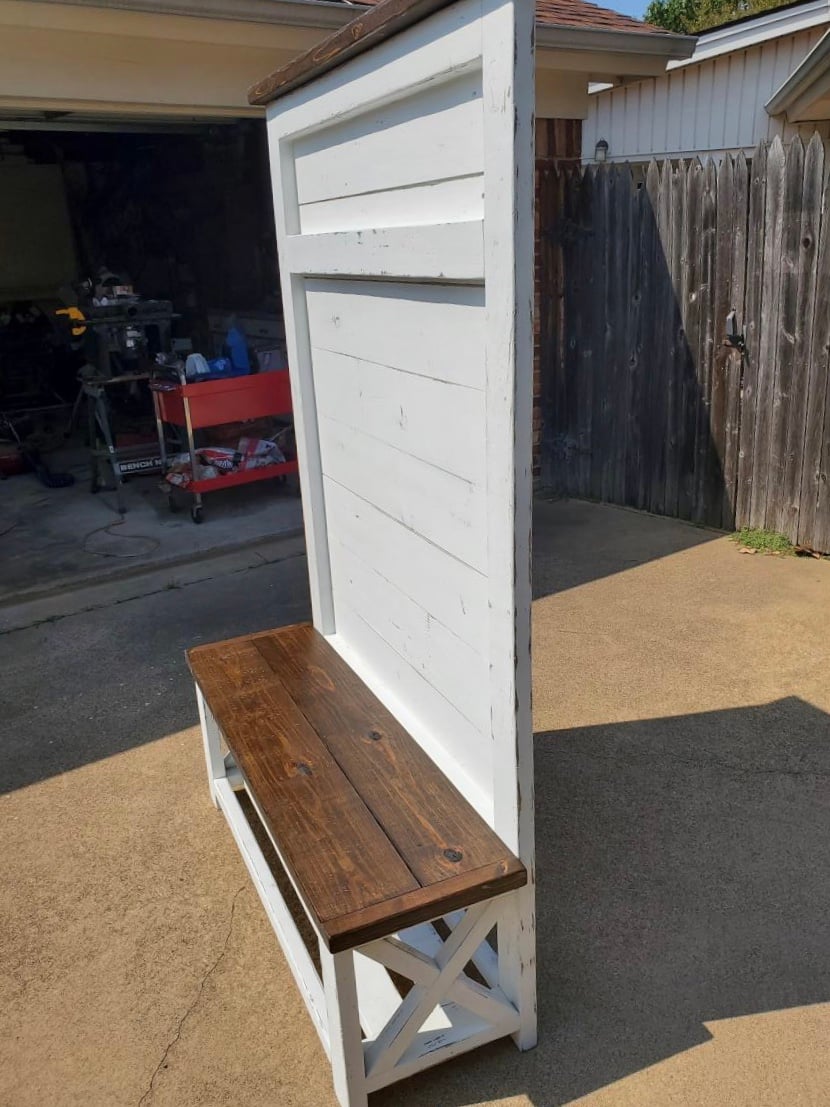
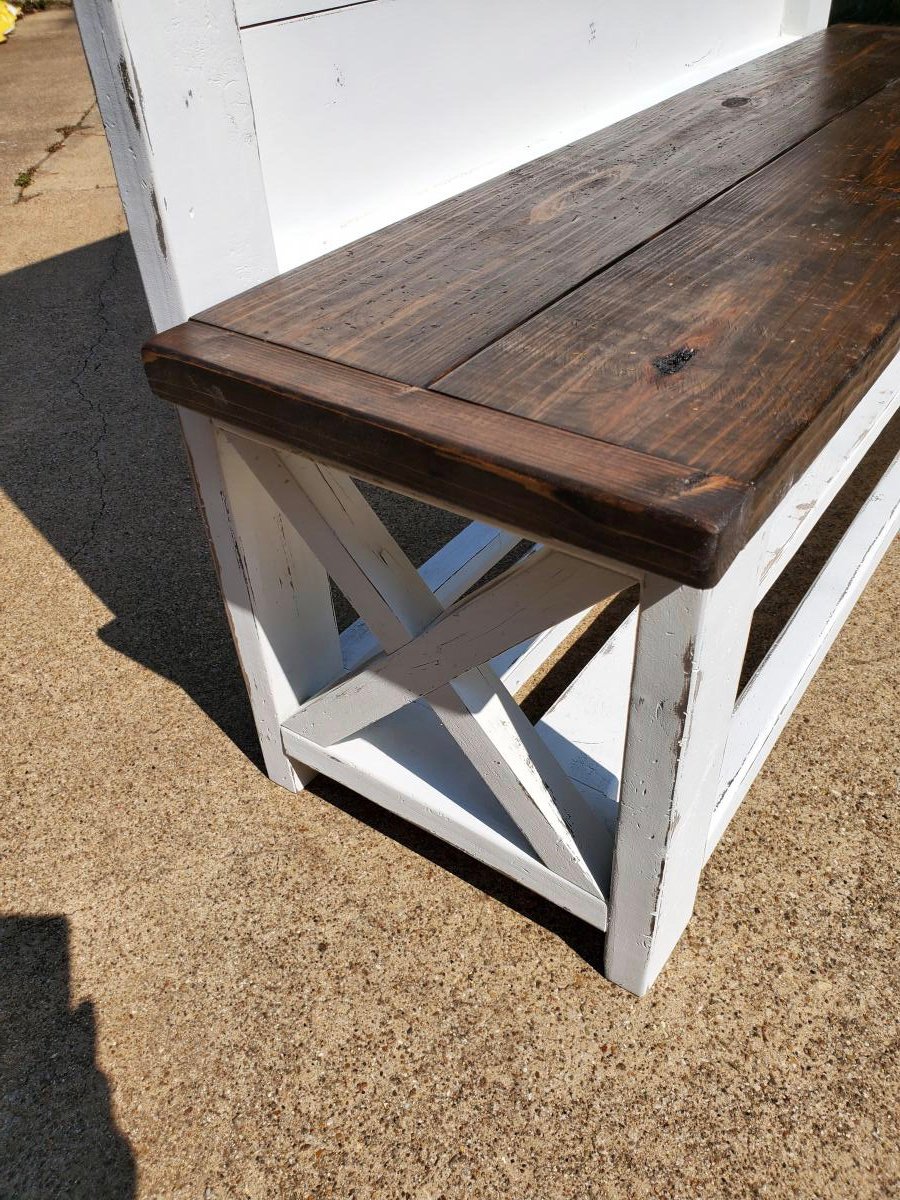
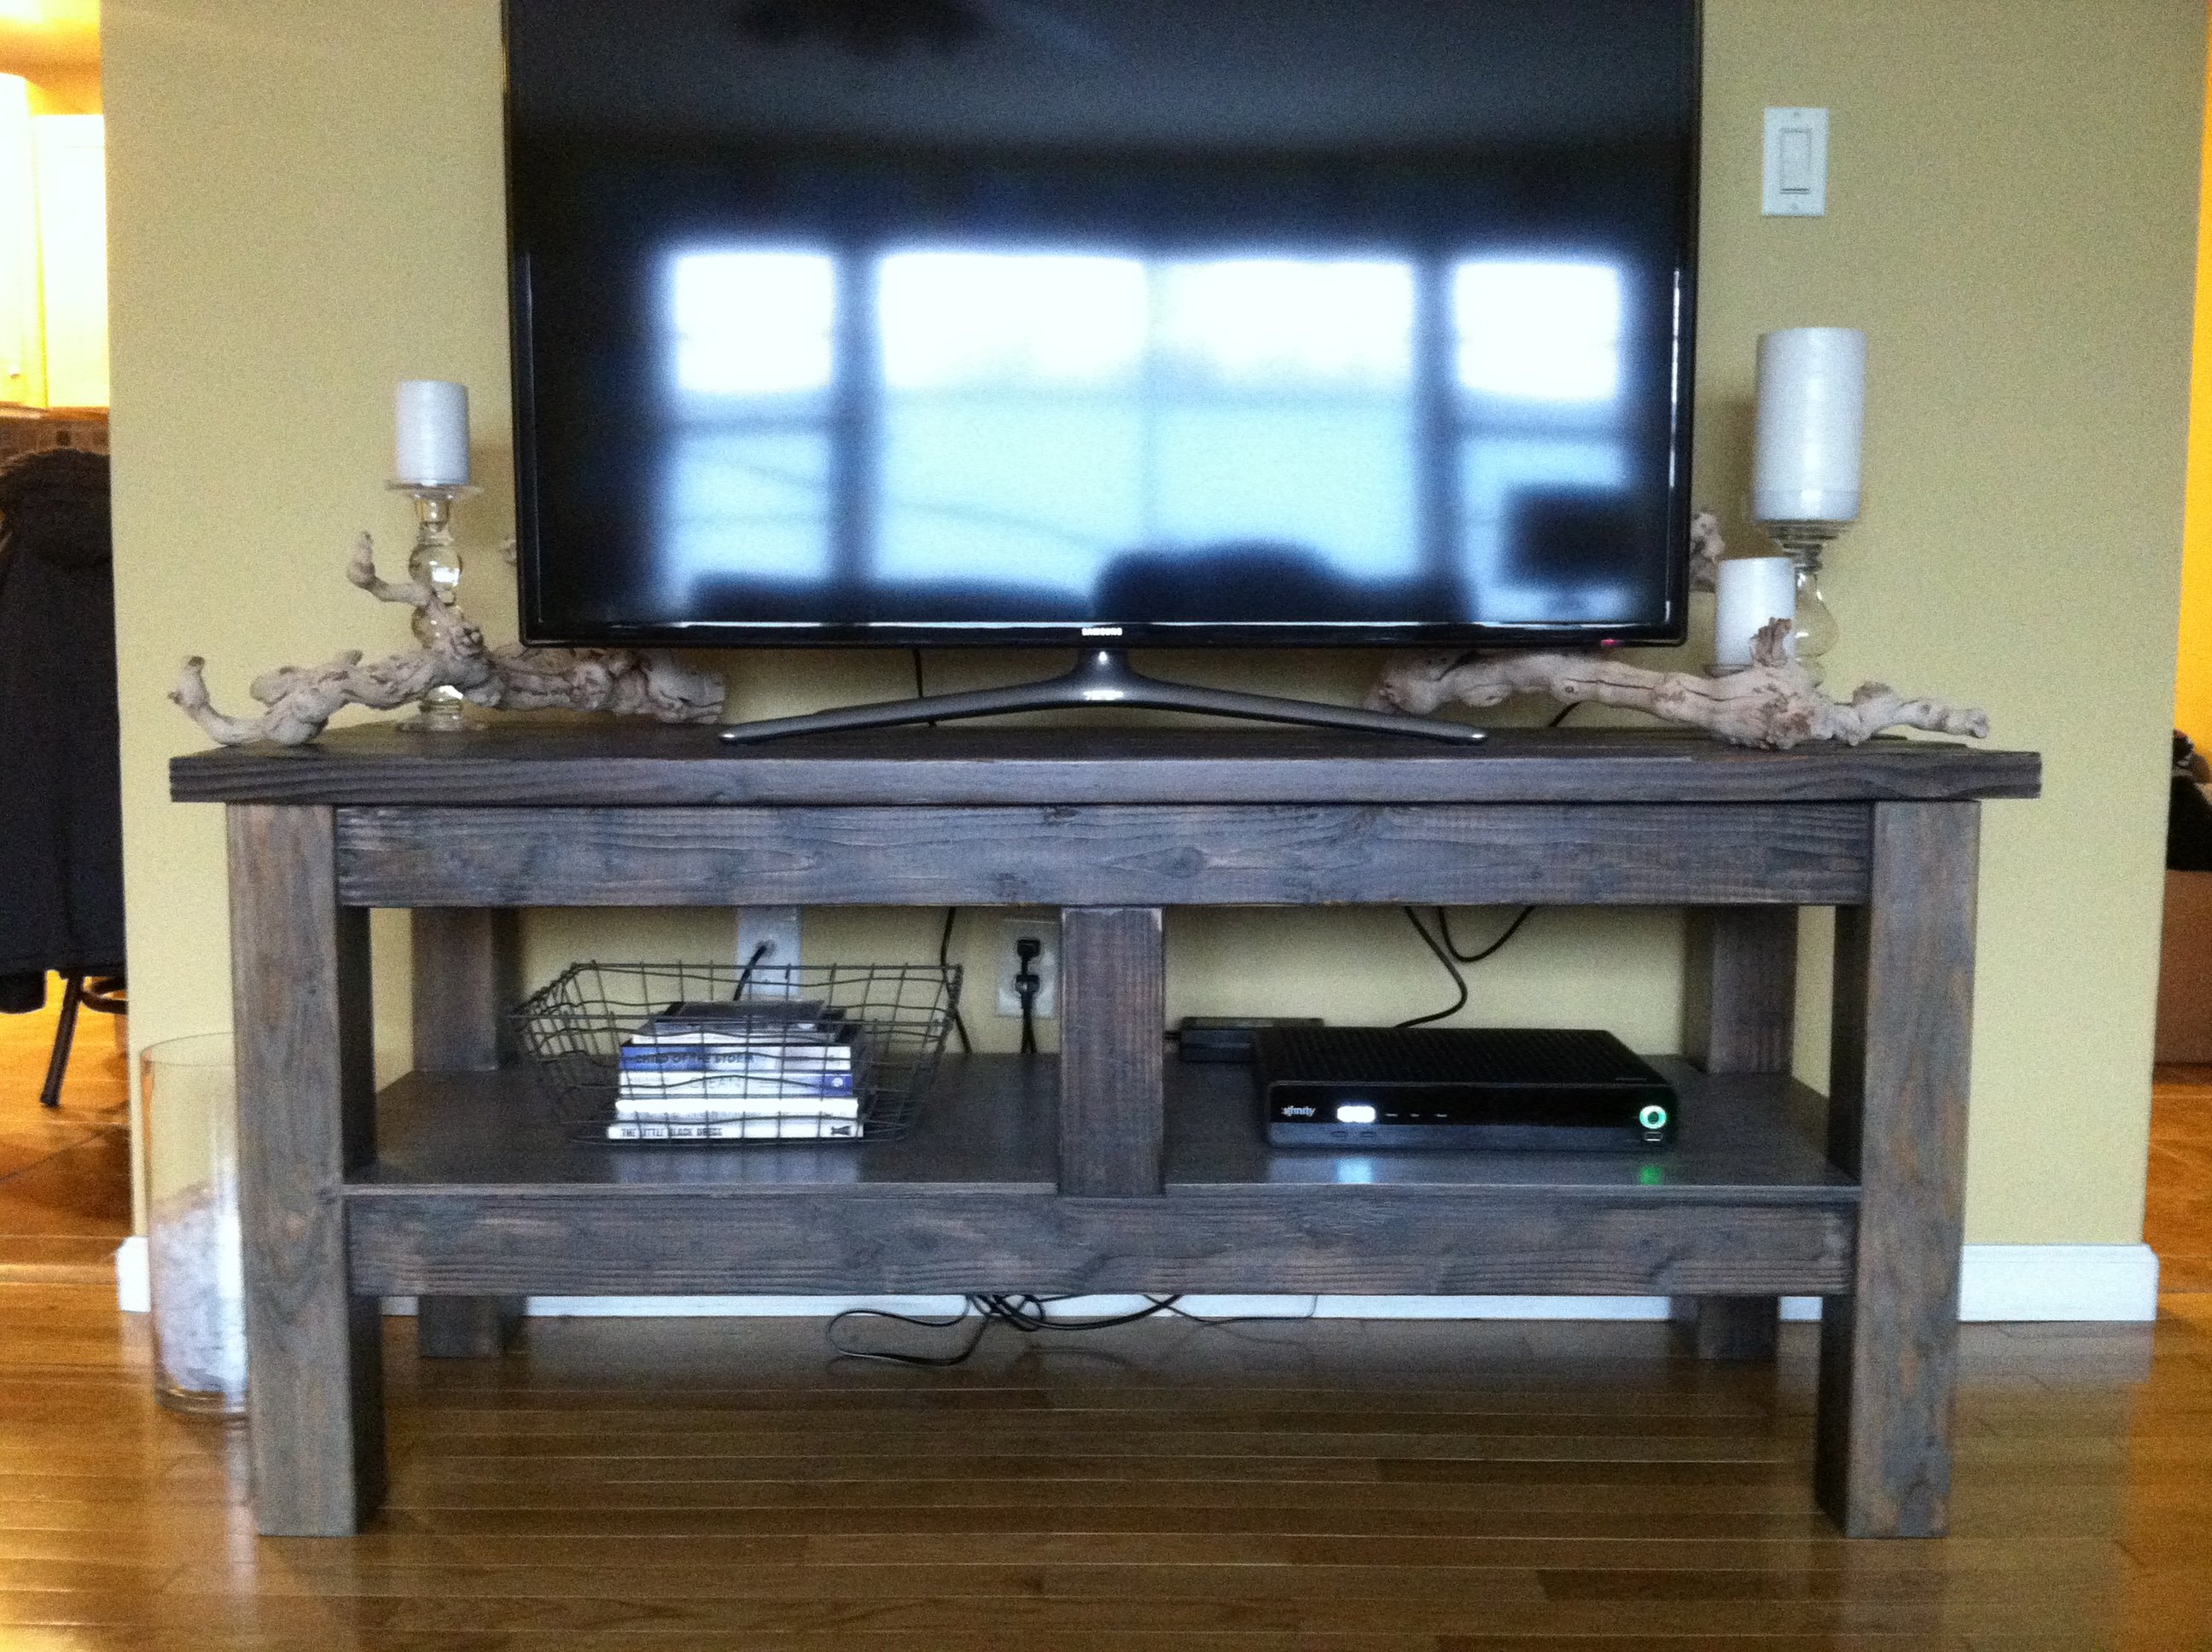
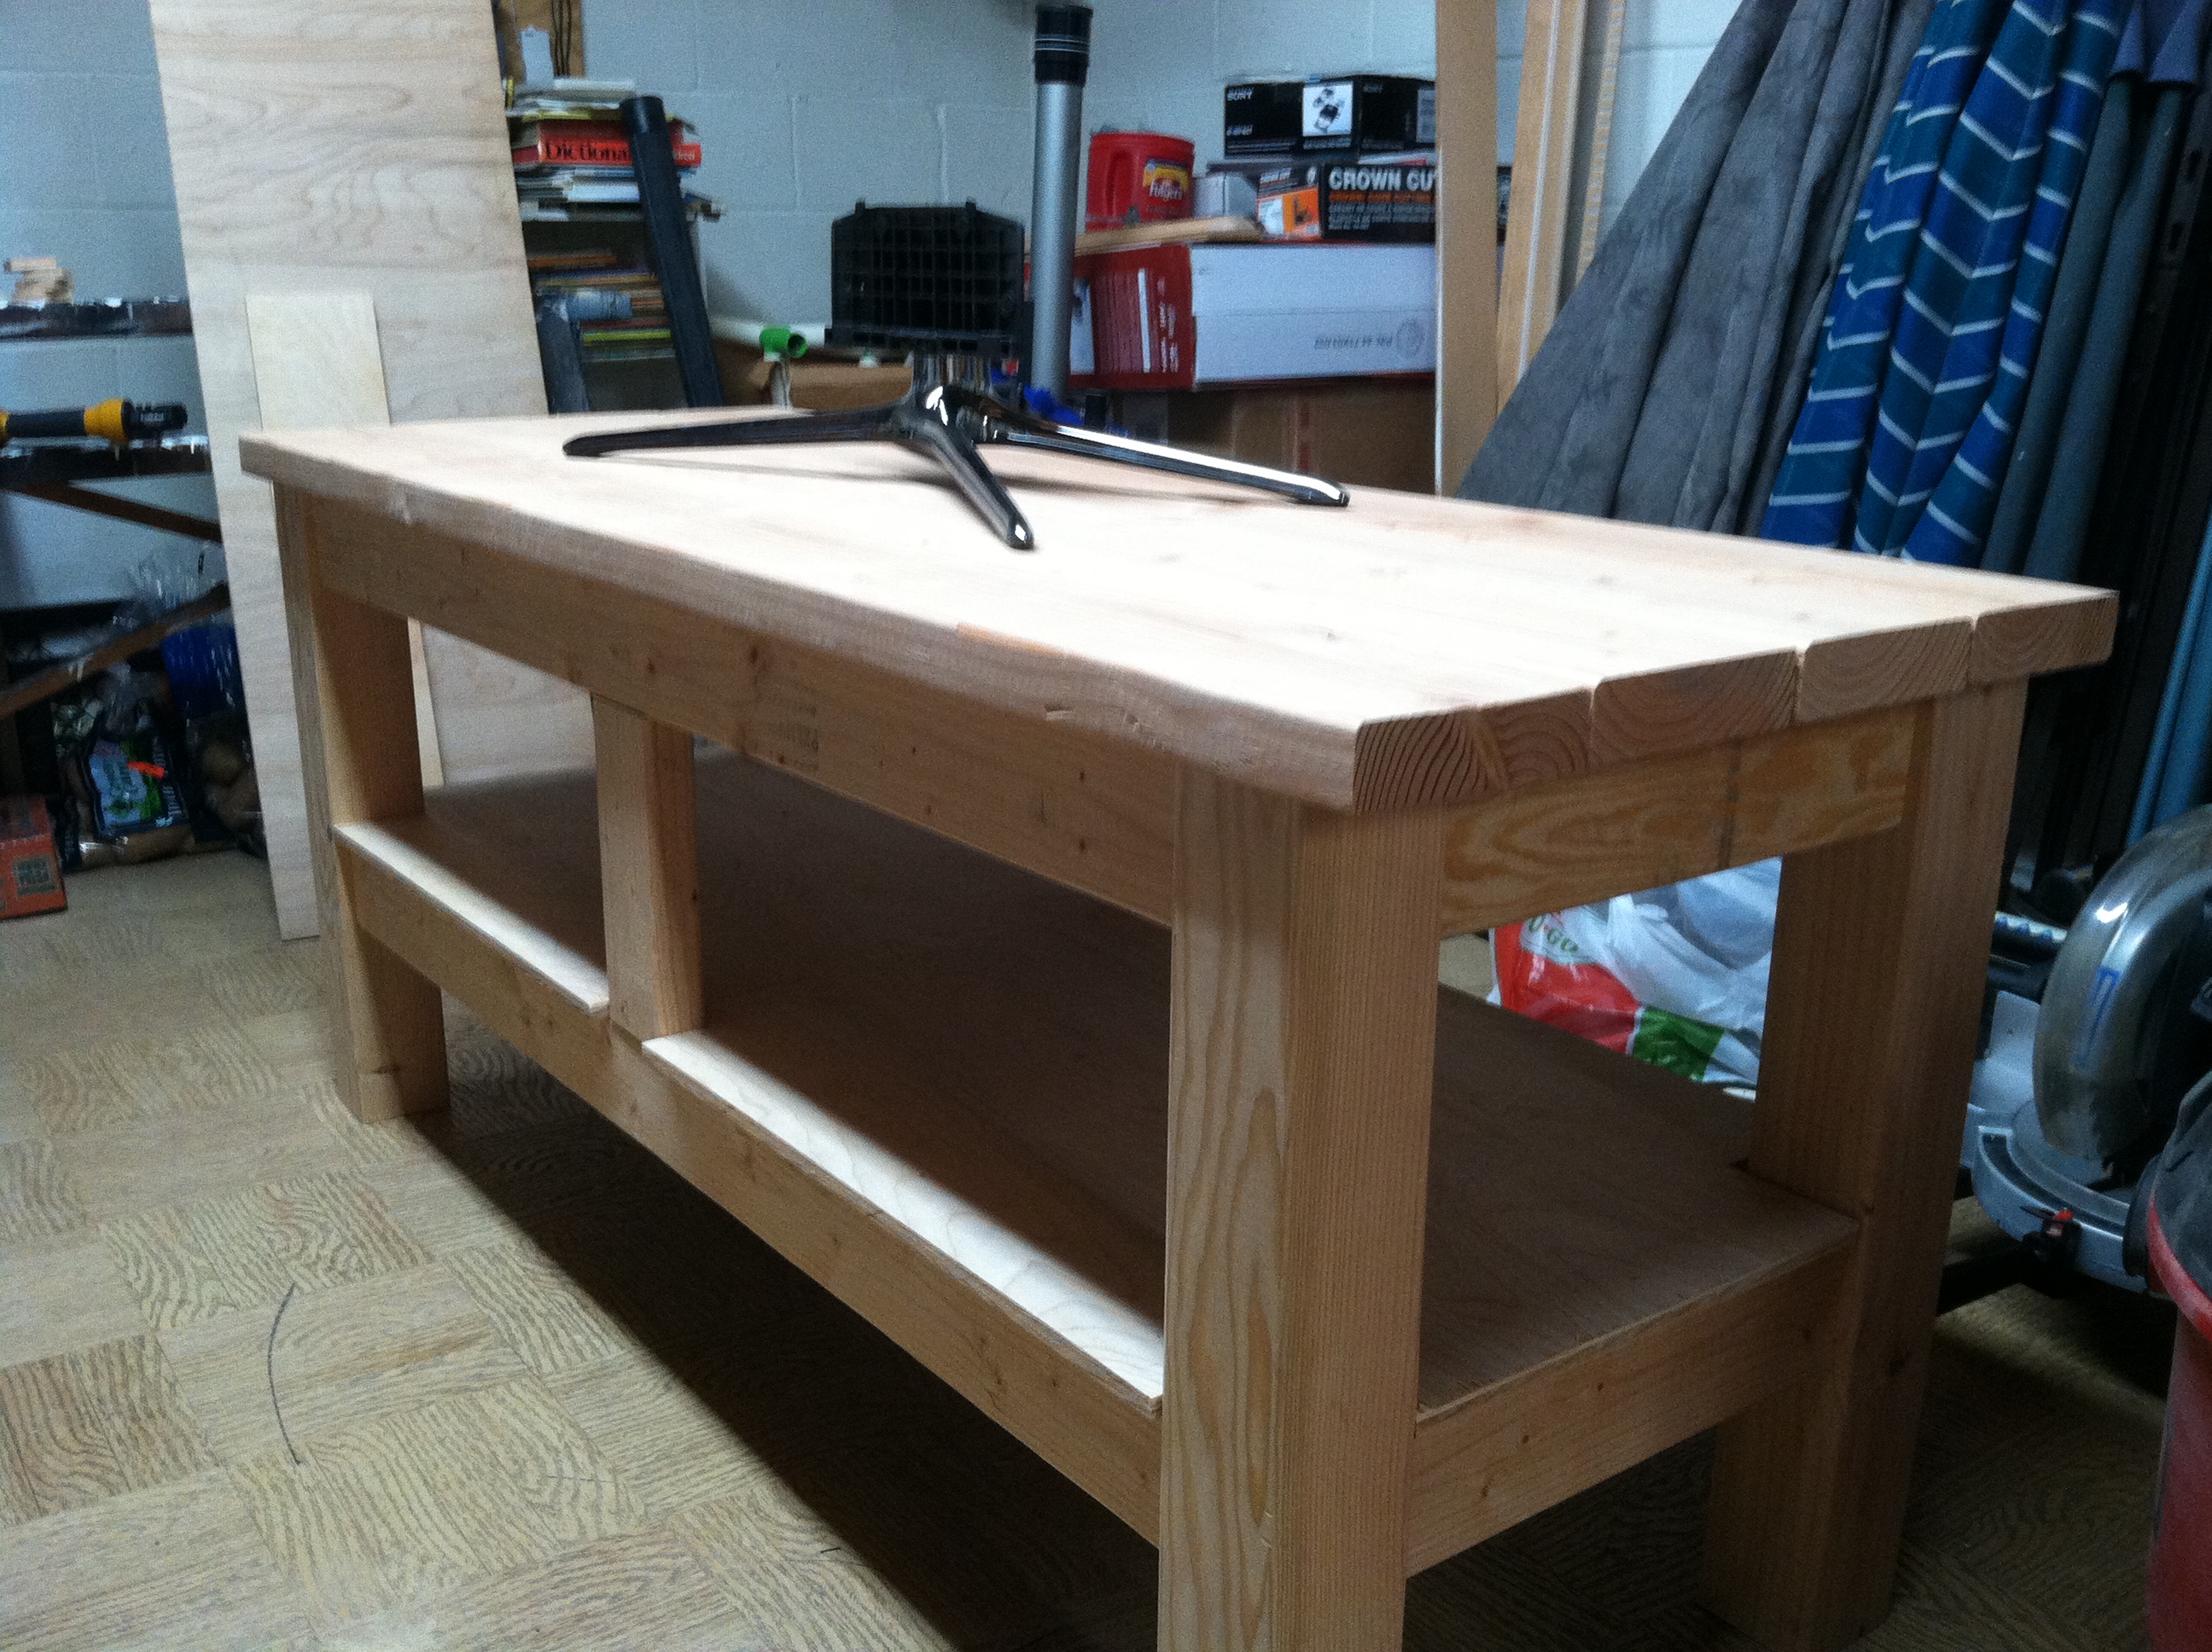
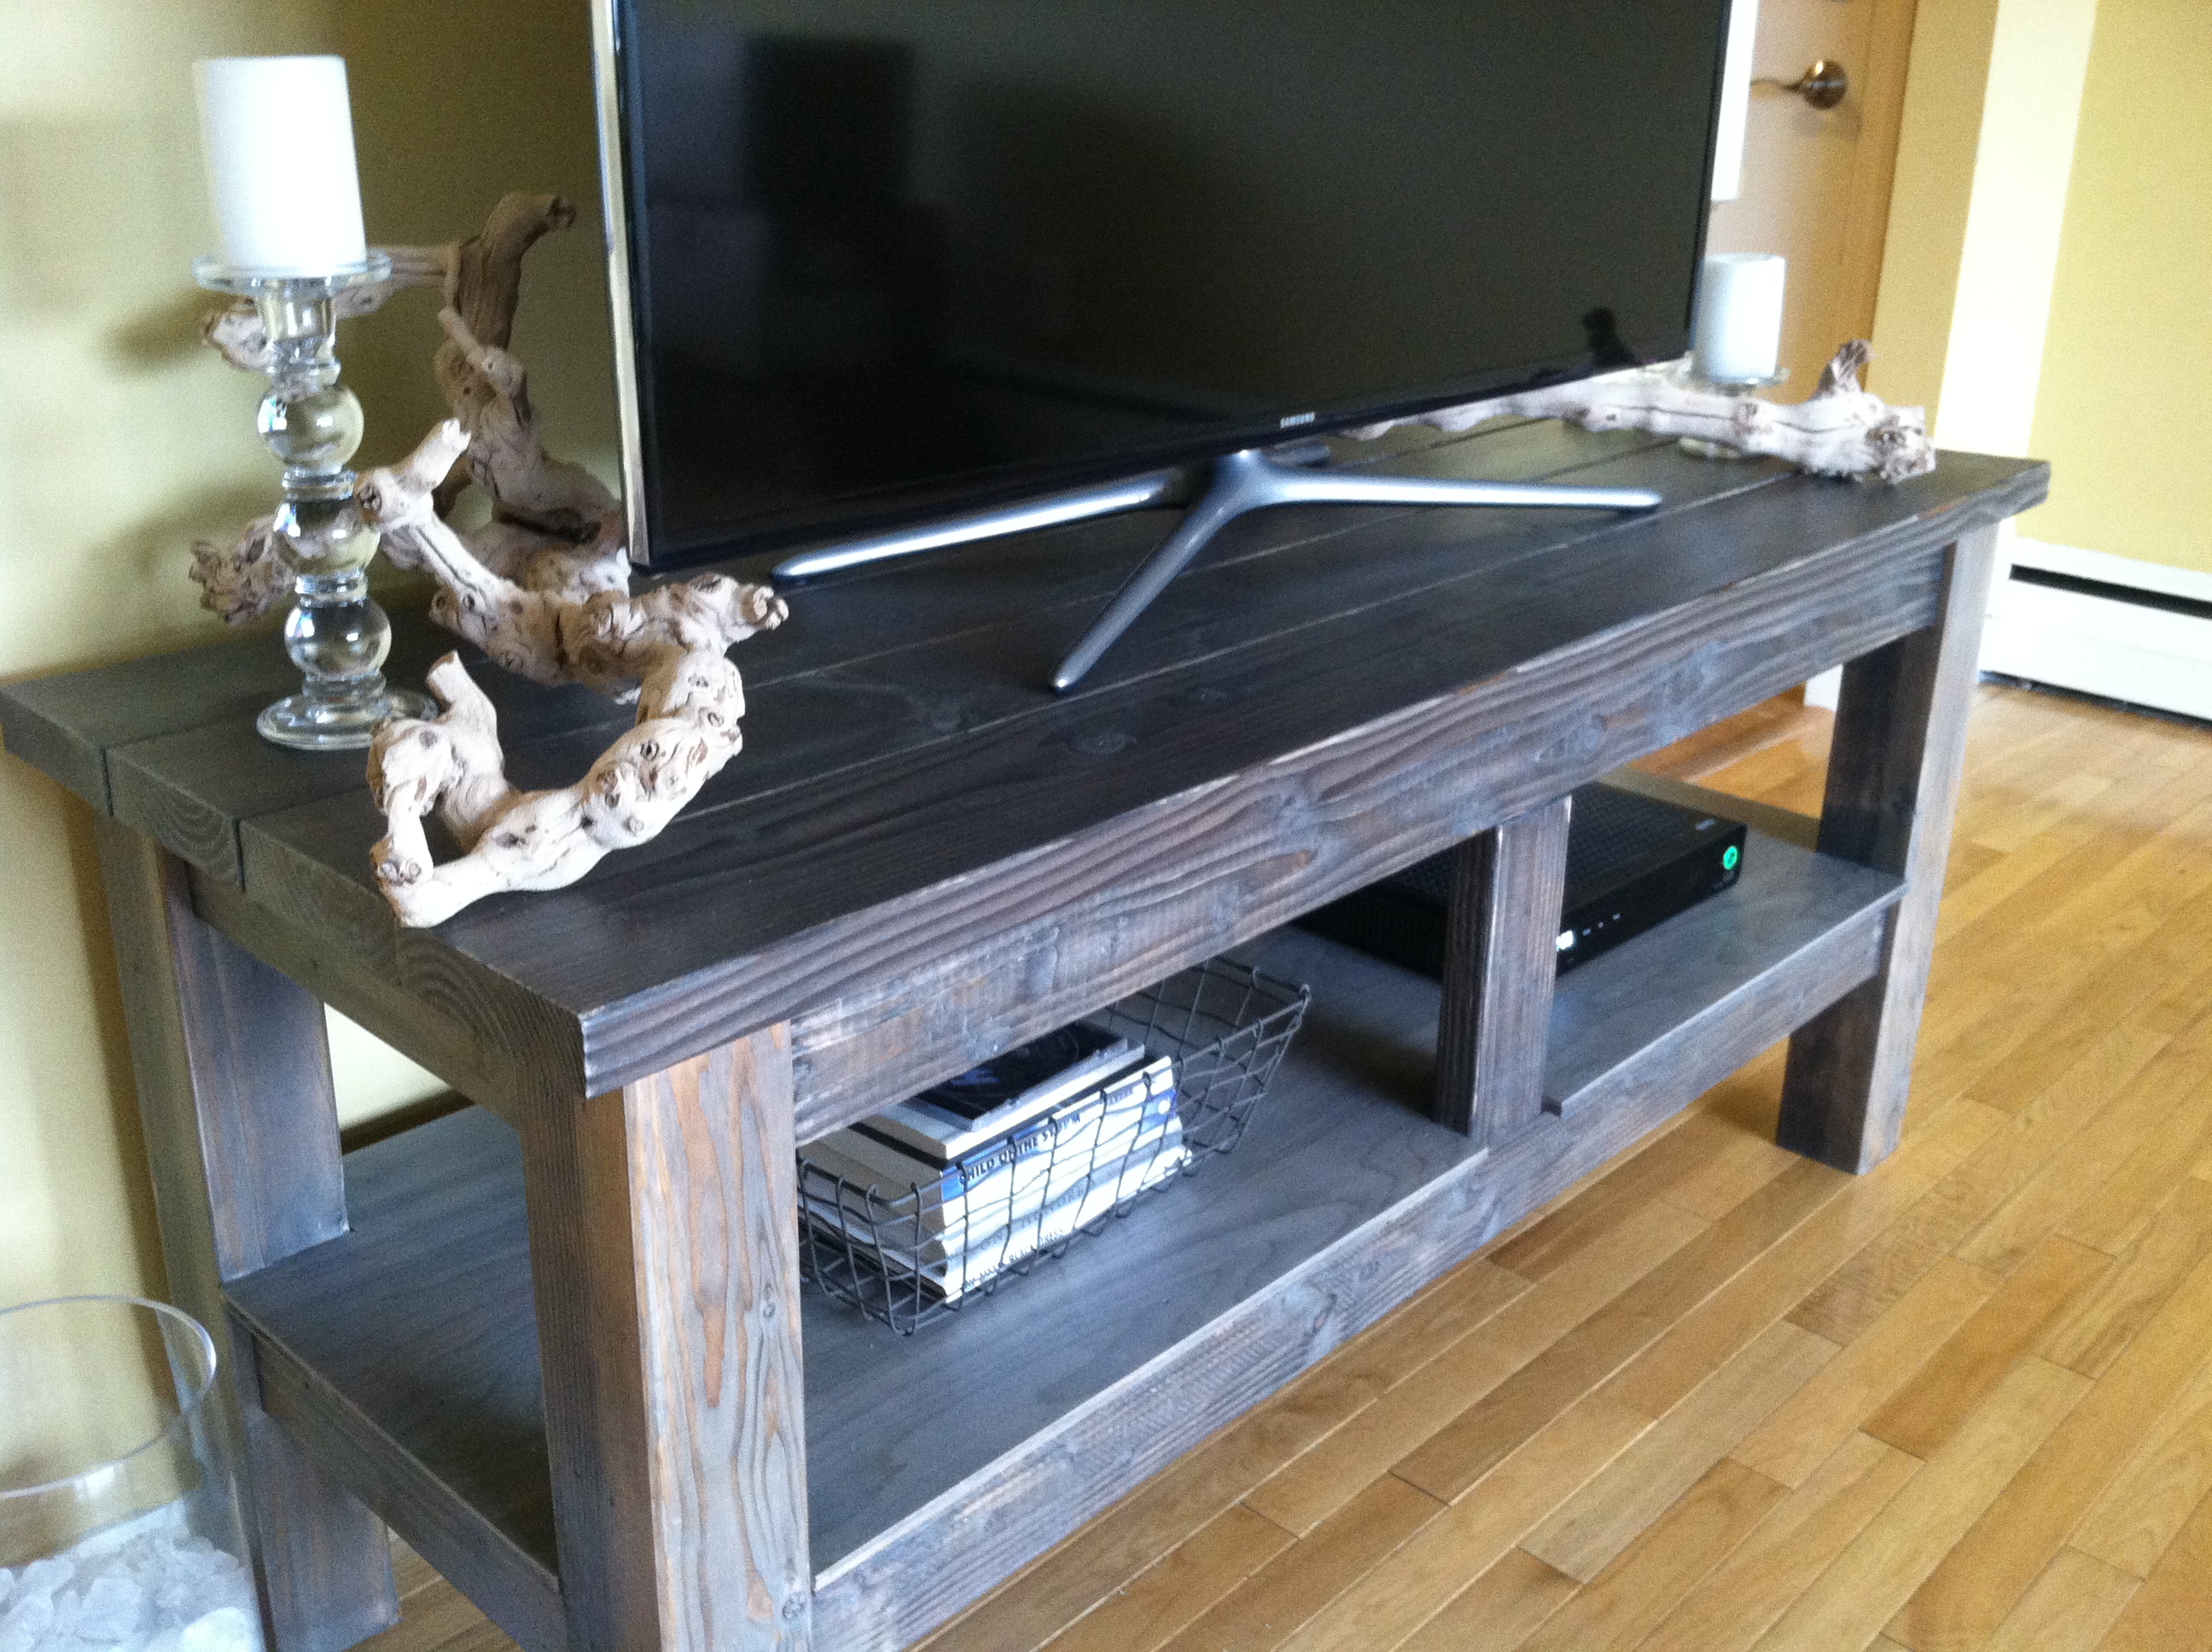
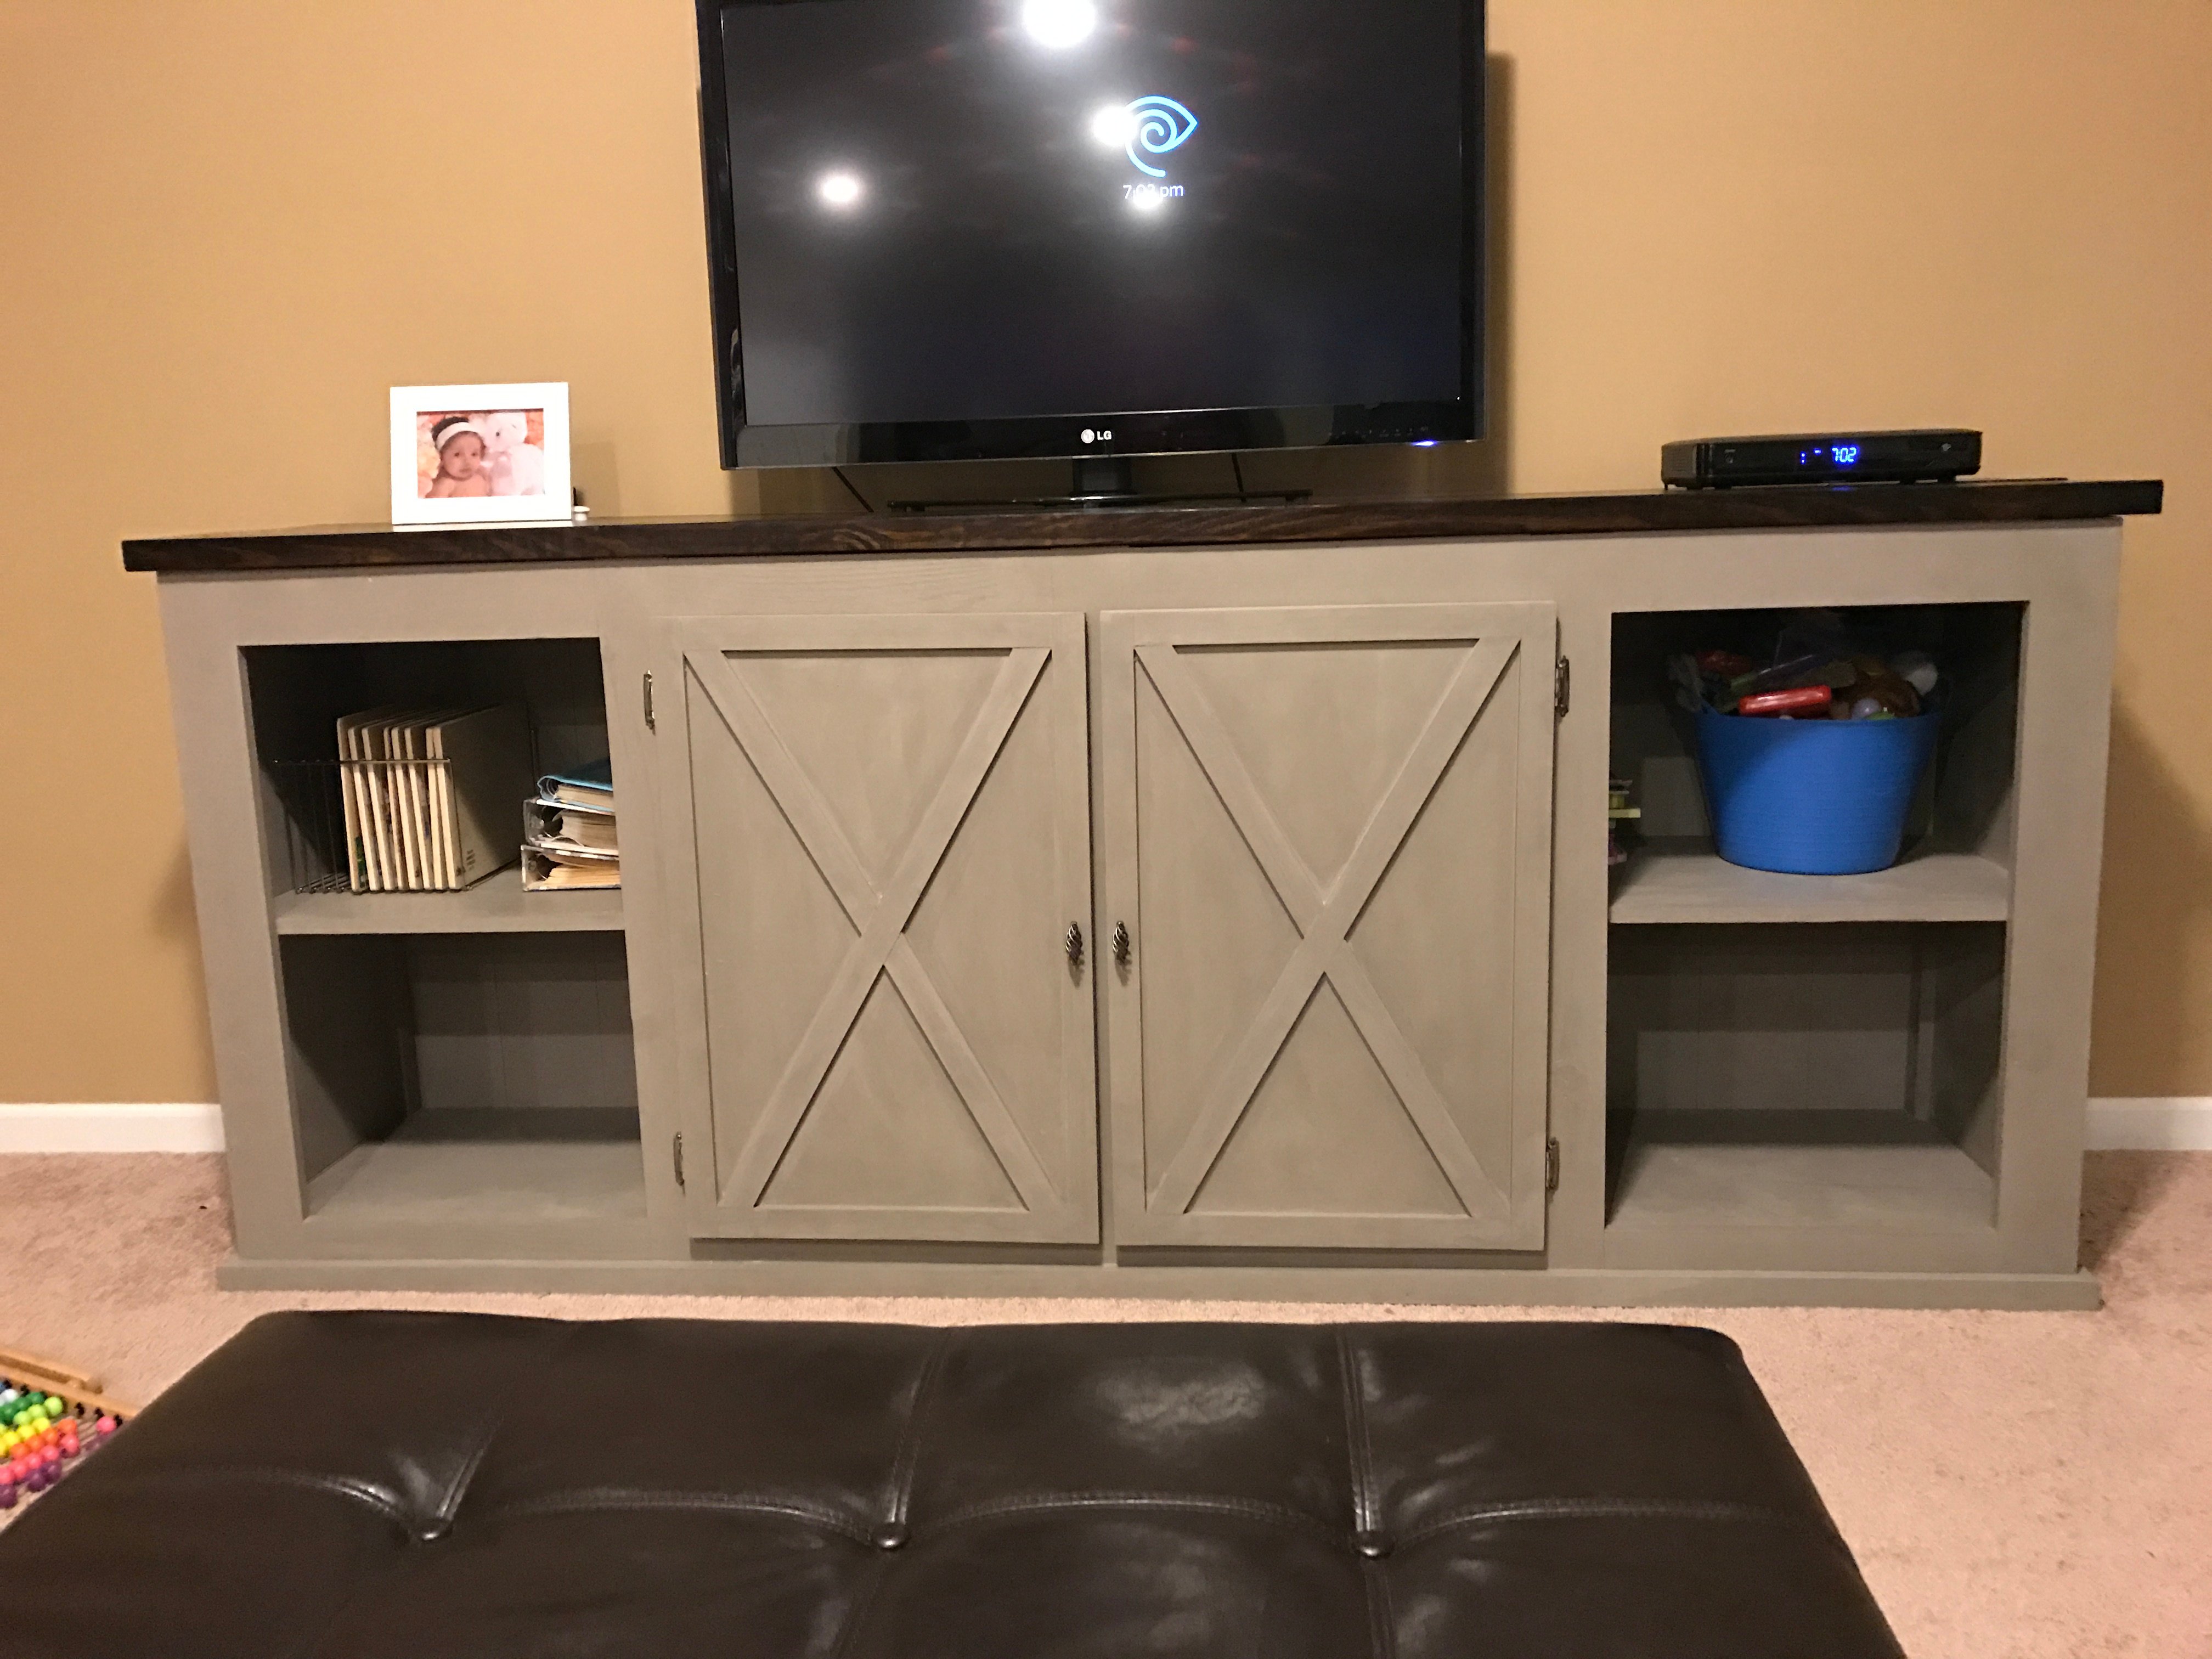
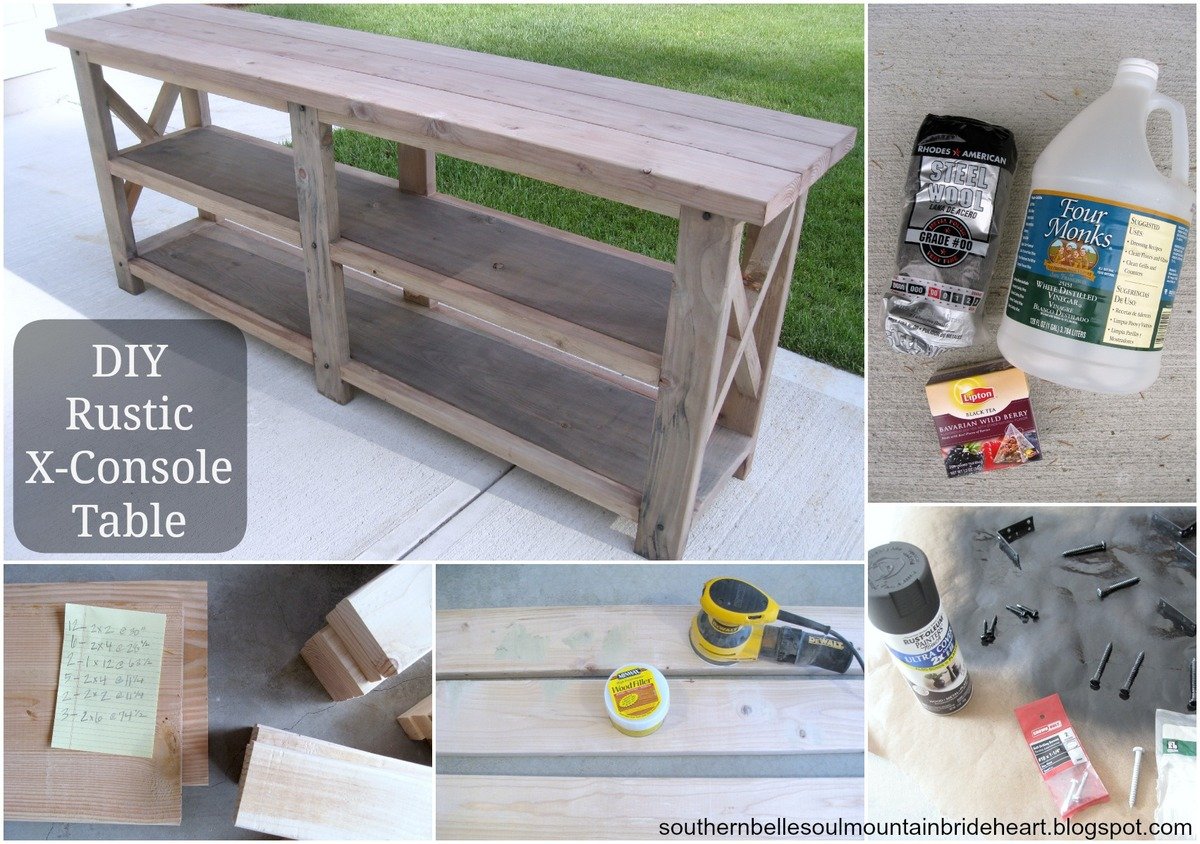
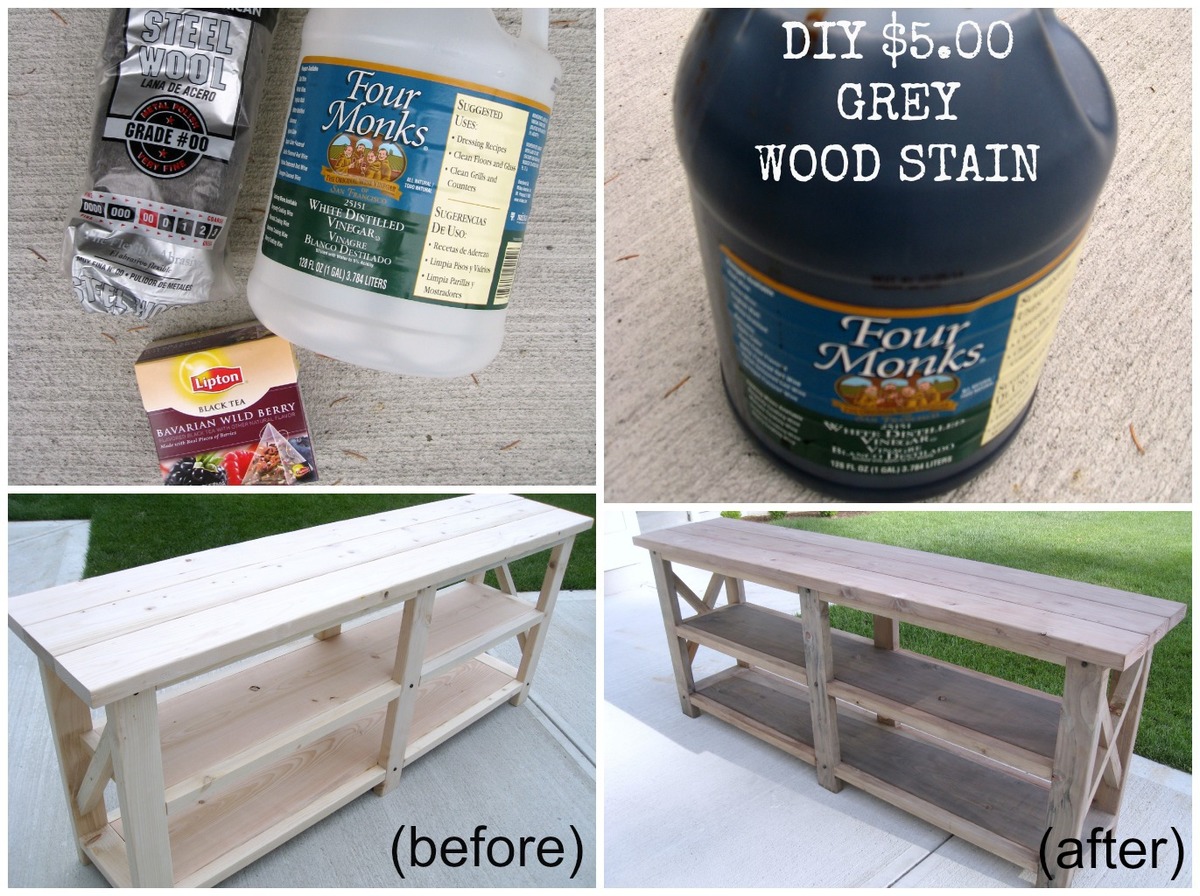
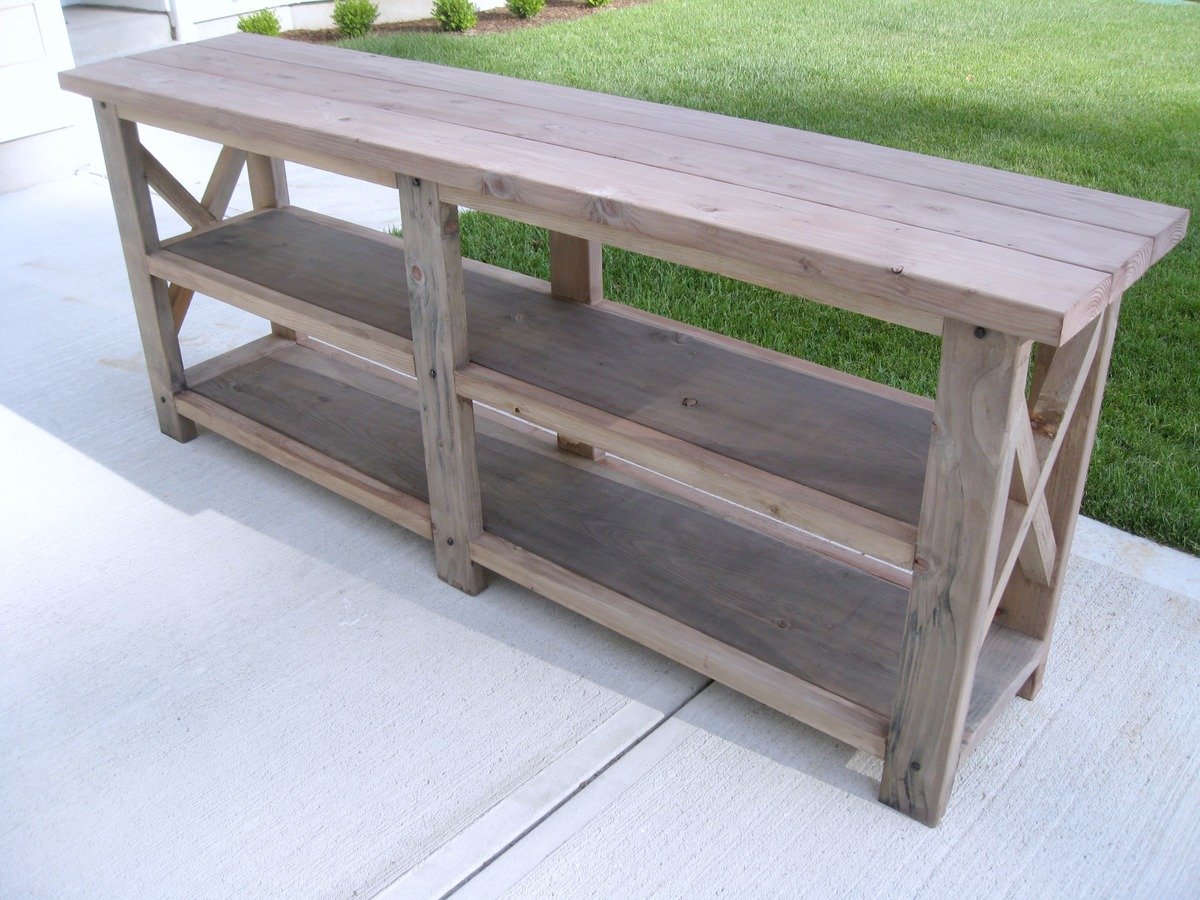
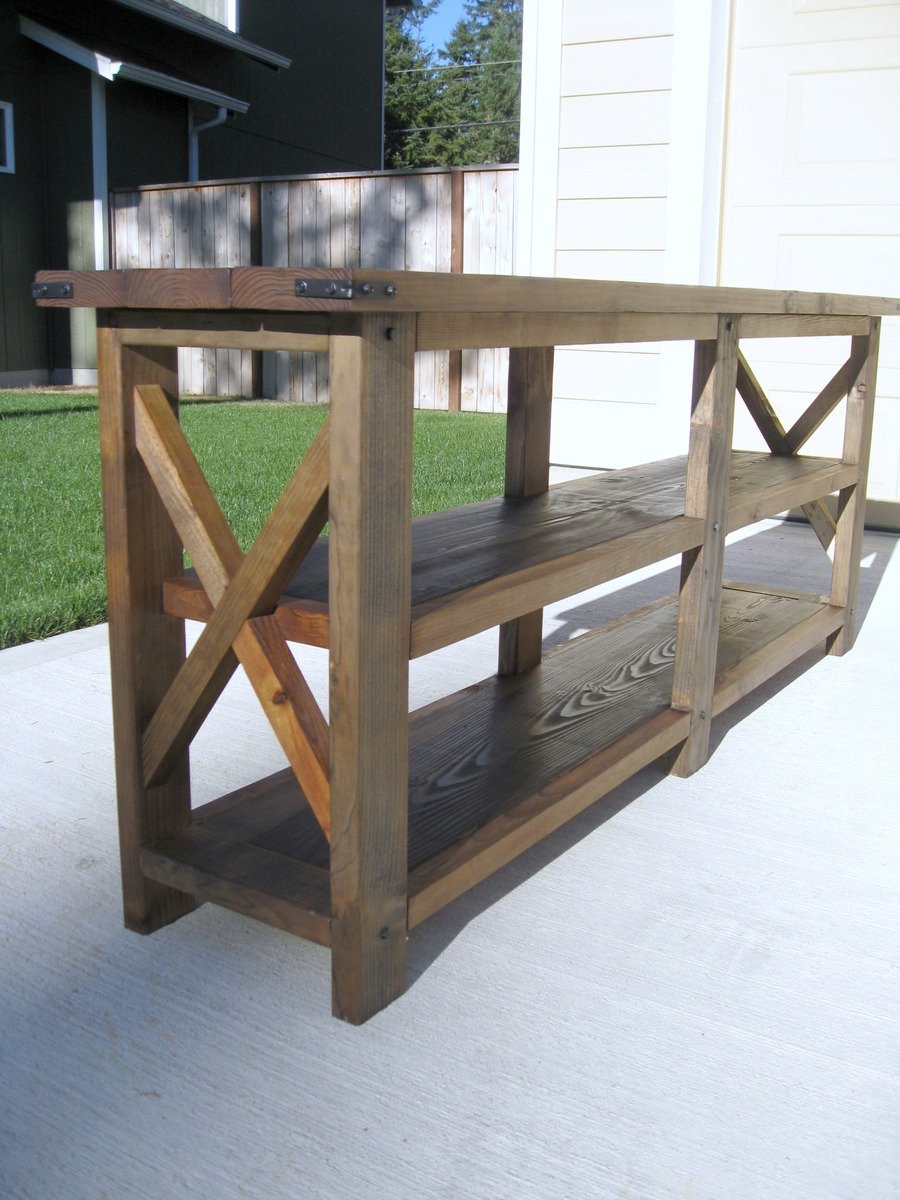
And so, with the help of my sweet Blake, we were able to create this amazing, rustic, industrial, shabby chic, yadda yadda yadda PERFECT FARMHOUSE X-CONSOLE TABLE!!!
And no, we can't take all of the credit. We found this unbelievable plan on Ana White's Website here! She gives a perfect step-by-step-tutorial. All together, this project cost us roughly $75 and two days worth of time, but I can assure you, buying a solid wood console table at a store would cost nearly $500! Not to mention, WE made it, together...and so forever this will be ours. :)
Thanks Ana, we love ours! :)