Community Brag Posts

Superhero Tower

Submitted by ellie_pete on Tue, 01/07/2014 - 13:07

When my 4 year old son perused the toy catalogs that came in the mail prior to X-mas, one thing was certain - he loved all the towers and buildings being advertised for action figures. However, I refused to buy one more plastic piece of junk that inevitably breaks after a couple of uses. When I found these plans, I knew they were perfect! My husband and I worked on this together, he's much steadier with our jig saw. I fitted my drill press with a hole cutter for the tops of the arched doorways. We added a rope swing and green paint to the original design. I had trouble knotting the twine for the ladder at even intervals so I used some cylindrical wooden beads I found from an old necklace to use as spacers. It doesn't close up as tightly as we'd like, but we can still get the clasp closed. I decoupaged some of the inner walls with scrapbook paper for fun scenes: maps, brick walls, pebbles, bark, and forest. It was a fun project for us and it's been fun watching him! He has played with this tower nearly every day since he opened it up X-mas morning!

Built from Plan(s)
Estimated Time Investment
Weekend Project (10-20 Hours)
Finish Used
Rustoleum spray paint and primer, paper was decoupaged with Mod Podge, everything was then covered with a Rustoleum clear coat.
Recommended Skill Level
Intermediate

Comments

Coffee table and matching side table

Submitted by Anonymous (not verified) on Tue, 03/29/2016 - 07:20

Great plans. I got a lot of attention for these tables. I think they're easy to build and a few bad cuts/mismatches can make it look more rustic so no need to worry about perfection with these. I use them in my apartment and they're both really nice. I stained with miniwax jacobean and used a satin clear poly on it after. I only needed one layer of stain.I think a dining room table version of this plan would be really awesome too!

Built from Plan(s)
Estimated Cost
stain/poly/lumber/screws all were around 50$

Can be alot cheaper if you already have these things. I had a bunch of the lumber in scraps already.
Estimated Time Investment
Afternoon Project (3-6 Hours)
Finish Used
Darker Stain (jacobean) with clear polyurethane.
Recommended Skill Level
Beginner

Perfect Guest Room Bench

Submitted by LampAtFeet on Fri, 11/22/2019 - 13:49

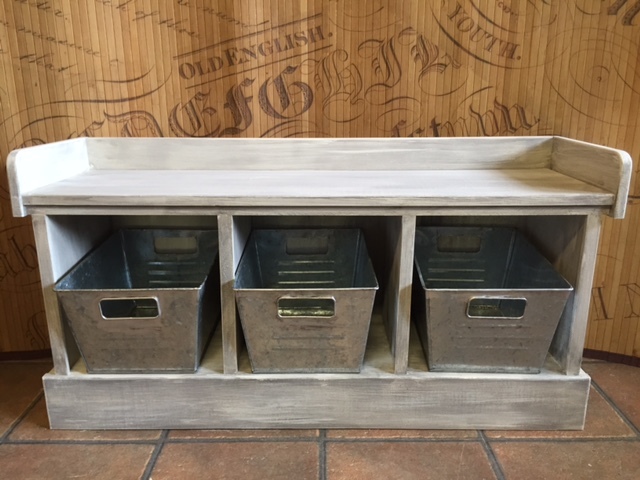
We needed a bench in our guest room for the upcoming holidays. After searching Ana's site I decided on the Flip Top Storage Bench. (We didn't need the flip top, so I just built a flat top and added a couple boards under the top for extra support) The plans were very easy to follow and the bench works perfectly in our room for extra seating as well as suitcases. Thanks Ana!

Estimated Cost
$30
Estimated Time Investment
Afternoon Project (3-6 Hours)
Finish Used
Dark Walnut stain then a coat of satin wipe on polyurethane to seal it
Recommended Skill Level
Beginner

Reclaimed Wood Cabinet

Submitted by Anonymous (not verified) on Sun, 07/30/2023 - 14:23

I wanted to use a long cut off of 3/4 “ plywood and a bed frame my neighbor gave me. This is what I came up with.

Pedestals

My husband built this for me because it cost as much for one pedestal as it did to build this. I got storage and height for both my washer and dryer for the price of one pedestal. My husband built it, We painted it and I stenciled it.
Estimated Time Investment
Day Project (6-9 Hours)
Recommended Skill Level
Beginner

Rustic Bookshelf with Door

Our second project after successfully creating the X coffee table. I used 1 x 4's both for the back and the door that I added.

Estimated Time Investment
Day Project (6-9 Hours)
Finish Used
Vinegar and wire wool oxidisation achieved by applying 24 hrs after the application of strong tea.
Recommended Skill Level
Beginner

Farmhouse bed

Submitted by Anonymous (not verified) on Tue, 11/26/2019 - 08:30

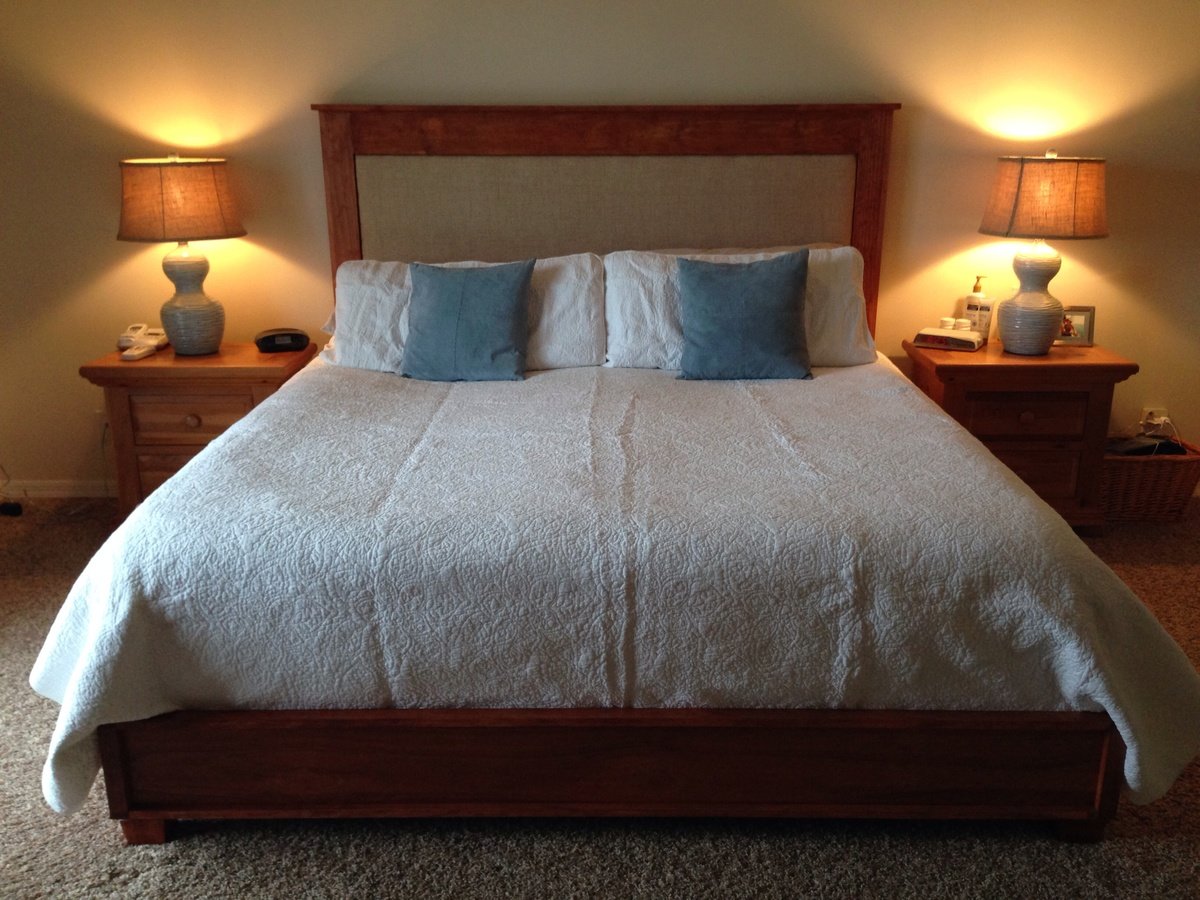
I made a few changes to the queen size farmhouse bed plans. Going to add drawers underneath so we can maximize space in our room.

Built from Plan(s)
Estimated Cost
$400
Estimated Time Investment
Weekend Project (10-20 Hours)
Finish Used
Cherry
Recommended Skill Level
Intermediate

Soda Crate Caddy

I had some scraps lying around, and it was just the right amount to do this soda crate caddy. The only change was using scrap 1x12 on the bottom instead of two 1x6's. I finished the whole thing in under 2 hours, including stain and the chalkboard front. I gave it to a friend as a thank you present for baby sitting my baby girl.

Built from Plan(s)
Estimated Cost
free - used scraps
Estimated Time Investment
An Hour or Two (0-2 Hours)
Finish Used
Rustoleum's Ultimate Stain in Kona
Recommended Skill Level
Beginner

Shoe dresser

Submitted by KelleighW on Sat, 01/11/2014 - 07:13

I loved the idea of the shoe dresser and decided to fancy it up a bit. I changed the dimensions a little to suit the space in my home where I wanted it to go. I decided to use the dowel pins for the doors because I didn't want to be able to see the hinges - which I found to be the hardest part - you need to make sure you get them as low in the corner as you can otherwise your doors won't open. I also found that I didn't cut enough off the top of the dividers which prevented the doors from opening - they needed to be more slanted than round at the top - I ended up having to use a planer to take the excess off. Very happy with the way it turned out - just have to train the kids to put their shoes away now instead of all over the floor :)

Built from Plan(s)
Estimated Cost
$100 (Australian)
Estimated Time Investment
Week Long Project (20 Hours or More)
Finish Used
I mixed some paint together that I had leftover from other projects to get the colour I was after and made up some chalk paint. I had never used chalk paint before and was very pleased with the outcome. I lightly sanded and paid more attention to some areas more than others to give a slightly distressed look then applied a coat of wax.
Recommended Skill Level
Intermediate

Comments

suschen

Mon, 01/13/2014 - 07:46

This looks amazing! Do you have photos of what it looks like open? Which plan is this based off of?

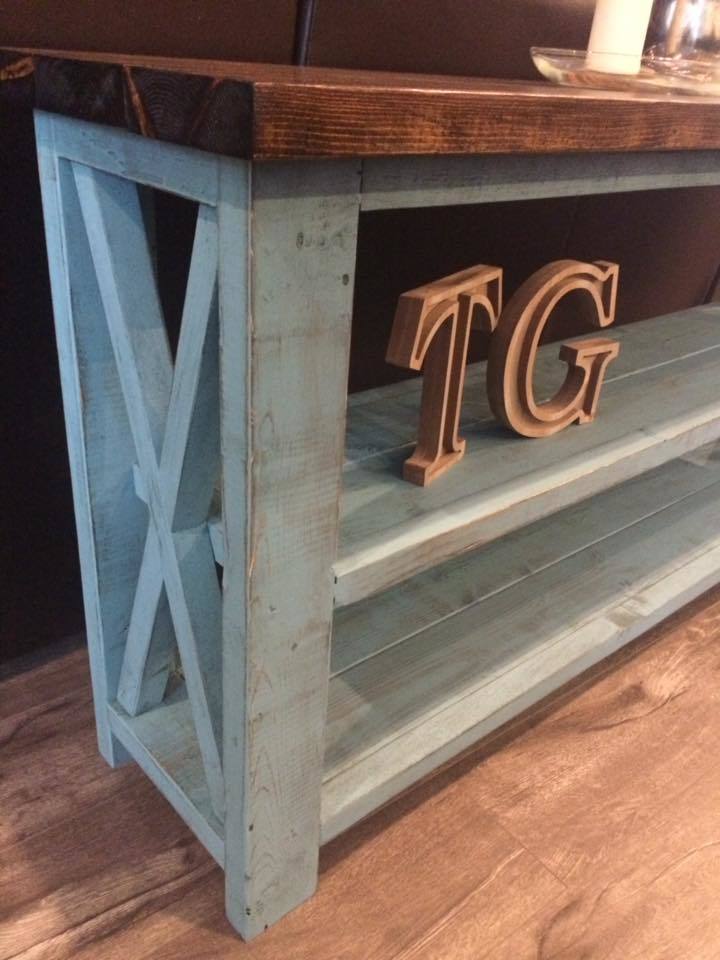
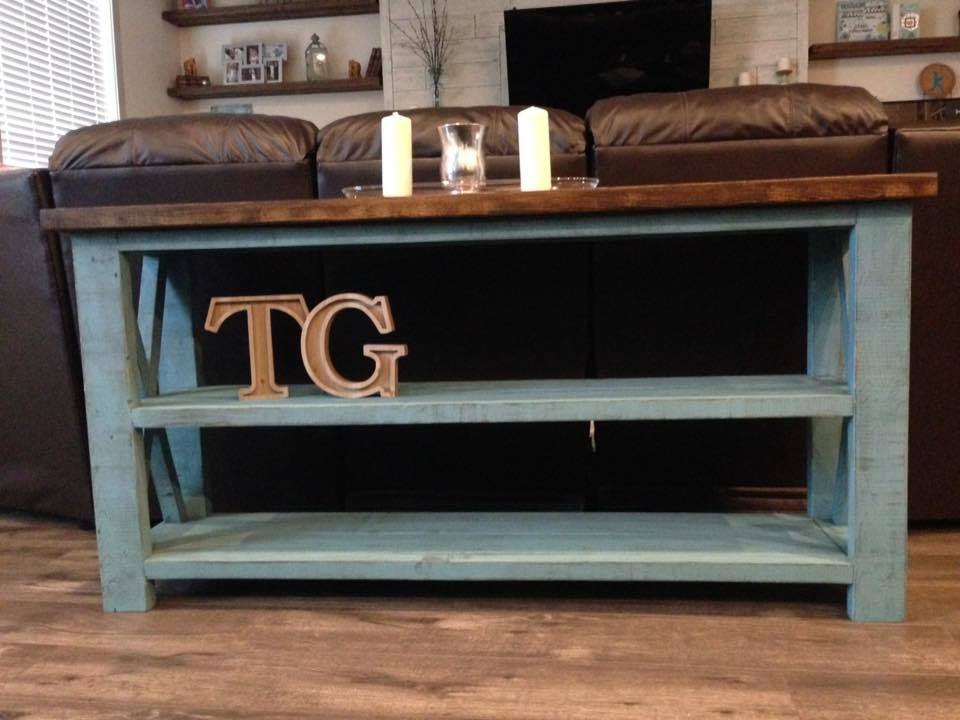
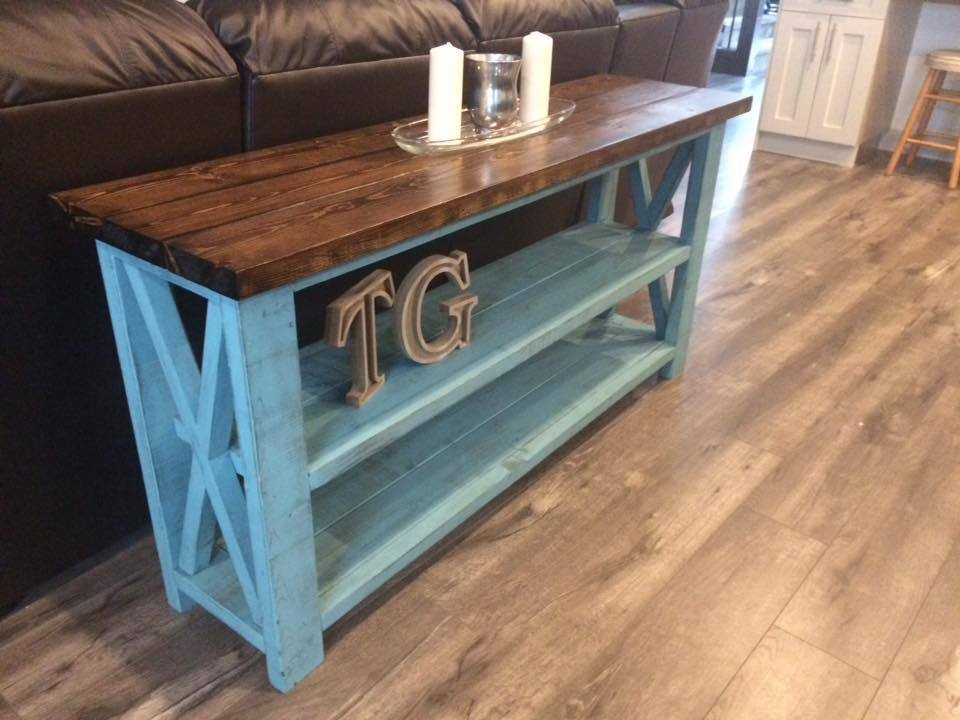
Modified Rustic XX Console Table

Submitted by Anonymous (not verified) on Sat, 04/02/2016 - 16:07

I wanted a smaller table than the plans called for, so I built this one at 51 inches. The side design is slatted rather than built with an X. I love the more modern look with this mission-style modification. This was my first build and I'm pretty happy with it and how easy these plans were to follow.

Built from Plan(s)
Estimated Cost
$100
Estimated Time Investment
Weekend Project (10-20 Hours)
Finish Used
DIY chalk paint and vinegar stain.
Recommended Skill Level
Beginner

A wee Bunk Bed for a Birthday

Submitted by doorcrazy on Sun, 03/25/2012 - 06:57

We have a lot of birthdays (5-6 year old range) this week so we decided to try some of these plans out. So much fun and they get easier each time :)

Estimated Cost
20
Estimated Time Investment
Afternoon Project (3-6 Hours)
Finish Used
Just some extra pink paint I had lying around
Recommended Skill Level
Beginner

Bunk Beds with Steps

Submitted by dja on Sun, 01/12/2014 - 19:16

Well, this is my first post and my first real project. Bunk beds out of knotty Pine that can be used as single beds when the kids no longer want to share a room. I wasn't willing to spend $1500-$2000 on bunk beds when I knew I could make some myself. So here it is, I would do it a little different if I was too do it again. I know it's not perfect, but I'm proud of it.......always room for improvement.

Estimated Cost
$500-$600
Estimated Time Investment
Weekend Project (10-20 Hours)
Recommended Skill Level
Starter Project

Comments

Child's Picnic Table/Sandbox

Submitted by Anonymous (not verified) on Tue, 04/05/2016 - 06:20

I saw this on pintrest and took the big Kids picnic table and modified it to include a removable top and sandbox.

Built from Plan(s)
Estimated Time Investment
Afternoon Project (3-6 Hours)
Recommended Skill Level
Starter Project

Christmas Tree Shelf

Submitted by shelberrrs on Wed, 12/11/2019 - 01:45

Made this for my MIL as part of her Christmas gift! It was a quick, easy and fun build. I’ll update photos once she hangs it and add her decor

Built from Plan(s)
Estimated Cost
$30
Estimated Time Investment
An Hour or Two (0-2 Hours)
Finish Used
Briarsmoke
Recommended Skill Level
Beginner

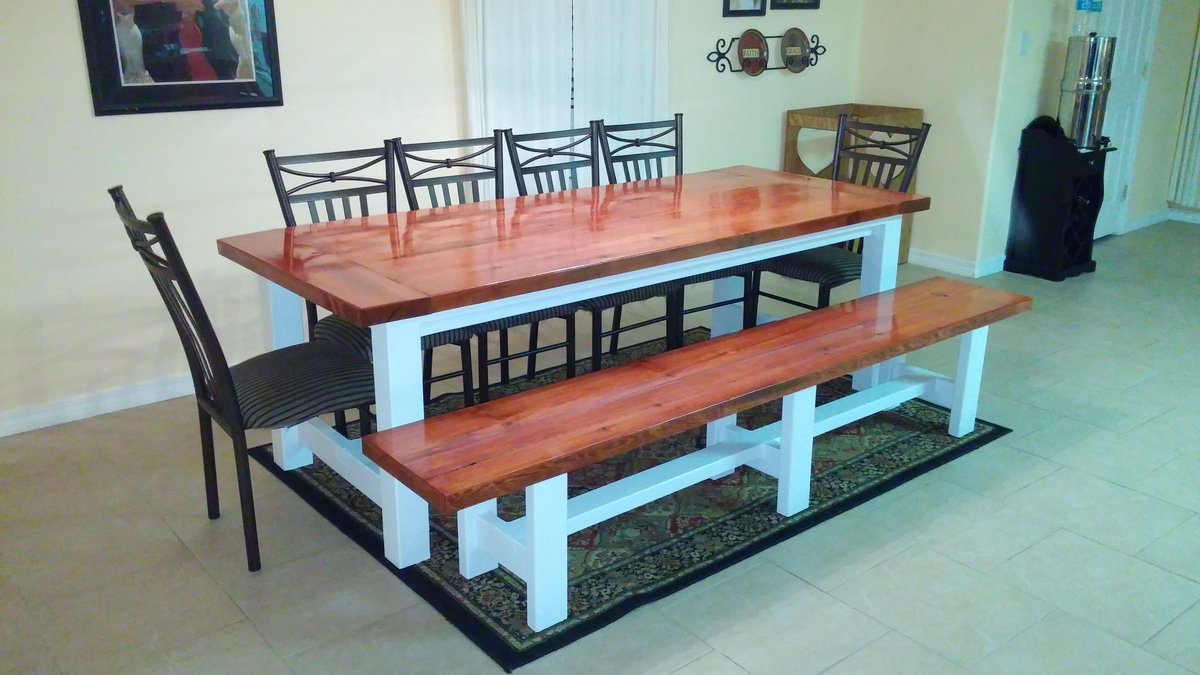
Farmhouse Table-First Project = Big Success!

Submitted by dianek on Wed, 03/28/2012 - 20:43

This was our first project; and definitley and inspiration to do more. I am so excited to have this in our dining room. Project took about 8 hrs to build and 4-5 days to stain and poly. We used a Gunstock stain with 2 coats of Walnut over that.

Overall cost was about $150 with wood, stain, materials and poly. We ended up working with 2 types of wood (yellow & white pine) which proved frustrating as we tried to match the stain color. All ended up OK after a couple of trial and error on some scrap wood.

I can't wait to make the matching benches. Thanks Ana!

Estimated Cost
$150
Estimated Time Investment
Weekend Project (10-20 Hours)
Finish Used
Stained
Recommended Skill Level
Beginner

Comments

ferbit

Fri, 03/30/2012 - 10:01

Gorgeous table!!! I can't believe this is your first project! Yay! Now it'll never end! Ha! My husband thinks I'm nuts - I want to build everything!

I wish I had used Pine instead of Hemlock. I made a table very similar to this, but my HD only carries 2x stock in hemlock. Apparently Lowes carries 2x pine. I like the sharp square edges of pine better. Hemlock has rounded edges. Blah blah blah, your table looks awesome!

Farmhouse Table

Submitted by johnandash on Wed, 01/15/2014 - 12:47

My husband surprised me with a big pile of wood in the garage on Christmas morning. 3 weeks later, this beautiful table is in my kitchen. The pictures do not do it justice - it turned out amazing. We have plans to make the matching bench when it warms a bit - our garage is freezing!

It took at least 20 hours to cut the wood, sand and assemble. It took another 10+ plus hours to stain and put 3 coats of the polyurethane.

The great people at Orange cut our wood for us, and we took it home and notched it out using a jigsaw. Once we got the hang of it, it was really easy.

We had a hard time finding 2 3/4 screws, so we used 2 1/2. It worked great. We used Elmer's Carpenter's Wood Filler in natural to fill the screw holes. It turned out so nice and looks great with the stain on top.

Neither my husband or I have very much experience building anything, so we took our time - measuring about 60 times and cutting once. However, it paid off. The table looks so great and I cannot wait to make the matching bench!

Estimated Cost
Around $250 (including stain and polyurethane)
Estimated Time Investment
Week Long Project (20 Hours or More)
Finish Used
Minwax English Chestnut 233 - wiped on with a cotton cloth
Minwax Polyurethane Clear Semi-Gloss - brushed on with a Purdy brush

We left the stain on, without wiping any off - 1 coat.
3 coats of polyurethane
Recommended Skill Level
Beginner

Tardis Murphy Bed

Submitted by alleysrats on Thu, 04/07/2016 - 19:40

I took the original plan design for a Murphy bed - it was inspired by a Dr. Who themed bed that used a Murphy Bed Kit - I've used Ana White's plans before and thought why spend $$$ on a kit when you don't have to.  I few trips to the store and a weekend later I have my very own Tardis Murphy Bed.  It cost about $140 to build not including the mattress and accessories cost (light kit/upholstery panel/police box sign etc) I raised it up about 4" to attach legs and added some puck lights for a lighting effect.  I think it came together rather nicely.  I just have to add handles and the magnetic closures and it will be all done.


It took me all weekend to build by myself - had my brother help me with mounting the mattress box in the cabinet.  I would suggest having wood cut at the lumbar yard as it is difficult to cut the 8 and 12" boards unless you have a bigger table saw that I do.

Estimated Cost
$140 not including accessories which added about another $40 to cost. Mattress was additional $180.
Estimated Time Investment
Weekend Project (10-20 Hours)
Recommended Skill Level
Beginner

Comments

Free- Standing Faux Mantle

Submitted by Anonymous (not verified) on Sun, 12/15/2019 - 19:25

I added a 1x12 as a base so that it could be free-standing, in case we ever want to move it to a different spot. I also added an insert by gluing slices of tree branches to a piece of plywood . This was a fun, quick and easy project, even for a relative beginner. I love the character it adds to this room!