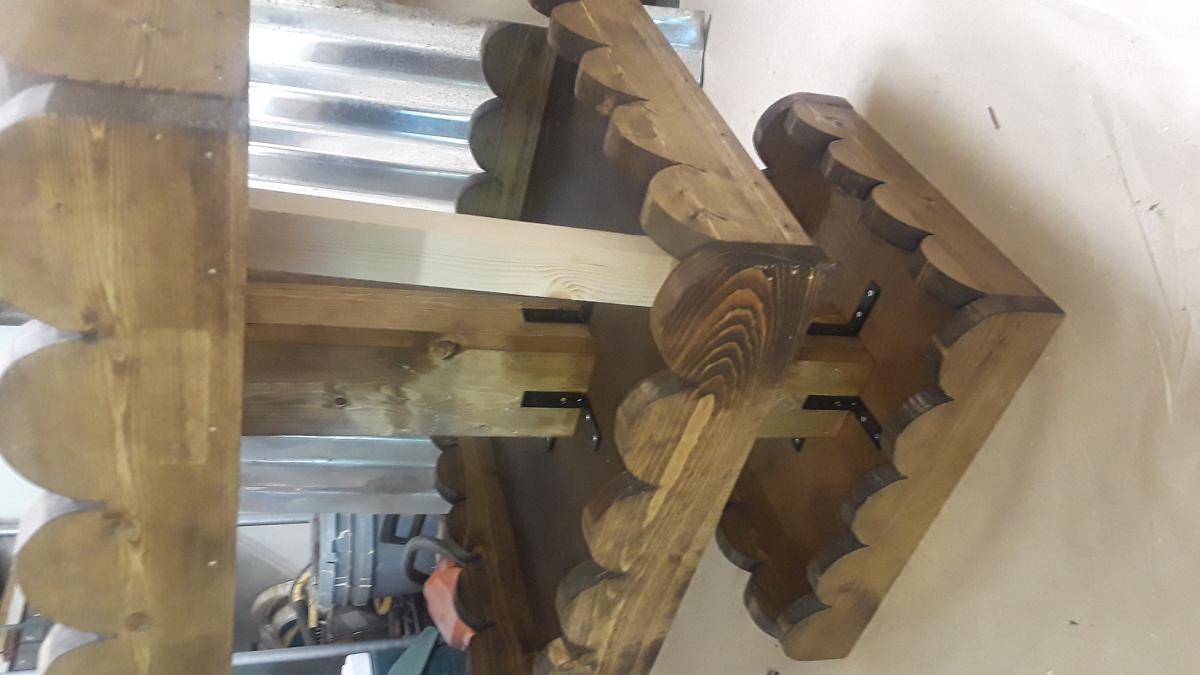
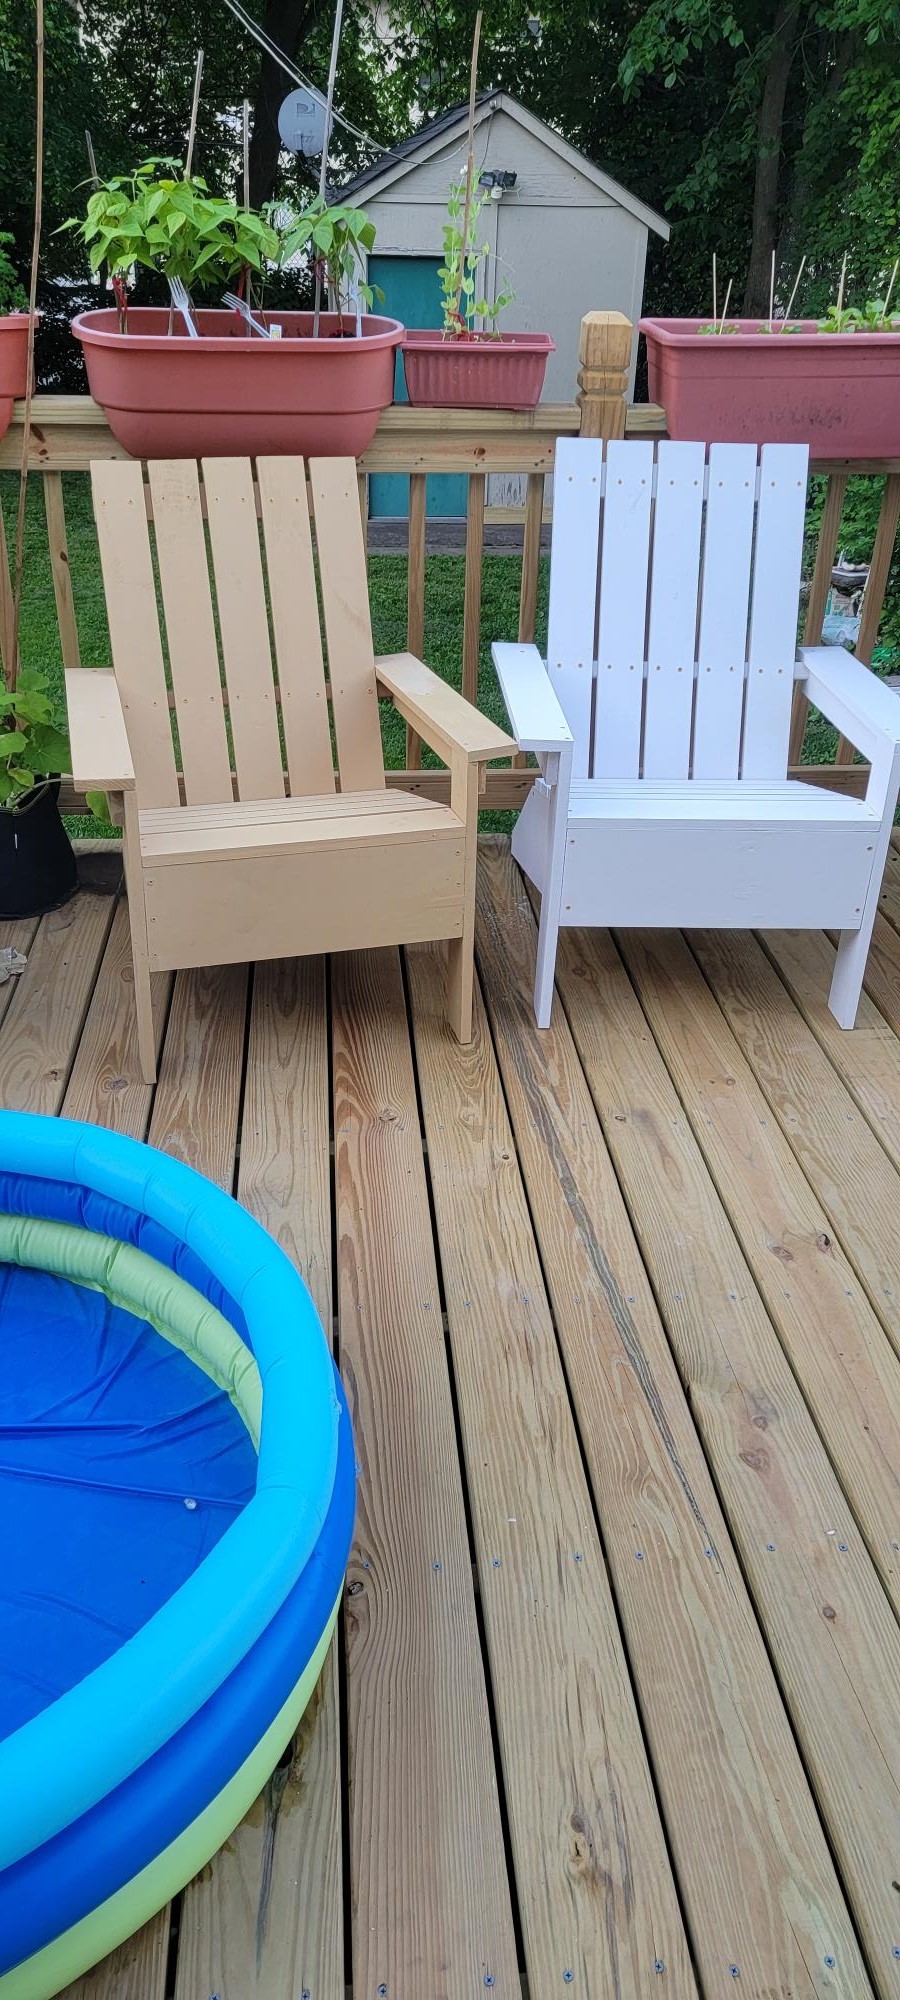
Reclaimed lumber Adirondack chair
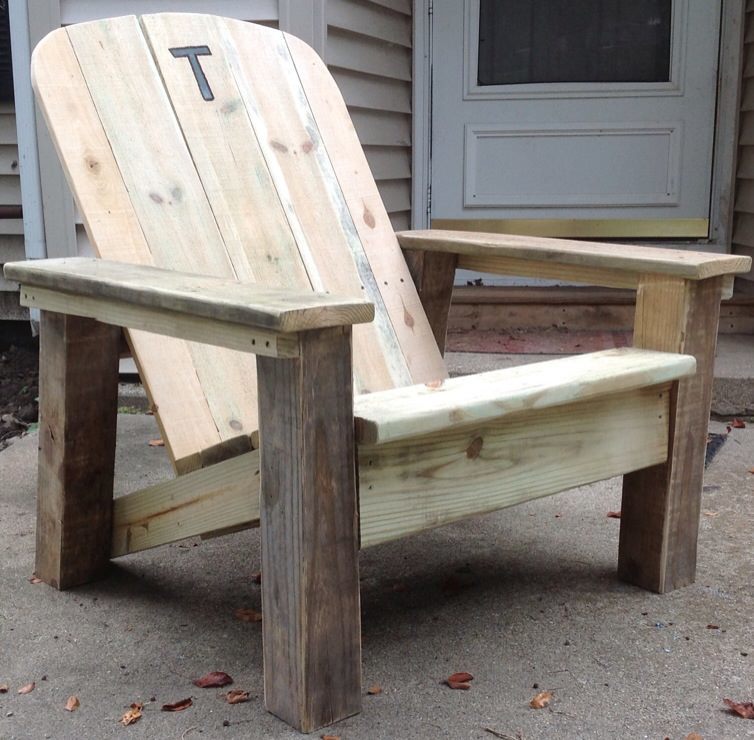
For my brother's 35th birthday, I helped him build a fence and side deck on his house. Using the leftover lumber scraps and screws, I adapted the DIH Adirondack chair plans to build this for him. He wanted a big, sturdy chair with a wide arm rest that looks "rustic". I used 4x4 and 2x4 post scraps, deck boards, and fence pickets. I also widened the seat just a bit for comfort. This is definitely the perfect chair for him!
Built from Plan(s)
Estimated Time Investment
Afternoon Project (3-6 Hours)
Finish Used
Since it's all treated lumber, we'll just seal it whenever we do the deck with Thompson's Water Seal.
Recommended Skill Level
Beginner


Comments
Ana White
Thu, 08/08/2013 - 14:47
This chair is wonderful!!! I
This chair is wonderful!!! I love the mods - really something special! Thanks for doing this project and sharing! Ana
rkyount
Fri, 08/09/2013 - 14:38
Thanks! I always enjoy
Thanks! I always enjoy building with your plans, and it was a bonus that I didn't have to buy anything to build this, since I used leftover materials.