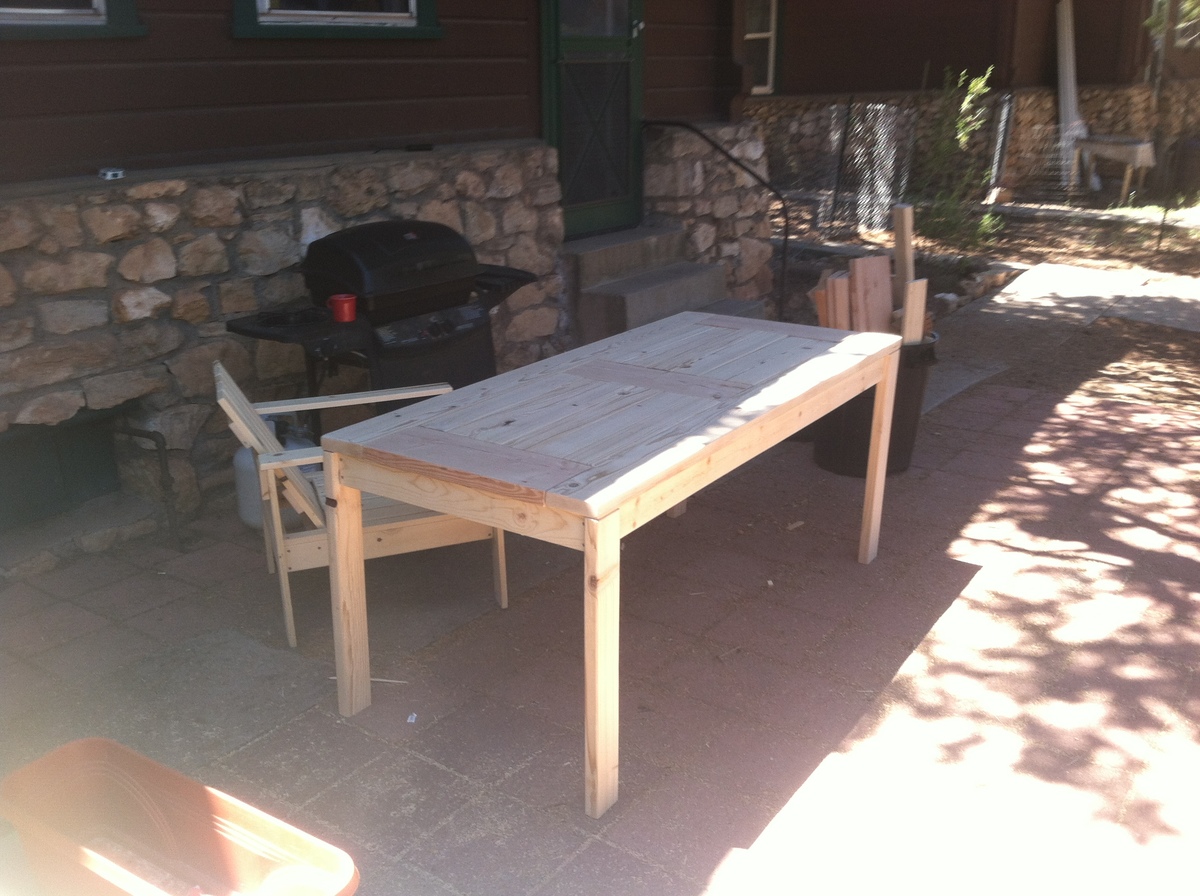
Stair Spindle Stocking Holder
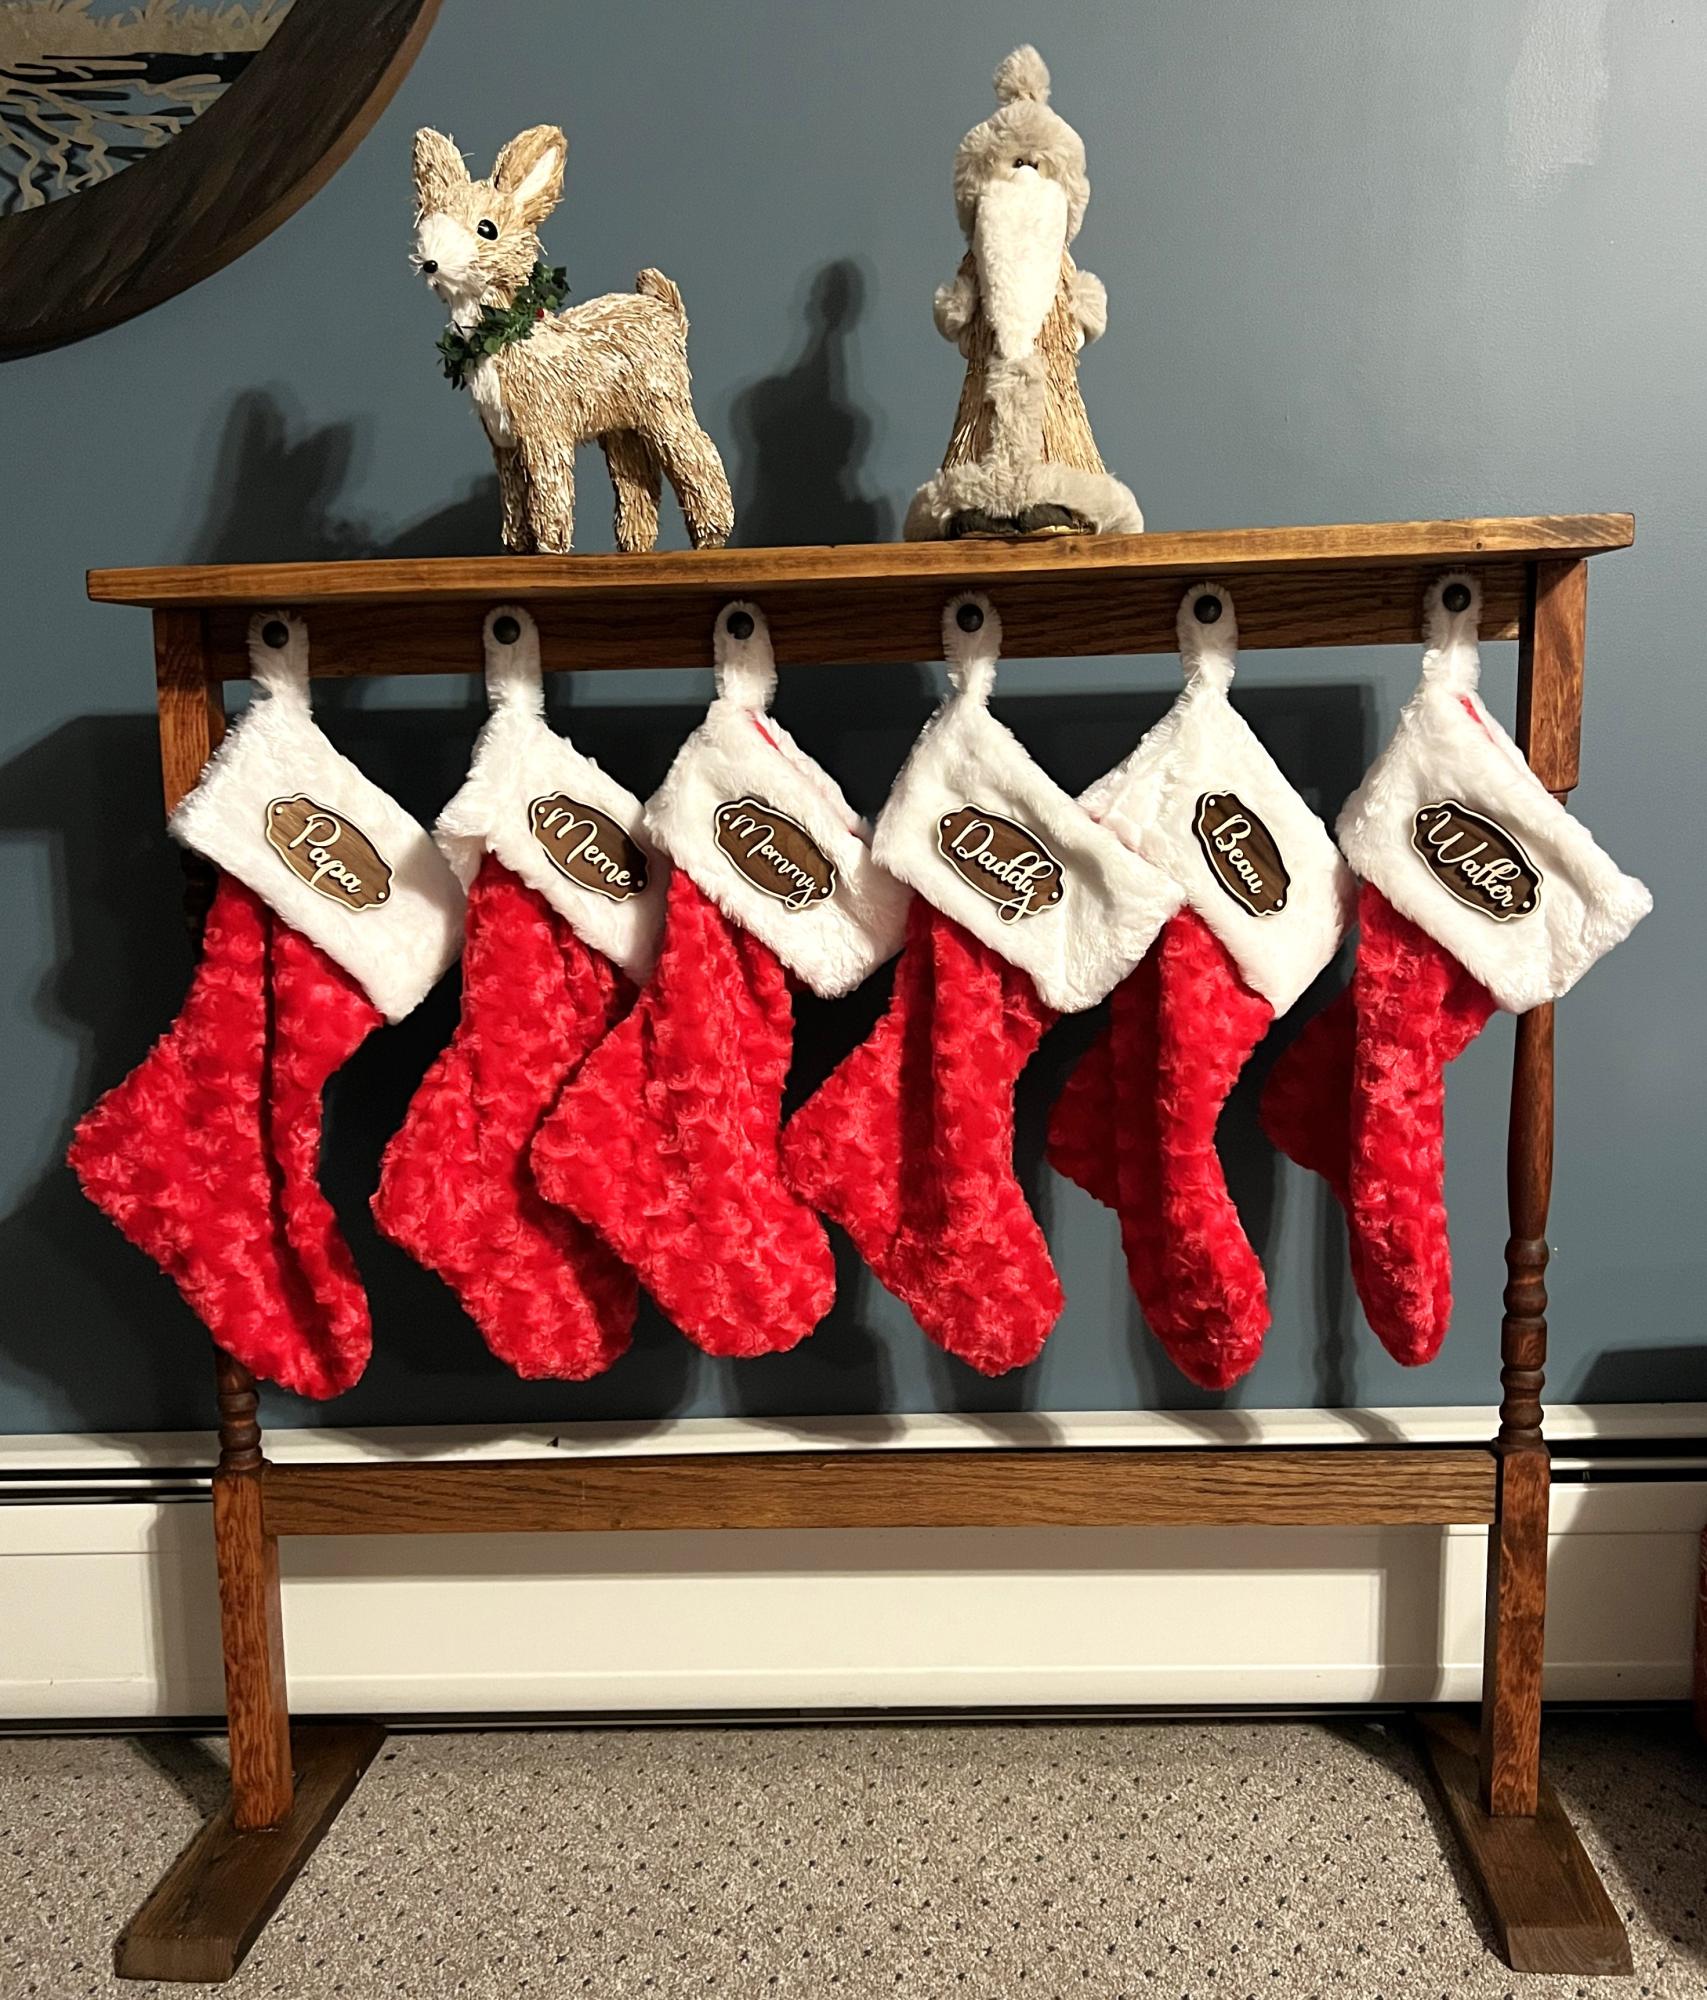
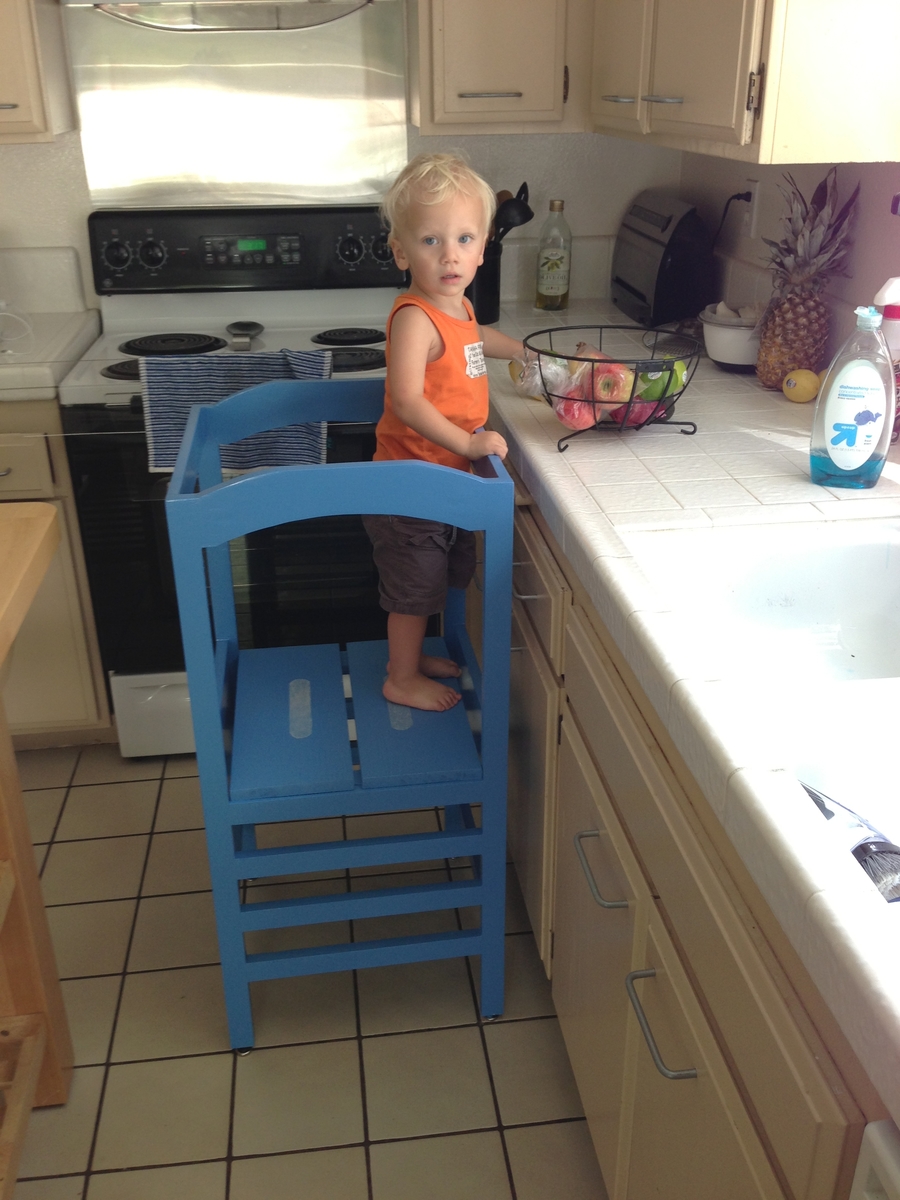
I was inspired by the Christmas stocking holders, so built my own from all scrap wood.

I was inspired by the Christmas stocking holders, so built my own from all scrap wood.
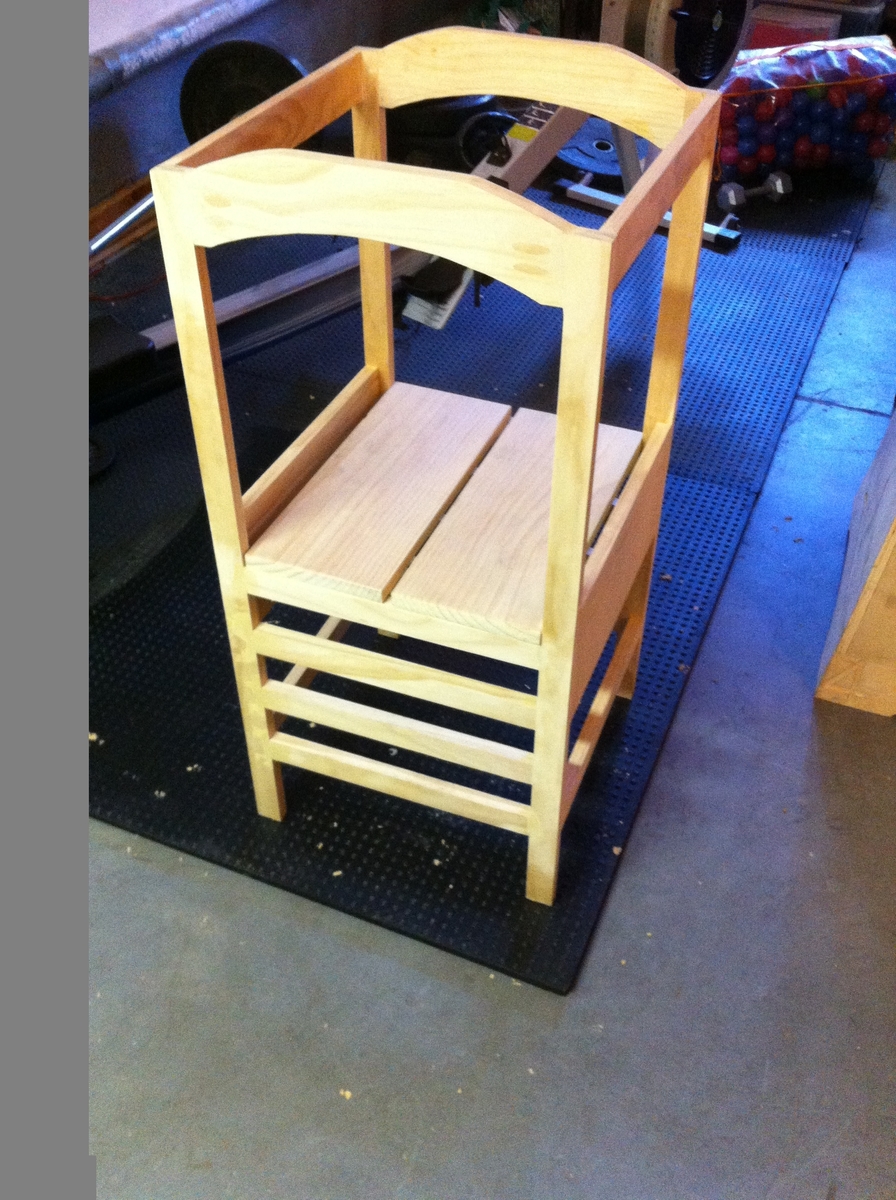
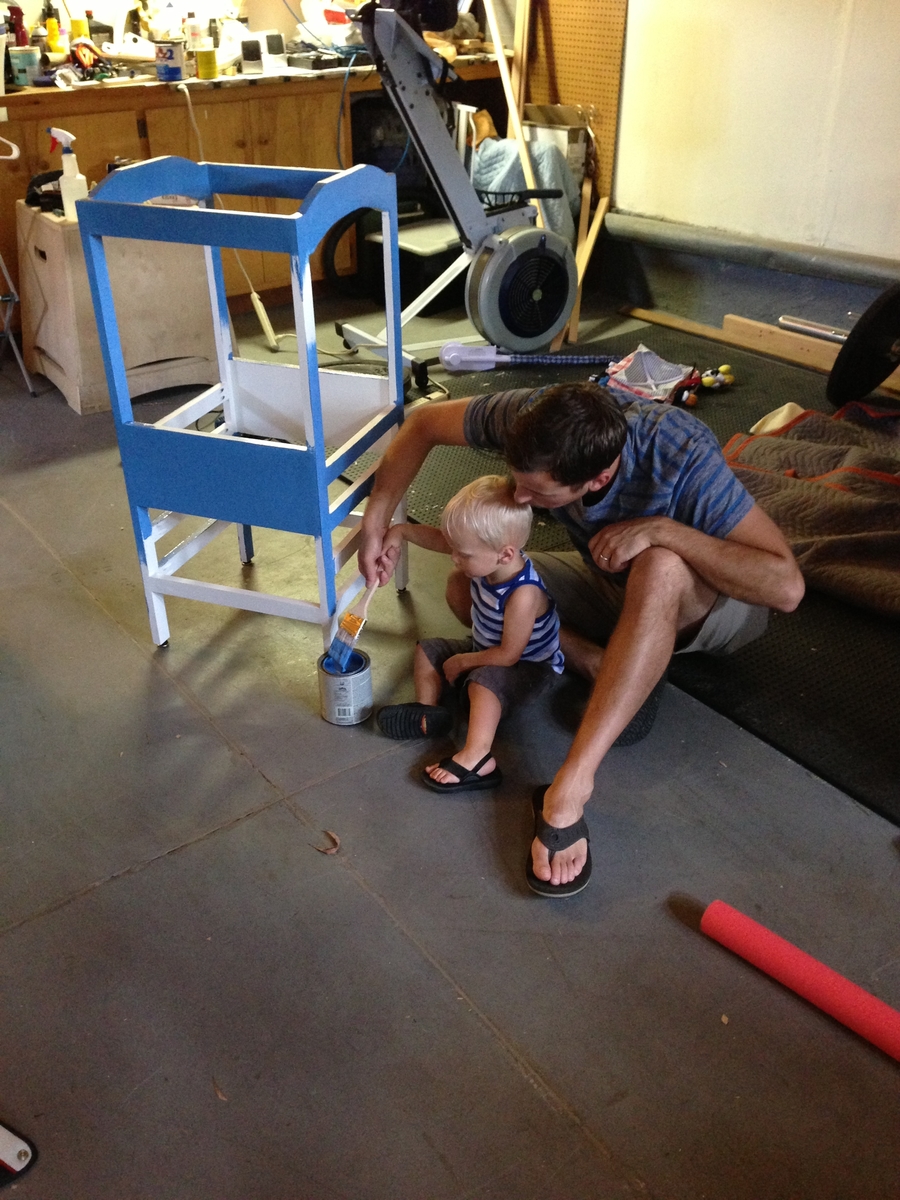
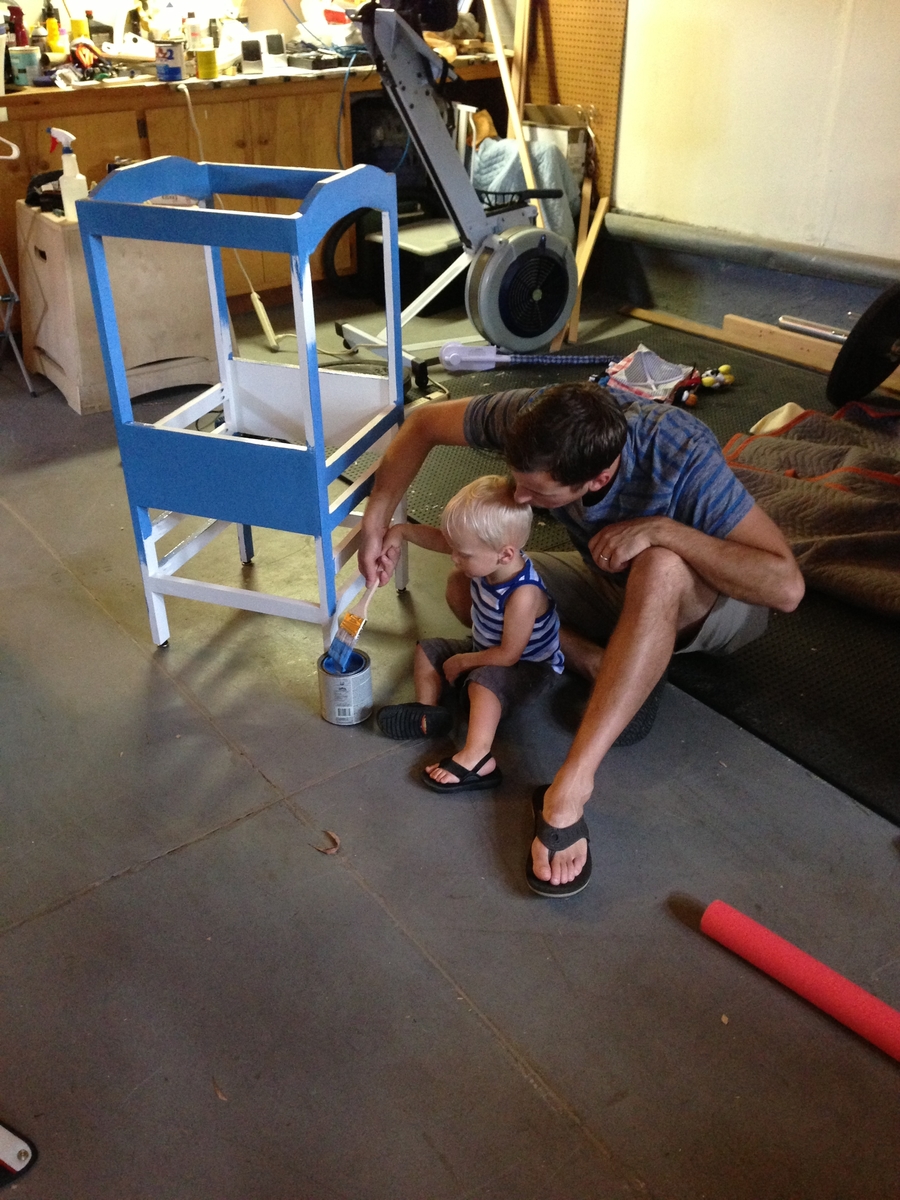
Actually building this tower was considerably easier than finishing it (primer, paint, wood filler sanding). 4 hours to build 16+hours to finish!
Once I had the tower built, I used the pre-made Kregs pocket-hole wooden fillers to fill the pockets. I glued them in place with wood glue, and then used a chisel and orbital sander to get them flush. In a few areas, I had a small 1/64" discrepancy in surfaces, so used the wood filler and then sanded it smooth. I deviated from plans by making my arches a little different with flattened tops; it was easier with my jig-saw this way.
I took my cut-list to Home Depot and had them make all my cuts with their laser sight radial saw (super clean cuts) Achieving clean-cuts requires a nice saw, I almost bought the Bosch table saw to build this little guy. Considering that I never built anything before, I quickly found out that furniture, especially small furniture requires a lot of patience to look good. Spending a few extra hours making sure everything is square, flush etc. will prevent a ton of finishing work later on.
Once I had the tower built and all my pocket-holes filled and sanded, I primed twice with Kilz II. I waited about 2 hours between the coats and made a few wood filler adjustments in between coats. I then used Olympic Latex and painted (2) coats with about 8-10 hours in between.
Extras
•I religiously put (2) Kregs pocket holes on every joint, the stability is incredible!
•I went to the local skateboard shop and purchased some clear grip tape to add a little extra grip to the footboard.
Recommendations:
•A nice saw or a mediocre saw with a good blade OR someone else with a nice saw make the cuts for you.
•A few extra bucks on the “Select” pine wood. The nicer wood probably only cost an extra 20 bucks.
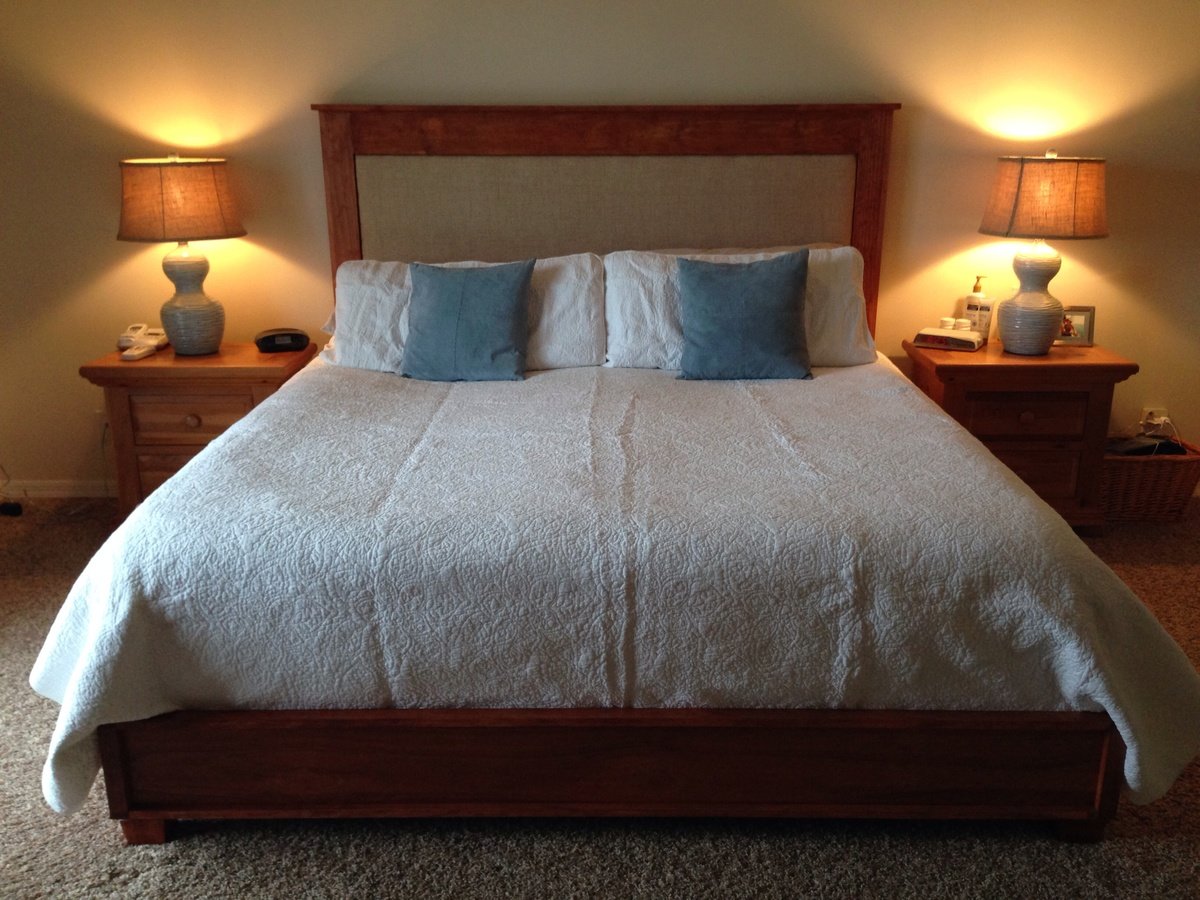
After 16 years of marriage our bed literally fell apart. Rather than agreeing to buy a new bedroom set, my husband said I should just build a new bed. It turned out even better than I ever thought it would. I got the platform bed plans from addicted2decorating's blog. Thanks Ana and Shanty sisters for another great plan! I had to modify for the king size and mounted it to the wall because it was HEAVY. I used metal French cleats from HD.
This was the first building project I have ever done. it was easy and fun. The end product is sturdy and looks stylish. I'm very happy with it.
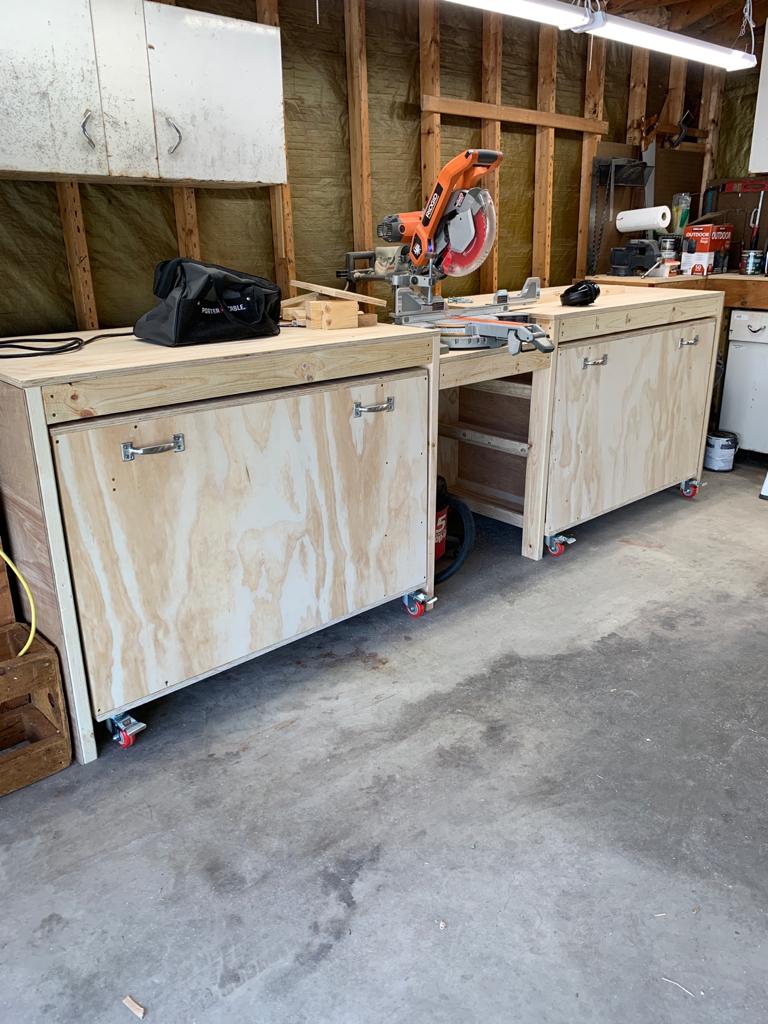
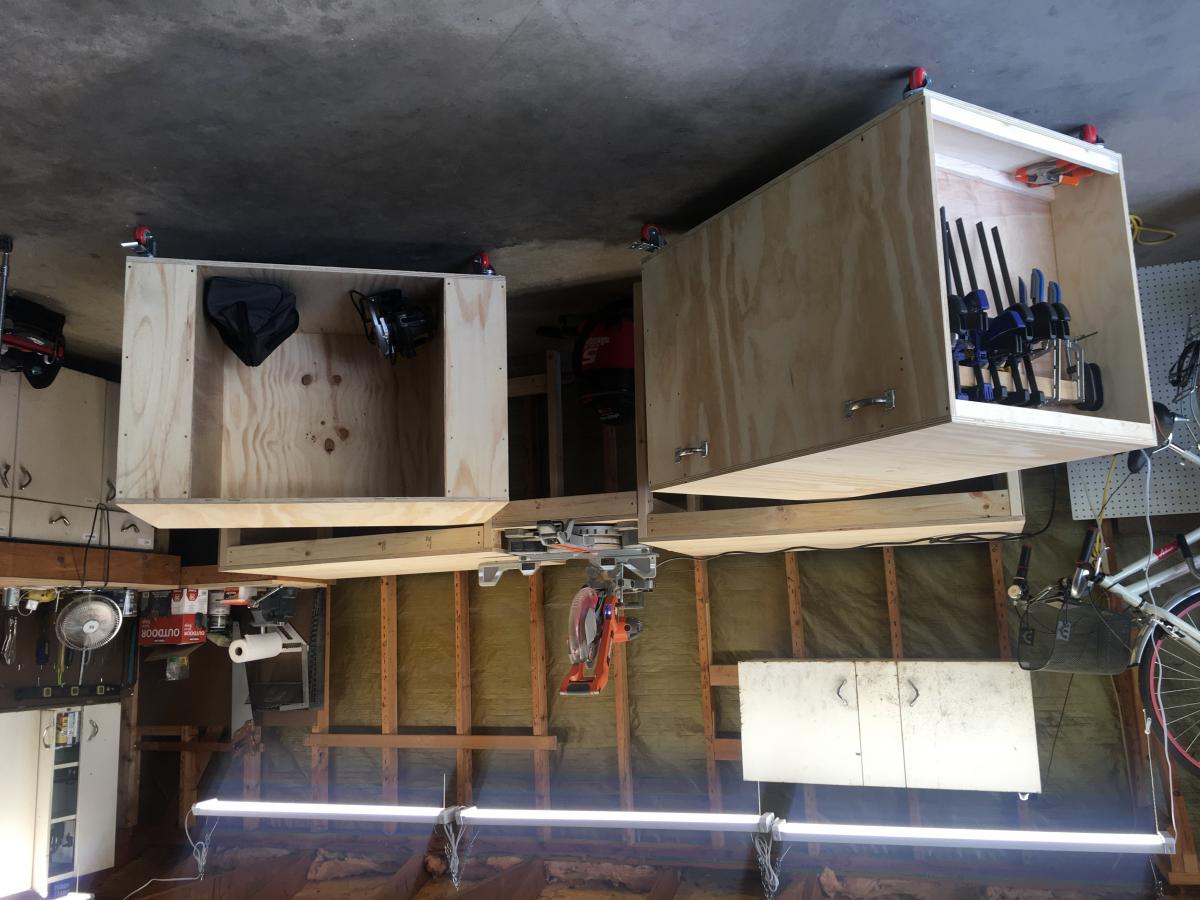
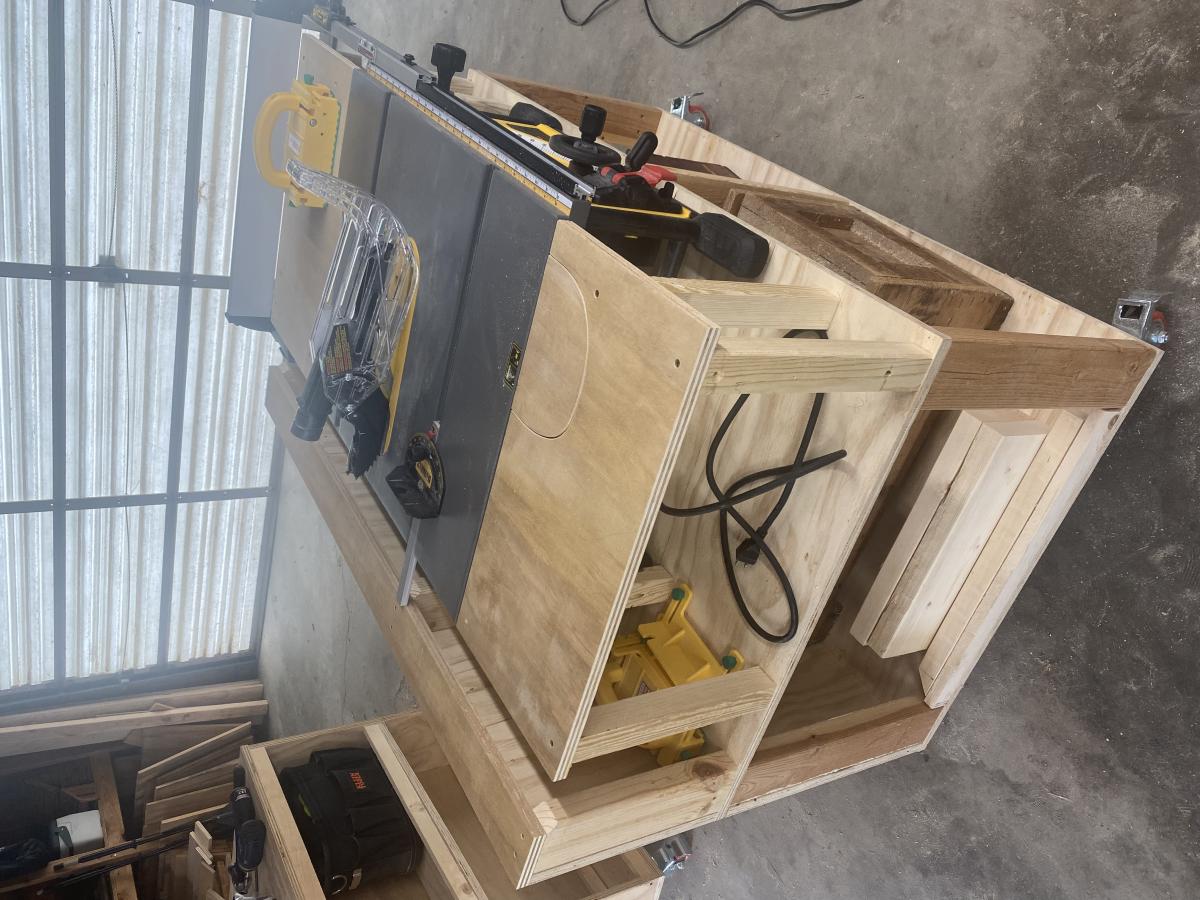
NINE MONTH UPDATE: After using the bench for almost nine months, we’ve made some changes. The first is that our table saw, a Dewalt 7491 didn’t fit in the way the plans called for because of the fence. We ended up cutting down and rebuilding the table to make a platform for the saw, then we built three “tables” around it to leave a gap for the fence operation. We also added a curved piece that can be removed to access the riving knife lever.
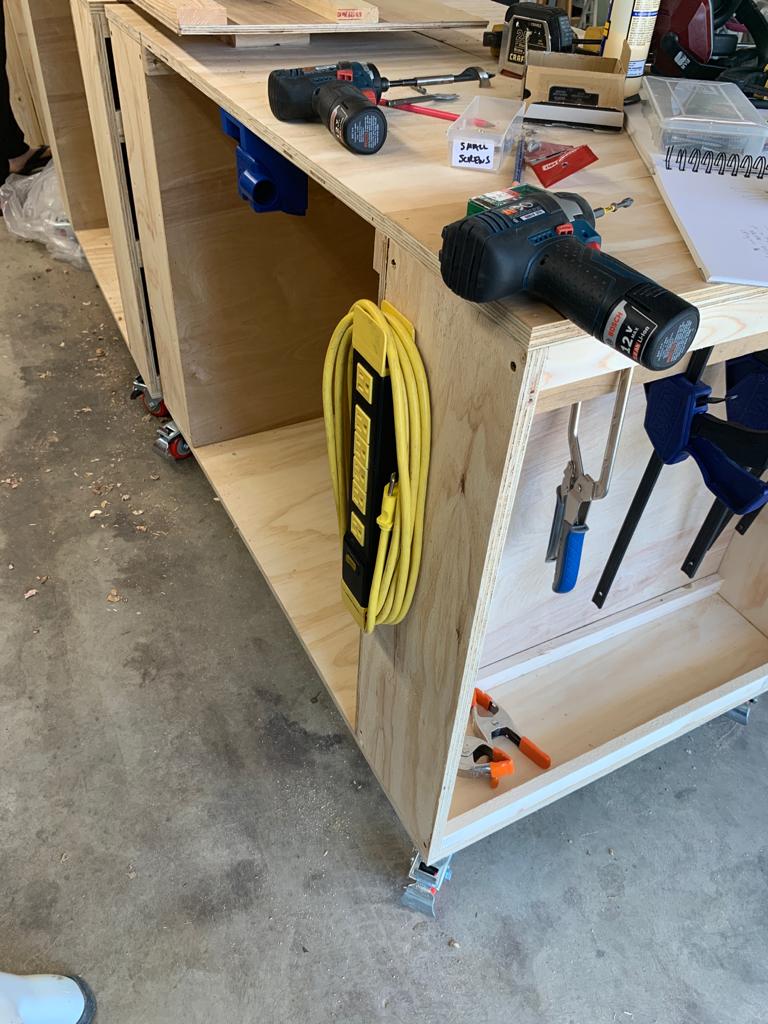
The other change we made was to take out the clamp storage that was in one of the cart ends. When we rolled the cart in and out, the clamps would catch and fall off. We put in another shelf instead.
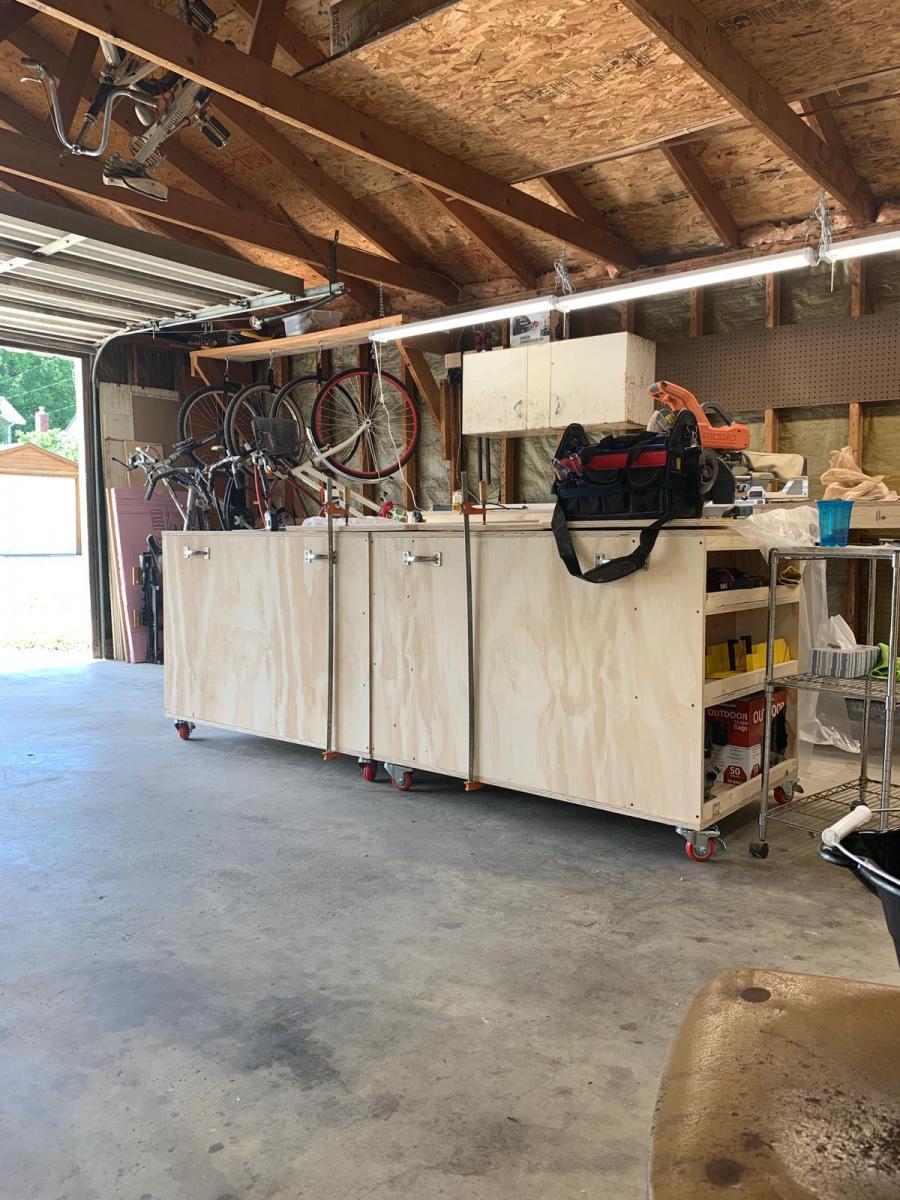
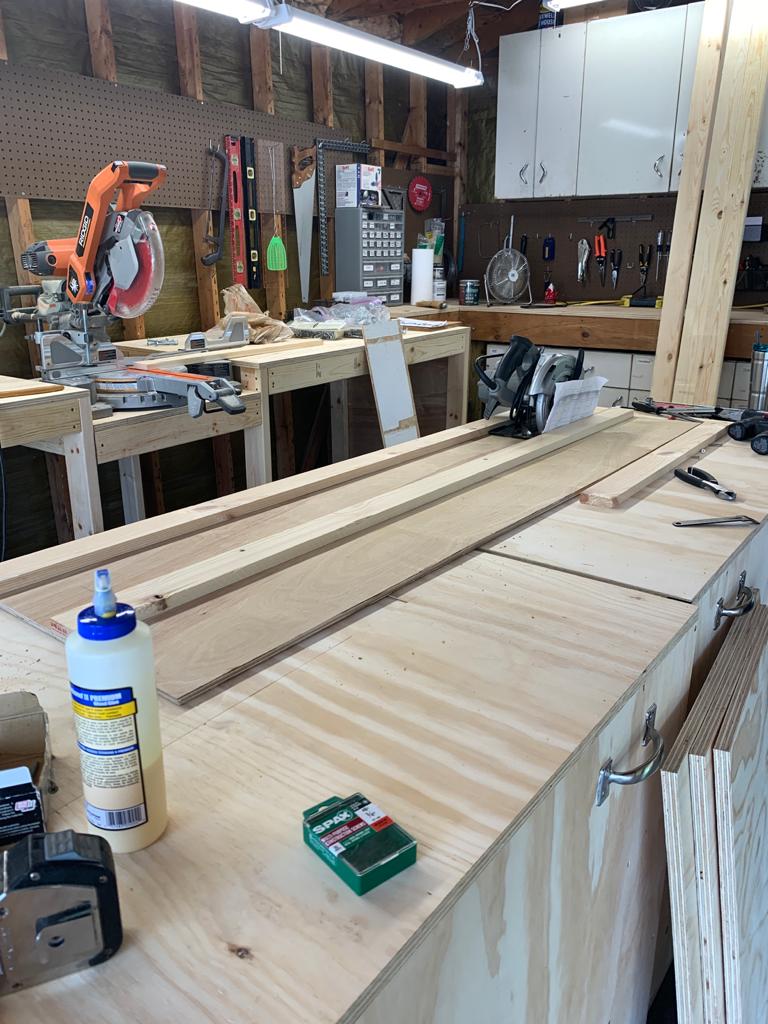
Otherwise, we love the bench. Having the two rolling carts that we can reposition based on where we need a table extension is great. The miter saw stand works perfectly, and our dust collection setup rolls right underneath. We’re also in the process of building a router table that fits in the removable bench room area.
ALSO, sorry for the upside down/sideways pics. It won’t let me remove or fix them.
We made the ultimate roll away workbench with very few changes. Added the clamp hanger on one end as pictured. We didn’t add the shelf under the miter saw, as well be putting a dust collection cart.
We absolutely love the cart.M, now to save up for a table saw. The only change I would like is that I wish the side shelves were a little deeper, more like 10” instead of 8”, so more tools would fit.
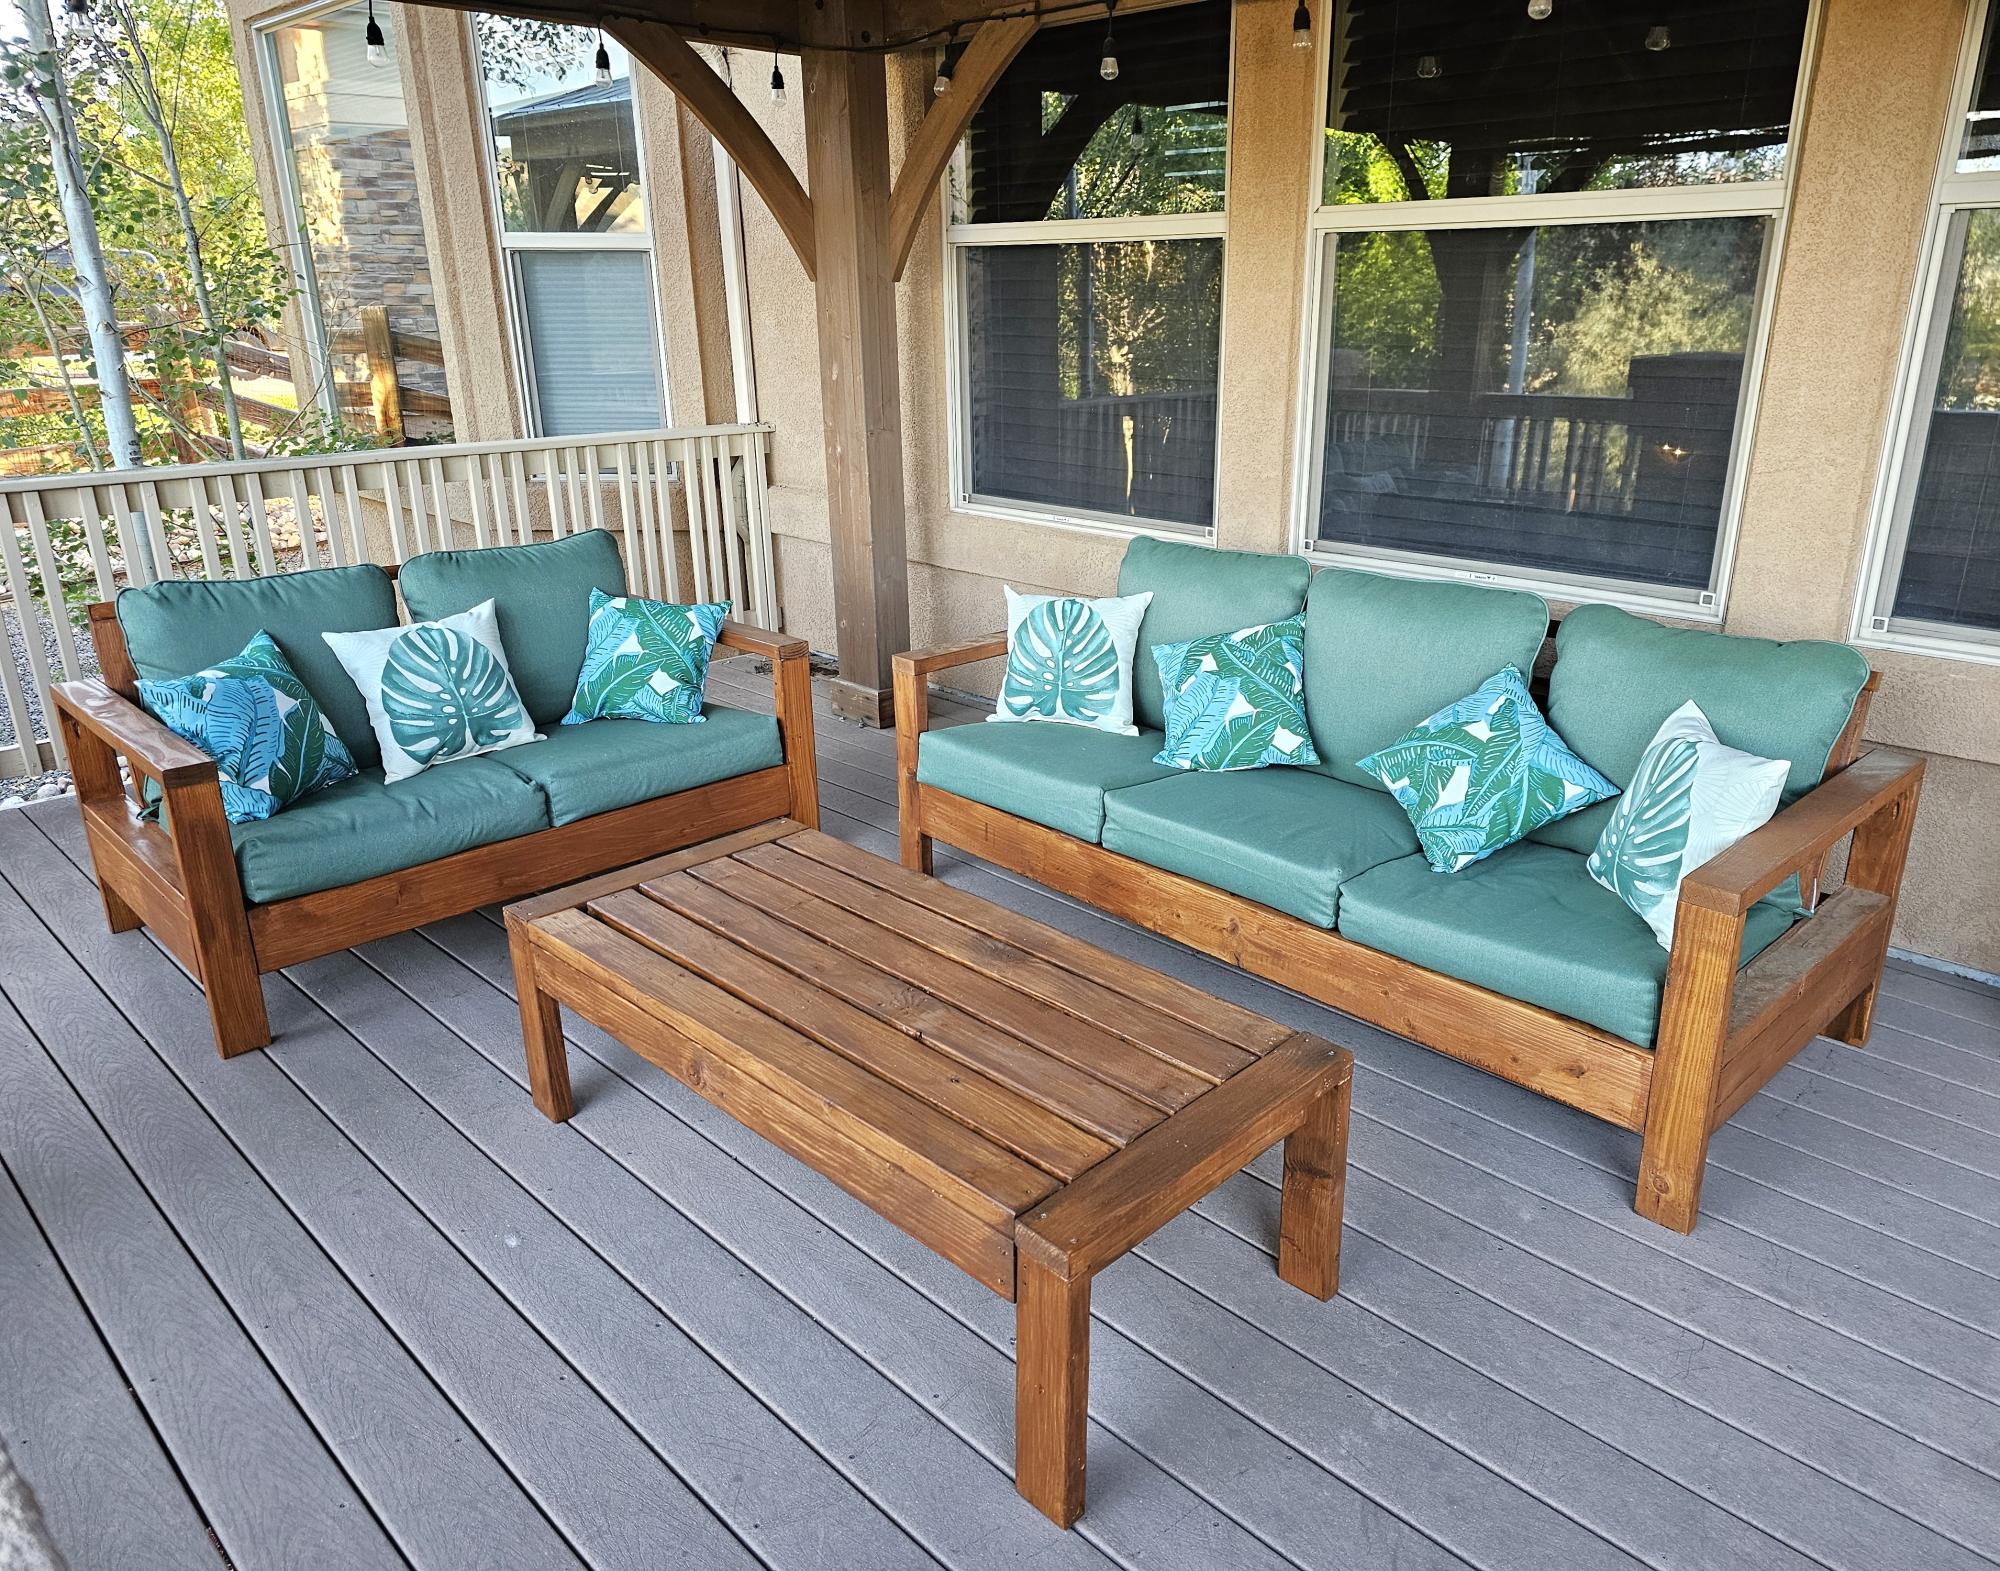
Outdoor modern sofa, loveseat, coffee table.
Melissa H
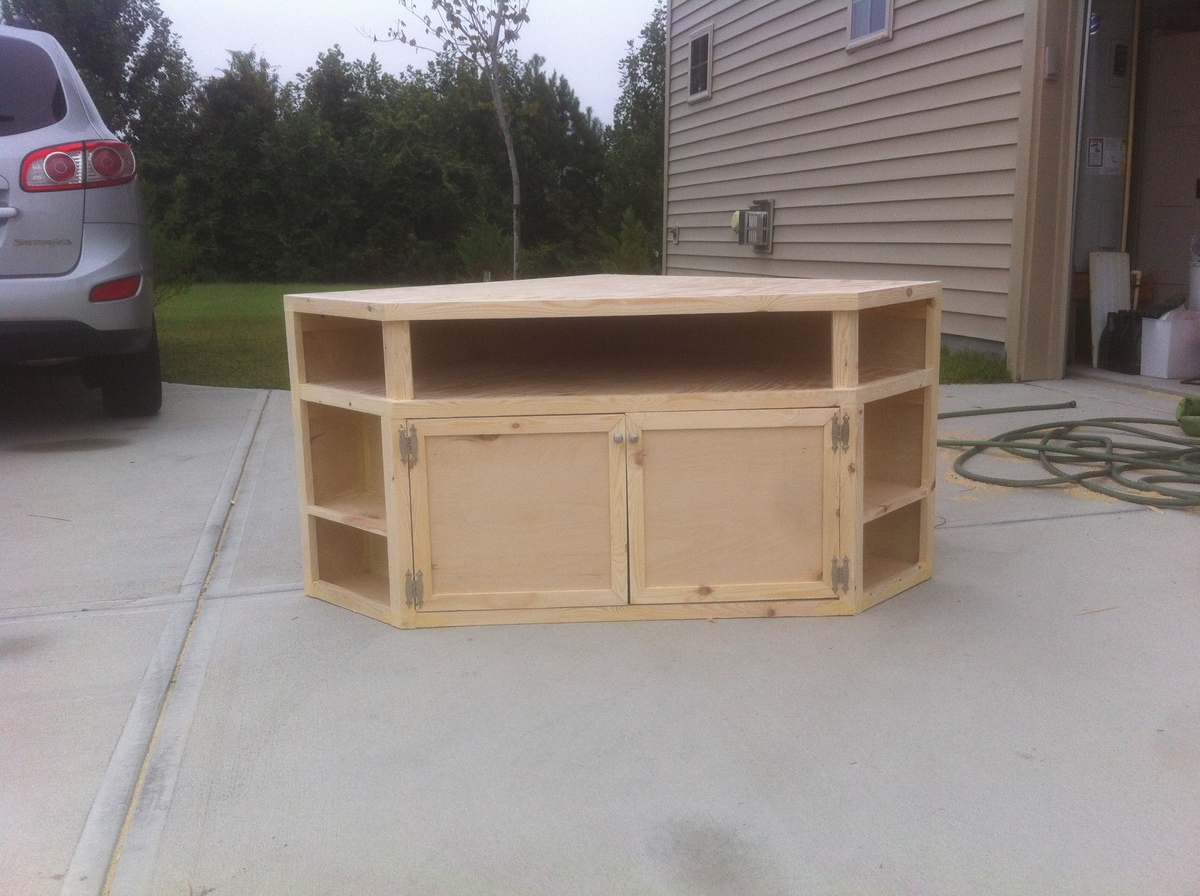
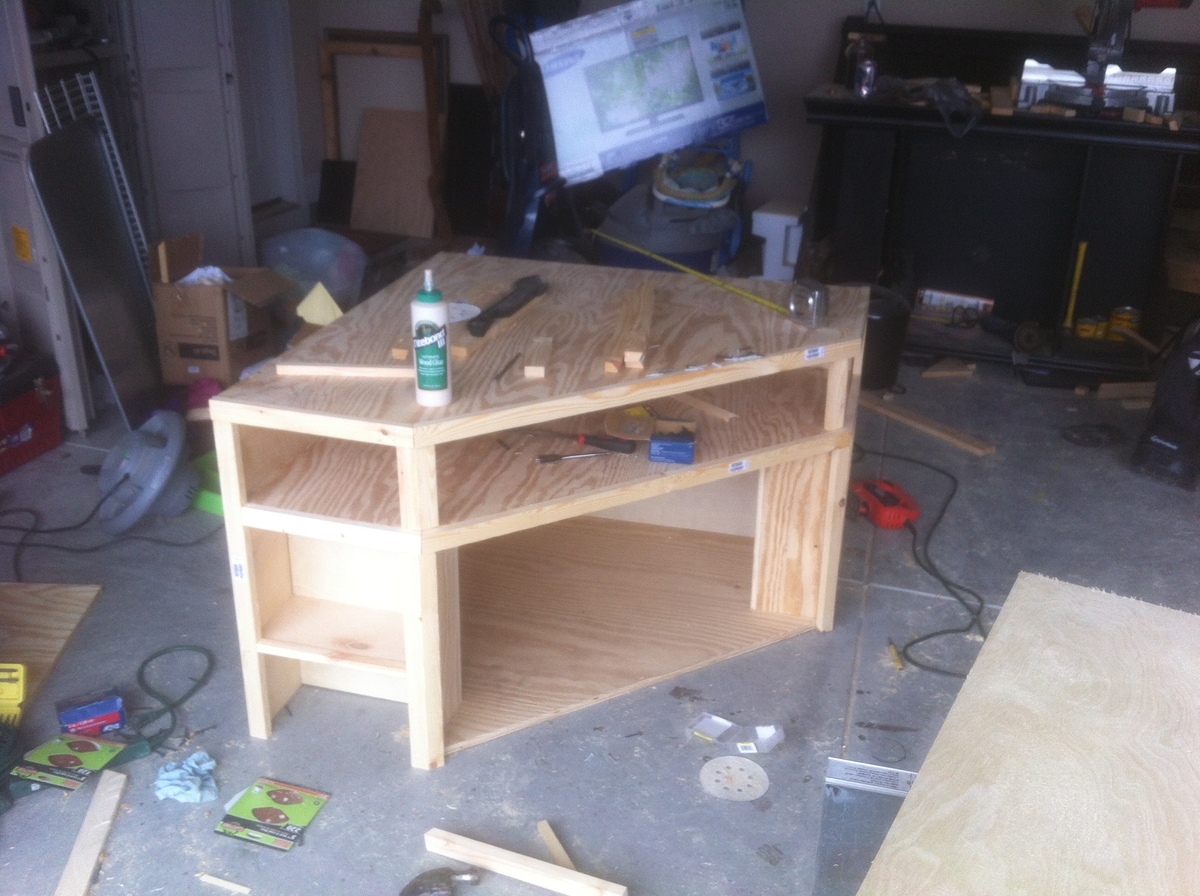
This is a corner entertainment stand. I didn't have a plan to follow so I made it up as I went. The dimensions are 40" L xW and 27" tall. It has a base hidden underneath it help support the weight and is also screwed into wall studs to prevent tipping. The angle for the front cross section is 22.5 degrees. I made this for a friend. She is going to paint it unfortunately. Materials cost only around $120. 3 sheets 3/4" plywood, some 1x2s and a couple hinges and cabinet knobs.
Sun, 01/06/2013 - 04:49
This is REALLY a nice looking corner unit. In our living room, the ONLY place for the tv is in the corner. I have a prebuilt unit now that cost me quite a bit, and we hate it. Its all modern with glass shelves. This corner cabinet is EXACTLY what I want to build. I have a 1 year old so having doors to hide the electronics is a must.
I would VERY much like to build this. Are there any more detailed pictures or a plan I could download? Ive been searching for the last few days an just cant seem to find anything that catches my eye like this one.
Looks great!!
Sun, 01/06/2013 - 06:18
The shelves are made out of premium plywood. For the top, bottom, and the middle shelf, I measured and cut out on pieces of plywood. Then used plywood for the "walls" of the unit. I trimmed it with 1x2s. The doors are also plywood. I just rabbit jointed nice wood for the frame of the doors. Underneath the the TV stand is a 2x4 set back a little bit to give it that floating looking. It is anchored to the wall on the inside of the unit with screws going into the studs of the wall. I hope this makes since.
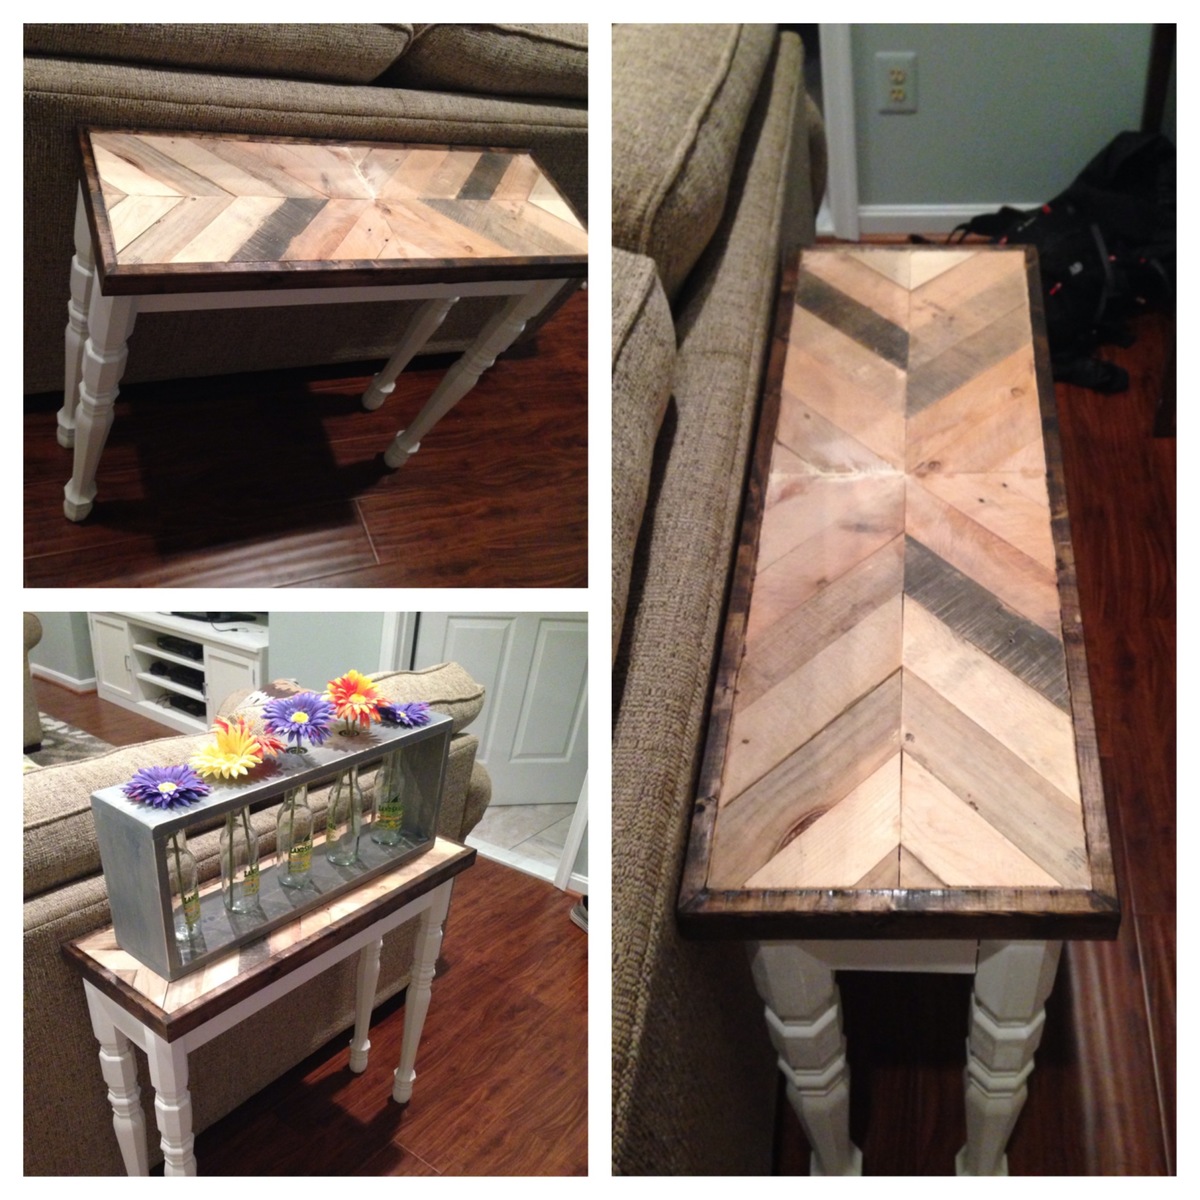
I made this hallway table for my gf's bday. It is really simply apart from taking apart pallets and squaring them off. The project only costs about $40-50, which most of the cost came from the purchasing of the table legs. I angled the pallet boards to be approximately 45 degrees. For this project, I used a table saw to cut, pneumatic brad nailer, tite bond wood glue, kreg jig pocket hole and paint/stain.
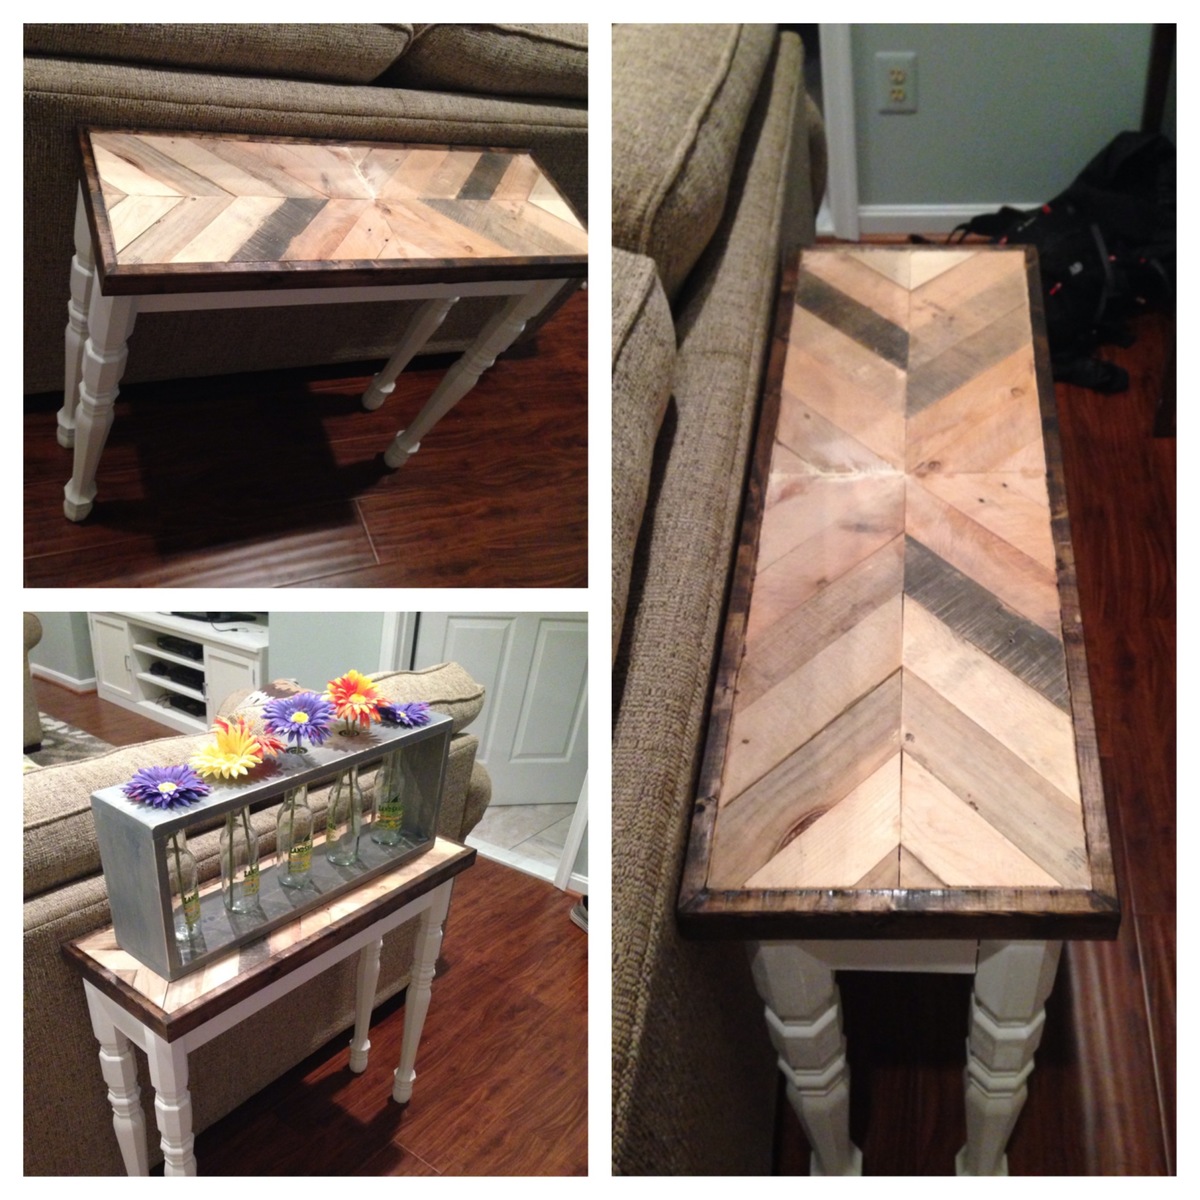
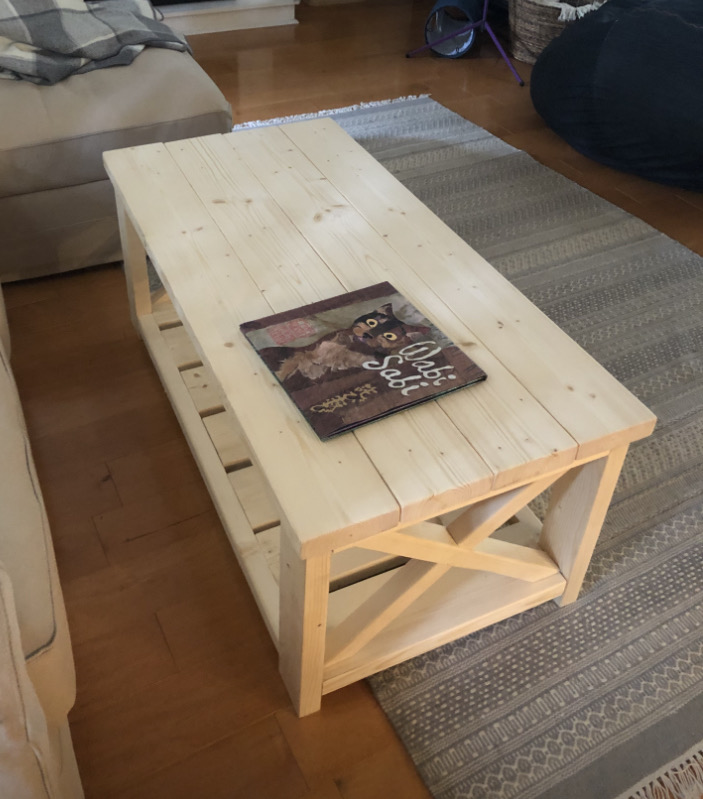
Surprisingly easy! Have received a lot of compliments and it’s sturdy too! Decided not to stain it because we like the look. Very, very happy with this table, thank you!
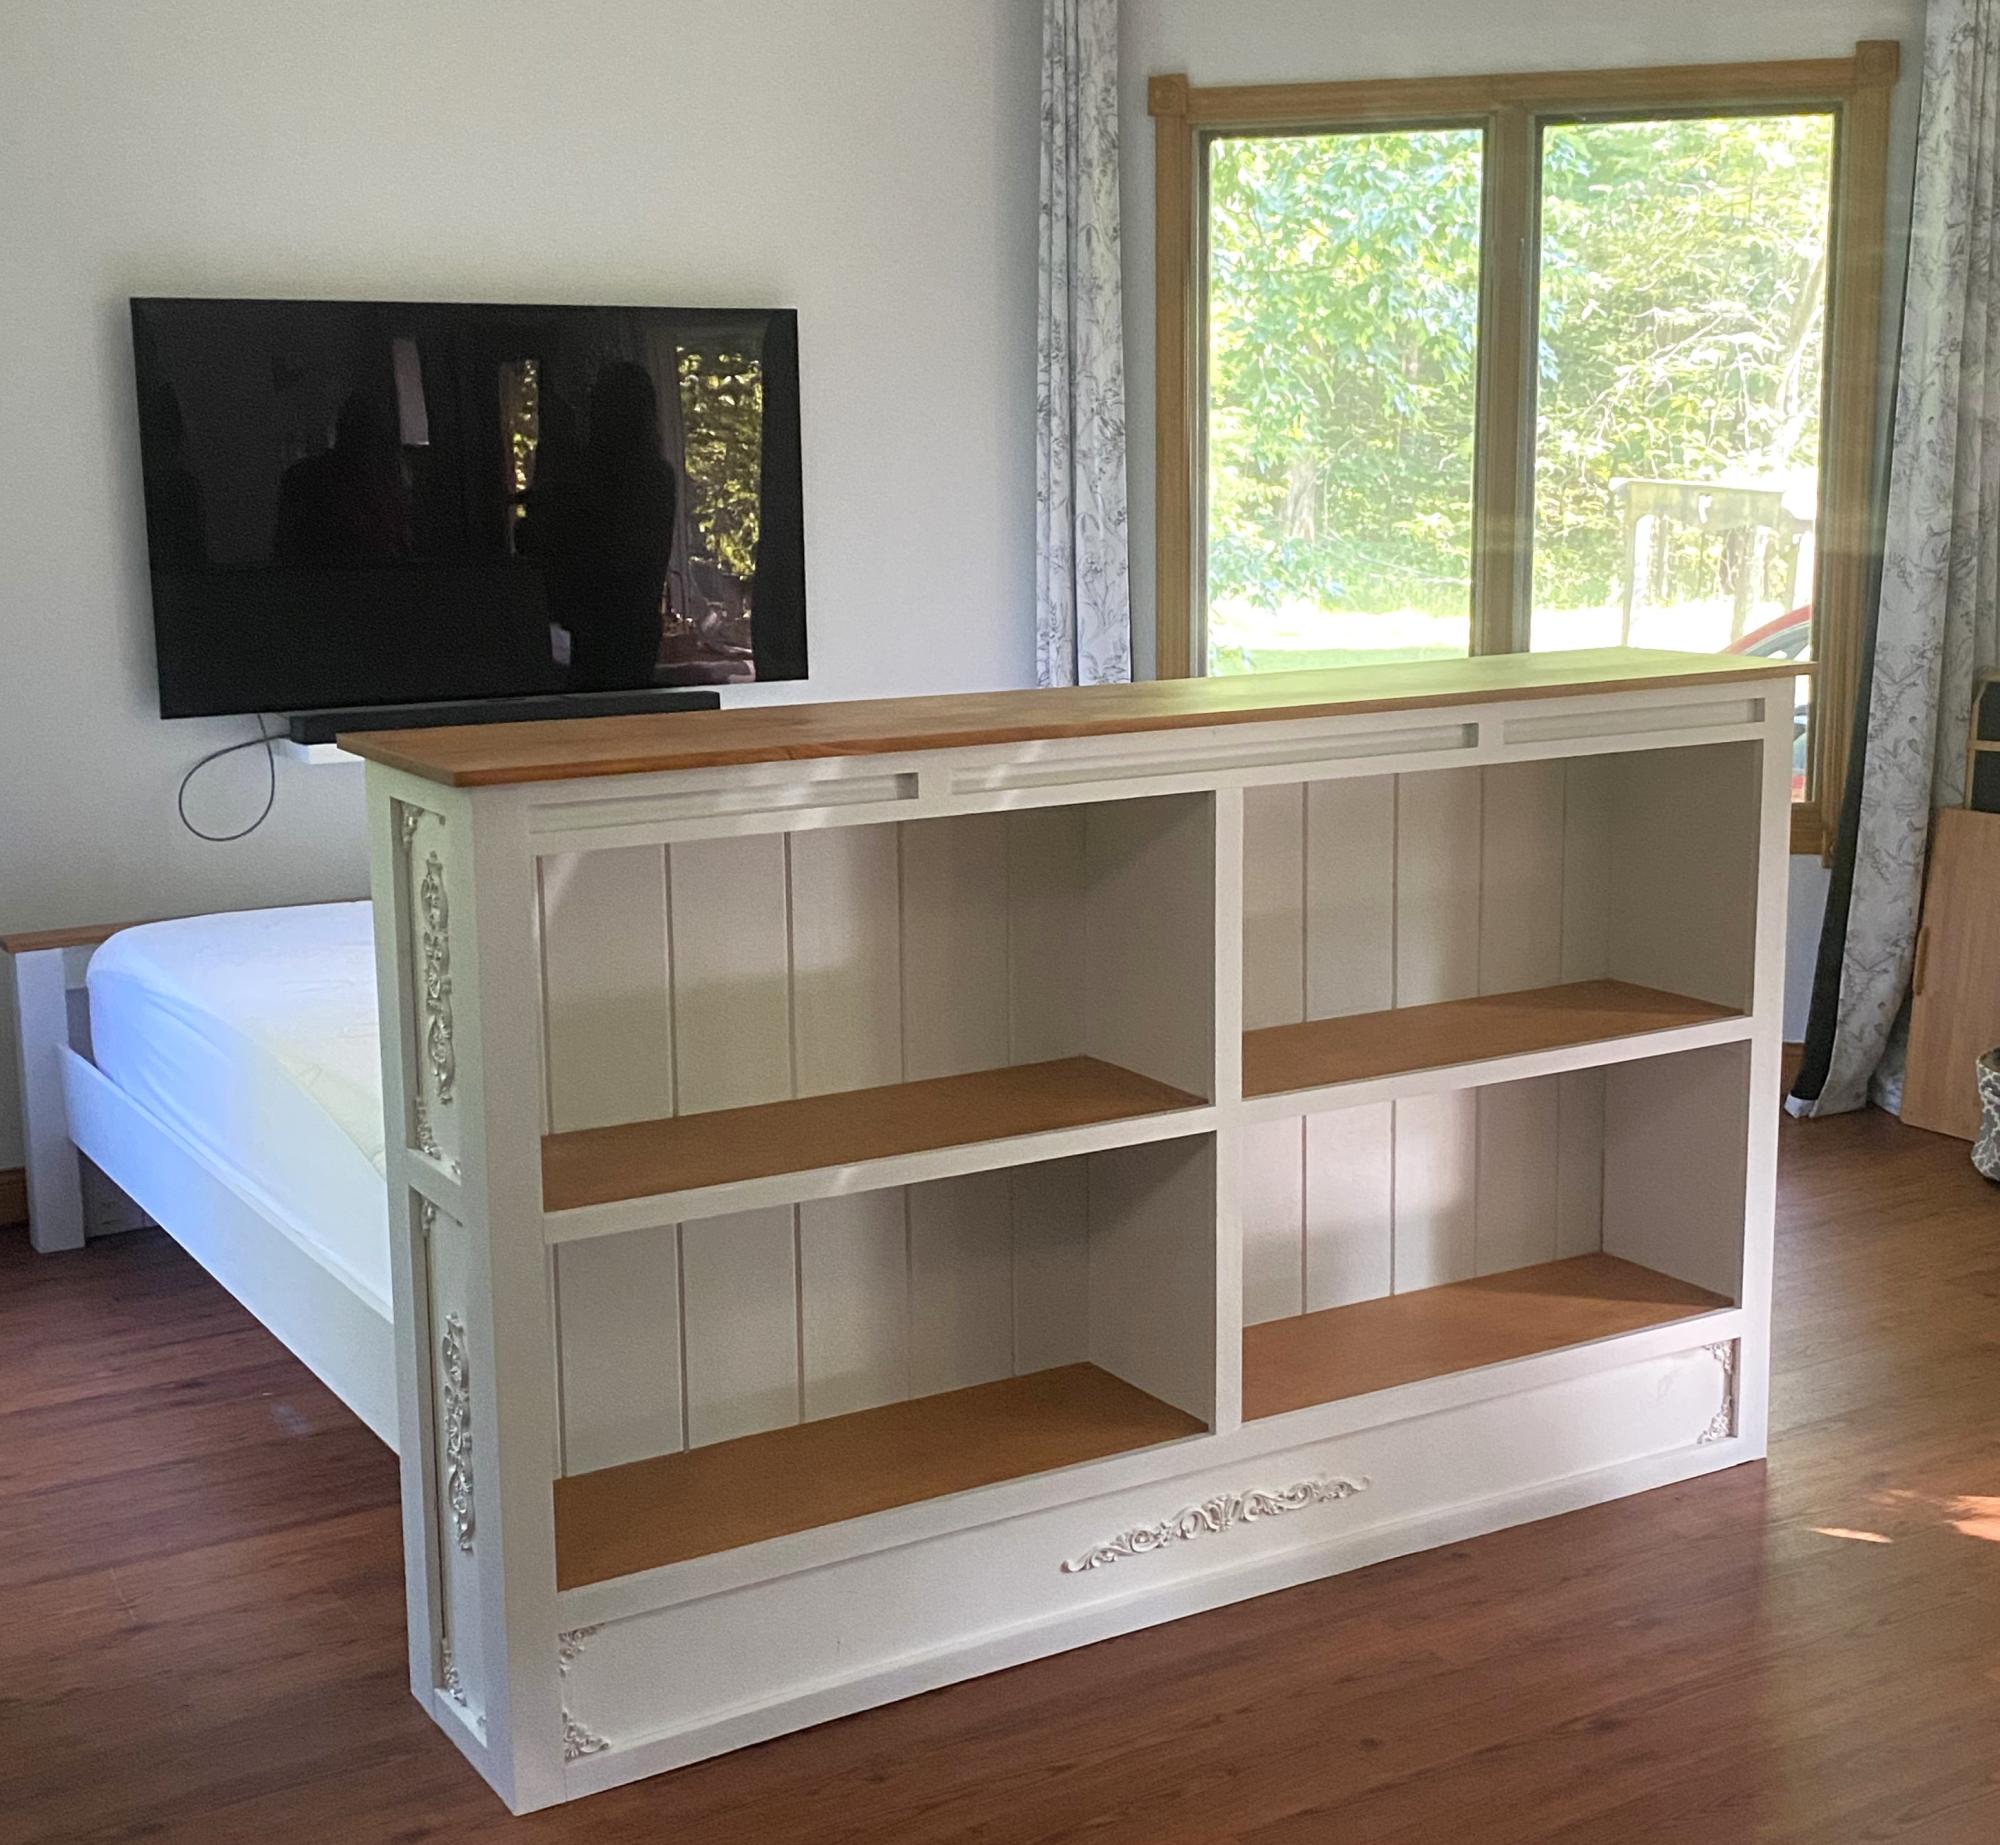
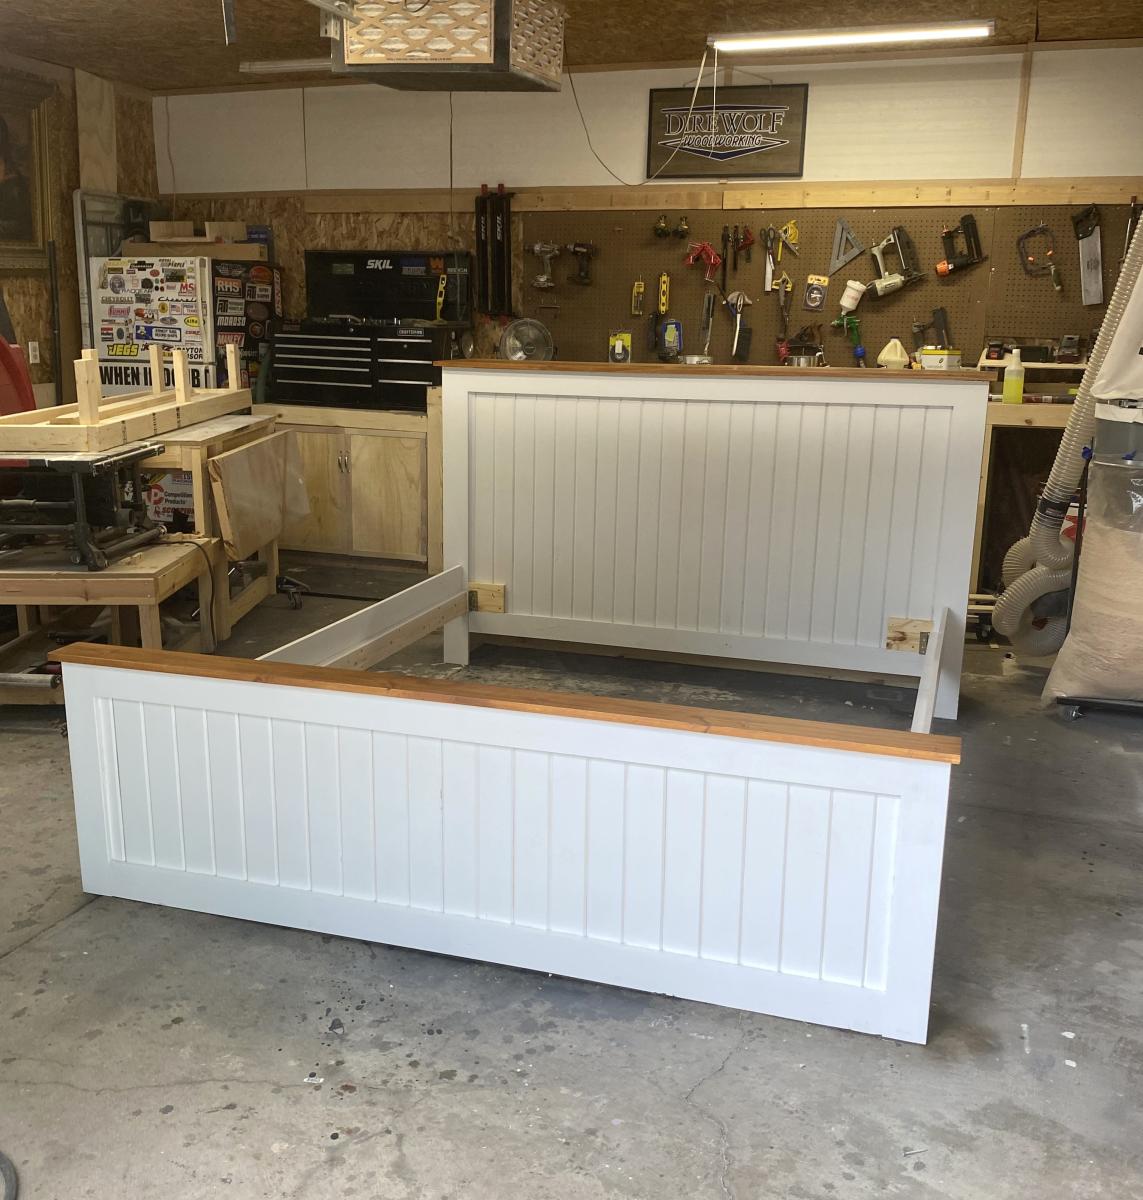
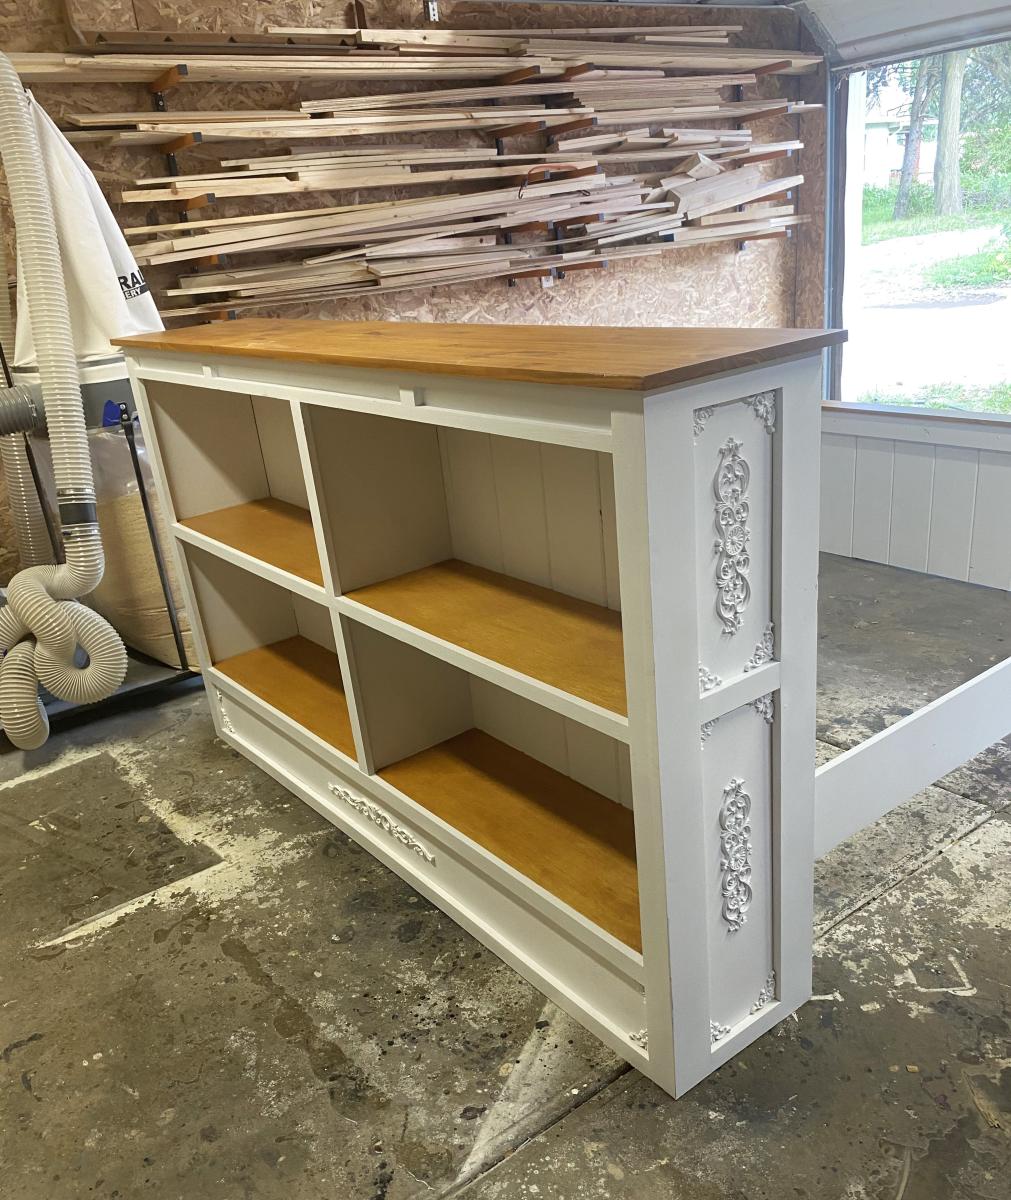
Made this for a friend…that had an oddly shaped room.
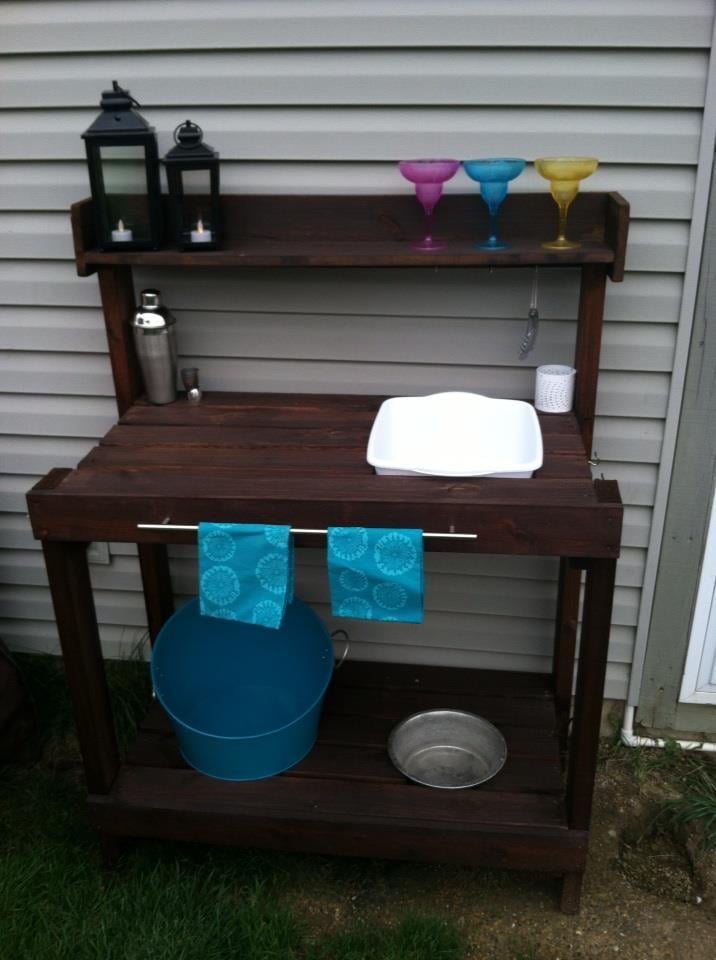
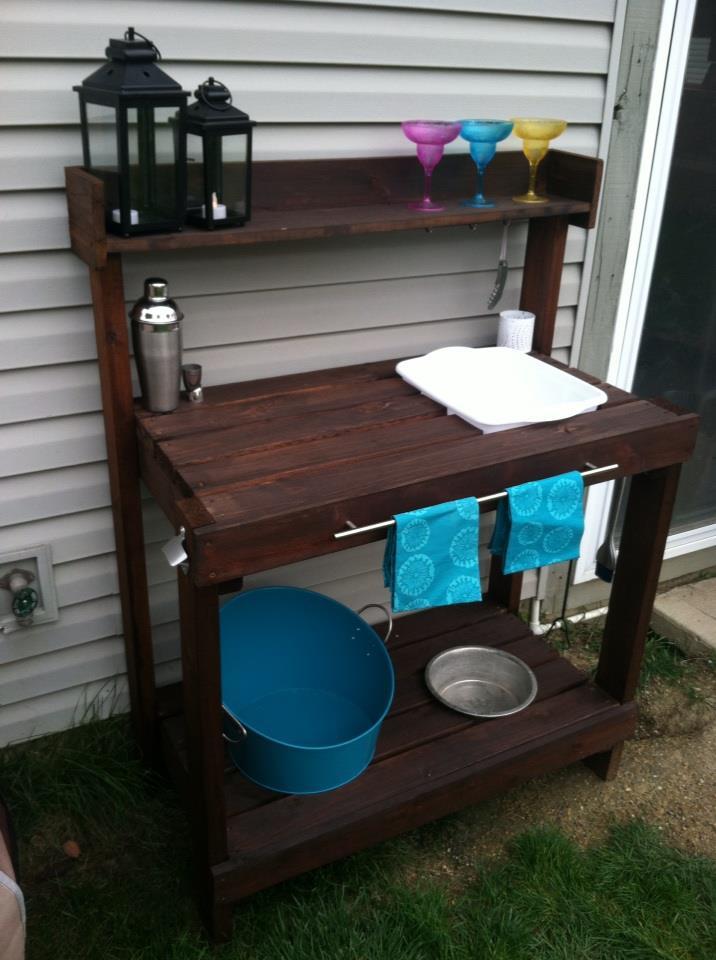
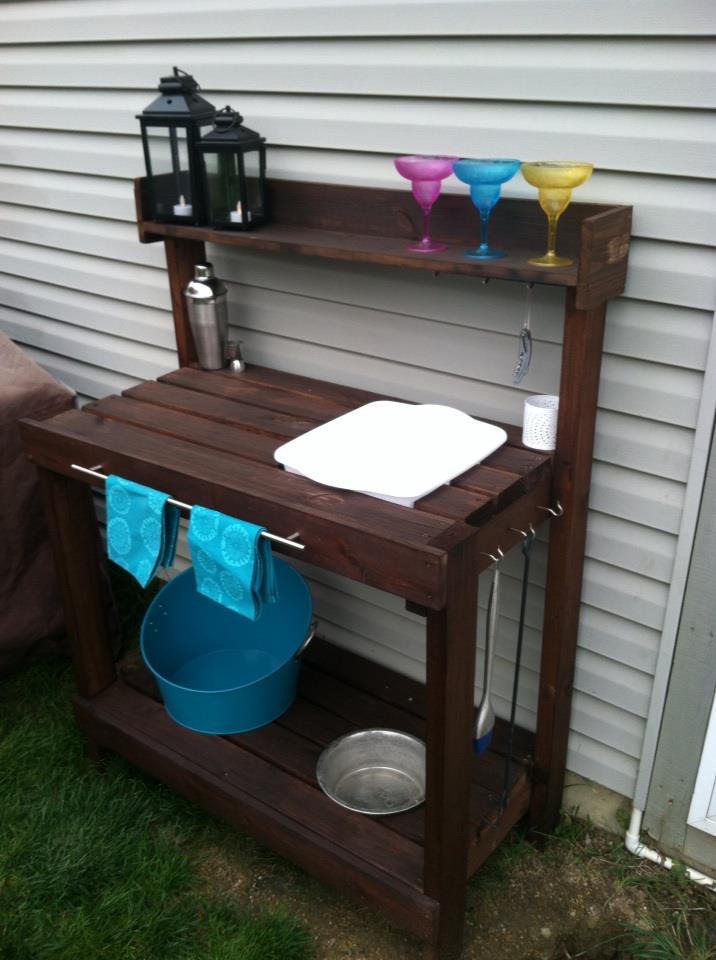
This is my first project. I'm so happy with the results. We turned this potting bench into an outdoor bar. :)
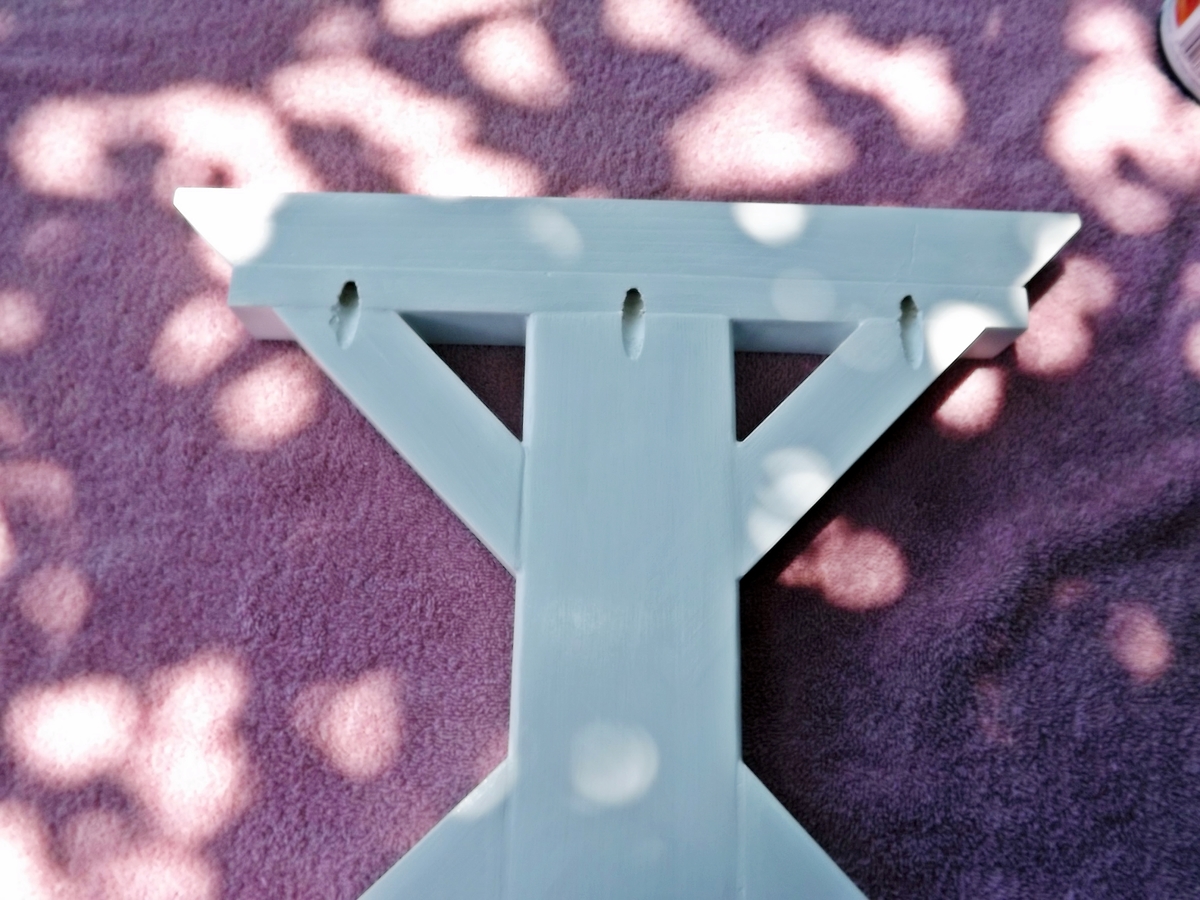
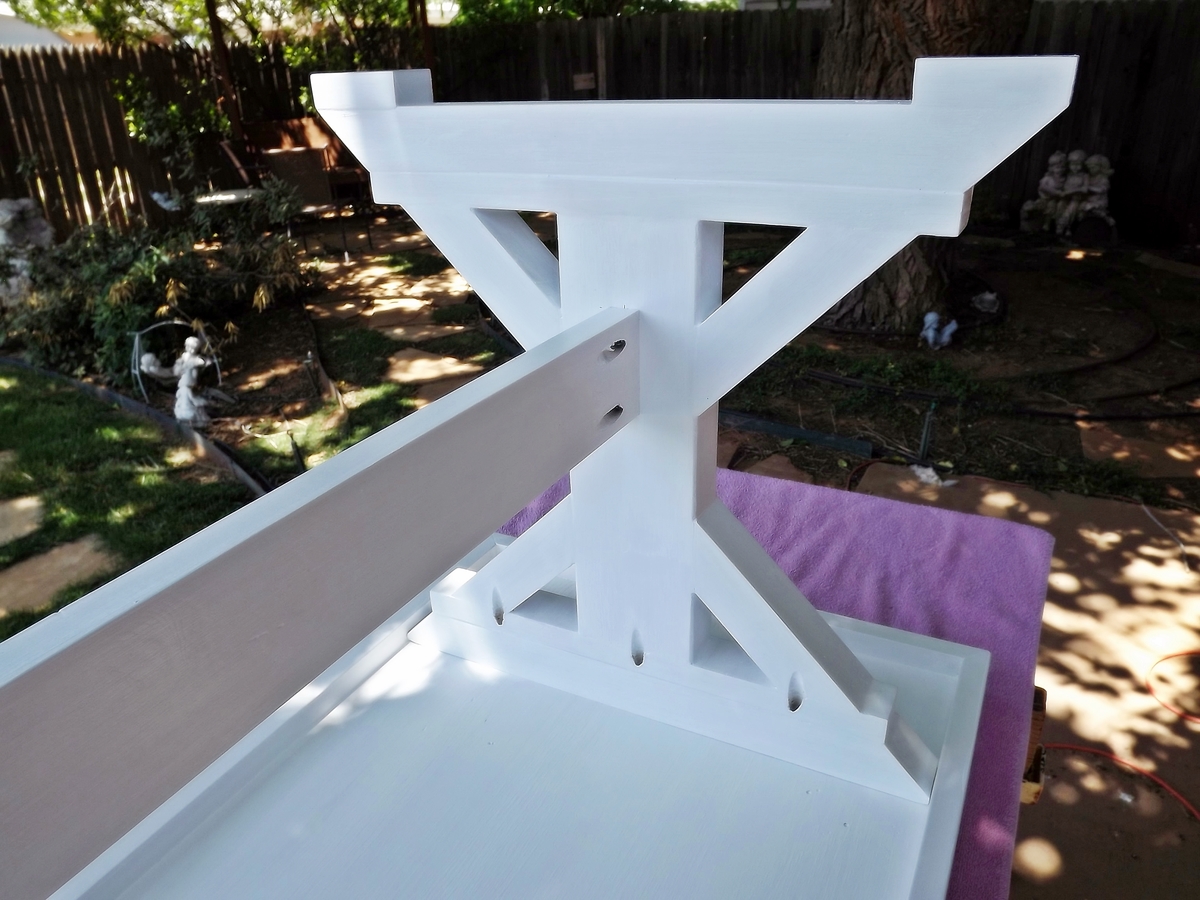
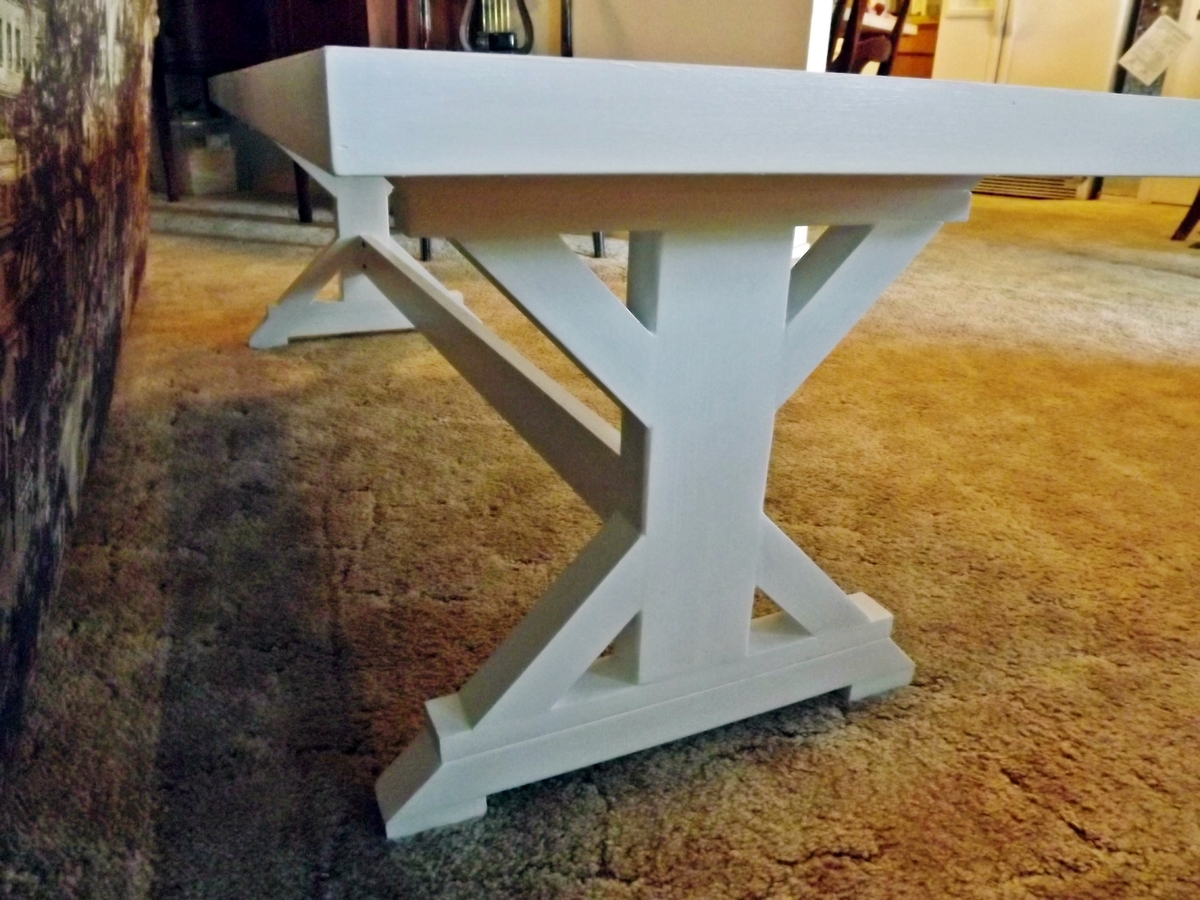
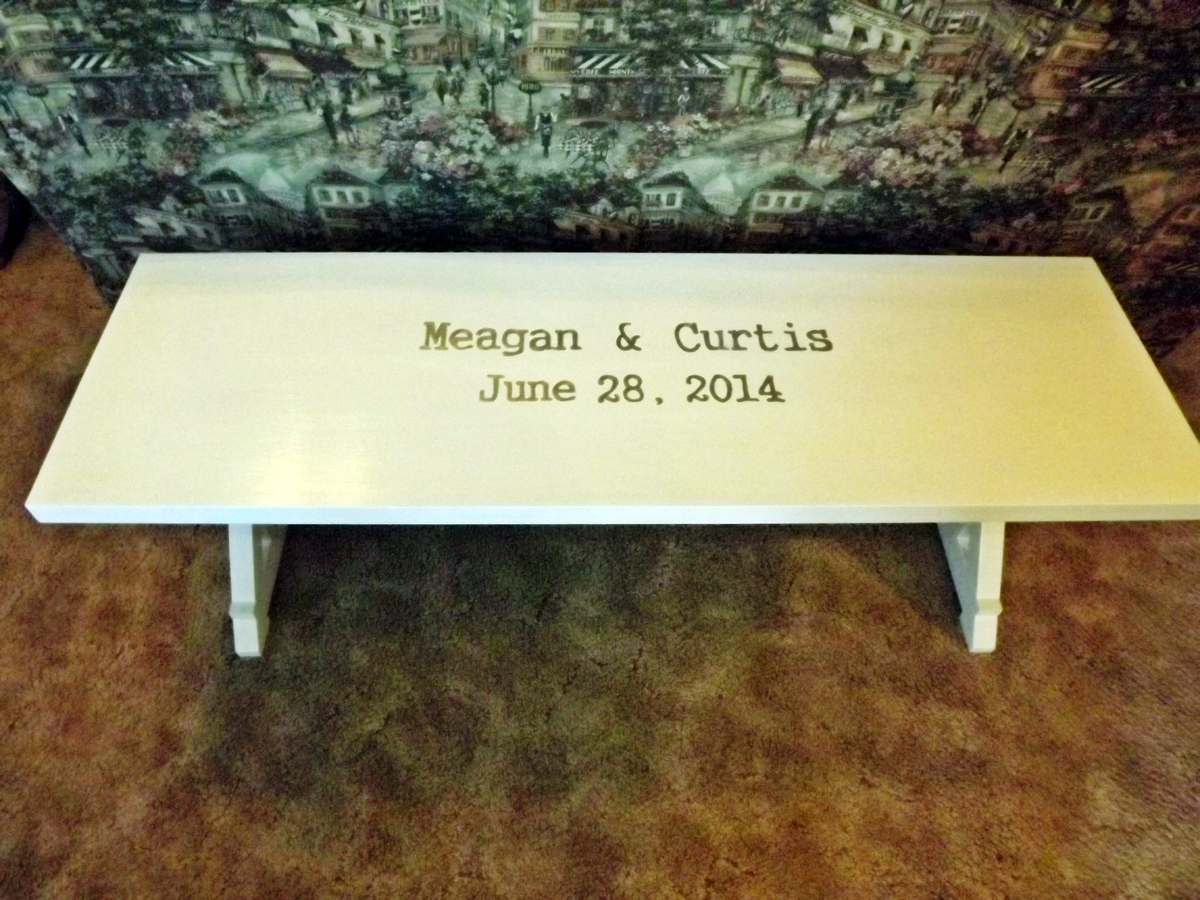
I saw a post some time ago from brookifer86 for a wedding guest bench...I knew I would build one someday. First I'd like to thank Ana for her plans Fancy X Farmhouse Bench, and Whitney at Shanty 2 Chic for the wonderful instructions/pictures for this build. I would also like to thank Brooke at Killer B Design (brookifer86) for the mods to this plan.
This bench had to be able to break into the top and legs as it had to go from Texas to California. That is why I used Whitney's idea for pocket holes to attach the top to the legs. I used 2" screws. Brooke shortened the table with just two legs, and used a project panel for a smoother top for writing. I did, too. She also added a 1" x 2 " board around the edge of the 3/4" panel to beef it up. I used this idea and mitered the corners of the board and filled in the space between the board and the panel to make it very smooth. I sand a lot, and I painted three coats, so this took several days for me to complete.
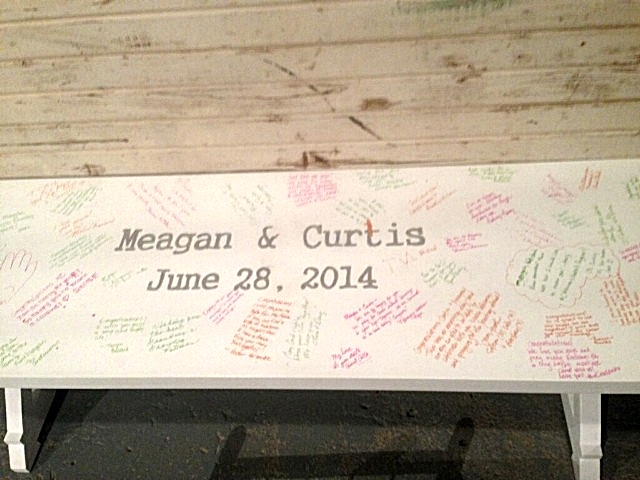
For signing the top, I purchased fine-tipped oil paint pens. I learned from other brag posts that permanent-type "Sharpie" pens would smear when a finish was applied later. Also, you should use spray poly-acrylic finish to avoid yellowing the white paint.
My dear friend's daughter was thrilled with her surprise, and the guest bench was a hit at the reception. Thanks to all the brag posters - I studied every single one.
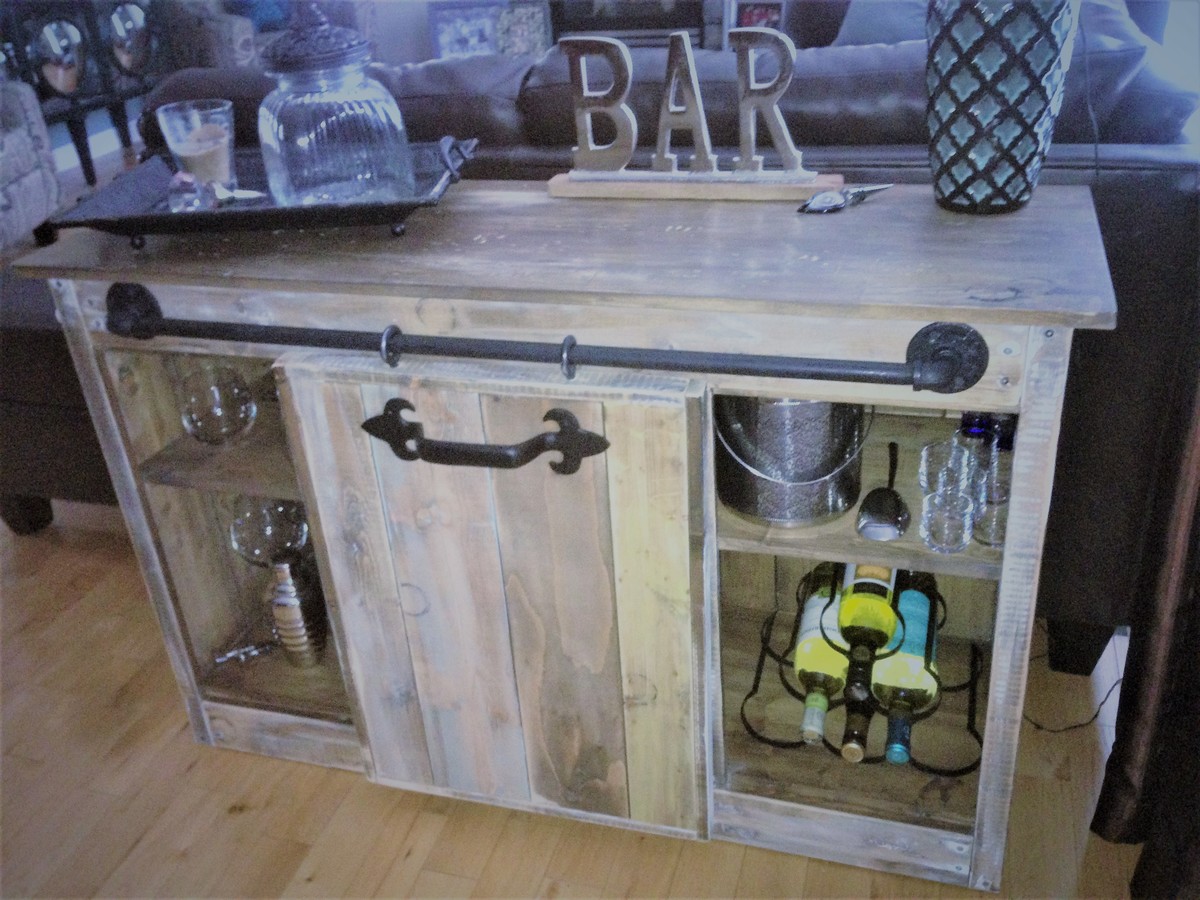
My inspiration for this piece was the Grandy Sliding Door Console - I made this piece to fit behind a sofa so adjusted the plans to customize my piece.
I used plumbers pipe instead of barn door hardware - much more cost effective and still gave me the vintage look I was after. I stained and distressed the wood and added some hardware! Voila!
I am hooked to your site, stay tuned for more projects!
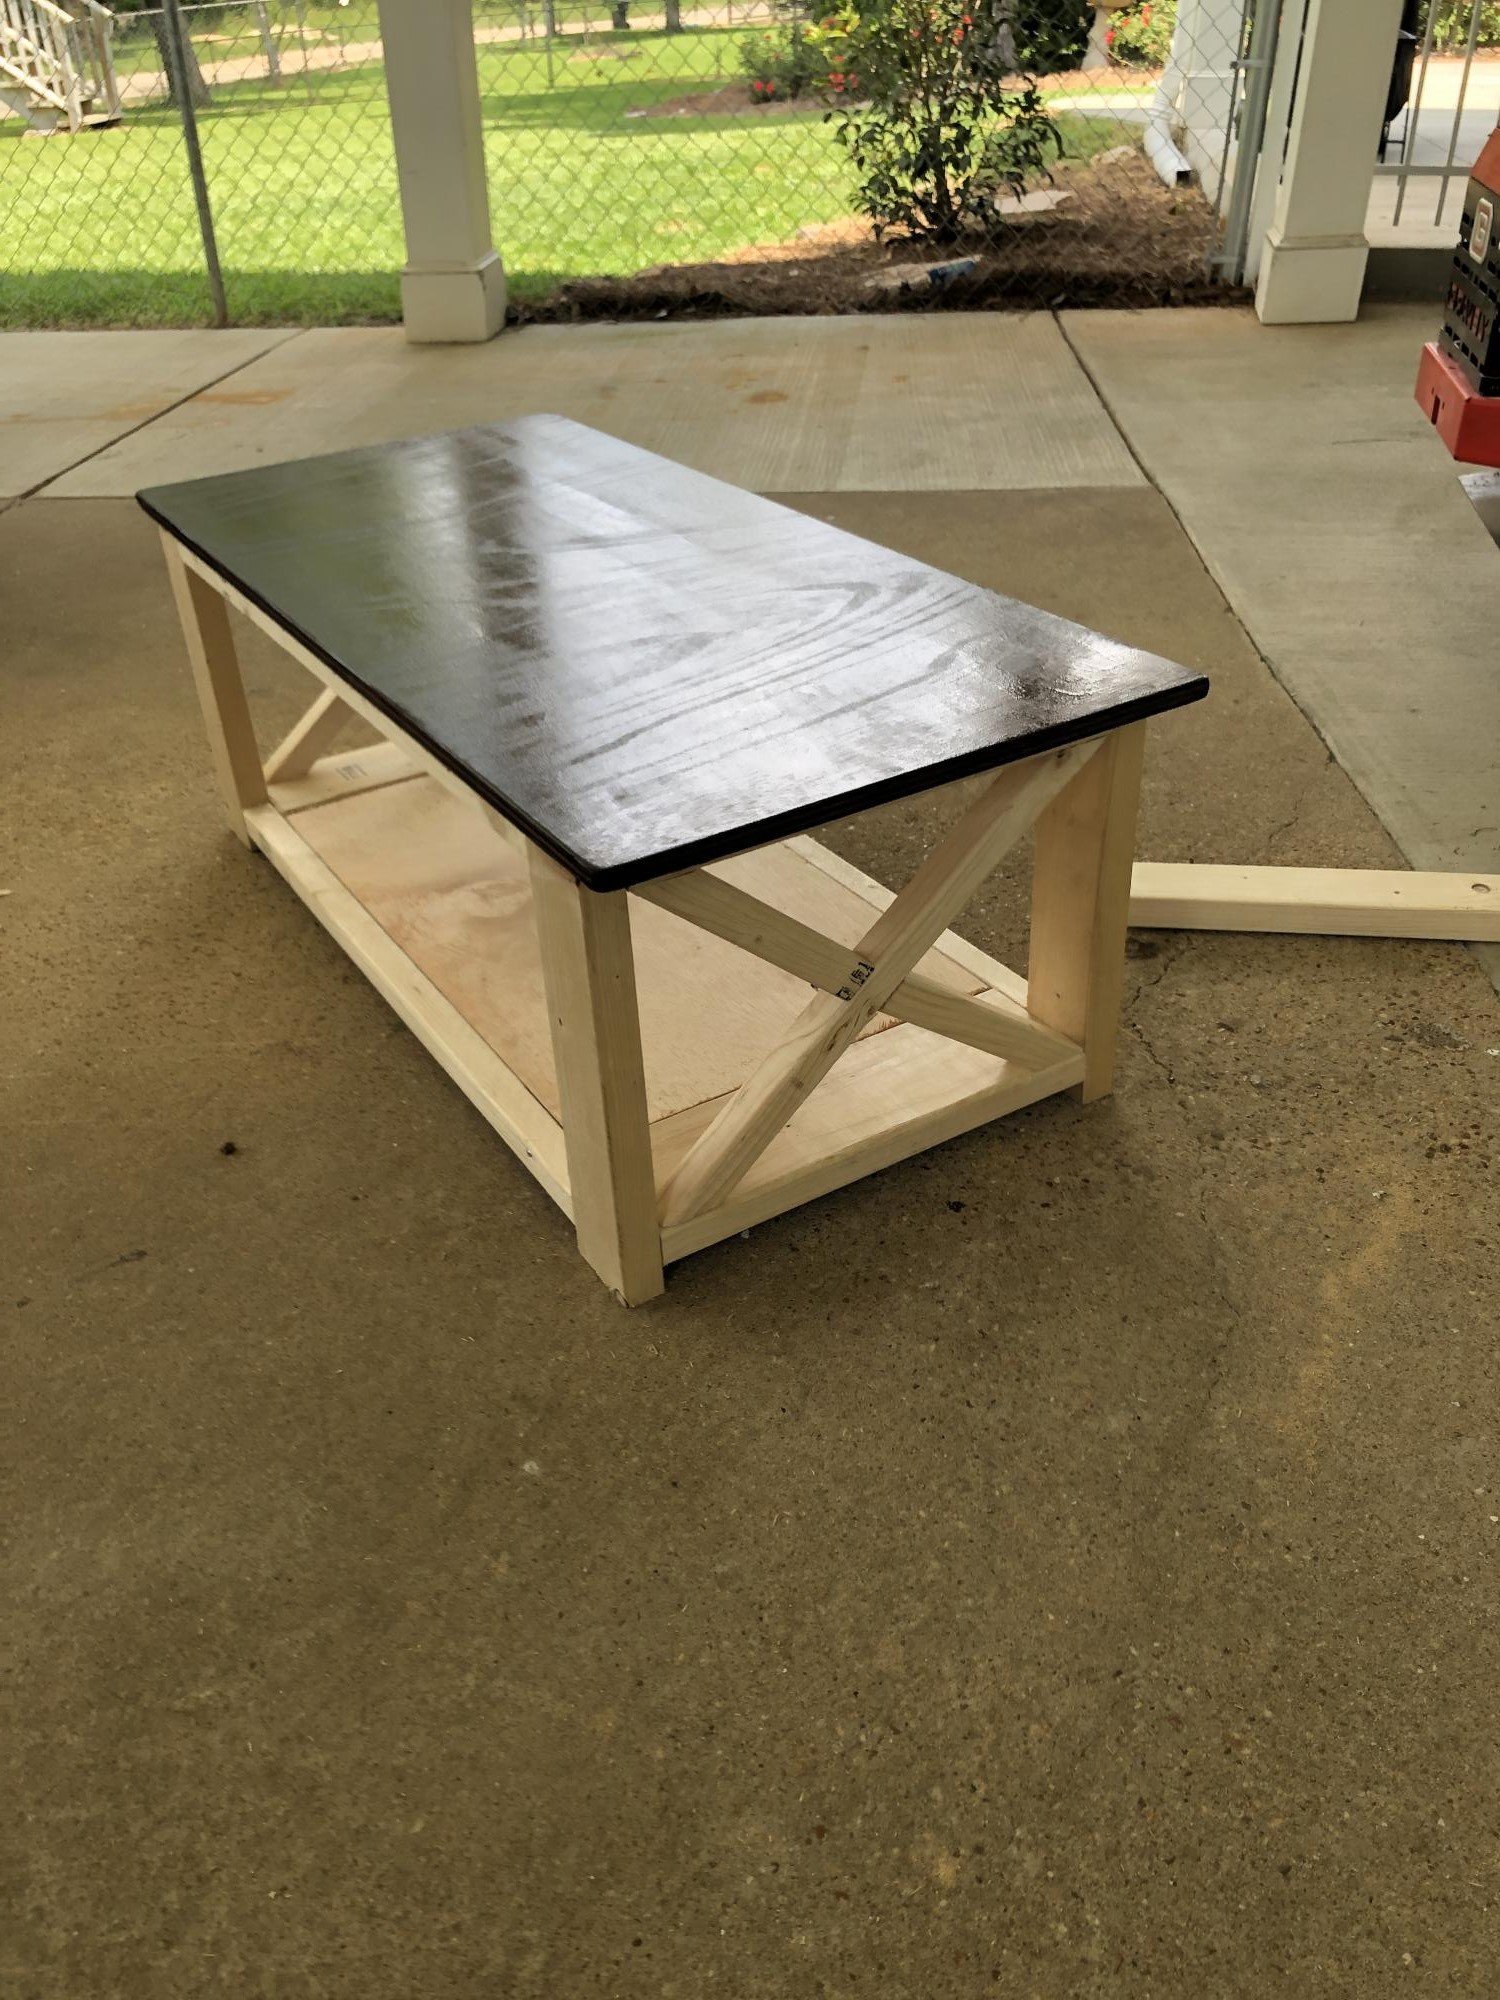
Built this for my mom’s birthday since she’s been wanting a farmhouse coffee table. Modified it by using a project panel as the top rather than the 2x6’s.
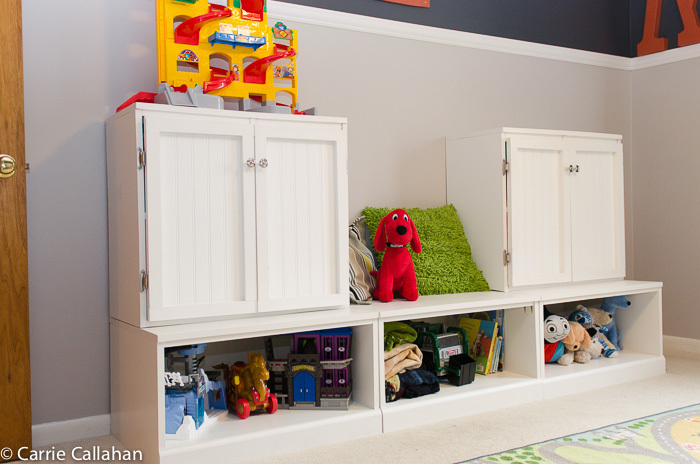
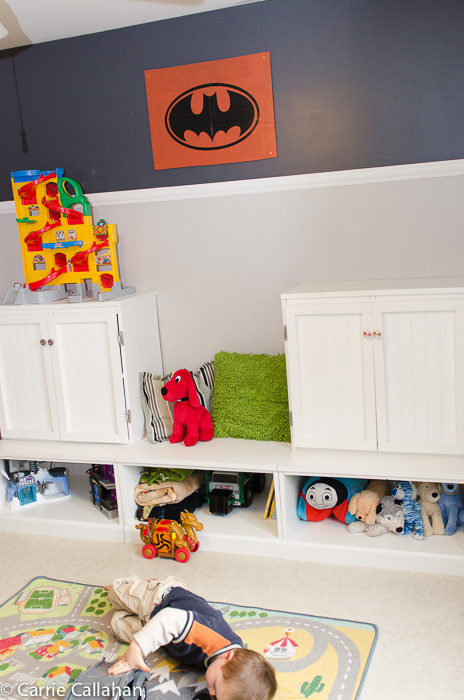
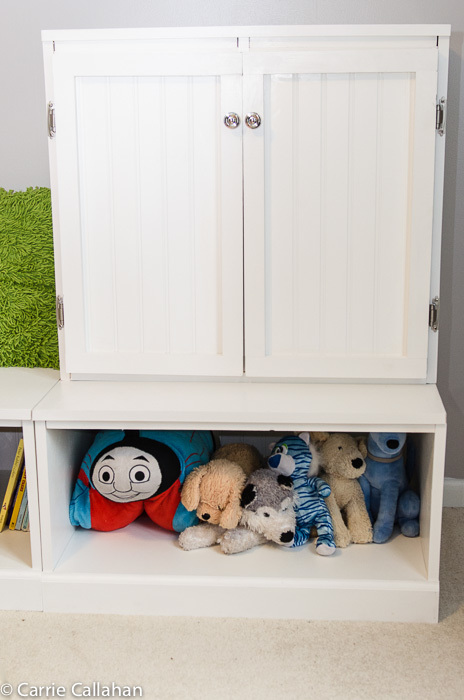
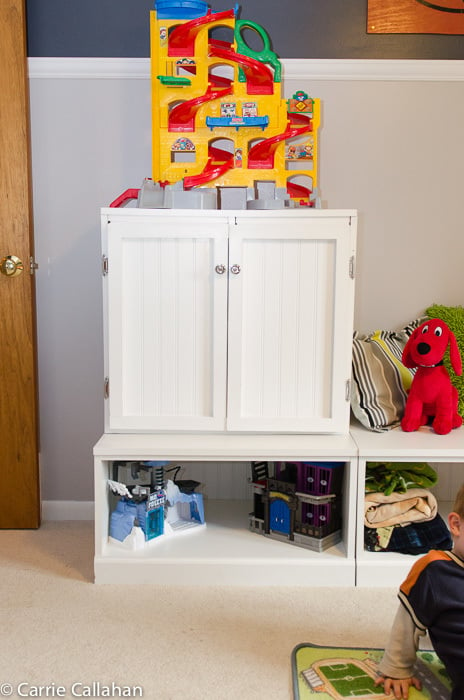
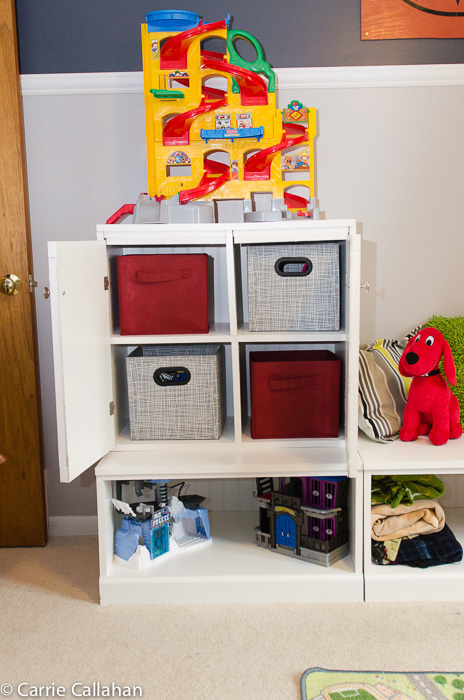
I am so excited about this project! I re-did my entire little man's room. It included a ton of Ana's projects! The closet, $10 ledges, step stool and the toy storage. This was quite the venture for me, I have done a lot of plans from Ana, but this one was a lot - a lot of painting. And hanging the doors, was a challenge :) I couldn't be more happy. My little man didn't want to leave his room he was so excited!
Mon, 10/22/2012 - 08:16
Love your new room for your son! I love using clear toy storage bags to organize toys and then you could put the bags on display or behind the doors in your storage unit - http://mommby.com/Store/Bag.php.
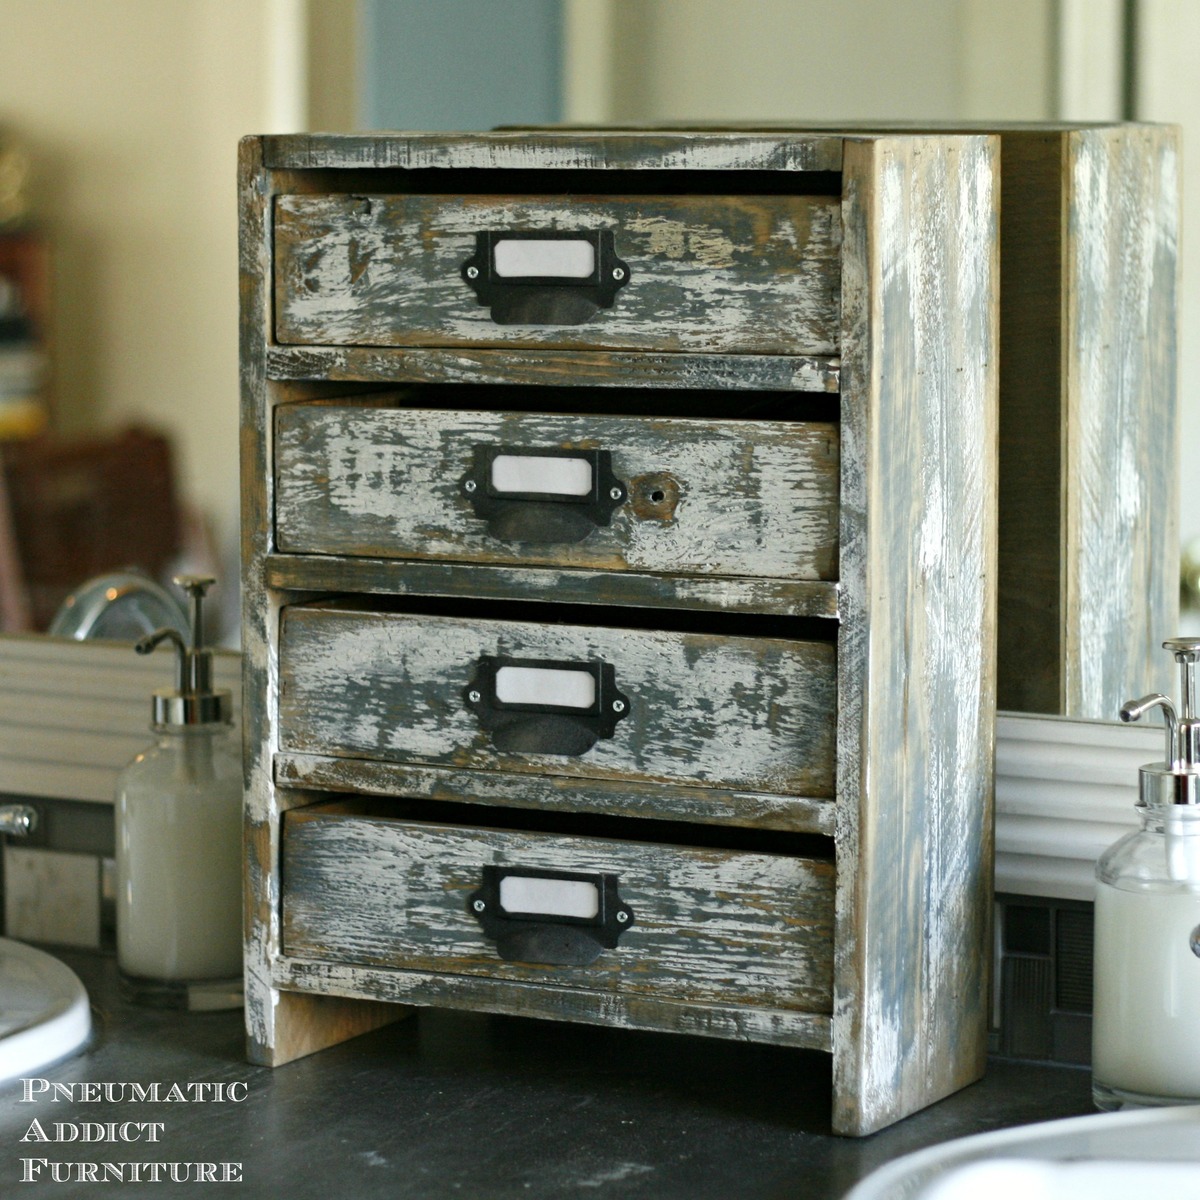
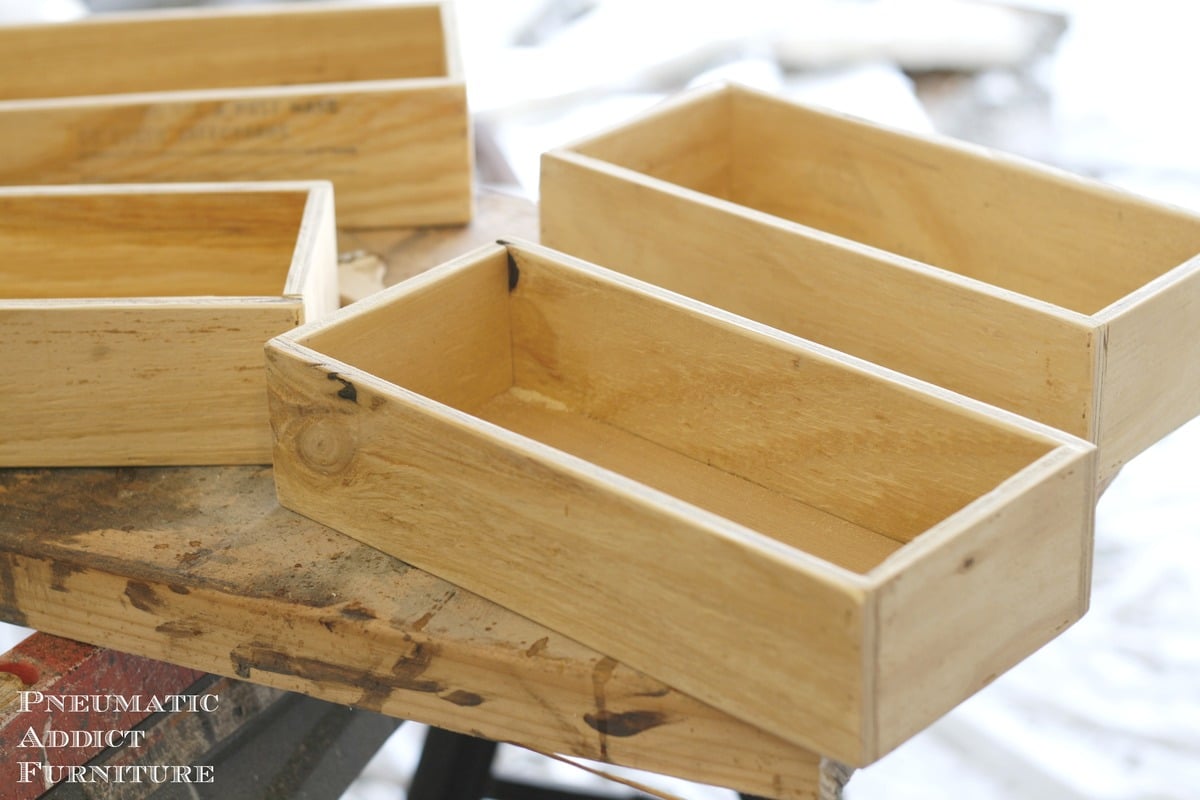
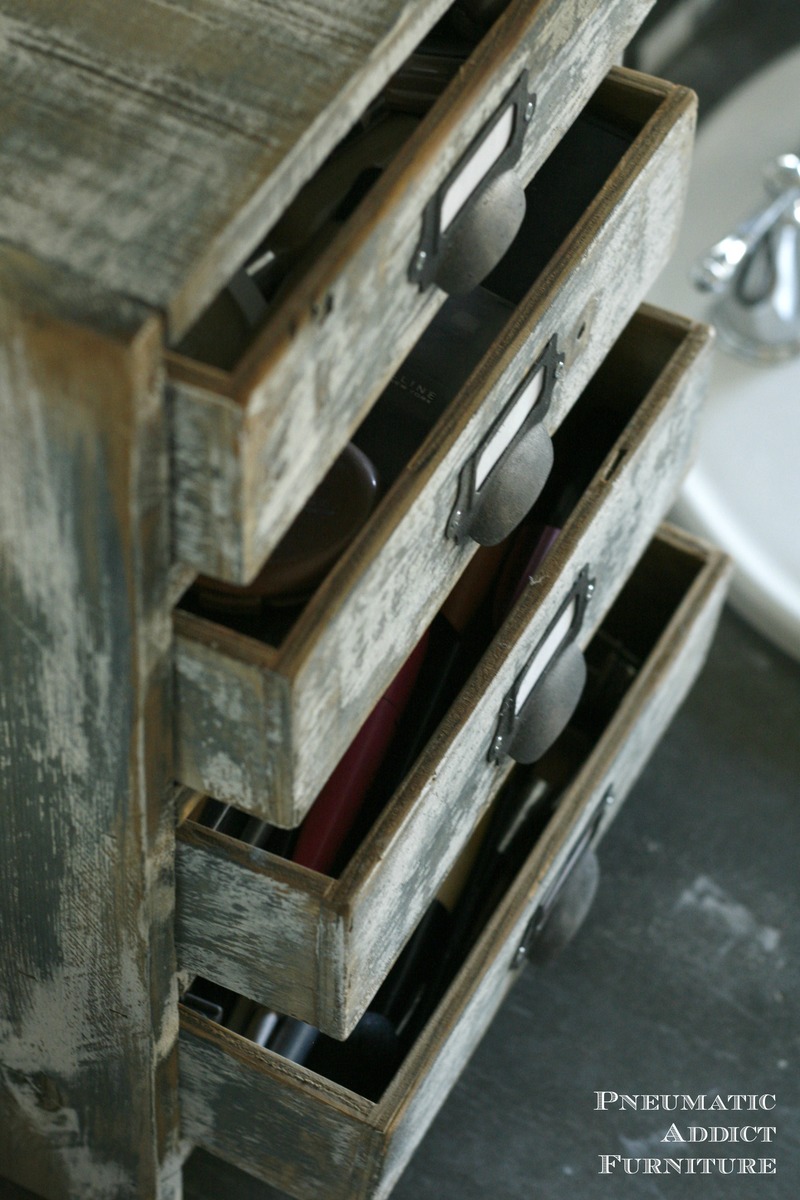
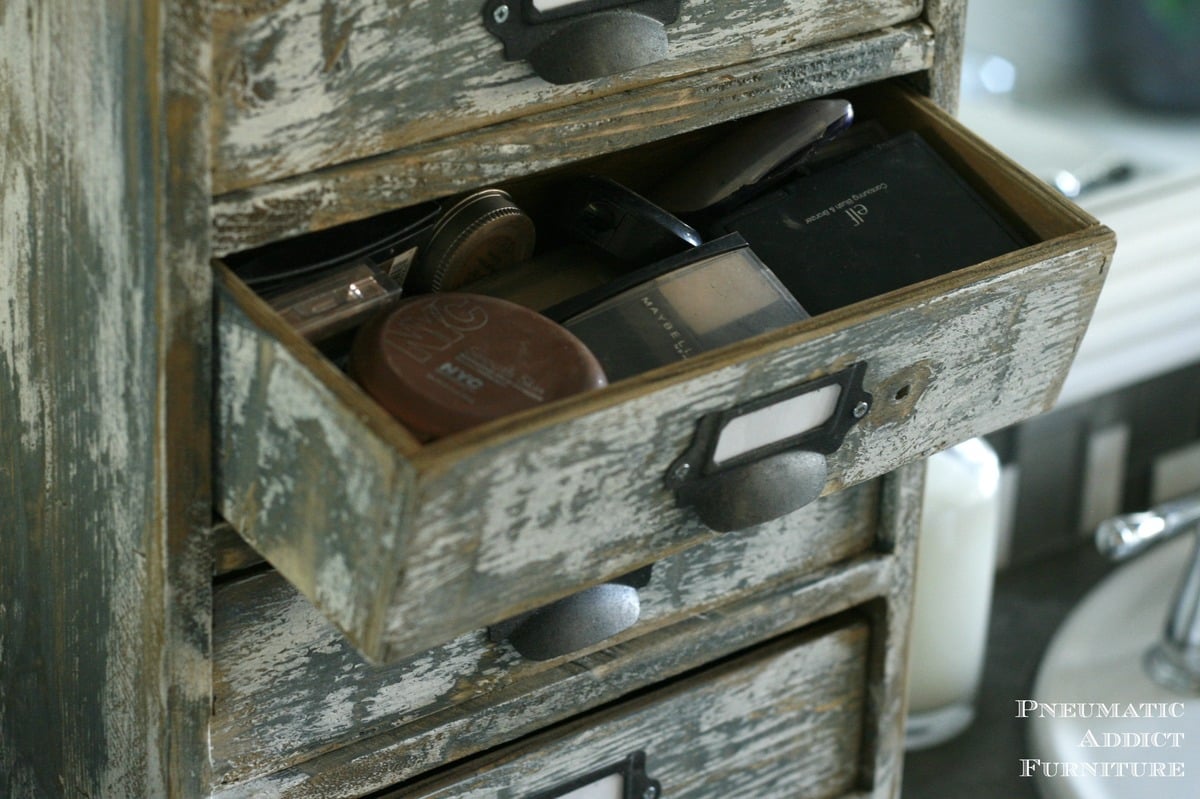
I needed a way to store and organize my make-up without taking up drawer space. It is built very similar to a small dresser, but with no drawer slides.
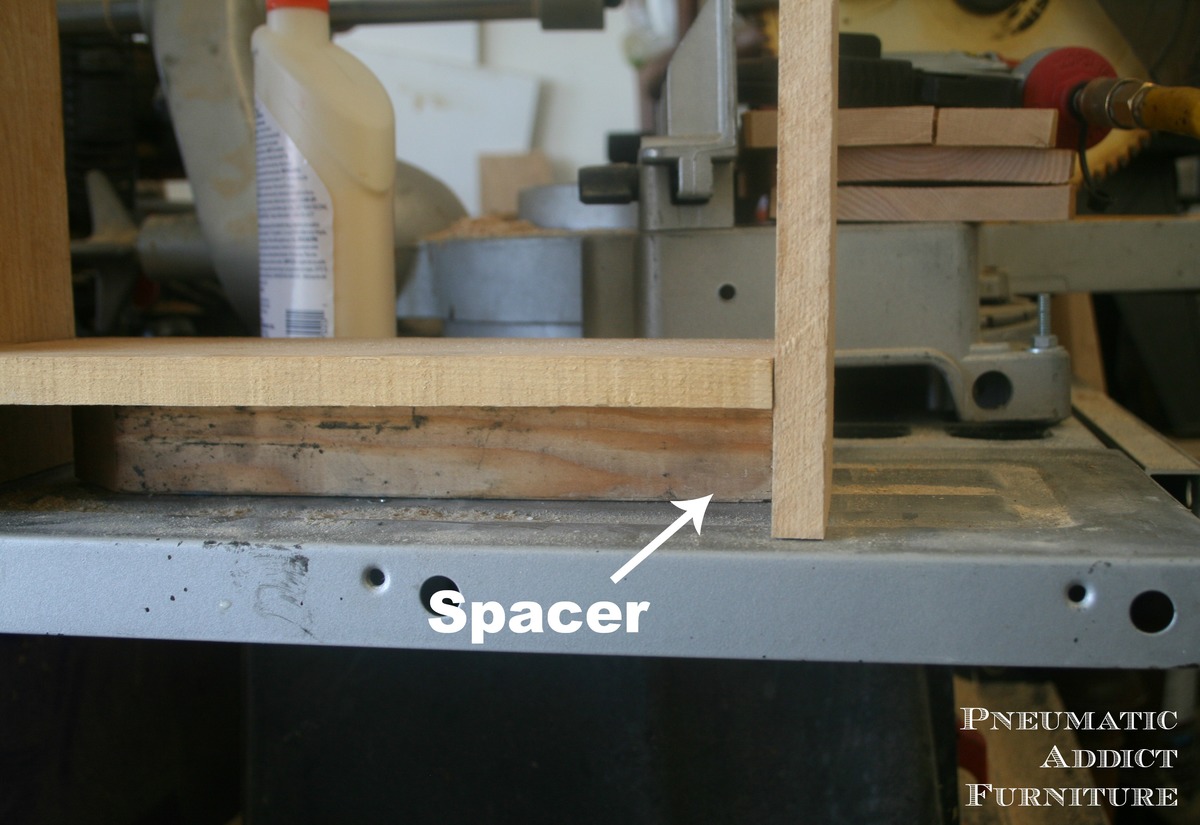

I found that if you use (16) 1x4's in lieu of the (8) 1x8's as for the panels no cutting is necessary for a standard full size bed. Worked out wonderfully!

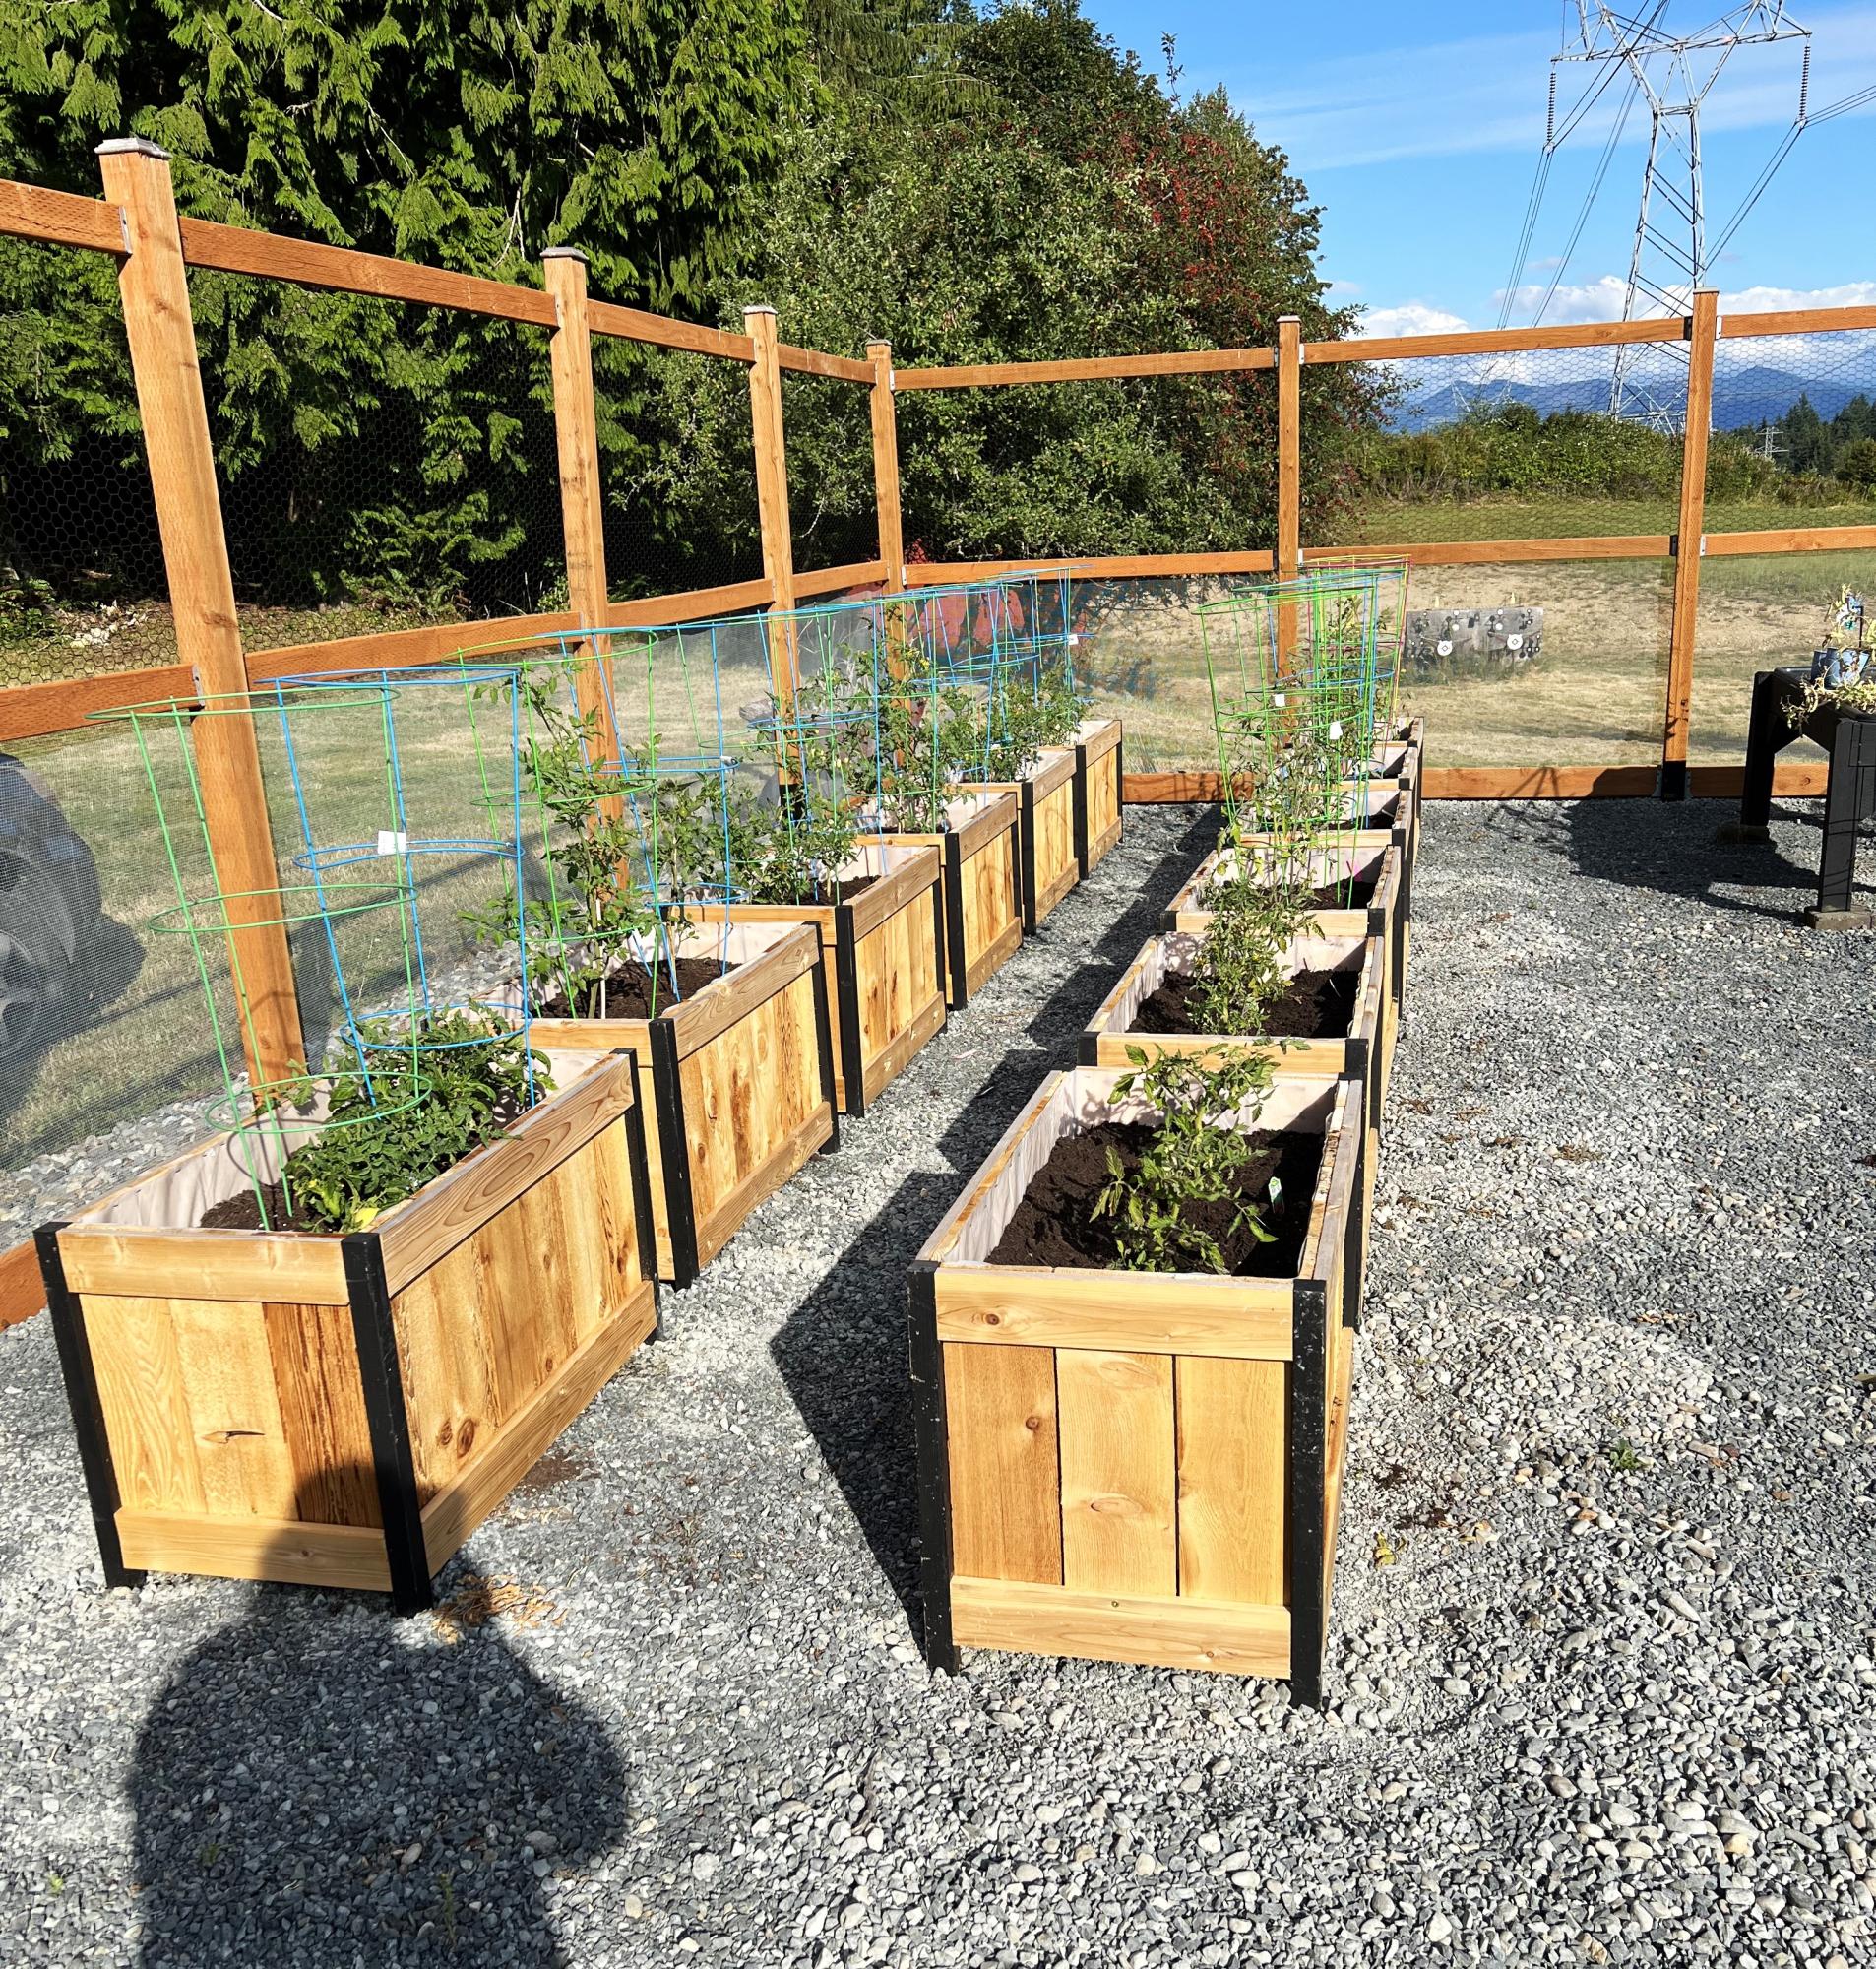
Love the plan, easy to follow. Made 14 this year and will be making more for next year. Adjusted the size for my needs.
Caren L
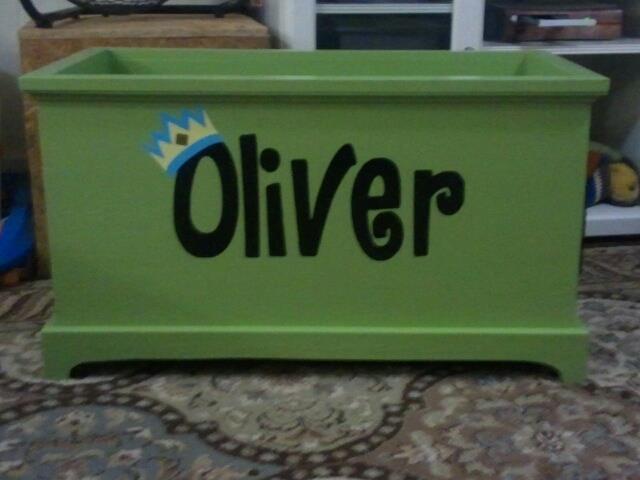
I built this toybox for my son's first birthday. It took about a week to do, starting and stopping. I got Lowes to cut the plywood for me, and screwed everything together. Wood filler filled the countersunk holes, and a coat of primer and two coats of paint finished it off.
After everything dried, my wife added the name and crown in vinyl cut out using her Cricut.
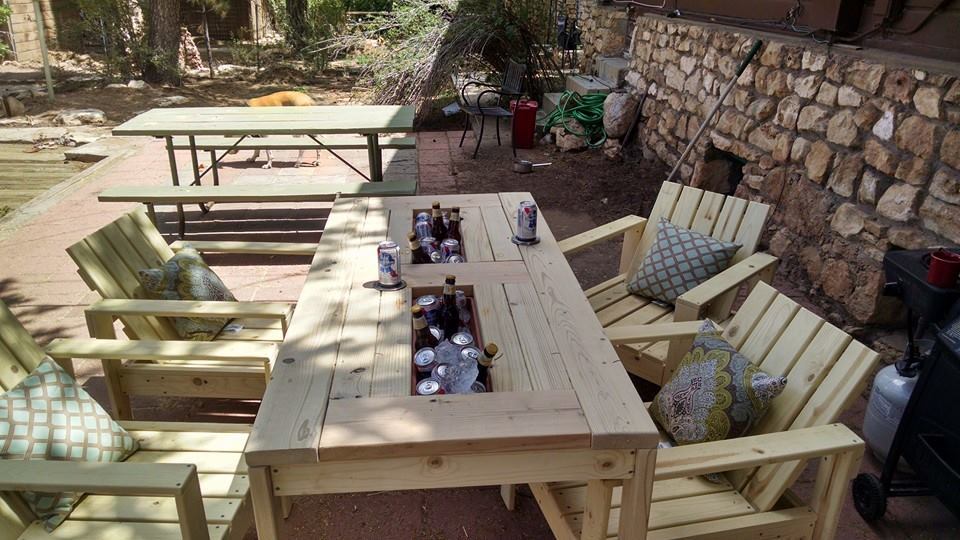
My very first project, made it for my girlfriends birthday. Did not have time to stain and paint them yet, will add finished pictures.
