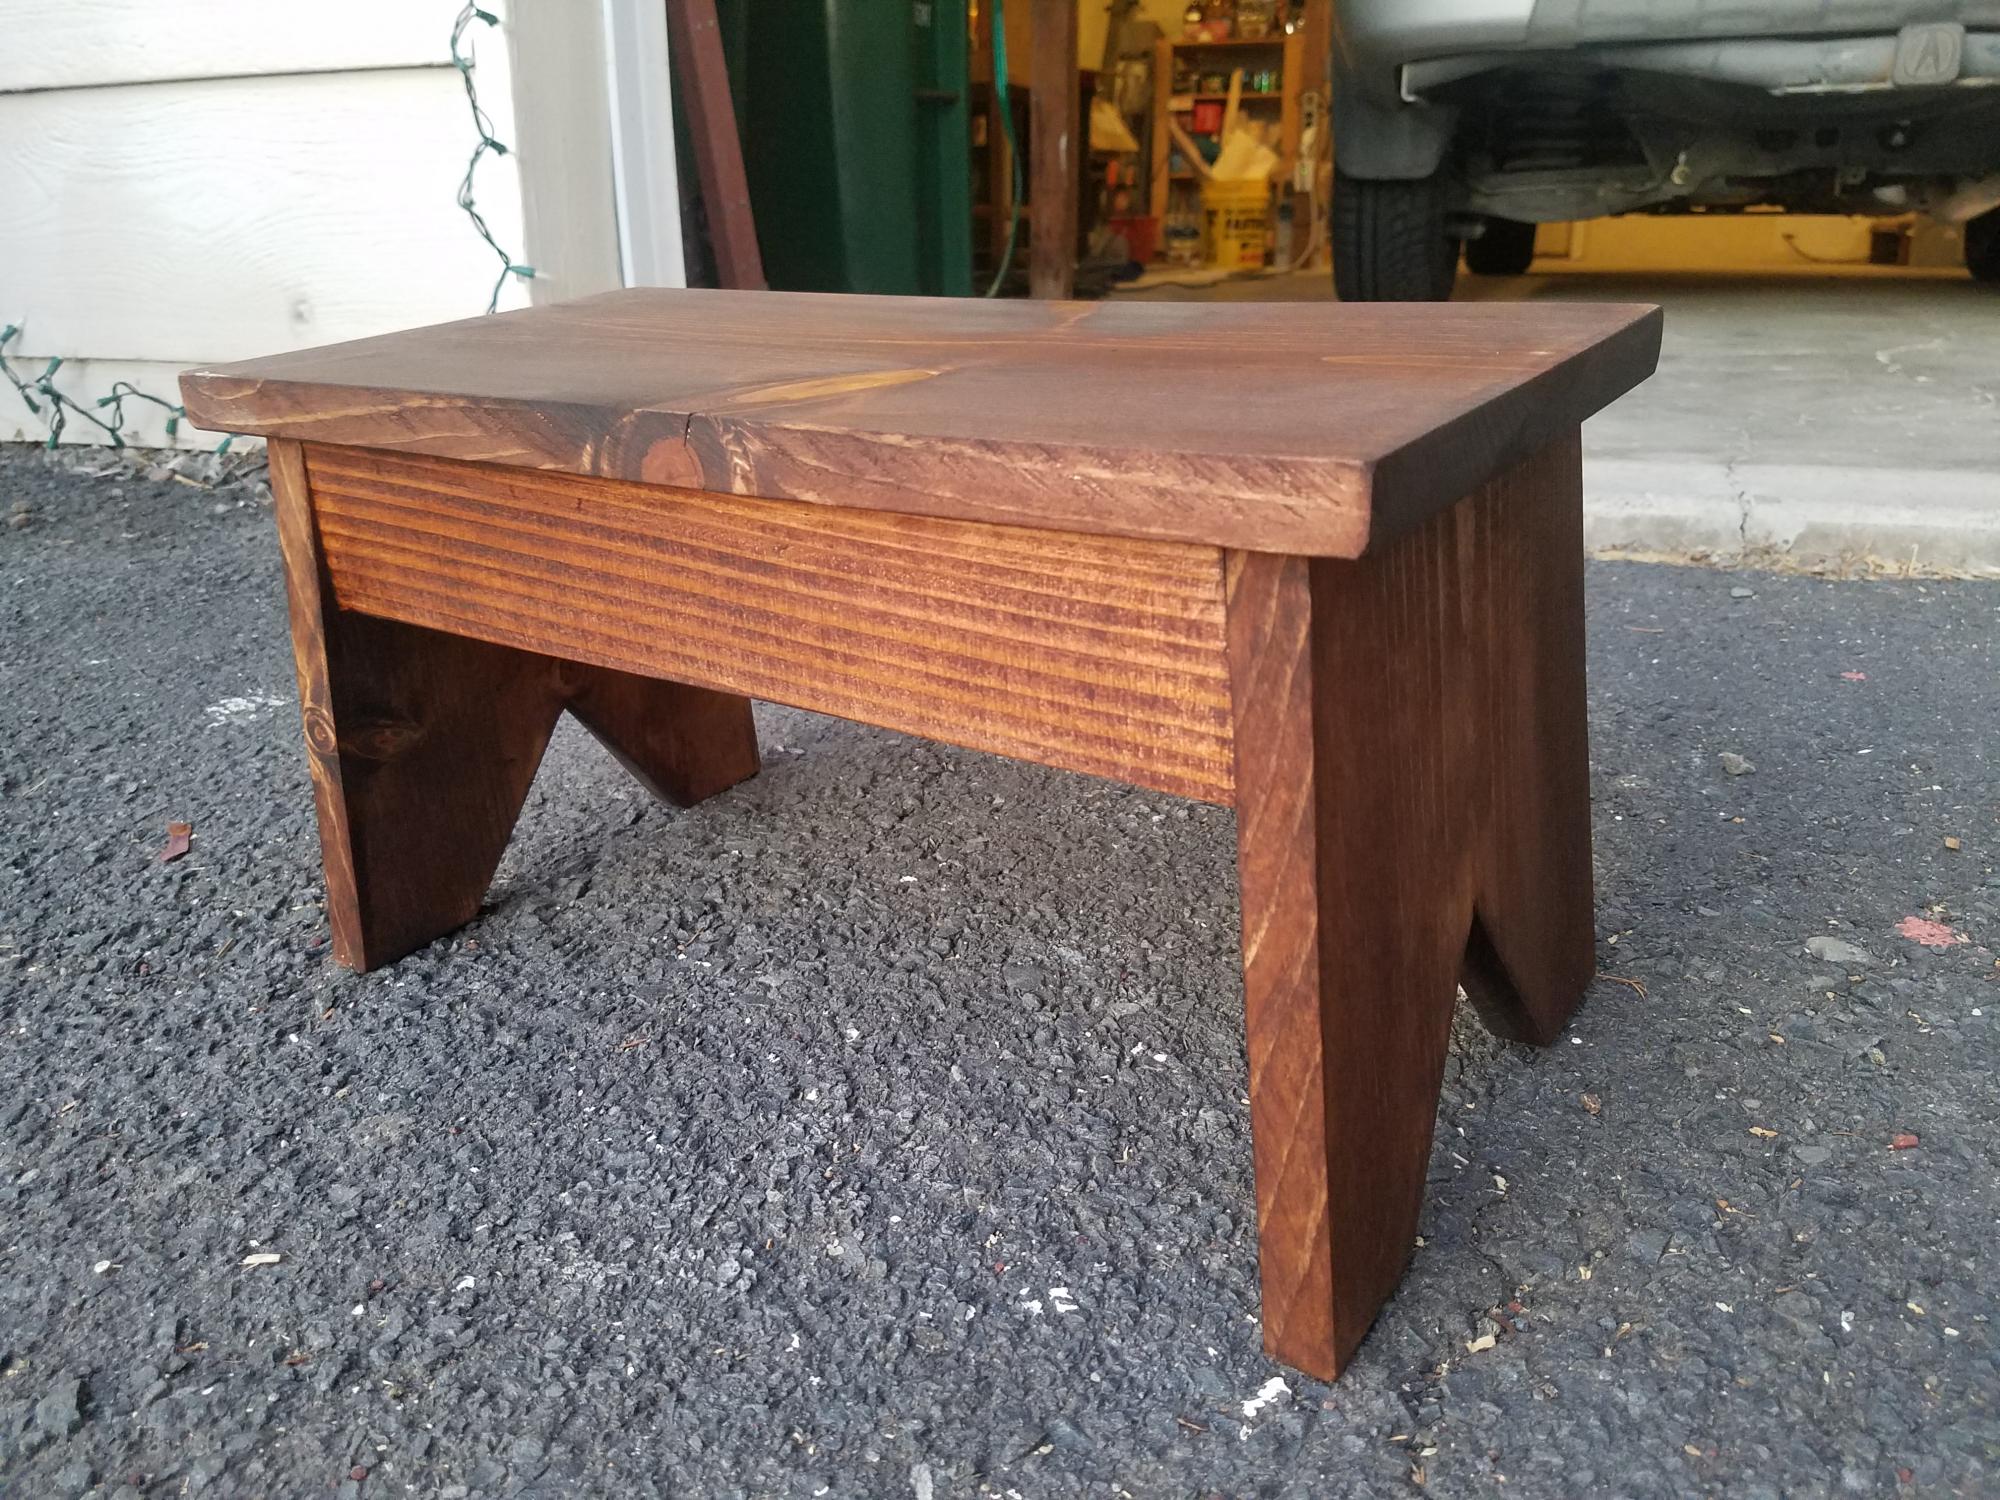
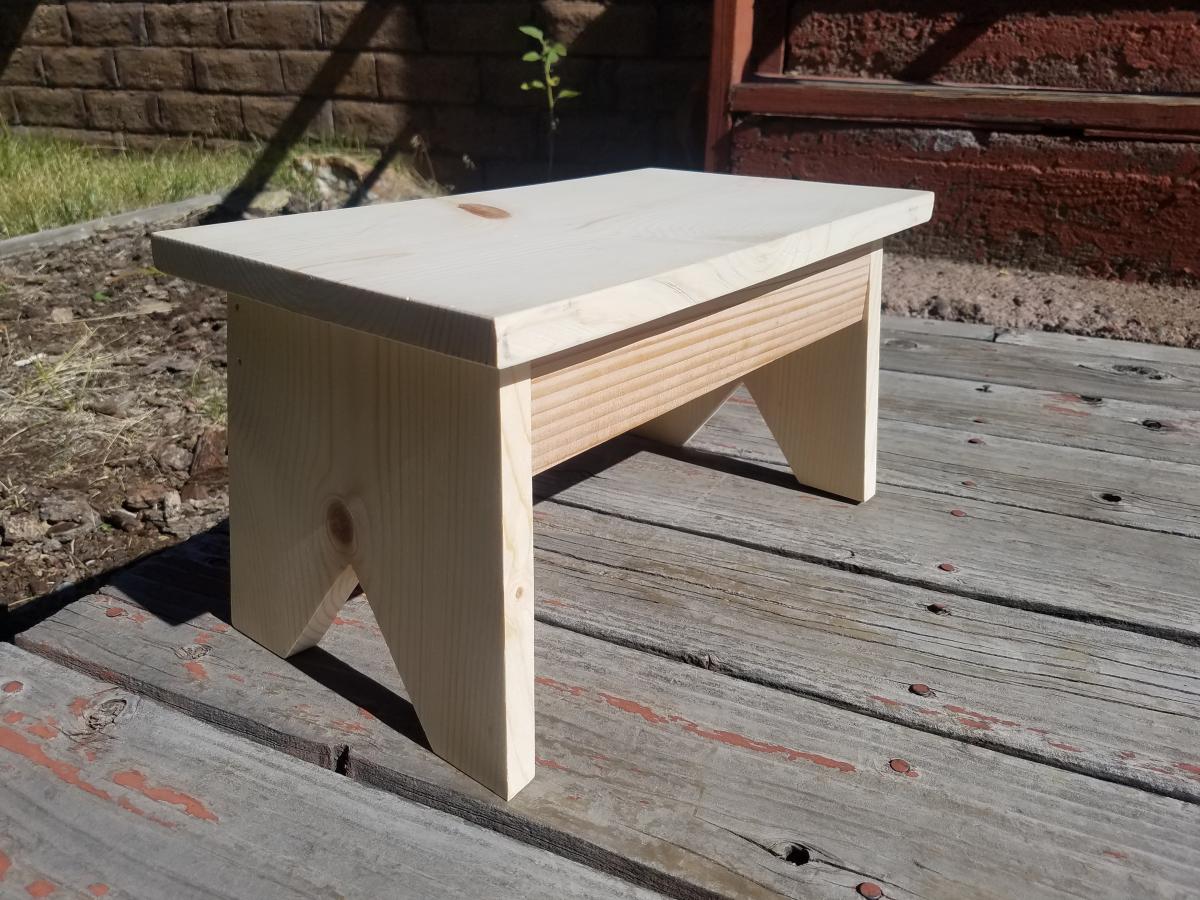
This step stool is my first project made from Ana White plans. It is perfect for my almost 2 year old daughter and it's become her new favorite toy! She likes to turn it upside down and ride in it like a boat :)
I love how simple and sturdy it is. It easily holds my weight (180 lbs), and I look forward to many years of useful fun from this great project. This was also my first project that incorporated beveled and angled cuts, but once I got started, it wasn't as intimidating as I initially thought.
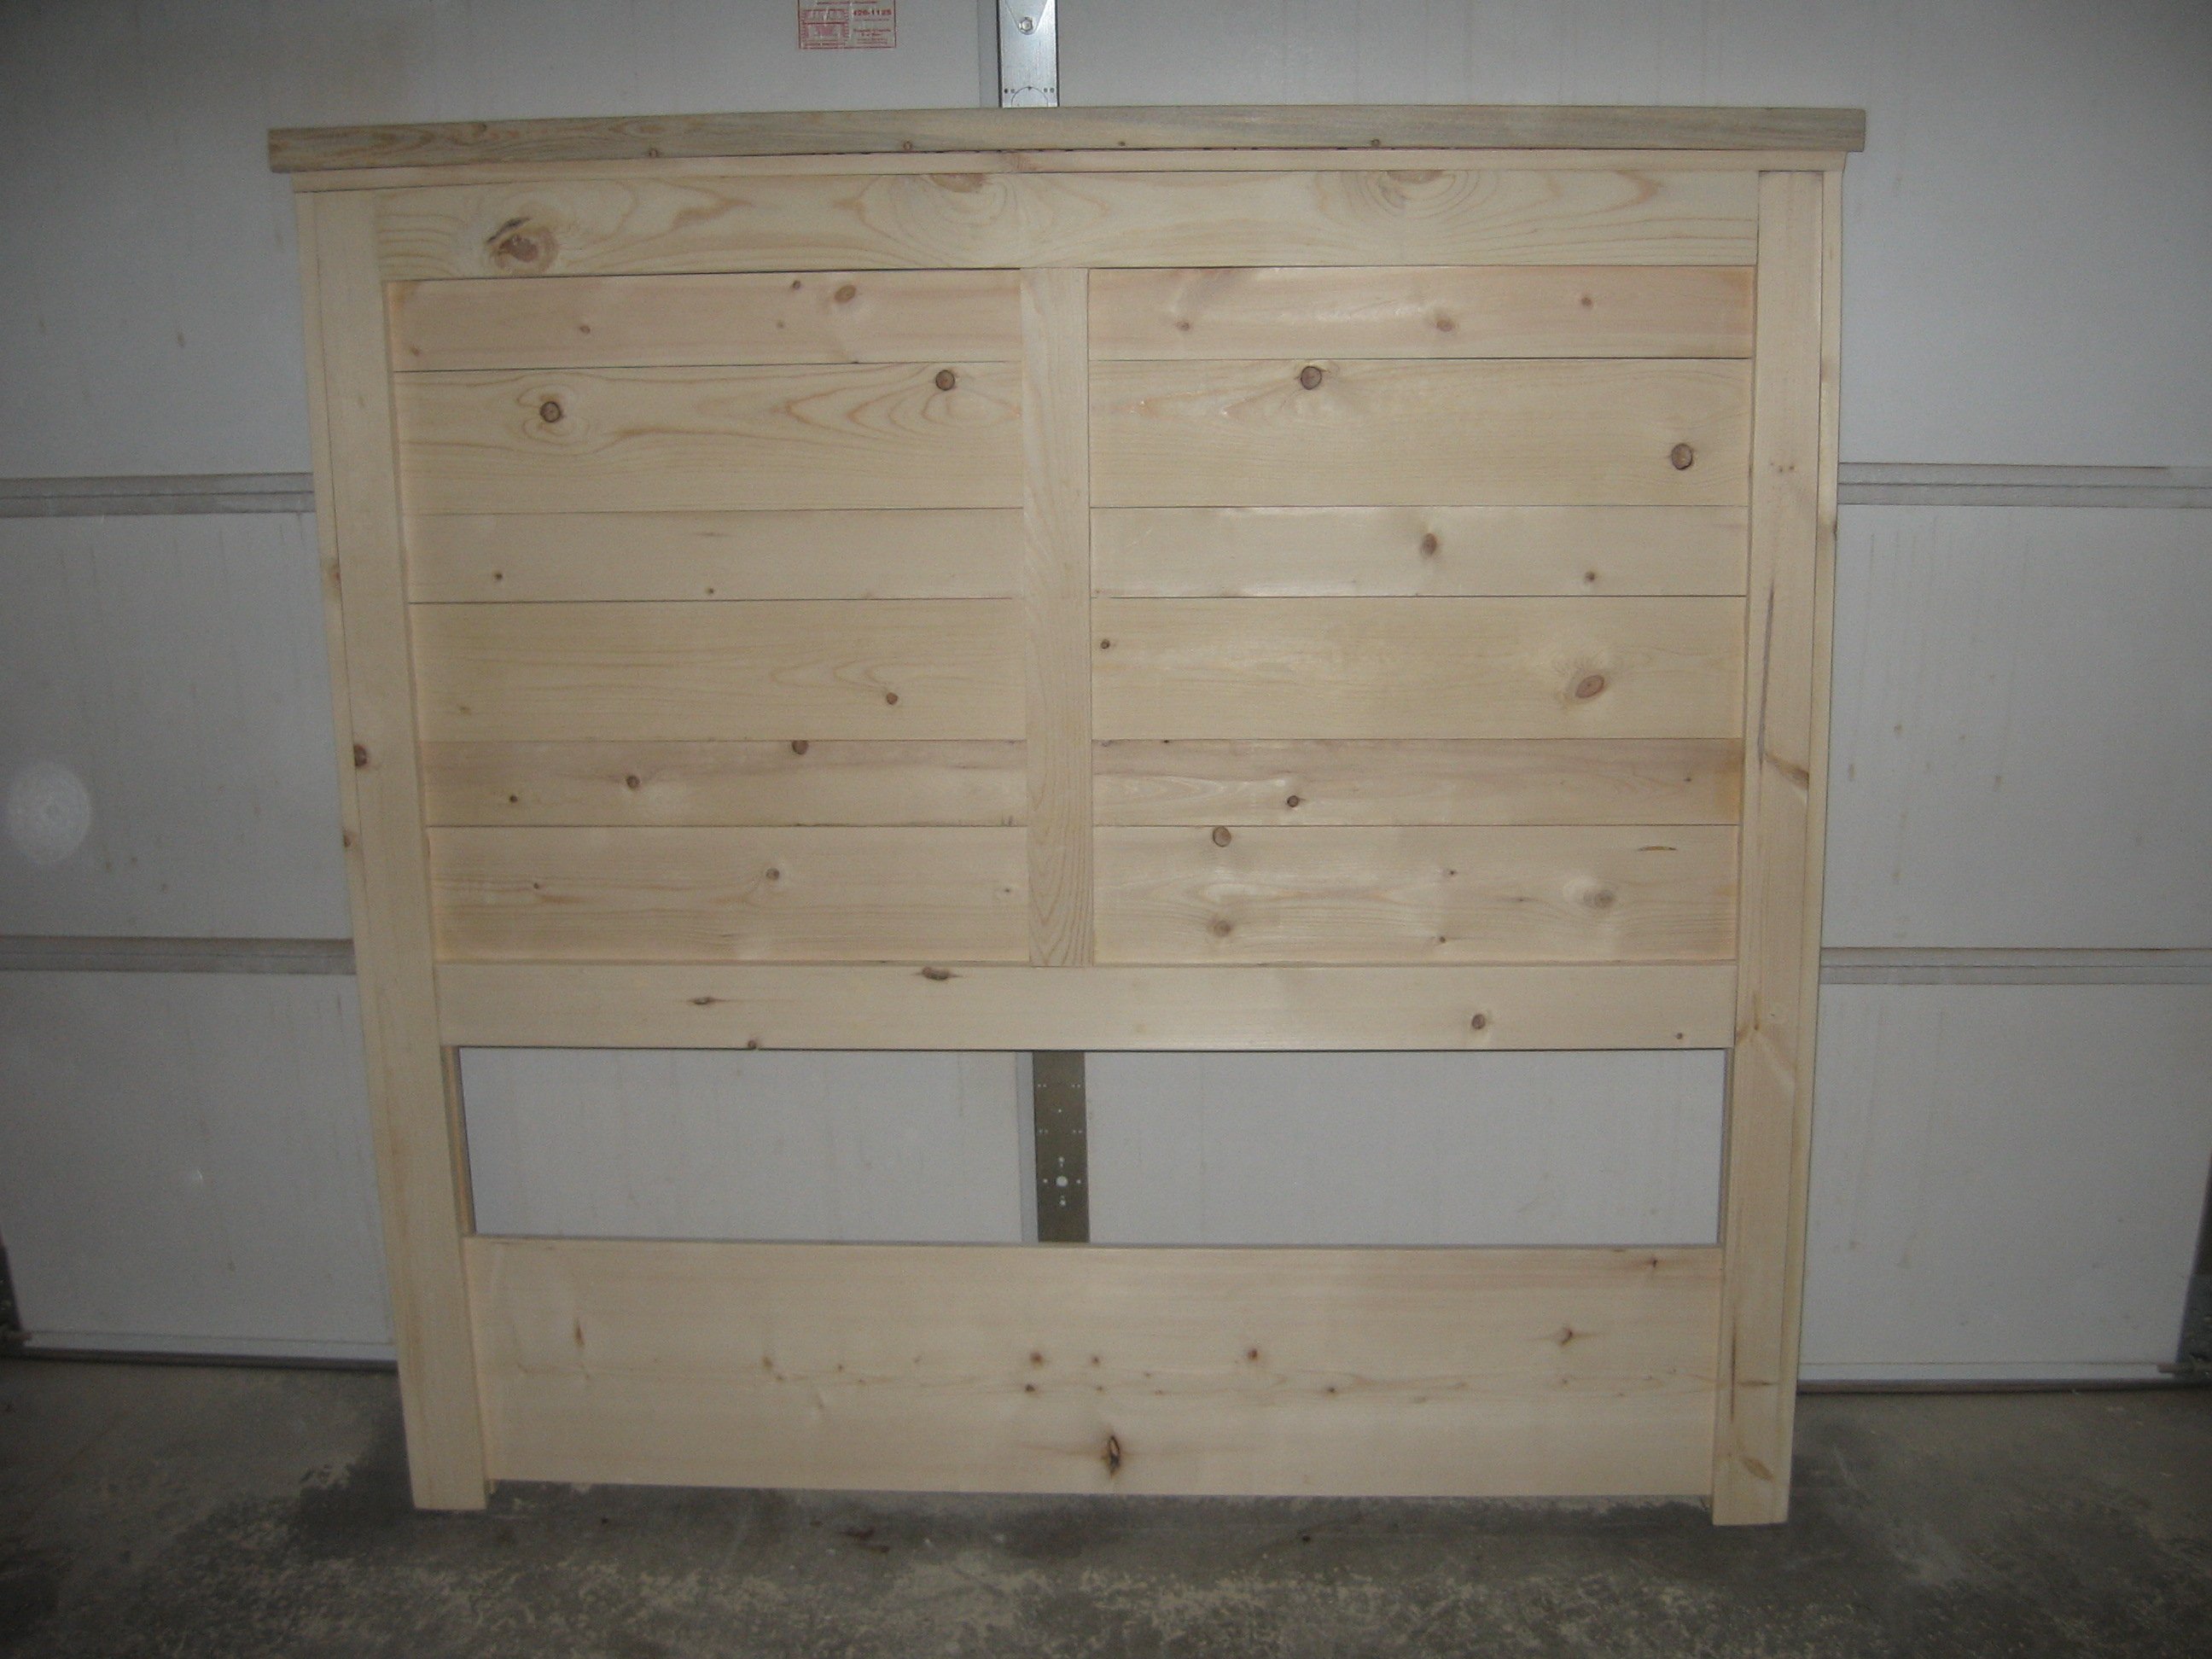
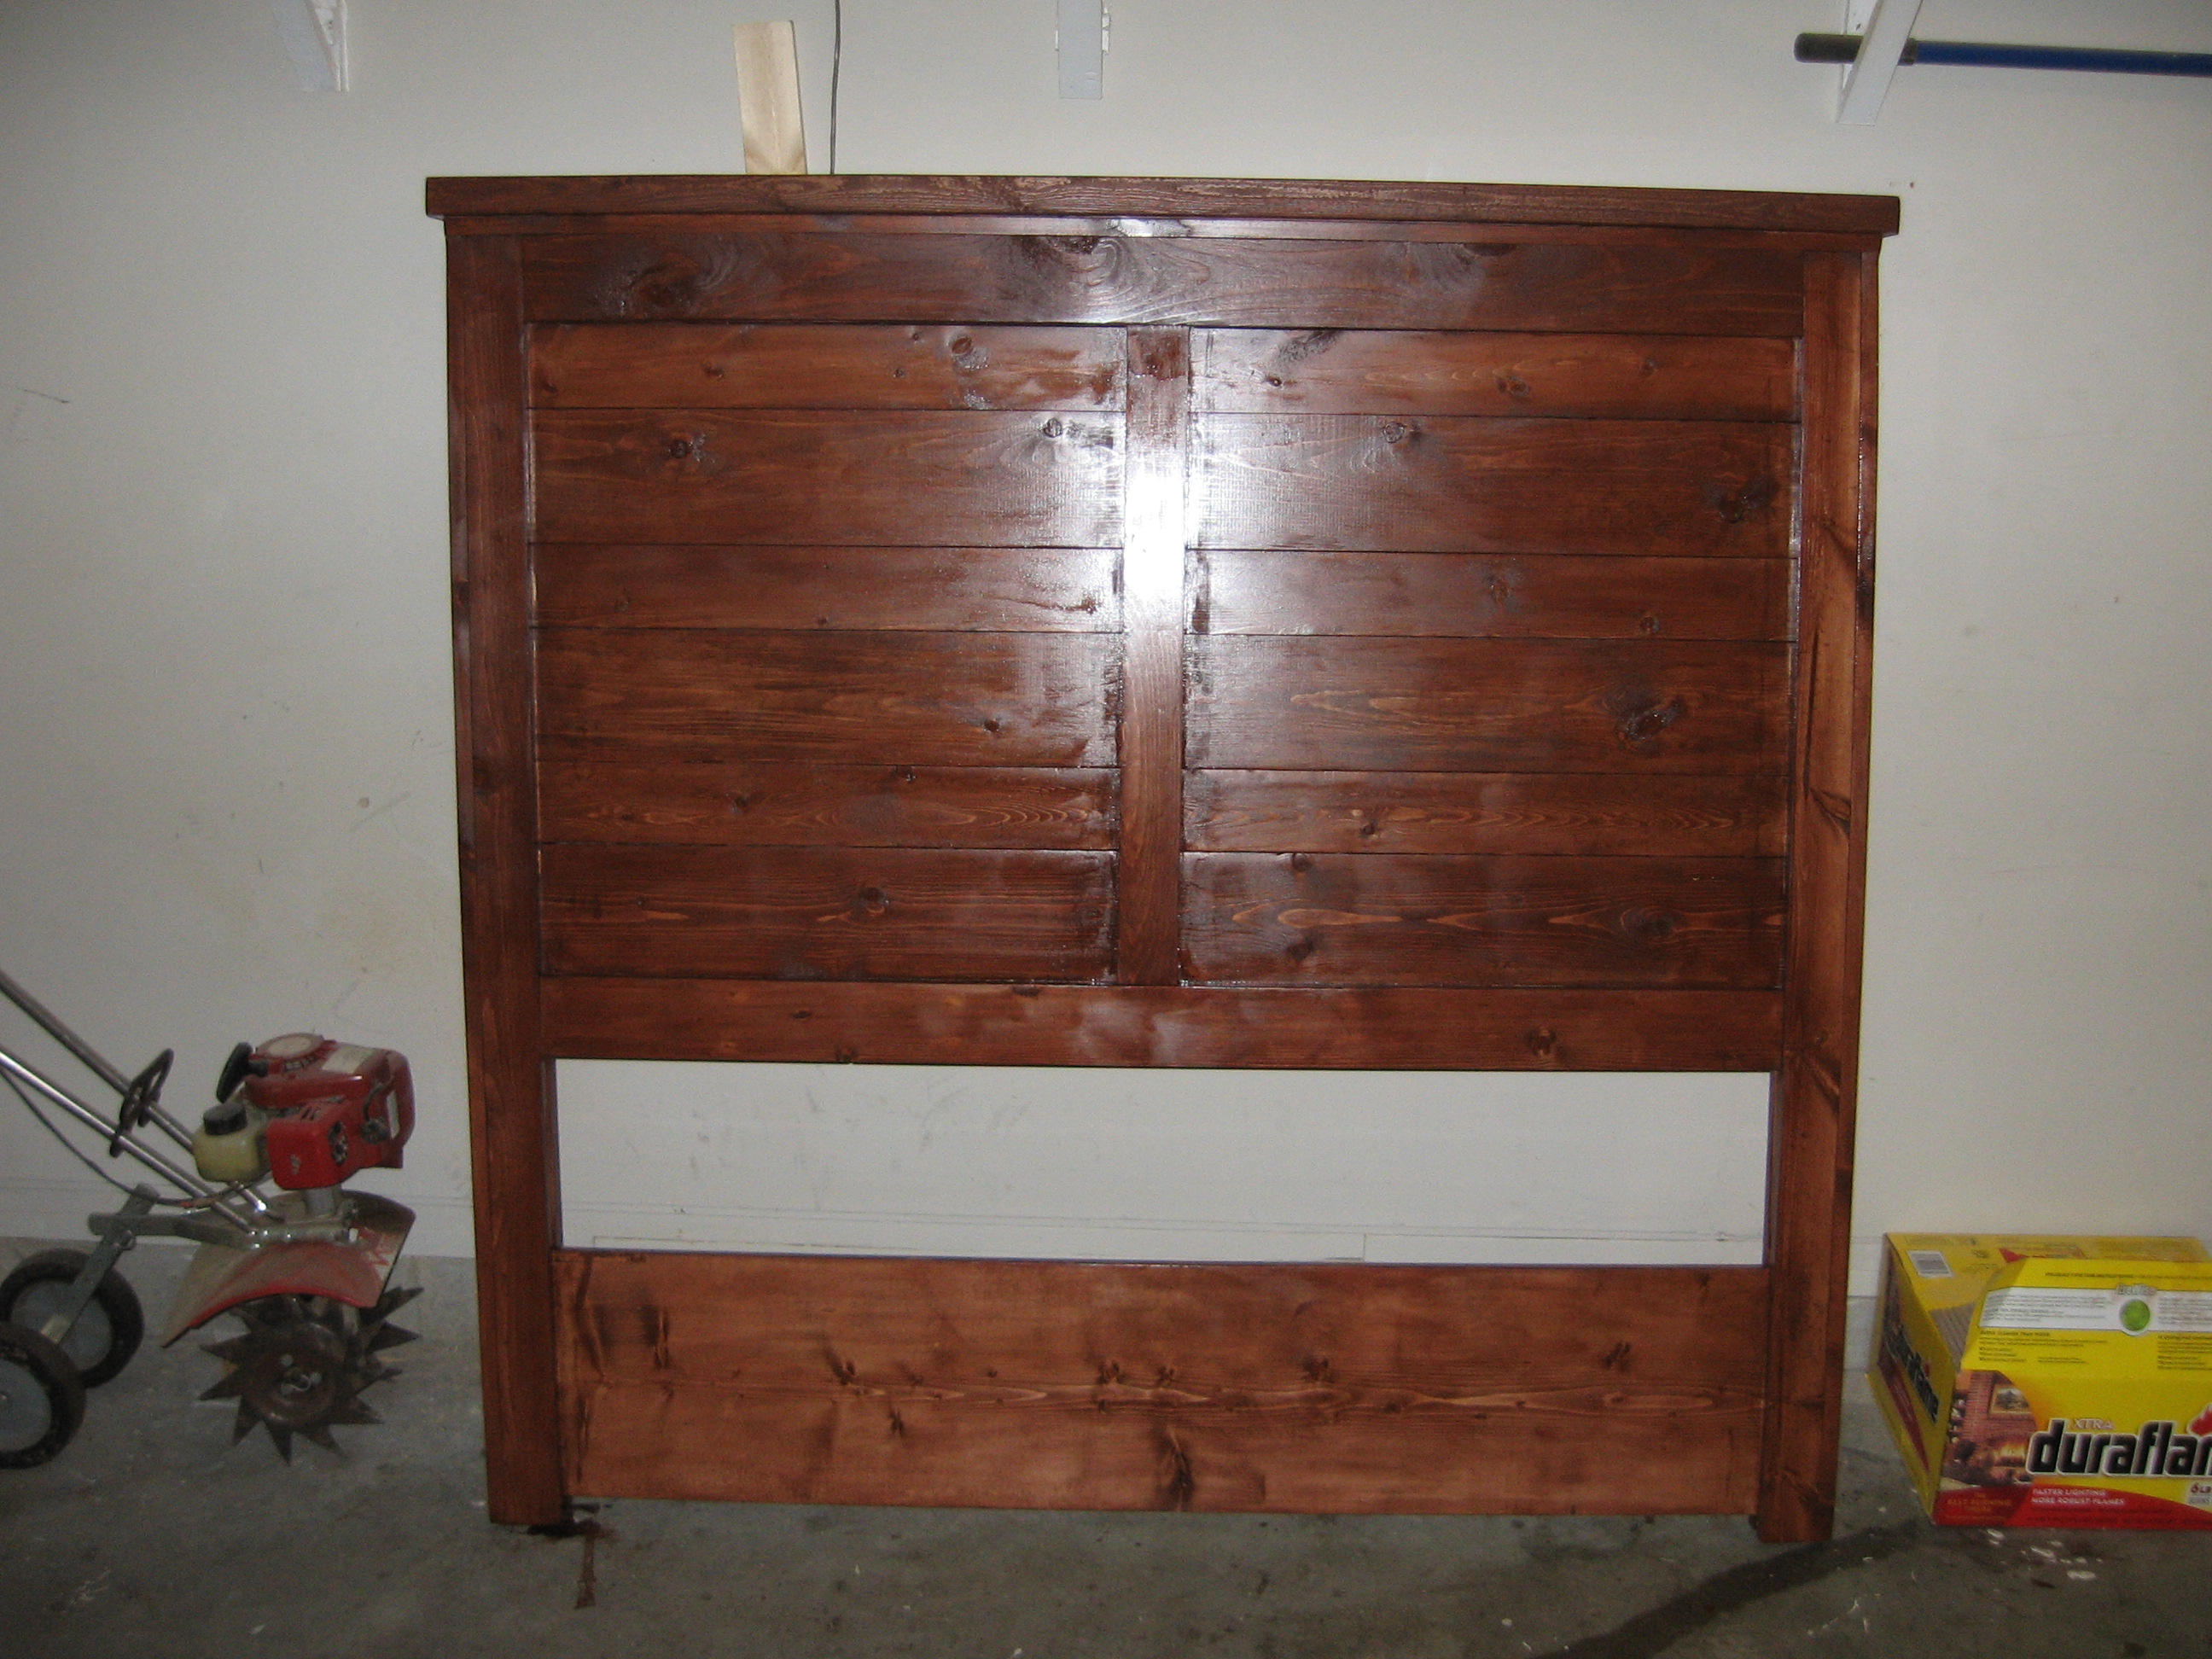
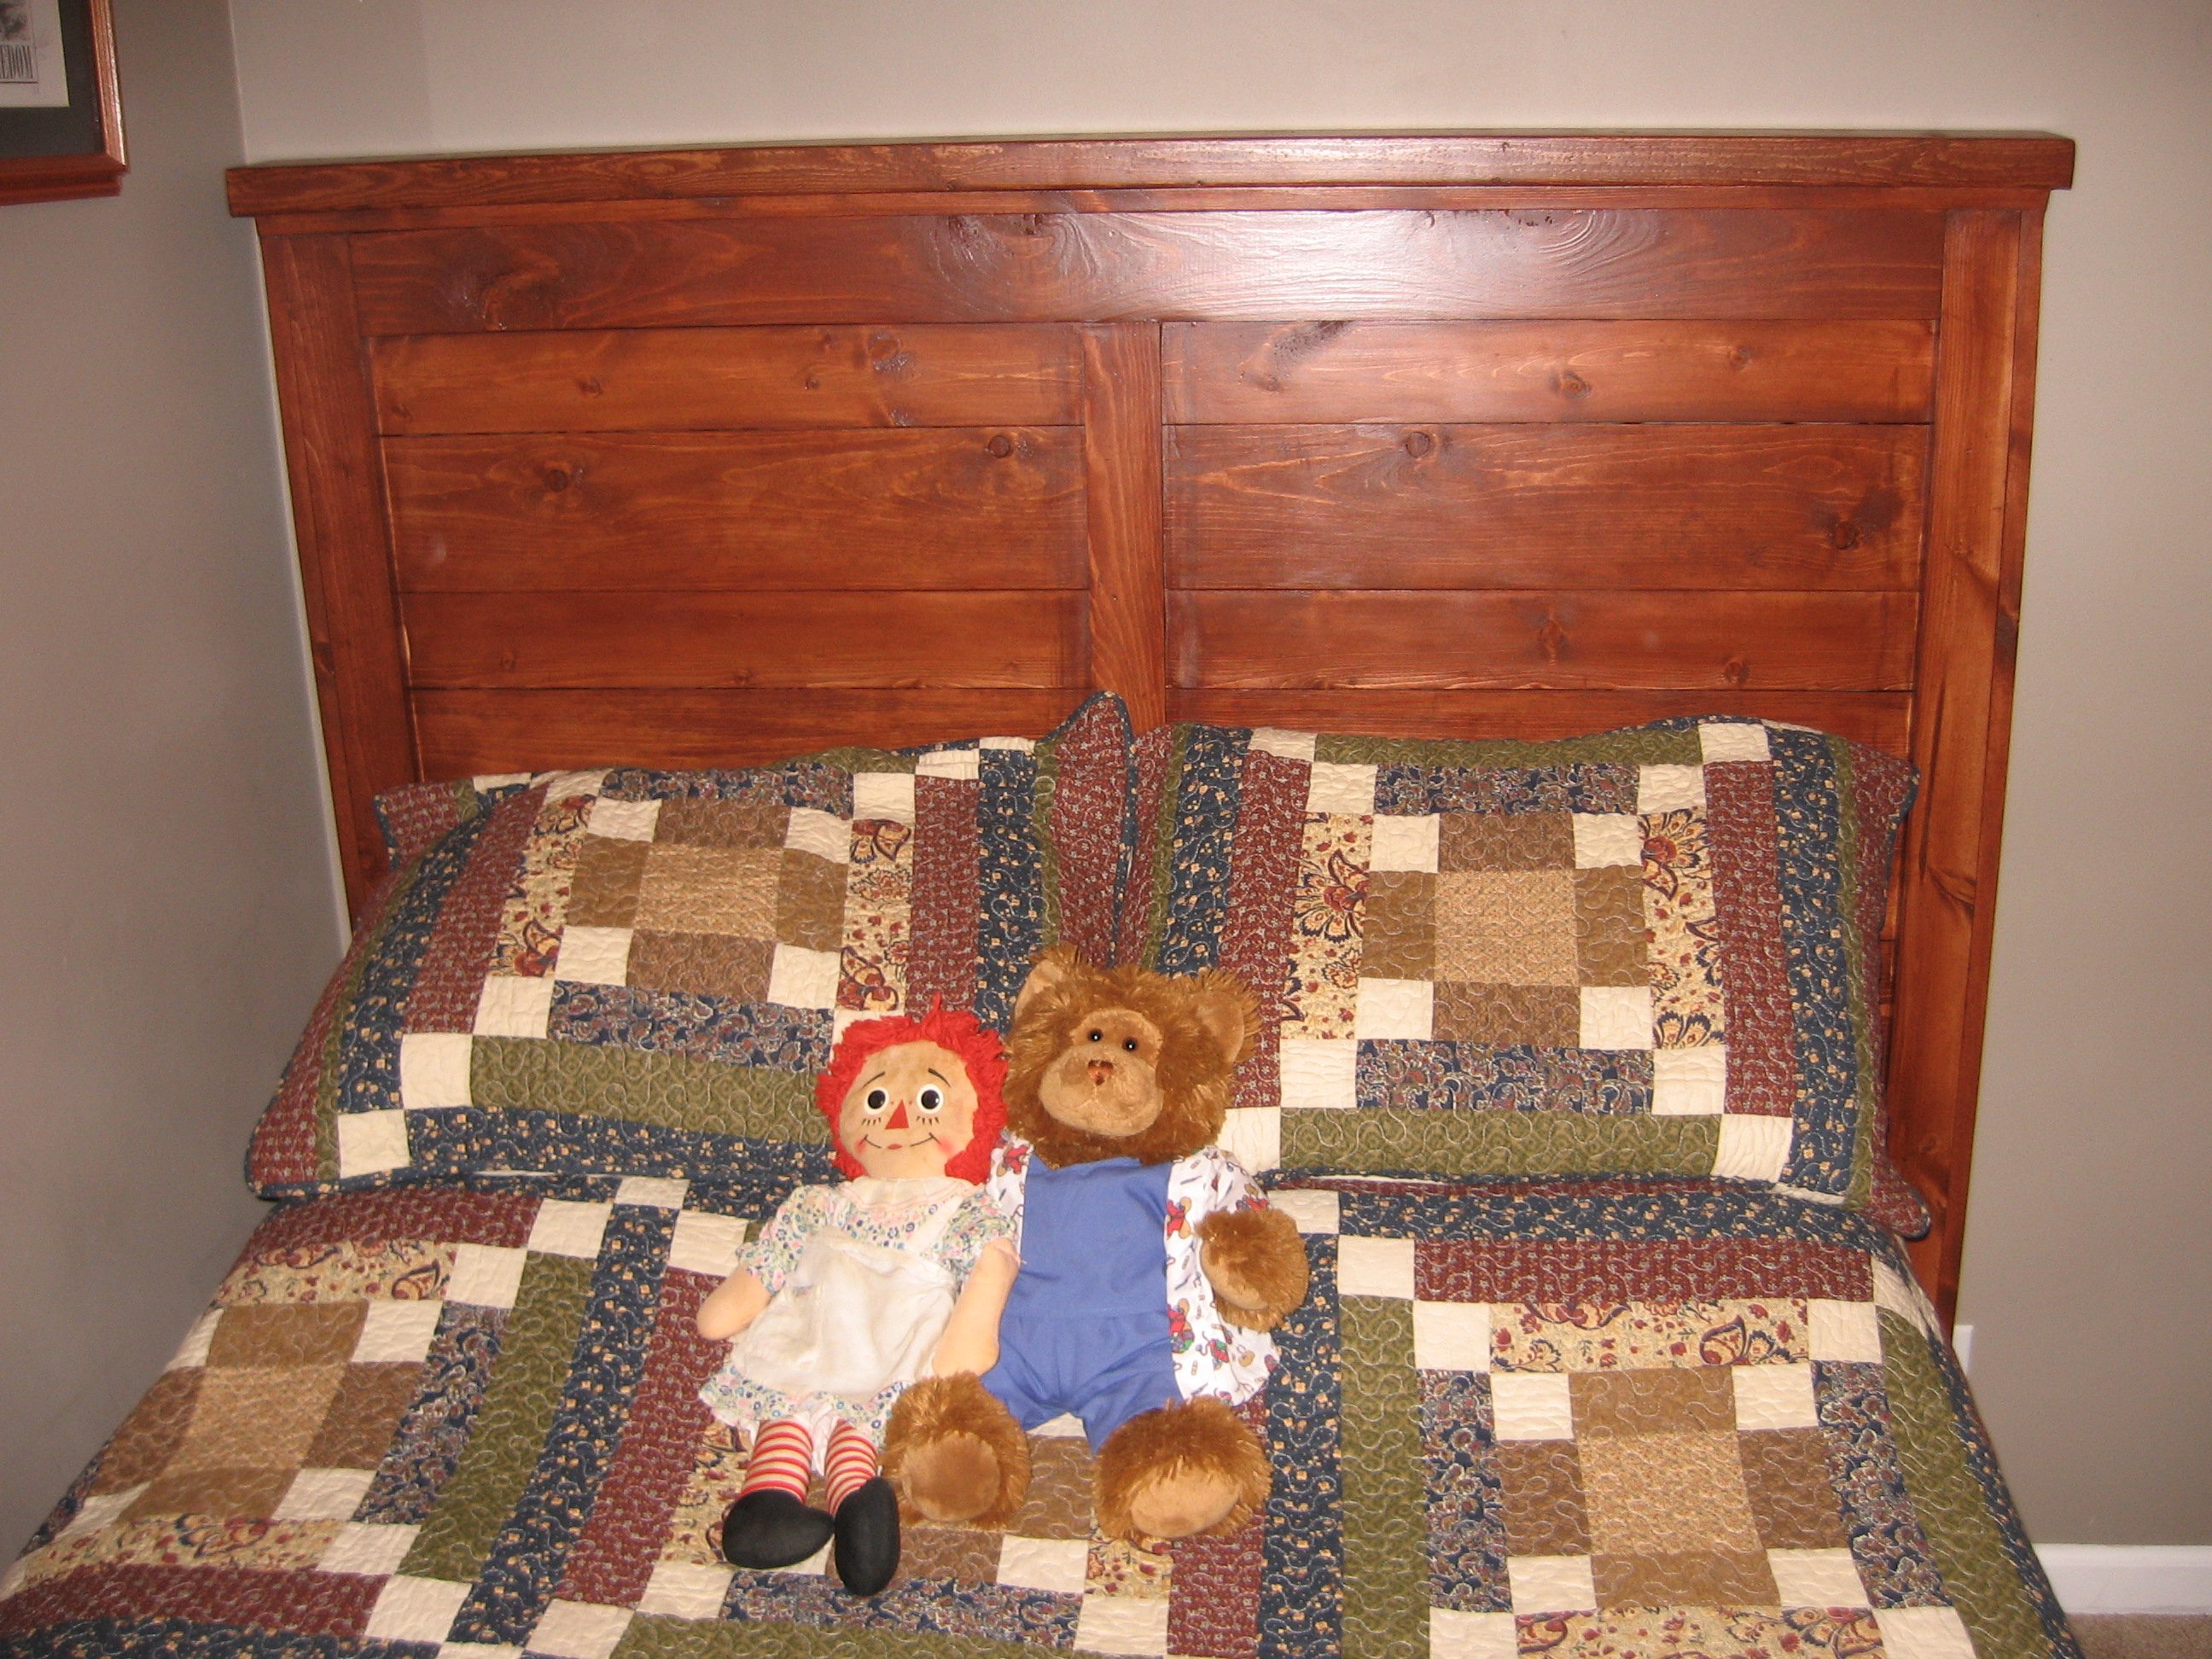
I had some leftover pieces of 1x10 and 1x3 pine boards from building a sidecar crib, so this was a perfect was to use the scraps. I used a table saw for cutting the 1x10s. My miter saw isn't large enough to accommodate 10 inch wide boards, but it was perfect for the 1x3s.
After assembling the stool the first time, I took it back apart and ripped the top down to 8 inches wide. I thought the stool had a tendency to tip with the full width of the 1x10.
Can't wait to build more of these! For the next one, I'd like to try cutting half circles out of the bottom of the legs with the jigsaw instead of straight cuts and trying some decorative cutout handles on the sides as well.
Thanks, Ana!


Comments
Ana White Admin
Fri, 06/23/2023 - 21:02
Great bed!
Way to go, this is fabulous! Thanks for sharing.