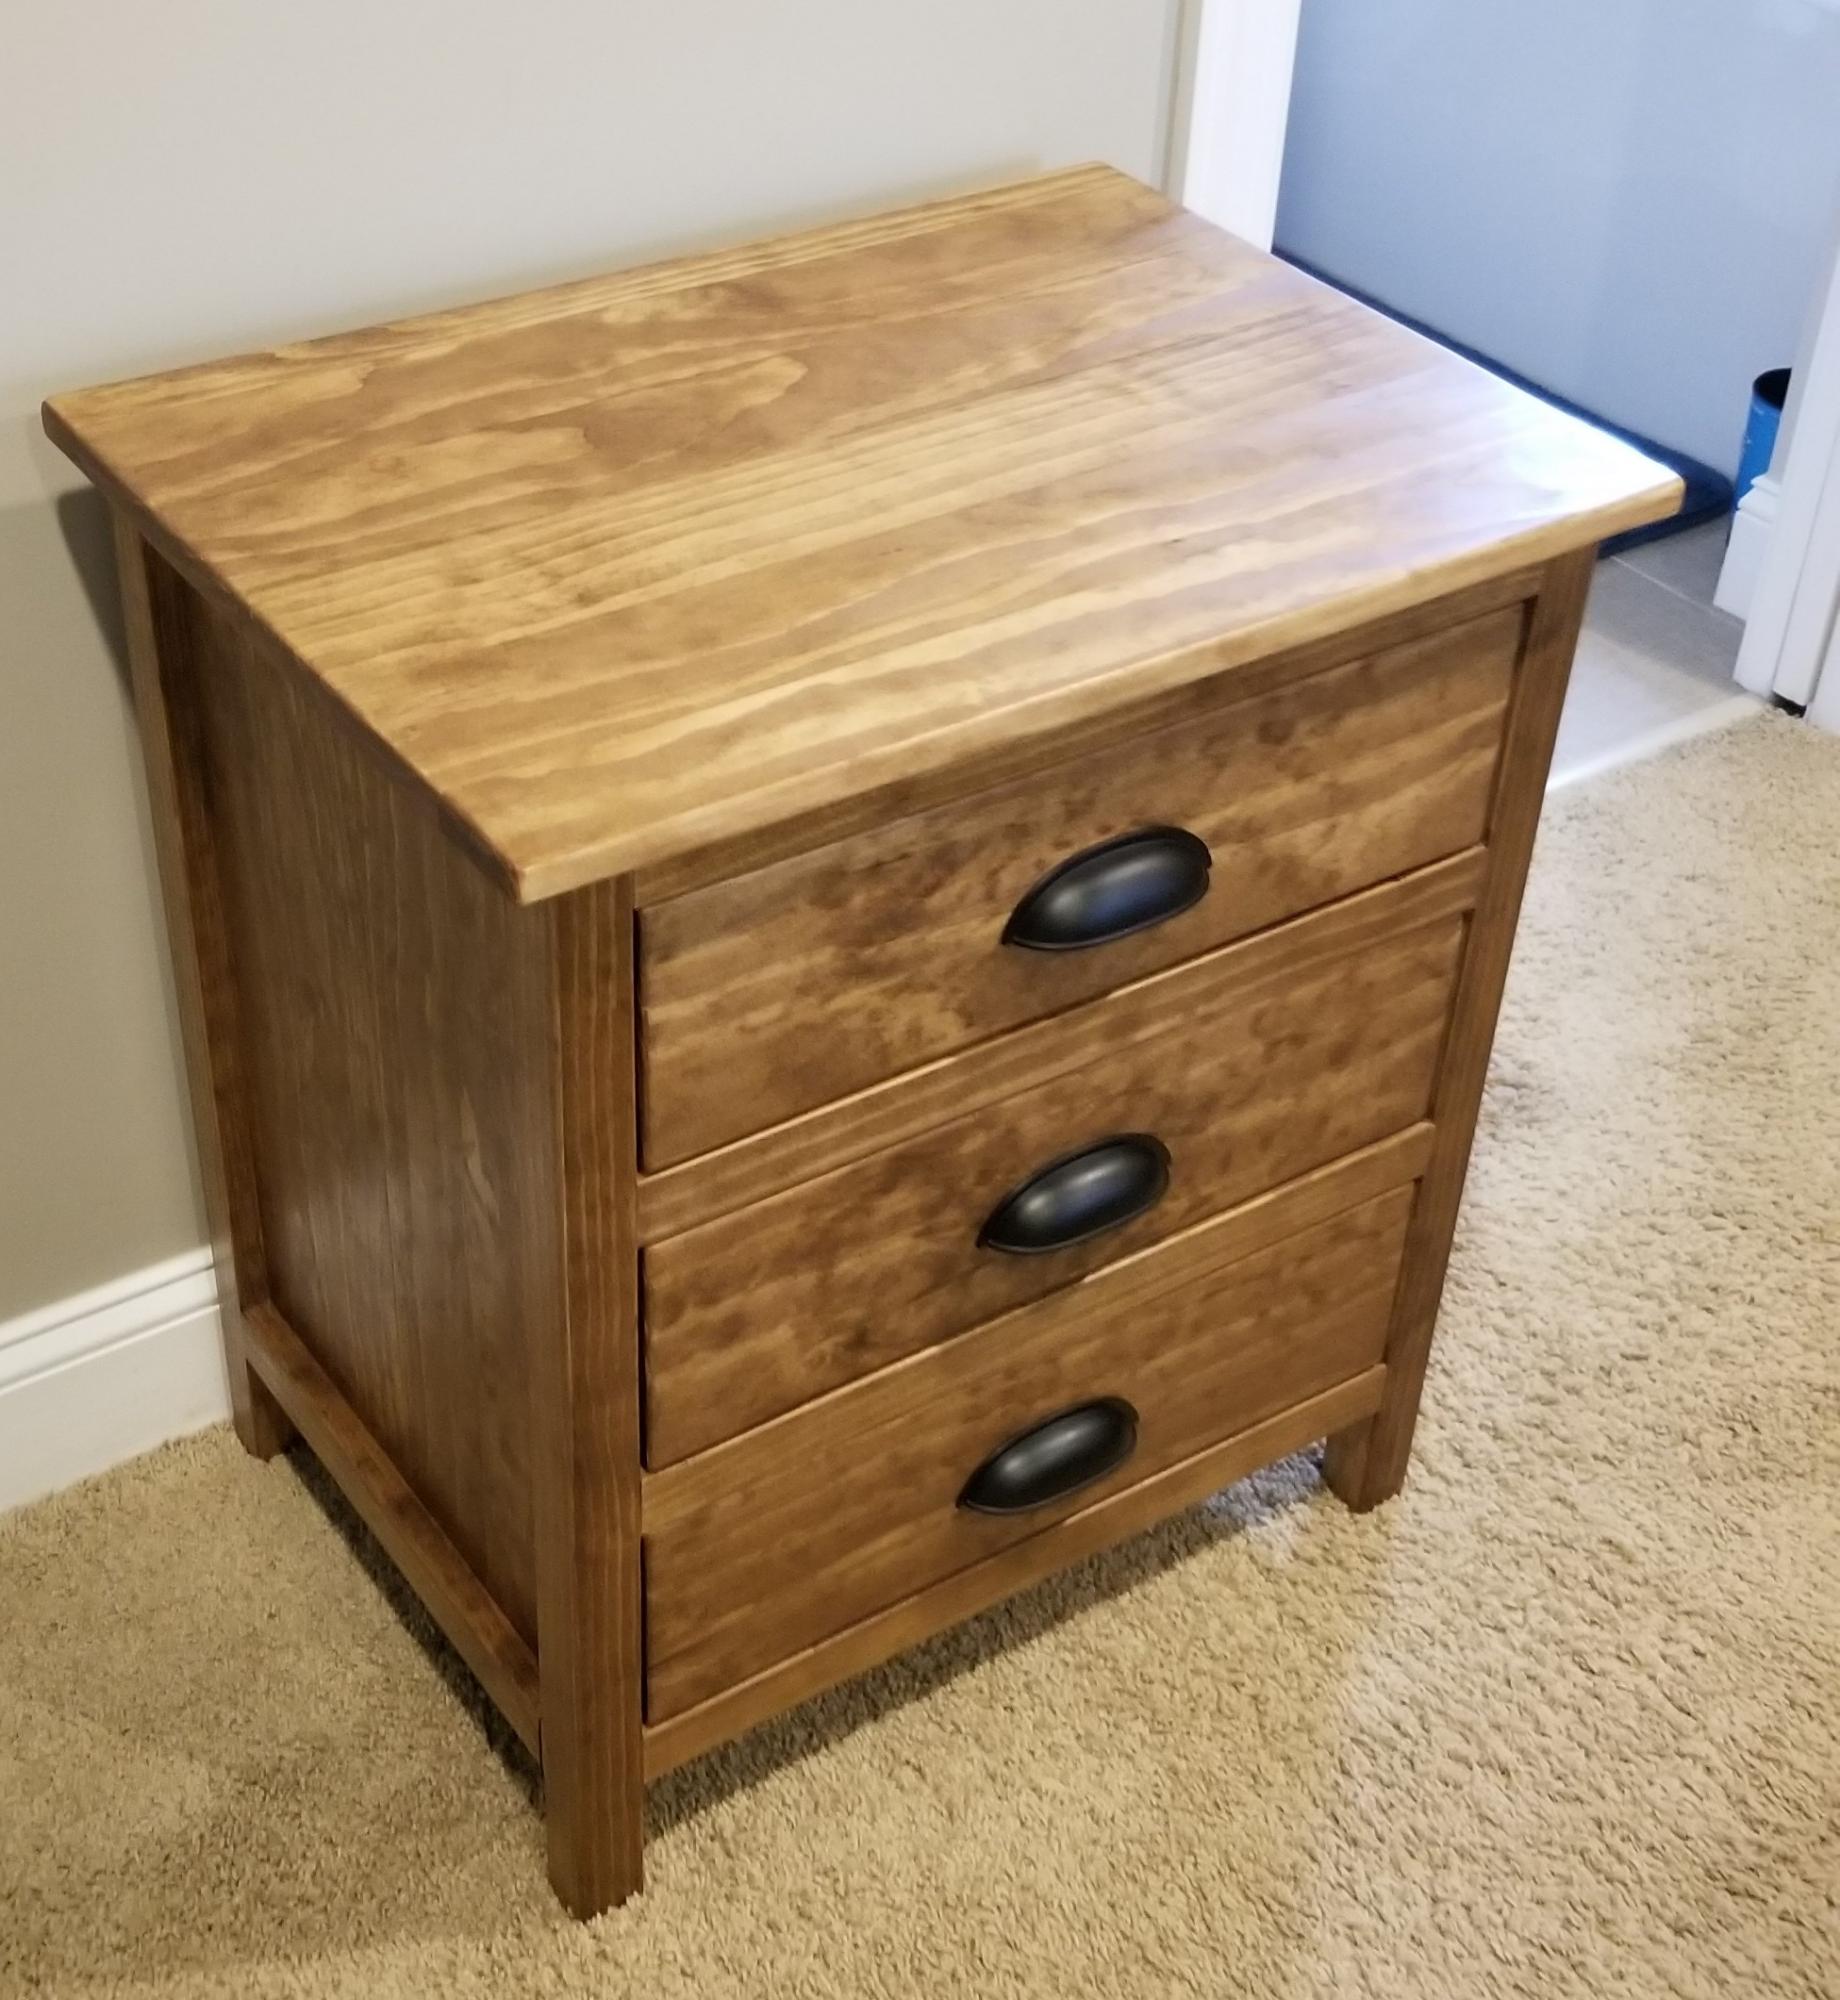
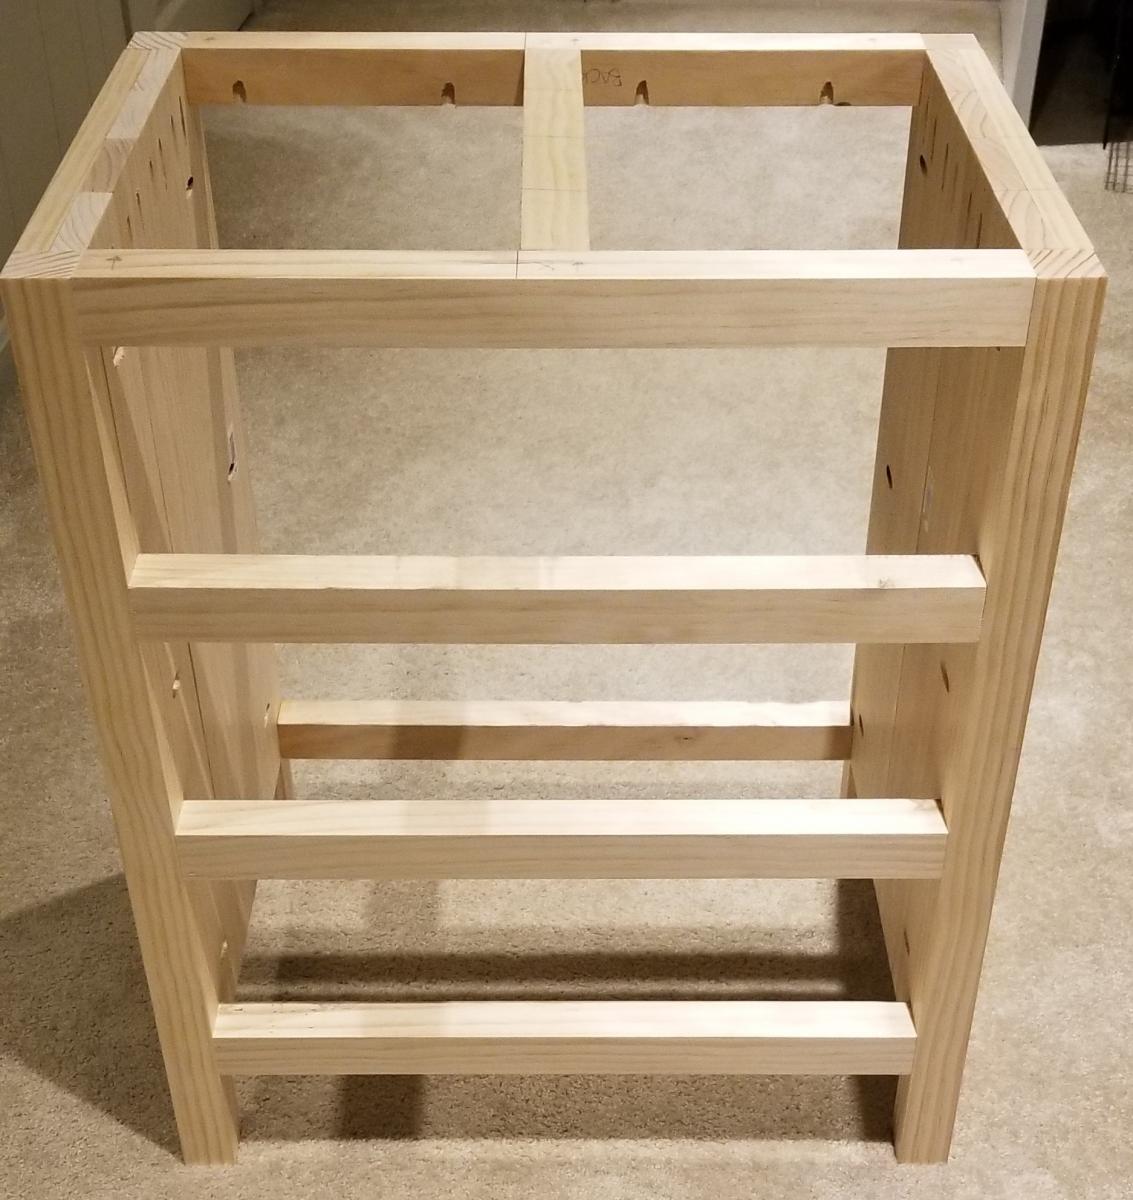
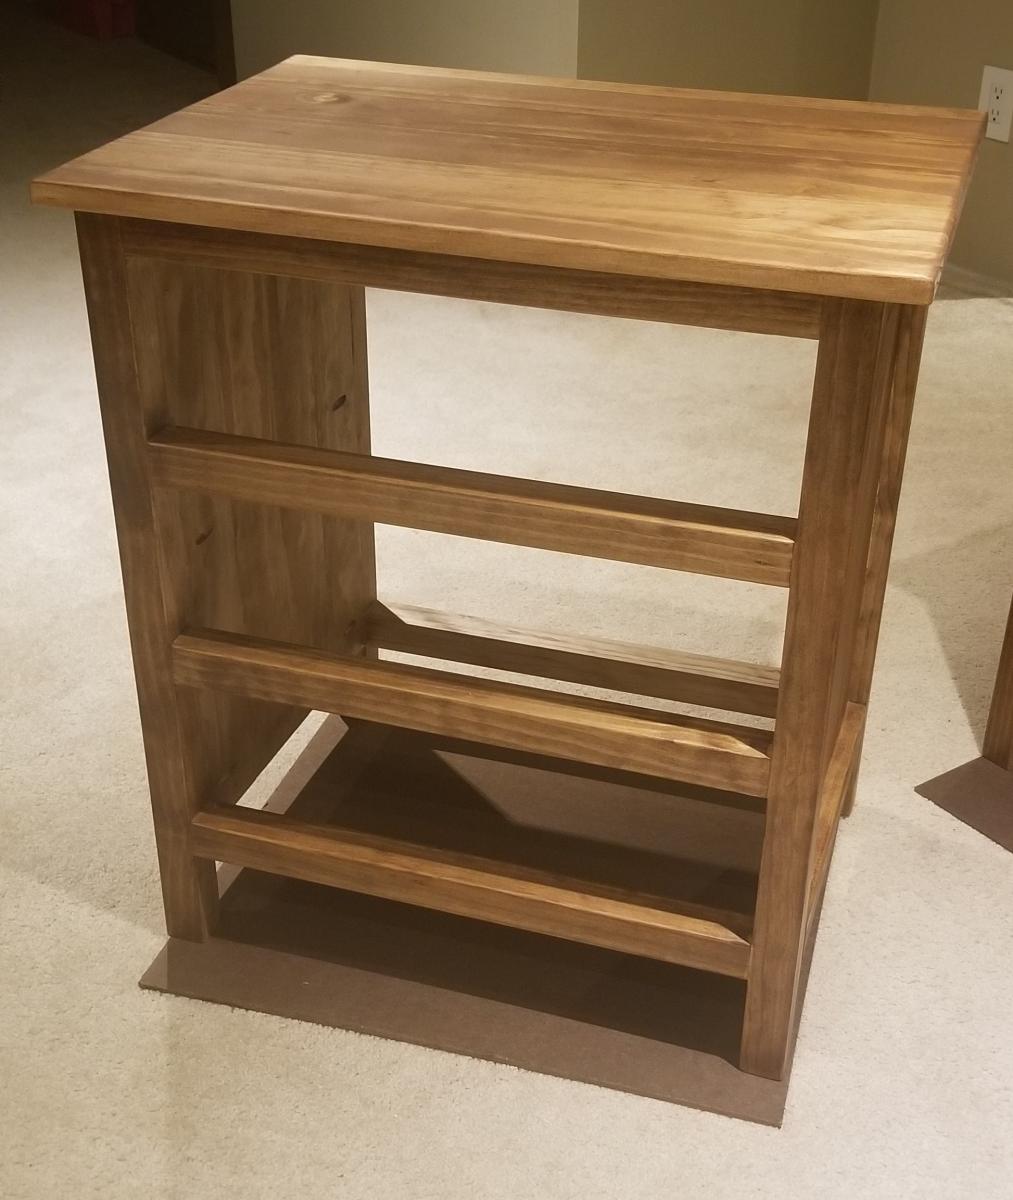
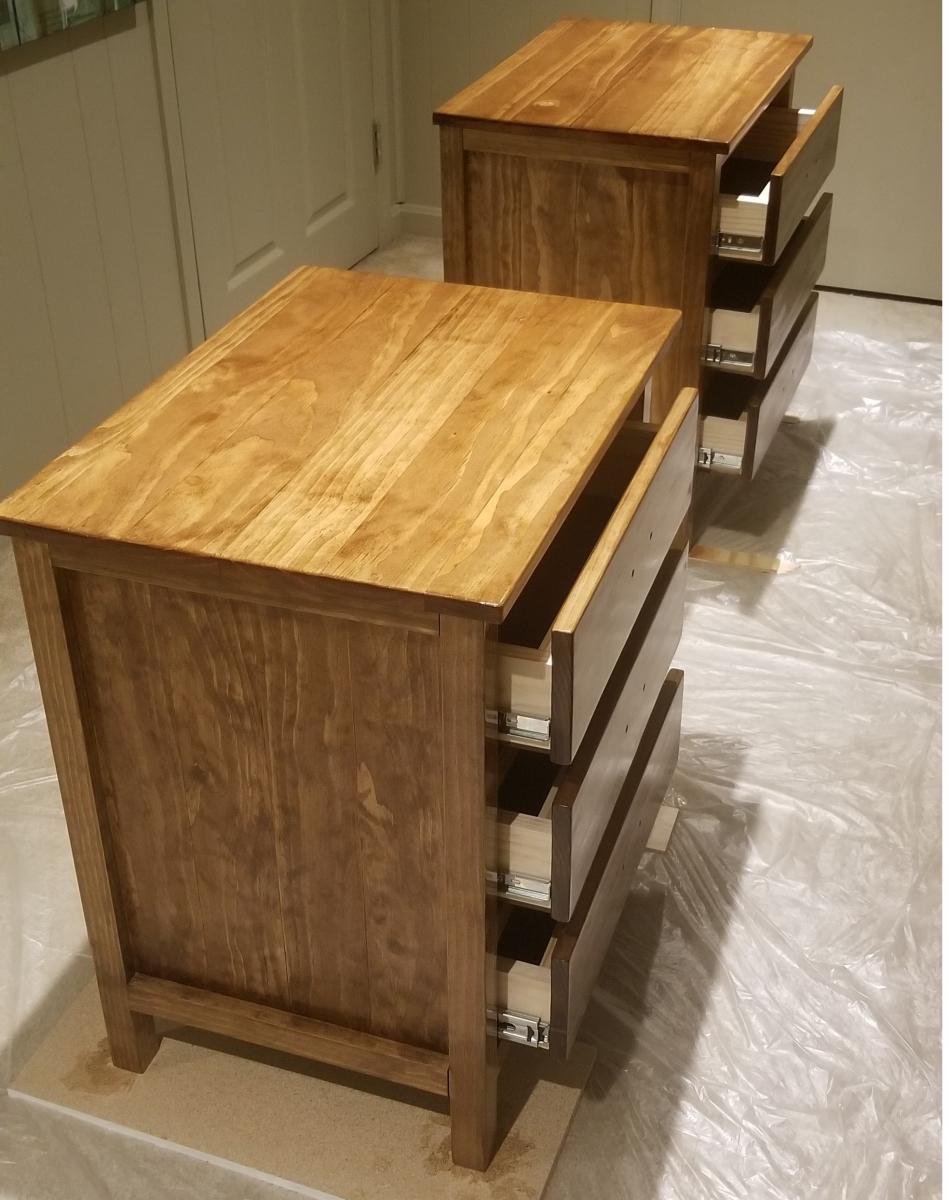
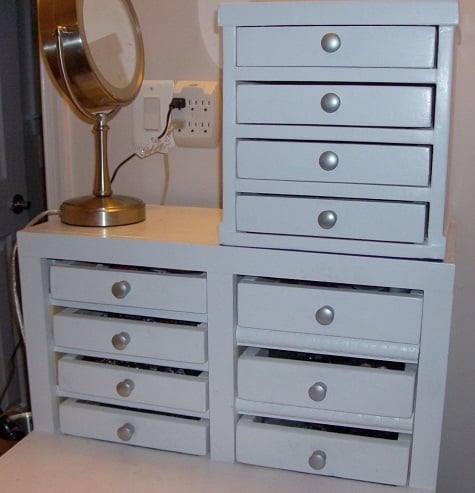
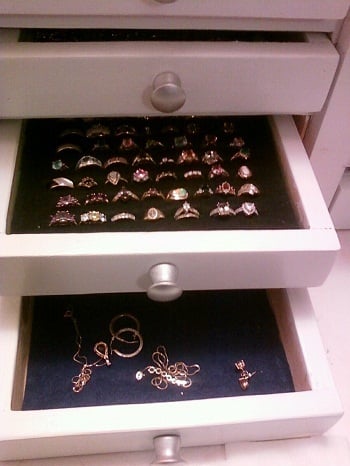
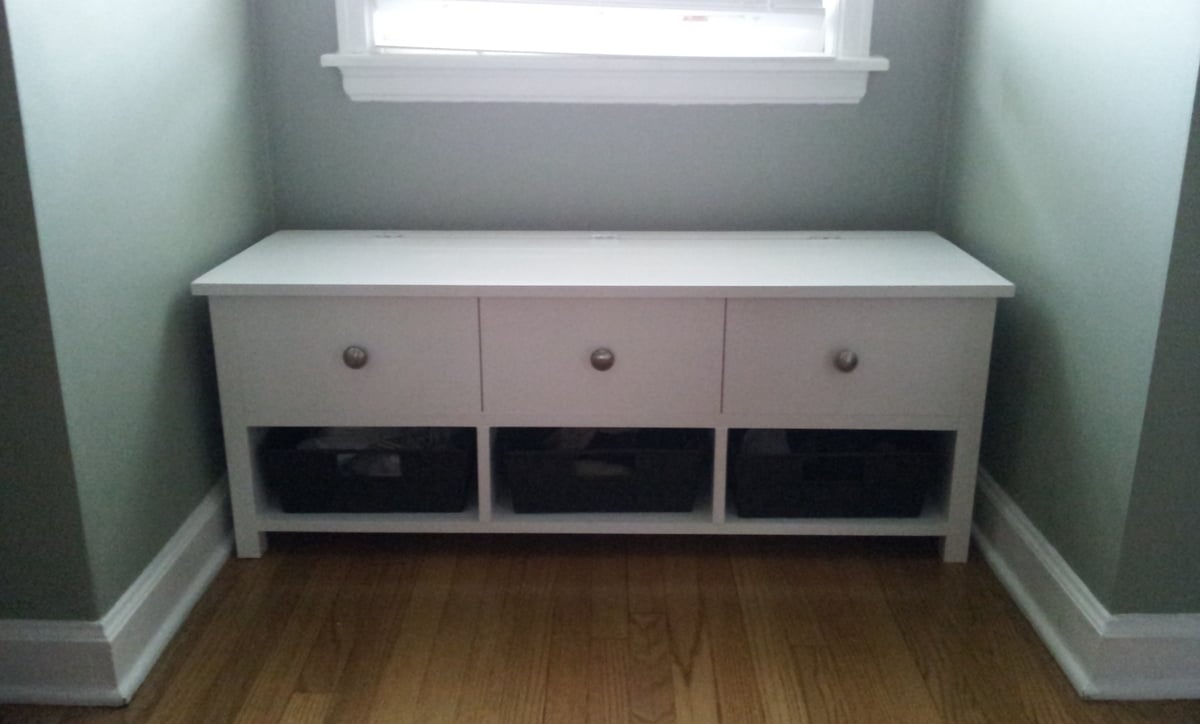
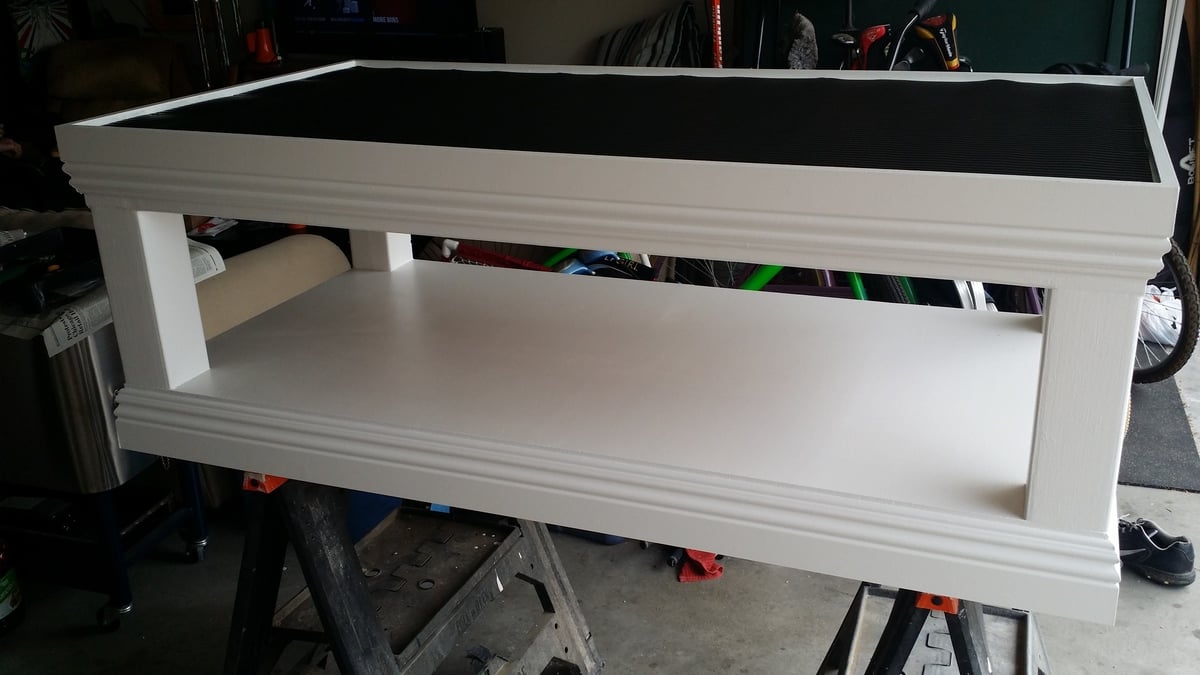
These little dressers are inspired by Ana's Master Closet System drawers, and the Willy Bookshelf. These were made entirely from scrap wood, so it only cost me for the knobs and the felt for the drawers/bottom. These drawers were sized to fit inside the cubes in my vanity/desk, and to fit the left over wood available from my scrap bin. This took a while to cut everything, but it was fun and didn’t cost me anything but my time. On the top dresser I used some ‘slices’ of lauan for trim, to hide the cut edges and the bit of ‘cup’ on my side pieces (these were re-purposed old shelf boards from the garage). I used my finish nailer and glue for these.
Here’s a shopping and cut list (and a few tips) to make the 4-drawer equivalent (similar to the top one) with standard sized 1x12 lumber, and using 1x2 for drawer front/back/sides and applying 3/16” lauan ply for the bottoms. Haven't figured out how to use sketch up yet, so I can only provide a shopping list, cut list, and finished dimensions, so here goes:
Shopping list: (my 1x12’s are 11.25” wide and .75” thick, and 1x2’s were 1.5” wide, and .75” thick, and lauan is 3/16” thick)
1 pc 1x12x8
2 pc 1x2x8
2 pc 24” x 24” lauan (3/16’ plywood) (you’ll have some left over from the 2nd piece)
Felt - 4 pc 8.5” x 9.75” for insides of drawers, 4 pc 10” x 11.25” for drawer bottoms, and 1 pc 11.75" x 11.25" for dresser bottom. You can use 9 sheets craft felt (9” x 12”) for this – the 11.25” front – back measurement on the drawer bottoms is what’s most important –craft felt is 9” wide, and it’s OK if the felt doesn’t go all the way to the edges on the side-to-side measurement
(Sticky-back felt works and looks great, but costs a lot more than regular. I use sticky back on something I’m making as a gift, but these were for me so I just used regular felt and glued it in place with wood glue)
4 mini-knobs (Mine are unfinished ones from Ace, got for 2/$1.29 and spray-painted them)
Finish nails (I had 1 ¼” on hand) and plenty of glue
Finishing materials - filler, sand paper, plus paint/stain to suit your tastes
Cut list:
2 pc 1x12, cut at 2” (spacers - use these 'slices' for spacers while assembling, so the shelves are all spaced the same distance apart – this idea is from the Kreg jig demo video where they built the bookshelf). I like to cut these first, making sure they are nice and square. To me it’s easier and safer to cut these thin pieces from a larger piece with my miter saw.
2 pc 1x12 @ 11.75” (dresser top/bottom)
5 pc 1x12 @ 10.25” (2 for sides, 3 for shelves)
8 pc 1x2 @ 10” (drawer front/back)
8 pc 1x2 @ 9.75” (drawer sides)
4 pc 10” x 11.25” lauan plywood (drawer bottoms)
1 pc 11.75" x 11.75” lauan plywood (back)
Finished dimensions:
Dresser: 11.75” H x 11.75” W x 11 7/16” deep (includes back)
Drawer opening size: 10.25” wide x 2” tall x 11.25” deep
Drawer dimensions: 10”wide x 11.25” long x 1 11/16” tall (felt on the bottom of the drawer will make this height just a little taller)
Finished inside depth of drawer 1.5”, drawer inside dimensions 8.5” wide x 9.75” long
Finish: sanded, filled, sanded some more, and painted with some left over white paint, and used silver spray paint for the knobs
Assembly tips: Dresser part is constructed very much like the Willy bookshelf. The top and bottom are the same size on this one and the dresser bottom is applied the same way as the top of the Willy bookshelf. Once the bottom is on, use the ‘spacers’ to make sure the shelves are the same distance apart all the way up, then the top goes on last. 3/16” plywood goes on the back. Drawers are constructed like the master closet system drawers. Drawers slide directly on the shelves (and bottoms of drawers covered with felt) so no drawer glides are used. Applied the felt and knobs after sanding and finishing. Make sure the felt goes all the way from the front to the back of the drawer bottom, and is glued on thoroughly.
