Child's Book shelf
First Project...really got me hooked! It's only 4 feet tall so it really was a cheap one...
First Project...really got me hooked! It's only 4 feet tall so it really was a cheap one...
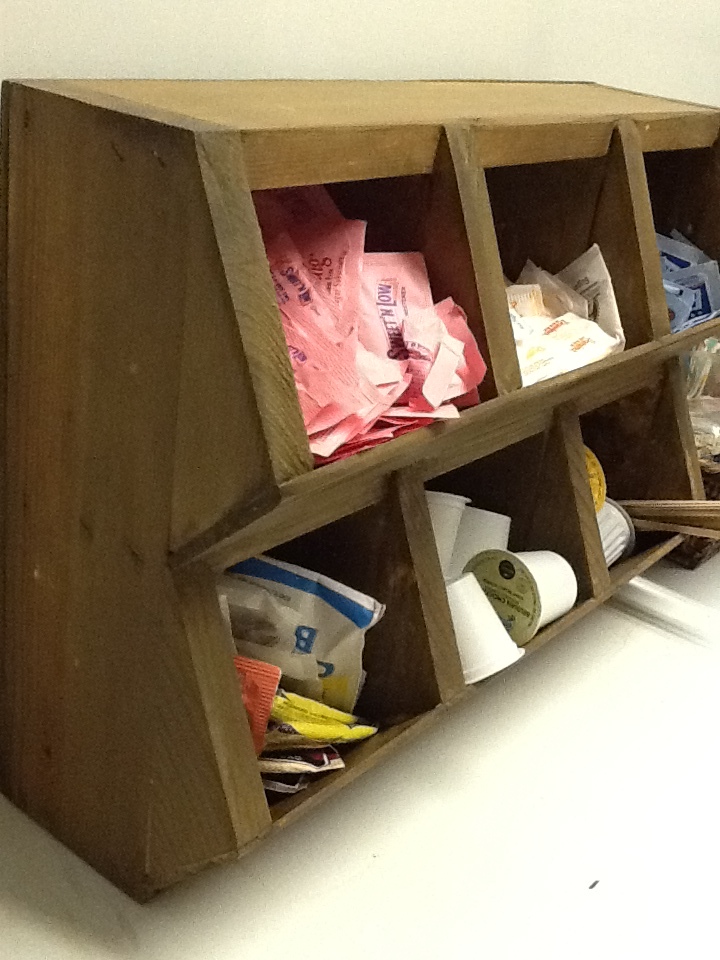
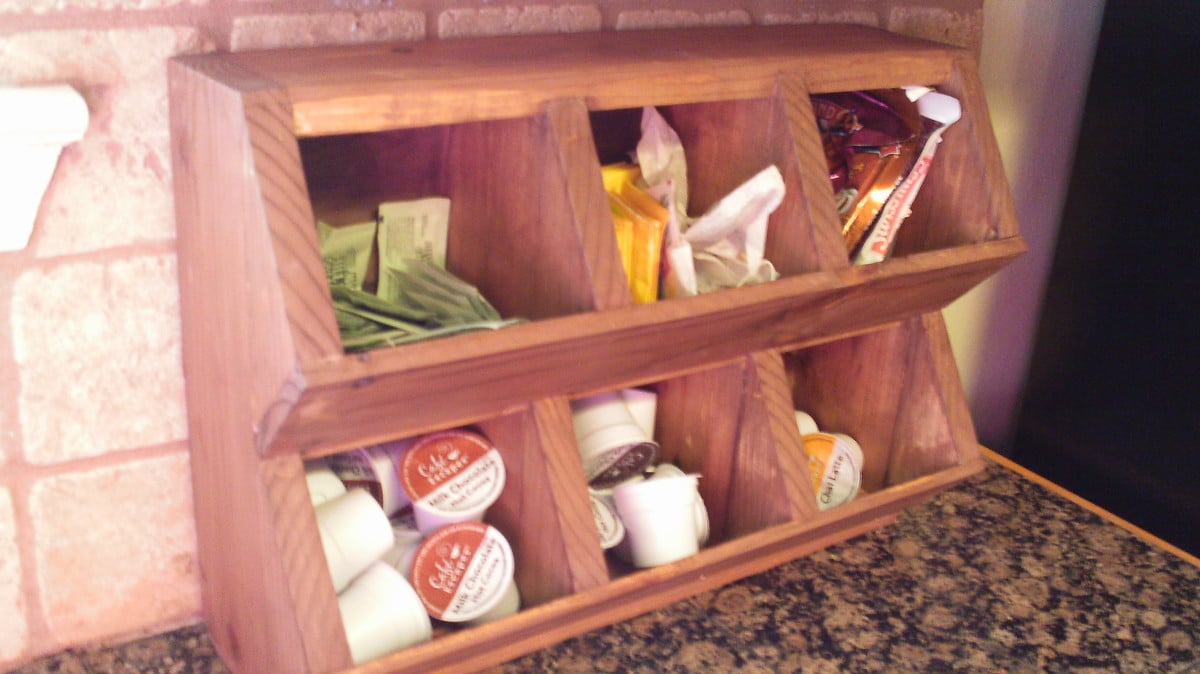
I wanted to make something to organize the coffee supplies in my office breakroom, so I made these cubbies using the same basic concept as the Vegetable Bins. I used 1 - 8' 1x4, scraps for the angled pieces and 1/4 plywood for the back and front of cubbies. I was able to construct primarily with glue and nail gun. I chose "intermediate" level because you may need to make tricky cuts using your miter saw that beginner may not be comfortable with.
I constructed this desk all from birch plywood. It features a pull out keyboard tray, modern drawer finger pulls, and full extension drawer slides. The plywood was finished with a hand-rubbed danish oil for a natural wood appearance.
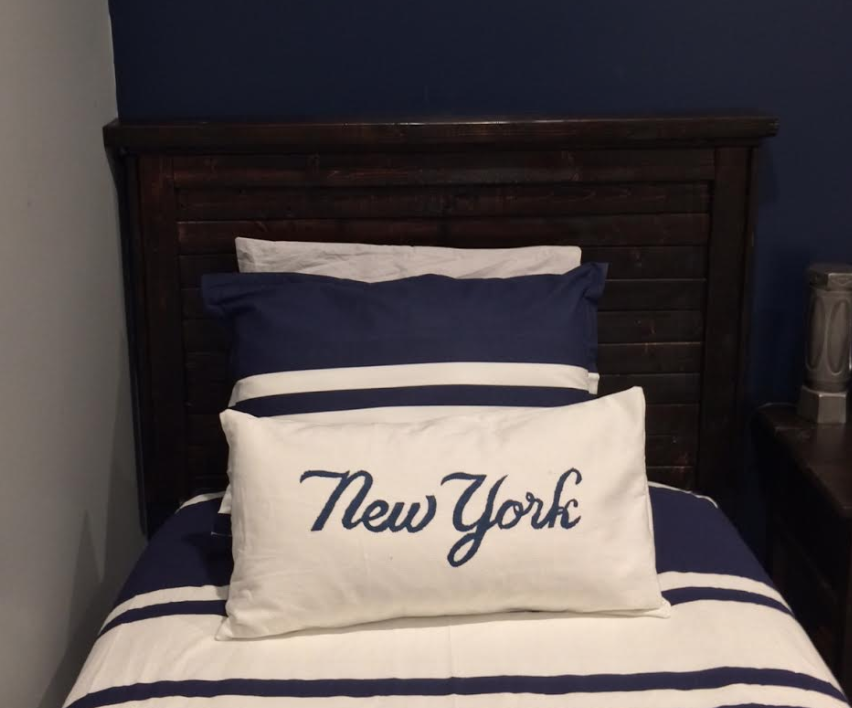
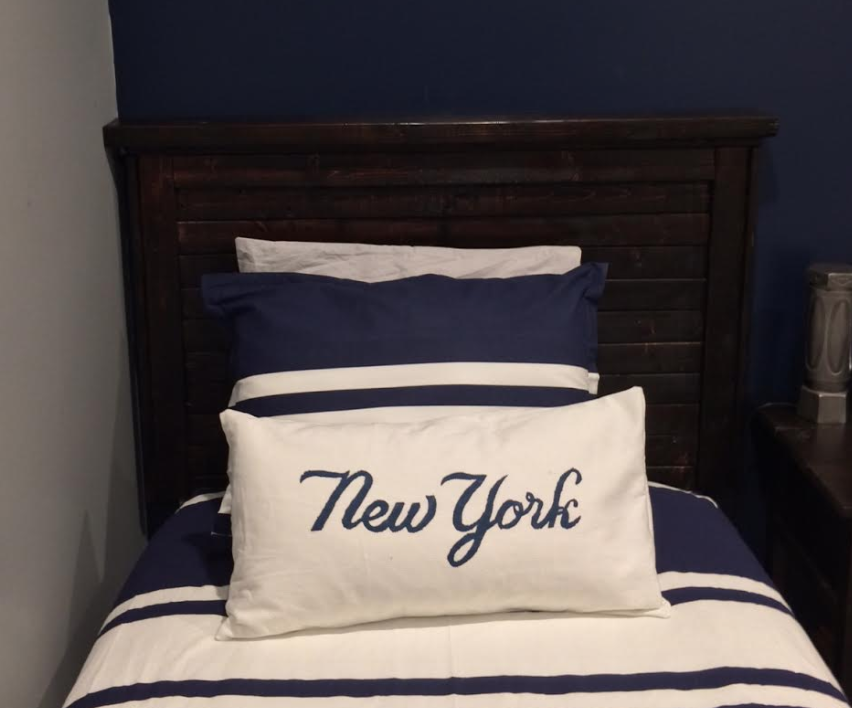
Built these for my boys room- these headboards are for highrisers so I did not use legs- they end at the bottom of the slats. I used 1x3 furring strips for the slats to keep the costs down, I believe I used 10 slats. In order to mount the headboards, they are completely mounted on the wall and not attached to the bed at all. I used 3-2'' Z clips, at the top, tried to get them drilled into wall studs. To keep the headboards even more secure, I used corner braces on the bottom- 2'' braces, drilled into the wall with anchorless screws and then drilled into the bottom of the headboard frame.
I also did not cut the wood at the hardware store- I purchased a circular saw and was very happy with the decision. Was MUCH better to cut as I built.
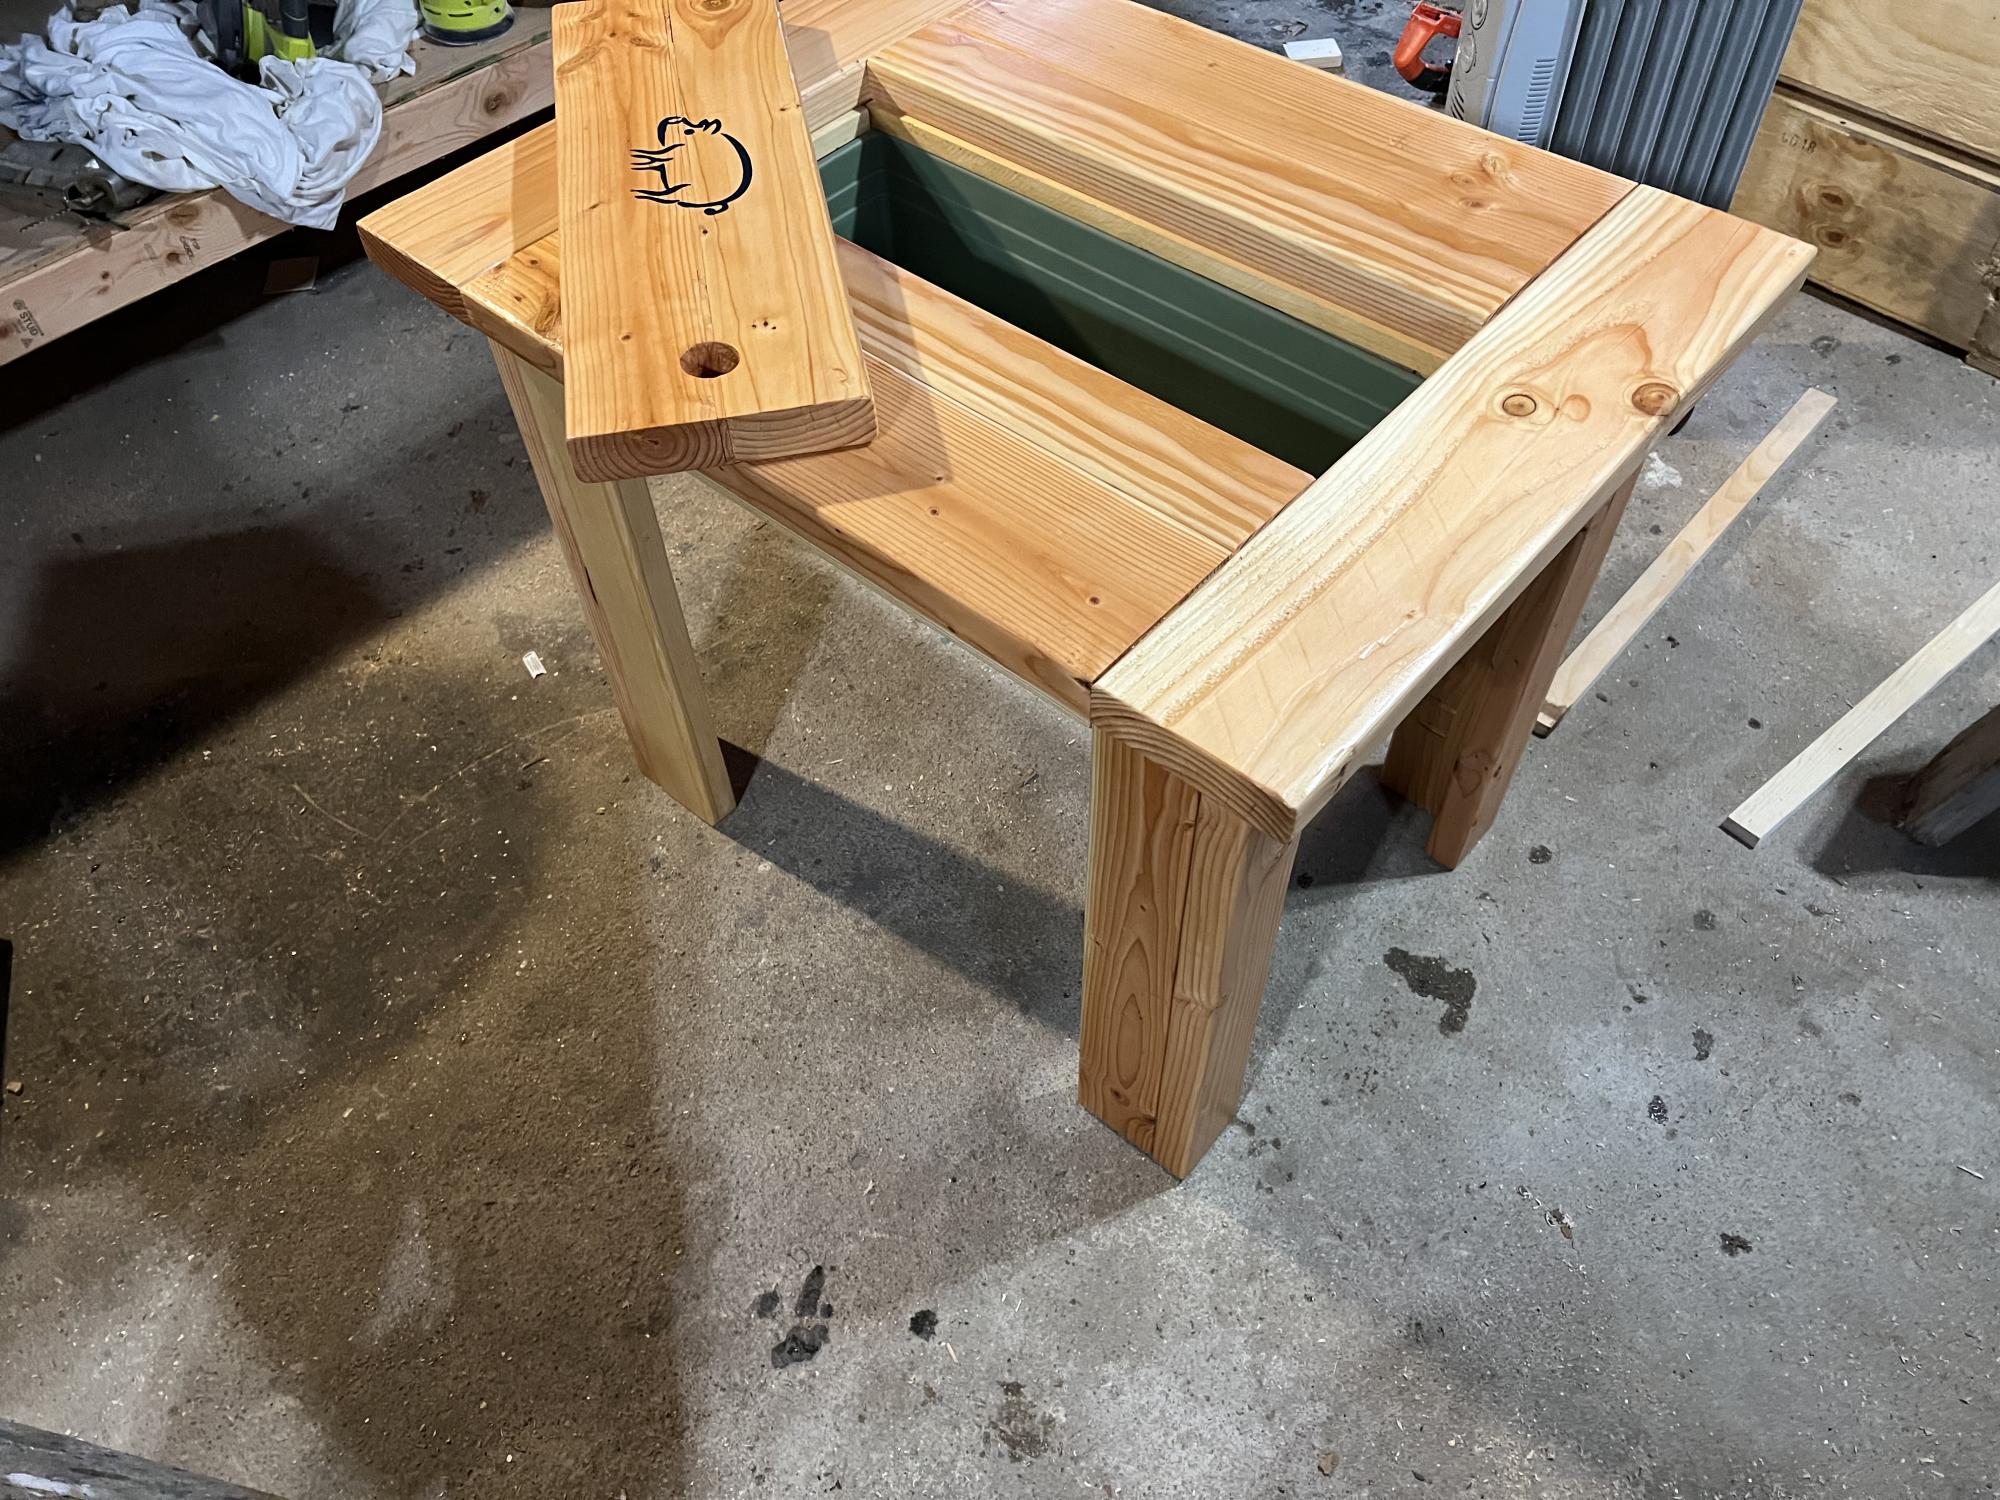
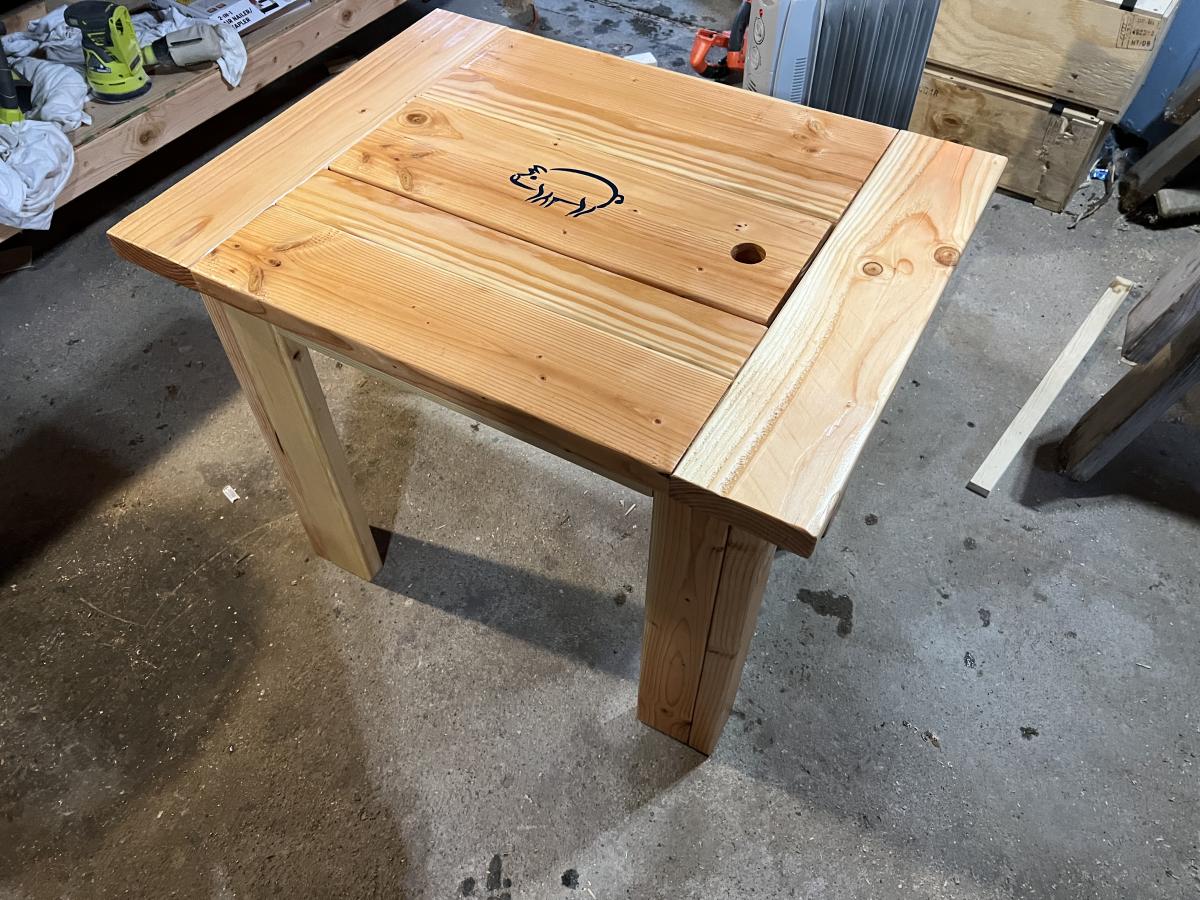
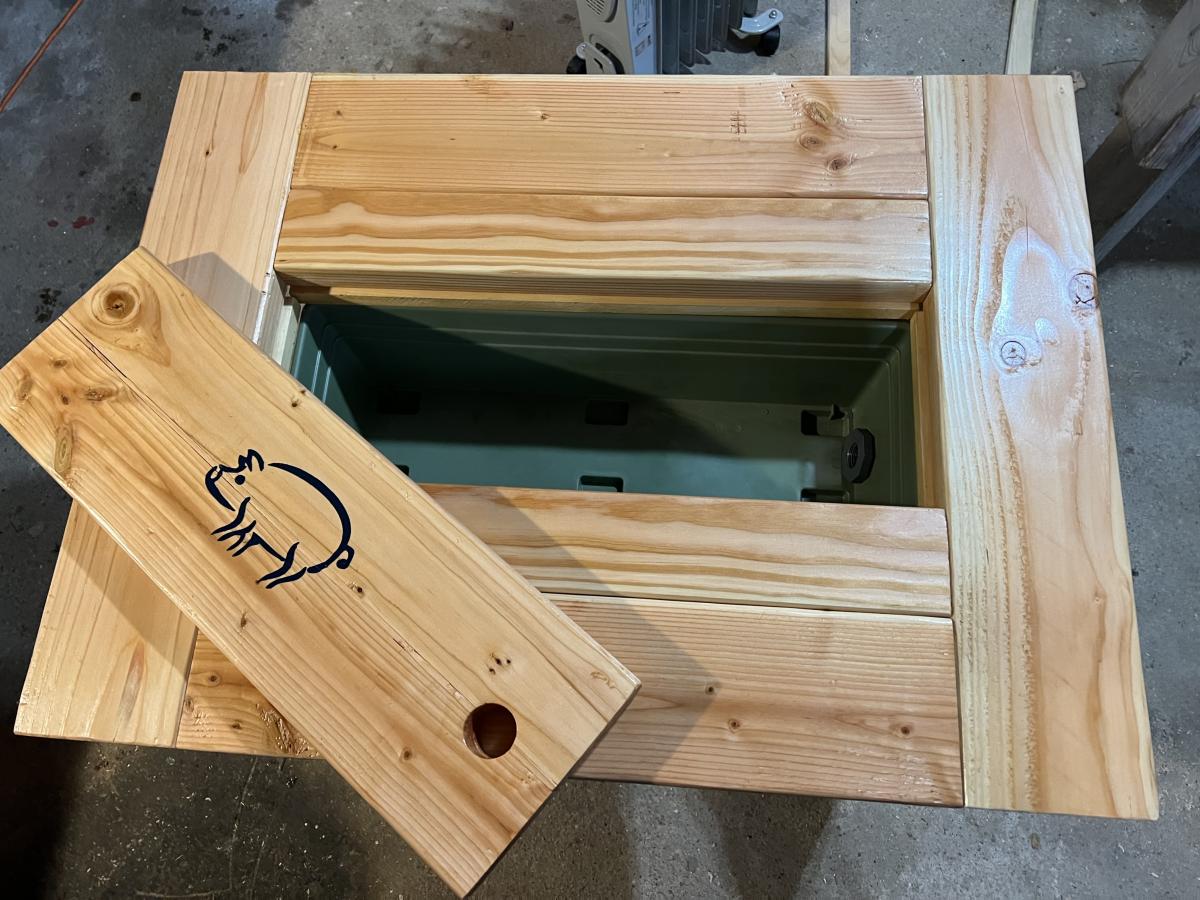
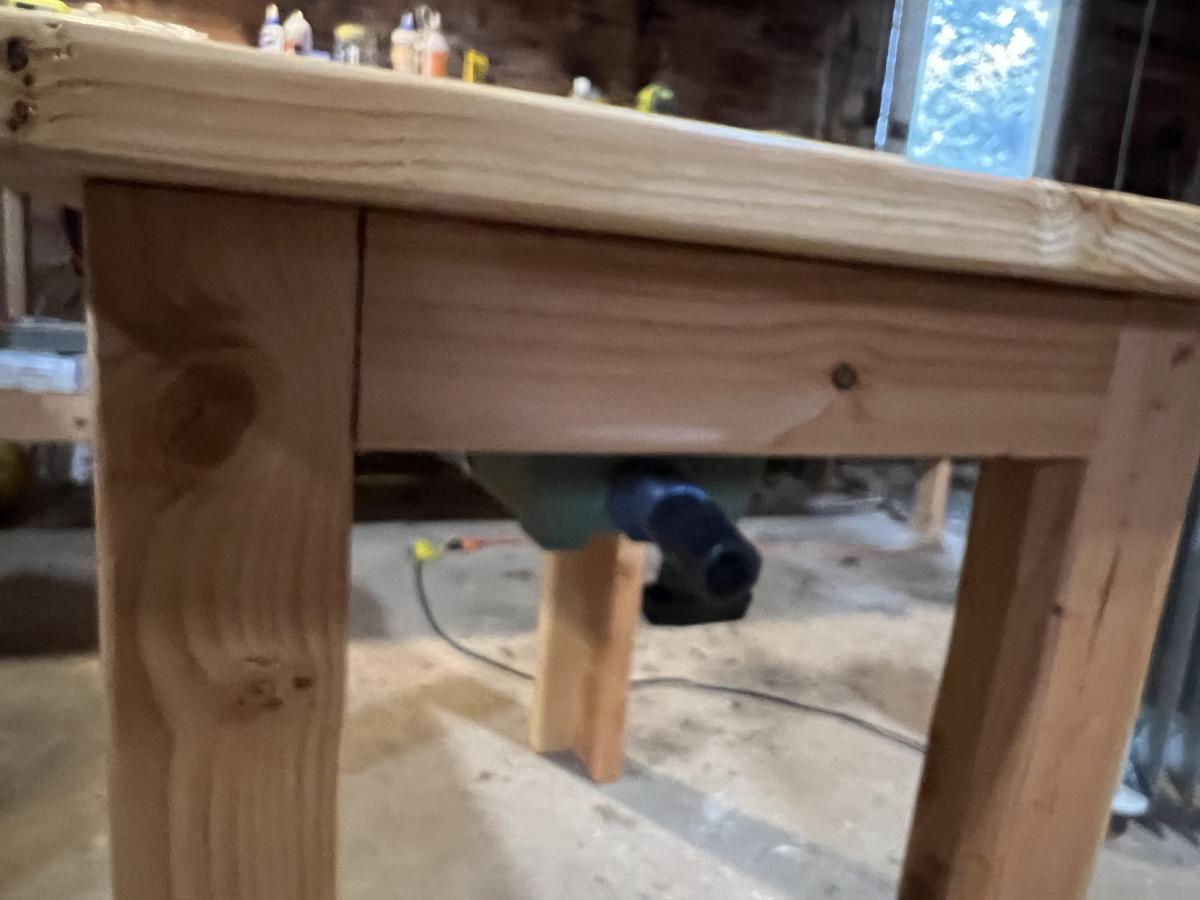
Wanted to try something different for my Secret Santa gift. Didn’t have the exact plans I needed so I based it off others. Built this to fit in and out of an RV entry door. It also has a drain valve underneath. This was my first without a plan project
In reply to Sweet side table! by Ana White Admin
Mon, 01/10/2022 - 10:07
Thanks, this was fun and the giftee loved it
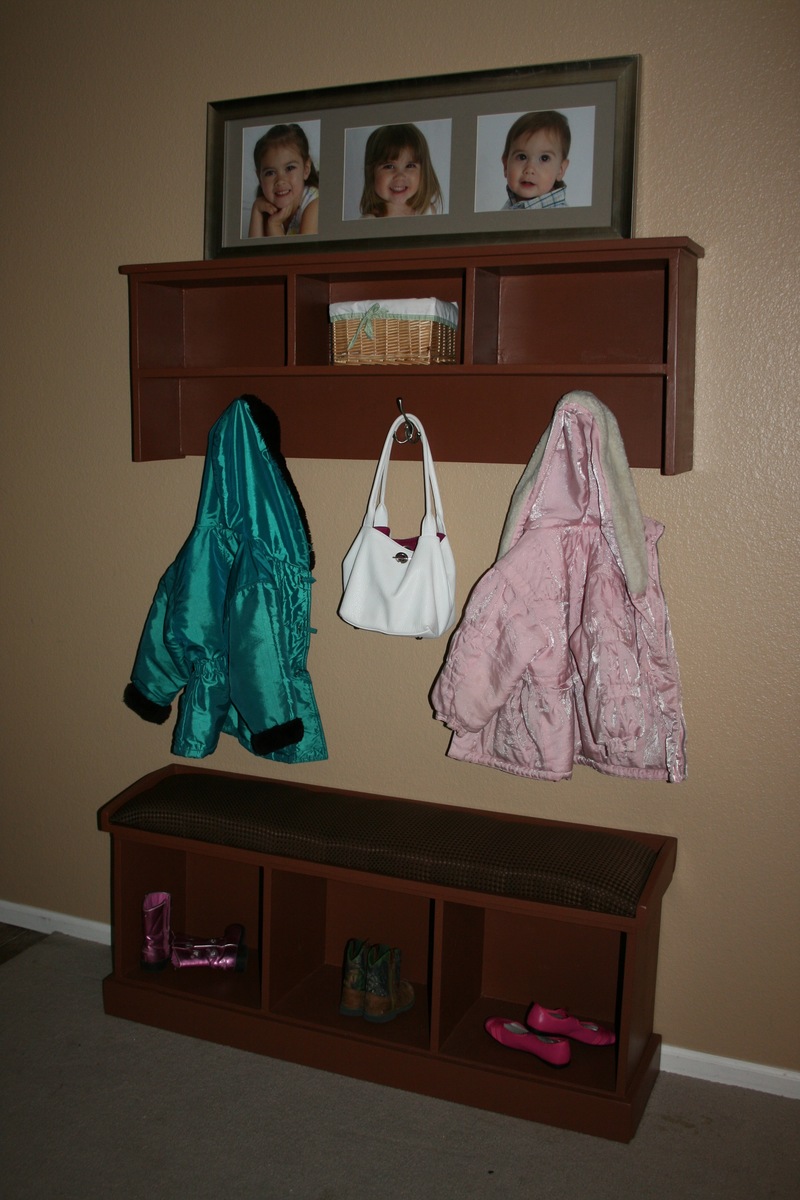
Finally had some nice weather and finished this entry way and shelf project! Did have to change the side cuts to 11 1/4" because 1 x 12's are not 11 1/2 " wide. But other than that this project went very smoothly. The building only takes several hours. However the finishing does take hours to days depending on the weather.
I also used the leftover plywood to upholster the bench cushion.
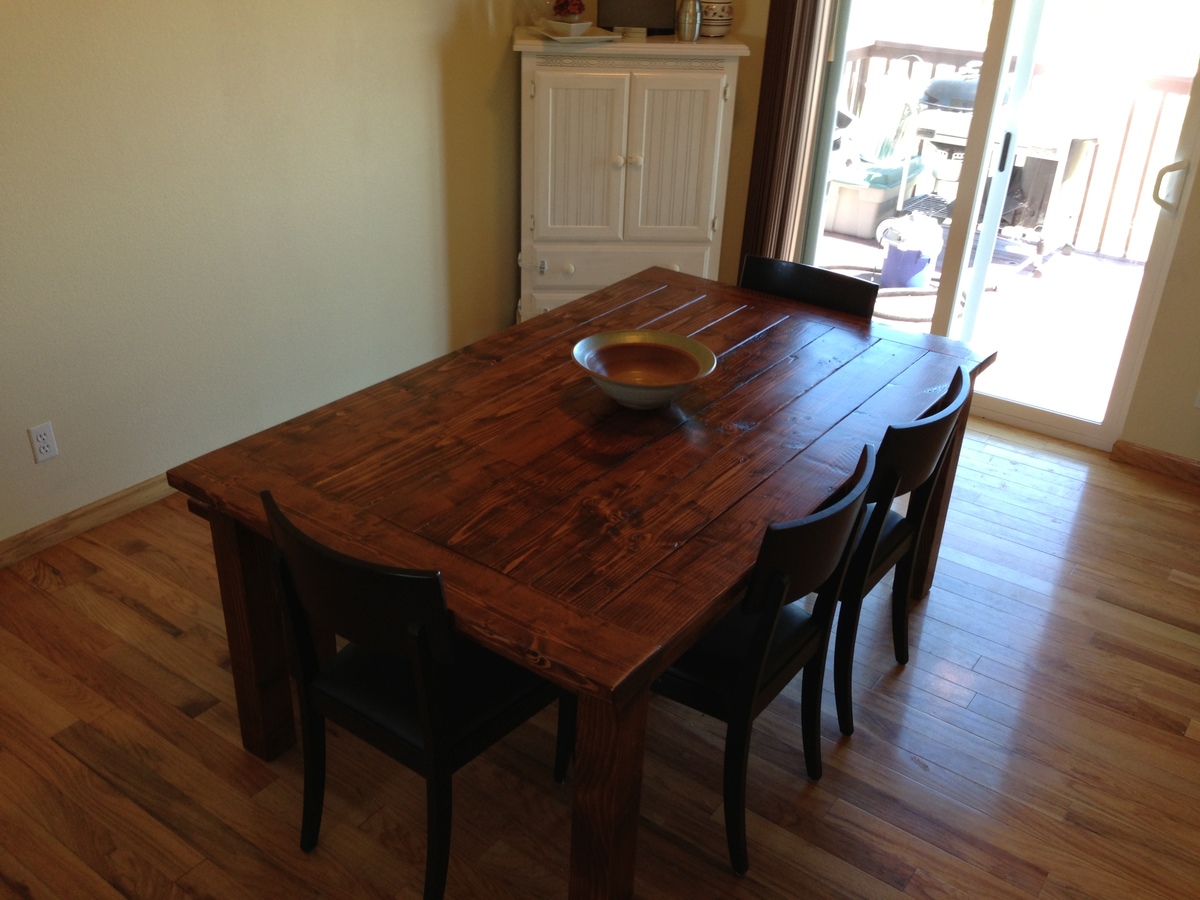
I have had the same kitchen table for years. My wife and I finally got out of the city and into the country and decided that the small Crate and Barrel table we have had since we first got married had to go. Looking through some plans I came across this one http://tommyandellie.com/index.php/2012/01/13/new-and-improved-farmhous… and decided it was just what we needed to fill the dinning area in our new home. I modified the table I built from the original plan as I was trying to do it cheap and keep it at about $100. After playing with some ideas I decided I was going to make the top completely out of 2x6 and delete some other items from the original plan so that the chairs can just slide under the table and wouldn't need to lift them at the head of the table to push them in. The table top is 72"x44" and the bench is 54"x14.5". I hope you enjoy it.
What I used.
10 - 2x6x96 - table and bench tops
2 - 4x4x96 - legs - each 4x4 makes 2 bench and 2 table legs
6 - 2x4x96 - bench top, apron and supports.
Cut List
Table 72 x 44
8 2x6x61 - Table Top
2 2x6x44 - breadboards - measure these when the middle section is done for the table top, as it is the total width of the top.
4 4x4x28.5 - table legs
2 2x4x35 - end apron
4 2x4x38 - inside supports
2 2x4x58 - side apron
tools
Saw
Kreg Tool
Drill
Measuring Tape
Pencil
Bench 52x14.5
2 2x6x42 - bench top
3 2x4x42 - 1 bench top 2 for side apron
4 4x4x16x5 - legs
2 2x4x5 - end apron
3 2x4x8 - under supports
I put this at a week long project because of the way I finished it. If you just put your stain on and wipe off, it will take you a day and a half to do and you could use it lightly the second day if you have the right conditions for the poly to dry. I did use a Kreg tool and everything is held together with pocket holes, skip the glue, the poly on the top will keep things from going through the cracks.
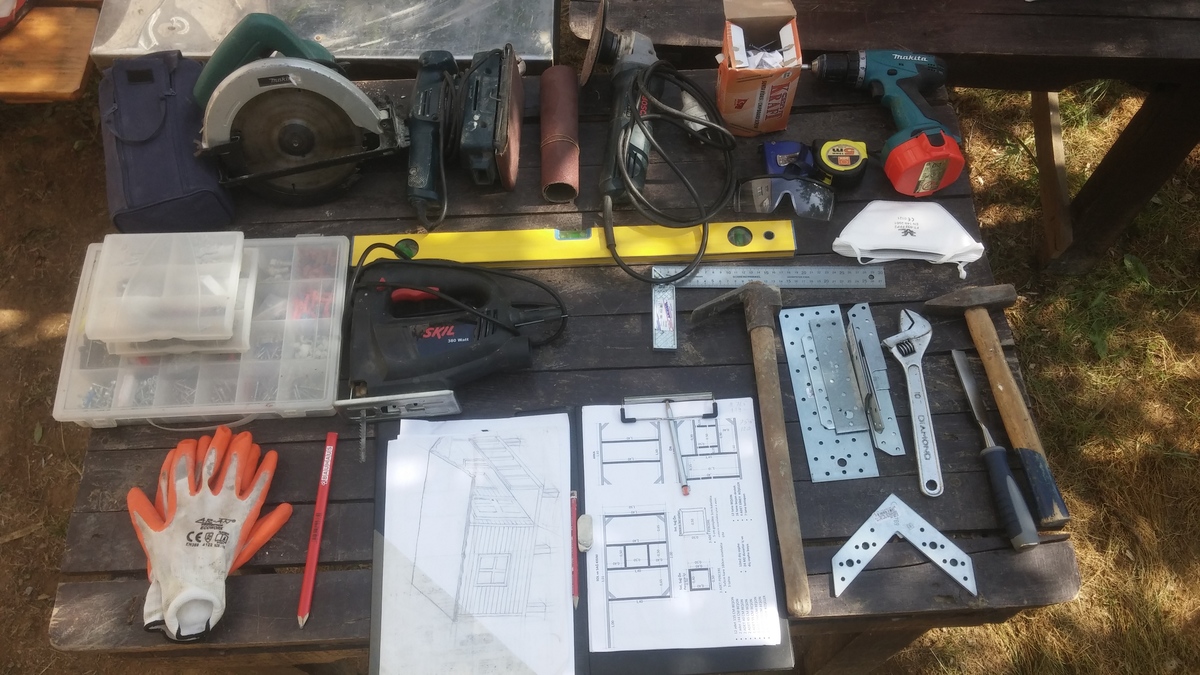
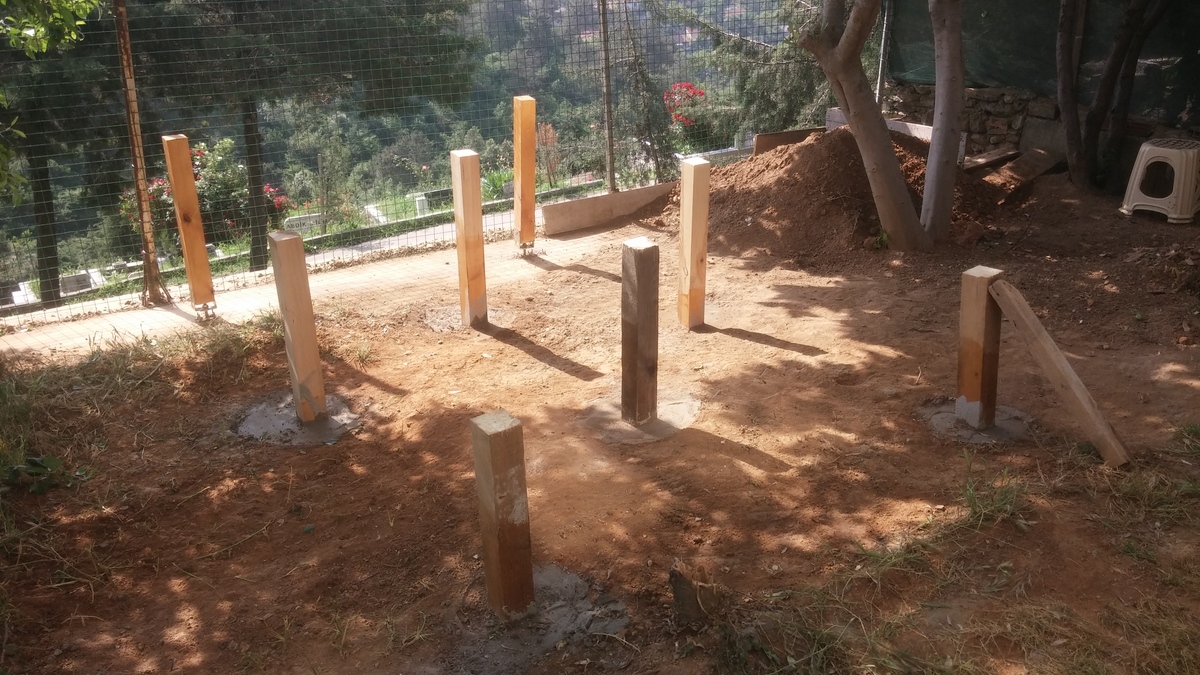
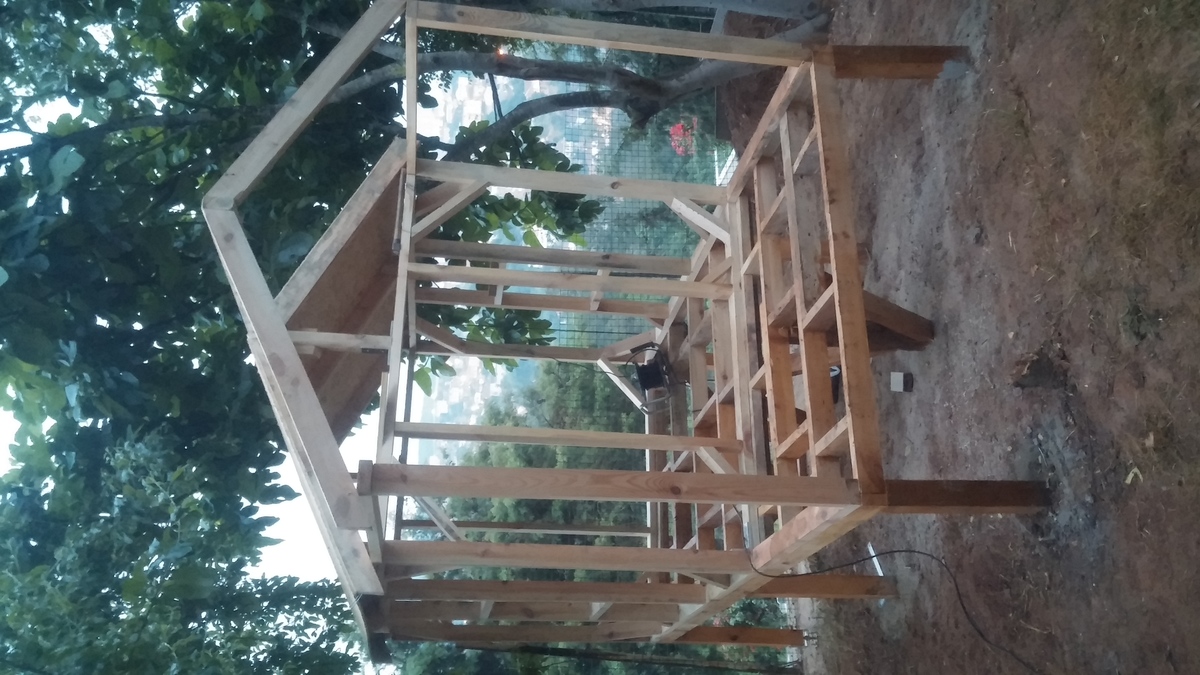
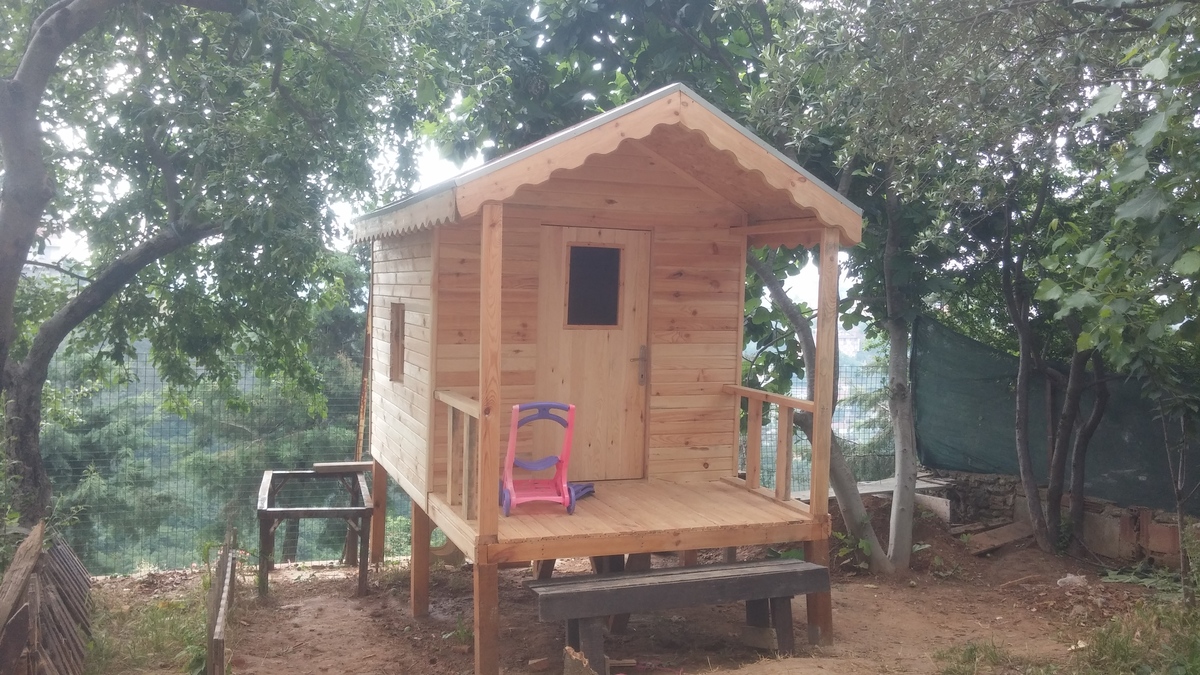
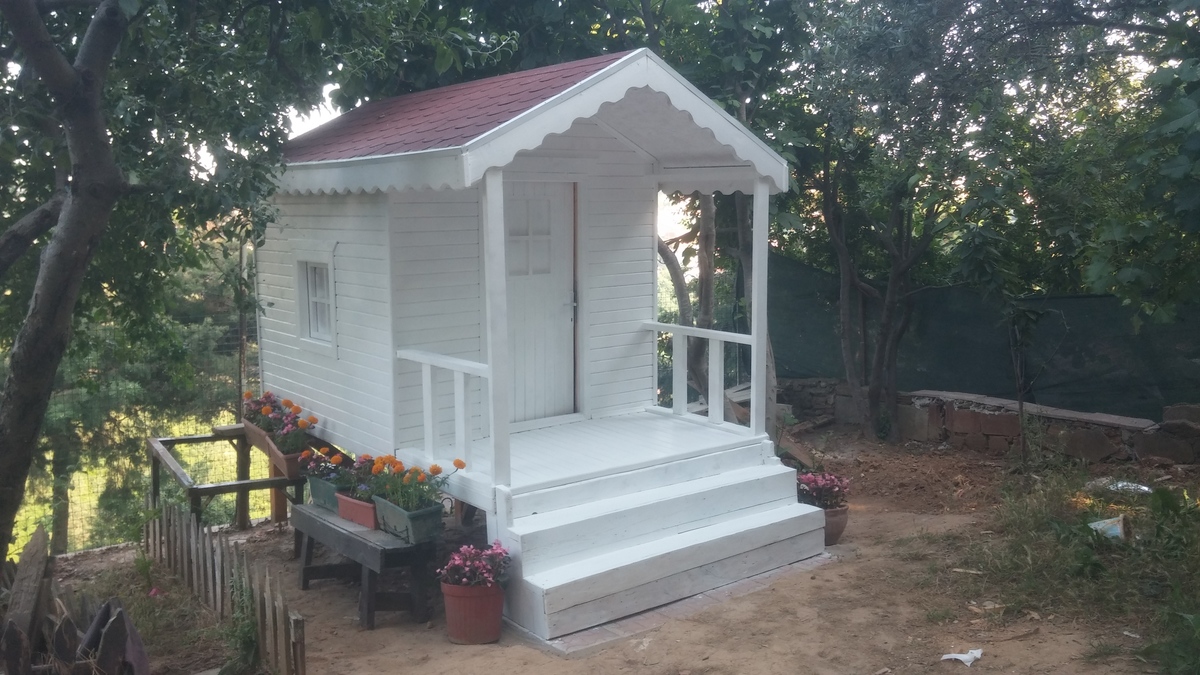
Hi, My name is Ibrahim I am a Project management Unit Manager in an Information technologies. I have two daughters, 3 and 8 years old. We have garden around 150m2. I want to do play house in our garden to play. First of all I searched how can do it in internet. Than I did preliminary work. I provided equipment and materials. And I take a holiday my company as a week. I started my first project which is wooden house.
My daughter and all around me was liked wooden house. I hope you like it:)
Sorry my English :)
.
Fri, 06/26/2015 - 19:37
This is too cute, I bet your little girls love it :)
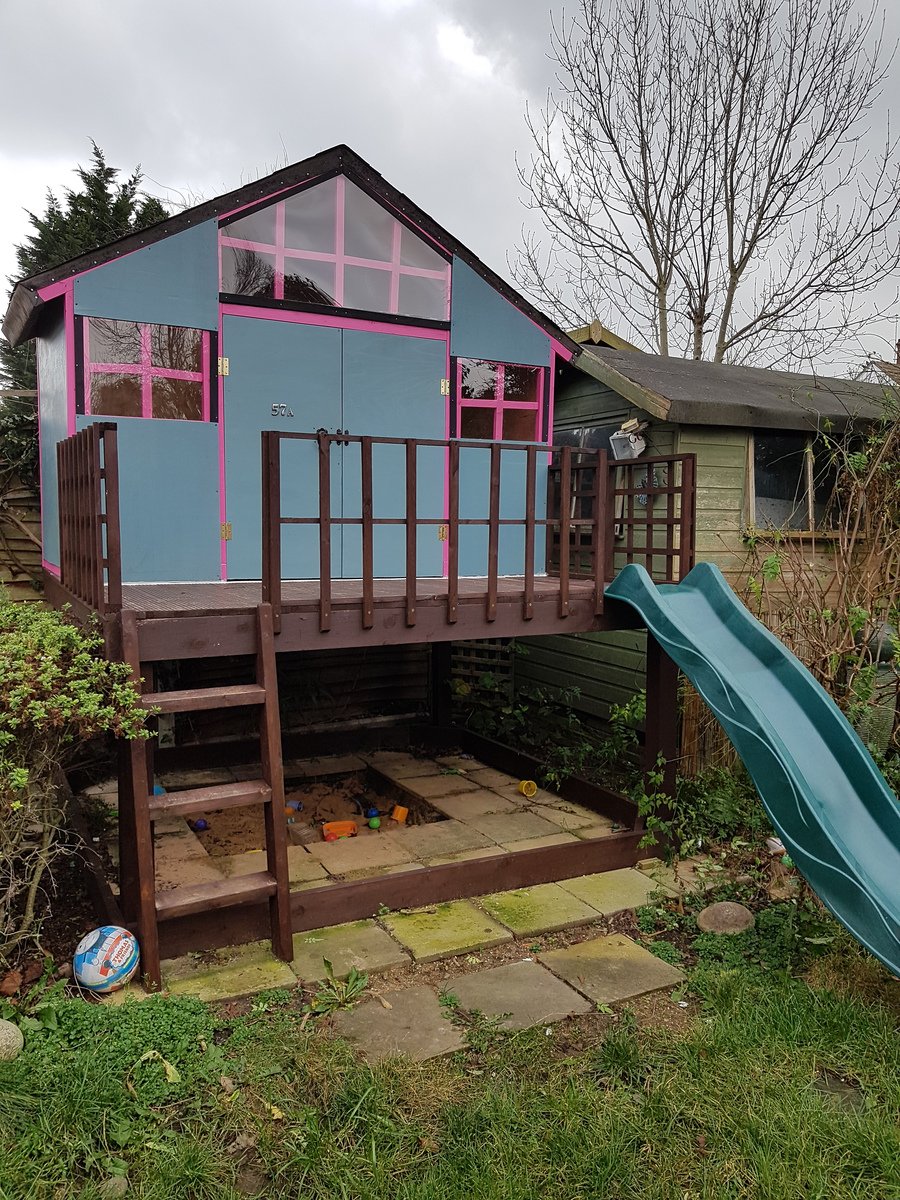
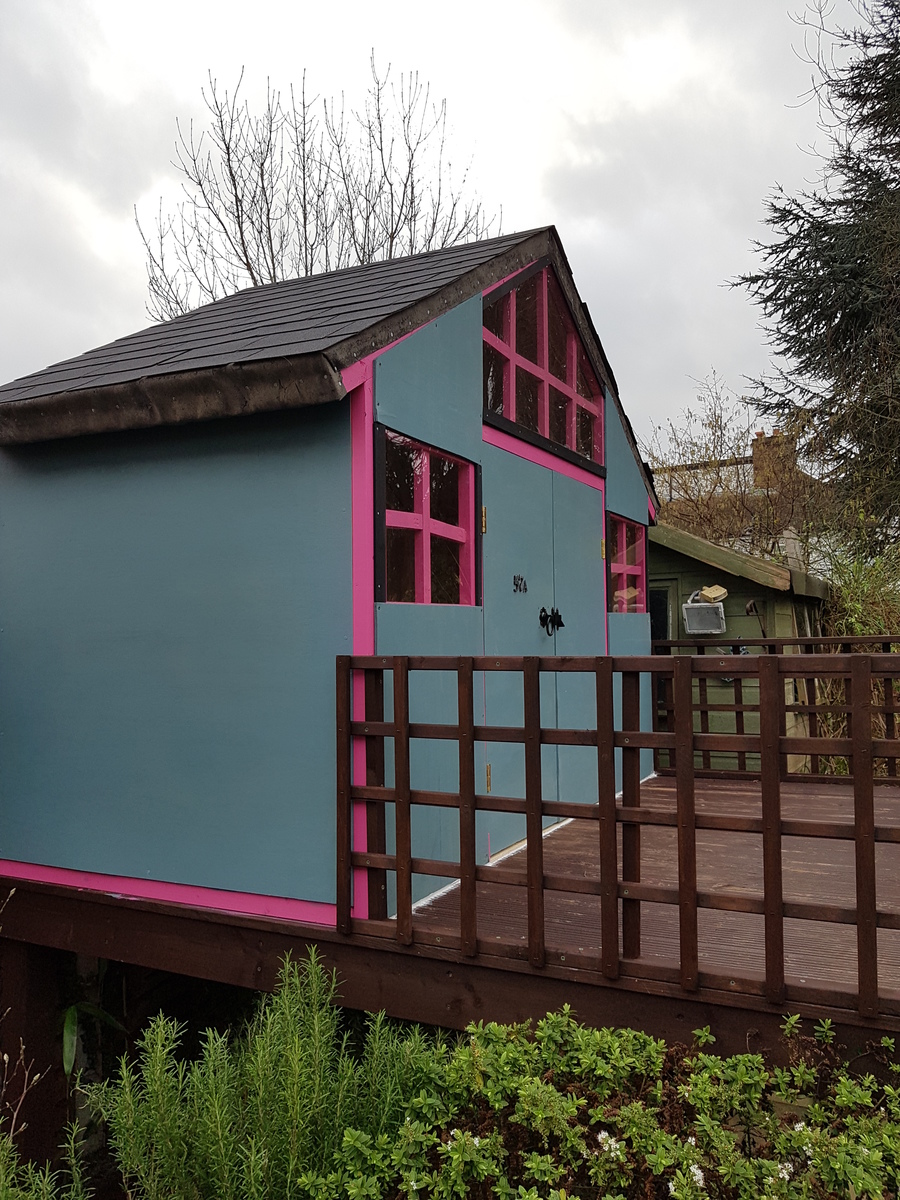
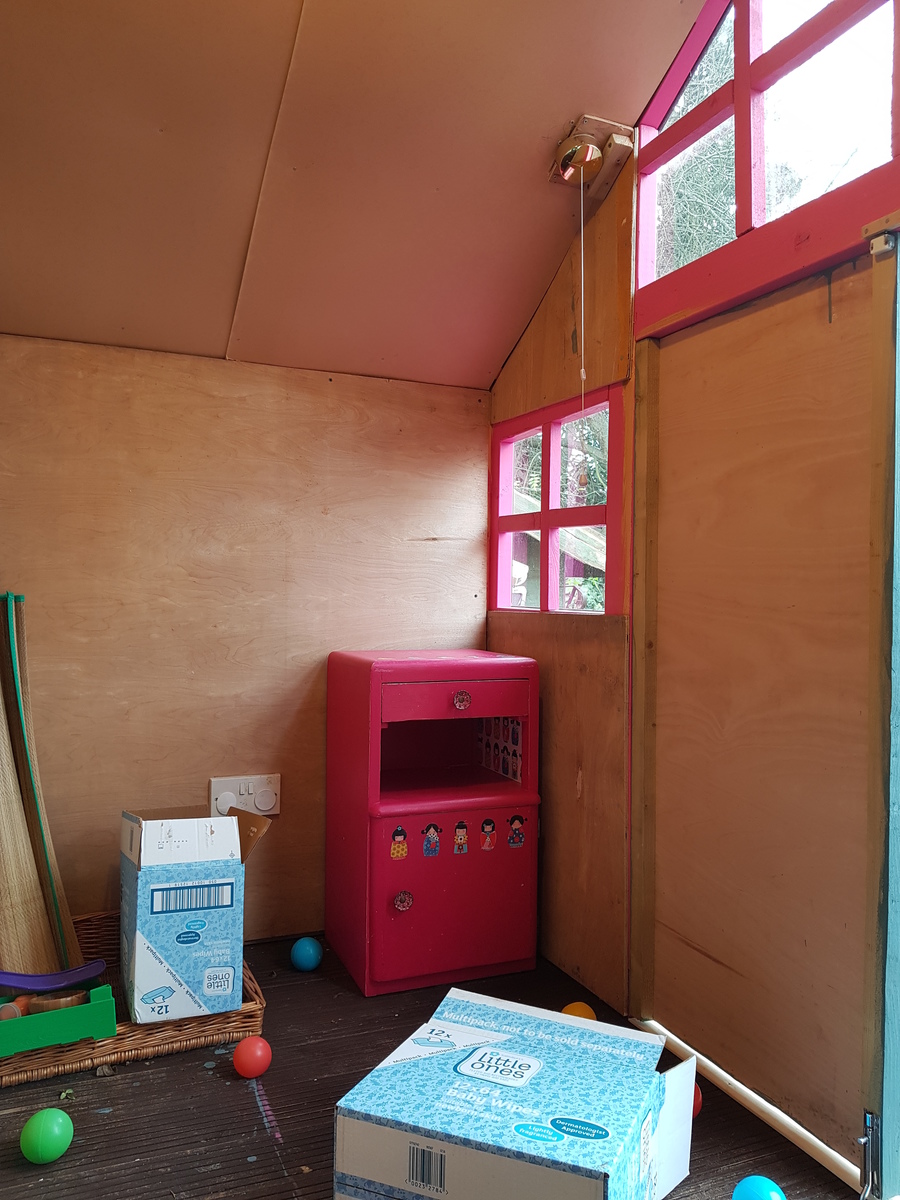
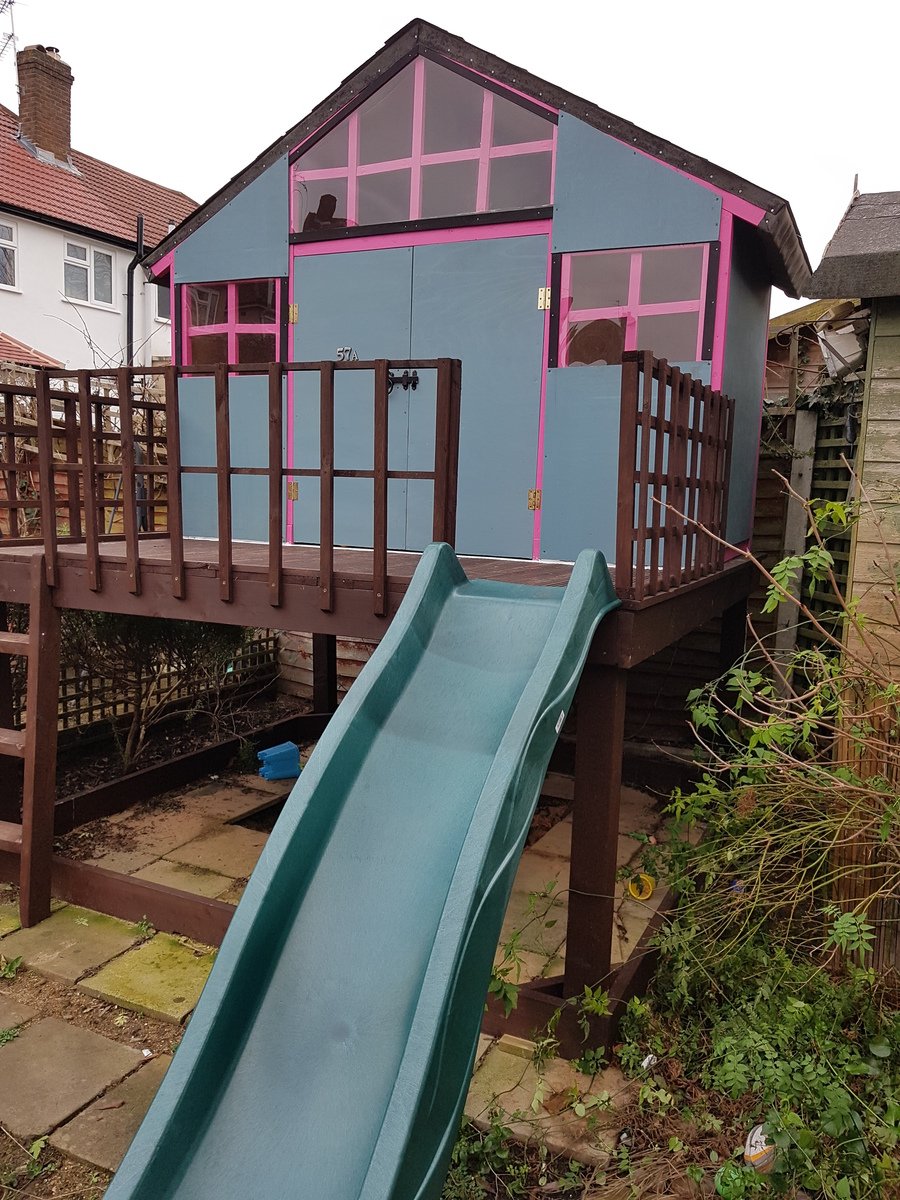
I needed a project to keep me together during 2017, as I took maternity leave after the birth of my second son. I wanted something that both boys could grow into, and enjoy, for many years to come. I also wanted to challenge myself to go big.
Our garden is tiny, so I was really attracted to the idea of raising a playhouse up and gaining the space underneath too. This corner was taken up by a big wooden raised pond, which wasn't wildlife friendly because of the high sides - and that meant you couldn't see the water unless you walked right up to it, either, so it seemed like a bit of a waste of space.
First of all I took out the old pond, and dug up tons of invasive bamboo that was growing around it. Then I lifted and relaid the concrete paving slabs underneath, leaving a smaller pit for a sandpit in the middle. With that all in place, I was ready to start building.
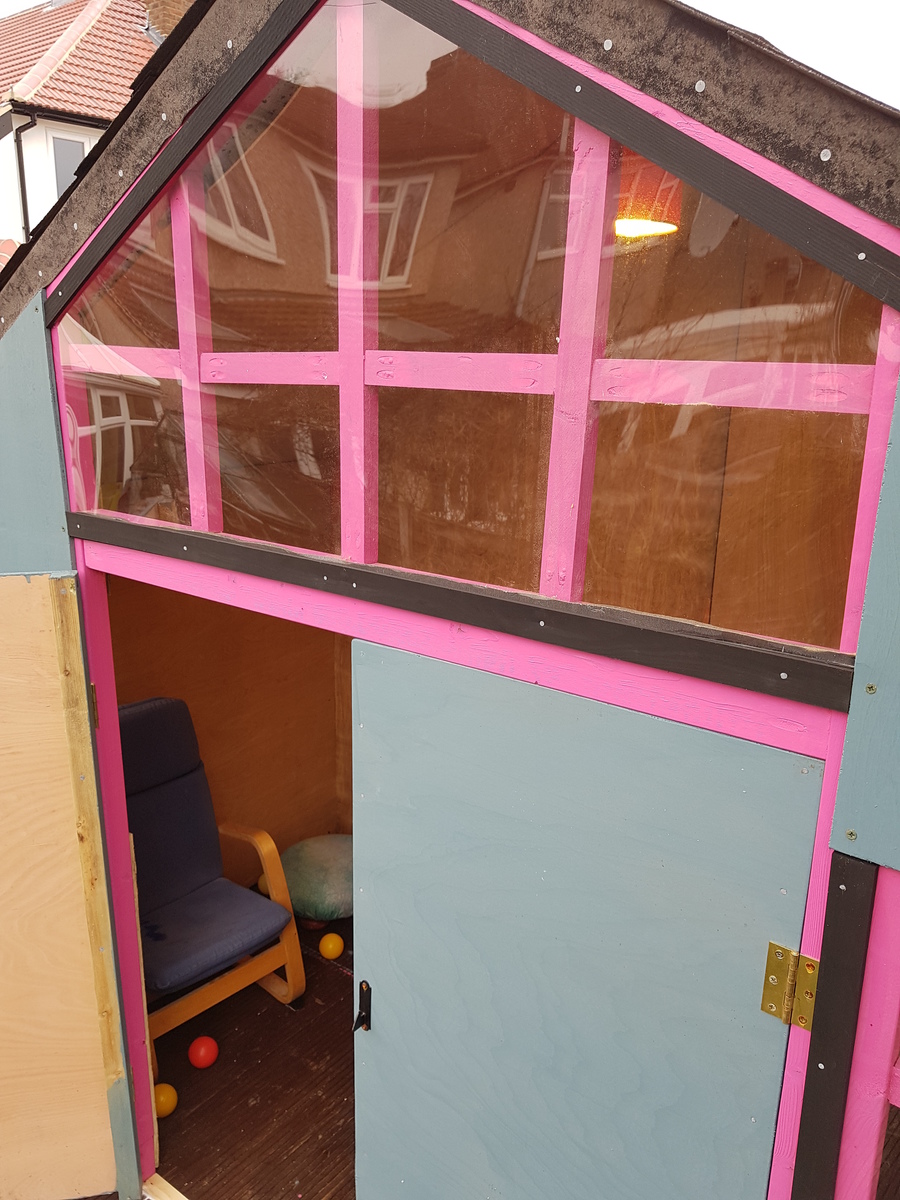
Wood tends to be expensive in the UK, and given the amount of rain we get I wanted to get the roof thoroughly waterproof and the windows covered. I also included a layer of polystyrene insulation behind a additional plywood inner walls, and I painted the whole thing in rot-proof garden paint. Everything added up, and the materials cost was probably £1k or more.
If I'd been able to work continuously, I reckon I would have completed the whole project in a week or so. However, I was mostly only able to get out in the garden when both my sons were napping (about 2 hours a day) or at the weekends when my husband could watch them. Given the time constraints, I was expecting this to be a long project. I started in April 2017 and completed the build late in October.
The deck was finished in June, and the sandpit in the shady space underneath was a great resource on the hotter days of summer.
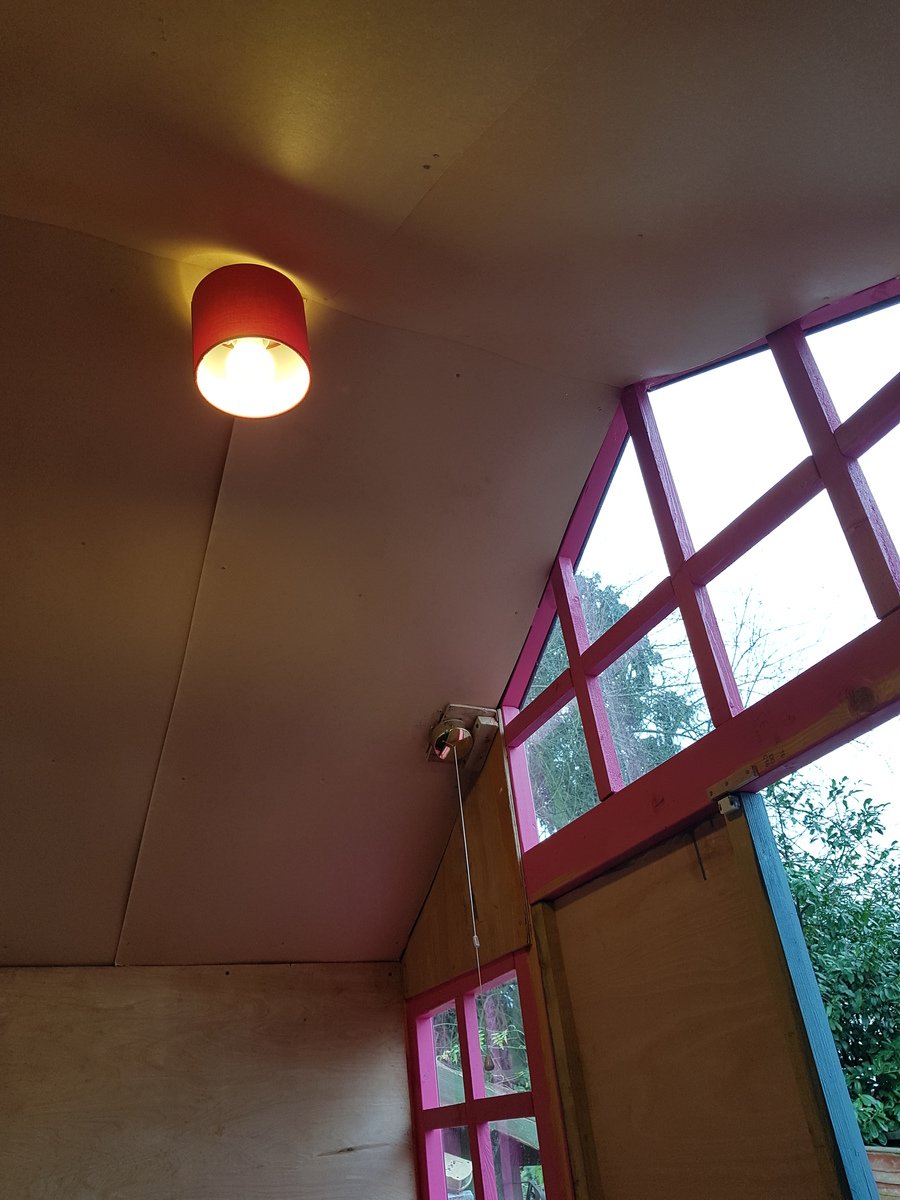
The old garden shed we inherited when we moved in here is rotting away, but it had power and lighting which the electrician told us was sound. I transferred the circuit into the playhouse, securing it behind the inner wall and installing a plug socket and a ceiling light. Having the power socket means that we can take a little electrical heater out there, and (under supervision) the three year old has been able to play in his little house throughout the winter.
One issue has been that water tends to pool on the deck in front of the house, and then seep under and into the house. When a big furry throw got left out there for a couple of weeks it acted as a wick and sucked the water up and into some of the plywood at the back, making it a bit manky and mouldy. We've learned our lesson and I've now run a bead of general purpose sealant along the front of the house, preventing water running in. The decking boards came with grooves for added grip, which helped channel the water along, and this was worse by the doors because I kept the doors a centimetre or so above the floor, leaving a gap. I've added a thin strip of wood for a lintel and sealed that too.
Now that we're on top of the damp issue I'm planning to paint the interior, add some old water-resistant flooring boards that I found in the shed when we moved into the house, and generally spruce things up. I hope this will be a comfortable den for the boys for years to come.
Thanks, Ana!
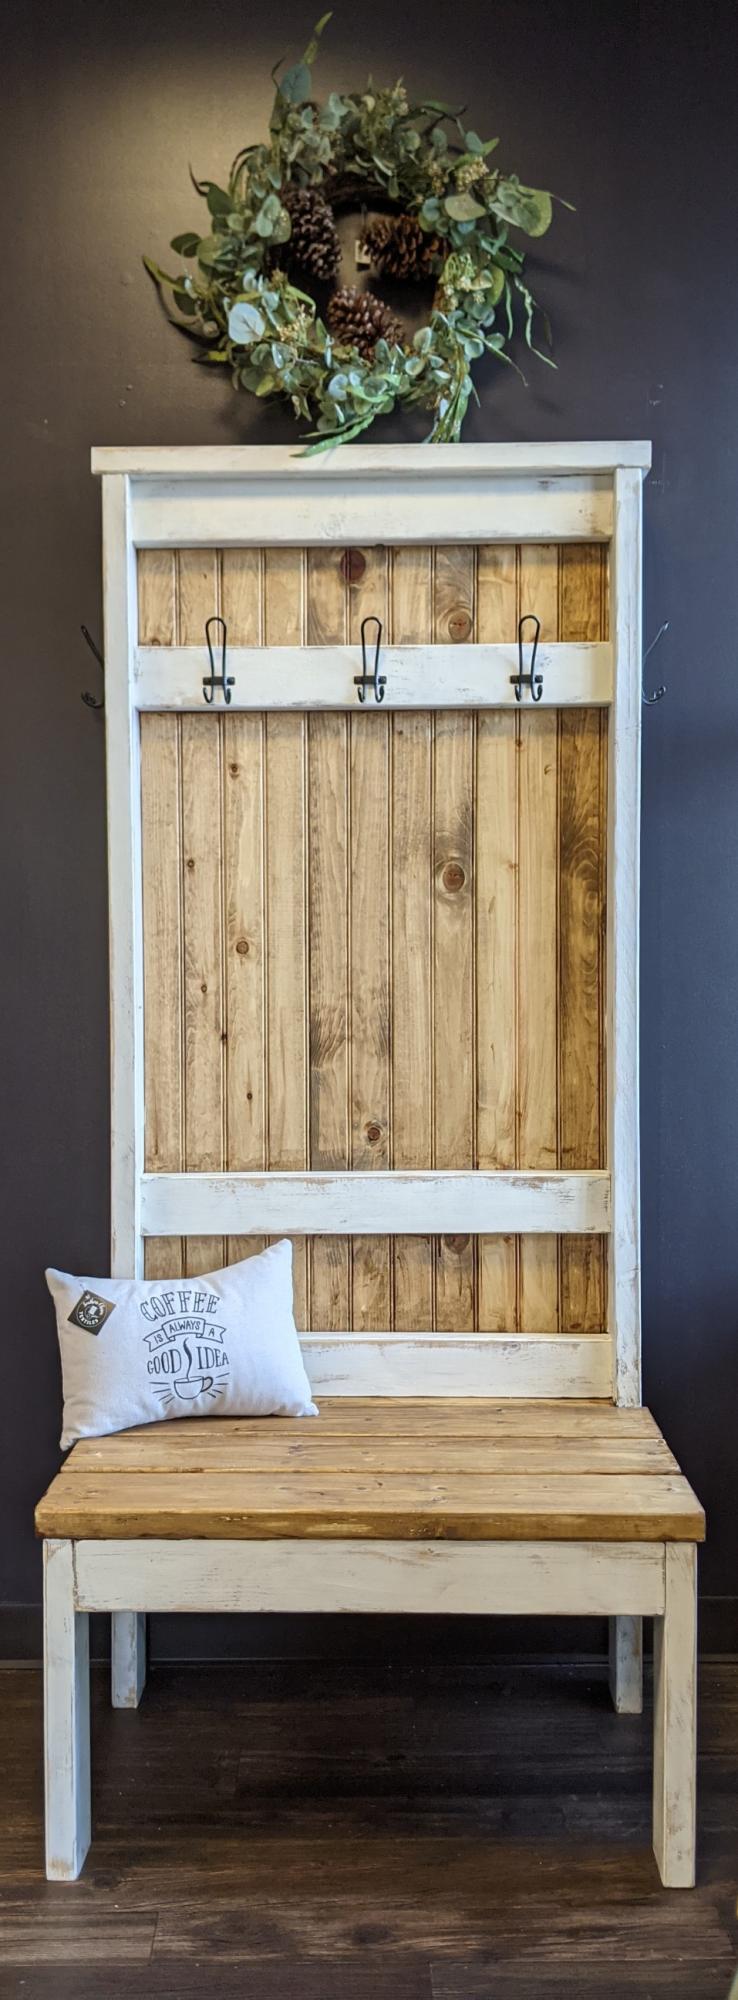
I made this slightly smaller version of Ana’s Hall Tree to fit smaller spaces. I added beadboard to the back to put an added farmhouse touch. Finished in Golden Oak and white.
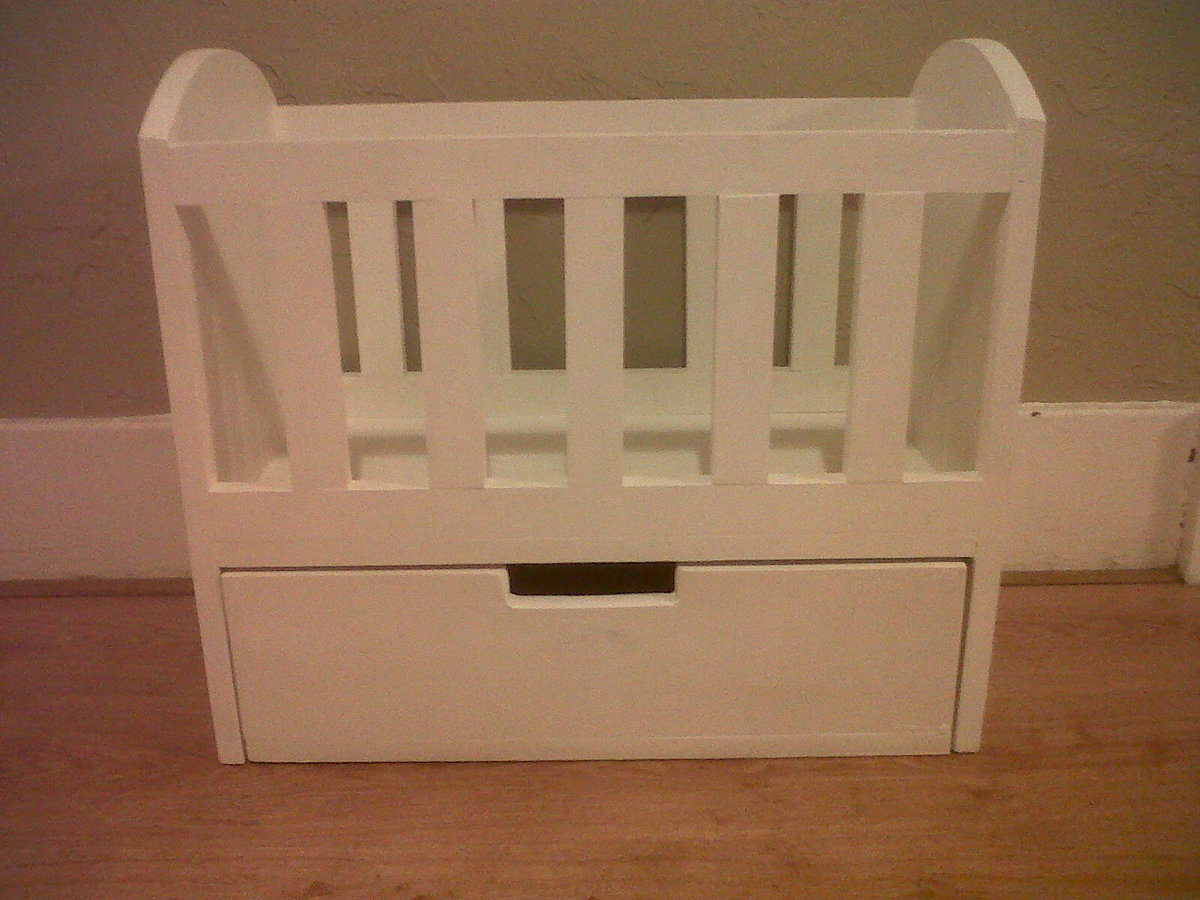
We have built things before, but this is our first from Ana's Site. We just finished this over a month ago... Was so much fun to do and I just love how it turned out! I decided not to paint just yet, so the buyer can decide. I have just primed it. I learned how to use a kreg jig, and bought a very cheap one... Best tool ever. There are no screws visible at all. I think if I did it again I would do something different with the handle.. not sure what though. It was difficult to make it look right. Thank goodness for the patience of my husband.
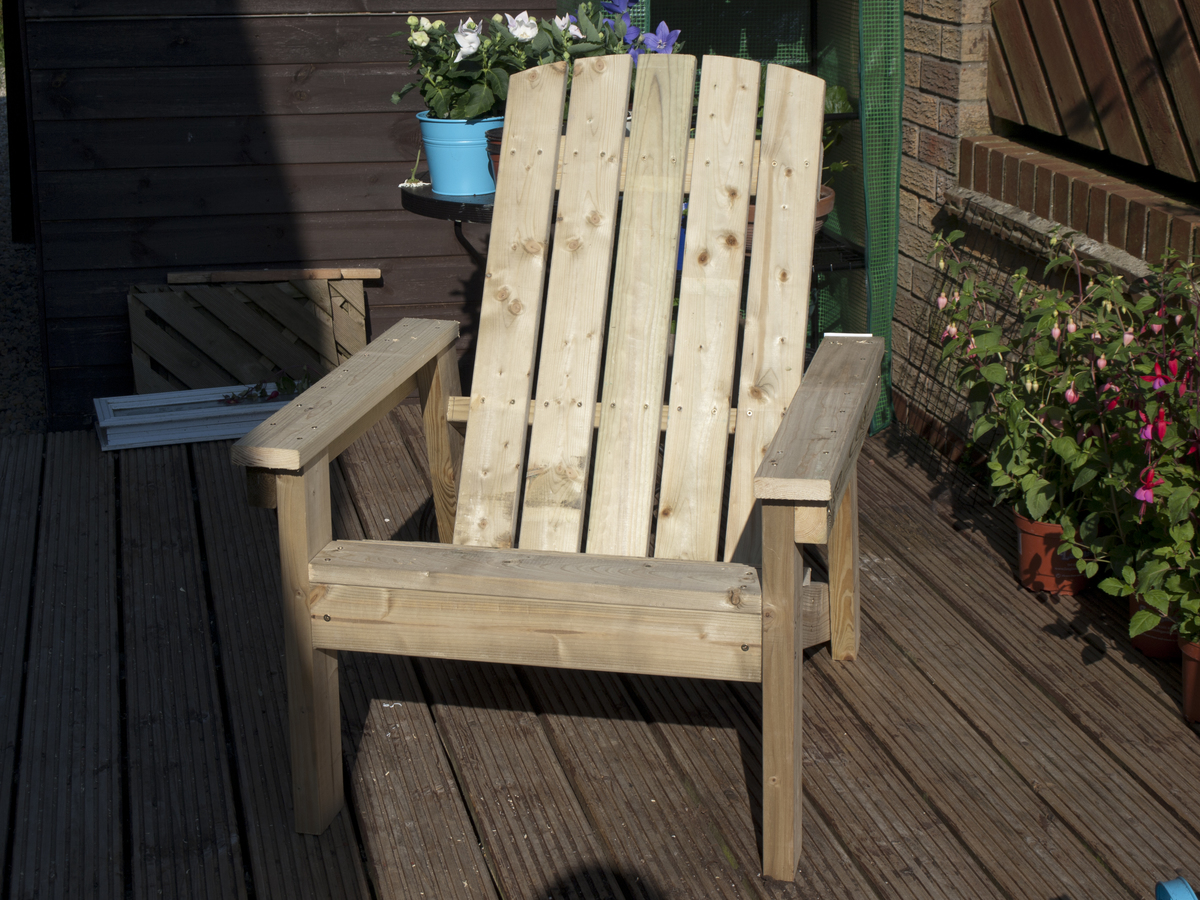
Made an adirondack chair from ana's plan. I am from the UK, but i still made it the plan as much as I could without resorting to mm's
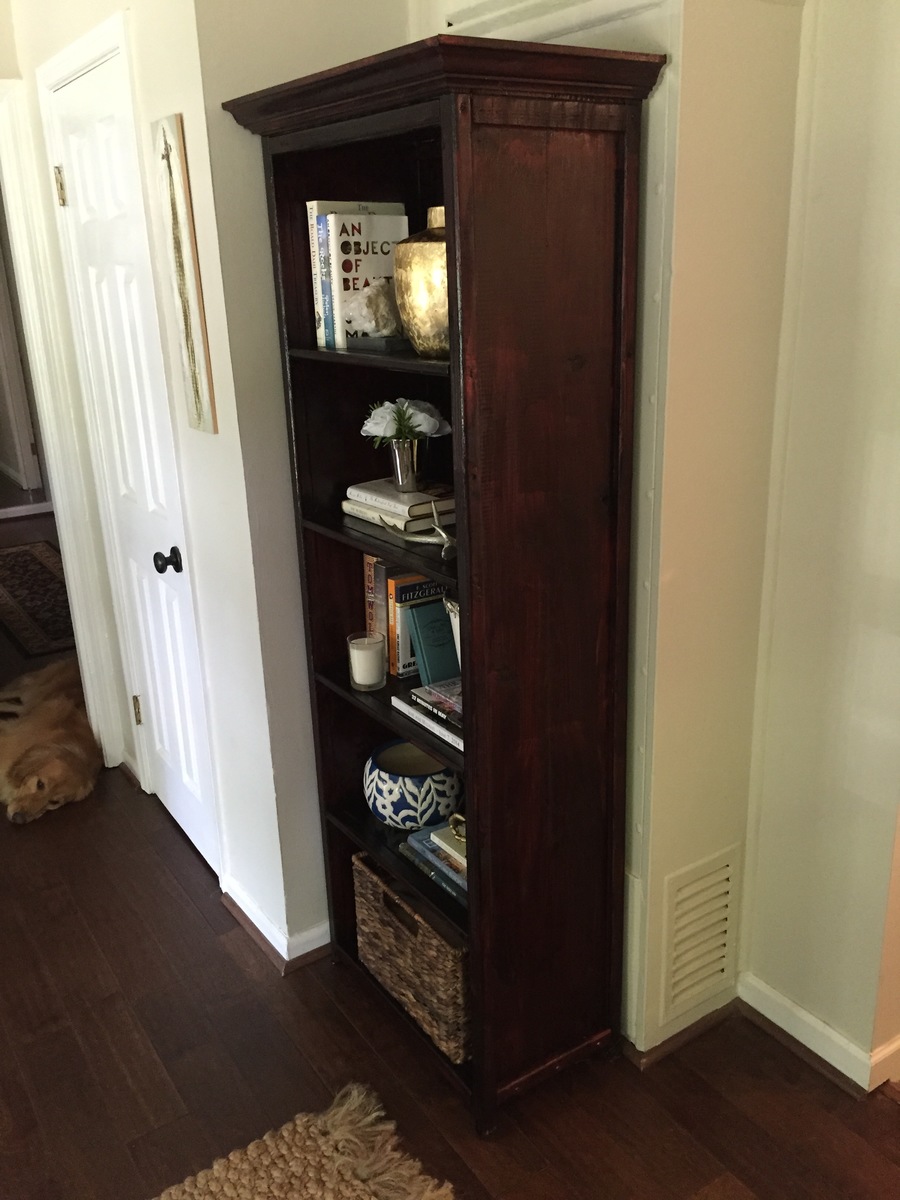
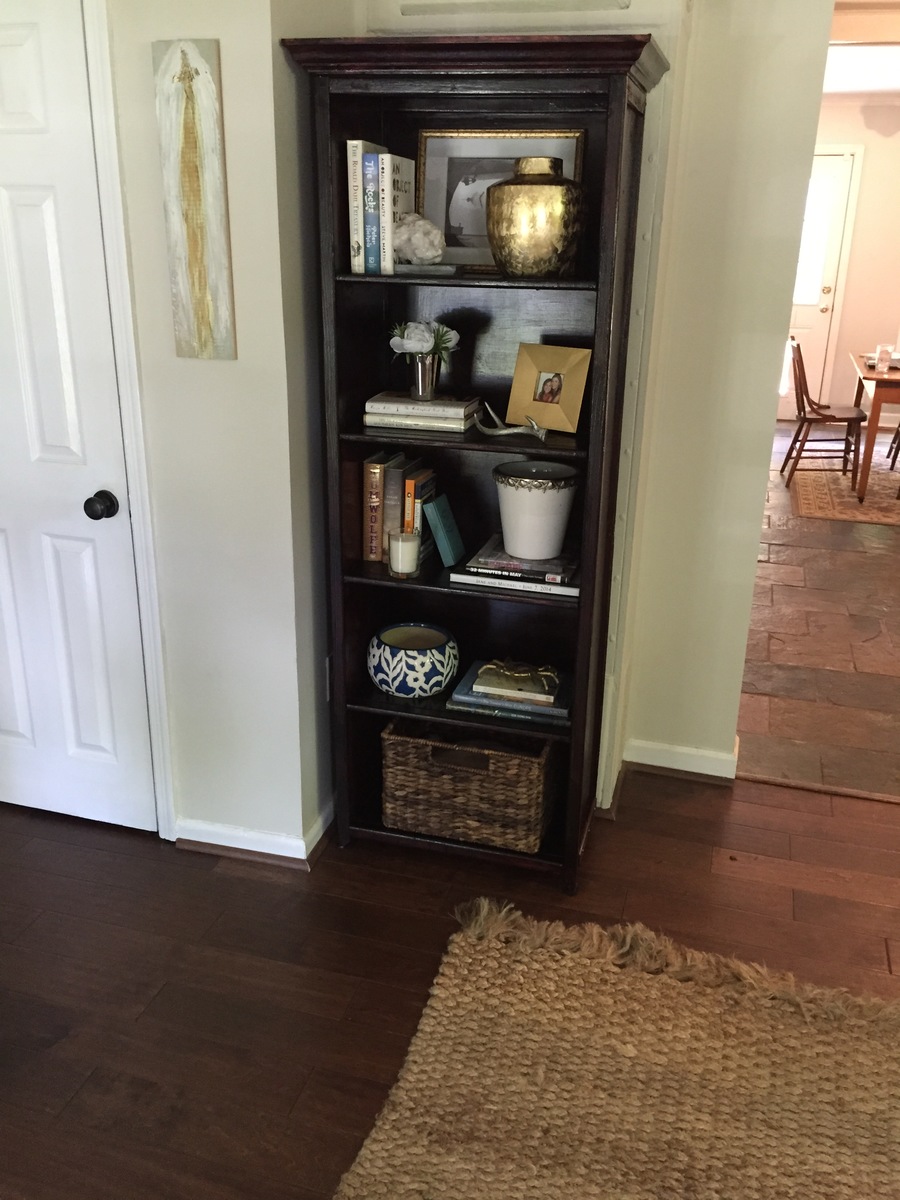
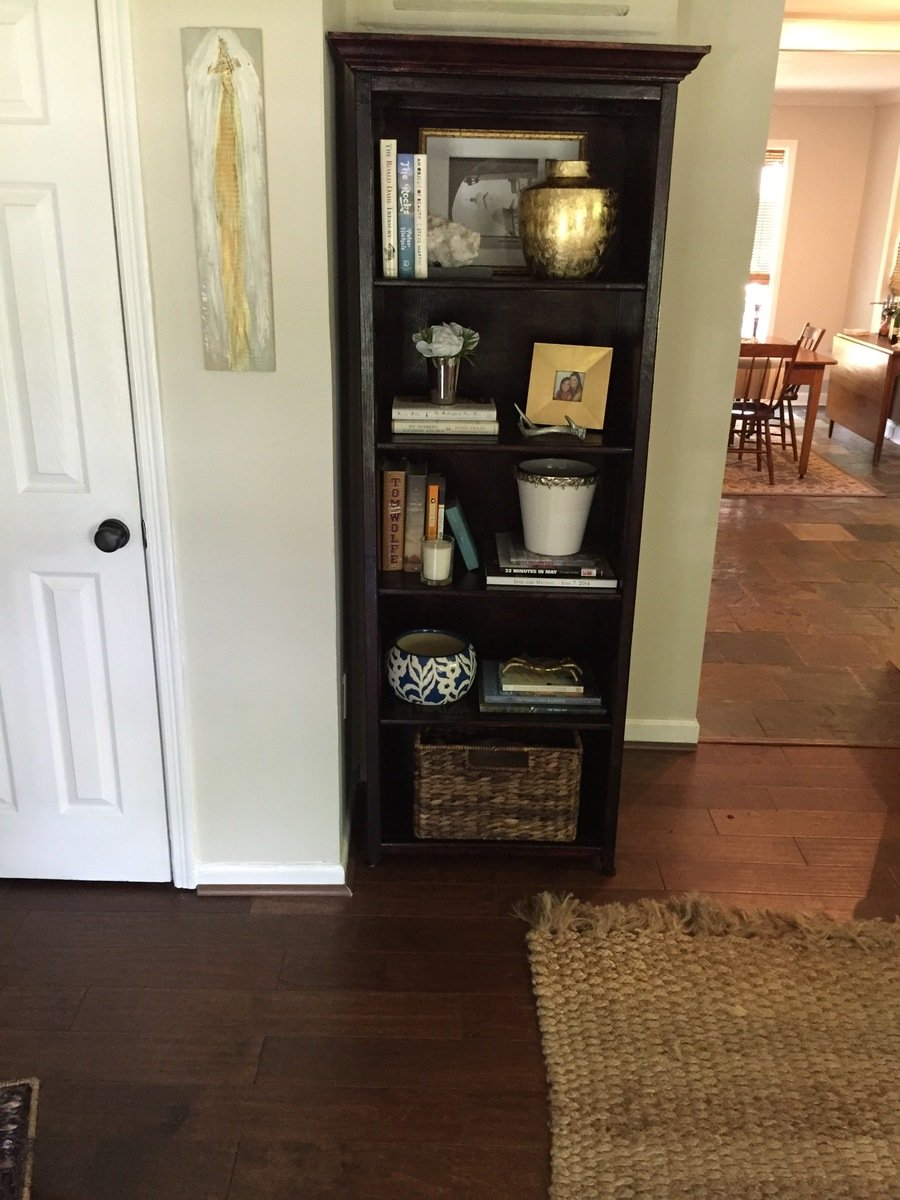
We needed a bookcase to fill a void in our living room and this was it. I altered the dimensions to increase the height to 72.5". I also added crown molding to the top which turned out nice. I used the same Bombay mahogany stain suggested by a previous post.
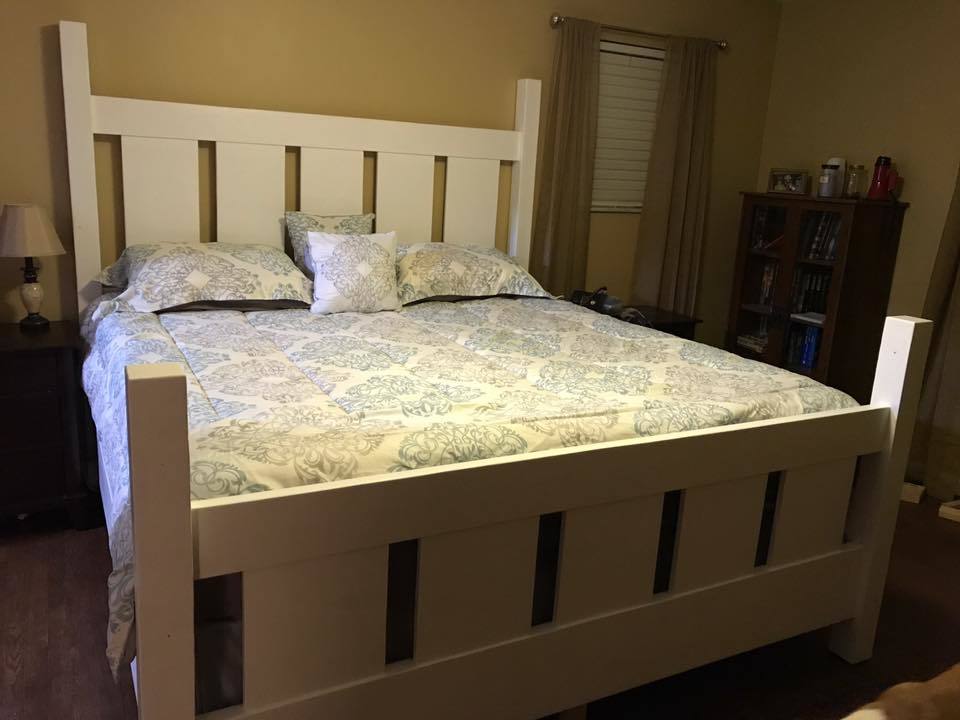
What do you do when you want to upgrade to a king size bed but cant find one you like at any store? You build one yourself.
I actually built this before the king size plans were available by using the queen size plans and bumping up the measurements accordingly. We both loved the farmhouse bed so we only made a couple little changes. One obvious change is to the posts at teh footboard...i cut those to about 48" high so I would still have a place to hang my PJ's. I also took the router to the tops of the posts to round off the edges just a bit.
It came out great and my wife and I love it. She likes to show off pictures every chance she gets.
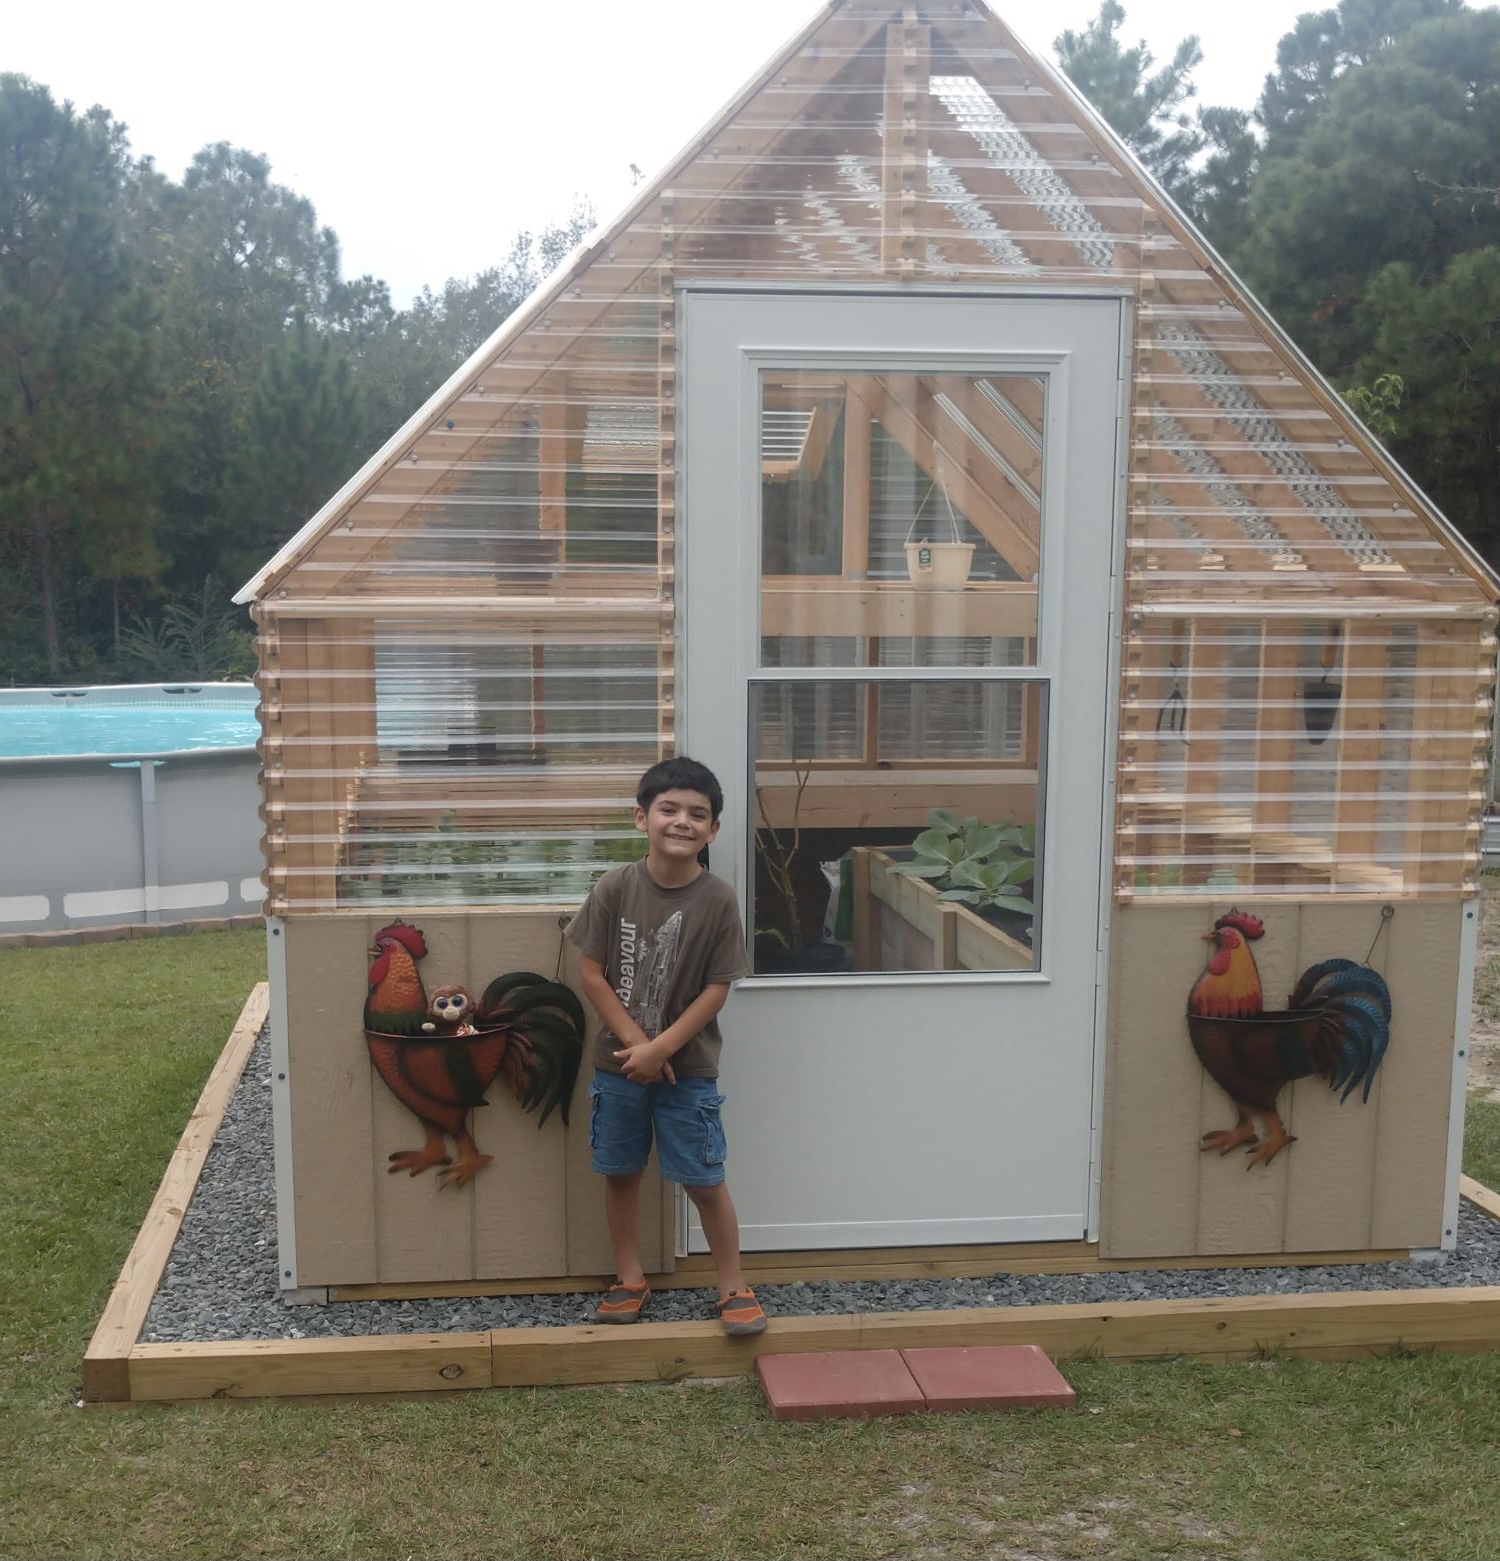
Built the greenhouse from Ana Whites plan
She did the plan really well..
Mon, 01/03/2022 - 12:26
Thank you for sharing, it looks perfect, love the happy face!
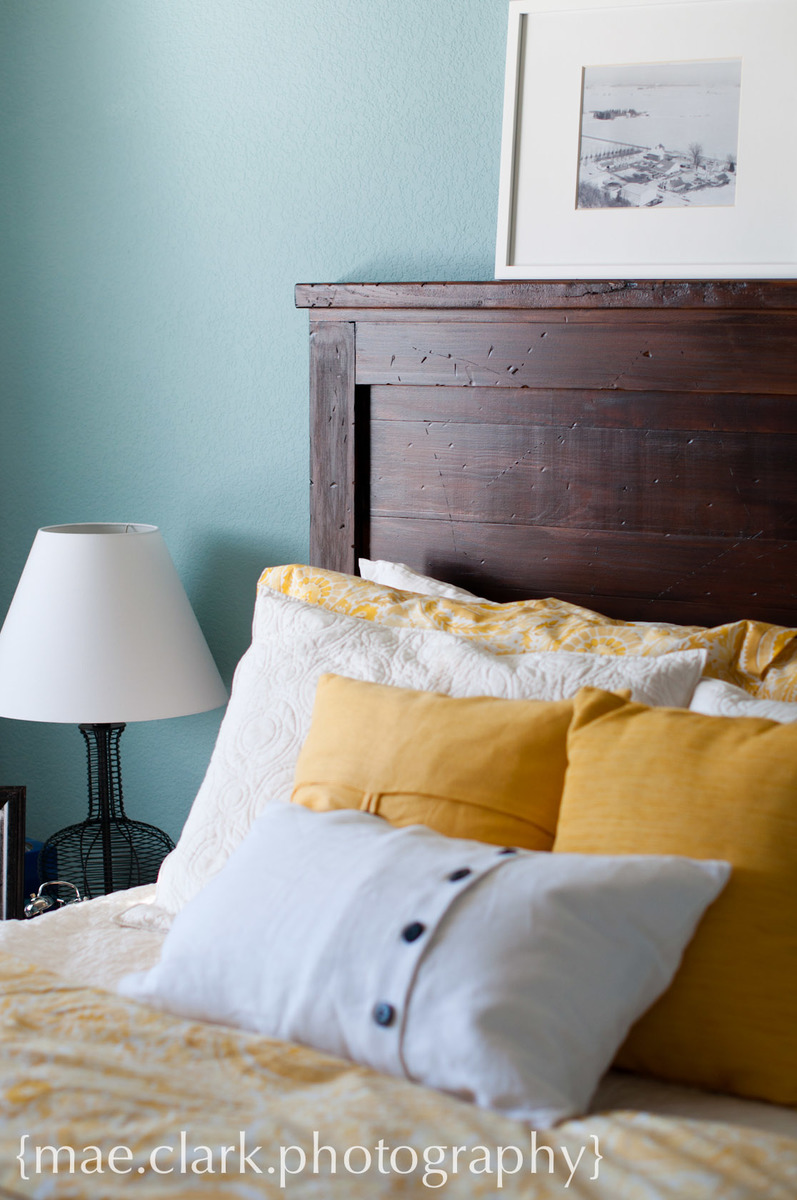
The hubbs helped me build this during a day off from work. We spent an hour after work the following few nights working on the finish. Tons of compliments on this headboard...a few coworkers have even built their own after seeing ours!
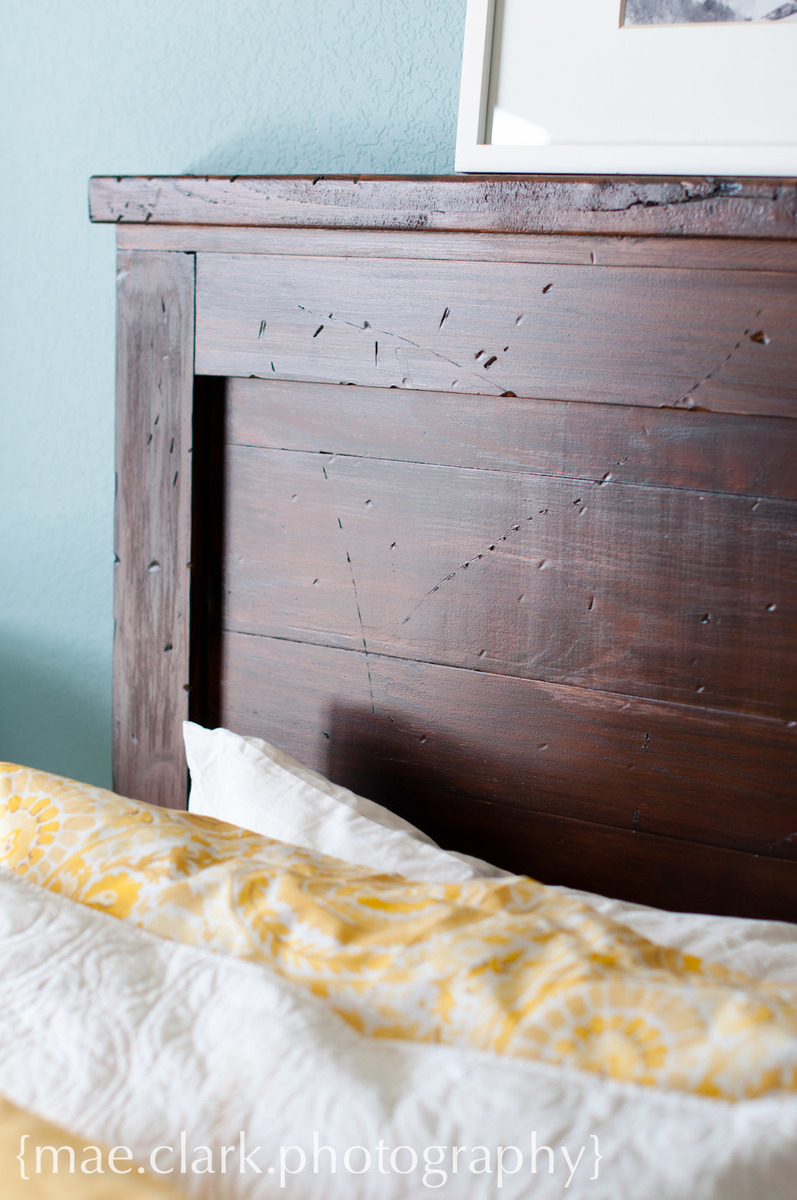
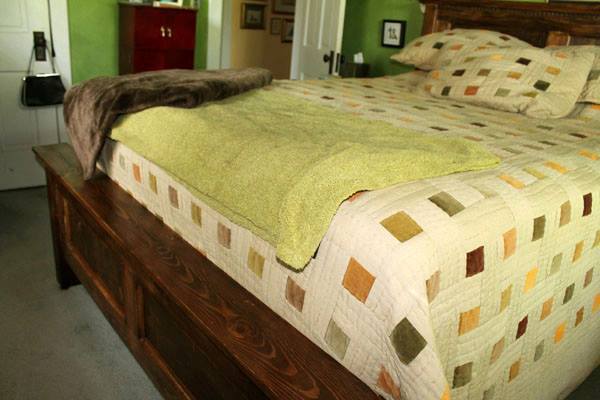
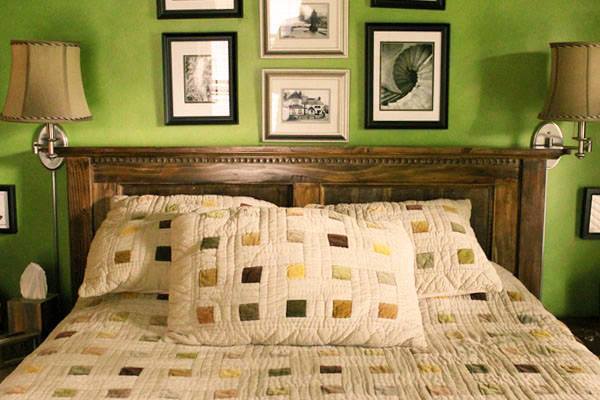
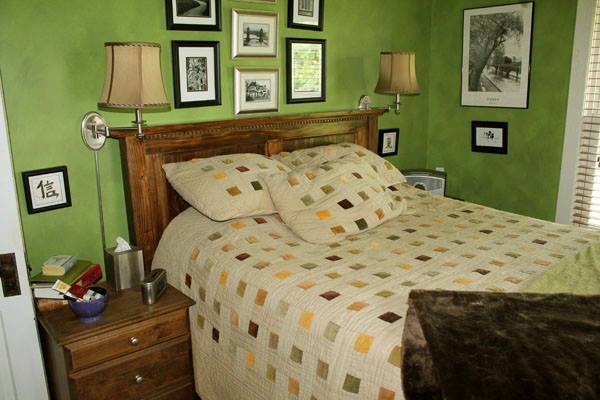
I started on the Farmhouse bed and as I got further into it I decided it needed a bit of 'extra' attention, hence the dentil moulding across the top and the panels to cover the 1x6's used for the headboard and the foot board, they are finished off with some cove moulding.
I used Spax bolts on the side supports and used a Forstner bit to drill down far enough to hide the bolts and made some wooden plugs to cover the holes. Minwax Special Walnut in the finish.
Hope you like it
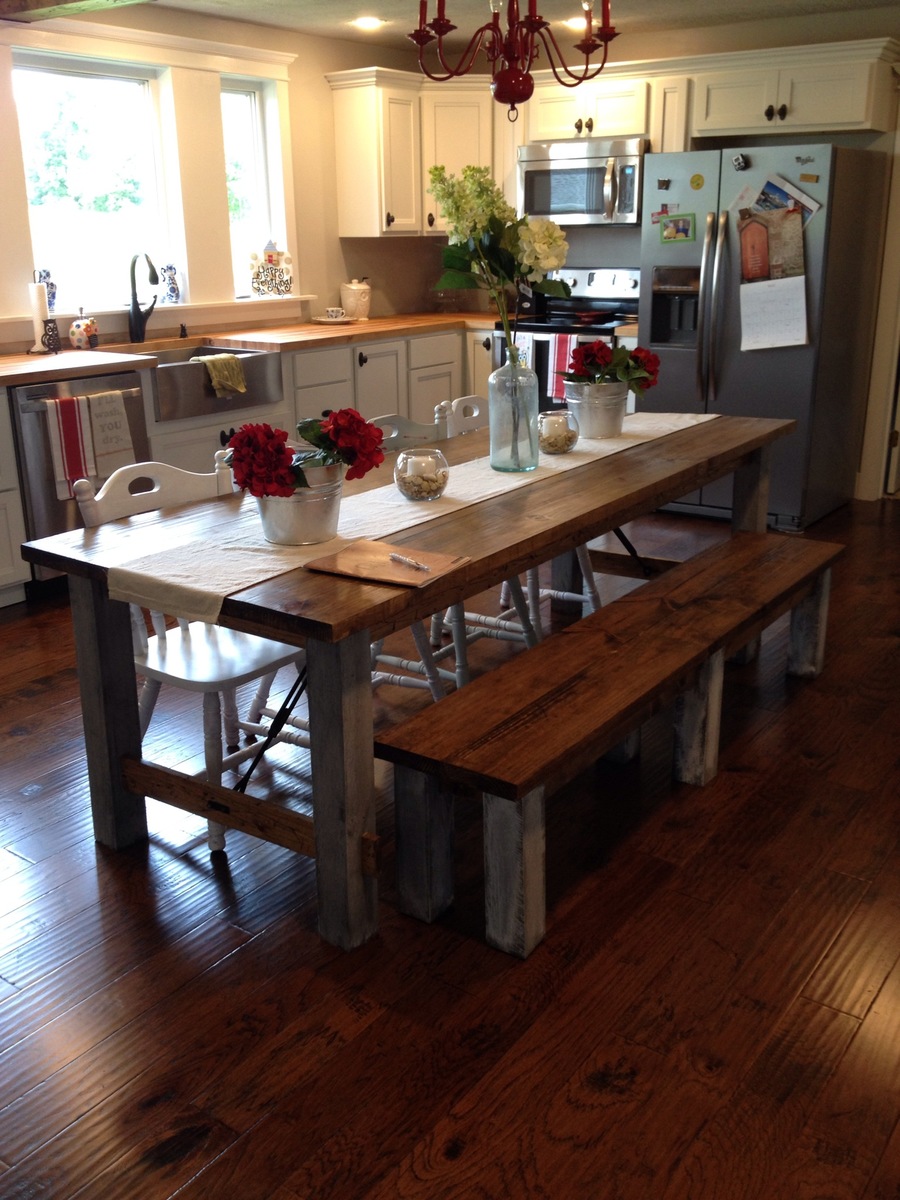
This 8ft dining table and bench was created with inspiration from Ana White (with a few modifications). It was made with all scrap wood except the table top. Full details of the table build (and kitchen remodel) can be found at www.chasingadreamblog.wordpress.com.
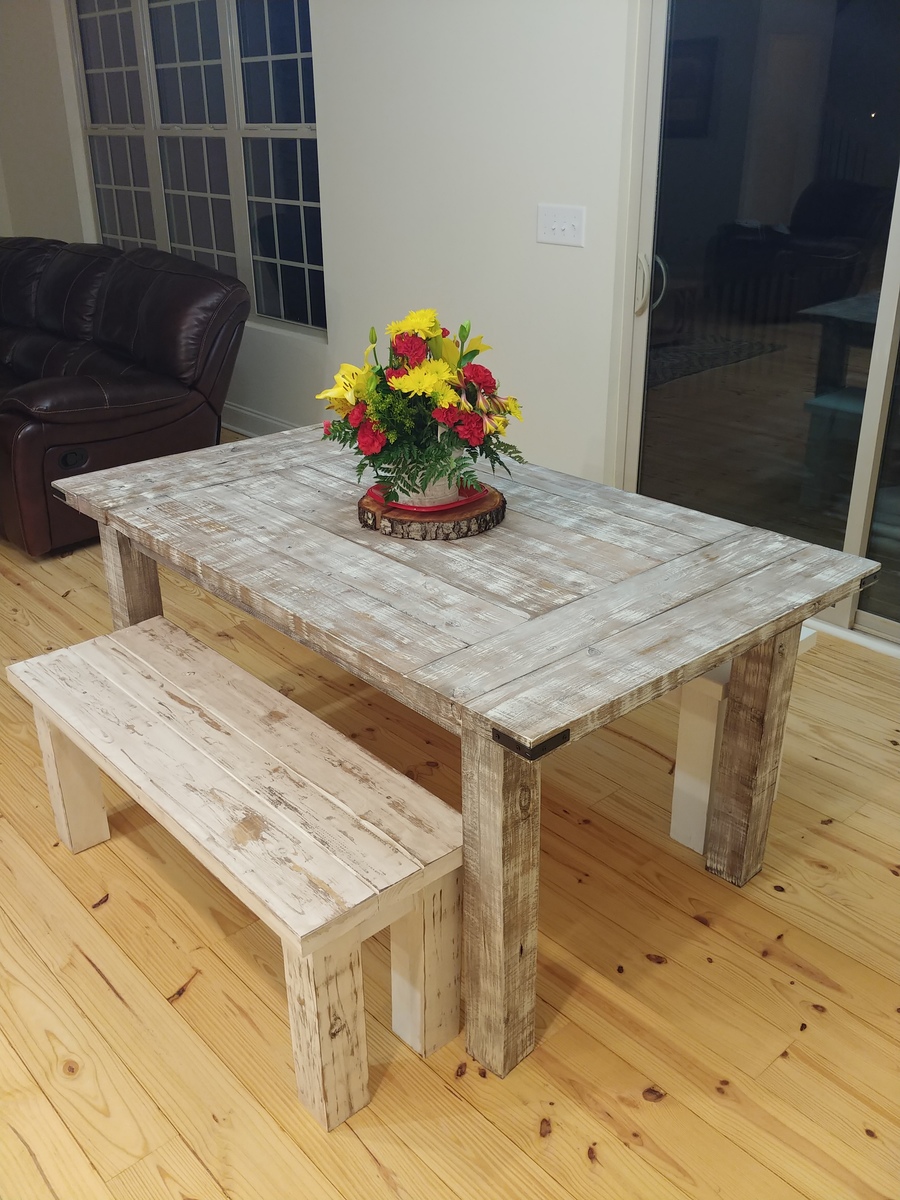
I built this table and two simple benches, inspired by the farmhouse table plans. I modified the plan slightly, in that I didn't add the center 2x4 on the bottom, or the two 2x4's between the legs. I also added a second "bread end board," and customized the corners with some "L" bracket accessories. It took me a week to build everything, then add the finish. It would have gone quicker, had I had time to do it all at the same time, but I had to make time after work to do everything. All, in all, this is probably a weekend job, at most.
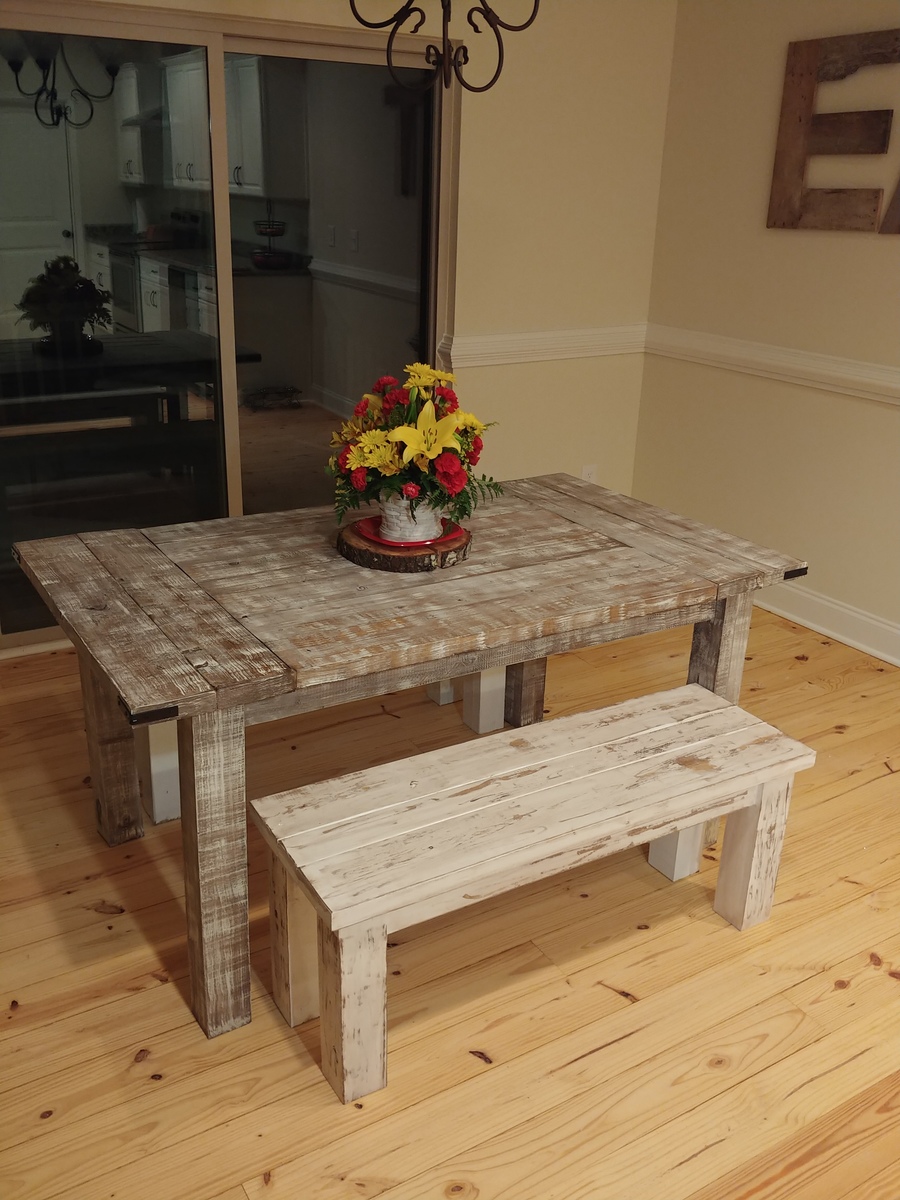

I love how this bed frame turned out! Everywhere that has stain is cedar and the rest is all scrap spruce. Thanks for another great plan Ana!

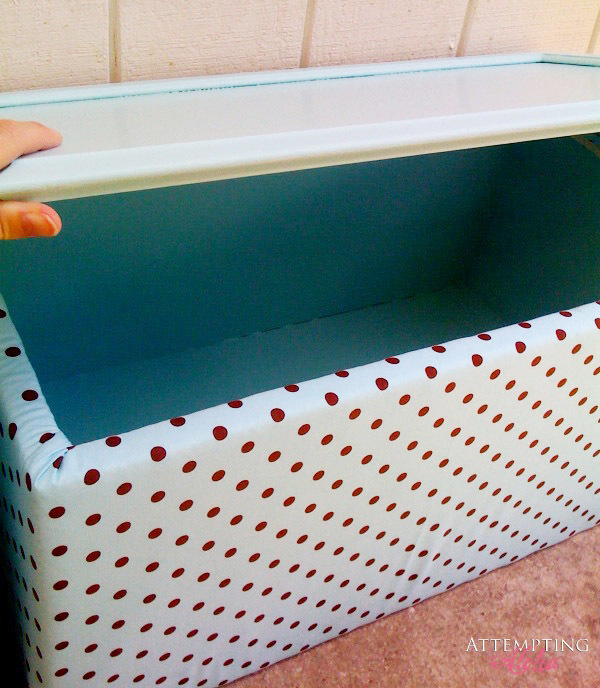
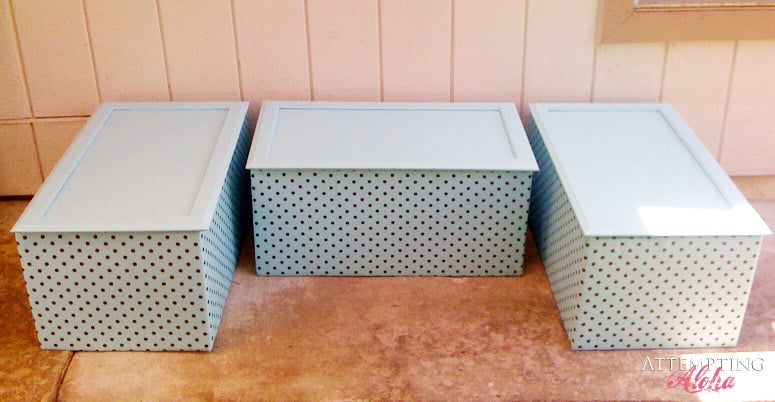
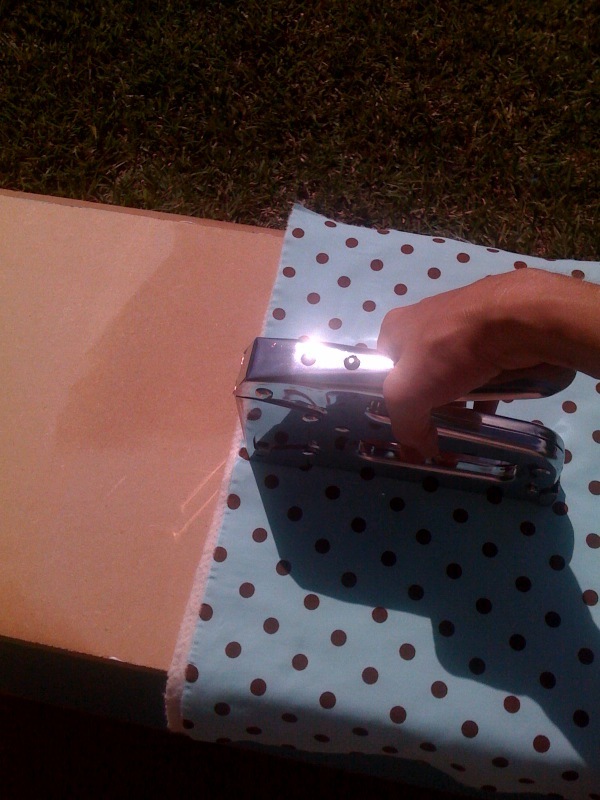
I loved Ana's upholstered toy box benches that she made and really wanted to do some of my own (three girls = muchos toys). We are remodeling our kitchen, so I decided to use our old cabinets for as much of this project as I could! Fun to keep a little bit of our home with us wherever we move (military family). :)
