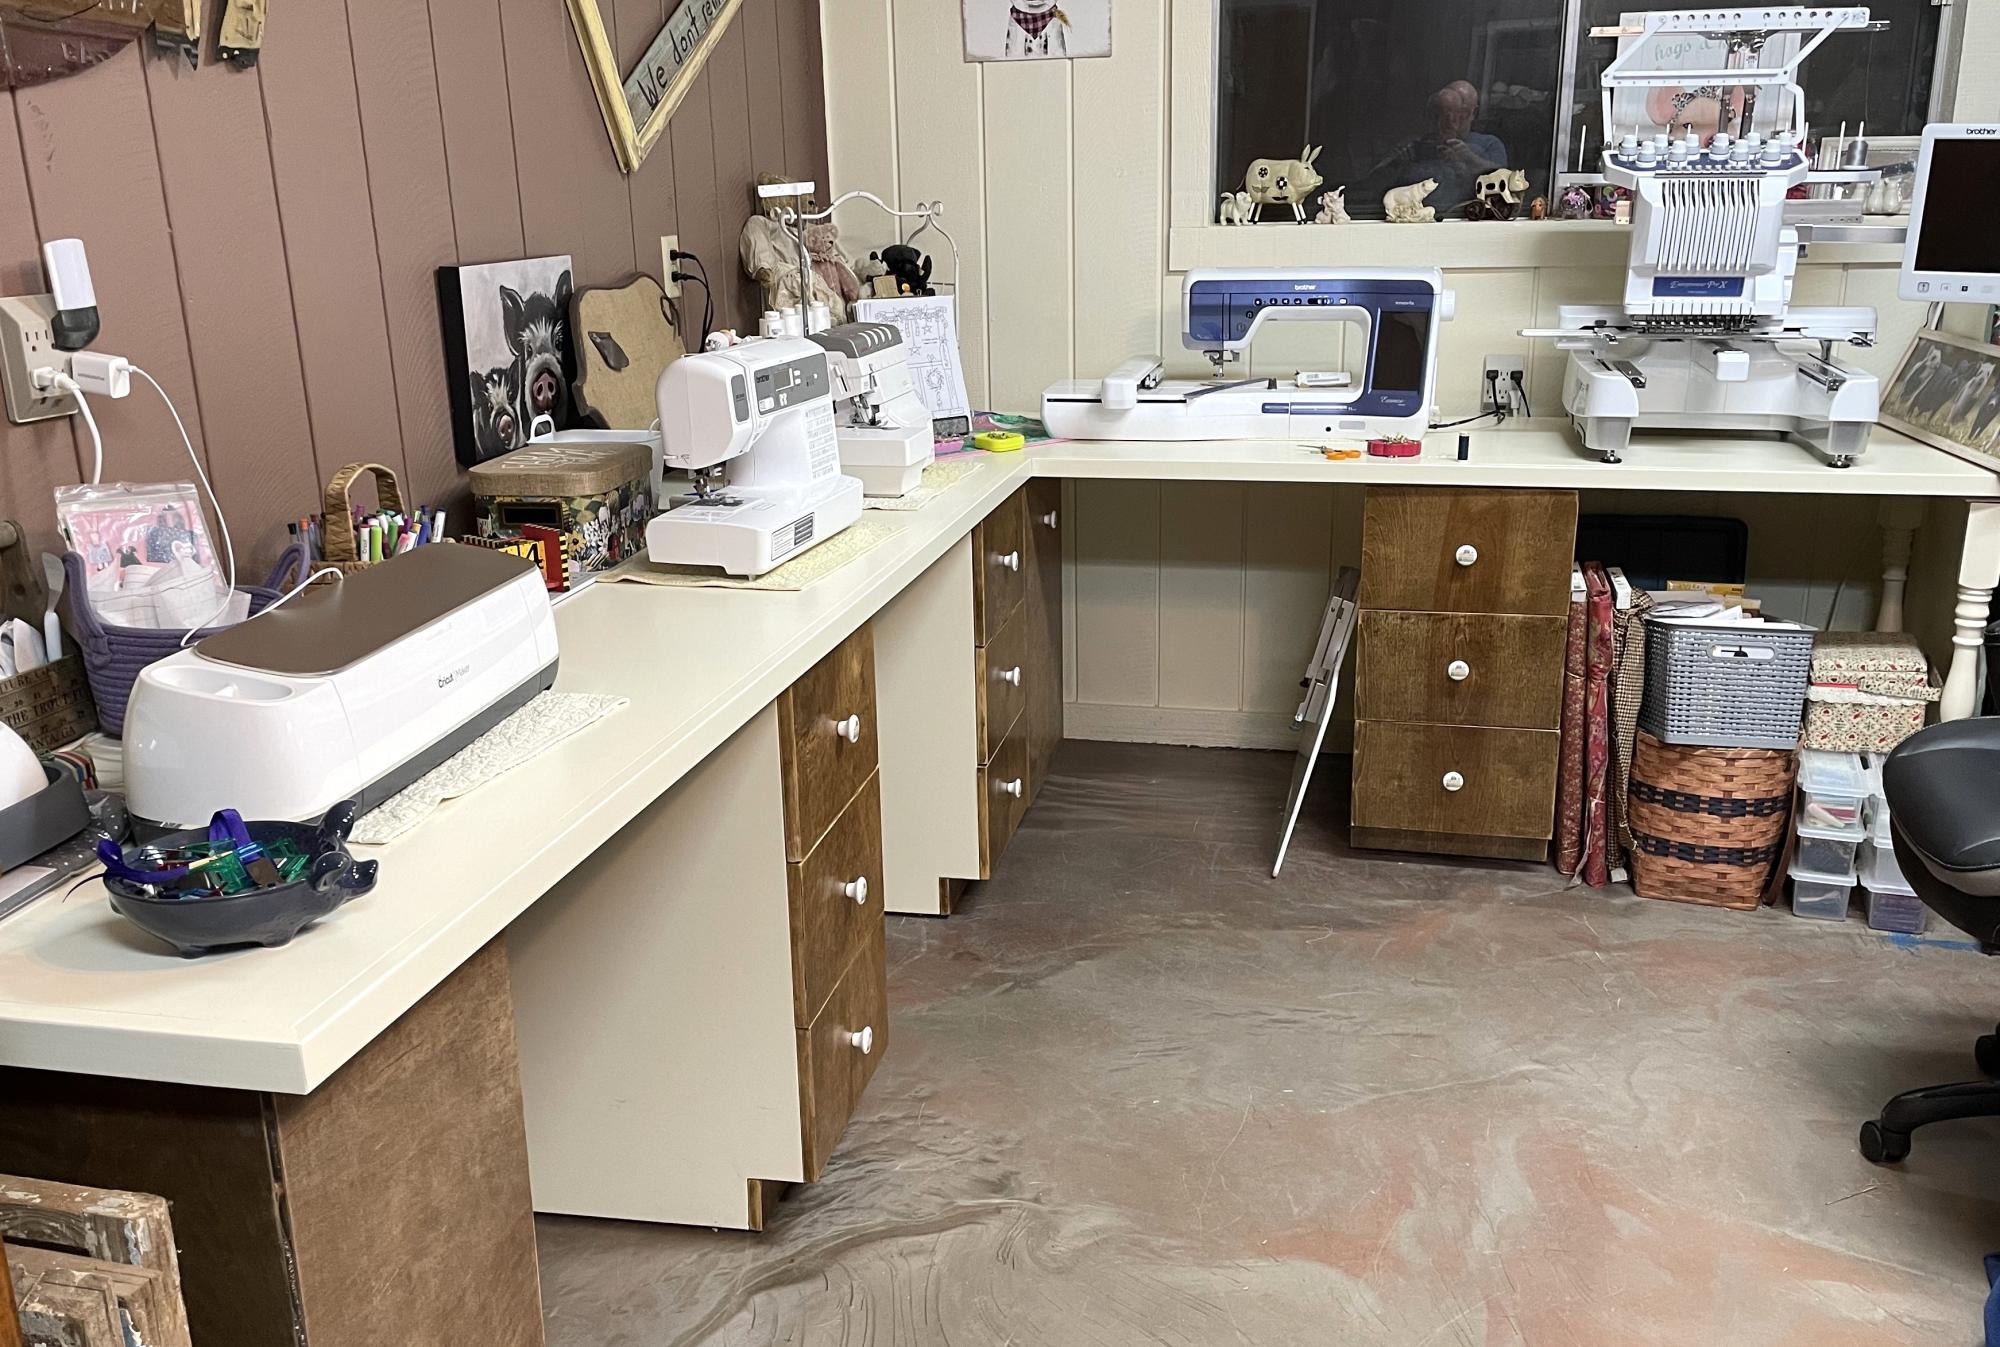
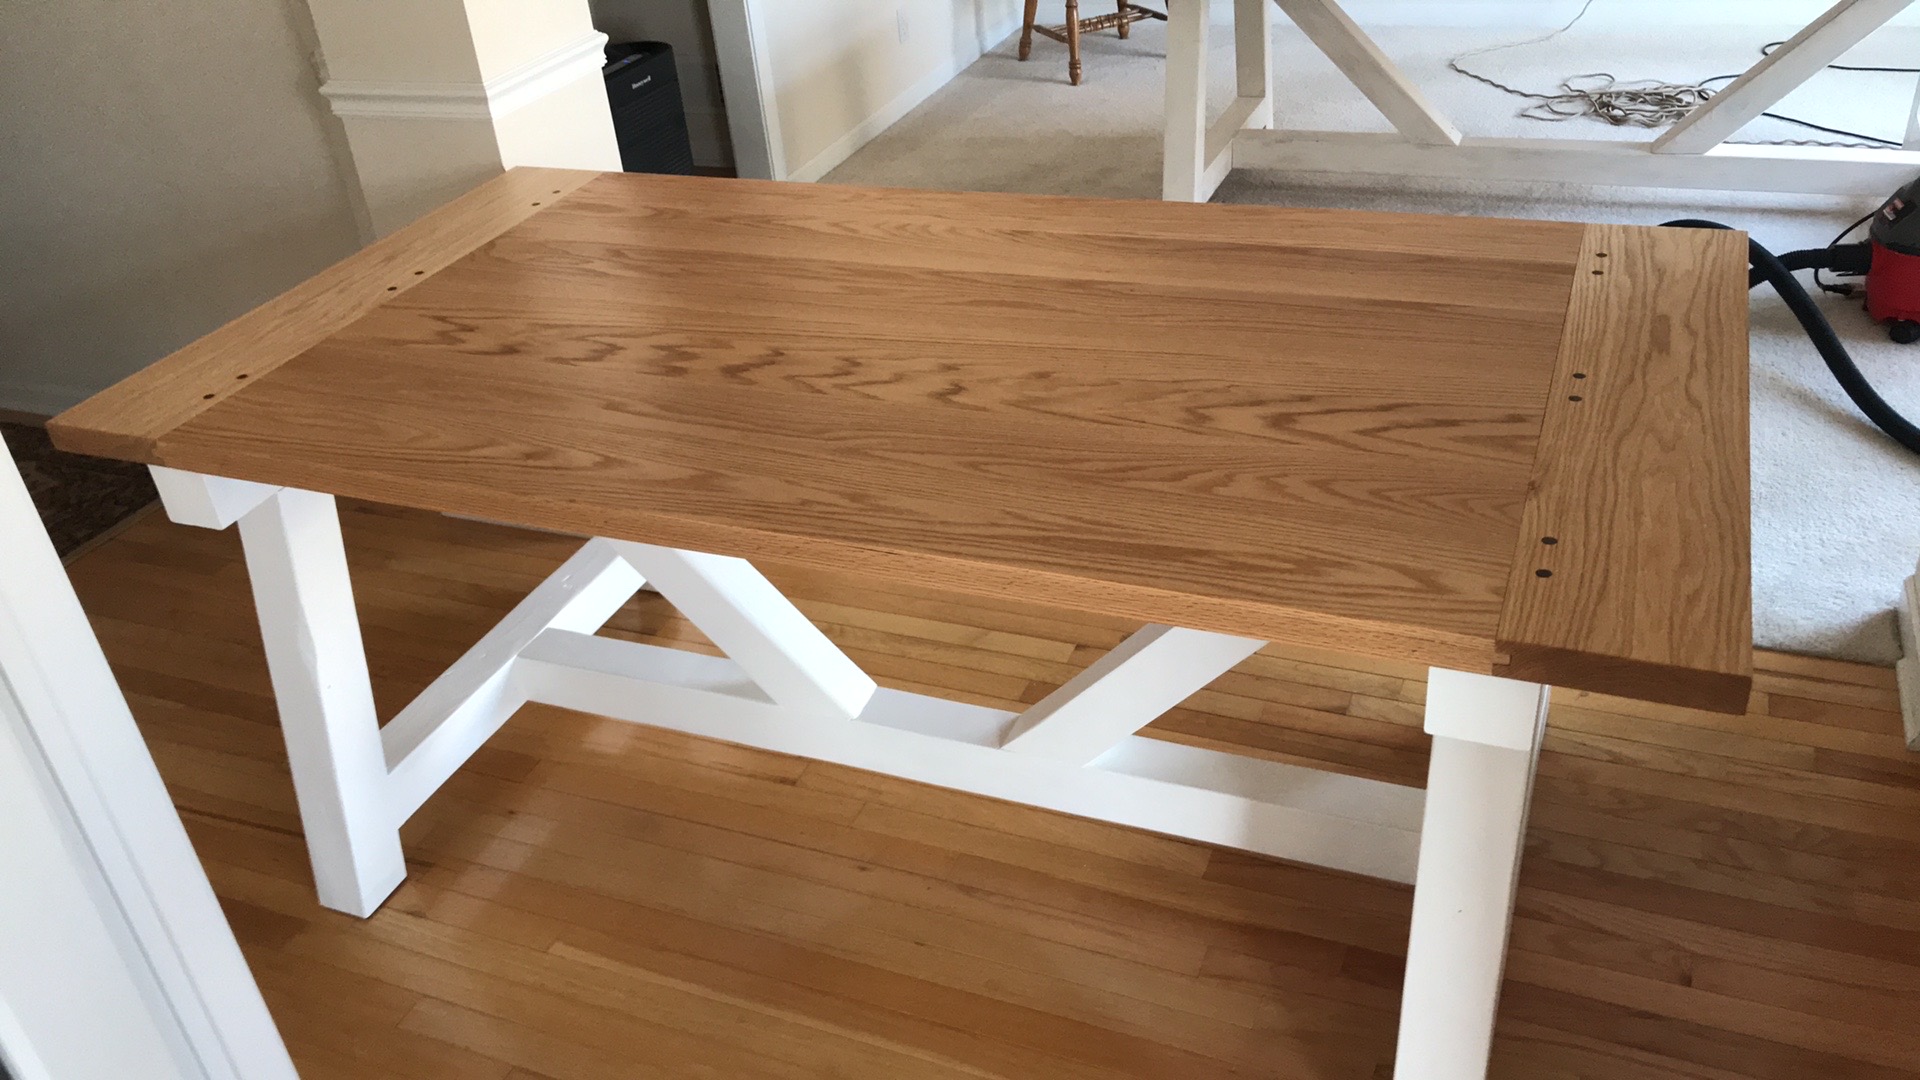
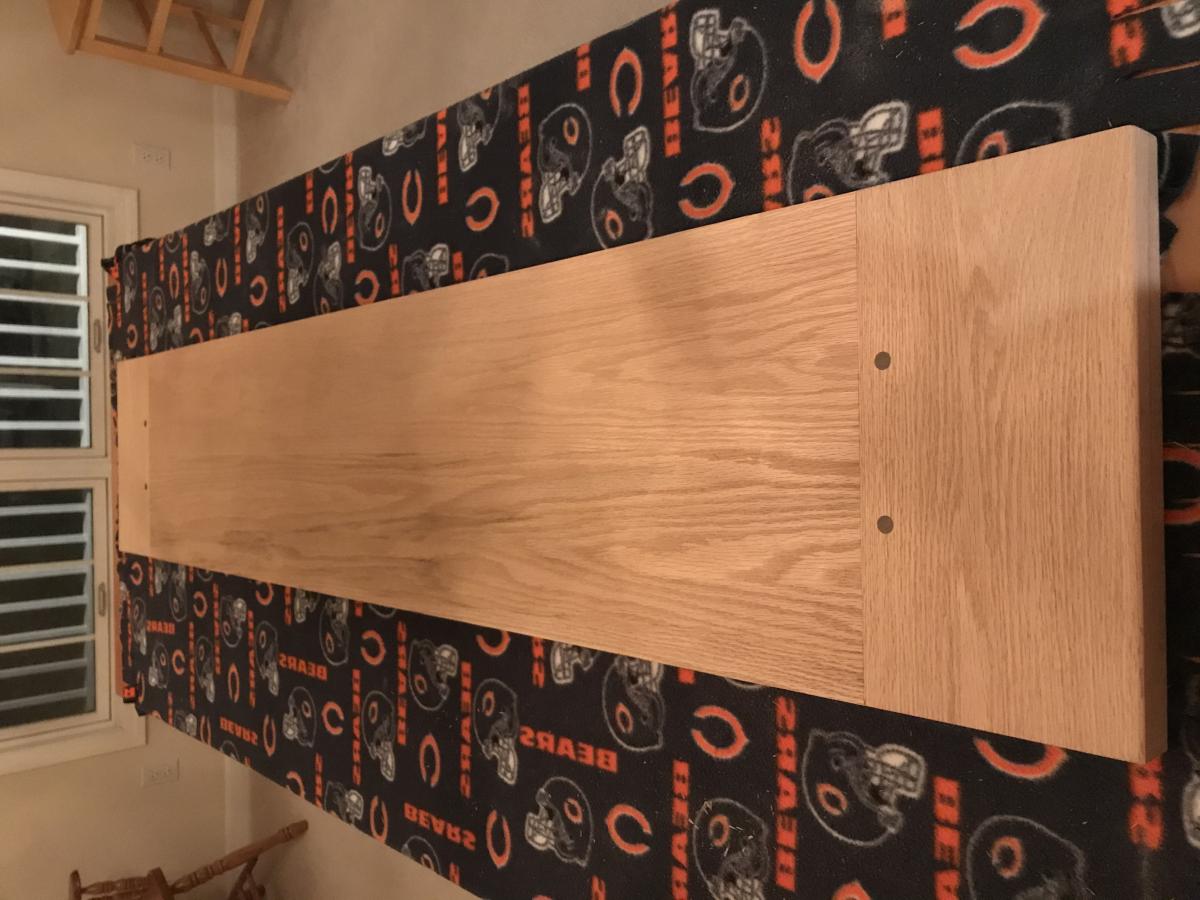
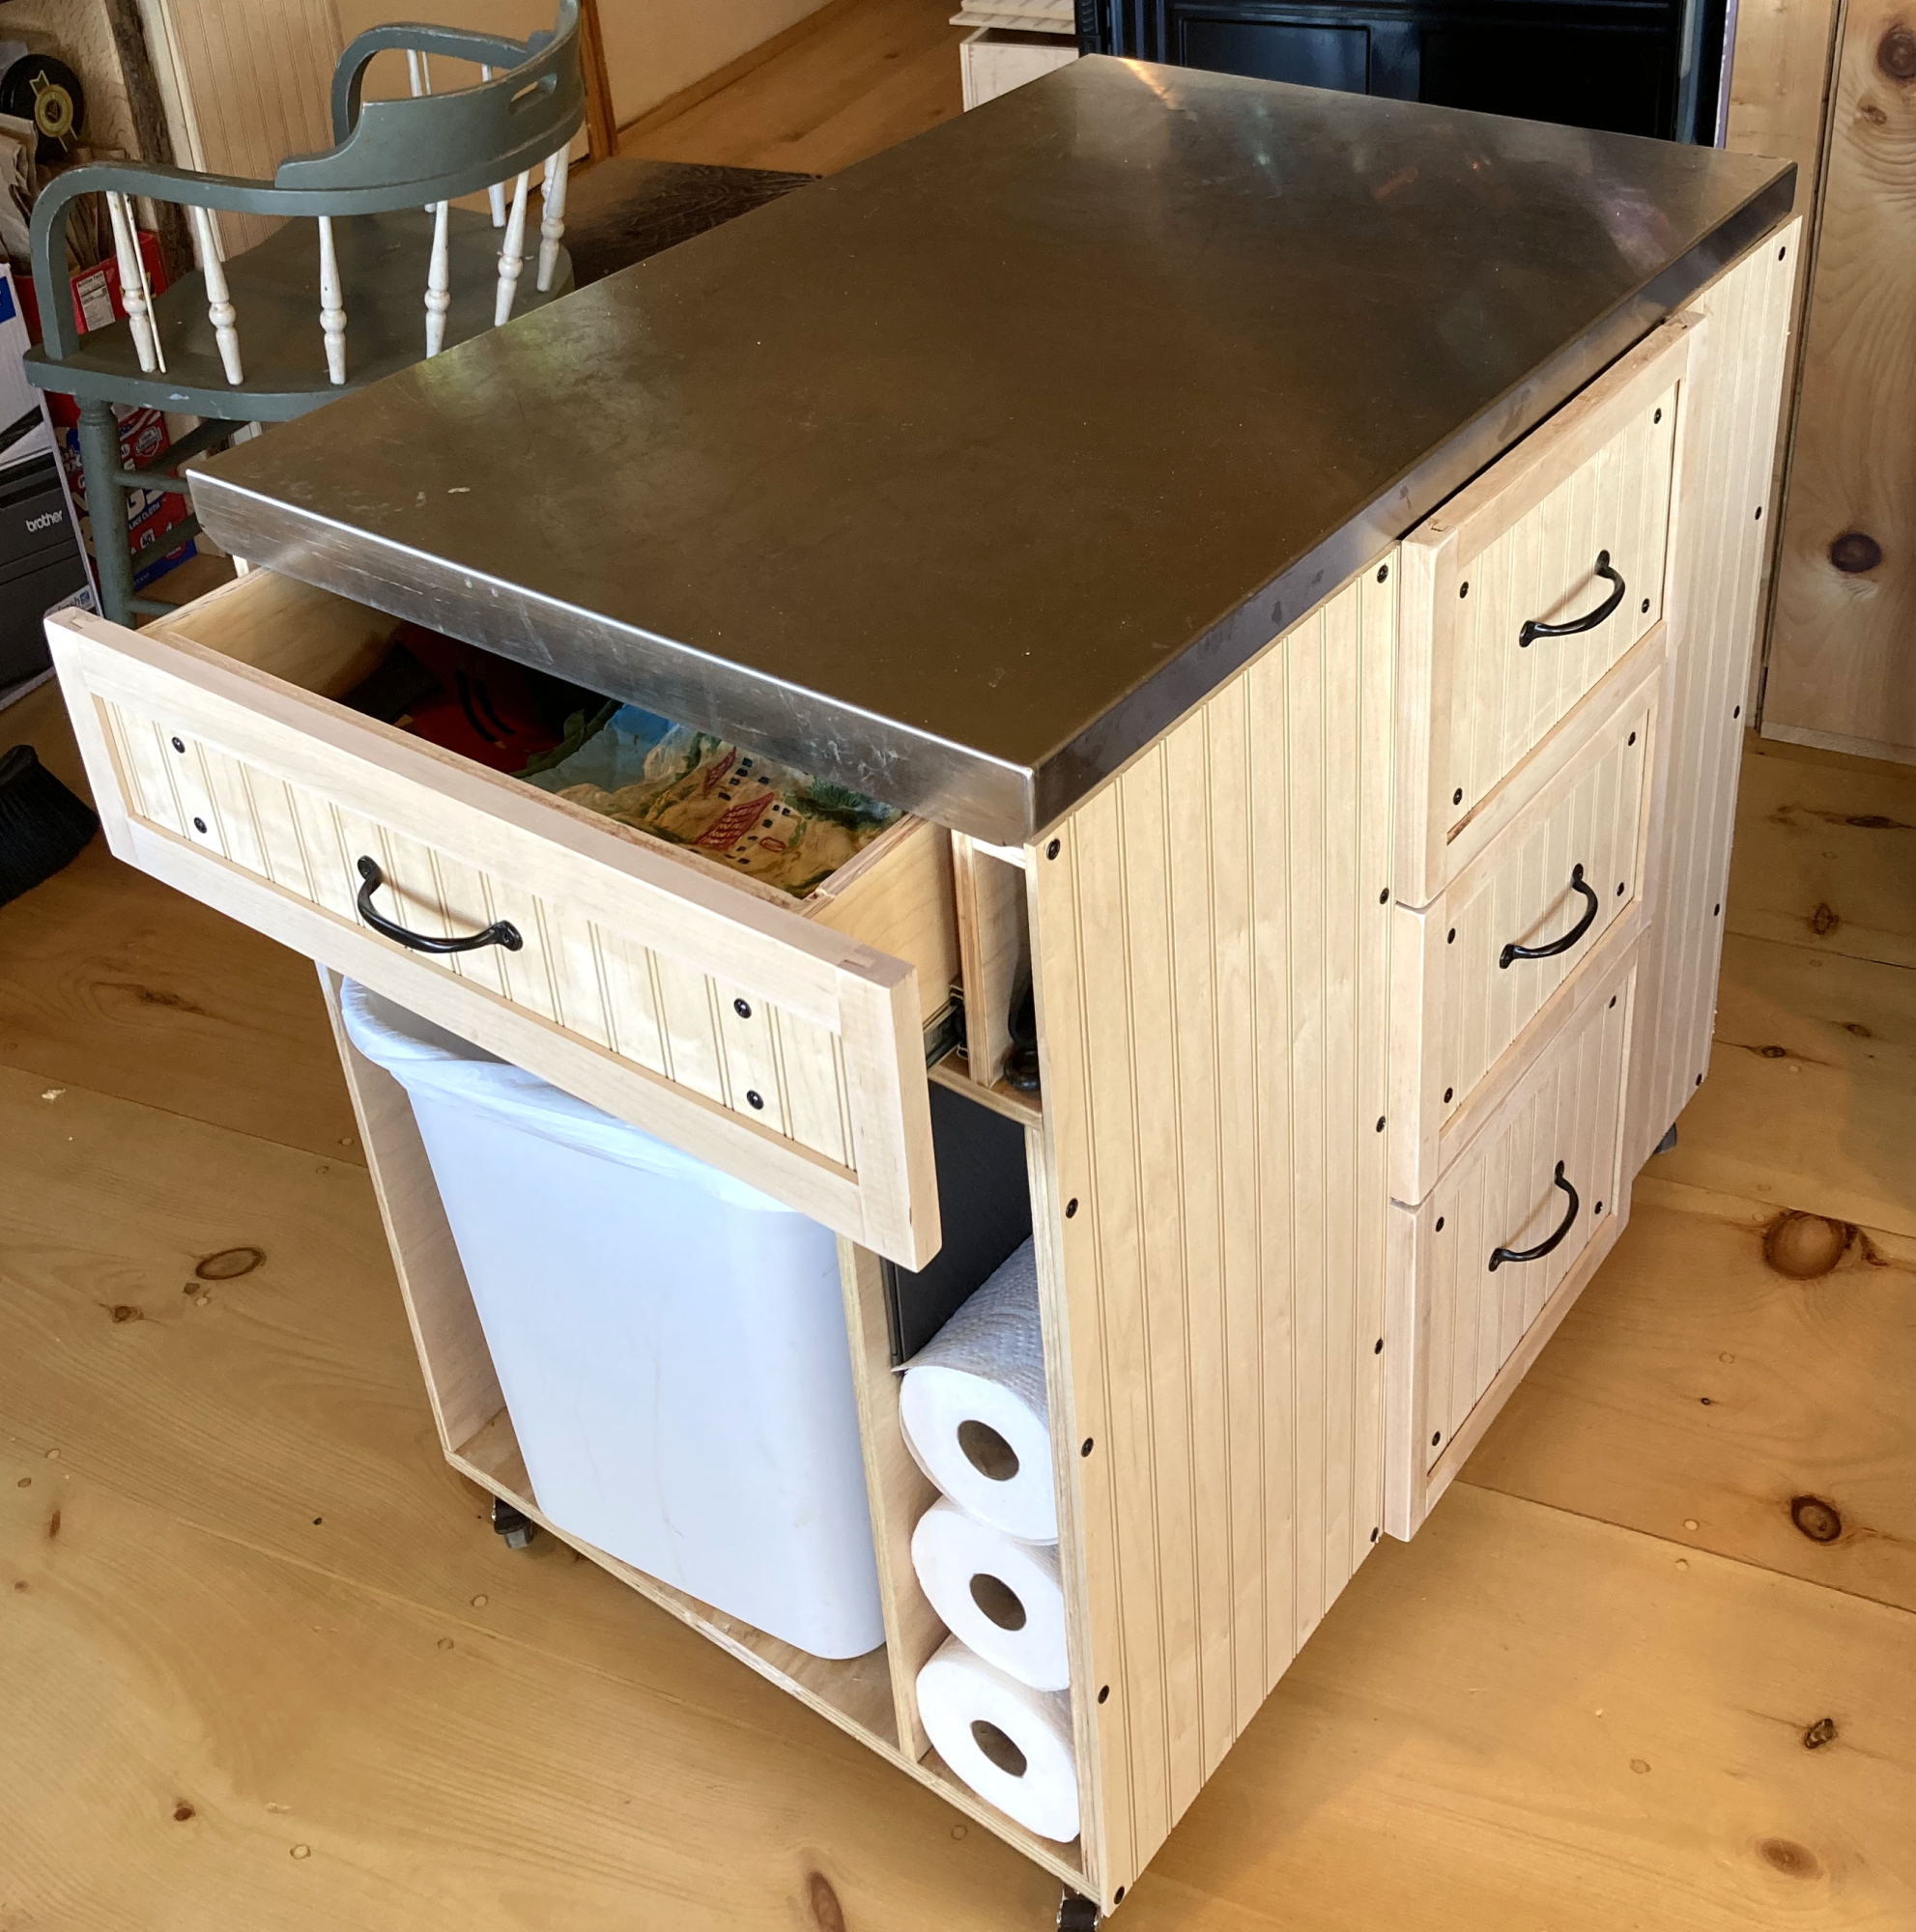
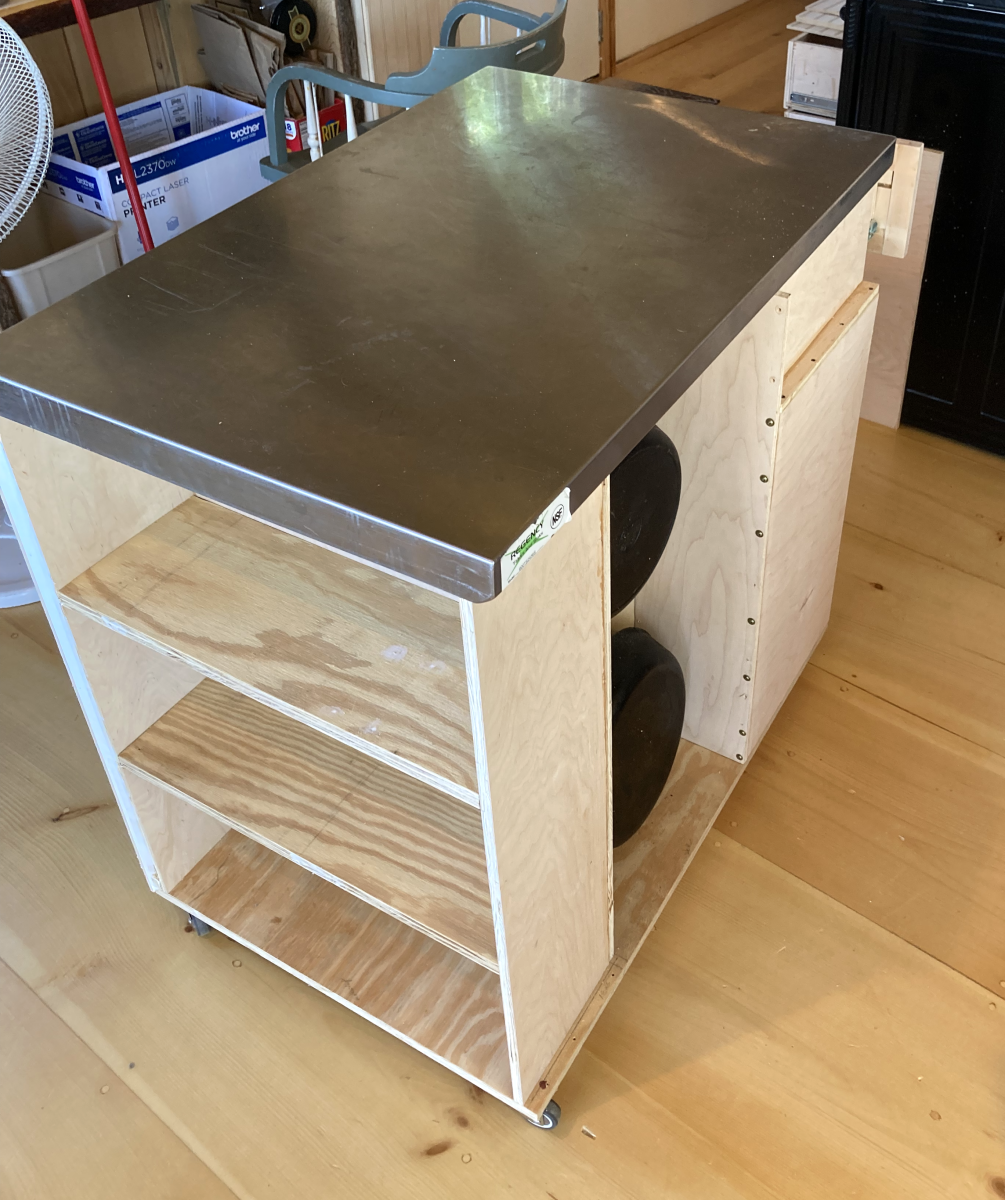
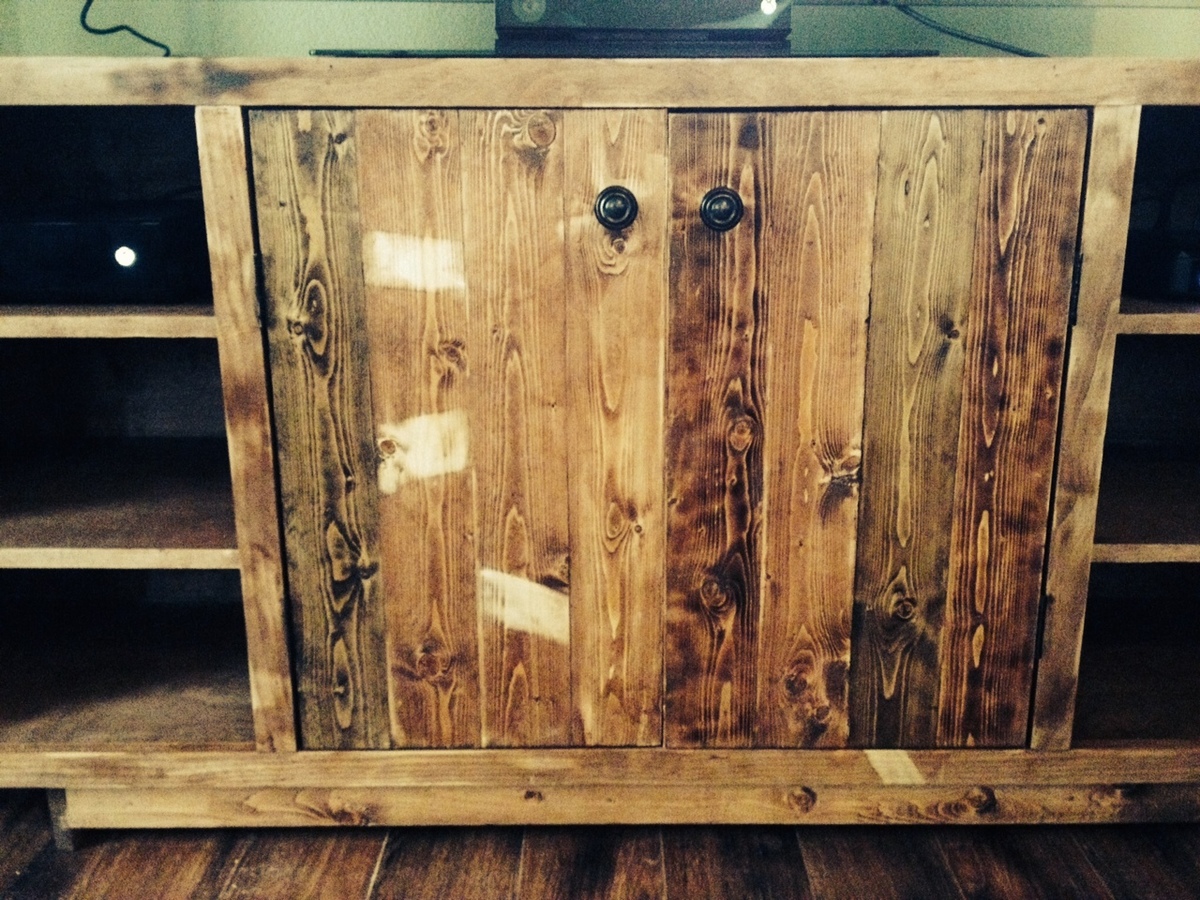
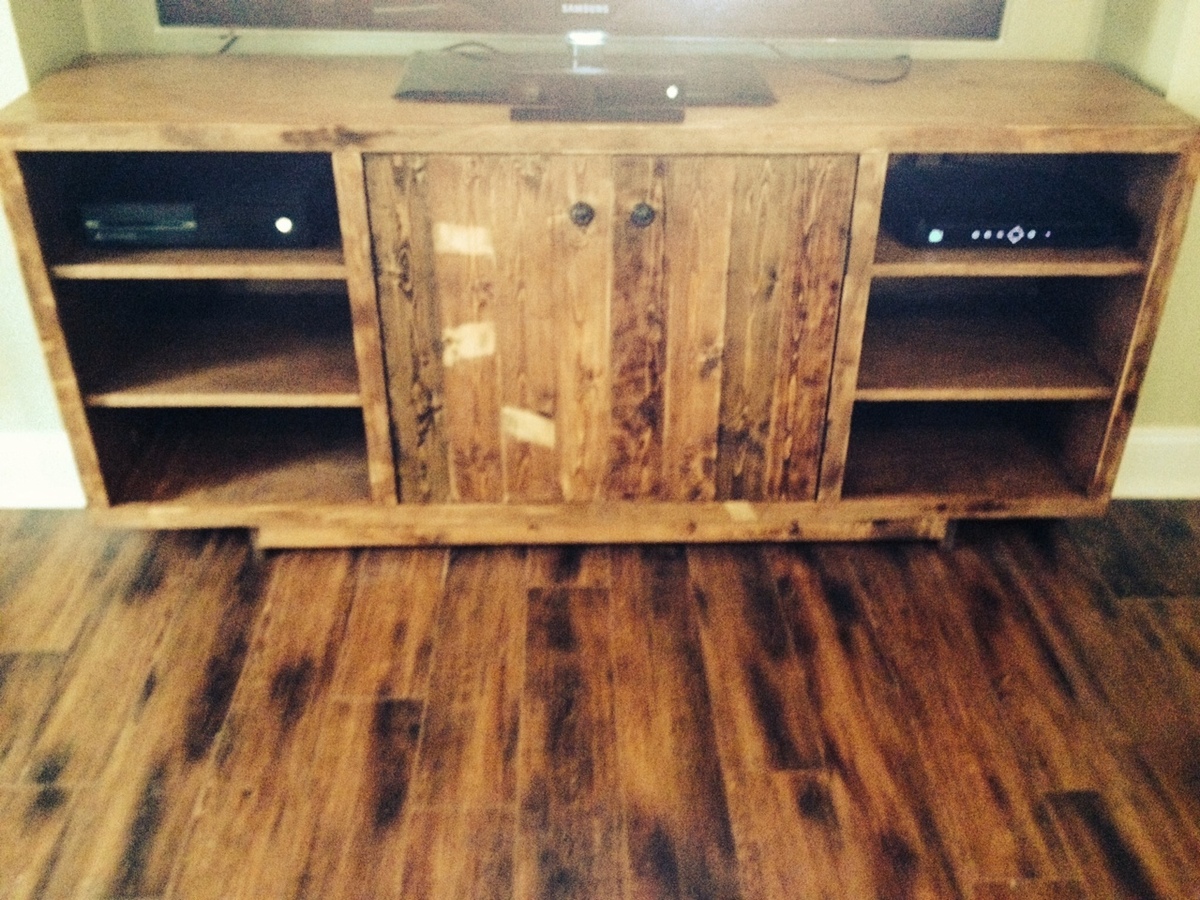
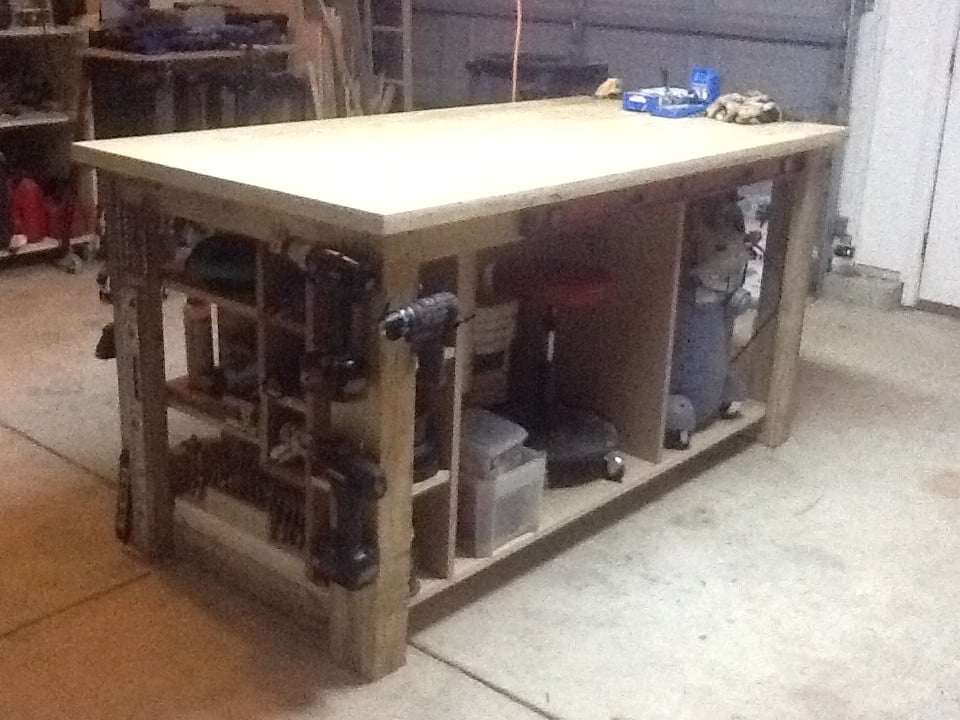
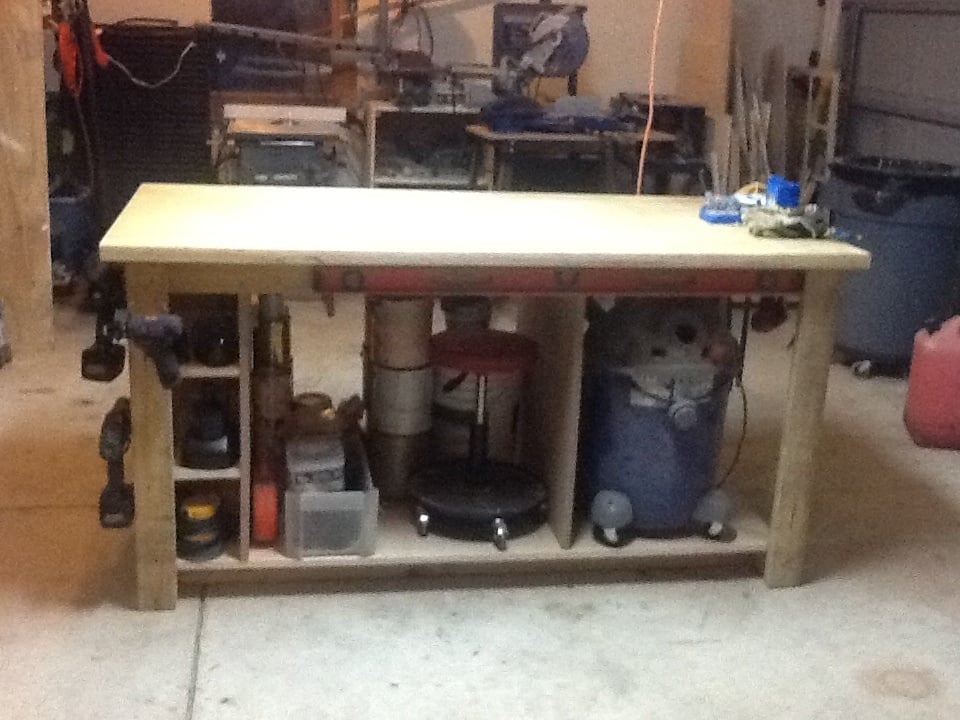
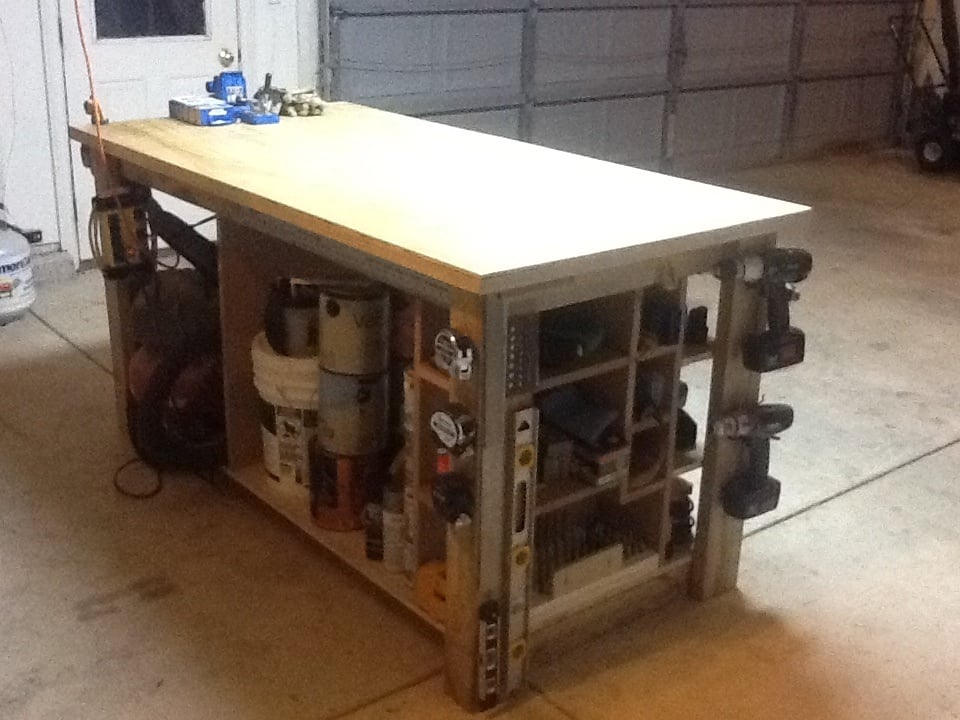
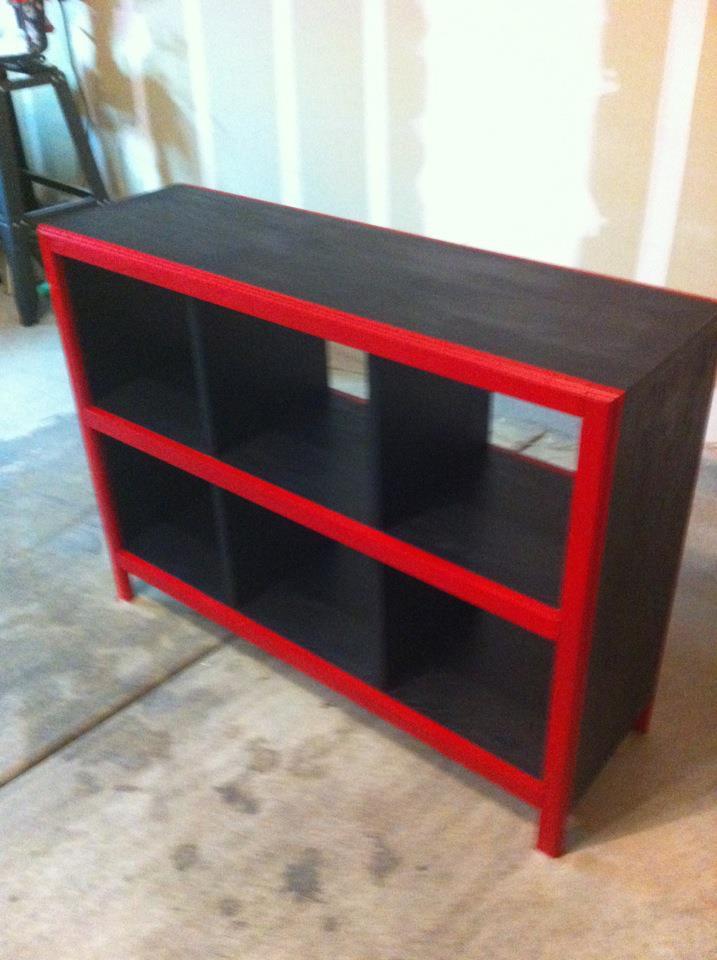
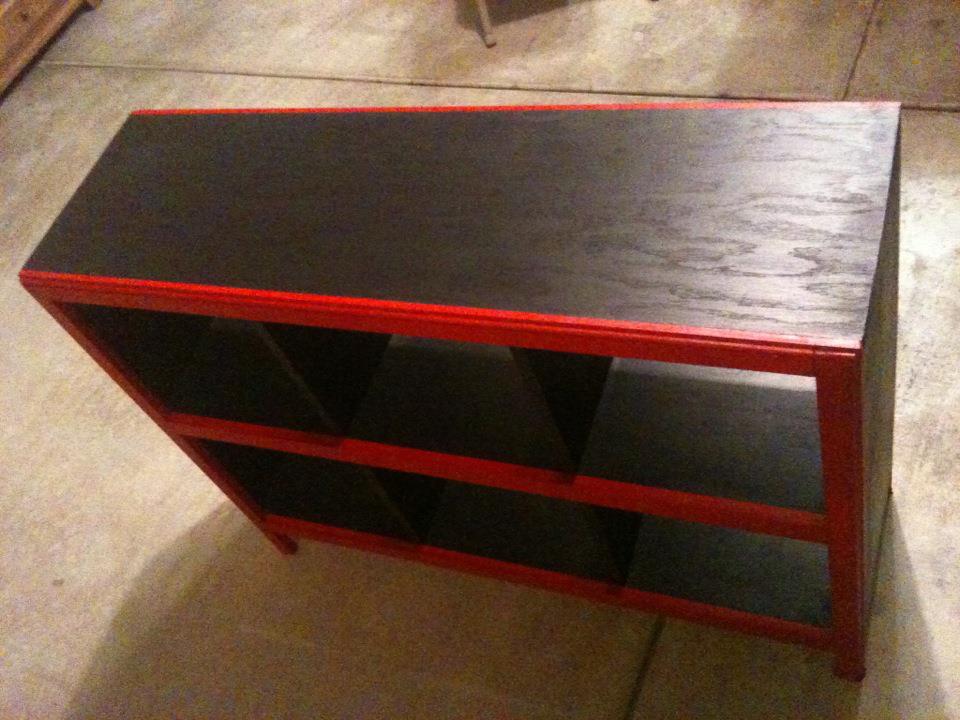
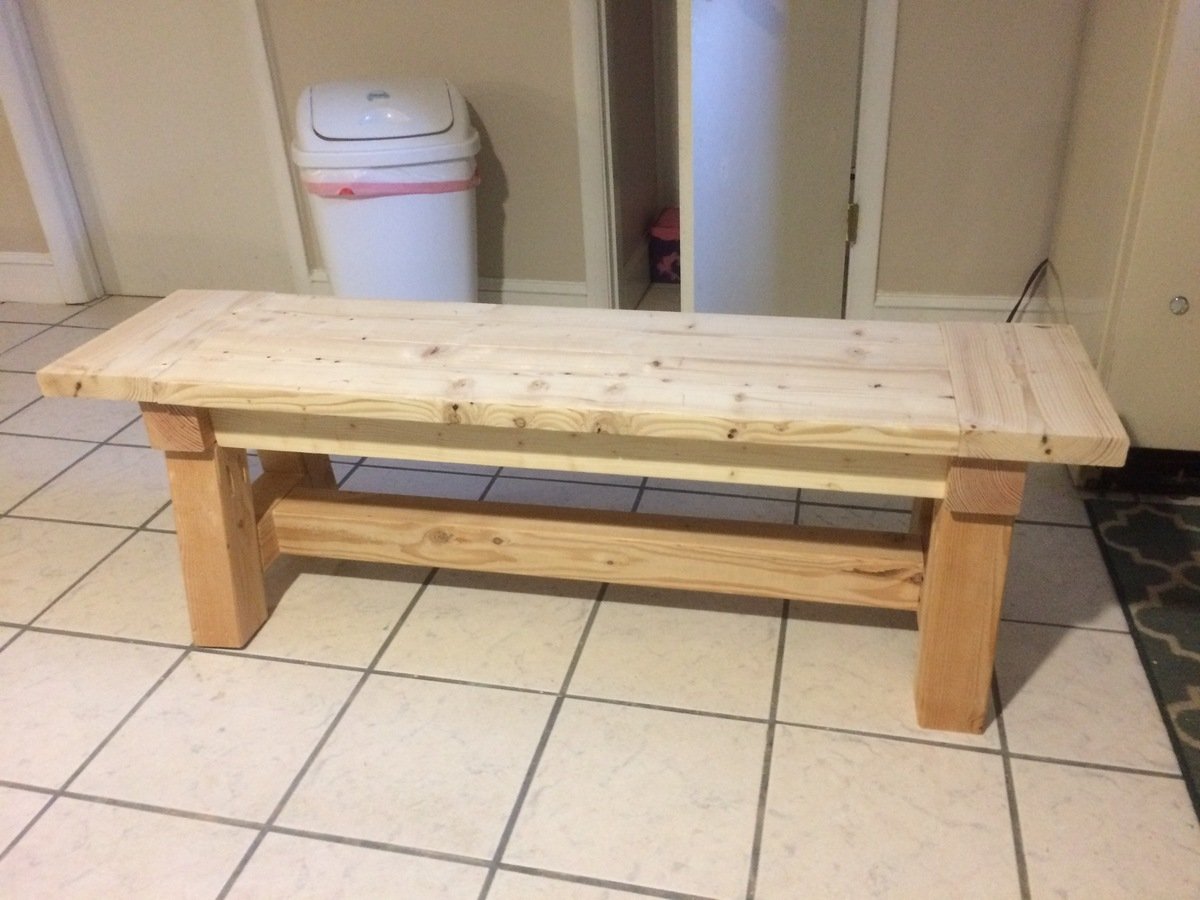
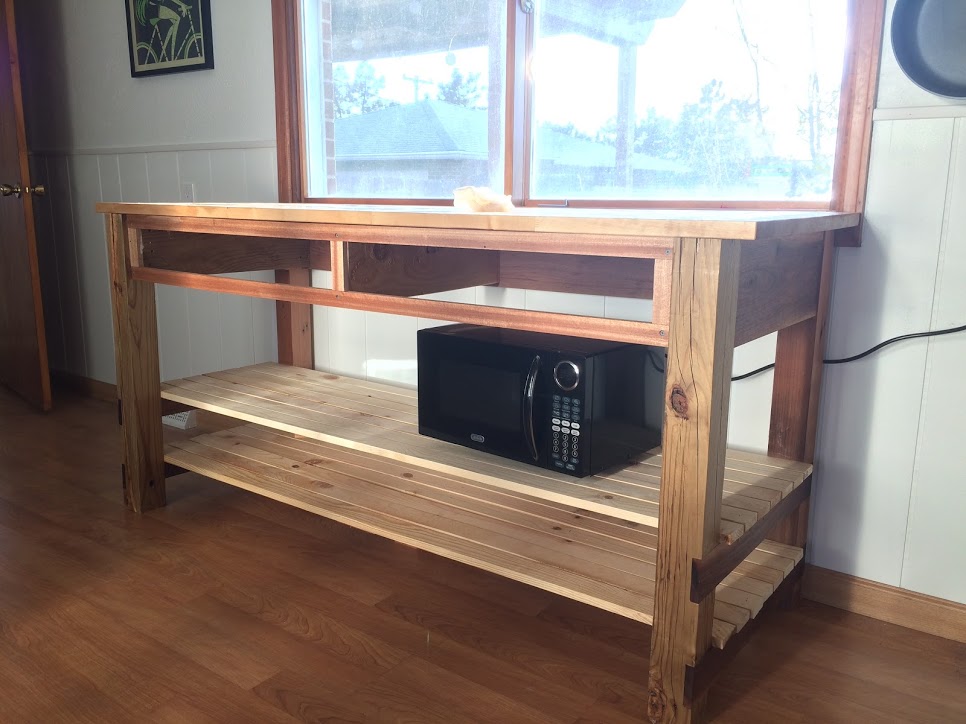
Kitchen Island from reclaimed wood!
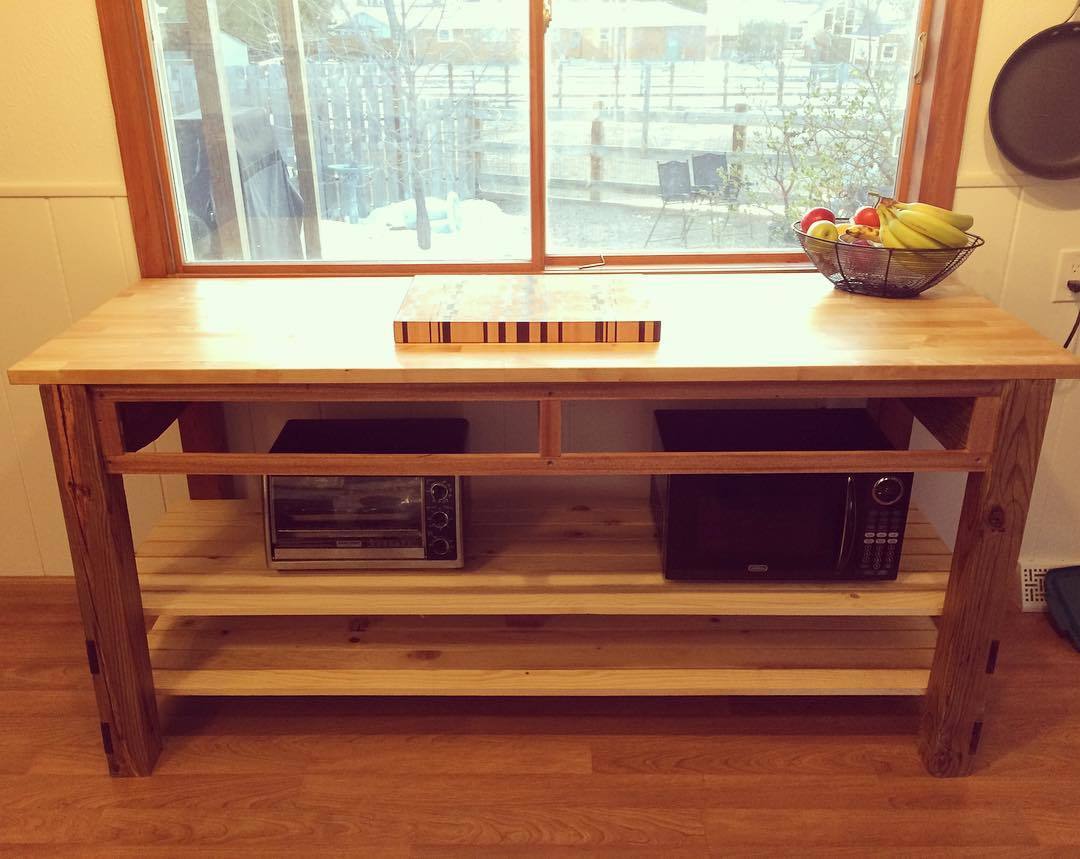
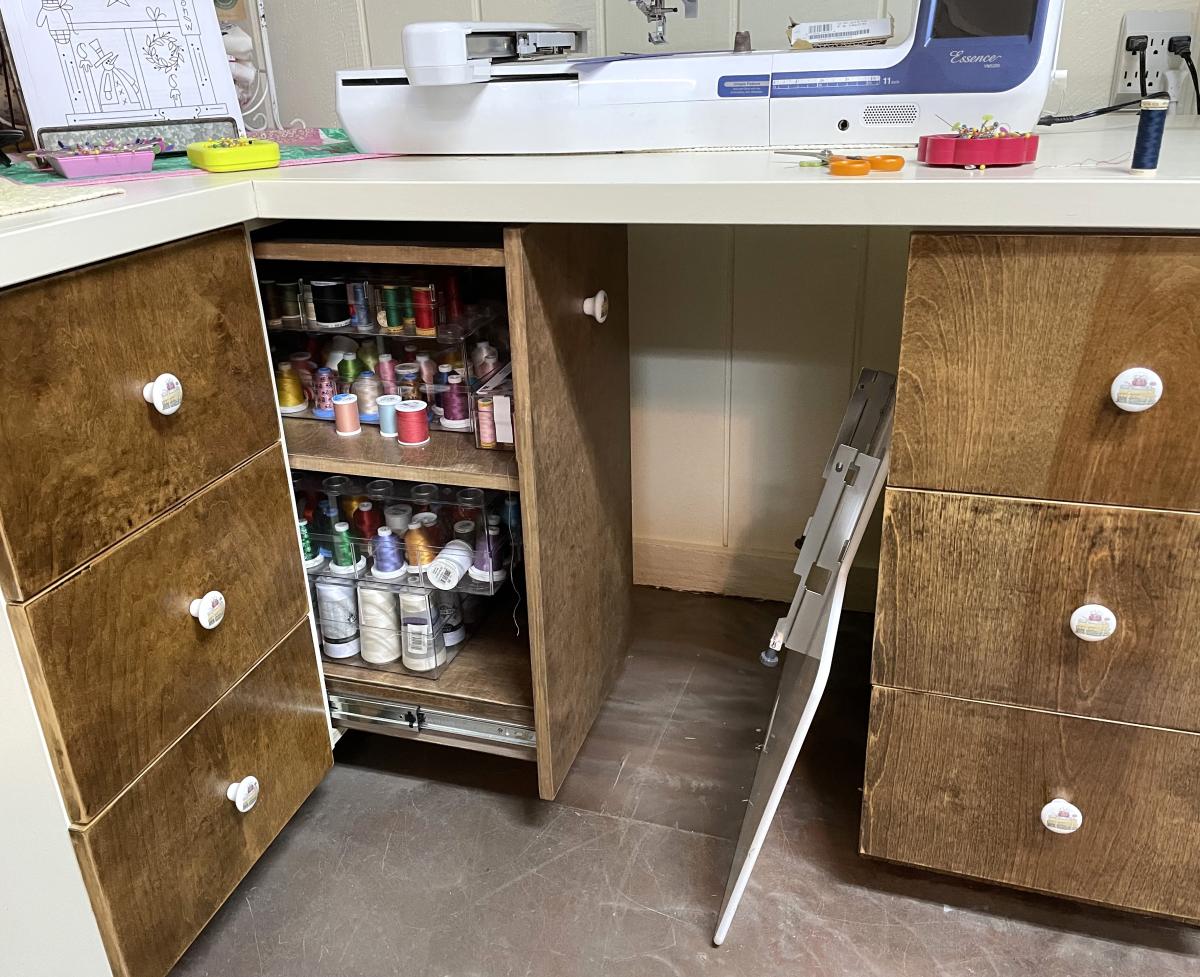
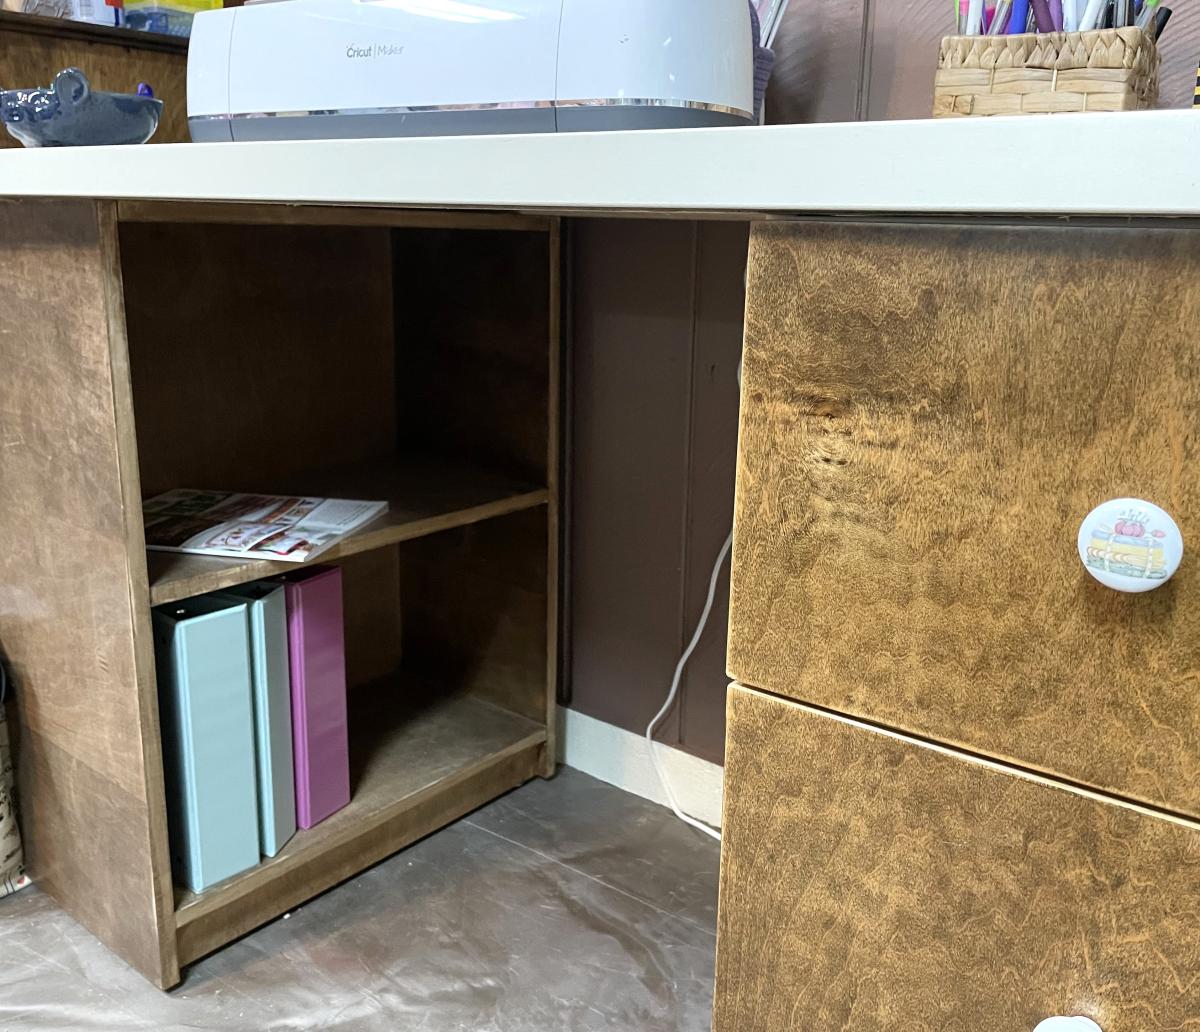
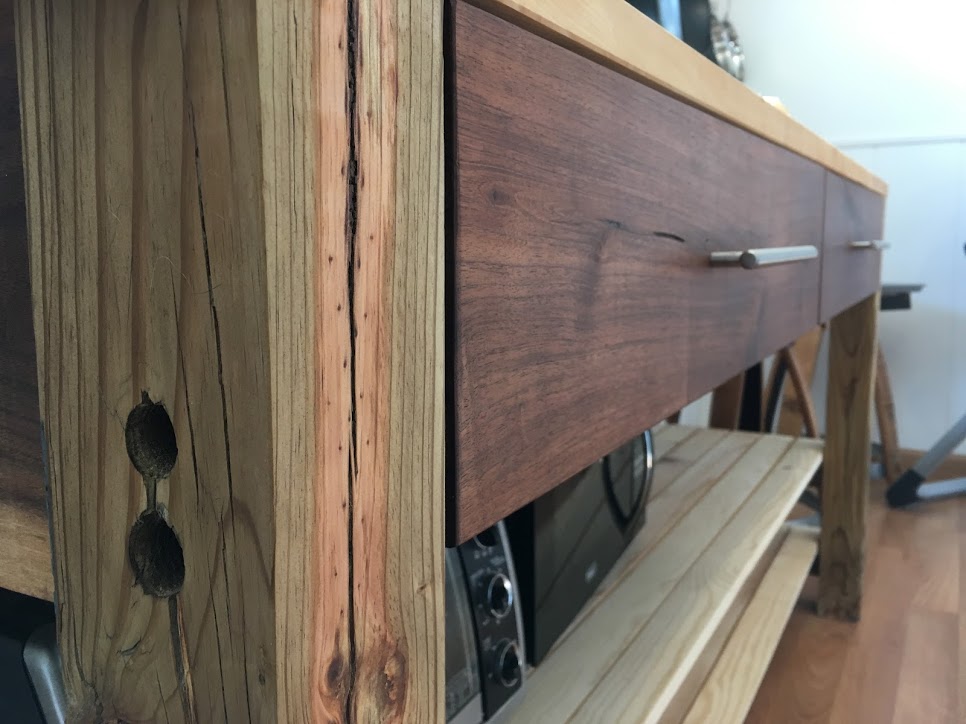
I found these plans and modified the dimensions to work in my space. The top is solid birch, and the legs are cedar 4x4s I found in a shed on my property. The side skirts rear skirt, shelf supports, and drawer fronts are solid walnut I have had laying around for years. The face frame was a door jam in my house made from solid mahogany. It came out nice, especially since it's my first time building anything like this! Thanks for the plans!
Built from Plan(s)
Estimated Cost
$200
Estimated Time Investment
Weekend Project (10-20 Hours)
Finish Used
Mineral oil and beeswax
Recommended Skill Level
Intermediate