Entryway console
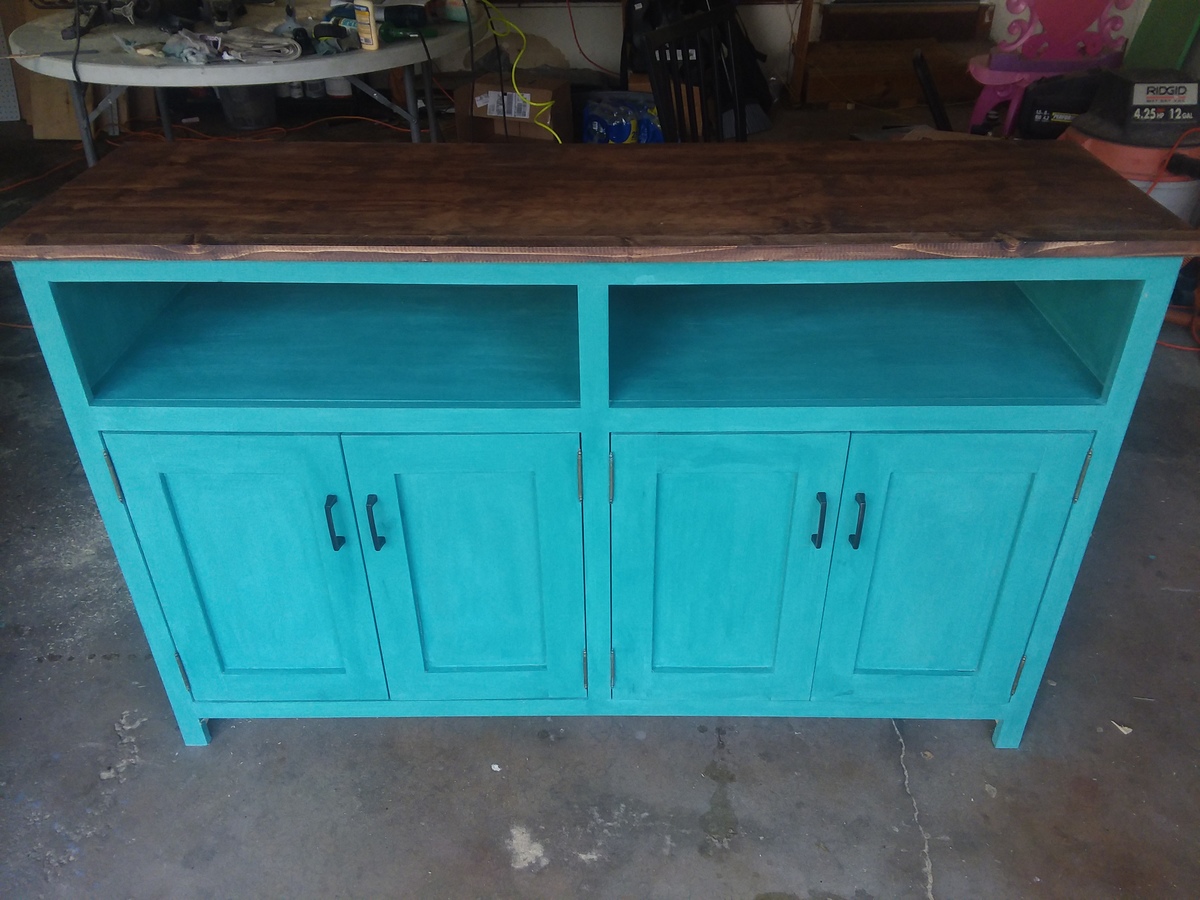
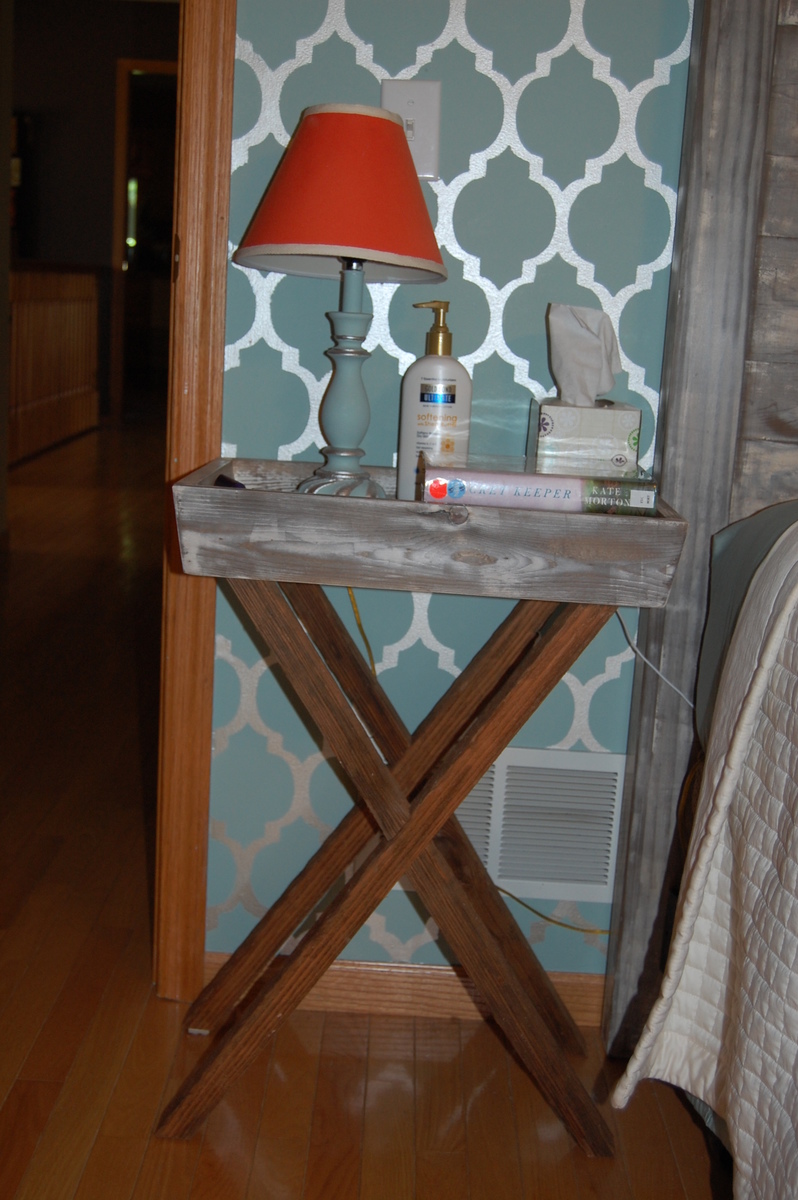
Entryway console without base pieces to more closely match my other furniture.
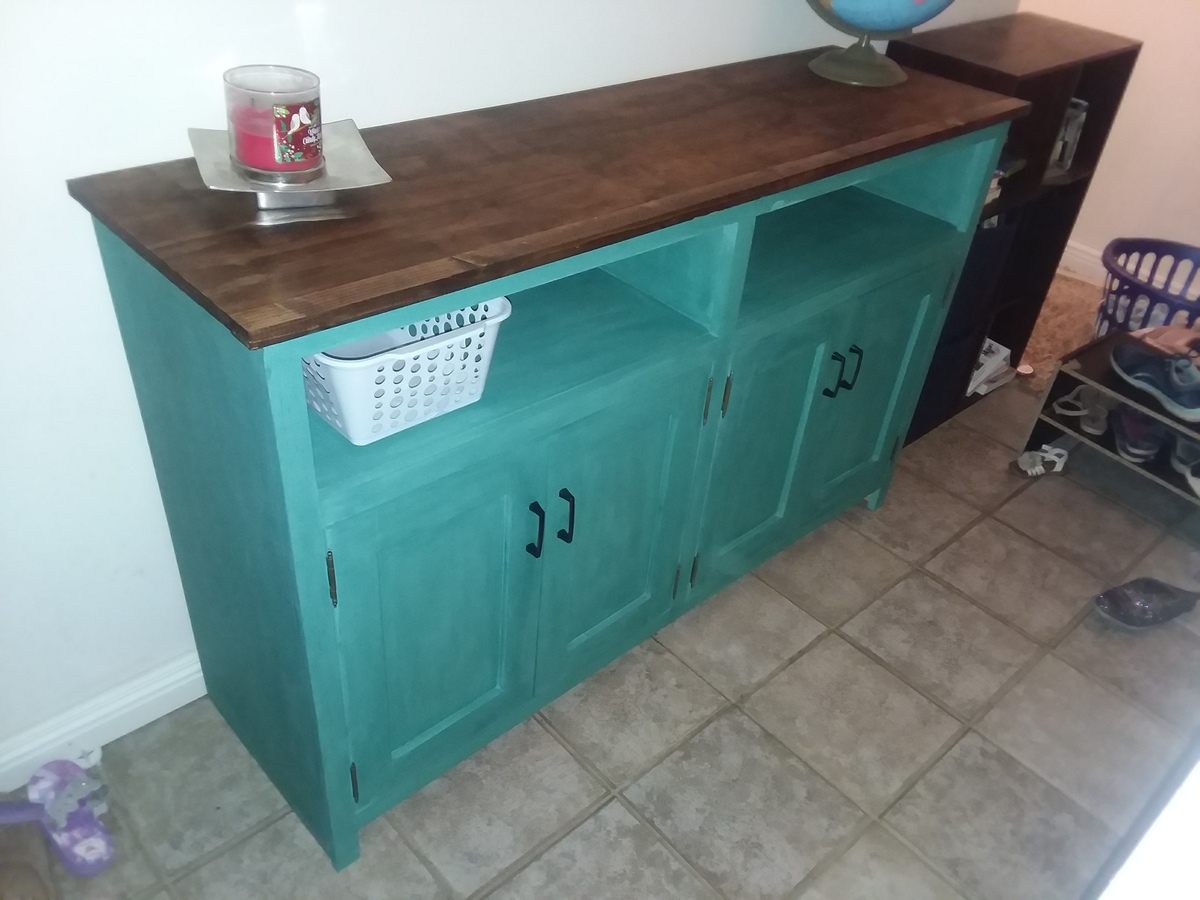
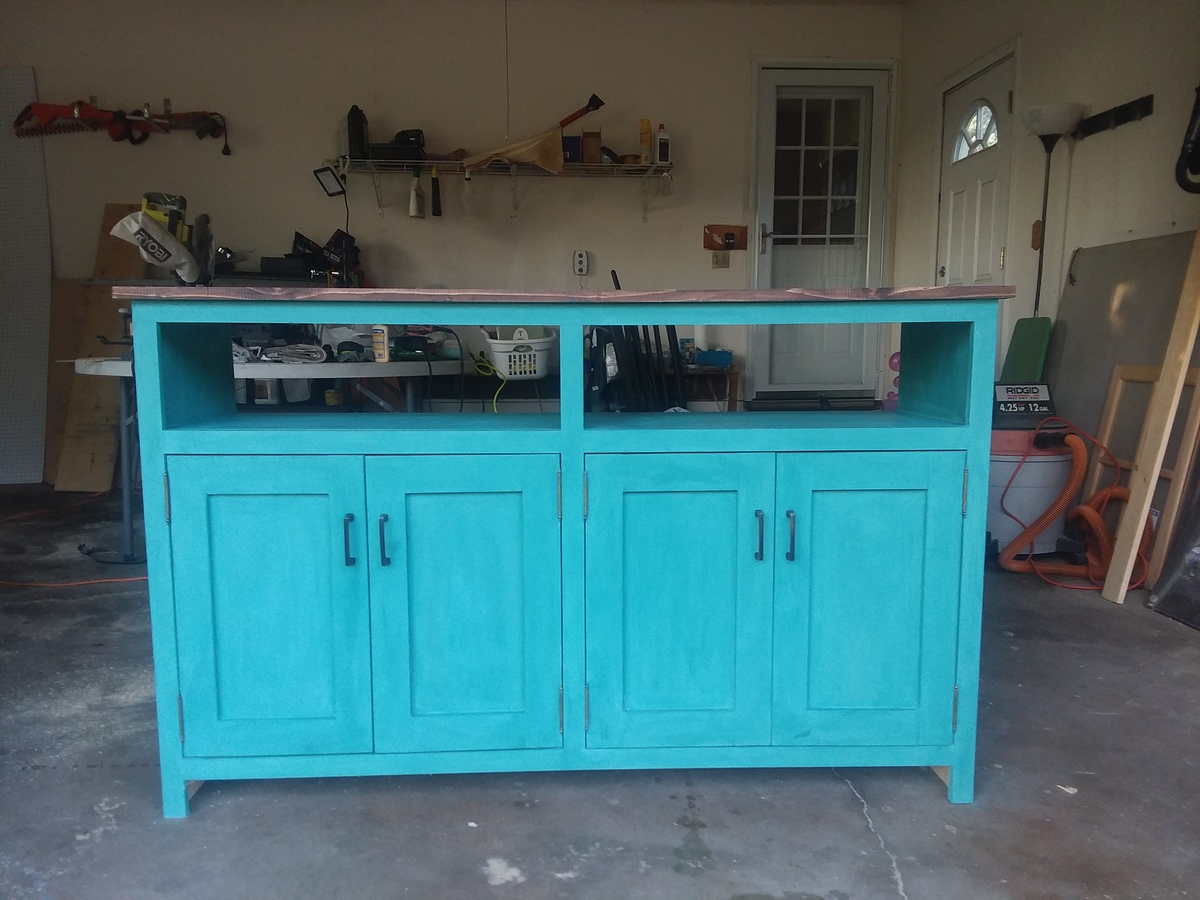

Entryway console without base pieces to more closely match my other furniture.


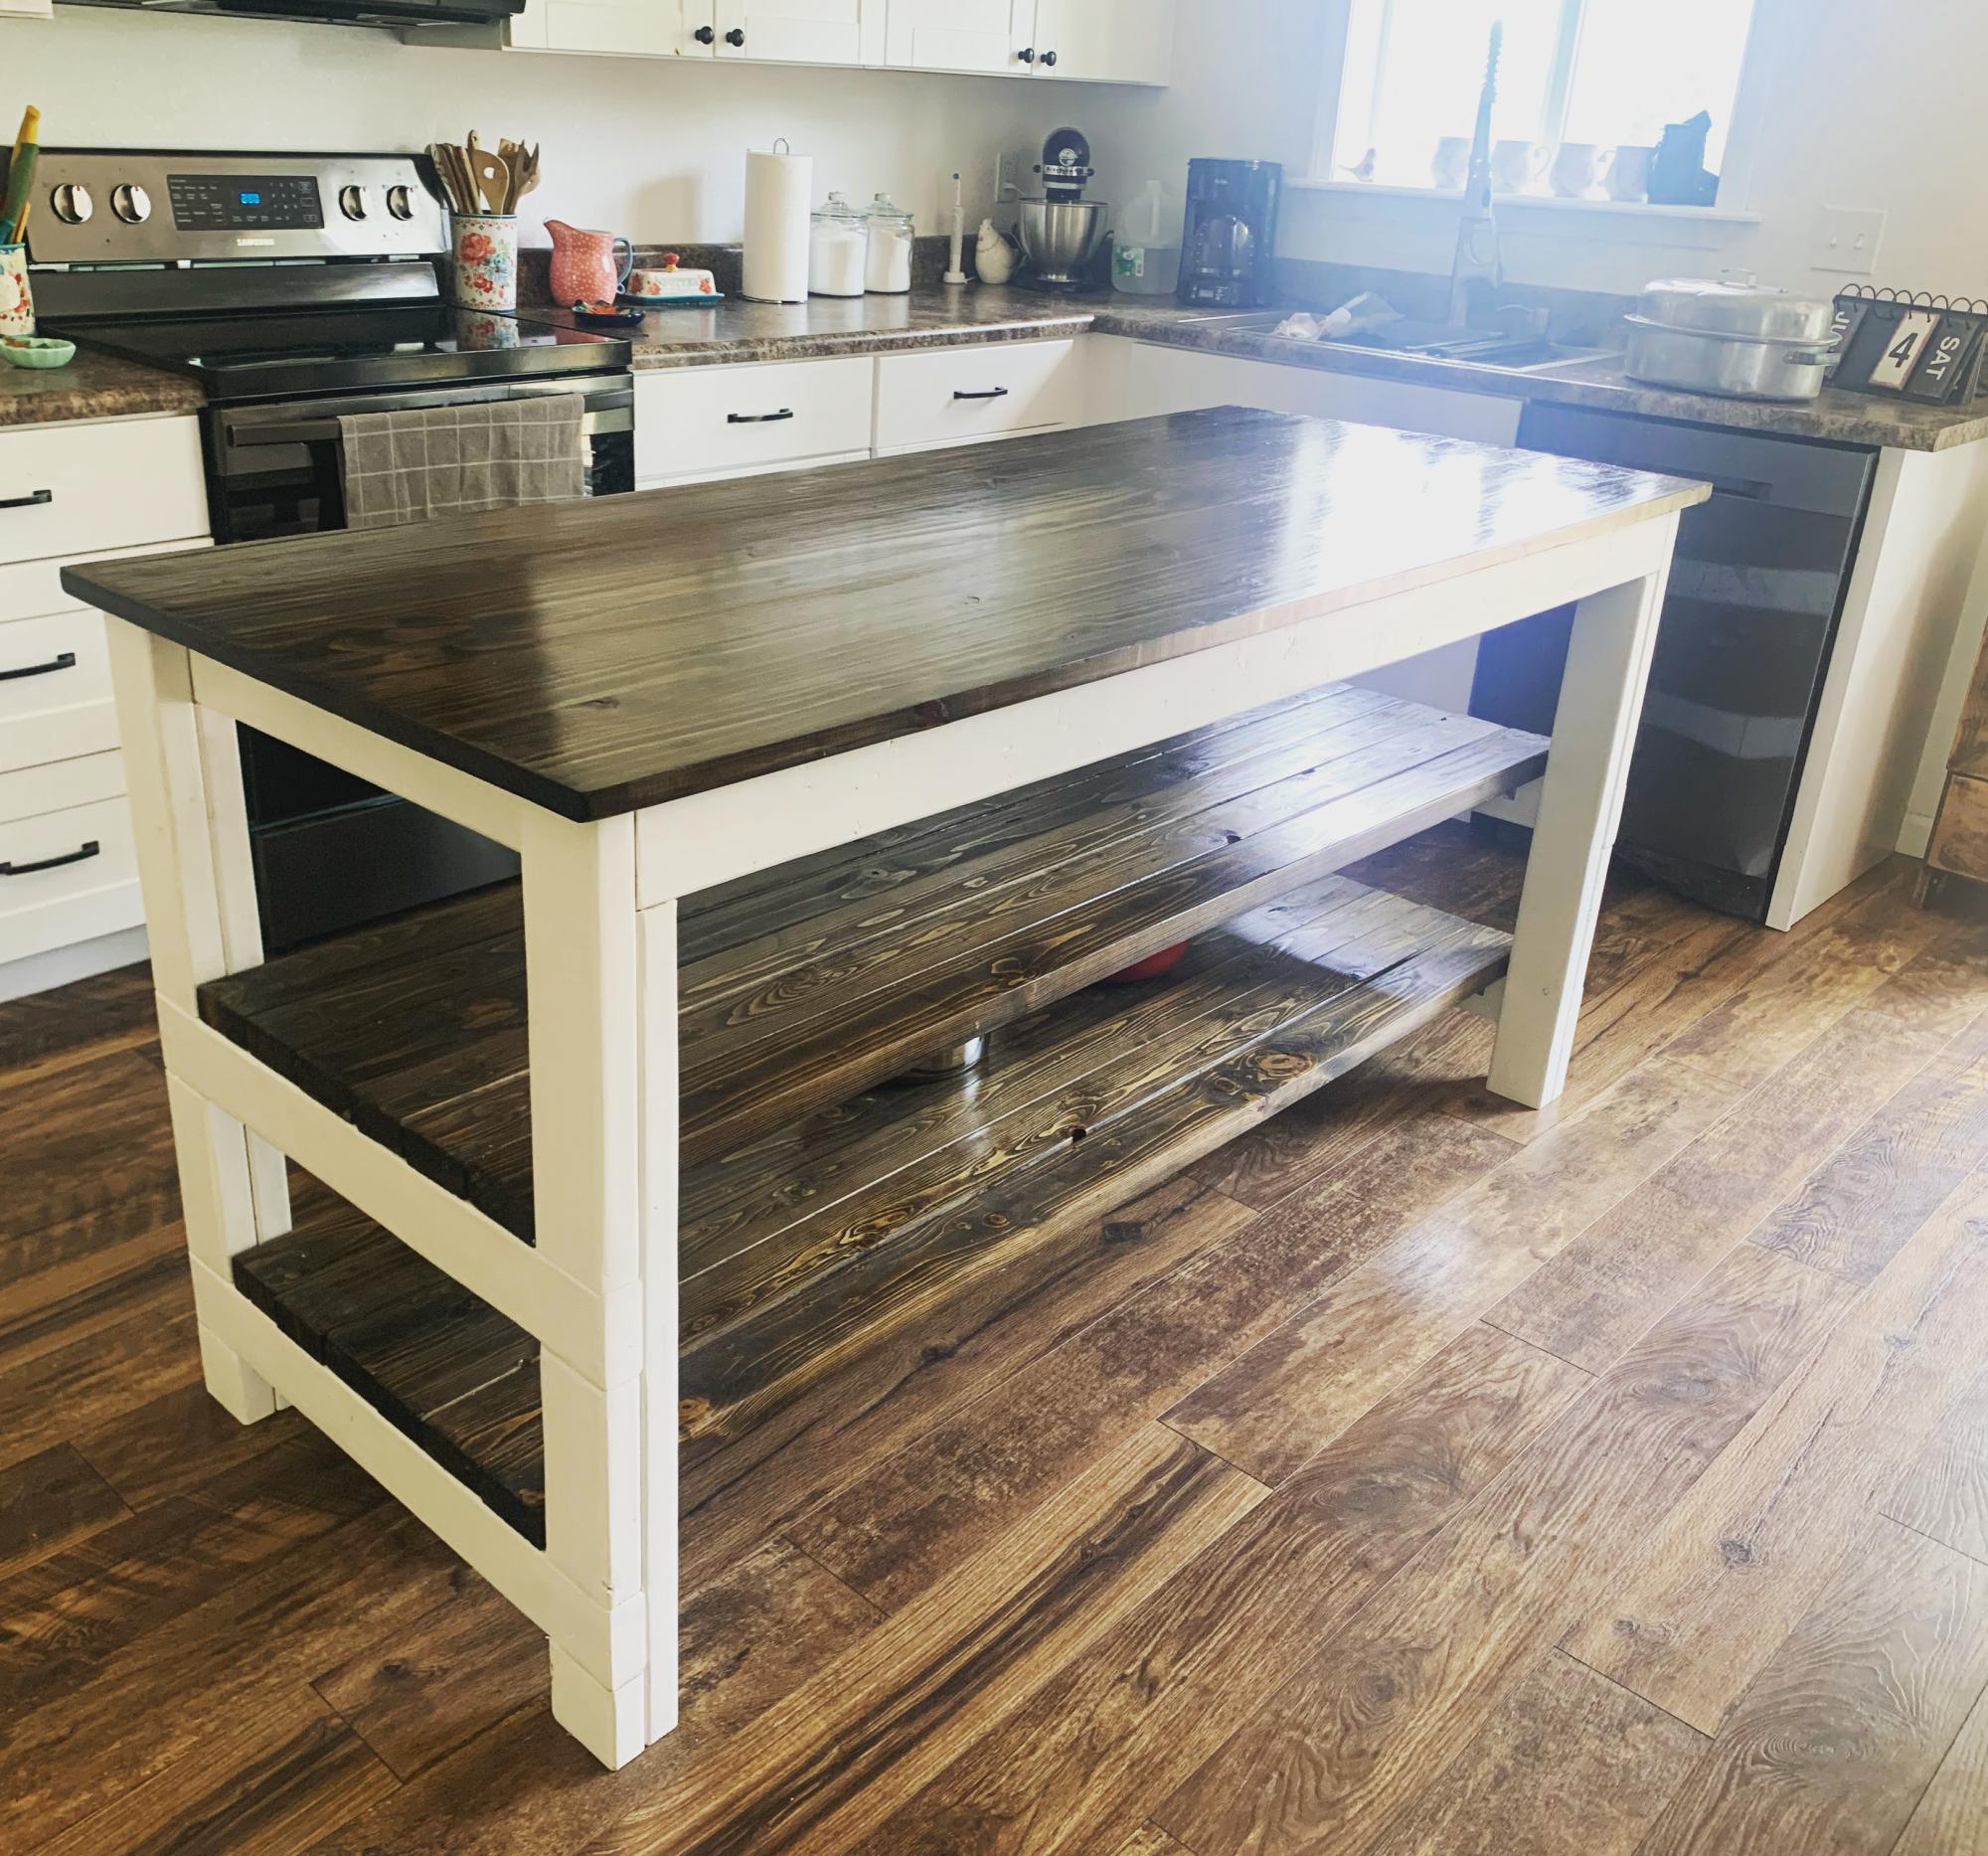
Love how this turned out! Thanks Ana!
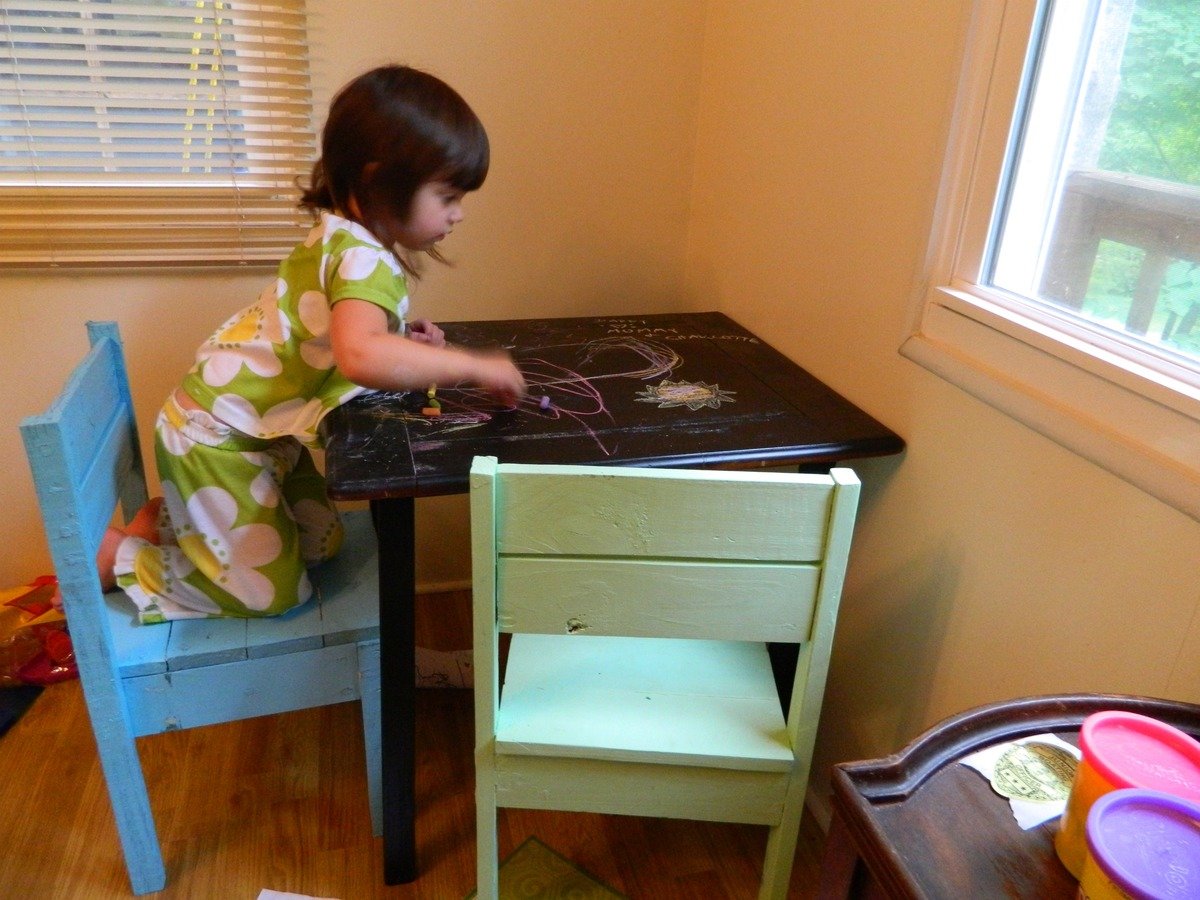
I already made the stack-able chairs for my daughter, but she was using an end table for an art table and her chairs would not fit under it. I took the old legs and frame off of the table and built the clara table frame. I kept the original table top. I then spray painted the legs black and for the top I used chalkboard spray paint which I found at Michaels. She now has a fun table that can be used for art projects and she can draw right on it. The before photo below shows the original table. I took the spindle legs, painted them different colors, and I will be using them for a bench to go with a new dining table I am building.
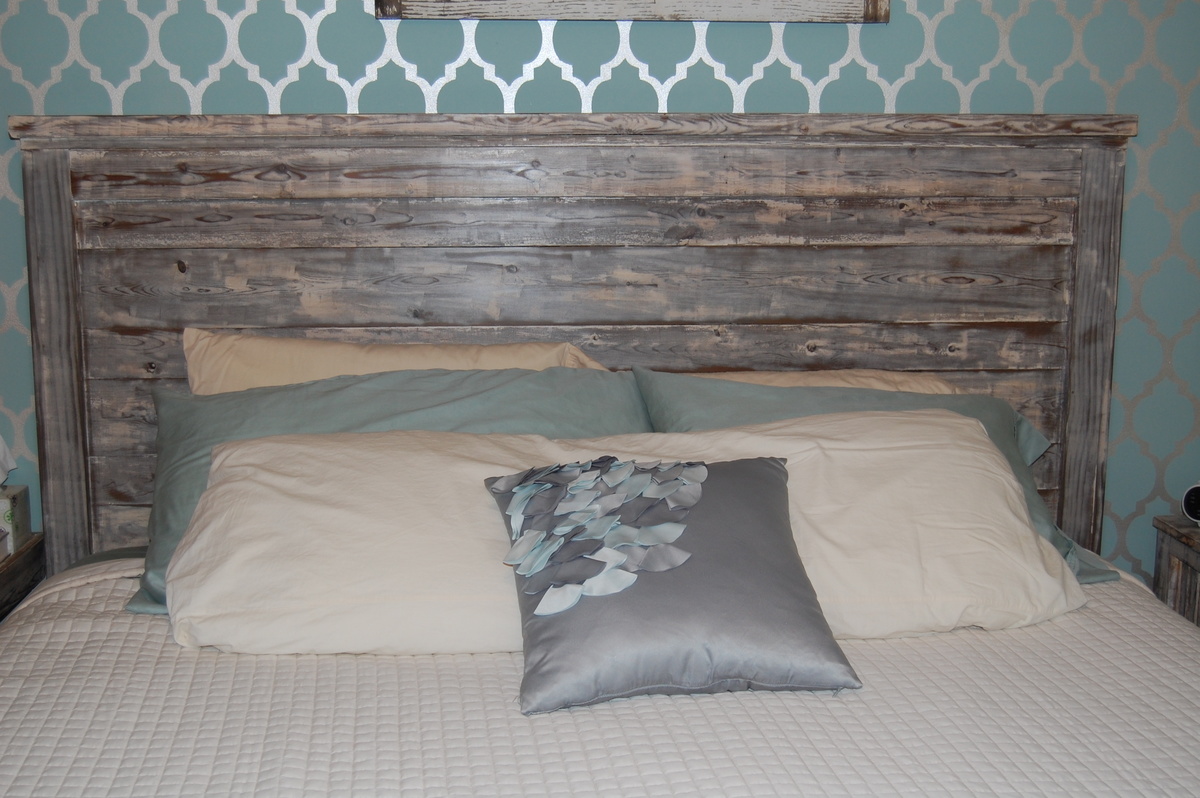
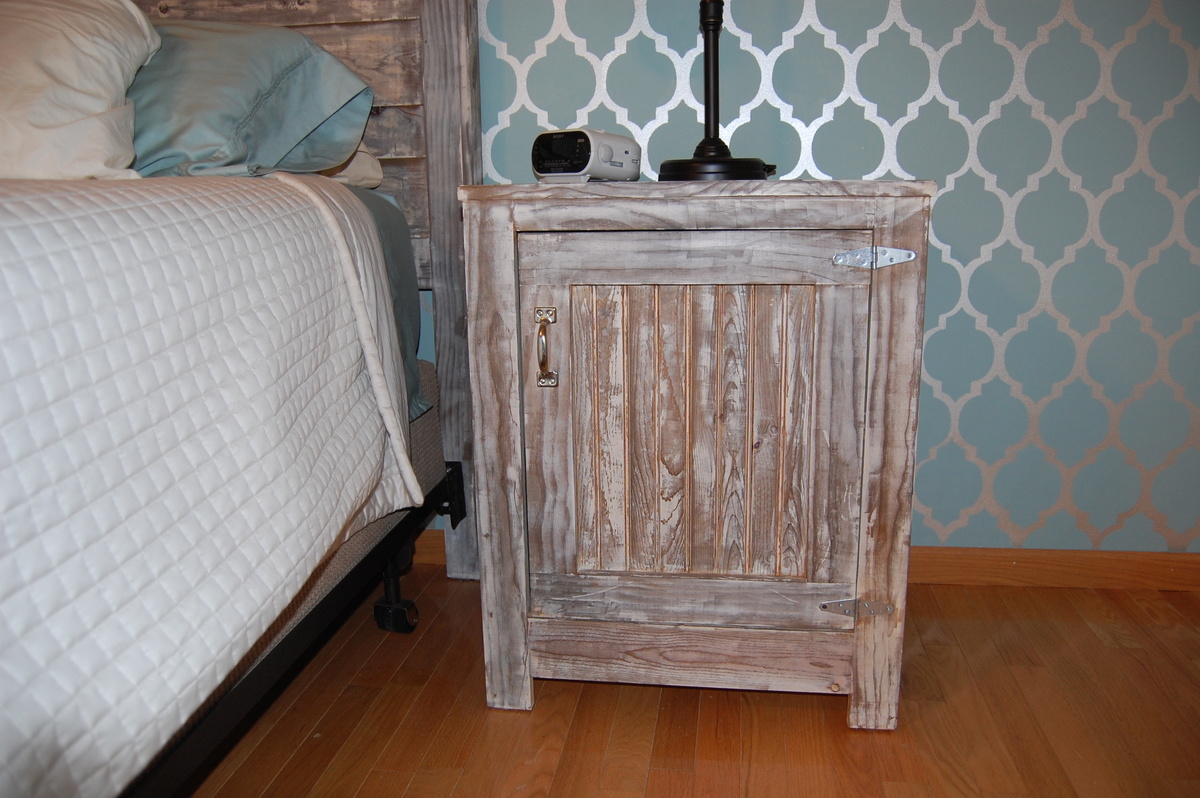
After living in the basement with our young children for the first few years after moving into our new home, we were ready to claim the master bedroom on the main level. We made it a winter project and re-did the whole room (good-bye lavender walls). We made the headboard from Ana's "Reclaimed Headboard" plans and one of the night stands from the "Kentwood Nightstand" plans! We love the final look and saved ourselves a TON of cash in the process.
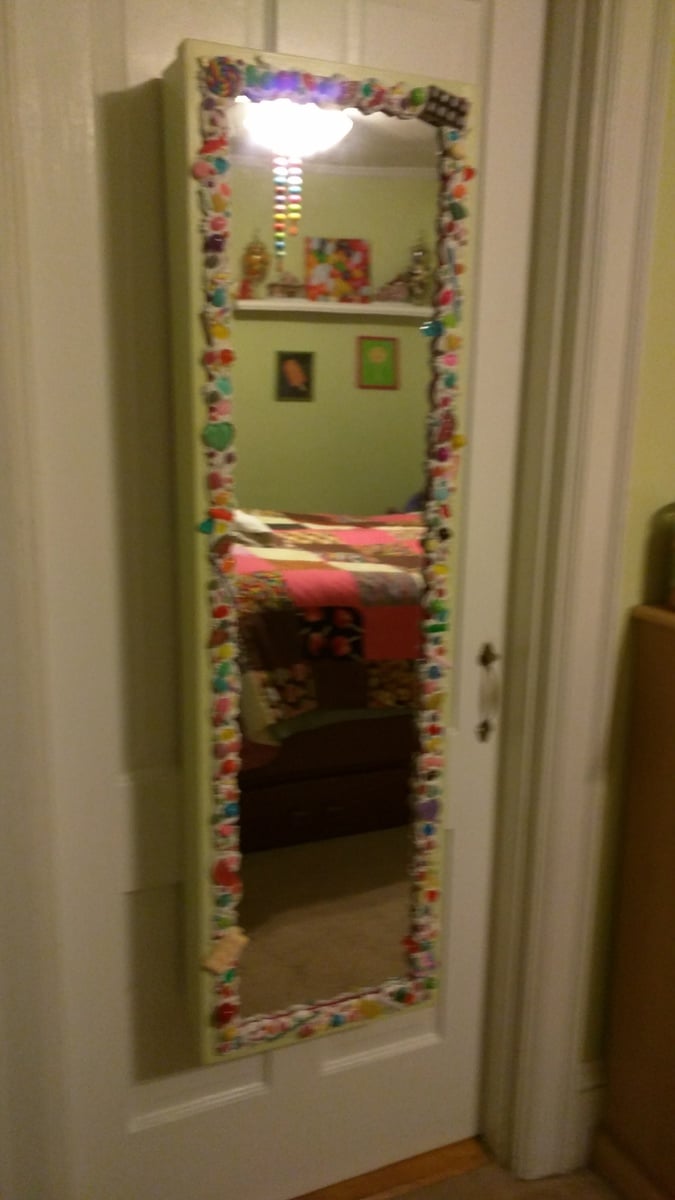
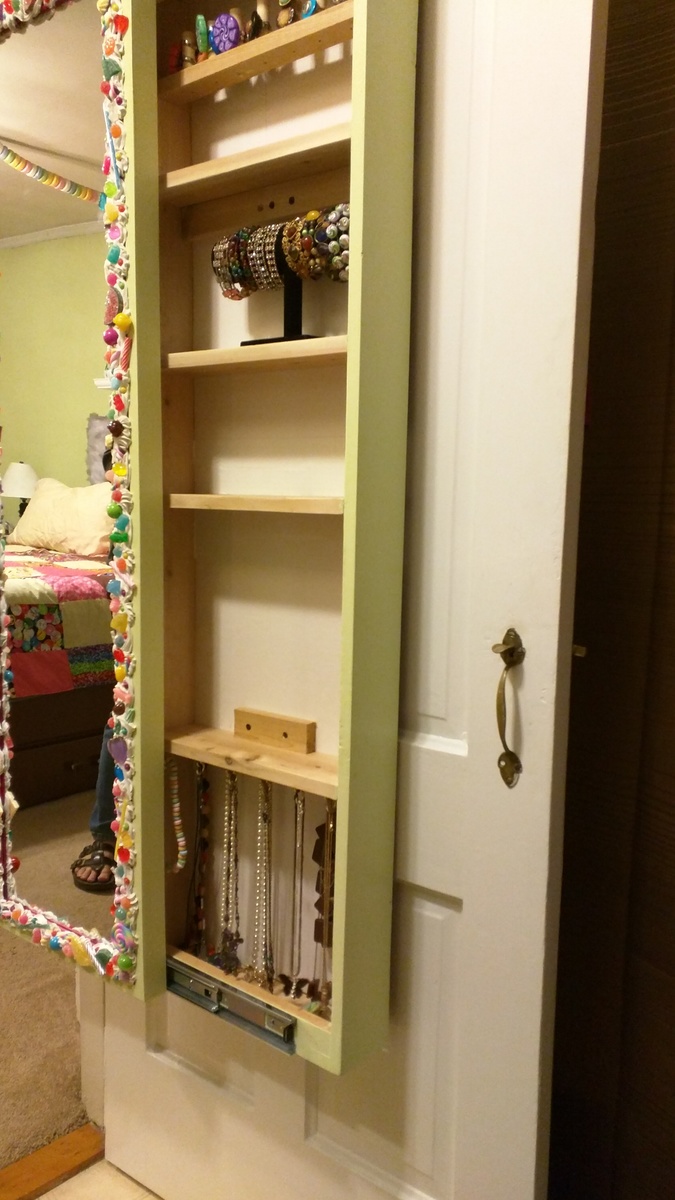
Hi Anna, I really had fun making our version of your sliding mirror project! Thought you might enjoy the photos! I made it into a jewelry cabinet.
Sun, 09/17/2017 - 20:48
How did you attach rails? I still cannot figure out the best way to do it...
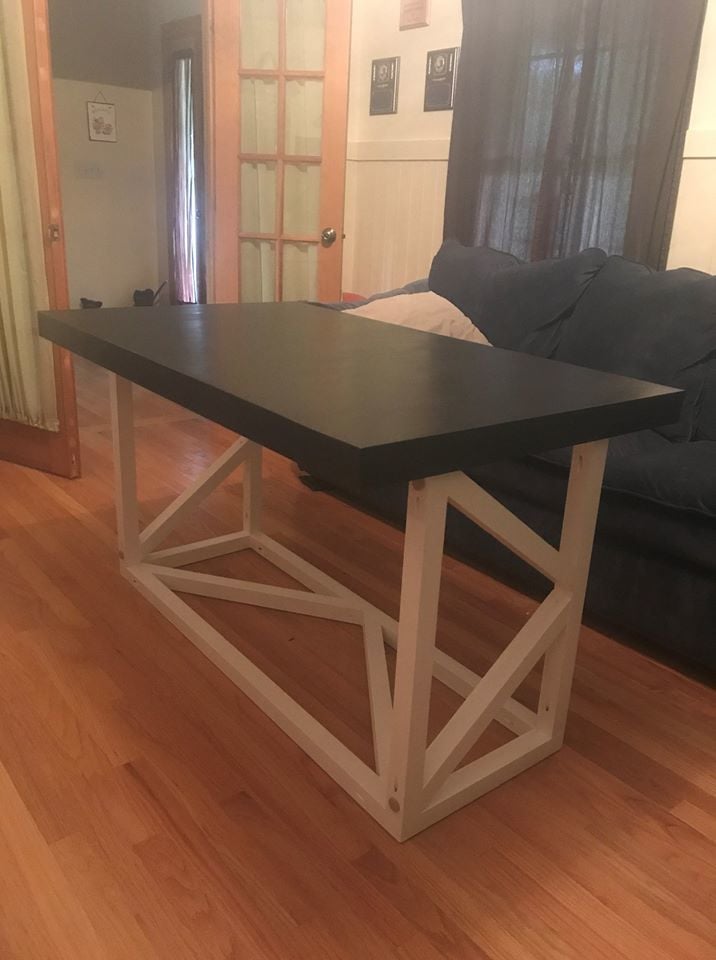
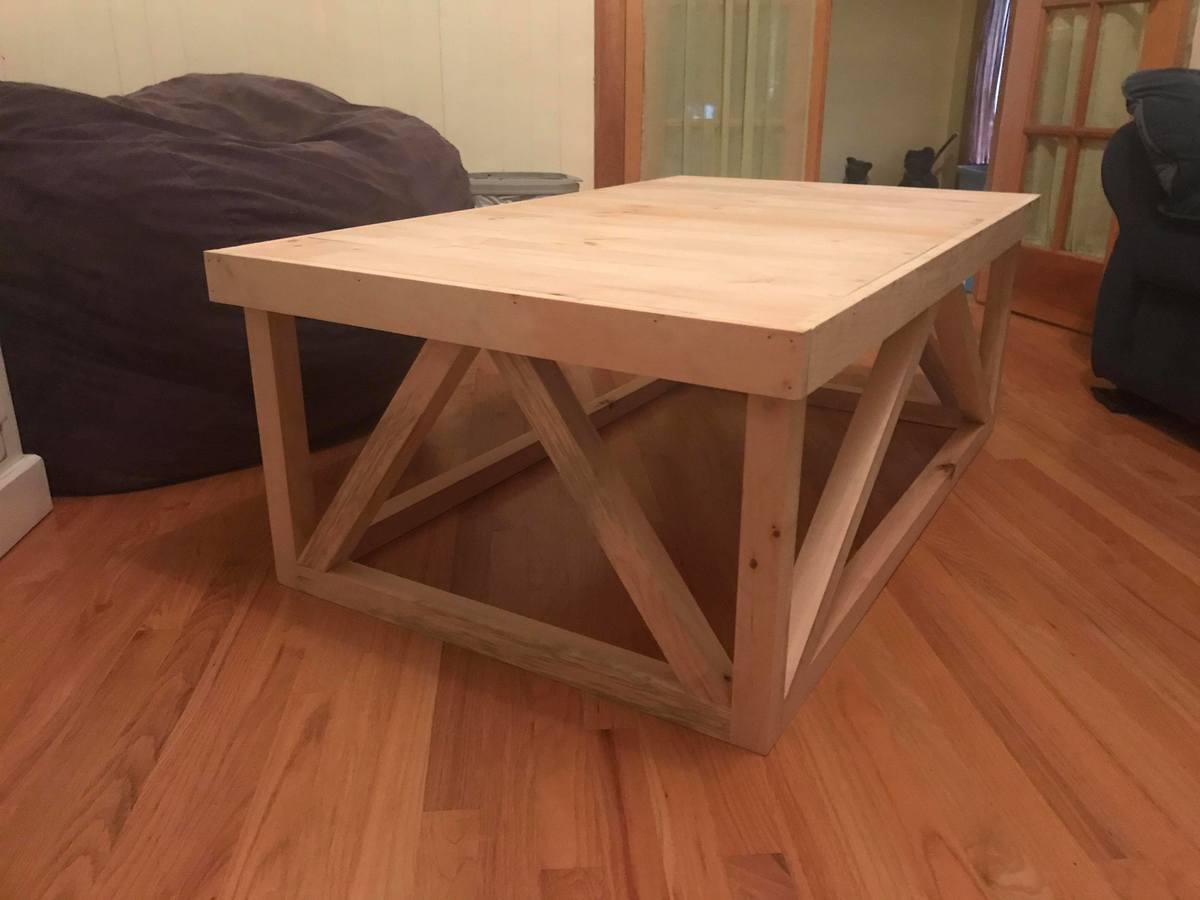
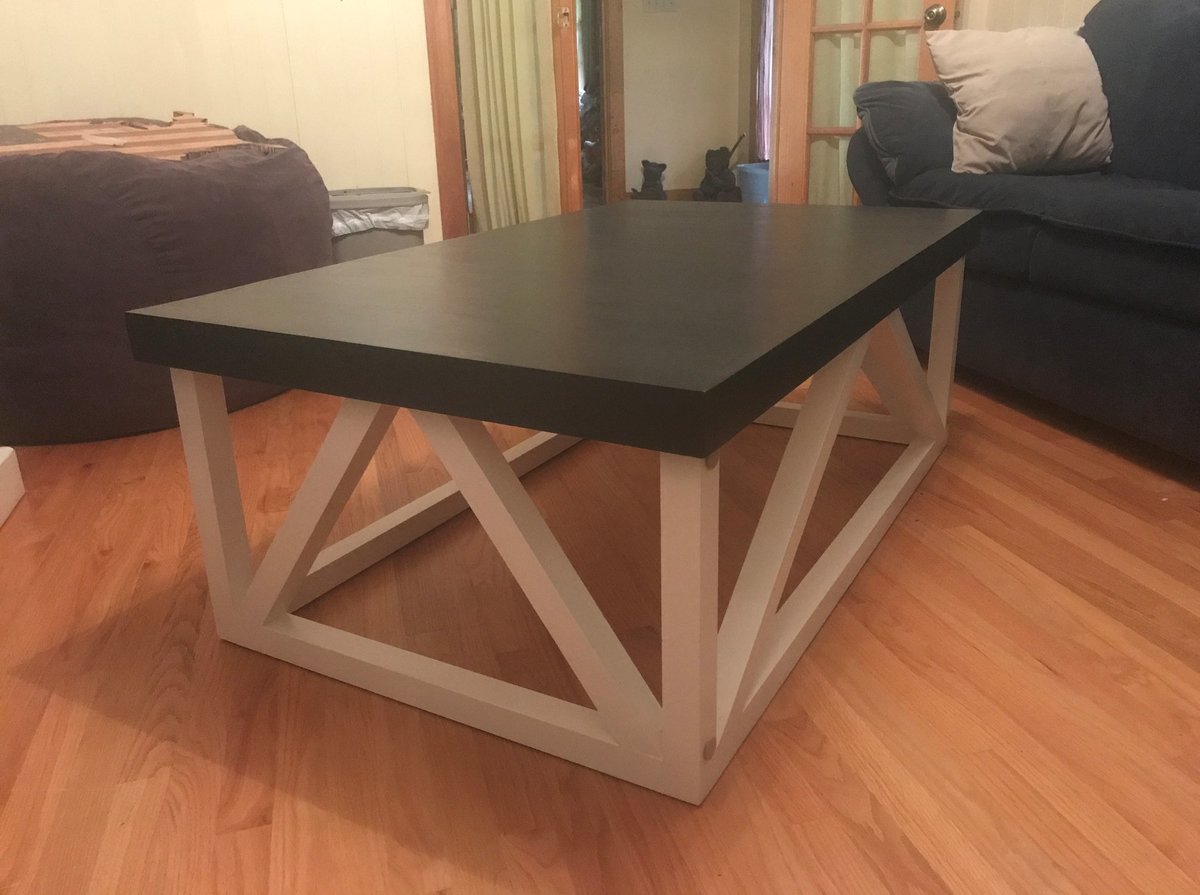
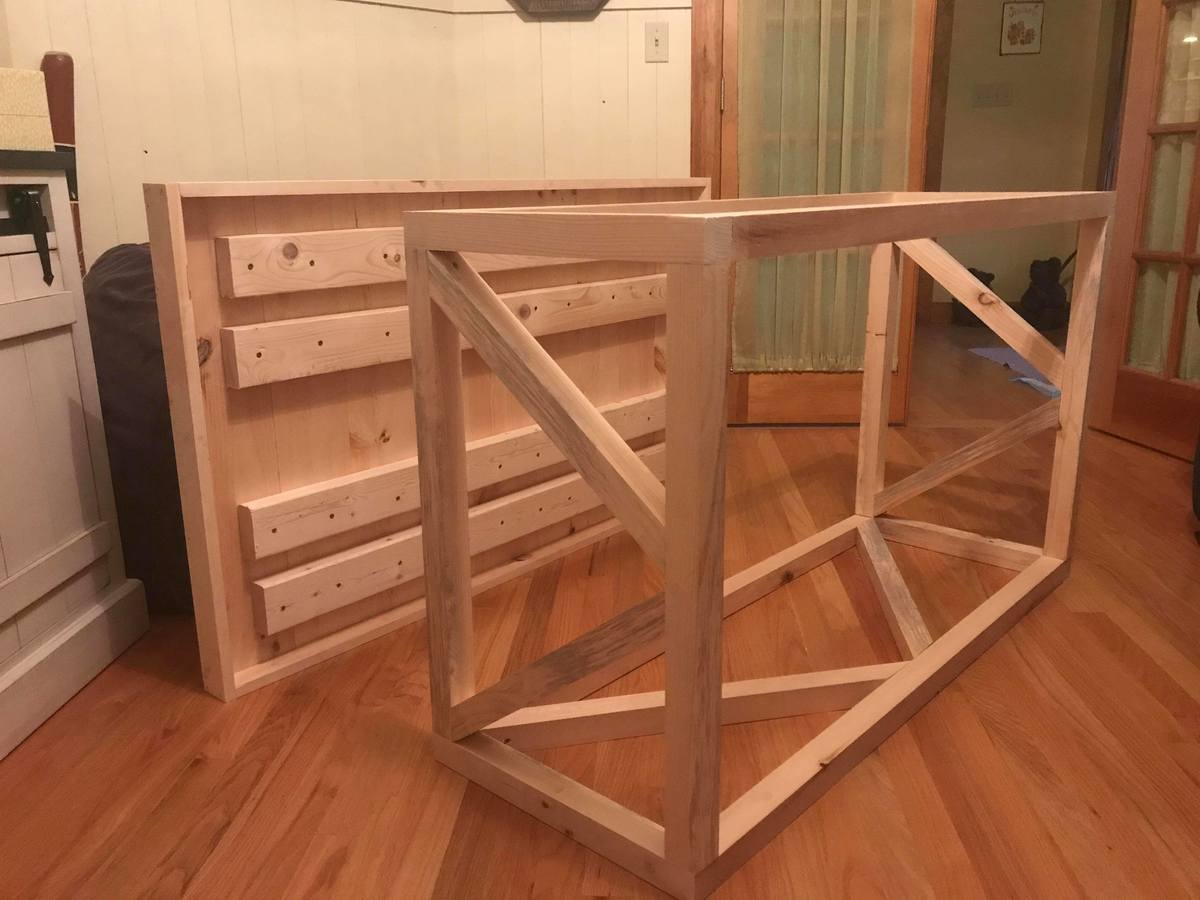
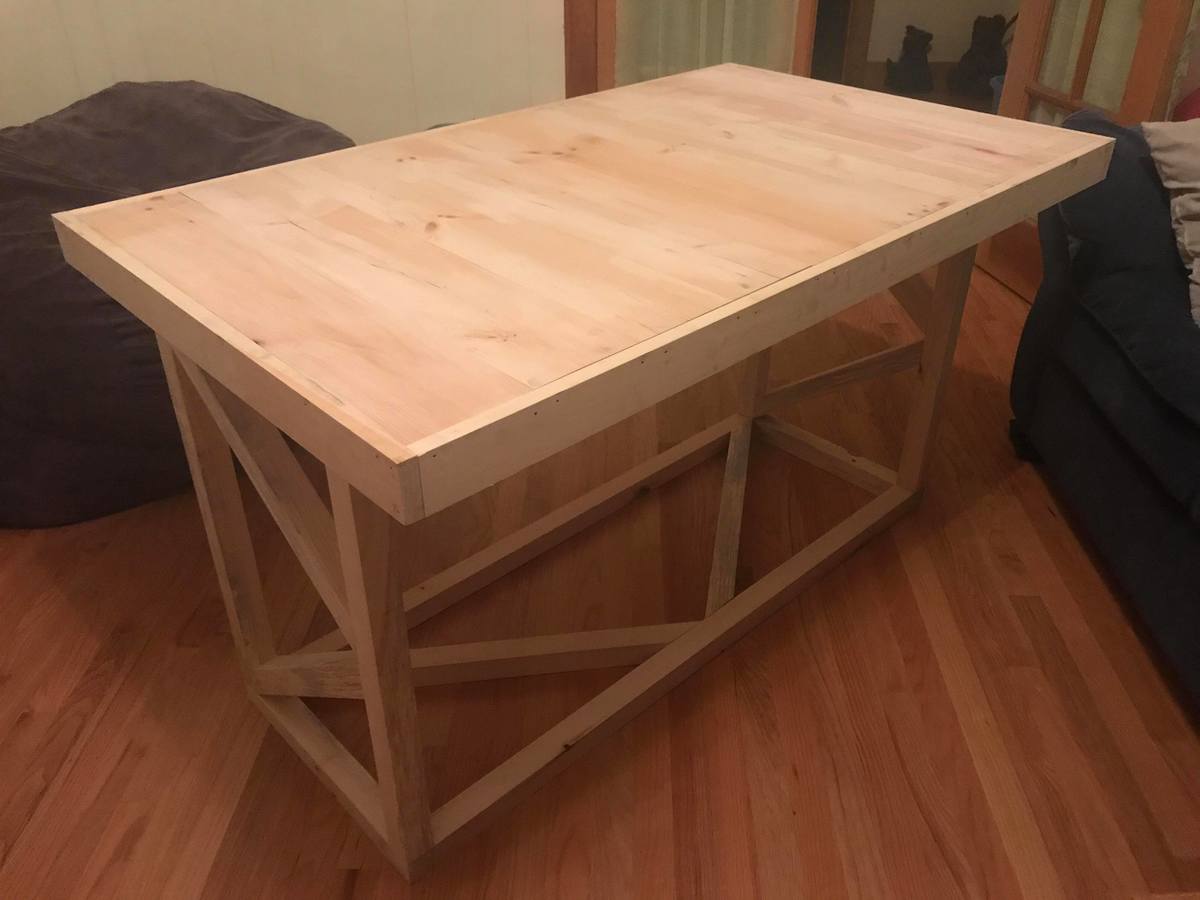
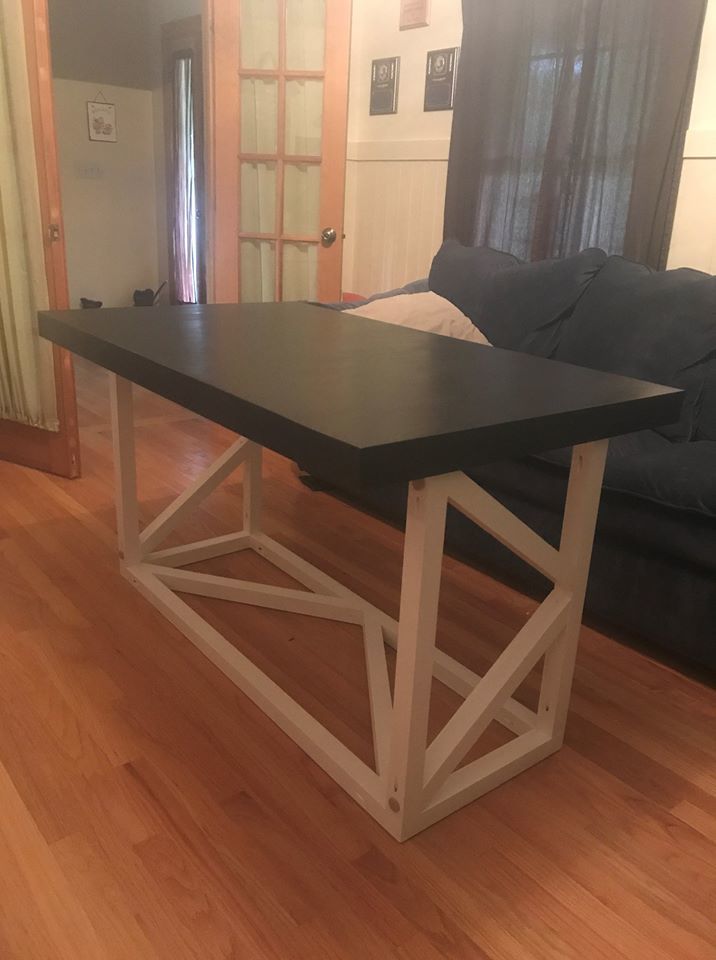
My wife was interested in a coffee table that we could also use for playing games or company for meals, and naturally we found just the thing on Ana White's website. I got some 2x2 pine from a lumberyard after not being happy with box store lumber. The table top is made of pine glued together. I decided to put the 2x4s underneath which gave some heft to the top so it does not wobble. It fits tighter than I would want, so lesson learned for me I should have paid more attention there. Since we wanted to paint the piece I went with the pine top. If it were going to be displayed somewhere else in the house, or stained, I would have chosen a harder wood for the top. The nice part of this plan, I could easily build another nicer top to go with the base if I wanted too.
Sun, 10/14/2018 - 15:15
Thanks Ana! What a great surprise hearing from you directly. I appreciate it. :-)
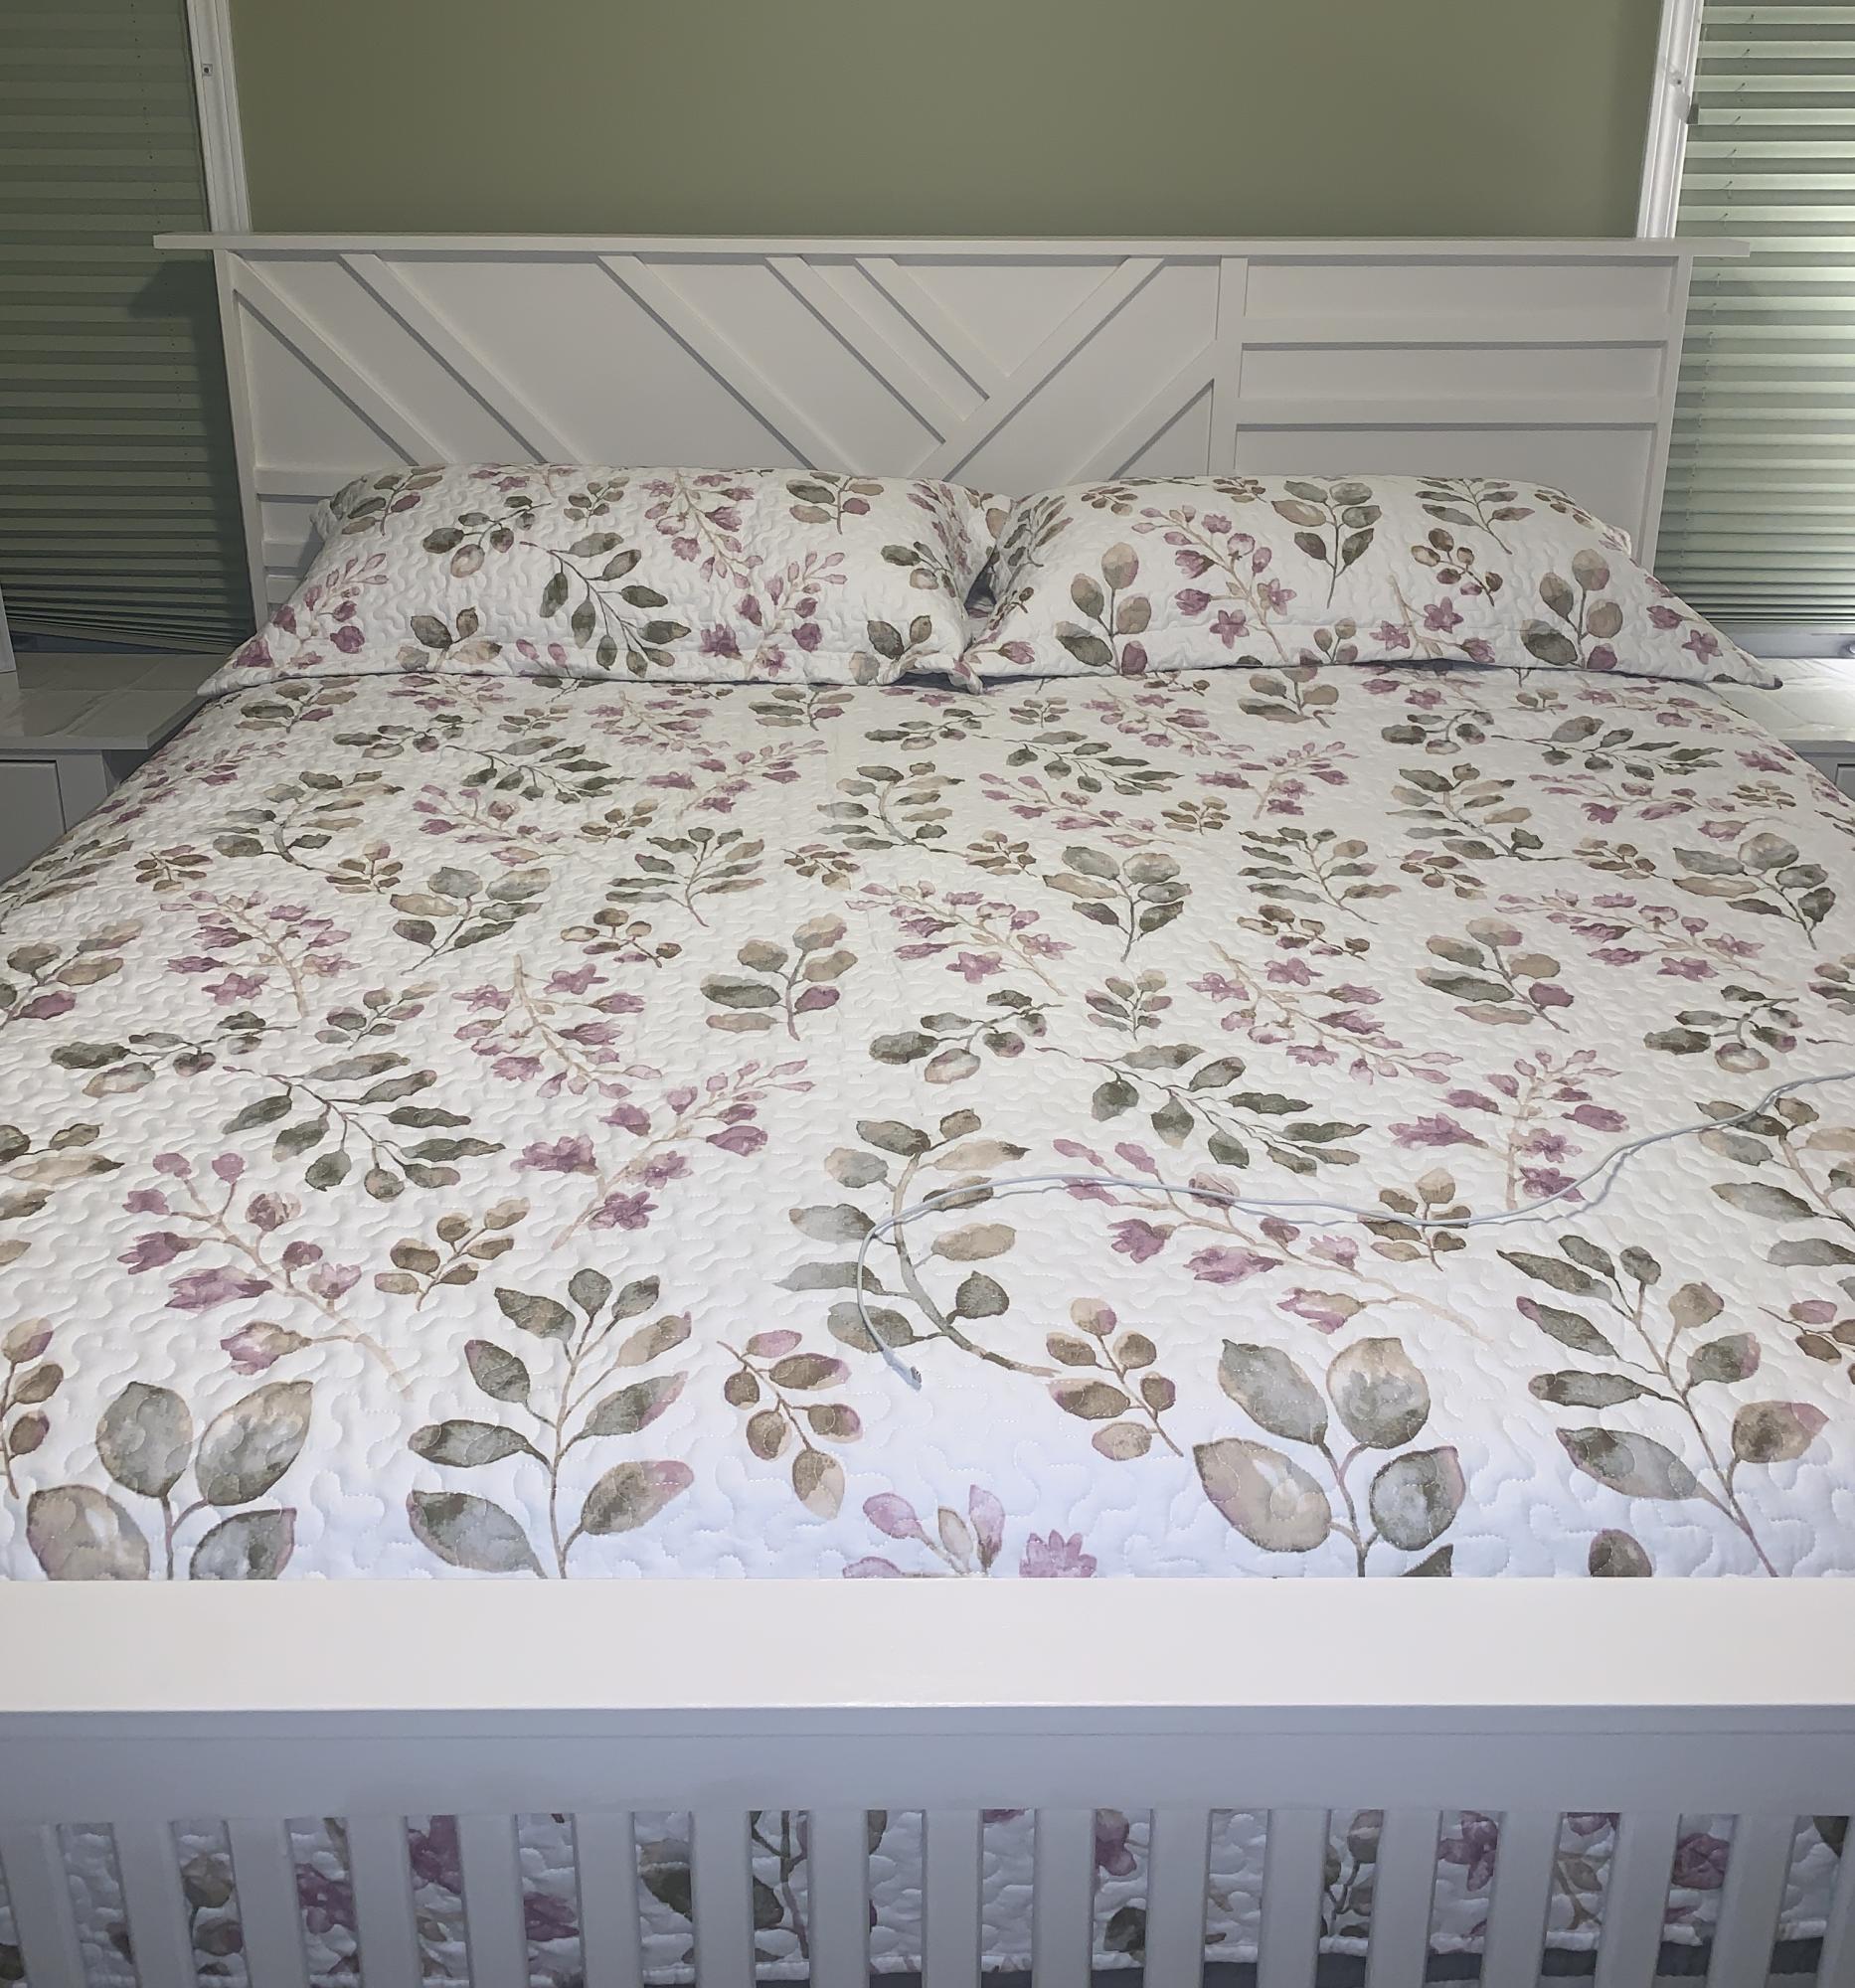
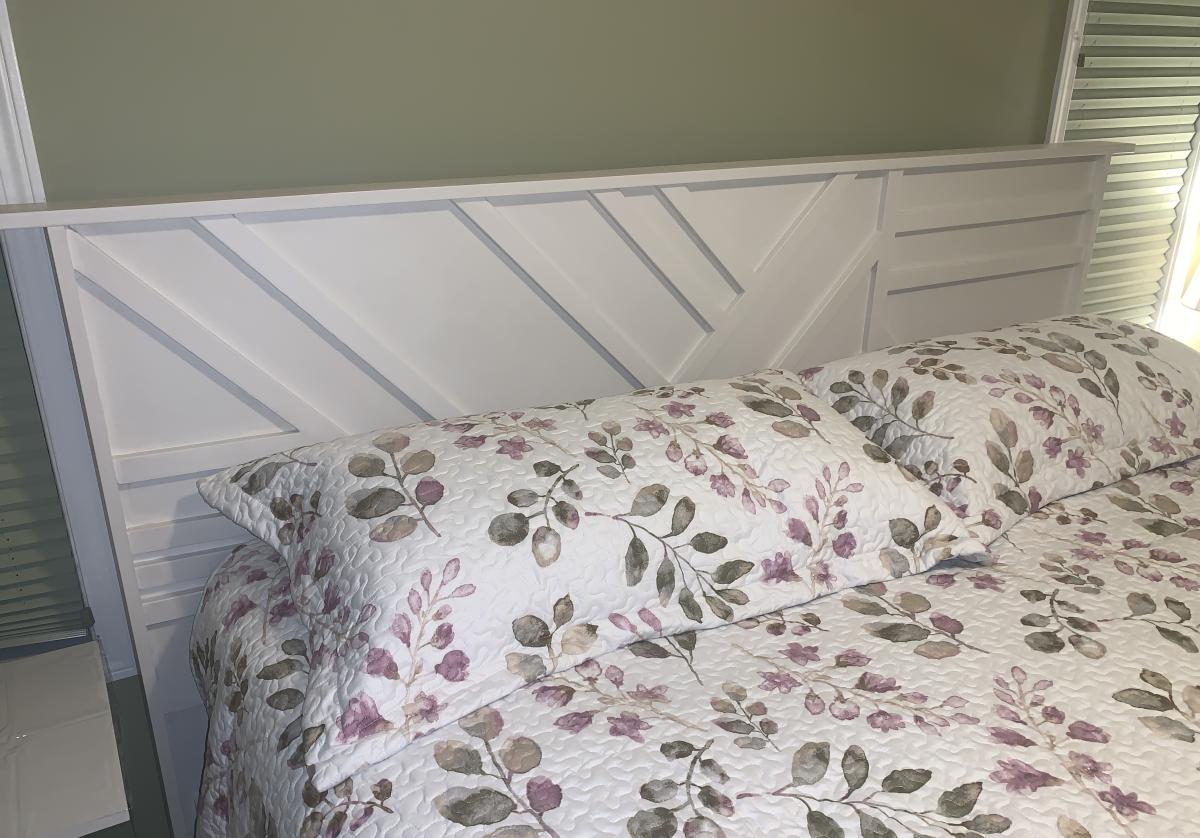
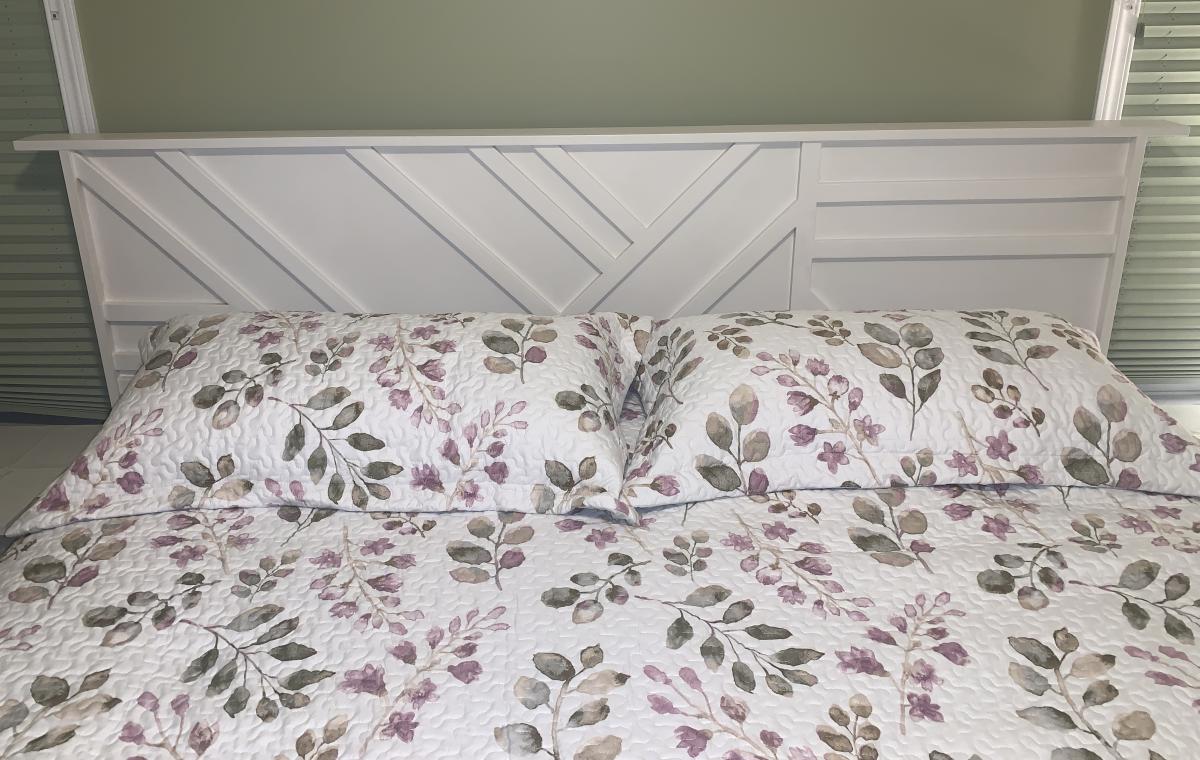
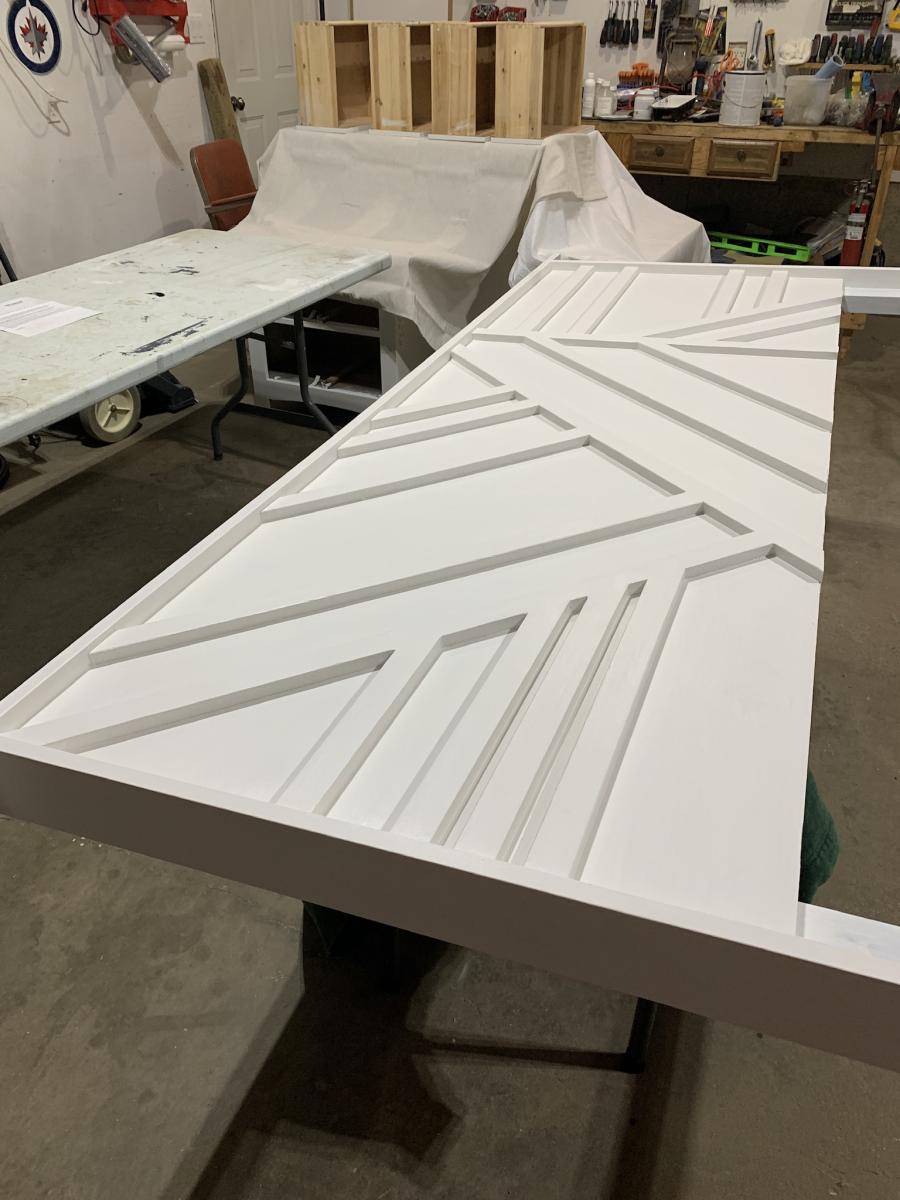
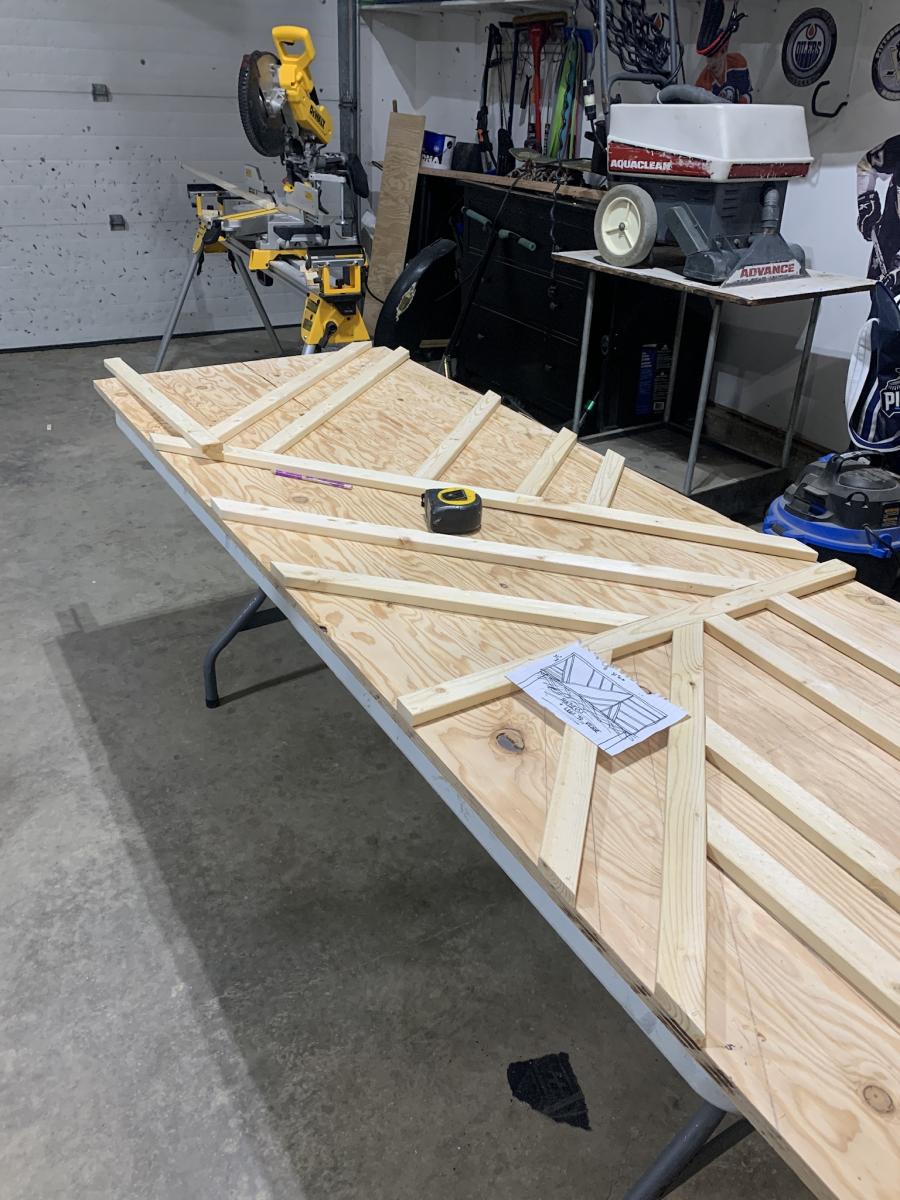
I followed the instructions for the Modern Geo Headboard but adjusted them to fit my bed frame because I don’t have a platform bed. I’ve refurbished pieces before but this is the first one I have actually built from scratch. It’s certainly not perfect but I’m so happy with how it turned out. Lots of satisfaction in knowing I built this and it cost a fraction of the similar one I wanted to buy in store. Thank you for the inspiration.
-Teena
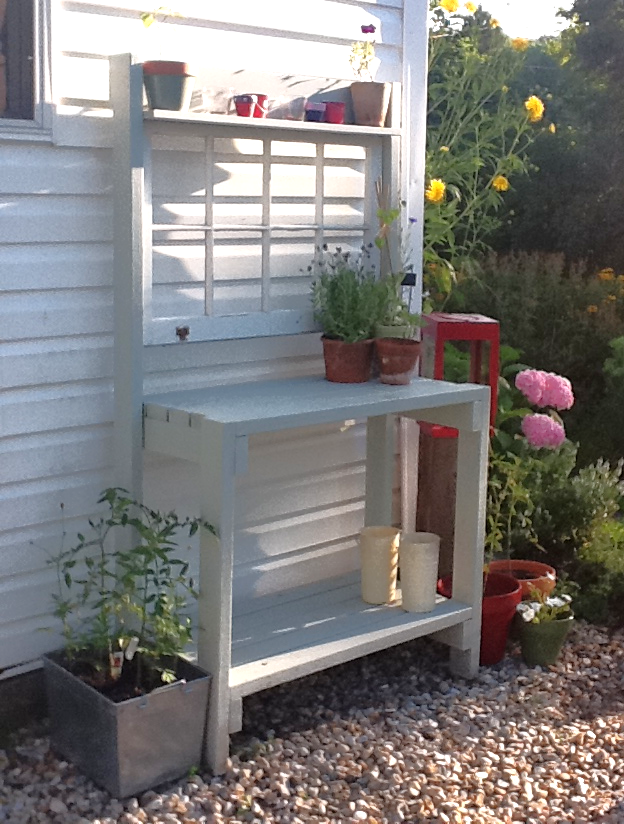
This was our first build project! We spent the most amount of time picking the color than we did on the actual assembly. We extended the back 2 legs 36 inches to accommodate the window frame and shelf.
Mon, 07/25/2011 - 09:02
This is beautiful! I have a garage full of these windows and I have been trying to figure out things to do with them before my husband decides to throw them out.
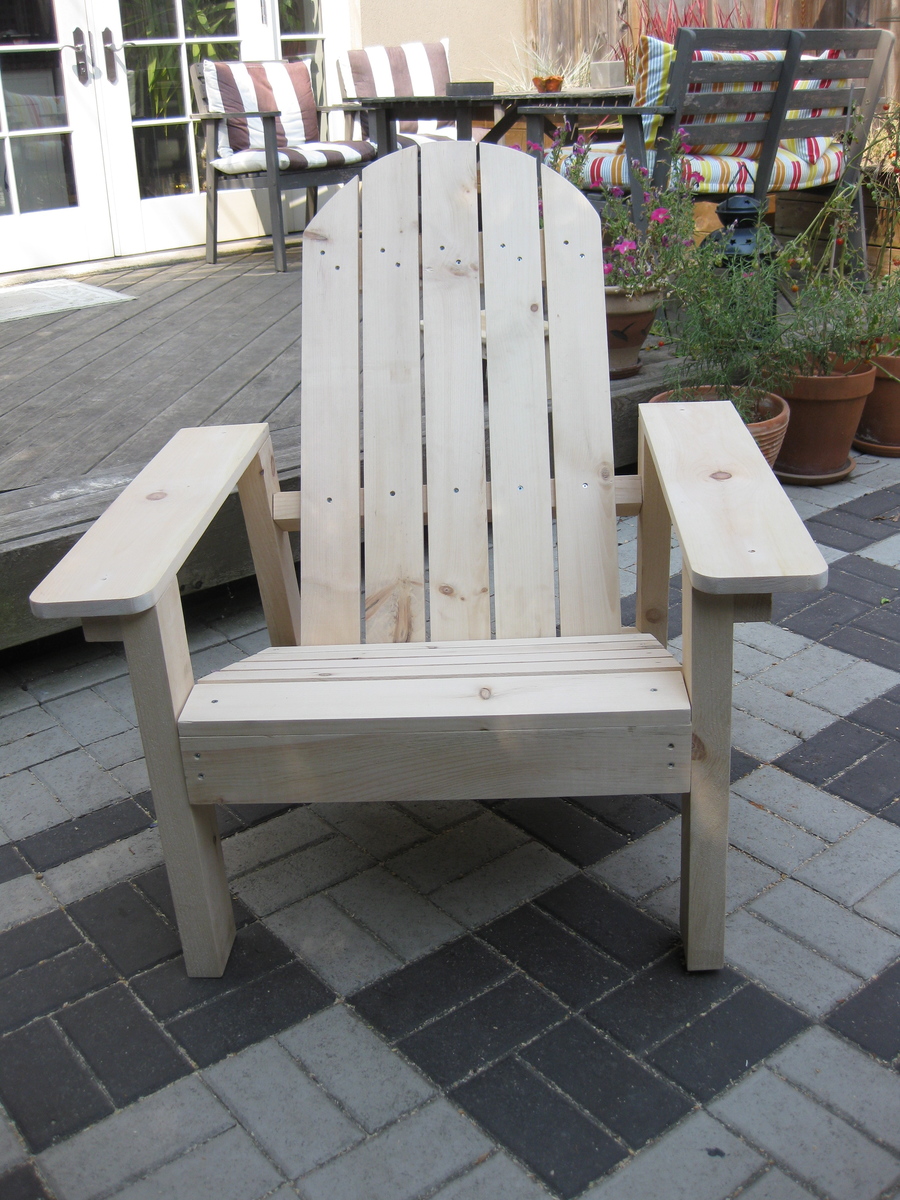
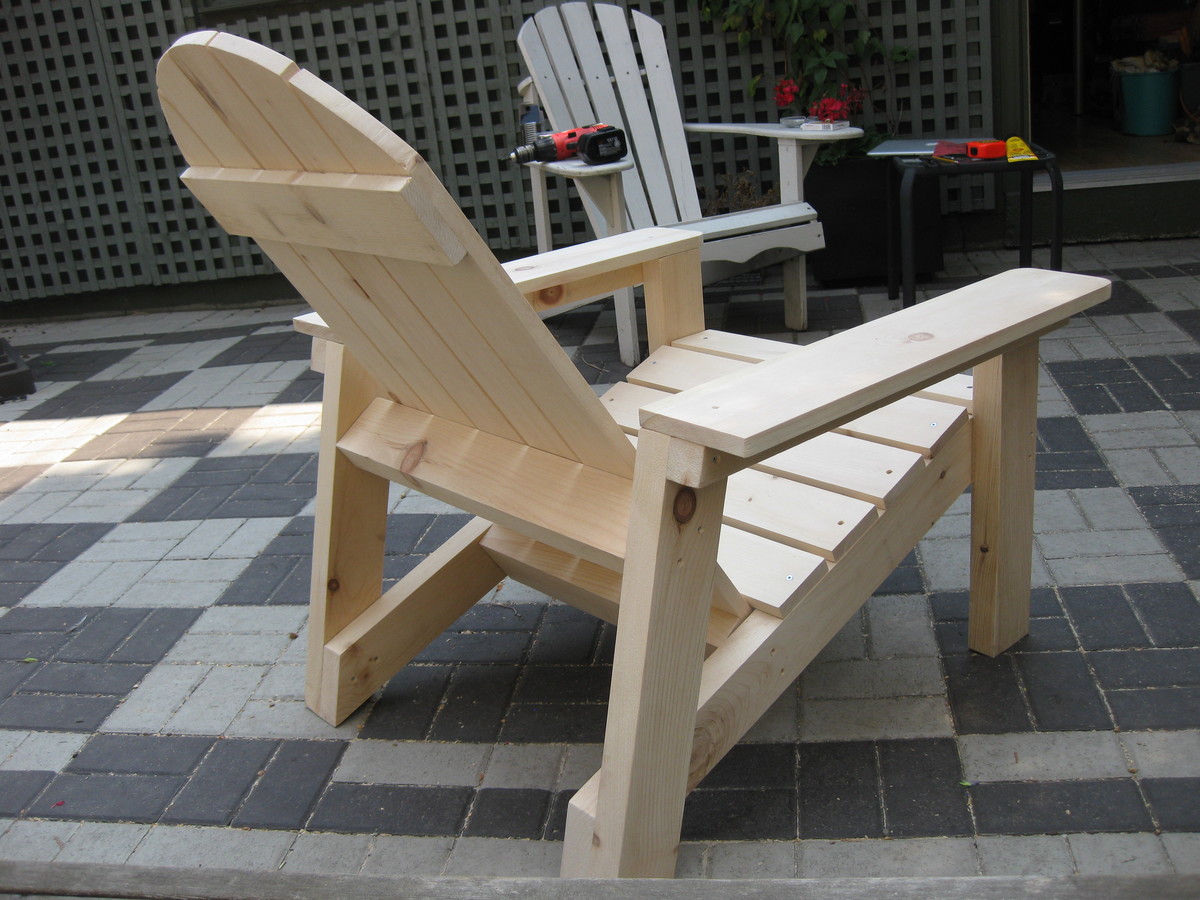
This Adirondack chair was done in pine. I followed Ana's plan, with only one modification ... went with a wider armrest. I thought the wider armrest would be handy for resting a drink.
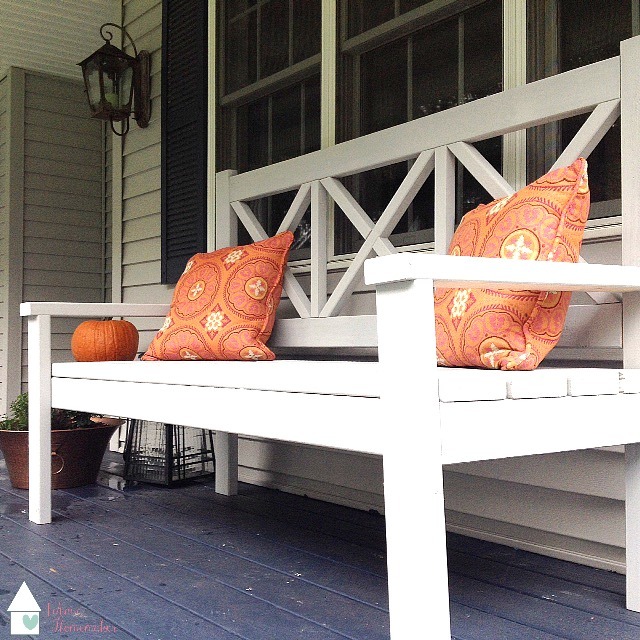
This was my first Ana White project and I can't wait to start another. I love the bench and it was easy to follow the plans. You can find the entire story of this build on my website.
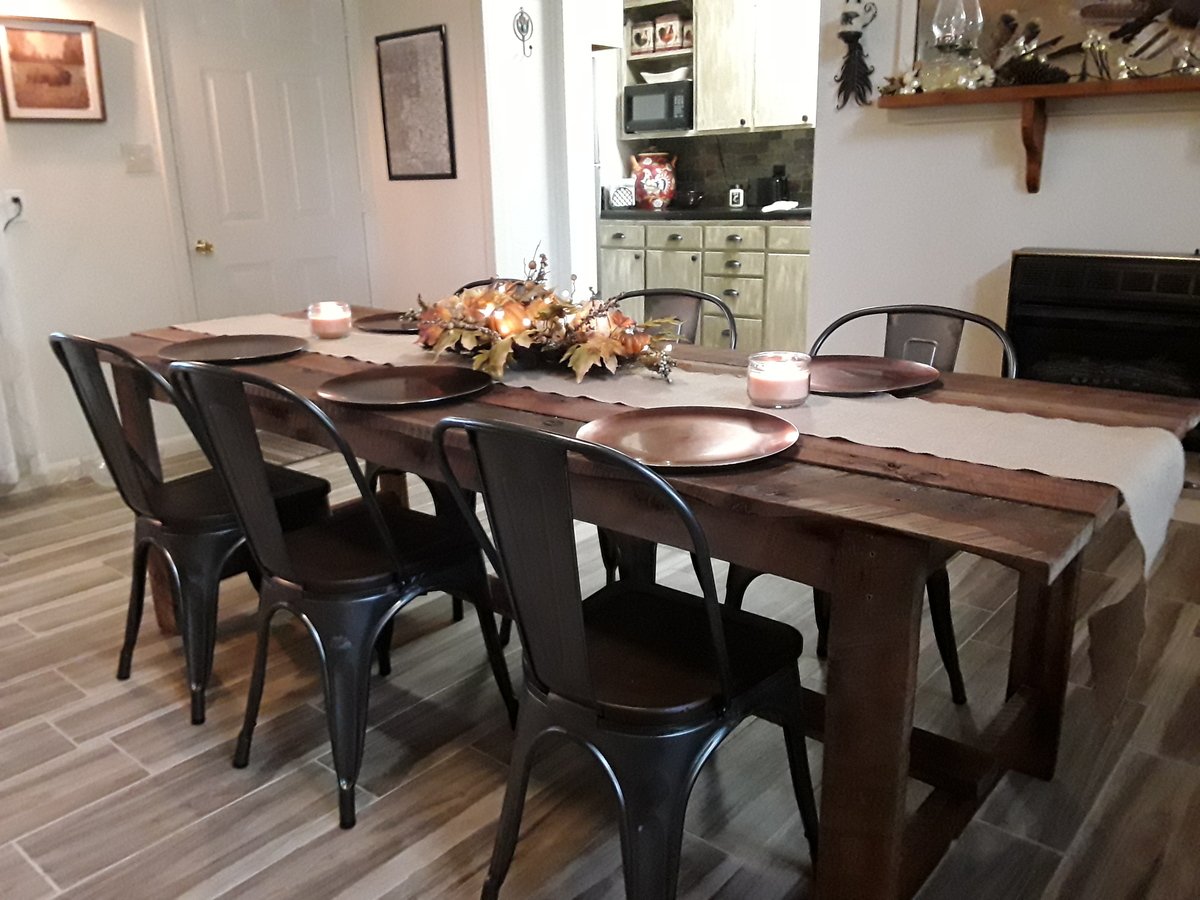
I made the table from rough-cut cedar that was harvested on my father's land. All I spent was $16 on Danish oil and $5 on sand paper but its priceless to me. Thanks Ana!!!
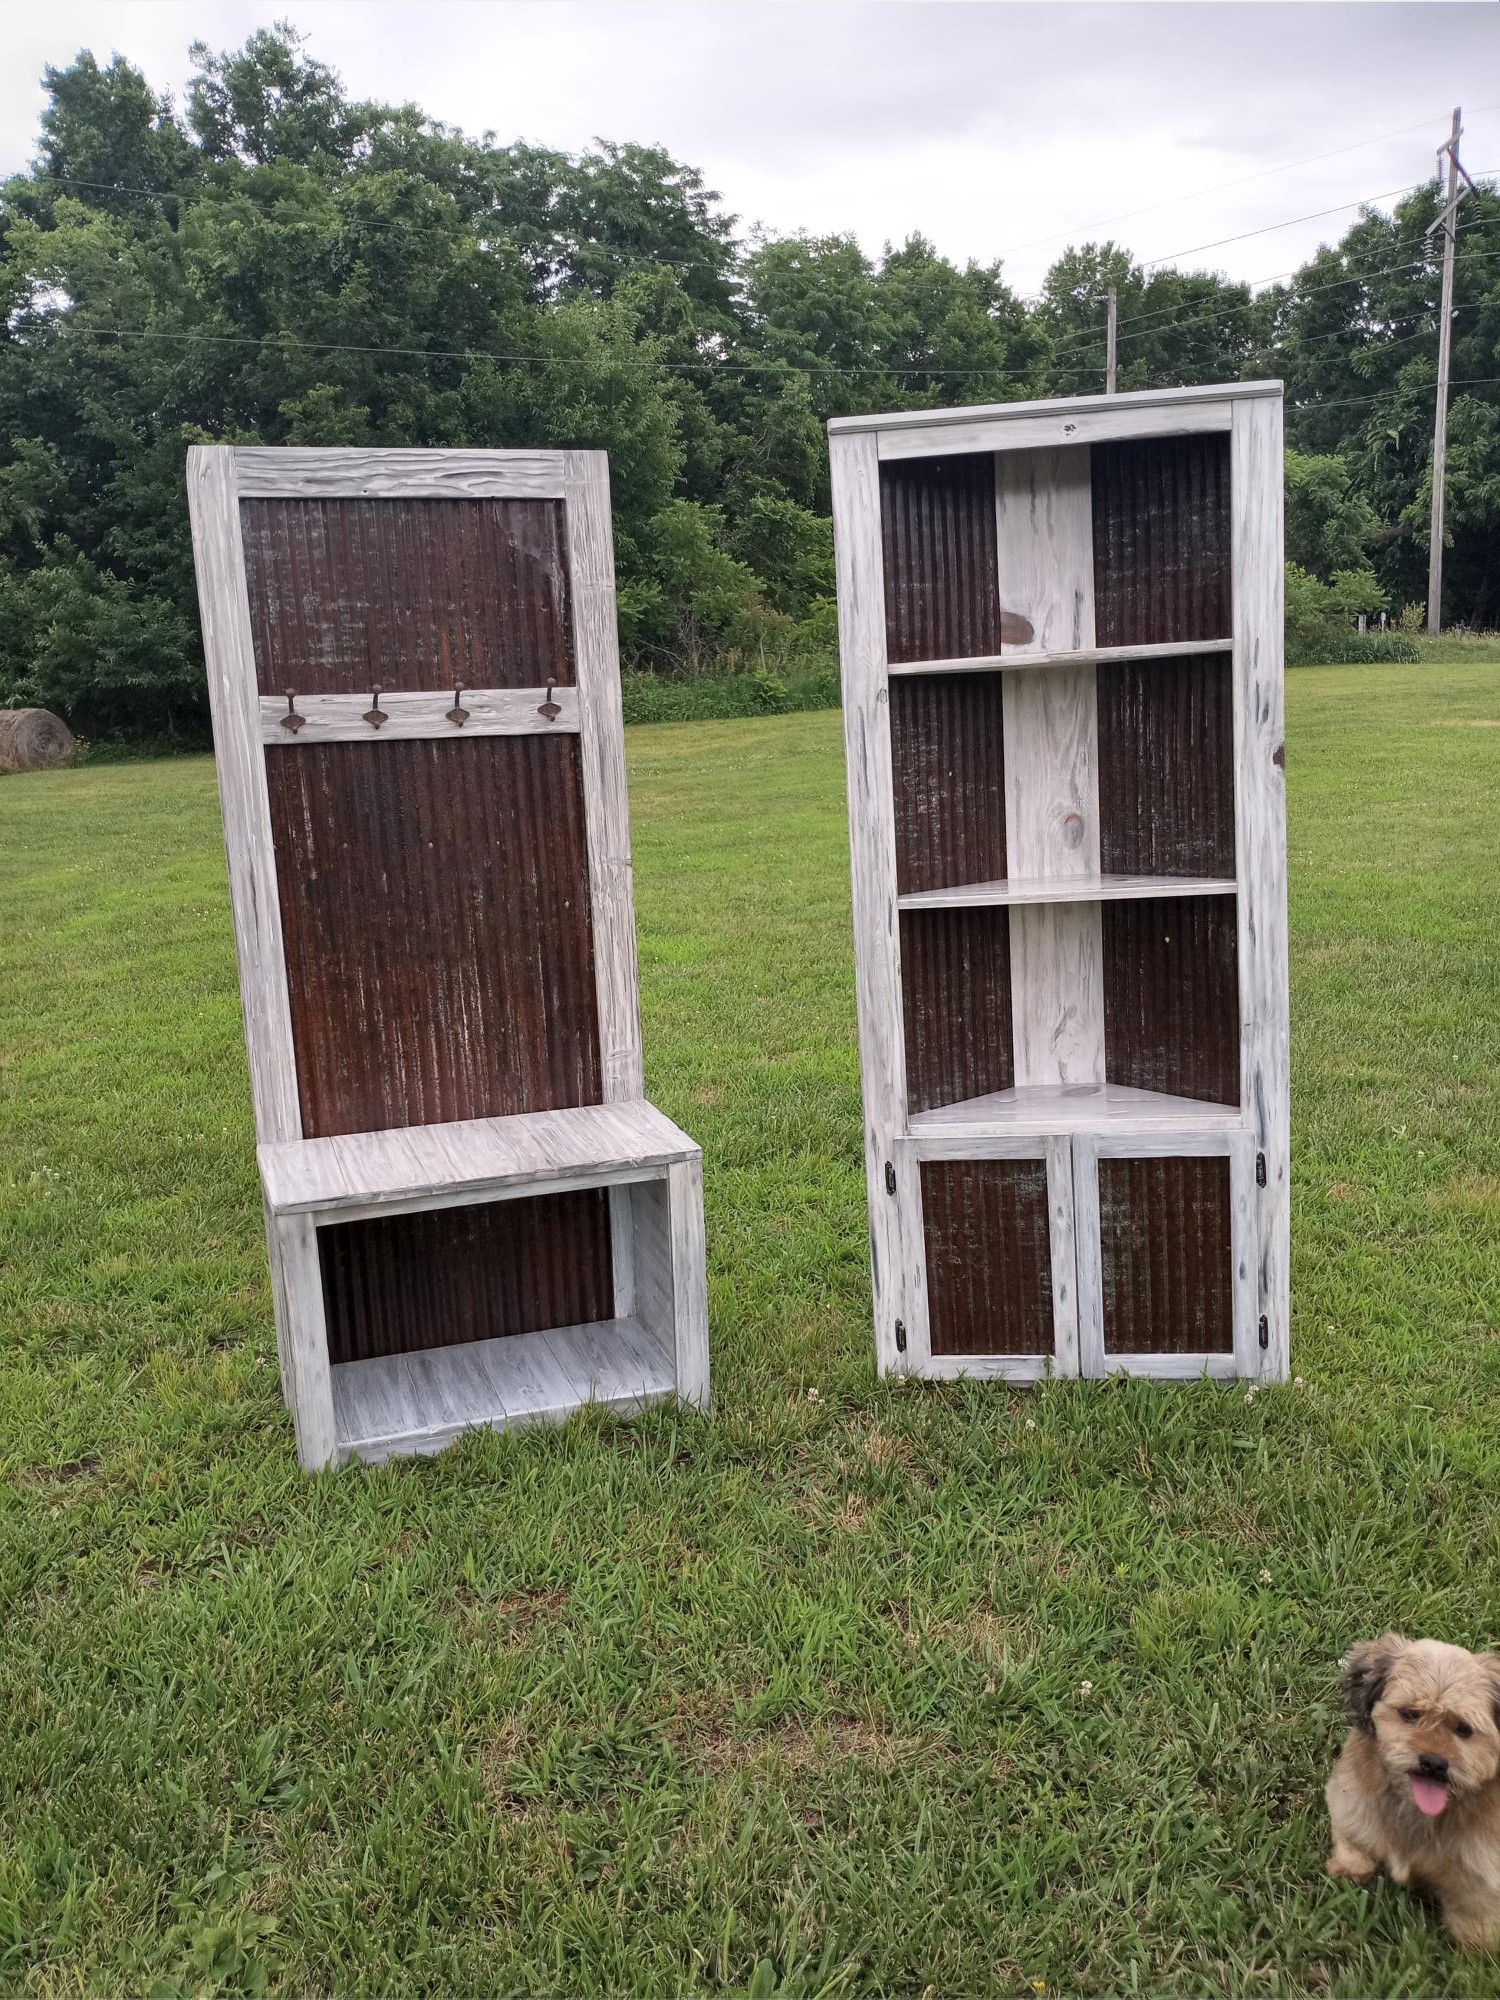
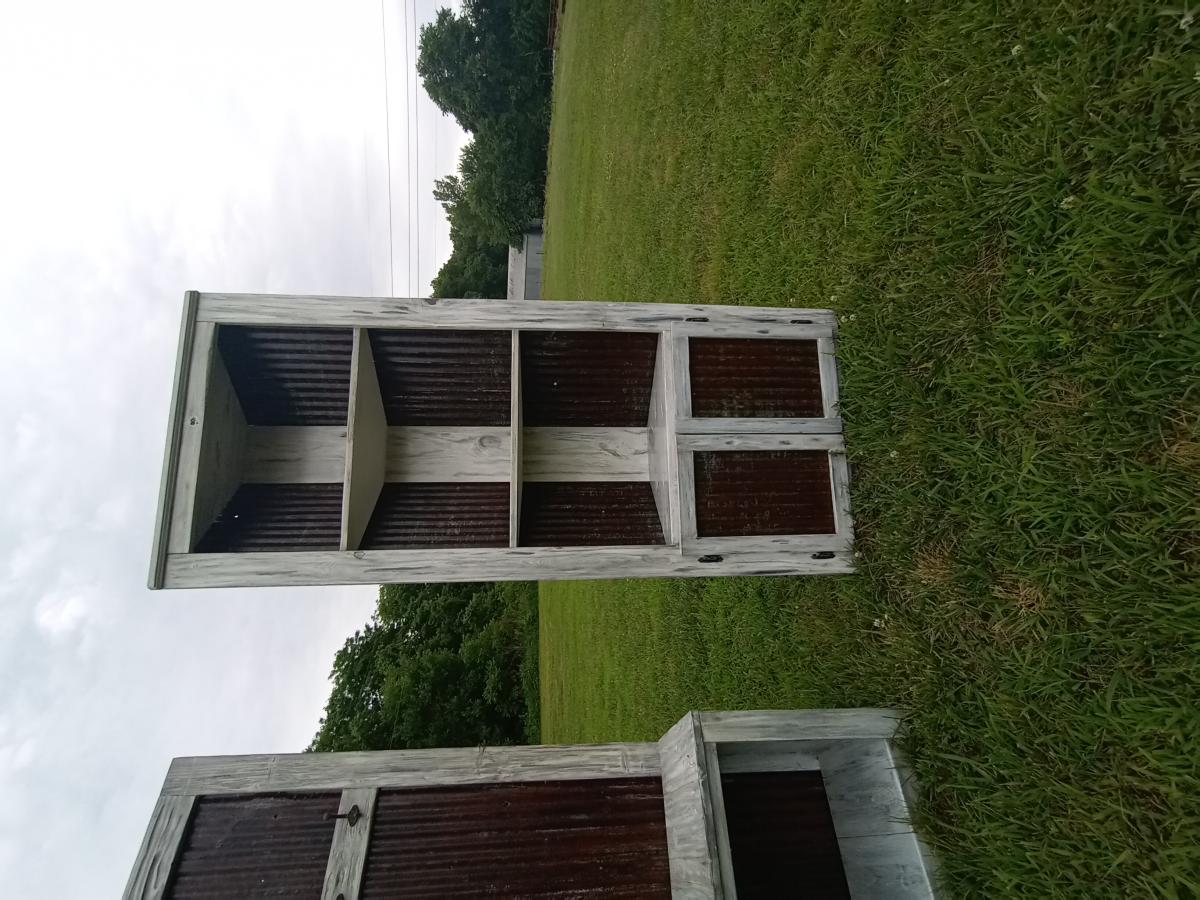
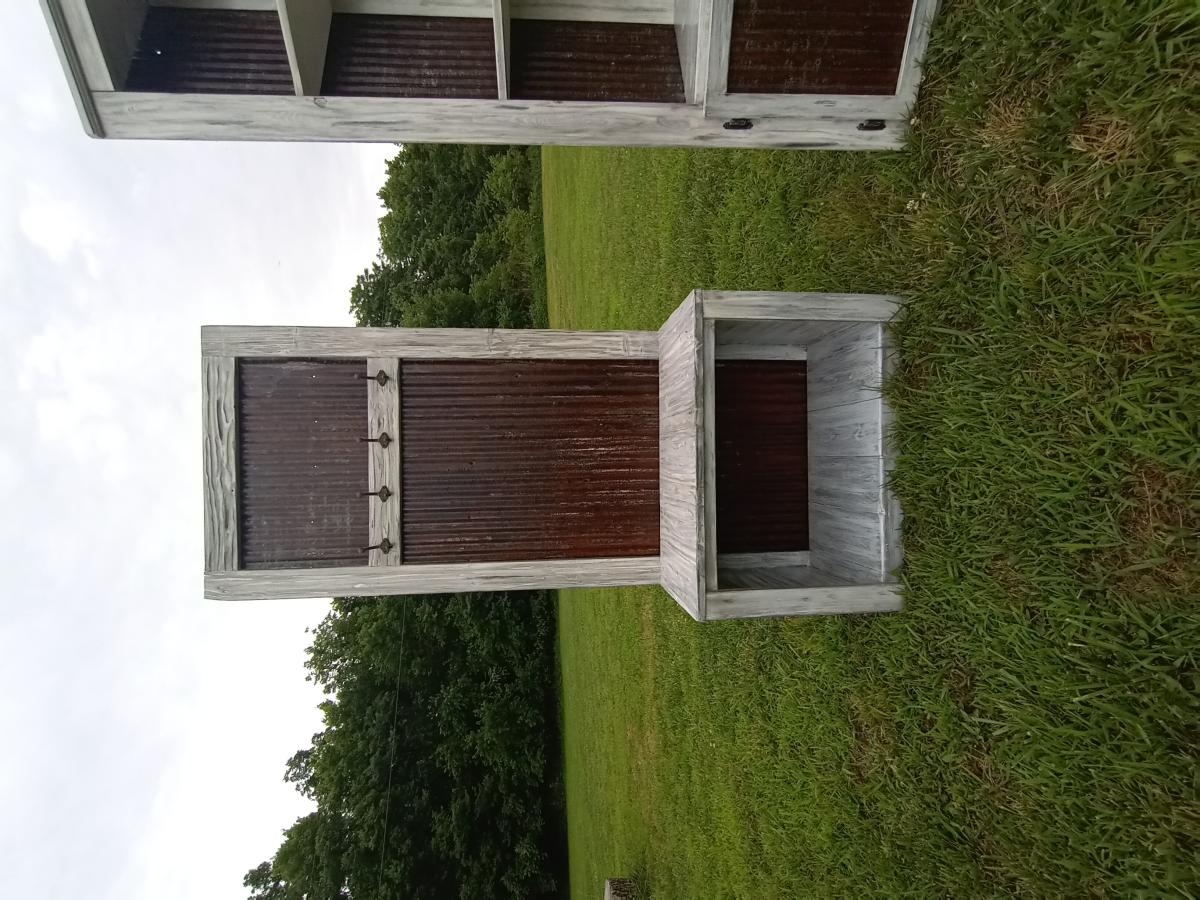
My take on a corner cupboard. I used old barn tim form backing and somewhat modified the plans. I actually made the hall tree first and then the matching cupboard. I finished it off with a custom distressed finish.
I used the Farmhouse Bed Plans and a picture posted on the FB page to get the look I wanted. We have a split king adjustable bed and needed the bed to allow the mattresses to adjust up and down at the headboard and footboard. The actual opening for the bed is 82X82. I used birch plywood for the main panel on the headboard and footboard and trimmed it with 1X4's, 1X2's, cove & chair rail trim. The headers are 2X4's and 2X6's. I tapered the untreated 4X4 posts which I found at our local store. For the sides I used 2X12's and raised them to allow extra room under the bed for storage. I used lots of wood filler, sanded for a whole day, applied wood conditioner and used a gel stain. I made the mistake of not wiping off the first coat of stain because it looked so good. After I applied the second coat it was too dark and showed brush marks. When it isn't so humid outside, I plan to sand it down and re-stain. I'll also apply a protective top coat at that point. I did purchase bed rail brackets online and they provide a nice tight fit.
Mon, 08/01/2011 - 07:37
This is amazing! This is exactly the look I want when I make my King Bed. I love the geometric look with the trim on the headboard and footboard but the traditional look that the trim around the top gives. It makes the bed a little more modern versus rustic. I Love It!
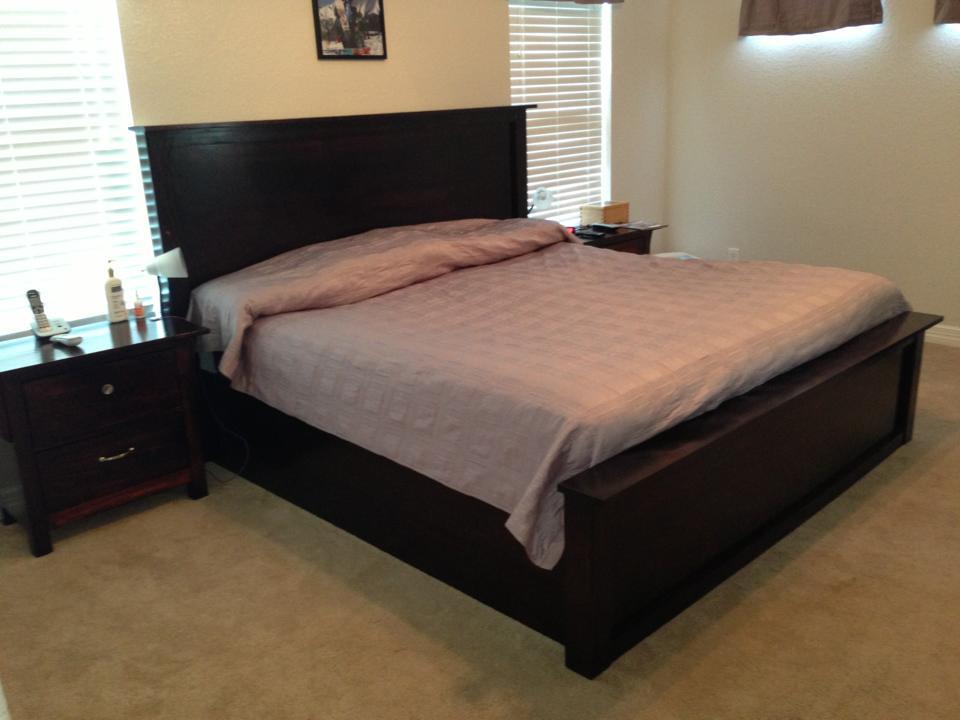
My husband and I bought our California king Sleep Number bed several years after we bought our solid wood bedroom furniture and it was too big to use with the bed that came with our dressers. After our most recent move, I decided I would have to finally part with the dressers in order to have a bedroom set that matches, which was hard because I love the simple, classic style of the dressers. Then I found this site and the plans for the Cassidy bed.
To make the Cassidy bed work for us, I extended height of the side rails and footboard to the floor so that our little dog could not hide under the bed when it was time for her to go into her kennel. That means I had to buy two sheets of plywood, one for the headboard to be cut from and one for the footboard to be cut from, and I bought 1x16s instead of 1x12s for the side rails. I also adapted the entire dimensions of the bed so that it fits around the plastic platform of our Sleep number bed, so we did not need to use the 2x4 slats. In fact, we did not use any of the 2x4s in the plan. The side rails are hung on the scrap lengths of the plywood. Finally, we did not decorate the headboard with door shims.
In the end, the bed is incredibly solid and beautiful. Afterword, I finished it to match our dressers, which I had stripped, as well.
Fri, 10/04/2013 - 08:02
Your bed looks great. We also have a sleep number bed and I was trying to decide if I wanted to still use the base or not. Thanks for posting.
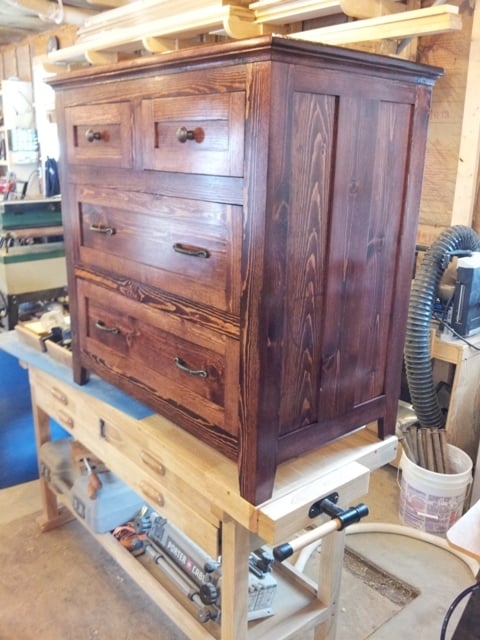
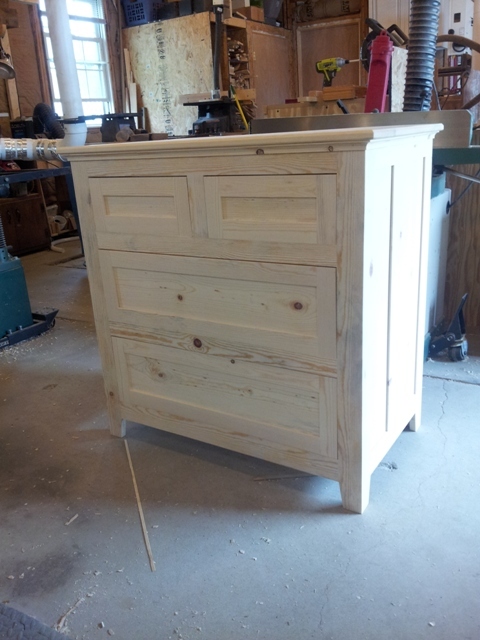
My son needed a dresser to fit in a specific space. I had a truckload of 1x6 sitting in the shop. I designed this to use all 1x6's. The sides were created by making rails and stiles using tongue and groove joinery. the panels were planed down to fit into the grooves. The panels are not glued in they are floating. I made a front frame that was pocket screwed together and attached it to the sides using biscuits. I glued up the top and made a simple cove molding with my router table. The drawers fronts were made like the sides using tongue and groove and a floating panel.
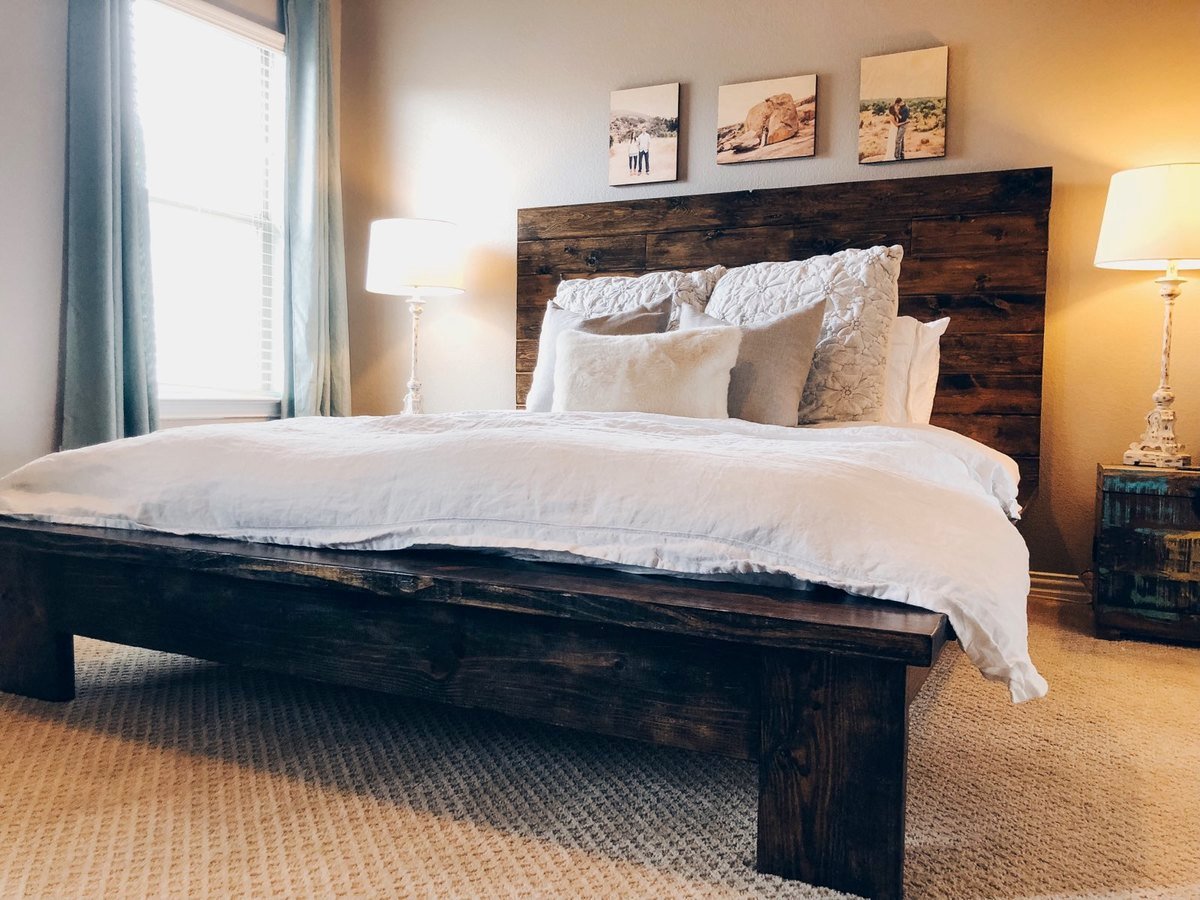
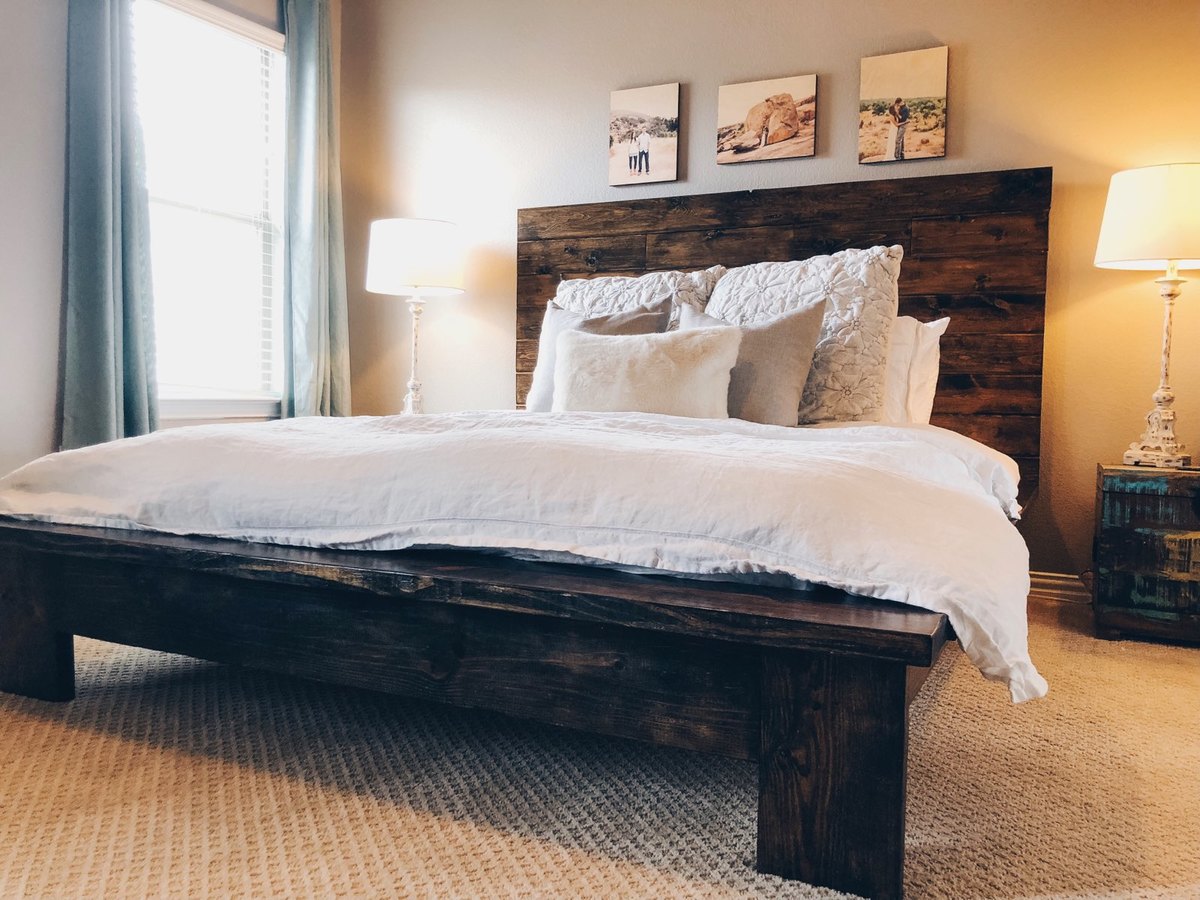
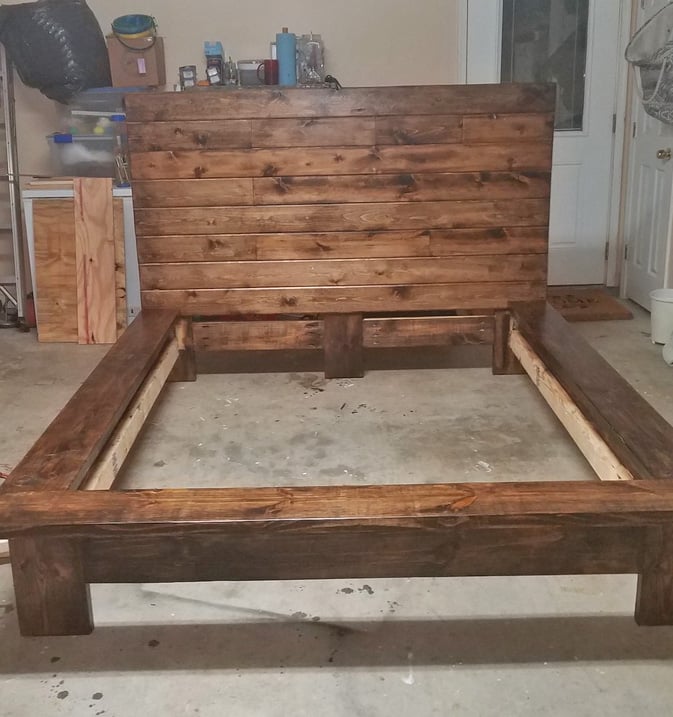
This bed is my first "for profit" bed. Took some design changes so it could be taken apart and put together easily with metal bed brackets.
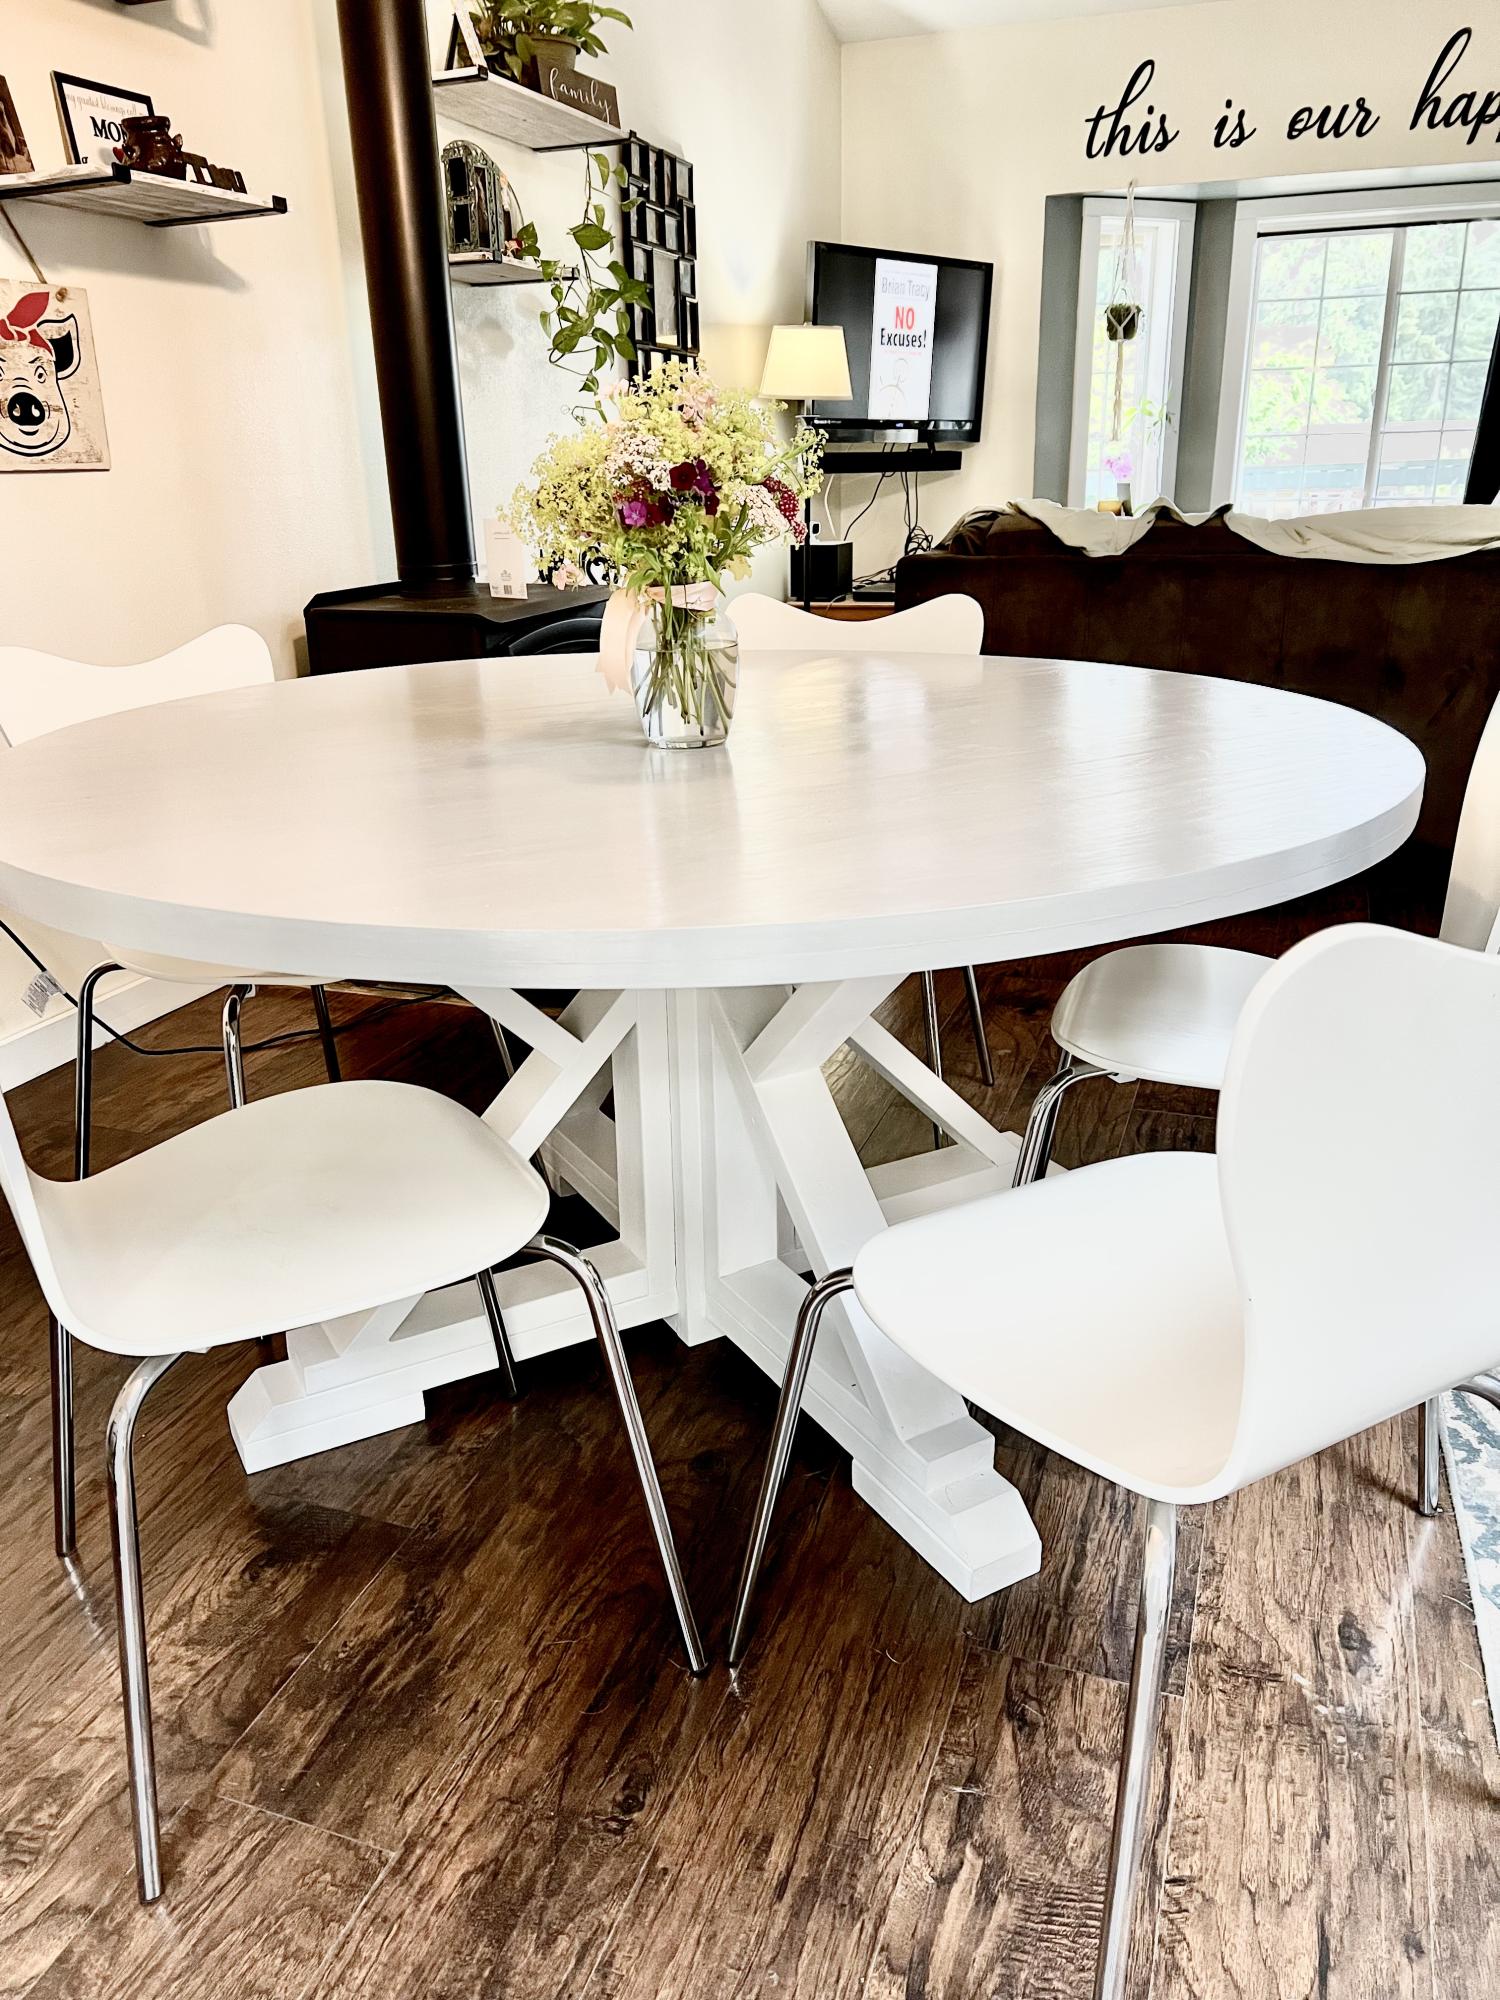
Your plans are so clear and easy to follow. Your video on using the skillsaw to cut a circle was sooo valuable. We easily created the same jig and got really good results. I have followed your YouTube channel and blogs for years and wanted to finally say thank you for all that you share!
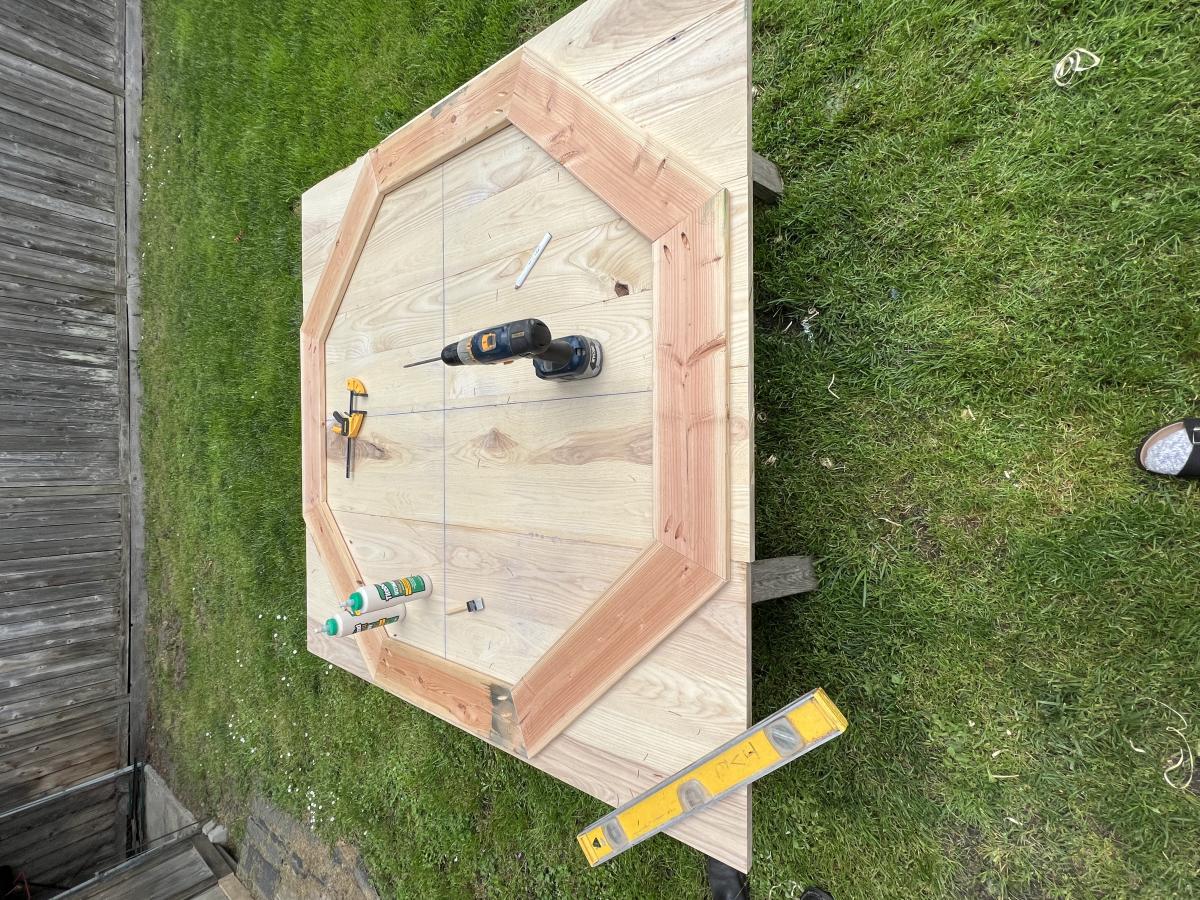
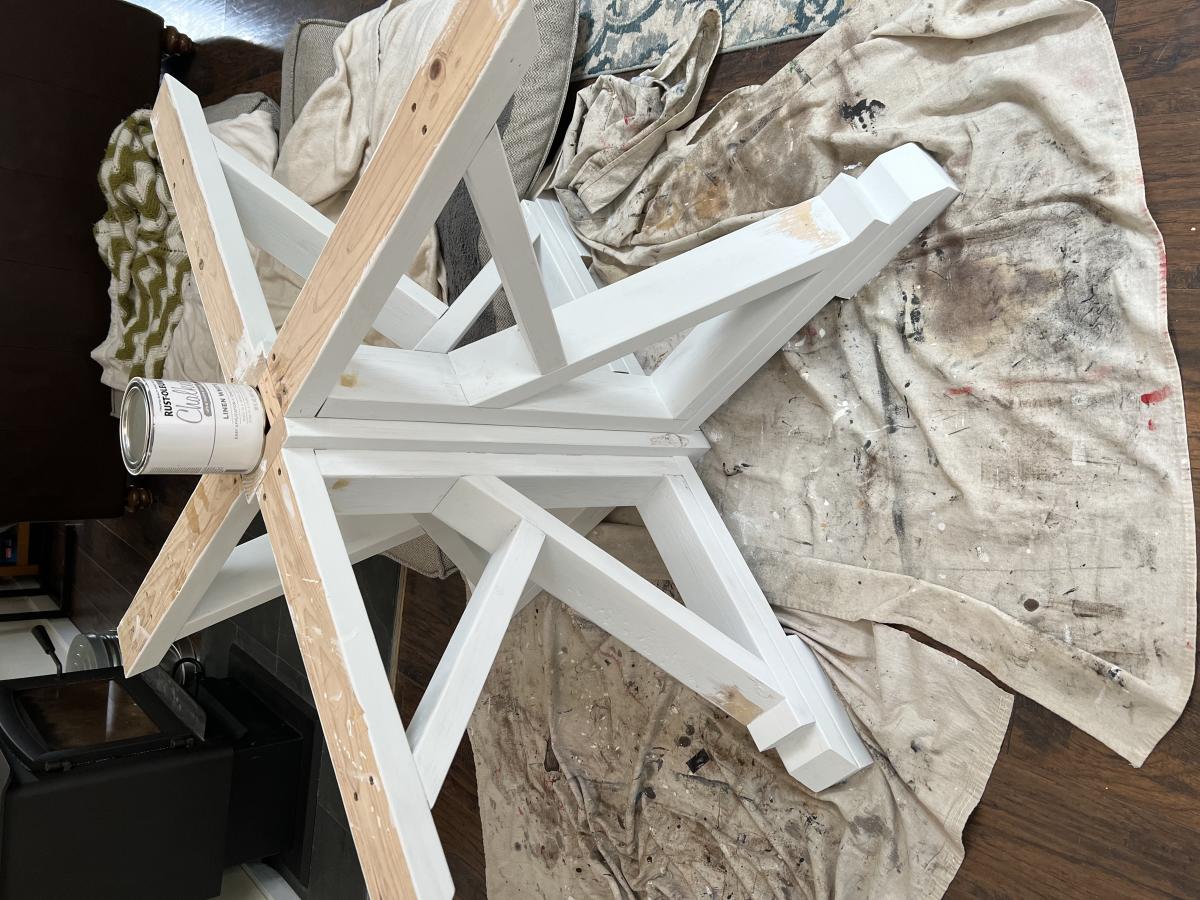
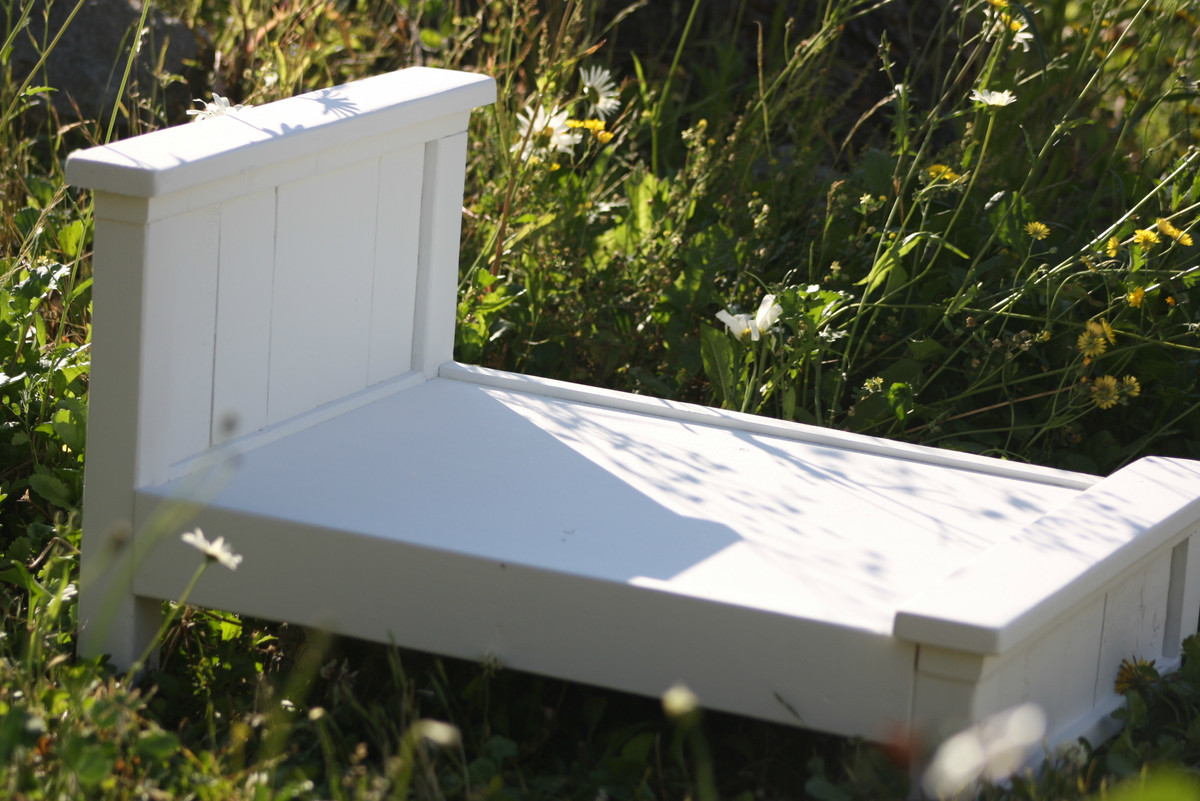
Once I saw the plans posted I knew my daughter would love it and she does!! Every time she goes to bed she has to put her babies in bed too. This was a simple build but very rewarding. THanks Ana!!
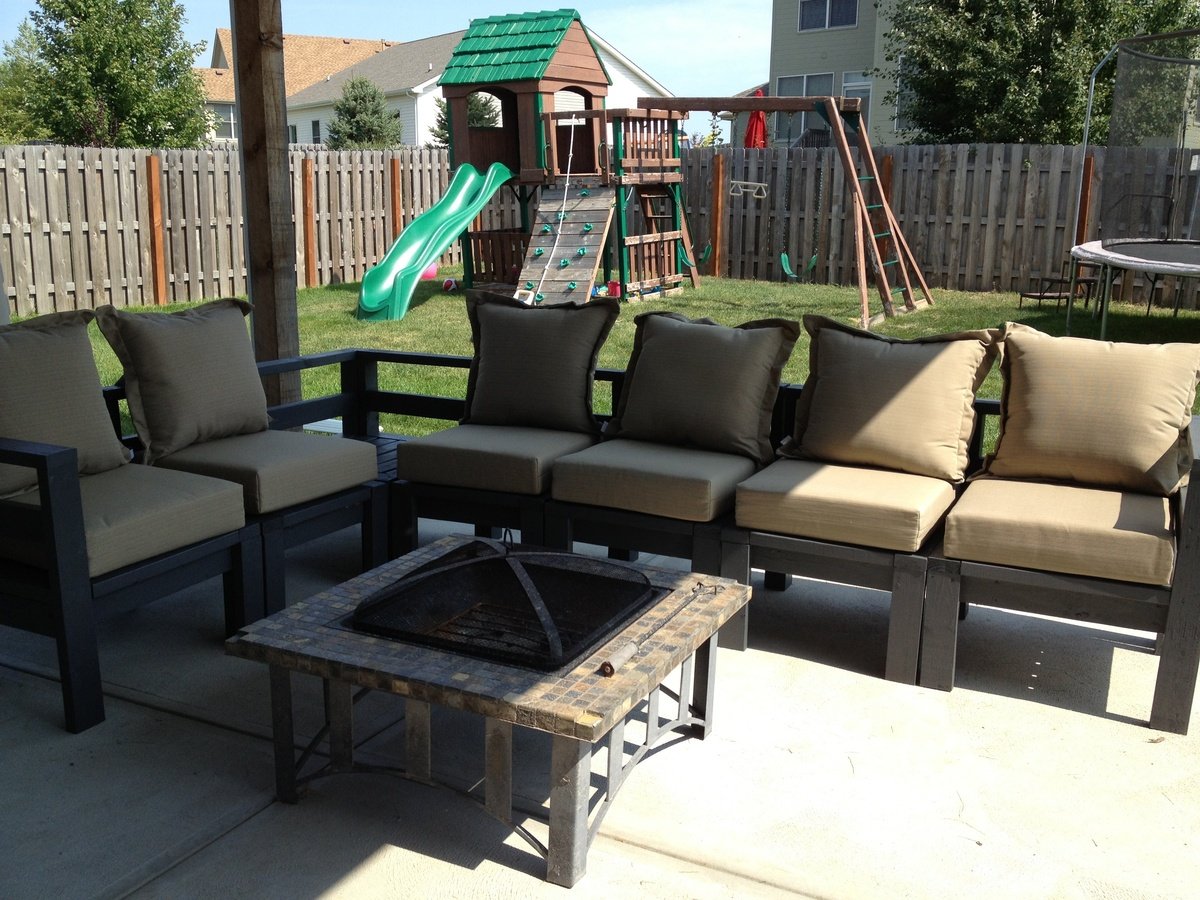
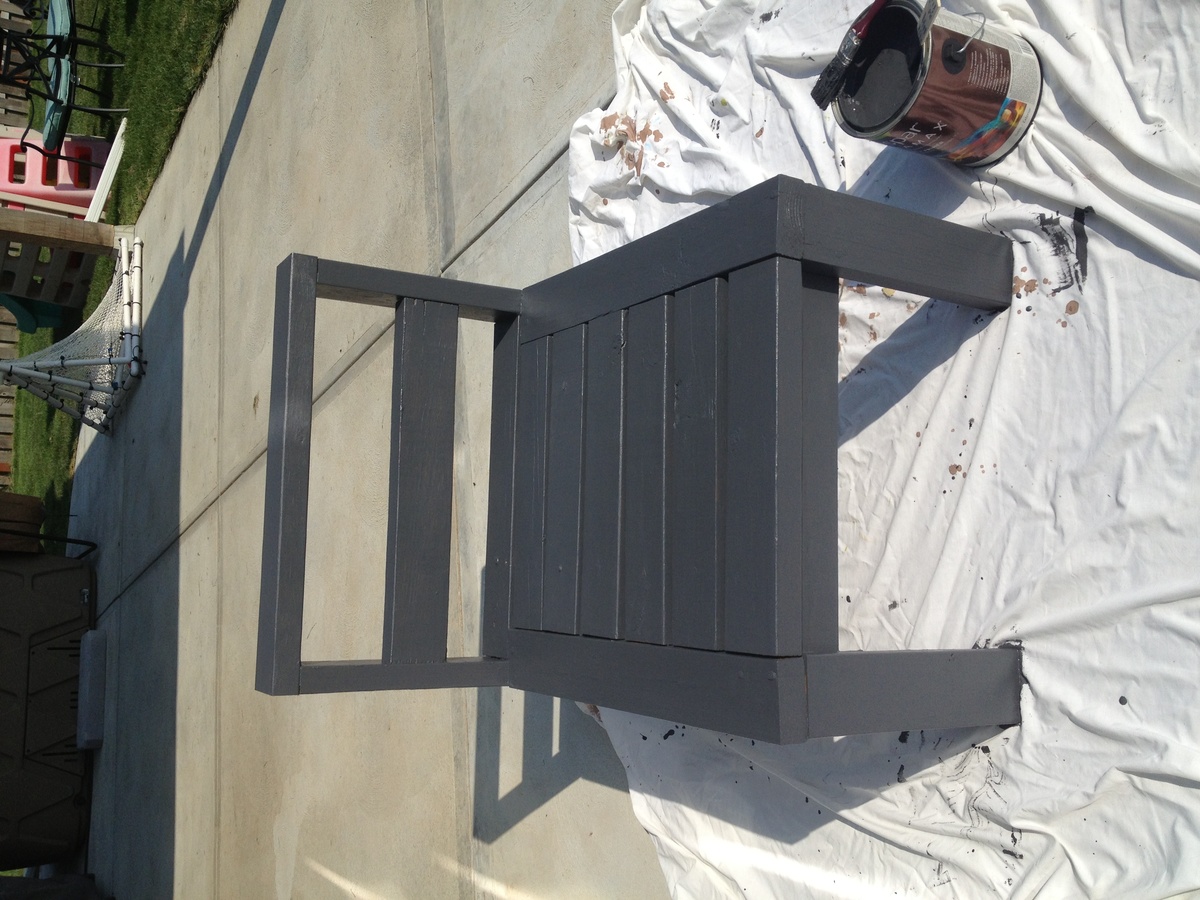
We used 2x4s instead of 1x4s to make it more sturdy. We had to adjust some cuts accordingly. I bought the cushions at Target on clearance.
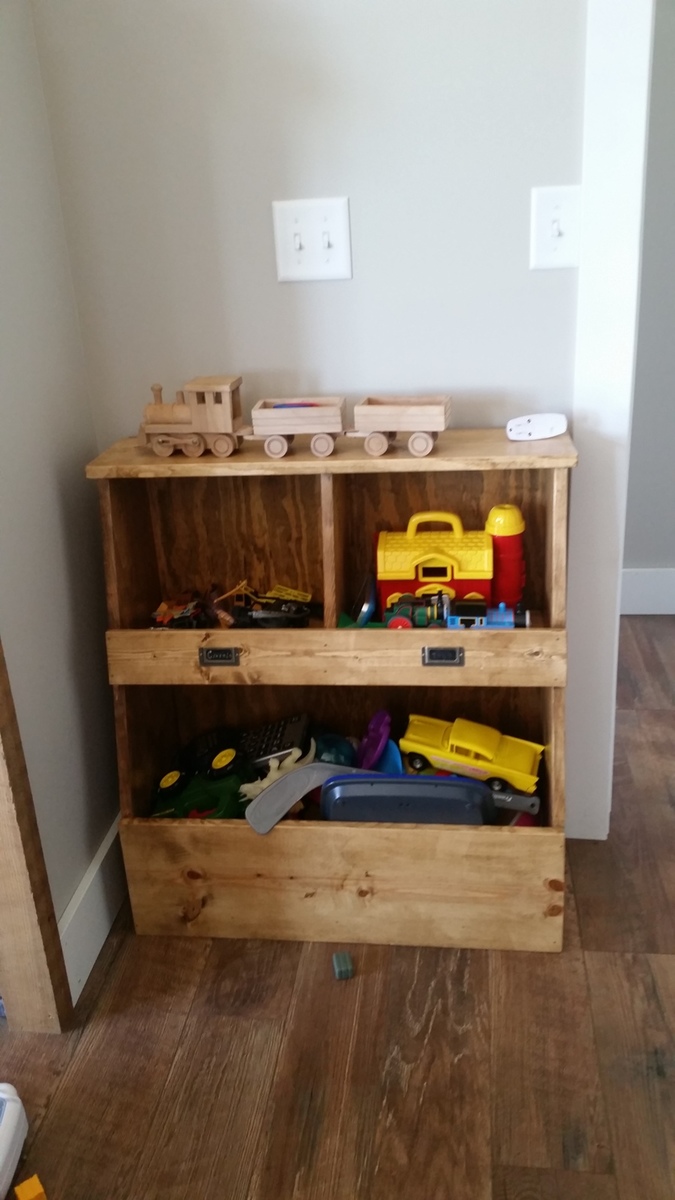
I needed some quick and easy toy storage for the living room to catch the toys that inevitably end up there. I had a basket in the corner, but then the toys made marks on the wall. This cubby storage keeps them away from the wall and adds some more veritical space. I made this project quick and easy with just my nailer (I didn't use pocket holes) and a simple stain finish. I shortened the width to fit the space between my fireplace and the door, and as a result I did 2 cubbies instead of 3.
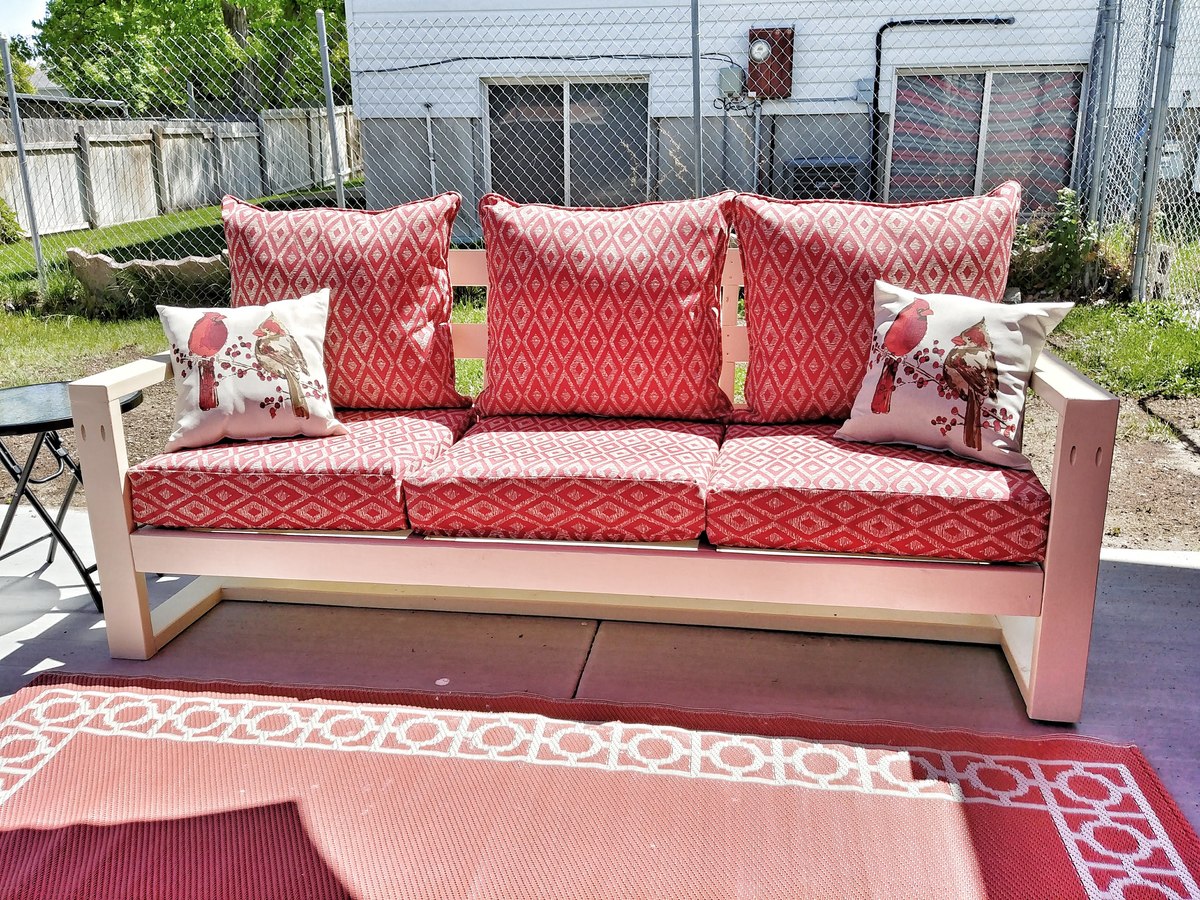
Very comfy outside sitting