Community Brag Posts

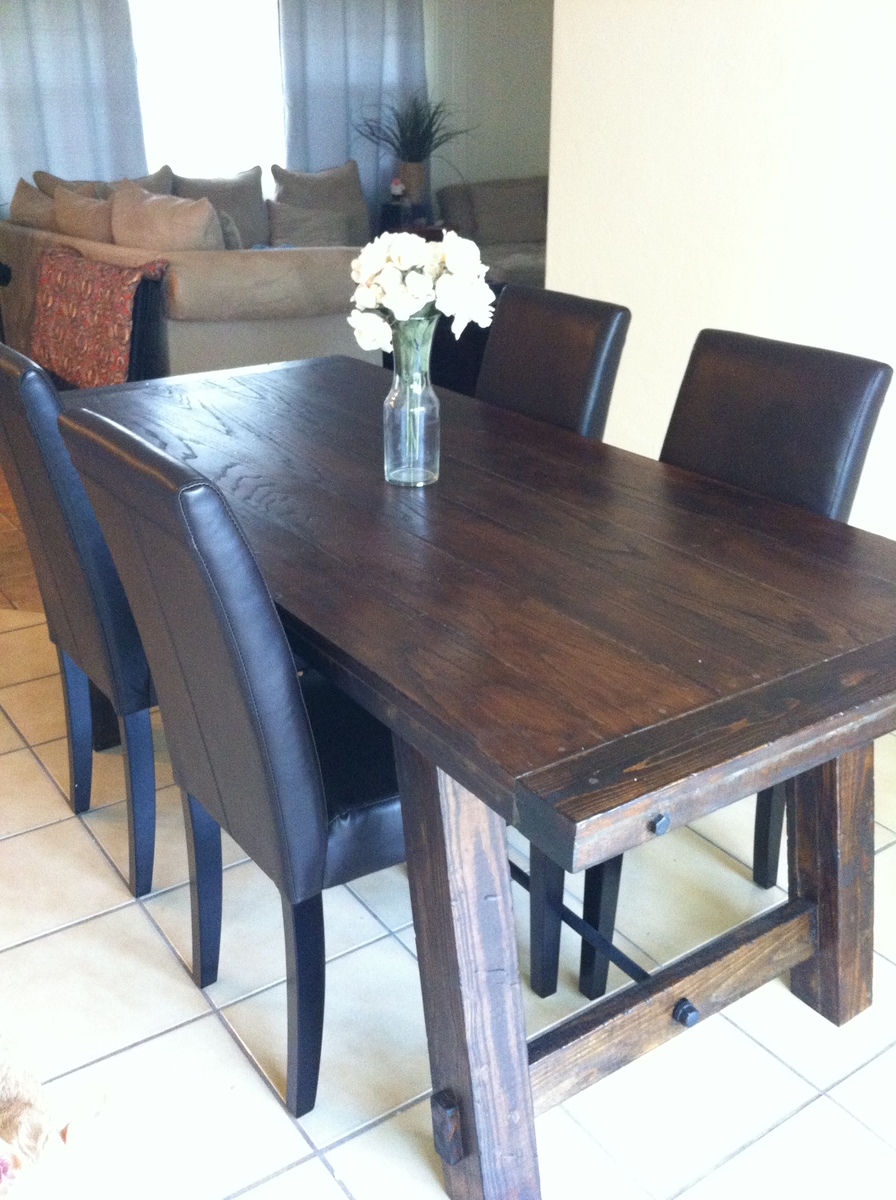
Benchright Farmhouse Table
Submitted by Beano911 on Fri, 04/13/2012 - 10:01

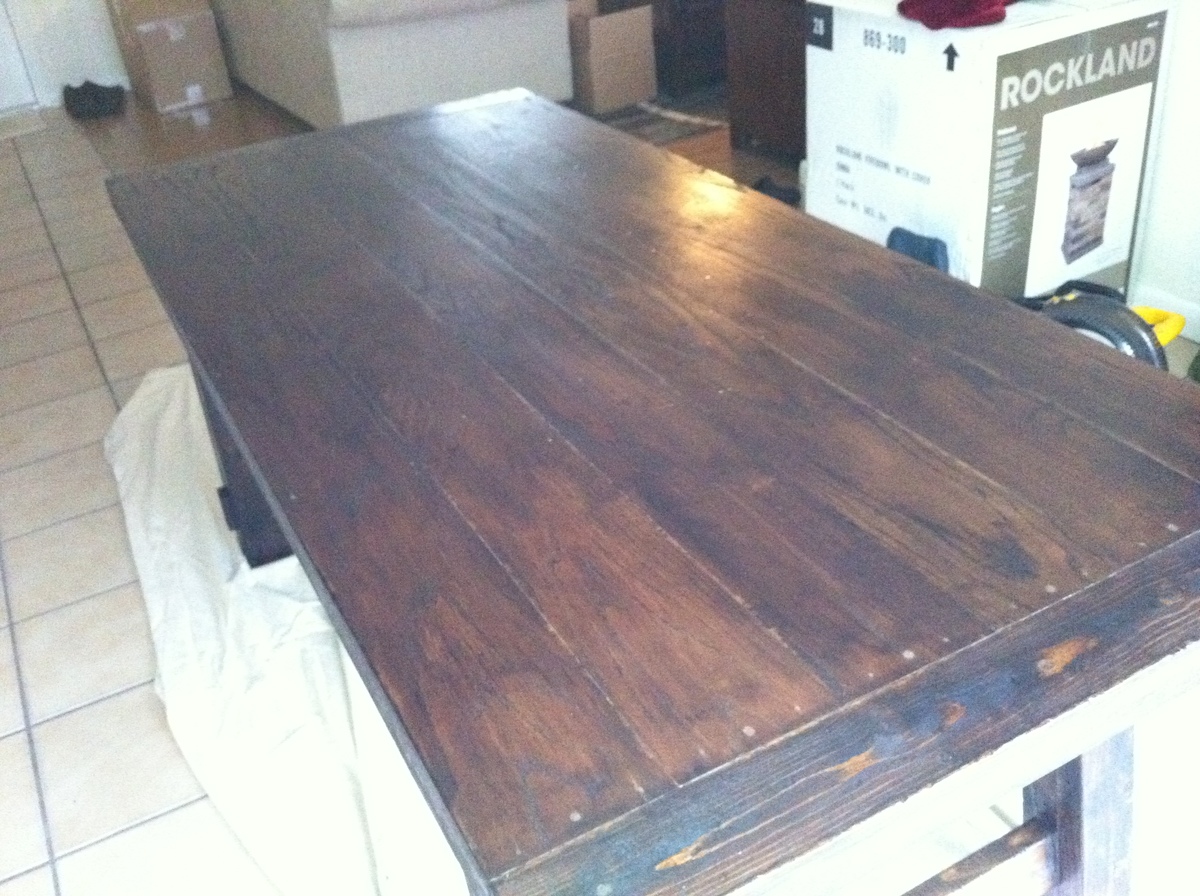
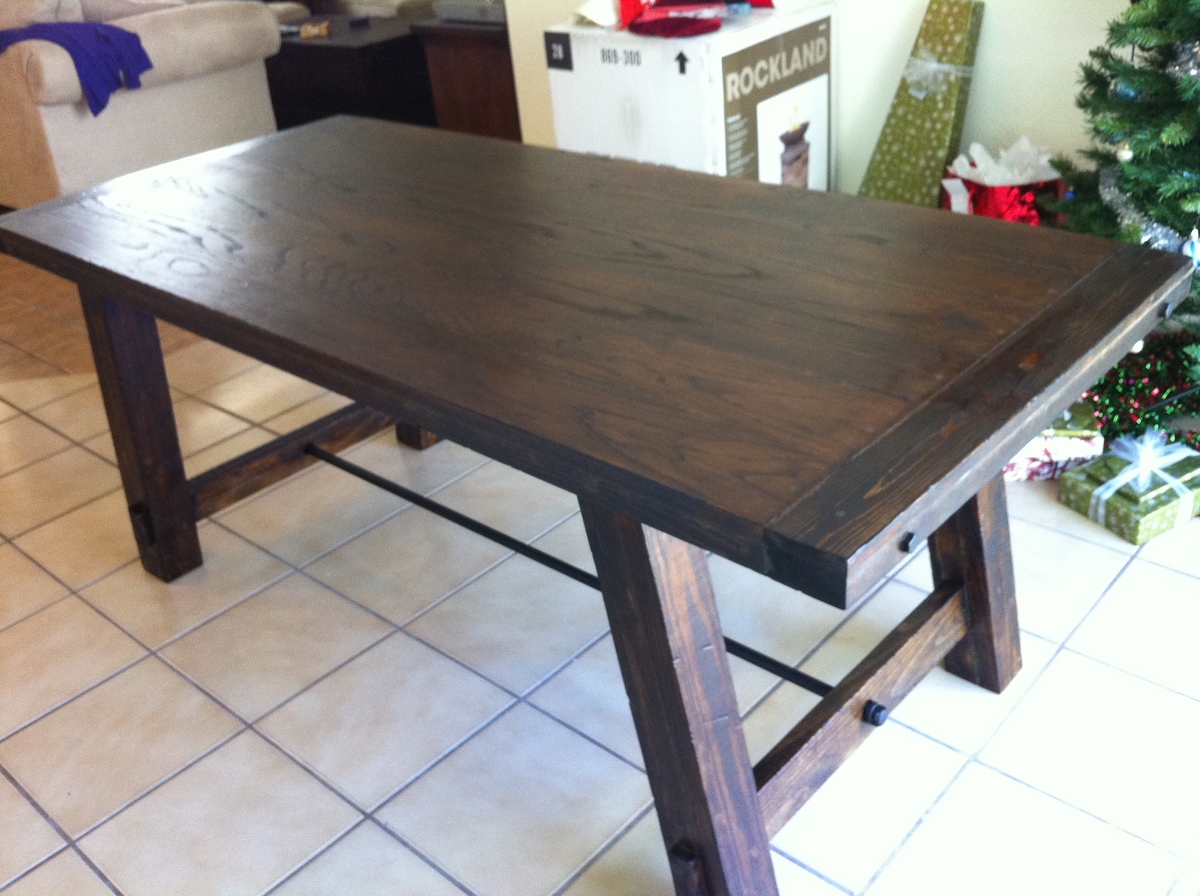
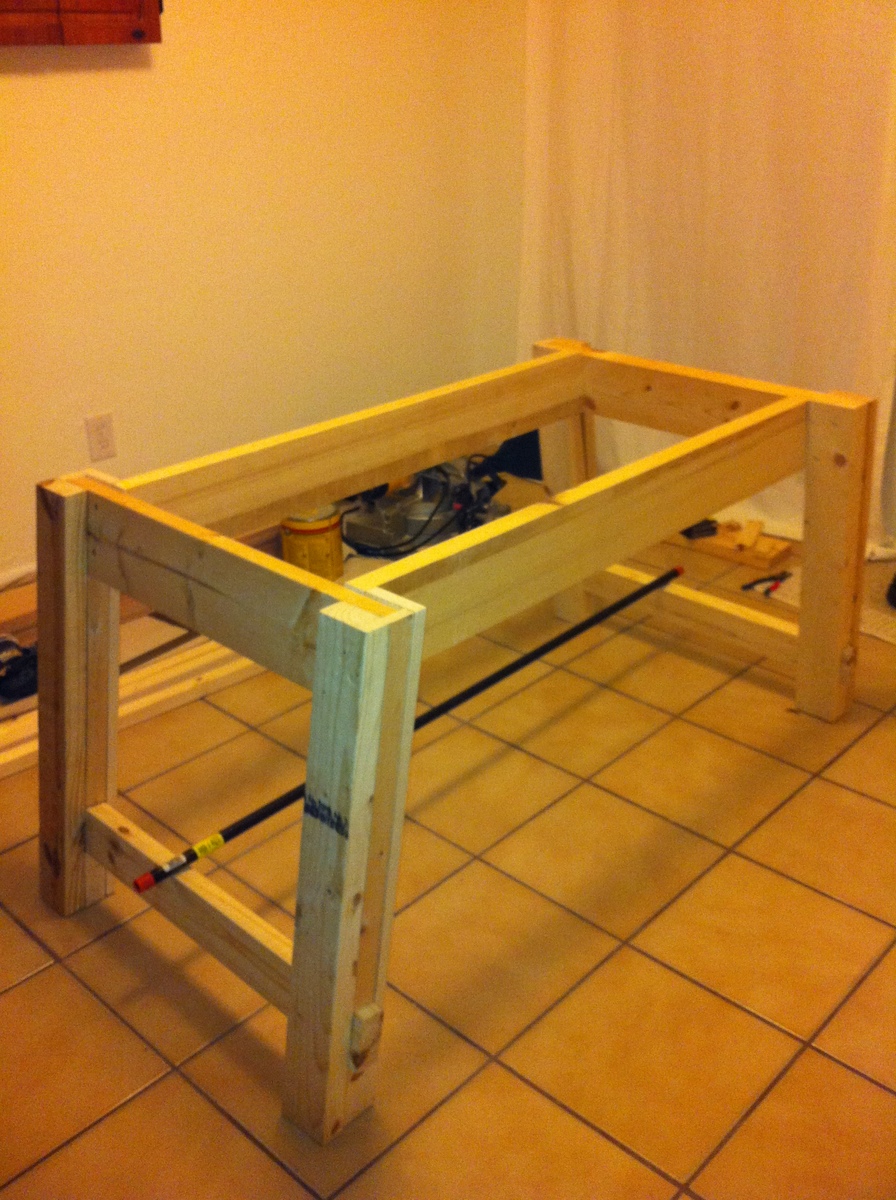
This was our very first project EVER and it came out beautiful! We needed a dinner table and couldn't find anything that came close to the thousand dollar Pottery Barn Benchright table. While searching for used furniture I came across these plans to build my own. After days of begging and convincing, my husband agreed to help me build it. Now he thanks me all the time! It was so fun and easy.

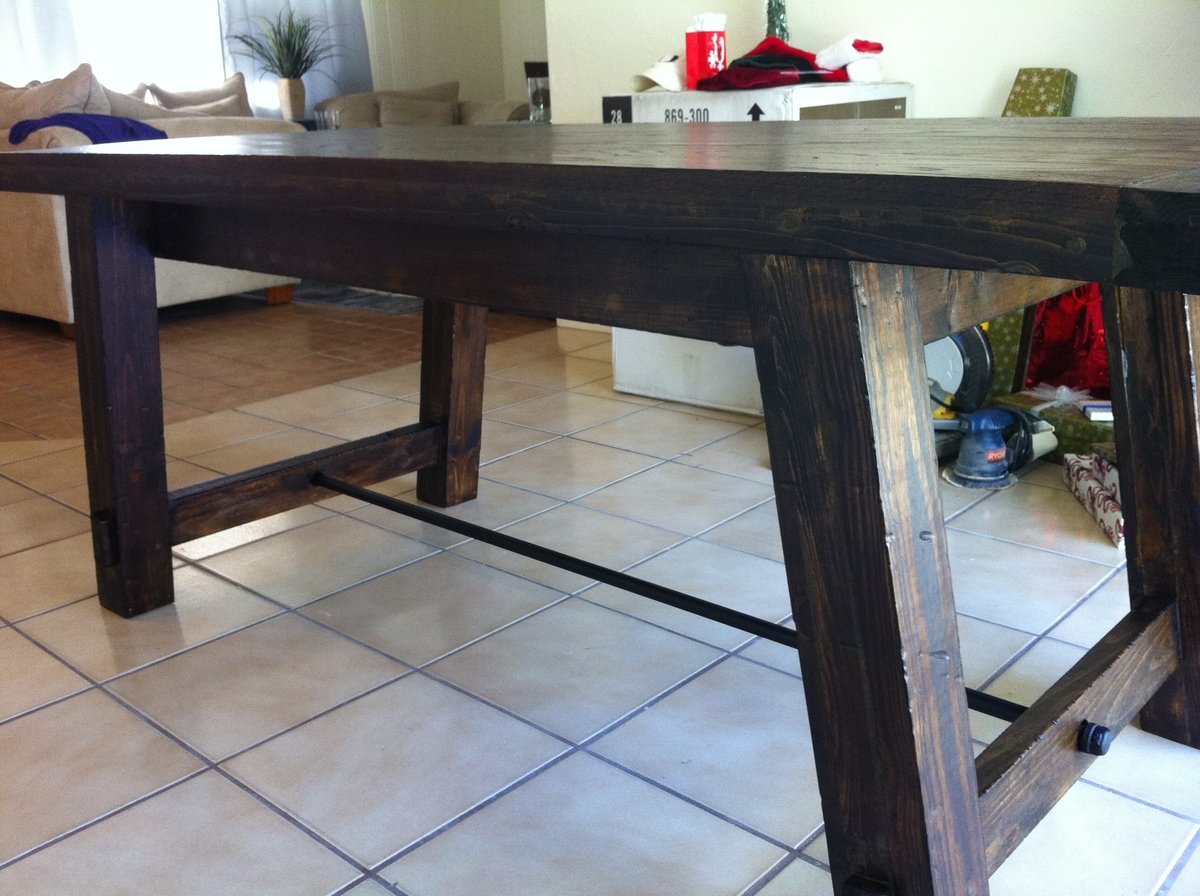
We did have a couple hiccups with the measurements. Ana did say to read through the plans and comments first, but we failed to write down and remember what others suggested. That being said, these plans were very easy. We took our time building this table since it was our first time using a miter saw and our first time building anything. Our table was a little more expensive than other braggers because we didn't use reclaimed wood and since we are beginners, we botched a couple cuts and had to buy a few extra boards :). After sanding, we took some chains and a hammer to the tabletop and legs to make a more distressed and rustic look. We painted the bolts and pipe black with Rustoleum Flat Black. Our pipe was longer than our table, so we had it cut. If you buy your pipe from Lowe's, they will cut and thread it for you. We couldn't find any hardware that look anything similar to the Pottery Barn Benchright. We checked Home Depot and Lowe's, but decided to settle with some plumbing knobs that screwed in the pipe. Once we painted everything and put it all together, we actually loved the pipe knob look more than the Pottery Barn table hardware!

This table is so darn sturdy and will last forever. I can't thank Ana enough, and thank you to everyone that posts these brags, because you helped me convince my husband and myself that we could do this!
Estimated Cost
$250.00
Estimated Time Investment
Weekend Project (10-20 Hours)
Finish Used
One coat of Minwax Wood Conditioner, Two coats of Minwax Wood Finish in Dark Walnut (the first coat will be ugly, but the second coat is money), One coat of Minwax Polyurethane in Clear Satin (we wanted our table to be protected, but not overly shiny.)
Recommended Skill Level
Beginner

Comments

Bunnie1978

Fri, 04/13/2012 - 16:07

It IS beautiful. When I first saw the main photo on the home page, I thought "there's no way they made that, they must have bought it at PB" because it looks JUST like the PB one. Like, exactly.

You did an excellent job!!

mweir

Sat, 04/14/2012 - 08:26

I love the look of your table, it is beautiful. You did a fantastic job for your 1st project. There will be no stopping you now. Love it!!

Faux Mantle

Submitted by Anonymous (not verified) on Fri, 04/22/2016 - 04:14

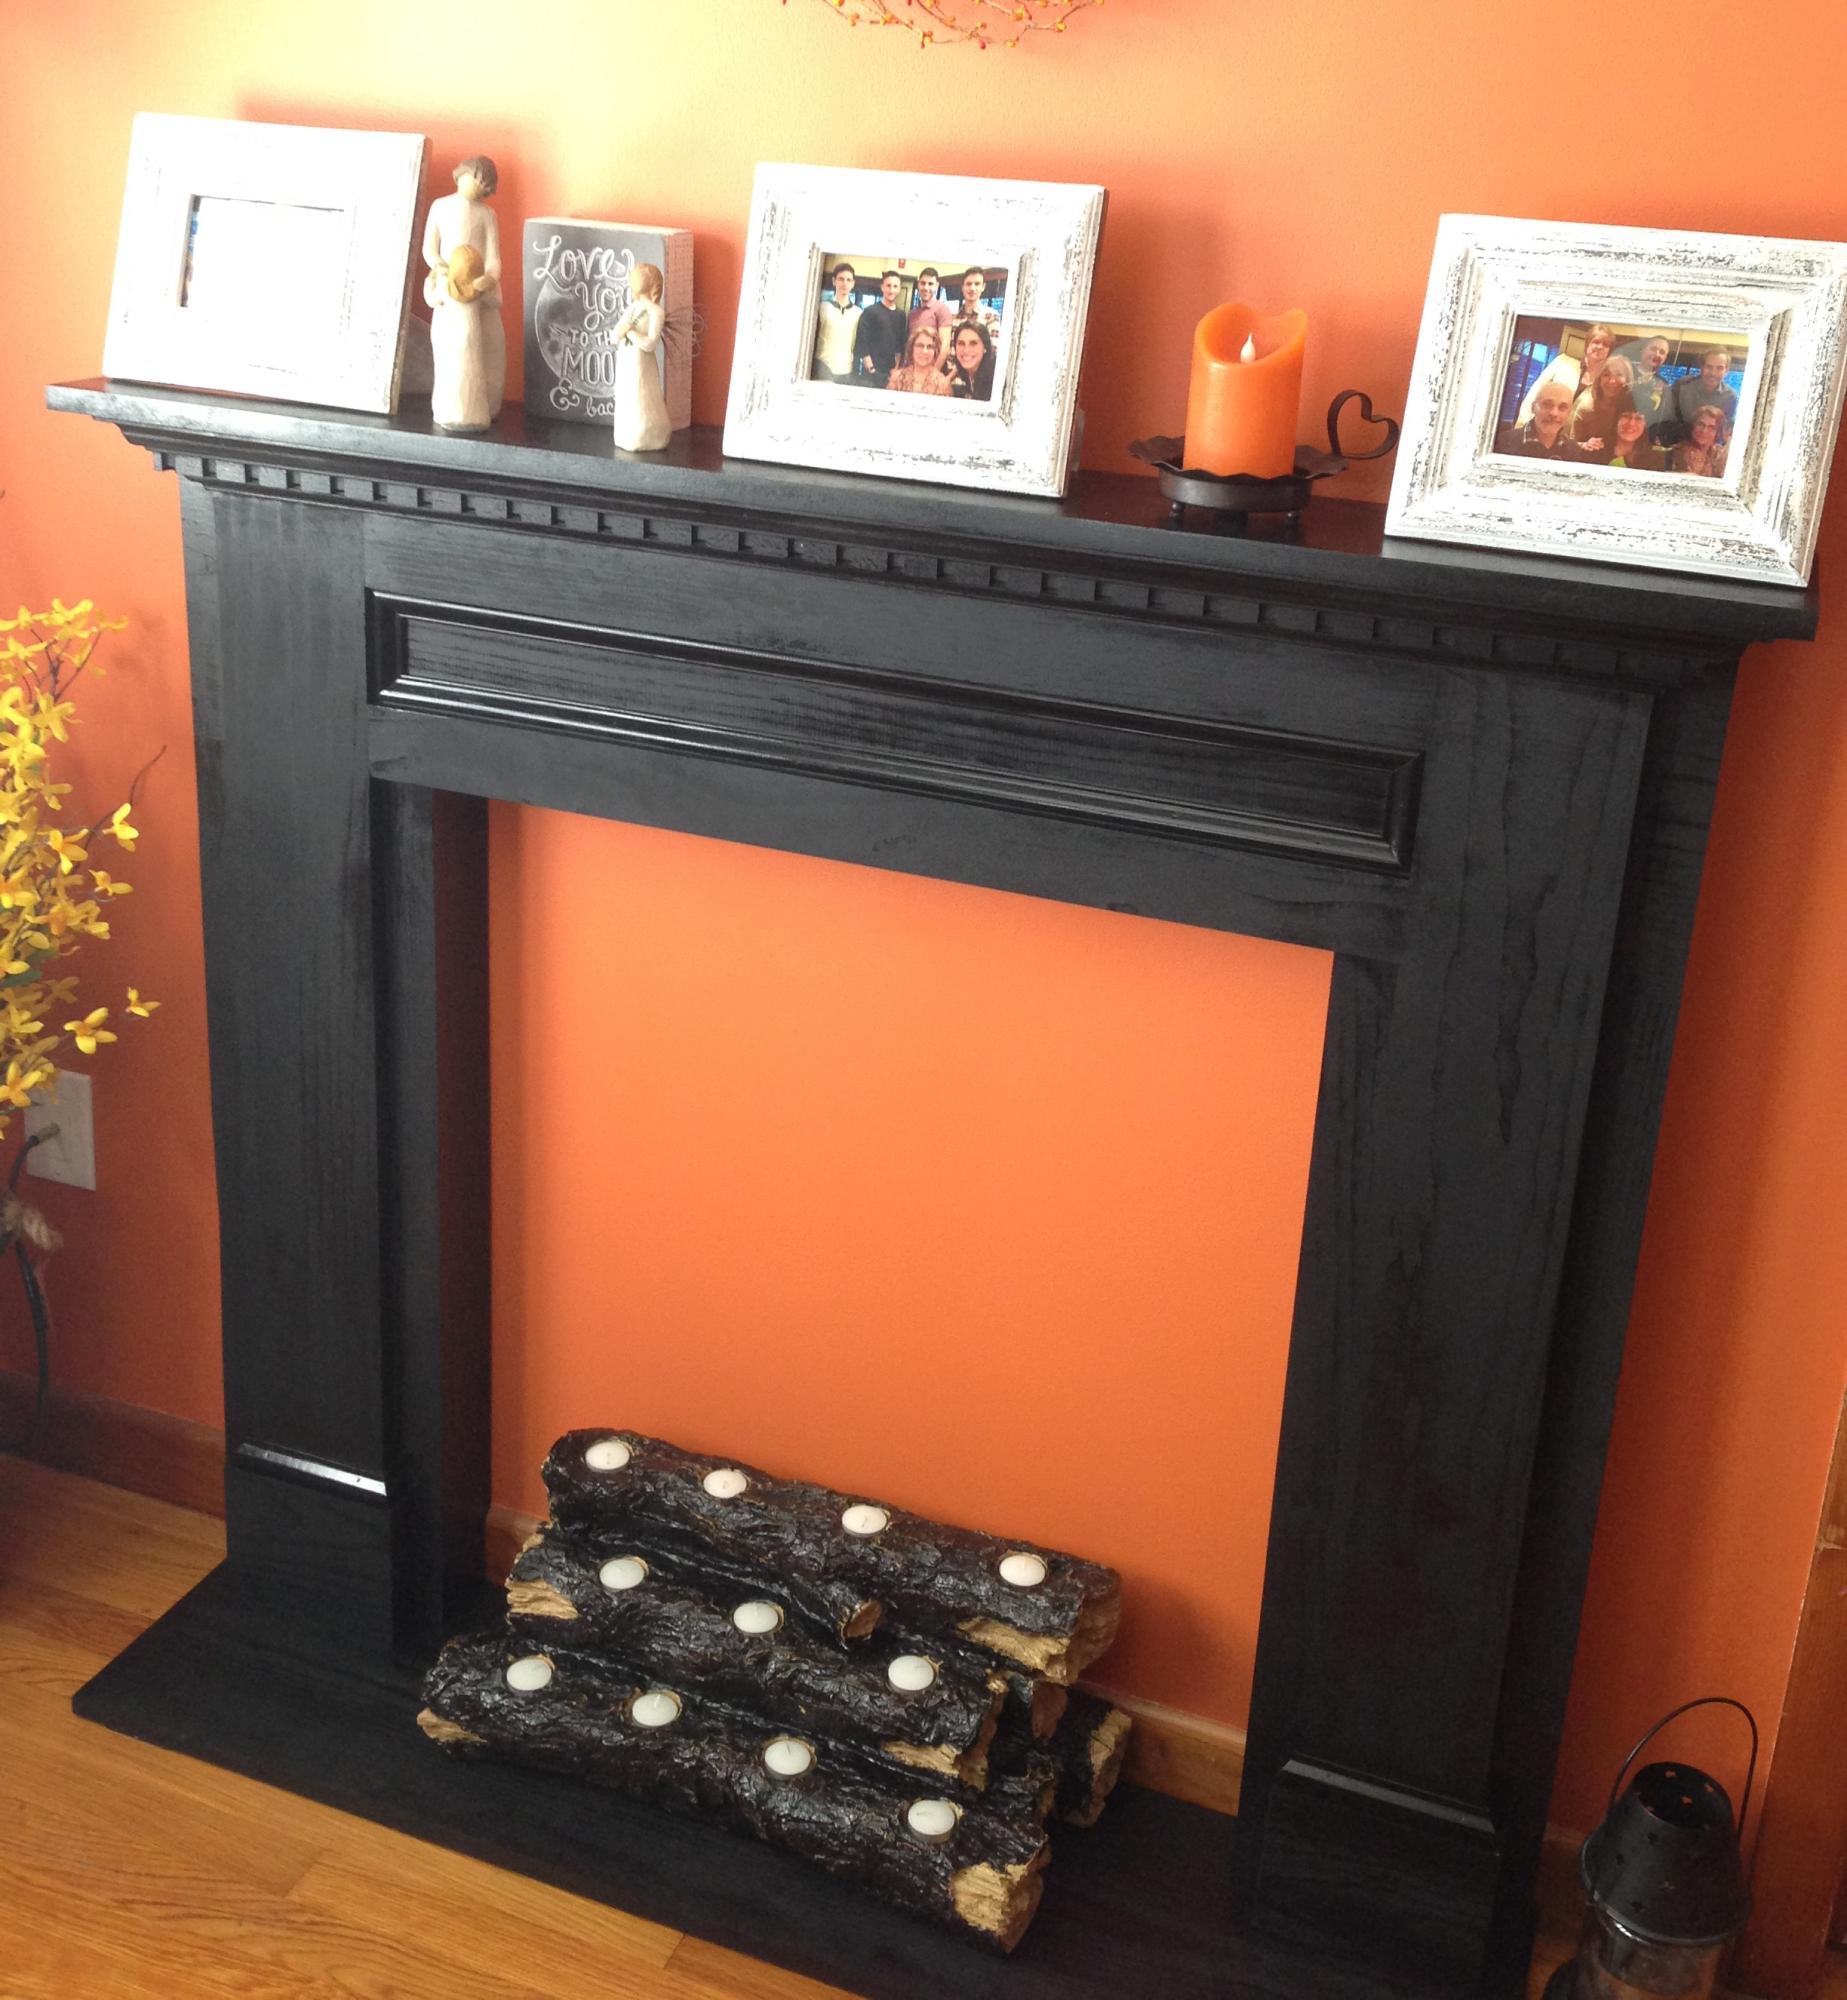
My office faux mantle came out awesome thanks to Ana White. The only changes we made was that we used dental crown molding and we added the base. Other than that everything else was exactly according to the plans.

Estimated Cost
$180 using #1 pine from Home Depot
Estimated Time Investment
Day Project (6-9 Hours)
Finish Used
We used Black spray semi-gloss
Recommended Skill Level
Intermediate

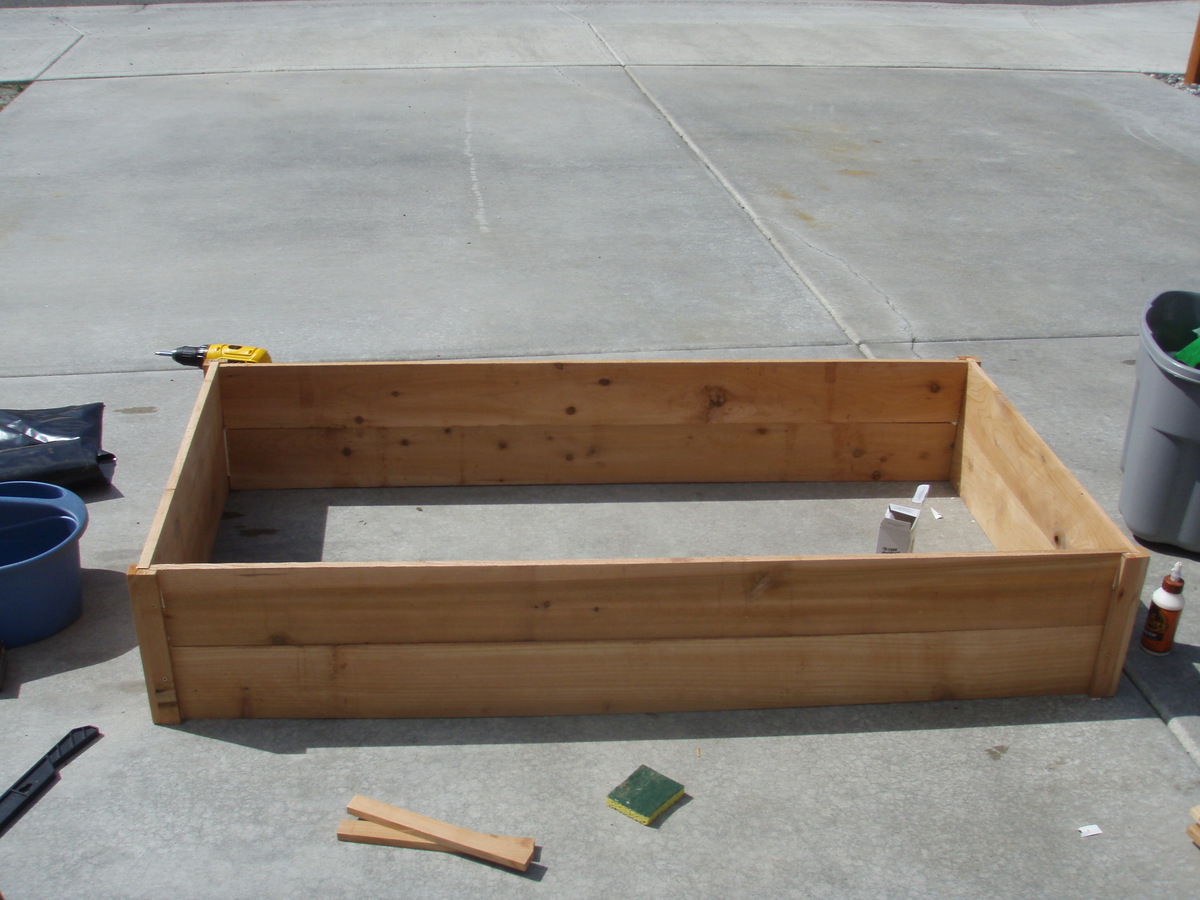
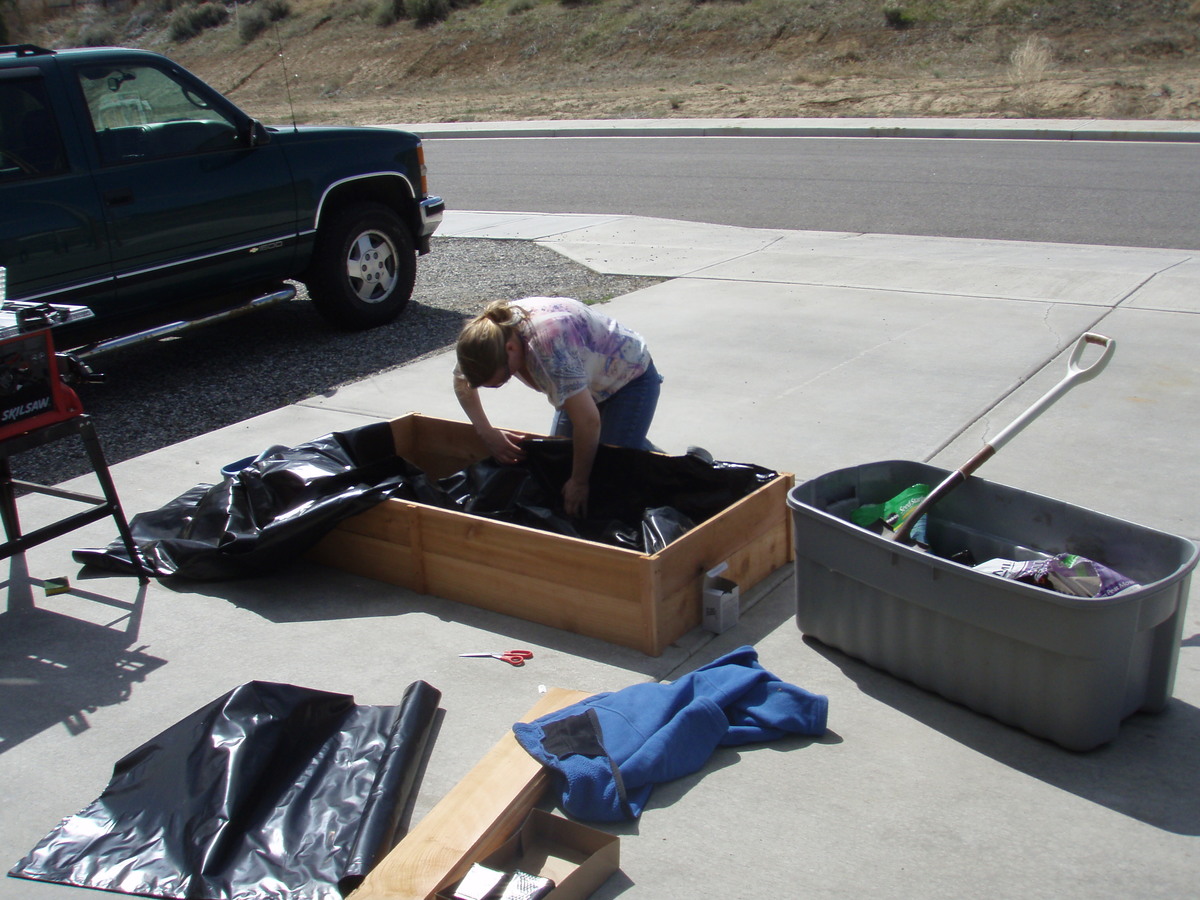
$10 Raise Cedar Garden Palnet, self watering

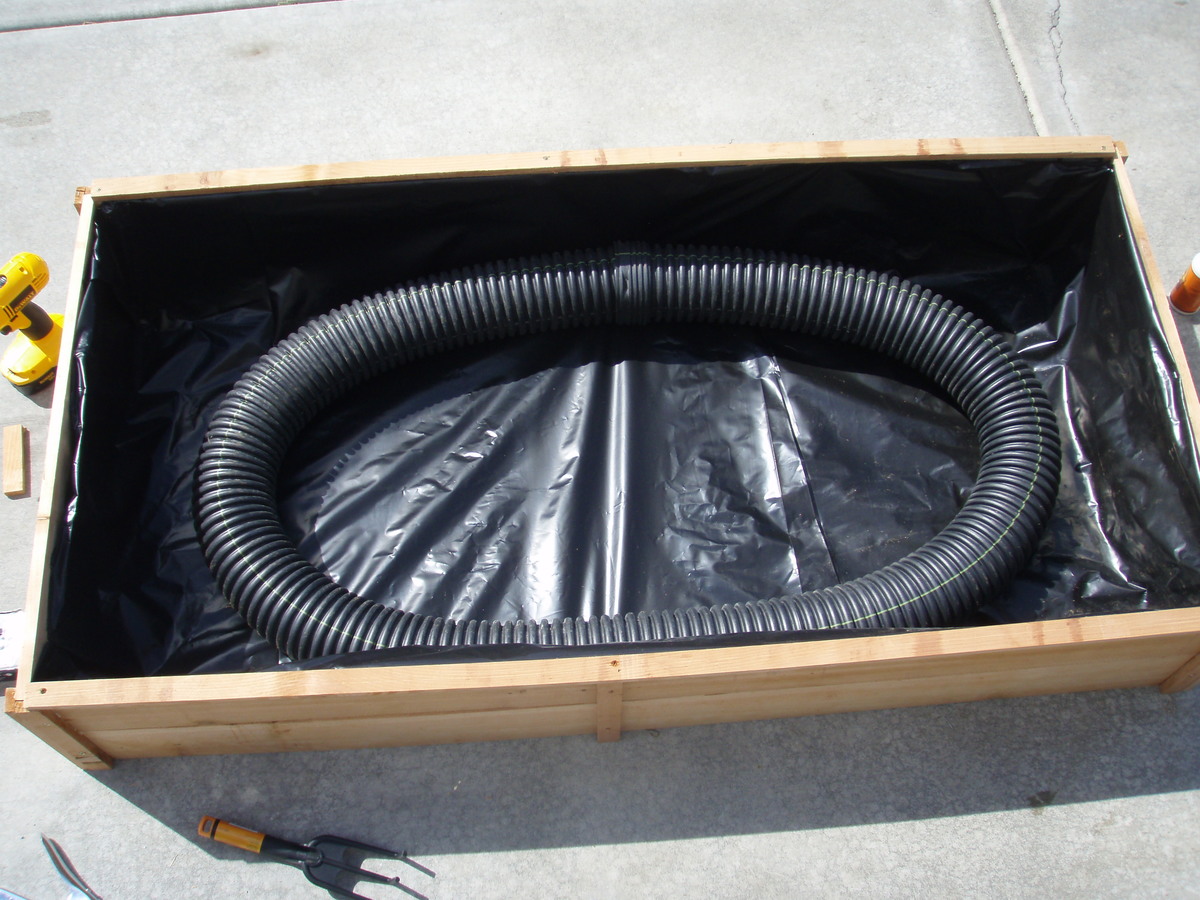
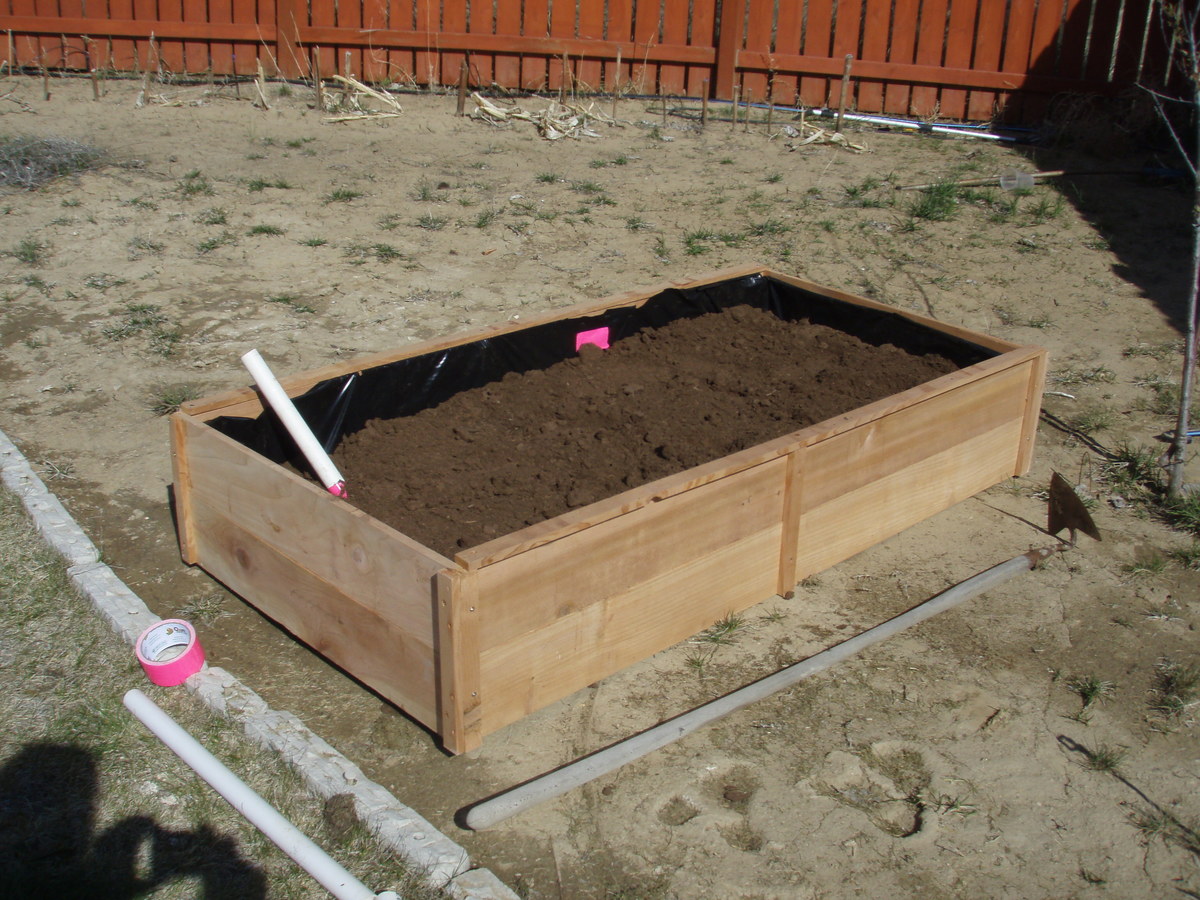
I read about a SIP, or self watering planter in Family Handy Man April 2012. There planse we expensive and compicated. These were easy and fun to make. I like the I dea of using 50% to 90% less water, and only watering once a week.

I added a post down the middle to help with bowing.

I found 5 foot cedar fence posts for $1.28 at orange. Including glue and screws $10. I have the palsit lininn, the withe piping on hand. HTe drain pipe was $6. for a total of $16.

Orange had a 2 x 2 plastic Self watering planter $30, big savings

I say starter only if you are not ripping, but using 1 x2 's

Estimated Cost
$10
Estimated Time Investment
Afternoon Project (3-6 Hours)
Finish Used
None
Recommended Skill Level
Starter Project

Comments

Our Bunk Bed

Submitted by aloewen on Wed, 01/29/2014 - 09:27

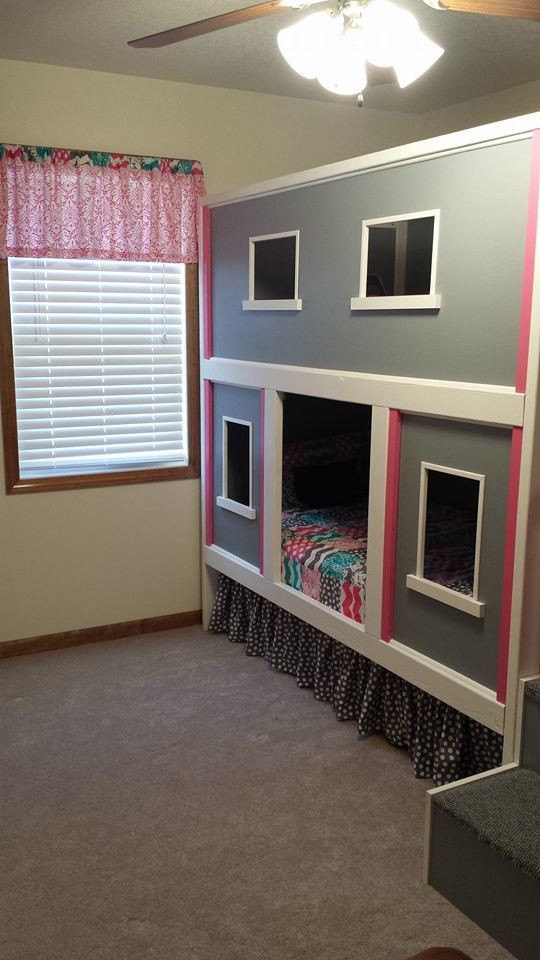
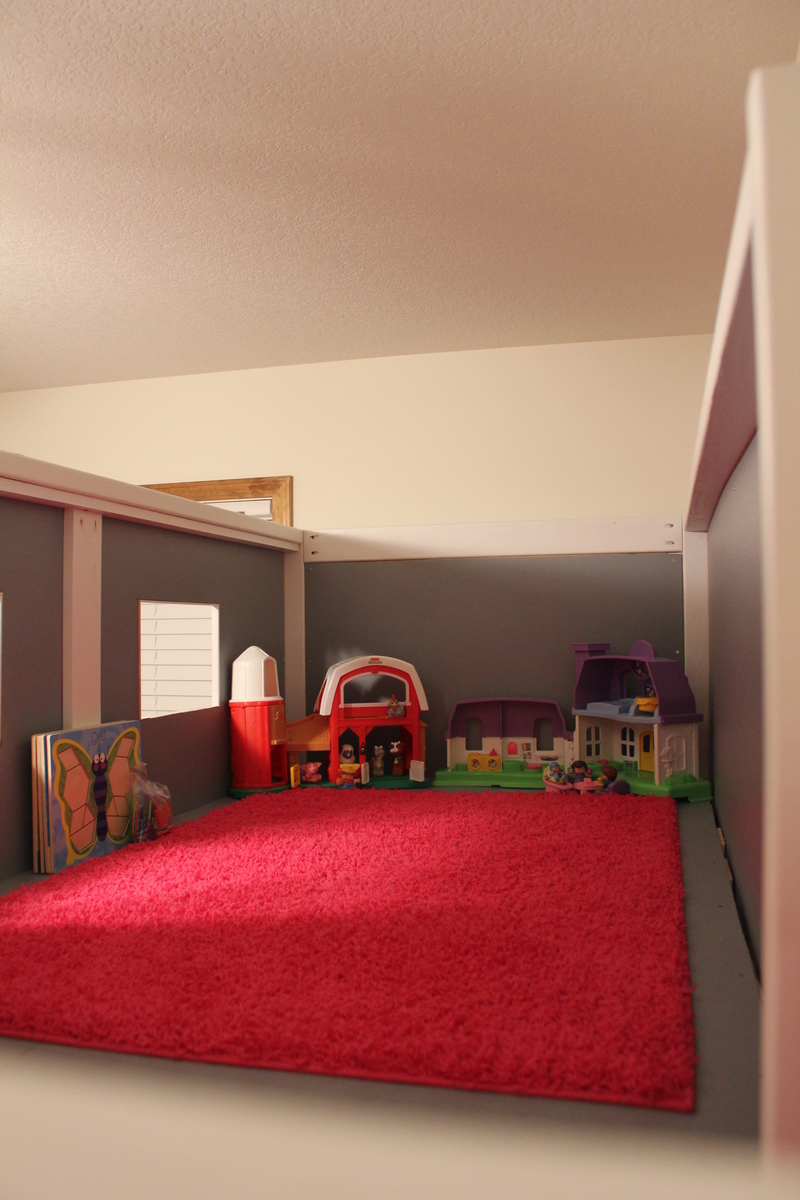
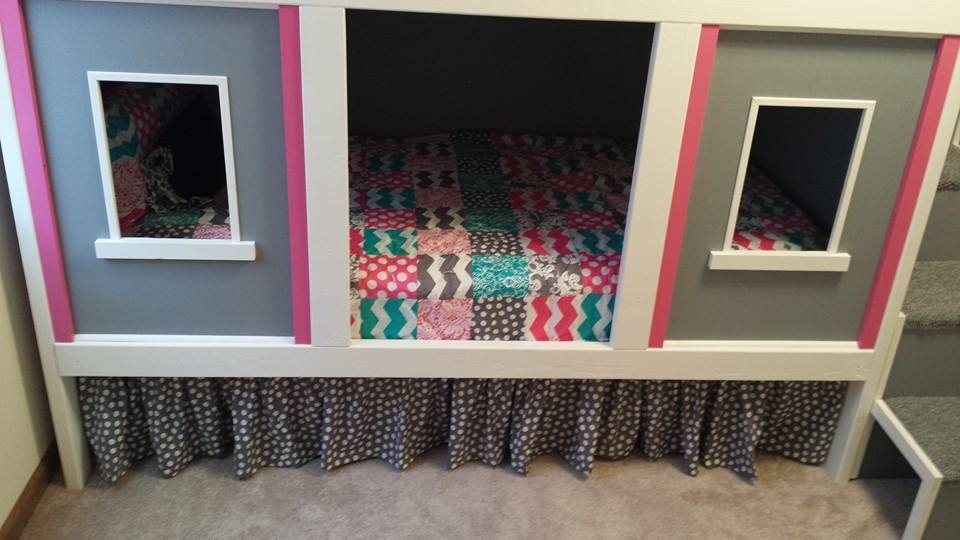
My husband and I are expecting our second child this April. We knew we wanted to move our 2 year old out of her crib and into a “big” girl bed so that the new baby could use the crib. I saw the Play House Loft Bed on Pinterest and fell in love. I showed it to my husband and convinced him it would be a great winter project for us. He of course started his research and had nightmares of our daughter falling over the top bunk. So when I saw the Sweet Pea bed I knew it was perfect. I pitched the idea to my husband that the bottom bunk could be her bed and the top would be her play area. He was sold. We went to Lowes and bought our first round of lumber and immediately realized this project was going to be more expensive than expected but we were still up for the challenge. My husband worked on the project two full days, I worked on it a half day and then together we worked on it a few hours over nap time or after putting our daughter to bed.

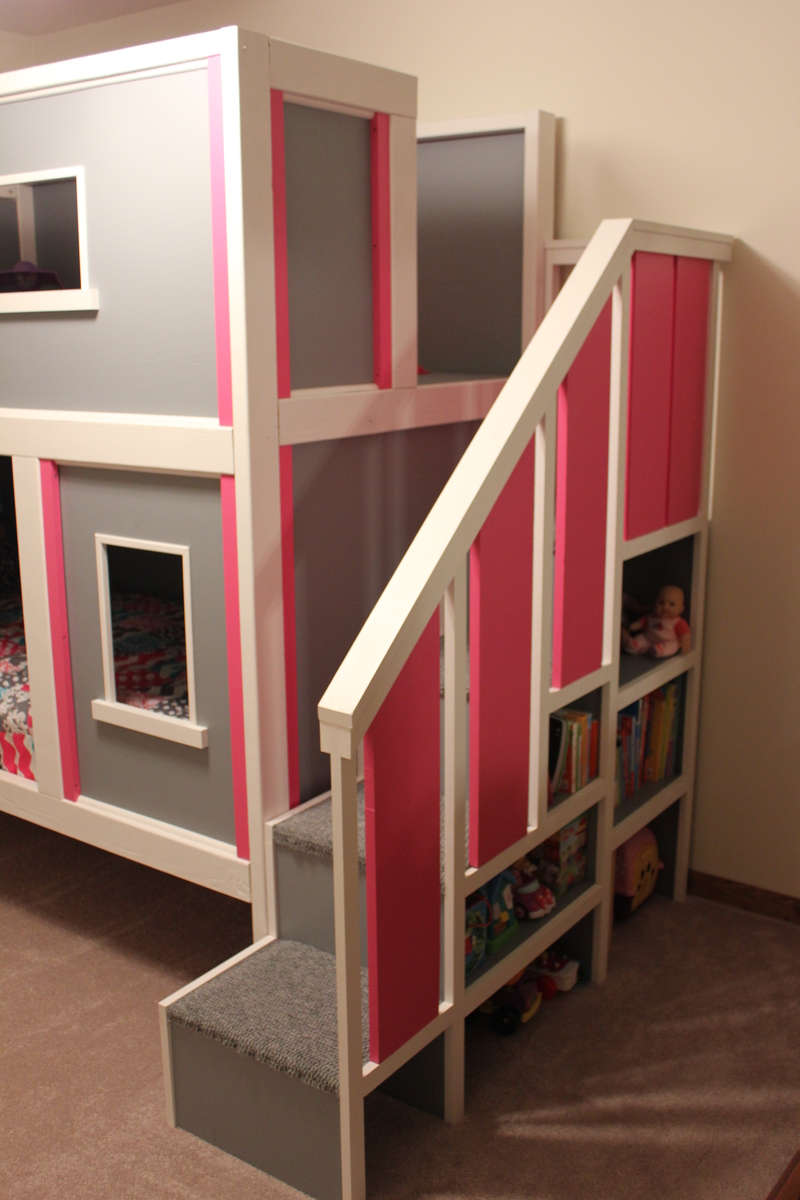
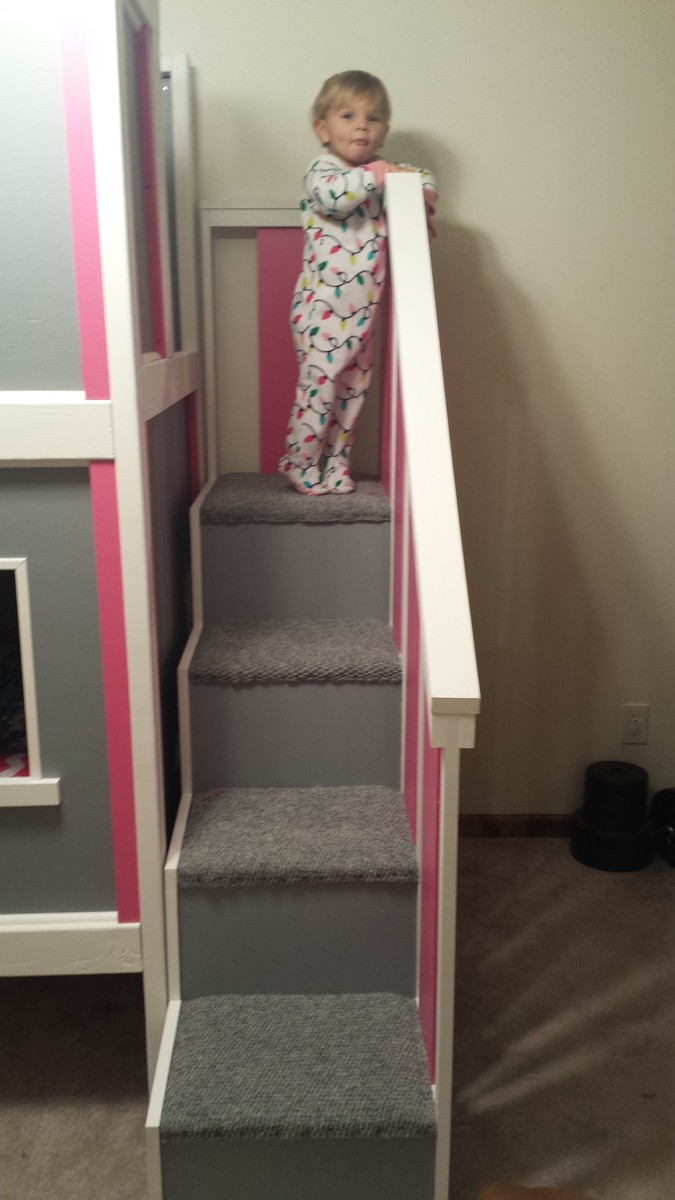
We made some modification to the plans, we liked the look of a flat front rather than 2x4’s so we used a flat sheet of ply wood. We added carpet to our stairs to help prevent any major injuries if fallen down. We left the roof off for now but may add it on later. We also decided to leave the bottom open for any size storage we needed. We added a fabric ruffle to hide the space.

Looking back we wish we would have done this project in the spring/summer and not dead winter. We had to park our cars outside and use our garage to cut and paint all the wood which meant space was limited. This also prevented us from being able to use a spray gun to paint. Had we been able to spray the paint this project would have moved a lot quicker!

Once the project was complete we were so happy with the outcome. Our daughter absolutely LOVES her new bed and loves her play area upstairs!
Built from Plan(s)
Estimated Cost
$800
Estimated Time Investment
Week Long Project (20 Hours or More)
Finish Used
Behr White, Gray and Pink Paint.
Recommended Skill Level
Intermediate

Comments

birdsandsoap

Wed, 01/29/2014 - 11:12

I love the color combo. This is a great bed to transition to from a crib, we did that with my youngest daughter too. I hope she enjoys it, both kids will be sharing a bunk in no time!
Media Center Console Unit

We just love your work and detailed plans!

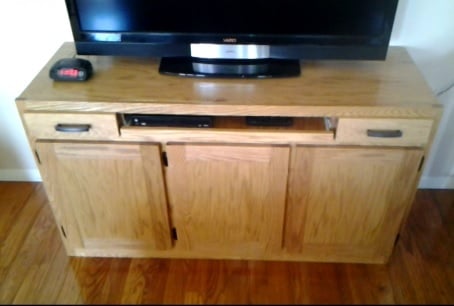
Hubby and I built the Console Unit and plan to add on the base units and hutches. We built the unit only 30" tall vs. the 34-1/2" height from the plans. We used oak plywood and oak trim and finished it with a Fruitwood Stain and Polyurethane Seal. We shortened the height of the upper shelf, adding two shallow drawers and a pull-out tray for setting our cable modem on and hooking up our laptop to view movies and You Tube videos on our television, when desired. My hubby loves to make You Tube videos and made one of our work and posted it at:

https://www.youtube.com/watch?v=6JuQ4N-jUq4

Keep up the great work and we plan to posted more pics!

Estimated Cost
$125 for 1-1/2 pieces of oak plywood and approximately 5 pieces of oak trim. We also used 100 kreg jig screws.
Estimated Time Investment
Week Long Project (20 Hours or More)
Finish Used
Minwax Fruitwood with Polyurethane Seal.

Watch the video to see it applied at:

https://www.youtube.com/watch?v=6JuQ4N-jUq4
Recommended Skill Level
Intermediate

Bens table and chairs

Submitted by Anonymous (not verified) on Sat, 01/18/2020 - 14:19

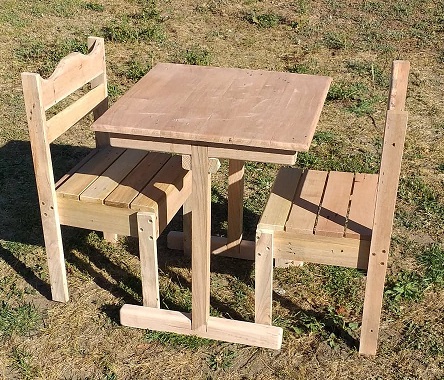
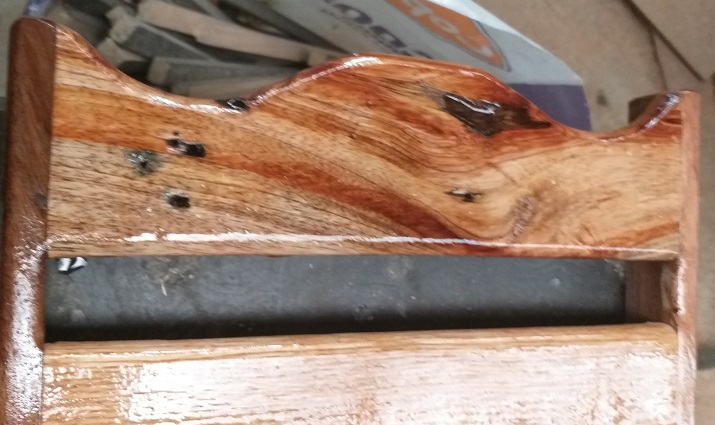
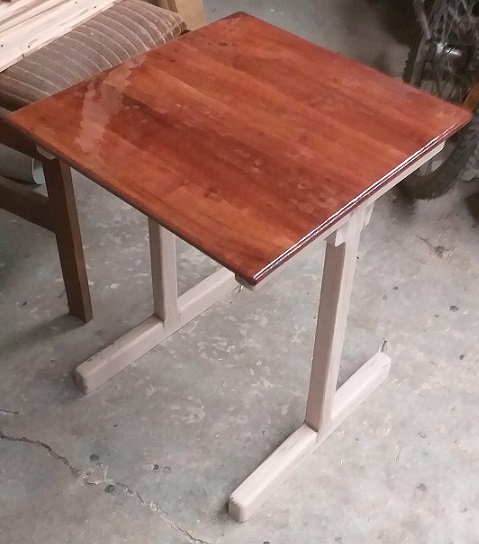
I took your plan for the Clara table to make Ben's table. I used your sizing but made Ben's table with pedestal legs. I then used your $4 chair plan as well.
Most of the timbers you use we in Australia consider exotic timber.
I used eucalypts. Tasmanian Oak for the table legs and Red Ironbark for the rest.

Built from Plan(s)
Estimated Time Investment
Week Long Project (20 Hours or More)
Finish Used
Lacquer

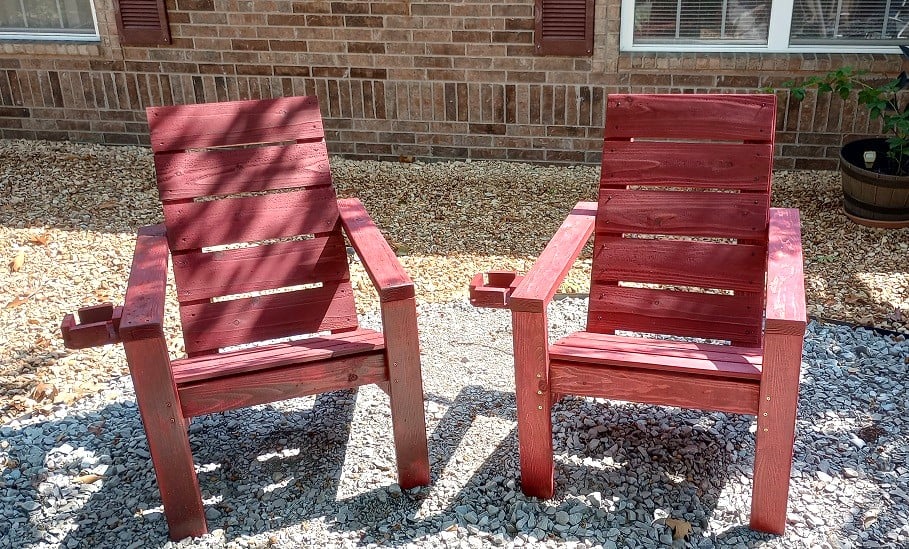
Adirondack Chair Modified

Submitted by Anonymous (not verified) on Fri, 09/15/2023 - 08:50

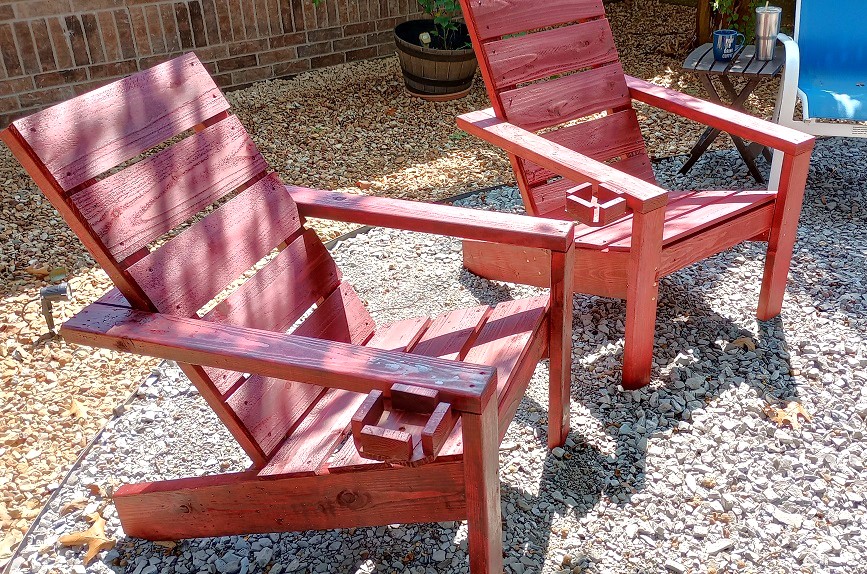
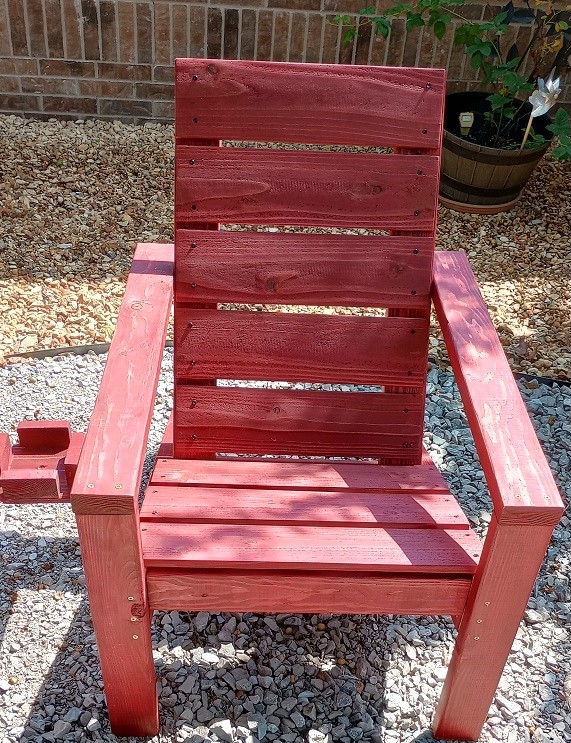
Modified Essential Adirondack Chair
I modified the basic design by making the seat 3 inches higher and 1 inch wider to better accommodate my senior body.
I also used cedar fence boards for the seat and back instead of 1x10s, and added clunky cup holders.
I used Barn Red stain and Thompson's Water Seal for the finish.

Brad Tom

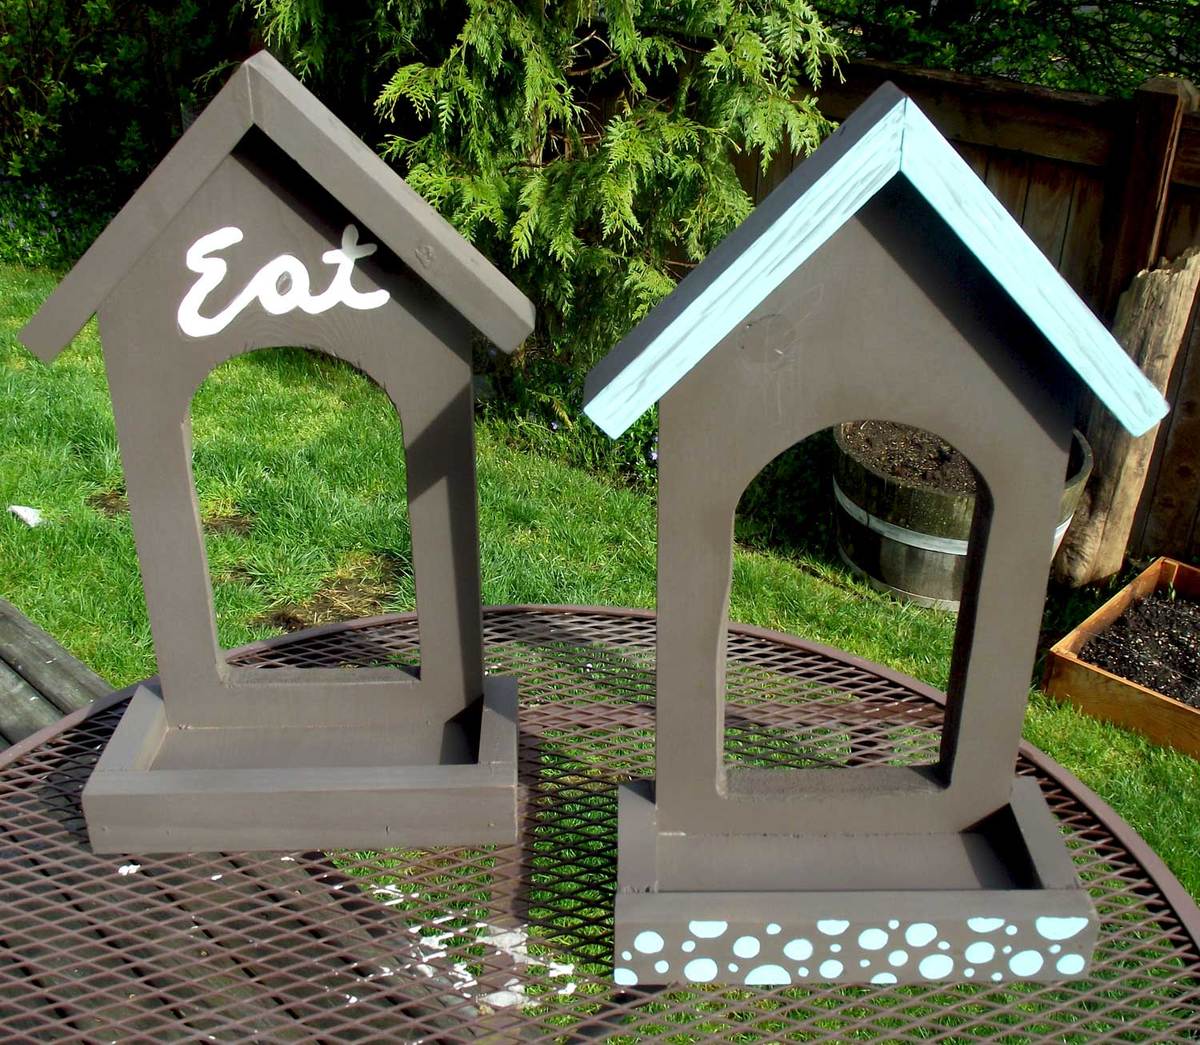
Peek-A-Boo Birdie Feeder

These little birdie feeders ended up being part of our Easter festivities. It was such a quick and easy project. I can't wait to hang them and see the looks on my kids faces as the neighborhood birds fly up for a snack.

We had almost all of the wood on hand from previous projects, they only thing we bought was the board for the faces.

Estimated Cost
$5.00
Estimated Time Investment
An Hour or Two (0-2 Hours)
Finish Used
Valspar Spray Paint, Acrylic Paint
Recommended Skill Level
Starter Project

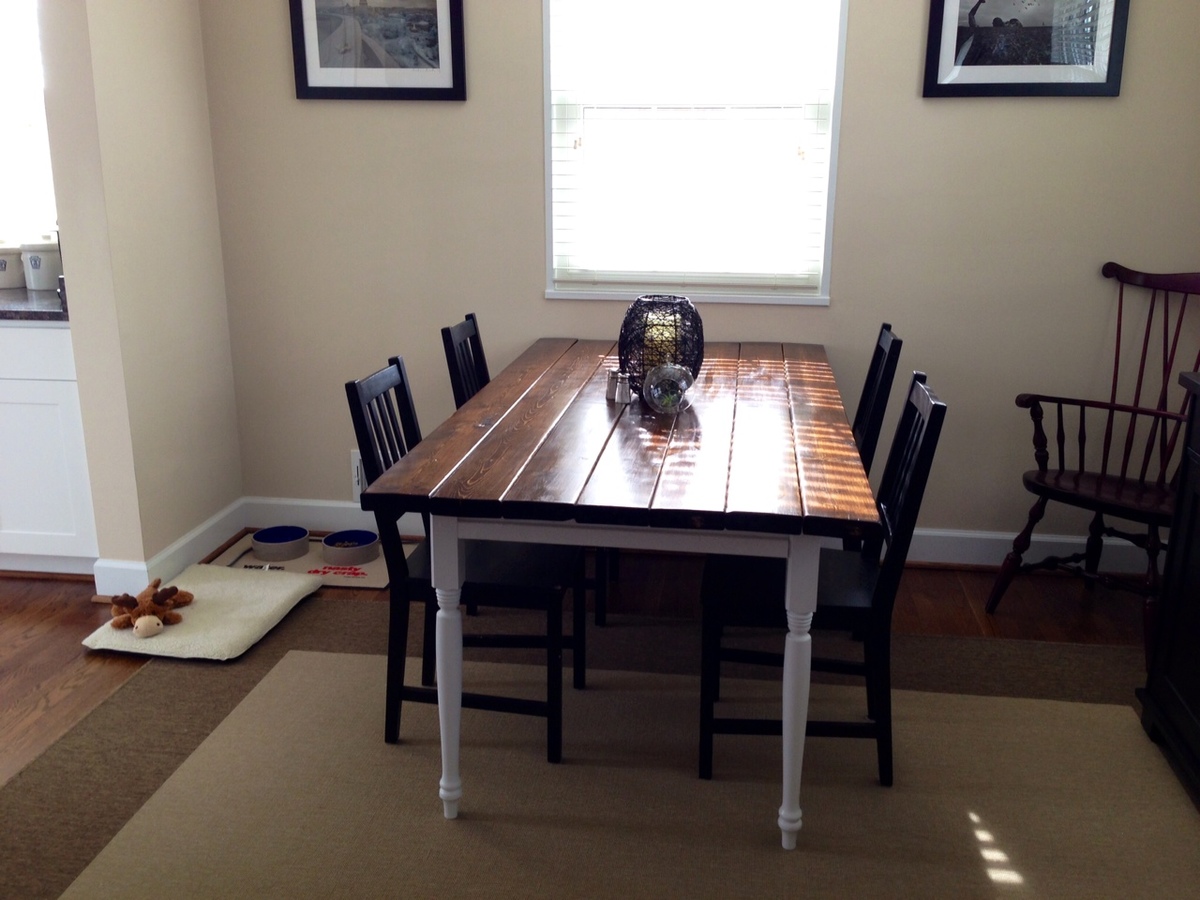
First homemade piece of furniture!

Submitted by rsabina on Sat, 02/01/2014 - 10:10

I decided I had to have a farm table, but could not pay the store bought prices. SO I spent weeks poring over plans trying to figure out which one to make.
We picked this plan because I felt like as a beginning it would be hard to make the legs. I REALLY wanted to get the husky legs found in the plan but they were a little pricey, so I just got the same height legs at lowes.
I am SO happy with my table. For anyone feeling daunted by pocket holes and a kreg jig: get a kreg jig mini. I couldn't afford the regular kreg jig but the mini was only 20 bucks or less.
Happy building!

Estimated Cost
$105
Estimated Time Investment
Day Project (6-9 Hours)
Finish Used
Minwax american
Recommended Skill Level
Beginner

Comments

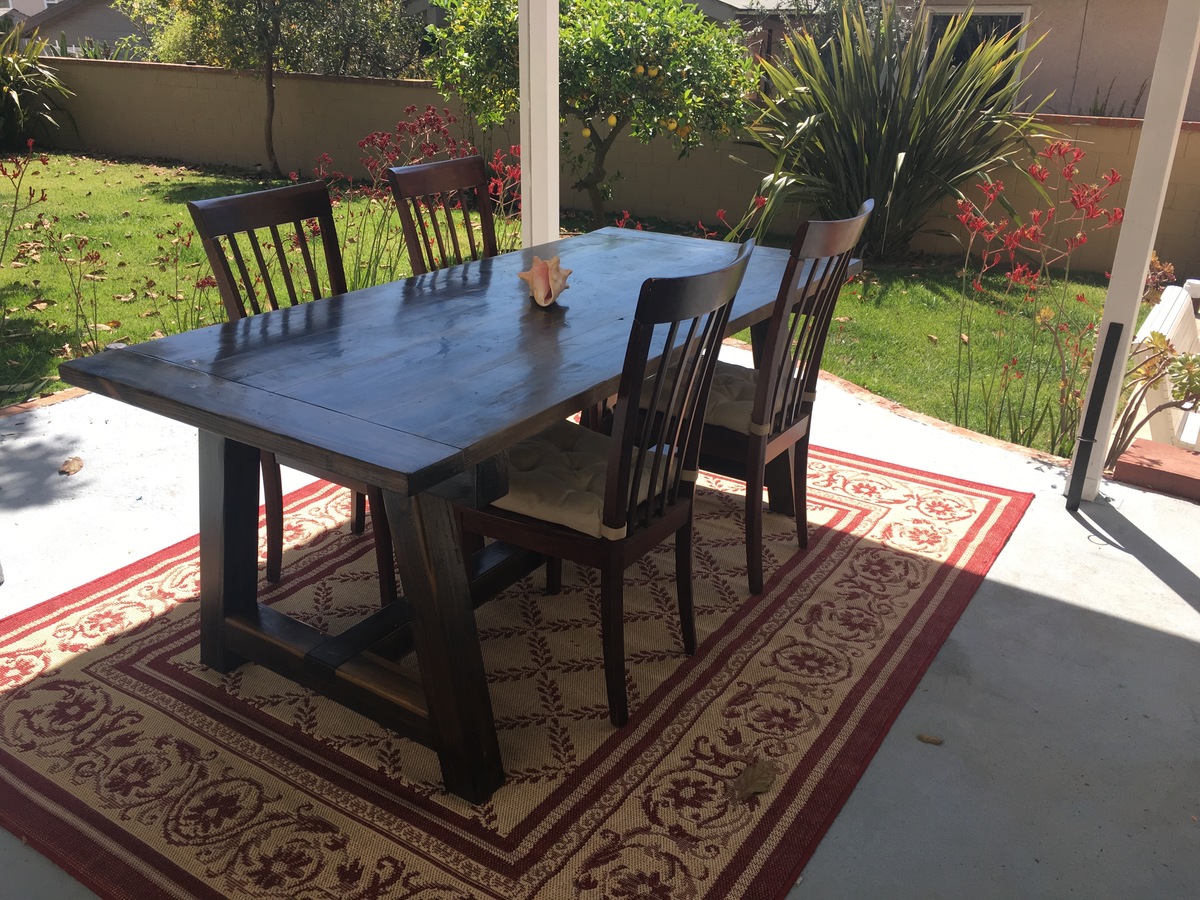
California Beach Farmtable

Submitted by Anonymous (not verified) on Sat, 04/30/2016 - 09:04

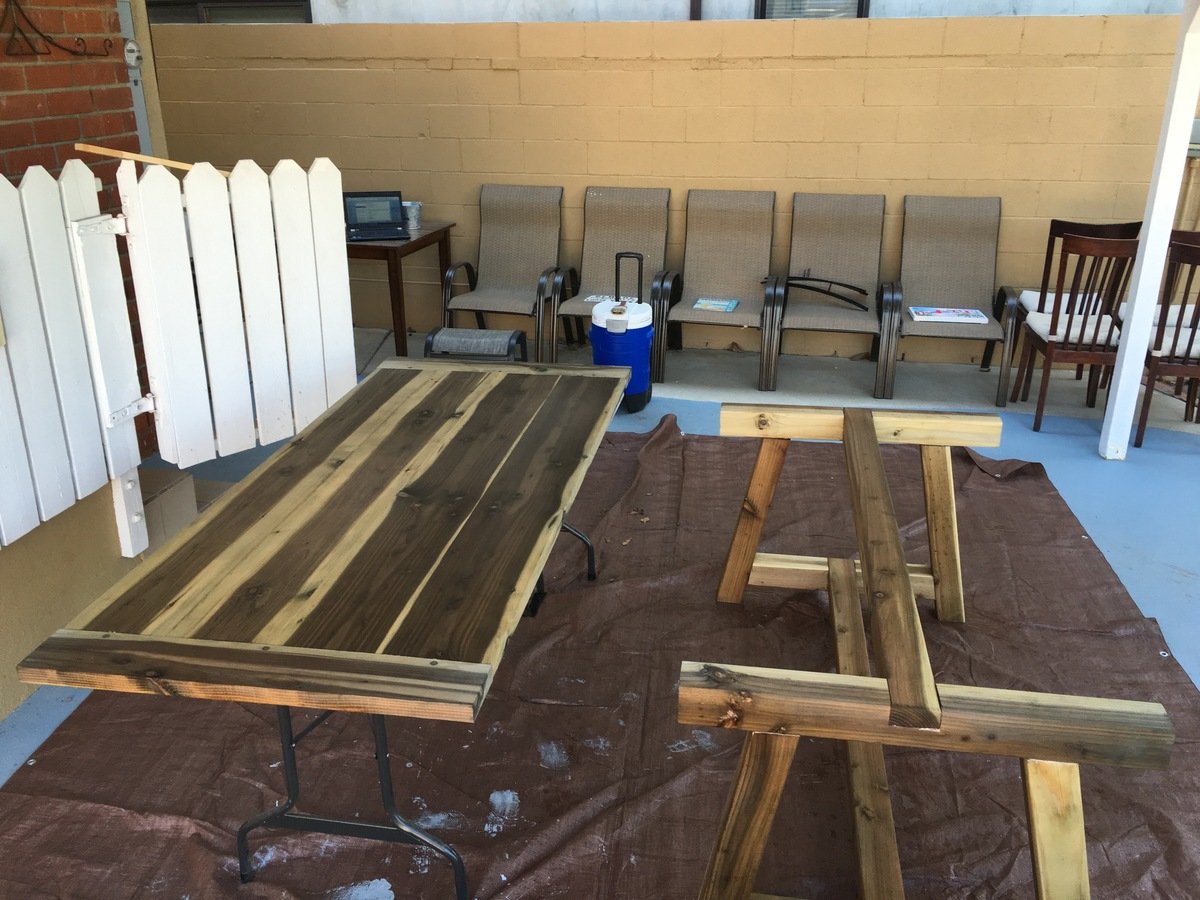
I built this farmtable using old fashioned methods of tongue and groove, biscuits, etc.  It was a true labor of love but it came out great.  The stain I made using vinegar, steel wool and water.  I the protected it with spar urethane.  Next project is the chairs and benches.  Thanks Ana for the inspiration.

Built from Plan(s)
Estimated Cost
$100
Estimated Time Investment
Week Long Project (20 Hours or More)
Finish Used
Spar urethane
Recommended Skill Level
Advanced

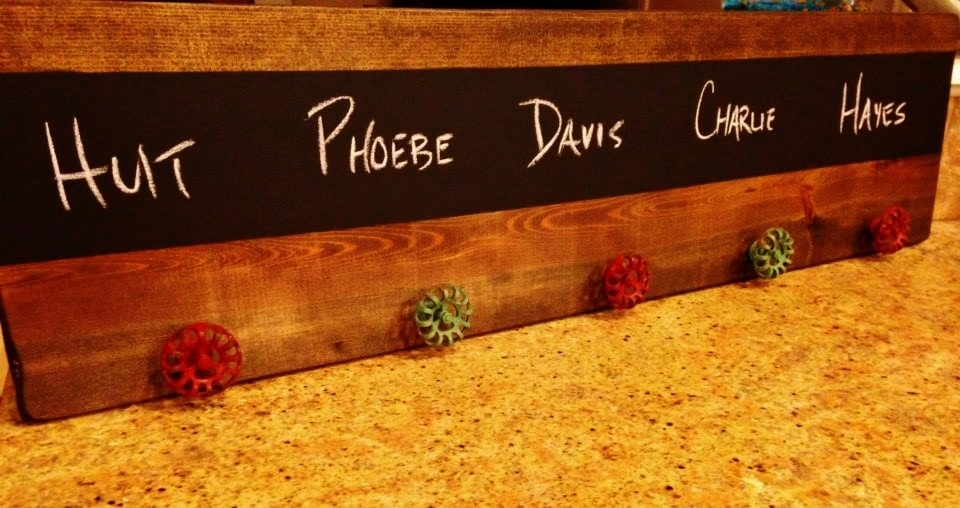
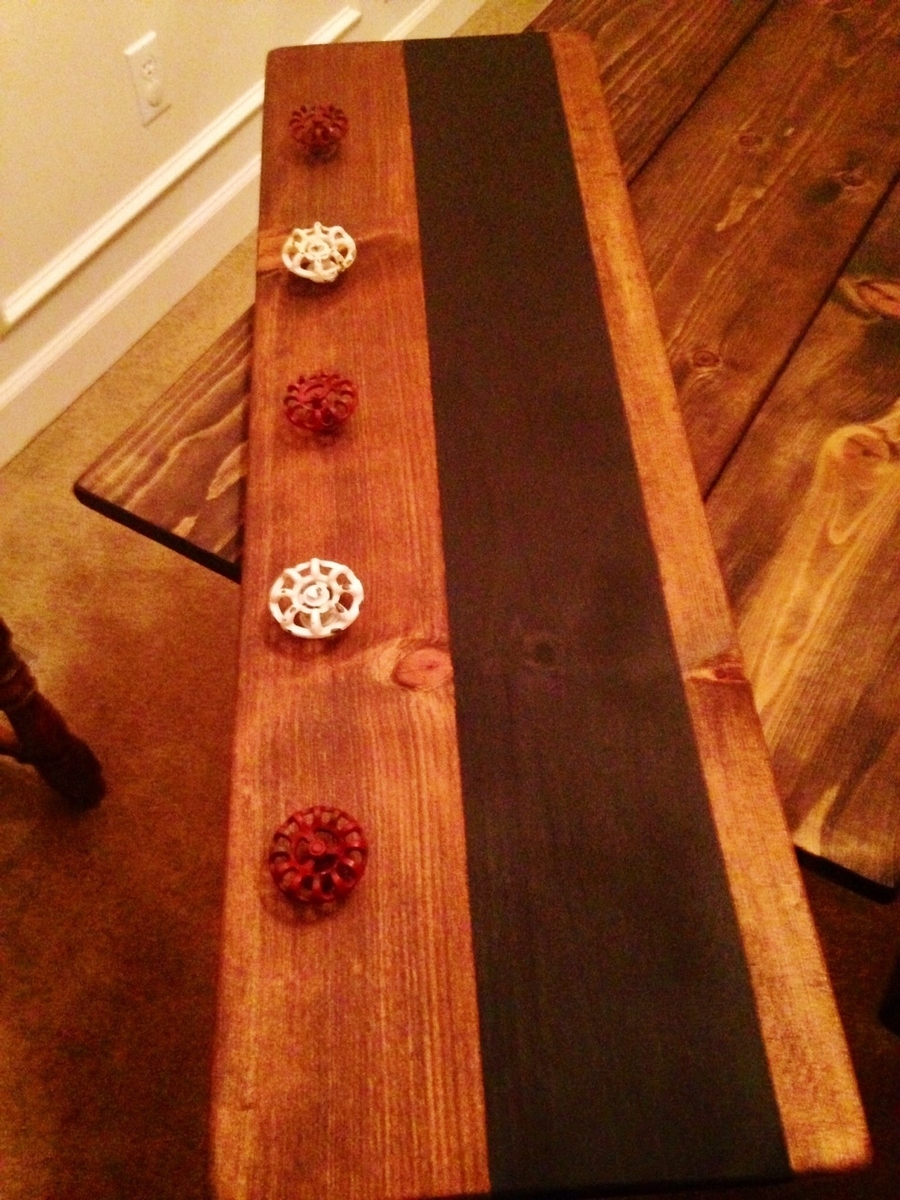
Chalkboard Hangers

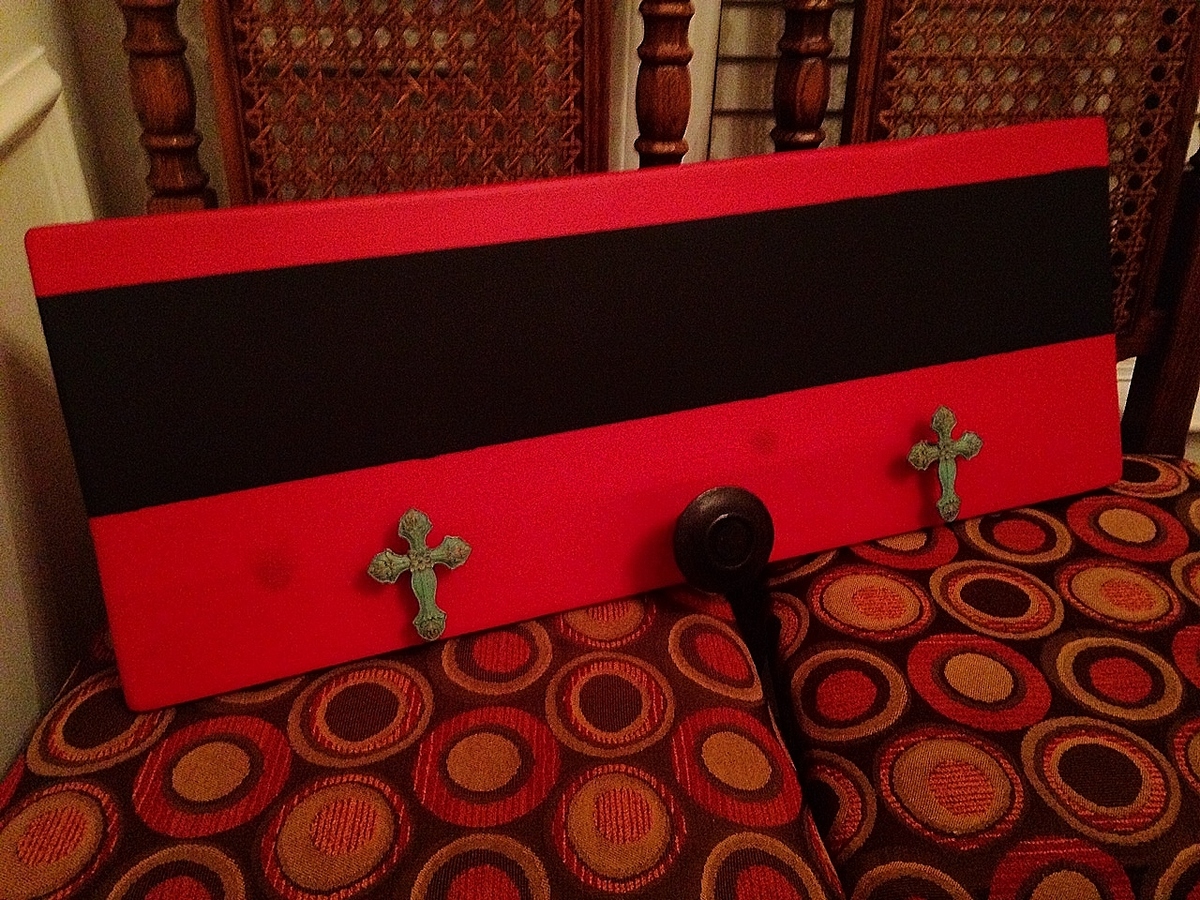
These are pretty easy to make, the hardest part is cutting off the extra length on the knobs, but make great presents!

Estimated Time Investment
Afternoon Project (3-6 Hours)
Finish Used
Stain and paint
Recommended Skill Level
Starter Project

Built in Secretary hutch

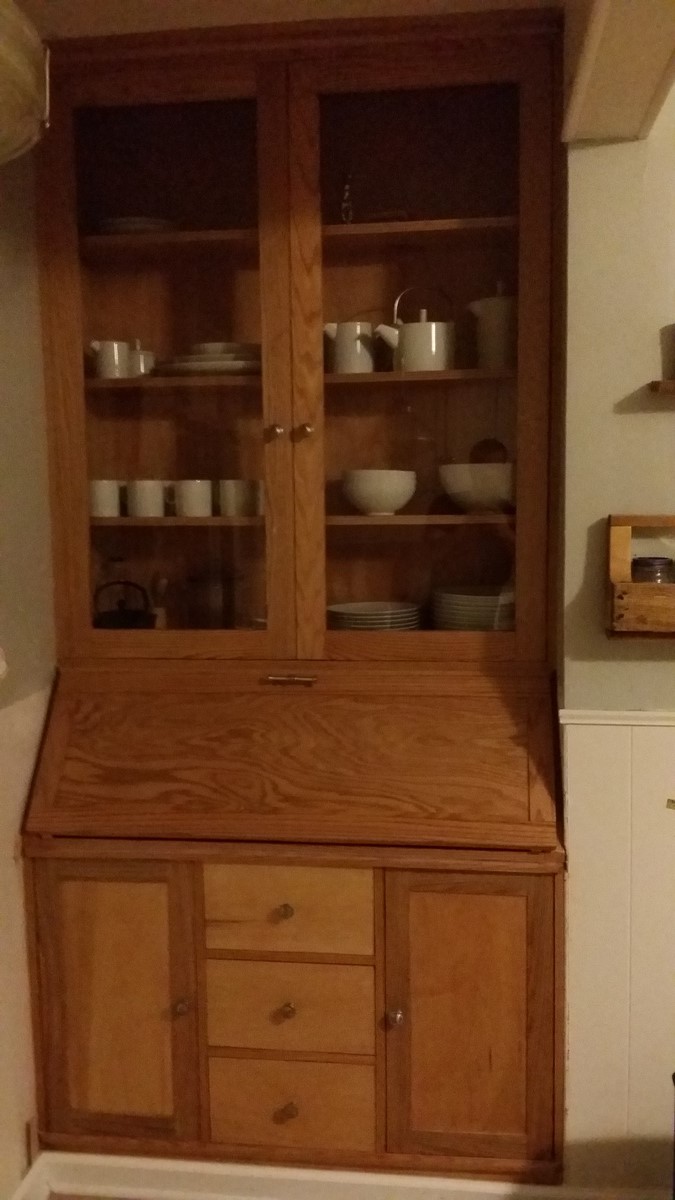
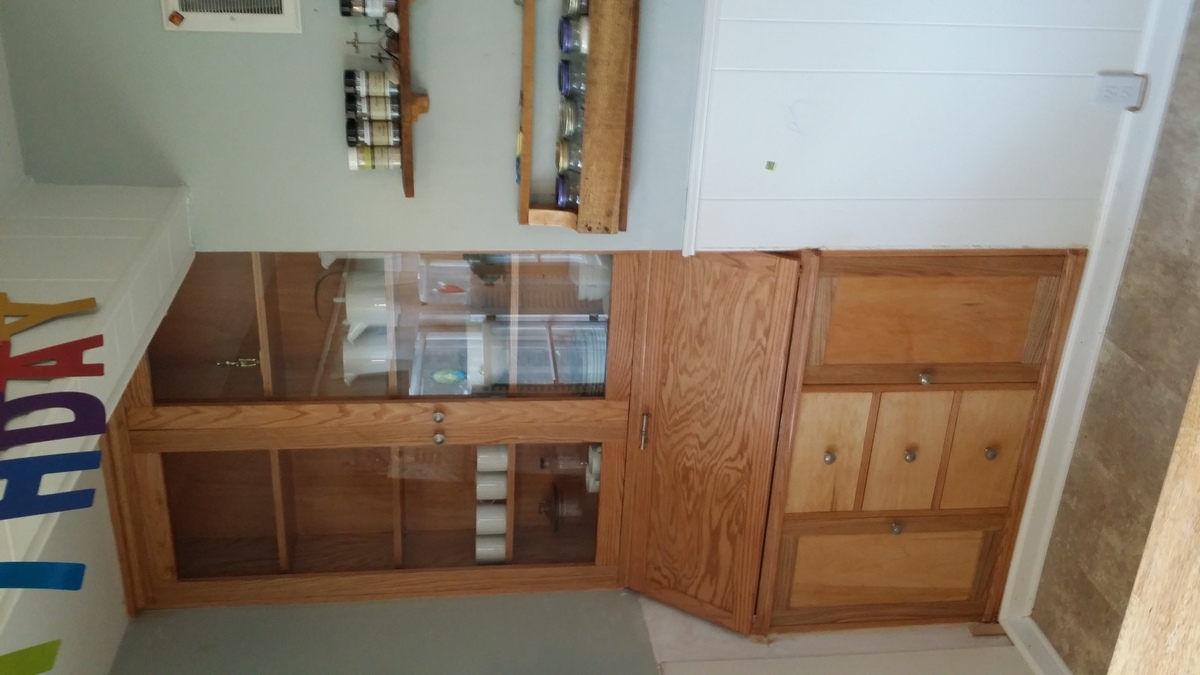
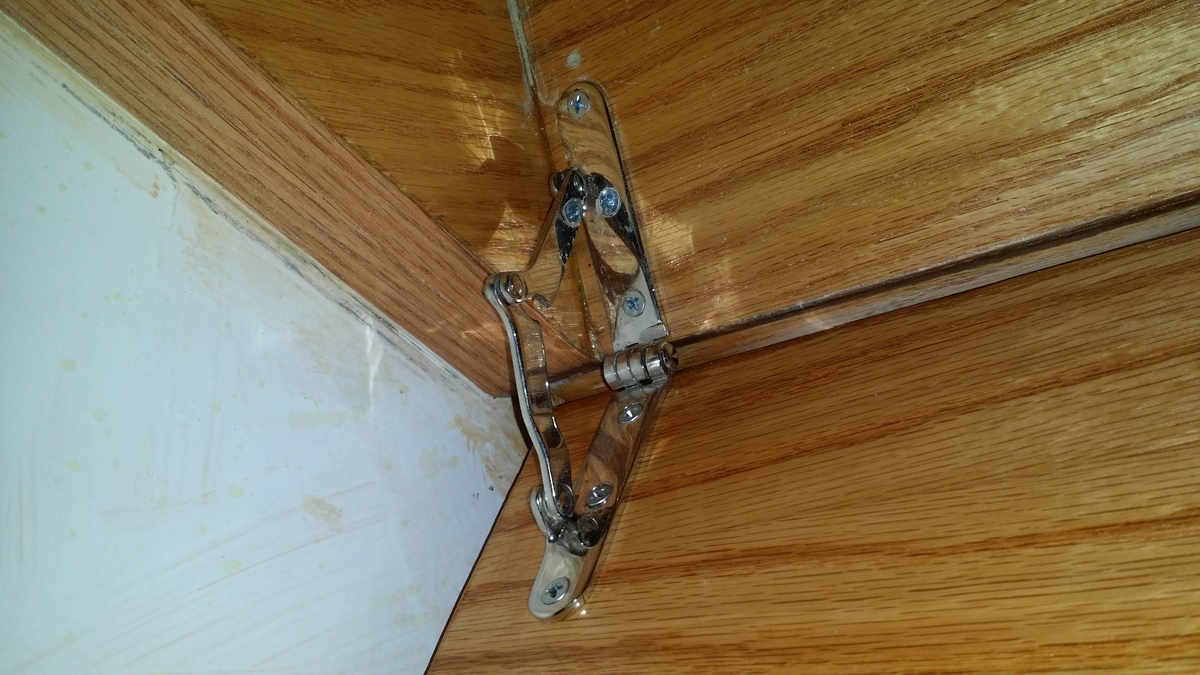
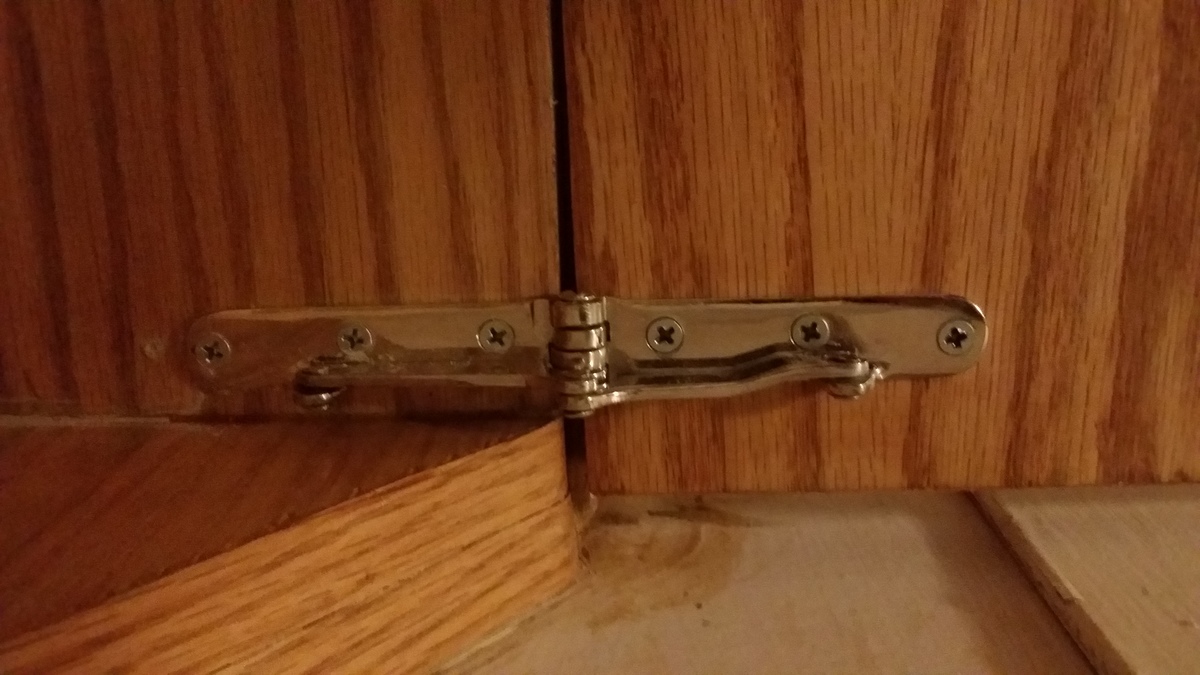
Wanted a builtin hutch change the plans a little for depth and height. I used tempered glass instead of lexan for the last ability as lexan discolor and looks a little cheap. Mostly red oak plywood, but choose hard wood for shelves so they wouldn't sag and small desk drawers and doors because it was easier to buy it cut and cost effective. Wish I would have done the drawer faces hardwood also. I used maple on the bottom and decided I wanted more grainy look so finished the desk and top with redoak. Matches bottom trim which was red oak. Special ordered old style secretary desk hinges. I had them played $60 for both. I liked the look and they are stable. Time consuming building but impressive when done. Don't know why photos alway turn up sideways, tried flipping them and saving them same result...

Estimated Cost
$500
Estimated Time Investment
Week Long Project (20 Hours or More)
Finish Used
Pecan maple stain, semi gloss poly. Stain poly, sand poly.
Recommended Skill Level
Intermediate

Province Table

Submitted by babyak81 on Tue, 04/24/2012 - 15:42

The plans I used were actually from design confidential but it is the same table.

Built from Plan(s)
Estimated Cost
$80.00
Estimated Time Investment
Week Long Project (20 Hours or More)
Finish Used
I mixed what I had together...then did about 10 layers of a wax finish.
Recommended Skill Level
Intermediate

Comments

Jill P (not verified)

Tue, 04/24/2012 - 23:16

This looks great! did you modify the plans (length) at all? It looks like your cross beams are closer together and I like that look best.

Kait (not verified)

Tue, 05/15/2012 - 04:15

My husband and I are looking to build this table very soon. He is unsure as to what wood you may have used for this project. We absolutely love this dark wood. Will you please tell us what wood you used for this project?

Thanks! Can't wait to have this beautiful table sitting in our dining area!!!

Rachel Babyak (not verified)

Tue, 05/15/2012 - 06:34

We used Douglas fir I believe. We got it at a lumber yard and I can't remember for sure. The stain is ebony dark walnut and a mahogany mixed... It was what I had on hand. Good luck and happy building!!

Storage locker unit

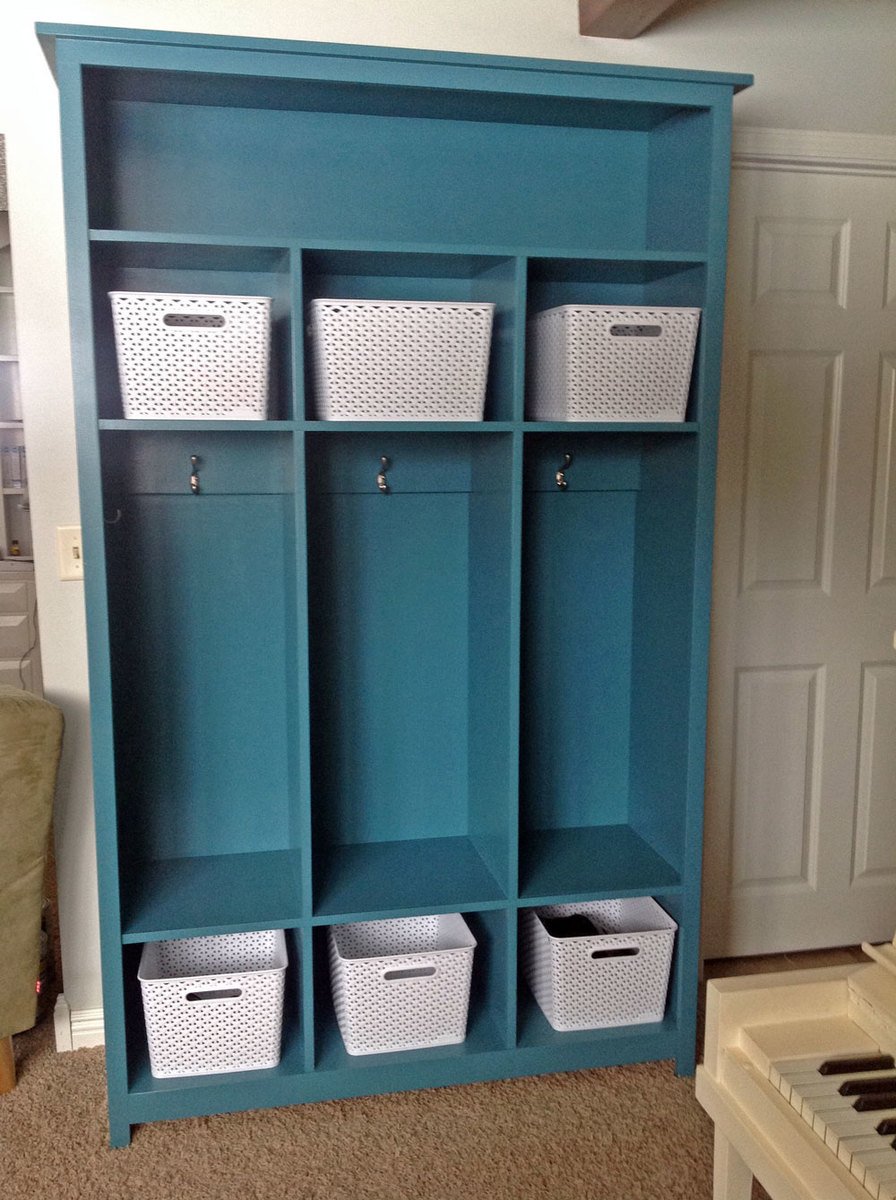
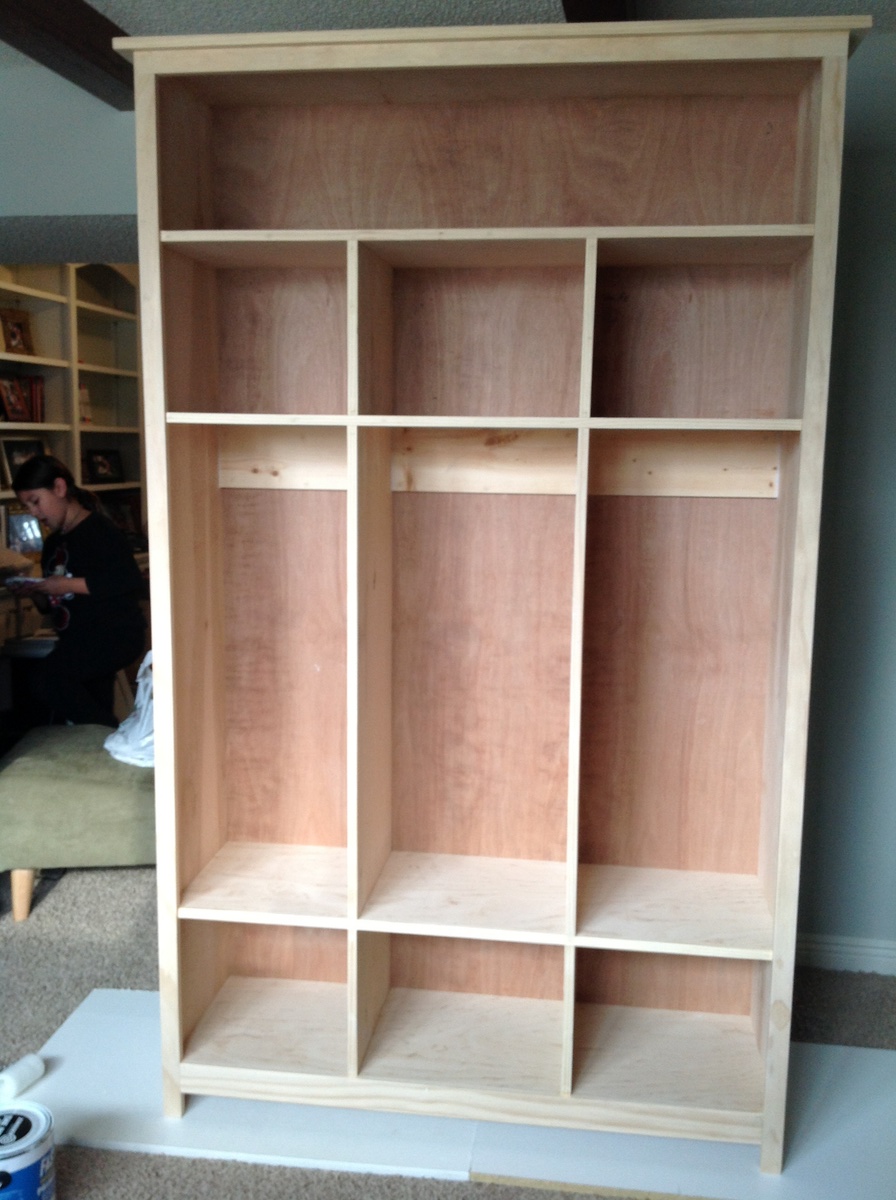
Submitted by khawley5 on Fri, 02/07/2014 - 21:23

I have been waiting a long time to have this amazing piece of storage. The size is what was intimidating to me but it was easy to build. This project is perfect for a beginner . Make sure you have an extra set of hands due to the size otherwise this was easy and straight forward to build. I love the storage it offers to keep my Minnesota winter gear organized. The kids have a place for all of their snow pants, boots, coats etc.

Built from Plan(s)
Estimated Cost
$150
Estimated Time Investment
Weekend Project (10-20 Hours)
Finish Used
I used a custom match color for the beautiful teal finish. I love teal!
Recommended Skill Level
Beginner

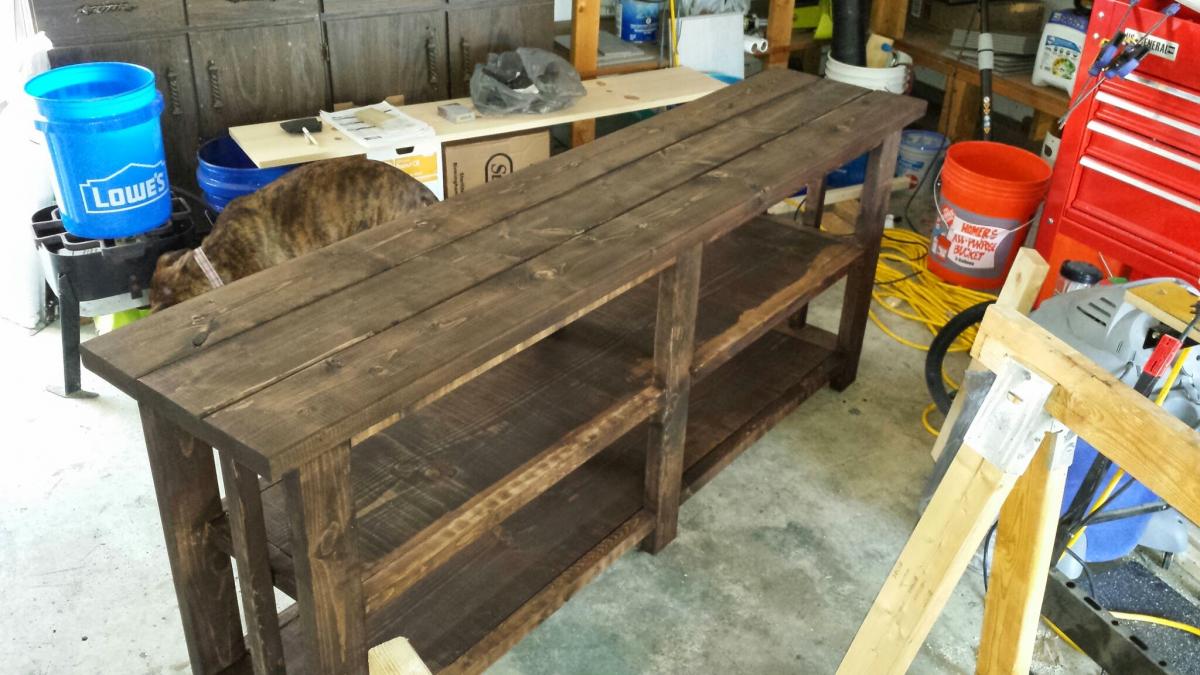
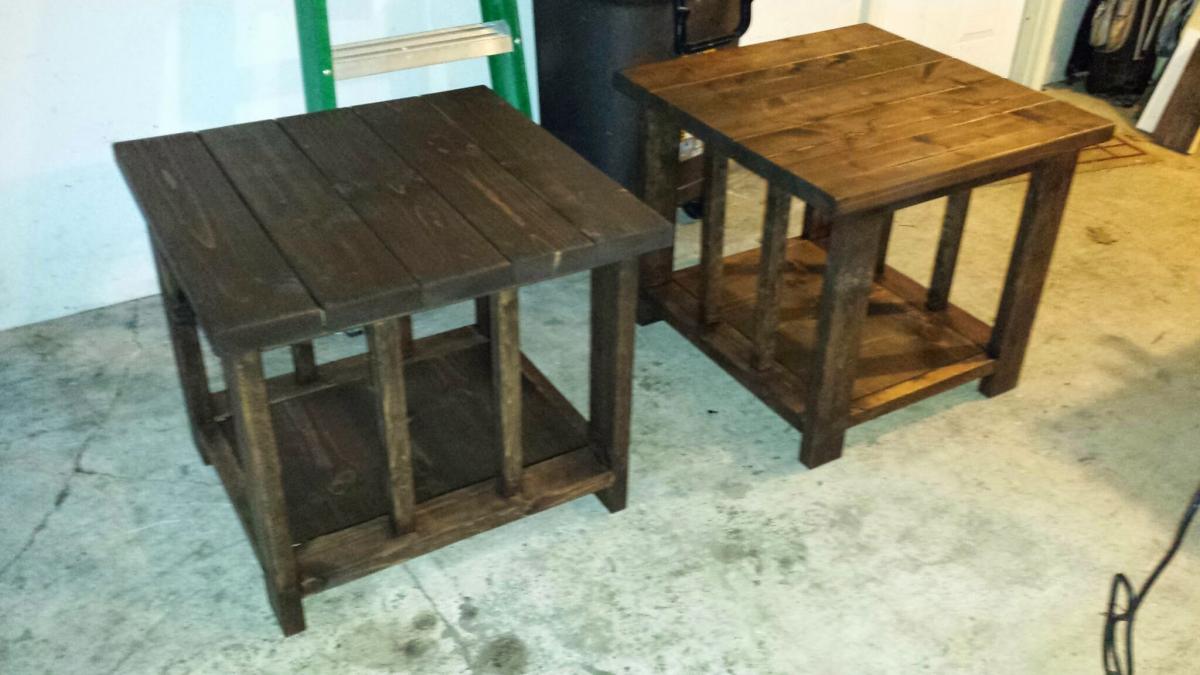
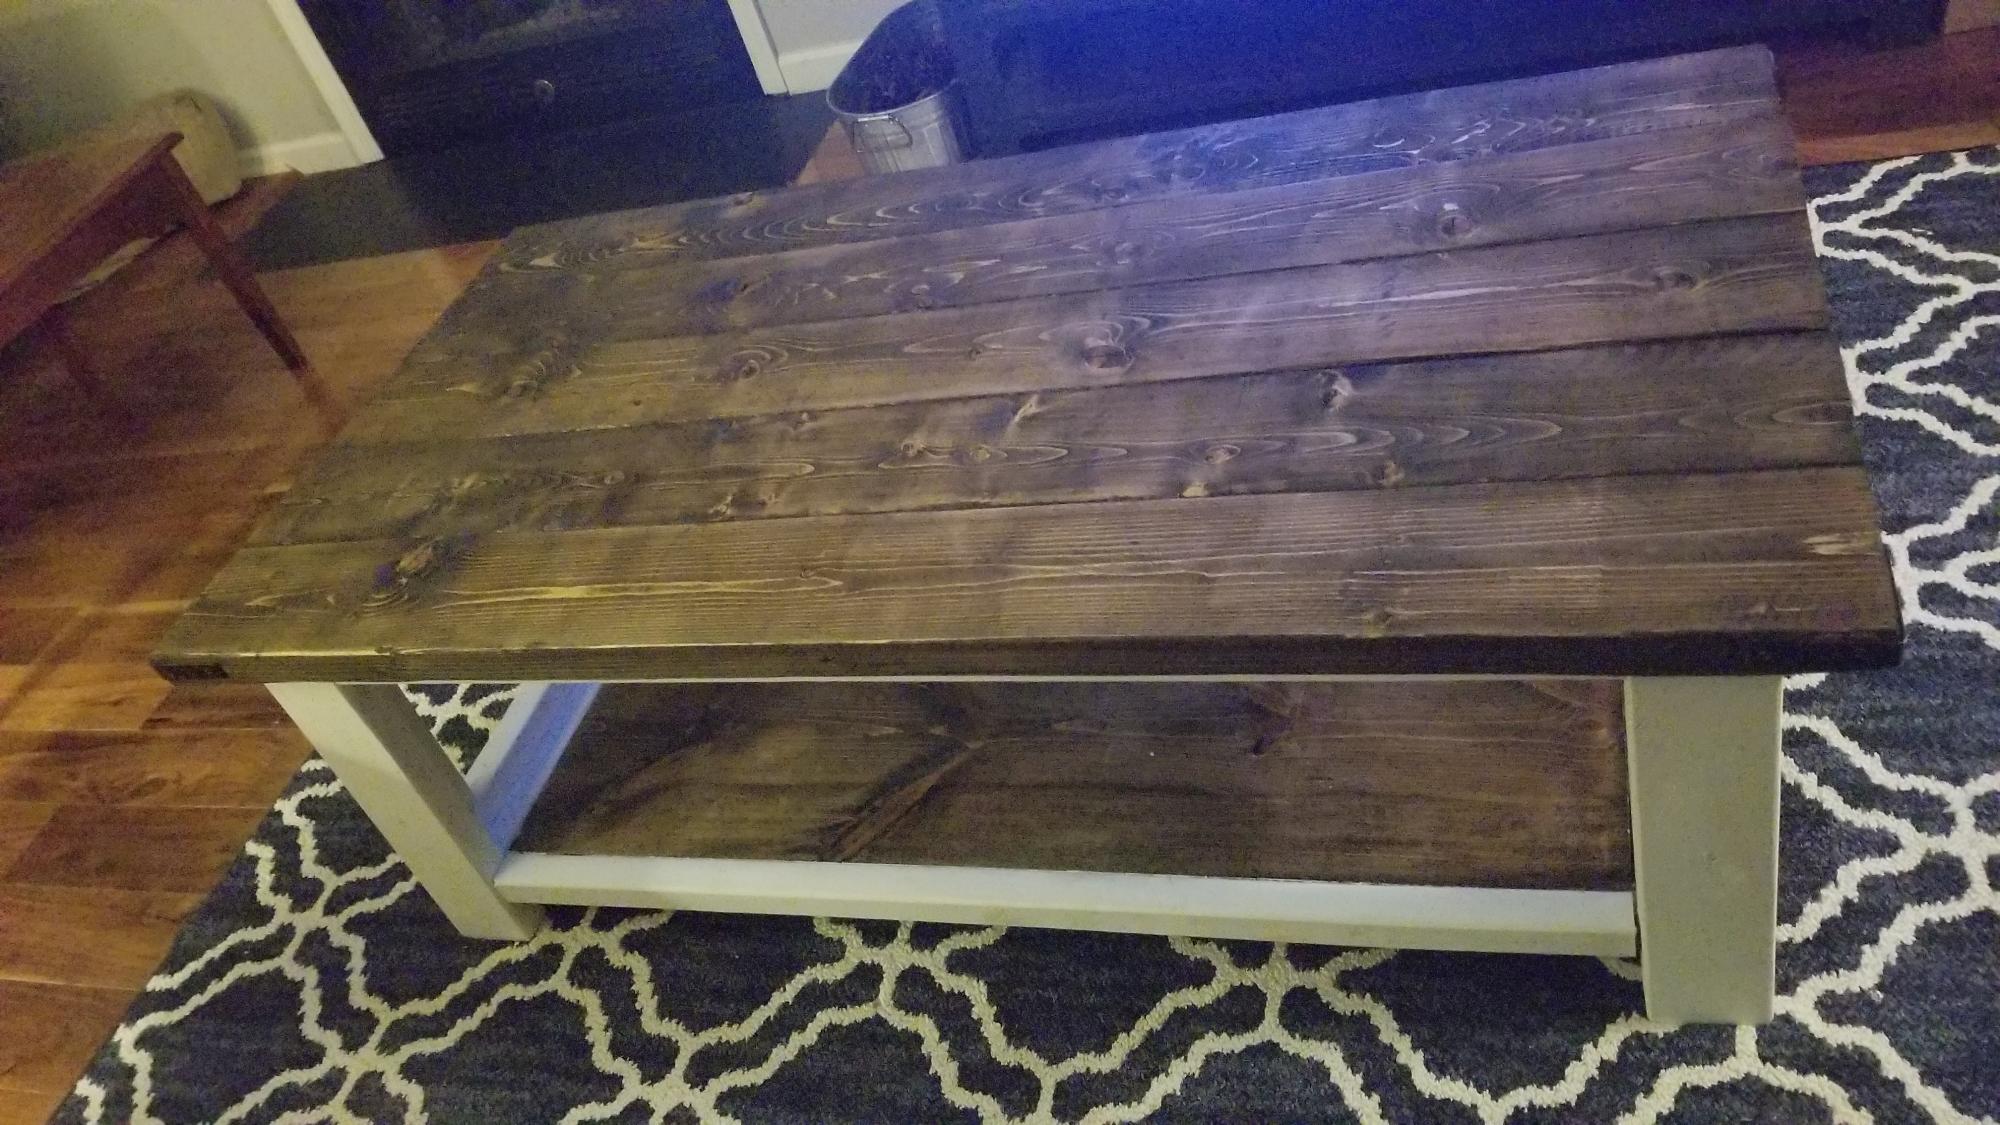
Rustic X Coffee Table

Submitted by jmuhorn99 on Tue, 02/04/2020 - 16:22

I'm really bad at making the X's, so I just added some straight pieces for decoration.

Built from Plan(s)
Estimated Cost
$64
Estimated Time Investment
Day Project (6-9 Hours)
Finish Used
Dark Walnut stain and white chalk paint
Recommended Skill Level
Intermediate

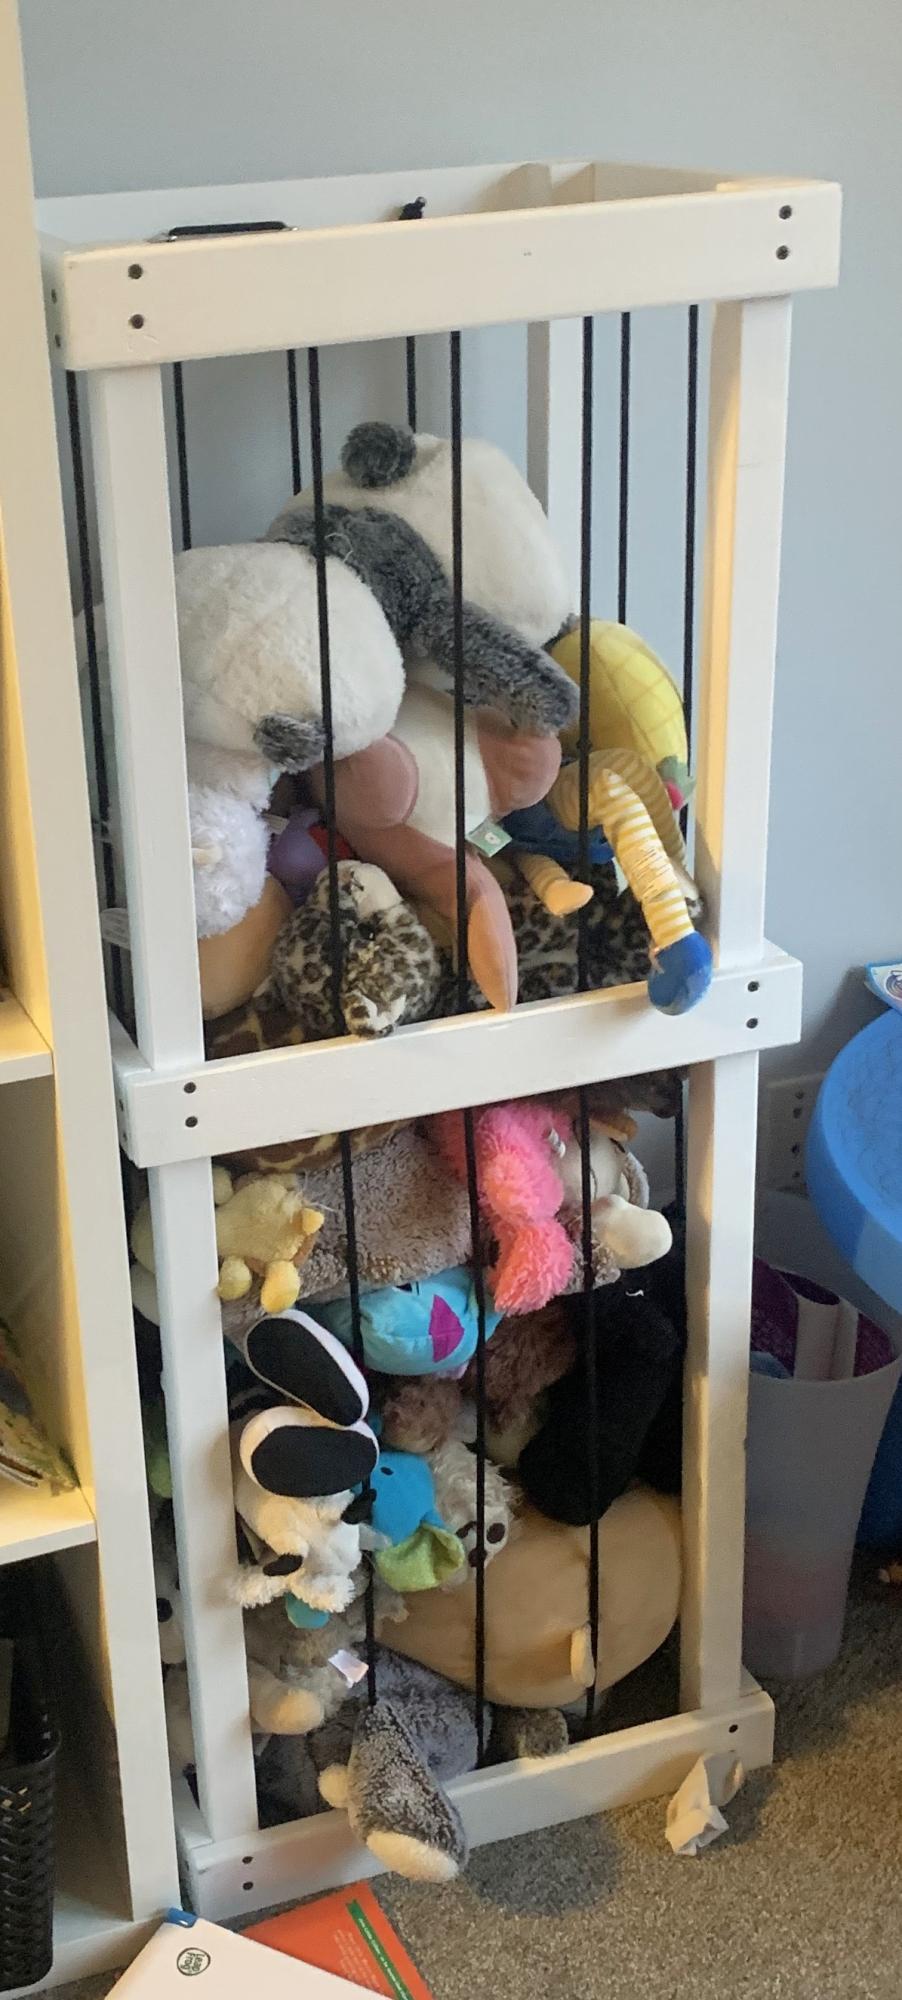
Stuffed Animal Containment

Submitted by Anonymous (not verified) on Fri, 09/29/2023 - 09:32

I made mine with 1/4” shock/bungee cord instead which I preferred for this project but turned out great. Easy to follow and the easiest project I’ve ever made. Go for it!

Kate

Built from Plan(s)

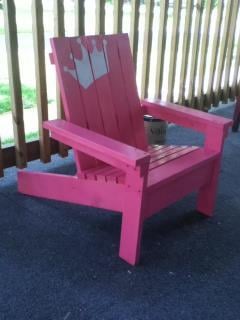
Kids Adirondack Chair

This was my first Ana White project. A kid size Adirondack chair fit for a princess :). The cost was around $25. I finished it in a weekend, but that was trying to fit it in between laundry, dishes, and taking care of kids. It was easy to do and I learned a lot.

Built from Plan(s)
Estimated Cost
$25
Estimated Time Investment
Day Project (6-9 Hours)
Finish Used
Valspar Gloss Frosty Berry
Recommended Skill Level
Beginner
Back