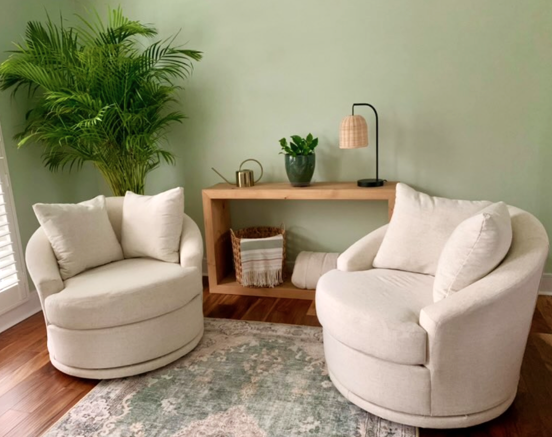
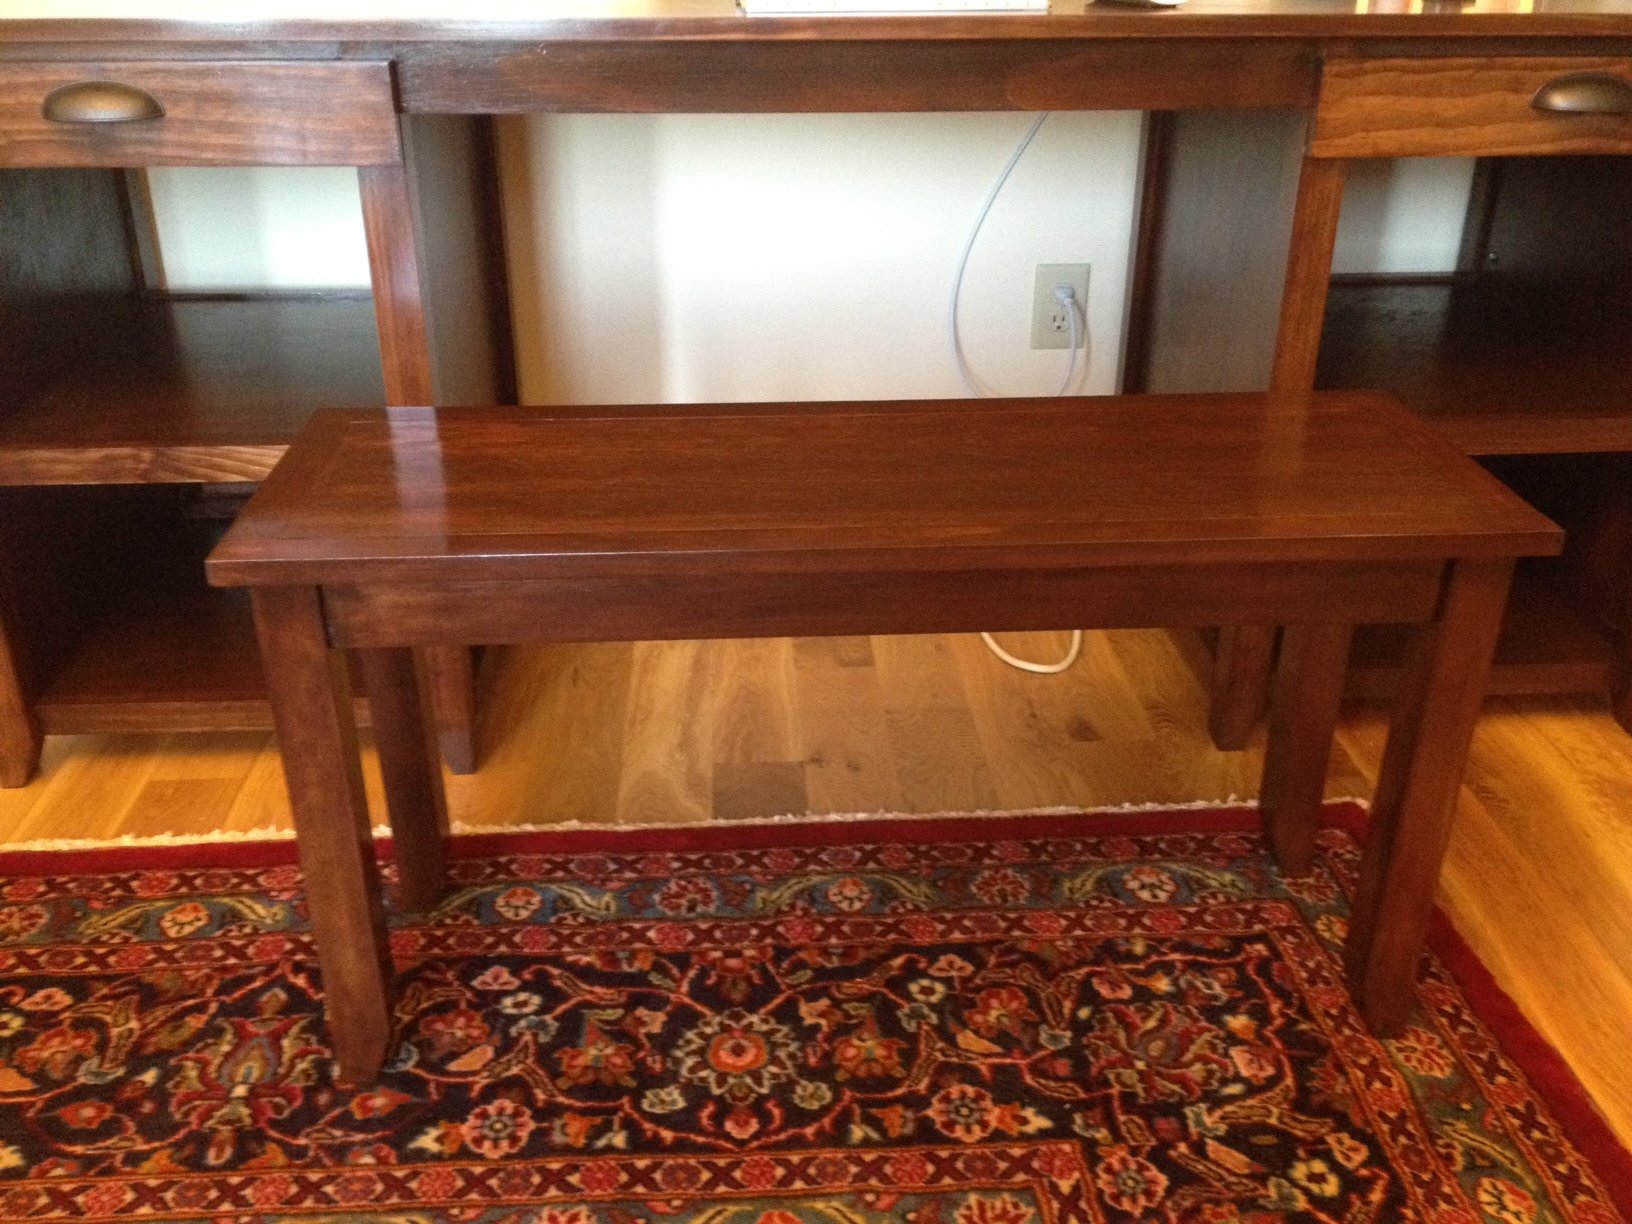
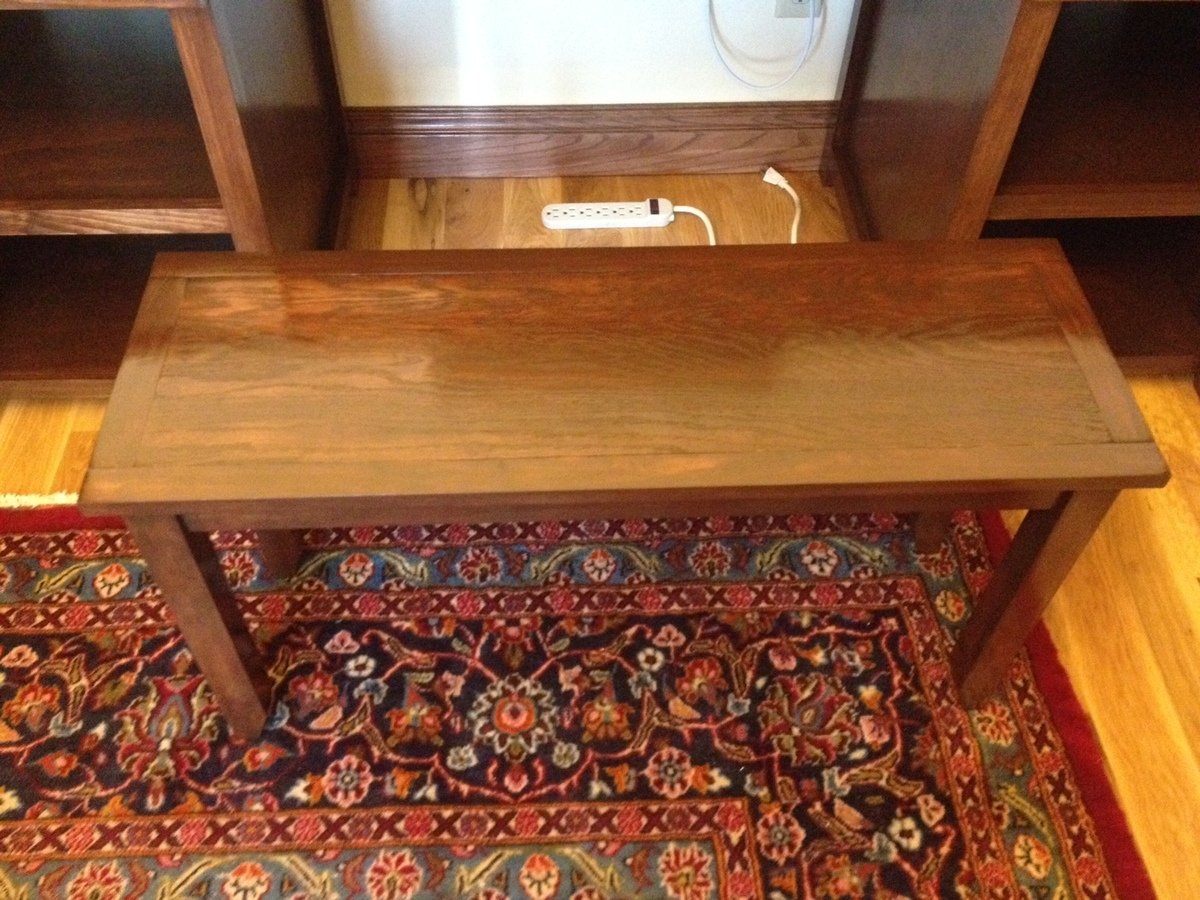
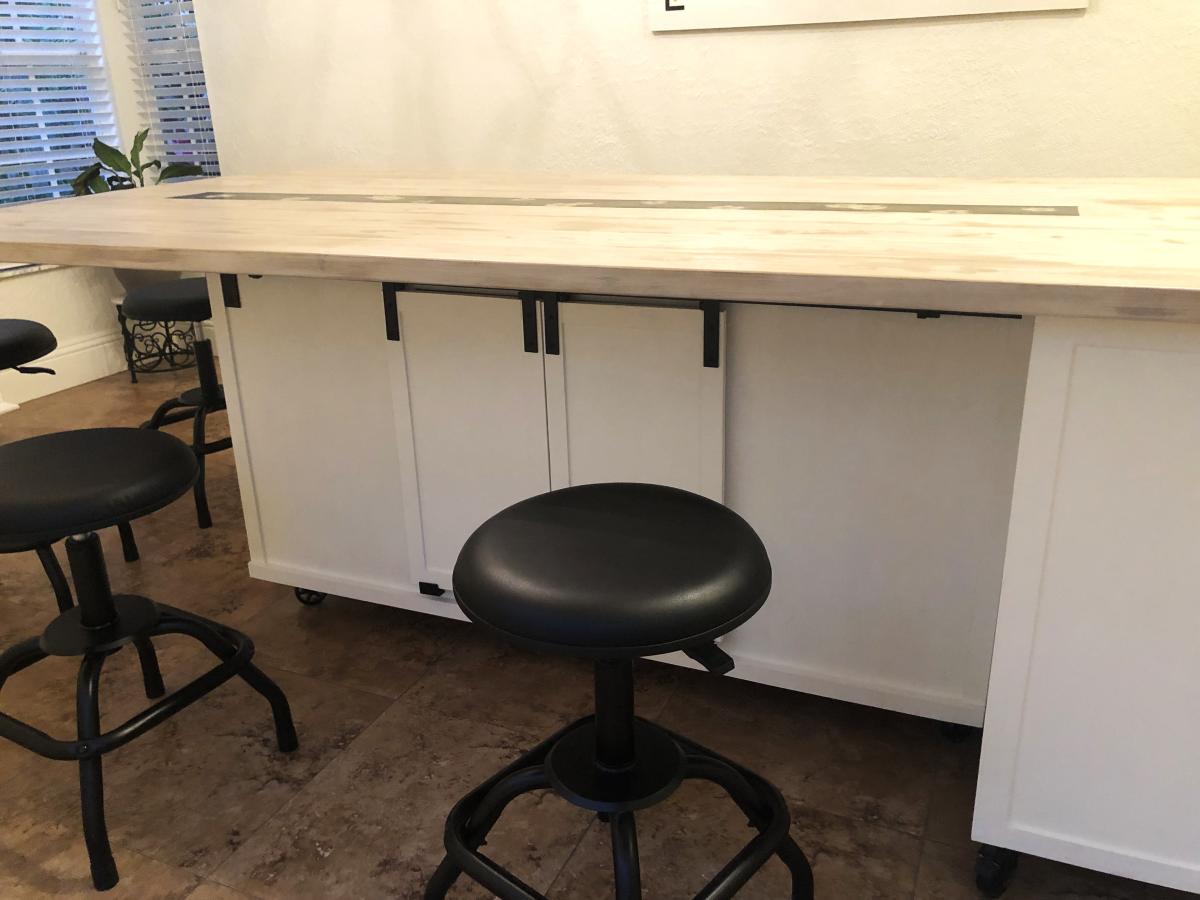
Fancier Simple Kitchen Island
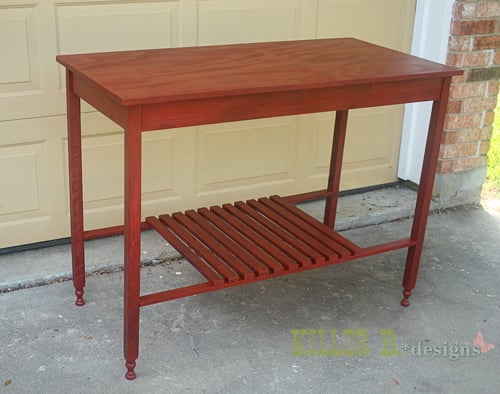
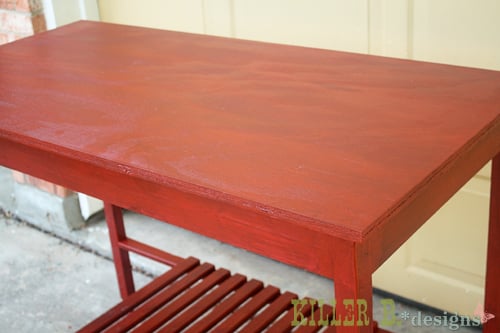
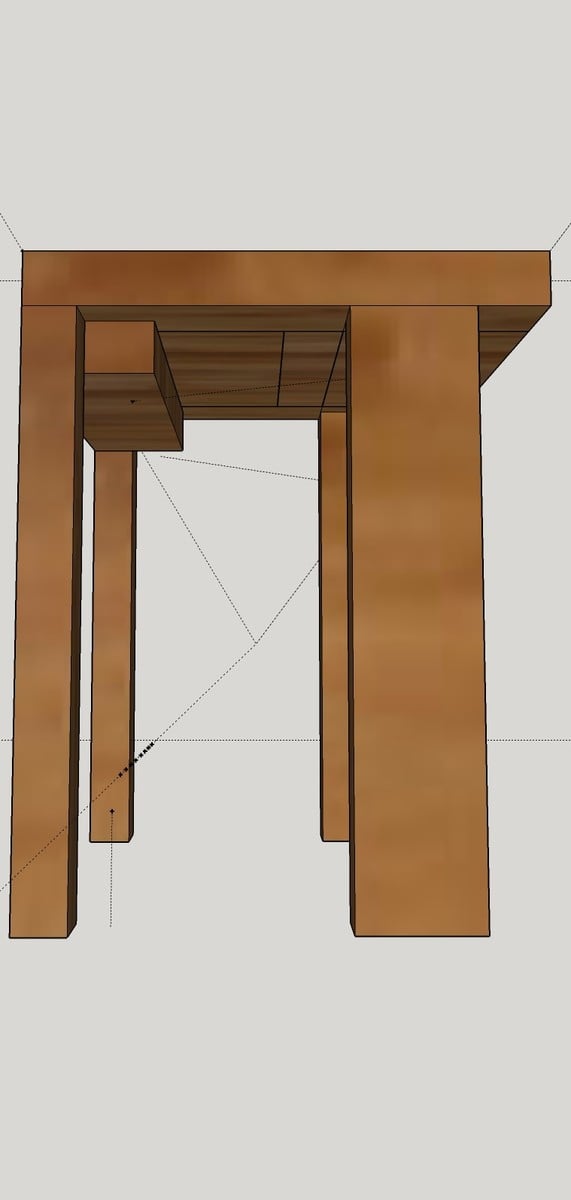
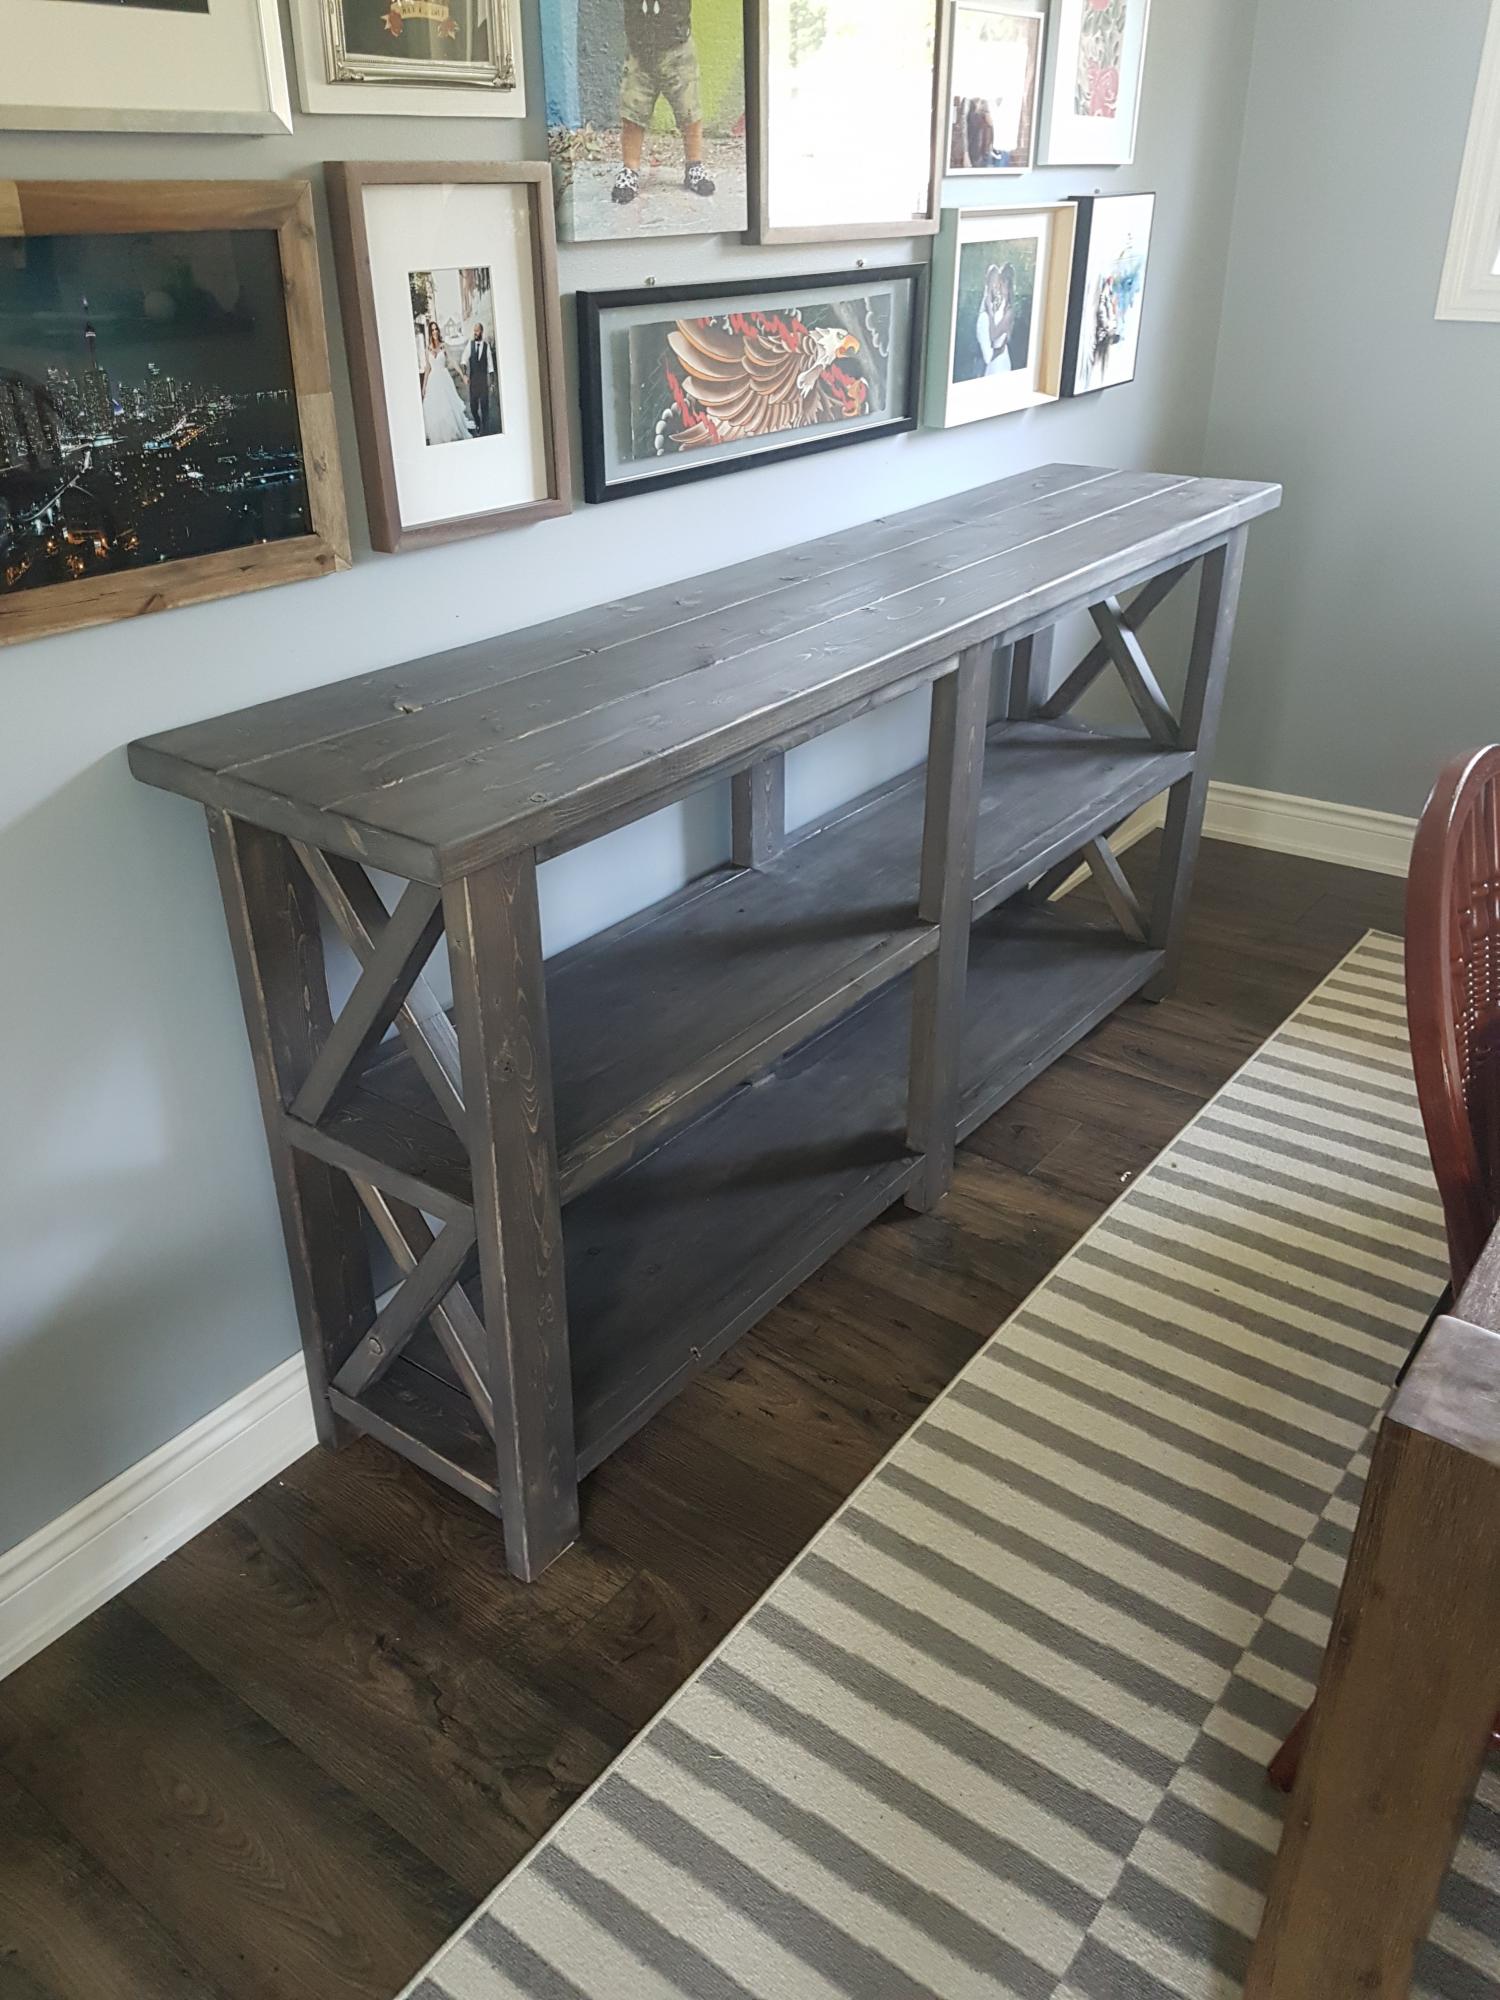
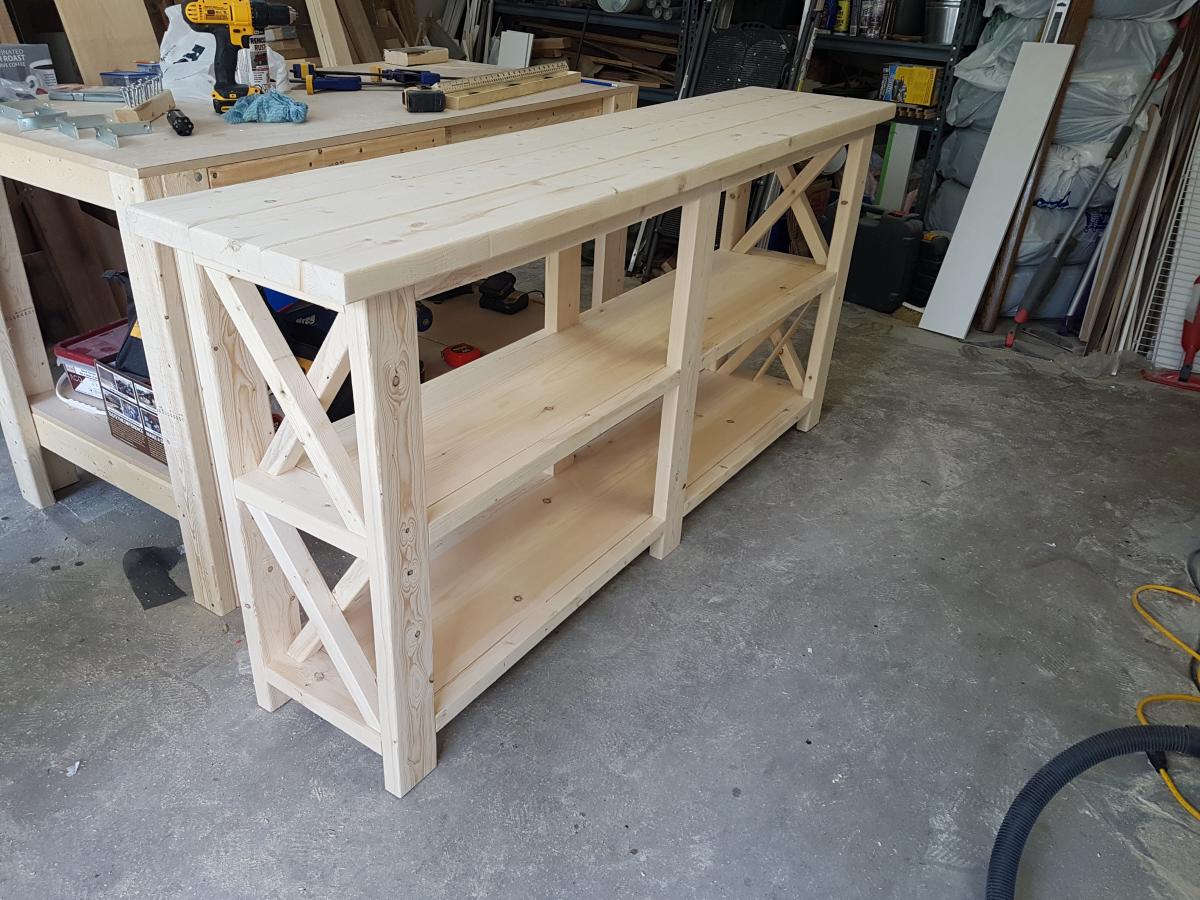
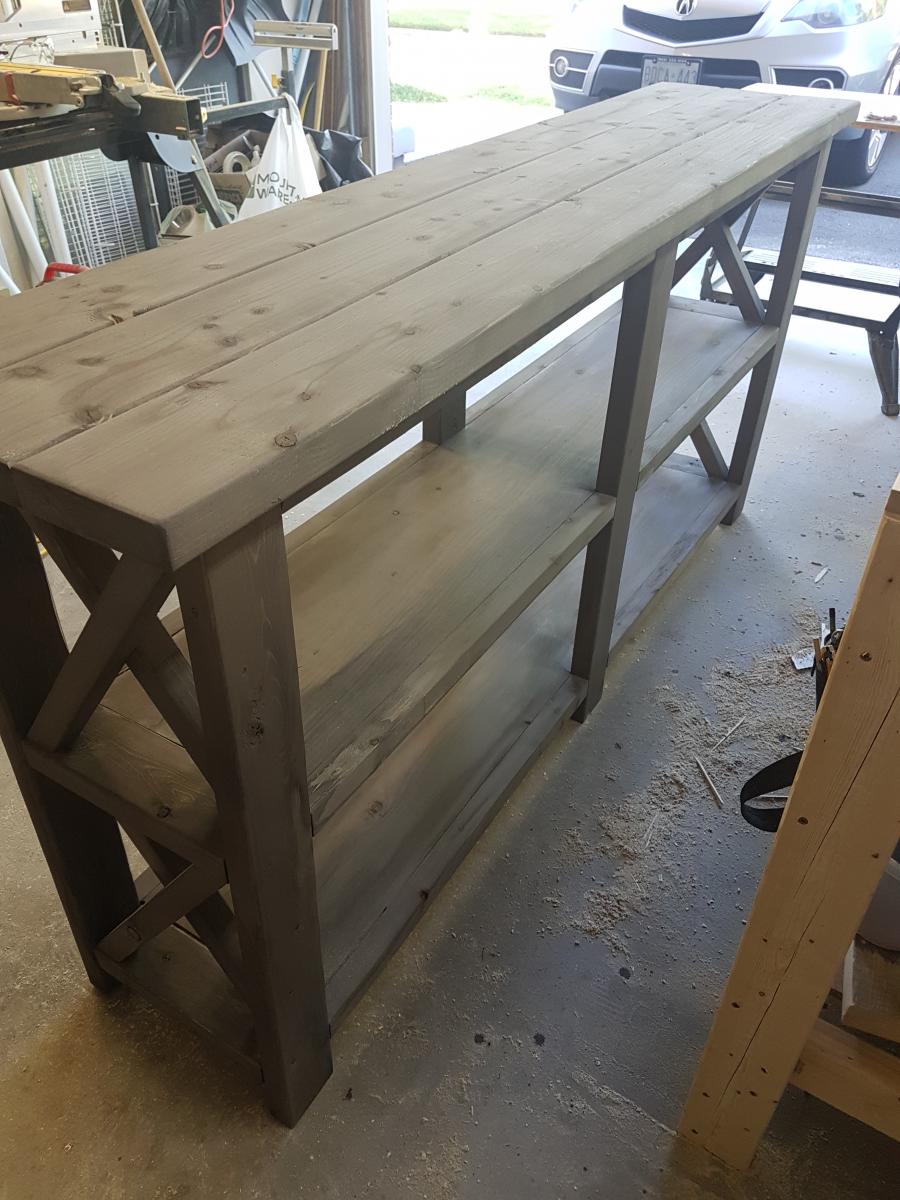
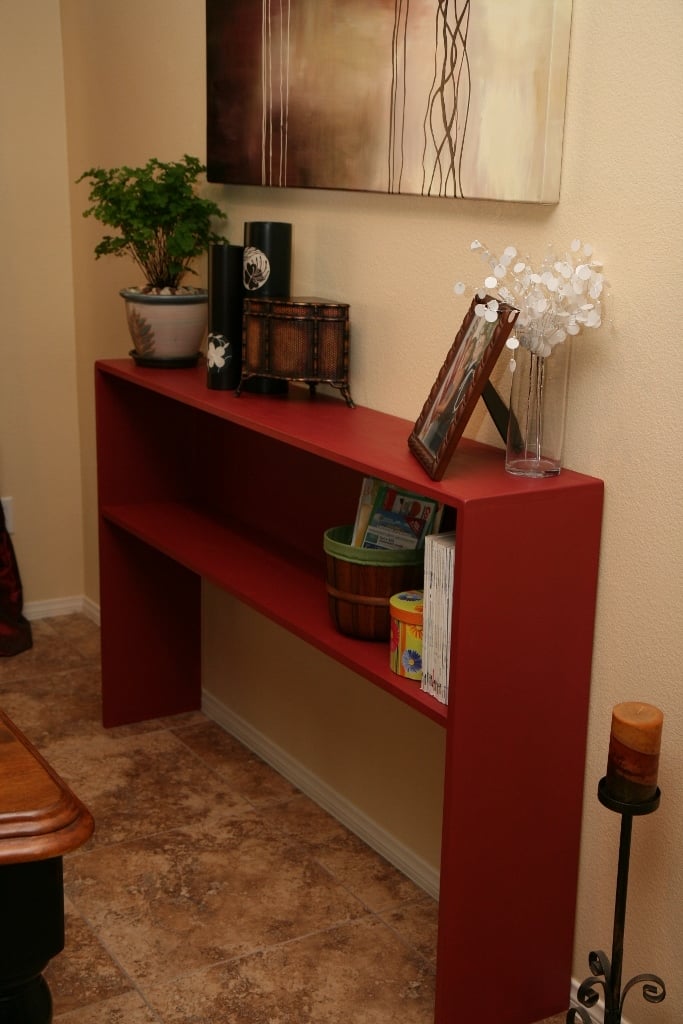
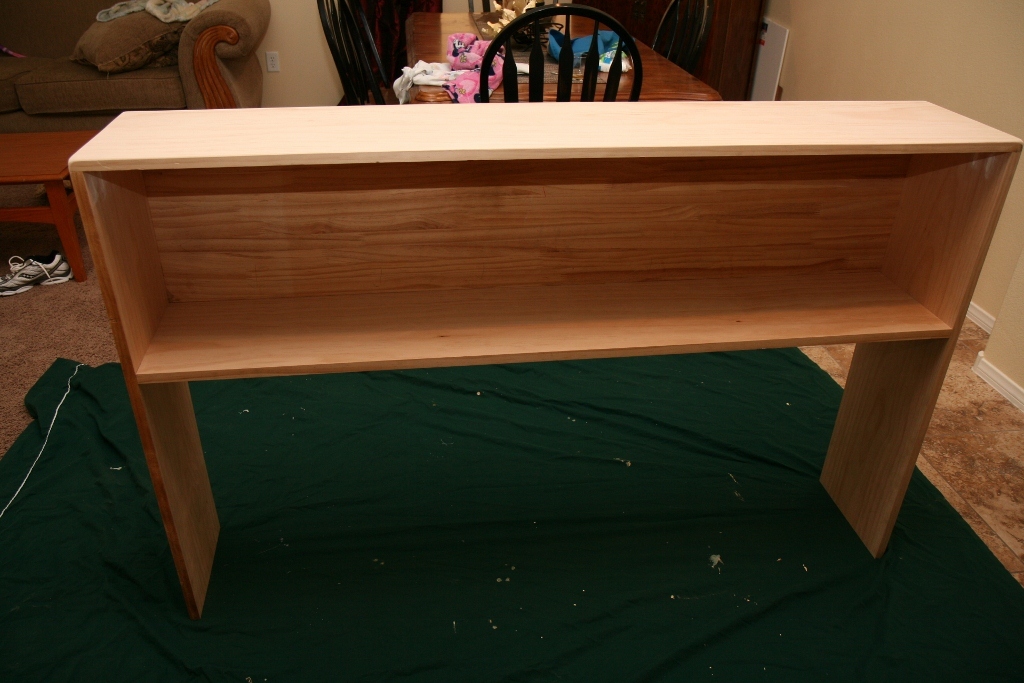
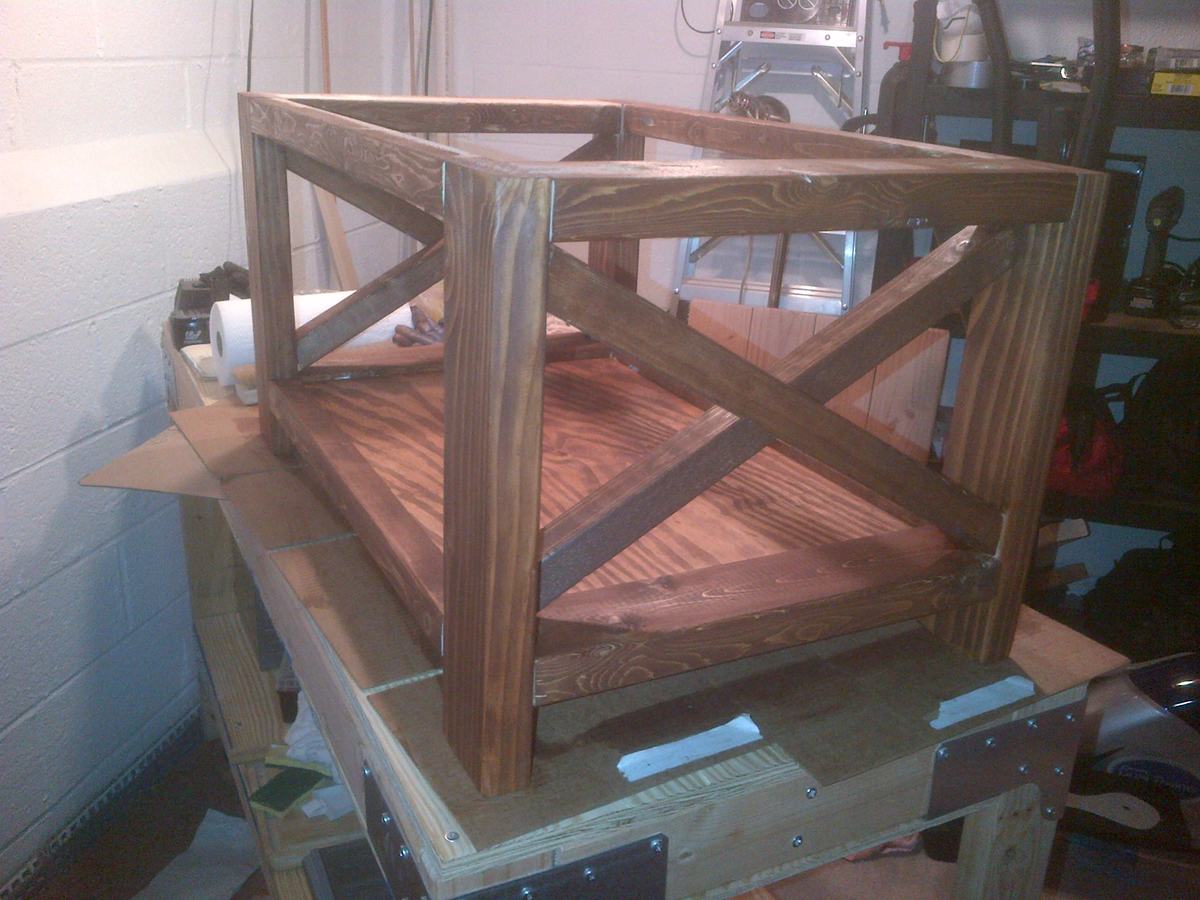
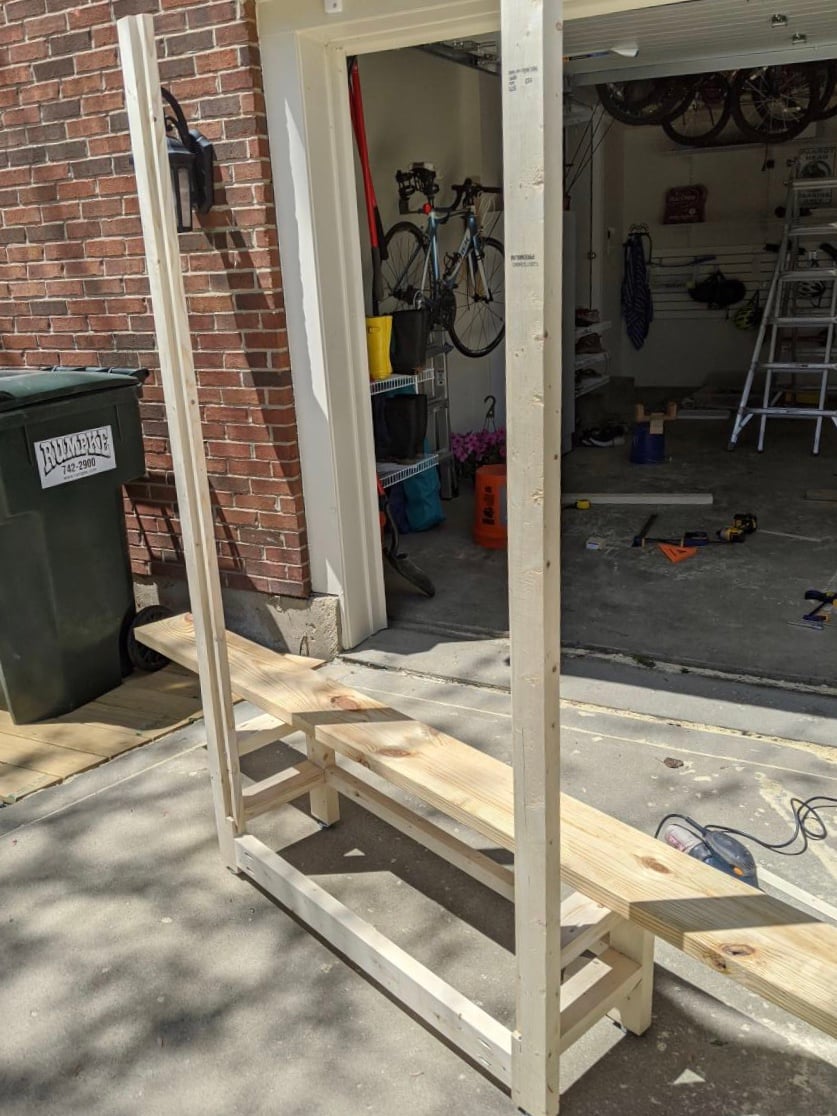
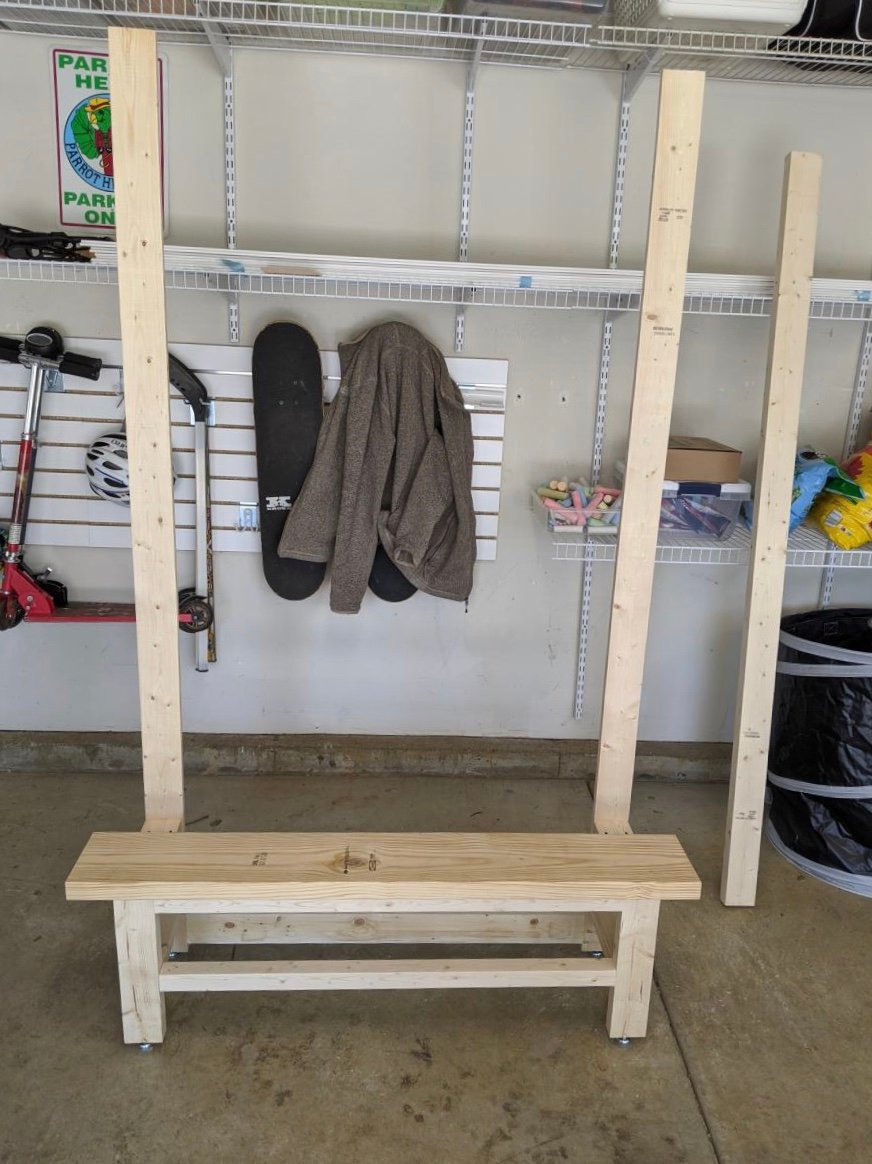
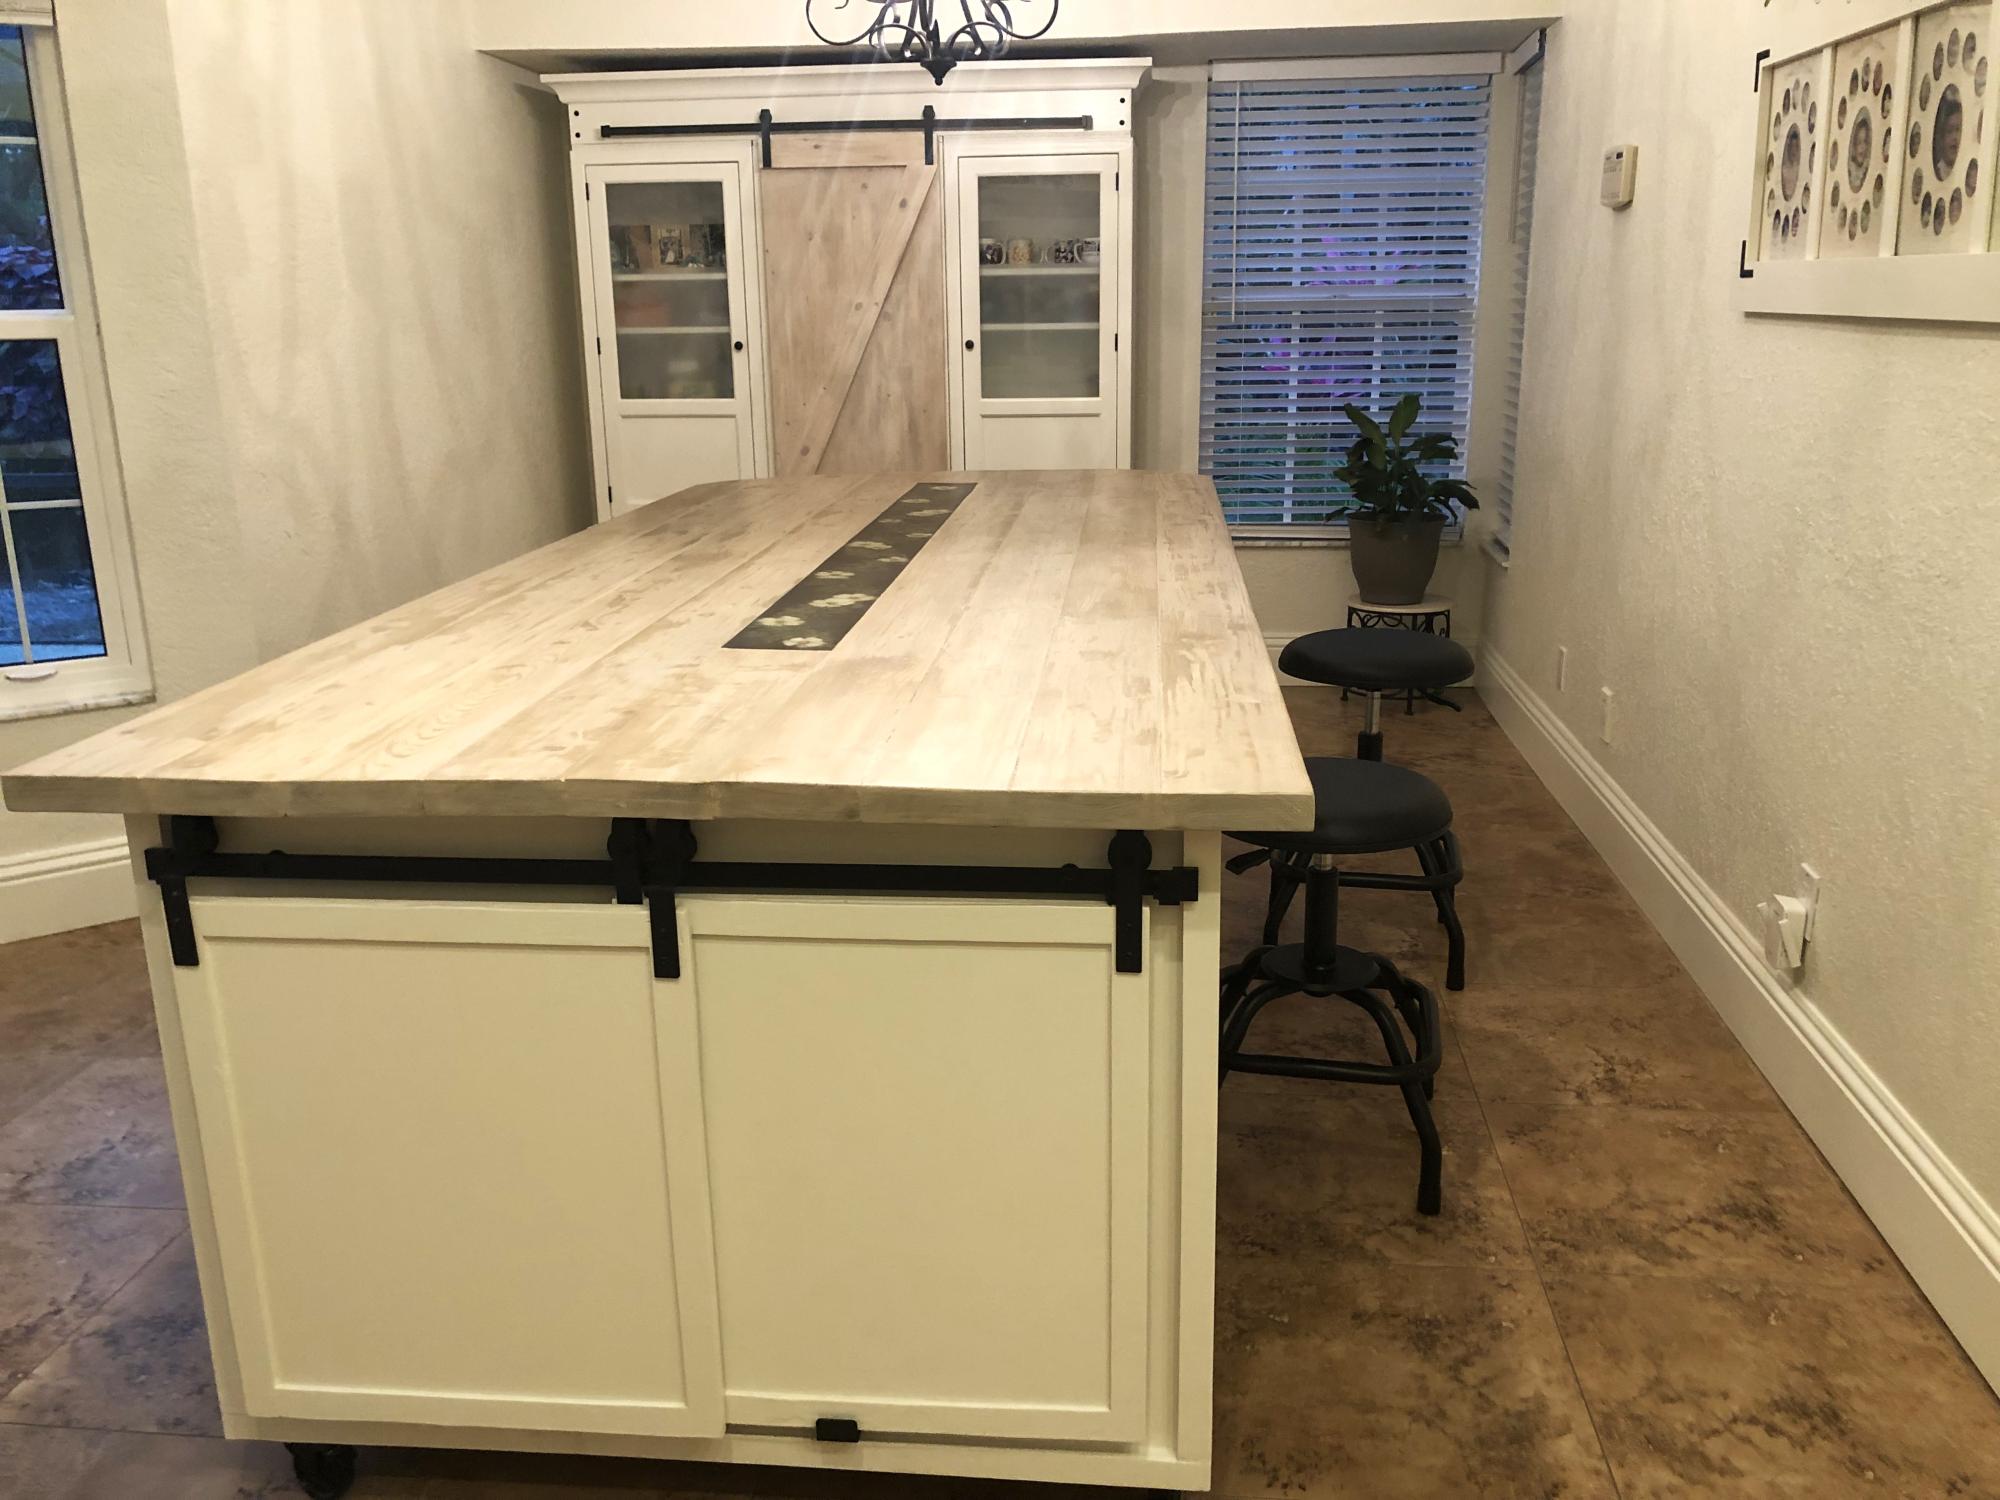
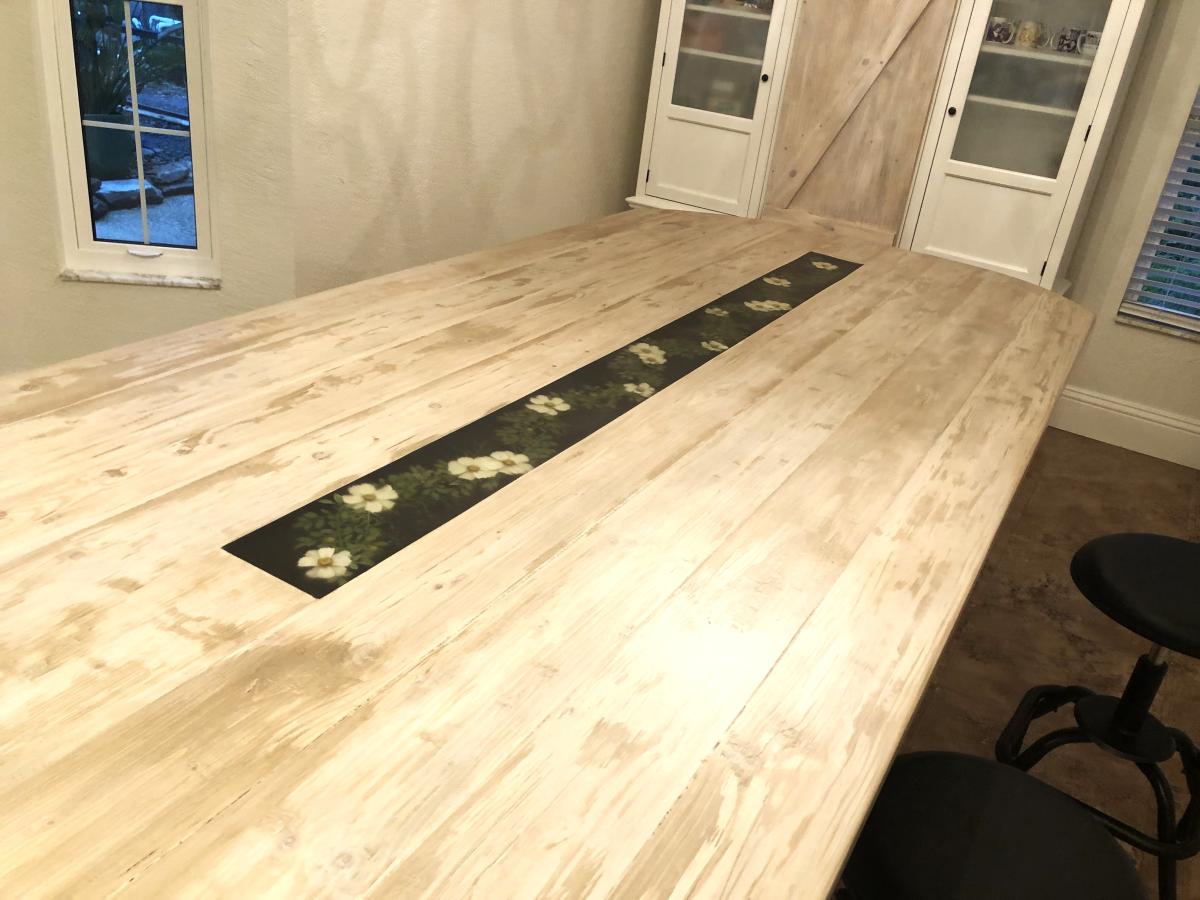
A friend of mine was looking for extra counter space, and asked me to build a kitchen island, but with a few modifications. He wanted space on the end to slide two stools, so I used fewer slats. After I finished the build and the first coat of paint, he decided it was 3" too short. So, I got creative and used some stair spindles to create decorative feet! I'm actually really glad for the mix-up, because the feet give it so much character. I layered on the paint by starting with a coat of plum, then a coat of cherry, and followed it up with a glaze mix with oak stain. Then three coats of spray on poly and it was done.

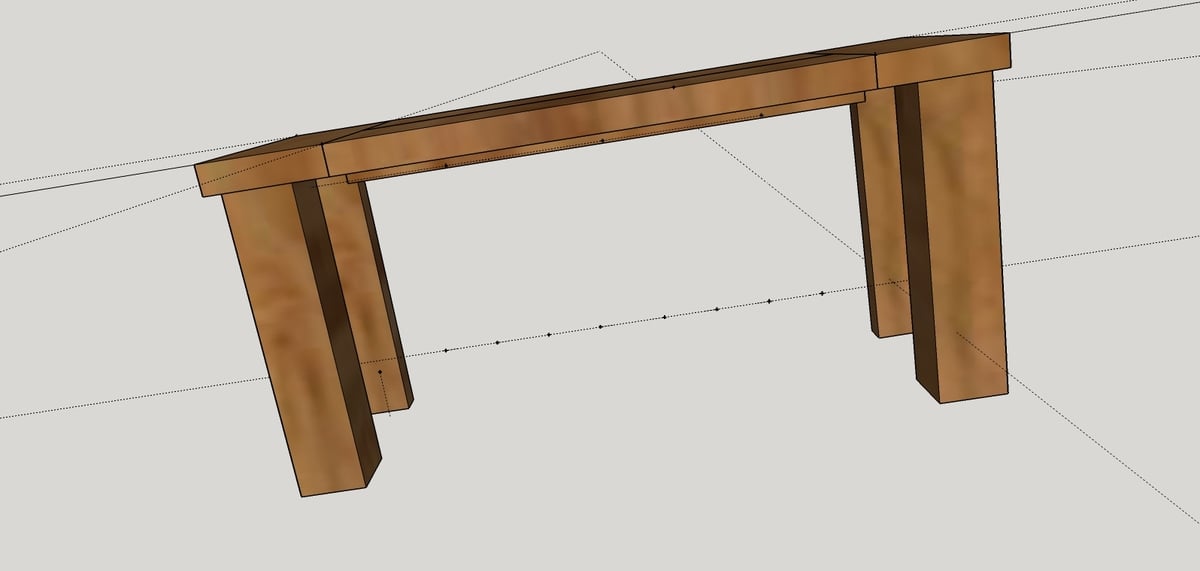
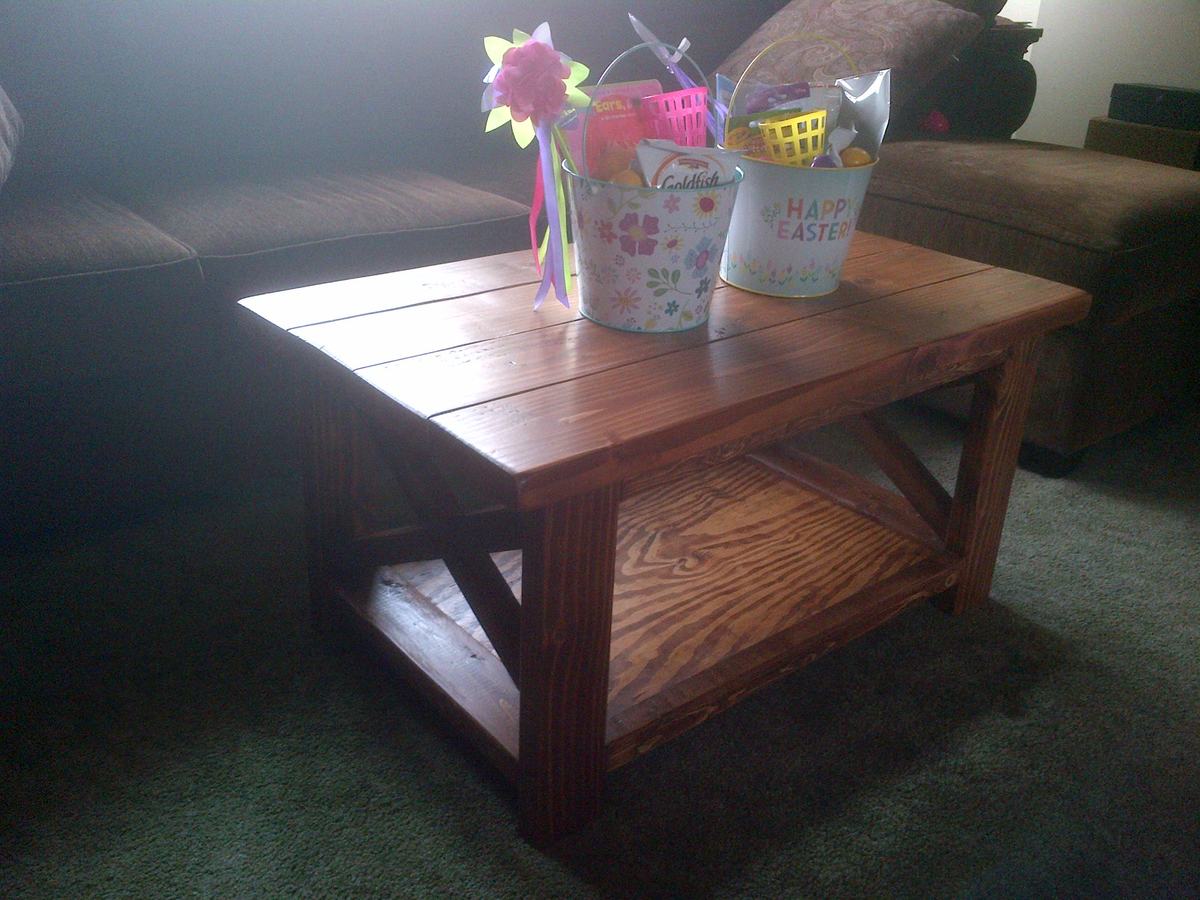
Built from Plan(s)
Estimated Cost
$38
Estimated Time Investment
Day Project (6-9 Hours)
Finish Used
one coat plum paint, one coat cherry paint, stain glaze and 3 coats of spray on polycrylic
Recommended Skill Level
Intermediate


Comments
Pam the Goatherd
Mon, 07/02/2012 - 15:29
Very creative! Turned out
Very creative! Turned out nicely.