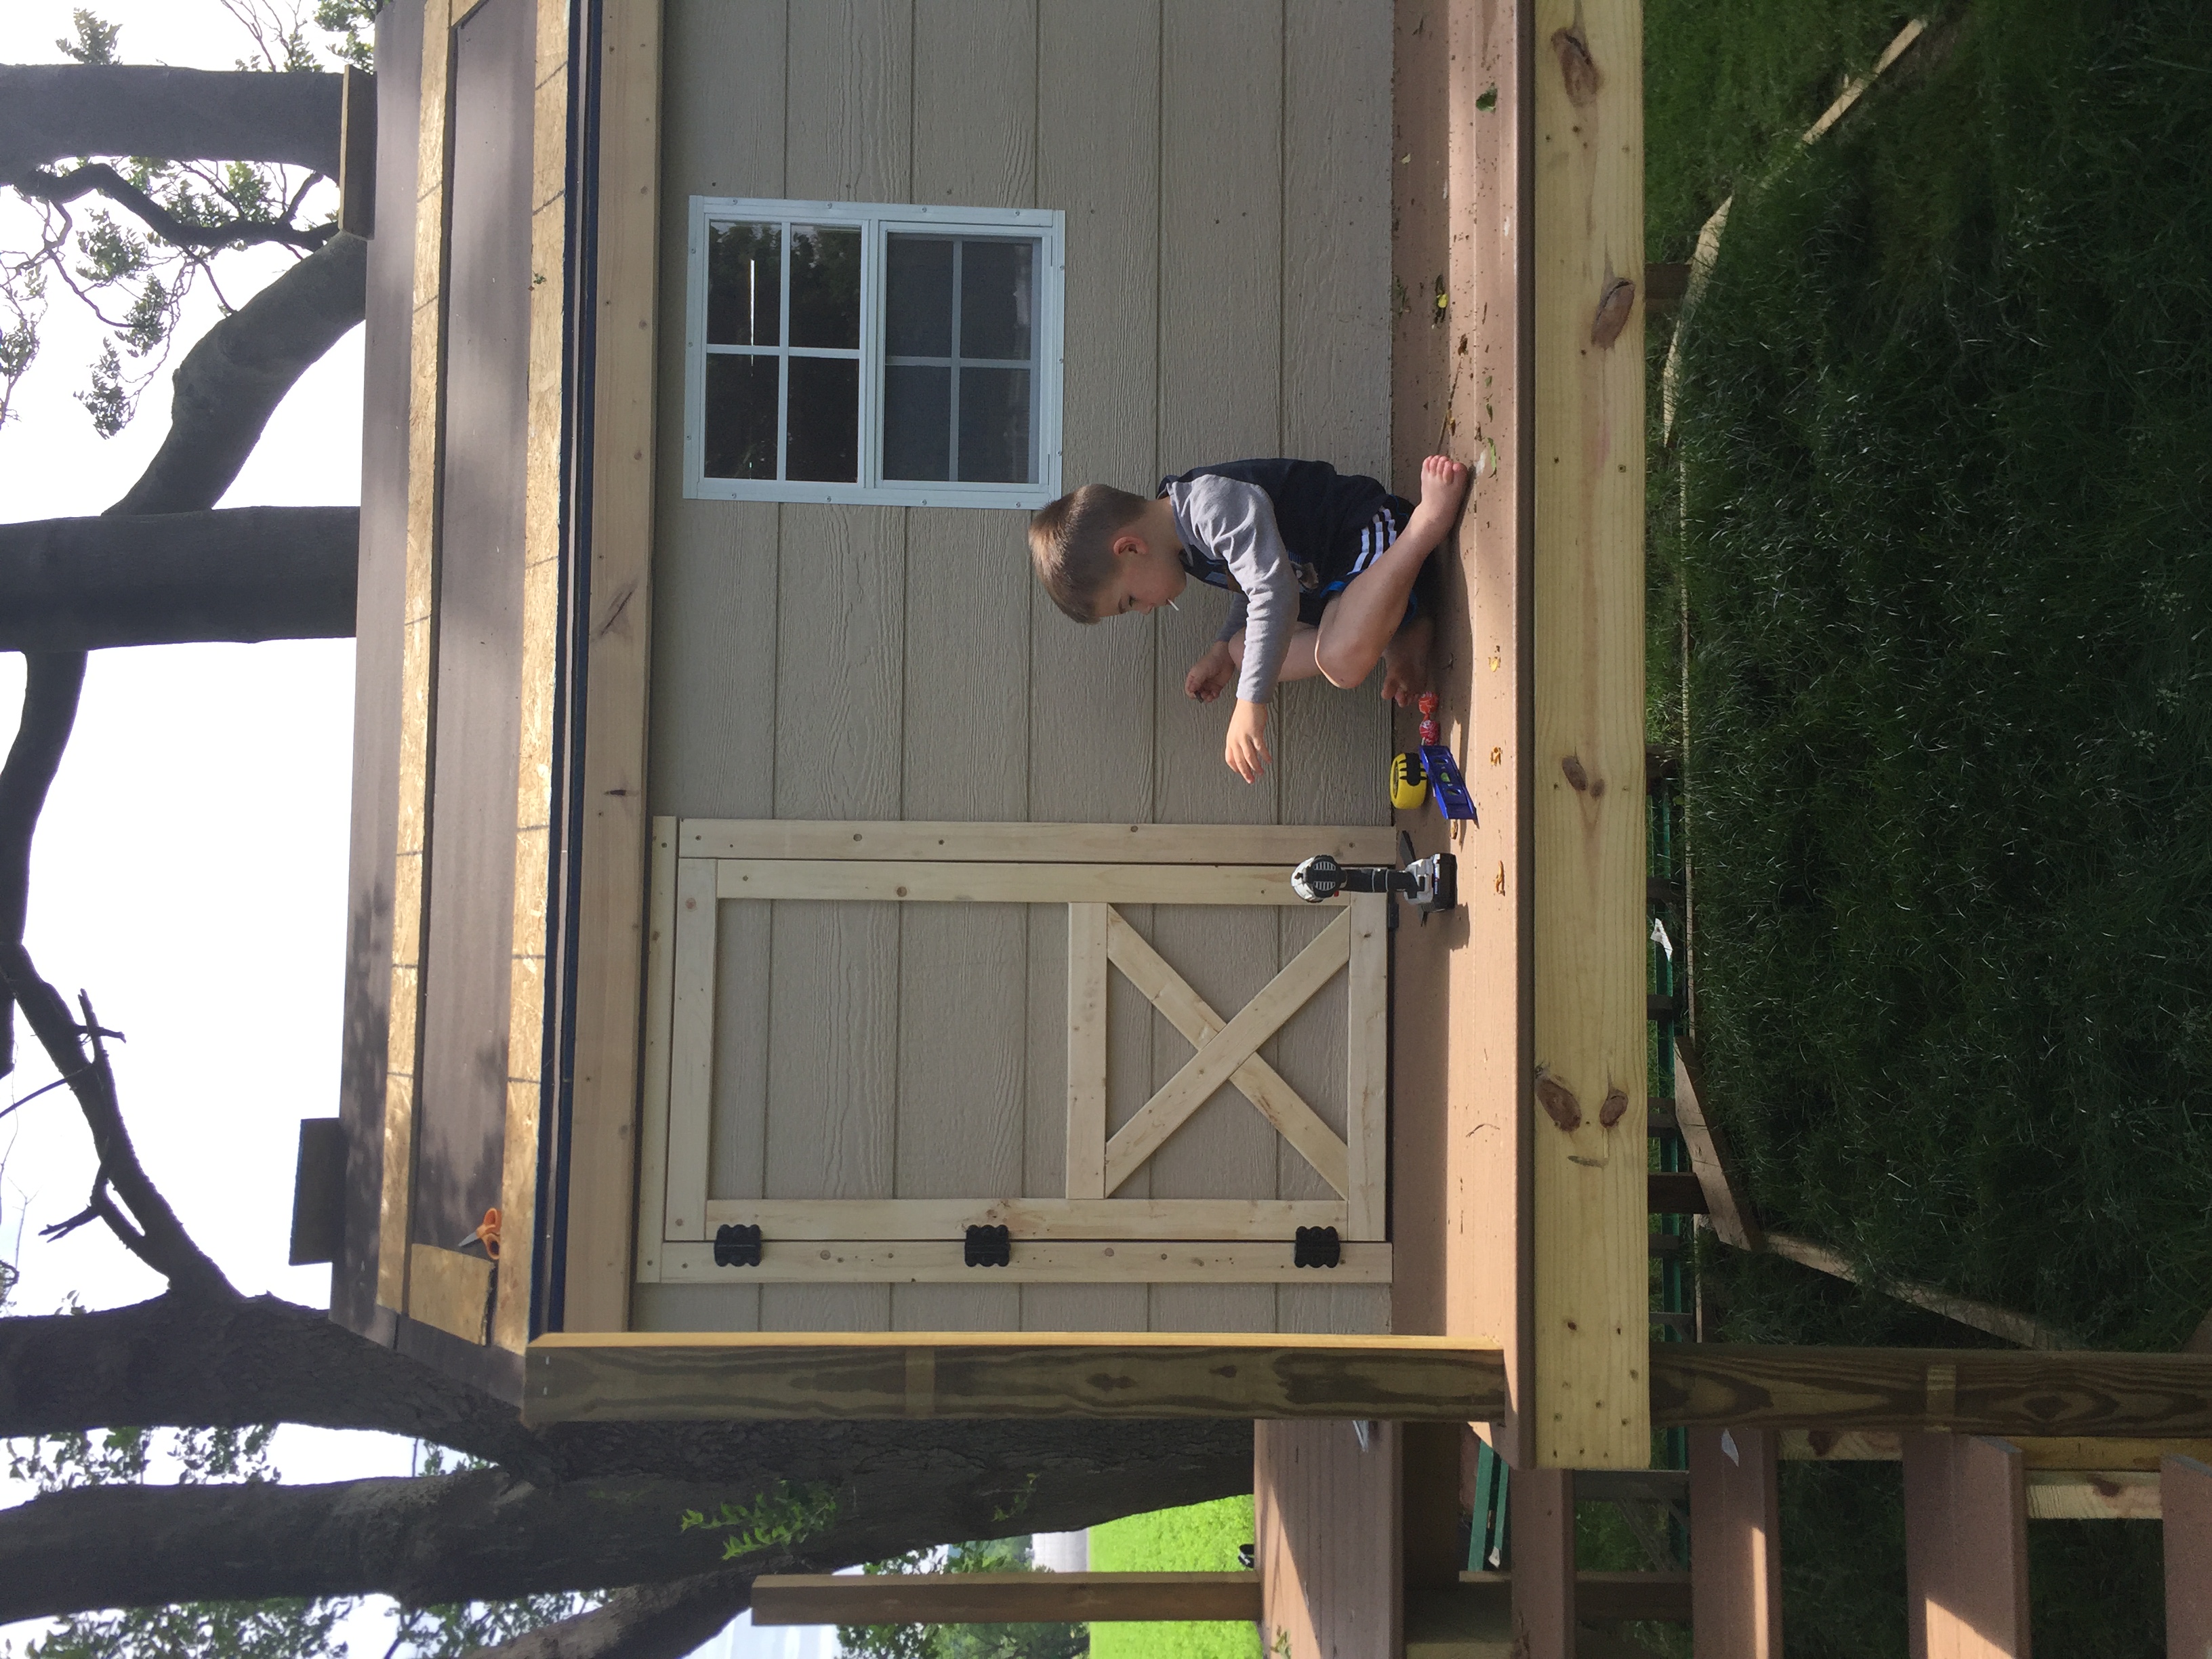
Little Cottage Loft Bed - Revised :)
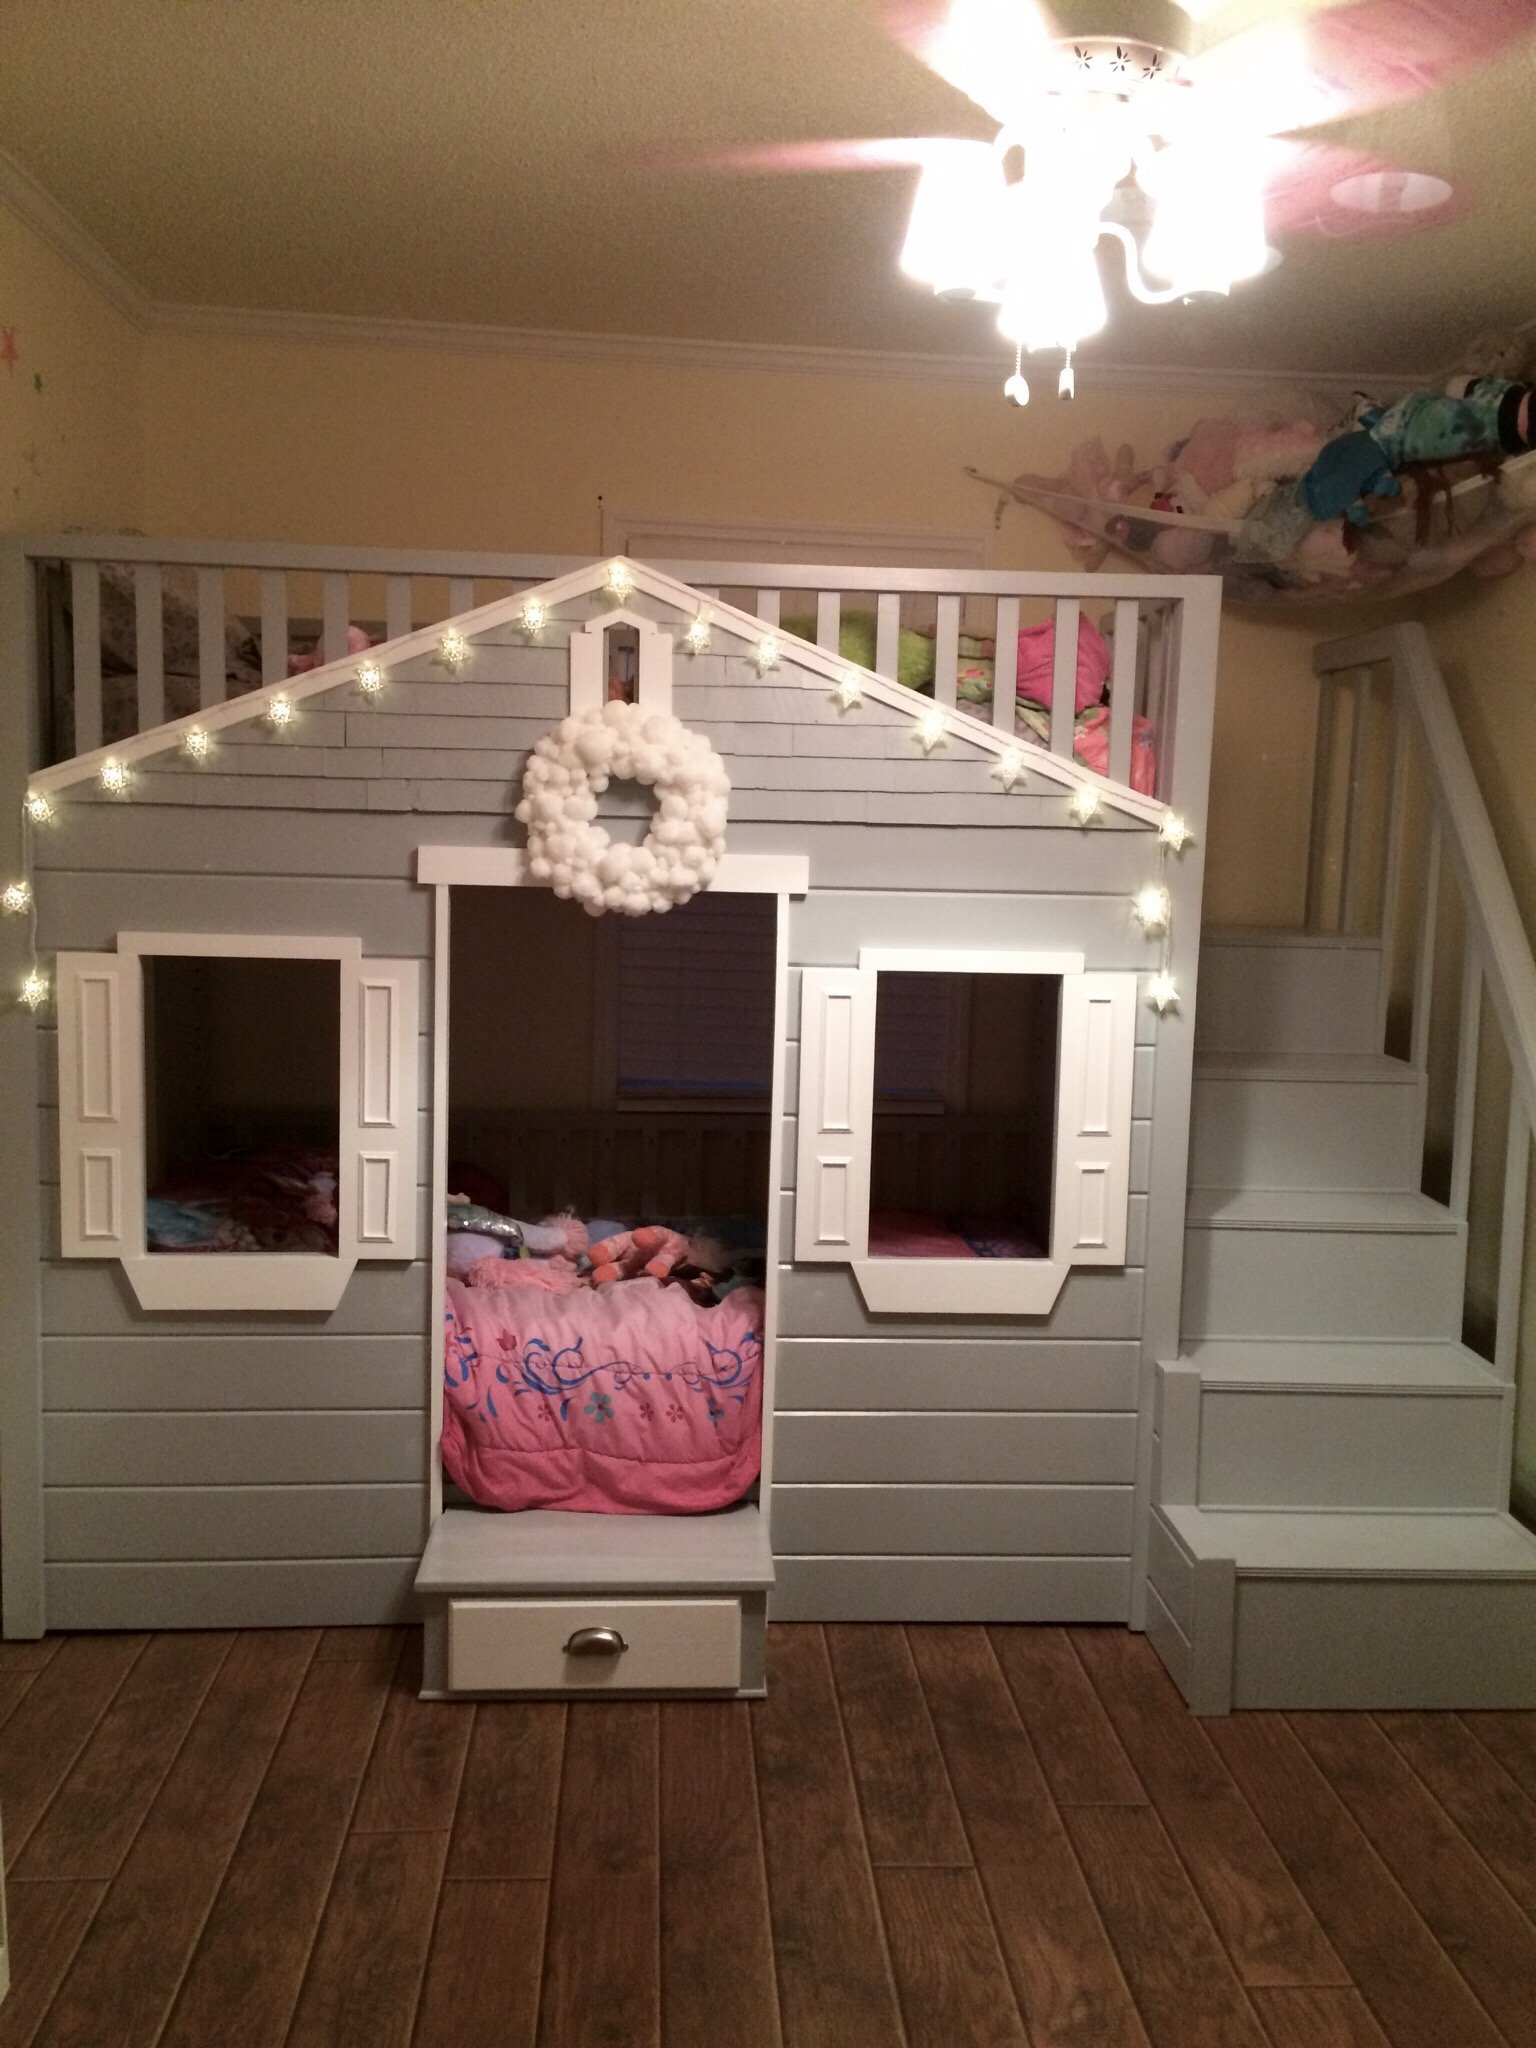
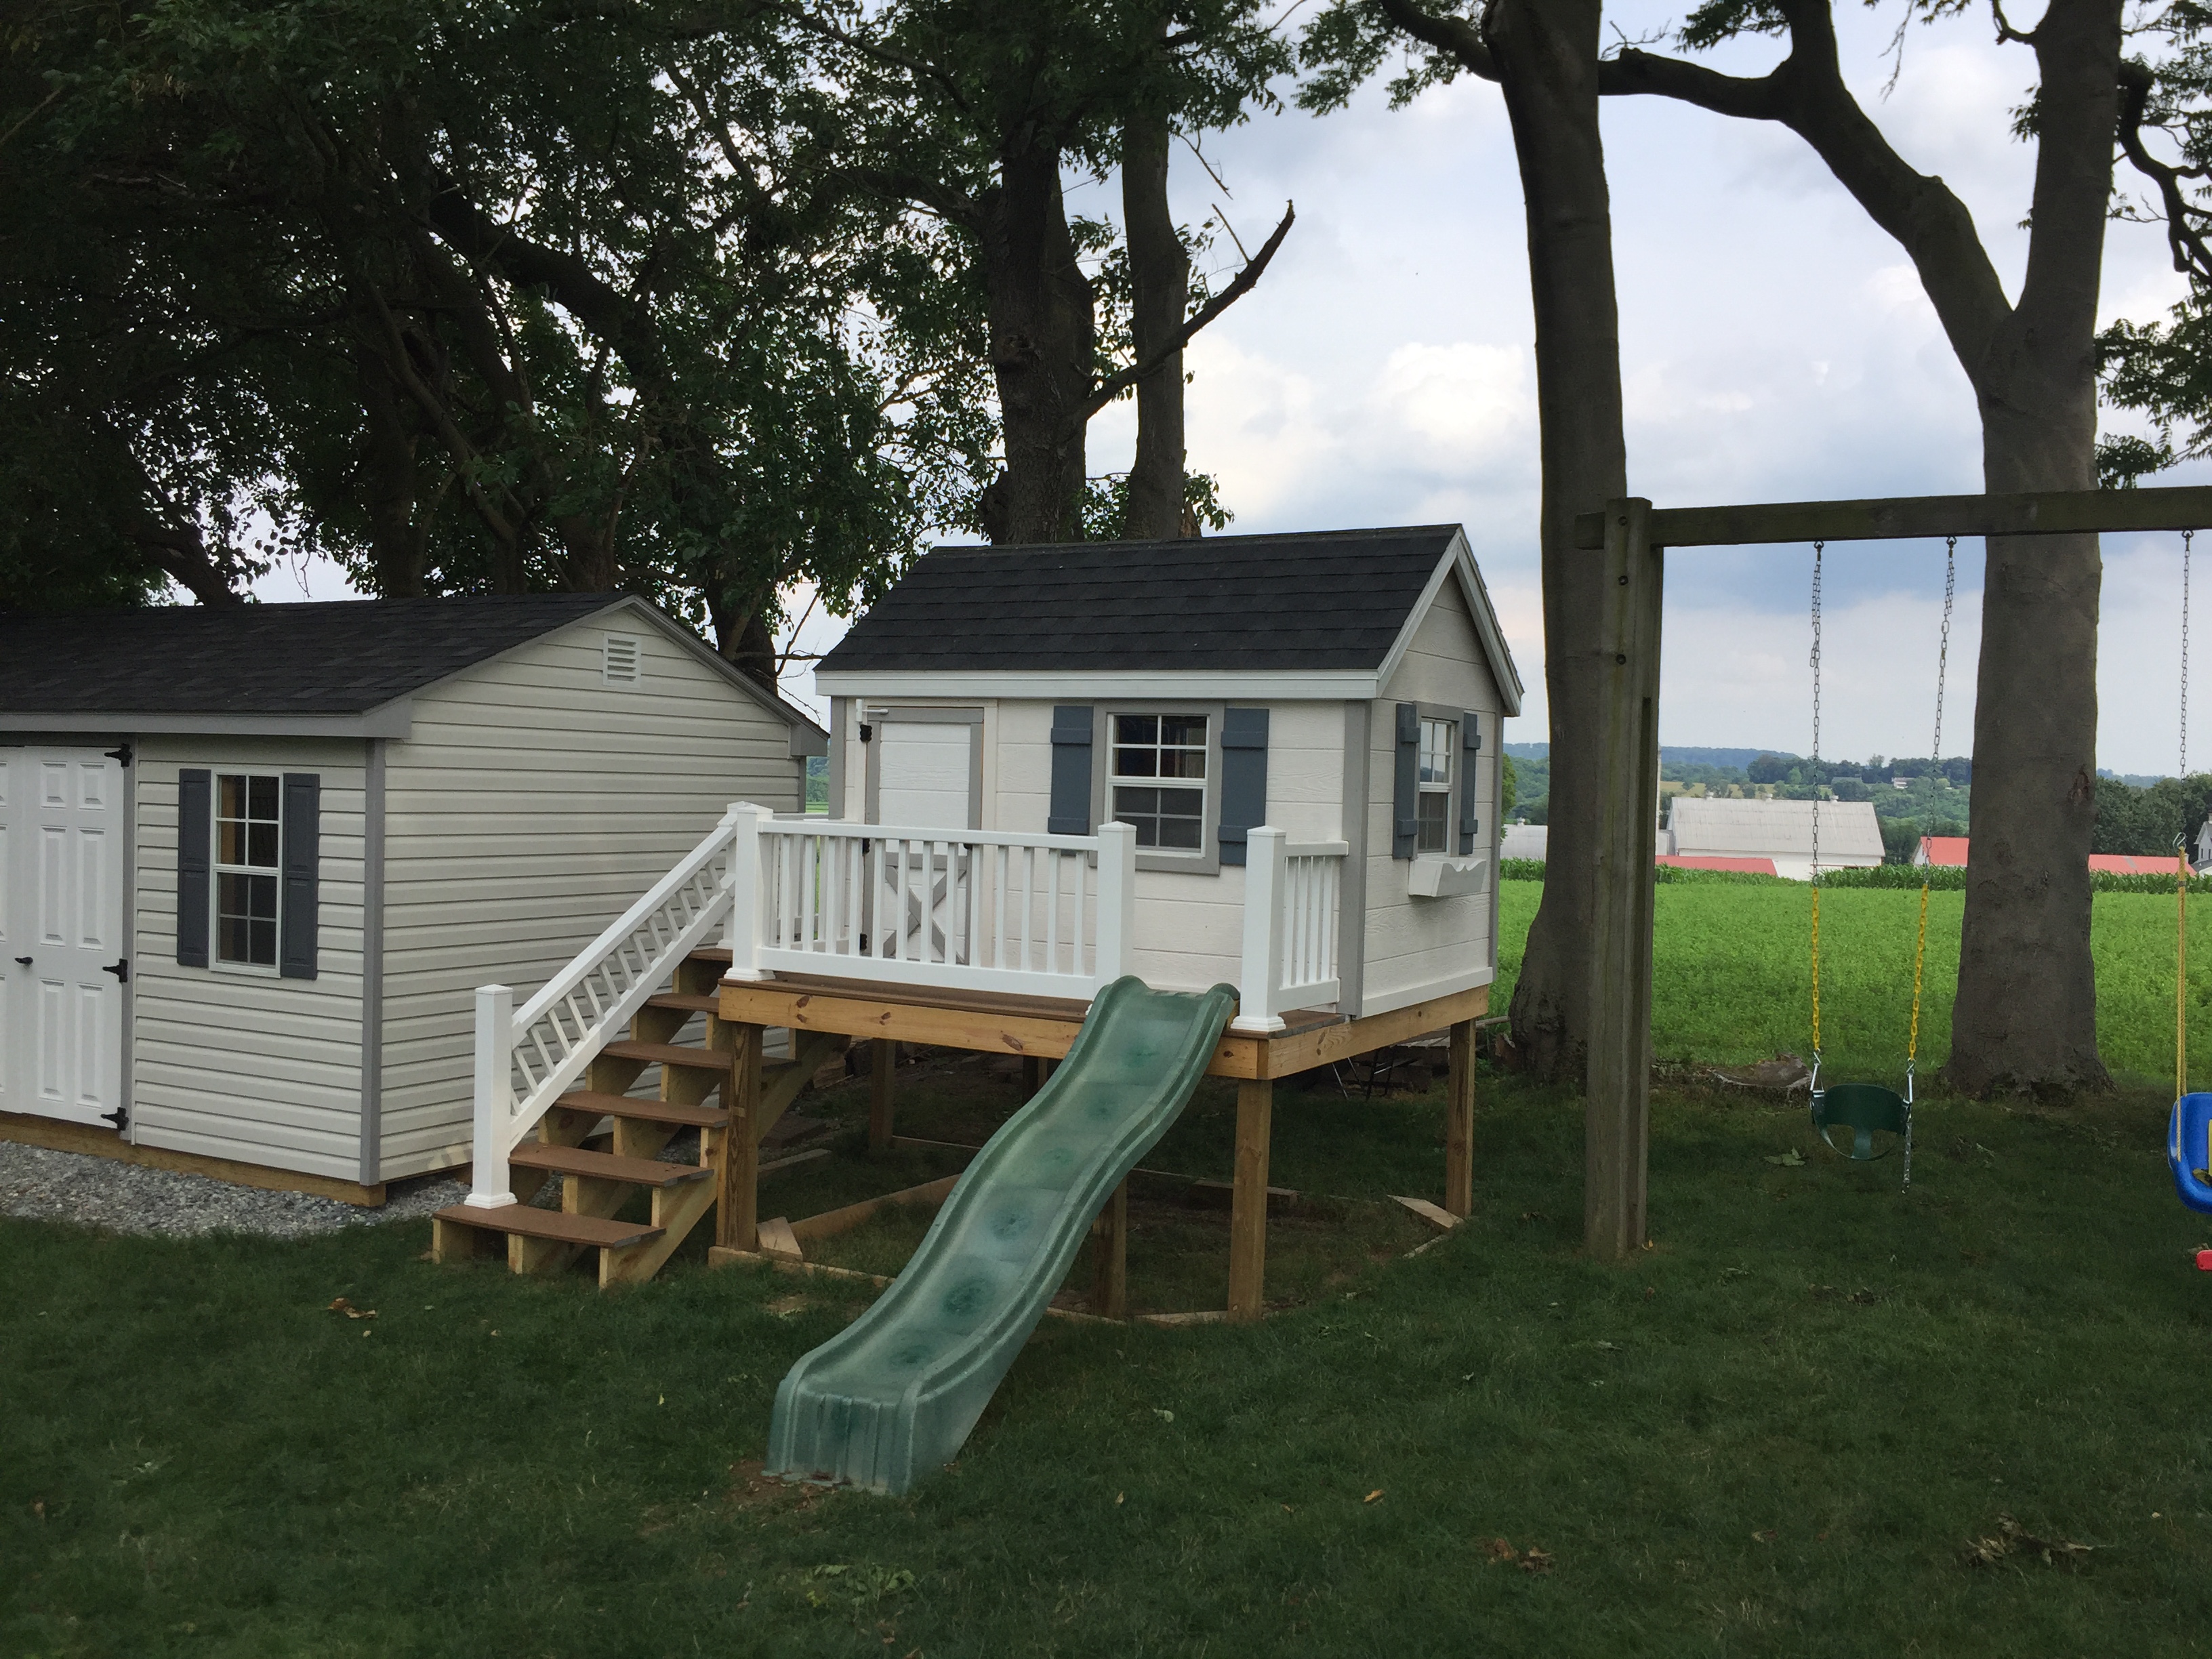
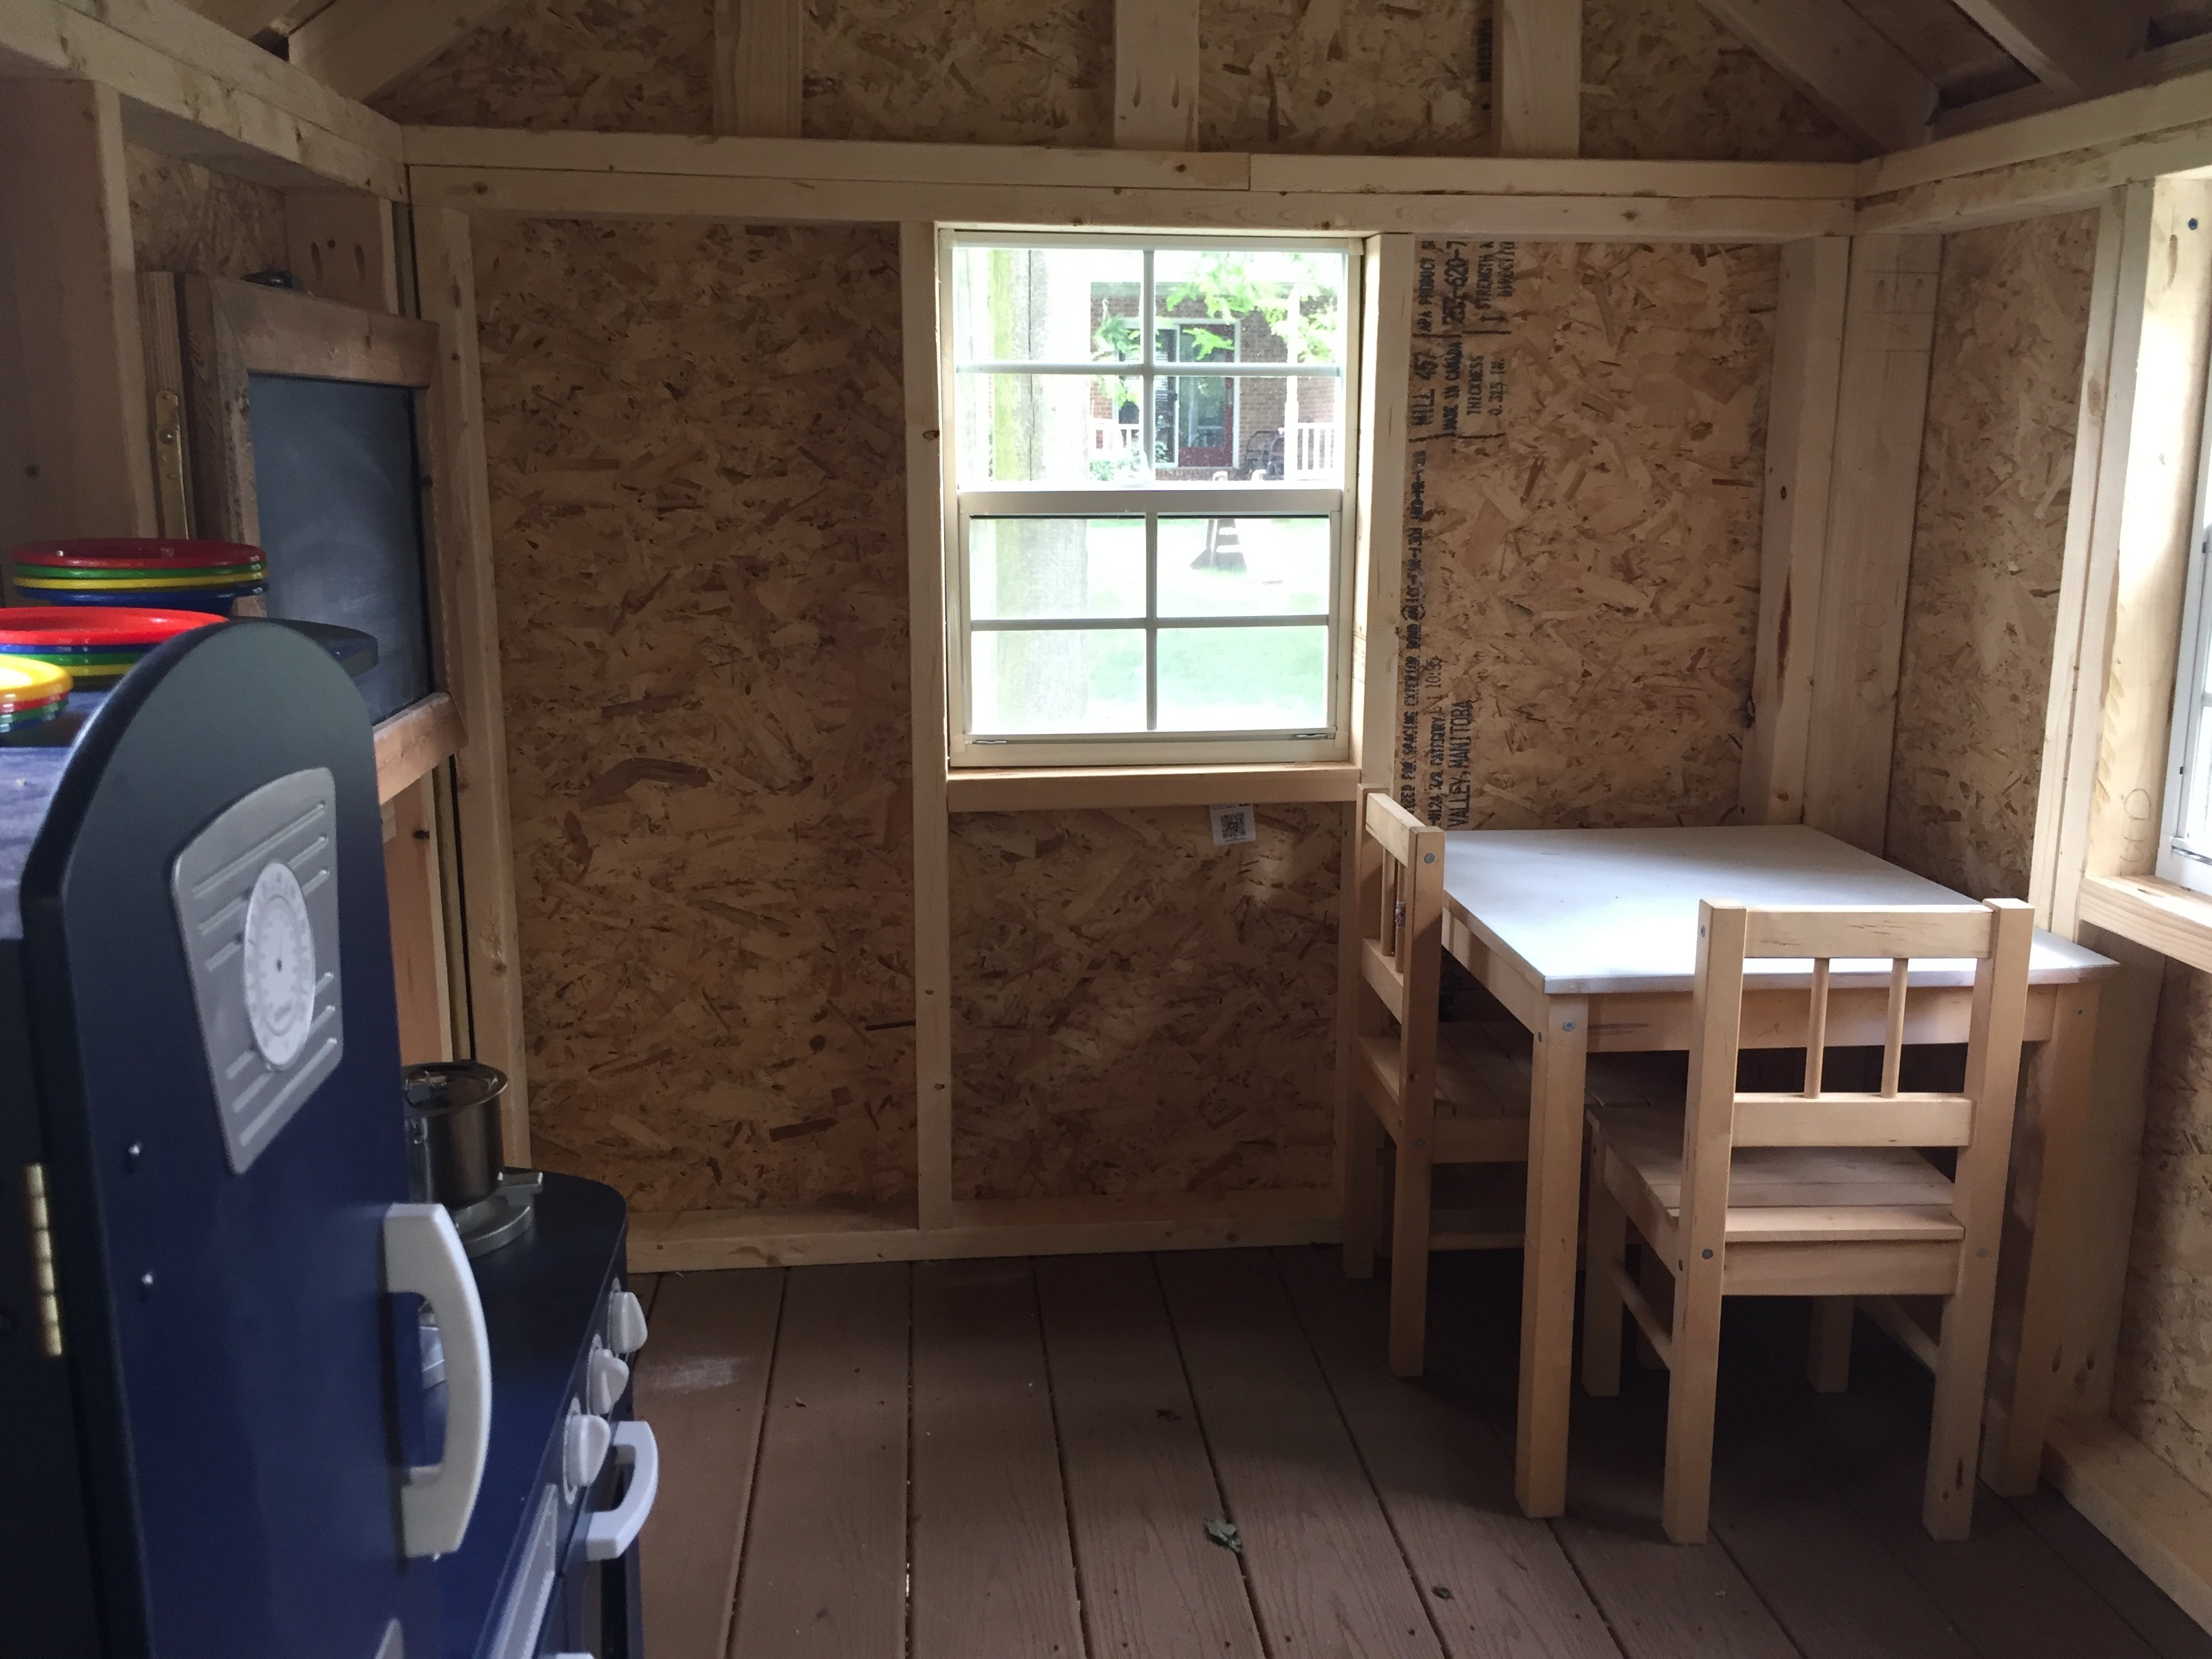
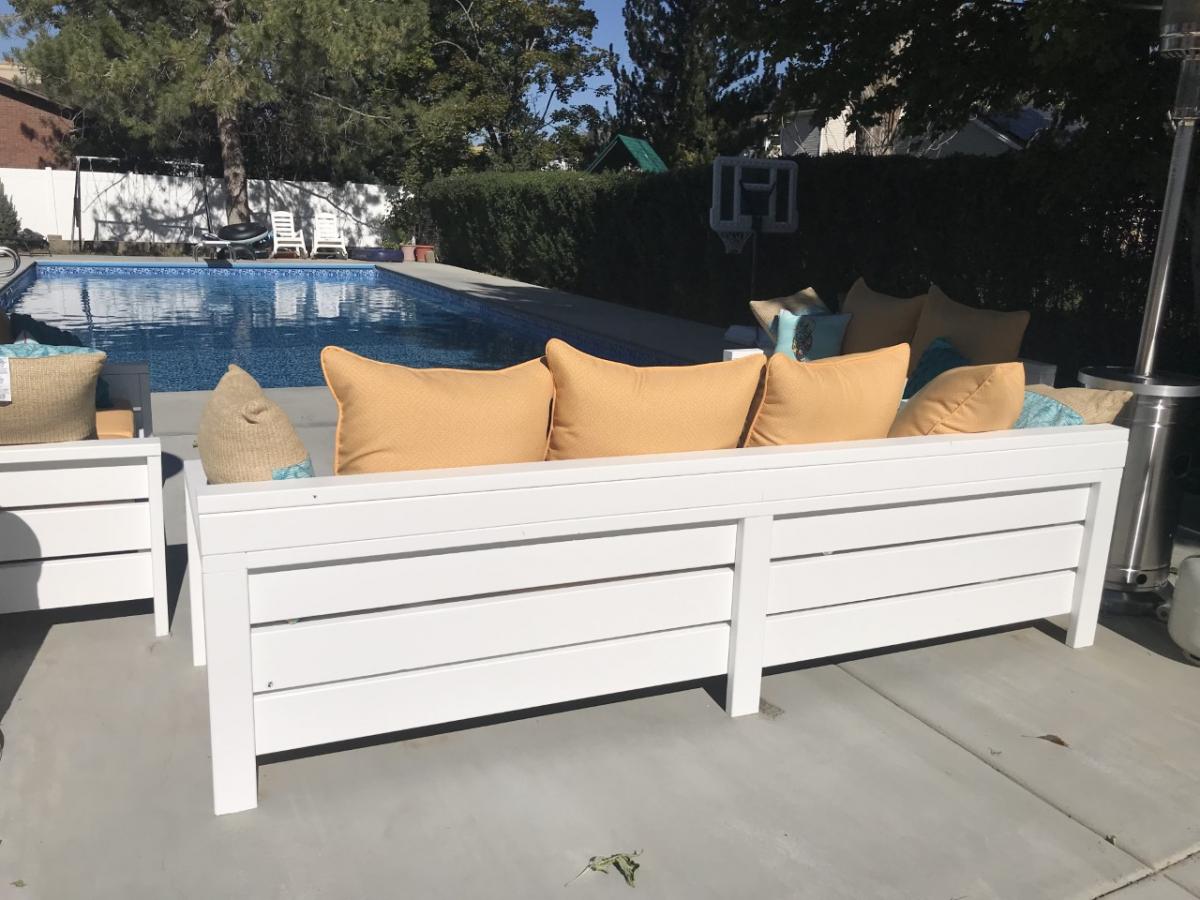
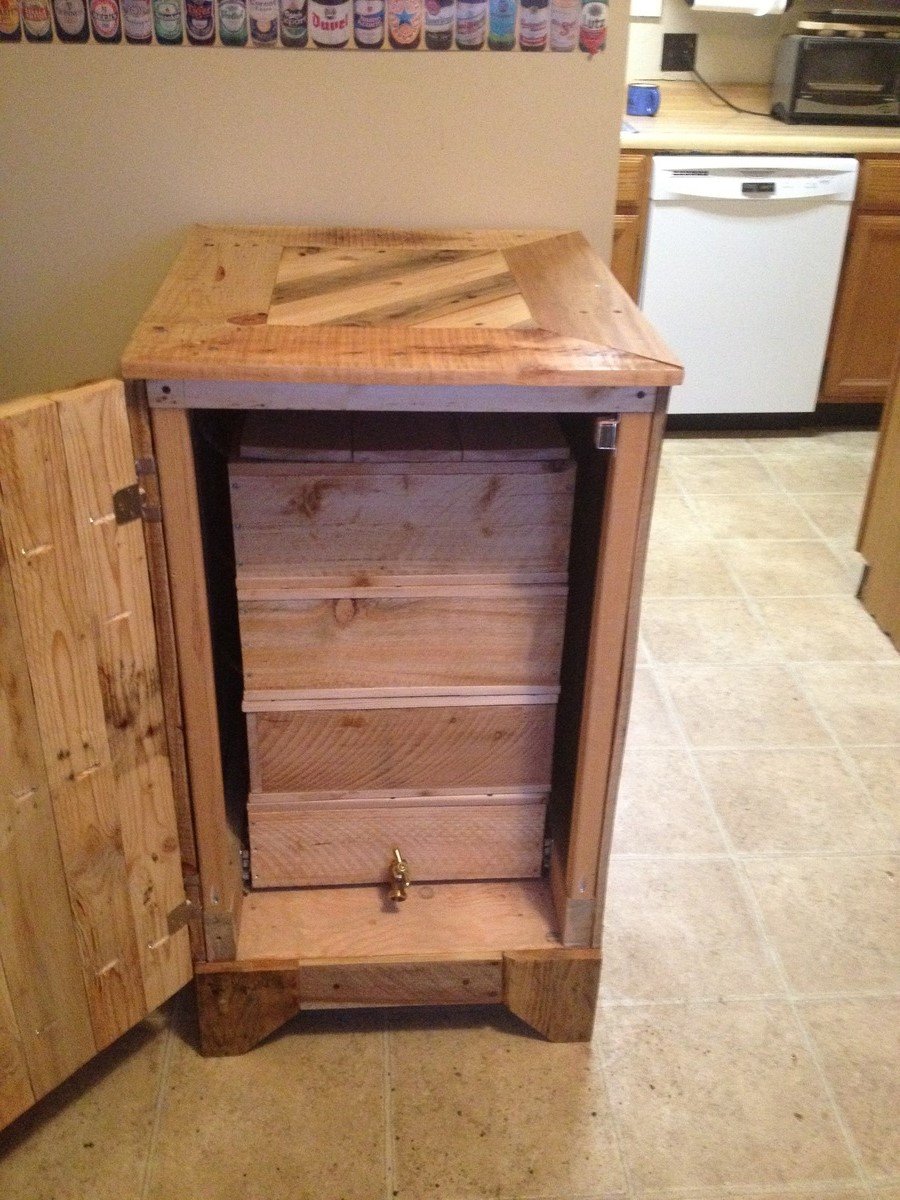
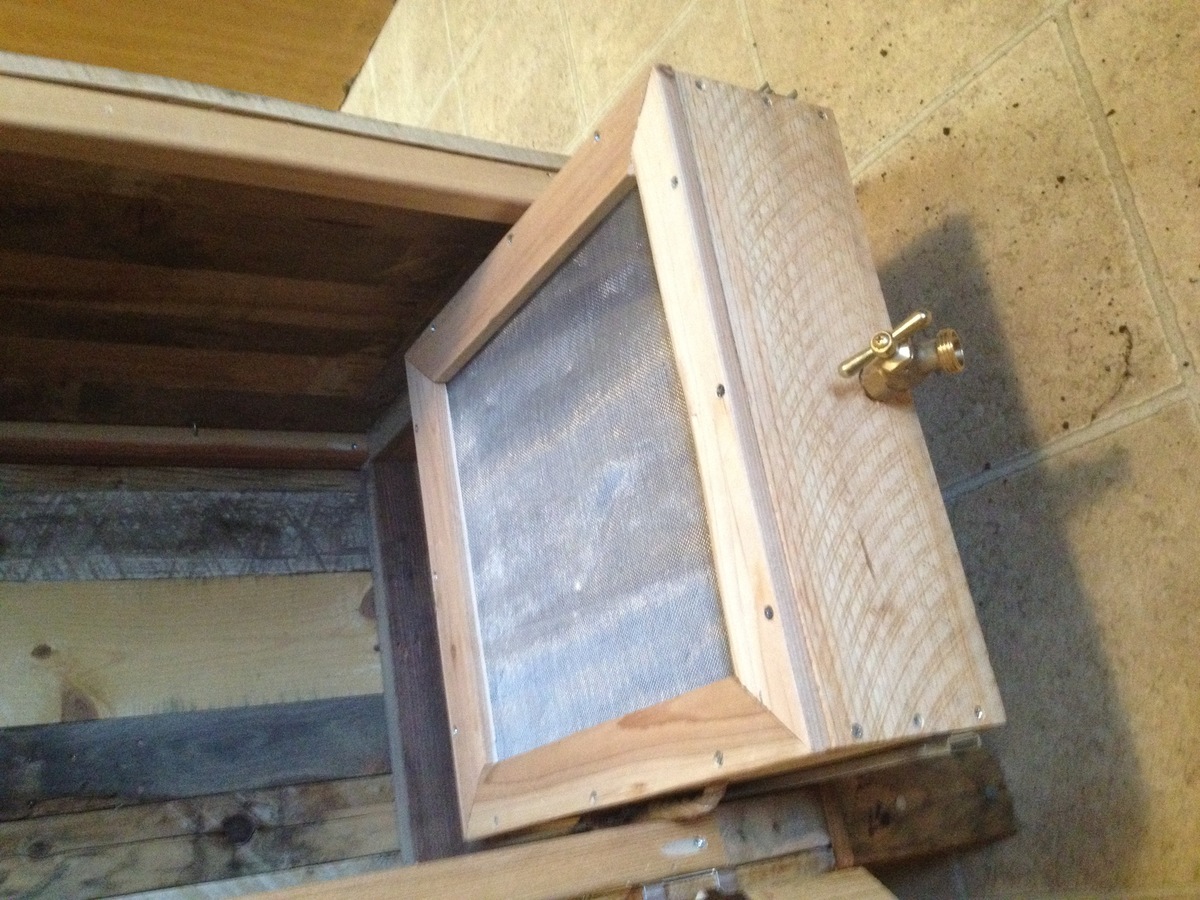
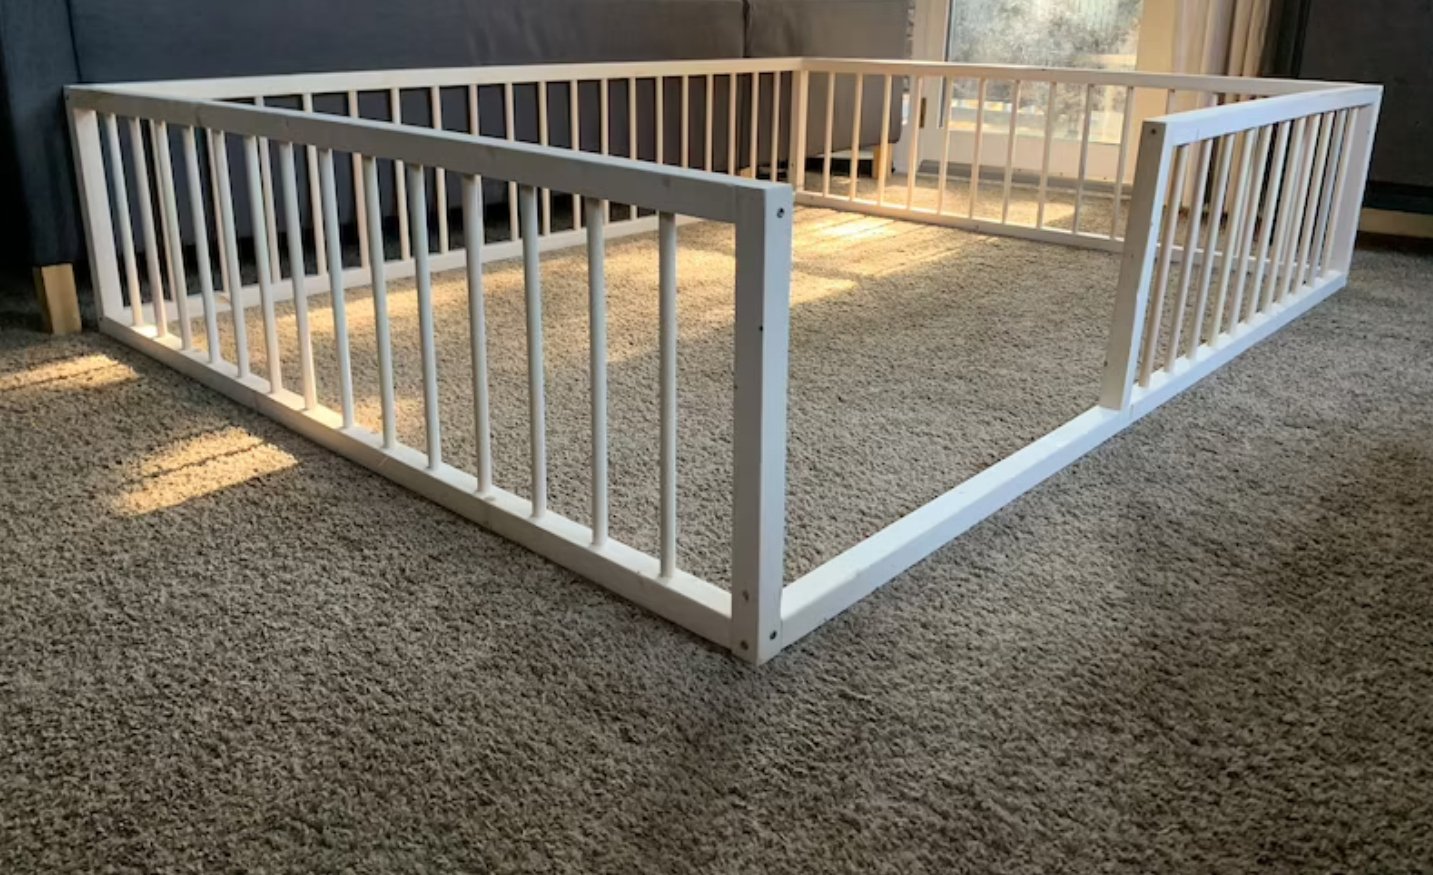
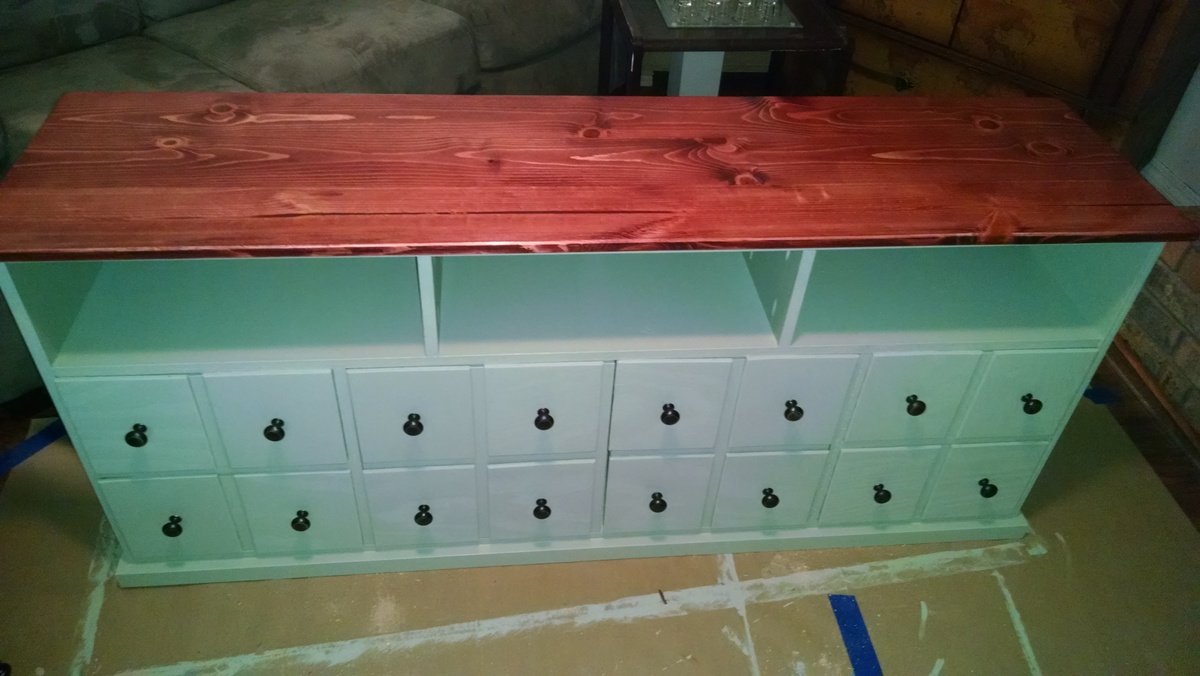
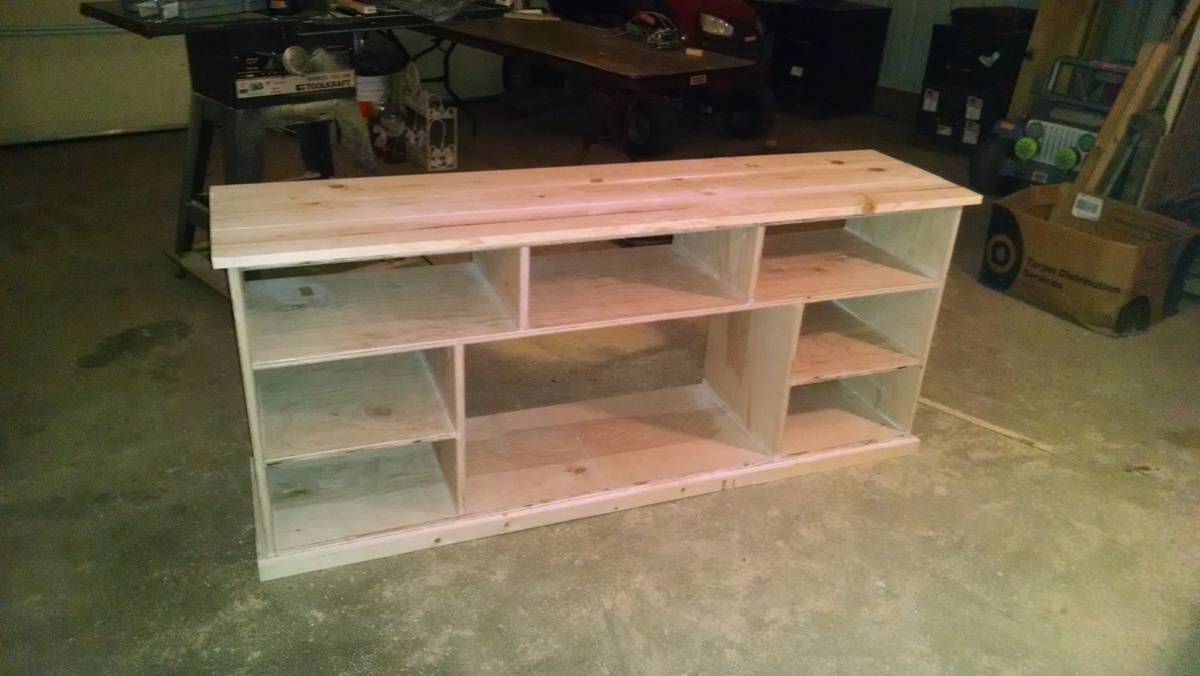
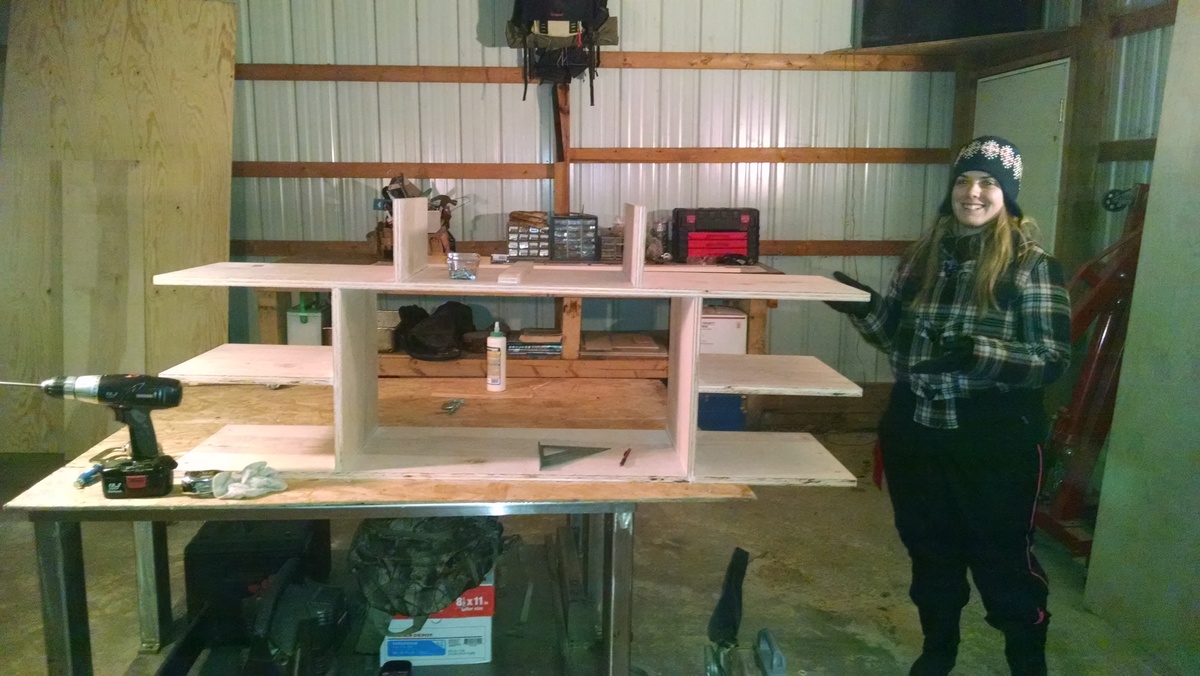
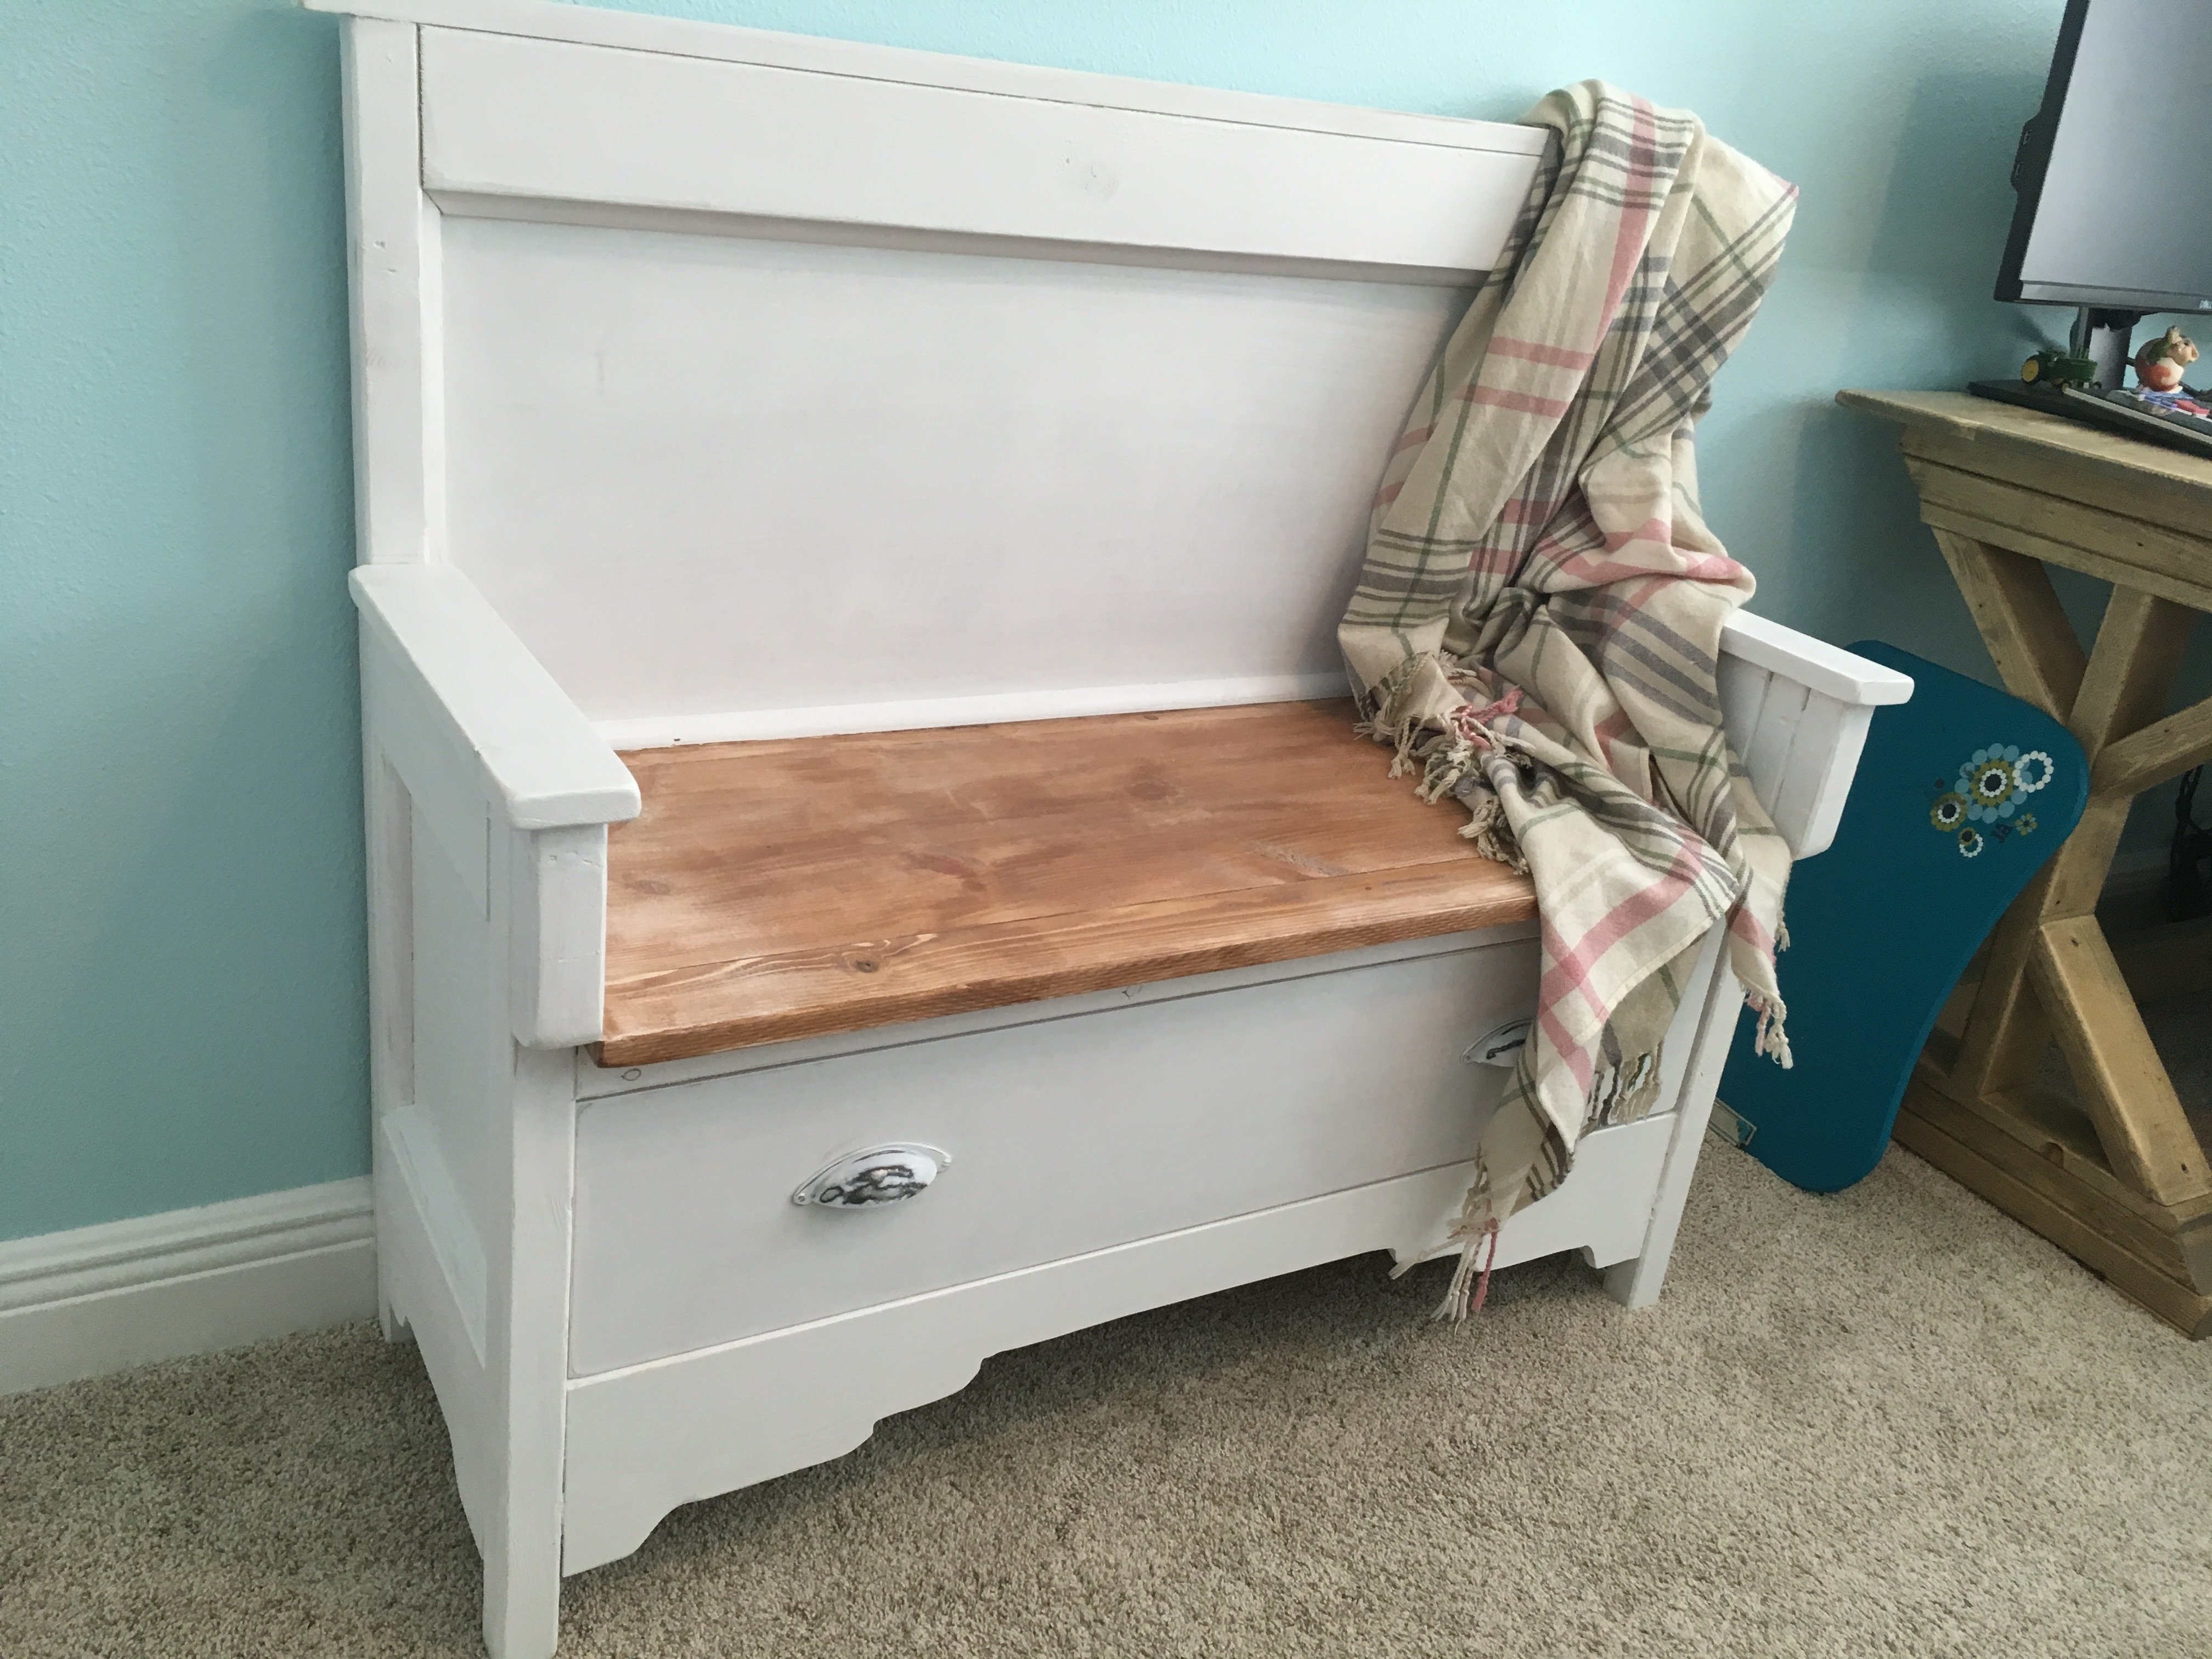
My 2 grand girls wanted a cottage bunk bed. Not wanting to disappoint, I took the plans from the cottage loft bed and modified them, adding a lower bunk. I also added the steps, with storage on the side instead of the ladder, and made a drawer for the front step for the little one.
I made the wreath from Pom-Poms purchased from Jo-Ann's and battery operated string lights.
I opted for a cedar shake roof, which was purchased from Home Depot, then painted.
Needless to say, they love it!
Built from Plan(s)
Estimated Cost
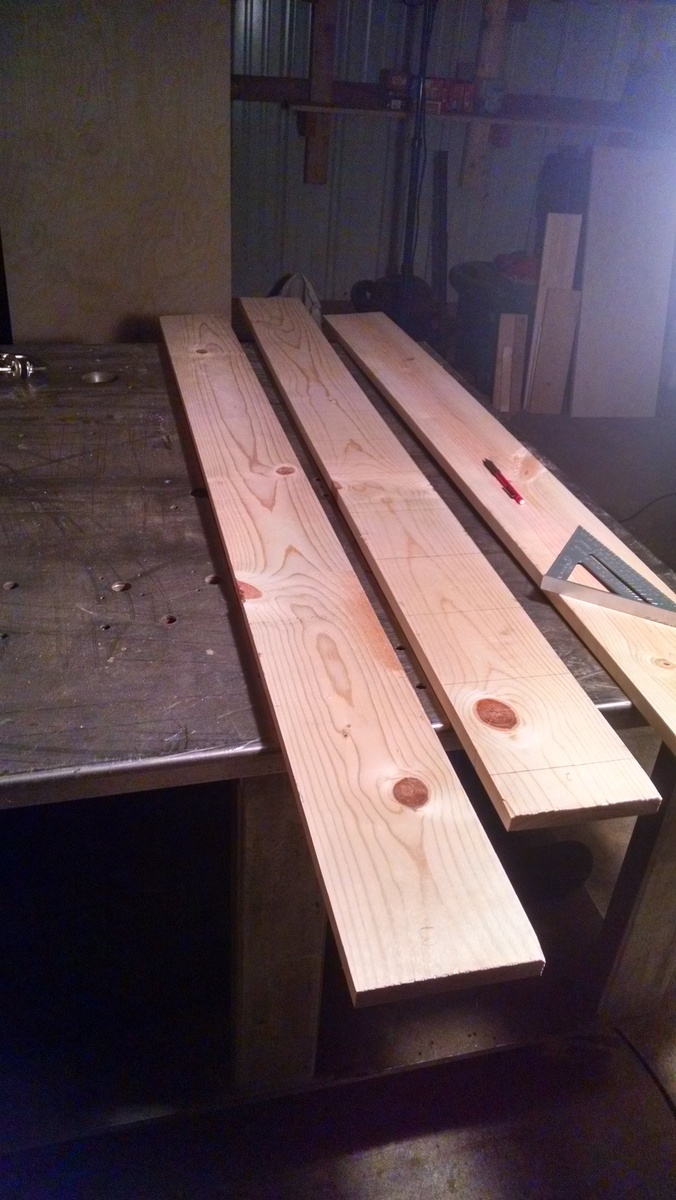
Maple T & G - left over from remodeling project
Additional wood and hardware - $275
Additional wood and hardware - $275
Estimated Time Investment
Week Long Project (20 Hours or More)
Finish Used
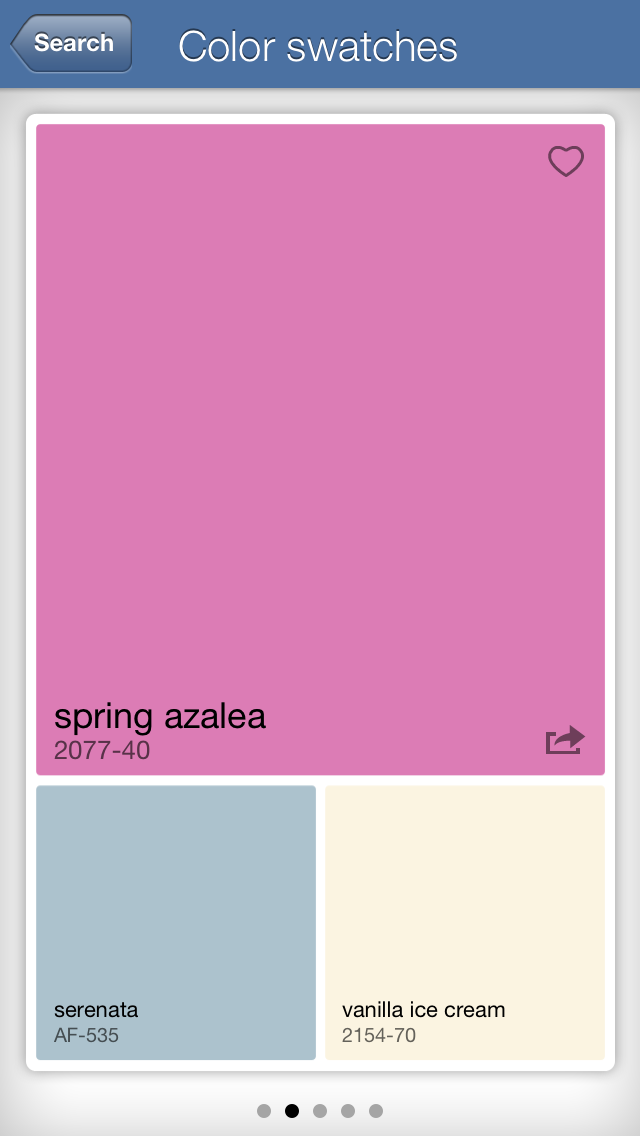
Painted using One of Pottery Barn's grays from Sherwin Williams
Recommended Skill Level
Advanced


Comments
handmadewithash
Tue, 06/20/2017 - 20:13
this looks super awesome! :)
this looks super awesome! :) I love the cute little shutters and all the nice attention to details :)