Rustic $10 ledges
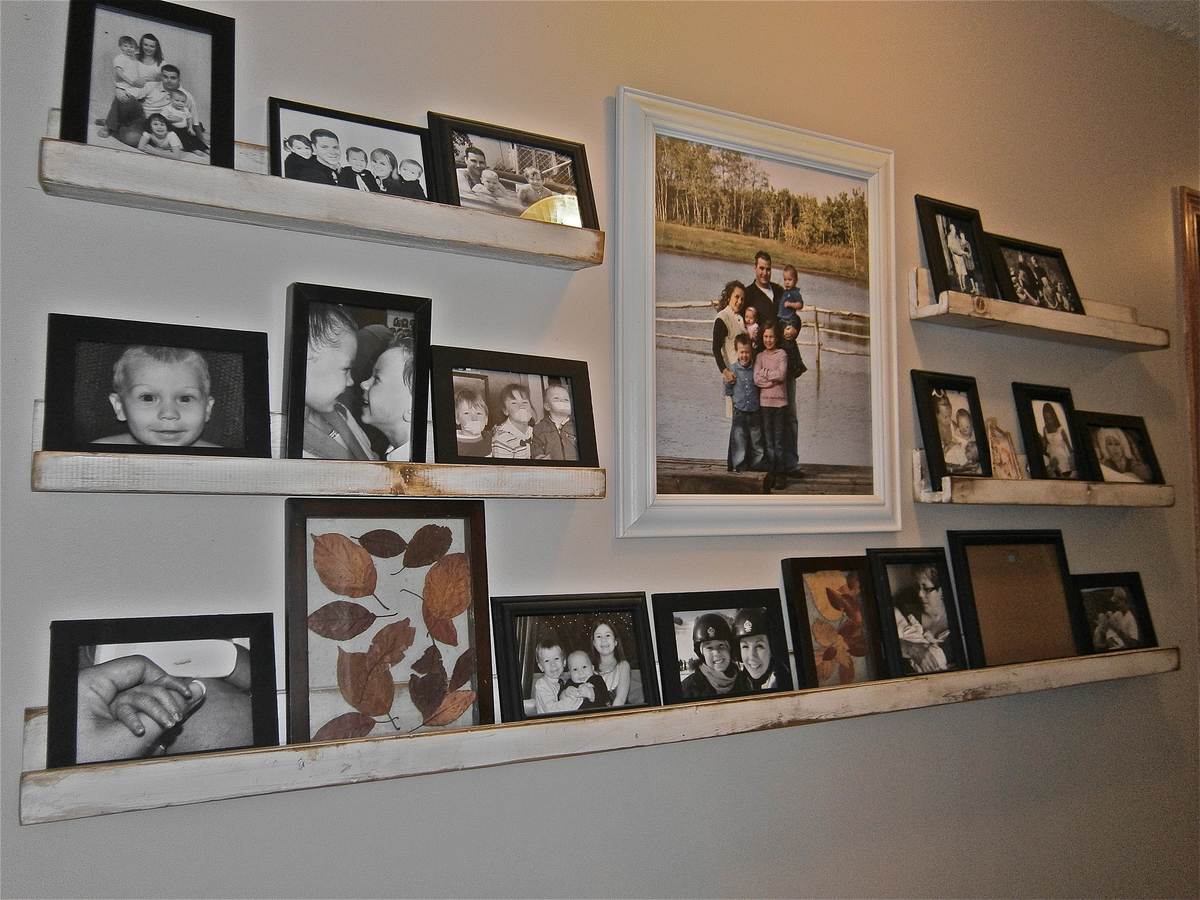
This project took my "picture wall" to a higher level!
So easy too.

This project took my "picture wall" to a higher level!
So easy too.
This was one of the 1st woodworking projects I did on my own. I never tiled before so it was a challenge. Even bought myself a tile saw to do it. I could not be more happy with the way it turned out and I love having it in my living room.
Sun, 02/16/2014 - 19:32
This was a fun project to do and a great conversation piece when people come over!
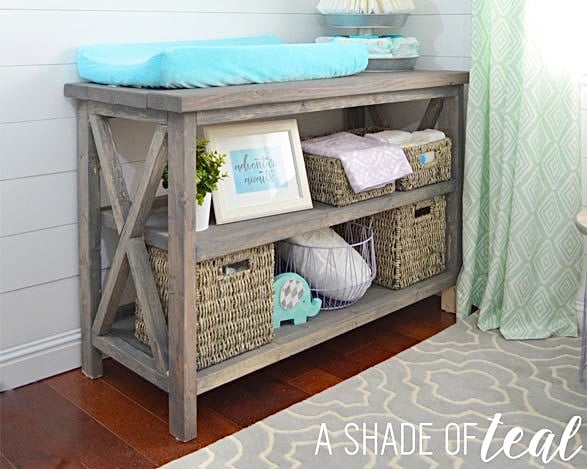
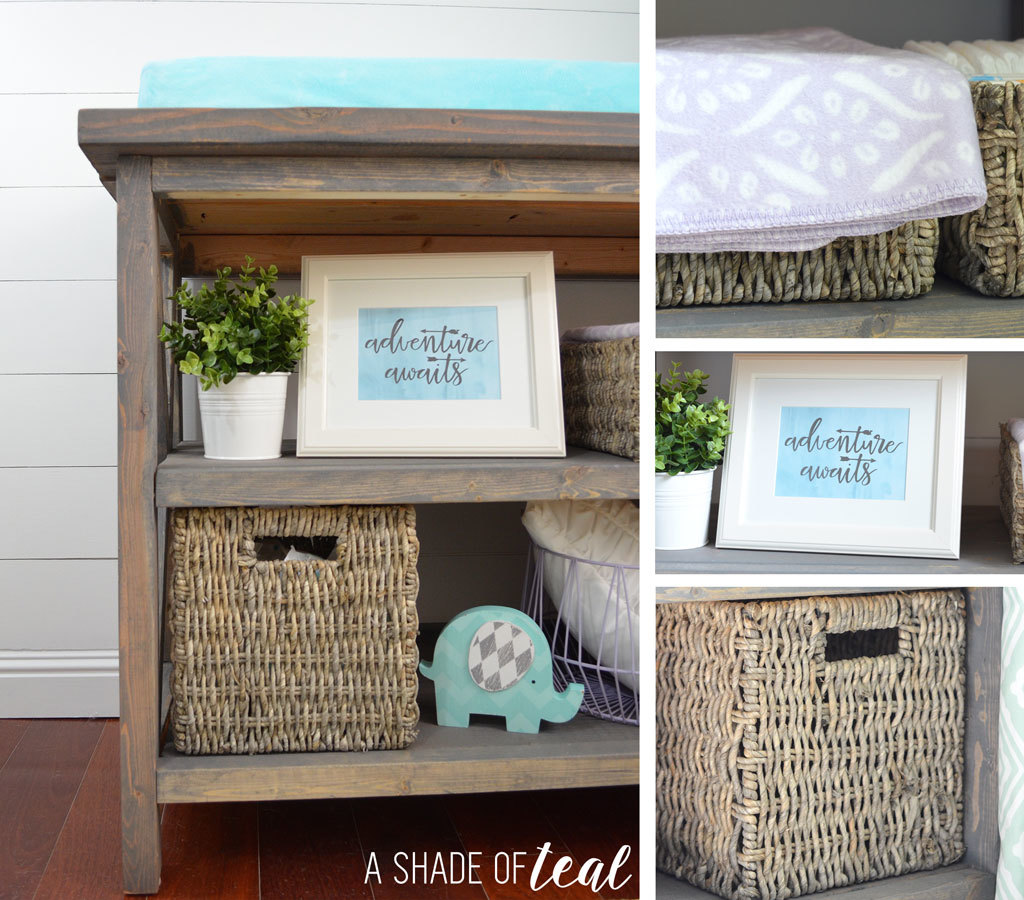
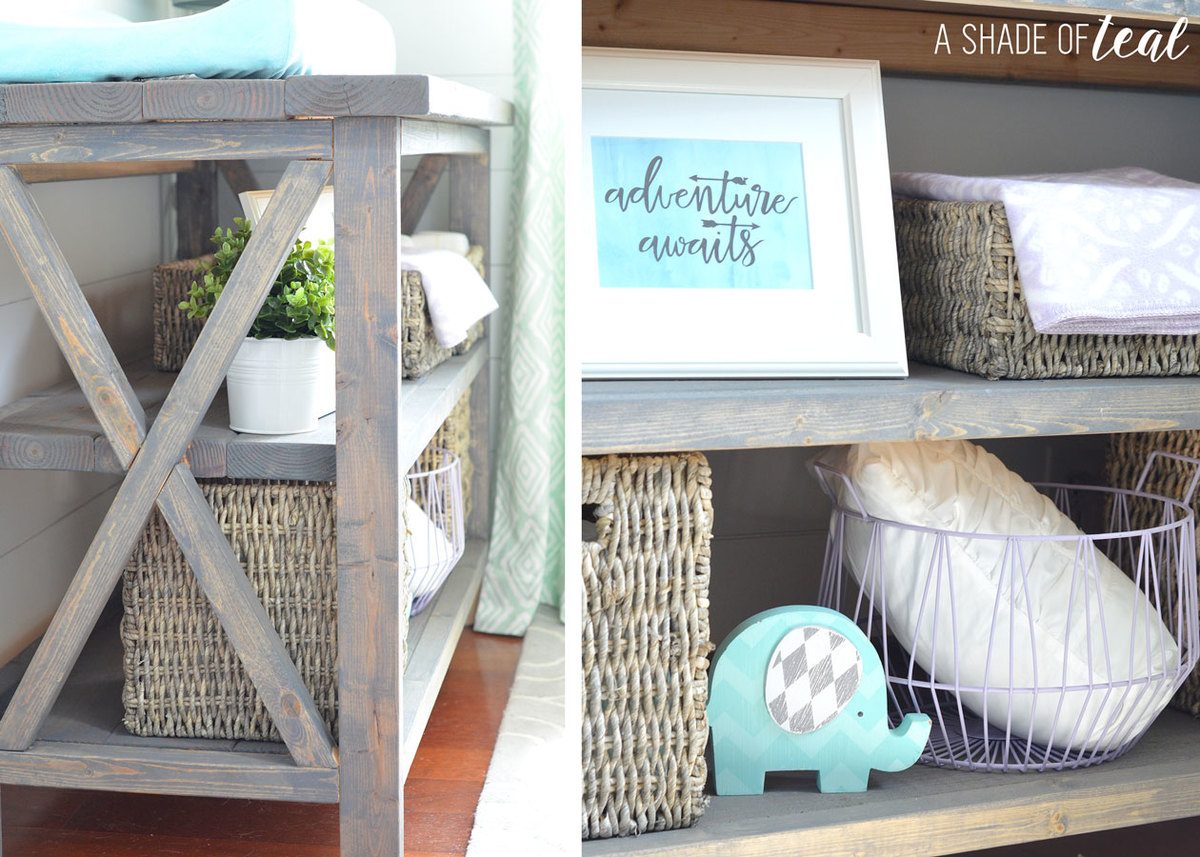
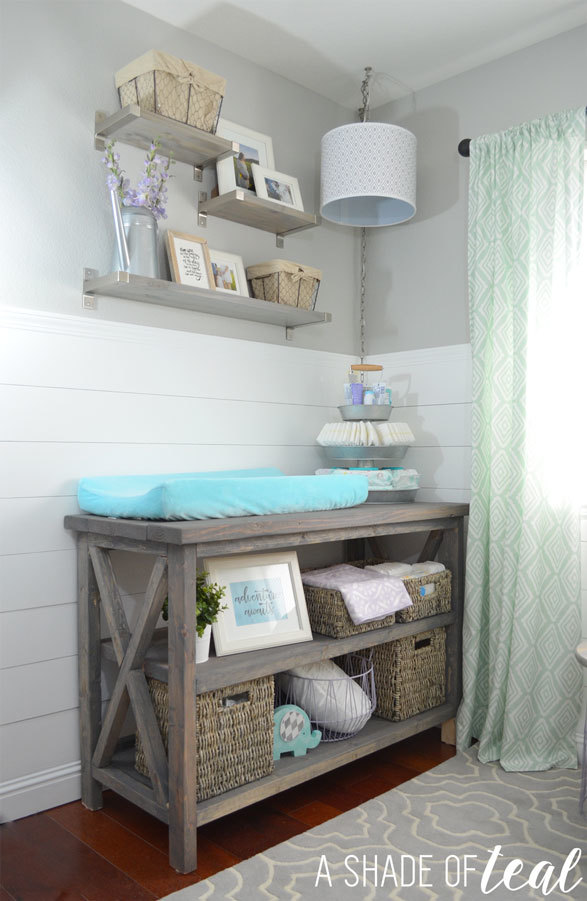
Rustic farmhouse changing table without the framed top box. I built this for my daughters nursery.
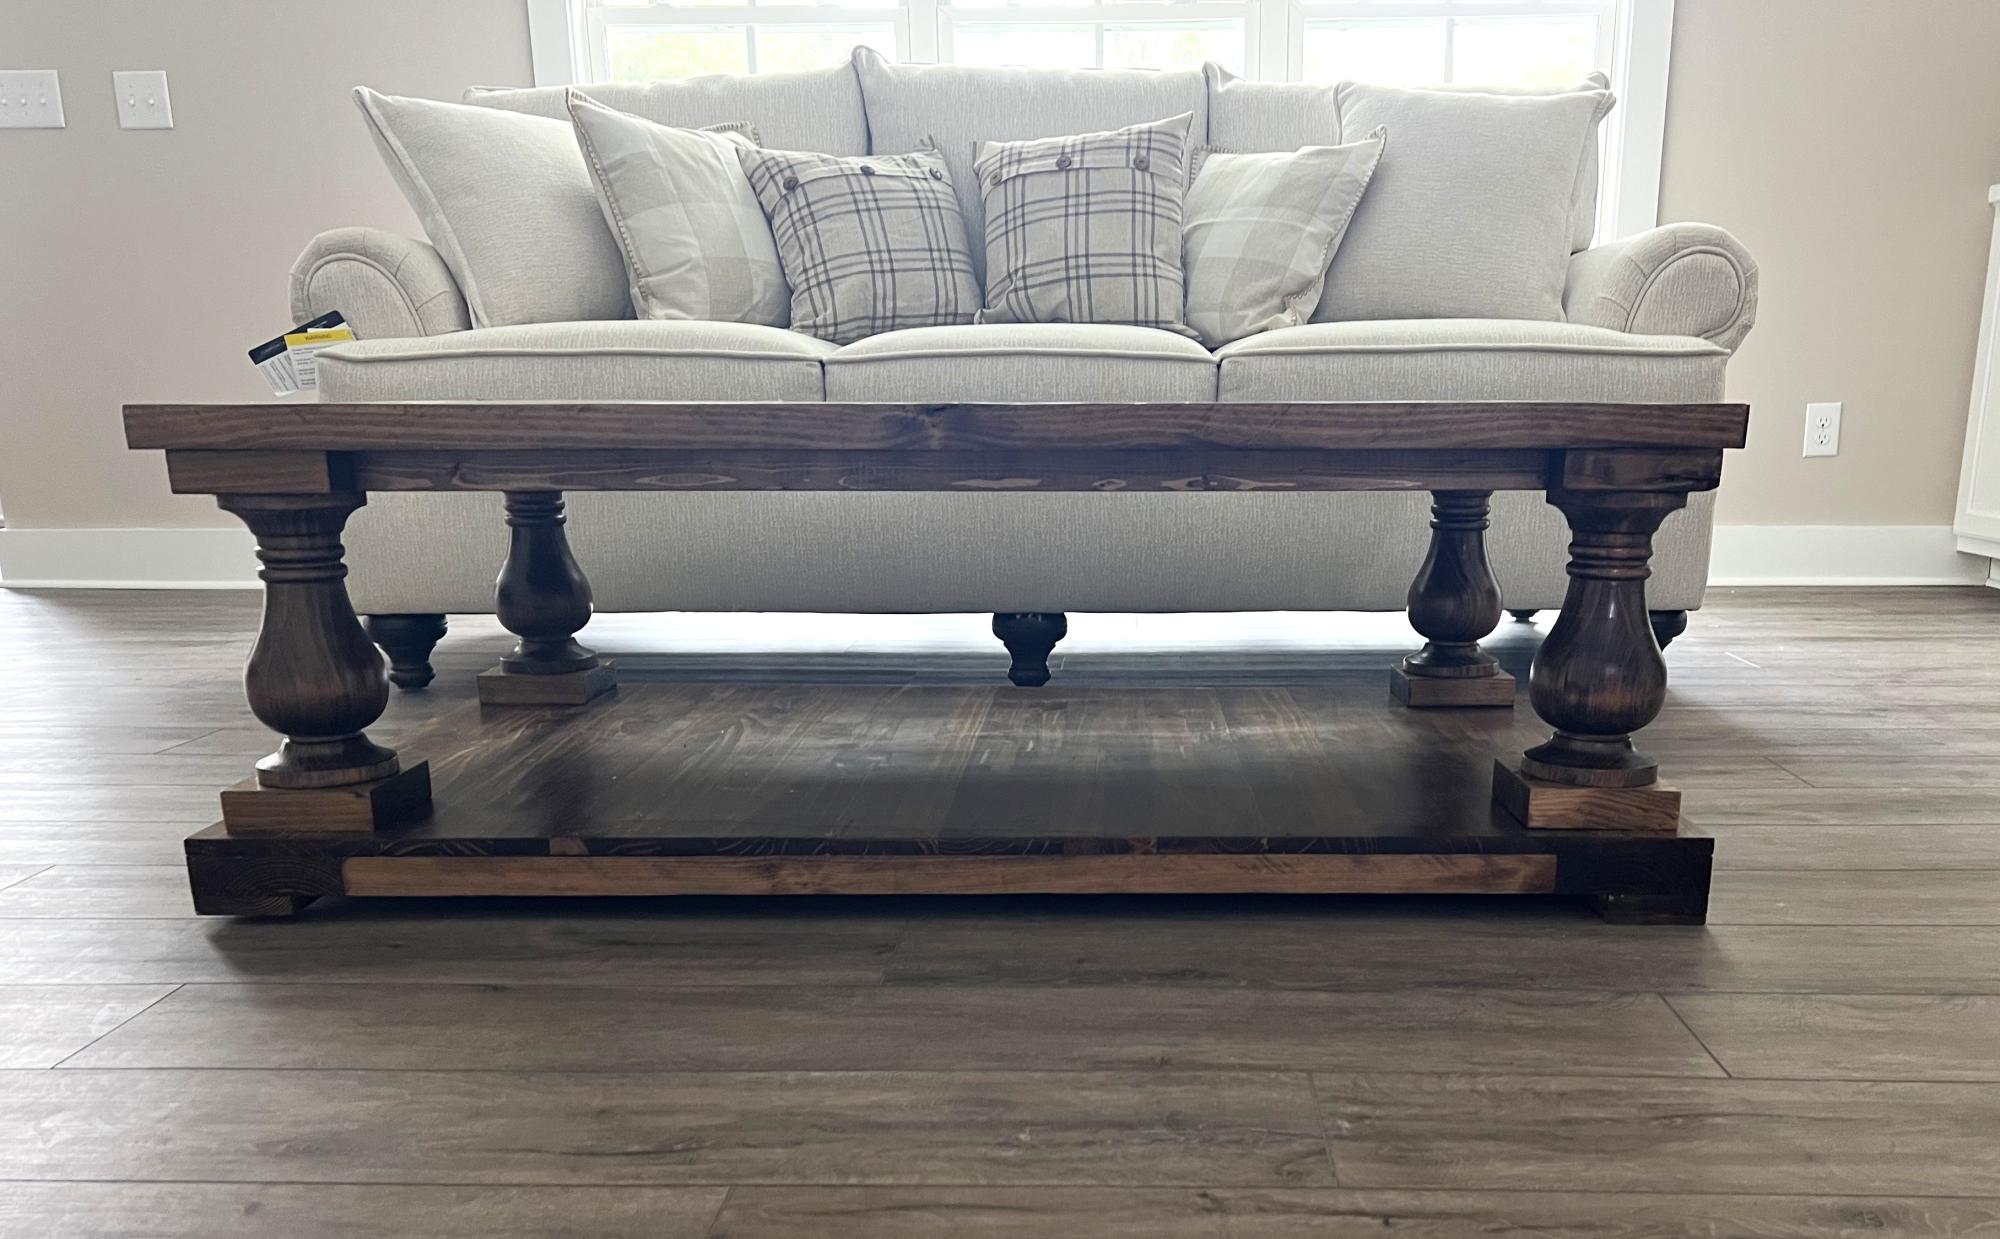
My rendition of the baluster coffee table.
Wayne A.


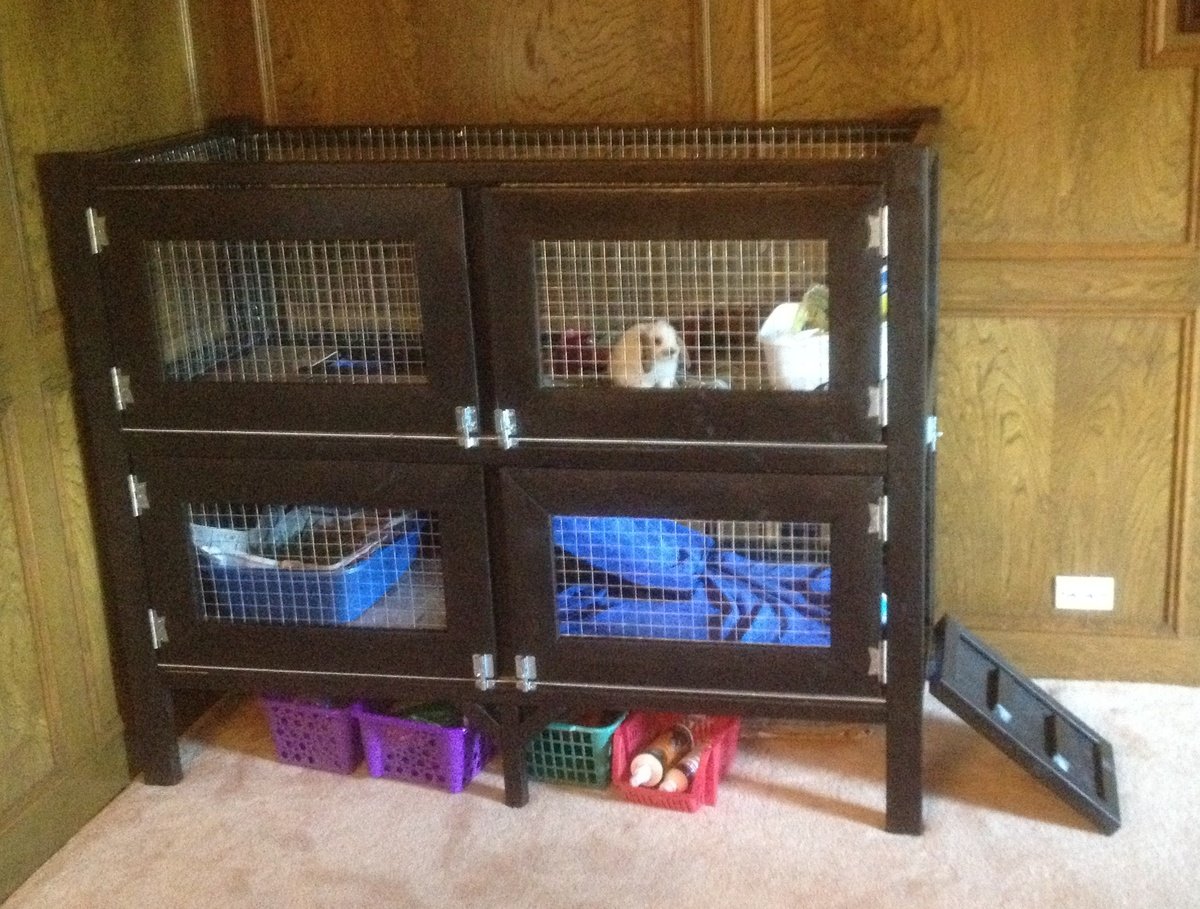
For my first woodworking project, I foolishly decided to build a rabbit hutch without plans for my daughters new Easter Bunny. So I literally scratched some ideas on my wood working bench and started going to work. I did some construction over a decade ago, but never attempted to build any furniture before, so I'm pretty happy with how this came out.
I spent a few days researching various rabbit cages and for our place we needed something that was ascetically pleasing and functional as it was going in our living room. I got some ideas from the web and decided the best thing for us would be to have an entry ramp, 2 sets of barn doors for each level (for easy cleaning) and an open roof. We went with linoleum floors since she's already litter trained. The floors could easily be modified to add 1/2" wire mesh if we decide to change things down the line. Also, we chose an espresso finish with silver hardware to accent the wire mesh
I pretty much crashed and burned on the staining as I've never done that before, but it ended up looking ok after all. I did a light sanding, but will probably invest in a planer and jointer to get my wood in better shape before assembling in the future. Also, I'll probably lightly dab some stain on ends of wood before final assembly as it made it difficulty trying to hide the white pine with the dark stain.
Other cages I saw ran around $200-$350.00 so i don't feel so bad about the cost. It's really the time that it took learning and making mistakes. I'm sure if I had plans I could of cut my time in 1/2.
Total Cost came out to around $150.00 but probably would of been cheaper if I had some plans to go by. I probably wasted a few 2x2s and accidentally mis-cut a scrap piece of 1/4"plywood which added another $16.00 to the bottom line.
Here's a breakdown of my total cost.
Hardware - $30.00
Includes 5 latches, 4 sets of hinges (8 total) and a 3' piano hinge
Stain - $8.00
Linoleum Tile @ ¢.69 sq ft - $16
Brushes, Stain Rags - $5.00
Screws - $6.00
Wire Mesh Roll $30.00
Needed 2 rolls at $15.00 each. I used 1" Wire Mesh measuring 2'x15'
Total Wood $50.00-$60
I used 2x3's for the legs - 2 @ 8' - $2.00 each ($4.00)
probably 15-20 2x2's - $1.52 each - can't remember how many I used to be honest ($30.00)
and a few 1x6's for the Doors - $2.00 each ($6.00)
Sheet of 1/4 plywood - $12.00


Thu, 05/03/2012 - 06:24
I bet your rabbit is pumped! What a nice house. Good Job.
In reply to I bet your rabbit is pumped! by Aargh (not verified)
Thu, 05/03/2012 - 06:57
Thanks! The rabbit definitely seems happy.
Thu, 05/03/2012 - 08:09
I also have been thinking with the idea of building a two story hutch for our rabbit. I love your ideas so now i have a new project to work on. Thanks for sharing!
Mon, 10/08/2012 - 12:46
I LOVE your cage! We have 2 rabbits and 2 Guinea pigs which means we have 2 ugly cages in our living room. We are planning something similar, but a bit bigger (but lower if that makes sense). And we'll put a 3rd story on for our Guinea pigs. So we have everyone on the same patch of real estate so to speak. I was going to do 3 solid walls with wire "windows" too keep all the hay, poops and such contained. I am also going to put lockable wheels underneath, so I can move it to my office if I ever need to (parties and renovations).
Is there anything that you can now think of that you would like to change on yours? R my research purposes.. :) It looks awesome, I'm just picking your brain for "hindsight" tips.
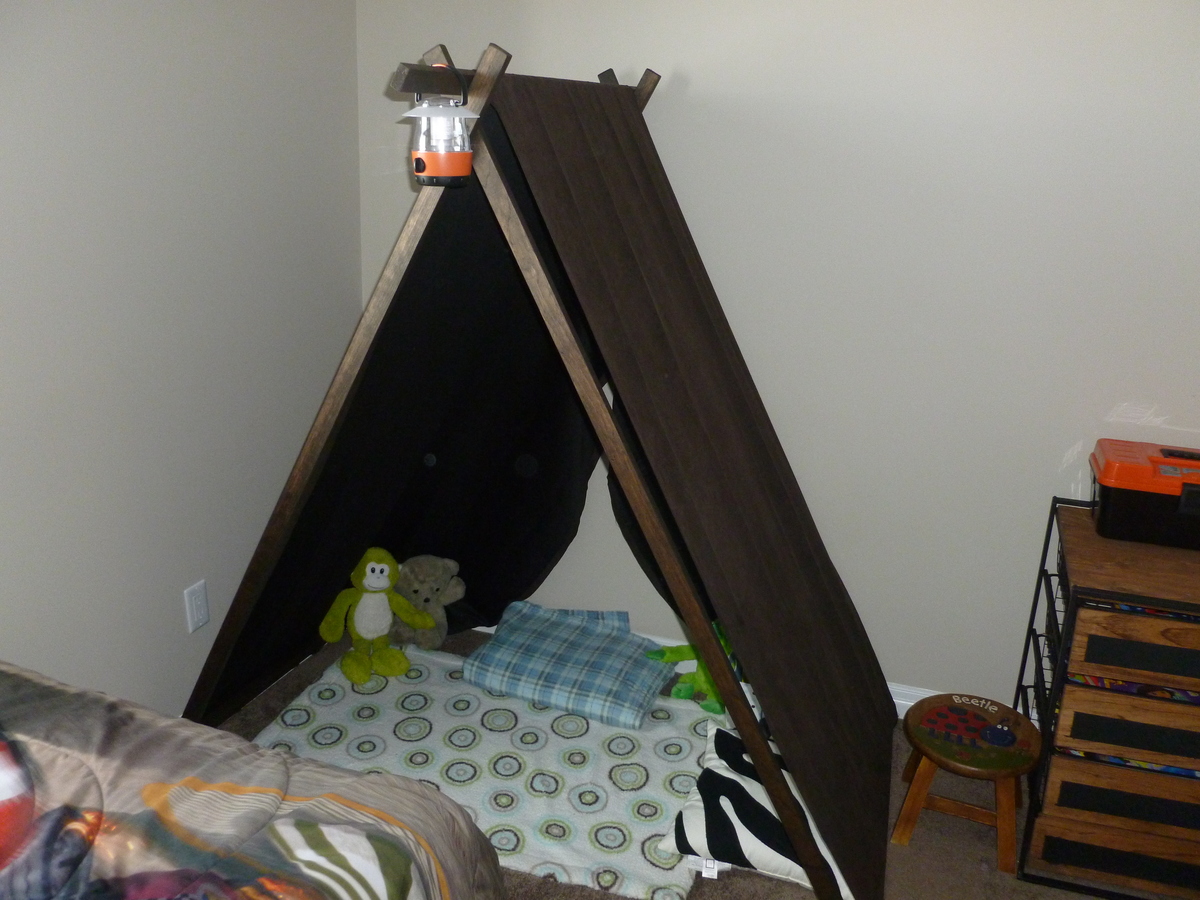
This was the easiest and quickest build I've done yet. The more time consuming part for me was stapling down the curtains on the underside.
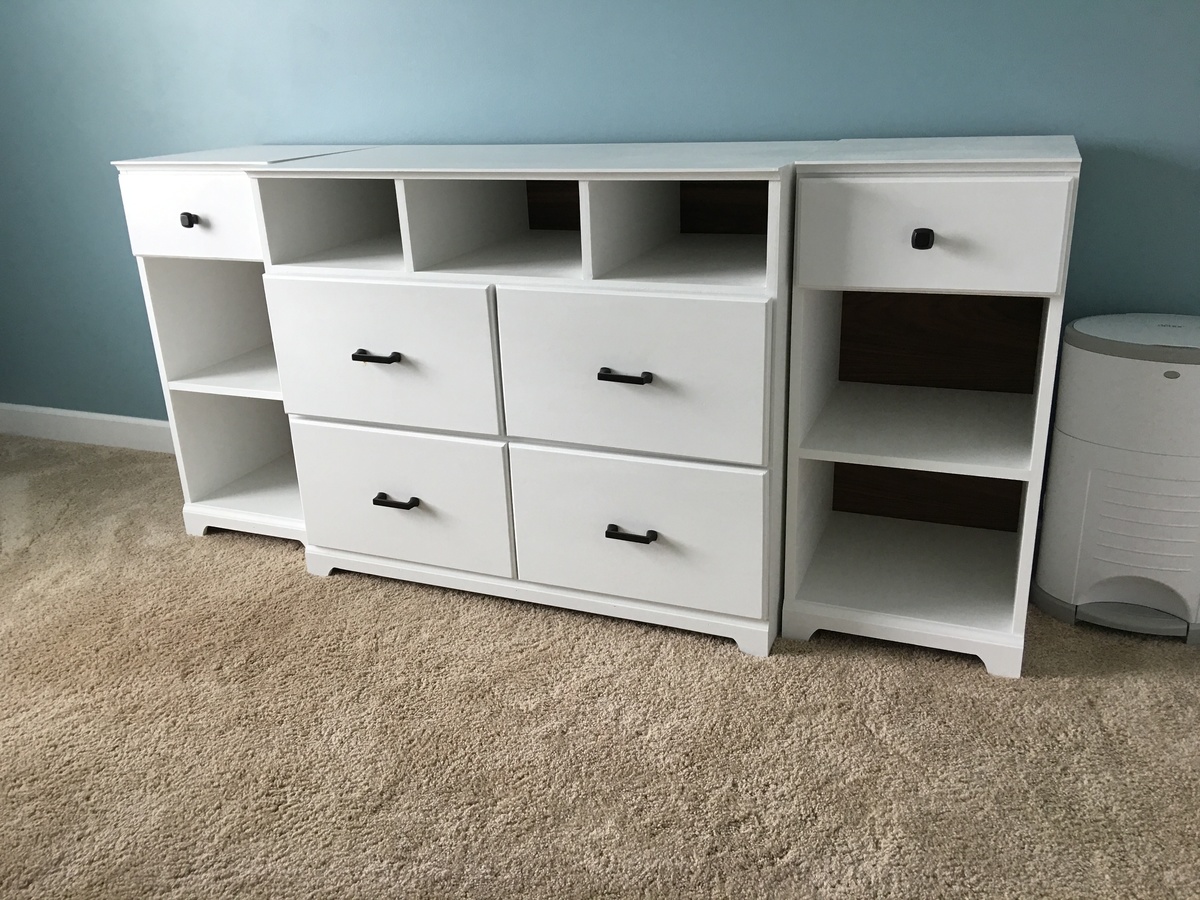
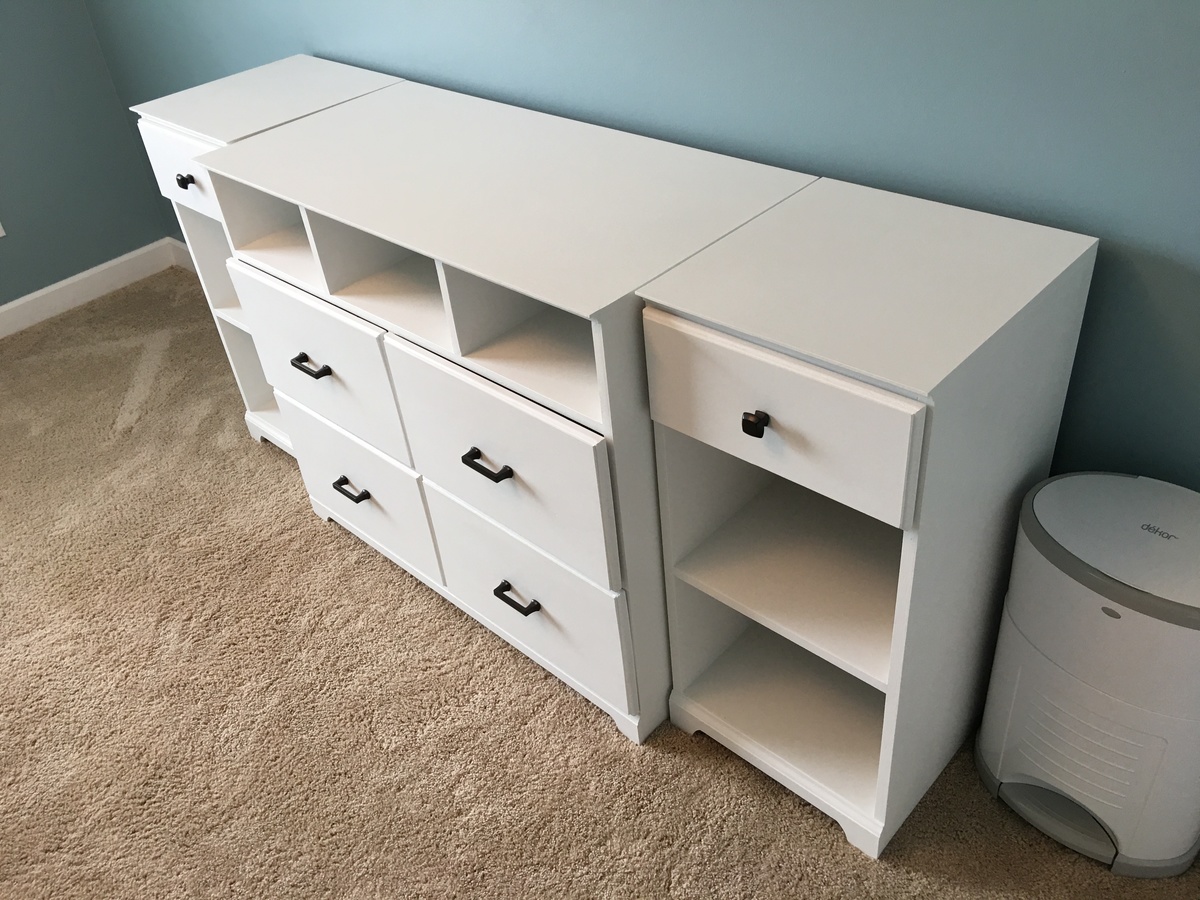
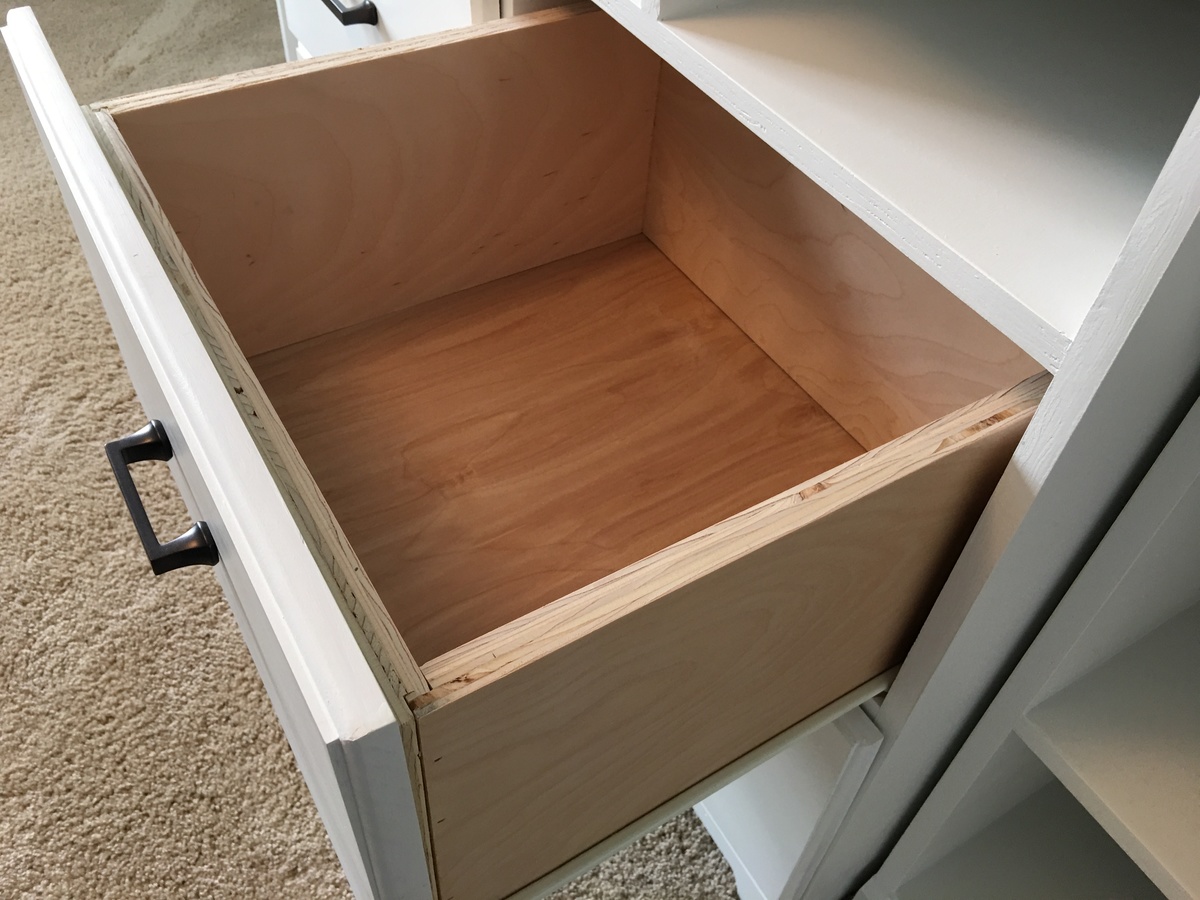
Inspired by the Madeline plans, I built this changing table for our impending arrival.
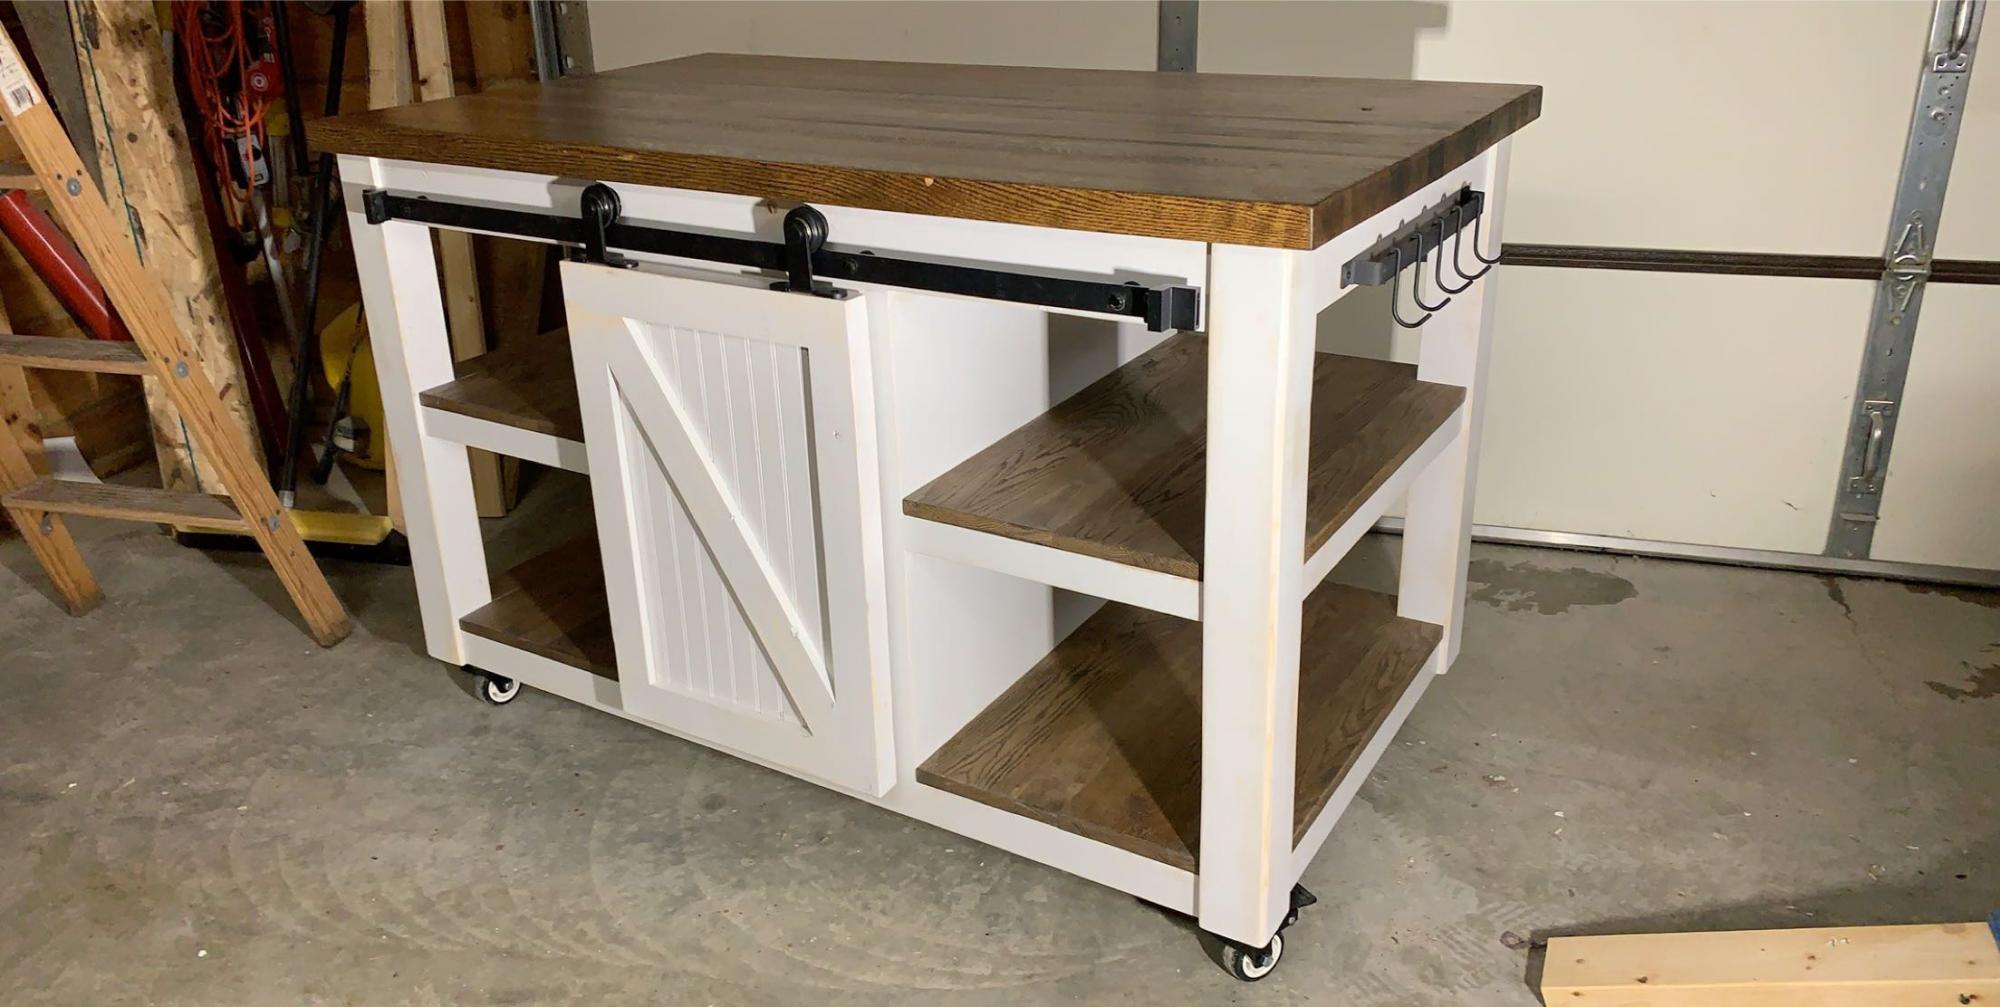
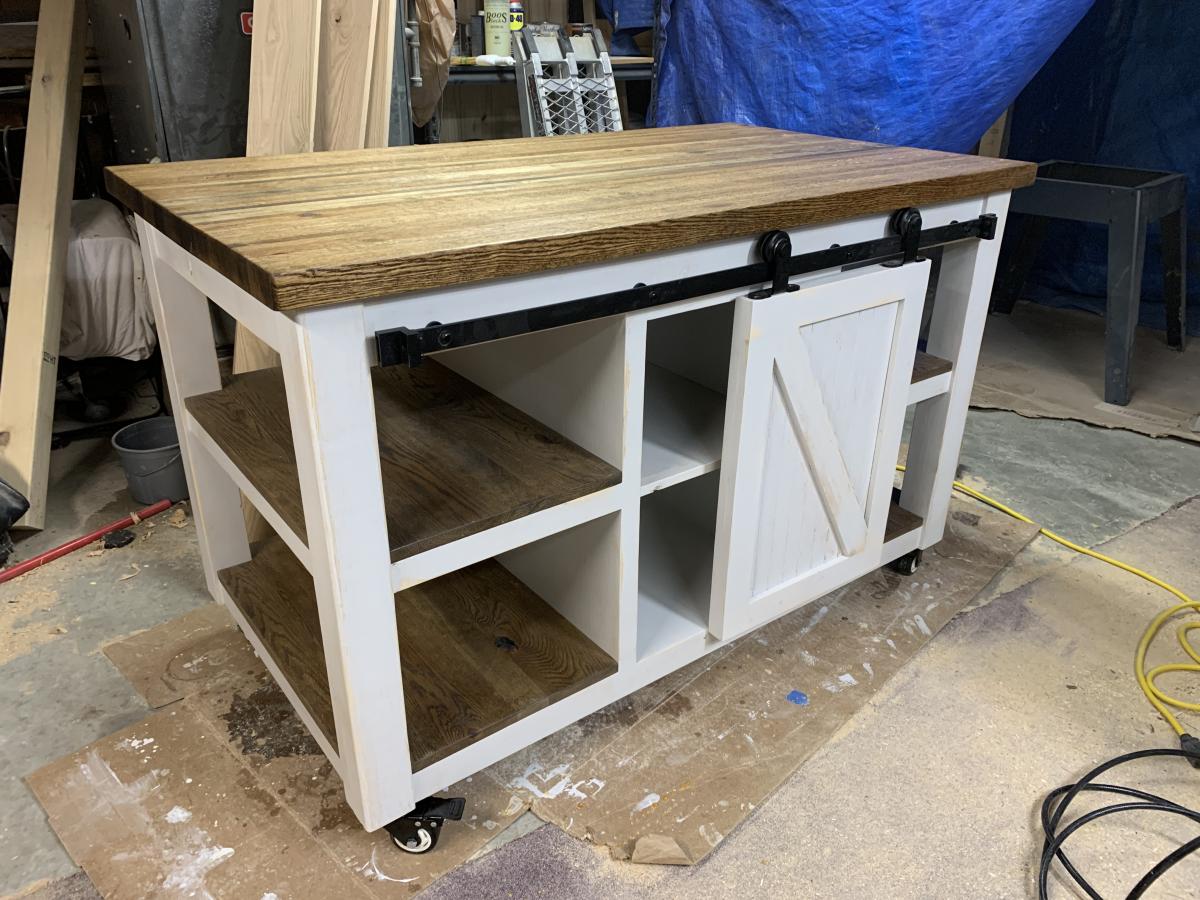
I built this custom kitchen island for a family friend that wanted something bigger than what can be purchased at a retail store. They also wanted to have a butcher block top for cutting meat. The base is made out of select pine and the stained parts is red oak with a couple strips of birch. The over all project took me 5 days to build. With the top being the longest because it consisted of 94 1 ¼” pieces glued together. Thanks for looking!
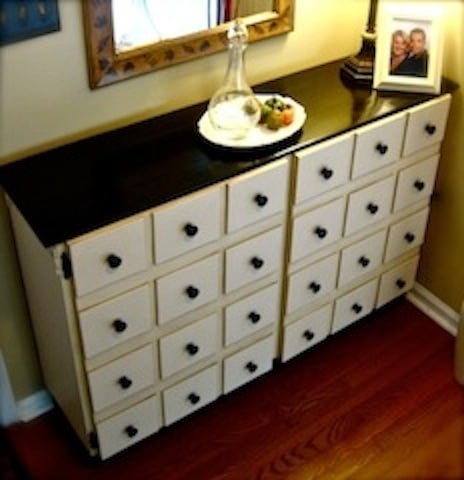
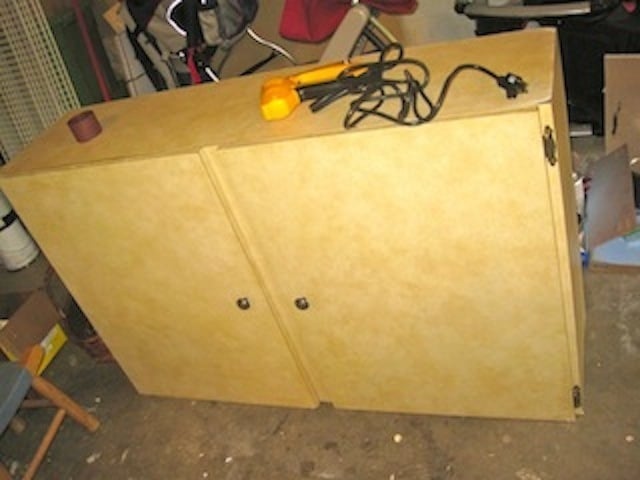
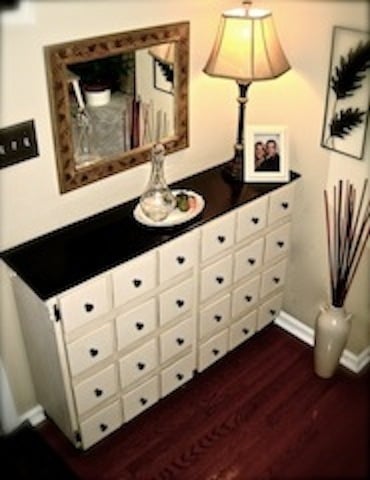
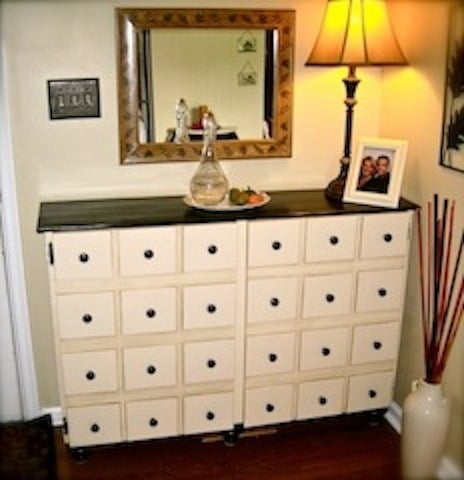
Hello, my name is Natalie Scott & this is my first Ana-White Brag Post! In the beginning, this cabinet was such a silly thing to find. I almost didn't even accept it from a neighbor, who was going to throw it out, when they offered it to me. It ended up becoming my biggest (& longest!) project yet; & the project of which I'm the most proud!
To see the complete process & transformation, go to:
http://TheVintageMagi.blogspot.com/2012/01/from-trash-to-treasure-entry…
Once I had a plan in place,
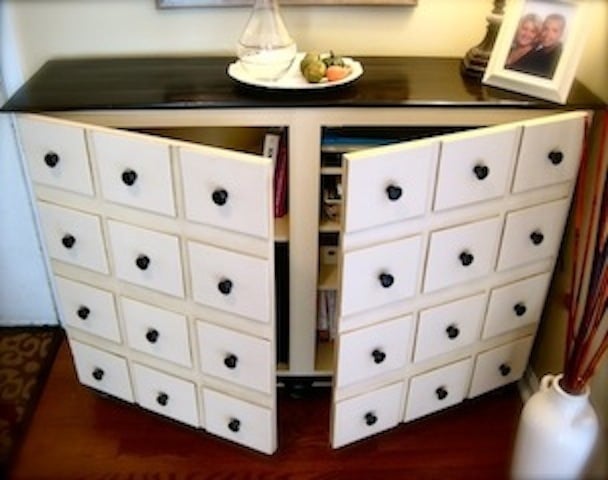
1. I went to Jo-Ann Fabrics & got a thin, plywood craft boards.They were 1/4" thick, 6" wide, & 36" long.
2. Of course, I already had the base for the cabinet whose dimensions were slightly different than the plans on Ana-white.com, so the math was up to me. After lots & lots & lots & LOTS of equations, I knew that the drawers would have to be 6" long & 7" wide, which is why I went with the 6" wide boards. Less cutting on my part would ensure more uniformity.
3. I started measuring in 7" at a time (& double-checking & measuring again) & cutting with a circular saw.
4. I used a blend of construction adhesive & wood glue to seal the plywood "drawers" to the cabinet doors. I didn't even need to clamp!
5. After drying, I filled in any large cracks that may have popped up with wood-filler & let that dry before sanding it down.
While the seal on the "drawers" was drying,
6. I painted the cabinet with Rust-Oleum's Ivory Silk Satin Finish spray-paint.
7. I also picked out wooden knobs at $0.94 a piece as well as 6 traditional-style furniture feet & spray-painted them with Rust-Oleum's Oil-Rubbed Bronze.
8. The feet had screws that allowed them to attach right in to "Heavy Duty Top Plates" that I were attached to the bottom of the cabinet.
All of these items were available at Home Depot.
9. Next, I sanded, primed & painted the doors.
10. After some careful measuring, I drilled pilot holes for each knob.
11. I added the shelves back in to the cabinet, which required more touching-up of the paint.
12. I had taken apart a wood pallet, measured the wood, & tried to think of a way to make it into a reclaimed wood top for the cabinet.
13. I cut the boards & made a layout, 4 rows of boards deep, on top of the cabinet, careful to remember the overhang. I added 4 little squares of wood, one in each row of planks, in flattering & uniform positions to complete the desired overhang effect.
14. I sanded the wood, rearranged it, & sanded it some more.
15. I glued the top in place, using the same mix of construction adhesive & wood glue I used before.
16. Next, I used STAINABLE wood-filler to fill in all of the cracks. Then I sanded again from 60-grit up to 200-grit,
17. & made sure by using a LEVEL that the finished surface was FLAT & EVEN.
18. Before it's final sanding, it needed to be extra secure; so I got out the finishing nails & put two nails in each board (except the little squares of wood, which only got one nail), one at each end.
19. I sanded with 220-grit sandpaper.
20. Getting the stain just right for the reclaimed wood top took awhile. Just when I was about to give up, paint & distress it instead, I had an idea. I took what was left (which wasn't much) of the little can of Minwax PolyShades stain in Espresso Brown & added some spoonfuls of Minwax Gel Stain in Hickory (which was MUCH easier to apply) straight into the little can. I shook the can & made a mixture of my own stain that was still a beautiful, dark color - but MUCH easier to apply. I applied 2 coats of stain, following drying-time instructions.
21. I touched up any mistakes on the cabinet with "Goof-Off."
22. I finish covered the stained top with a coat of hardening Minwax Paste Finishing Wax (applied in tiny circles just like waxing a car - "wax on, wax off!").
23. I added the decorative wood trim moldings on the side (using Gorilla brand wood glue mixed with construction adhesive again),
24. attached the finishing touches (like magnets to catch the cabinet doors & keep them shut),
25. & touched up all the ivory-colored paint one last time.
26. I used Rust-Oleum Transformations Decorative Glaze in Java Brown to glaze to the ivory-colored cabinet base (I did not glaze the stained wood top).
27. I coated the whole cabinet with a coat of hardening Minwax Paste Finishing Wax (the same as in step 22).
28. I attached the knobs,
29. & added these "Felt-Gard" self-leveling, heavy-duty felt pads to the bottom of the feet to protect my hardwood floors.
30. It went inside & was decorated, but is still not completely fit with it's final accessories. It looks great!
To see the complete process & transformation, go to:
http://TheVintageMagi.blogspot.com/2012/01/from-trash-to-treasure-entry…
Thank you for the inspiration & all the attention this project has brought my blog & business! Everyone has responded very well & I couldn't be more proud of myself & the accomplishment I feel. I mastered a lot of new tools & products on this project & am ready to start another one! Thank you, Ana-White.com!
"It was more than discovering something that I loved to do -
It was discovering someone I had always been."
~ Natalie ;-*
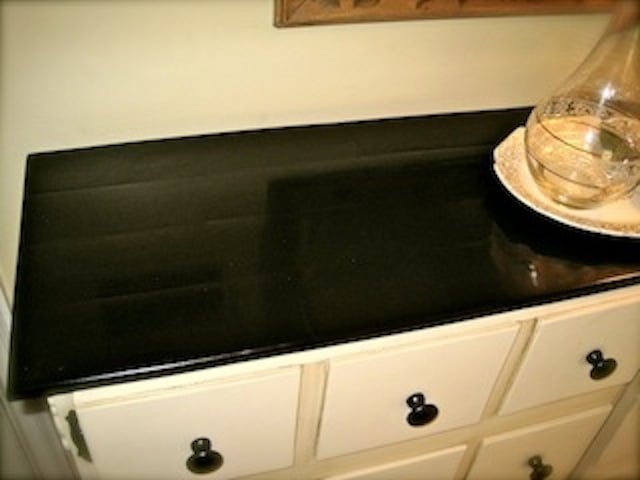
Sun, 05/06/2012 - 09:14
Wow! What an amazing transformation! Your hard work really paid off with such a beautiful piece of furniture.
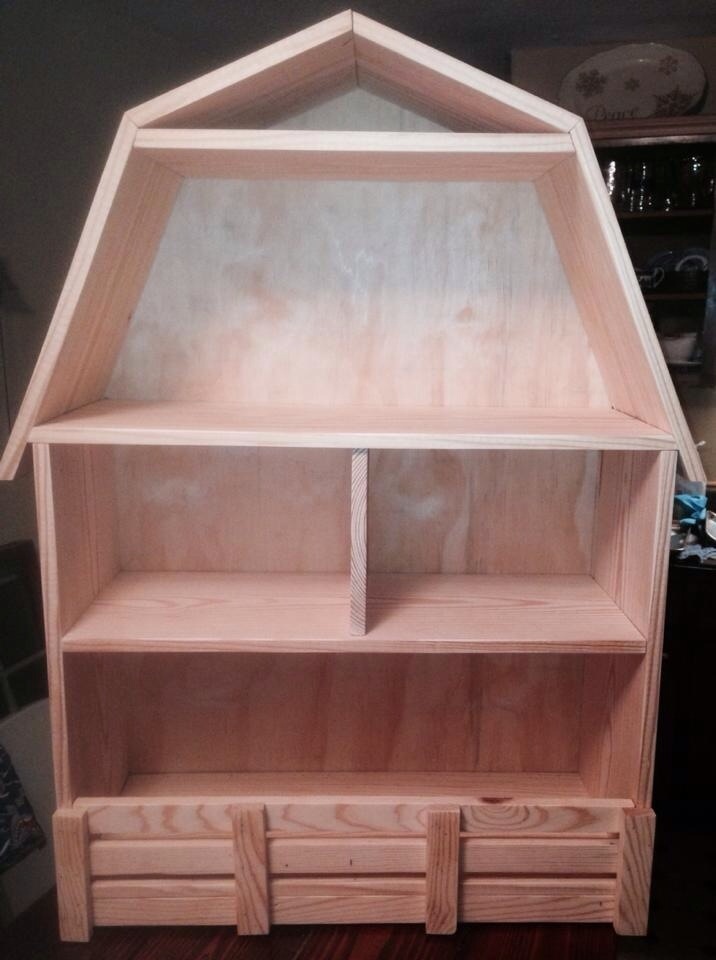
I built this for a friend's daughter who collects the Tractor Supply farm animals. This is the first time I have cut on angles to make the roof. The directions say built it from bottom to top but I found it easier to start for the top and work down. Then attach the whole roof where it marched on the barn... Hope this helps. I did not finish it cause the friend wanted to stain it herself...

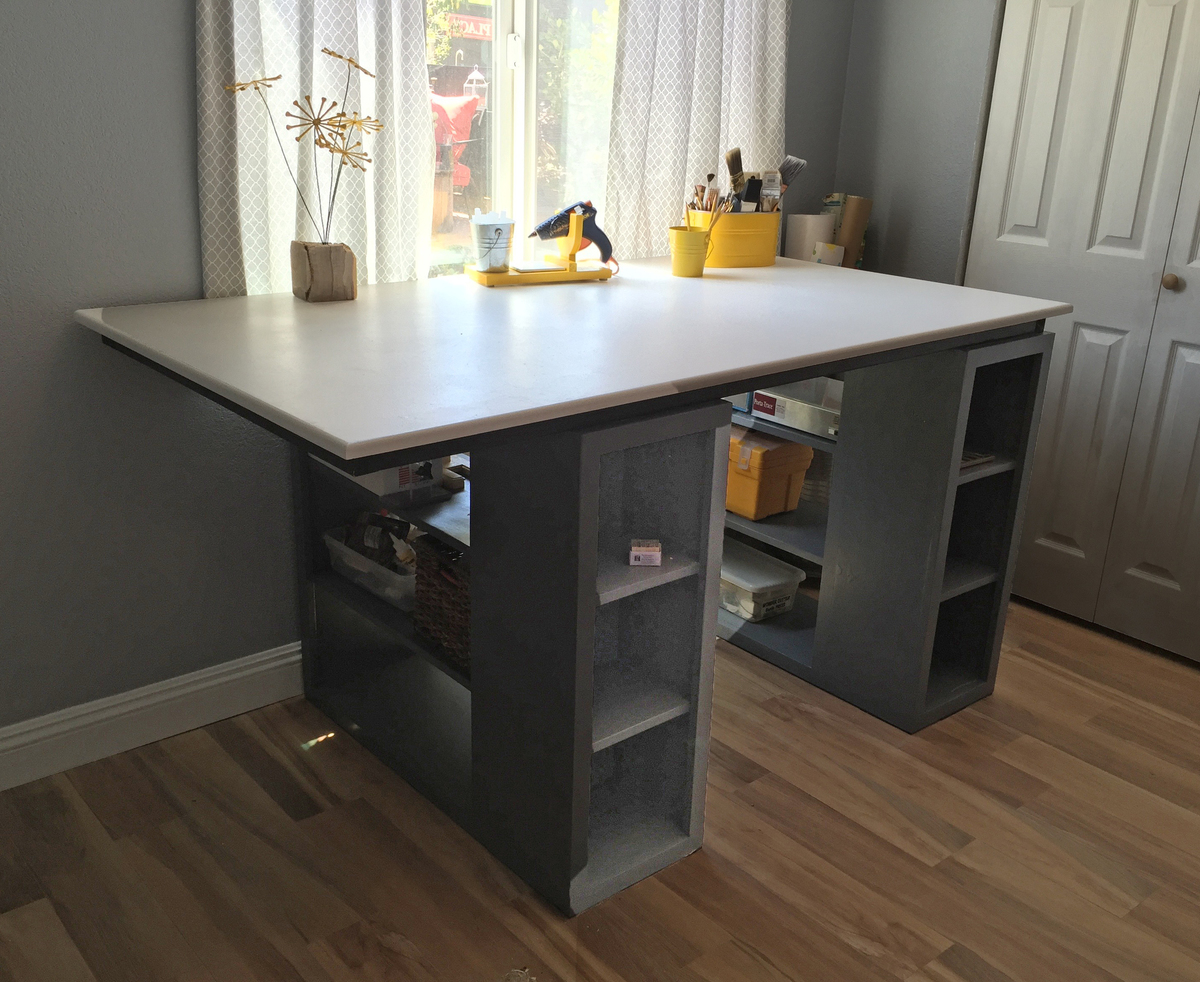
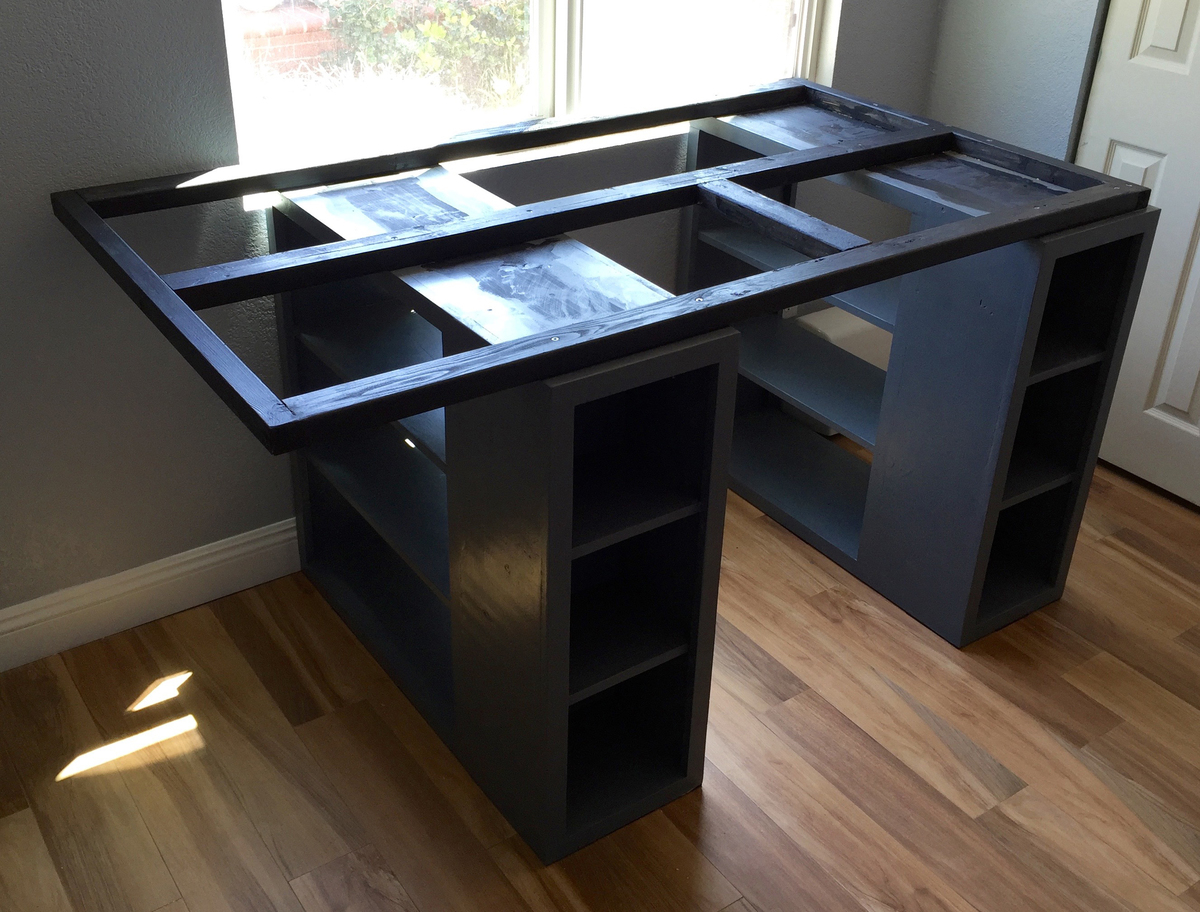
The desk top measures 39" X 69". It extends 15" on one side, creating a counter overhang for a second crafter. The top is supported by a 1X3 frame fashioned after the desk design shared on Ana's brag post (pg. 7 as of this writing). The room has a tile floor, so adhesive-backed felt strips were placed on the bottom of the bookcase units, making it easier to pull the desk into the middle of the room should I need to access my work from both sides.
A lumber yard cut all the pieces. Next time I would use 1X12s for the two side pieces.
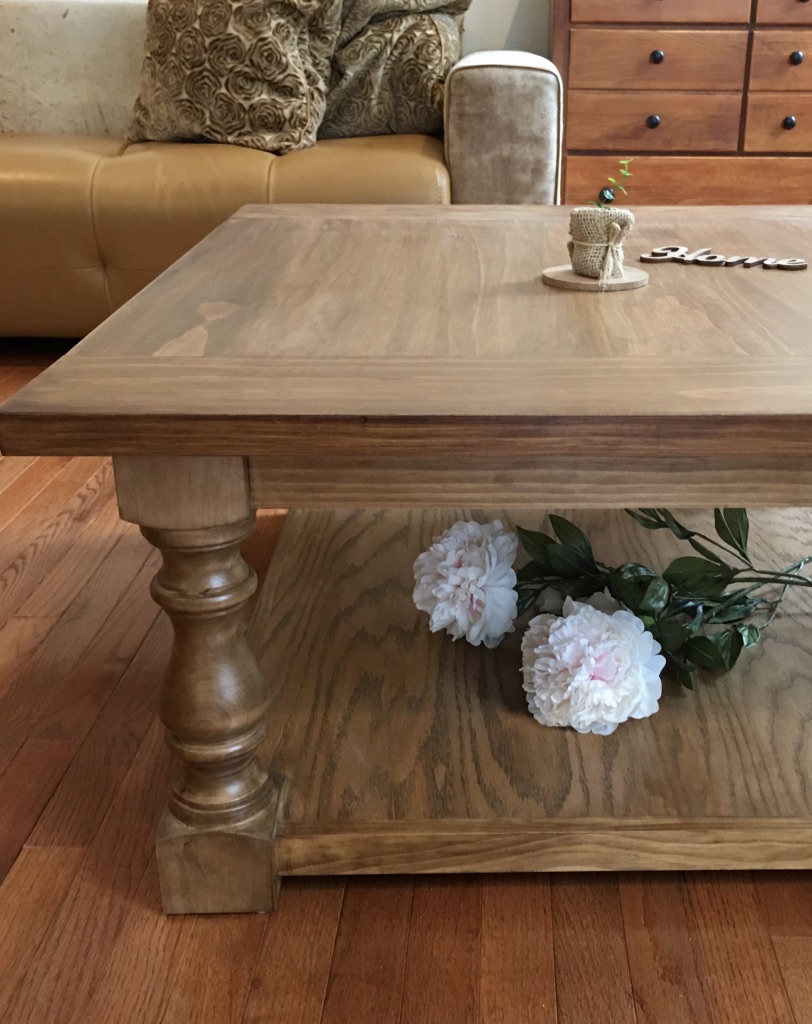
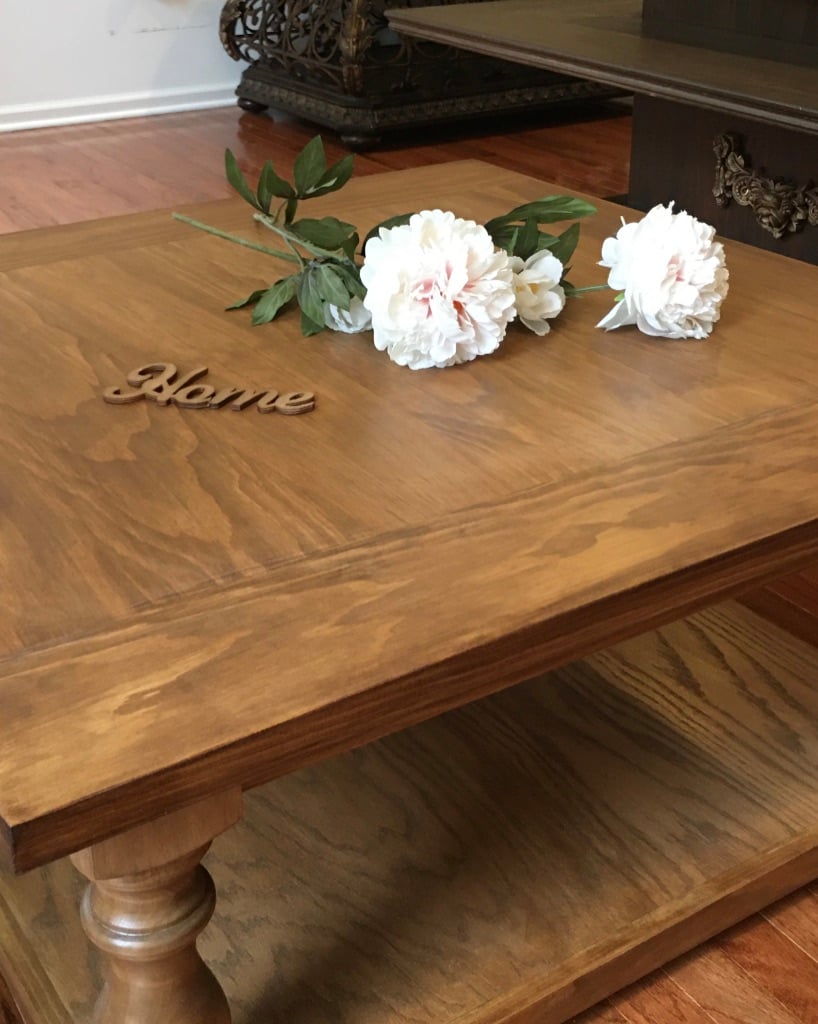
Farmhouse style wood coffee table with gorgeous balustrade legs, 38" x 38", 18" high. Stained antique oak, sealed for long life...
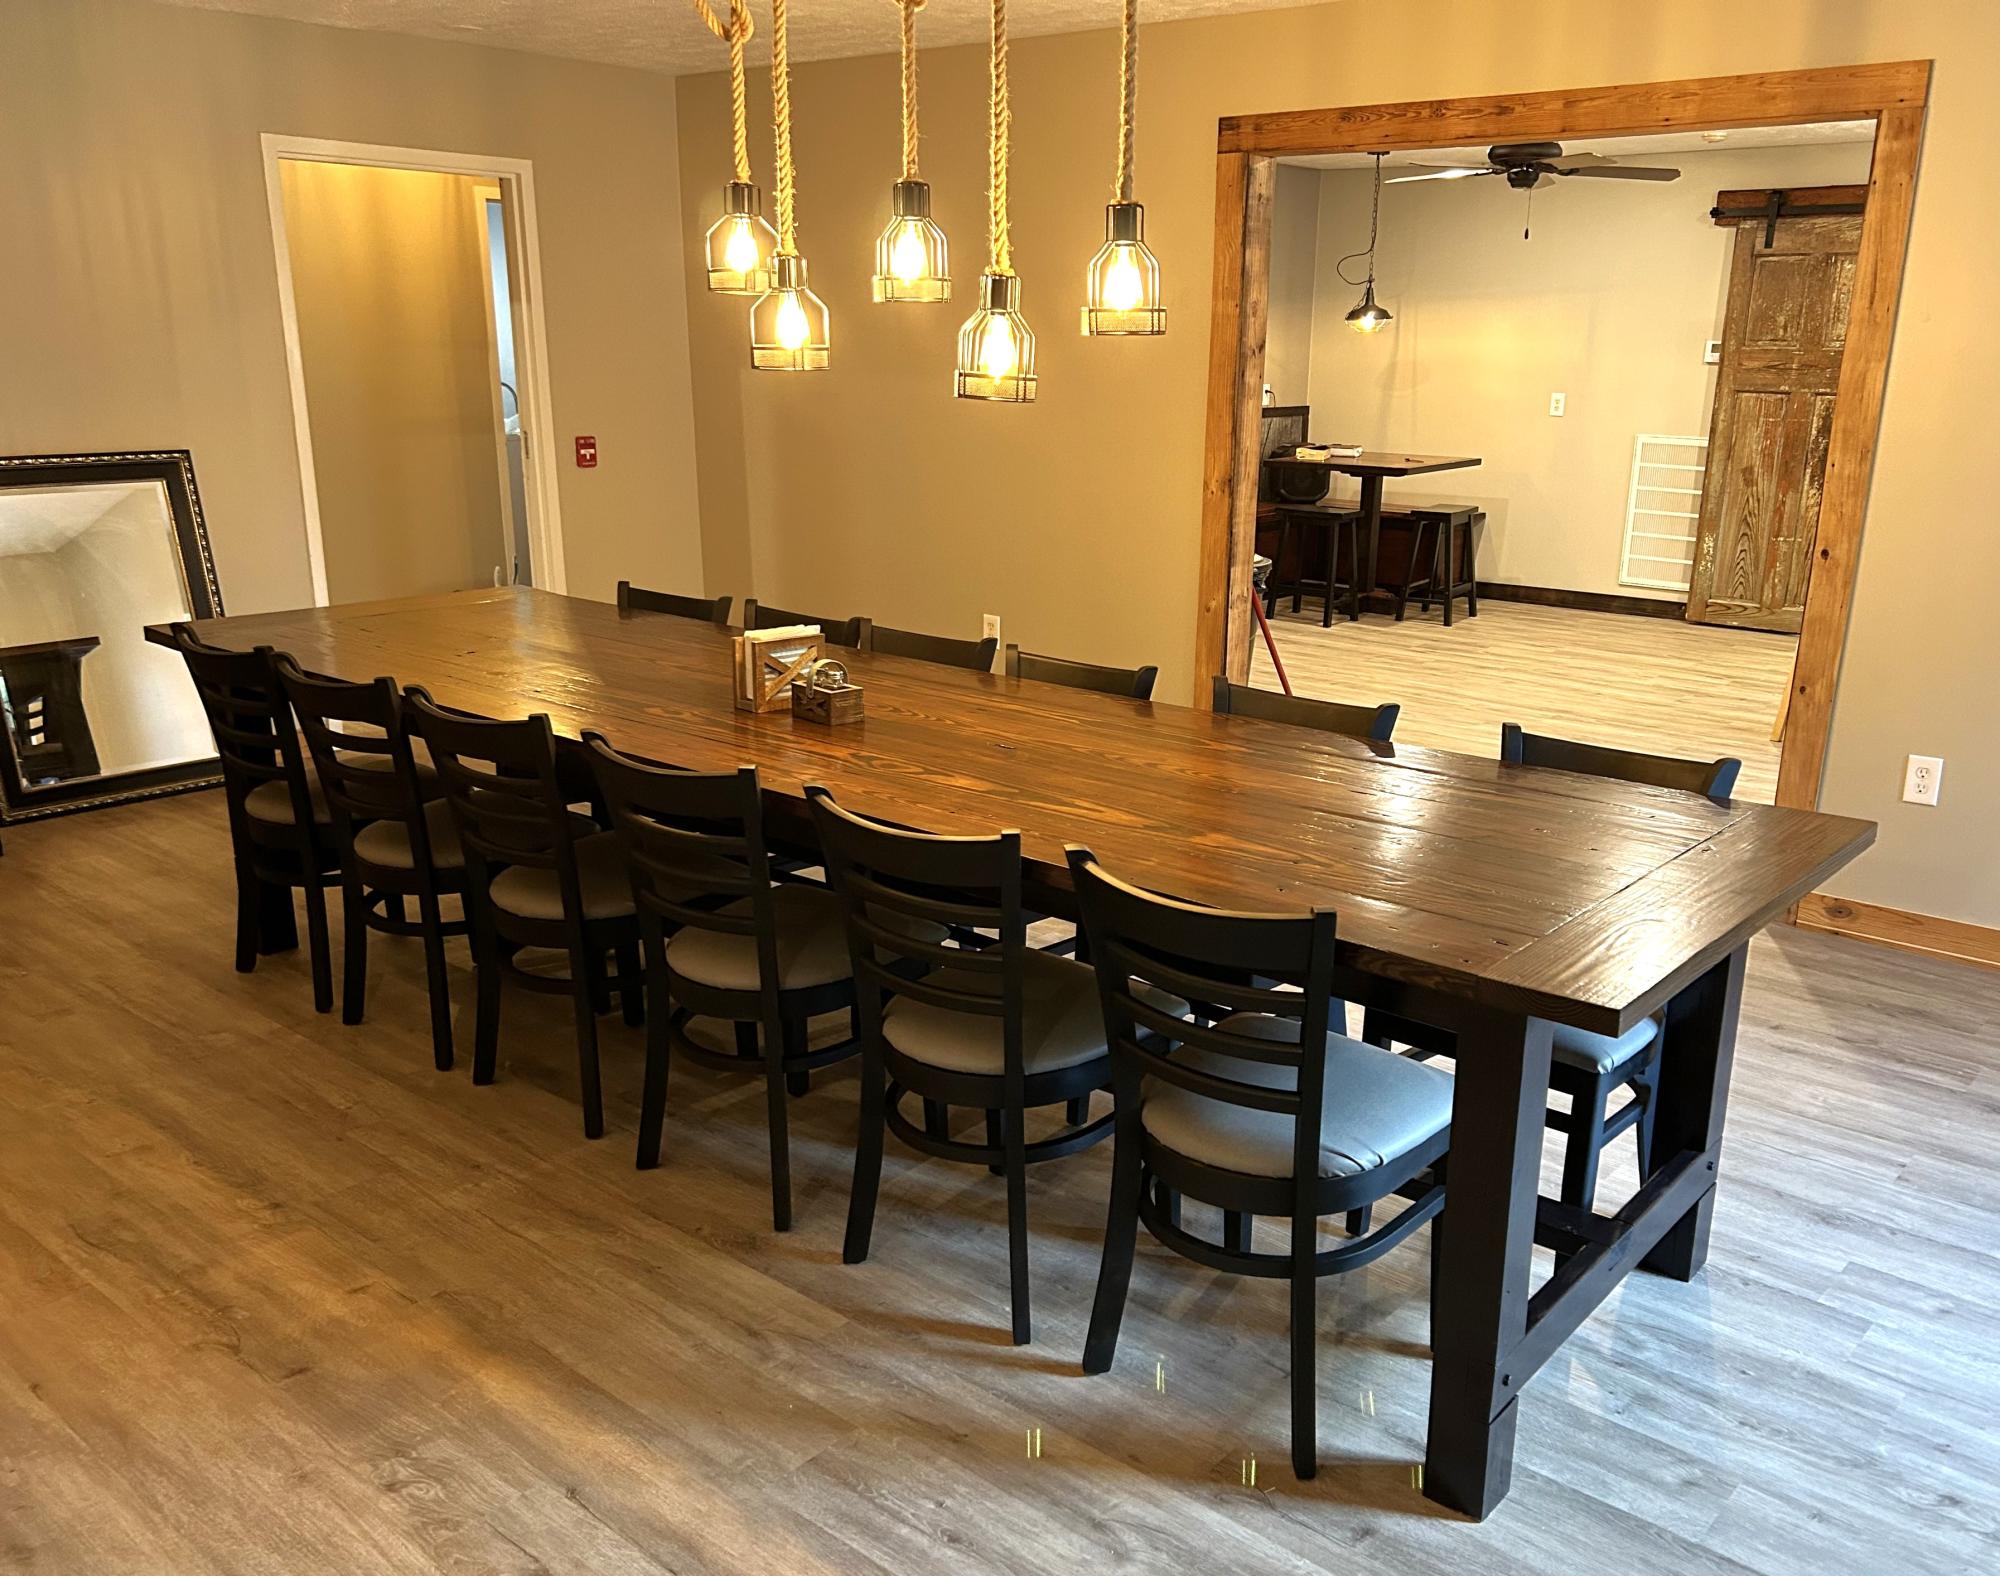
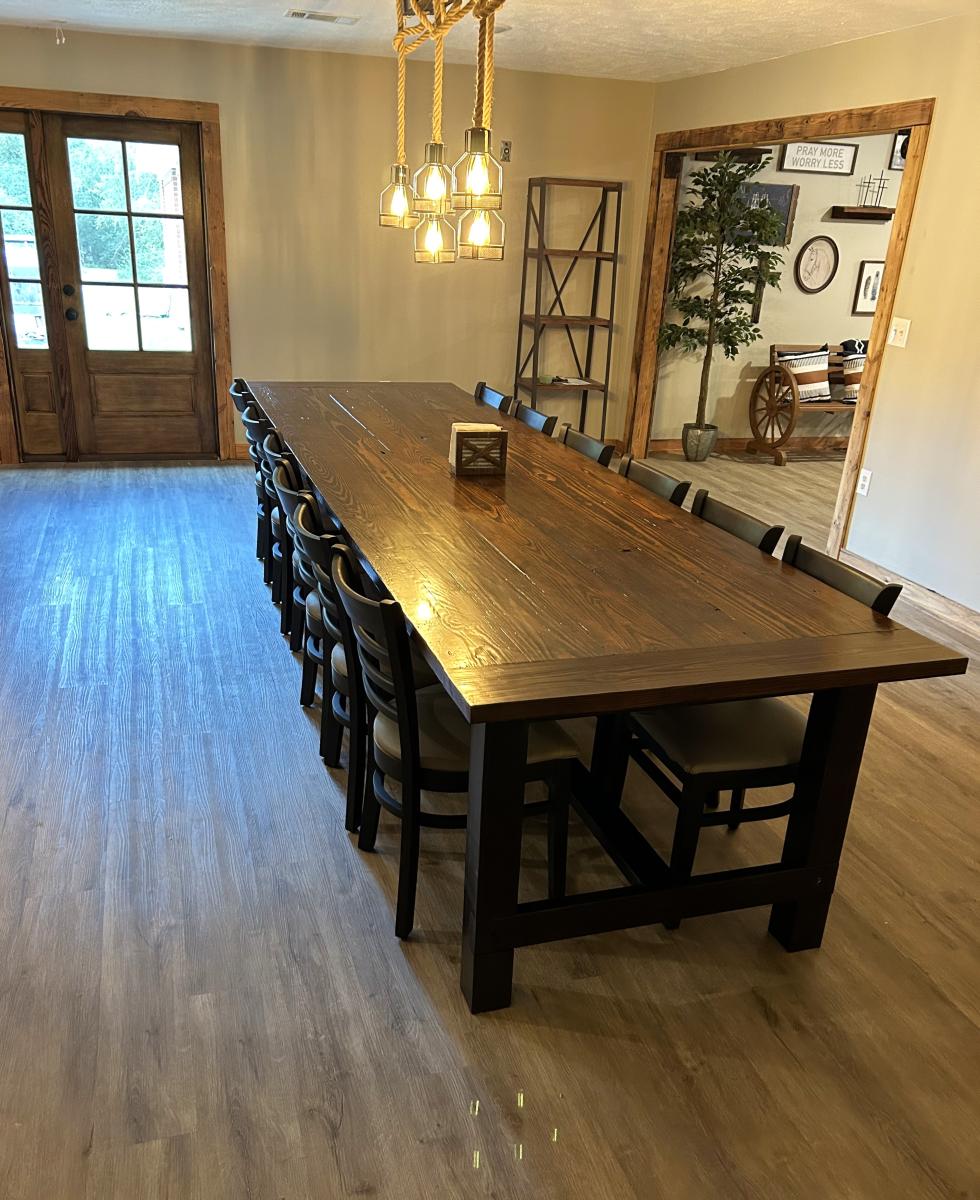
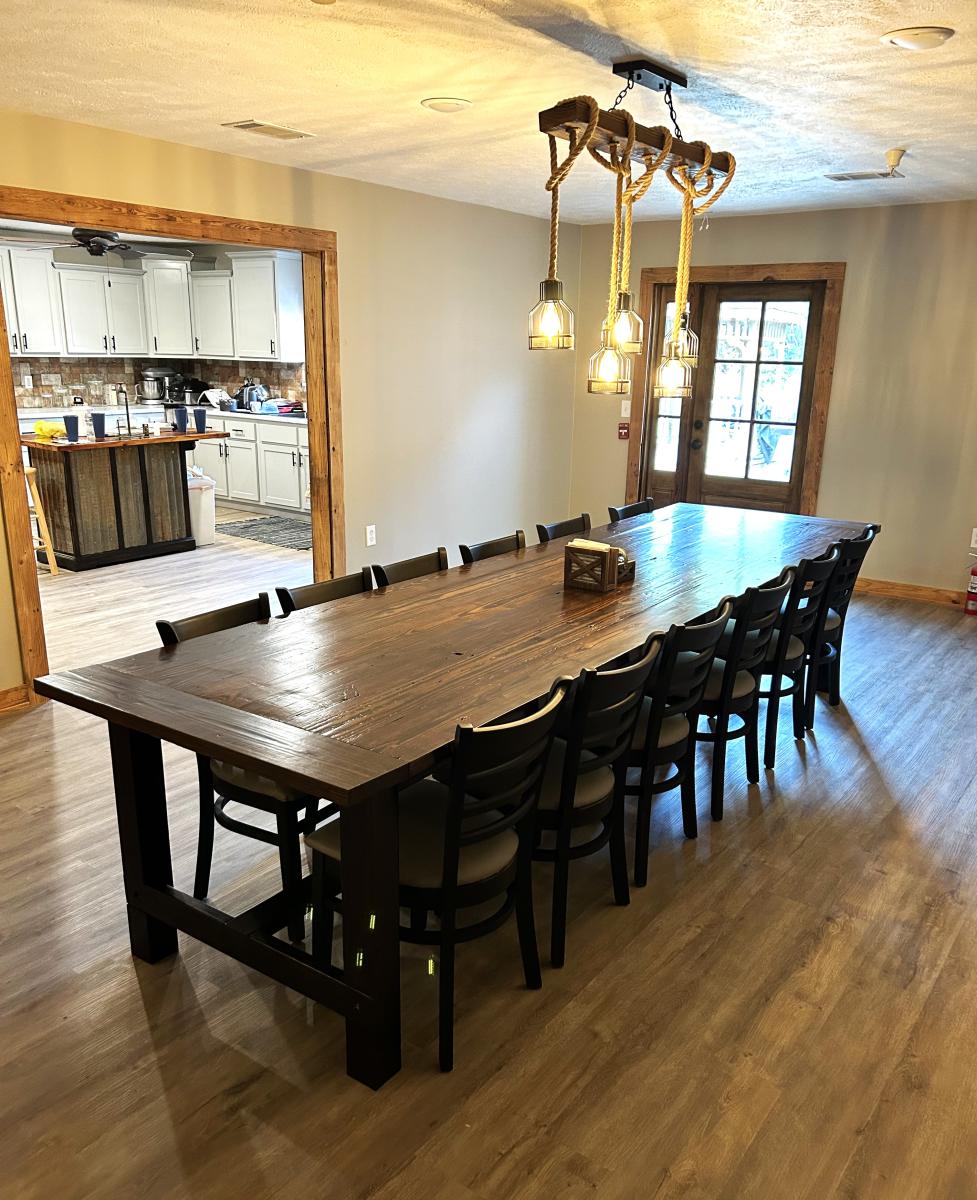
This is a 12’ Farmhouse Table made from old reclaimed barn wood. I used the plans from Ana White Farmhouse Table and just scaled it for 12’.
Shawn Imes
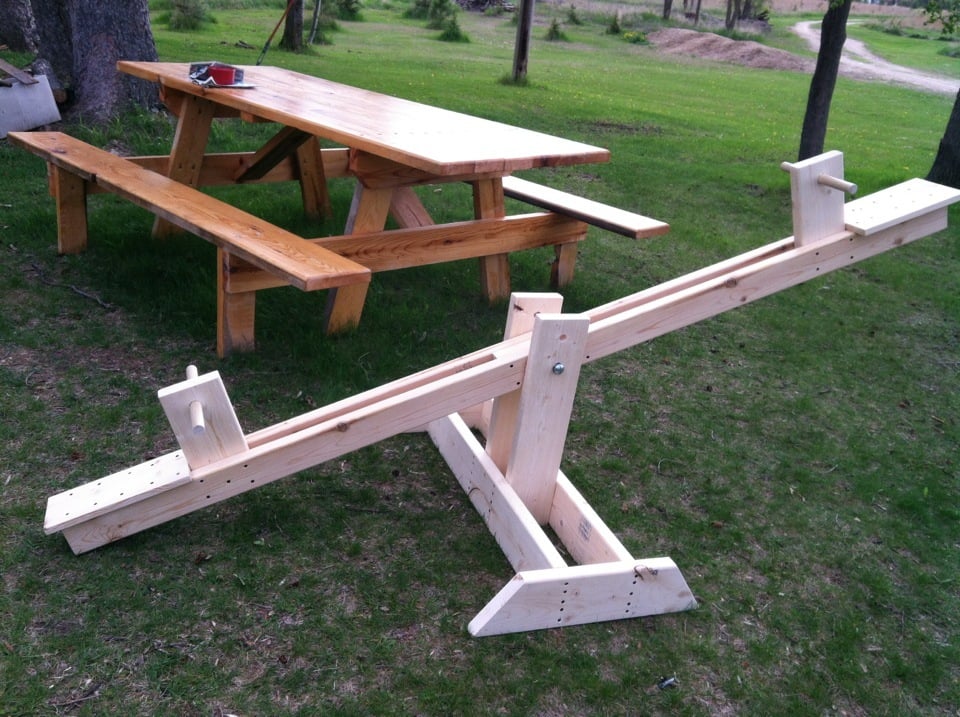
Super easy project....and already, hours of enjoyment by my kiddos!!
Thanks Ana for another awesome plan!
Tue, 05/08/2012 - 16:19
So excited to see this project!!! Thanks for sharing!

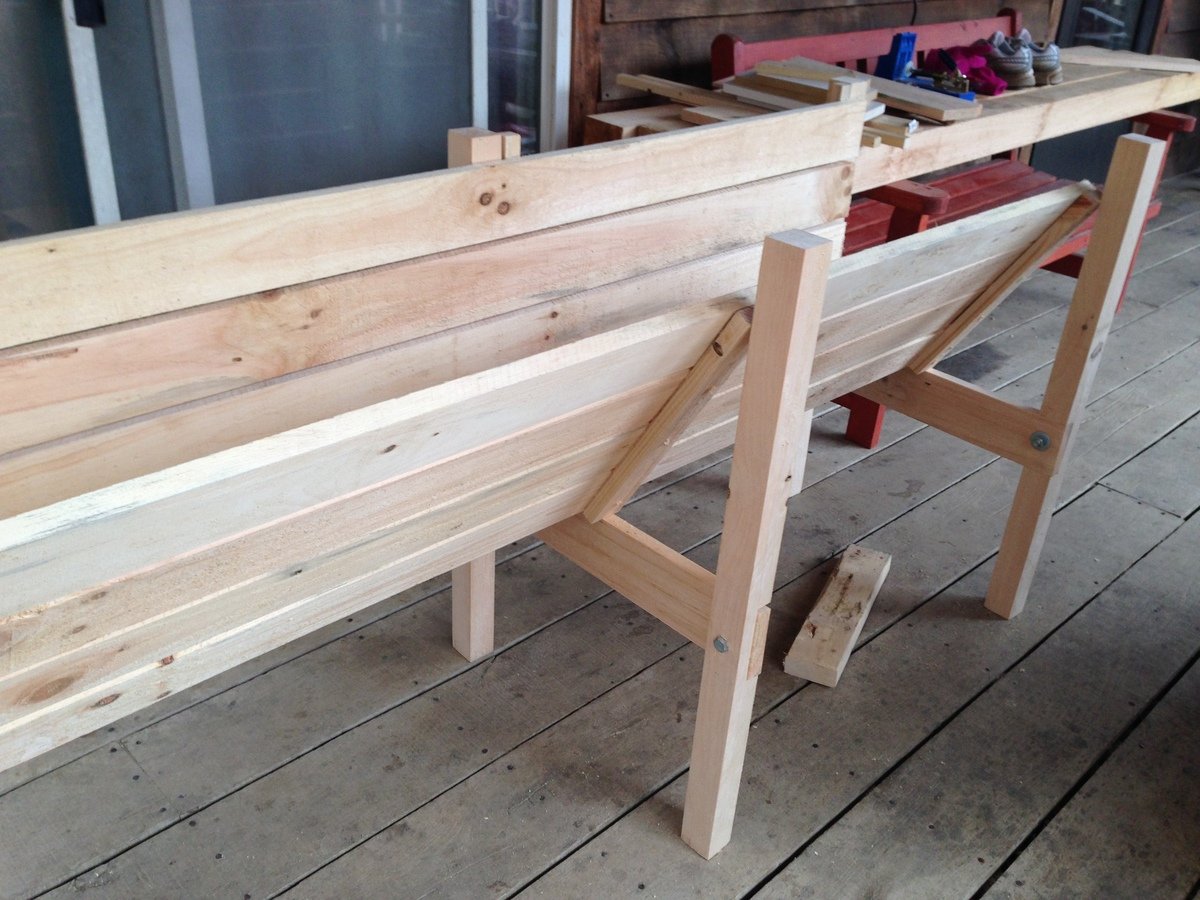
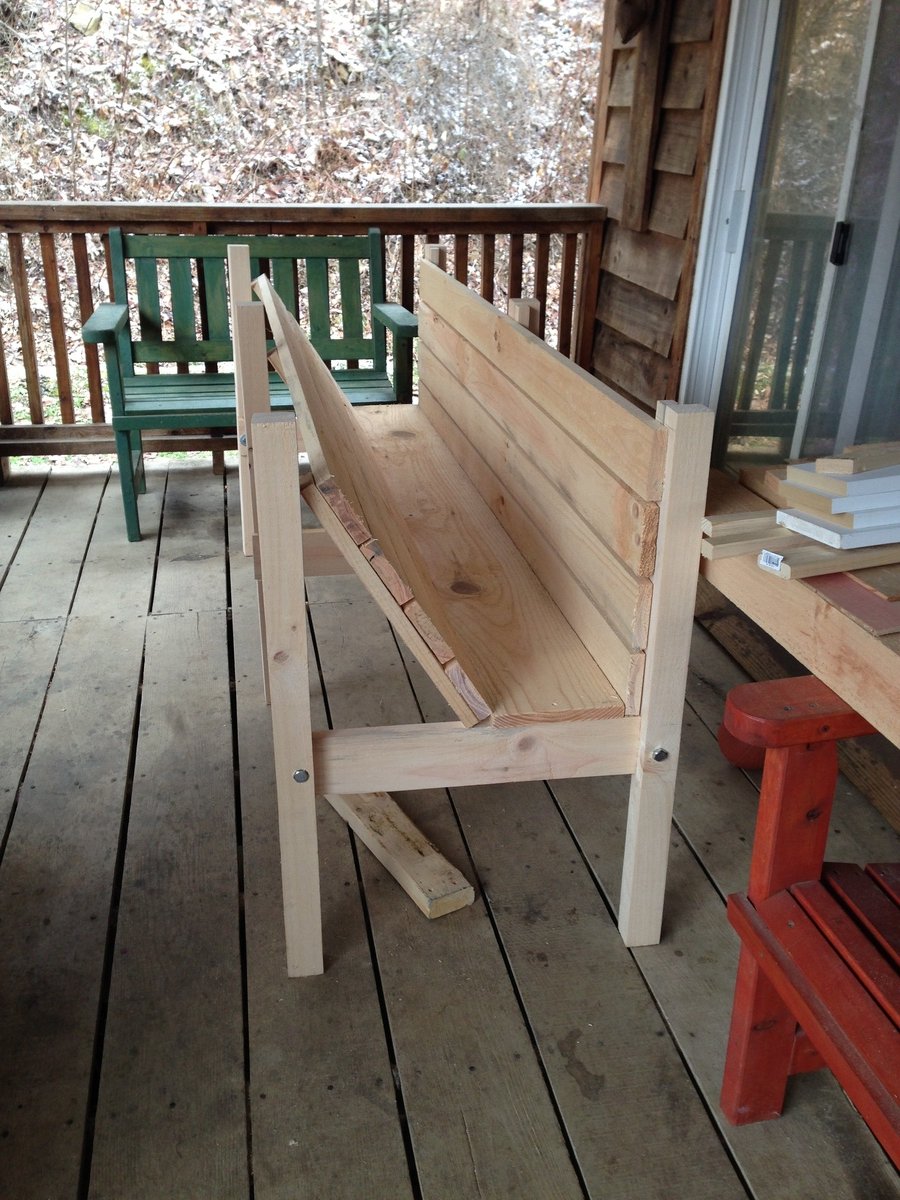
A friend needed a raised garden bed for her husband who is in a wheel chair. I searched and found the VegTrug's. It took a lot of trial and error. I based it off Williams Sonoma's pictures. I wouldn't of attempted this with out a plan if it weren't for Ana's website.
Tue, 03/11/2014 - 09:57
Dear CaronGirls, Are plans available for this?
Tue, 05/19/2015 - 06:54
This looks great - I would love to try this...are there plans available?
Sun, 04/24/2016 - 06:25
All the responses say to go to the plan catalog. Link does not work. I looked for an hour. Please help, I really want this plan!,
Wed, 05/18/2016 - 21:45
Not sure what the story is here, Maybe she got in trouble for saying Vegtrug? I would like plans for a DIY Raised planter bed like the above.
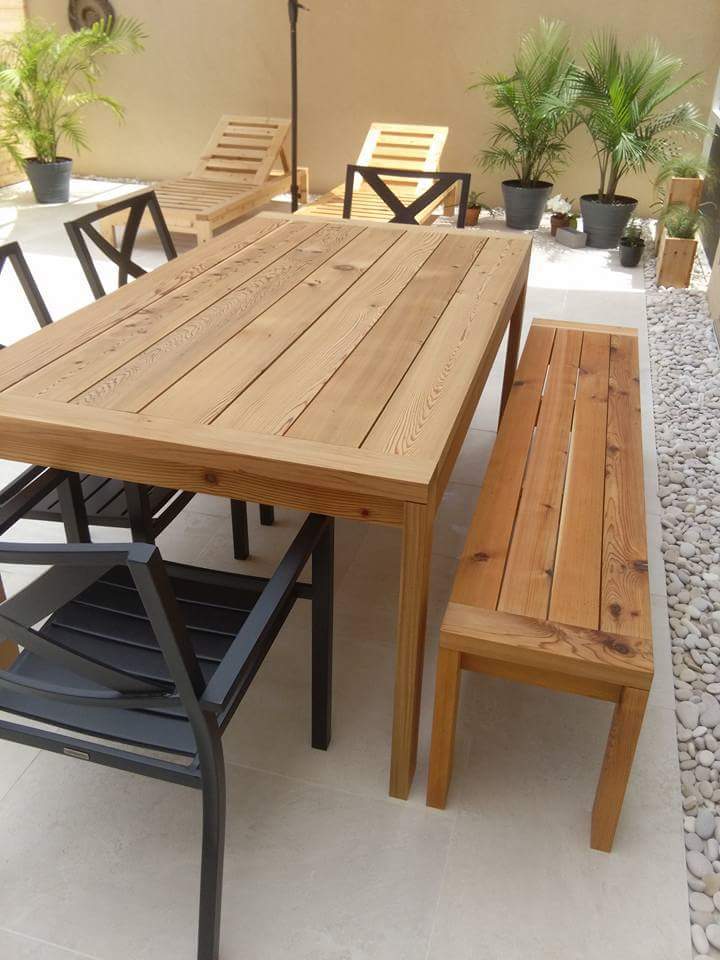
My last piece of my collection
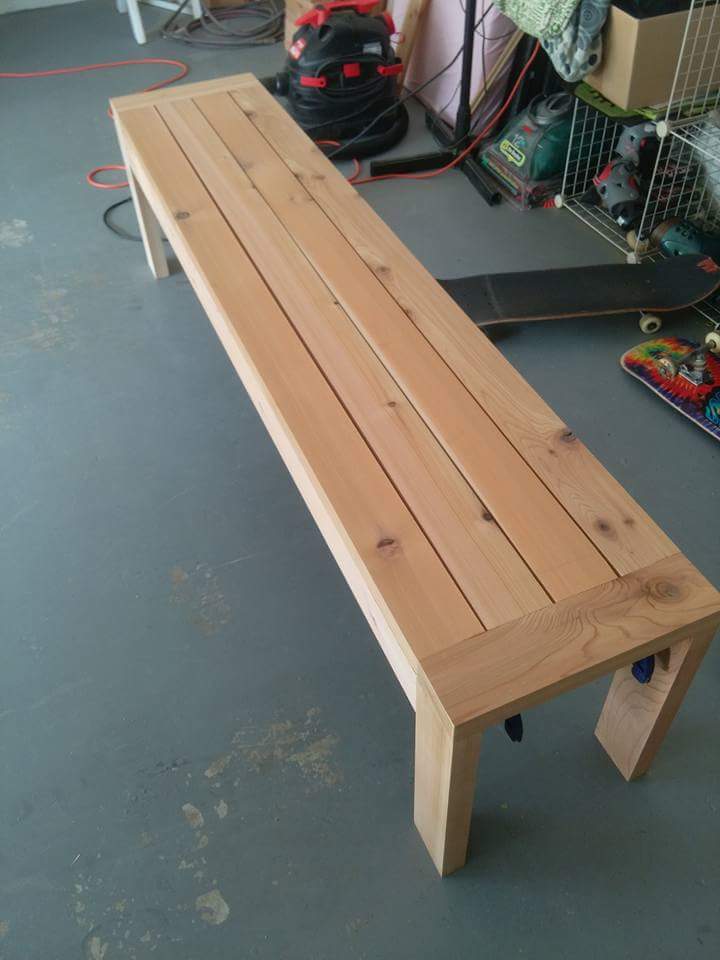
Tue, 03/09/2021 - 12:17
Hi Lila - I love this table and bench and have been searching everywhere for the plans. The link you connected to: "2x4 truss benches for Alaska lake cabin" doesn't look like your set at all :(
Maybe it's the wrong link?
Do you have the link for the plans you followed for this table and bench?
Thanks in advance!
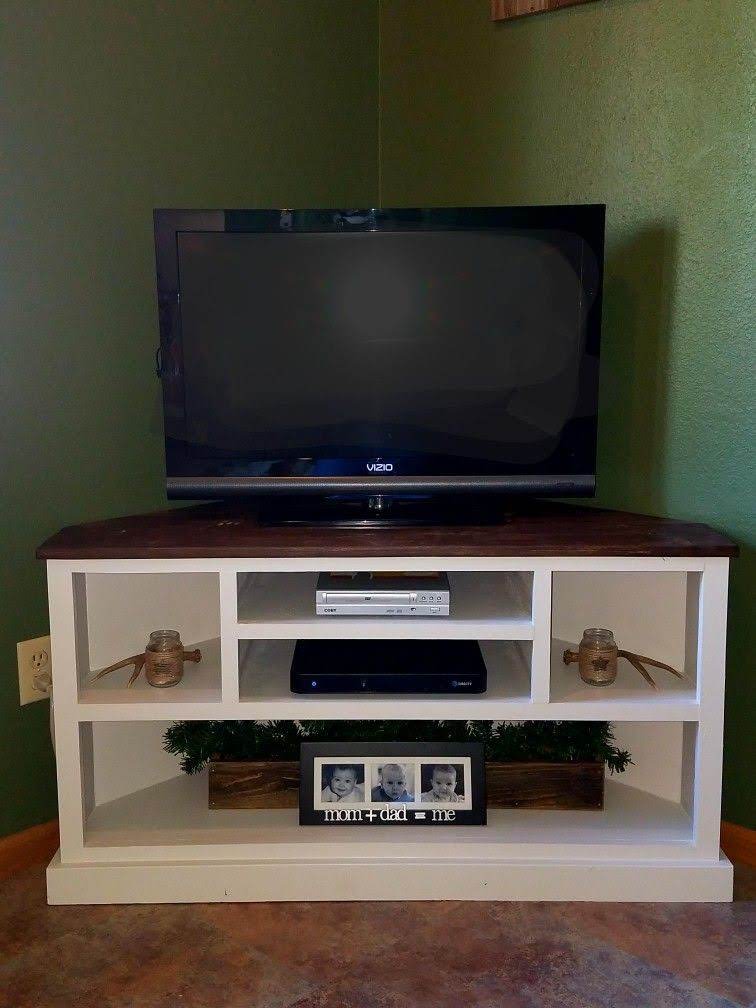
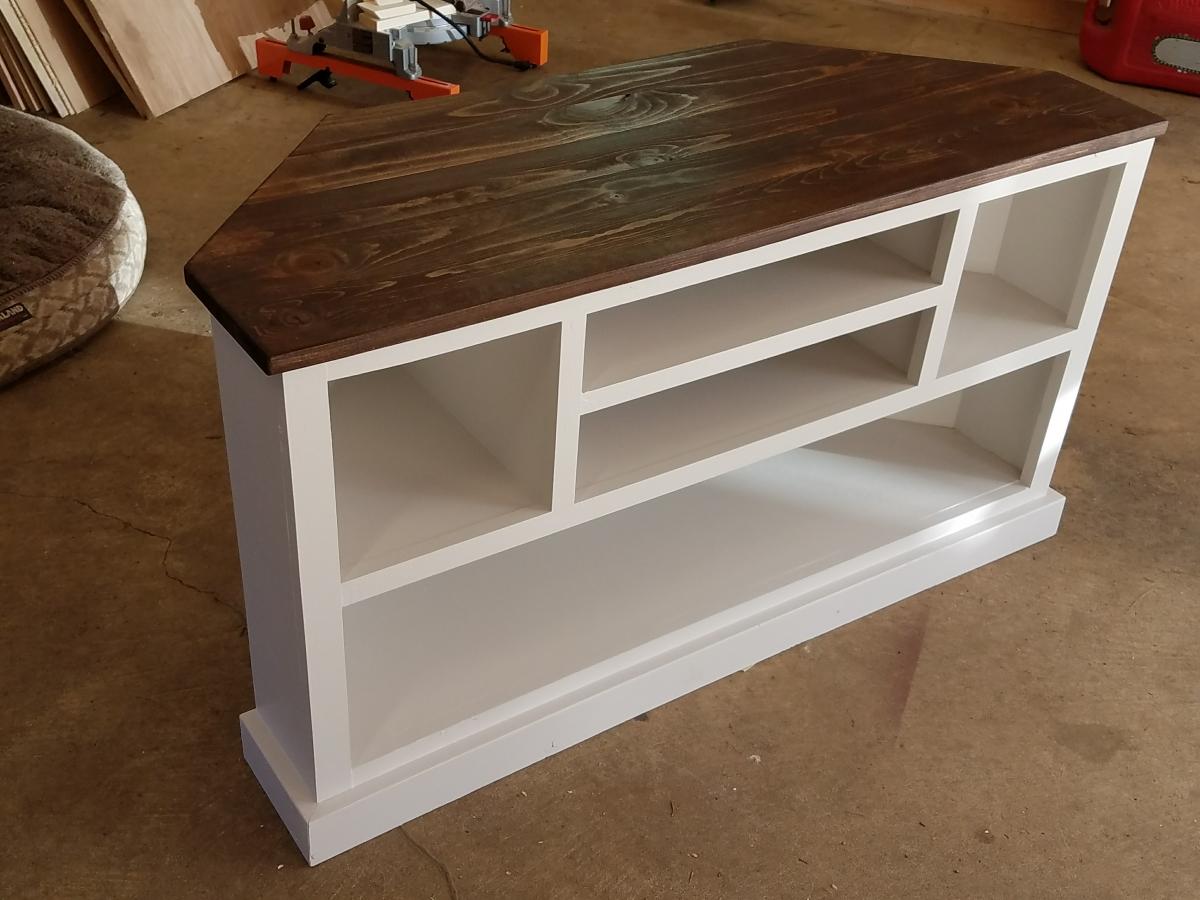
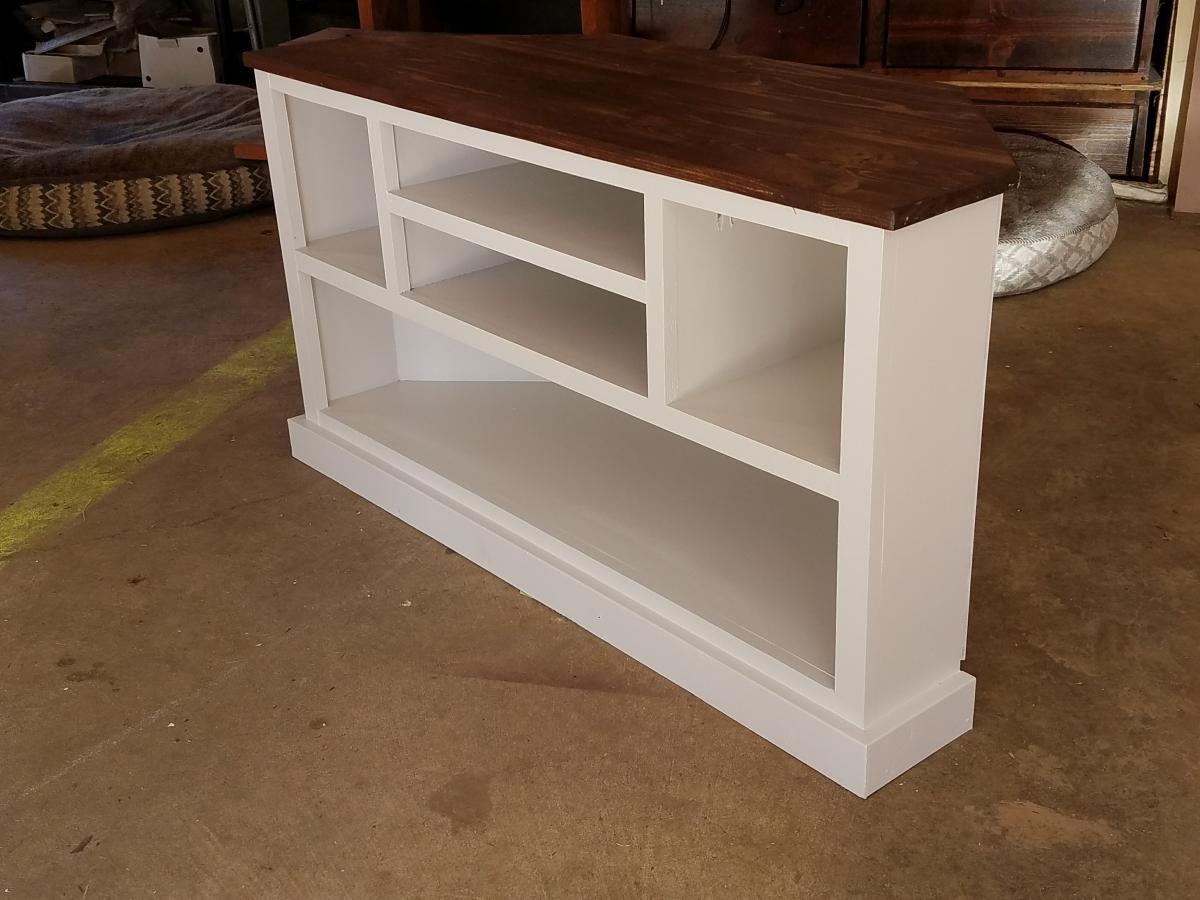
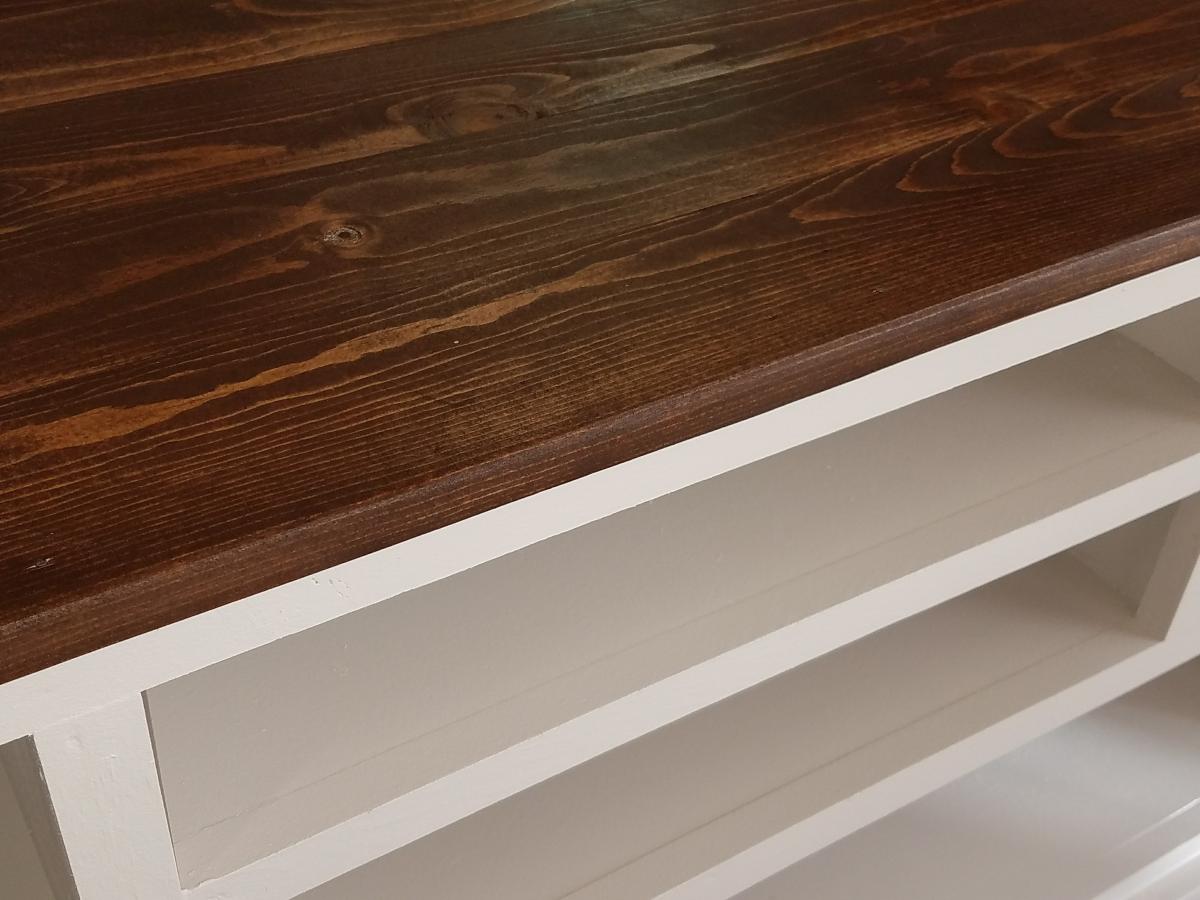
We had just moved into our new house and were using an end table for our TV stand I just didn't like it. I found this and modified it so it's shorter and fits in our room better. I also opted to not put doors on it and use it to display items instead. This was a relatively easy build and I'm learning new things with every build I make. It took about 2 days to complete not including filling holes/paint/stain. I love it, it looks so great in our room and I am planning on building end tables to match as well as replacing our buffet with movies in it to match also. Thanks for the easy-to-follow plans!
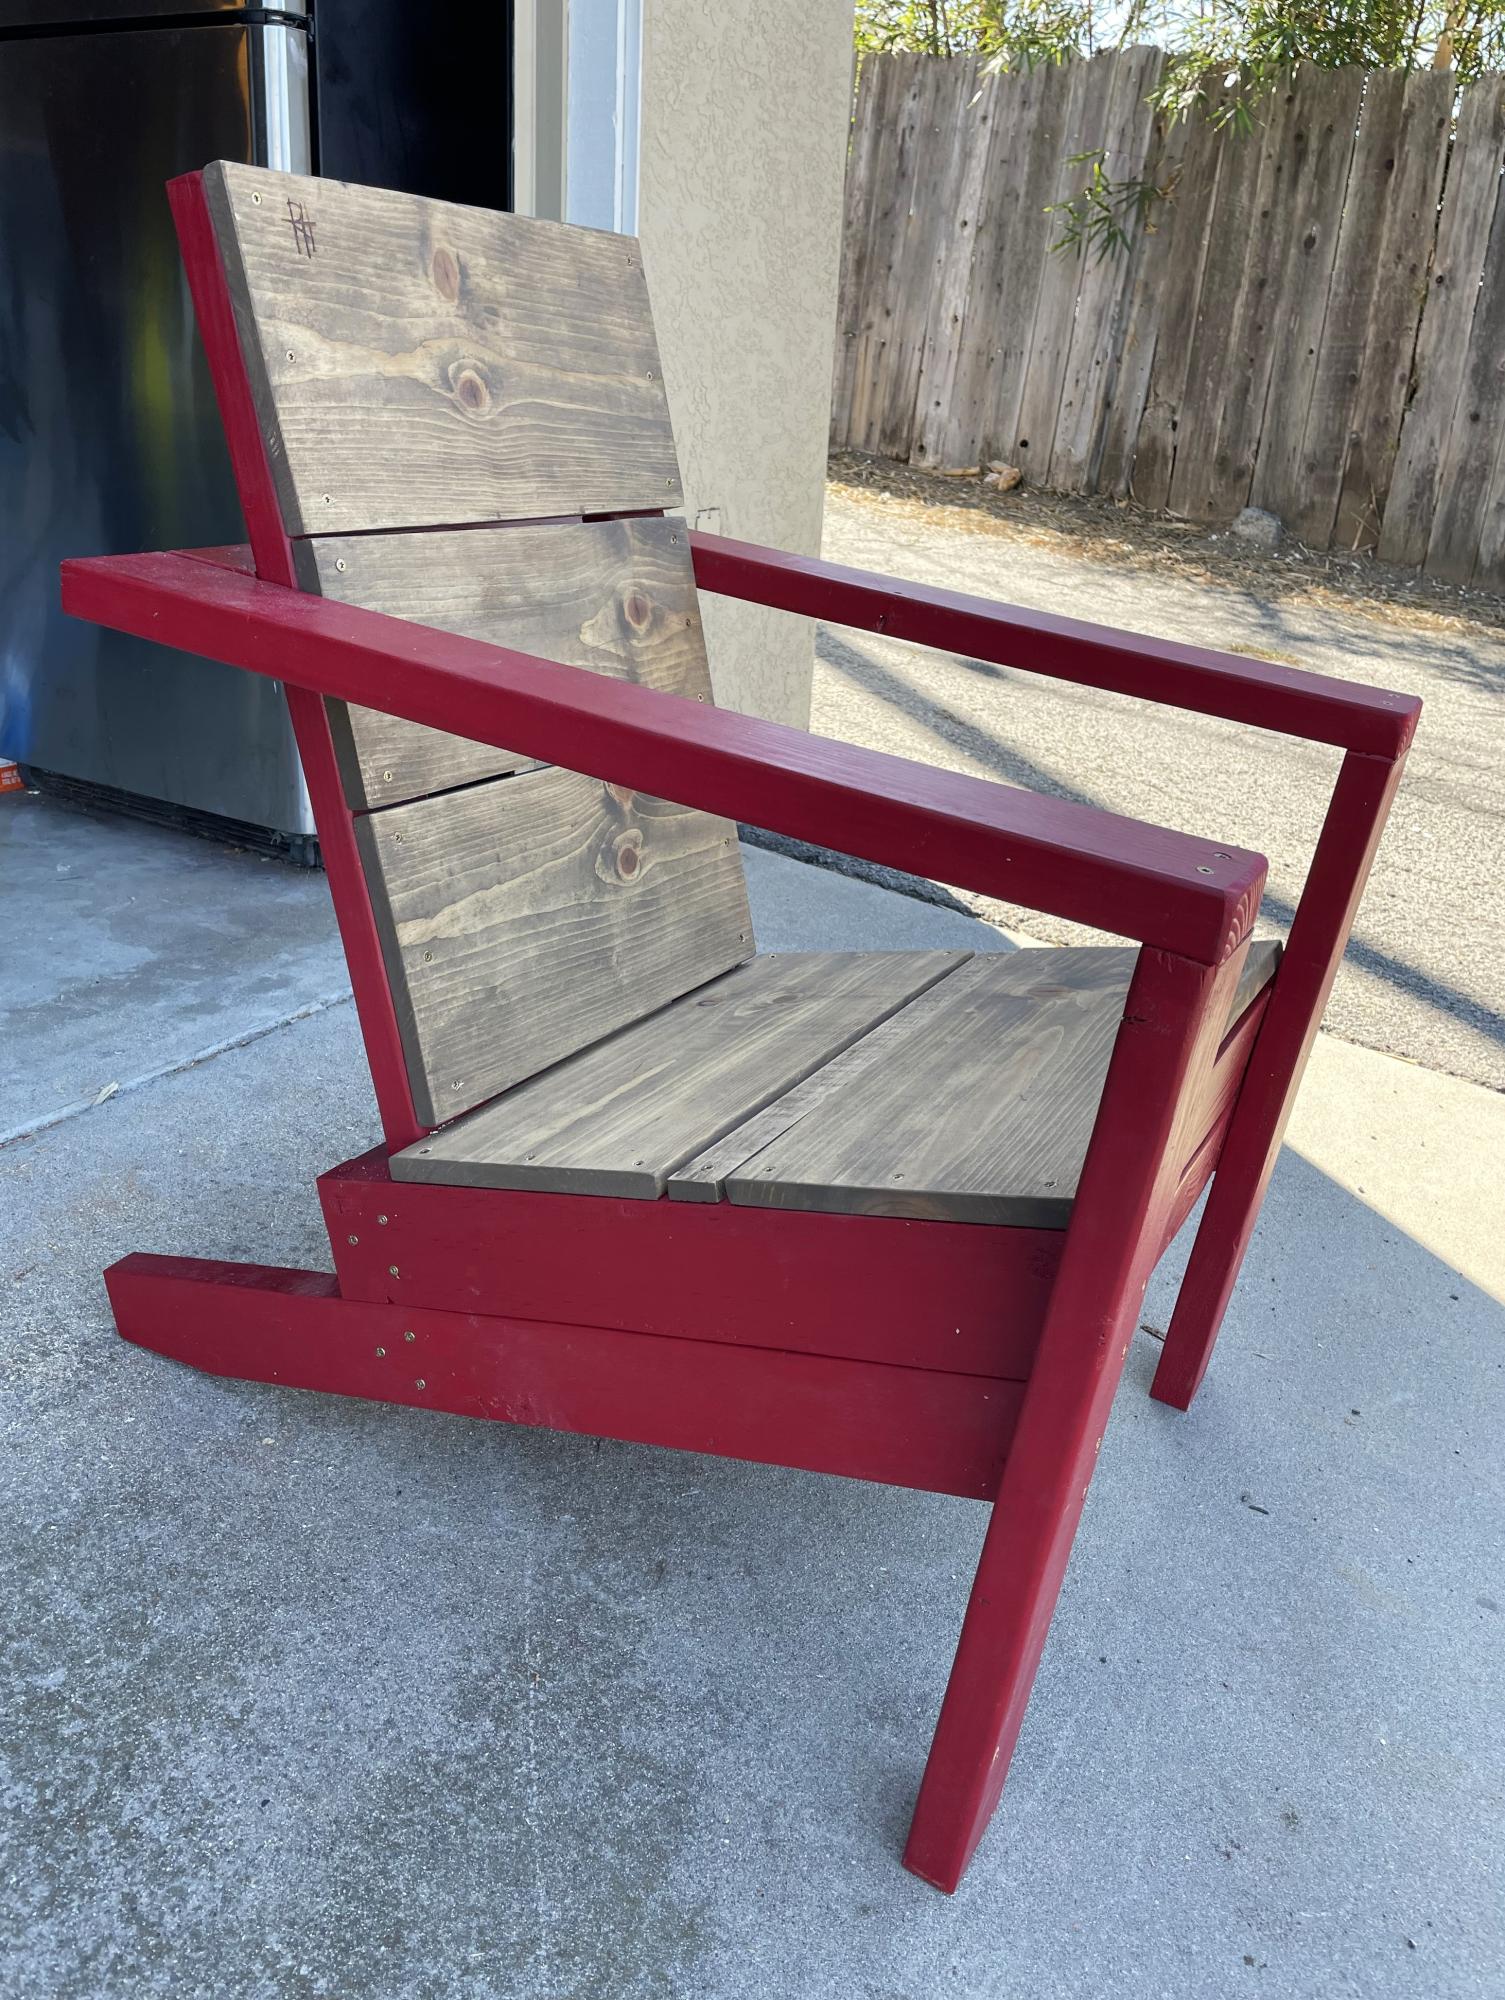
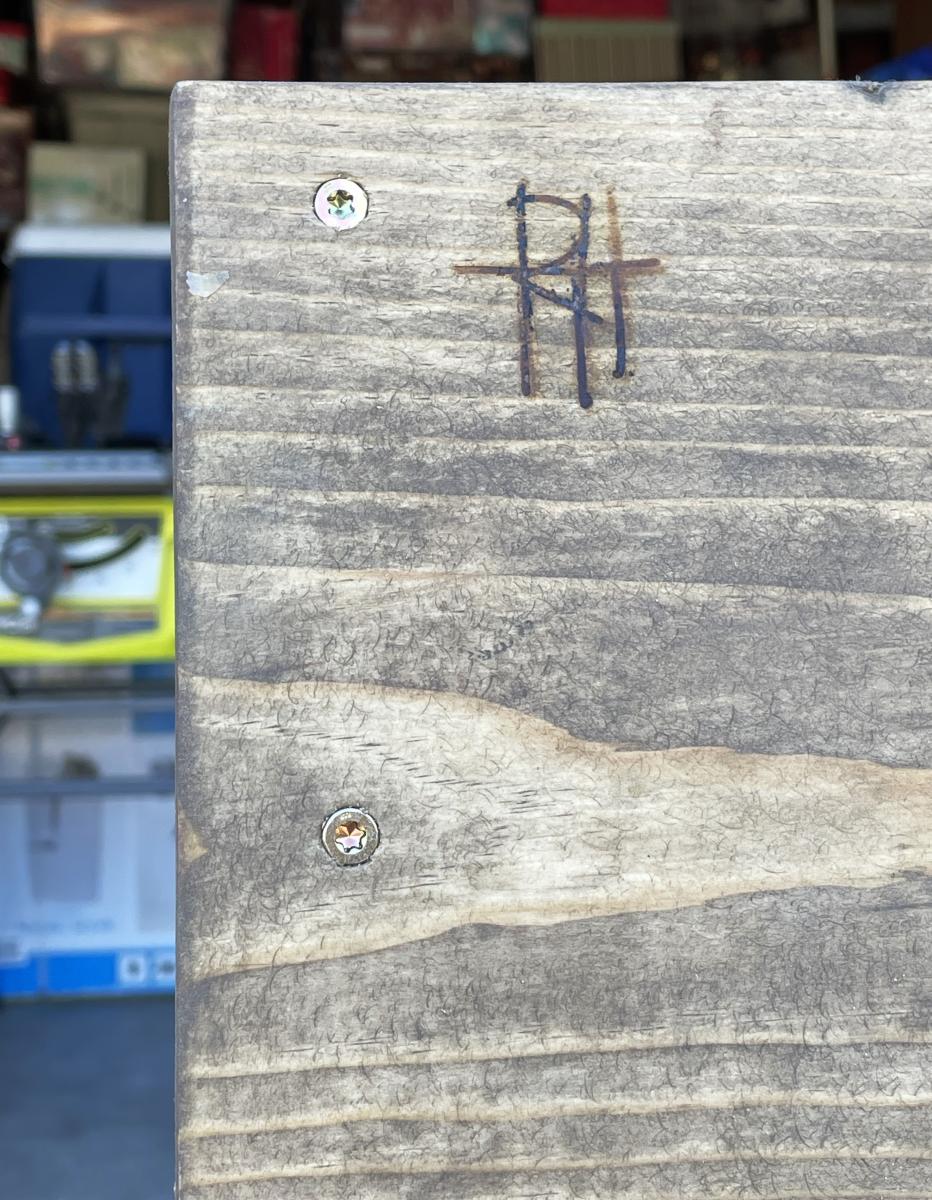
Modified Adirondack chair, six inches higher, making it easier for me to sit and stand, and my signature brand. A branding iron designed with my initials.
Bob Hartdegen
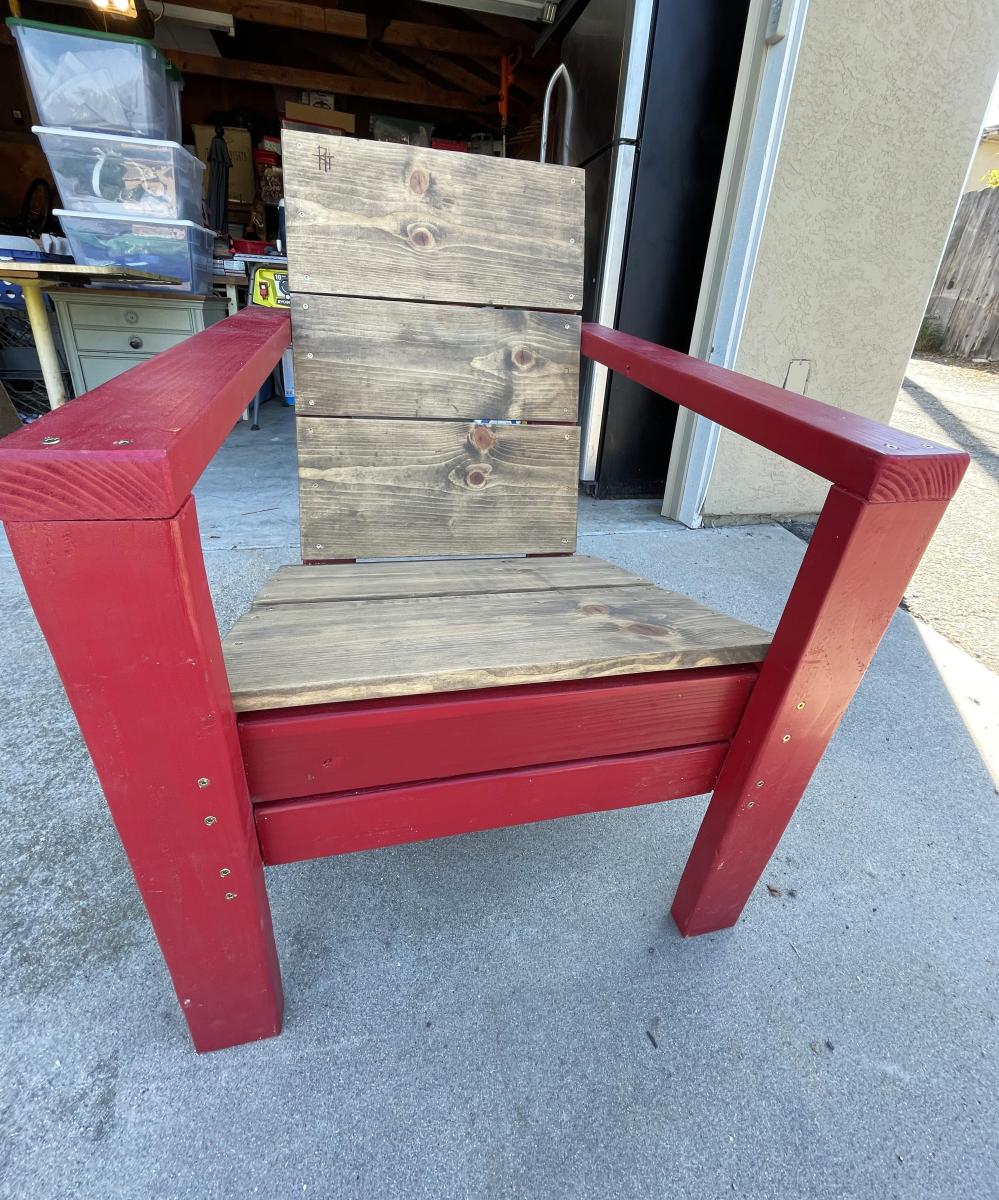
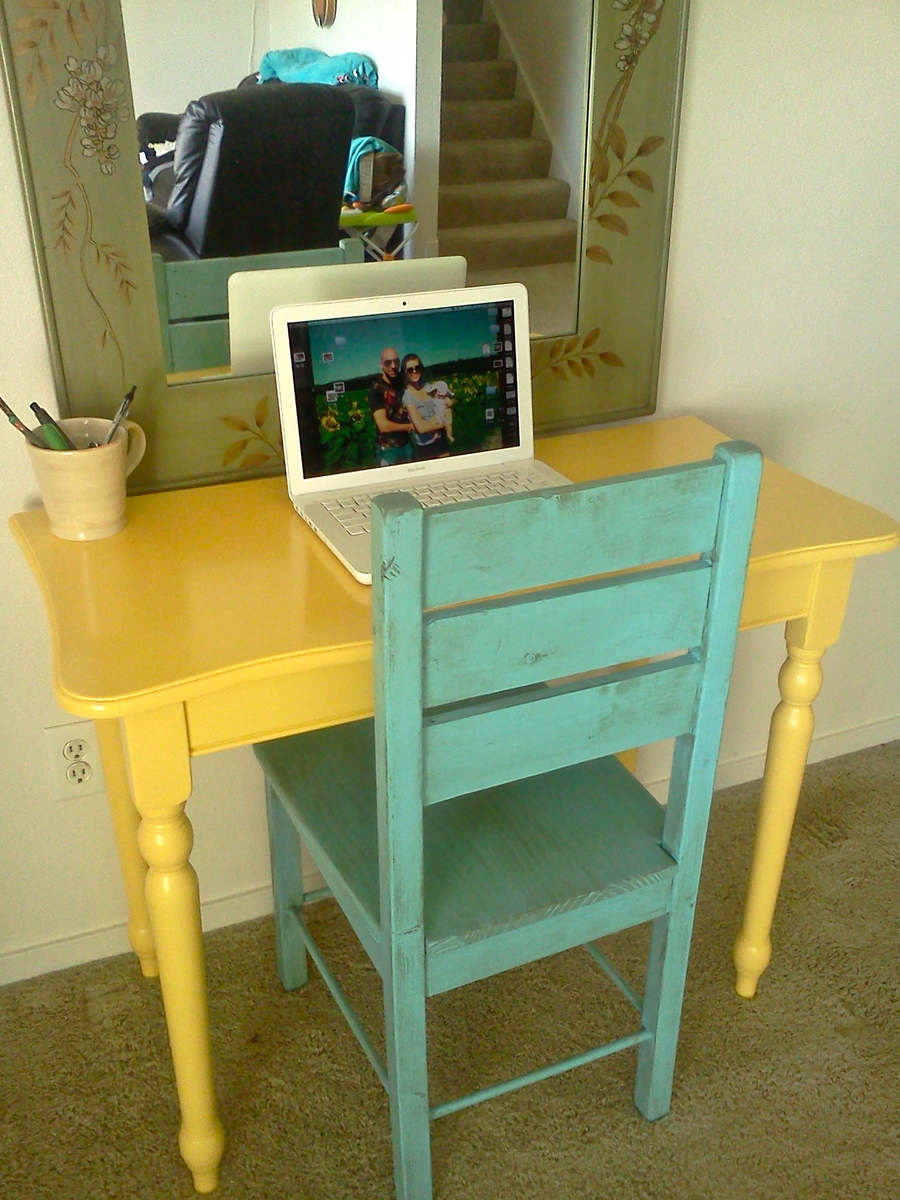
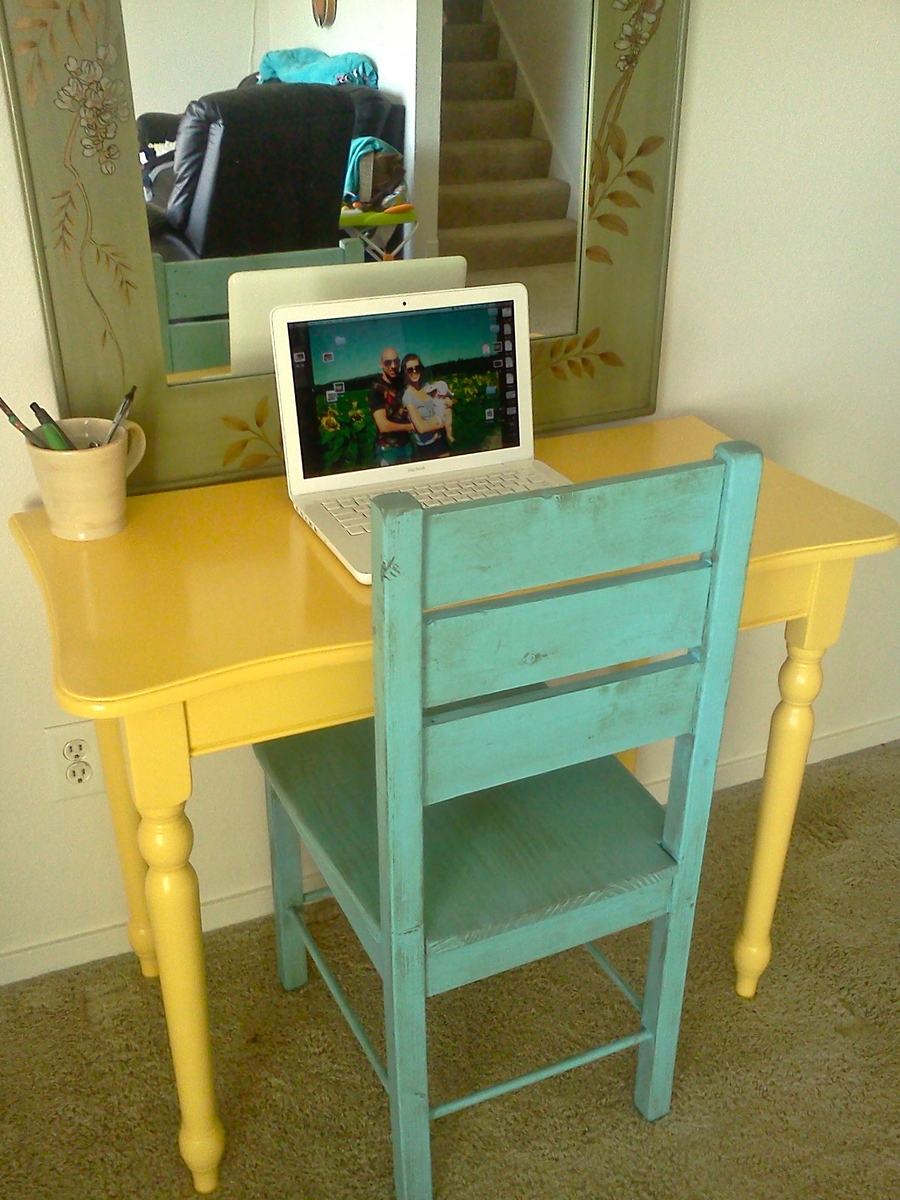
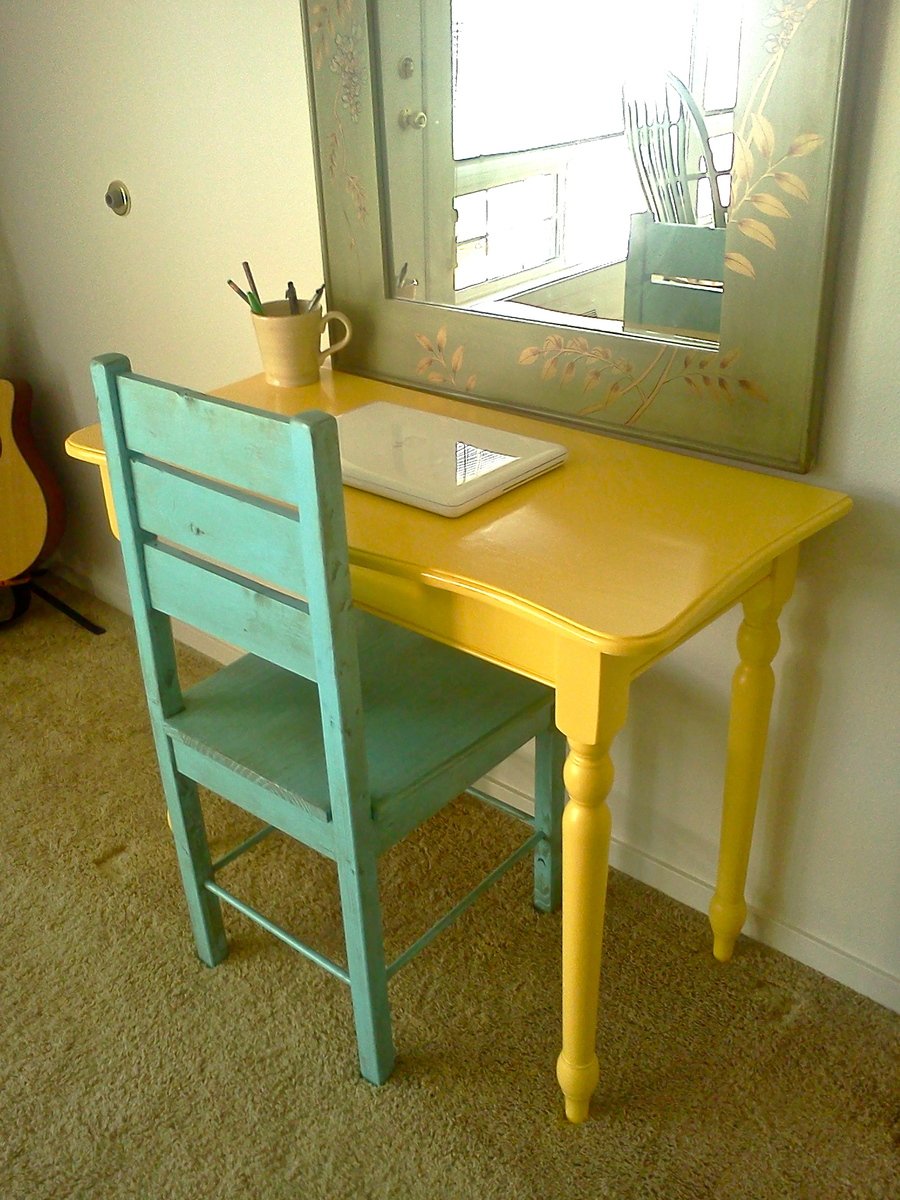
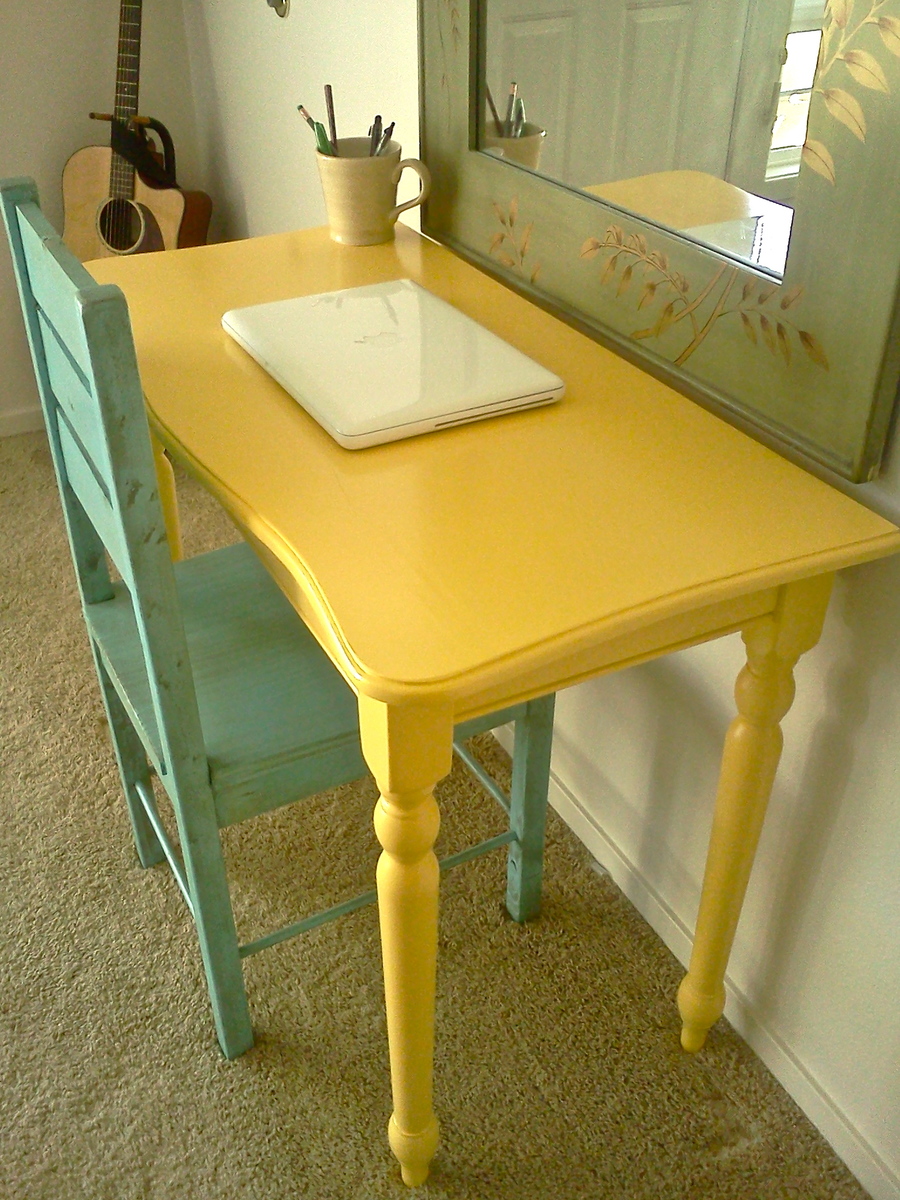
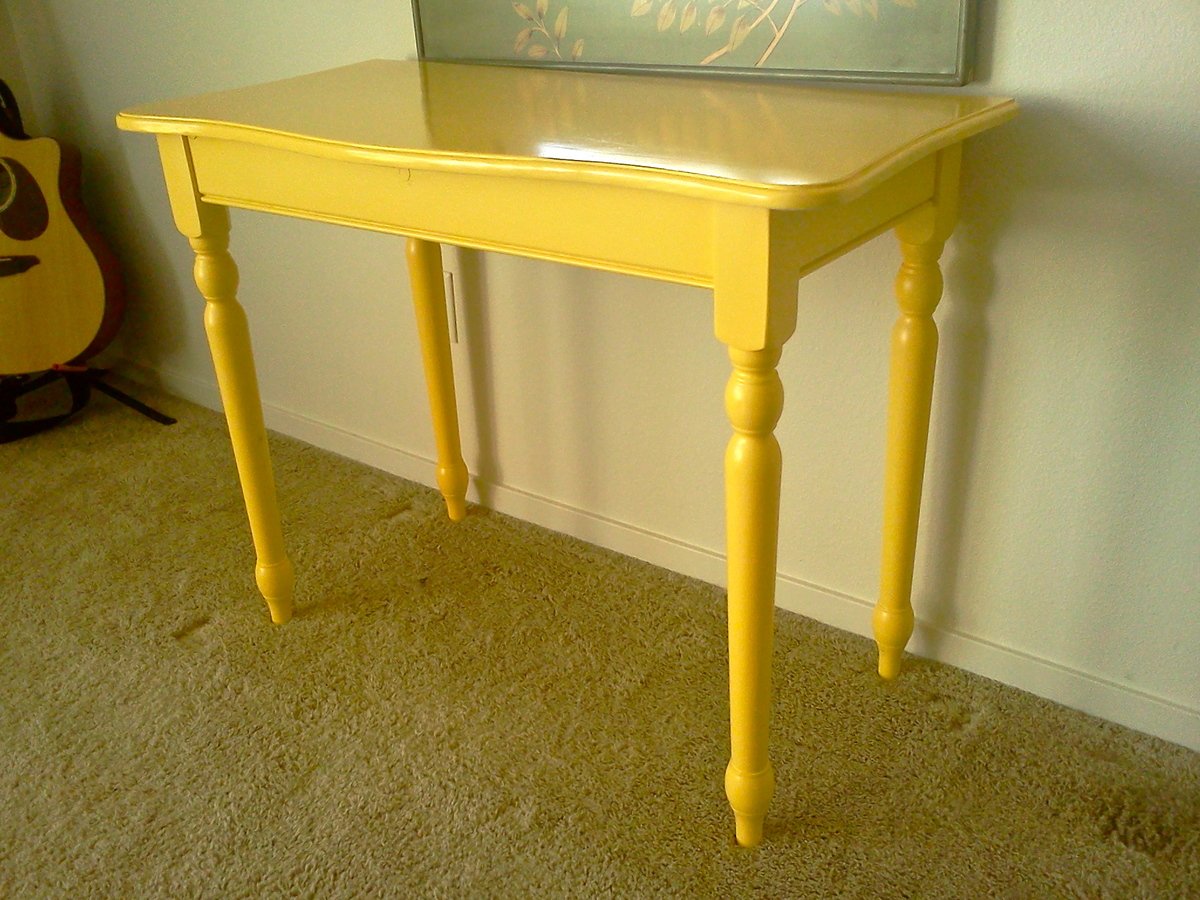
I bought a dining table set just for the chairs a while ago and the table legs have been sitting there ever since. The rest of the materials were scraps from the shop. I never worry about matching wood types if I'm planning on painting it. Everything matches when you paint over top of it.
The chair is something I made a while ago. I realized I didn't want to make 3 more after hours of just making one. That's why I bought that dining set in the first place.
Comments
Faith's Mommy (not verified)
Sat, 10/20/2012 - 12:01
Love the way these shelves
Love the way these shelves are done with the large family picture in the center.....