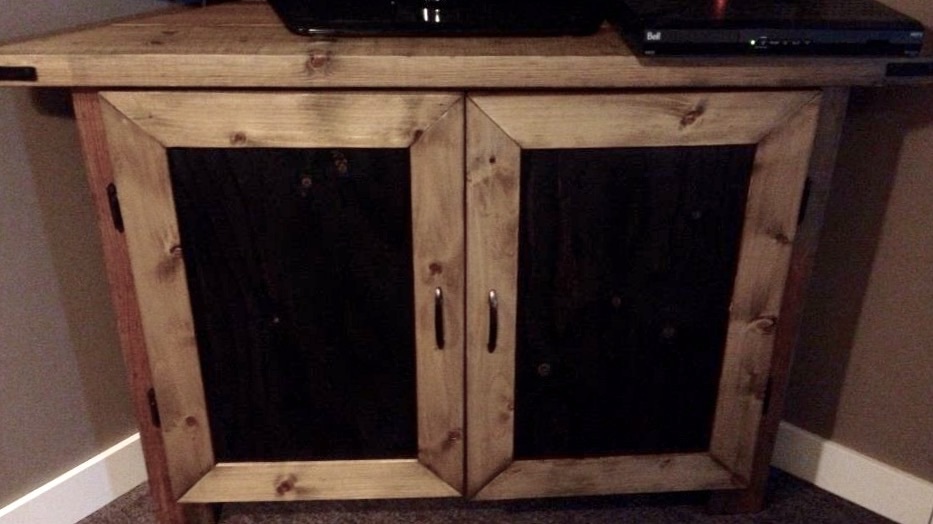
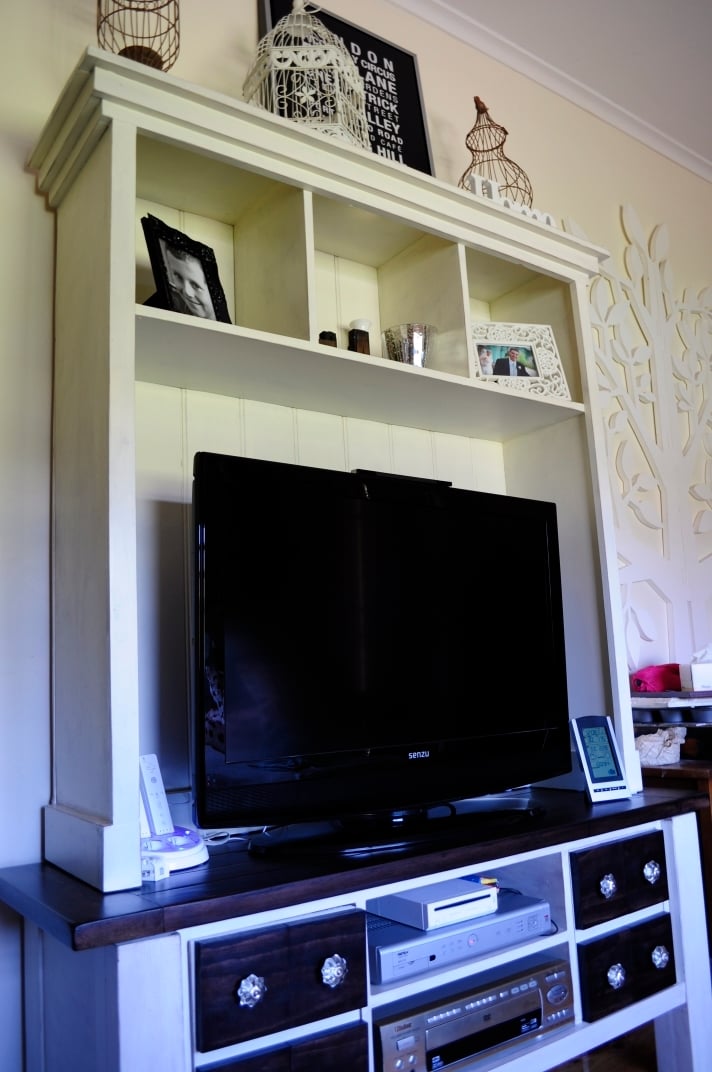
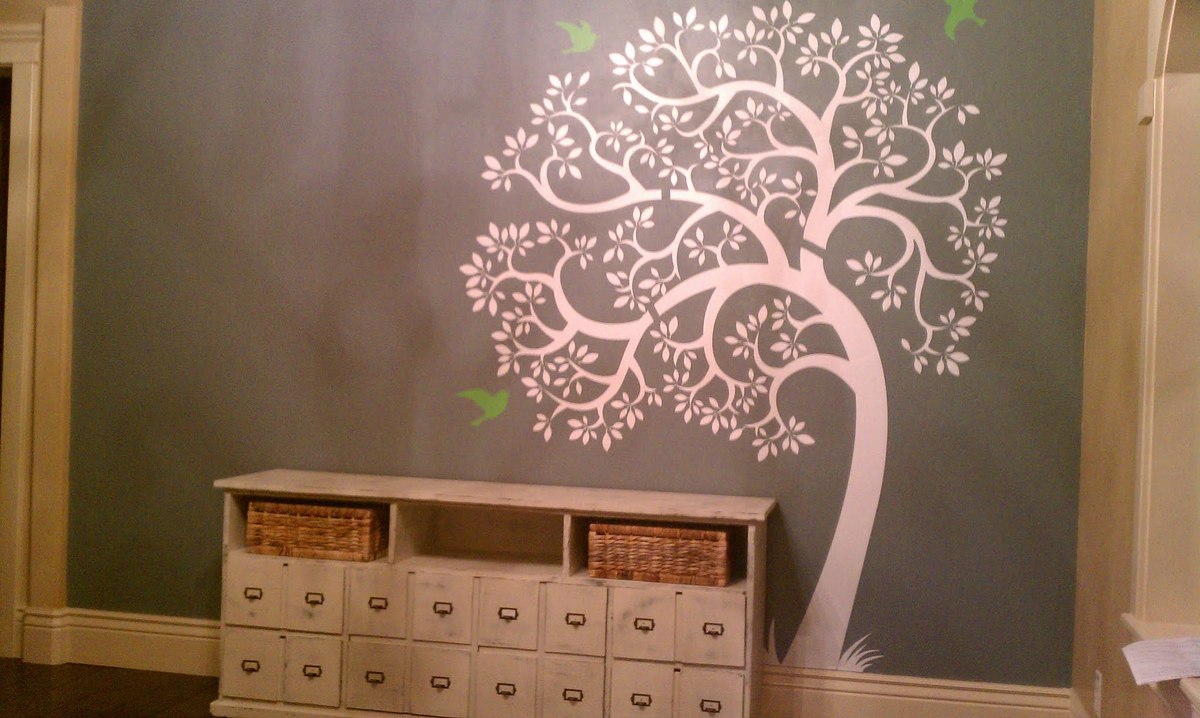
This was the second part of my Tryde media center build. You can read about the console build here.
This part of the project was very quick to put together, I spent a lot of time reading the brag board and looking at pictures of what others produced. I really appreciate when people upload high res pictures of their builds so you can really look at the details - I've tried to do the same on my blog post about this project in case you needed further information (see link below).
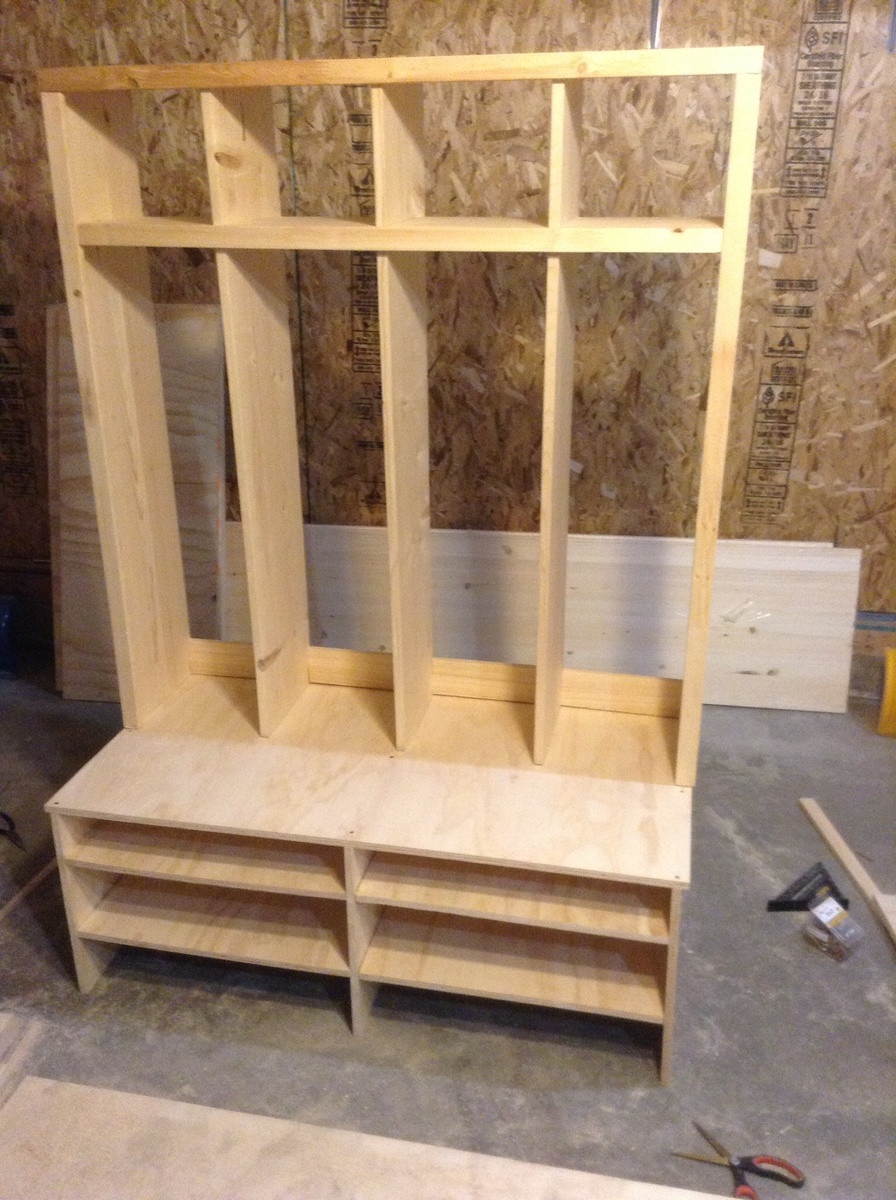
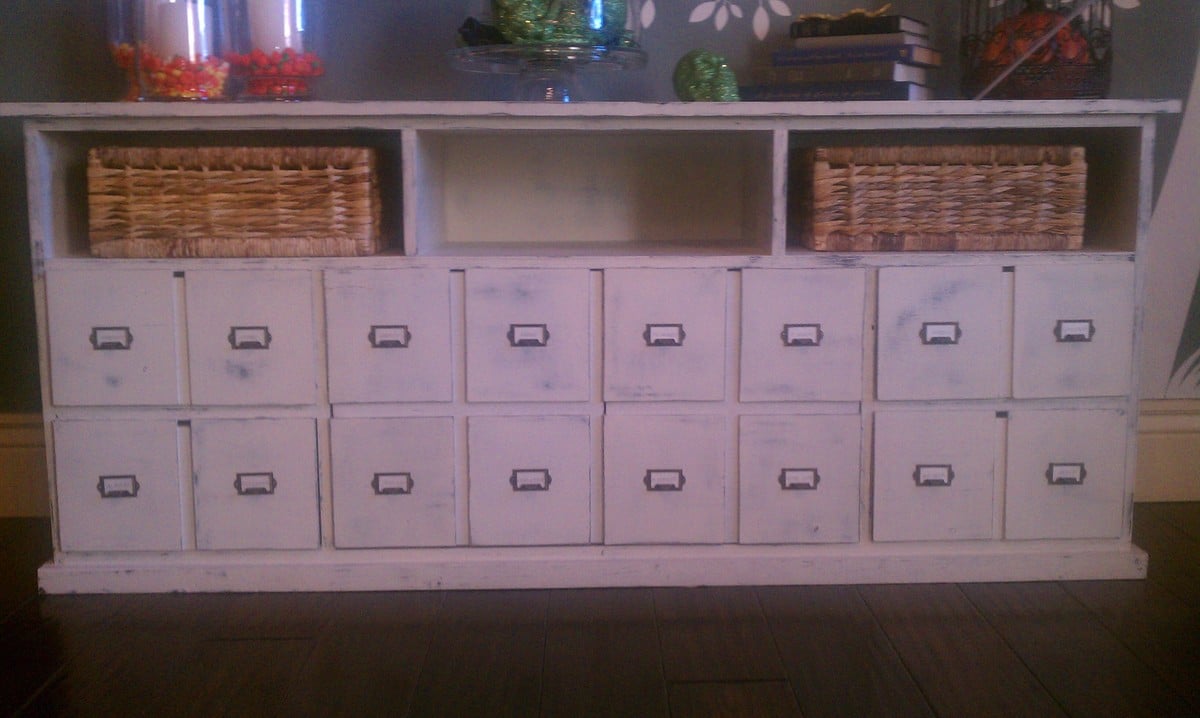
I made the plan as per Ana's original, with some modifications. These were:
- added a back kickboard at the base for stability
- added trim around the back and sides at the base to stop it toppling over
- added felt to the feet to avoid scratching my console underneath (worked so hard on that one!)
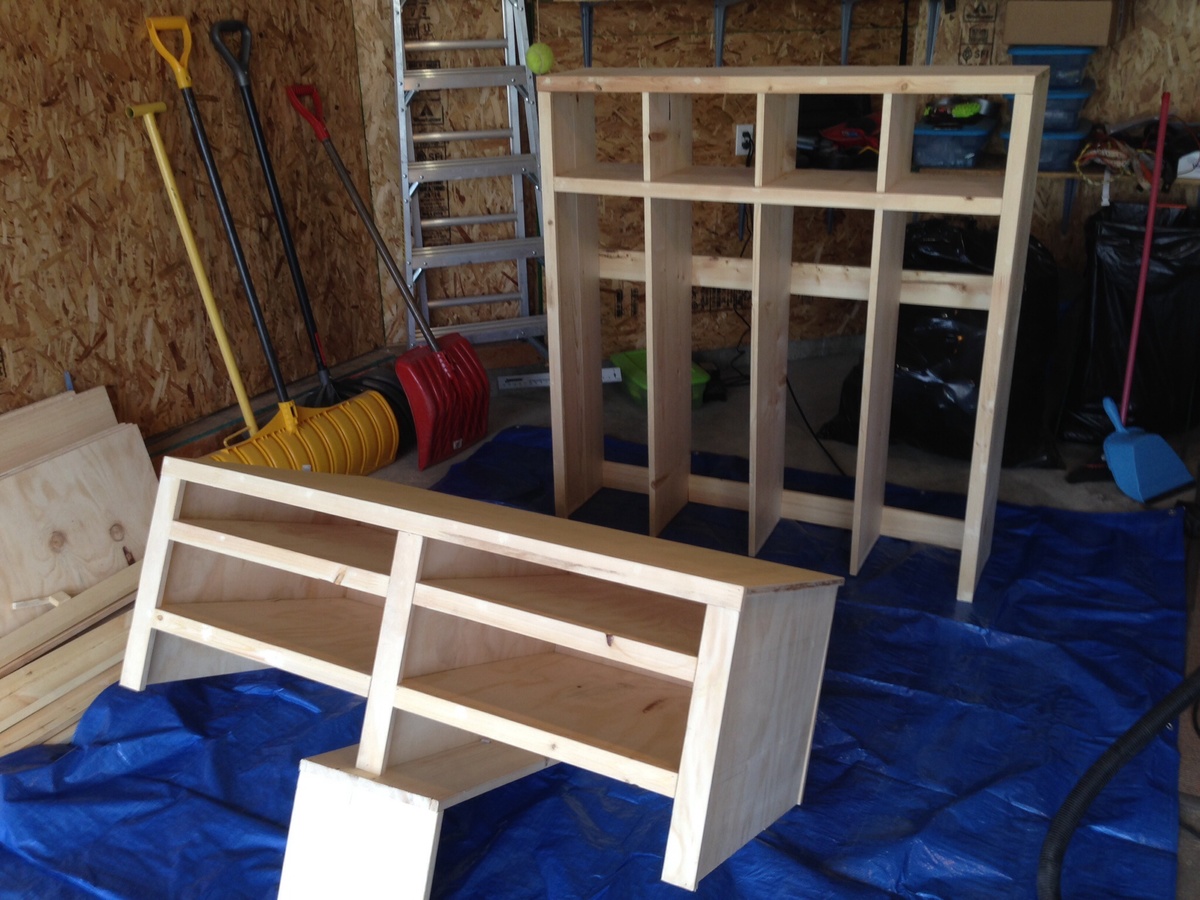
- added 'L' shaped brackets to join the two pieces together, for added stability (check my previous post for more details on this)
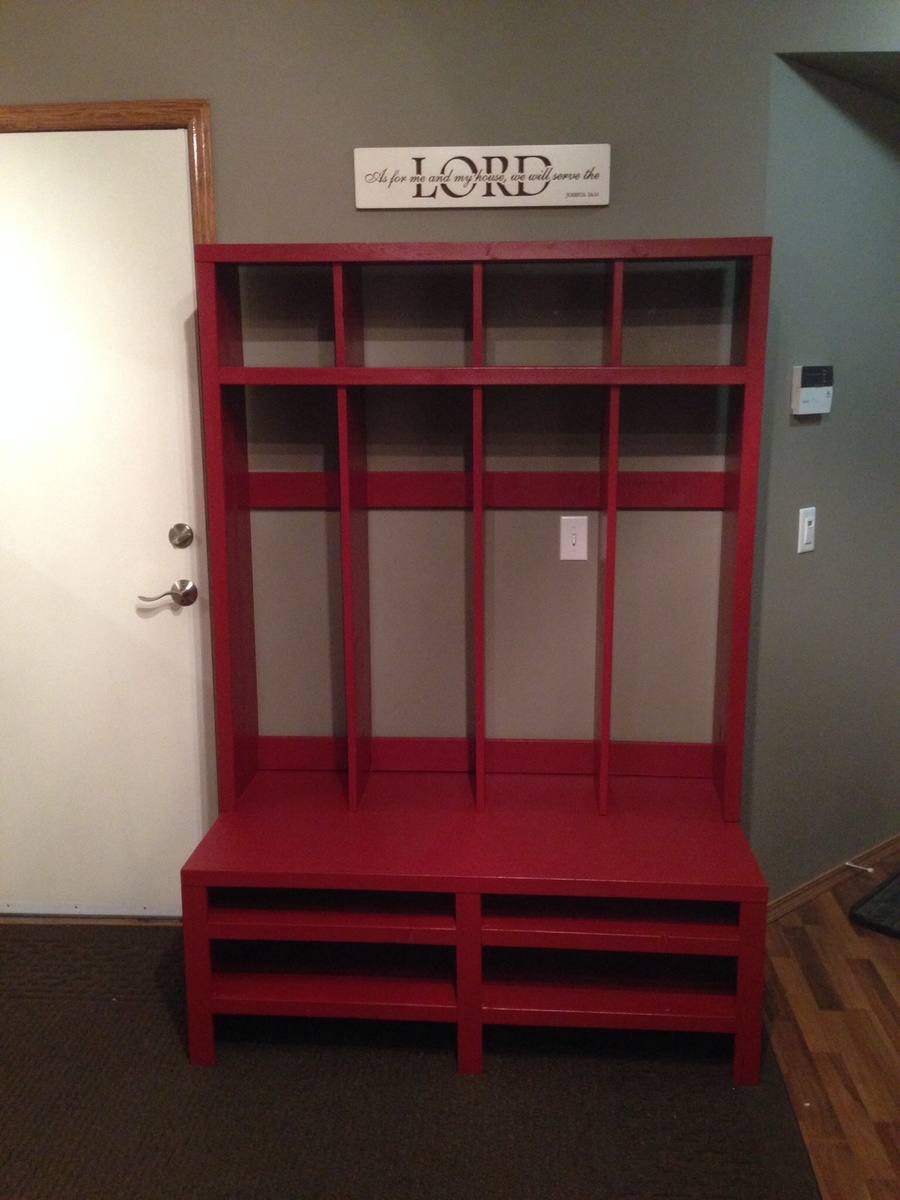
- changed the orientation of the beadboard on the back to be vertical and not horizontal (I just preferred it this way)
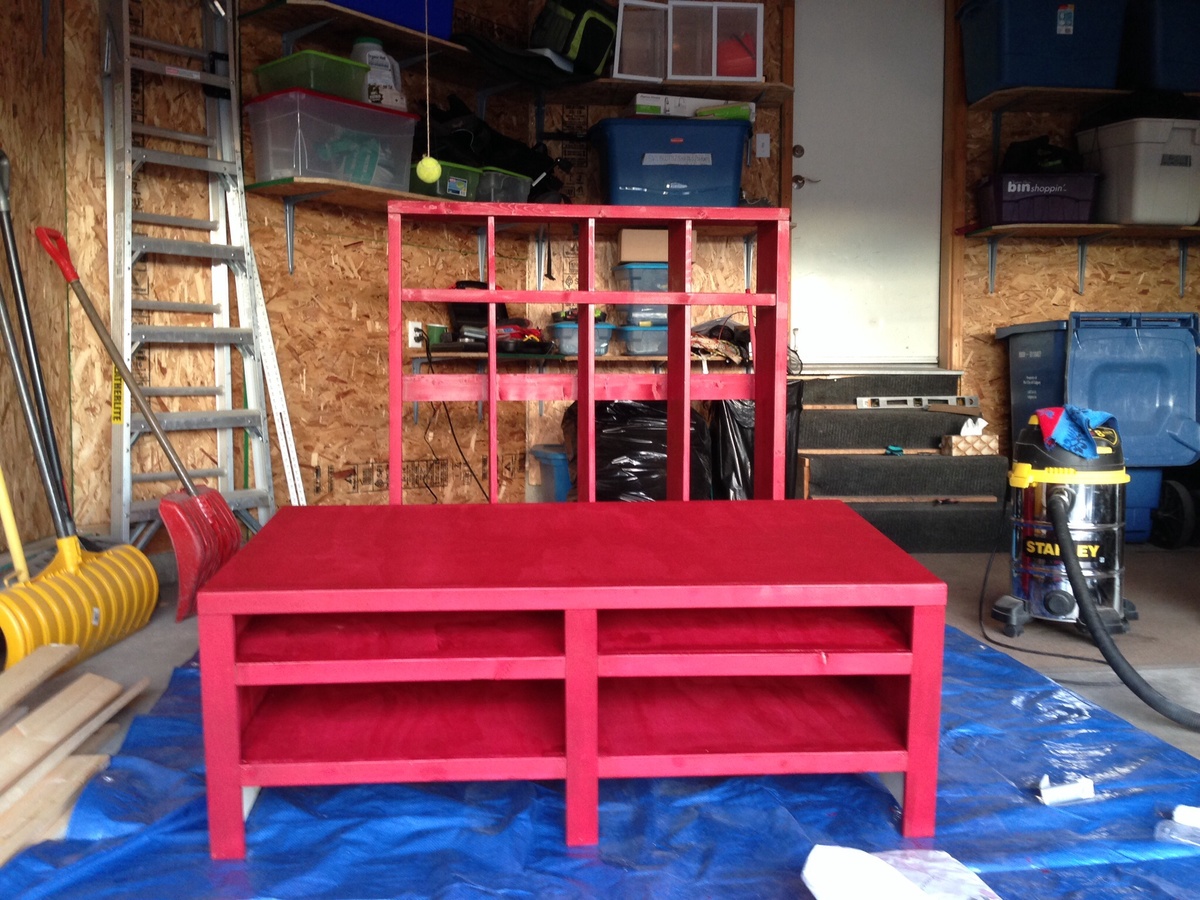
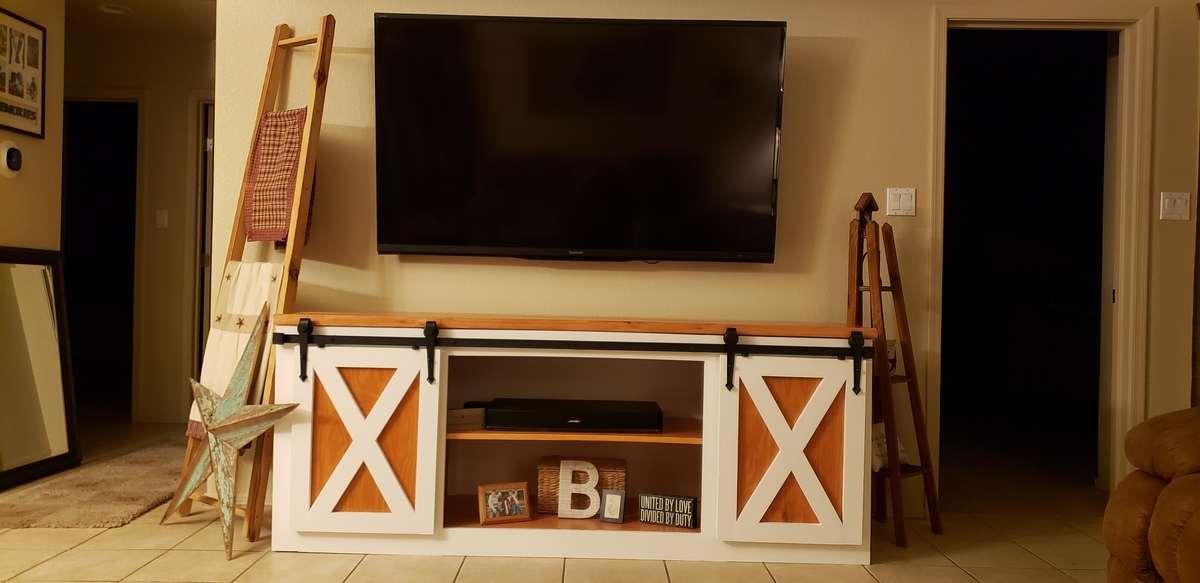
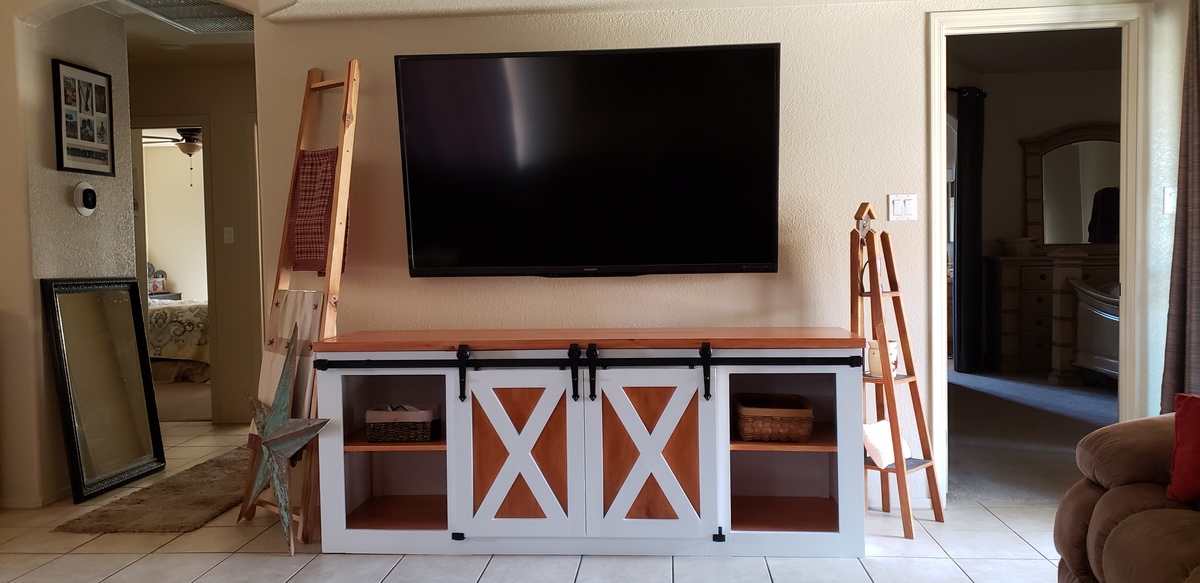
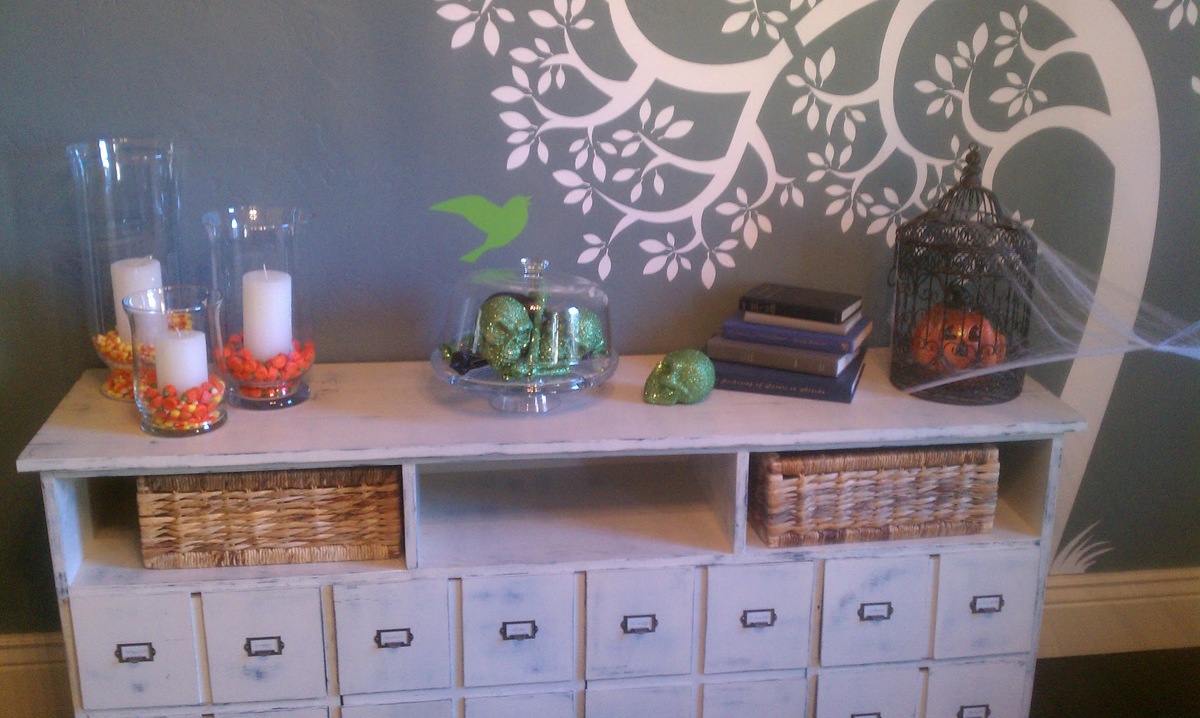
- after seeing Perchik's build of the Tryde media center I shamelessly copied his idea to extend out the trim around the top. It looks much better wrapped around than jutting out the front, a little less severe I think
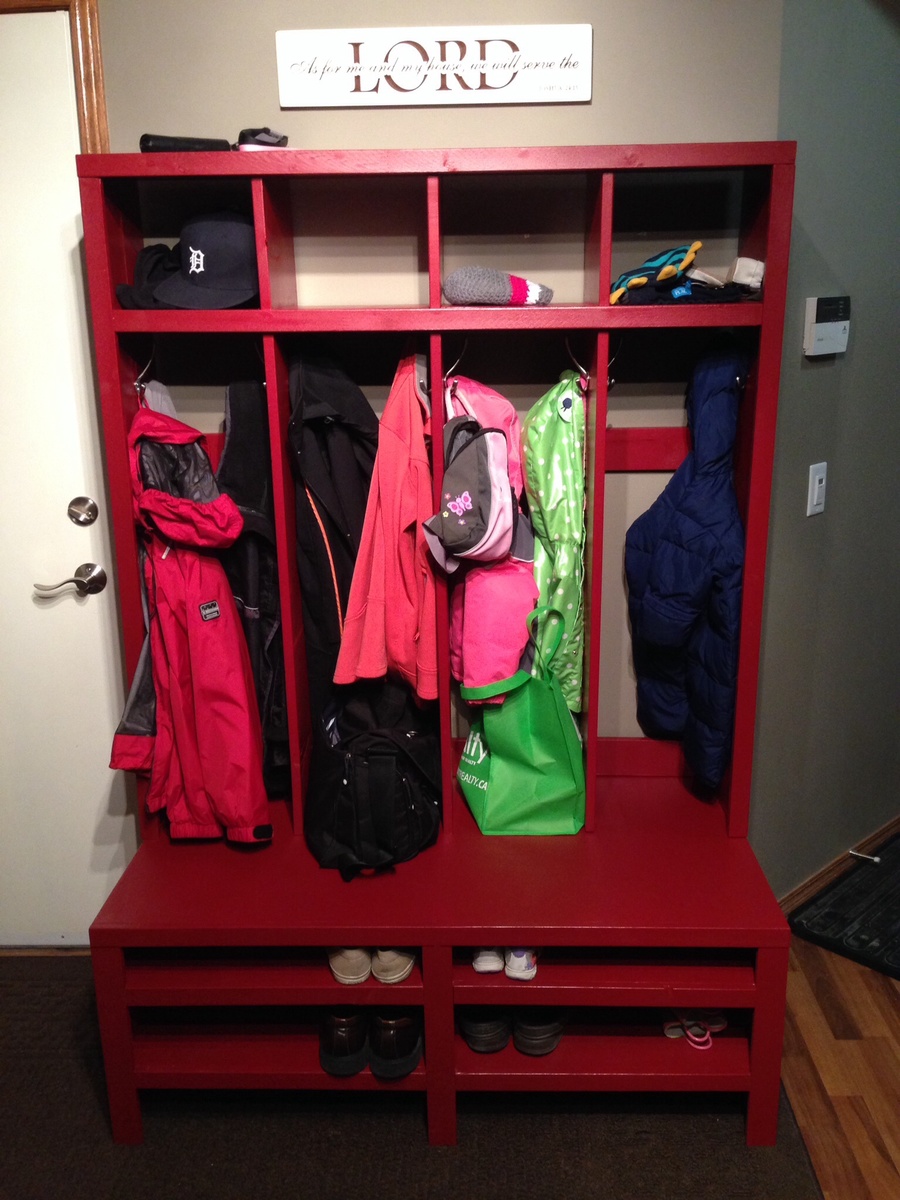
I hope you would give this project a go, as a hutch it is very simple to put together for a beginner and quite satisfying. To get more information about my build please read my blog post where I go in to a lot more detail (and leave a comment too, I'd love to know what you think!)
Happy building!