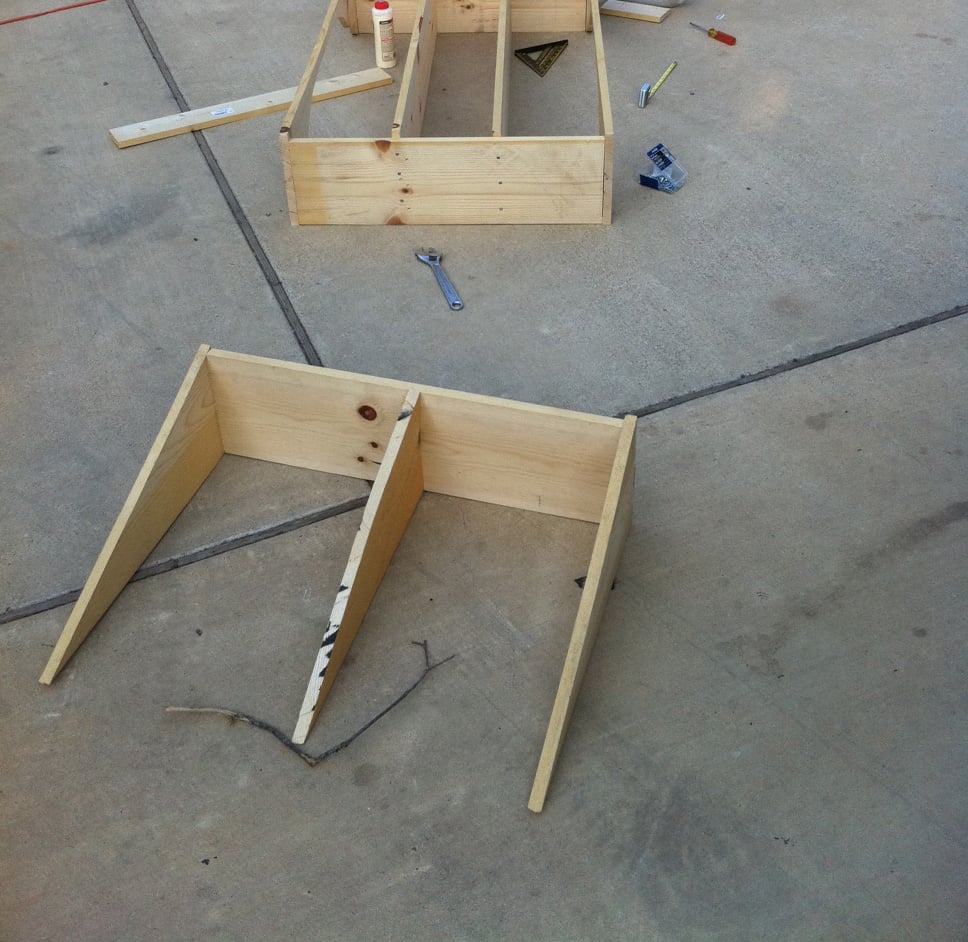
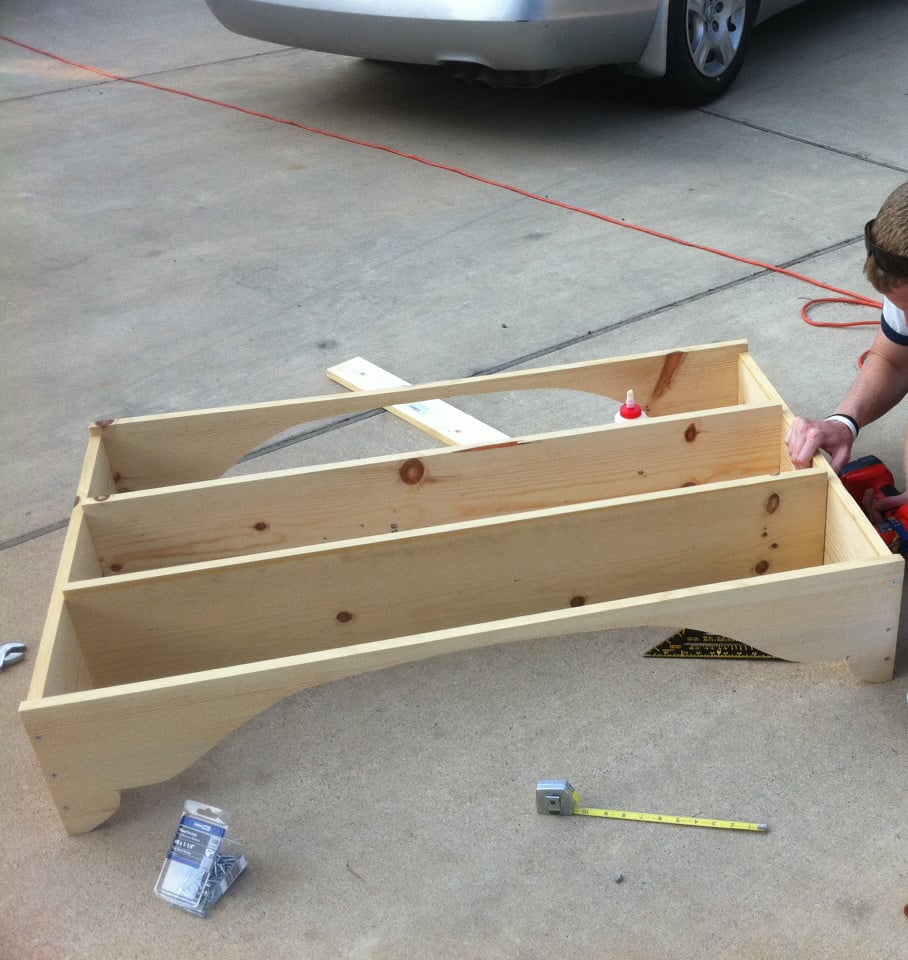
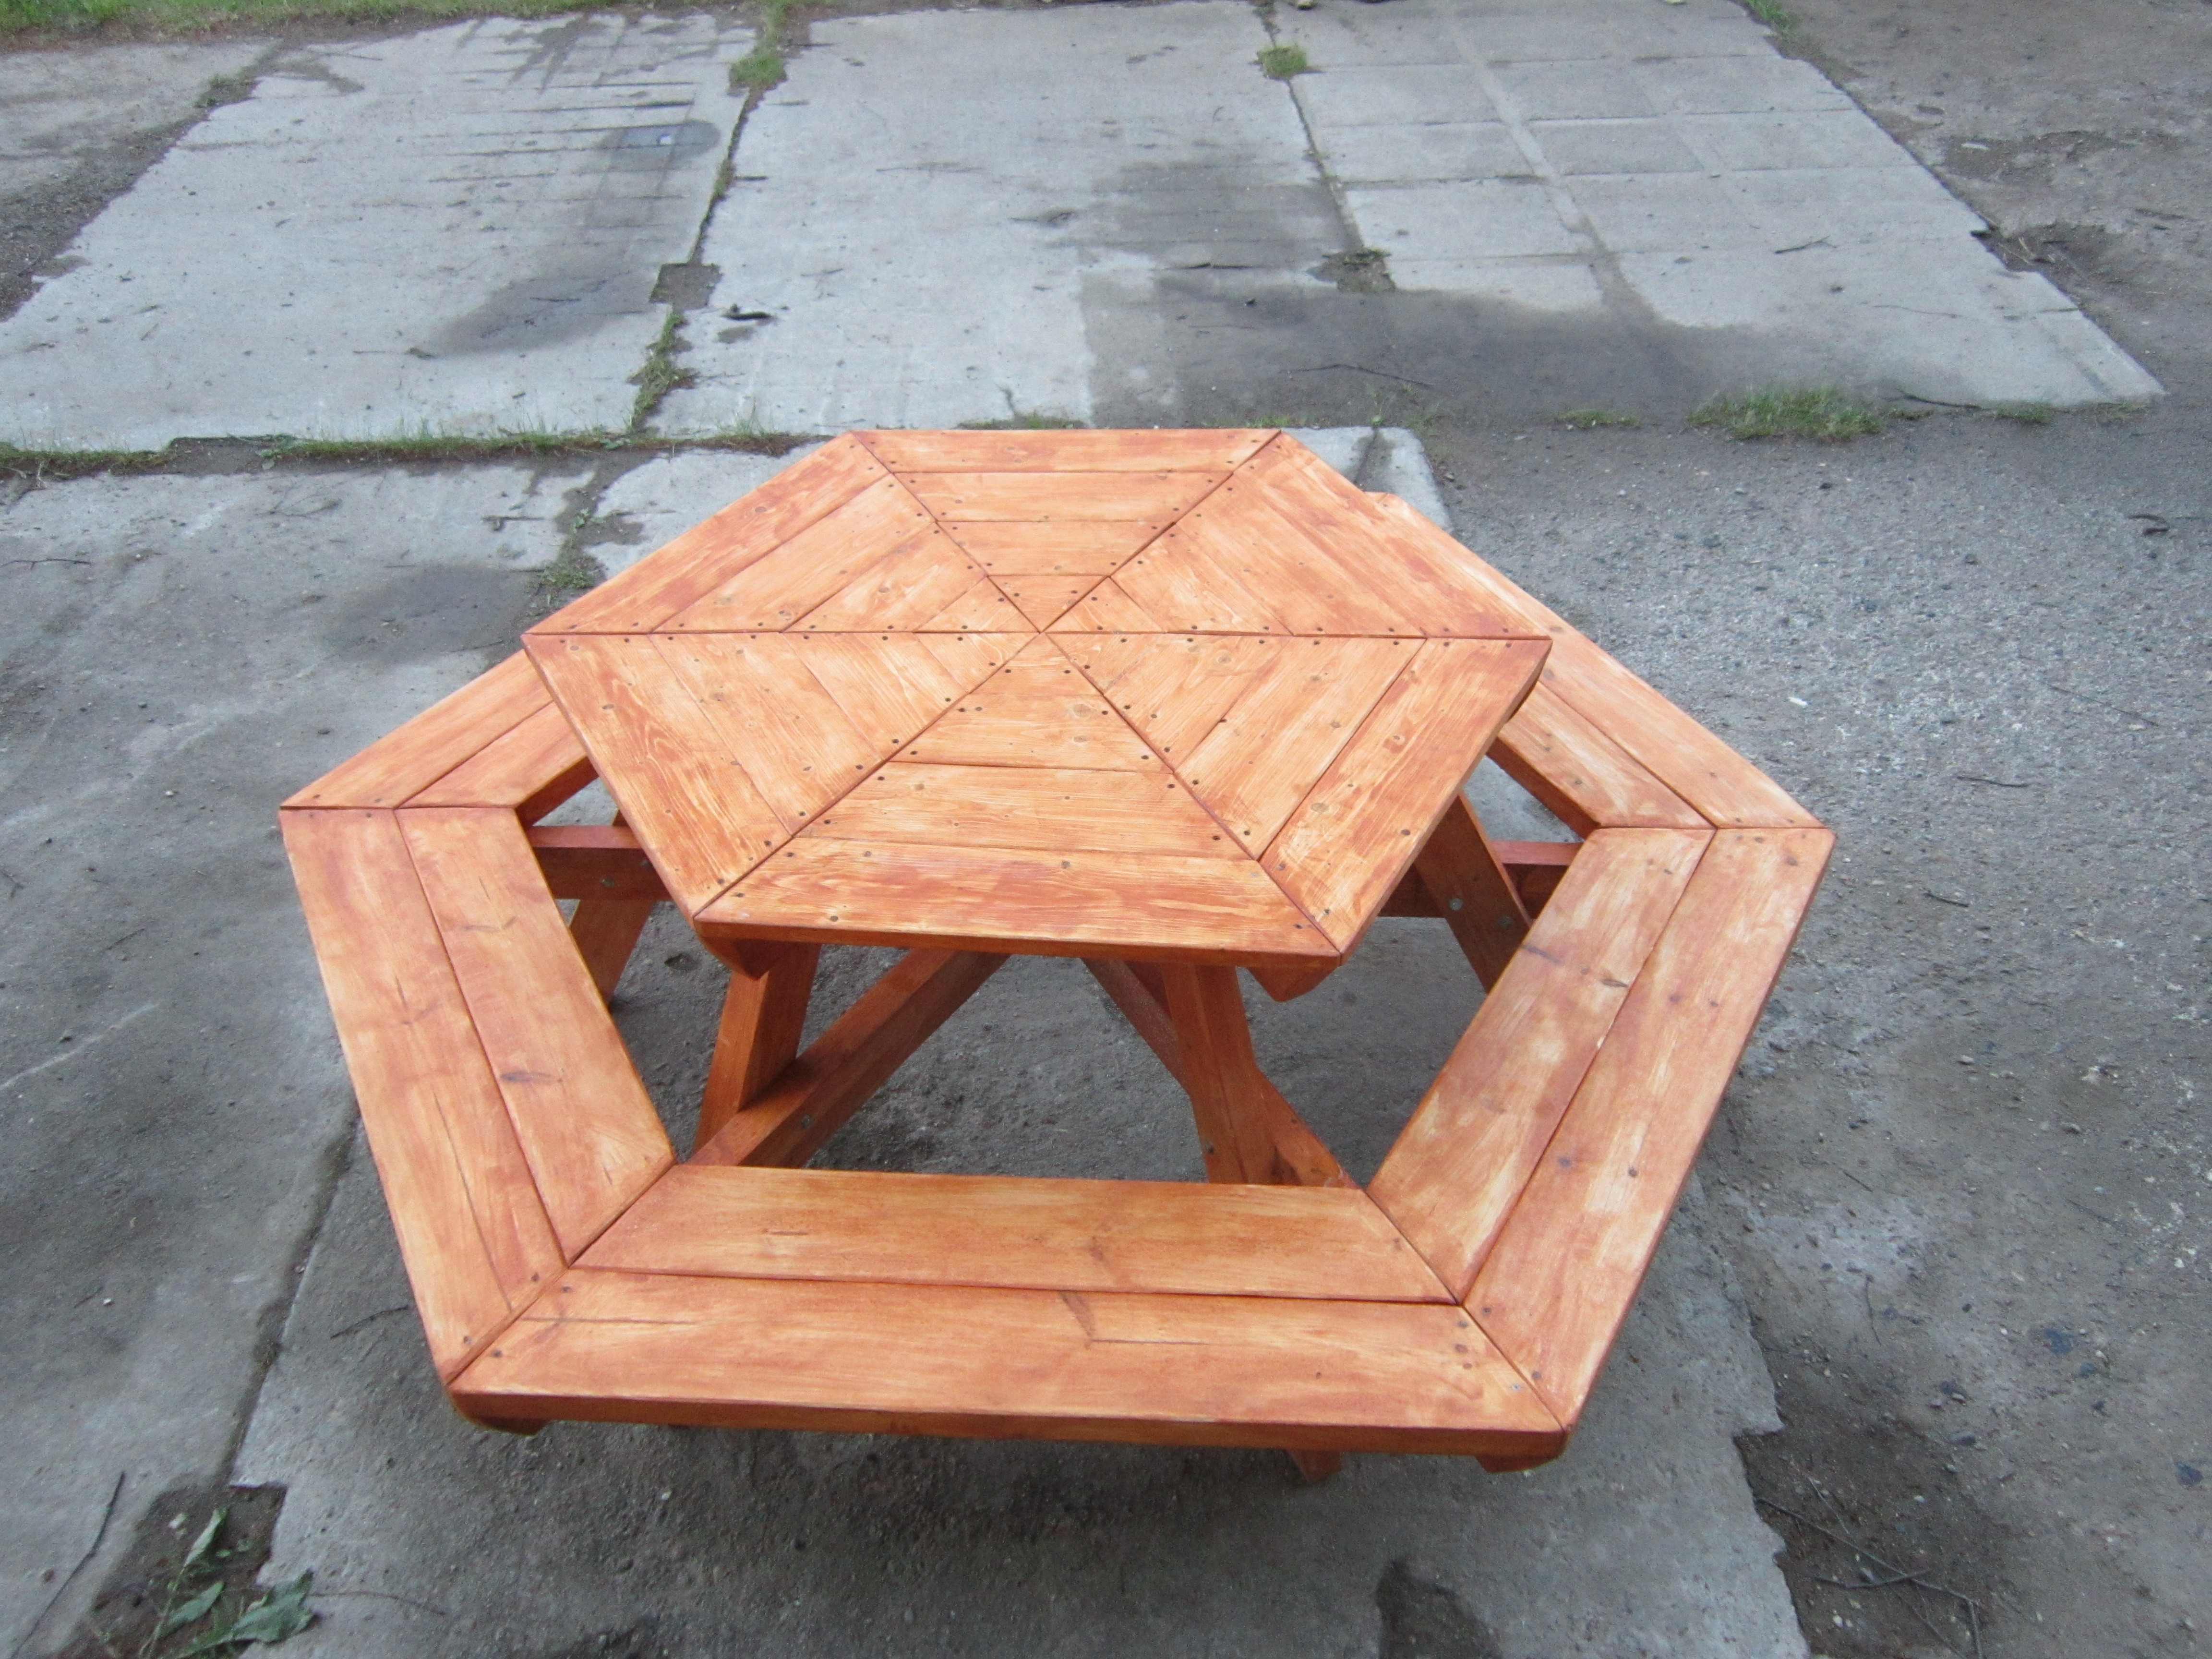
Bench
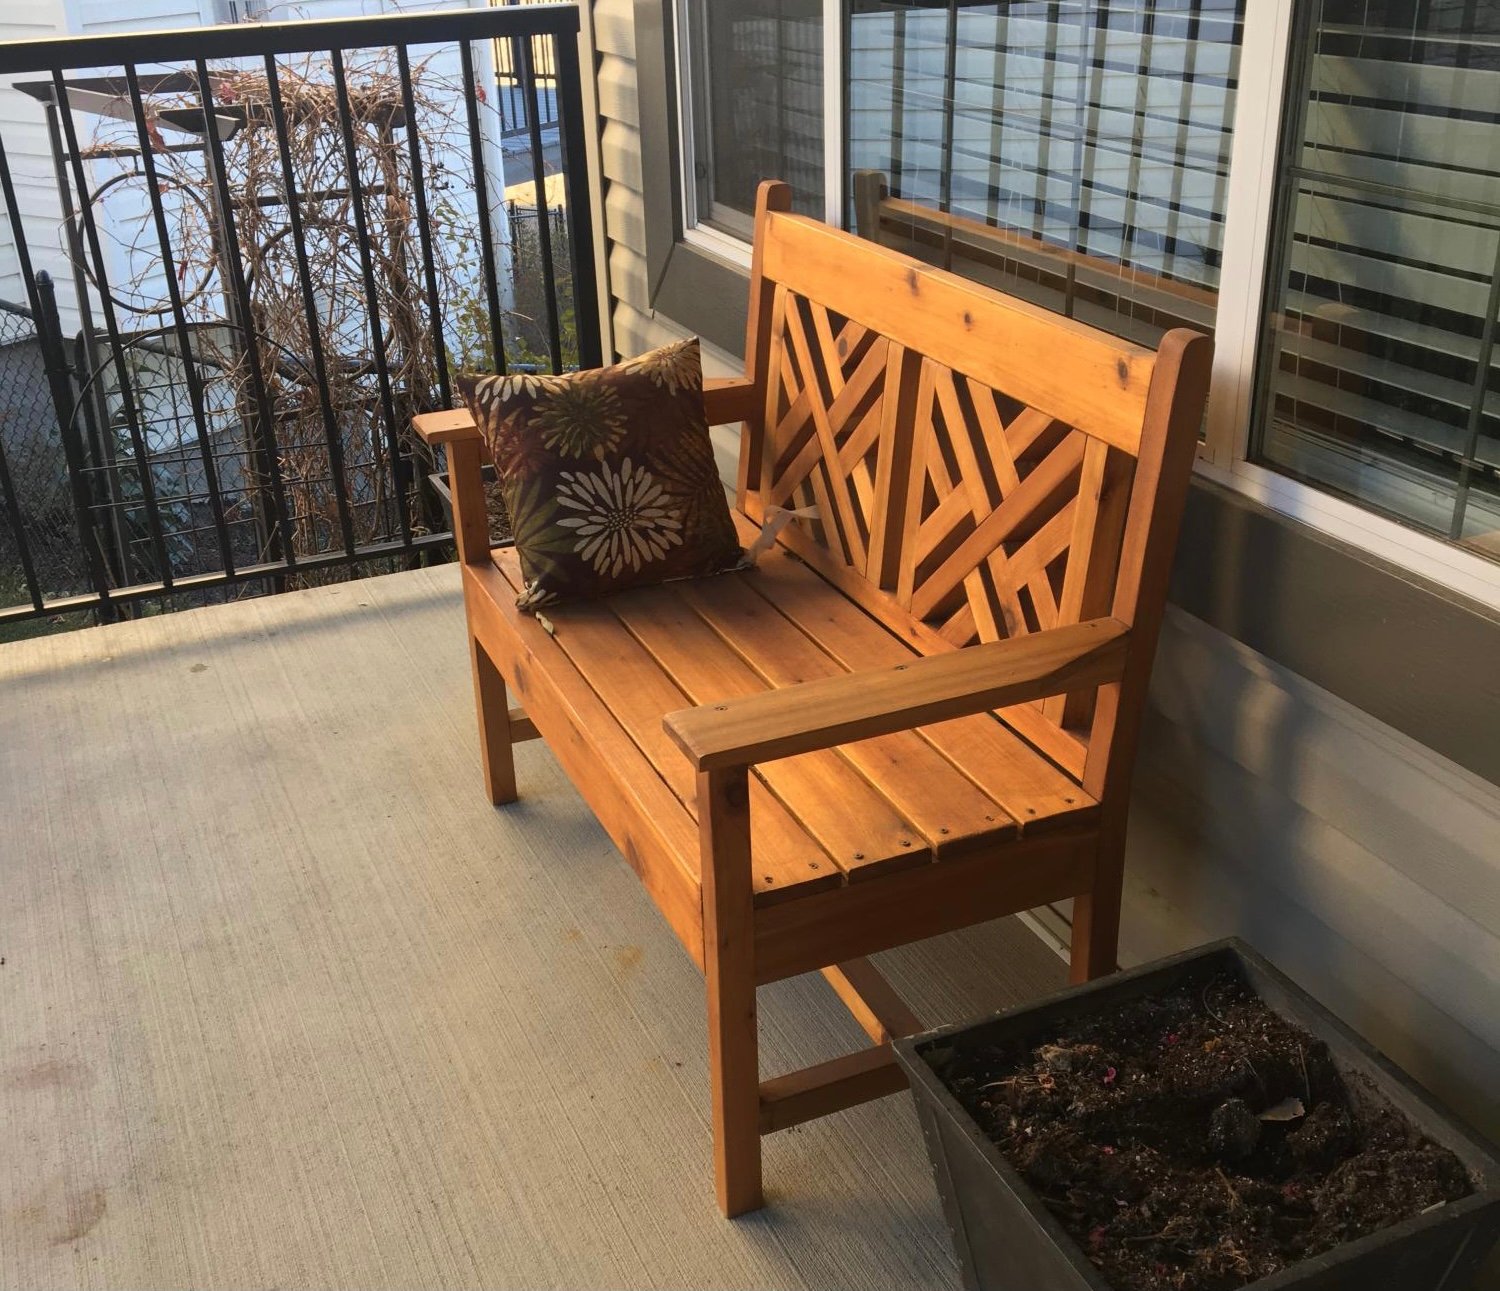
Loved making this instructions were so simple. I love how it shows how much wood and what cuts are needed
Built from Plan(s)
Loved making this instructions were so simple. I love how it shows how much wood and what cuts are needed
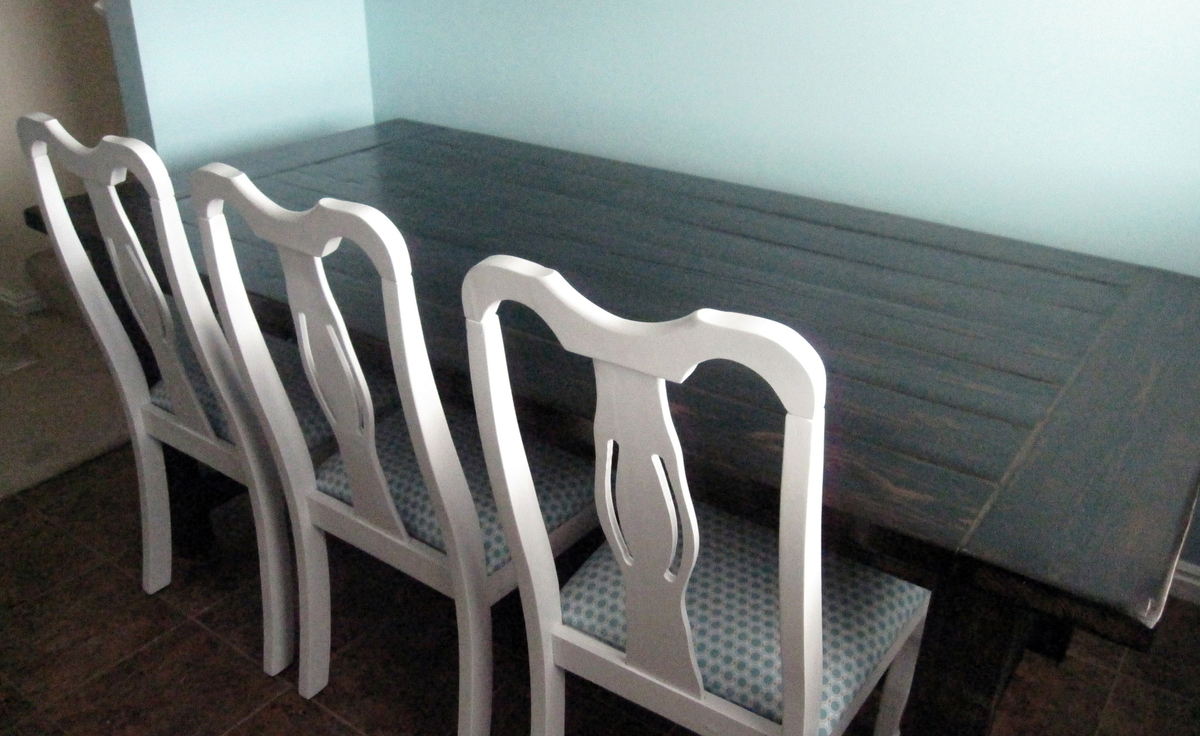
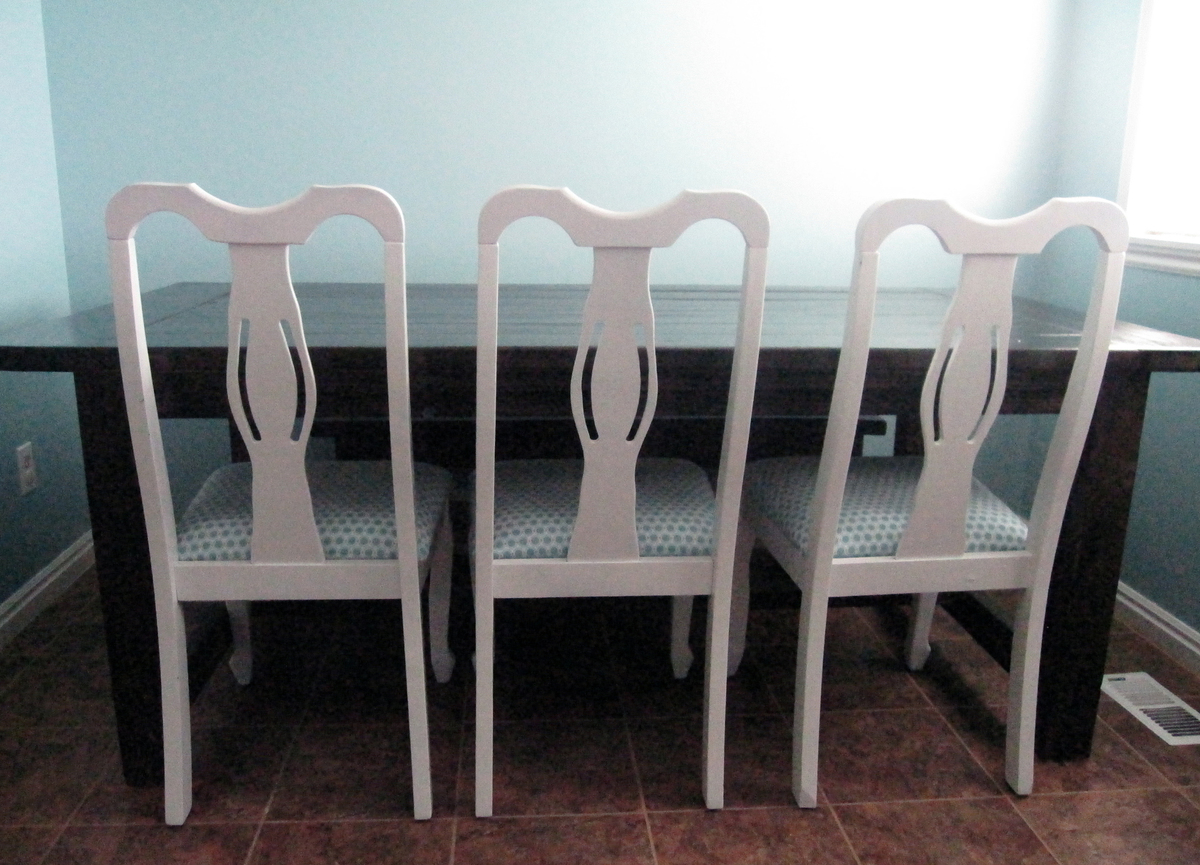
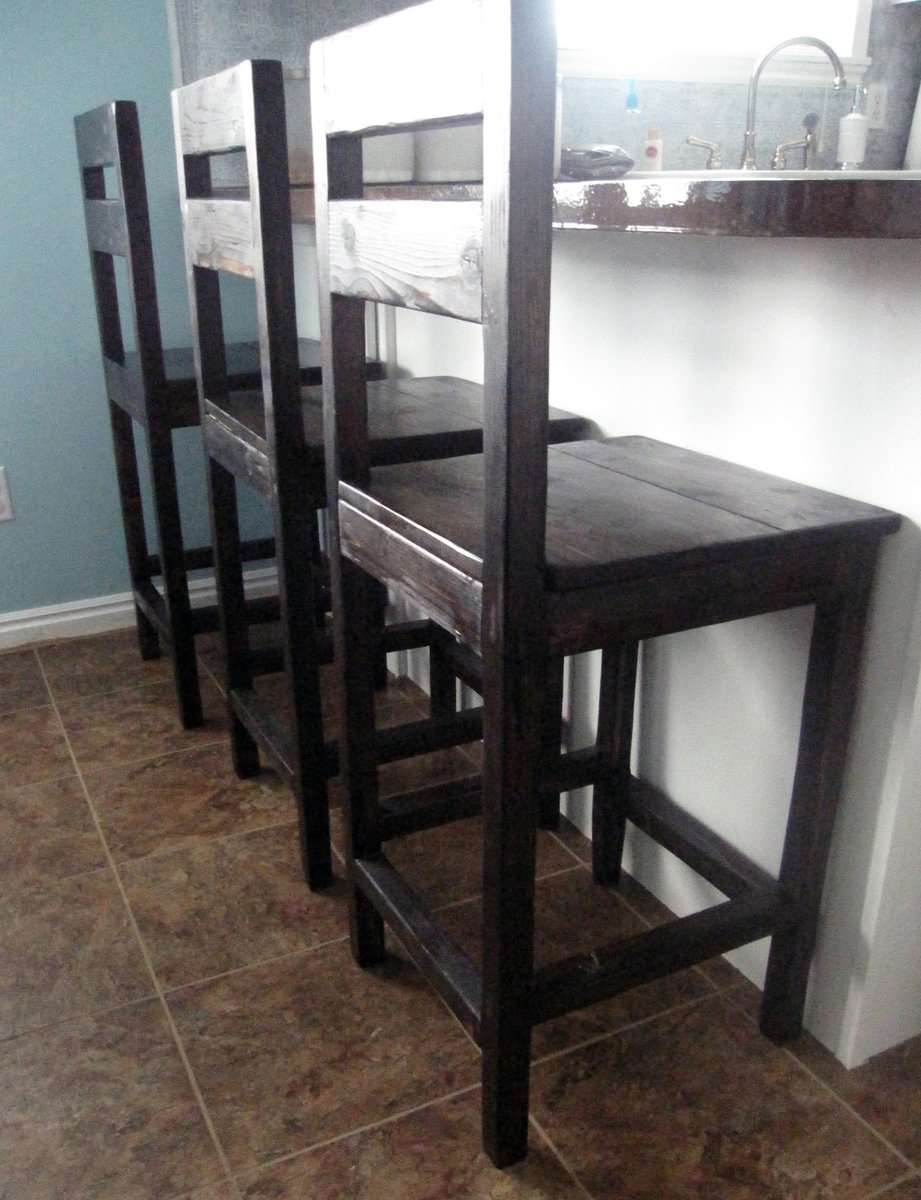
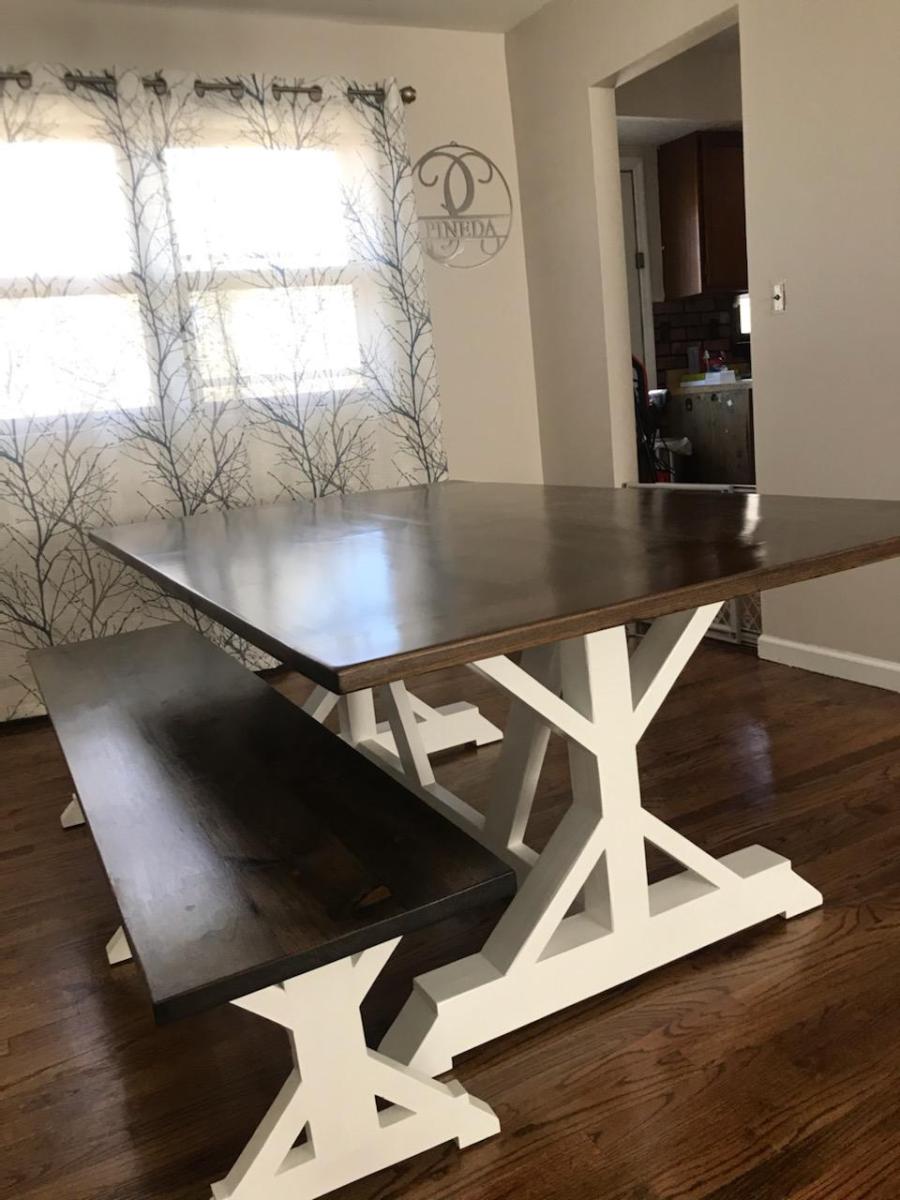
Our kitchen has been pretty much the same for the last 4 1/2 years but this last fall we started to undertake a huge do-it-yourself remodel. We painted our cabinets, replaced the sink and floors and even painted the counter tops! You can check out the transformation on our blog.
Now that our kitchen was looking so good we decided we needed some awesome furniture to match.
This is where the great Ana White and her wonderful blog stepped in. We were able to build some beautiful high quality furniture at an awesome price! This was the first time I actually had matching and completed furniture in my kitchen and I have loved it.
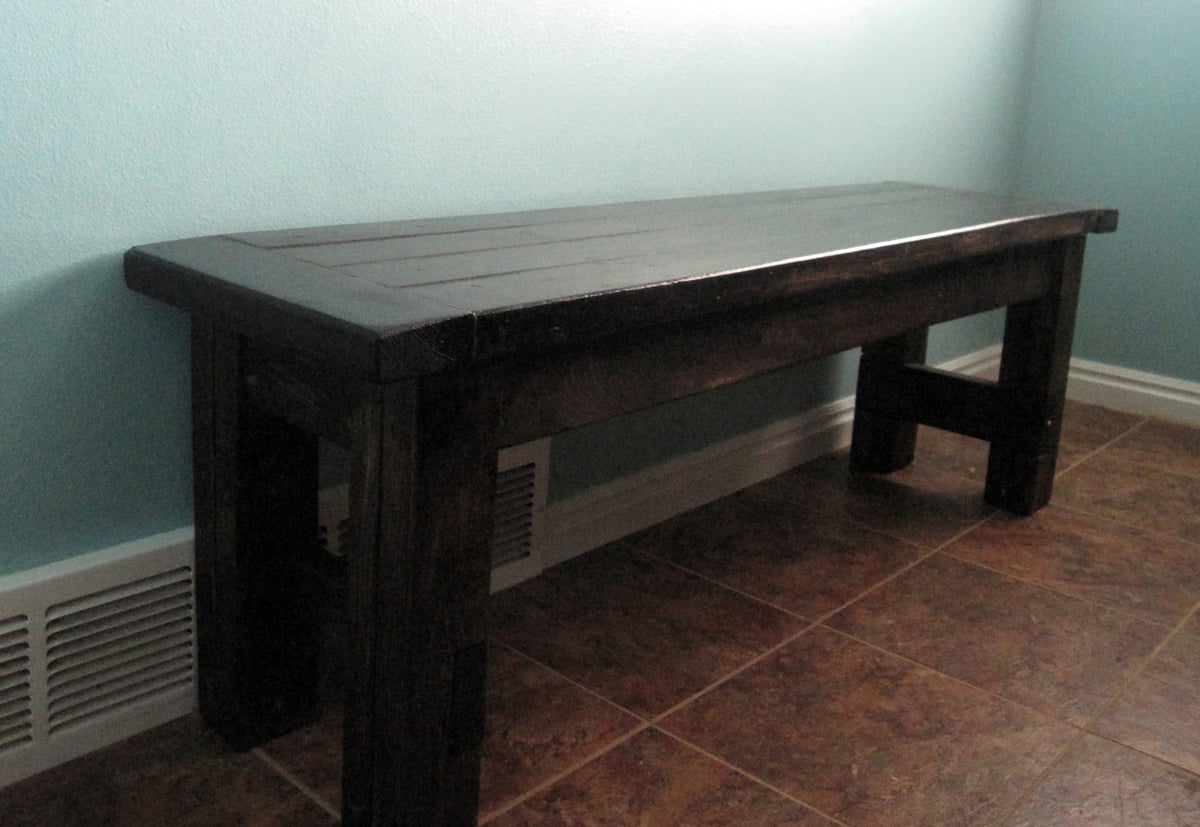
We built the farmhouse table, bench and the extra tall bar stools with some modifications.
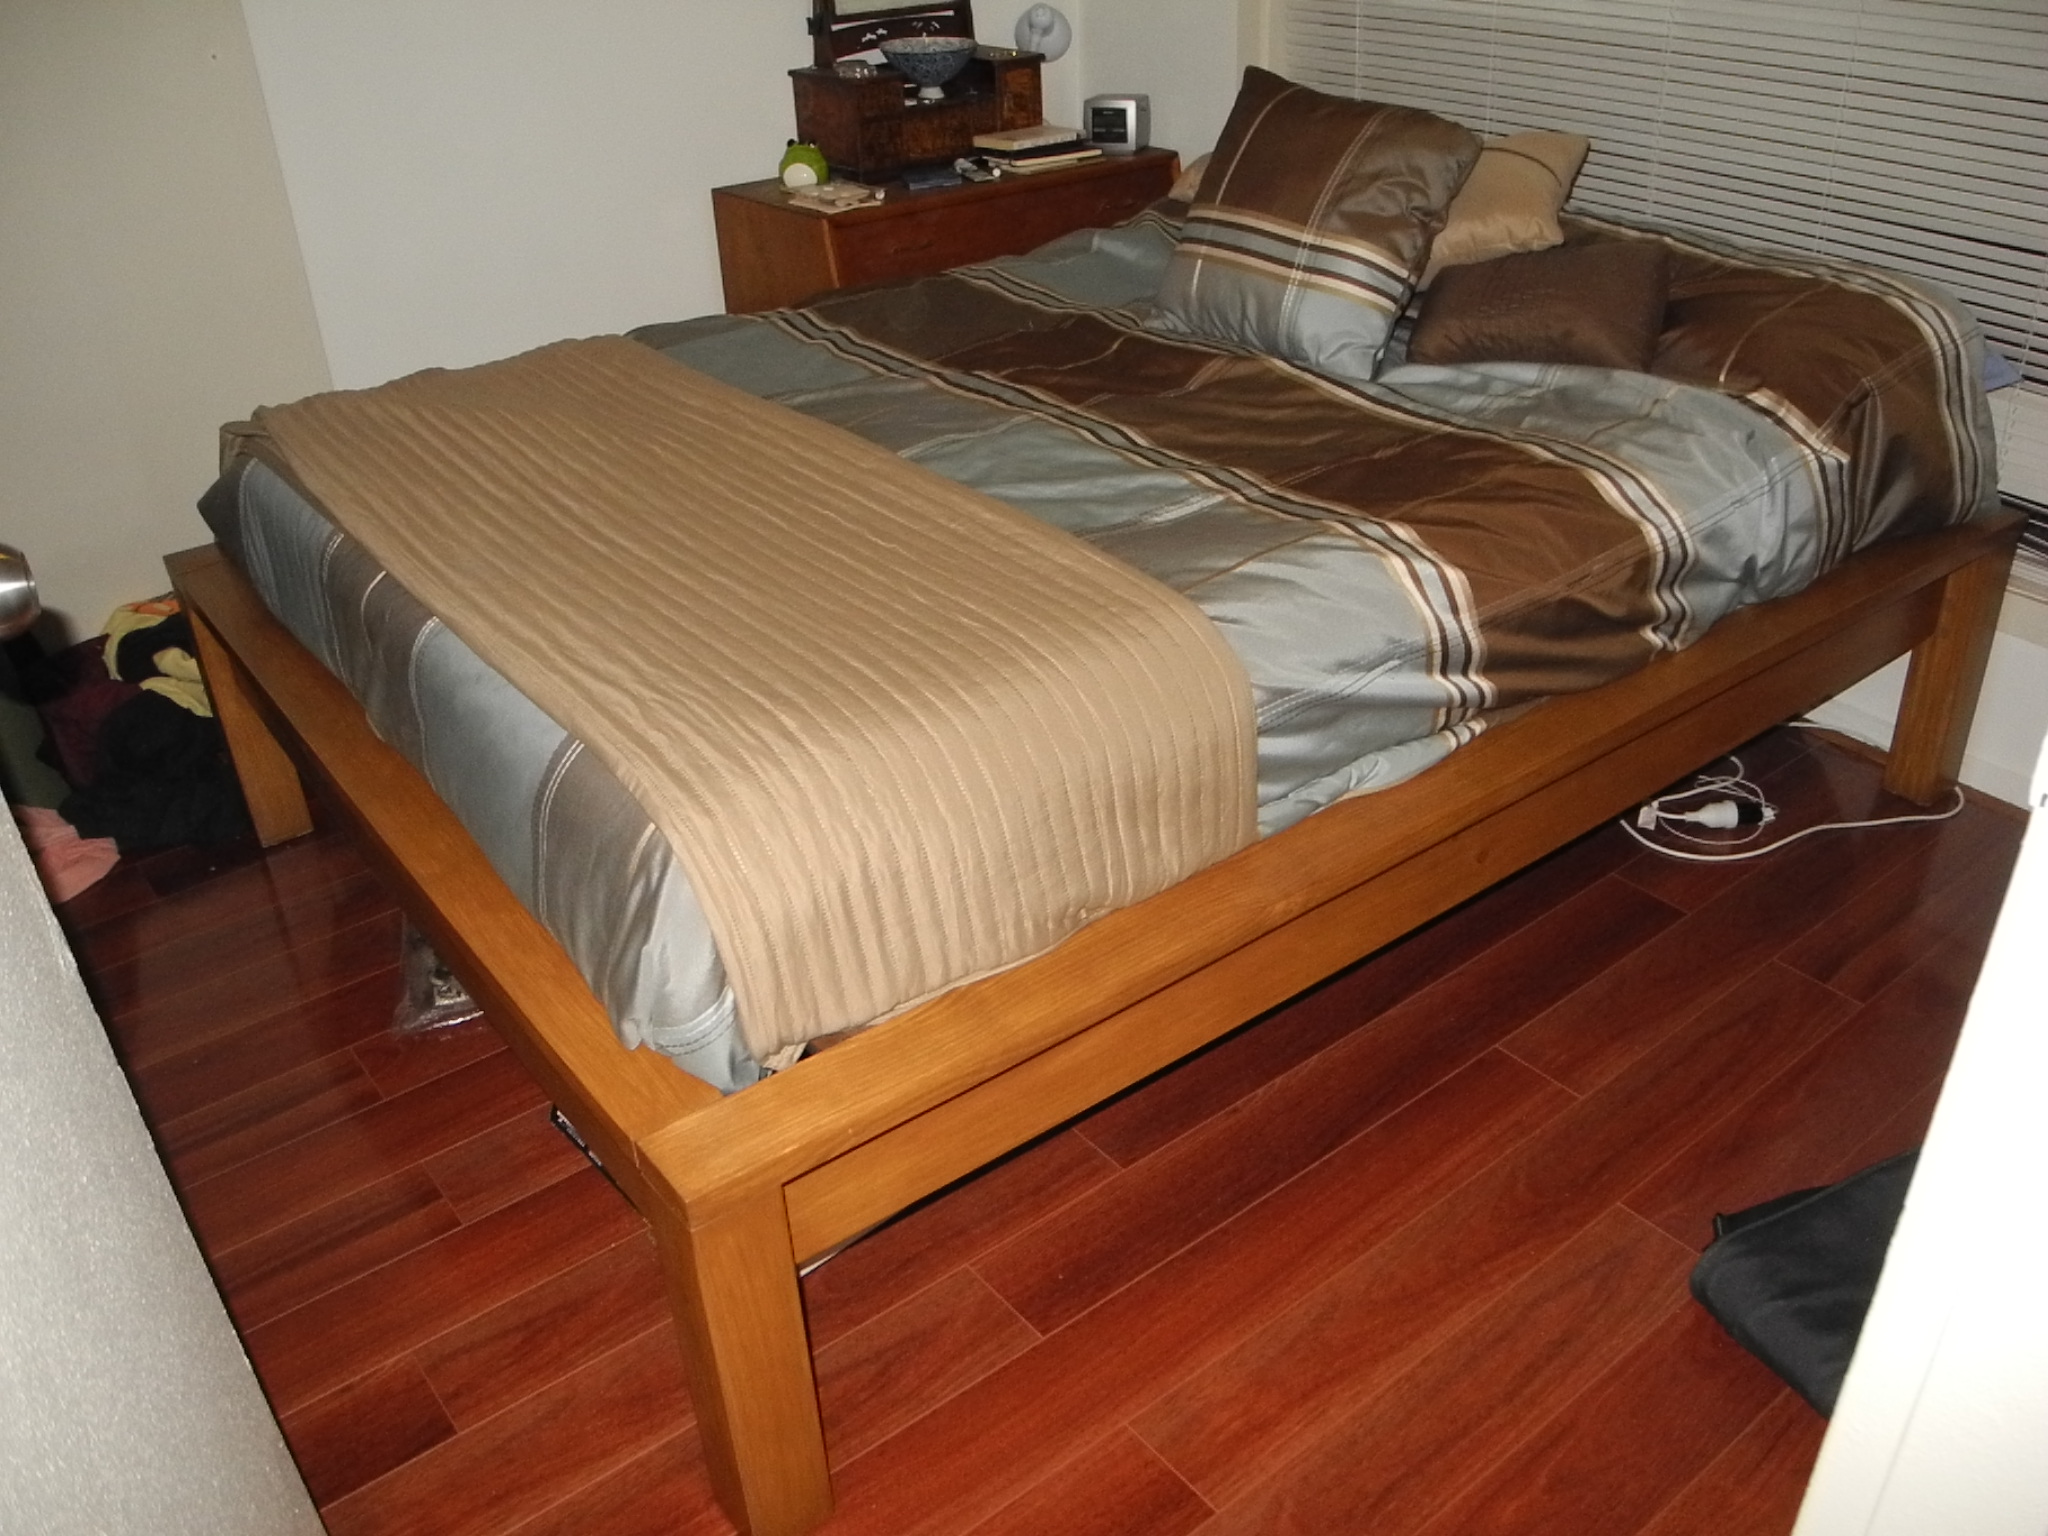
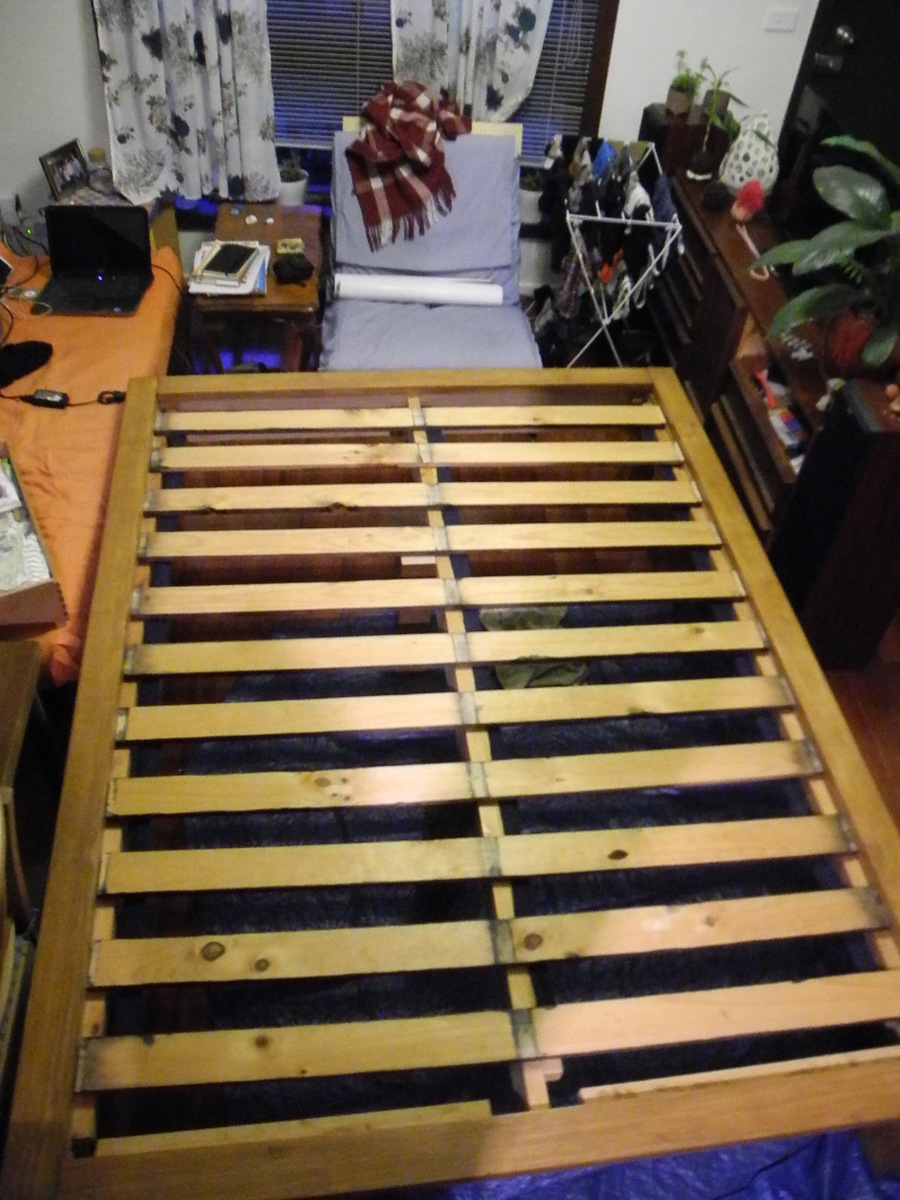
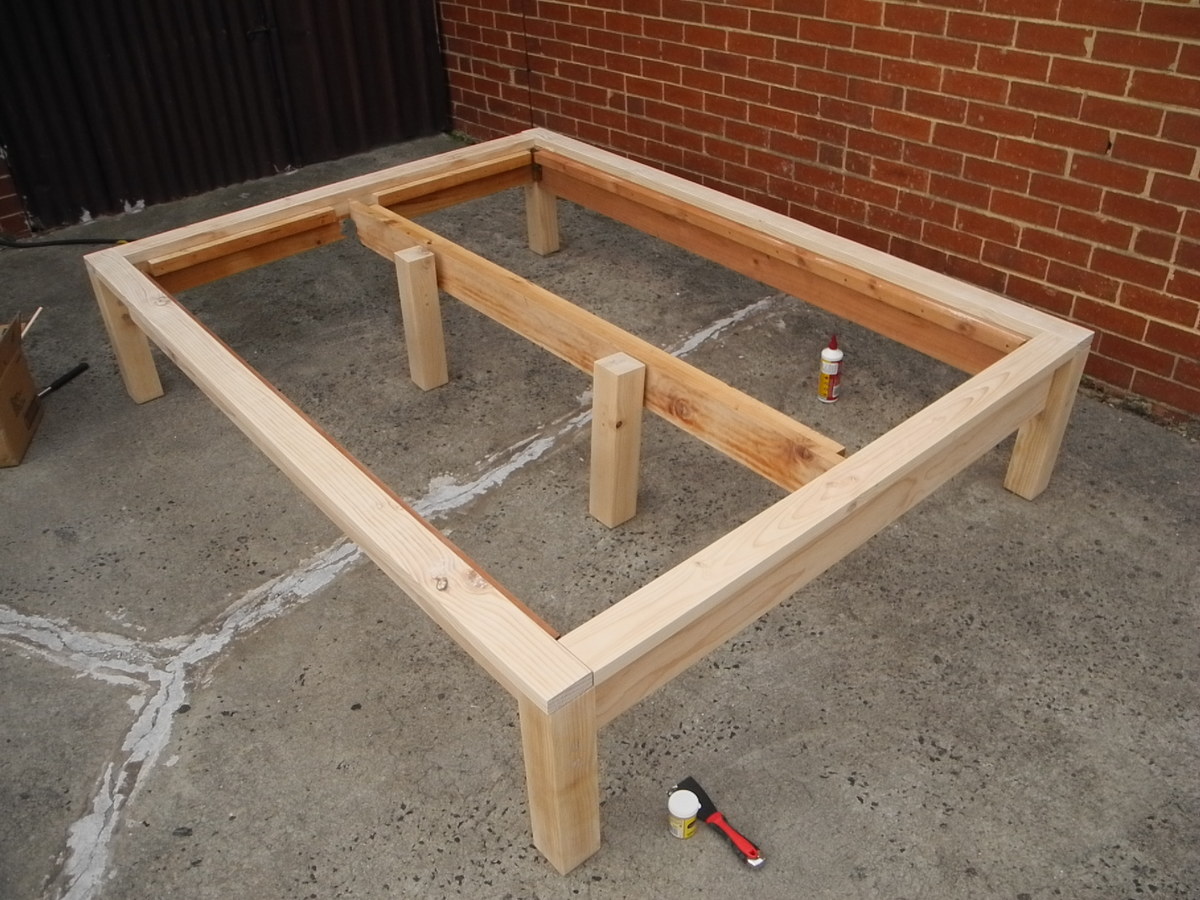
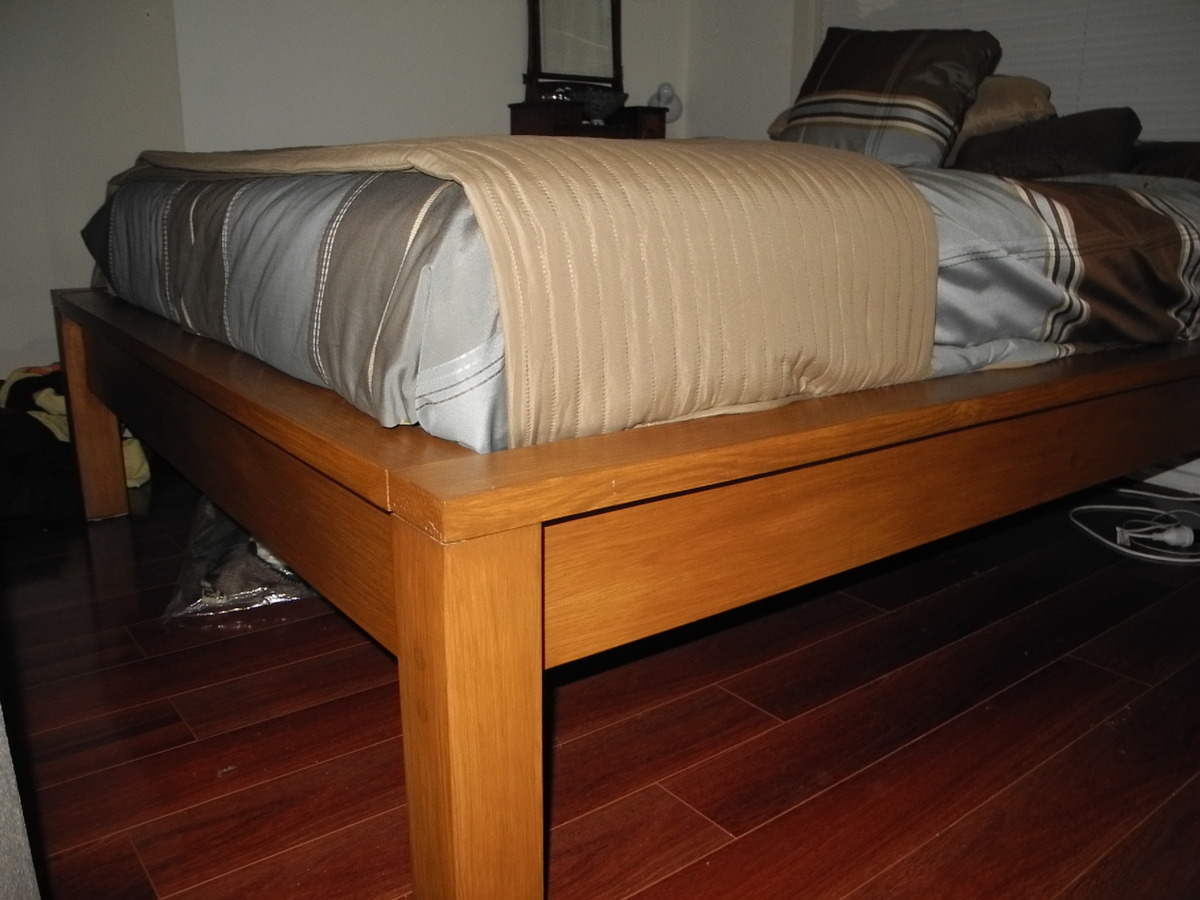
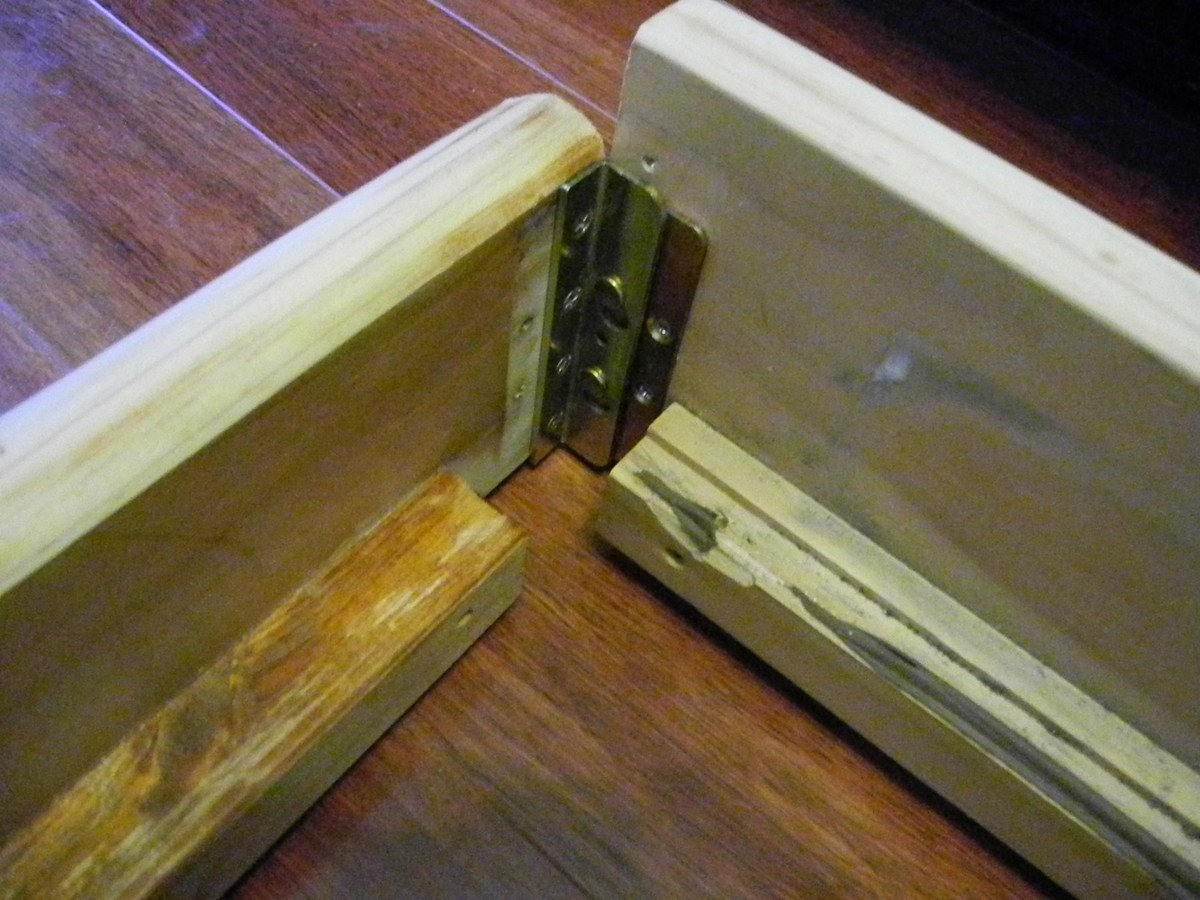
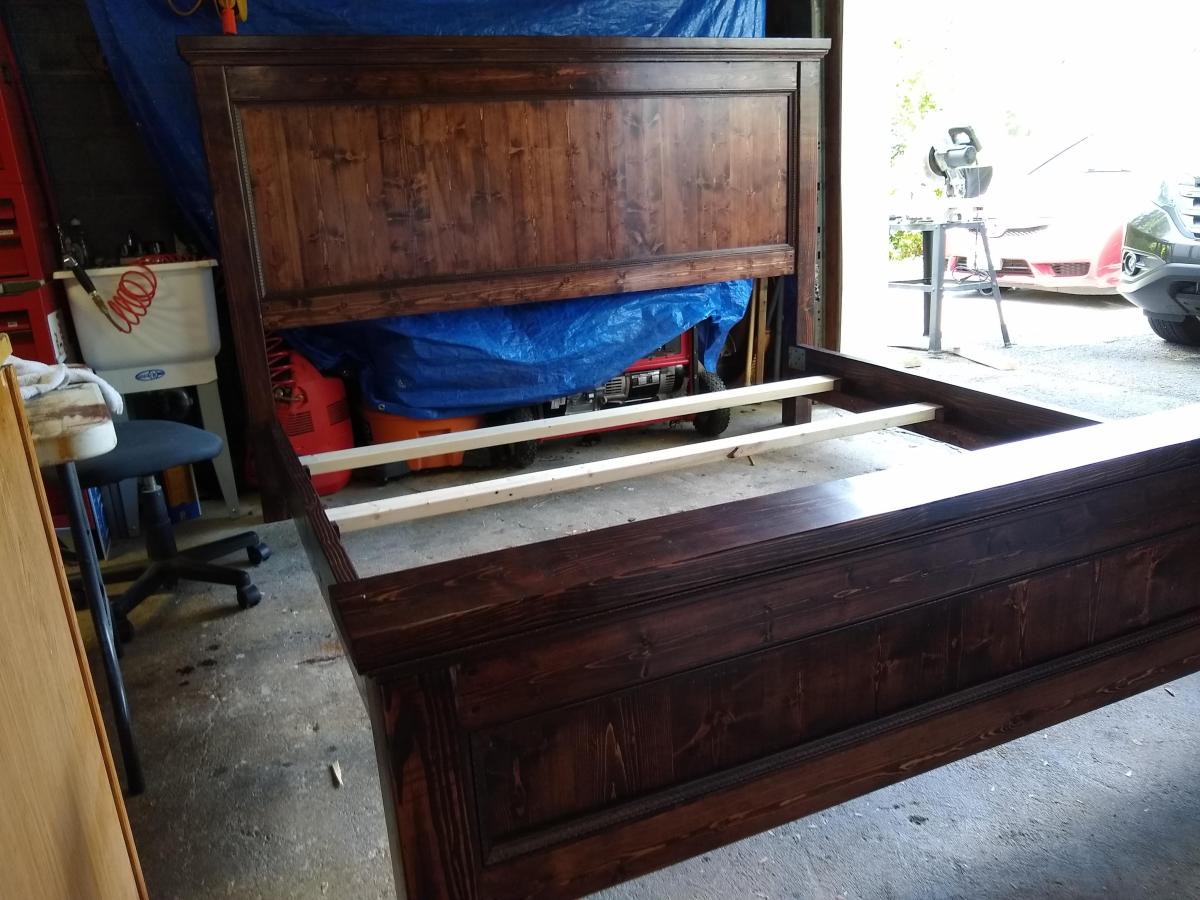
This was my first building project! The bed is built almost entirely out of found wood. I modified the Hailey Platform Bed plans to suit the dimensions of the wood I had, and my very small work space.
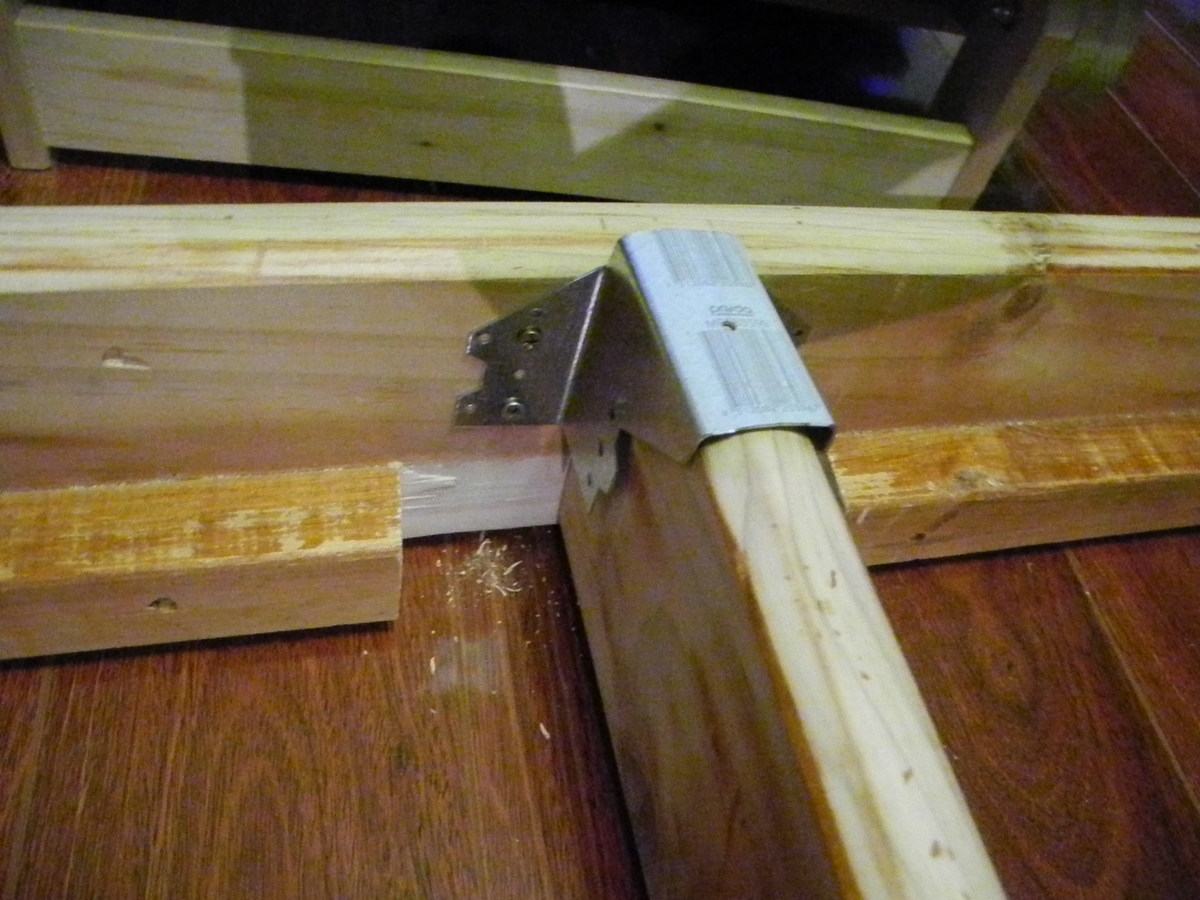
I did most of the building in my living room and my apartment's miniature courtyard, which is much narrower than a bed. Because of this, the bed had to be able to be disassembled until after it was stained. The modified plans use brackets on the corners - even these were found! Most of the wood came from discarded pieces of other beds, found in the yearly big garbage collection. The centre support strut can also be disassembled, and is attached with a joist bracket.
I think the actual assembly and finishing of the bed could be done in a day, even for a beginner like me, but I spent many hours sanding the old finishes off of my found wood so I would have a uniform finish.

Sun, 06/23/2013 - 06:00
Congratulations on your first build! It looks great! All that sanding you did really paid off -- your finish is so beautiful and smooth! Love the teak color. Great job!
Thu, 07/03/2014 - 12:02
I just found this website and plans. I think I am going to build this for my new bed. I like the modifications you made to take it apart.
As I will be building a king sized bed, I will have to be able to take it apart in order to bring it into my room. Thank you for the ideas.
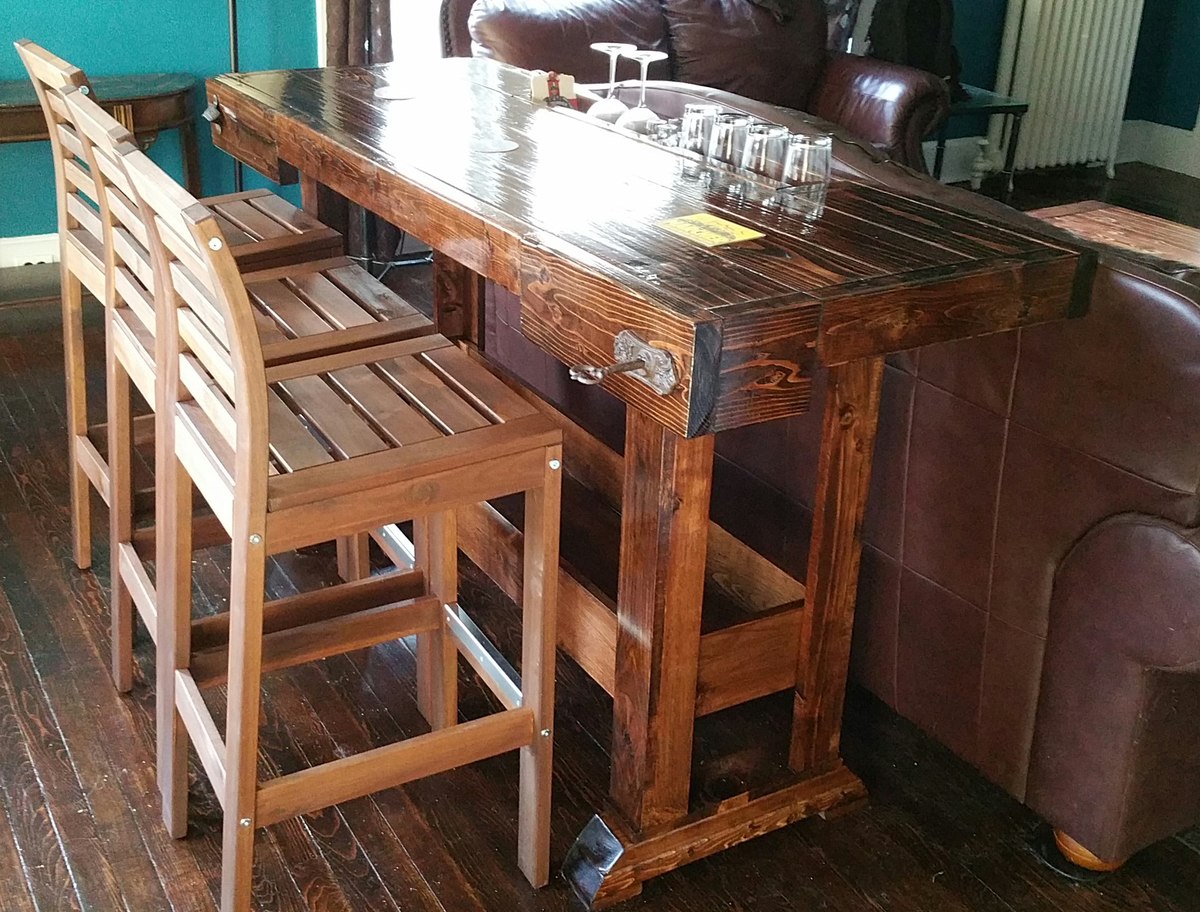
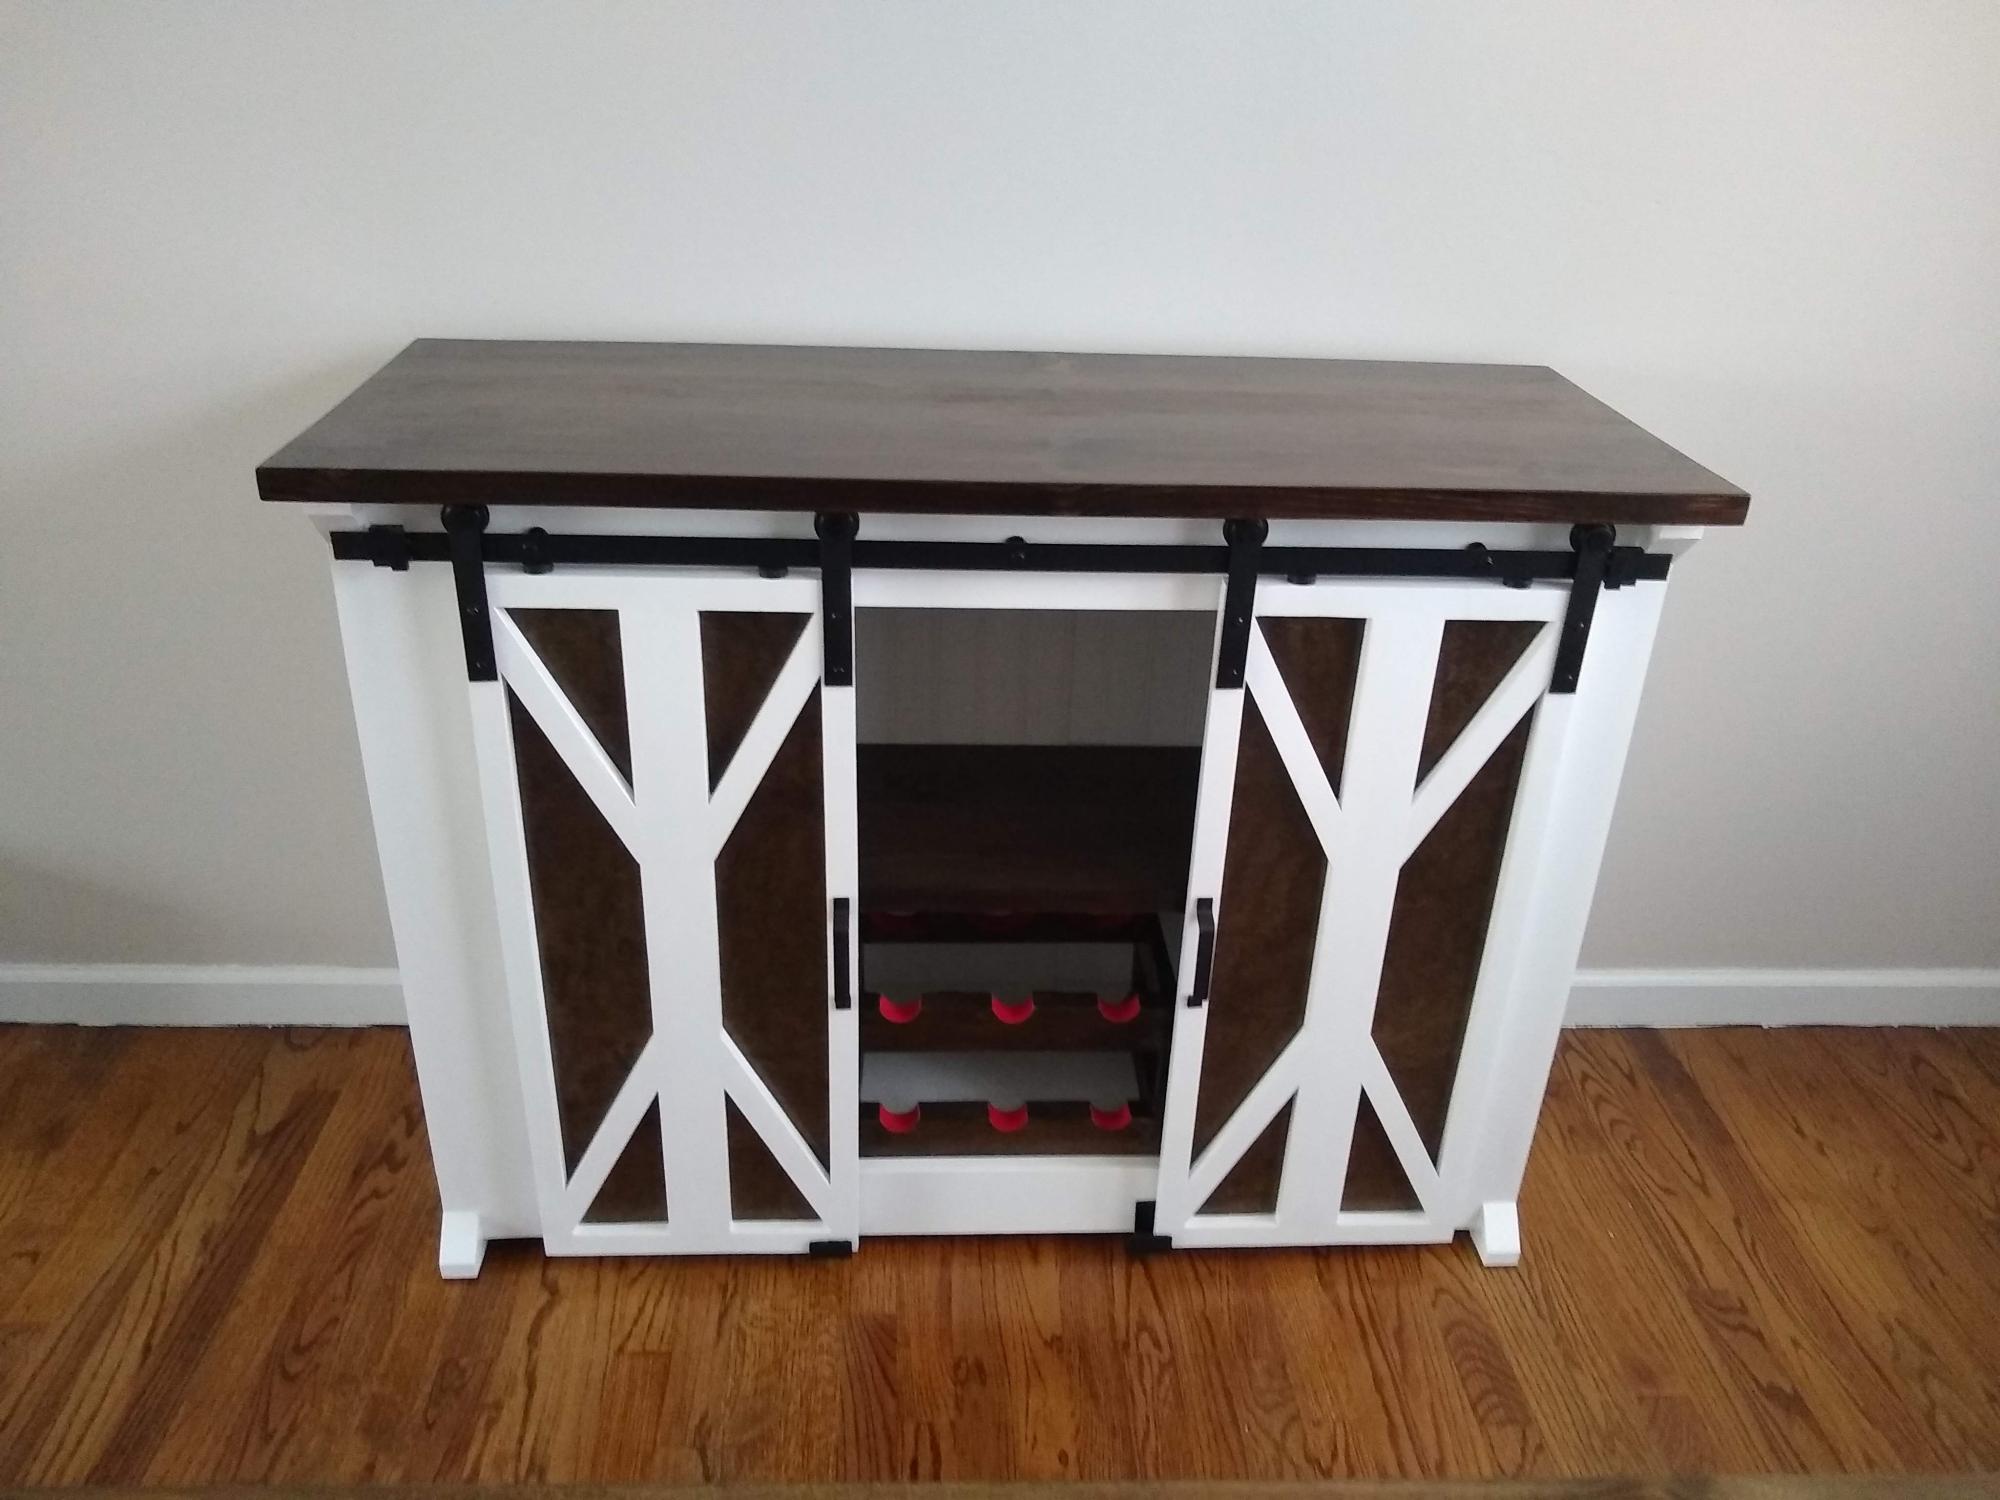
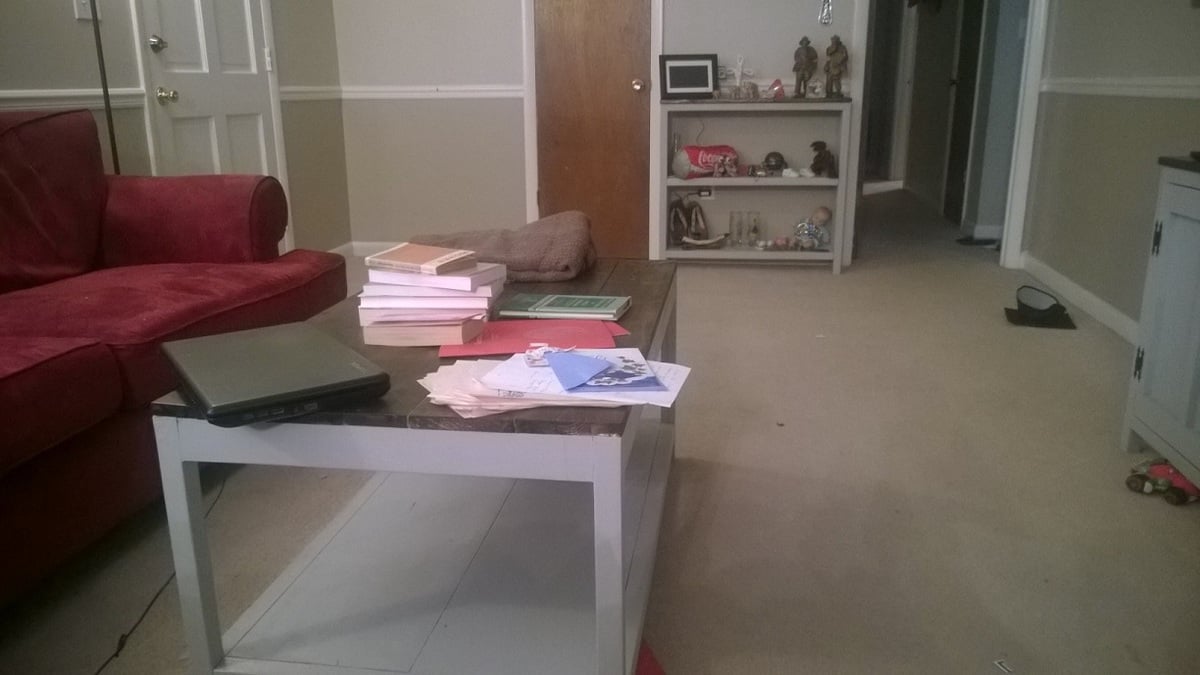
I found the Workbench Console plans on this site and thought it would look great behind the sofa.
The length was extended to make it comfortable for 3 people to sit at and also to span the length of the sofa. I cut out a section at the back and lowered it to hold some glasses. This fits 4 beer glasses, 4 wine glasses and 4 shot glasses. The towel holder is a cast iron key that I found on Amazon. On the other end is a cast iron bottle opener found on eBay.
I would like to take credit for the chairs, but I cheated and got these from IKEA.
We love using this while eating dinner and watching a movie and is especially handy when guests are over.
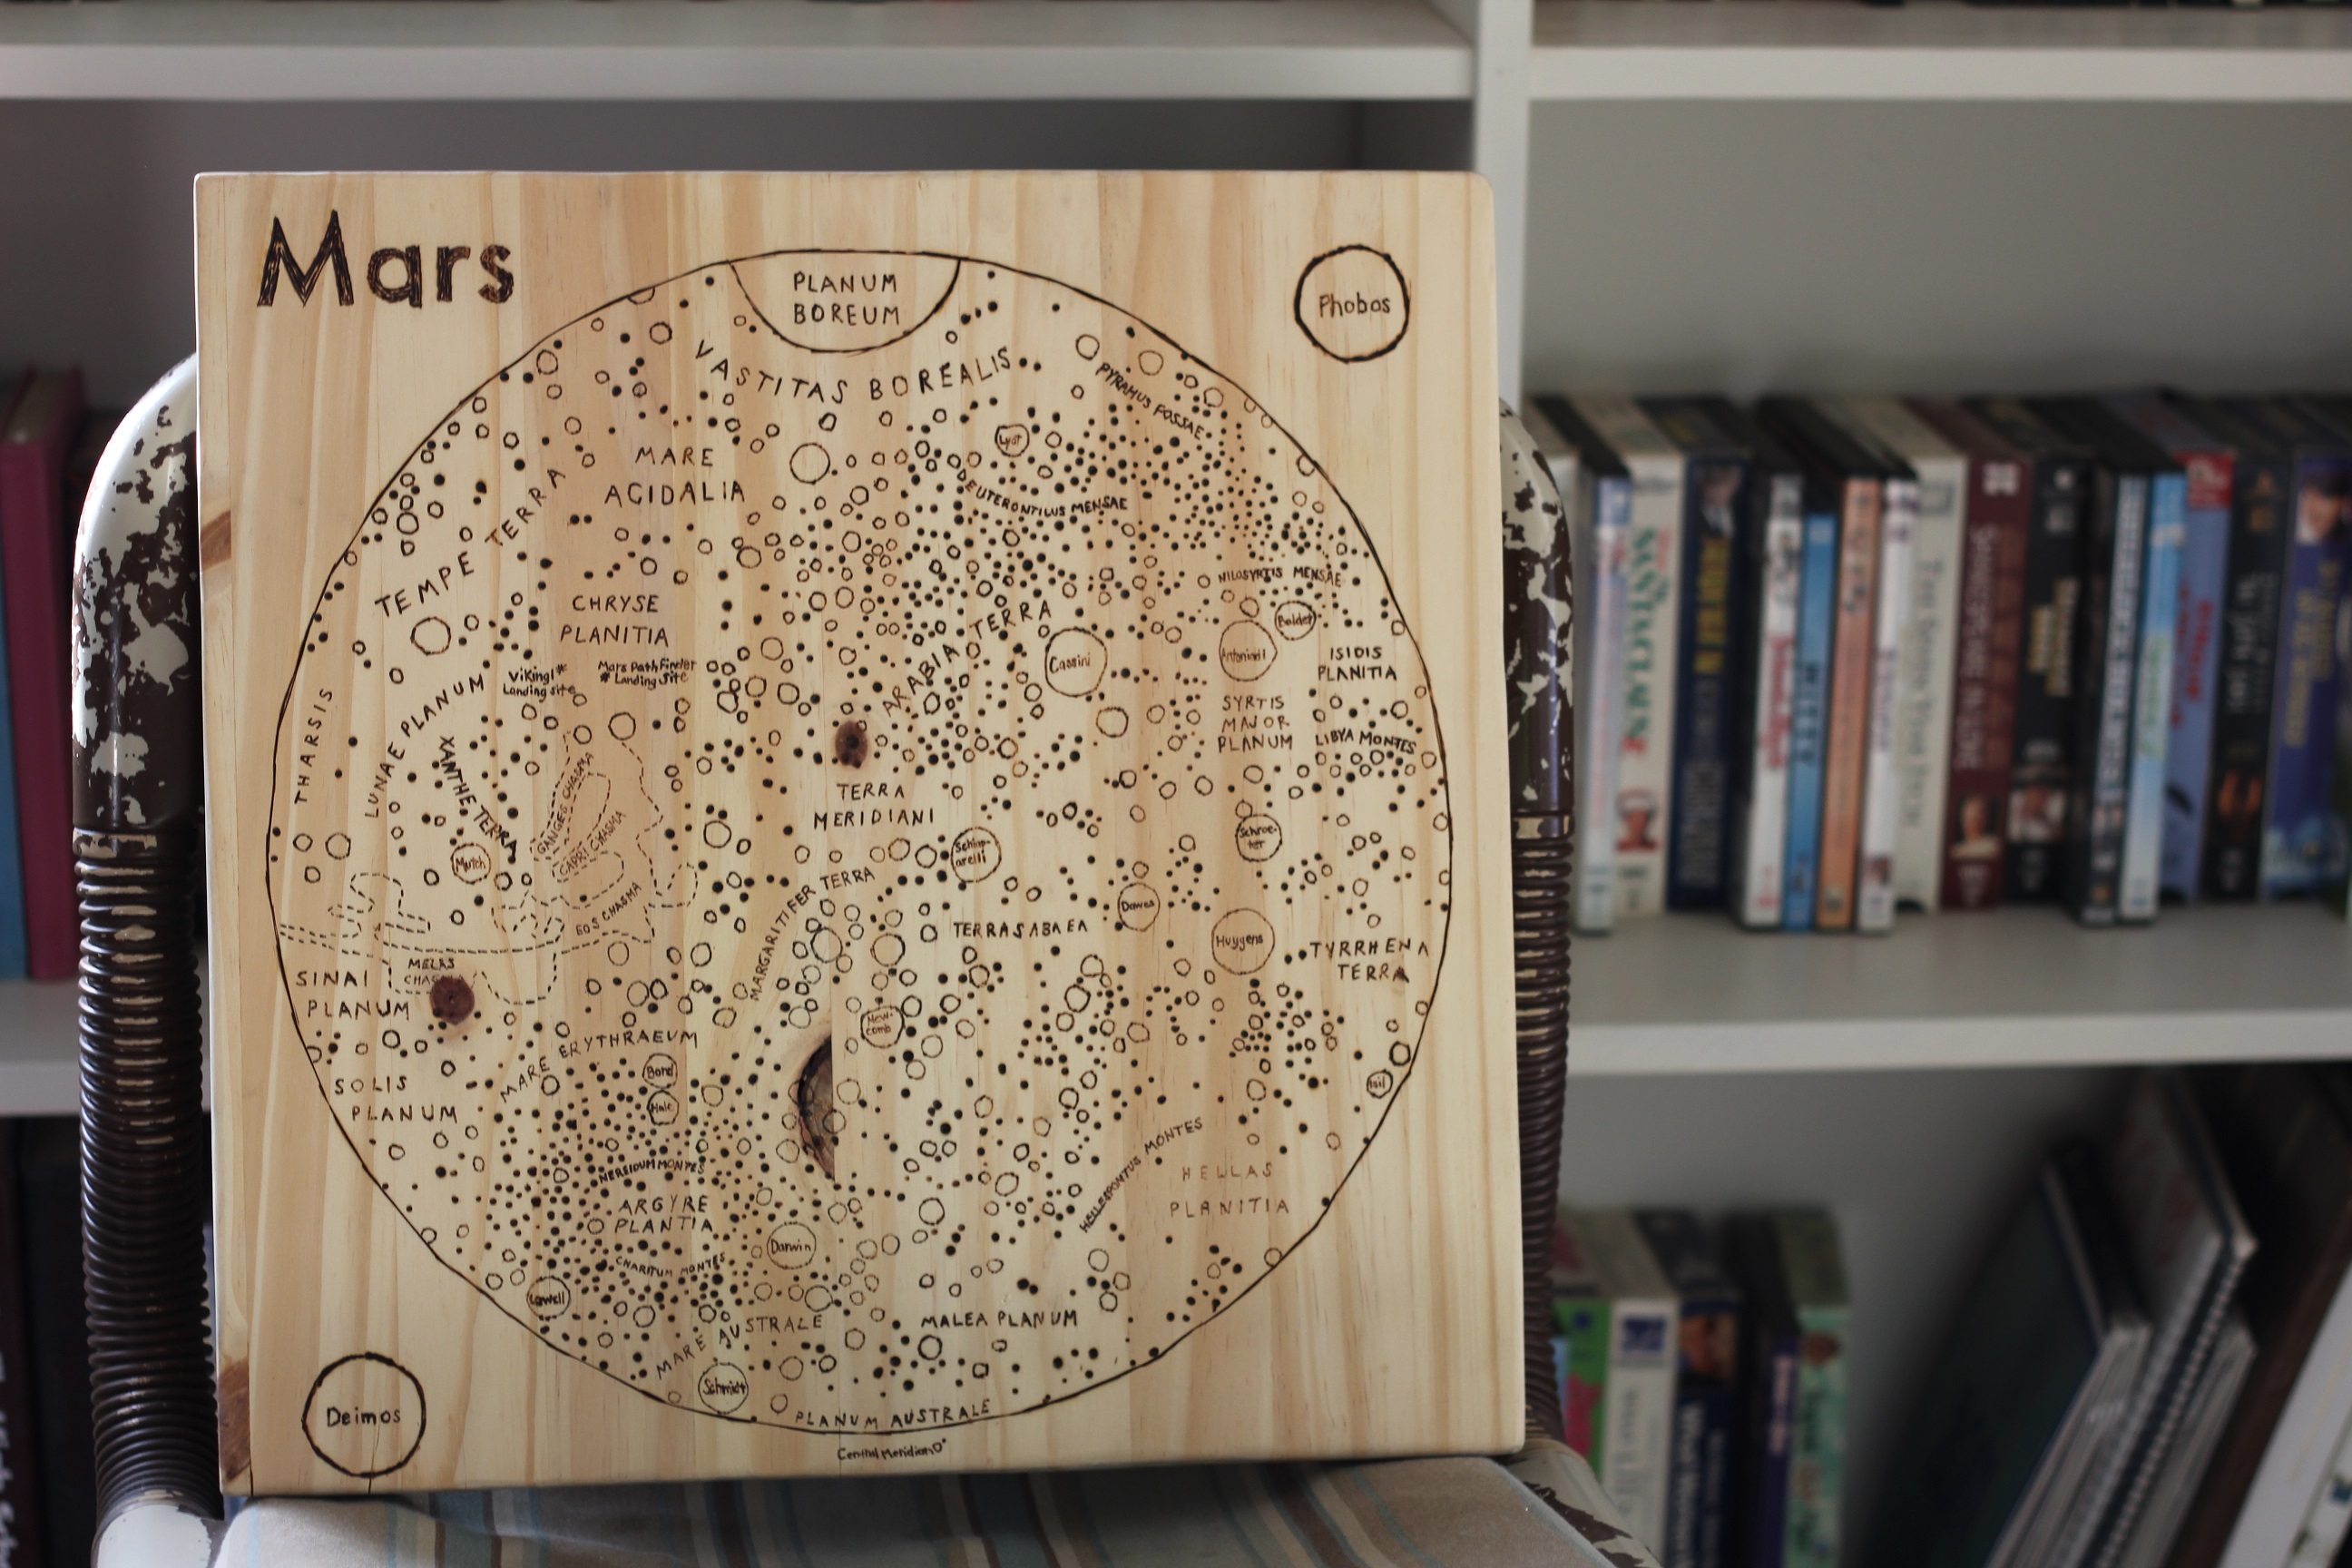
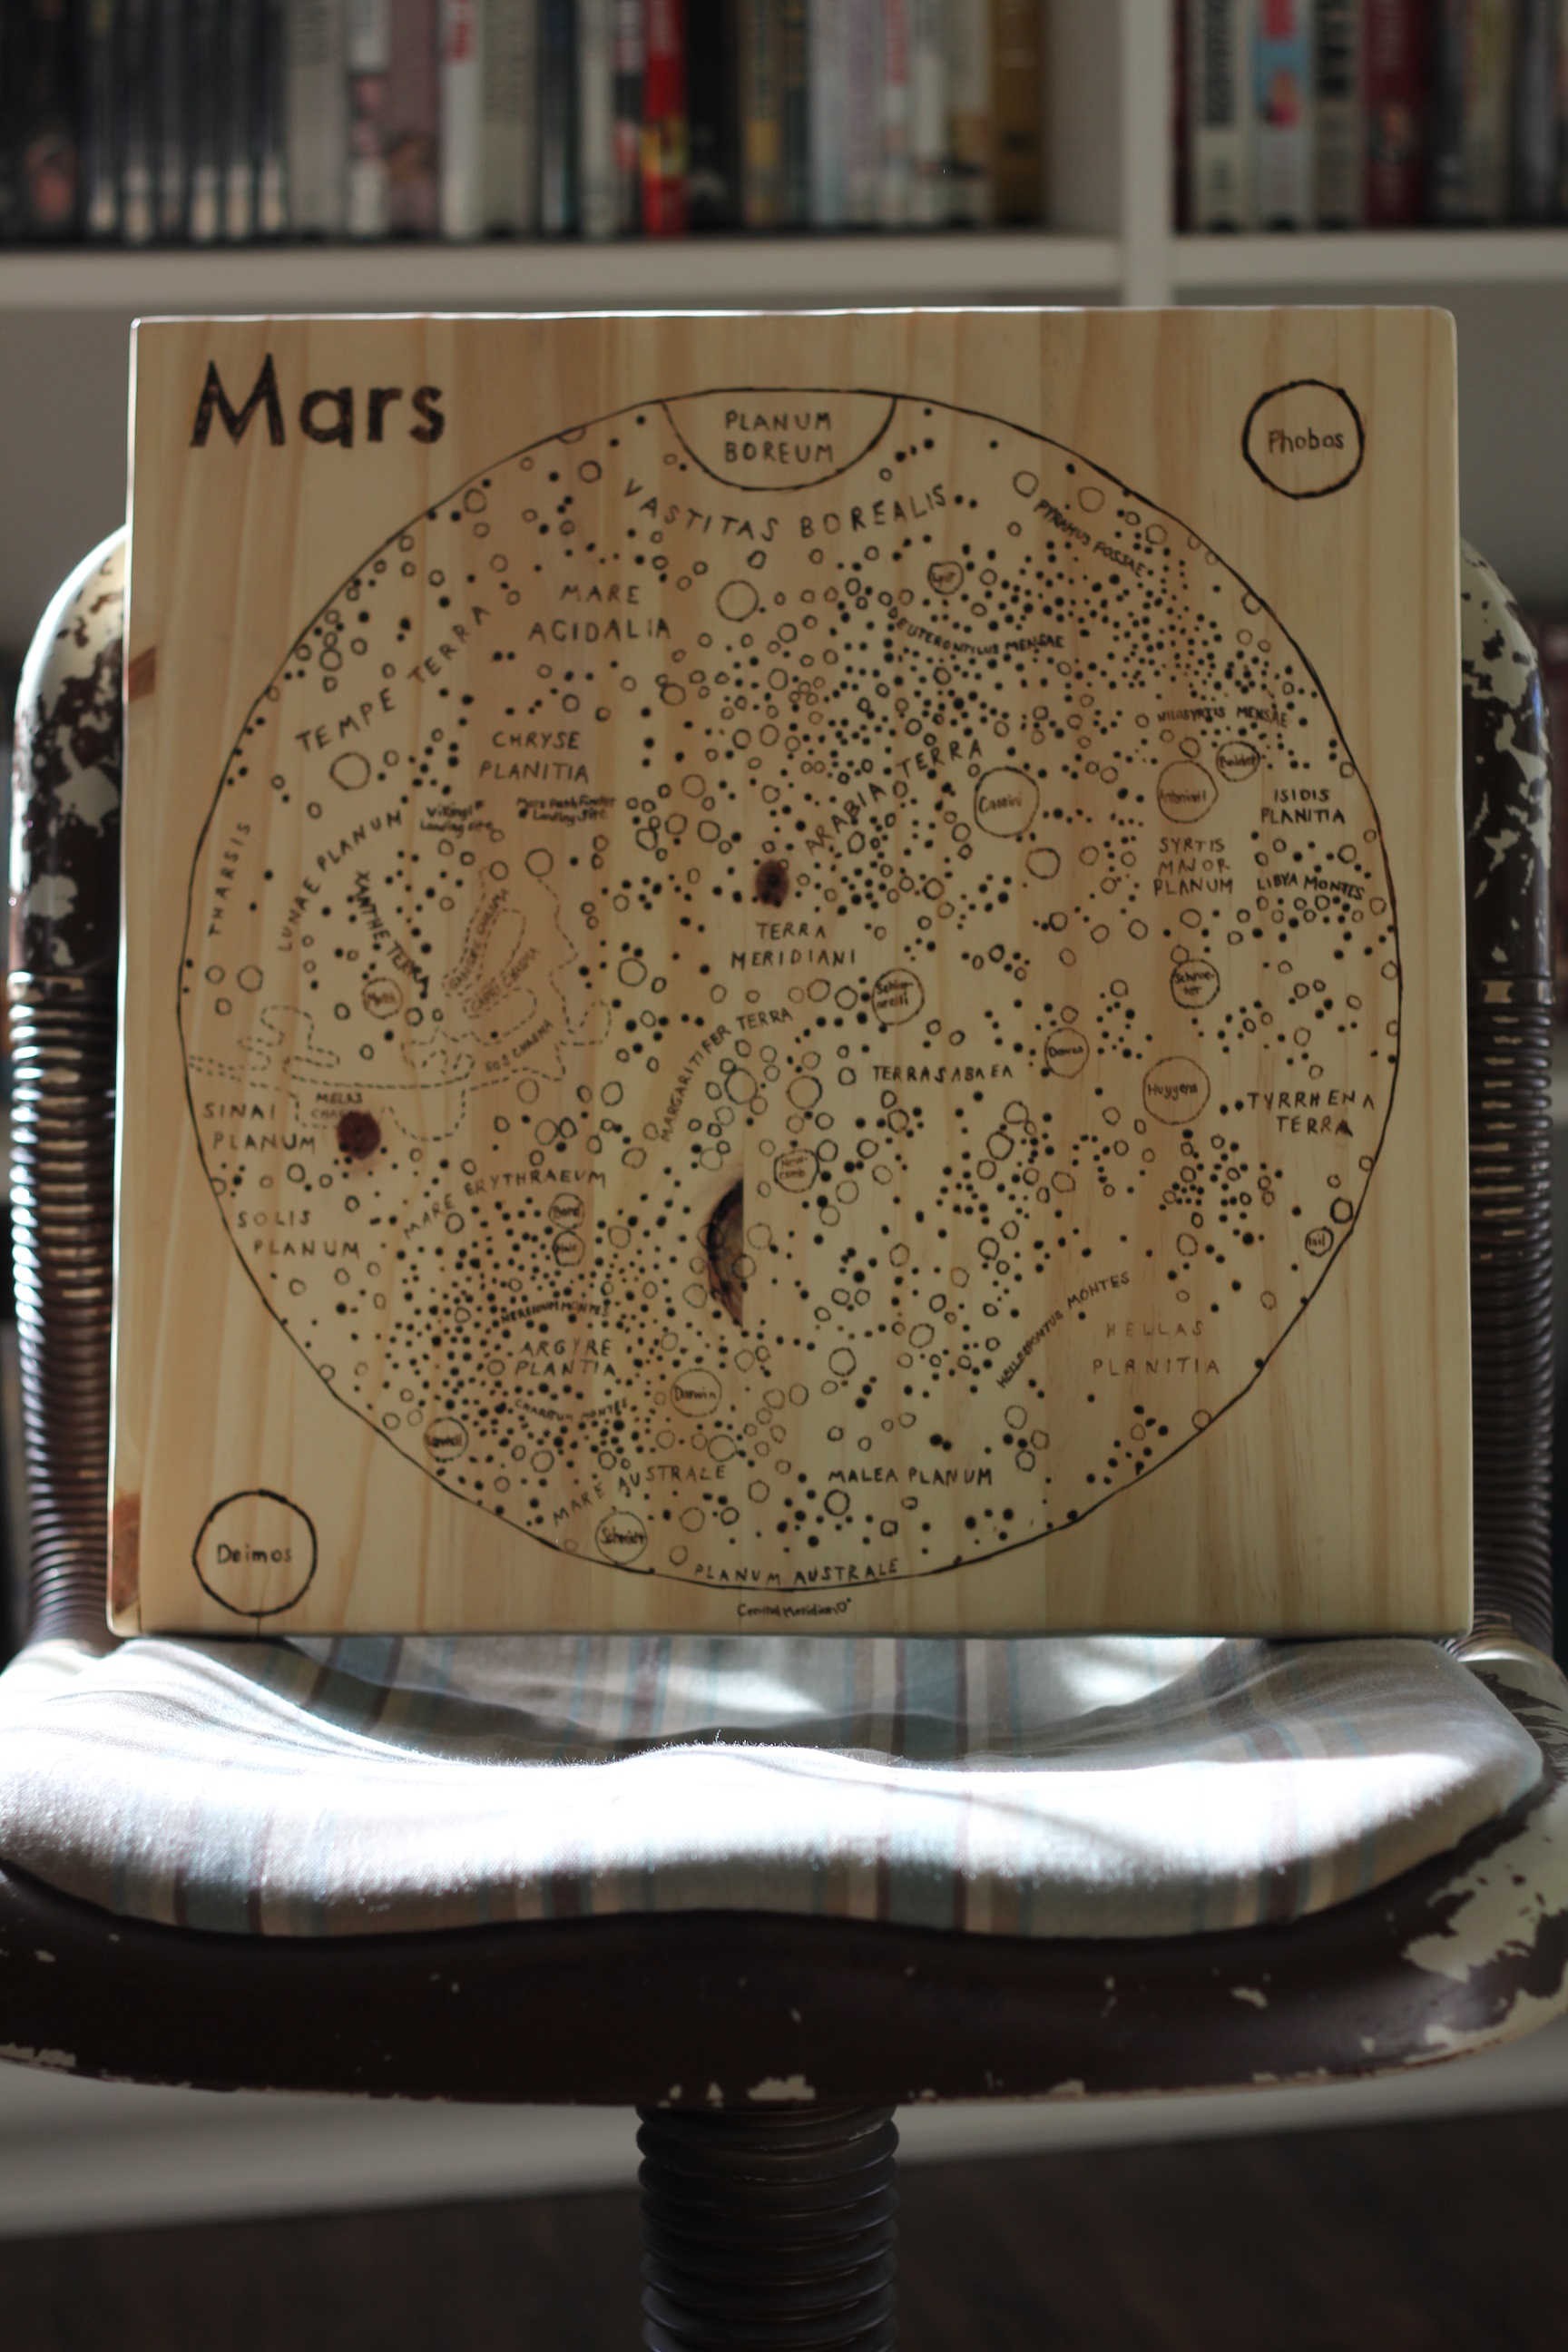
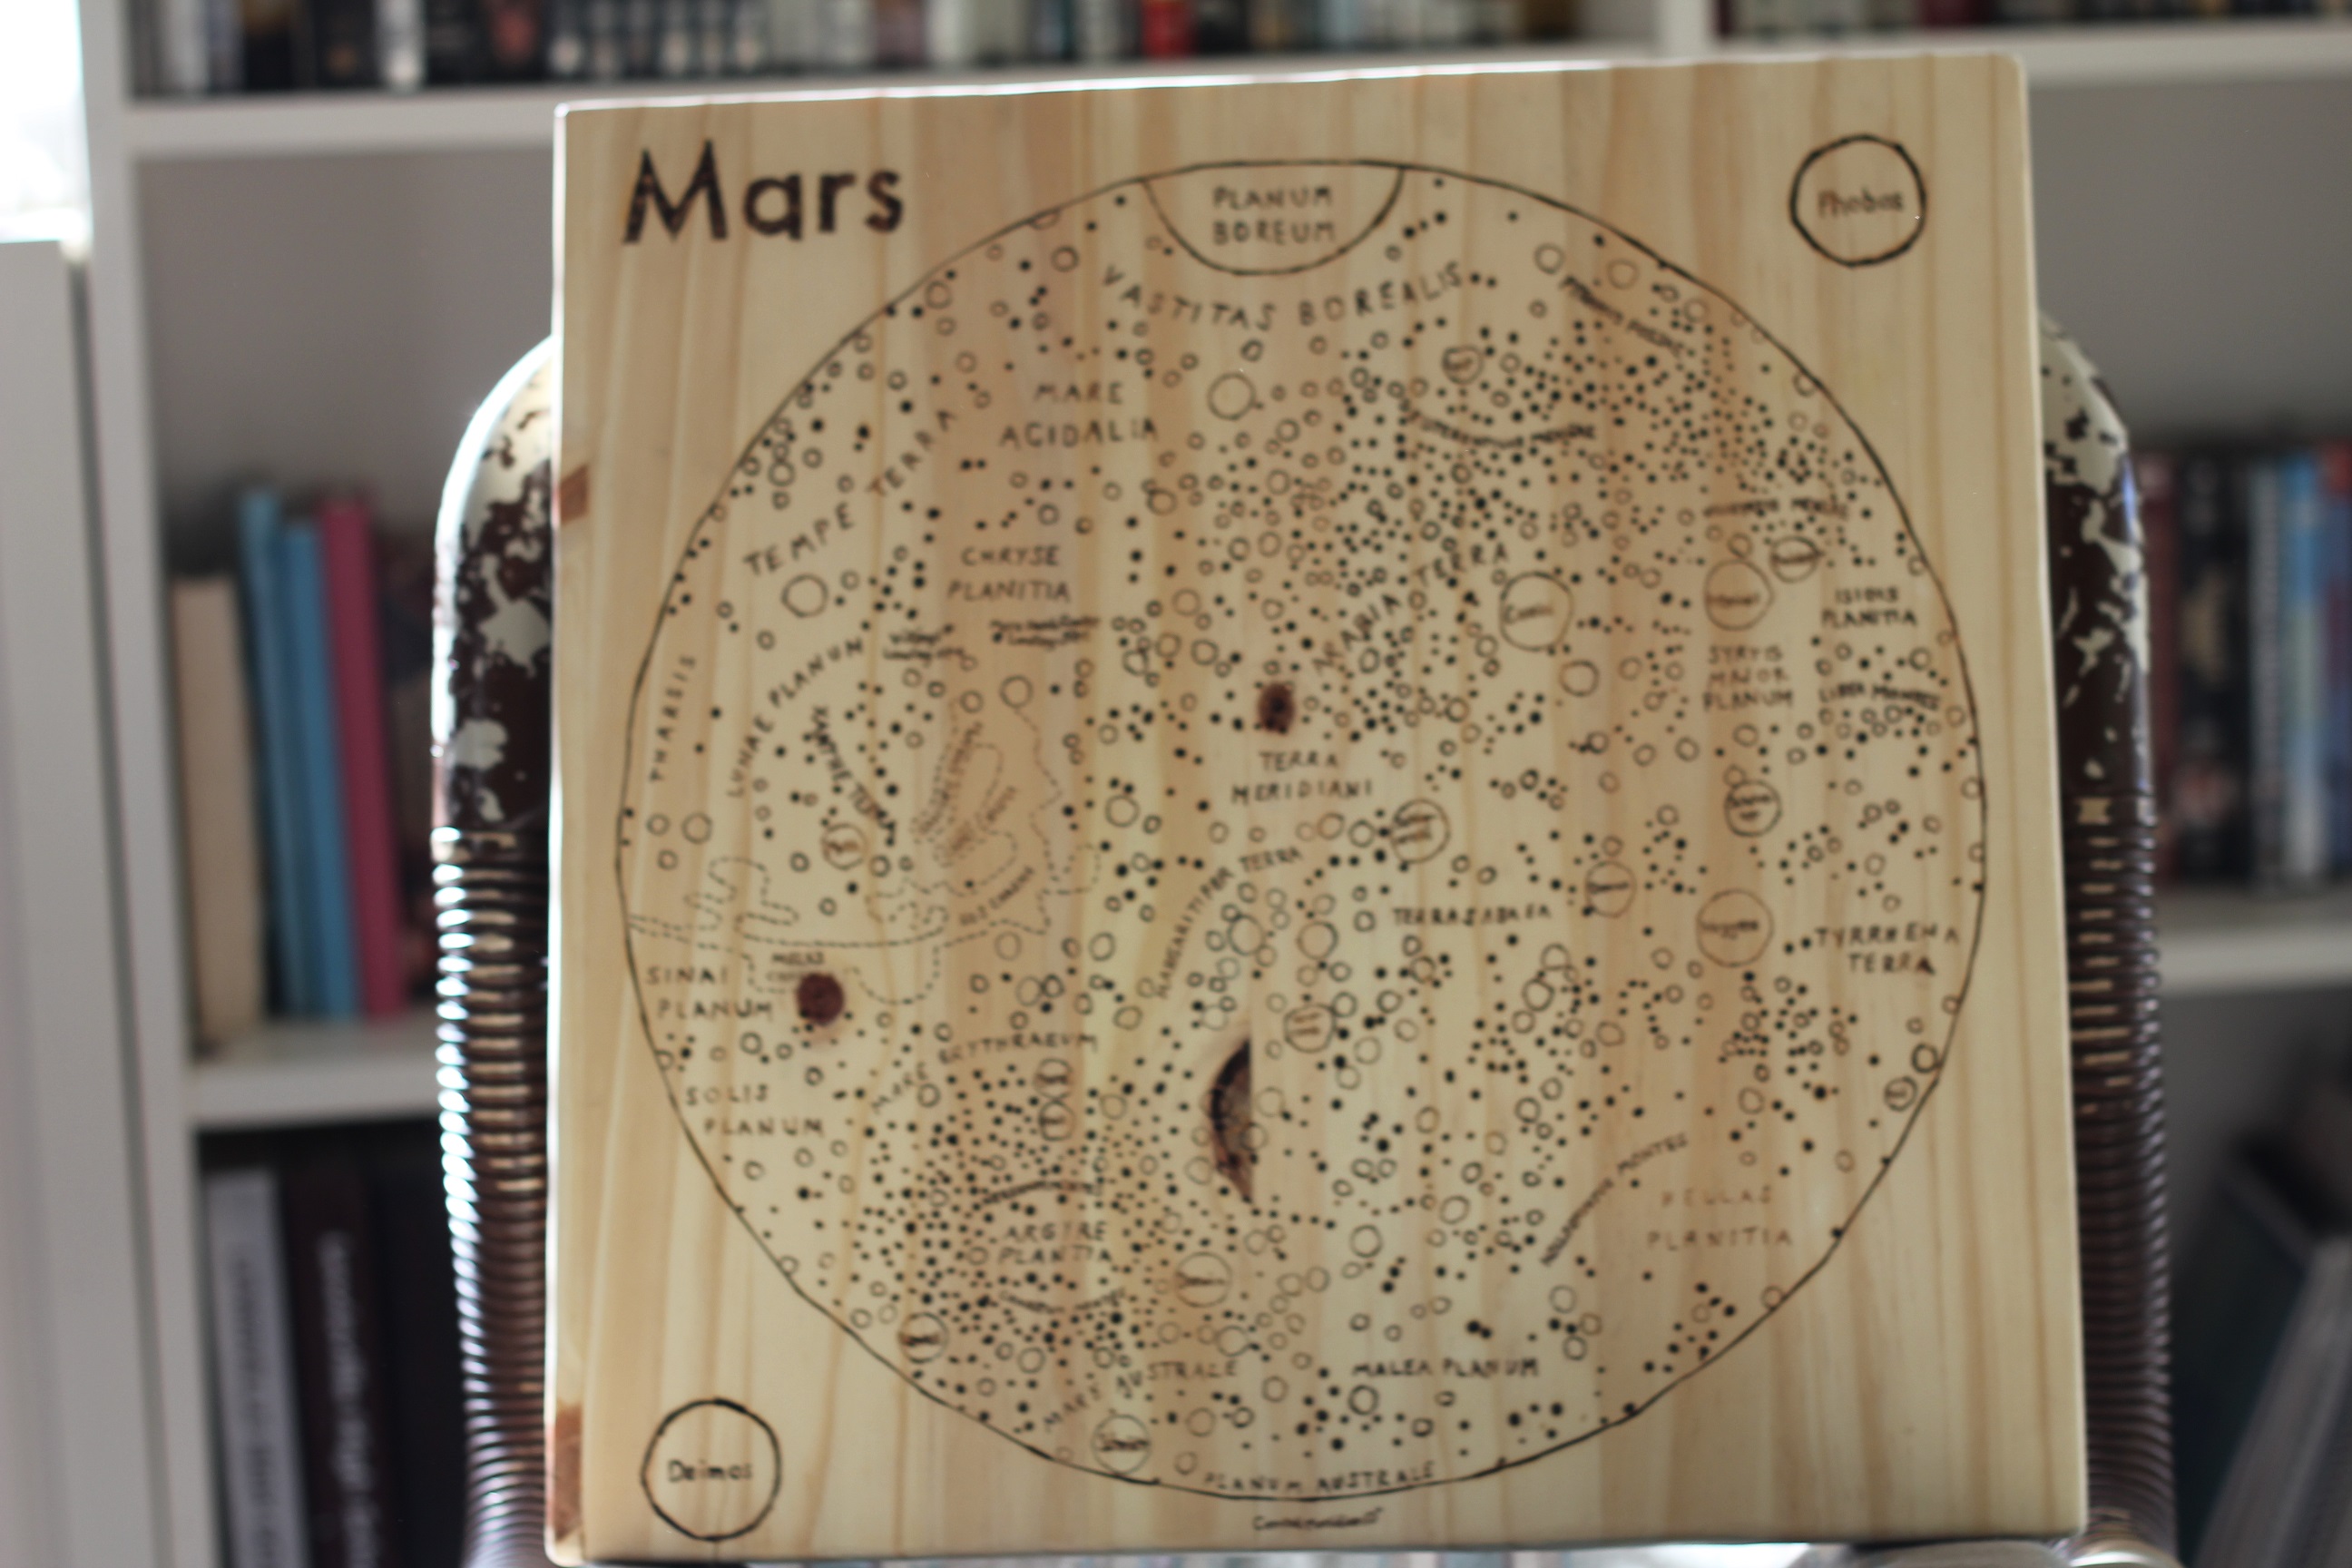
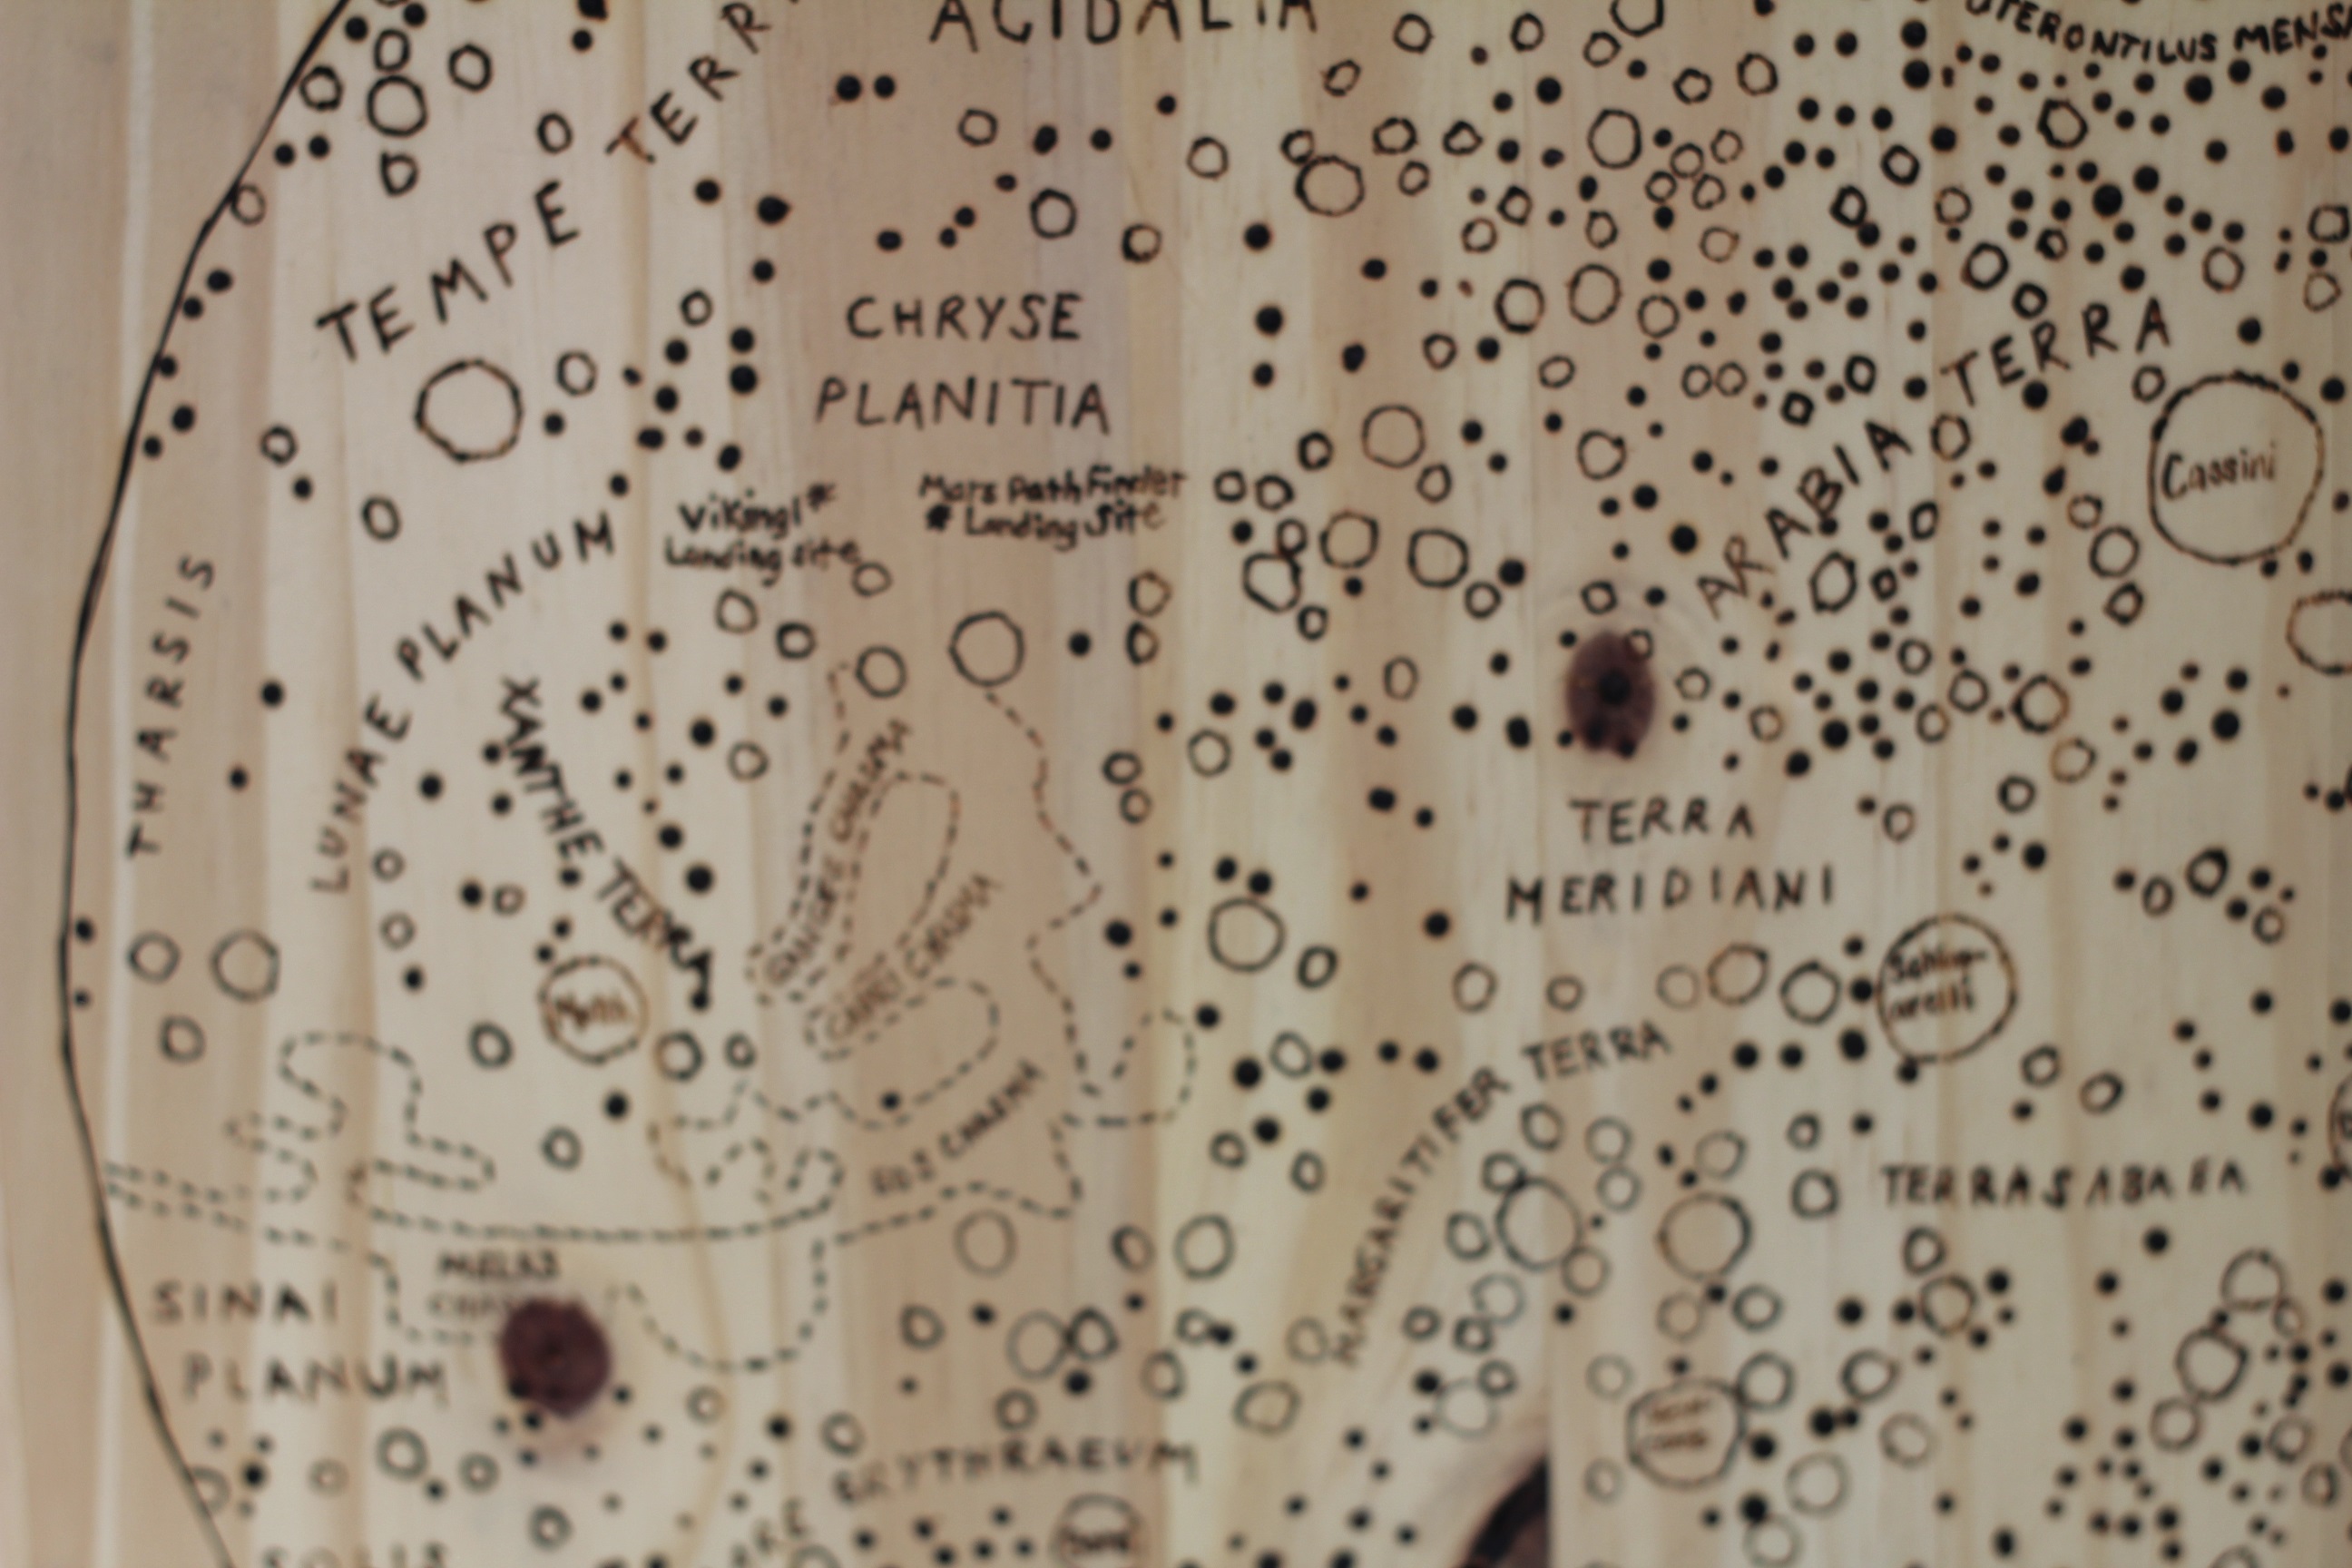
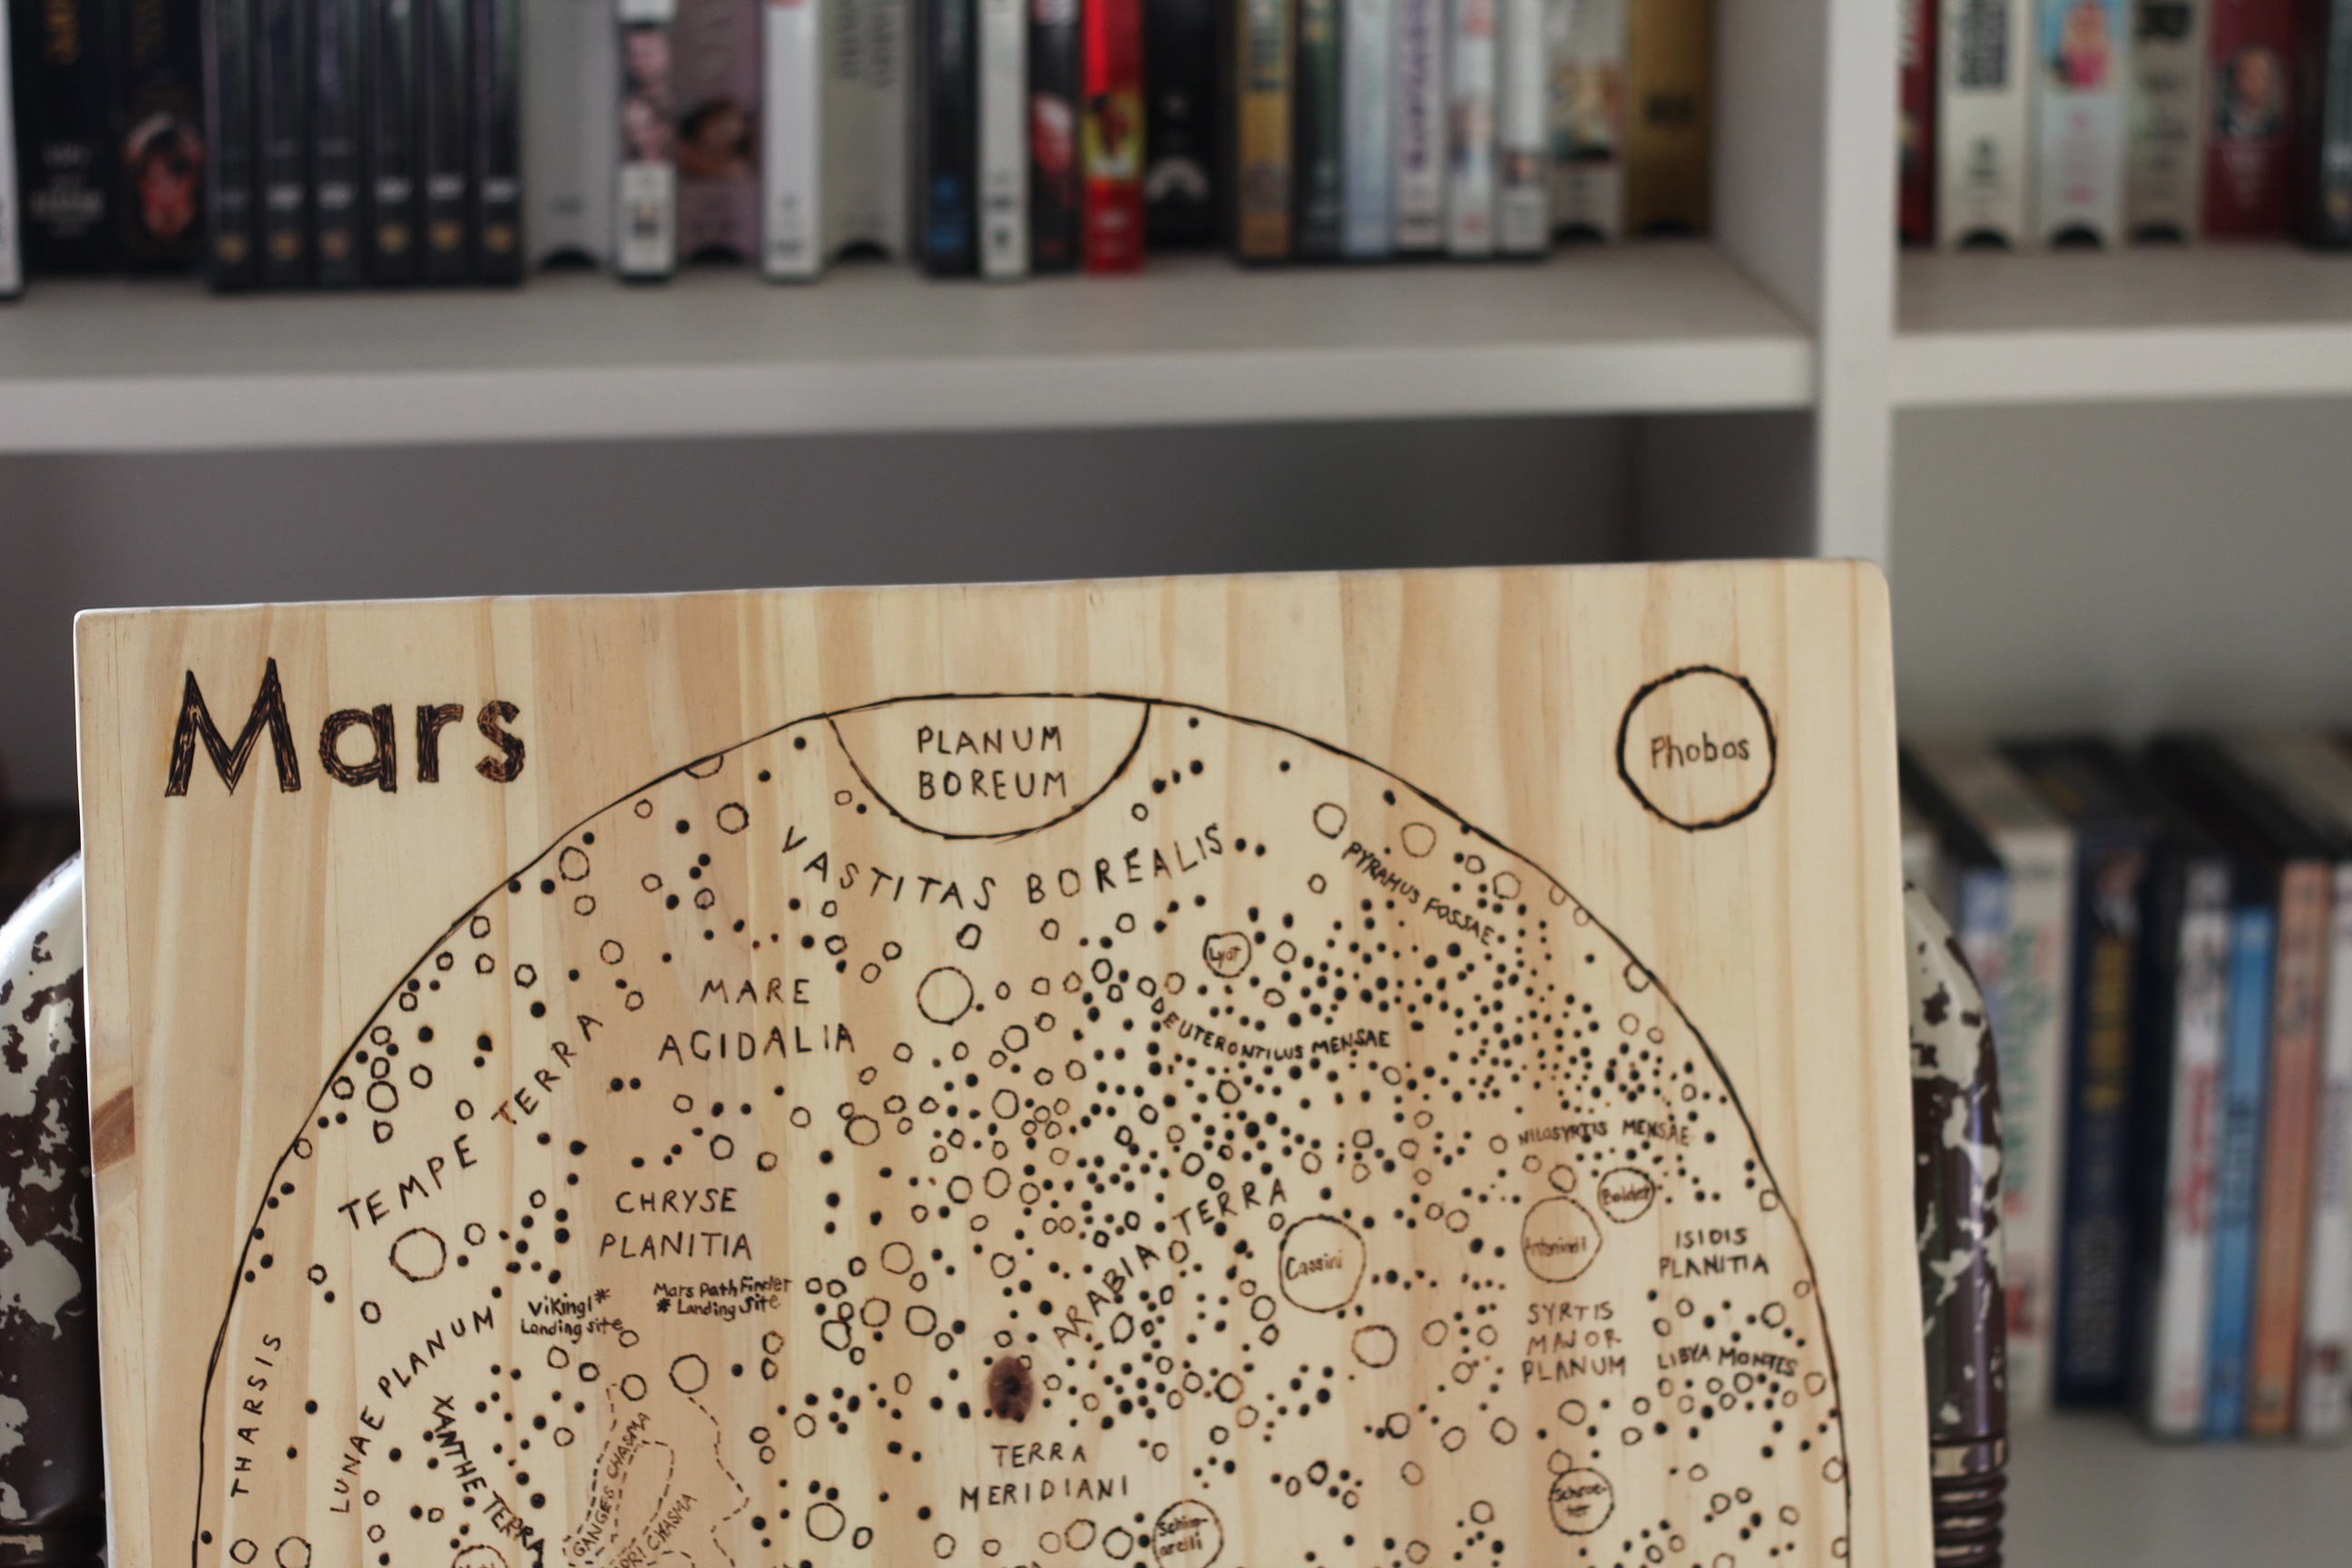
This was a time intensive gift made for the husband for Christmas. Found a really cool Mars Map that's in print here: https://www.etsy.com/listing/387457074/mars-map-8x8-letterpress-redwhit…
That we saw in store at the amazing Boys Fort in Portland. Decided it might be cool to make a wood wall hanging from it, and woodburn the image.
Traced image onto wood with graphite paper, then took versatool from Michael's and woodburned for the next 20,000 hours : ) It was a ton of work, but in the end, a completely one of a kind, personalized gift that I know he'll love on his office wall. Real conversation piece. Cool stuff!

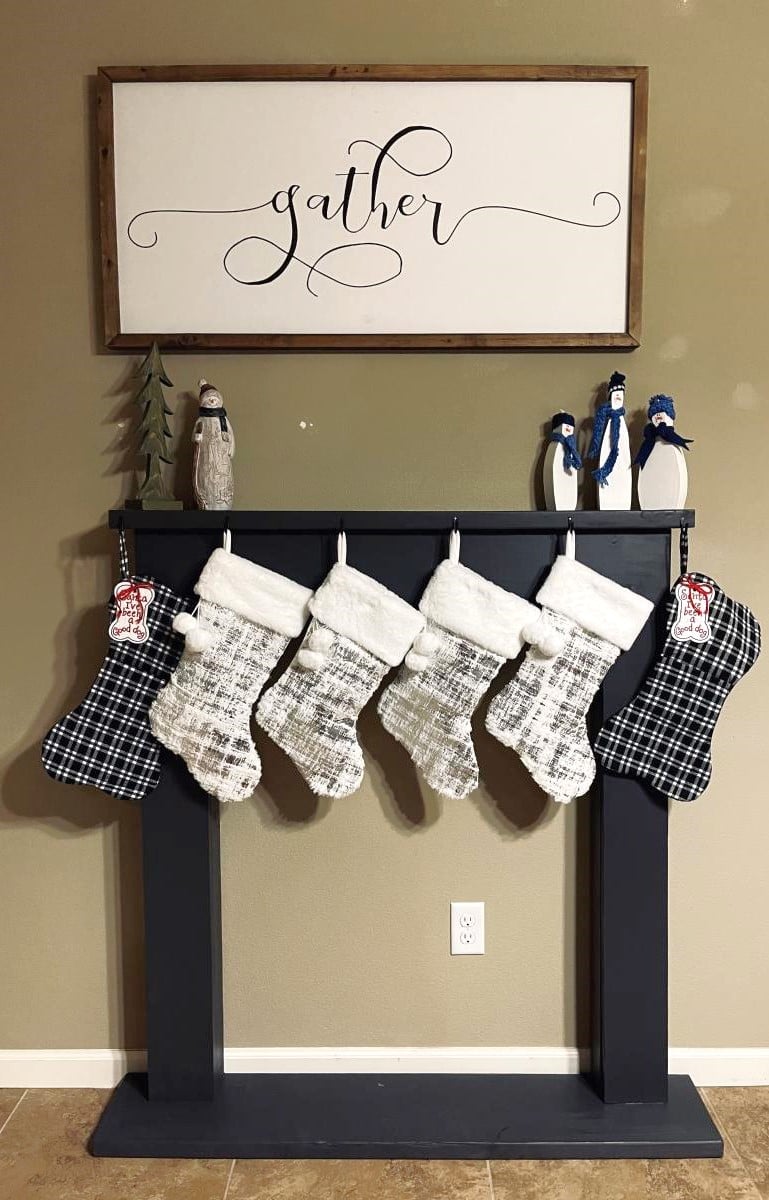
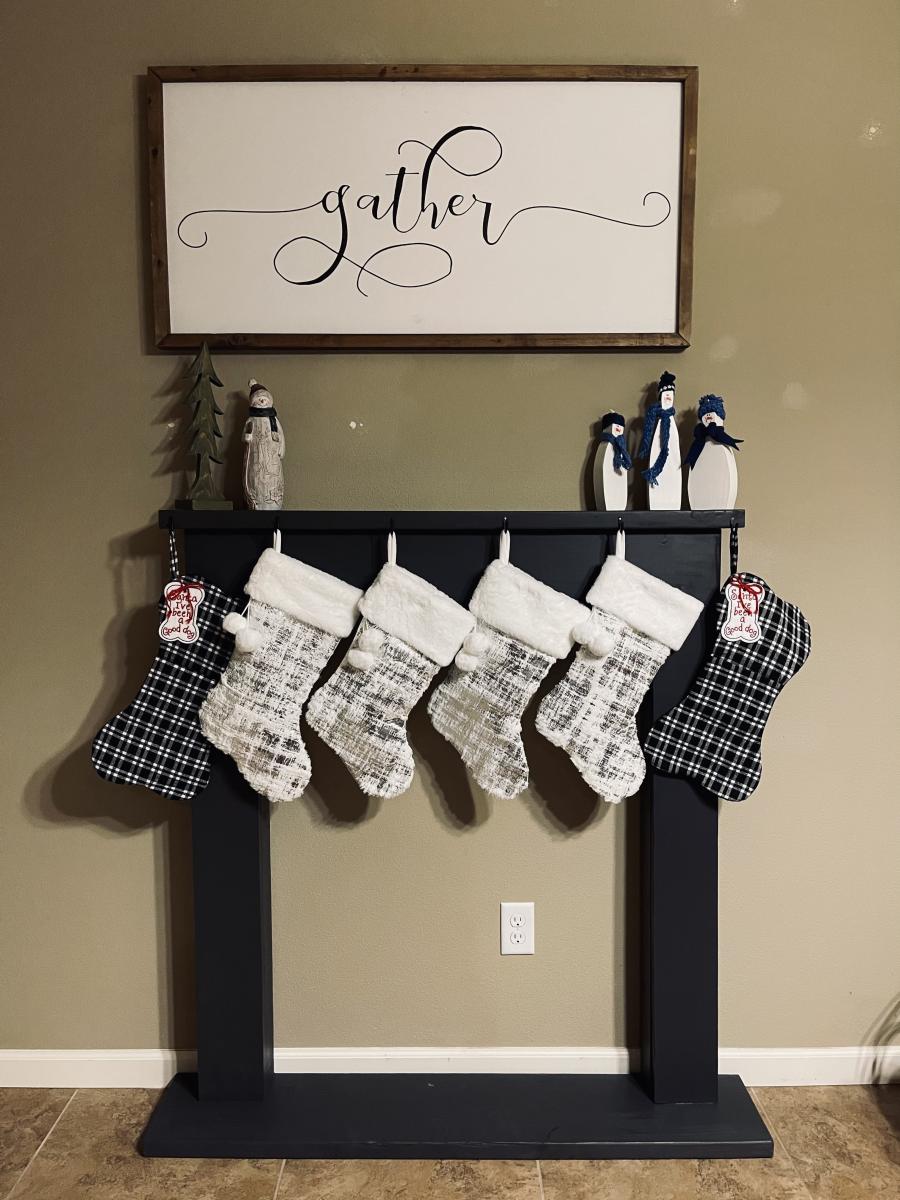
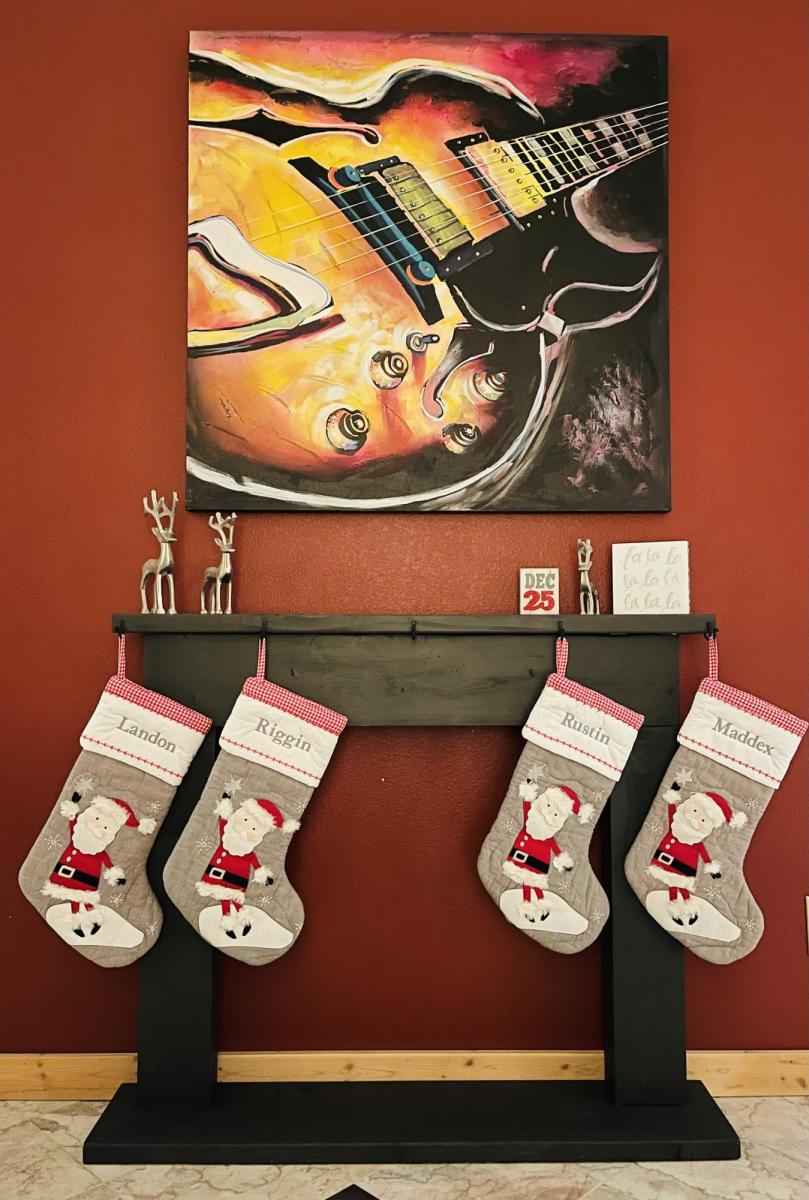
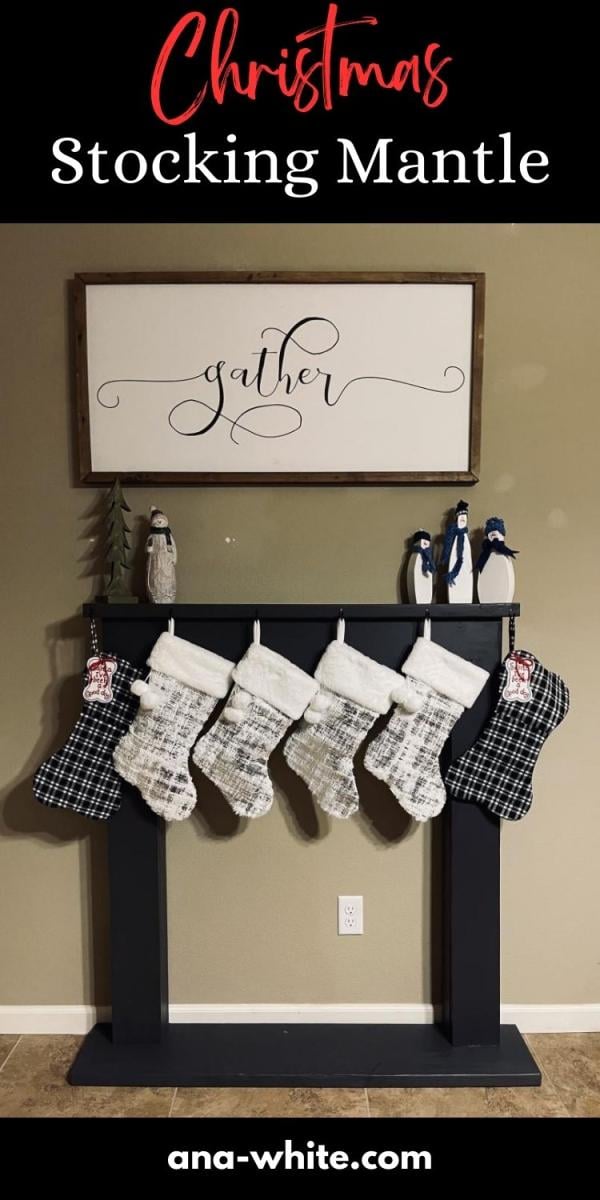
I made 2 different-sized mantles, one for my daughter’s house (taller and wider) and one for mine.
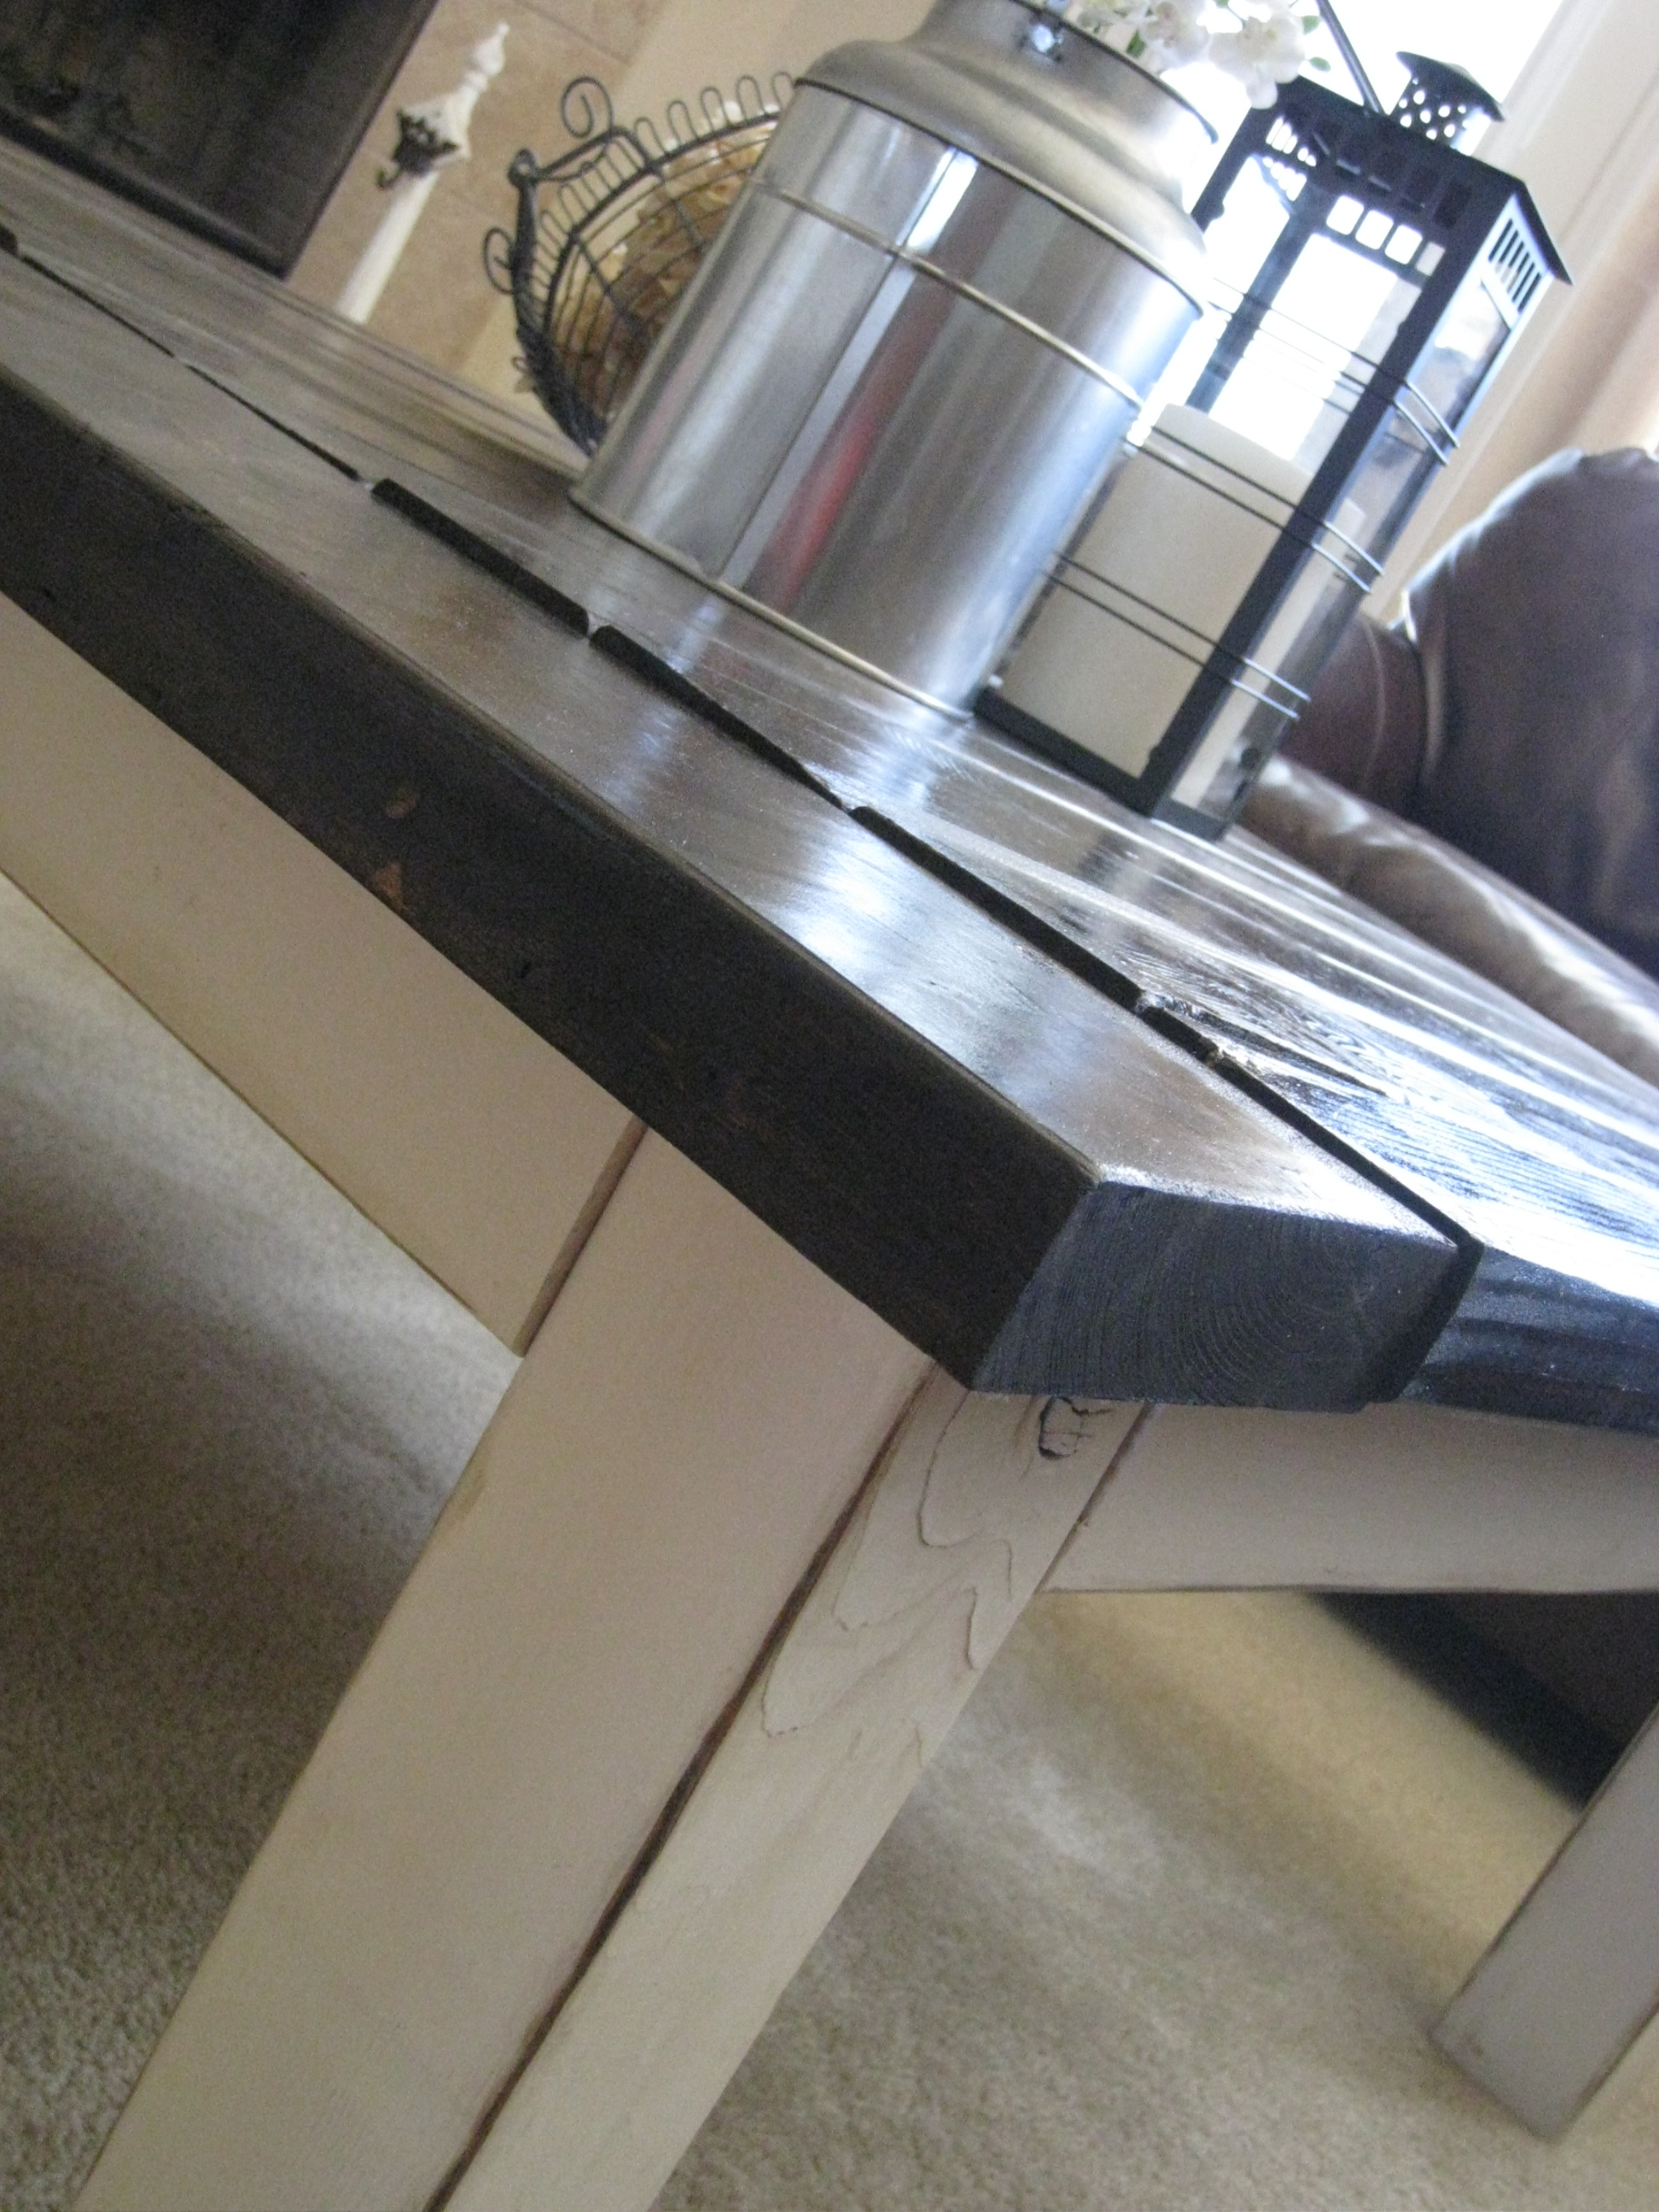
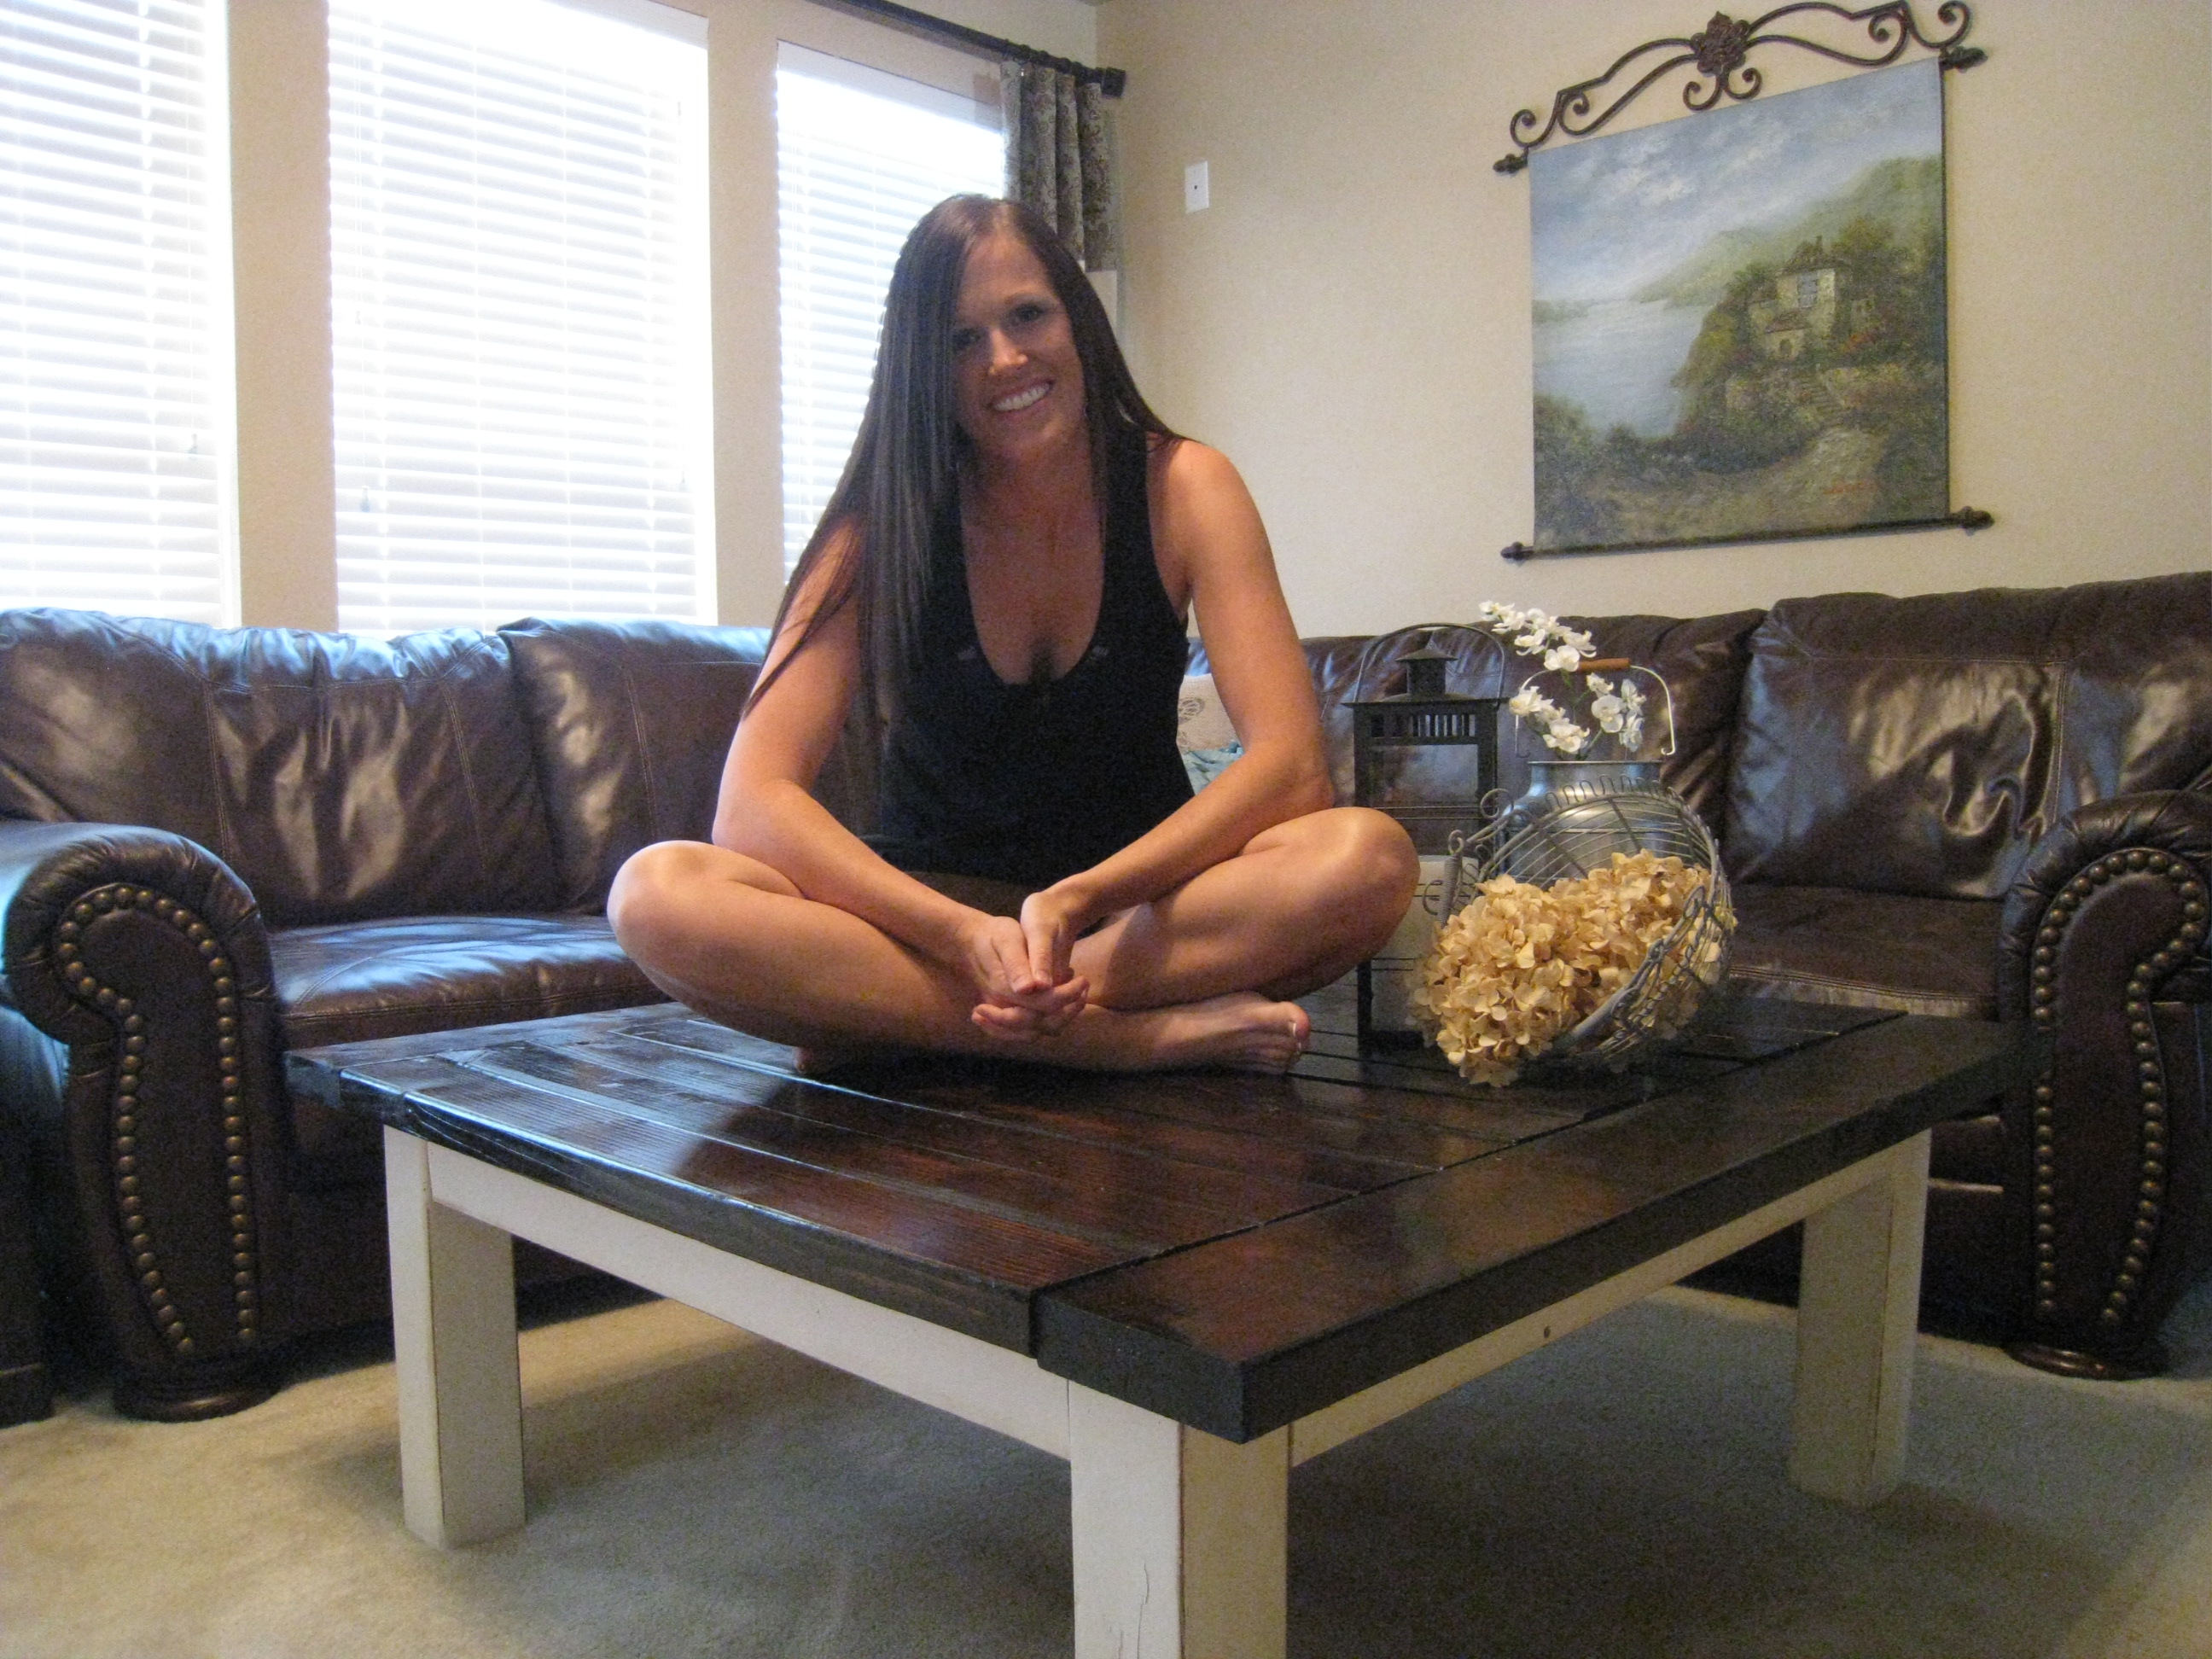
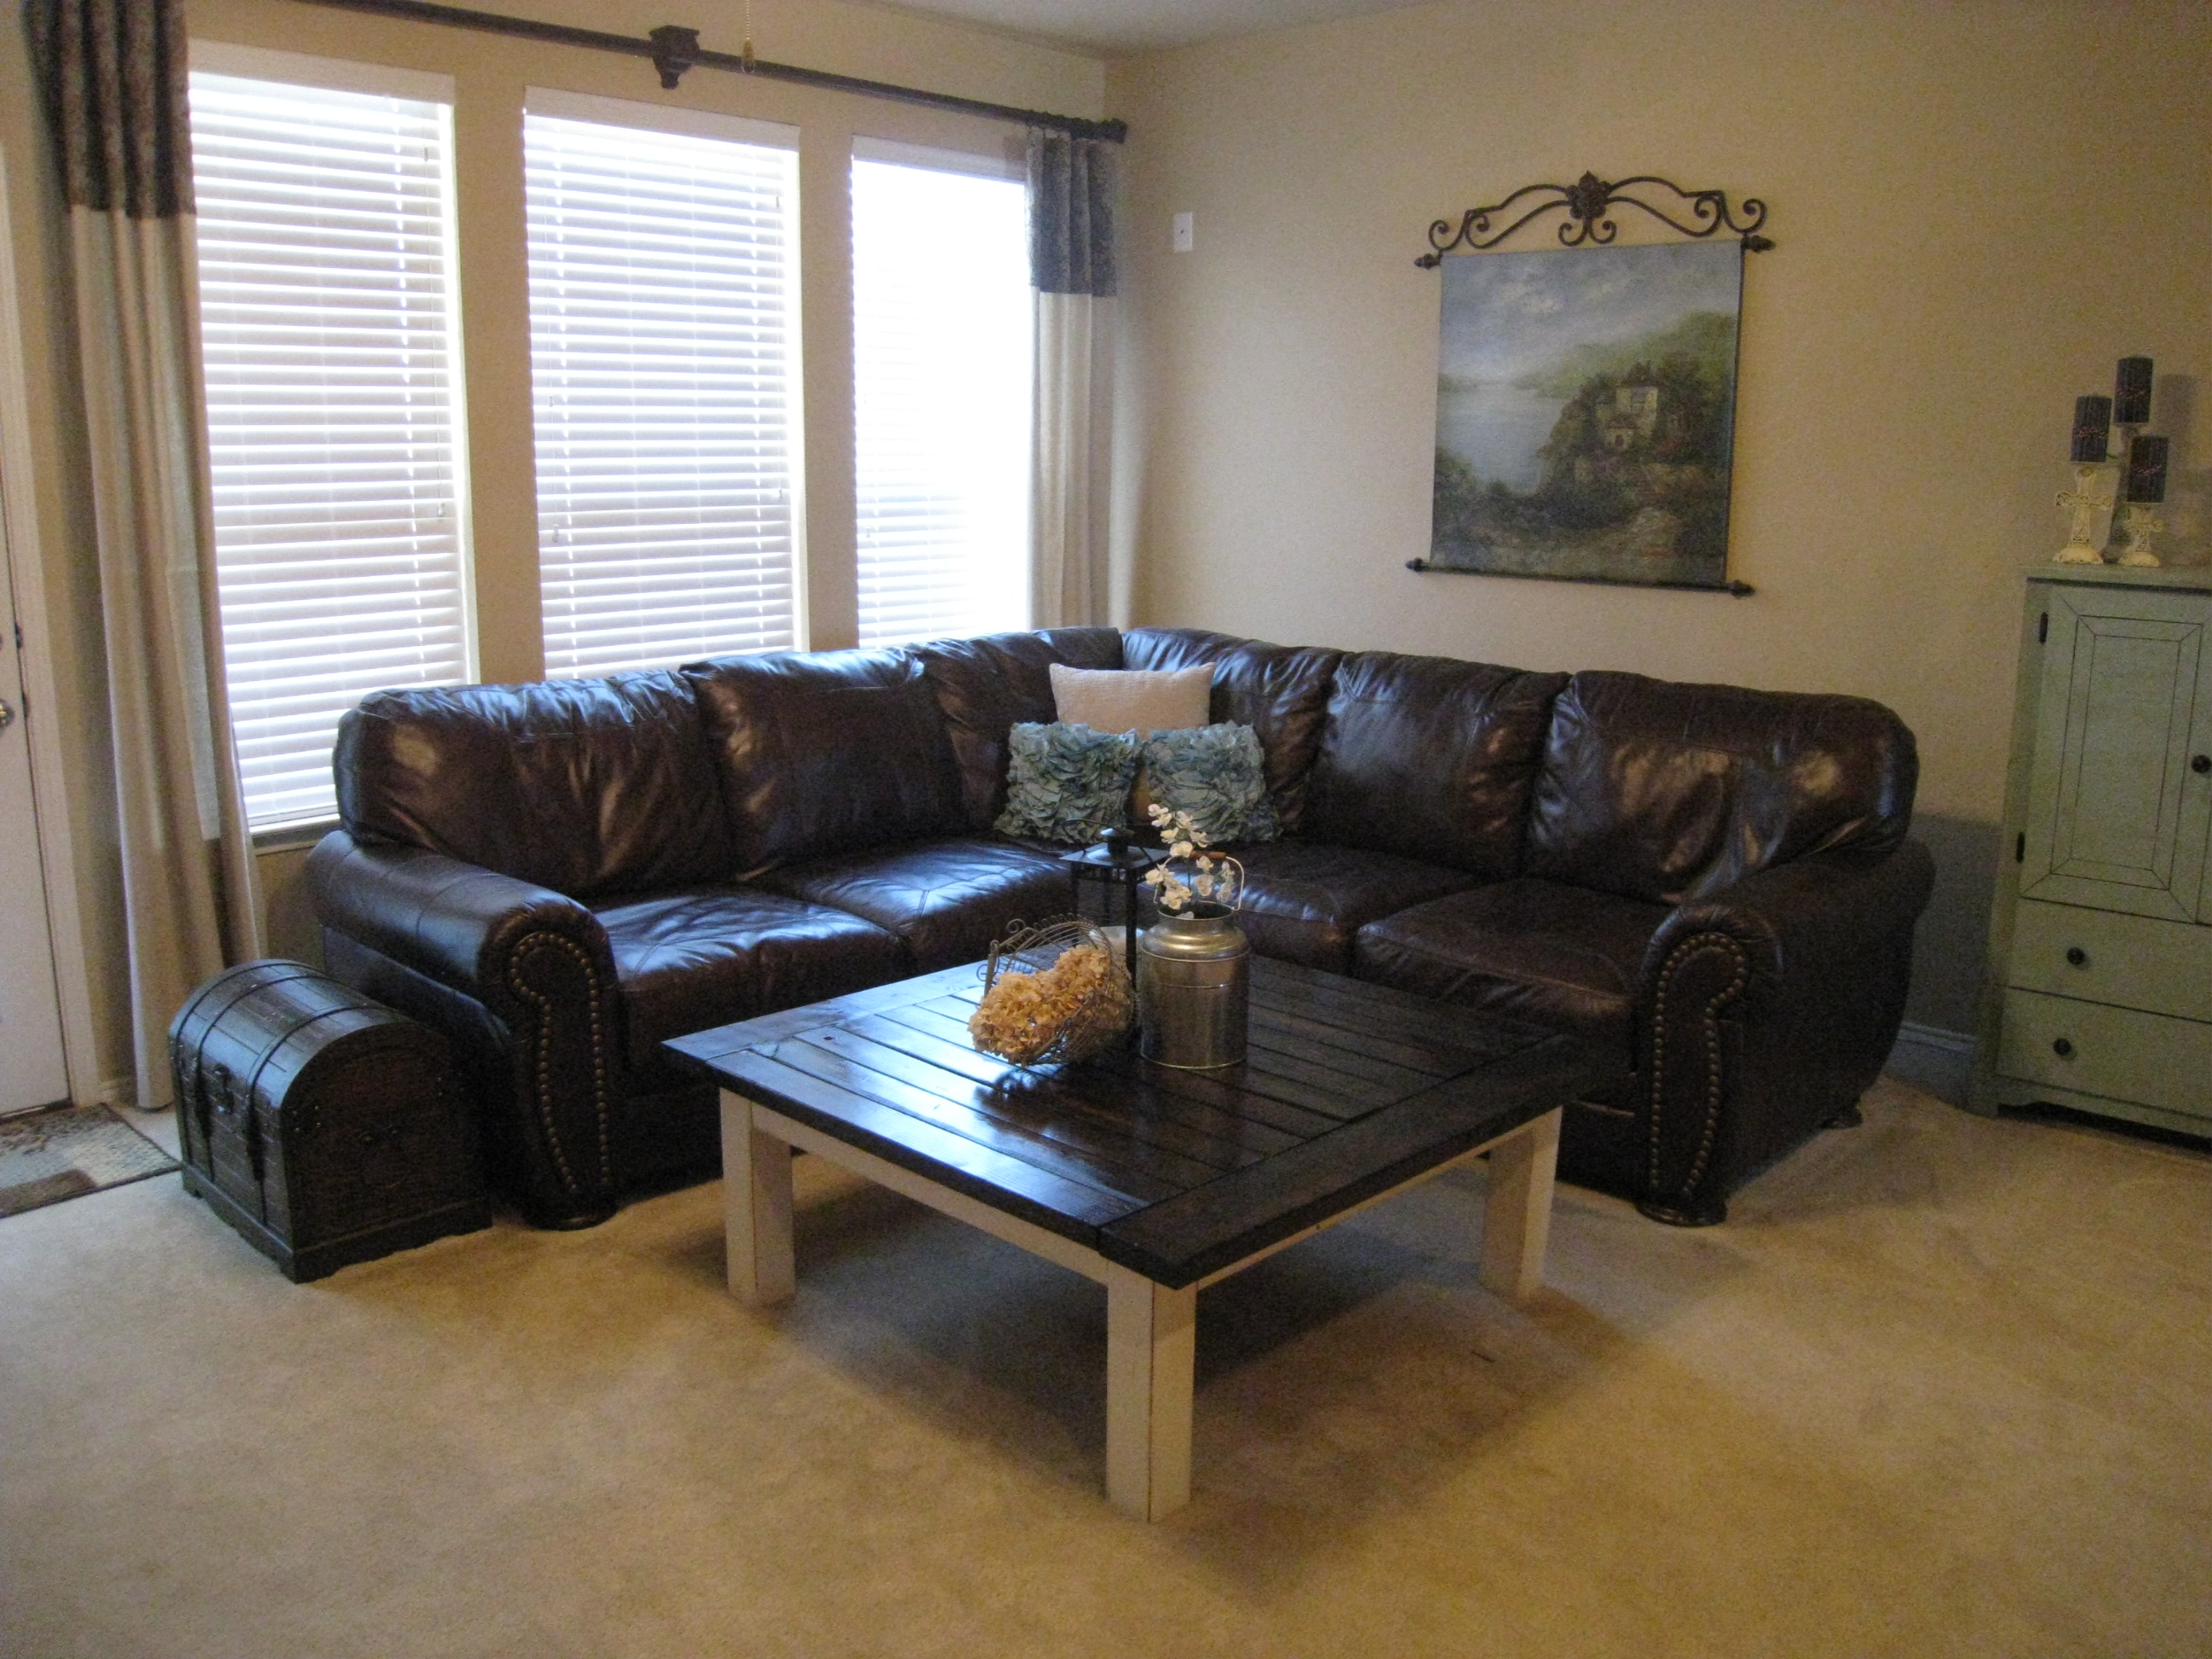
I built Ana's Tryde Coffee Table. Building was quick and easy and I am in LOVE with my new table!!! You can see the modifications I made at our blog http://www.shanty-2-chic.com/2011/04/coffee-table-reveal.html
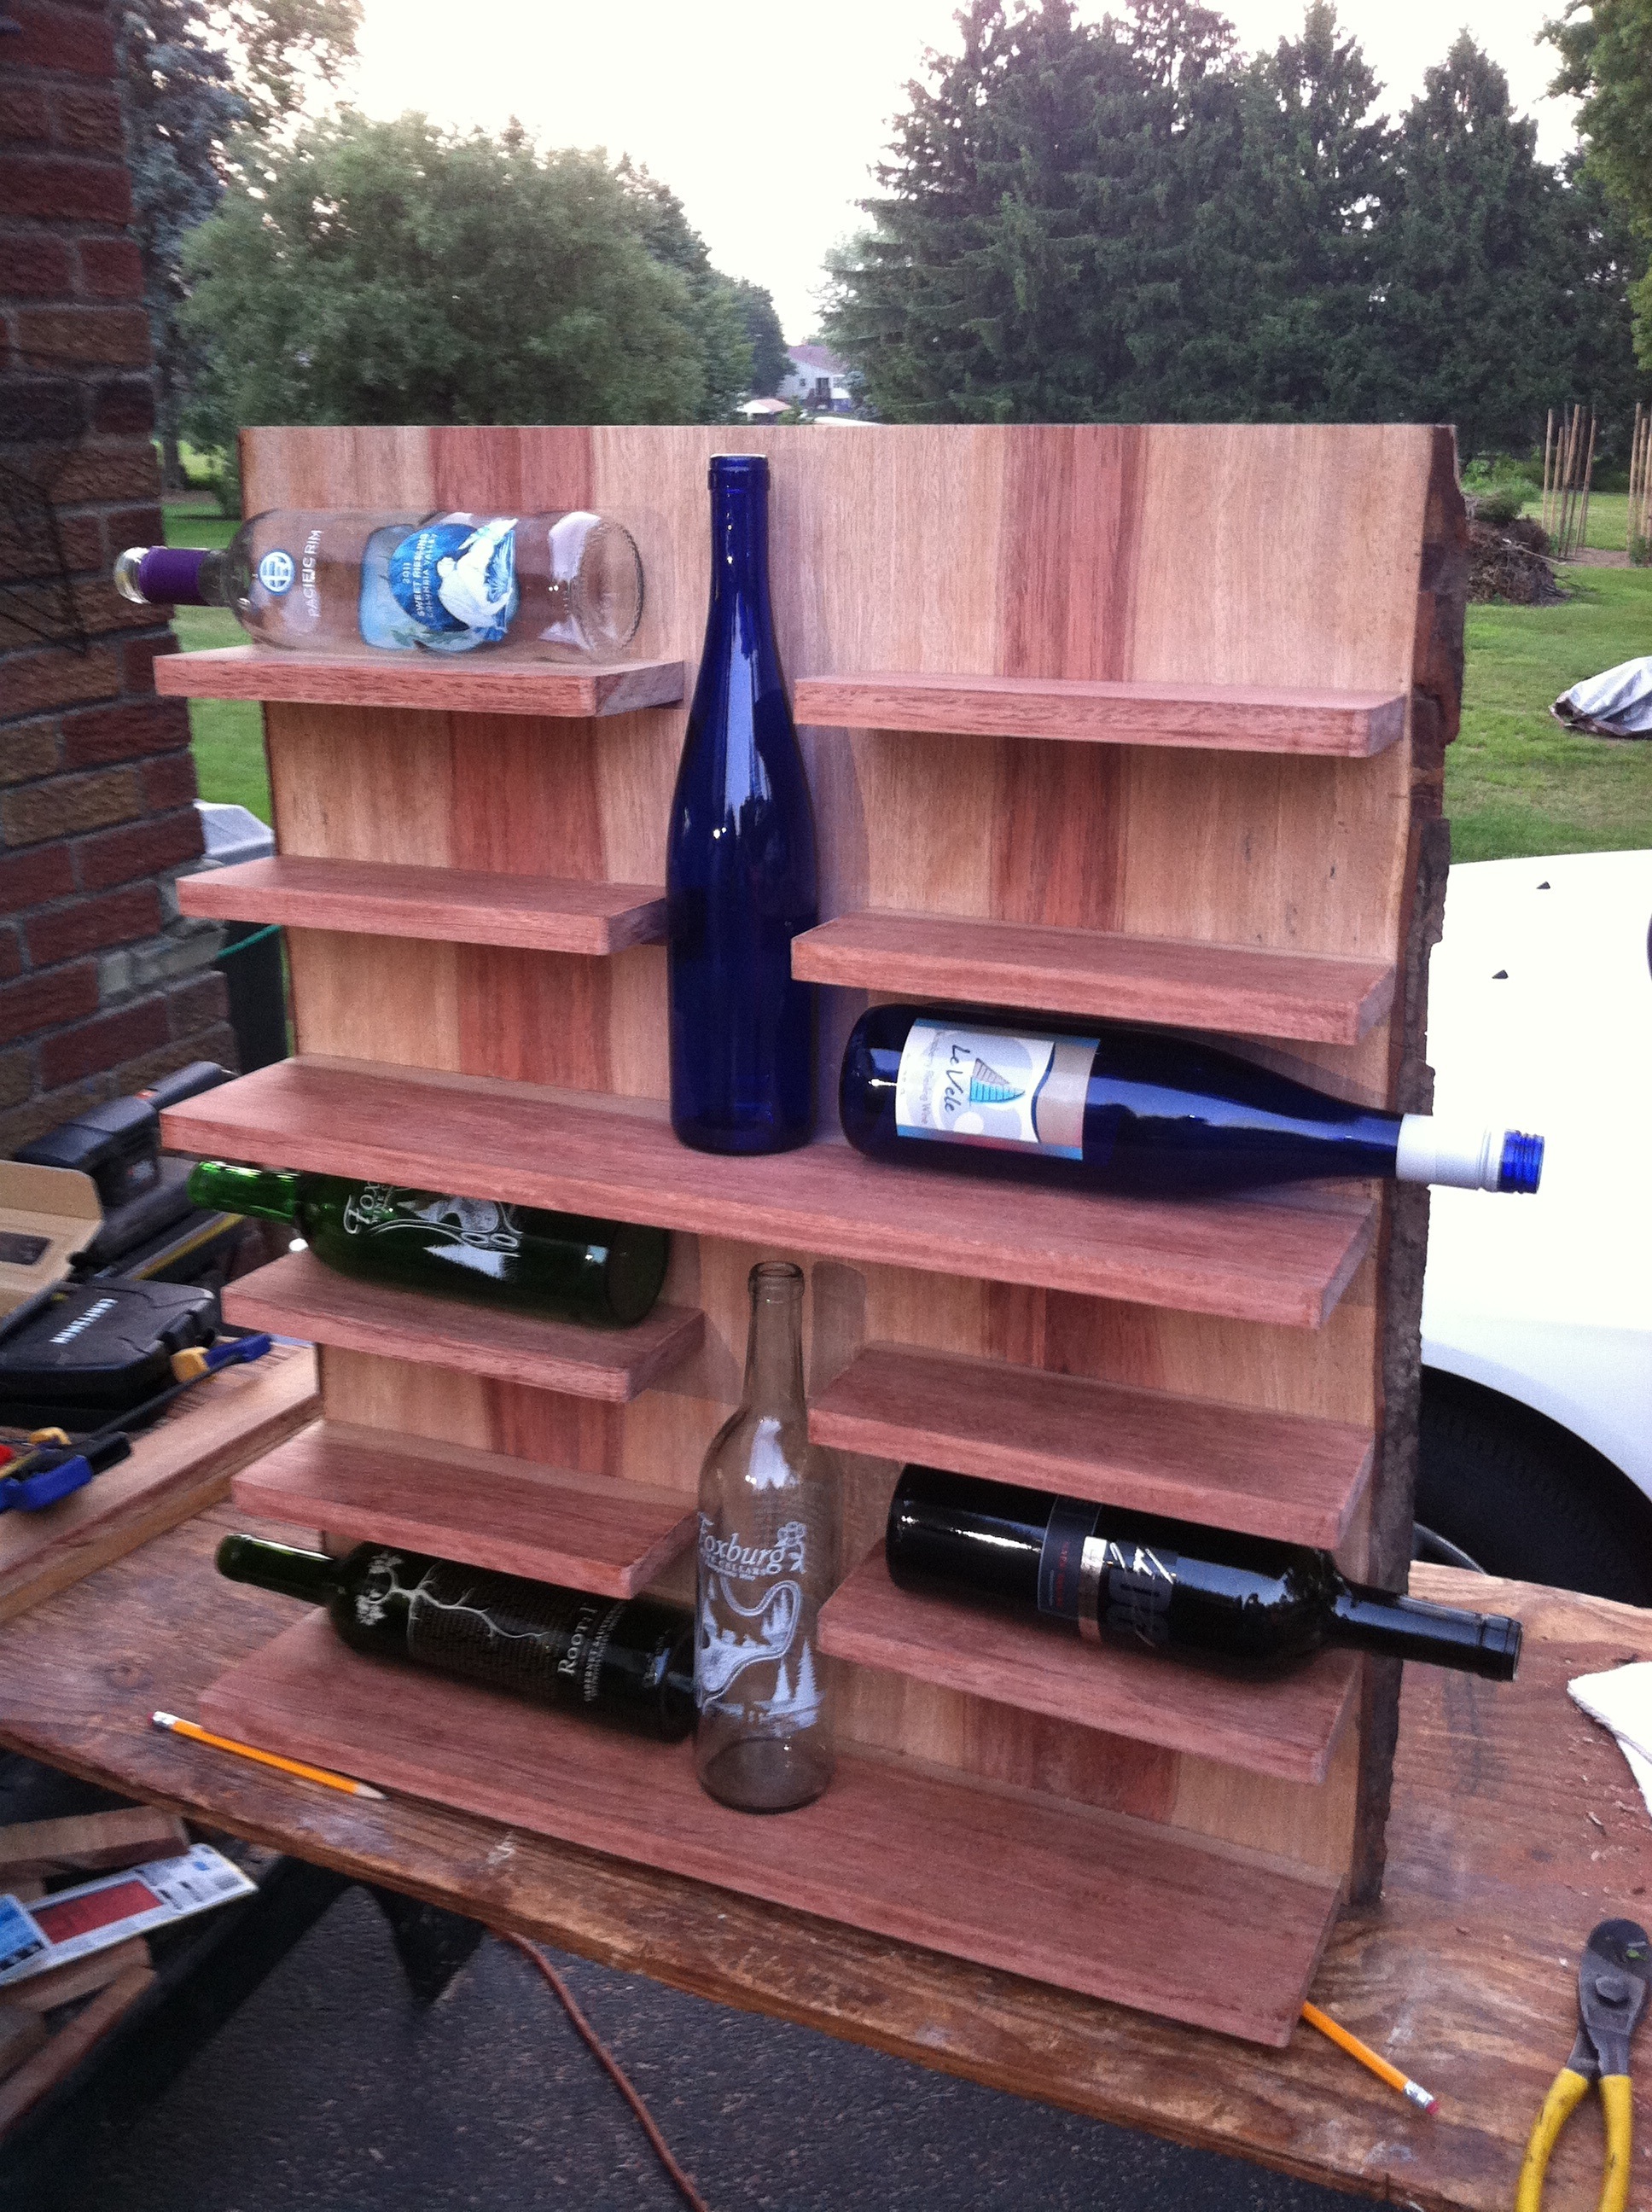
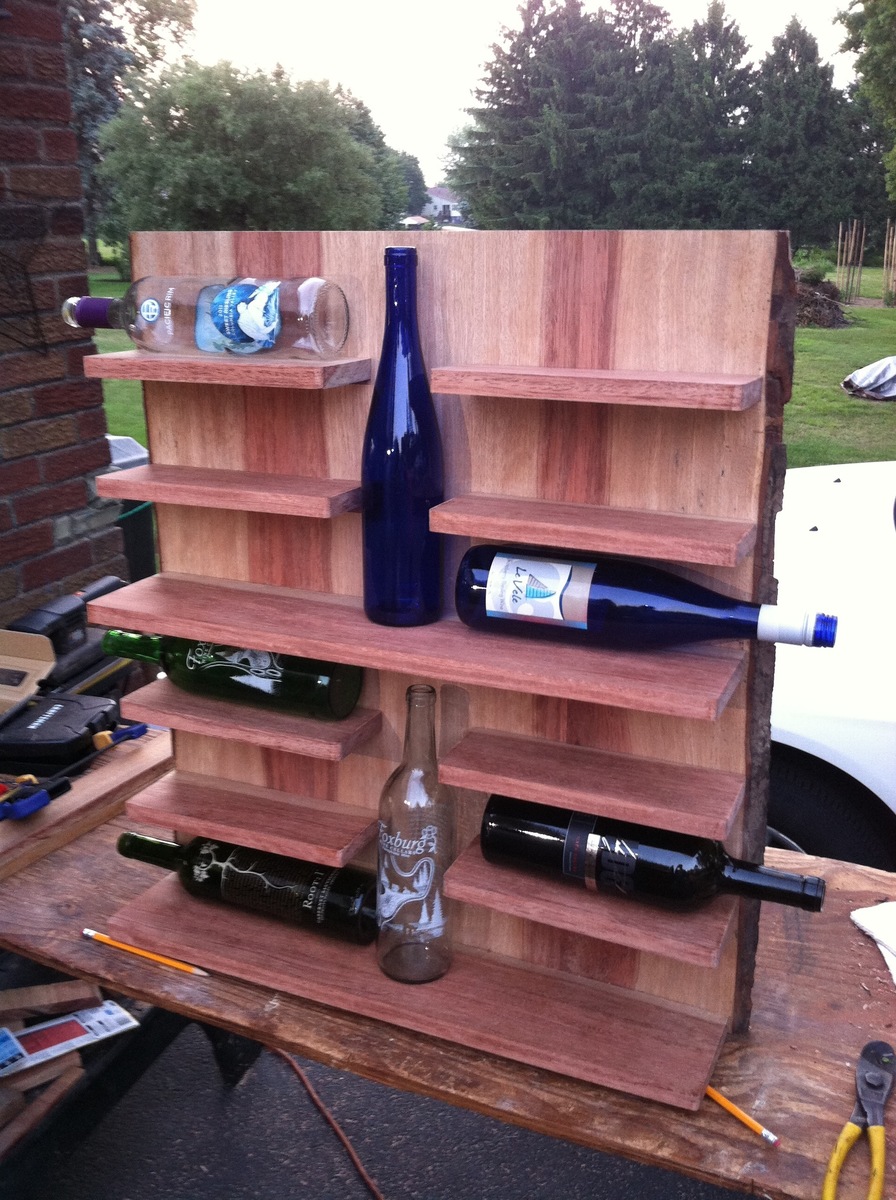
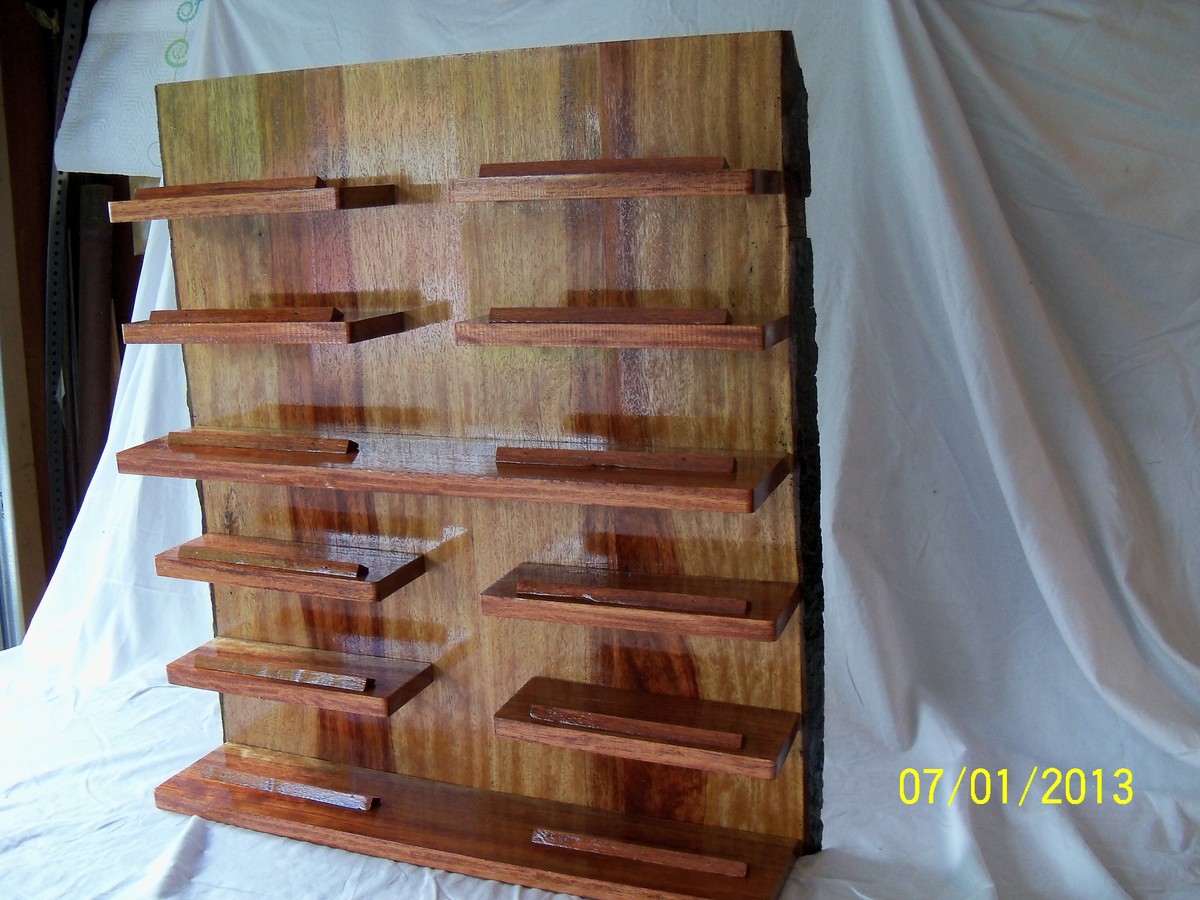
This was a rack I helped my dad make so he could give it as a wedding gift. This is an attempt to build from plans that Ana posted here:
http://ana-white.com/2011/11/wall-mounted-wine-rack-dont-forget-erase-y…
We took 2 long long cherry boards with bark still on the sides, and ran them through the planer. Then we ripped them down the center to be able to use bark ends on each side and book-matched the cherry colors, but most people wont have to worry about that since they wont be using "found" cherry.
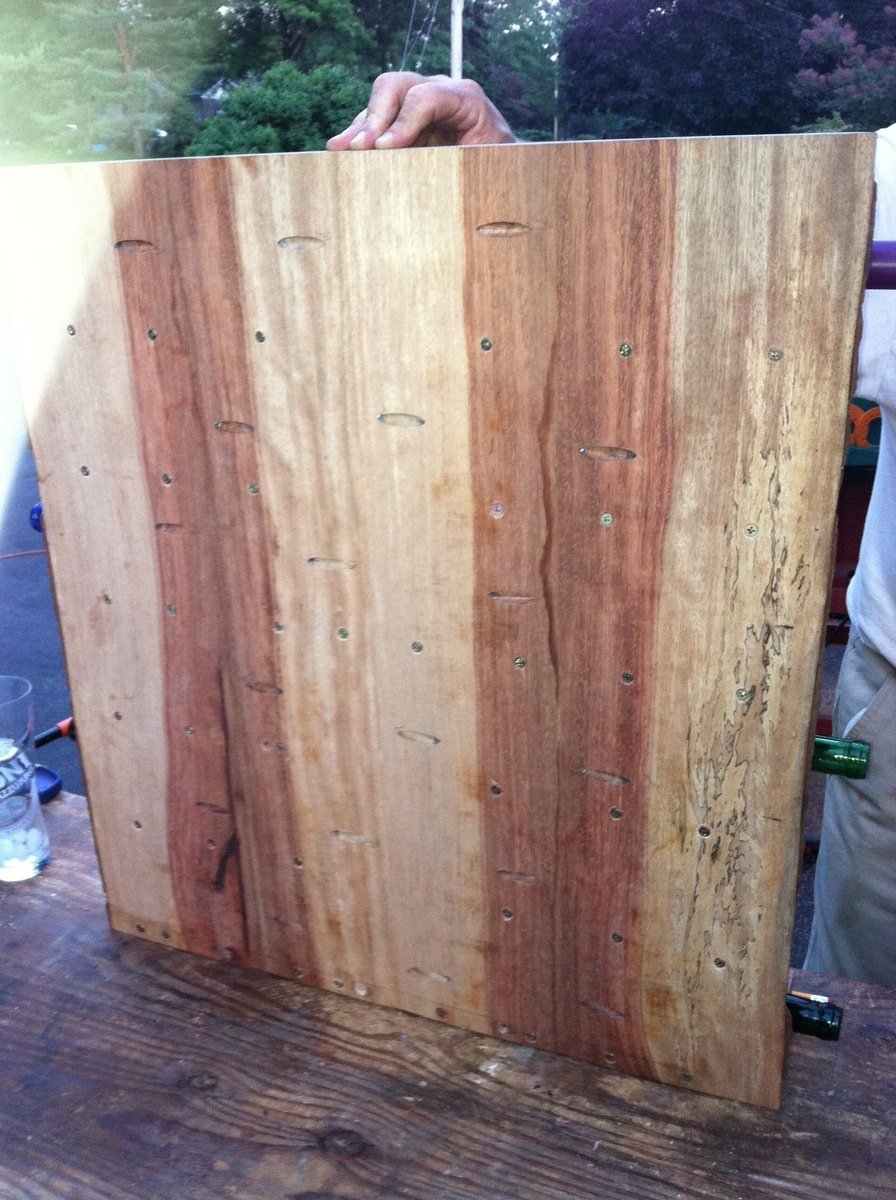
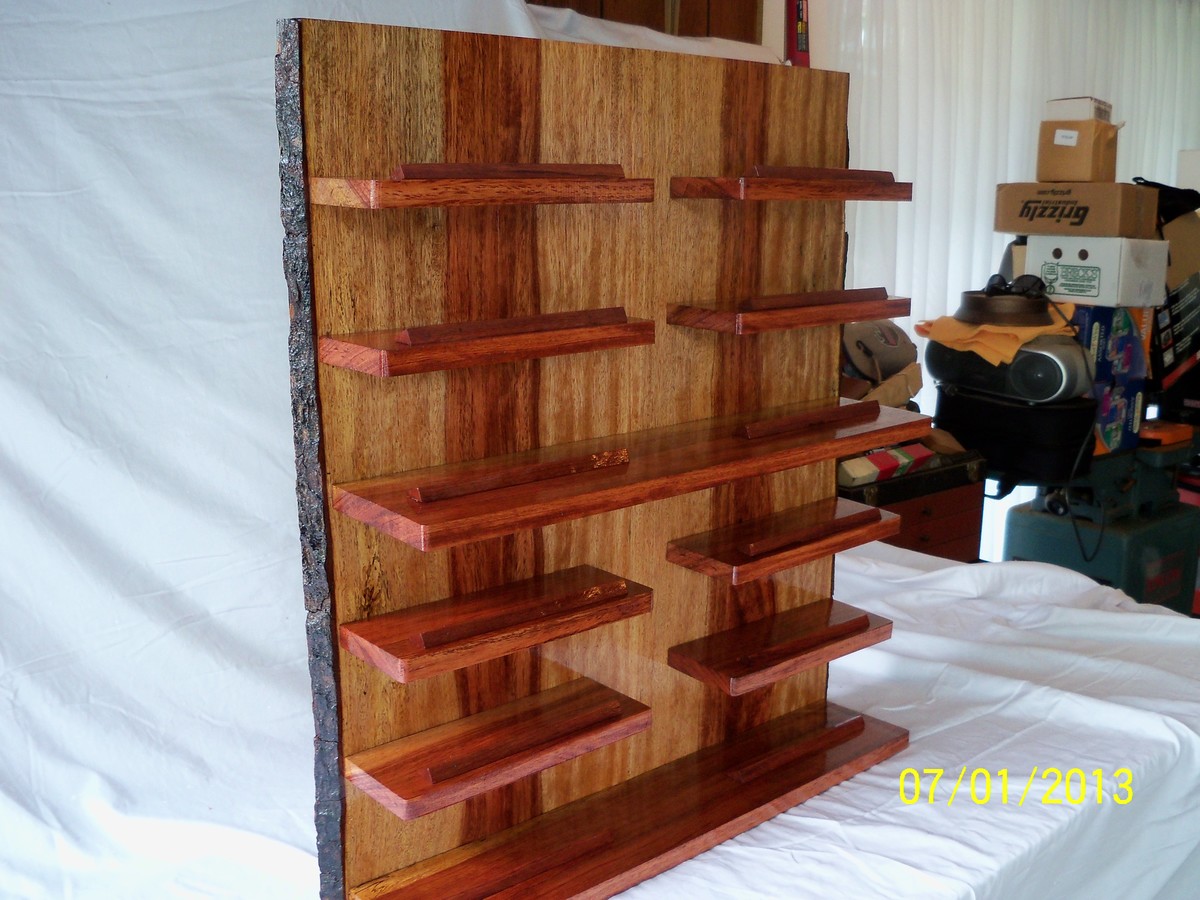
The back board is made up of four 1x7s cuts at 28.5 inches long. You can use whatever width you want, we just wound up with 7inch pieces. Then we used a Kreg Jig to screw those together flush (see picture of back). Once those 4 pieces were together we sanded the edges down to make the backboard smooth and flush.
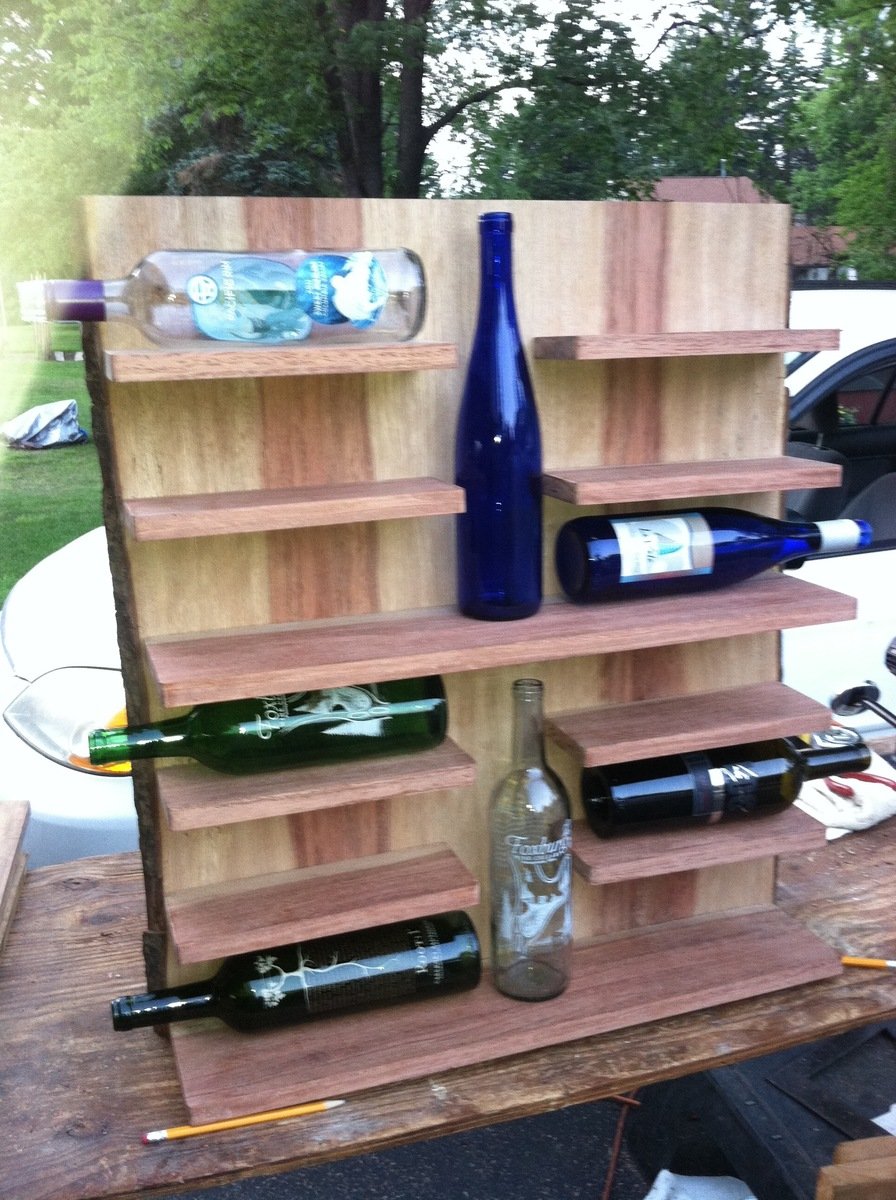
The 8 mini shelves were 1x3.5s cut at 10 inches long. The middle and bottom shelves were 1x5s cut at 24.75 inches long. Again, we were using limited wood and had to adjust our measurements to make it work.
We spaced the bottom shelf flush with the bottom of the backboard and then would space 4.5 inches between the top of that and the bottom of the next shelf. Make sure there is still room for your wine bottle to fit between the floating shelves. ALSO, MAKE SURE YOU KEEP THE FLOATING SHELVES ACROSS FROM EACH OTHER LEVEL WITH ONE ANOTHER. You don't want your shelves to look lazily placed.
The way we placed the shelves on backboard was...involved.
- Clamp the shelves in place on the front of the board and trace them with pencil.
- Remove the shelves.
- Marke holes to drill within center of the trace.
- Drill those holes from the front of the board to the back.
- Reclamp the shelves back on and use the holes in the board to mark the clamped on shelves from the back.
- Unclamp the shelves and fully drill the shelves by themselves while they were not attached. (BE CAREFUL TO DRILL STRAIGHT and never come through the top or bottom of the shelf)
- Sand off your pencil marks after your drilling.
- Re-clamp the shelves to the backboard.
- Use 3" screws straight from the back into the shelves.
- Use 8 screws per big shelf and 3 screws per little shelf.
Then it was just slow and steadily clamping, tracing, drilling, re-clamping, drilling, sanding, re-clamping, and screwing the shelves on... You have to follow that pattern for each shelf or you risk ruining your shelf and if you have limited wood (like we did) that is not an option.
We also put very small pieces of wood to keep the bottles from rolling off their shelves. These were just scraps we had lying around and tapped them in with small finishing nails.
Good luck!
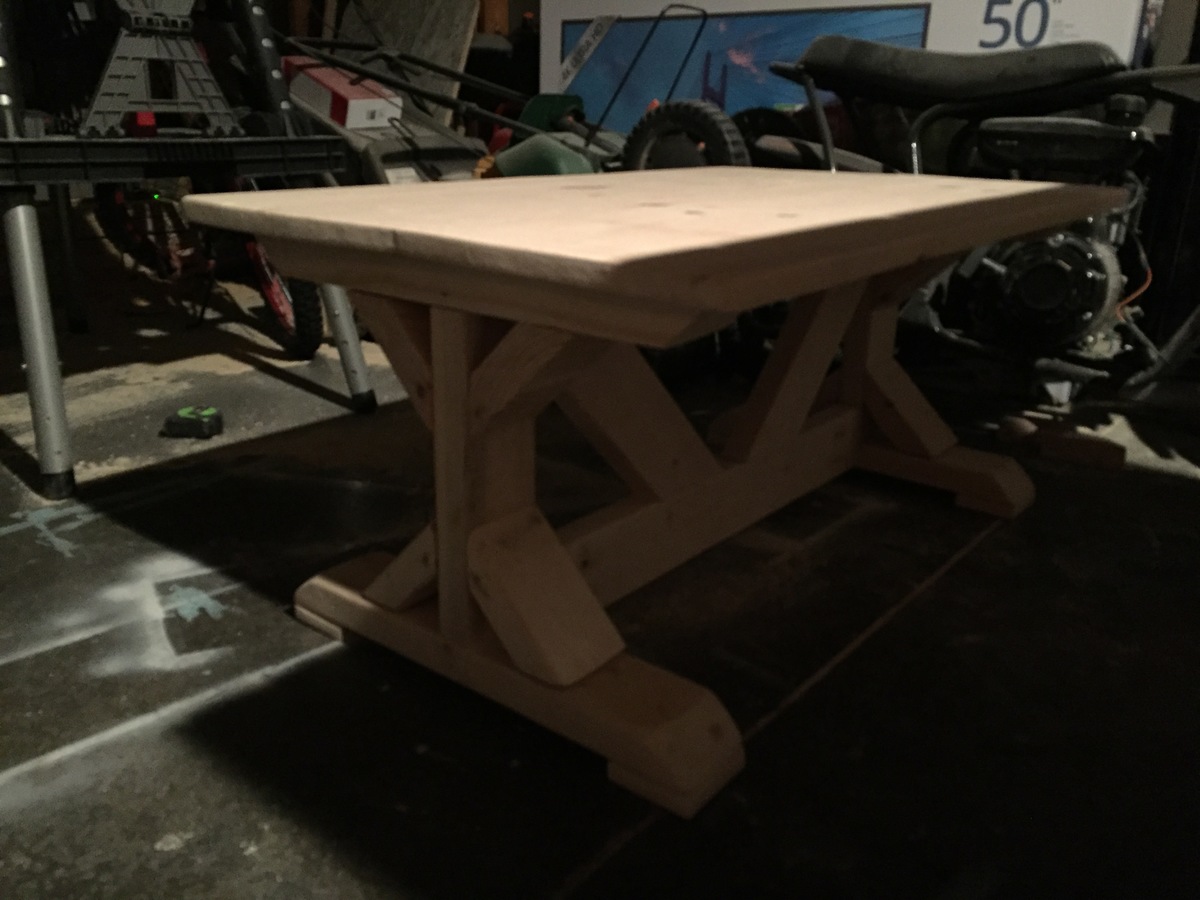
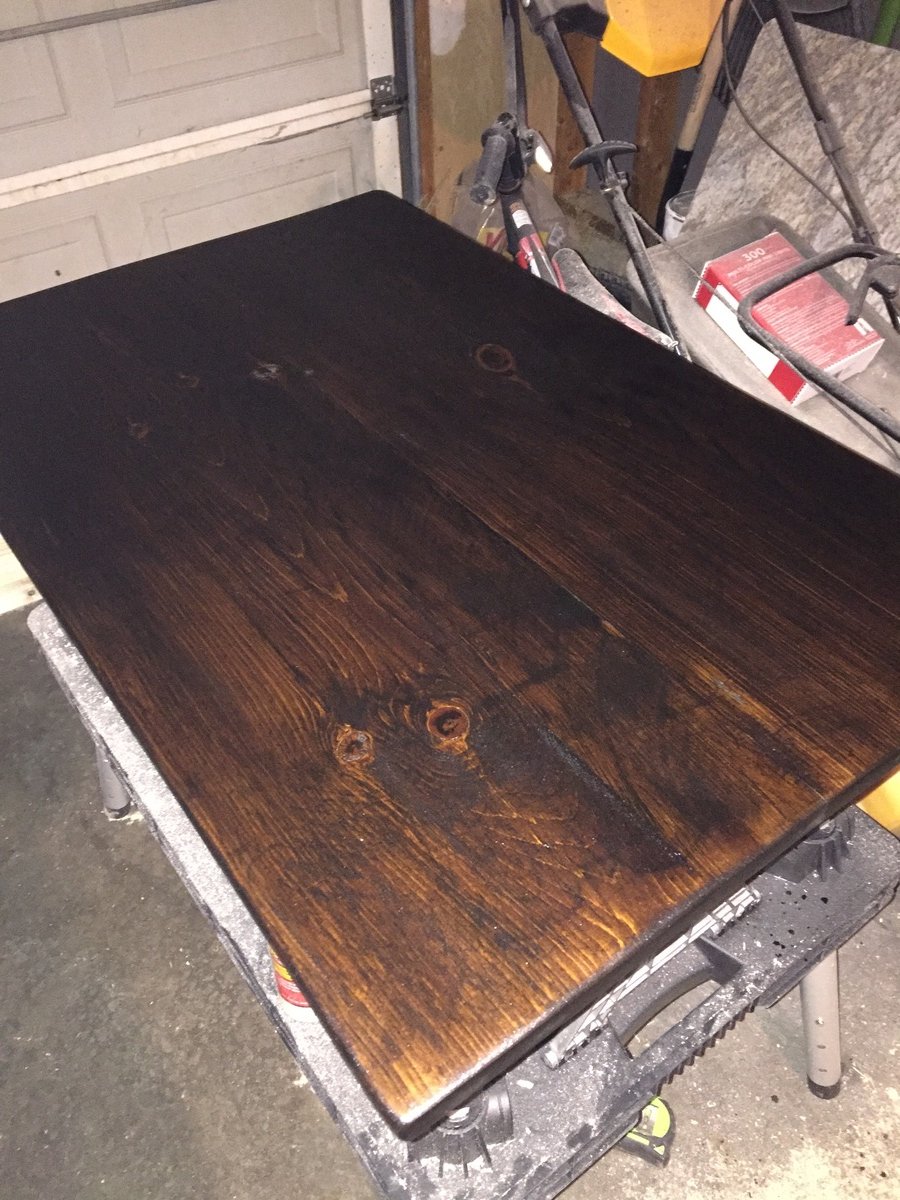
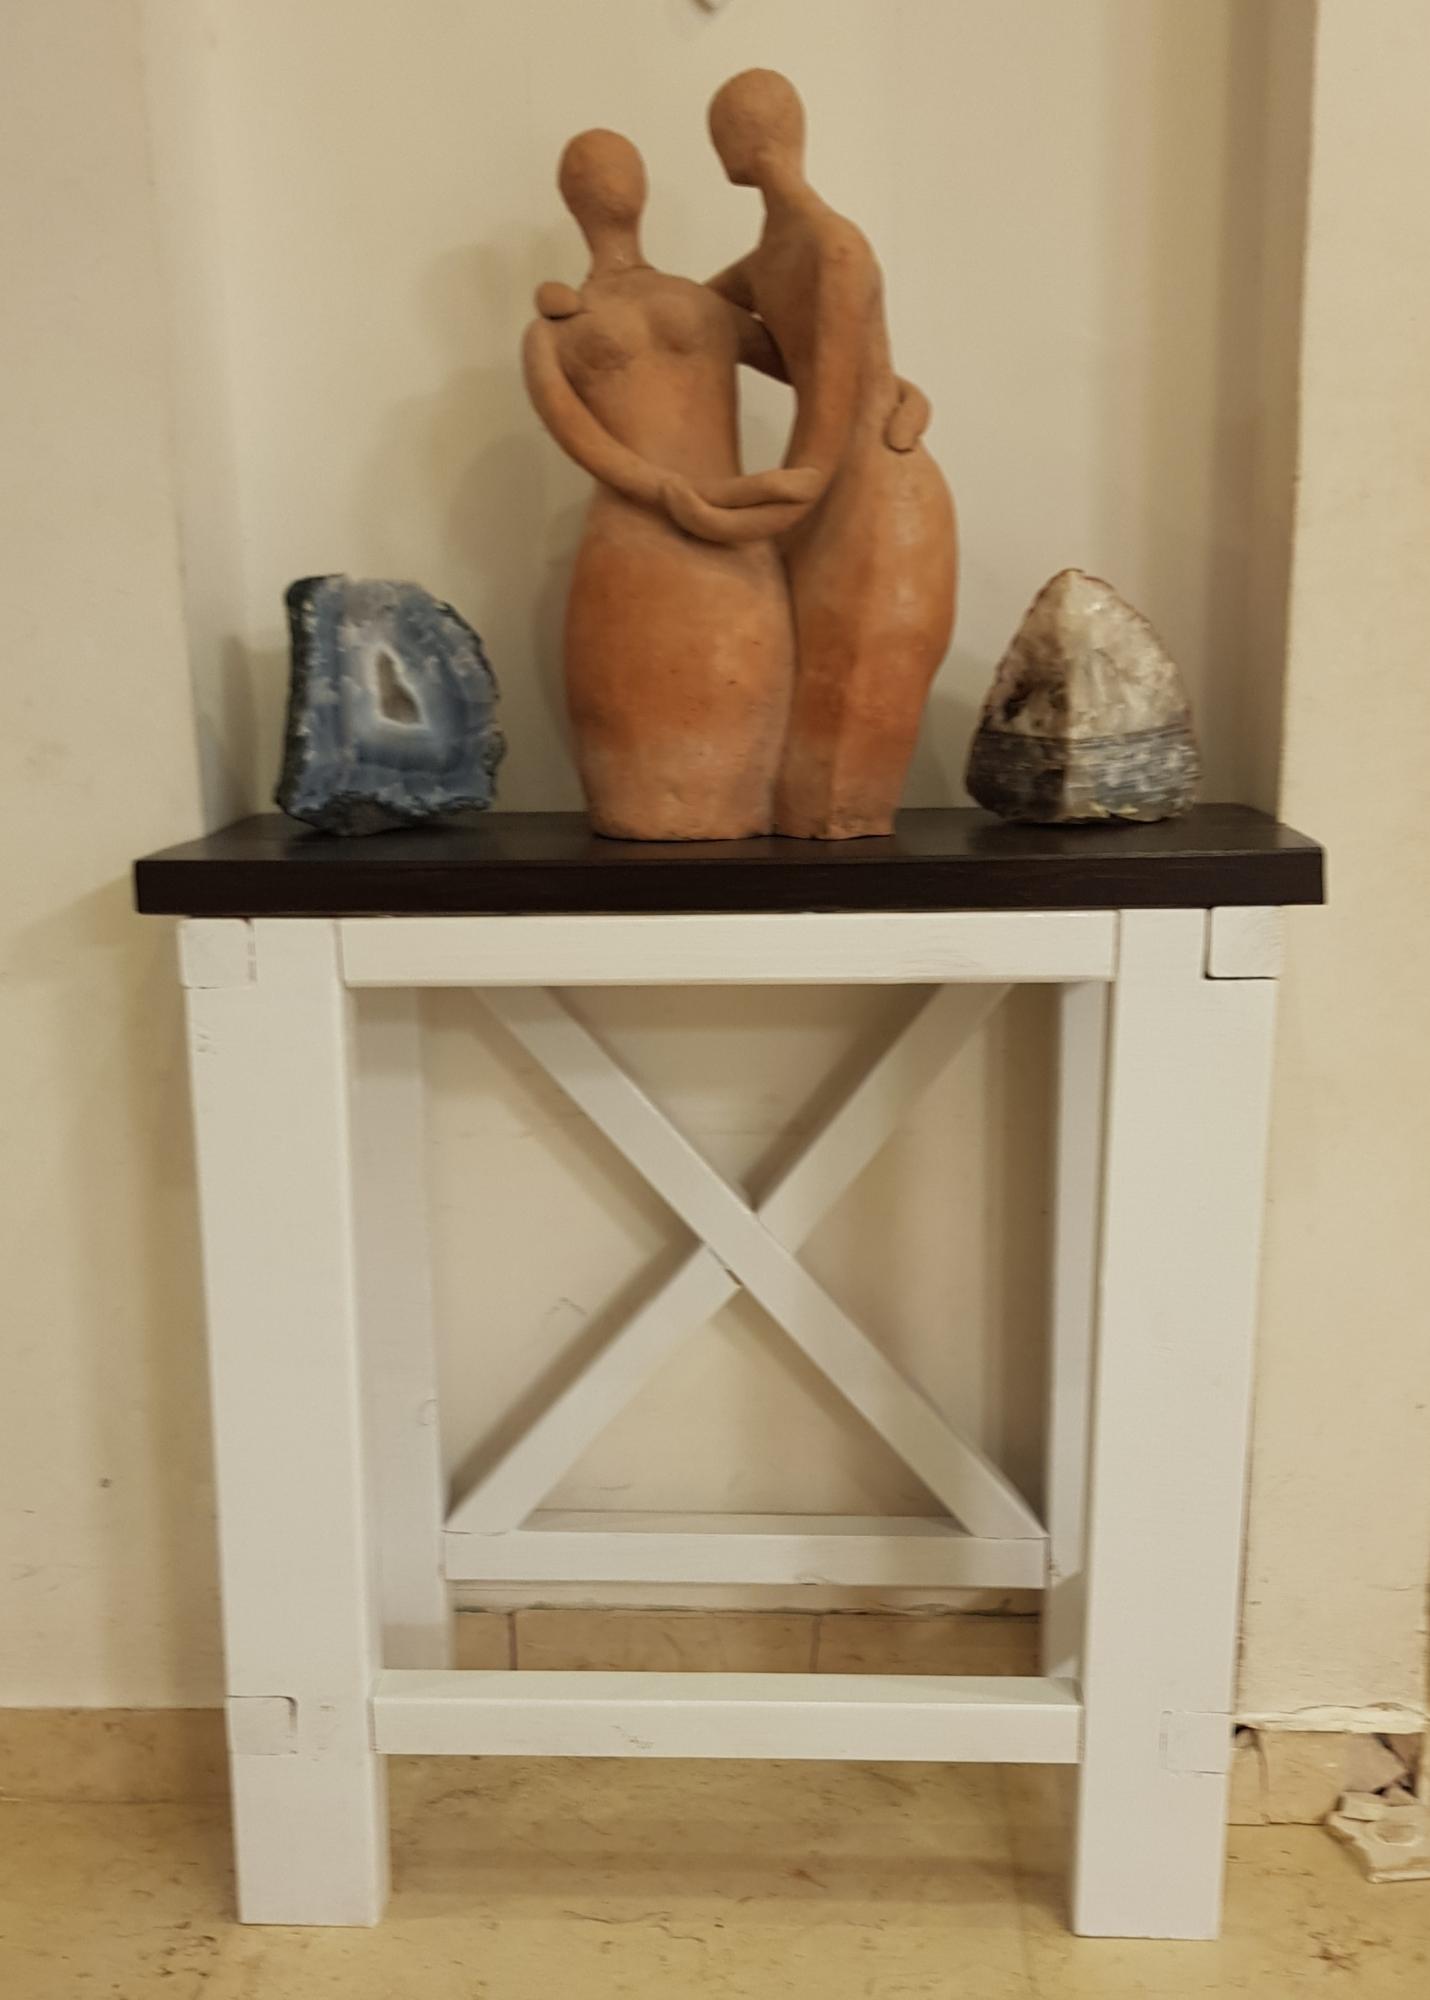
It’s not done yet, but I wanted to share my coffee table with y’all. I made it with the same proportions as Ana’s fancy x kitchen table just 3ft wide and 16 inches high. It’s going to be the same finish as Ana’s too. Dark walnut with satin polyurethane.
Merry Christmas Ana, Just a few of my projects inspired by your great work. I have no carpentry experience other than shop class 40 years ago. Love doing wood work thanks to you.
Happy New year Mikw
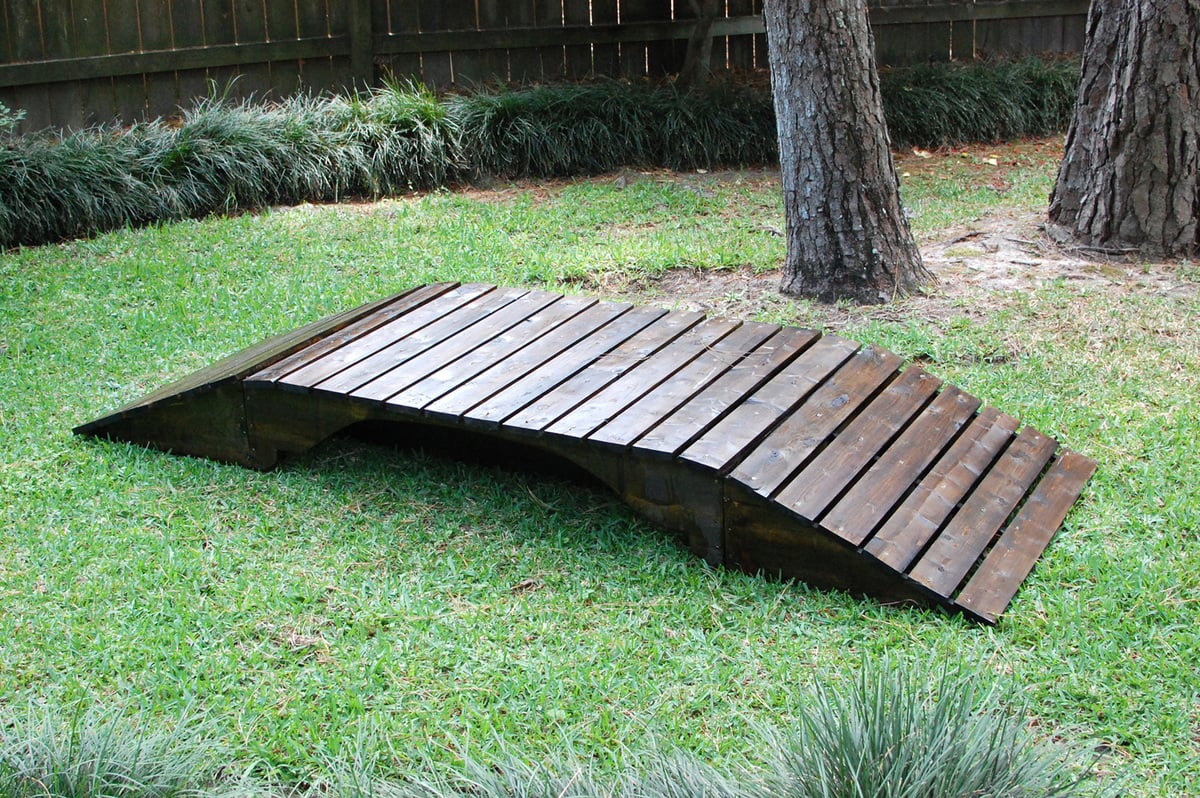
I wanted to make a footbridge for my mom so she wouldn't get muddy when she crosses a small drainage ditch when goes walking on the trails behind her house. I didn't have a plan and this was my first build and I loved it! I just wanted to give everyone an idea of something to build. Can't wait to build more.

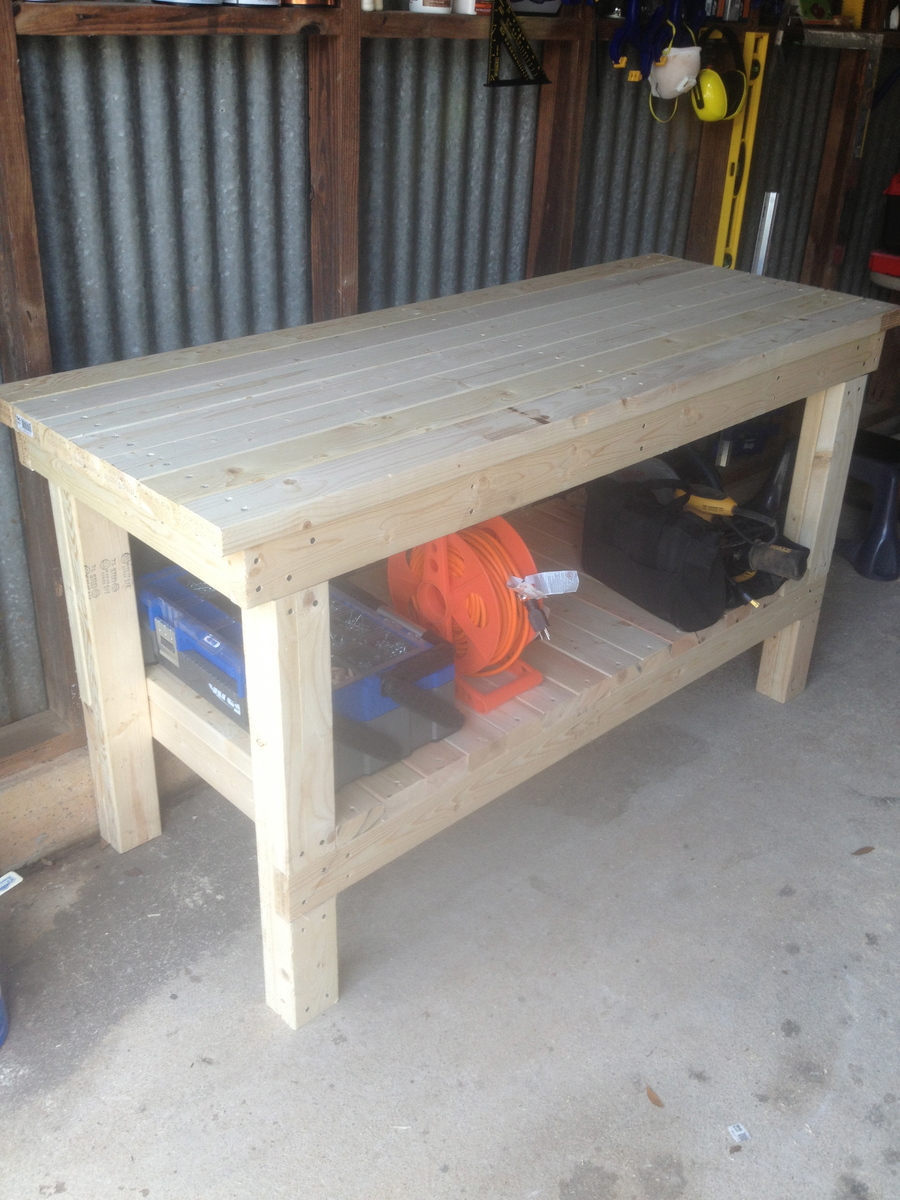
This is from the "Workbench to Get the Job Done" plan. Instead of using plywood for the shelves, I used 2x4s cut to length which made the piece extra sturdy. I also left a little overhang on each of the ends for clamping things (I wish I left at least 3" on each side, but I think I left about 1 1/2").
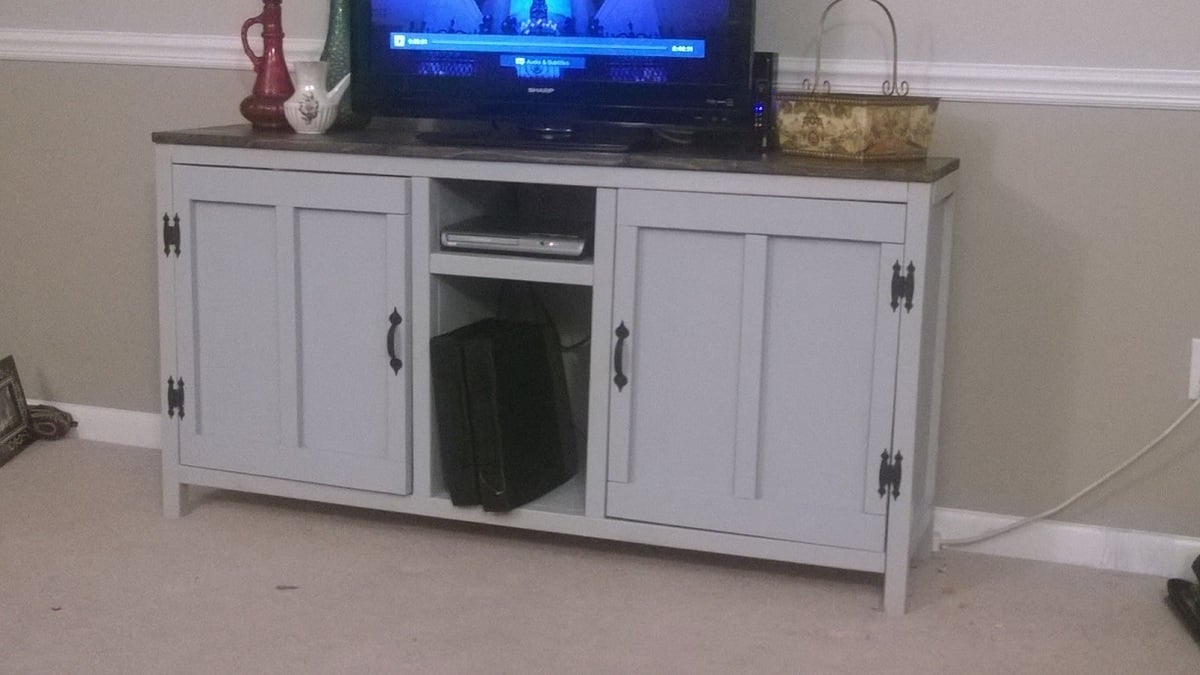
We really liked the design of the console table. We built an entry way table and a coffee table to match. We did change some of the measurement to suit our particular needs. We are very happy with how this one turned out. Next we plan on making some end tables to match also.
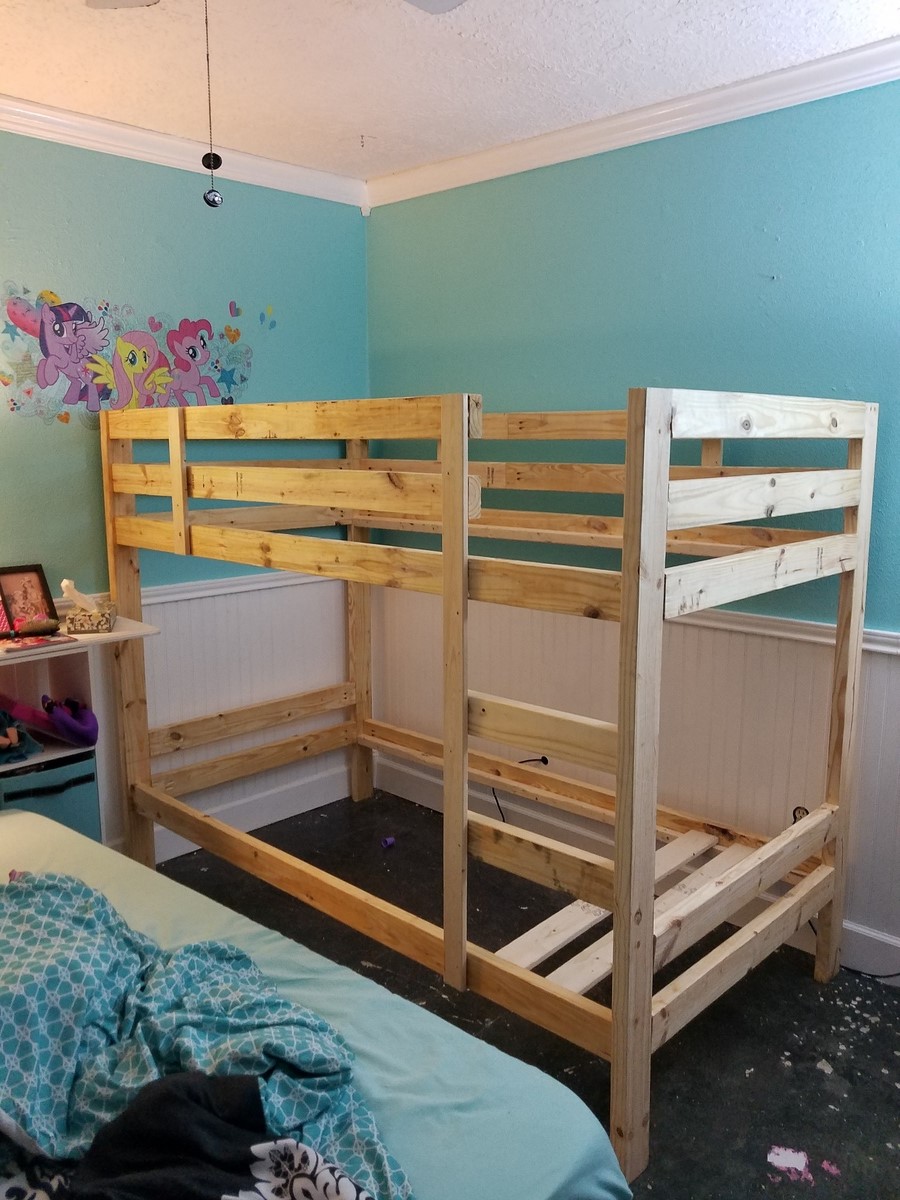
Built this for our 6yr old. She has decided she wants it to be pink so we picked out a beautiful Aubrey Hepburn worthy shade and will update our photo.
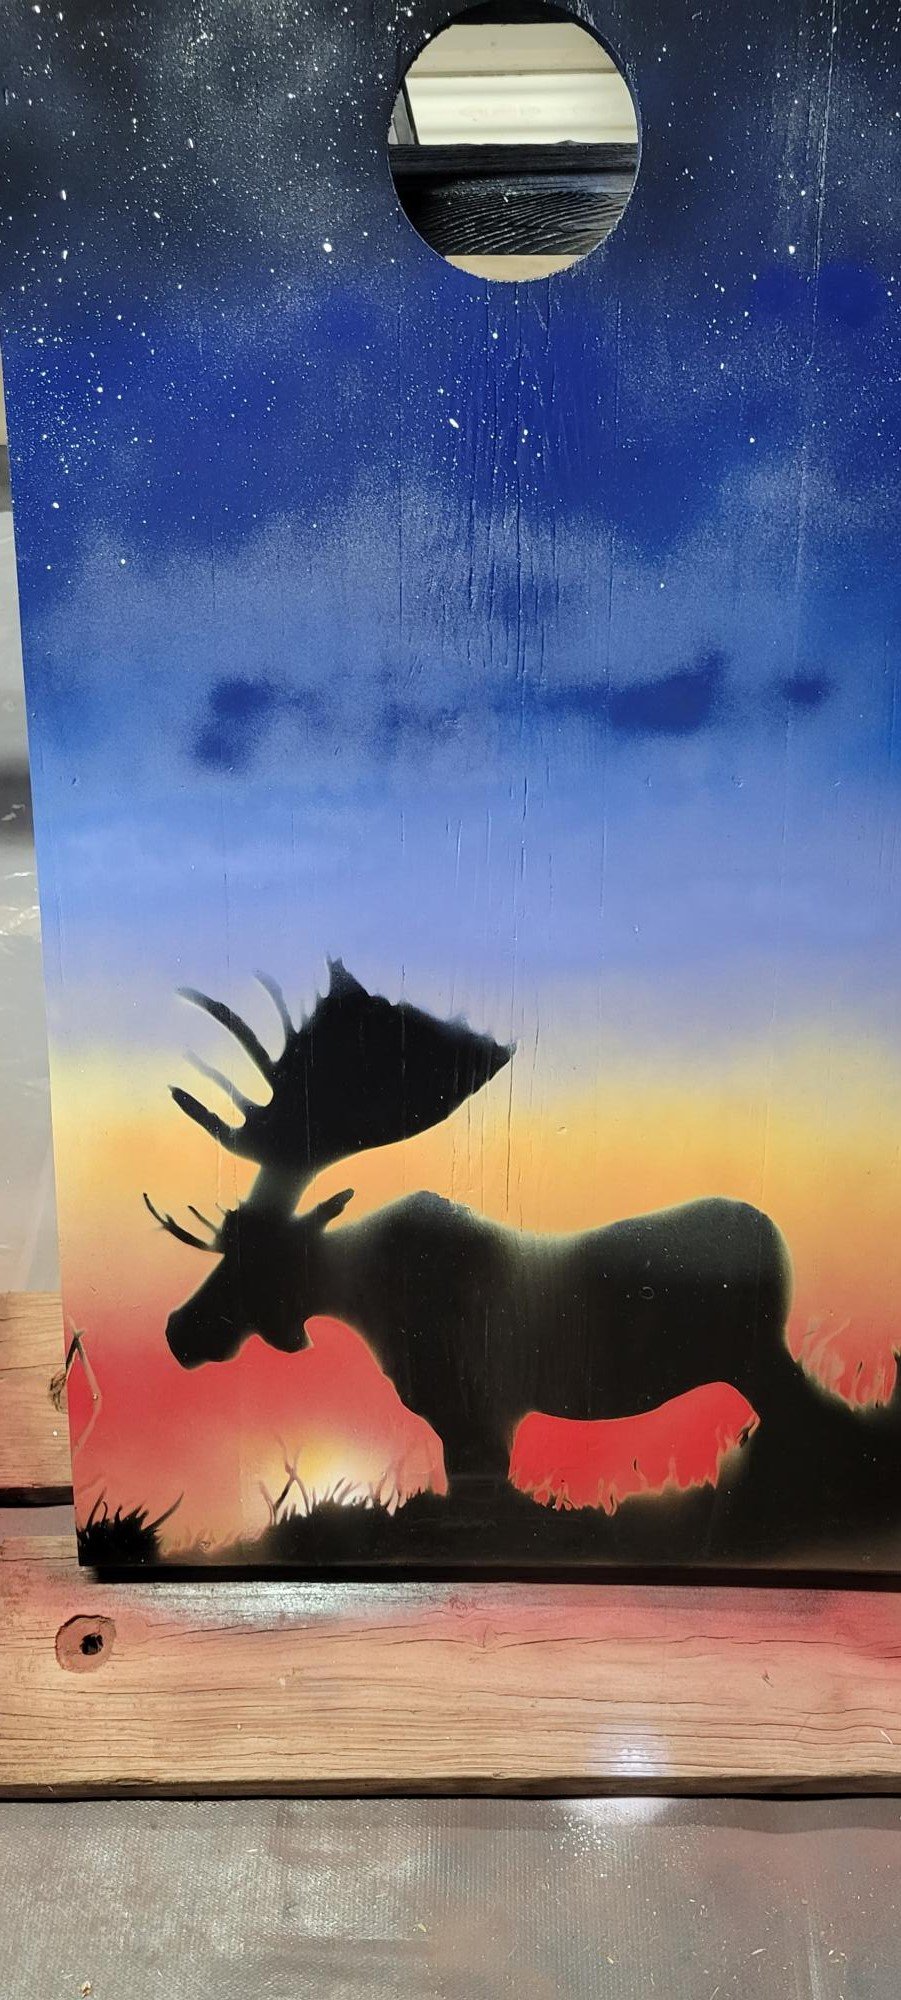
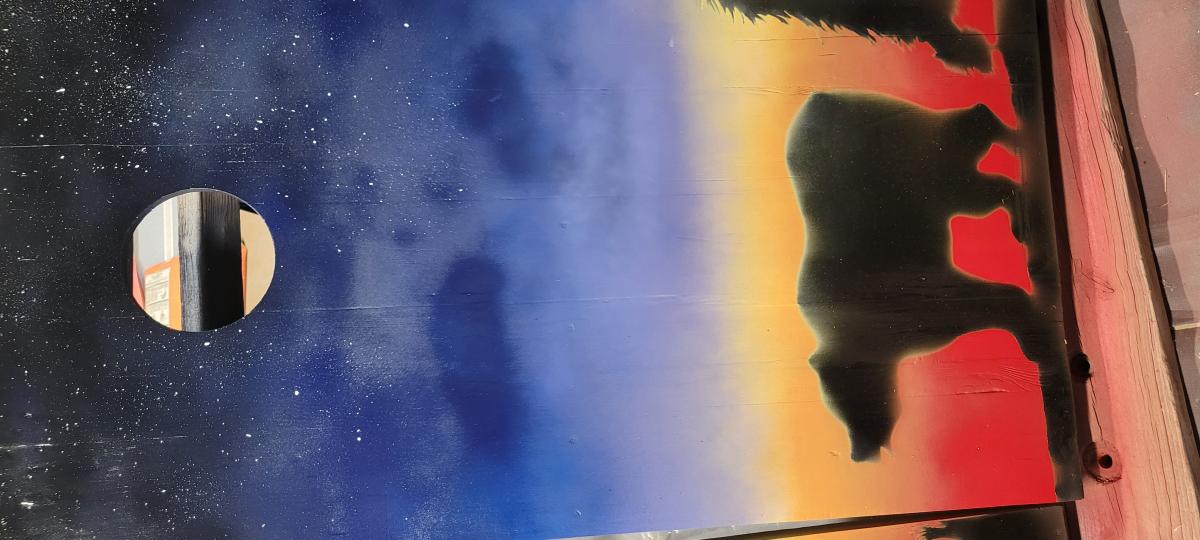
This is the first of the cornhole boards this year. Having never made such before, I learned a lot of the tips and tricks in this build. This build begins with cedar 2x4s and cedar fence pickets that I took down this last summer. I began by sanding the boards starting with 60 grit through to 320 grit with a belt sander up to 180 grit and hand sanding through 320 grit. The frame was glued up with Titebond II, then counter-sunk #8 x 1-1/2 screws. Next, we used nine (9) different cans of Rust-Oleum semi-gloss paint to fill in the background and to cover the moose and bear senciles drawn by my wife. The boards were then coated with Minwax Poly-Acrylic (9 coats) and Howard's Bee's Wax (6). The boards are secured with 3-inch toggle fasteners and the handles are Kayak straps with four (4) screw holes; I used the same Torx screws for strength and stability.
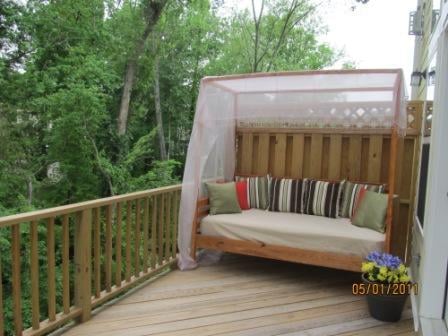
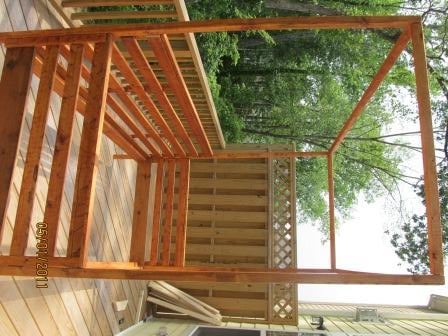
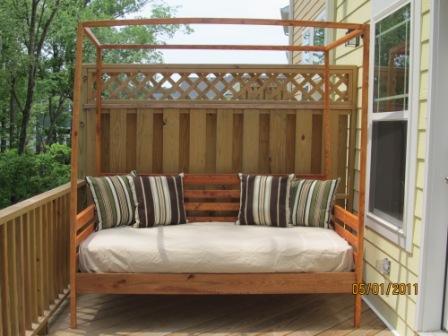
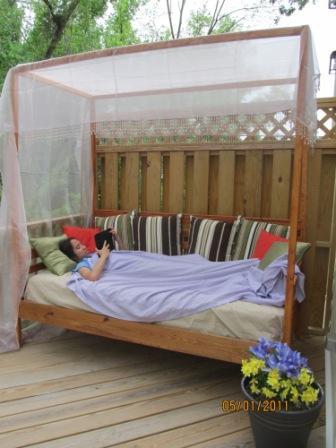
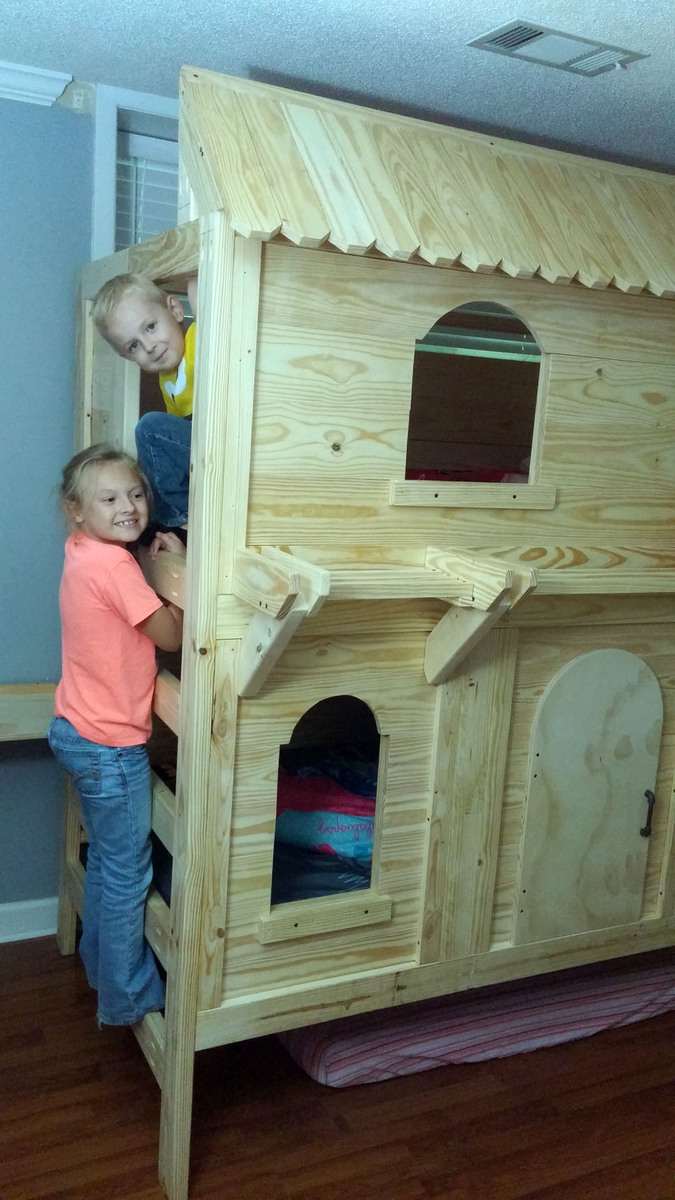
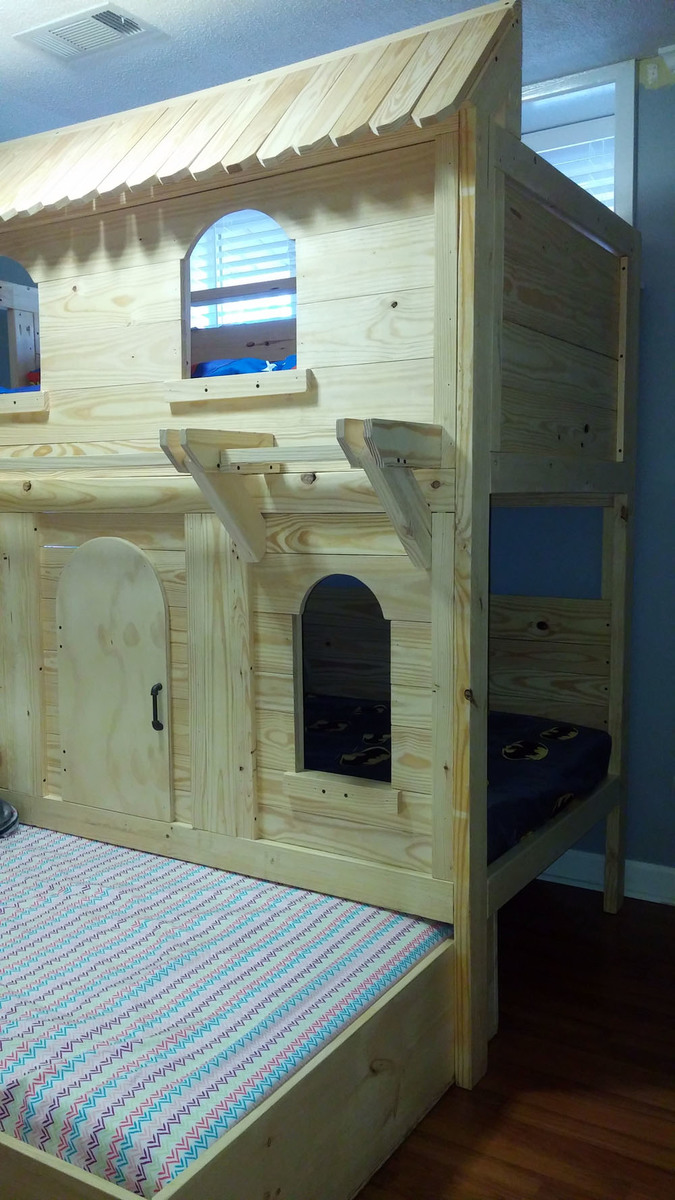
This is my first venture into woodworking/carpentry. Since I did not want to shell out too much money for lumber, I used untreated pine (worst wood they say to use) for the daybed and used an exterior wood stain (with uv protection) to seal the wood. I also did not invest in power tools and used a hammer and wood saw to cut and nail everything together. As I cannot sew, I waterproofed the mattress by sandwiching it between two plastic mattress covers (dollar store) and duct taping the seams. It's not elegant but no one is going to see it. I used a cotton fitted twin sheet (old one) for the cover and found some outdoor pillows for $16 a pair ($8 per pillow and made with solarium fabric). Also as this is placed outside (deck), I'm looking into getting a mosquito net to use over the daybed instead of the bed tent I have on right now.
In hindsight, I should have used pressure treated wood for the posts and canopy beams to prevent bending/twisting (I had to re-do 2 posts). If I get 3 years of use for this furniture. I'm a happy camper. Ana, thank you so much for the plan. Kathy thanks for the advice on painting the lumber first.
You guys can do this!
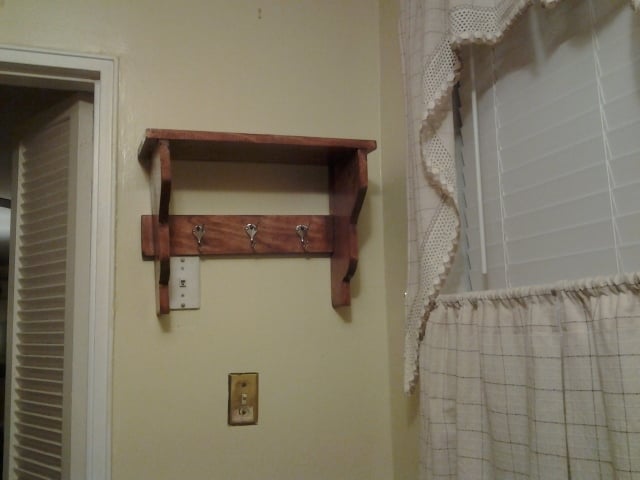
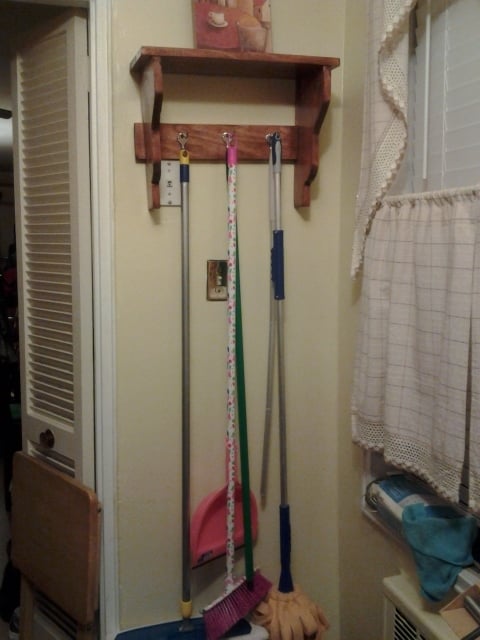
This is my first project. I had to shorten the width of the shelf to fit the space I had for it. The board on the back is also a 1x4 instead of the 1x3 that was in the plans. This was a great first project for anyone.
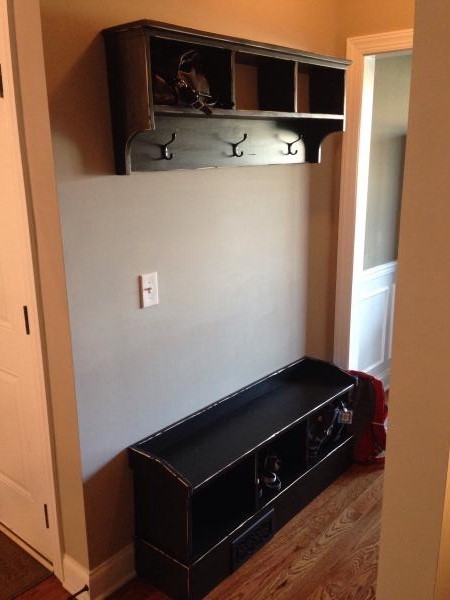
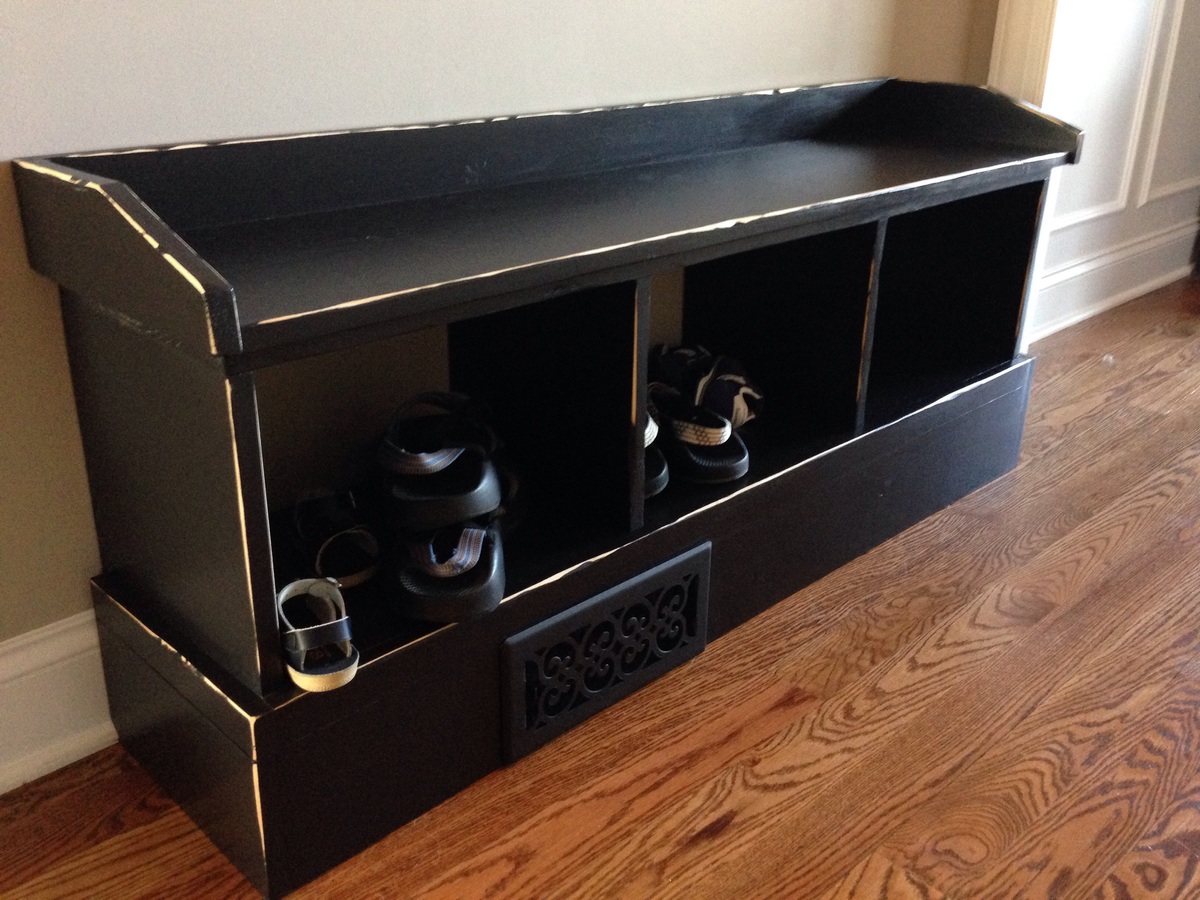
This was my second build, very easy with the plans. I wanted it flush with the wall so used a jig saw to cut notches in the bottom to fit around the baseboard. I was also covering an air vent, so I built a simple air diverter out of 1x's and bought a decorative vent cover of Amazon for $10...worked out much better than I thought it would. Painted with a flat black then a few coats of poly.

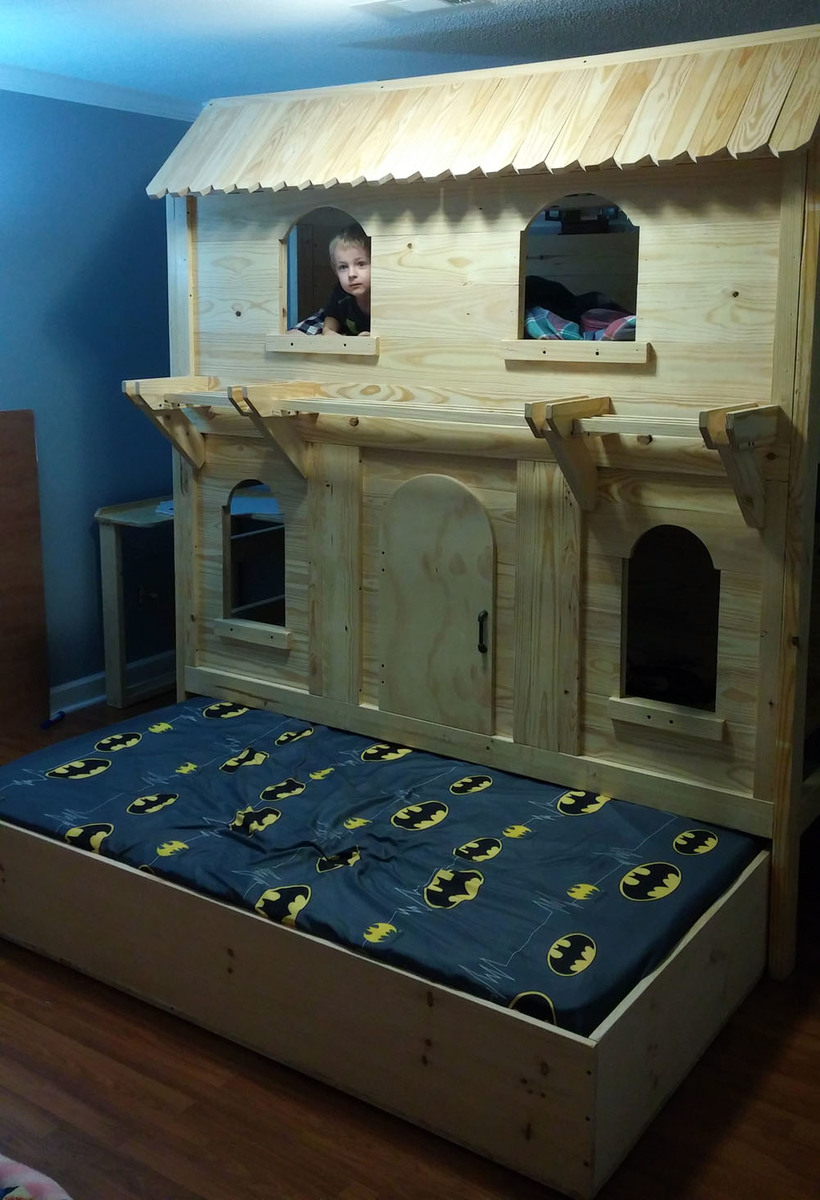
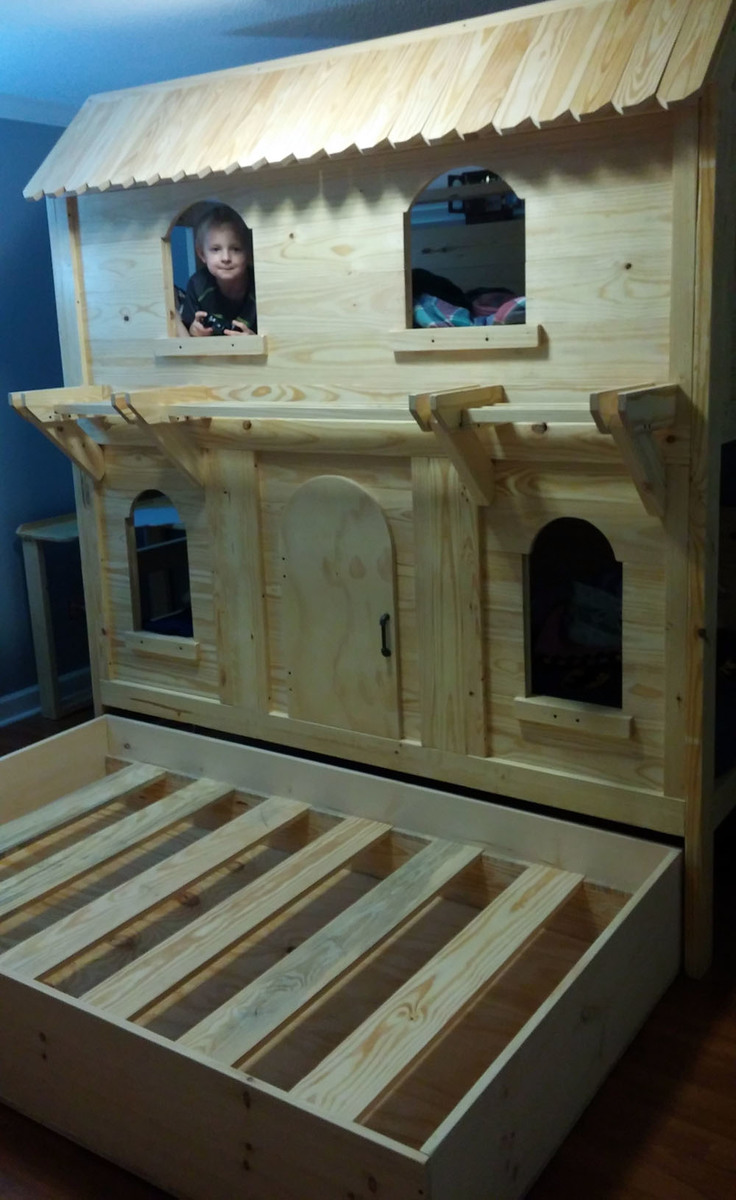
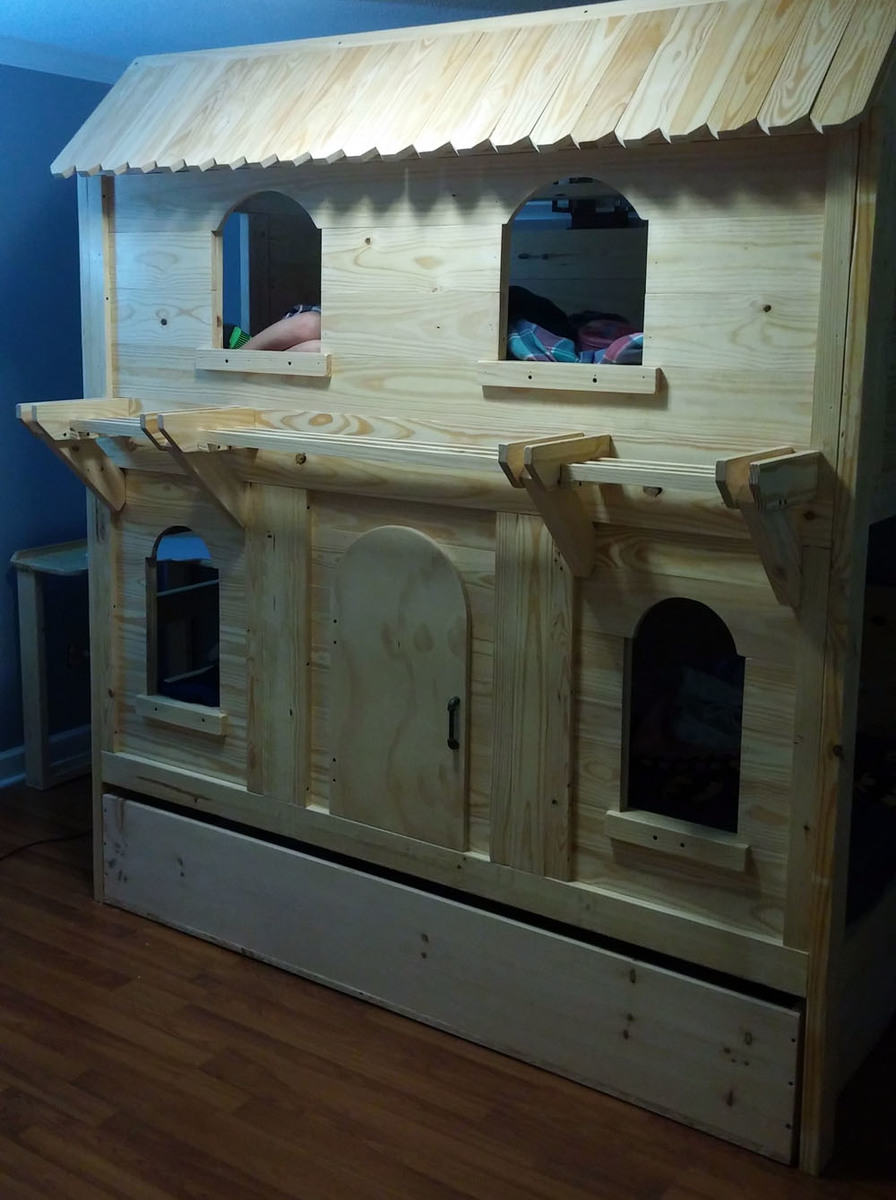
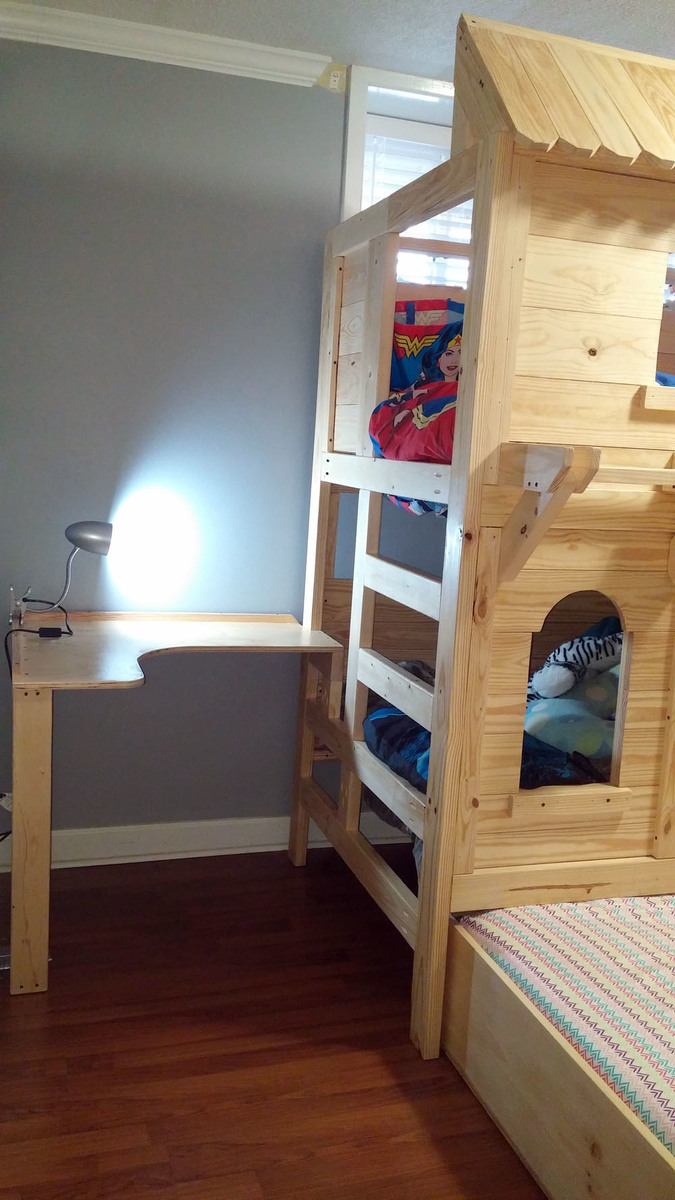
Trundle bed and desk addition.

Sat, 01/06/2018 - 11:51
This is awesome! Thank you so much for sharing! Ana
My first project!
Mon, 12/27/2021 - 11:40
Way to go this looks amazing, can't wait to see what's next!

Comments
Ana White Admin
Sun, 12/26/2021 - 13:54
Beautiful bench!
Way to go, that is gorgeous!