Minimalist Farm Style Outdoor Sofa
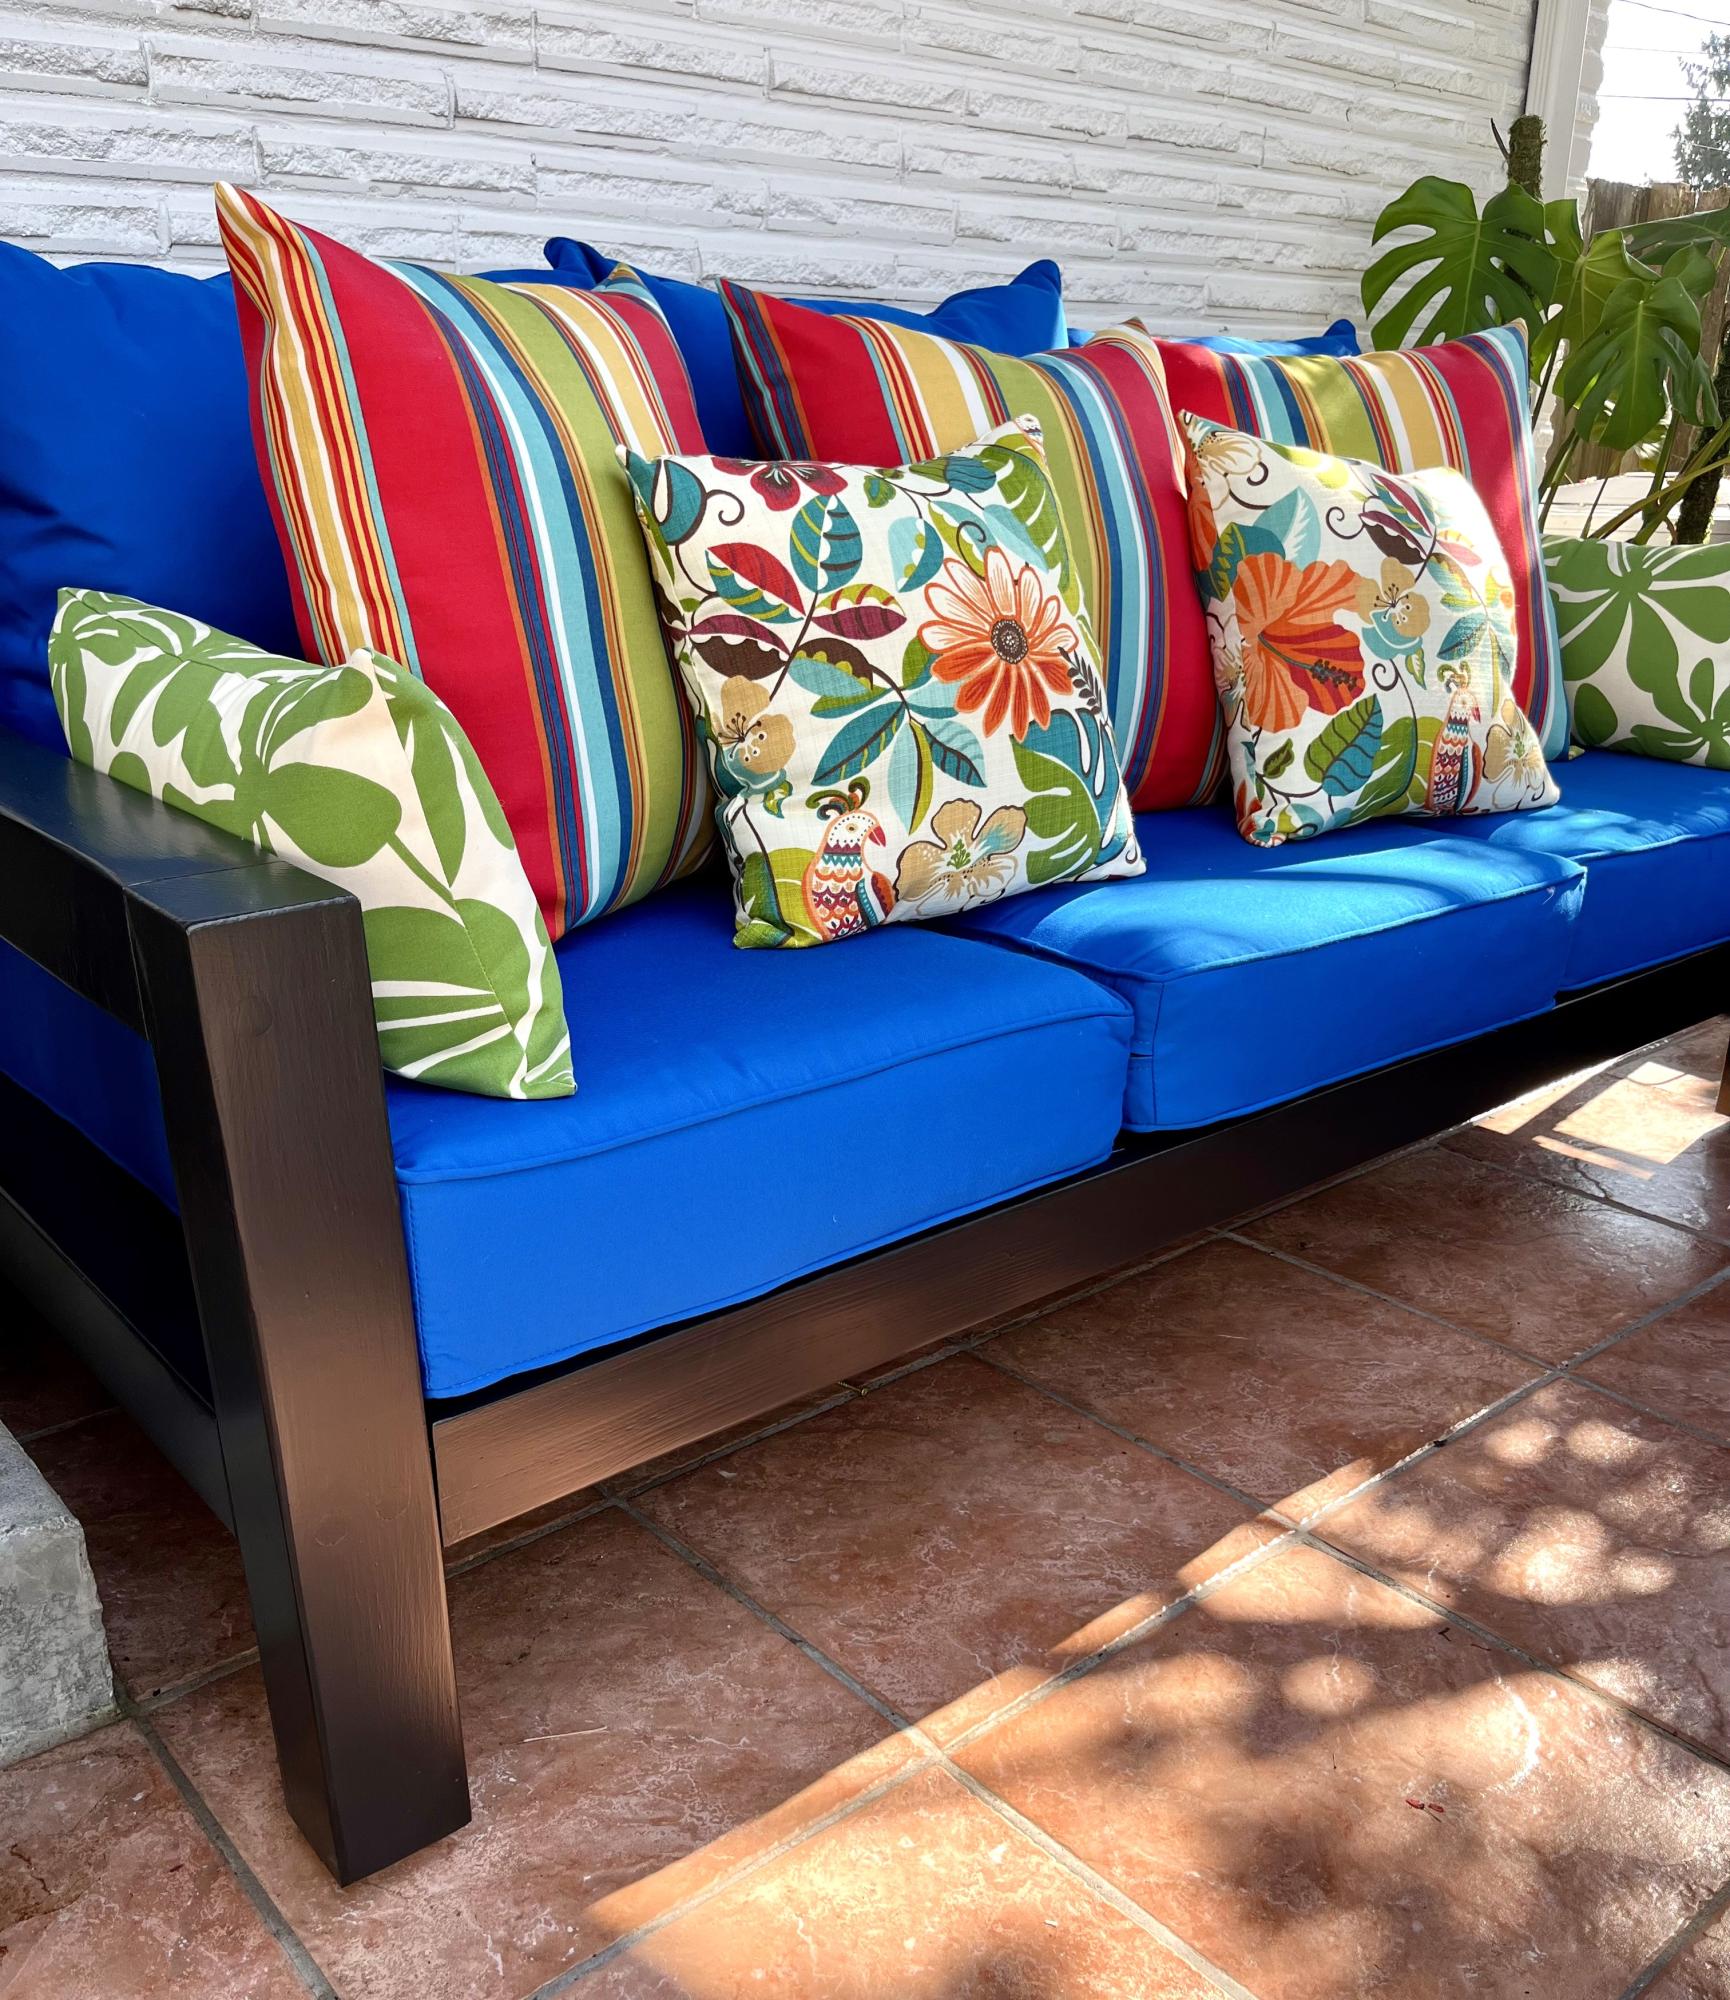
It was easy to make and we decided to paint it instead of stain. It goes perfectly with our mid century modern home!
F. Kimmel
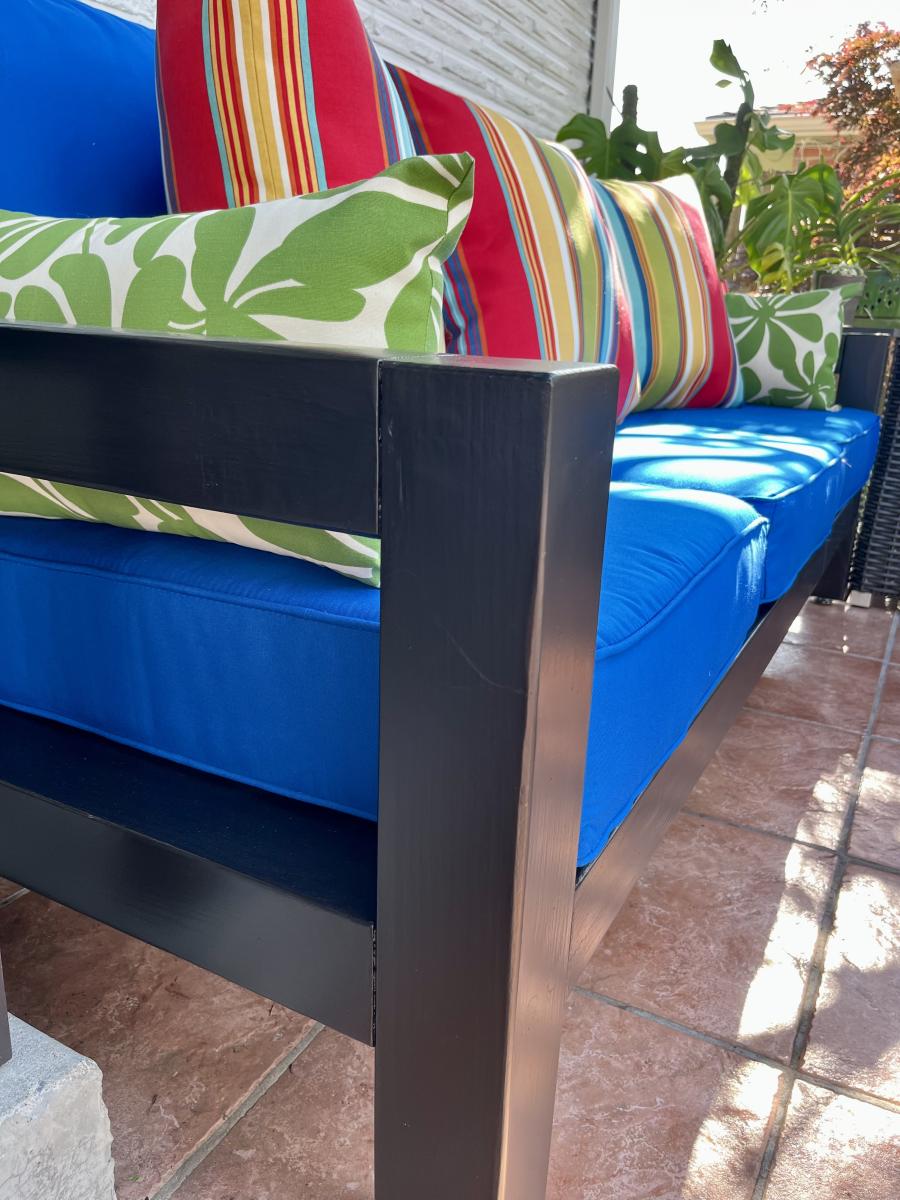

It was easy to make and we decided to paint it instead of stain. It goes perfectly with our mid century modern home!
F. Kimmel

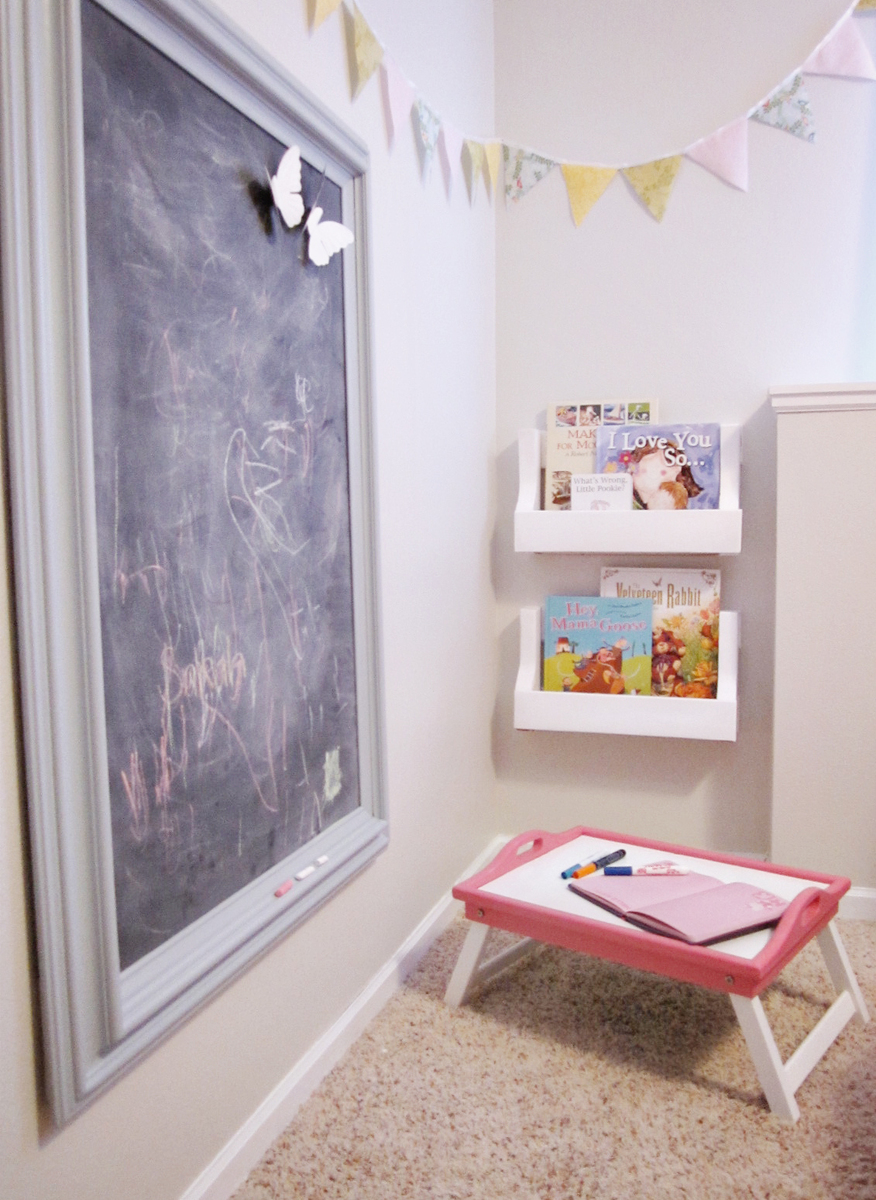
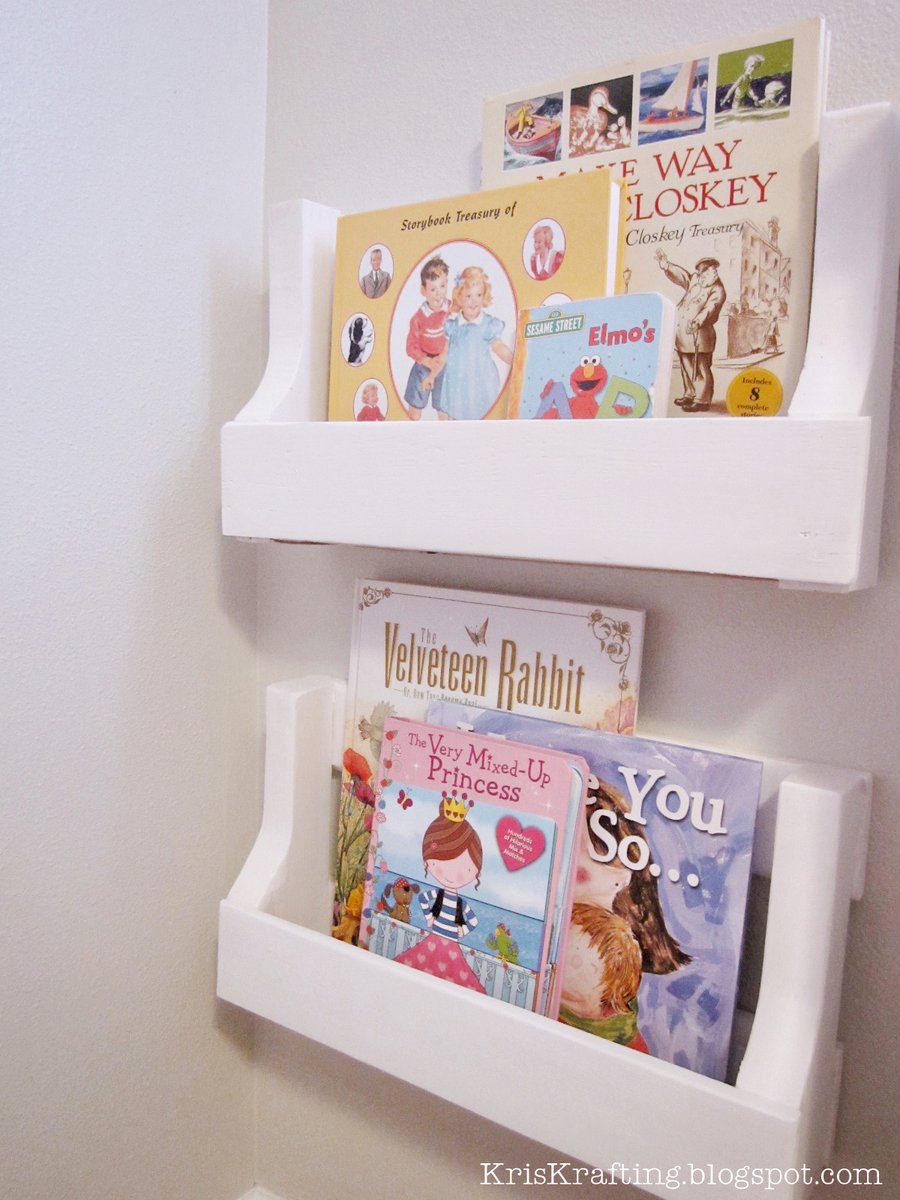
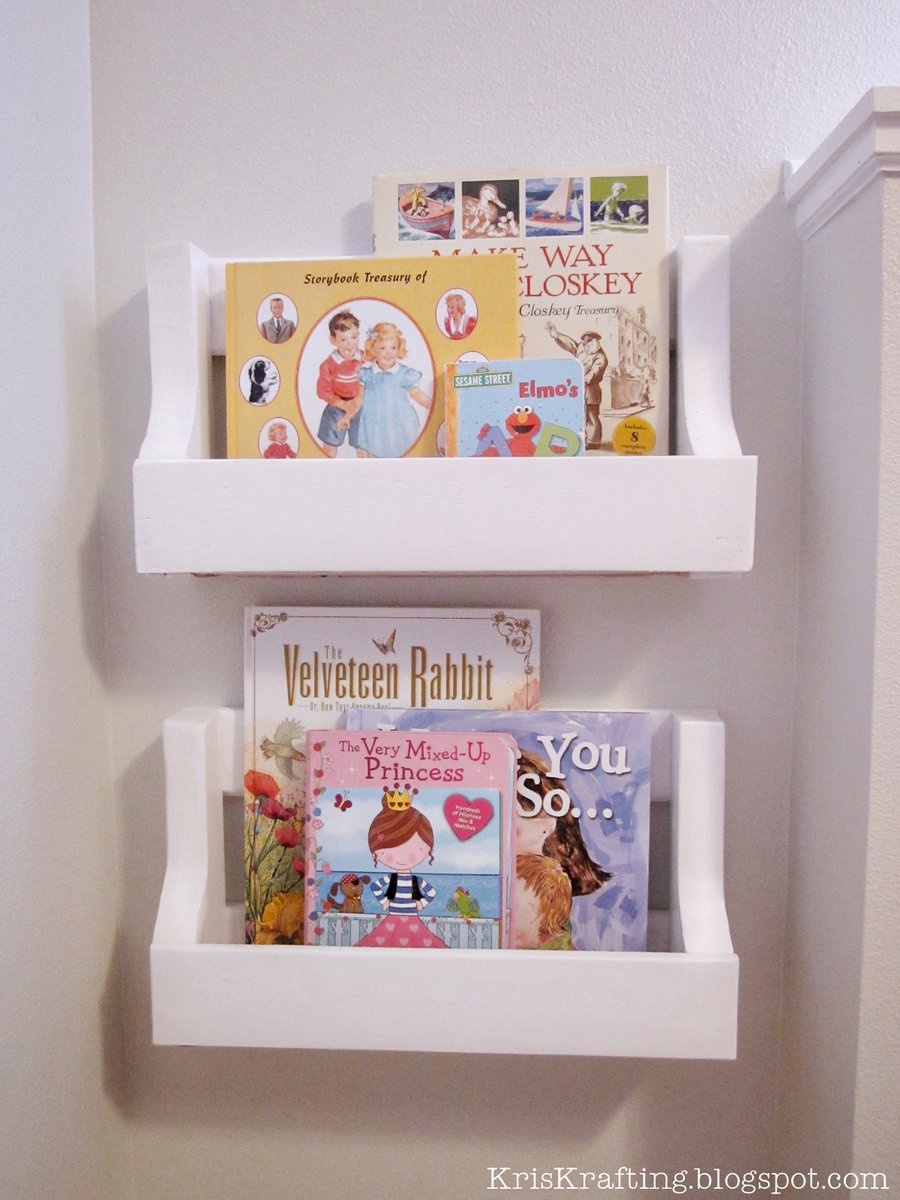
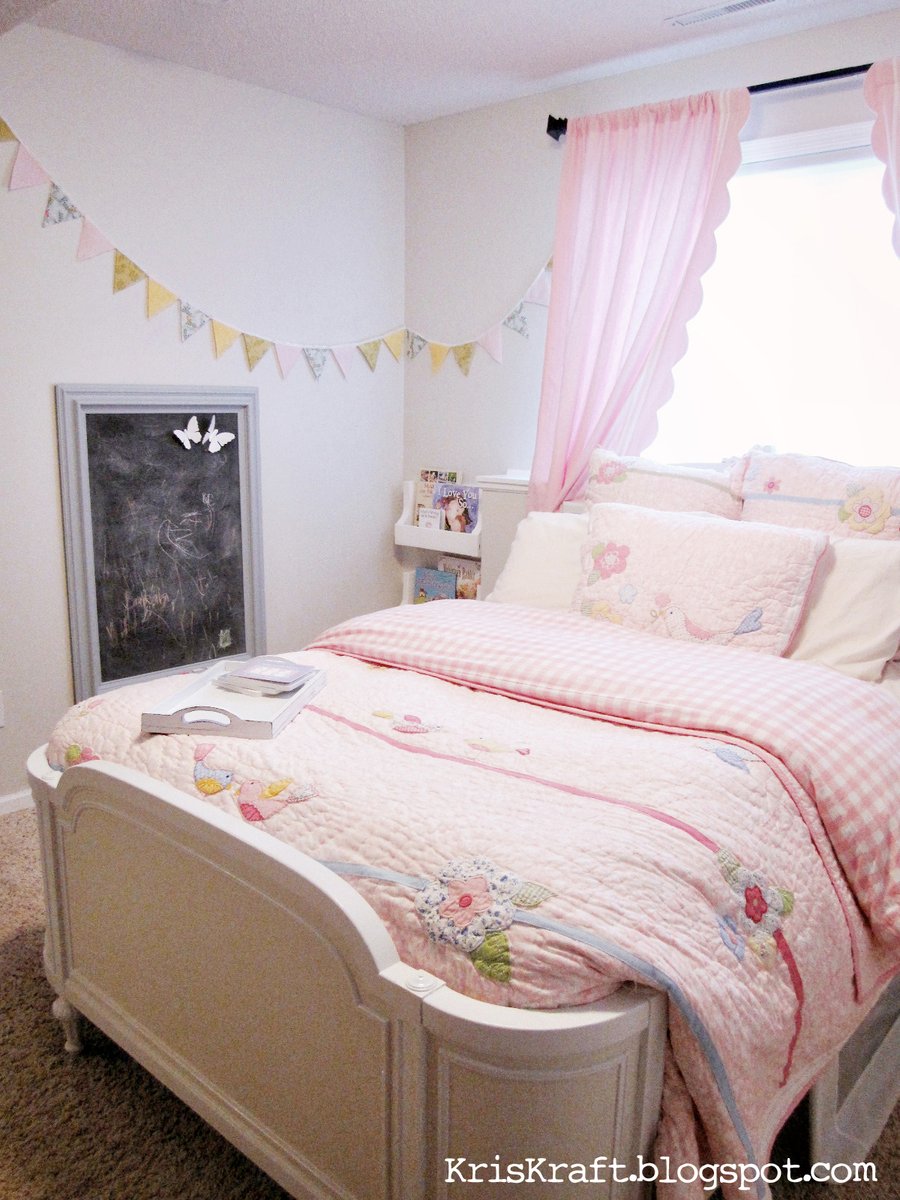
My daughter's room has a strange little cut-out section in one of its corners. We debated for a while over how to make it look like it's supposed to be there. After discussing all of our options, I remembered that we had a wood pallet in our garage. I also remembered seeing a great plan on Ana White's website for a book shelf made from a pallet, so I decided to give it a try. Fortunately cutting the pallet down in half made it the perfect size for this corner. Sarah loves books and drawing, so it makes a perfect little reading/art area. I love how it turned out, especially since it was FREE!
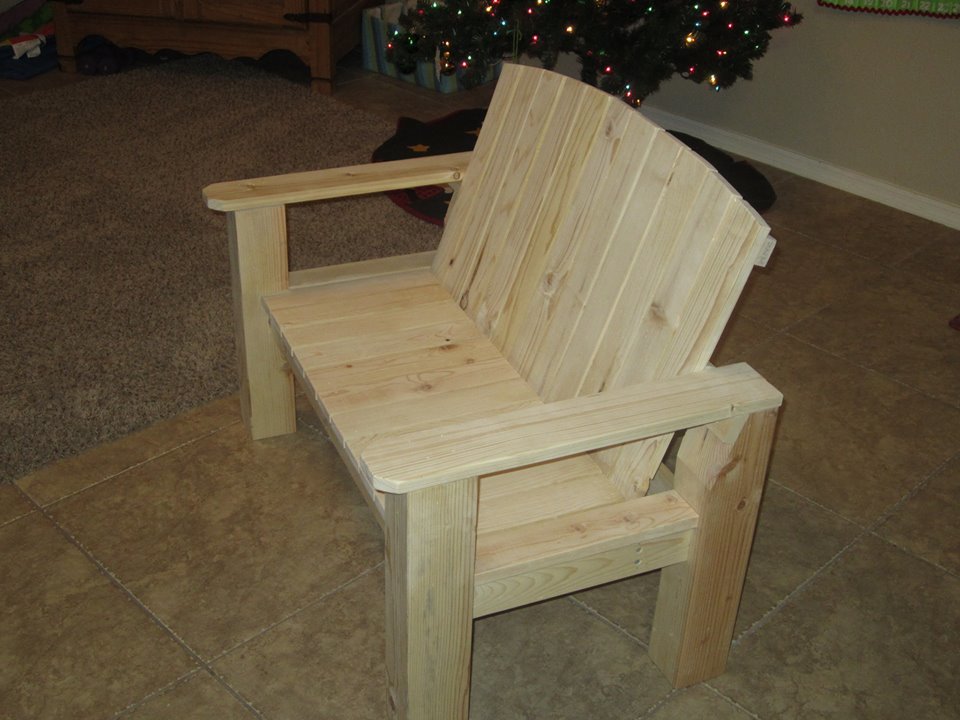
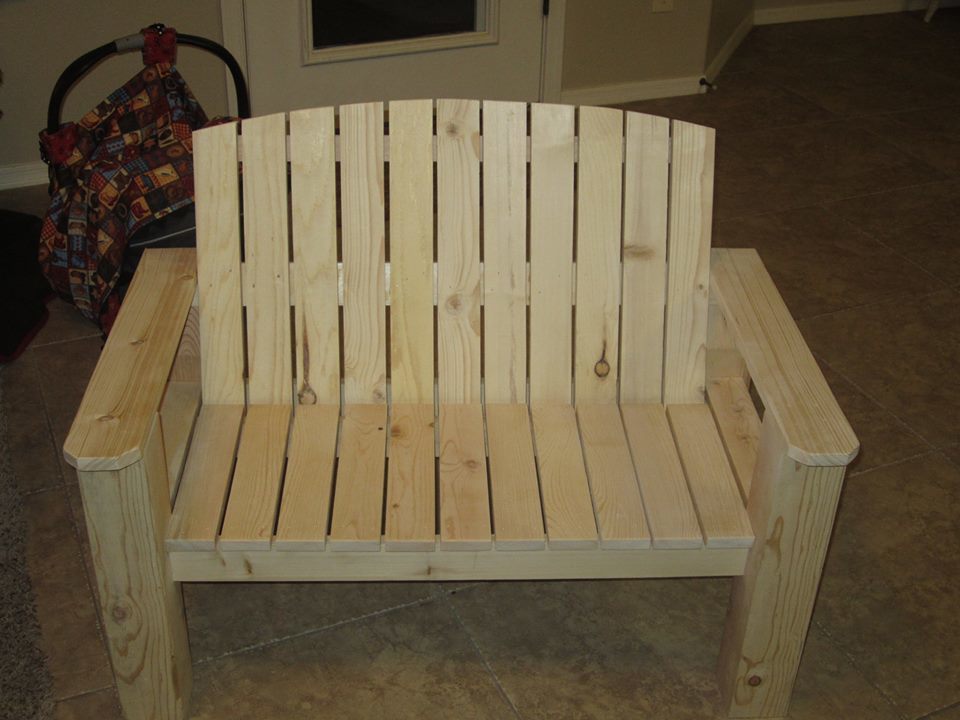
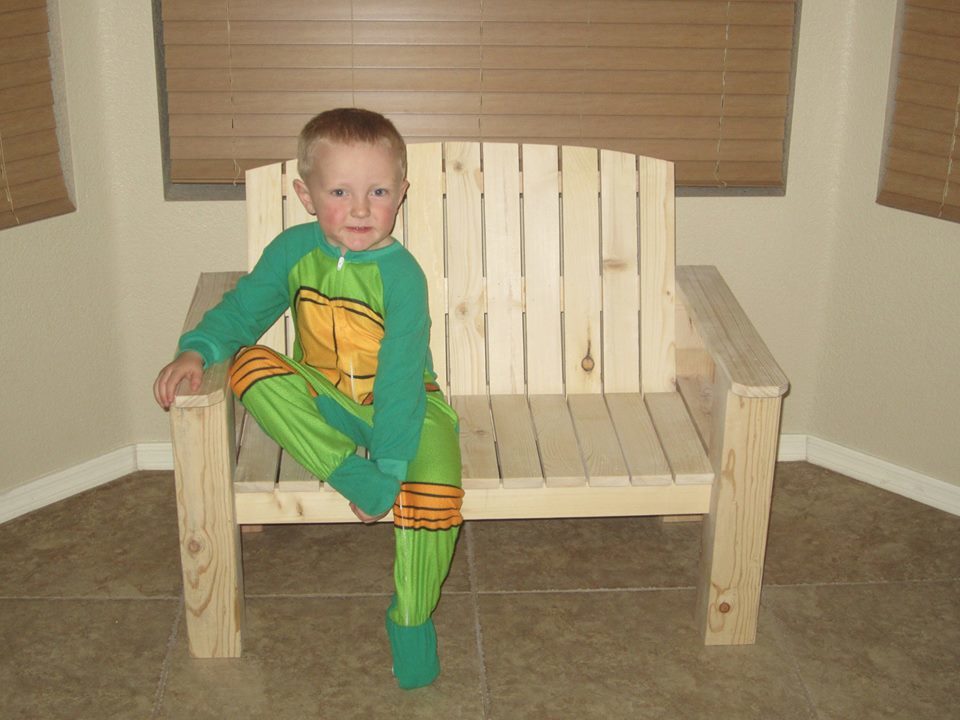
In getting my boys (ages 8, 5, and 3) started in woodworking, I decided to try this bench. We had a ton of fun building it together.
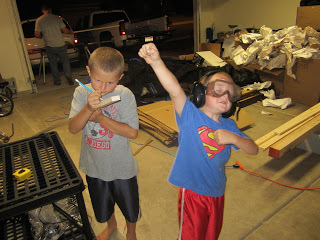
As you can see, I beefed it up a lot - using 4x4's for legs and recessing the frame into the legs themselves. The boys did all of the sanding and assembling and 80-90% of the cutting. I was just there as training wheels. It took much longer to build with the 4 of us than if I had done it myself. I estimate I could have done this in 3-4 hours. Group effort made it about 20-22 hours.
My 5 year old was the one who campaigned for the arched backrest. I think that they did a great job, and just wanted to share.

Had a blast building this project. from printing the plan to first coatings of stain was roughly 10 -14 hours including 2 trips to HomeDepot. I opted to use the PineShop Laminated Pine Shelving / Project Wood It has a really great look when done, and as Im in Canada some prices where a little higher than i had hoped. when purchasing the laminated pine panels, i got 3 panels at 48 inch long by 16 wide (for the top bottom and shelf and 2 panels at 36 inch long by 16 inch wide for the sides. these are actually 16 inch wide so if you need to make them narrower run them through your table saw or have the home depot team trim them to the width you prefer or buy the narrower 12 inch panel . Again it was a blast to build, between the kreg screws needed and the panels and lumber and 1/4 plywood back panel and 3 centre mount drawer slides this project came in at $245 Canadian the Stain i used i have plenty of on hand, but if you don't have any on hand add $10 or $20 to your price
I just finished this table for our new house at the beach; I did a small modification at the moment of fixing the breadboards; besides the pocket holes I also used dowels for extra strength. If someone sits on the front of the table it could be a problem.
Another detail I included,is a simple way to clamp the diagonal pieces, much more firmly than with tape.
I am quite happy with the results, I will now finish the table with lacquer.
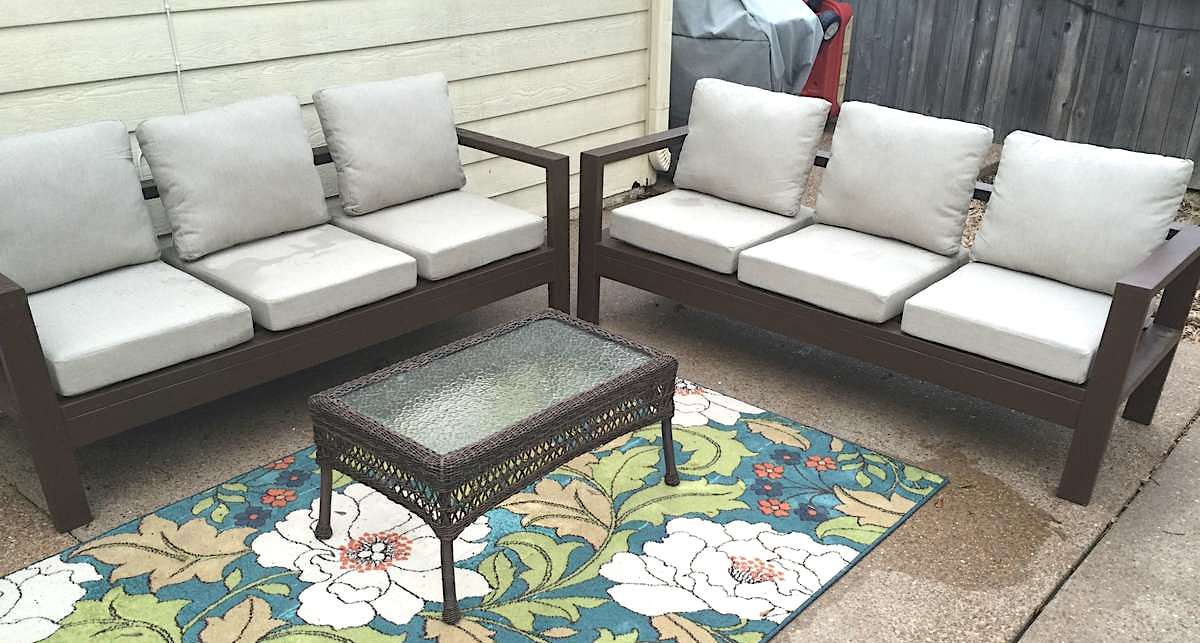
I have been wanting outdoor seating by my pool forever but couldn't afford anything I liked. When I came across Ana White's plans for the outdoor sectional I knew I had to build two. They are just what I was wanting and cost under $200. It took my brother & I one afternoon to buy the supplies and put it all together. Since this furniture is outdoors 24/7, I had to caulk the seams & paint the whole thing. That process took two days. The biggest expense was of course the cushions from Home Depot that Ana White recommends for this sectional. I have to admit, they are well worth every penny. They look amazing! Can't wait to spruce them up with some throw pillows.
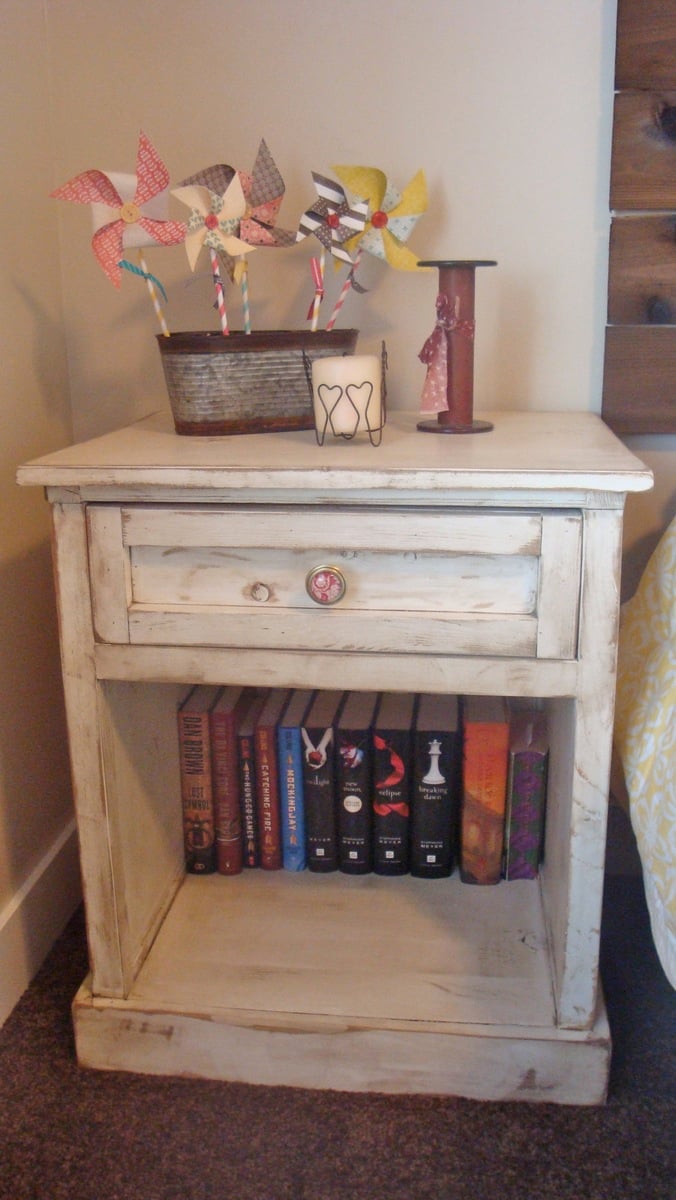
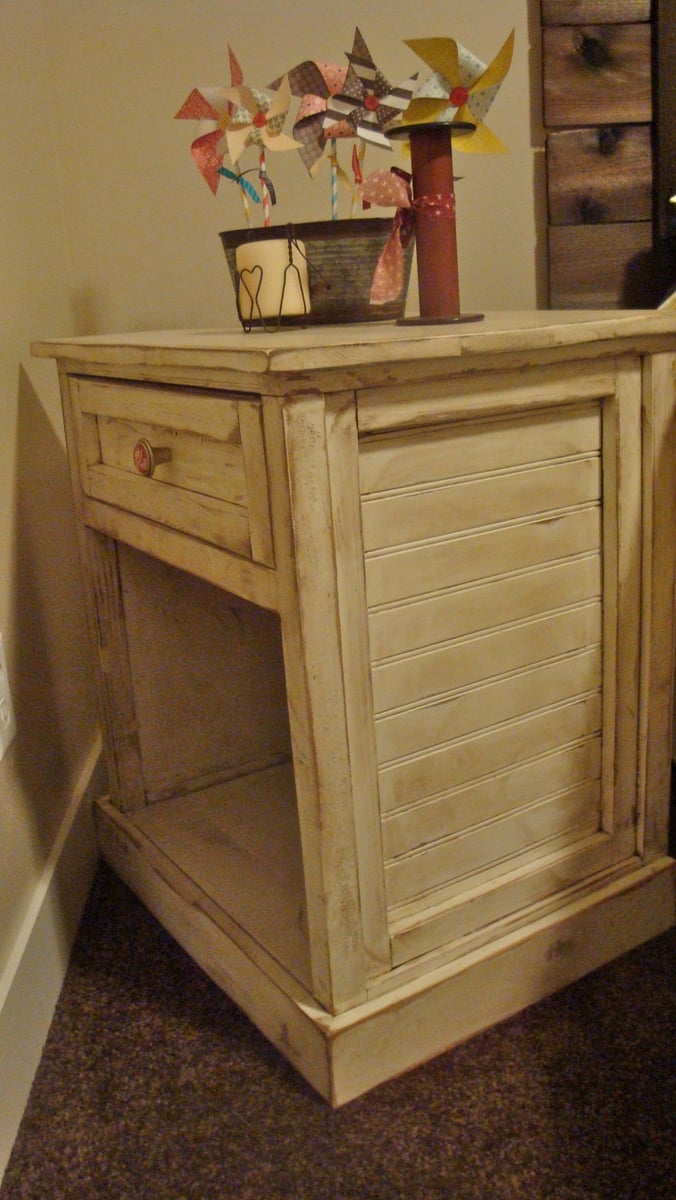
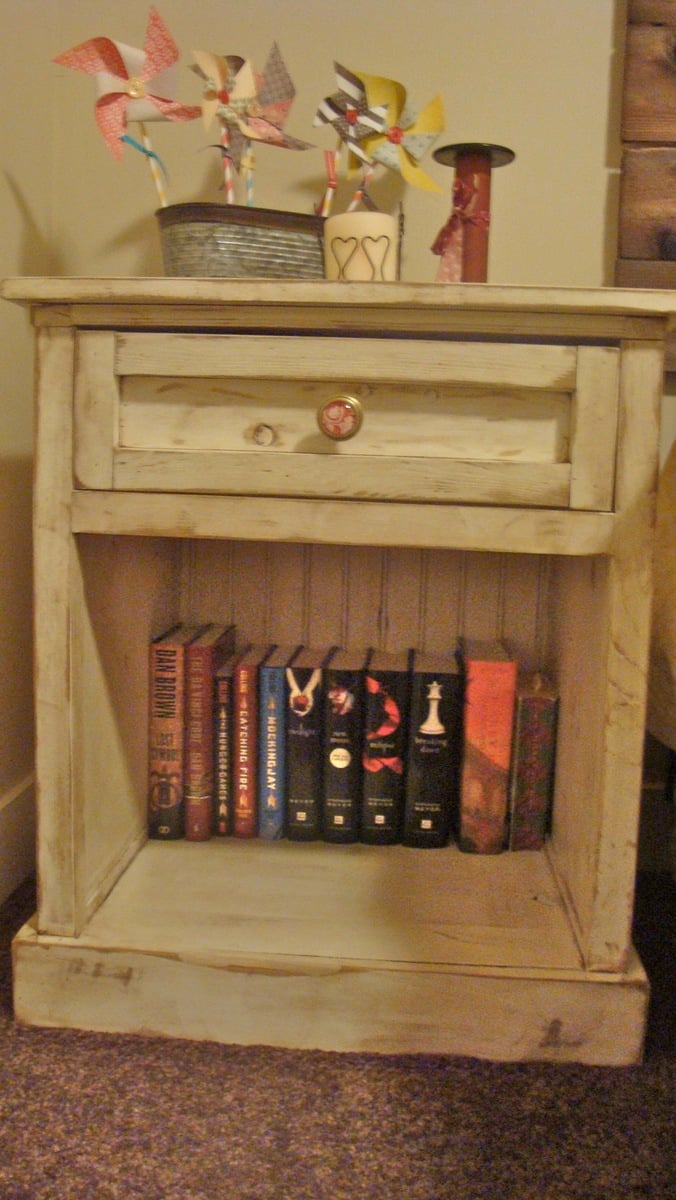
This was my first attempt at doing a project with a drawer. It definitely took time to make sure everything was level so that the drawer would side in and out smoothly. You can't see see it in these pictures but I used bead board in place of the plywood on the back and on the sides. I also used 1x8s glued and screwed together instead of the 3/4" plywood. I can't take credit for the finish on the project though. My wife is the one in charge of making my projects look great. She's the one that did the fun antiqued finish on the side table.
Wed, 02/29/2012 - 19:22
Anyway,your works Your work is very interesting, I am sure.Waiting for more of your new works, you are very popular.
Wed, 02/29/2012 - 19:26
Anyway,your works Your work is very interesting, I am sure.Waiting for more of your new works, you are very popular.
Thu, 03/08/2012 - 23:48
I enjoyed these consultation and expression onward to greasing one's palms and showing the hold. In that respect nonentity of more than worldwide sake that elevating youngsters! Devotes Pine Tree State more or less themes since emerging soundness programing.
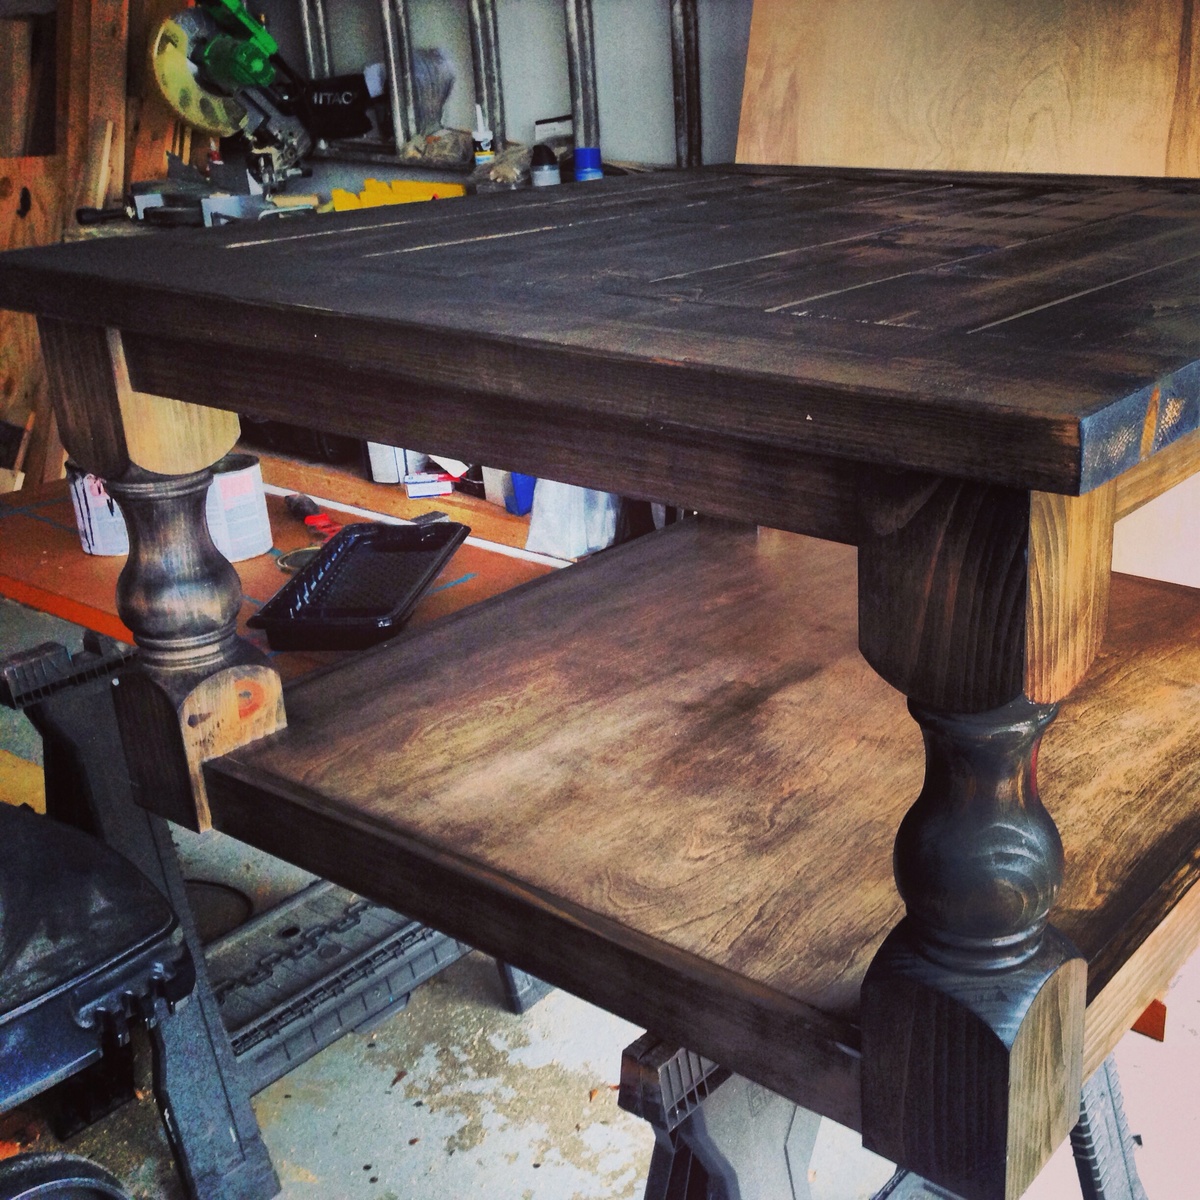
Got the plans from this website and built the table for our family room!
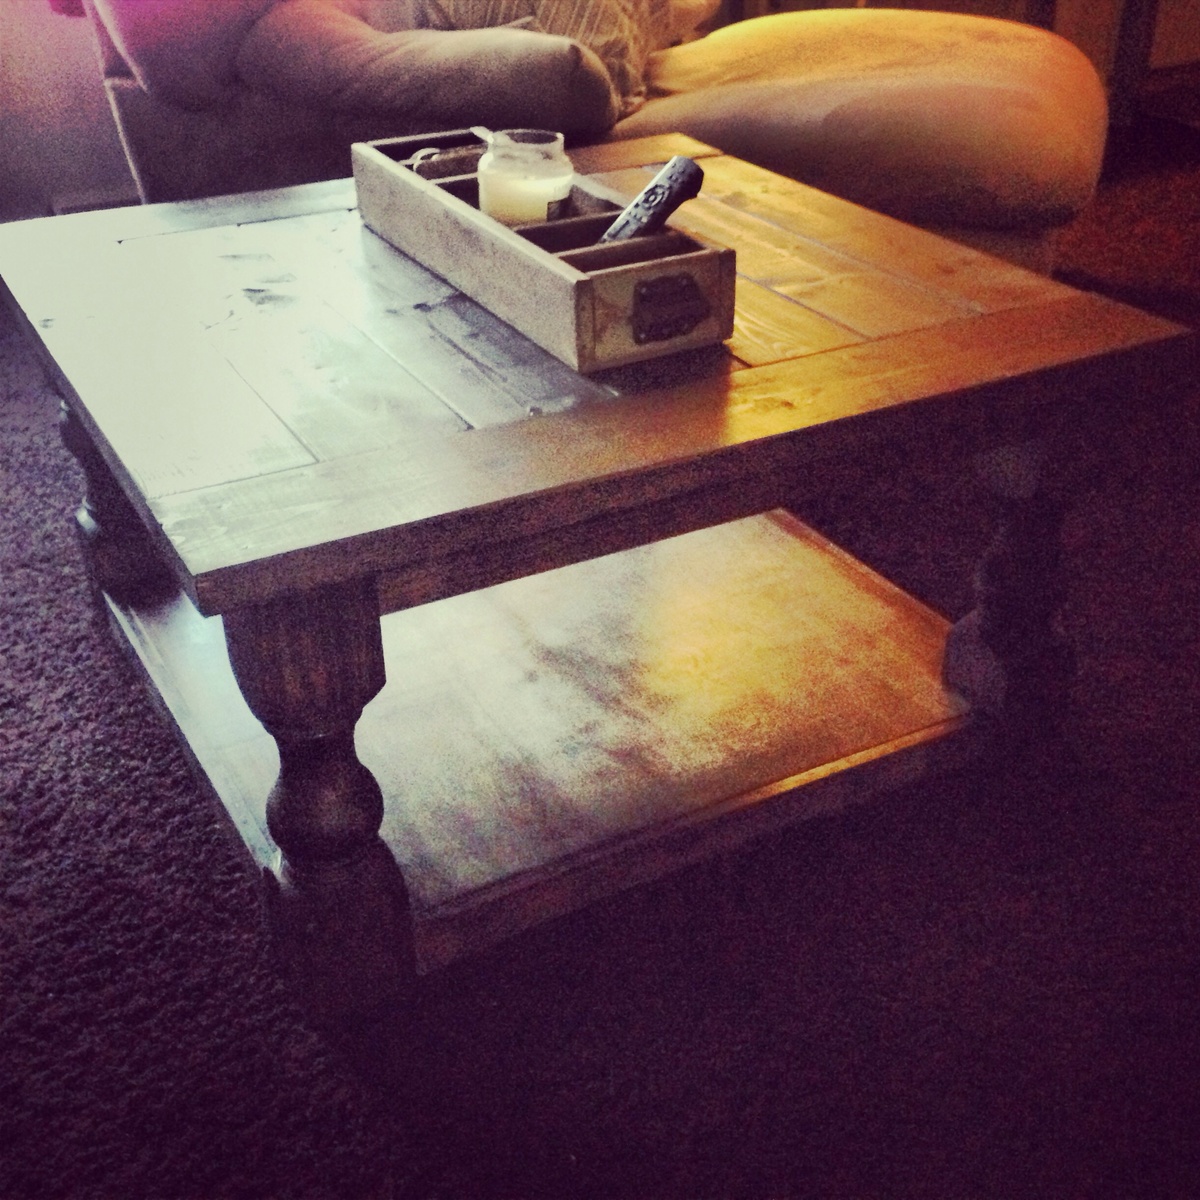
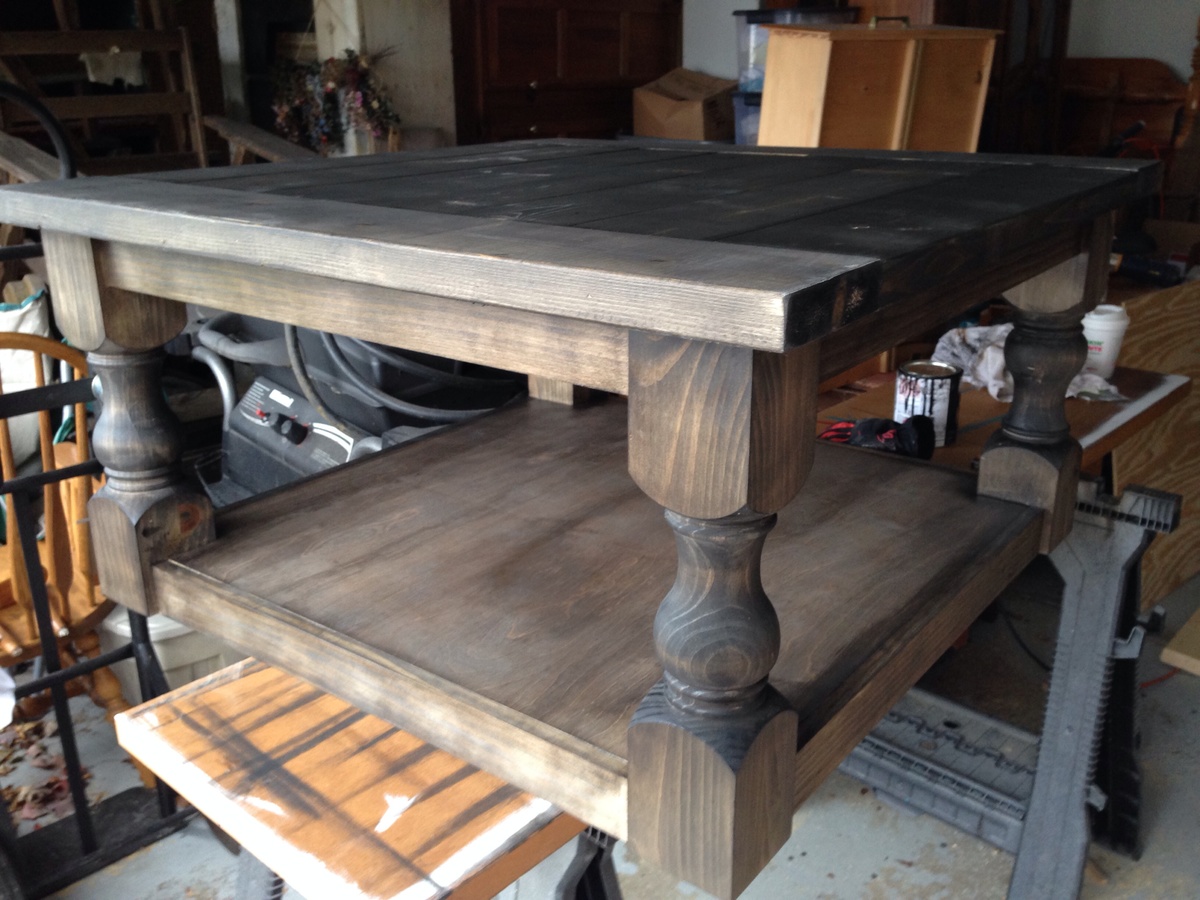
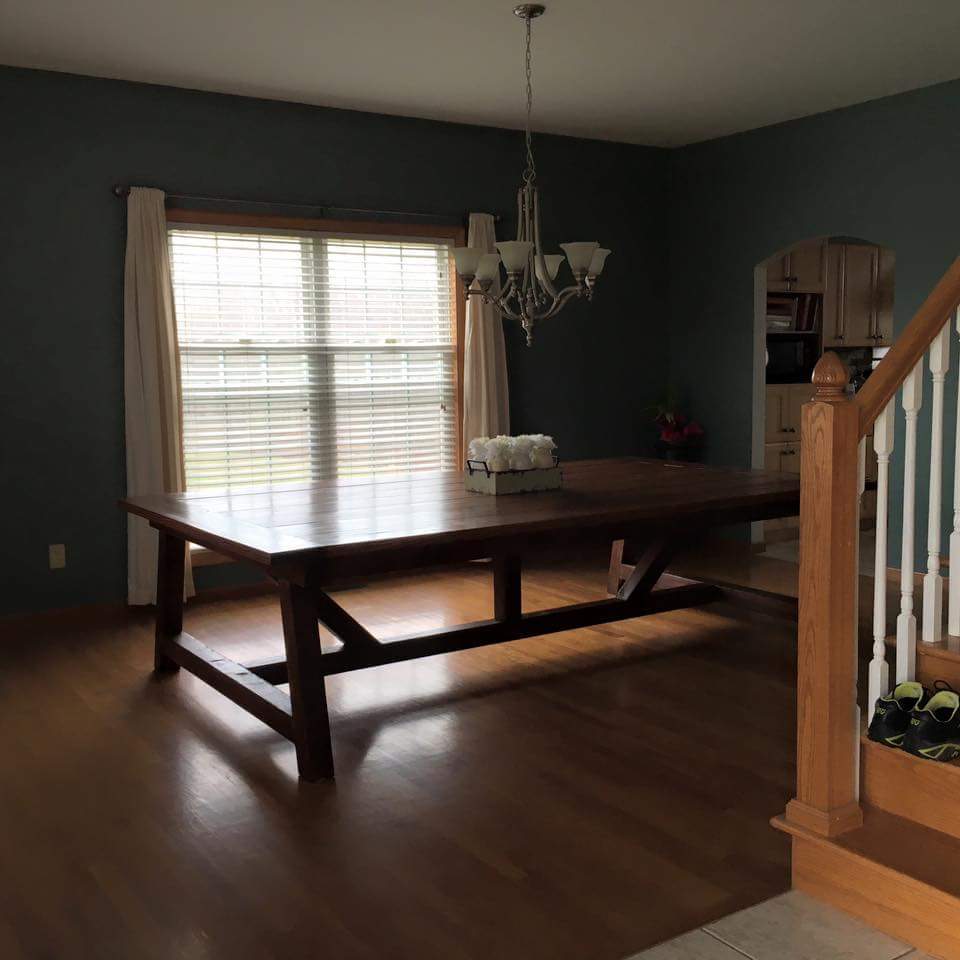
this project turned out better than I hoped
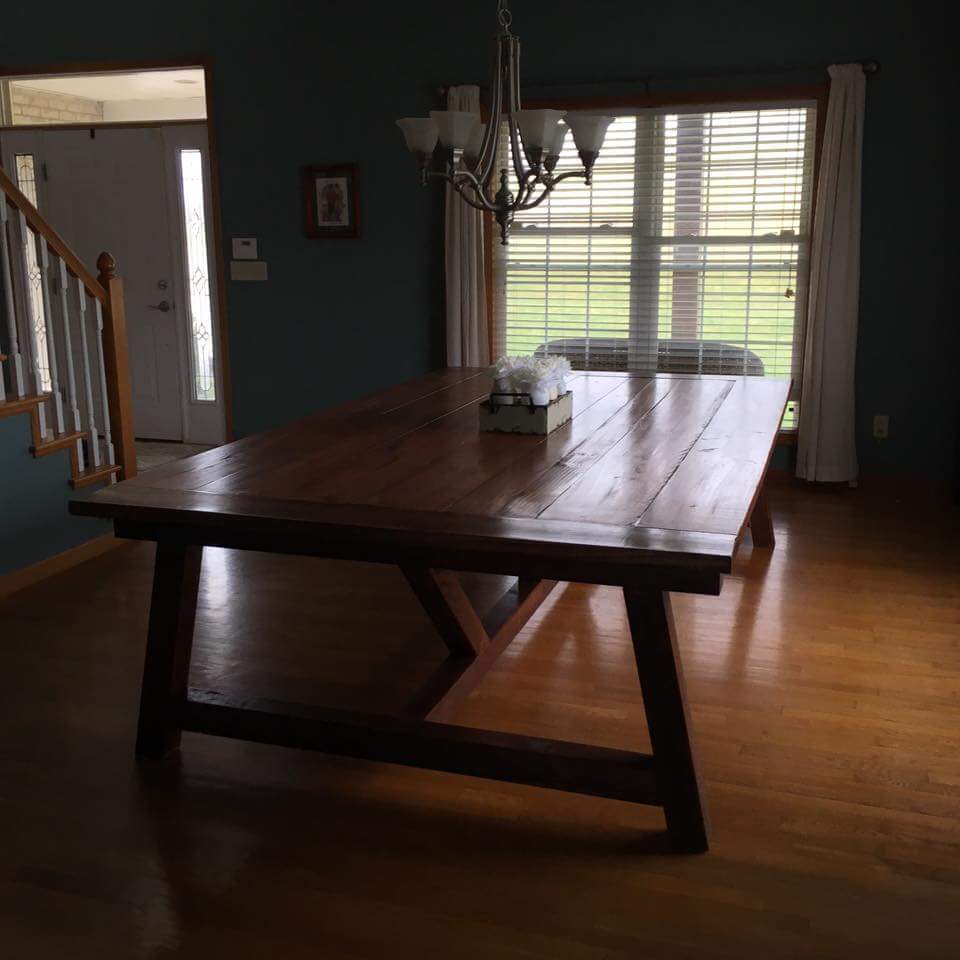
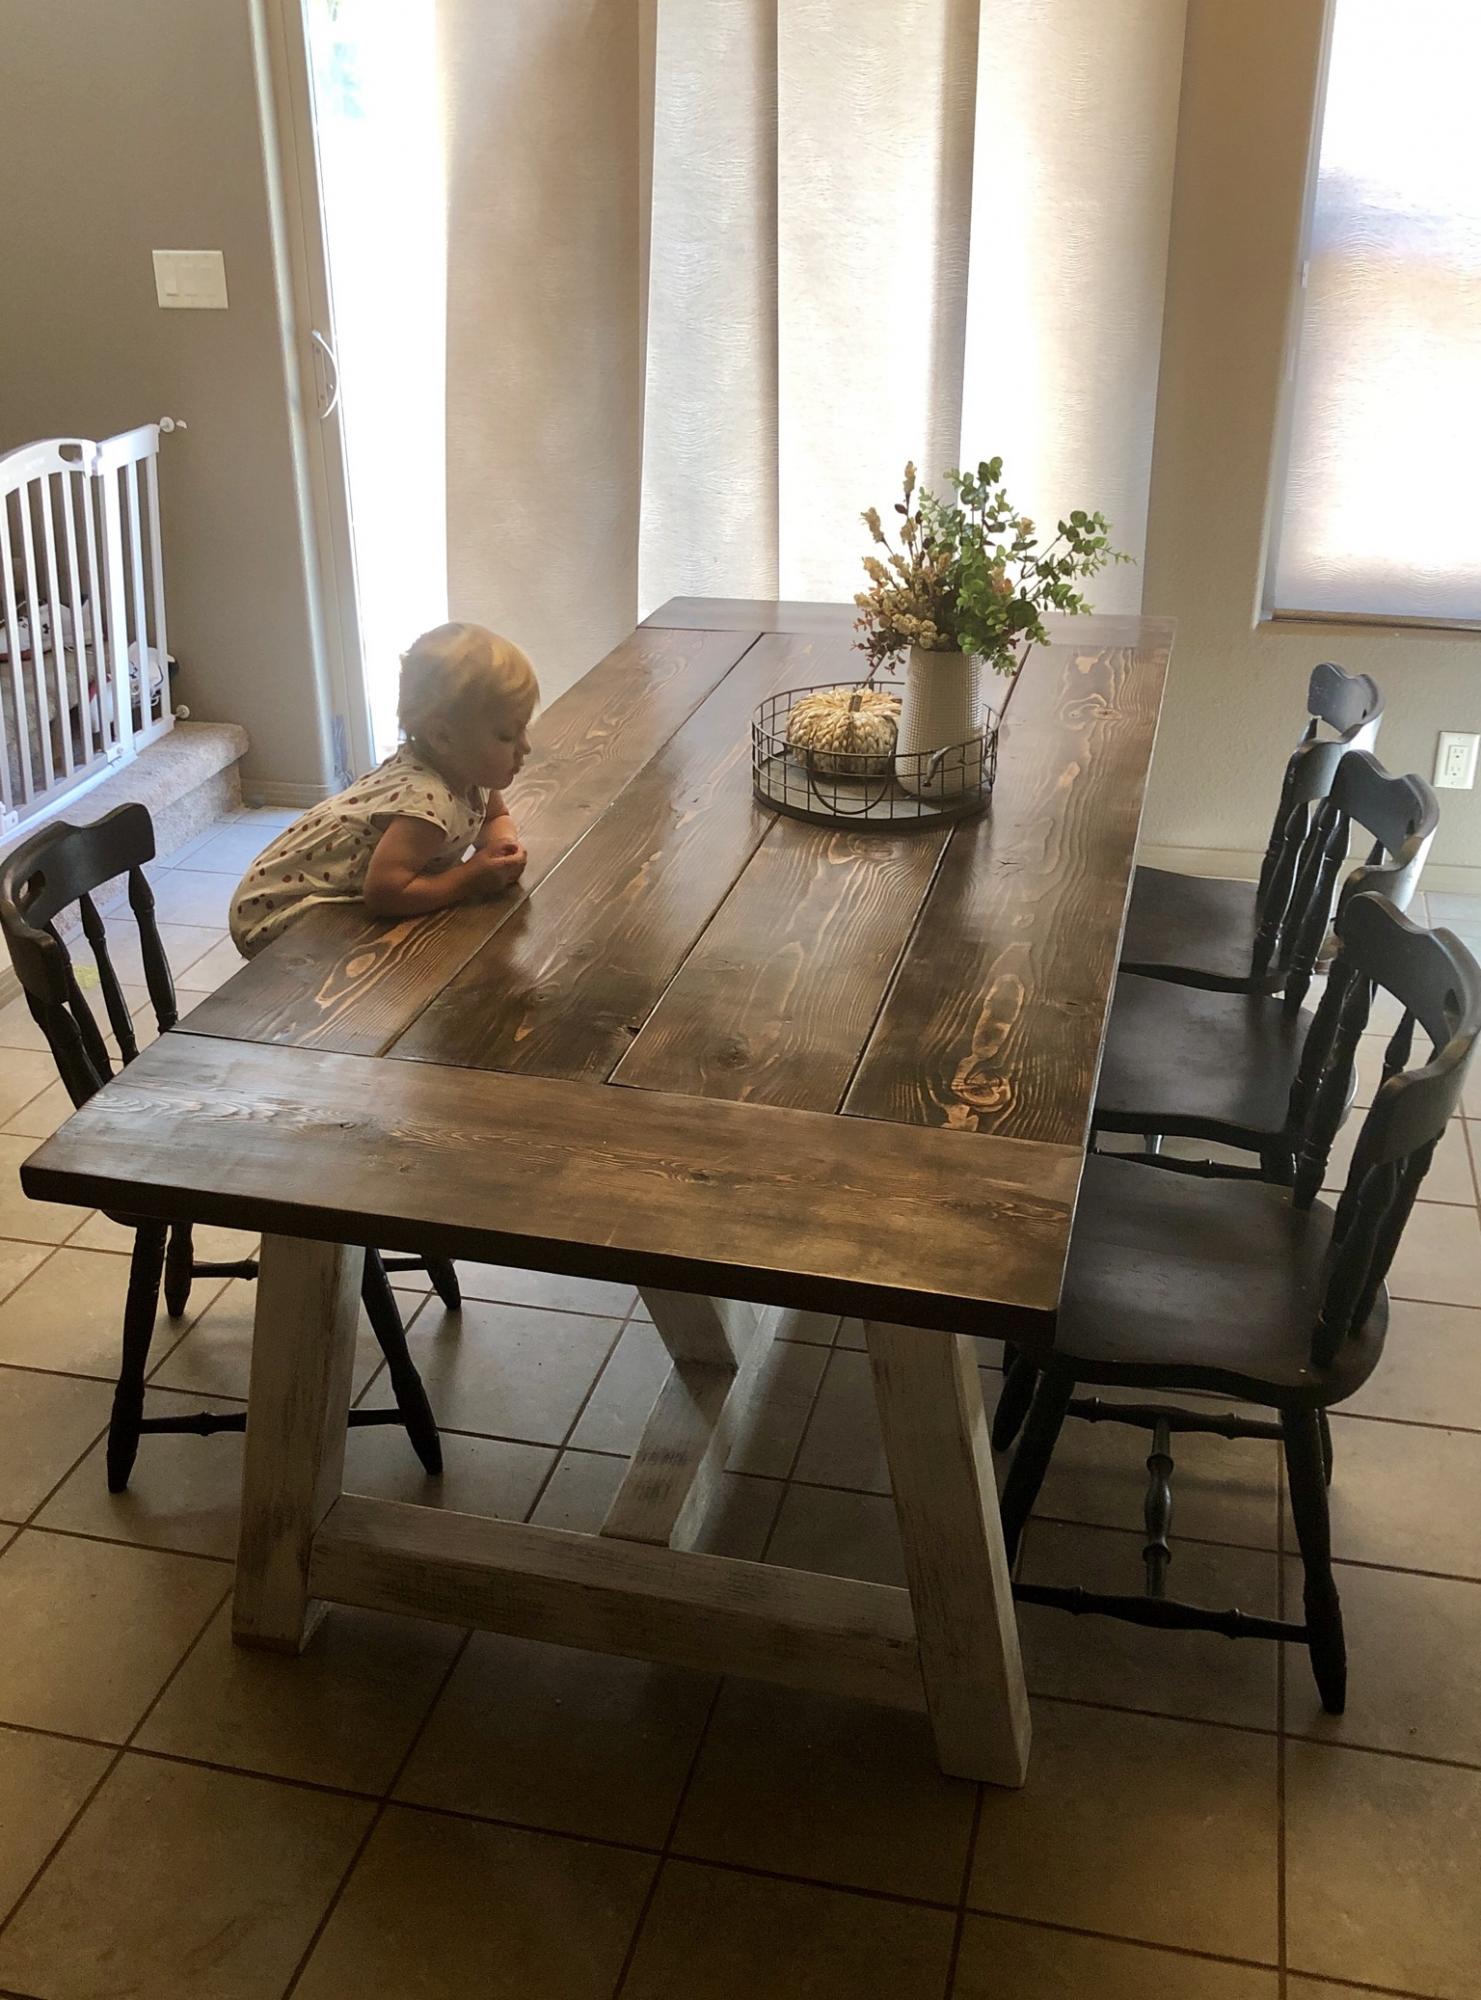
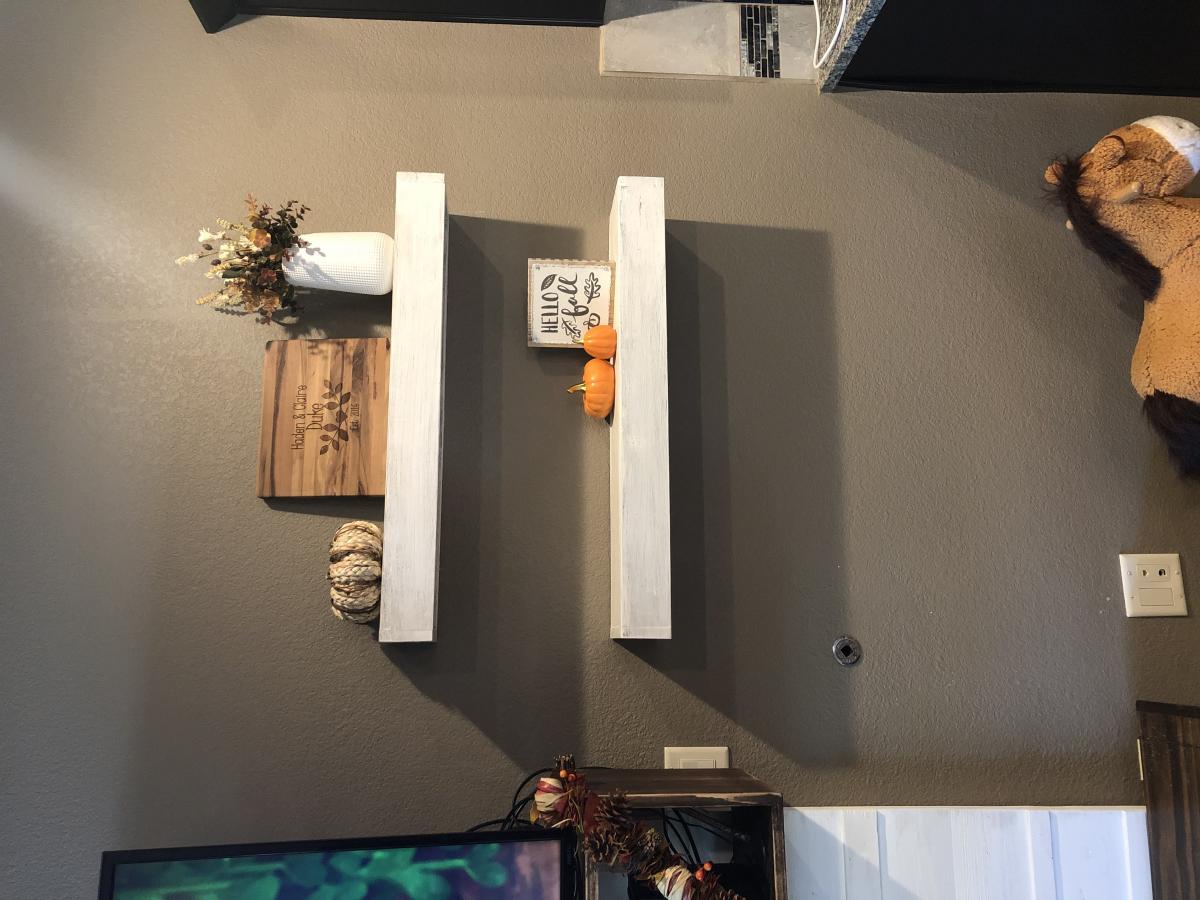
Been loving our Ana White plans!! The table and shelves turned out exactly how we wanted them to & they were SO much cheaper than paying for lesser quality furniture store finds. We’ve received so many compliments!
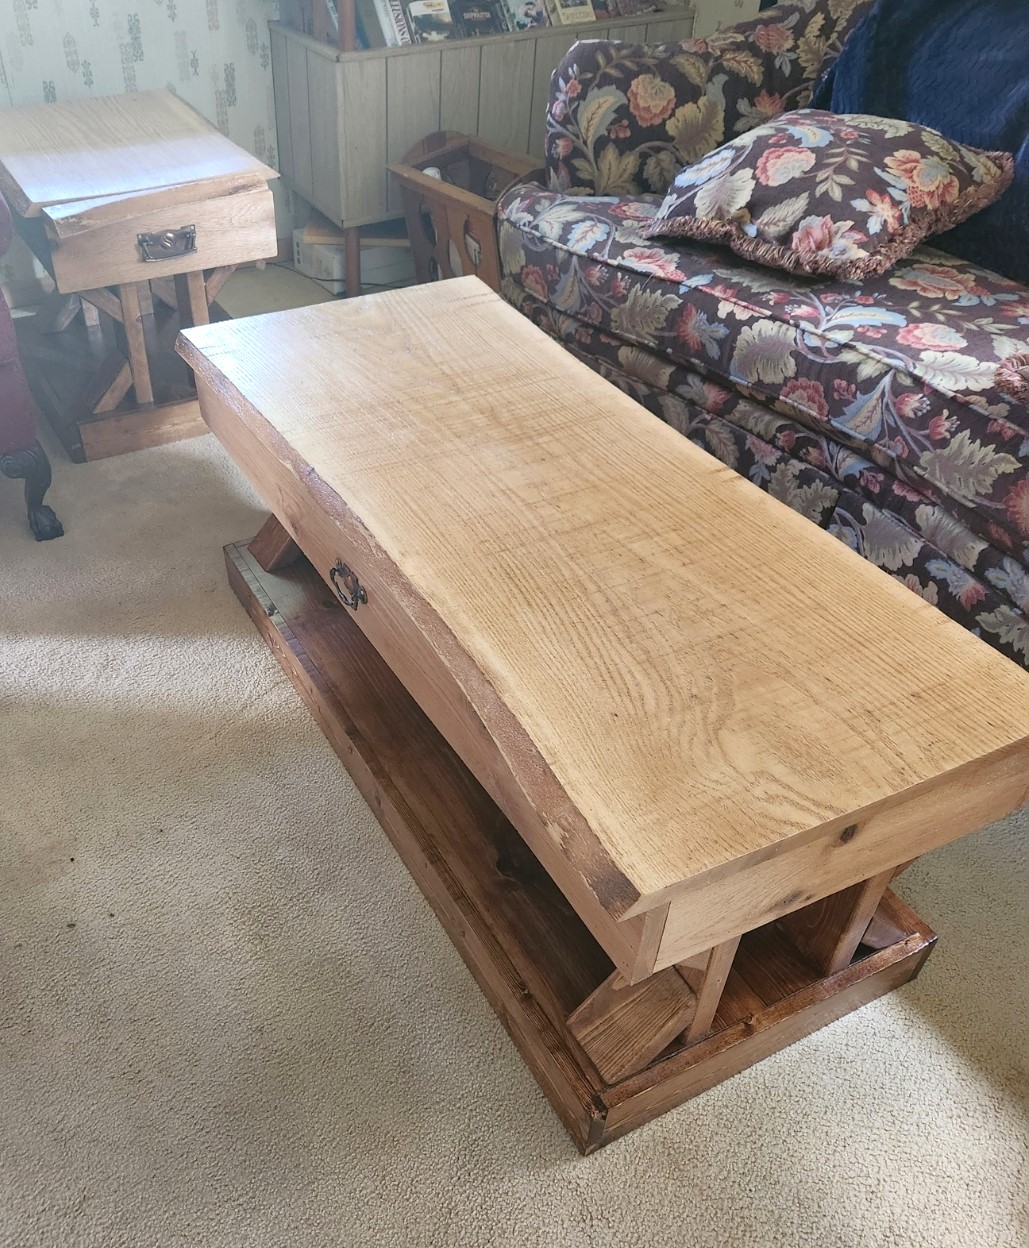
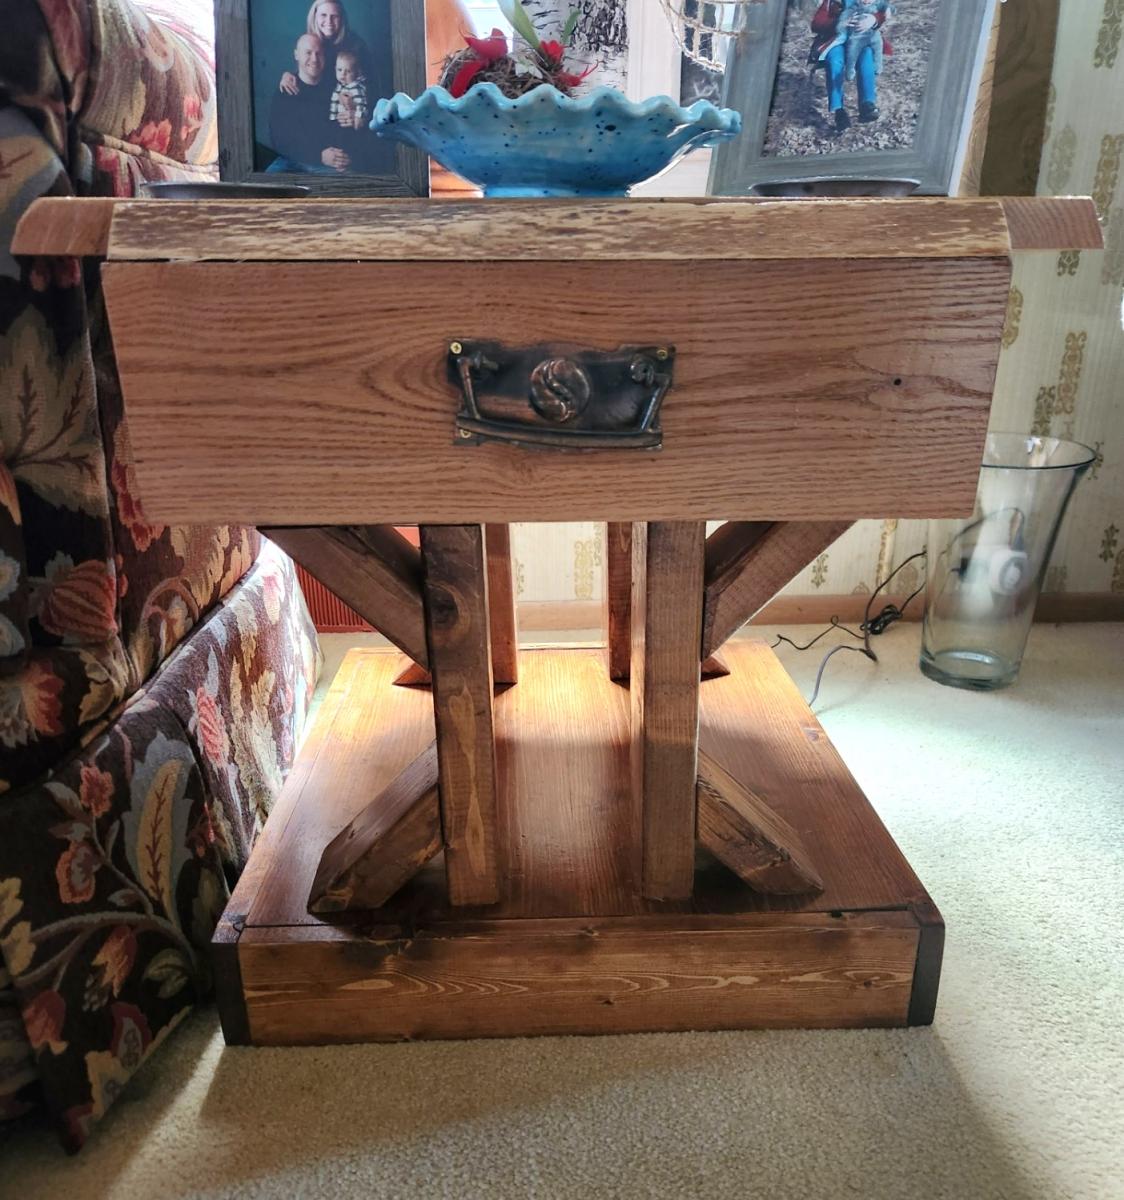
Here is my version of the modern farmhouse end table and coffee table. I used a 4/4 slab of live edge red oak for the tops and put a drawer in each end table.
Red Craig
I used the Lydia Toddle Bed plans and made the adjustments to be a twin size bed.
Fri, 09/06/2013 - 16:04
I actually took mine off a bed I took apart awhile ago. But you can get them from Rockler - http://www.rockler.com/product.cfm?page=10&rrt=1
It looks like they are about $15-$16 for a set of 4
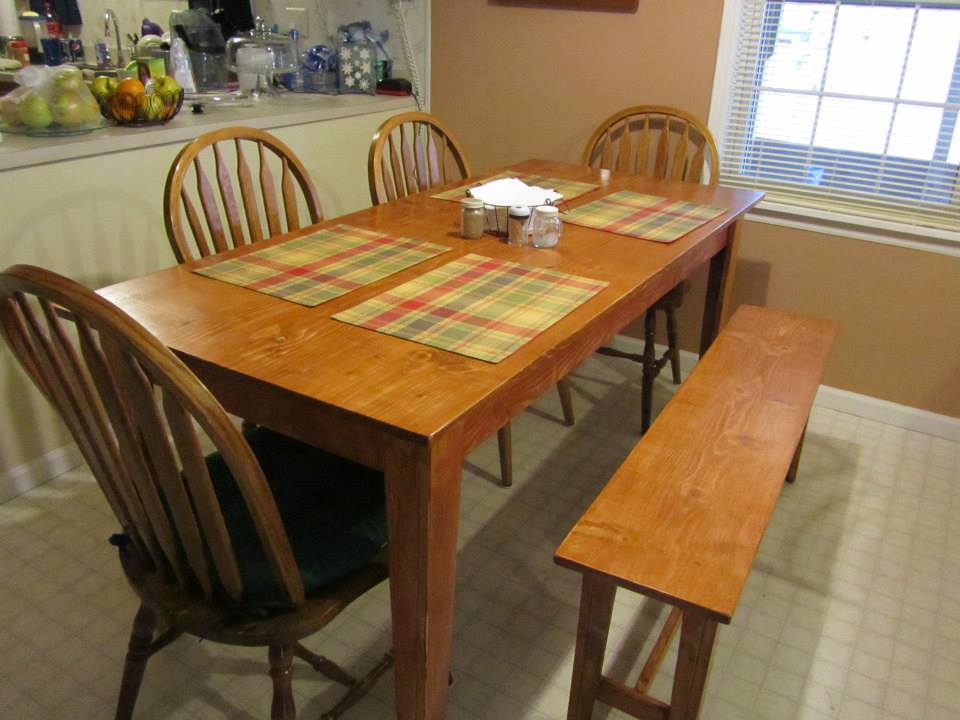
This is a narrow farmhouse table that I was asked to build for my neighbors. The plan was very easy to follow and didn't take long to do at all. I used 1x12x8' shelving board from the local home improvement center for most of the application. When mating the top together, I used a biscuit joiner, (aside to what the plans called for), for added strength. Also, I remember from years back that you should alternate the "rings" in the lumber to prevent bowing. This gave me a smooth, level table top without using a planer. Using the shelving board made this table very light, I love this table!!
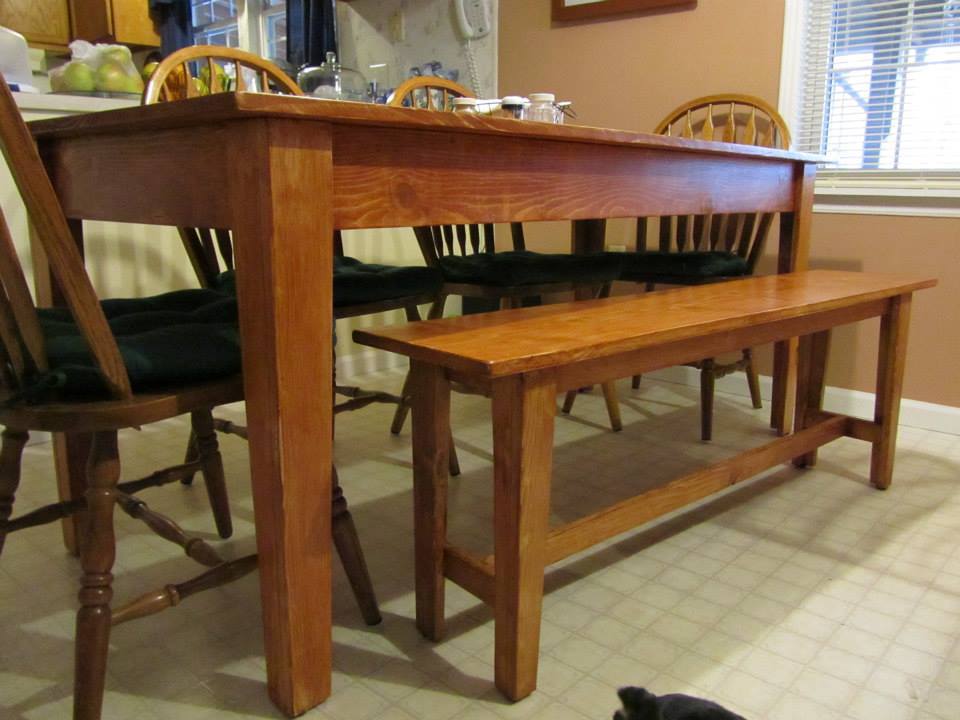
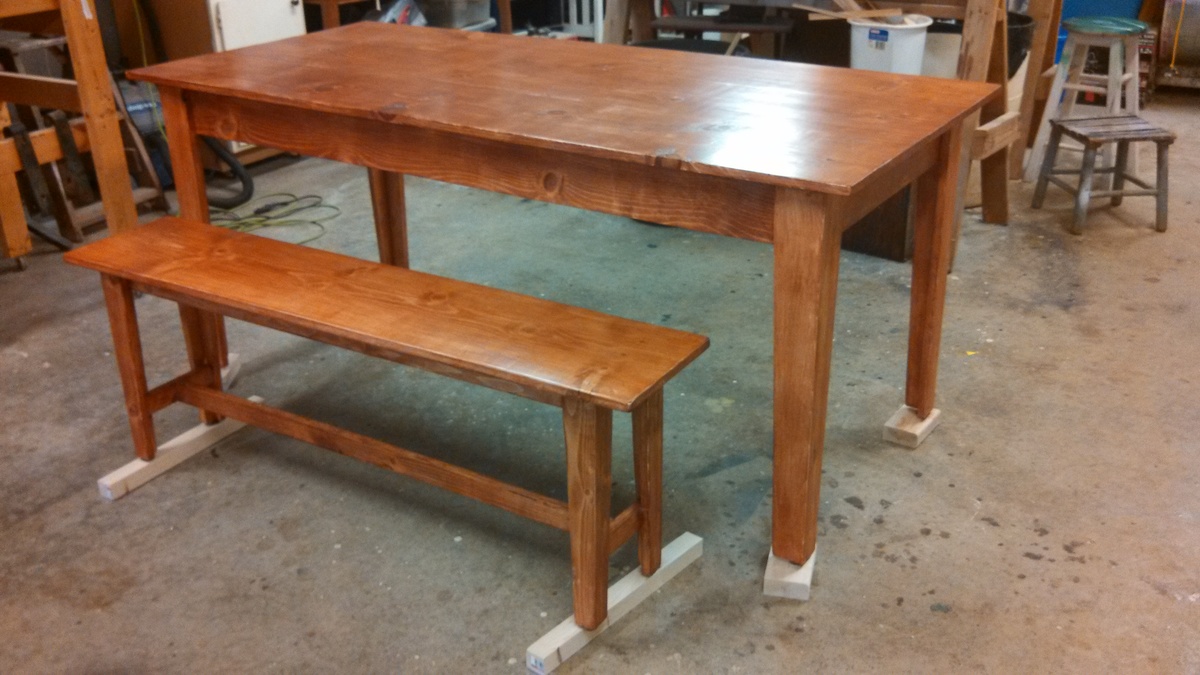
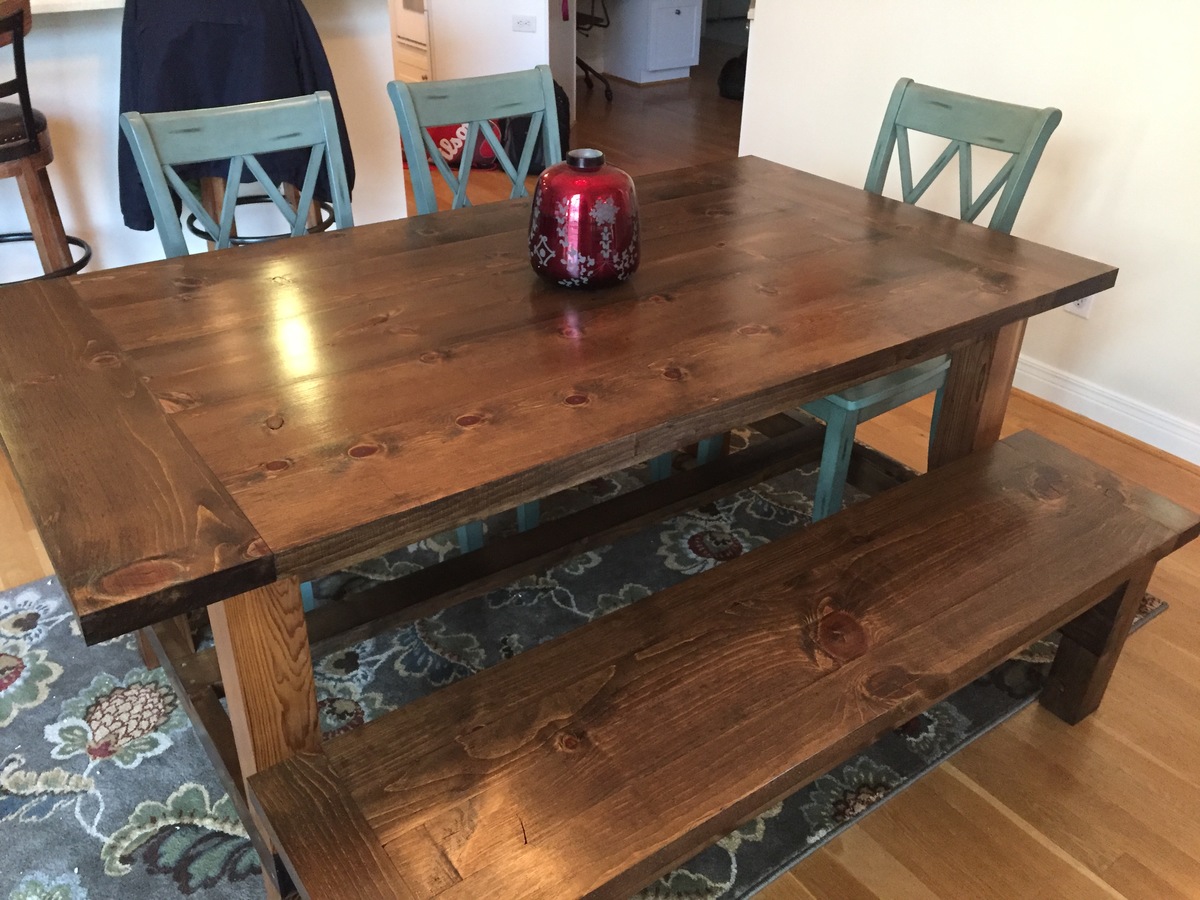
We loved the farmhouse table plan and the bench. We modified a bit to make it 6ft. We just loved how it turned out. We used cedar for the legs. We wanted something to contrast a bit. I didn't stain the legs just coated with poly.
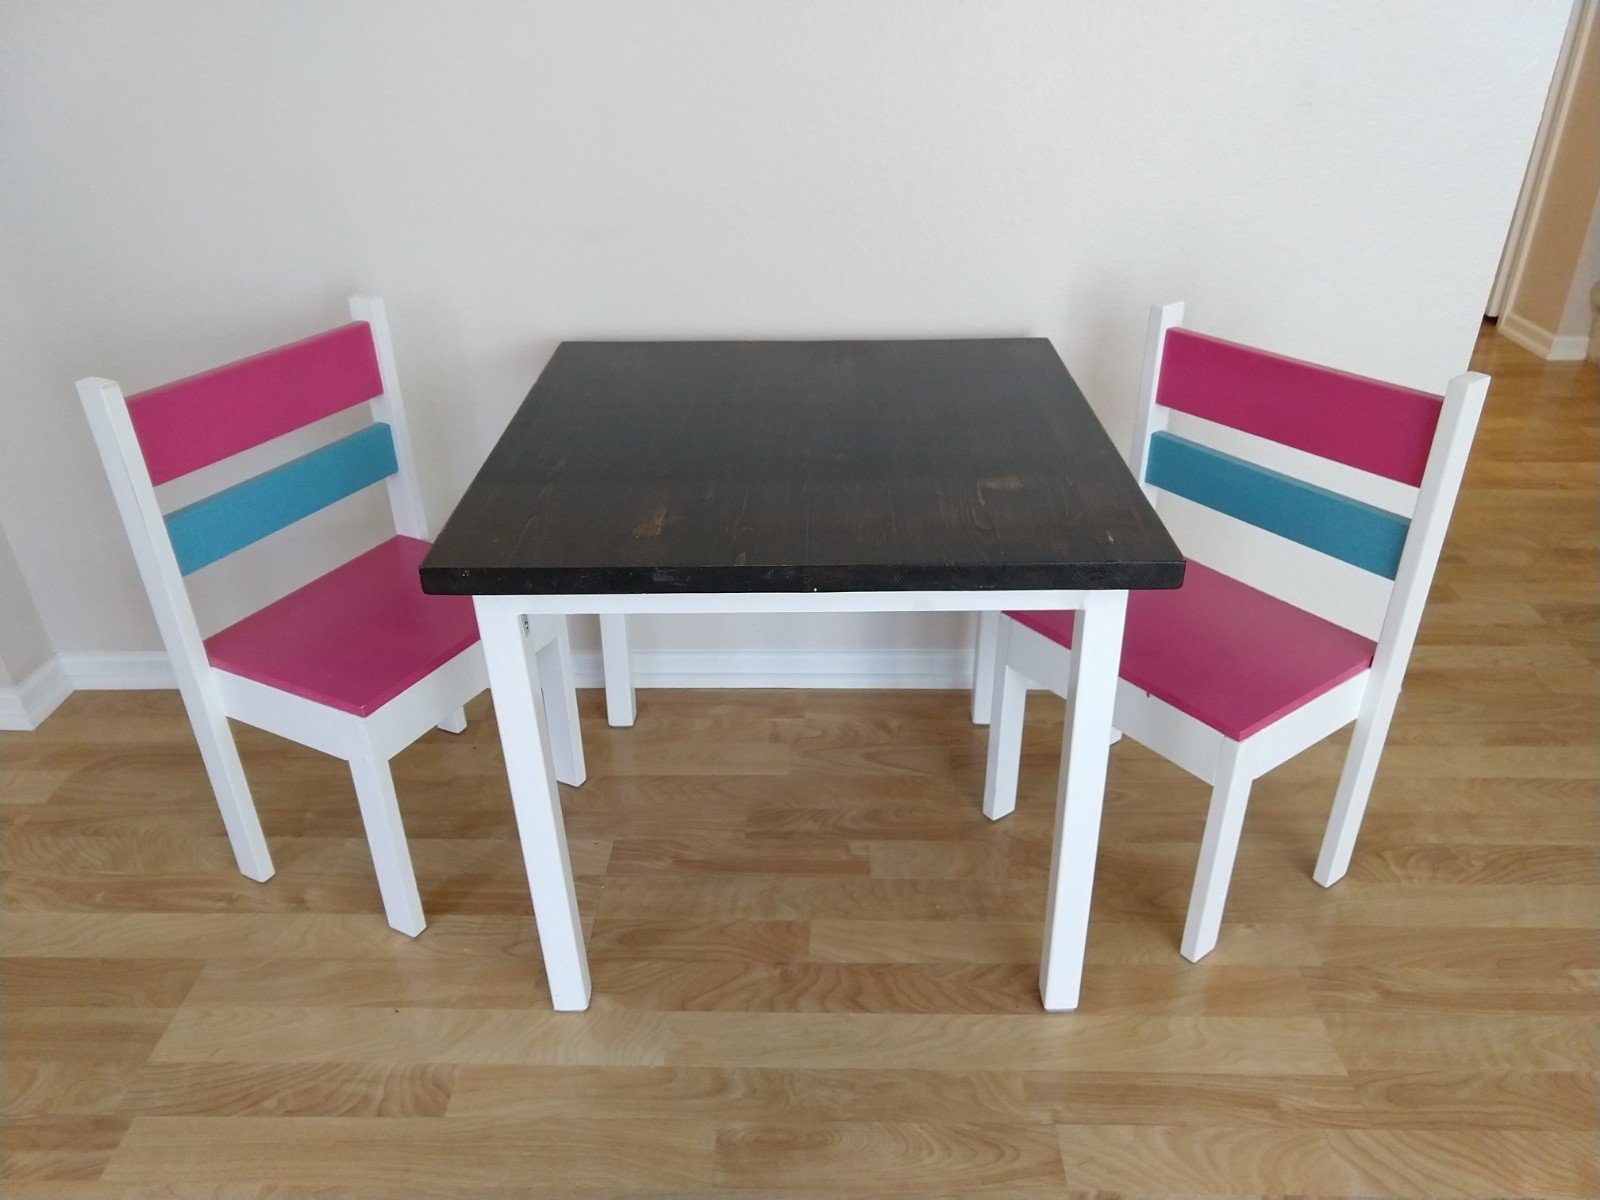
Child sized table. Used a 24" project-style top (all-in-one), 1x2s for the supports, and 2x2s for the legs.
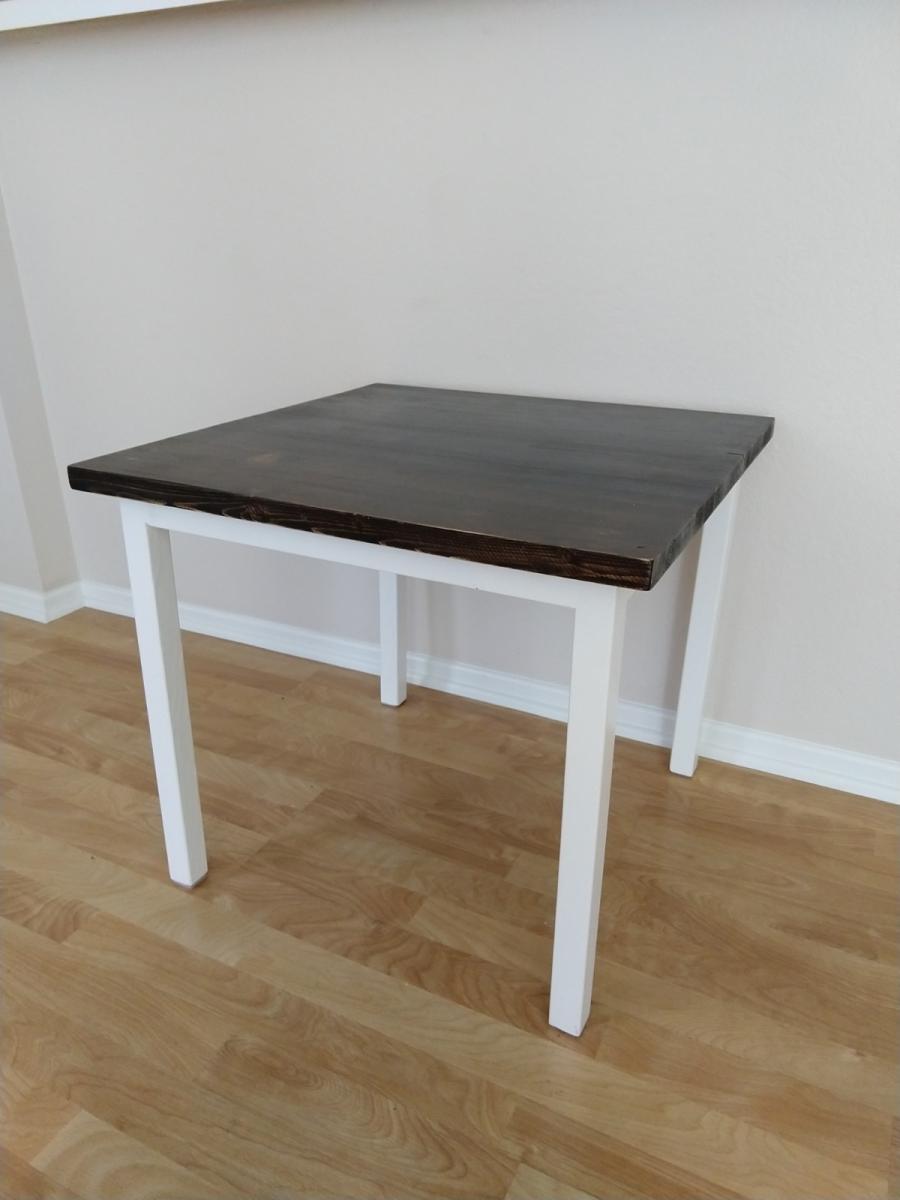
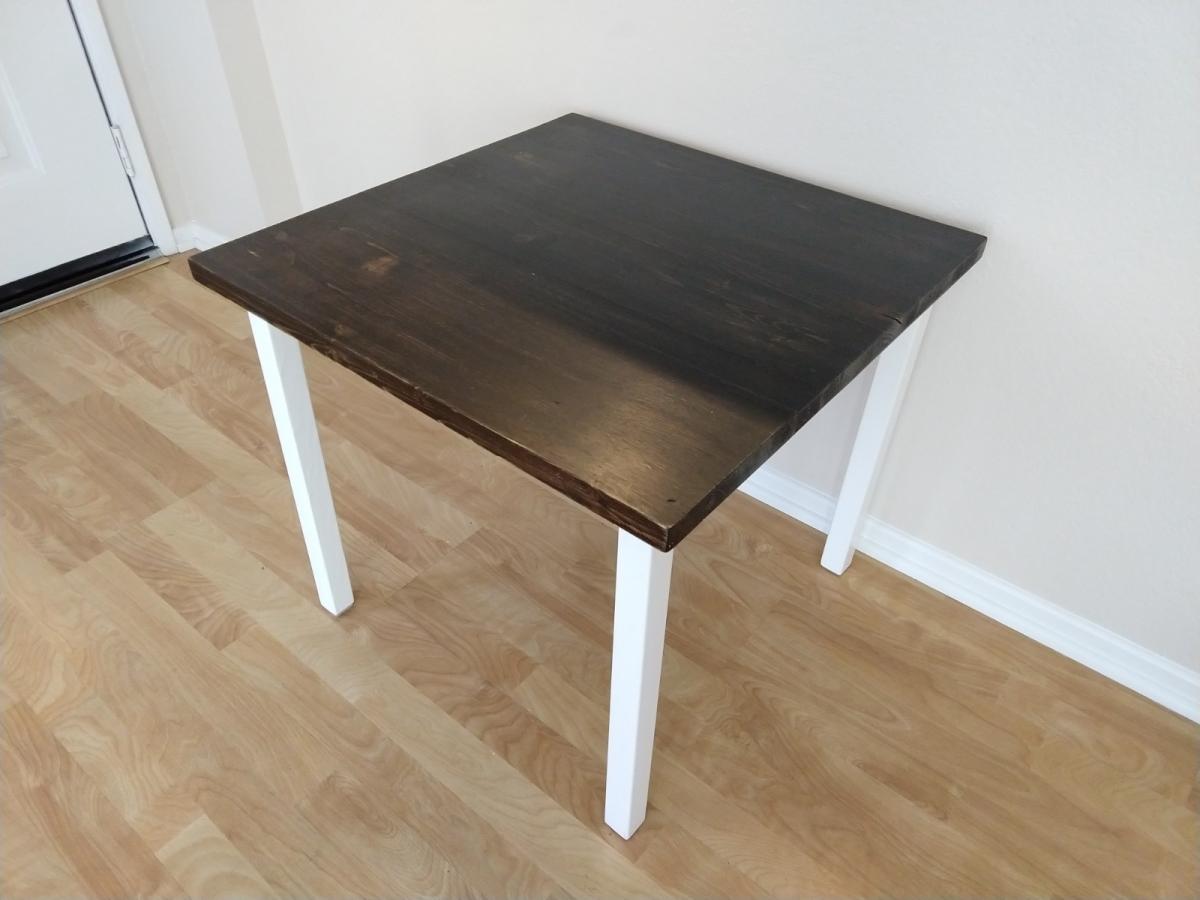
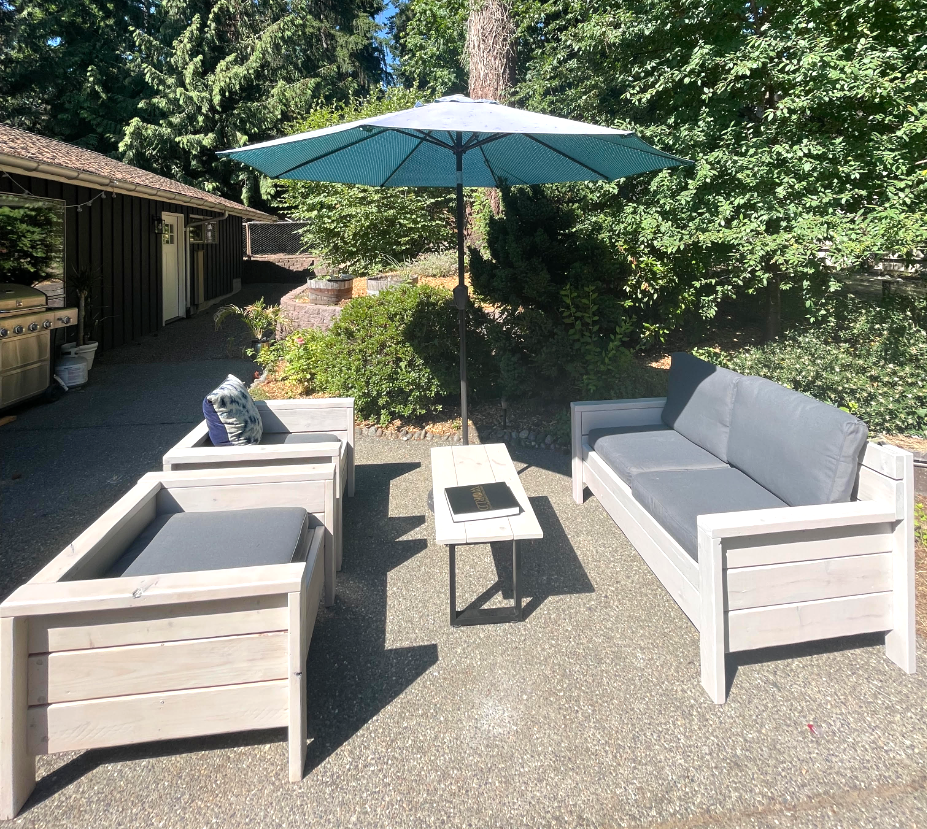
Modern outdoor chairs and loveseat with a slightly modified loveseat for my husband who insisted on having a backrest.
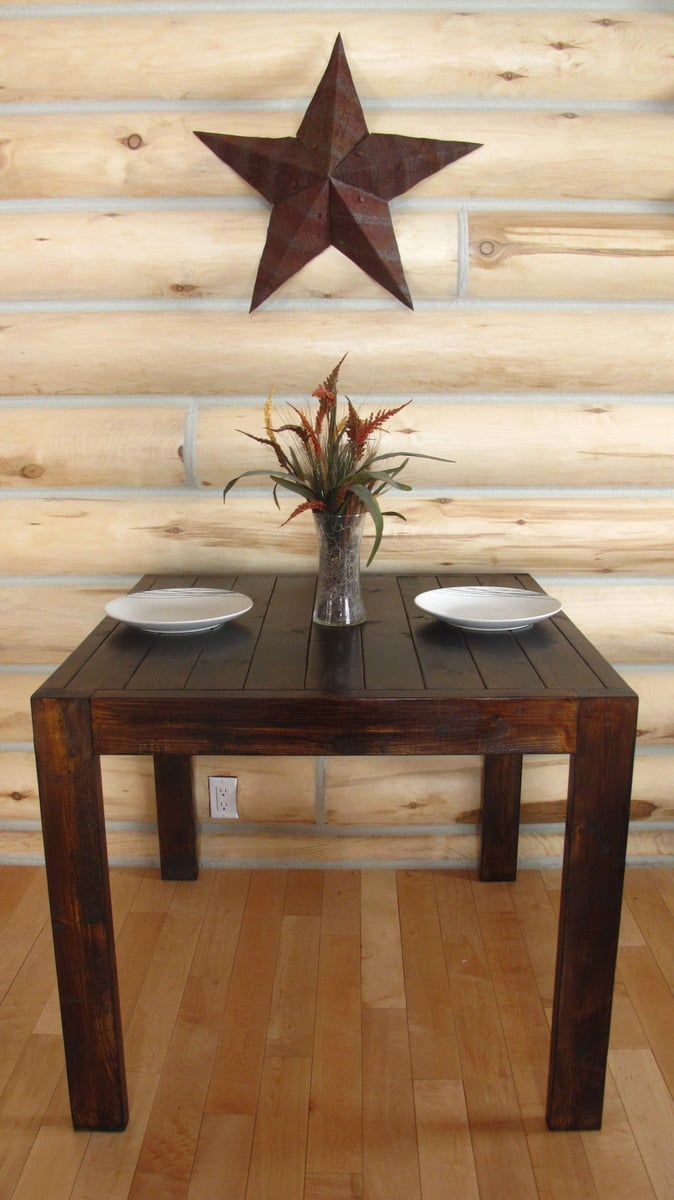
Square Dining Room Table
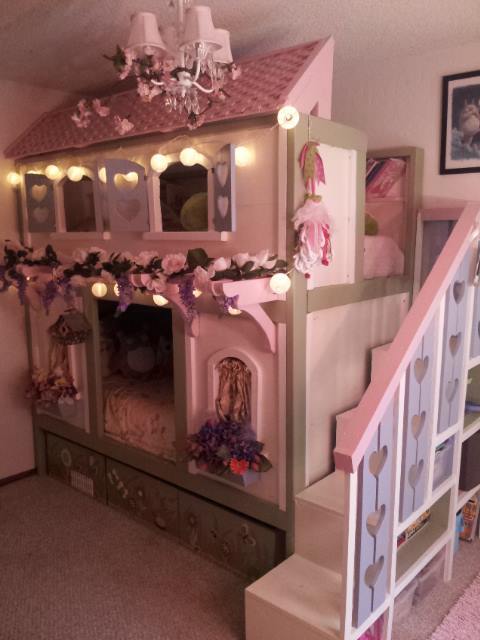
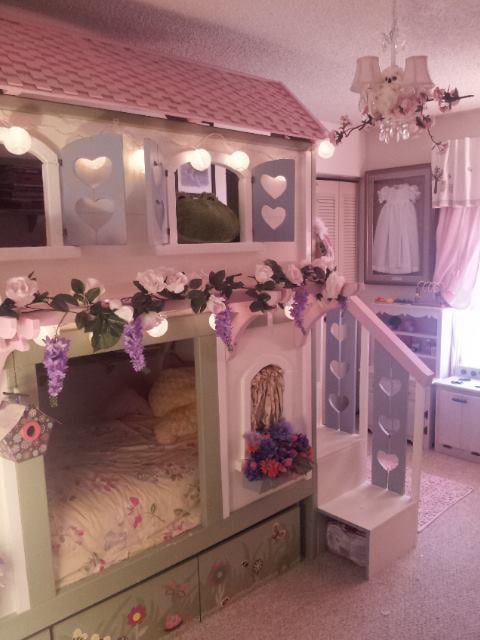
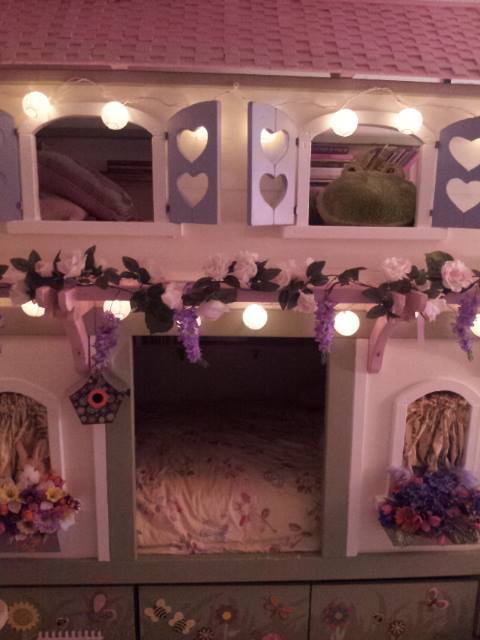
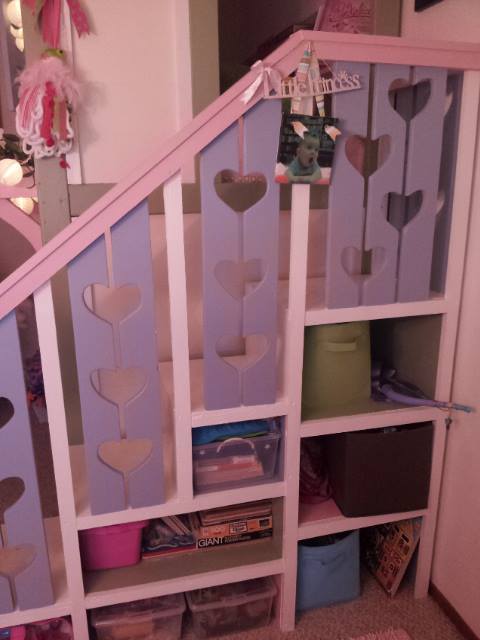
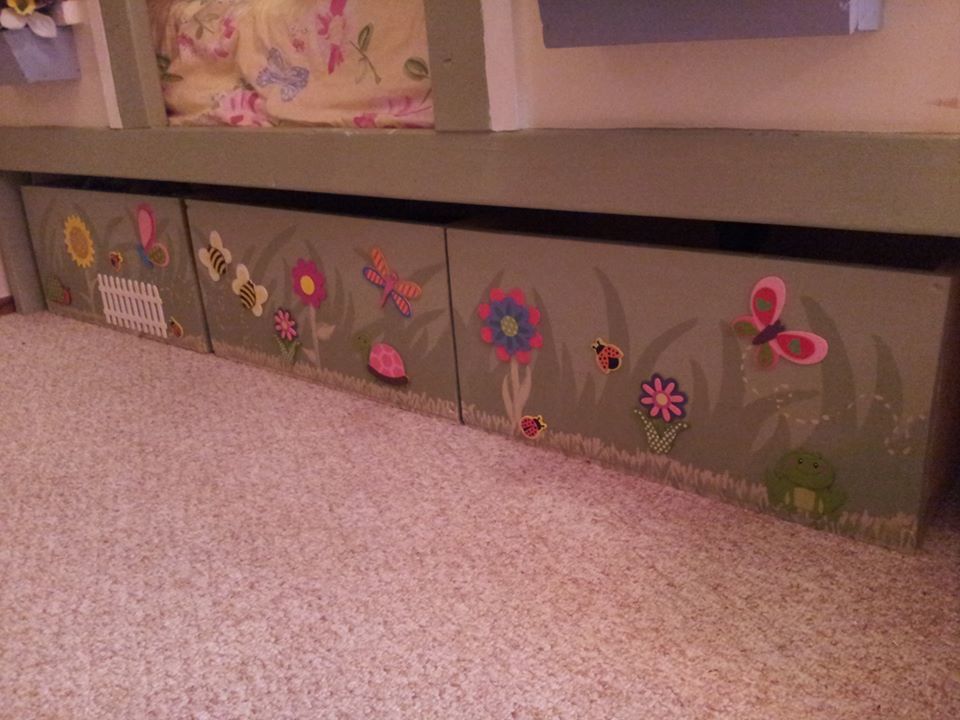
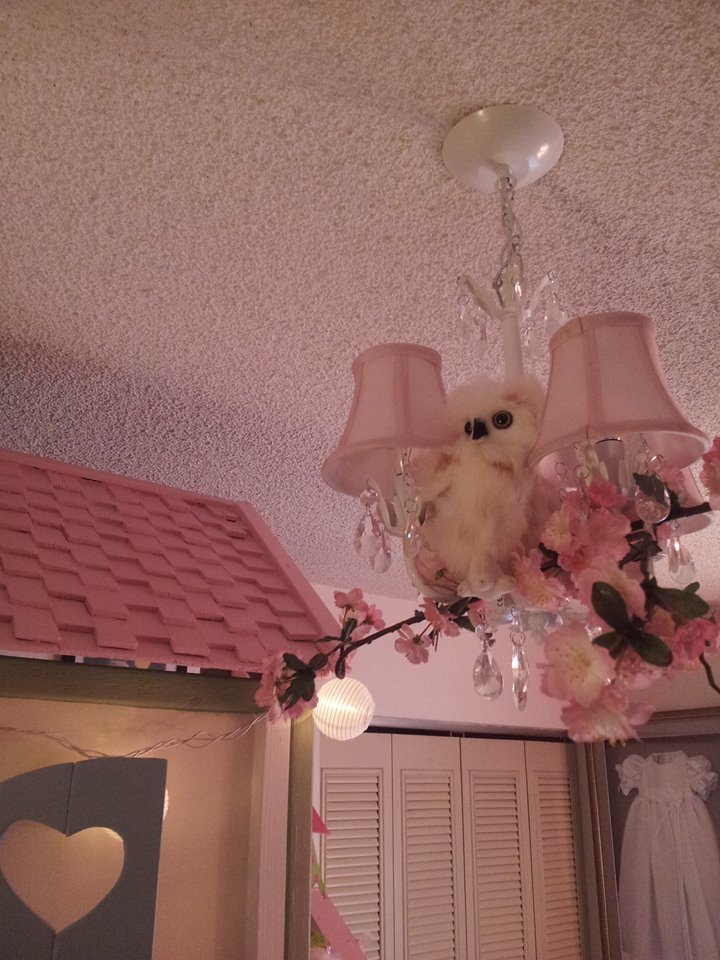
After yet another move (this time to Monterey, CA) and with a baby on the way, it was time to build the girls some big-girl beds of their very own. I was going to need to re-convert their double bed back into its original crib form by September, so in June, I started looking for plans. When I stumbled on Jenny's "Sweet Pea" bunk beds, I knew I'd found a winner! She also made it sound so easy, and I'd only assisted my dad on remodeling projects, never built anything from scratch. But I was familiar with the tools and terminology, so six months pregnant and in a serious nesting phase, I got to work. My hubs helped with the heavy lifting and I had some friends assist with sanding and priming -- many hands do indeed make light work! It took just under a month working four to six hours a day (on average), five to six days a week. I used screws for EVERYTHING, as this baby has to come apart easily for future moves (and does it ever -- Jenny's not kidding when she says you can have it up and down in ten minutes!). I'm most proud of the roof -- I had originally planned on finding real cedar shingles, but those babies are expensive! So I came up with idea of using door shims. A pack of 12-15 is only a couple bucks, and it took about 24 packs to cover the entire roof. I found some light wood trim and glued/screwed it to the edges, slathered on some pink paint, and voila! A wood shingle roof! The whole project ended up costing nearly double what I'd originally budgeted, but I'm so happy with it and my girls love it so much that I don't really care. Plus, if I'd had this baby custom made, it would probably have cost quadruple (at least!) what I paid in building materials. Let me know if you have any questions -- I'm happy to share what (little) I know :)!
Thu, 01/02/2014 - 01:16
Awww...This is so SWEET! You did such a great job- the roofing is ingenious! I wish I had thought of that! And you are right, wood shingles cost a fortune. You came up with such a clever way around it! Love how your bed turned out, I'm sure your girls feel like little princesses!
In reply to Awww...This is so SWEET! You by birdsandsoap
Thu, 01/02/2014 - 08:12
Thanks :)! And yes, they do love it -- bedtime has not been an issue since completion!
Thu, 01/02/2014 - 01:16
Awww...This is so SWEET! You did such a great job- the roofing is ingenious! I wish I had thought of that! And you are right, wood shingles cost a fortune. You came up with such a clever way around it! Love how your bed turned out, I'm sure your girls feel like little princesses!
Wed, 04/09/2014 - 15:35
hi do you happen to havea copy of the plans the pdf link is broken and id love to build thr bed for my daughter
In reply to copy of the plans? by thomen
Mon, 05/19/2014 - 16:18
So sorry this took so long -- I only just now noticed your comment! I do not have a copy of my plans, unfortunately. They were pretty much destroyed by the time I finished!
Mon, 05/19/2014 - 14:51
This is marvelous! My husband says this is the best he's ever seen and wants to do exactly this. You have a designer's eye. The paint pallette is very pleasant. Can you tell us the specific color names of each paint you used and where you used it?
Did you use stencils to paint the flowers, etc? If so, where did you buy them from?
Also, where did you get the lights and what are they called specifically?
Thank you so much!!!
In reply to Specific Paint Colors and Other Details? by Bountiful Acre
Mon, 05/19/2014 - 16:23
Thanks for your kind words! I do not know the exact names of the paint colors I used -- they were sample cans, by Behr. The cream color was actually a very pale yellow, though. I free-handed the green on the drawers, and the flowers are actually made of wood and came from Michael's (in the craft department, where they keep wooden letters and stencils). The lights are oriental paper lights, and I got those at Ace Hardware. Hope this helps!
Tue, 05/20/2014 - 11:20
Yes, that was helpful. Thank you for taking the time. It is appreciated!
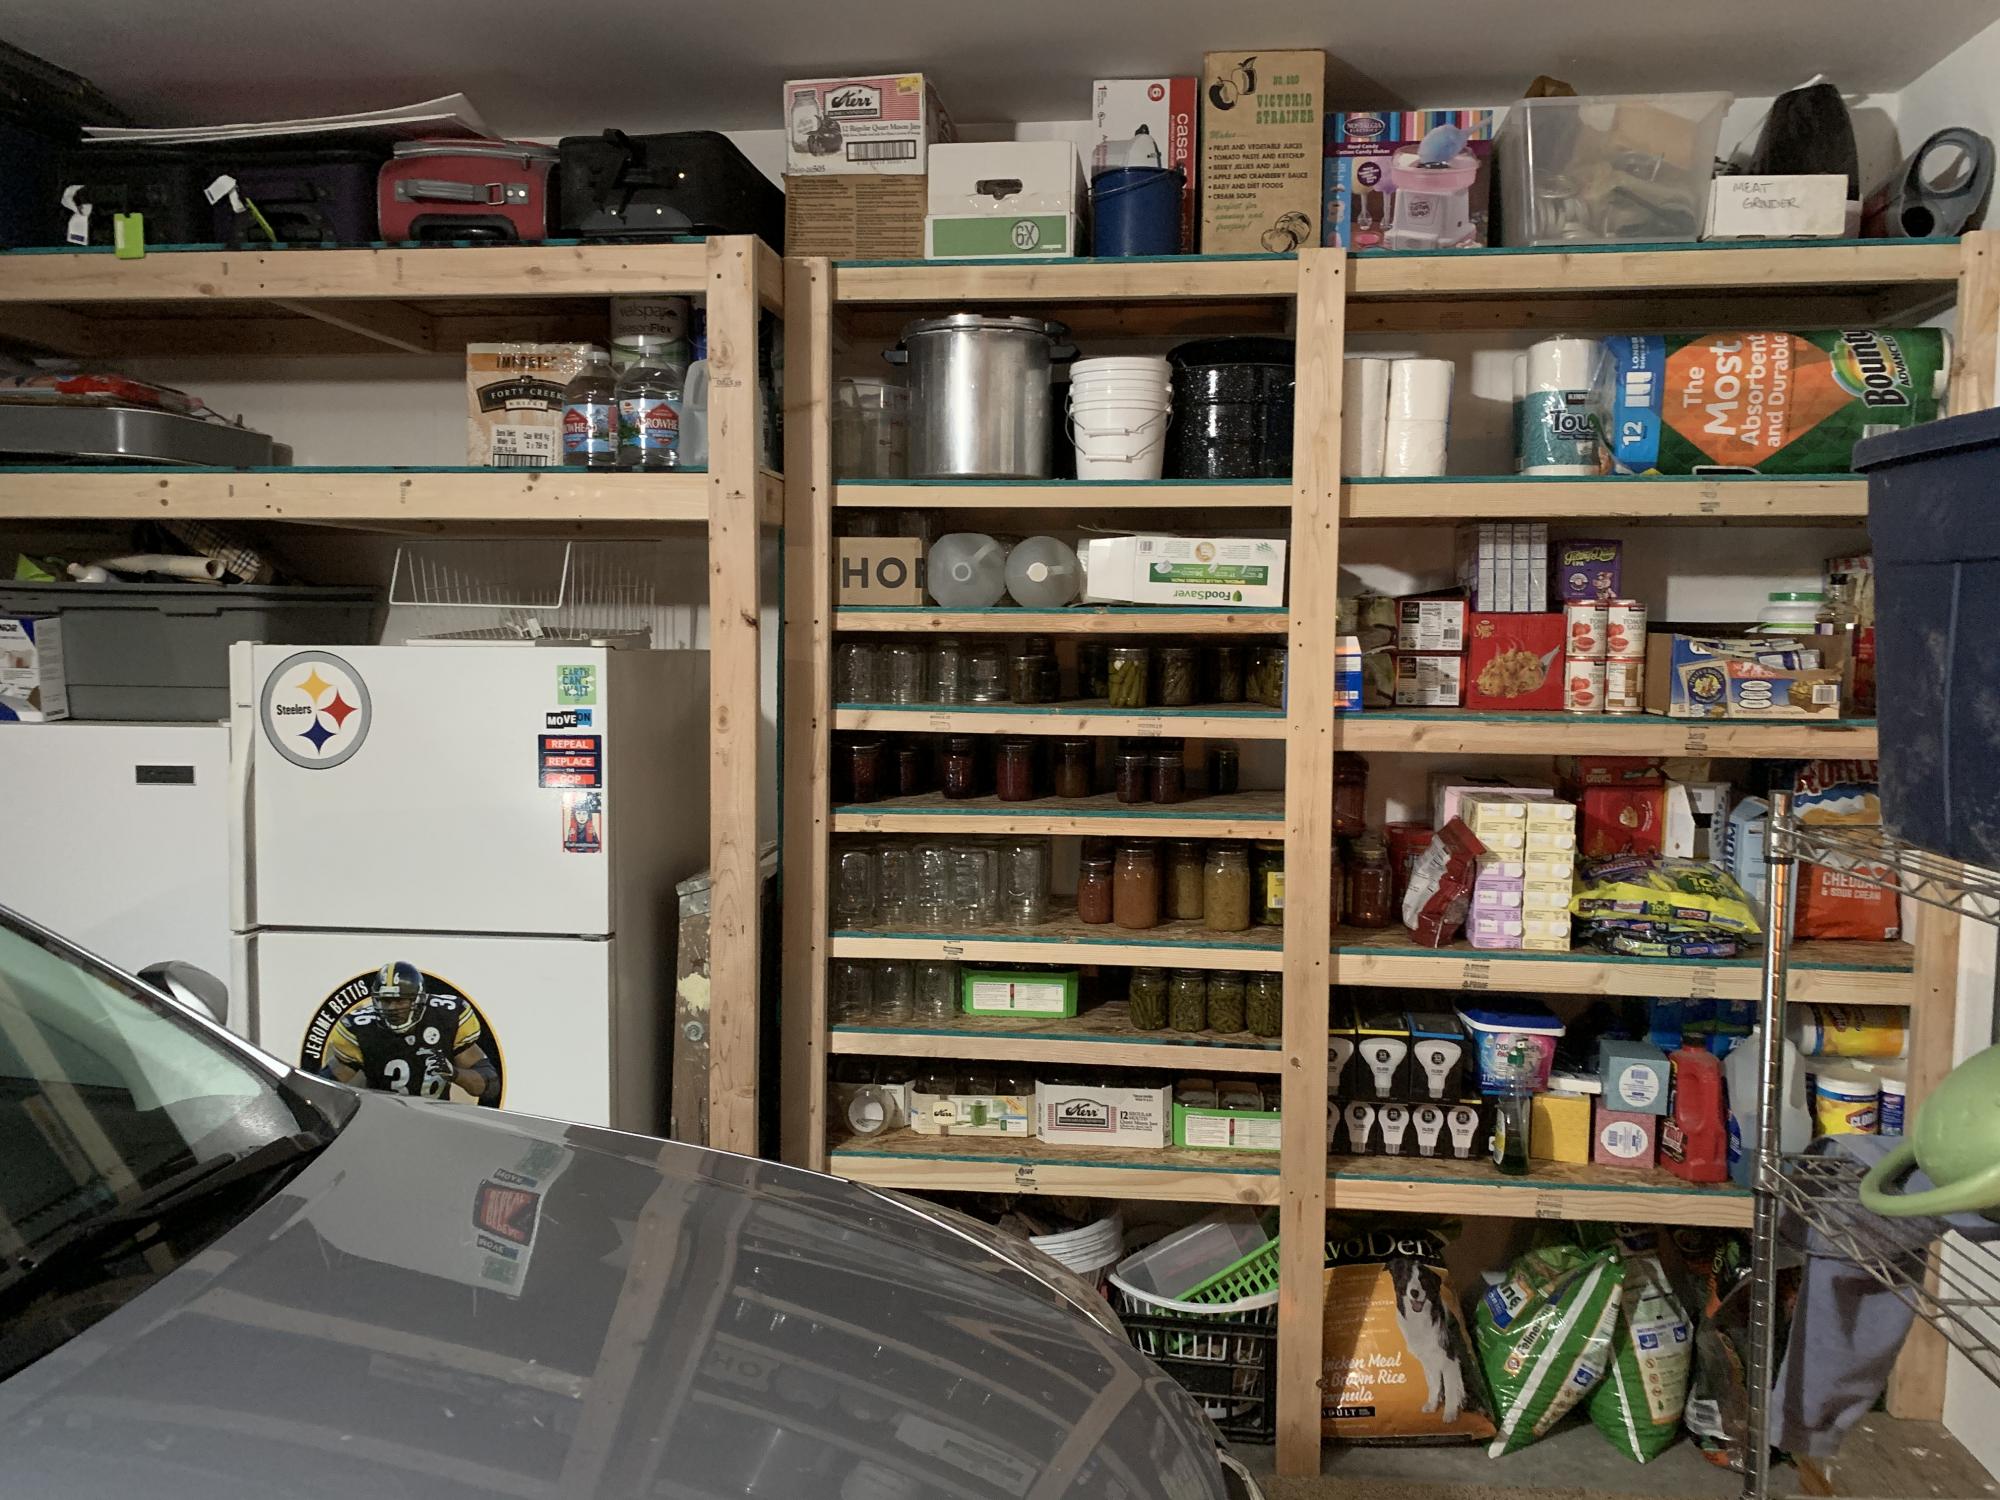
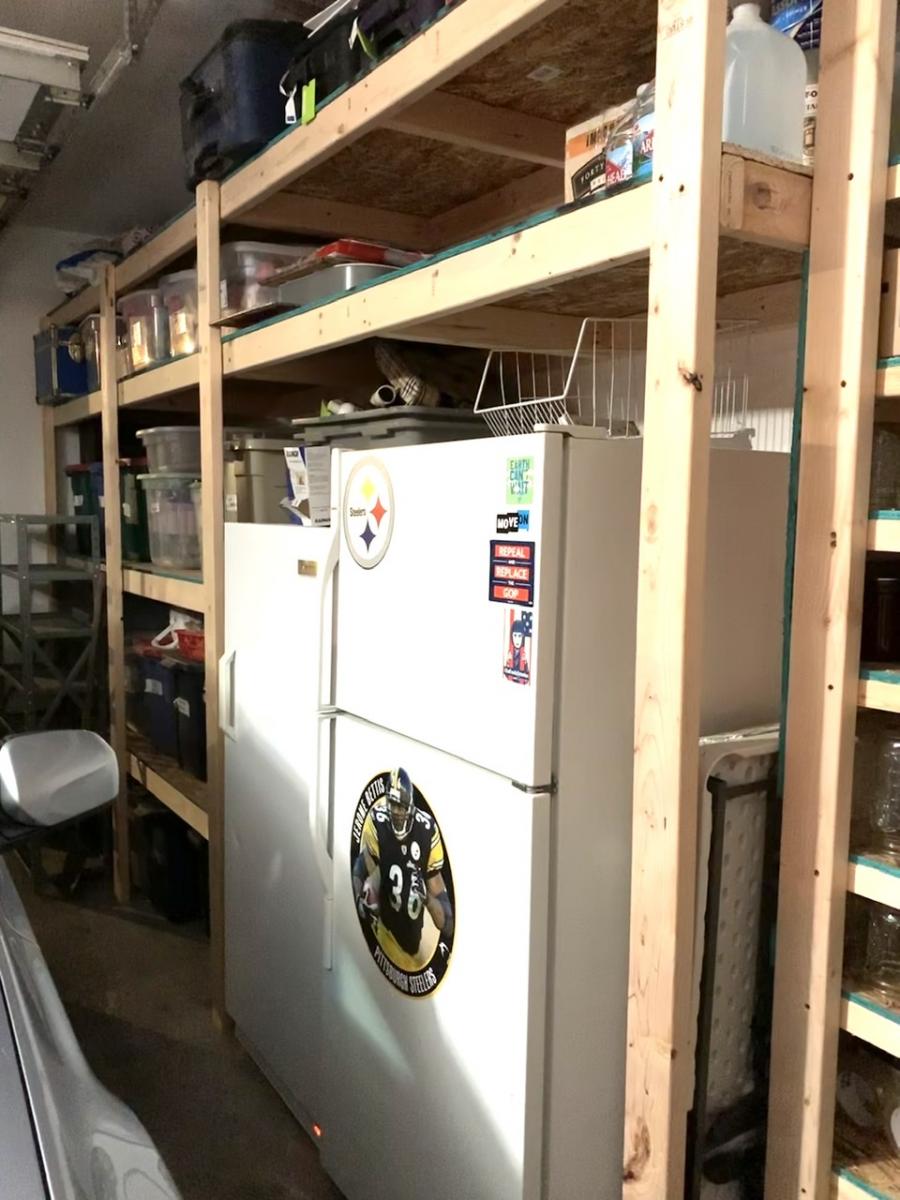
Added some storage to the garage. Wife got some more room for her canning. Looks much better than older metal shelving. Thanks for the ideas, again!
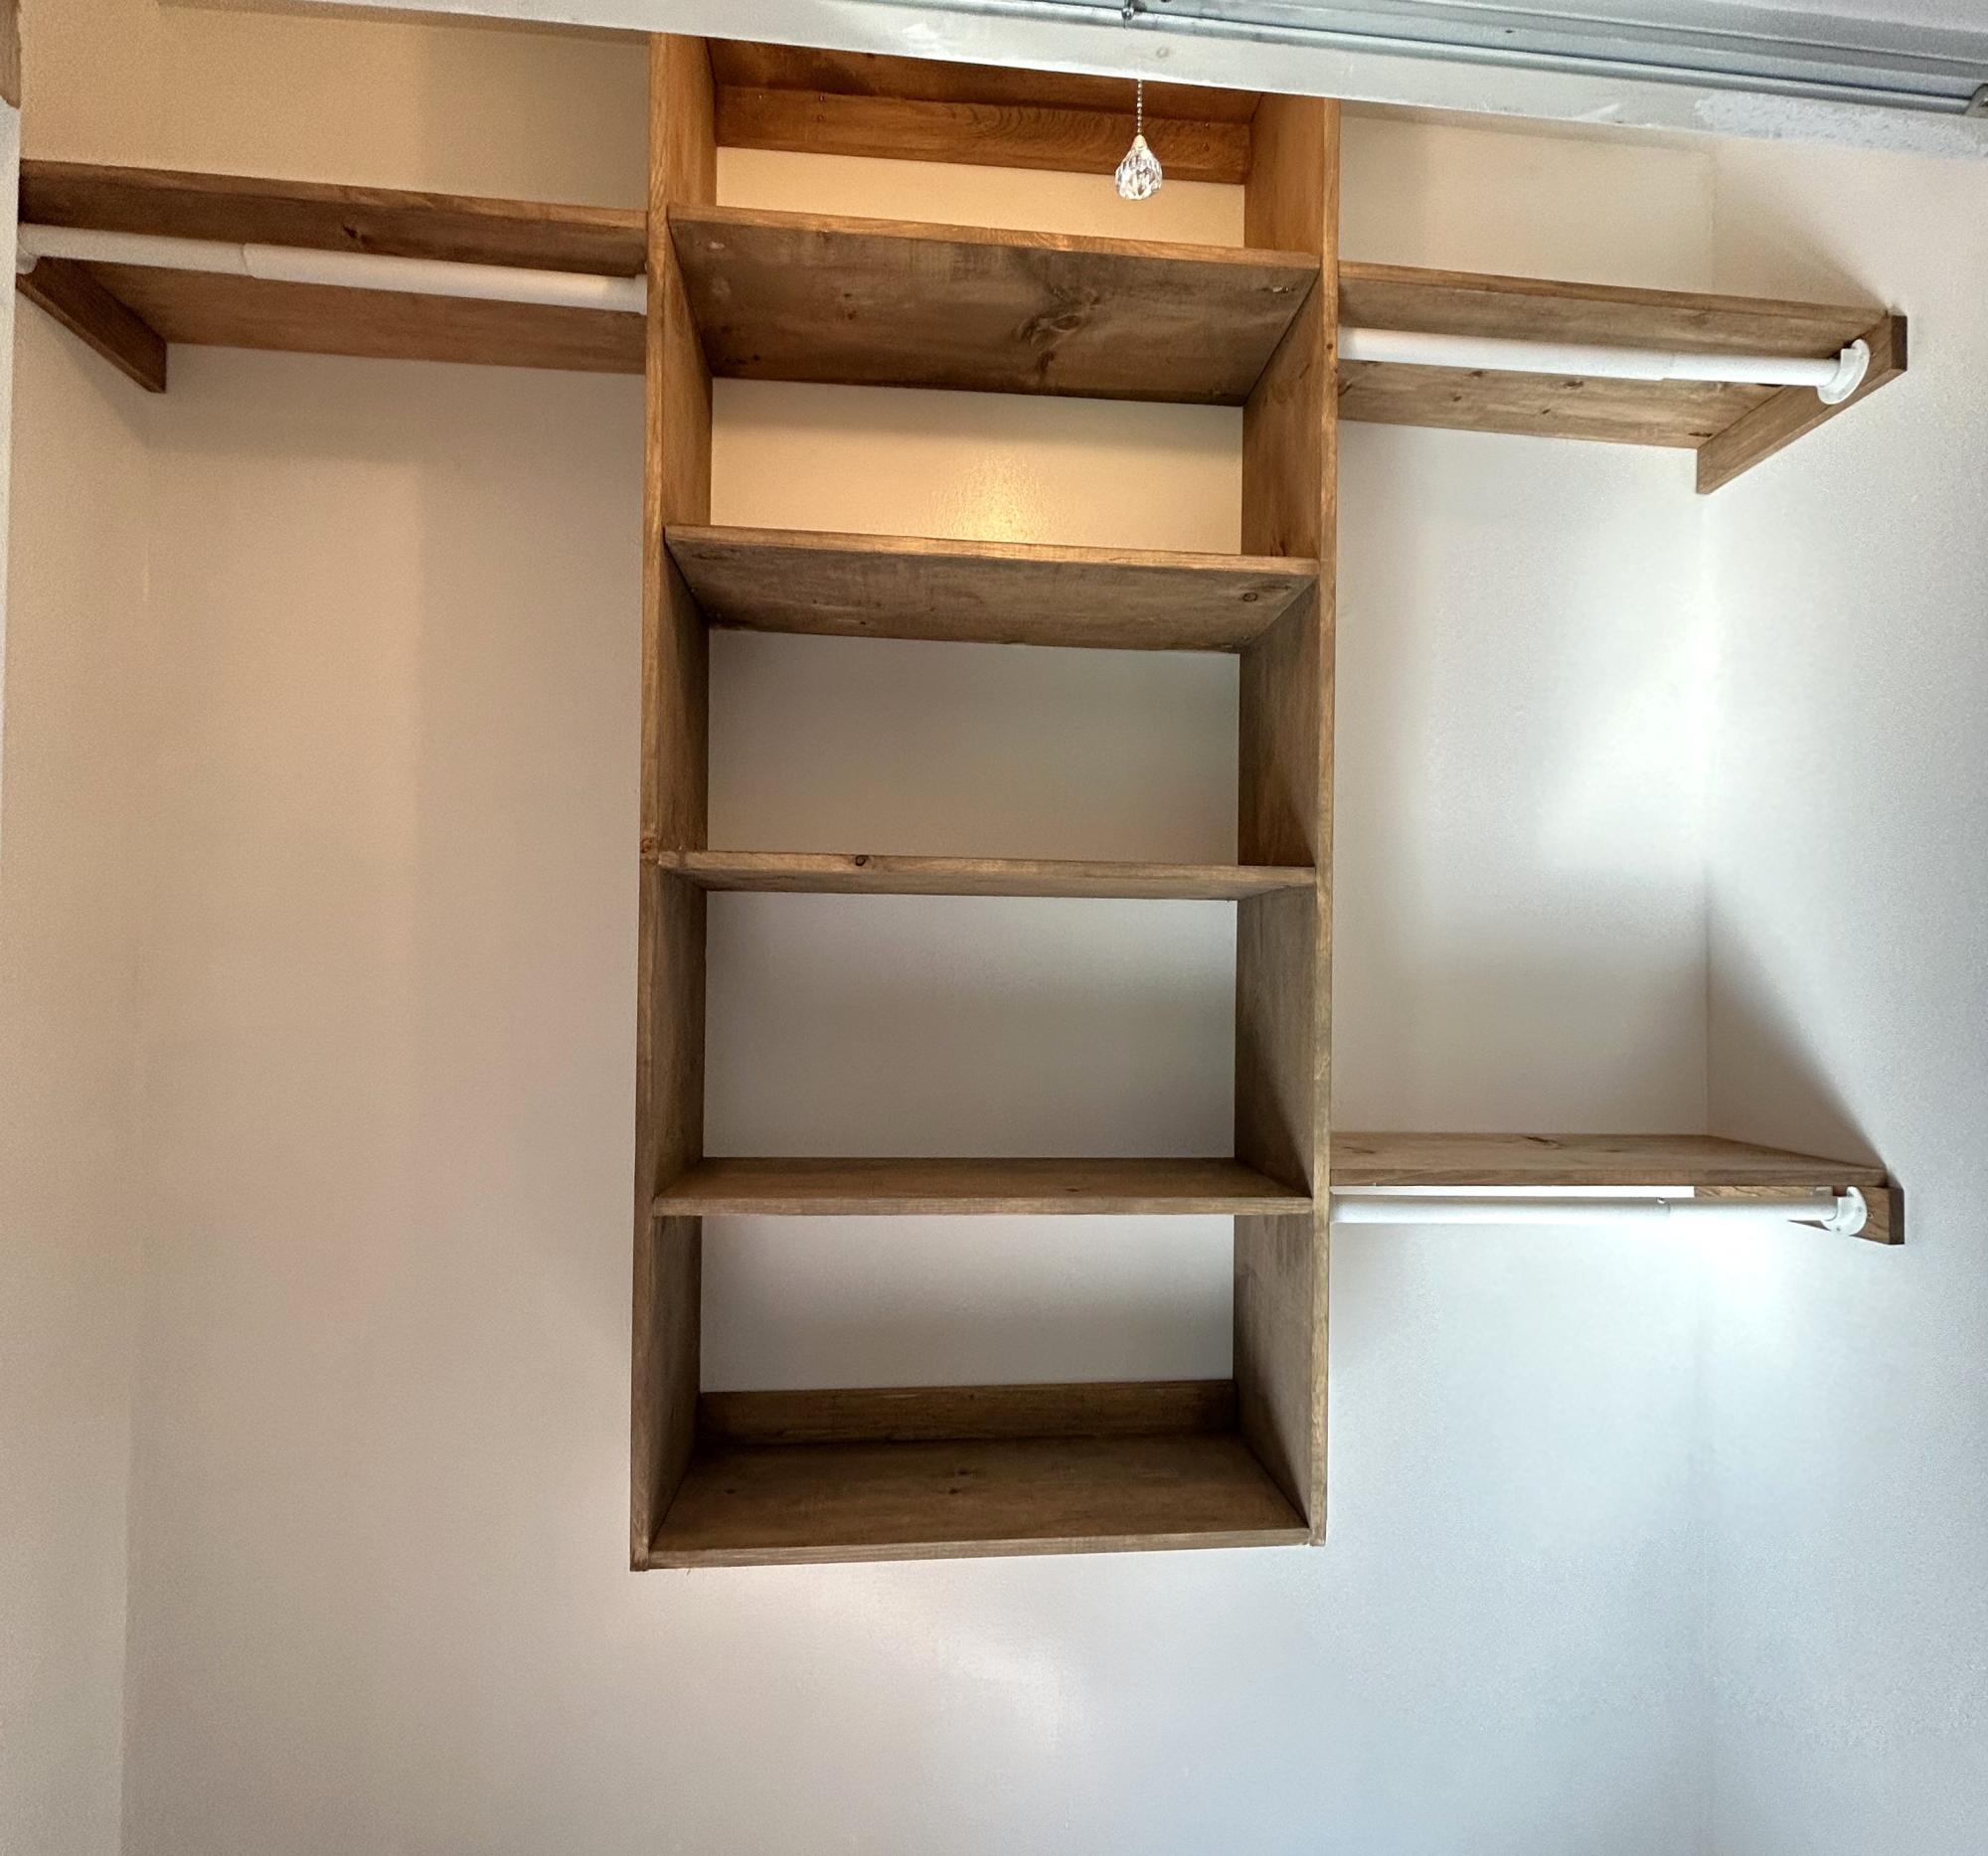
Closet by Joanie
