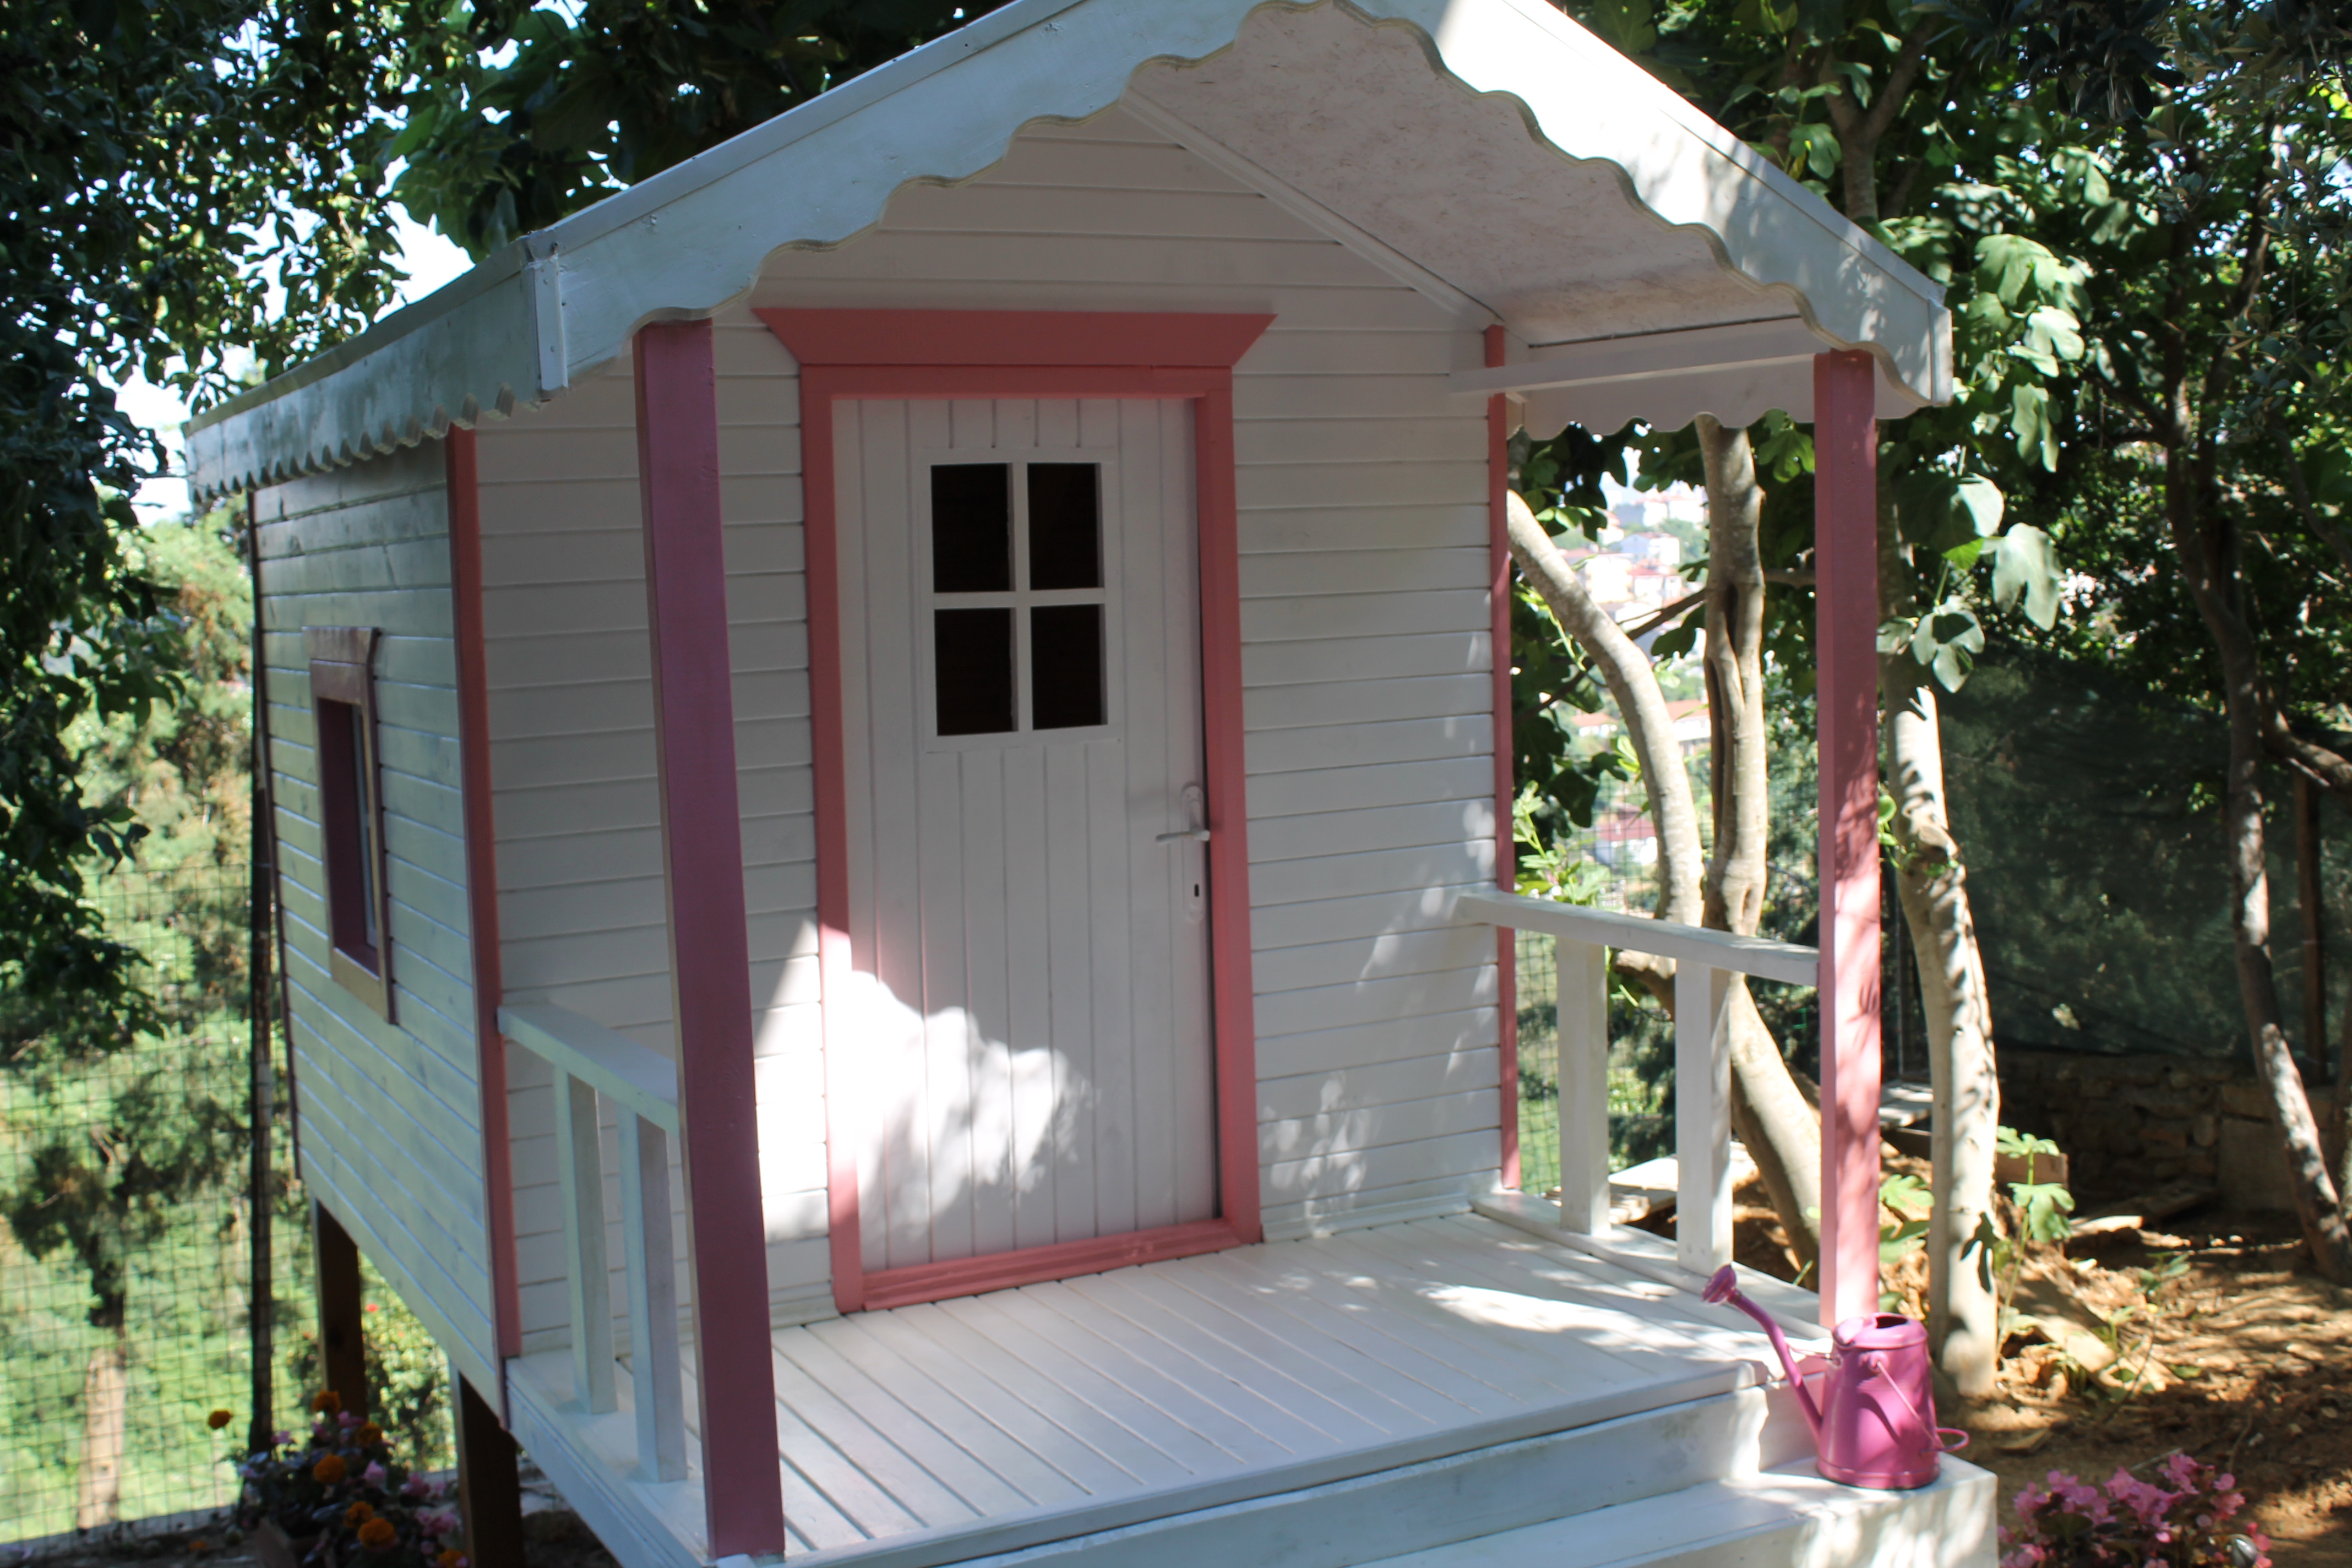
I needed a project to keep me together during 2017, as I took maternity leave after the birth of my second son. I wanted something that both boys could grow into, and enjoy, for many years to come. I also wanted to challenge myself to go big.
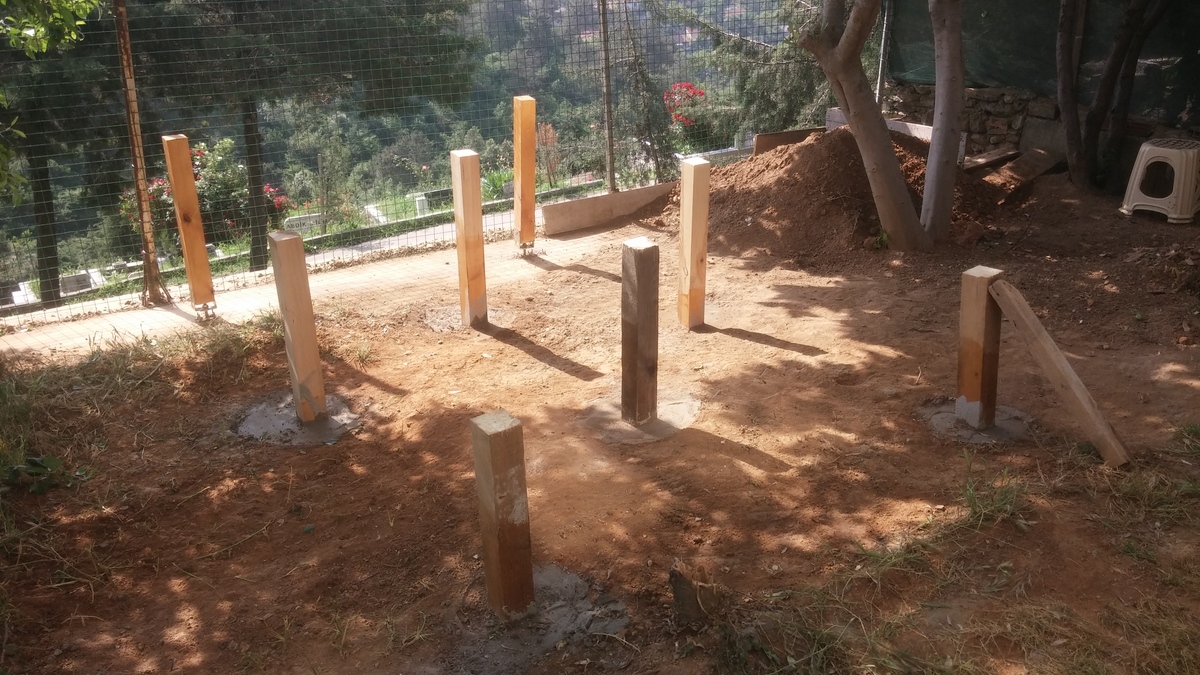
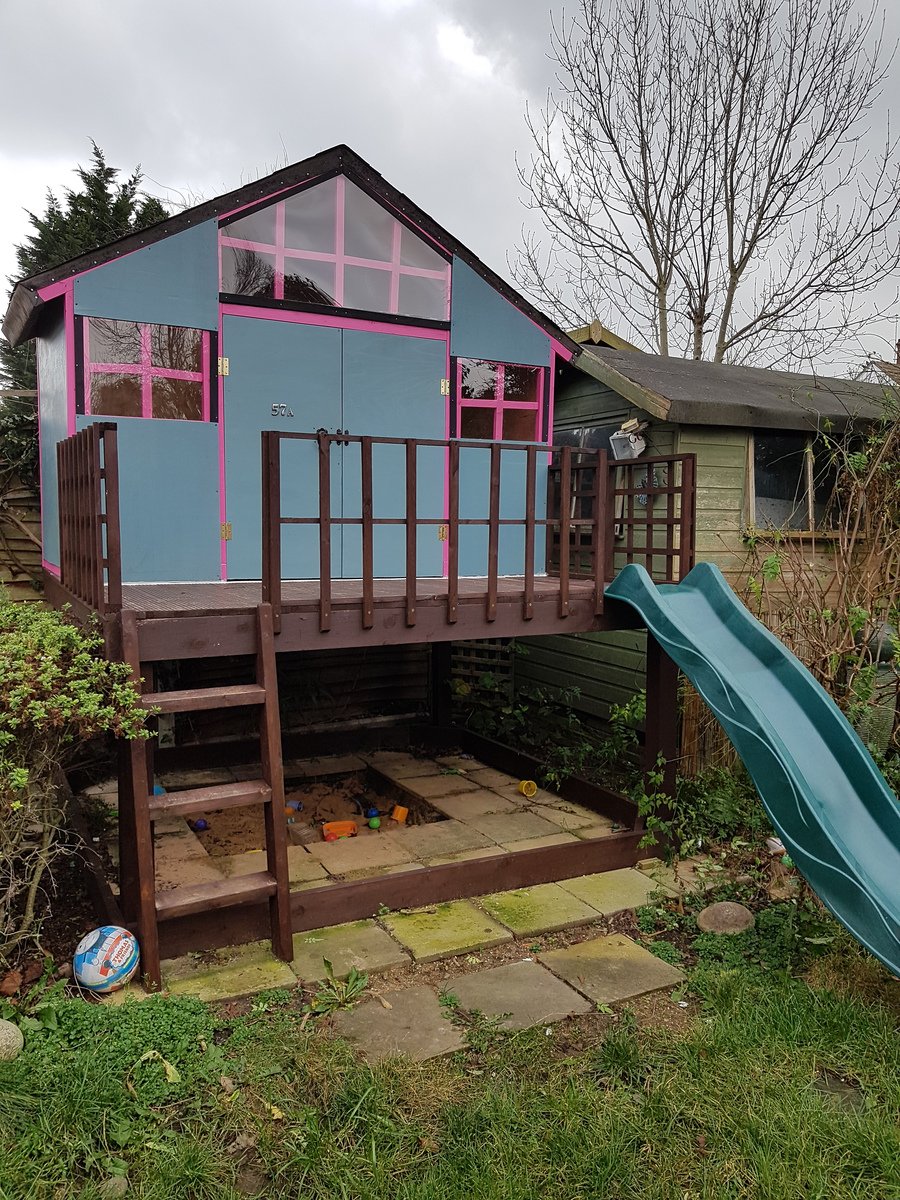
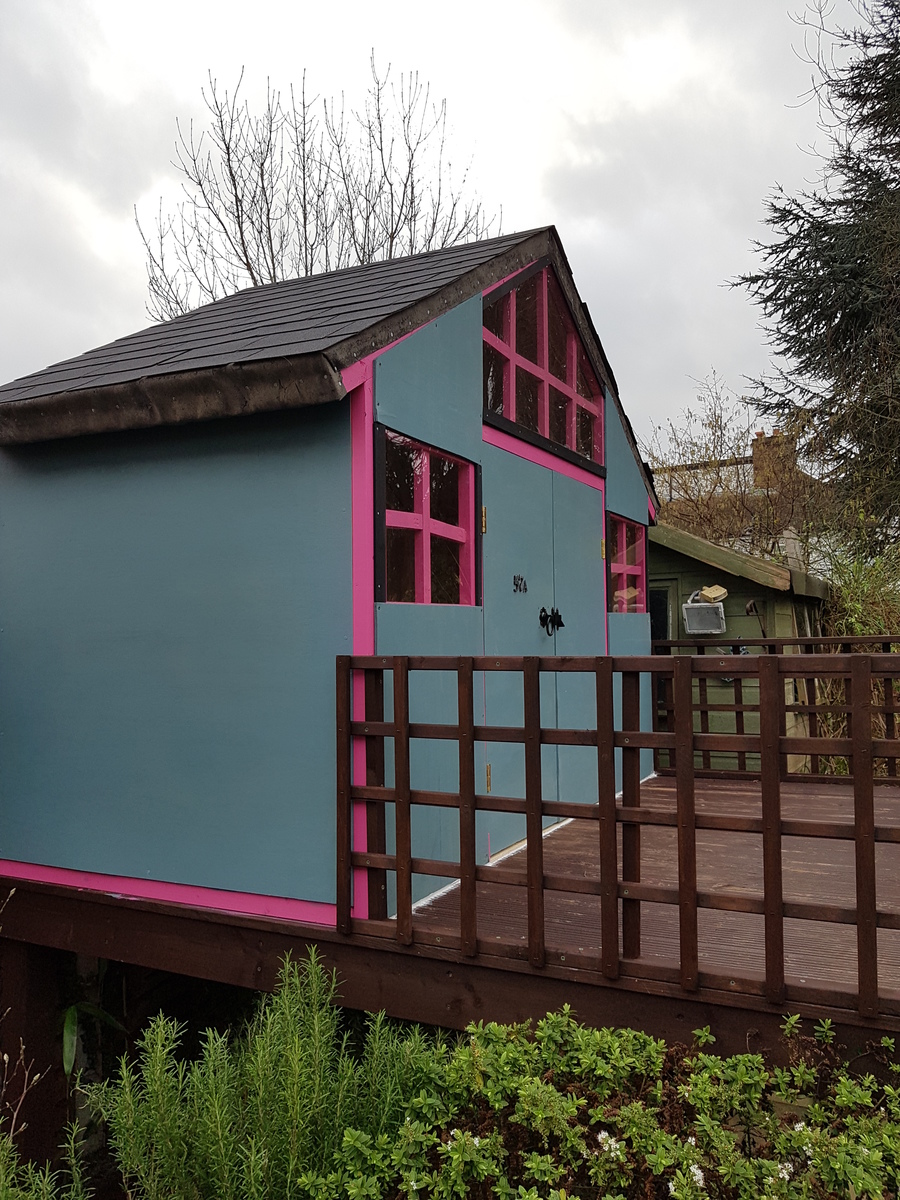
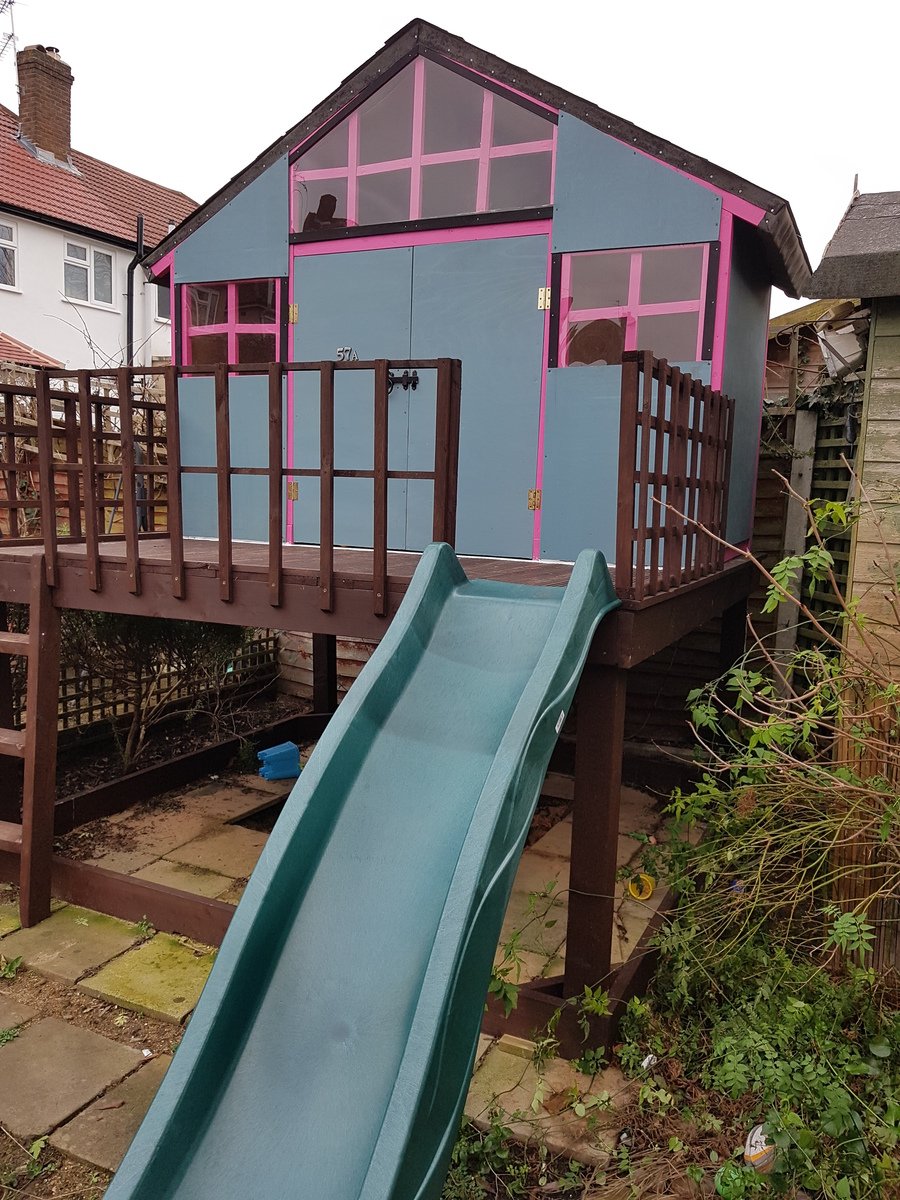
Our garden is tiny, so I was really attracted to the idea of raising a playhouse up and gaining the space underneath too. This corner was taken up by a big wooden raised pond, which wasn't wildlife friendly because of the high sides - and that meant you couldn't see the water unless you walked right up to it, either, so it seemed like a bit of a waste of space.
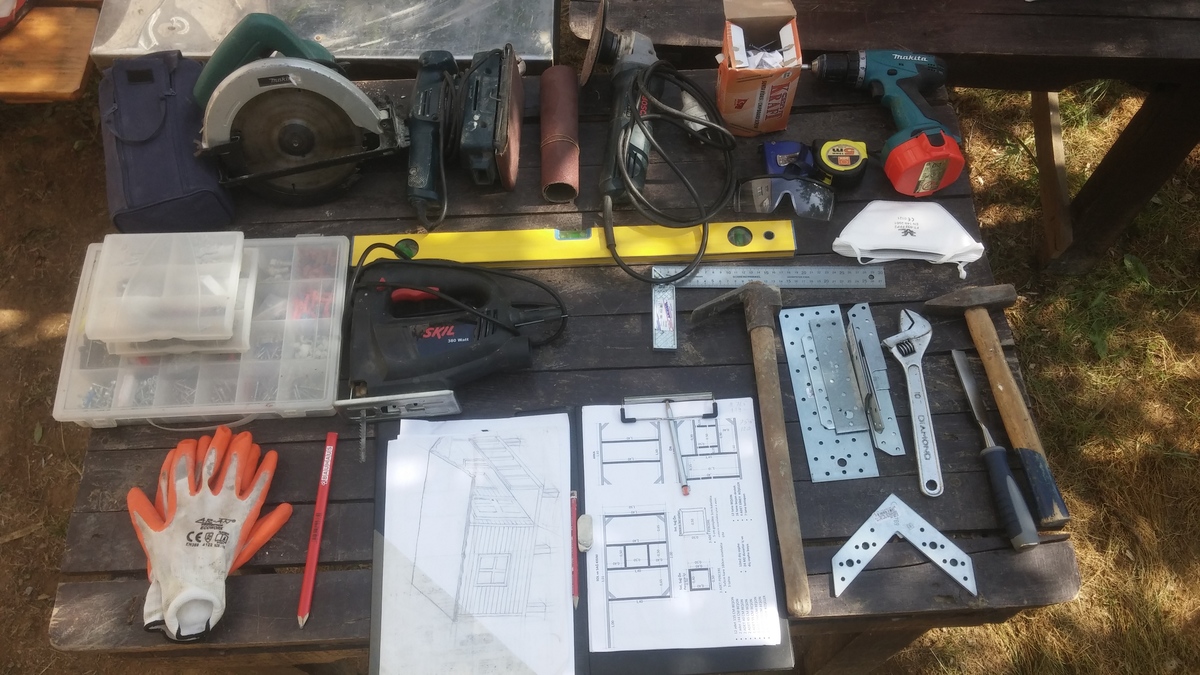
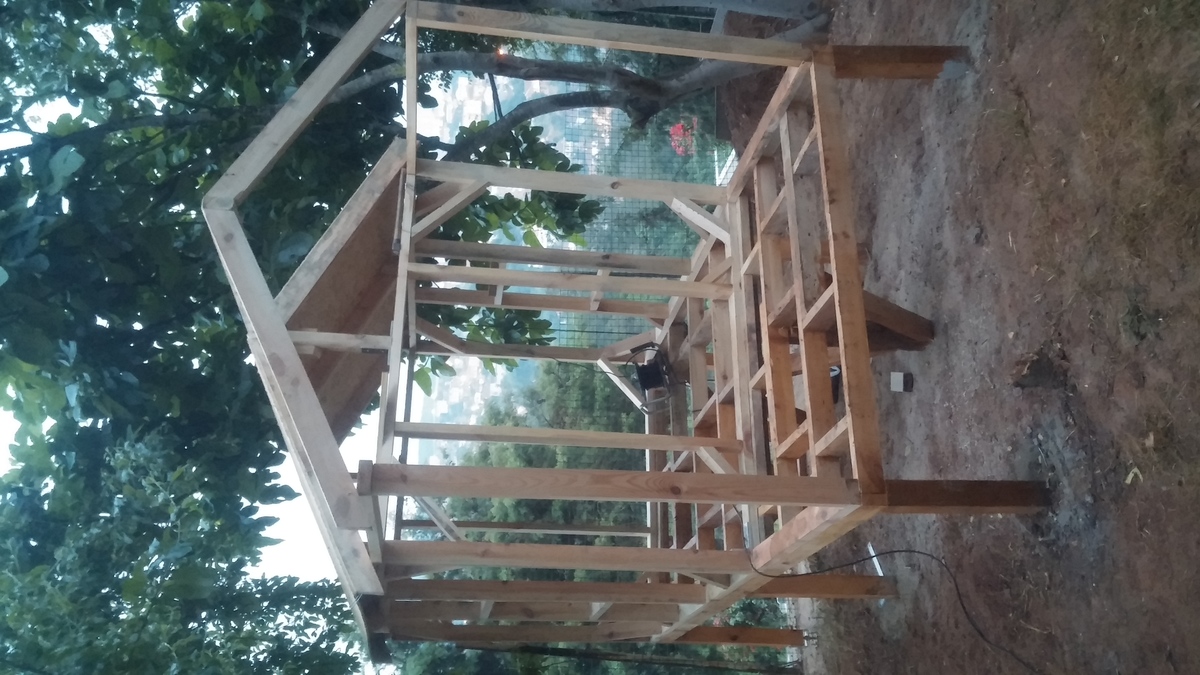
First of all I took out the old pond, and dug up tons of invasive bamboo that was growing around it. Then I lifted and relaid the concrete paving slabs underneath, leaving a smaller pit for a sandpit in the middle. With that all in place, I was ready to start building.
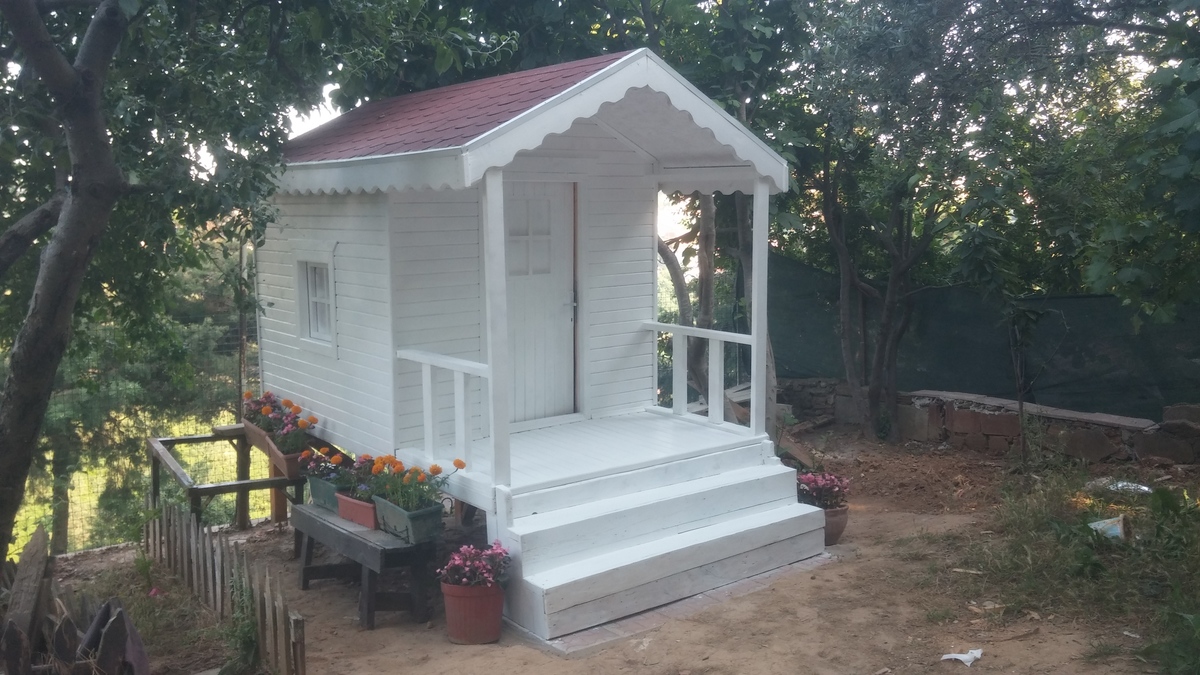
Wood tends to be expensive in the UK, and given the amount of rain we get I wanted to get the roof thoroughly waterproof and the windows covered. I also included a layer of polystyrene insulation behind a additional plywood inner walls, and I painted the whole thing in rot-proof garden paint. Everything added up, and the materials cost was probably £1k or more.
If I'd been able to work continuously, I reckon I would have completed the whole project in a week or so. However, I was mostly only able to get out in the garden when both my sons were napping (about 2 hours a day) or at the weekends when my husband could watch them. Given the time constraints, I was expecting this to be a long project. I started in April 2017 and completed the build late in October.
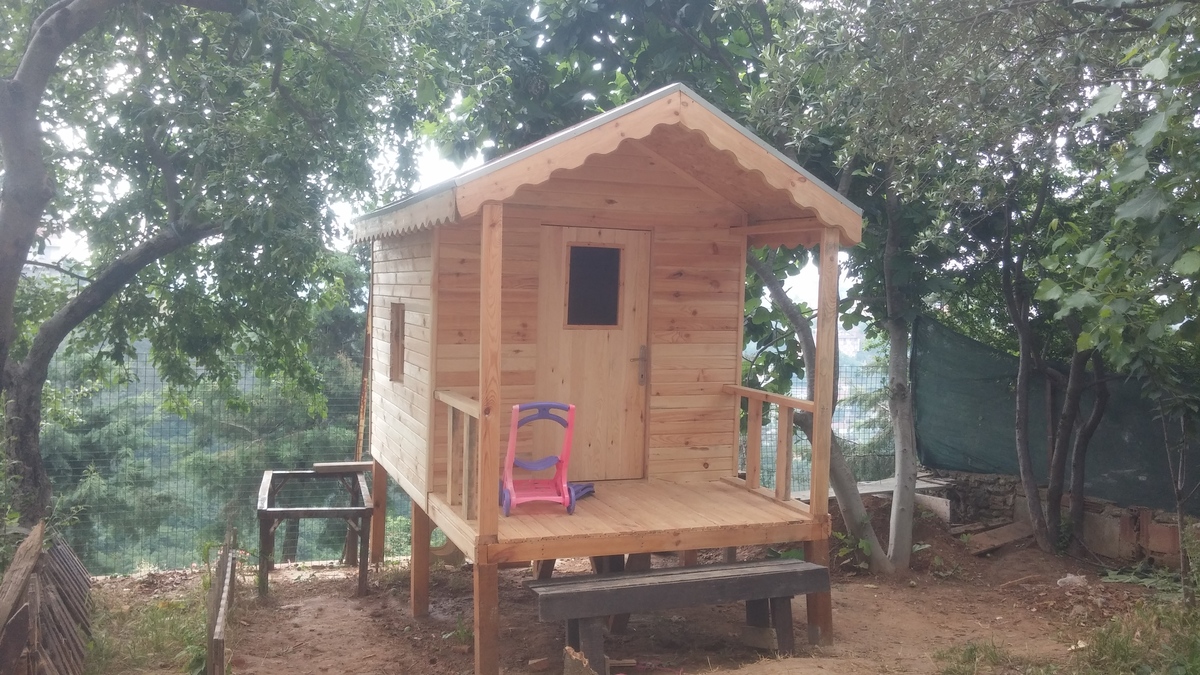
The deck was finished in June, and the sandpit in the shady space underneath was a great resource on the hotter days of summer.
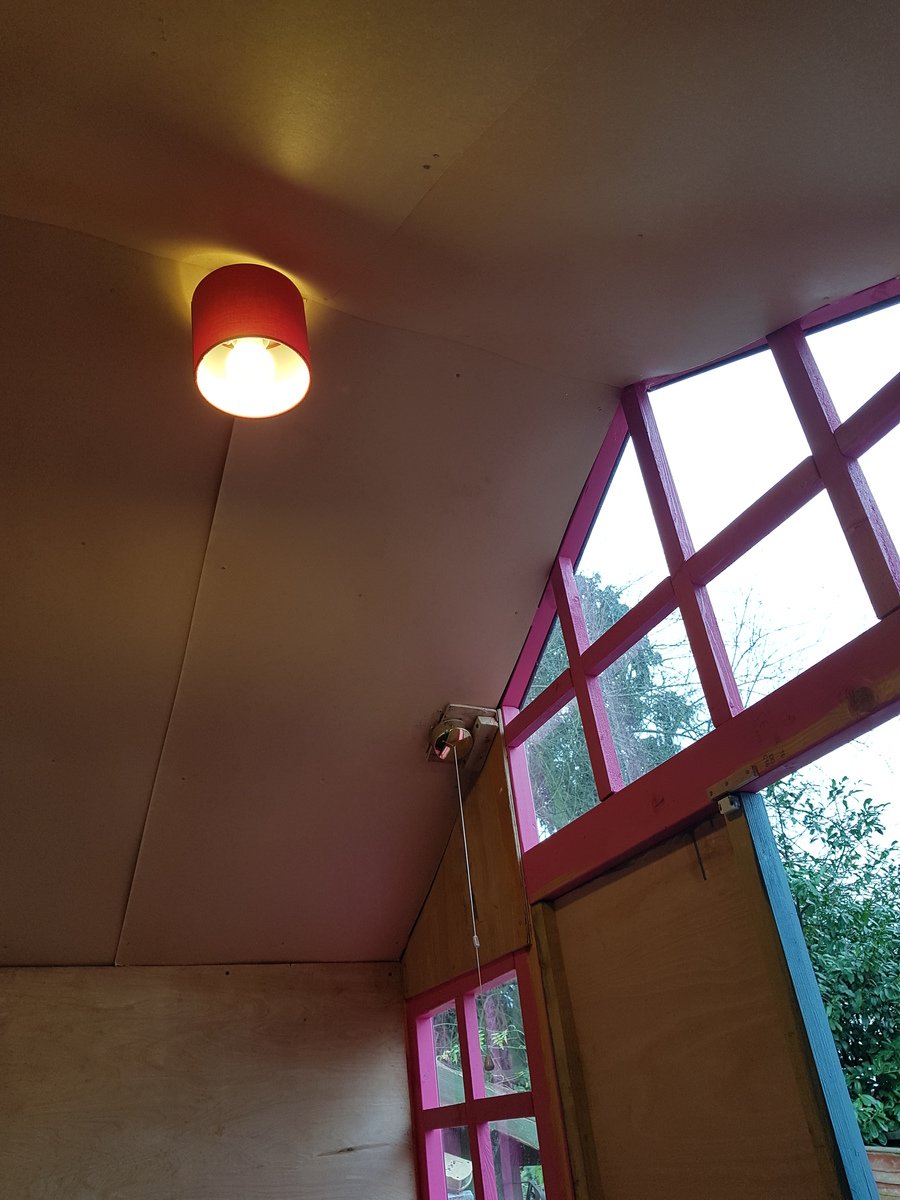
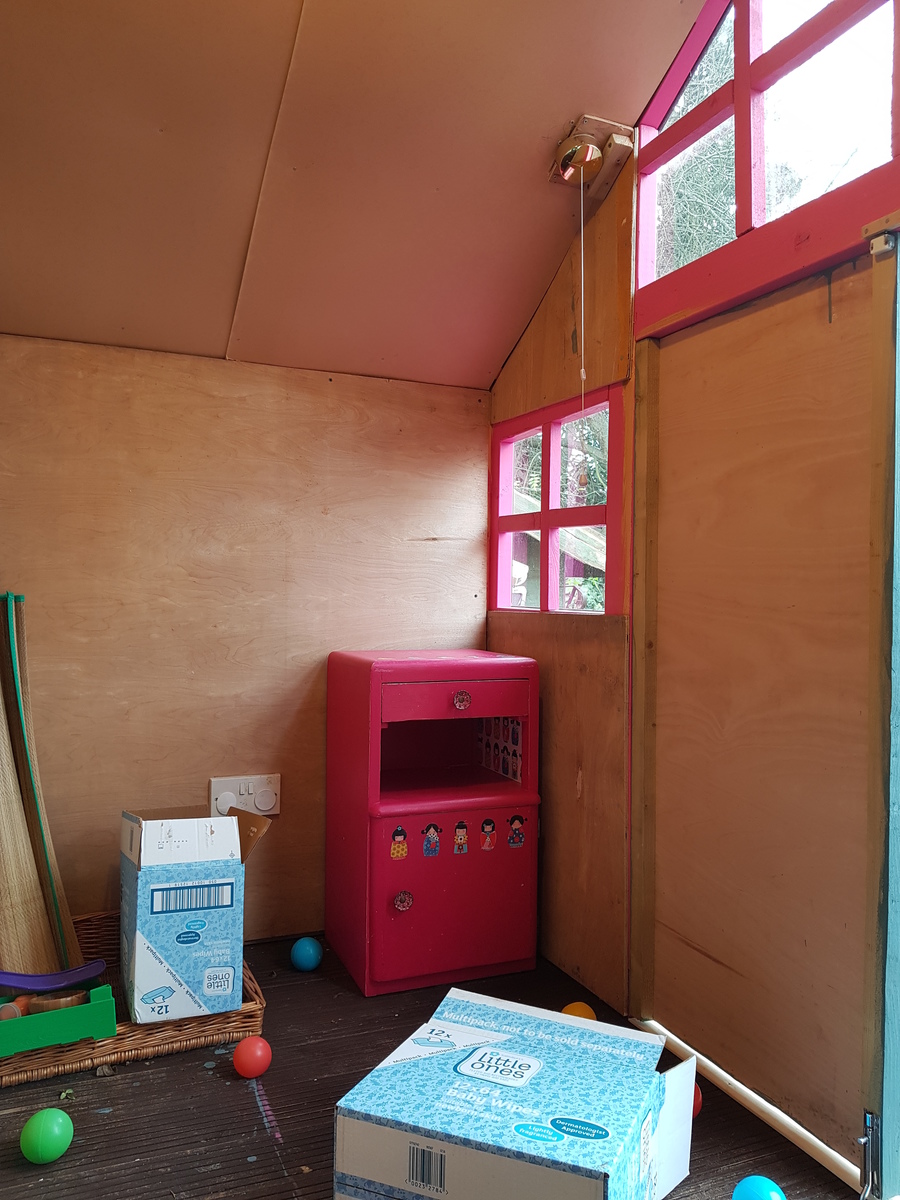
The old garden shed we inherited when we moved in here is rotting away, but it had power and lighting which the electrician told us was sound. I transferred the circuit into the playhouse, securing it behind the inner wall and installing a plug socket and a ceiling light. Having the power socket means that we can take a little electrical heater out there, and (under supervision) the three year old has been able to play in his little house throughout the winter.
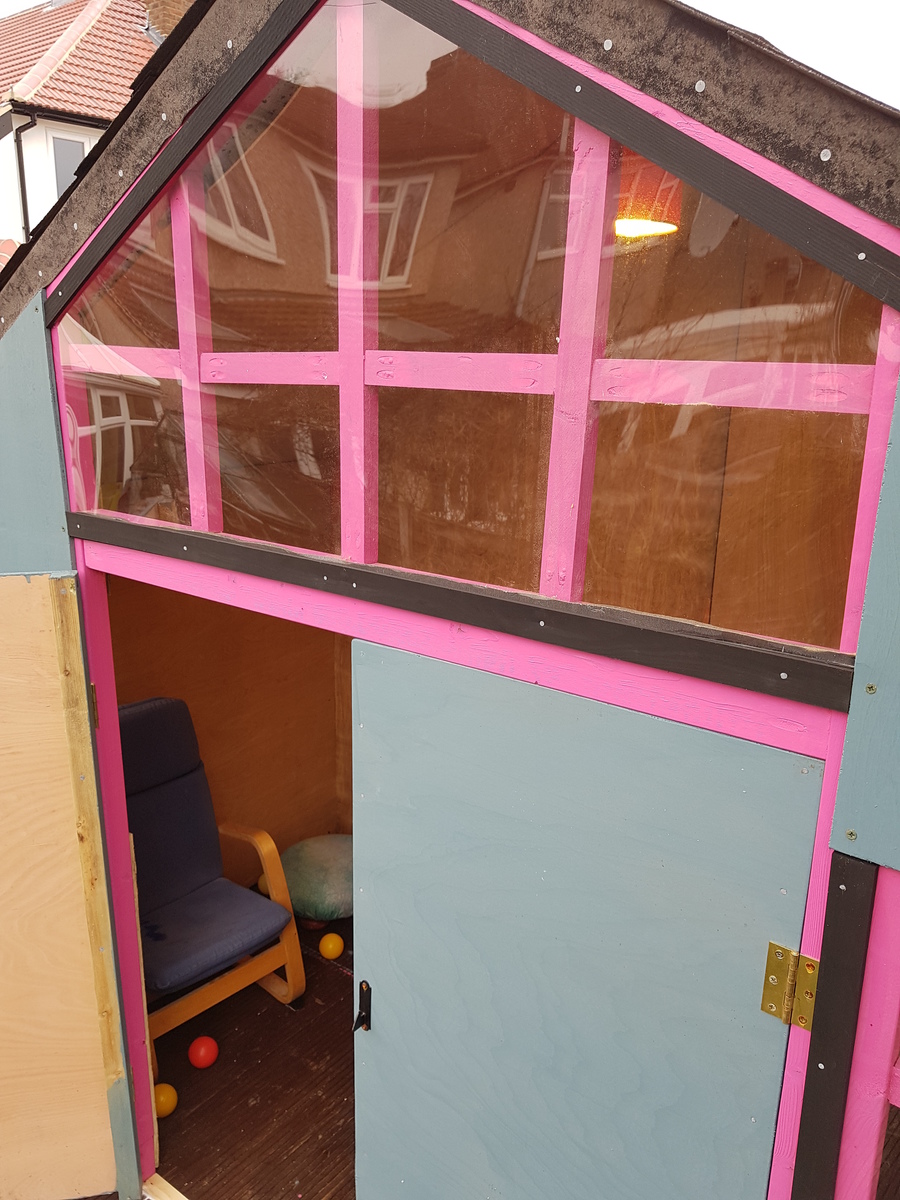
One issue has been that water tends to pool on the deck in front of the house, and then seep under and into the house. When a big furry throw got left out there for a couple of weeks it acted as a wick and sucked the water up and into some of the plywood at the back, making it a bit manky and mouldy. We've learned our lesson and I've now run a bead of general purpose sealant along the front of the house, preventing water running in. The decking boards came with grooves for added grip, which helped channel the water along, and this was worse by the doors because I kept the doors a centimetre or so above the floor, leaving a gap. I've added a thin strip of wood for a lintel and sealed that too.
Now that we're on top of the damp issue I'm planning to paint the interior, add some old water-resistant flooring boards that I found in the shed when we moved into the house, and generally spruce things up. I hope this will be a comfortable den for the boys for years to come.
Thanks, Ana!