Doggie Daybed
Primitive Doggie Daybed
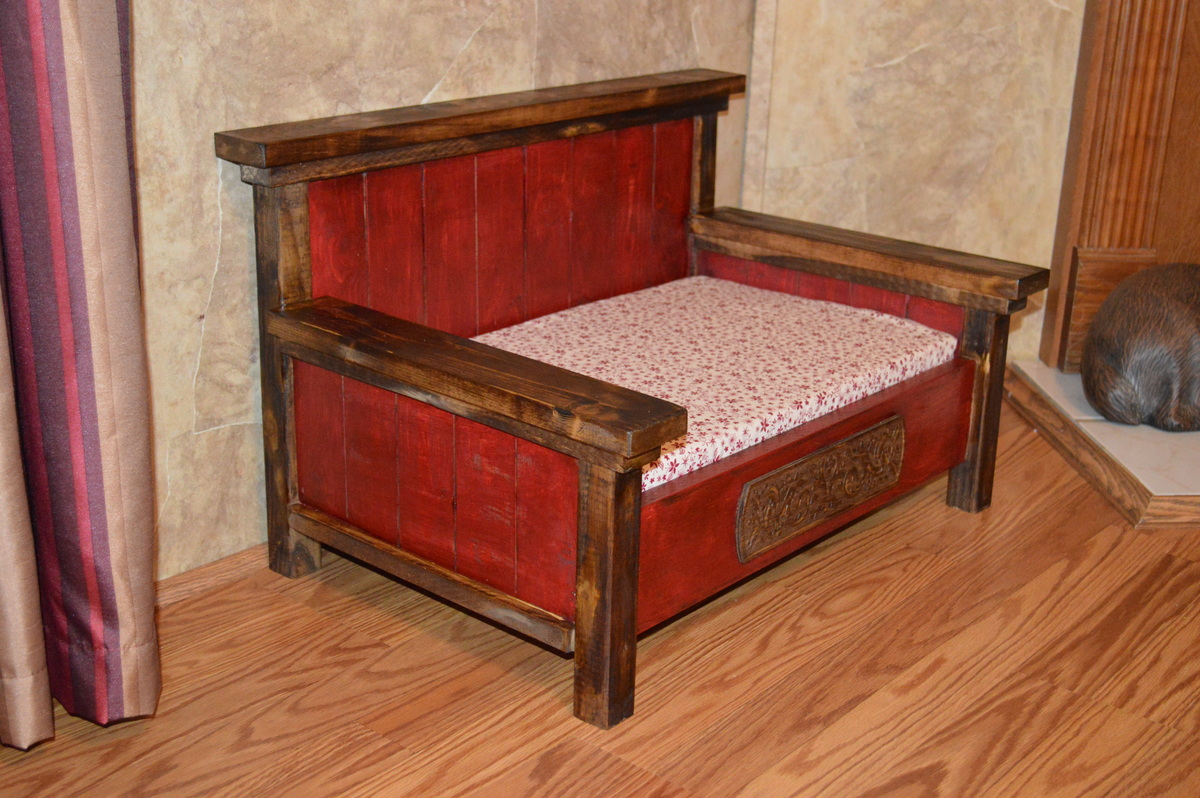
Primitive Doggie Daybed

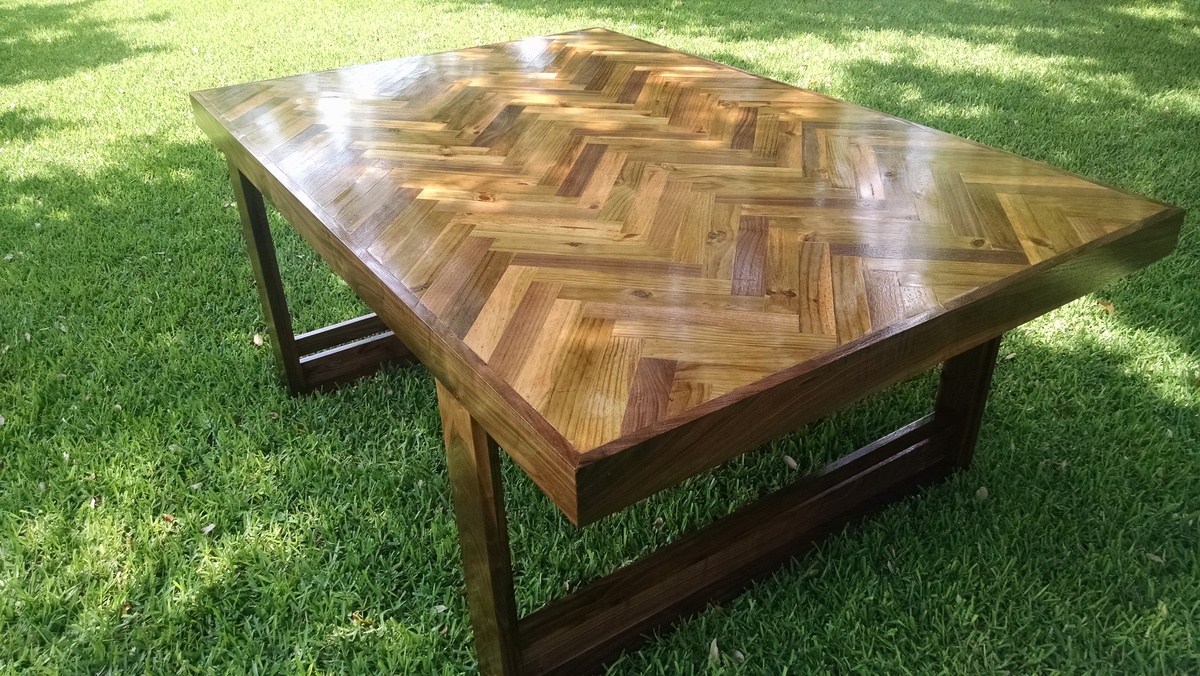
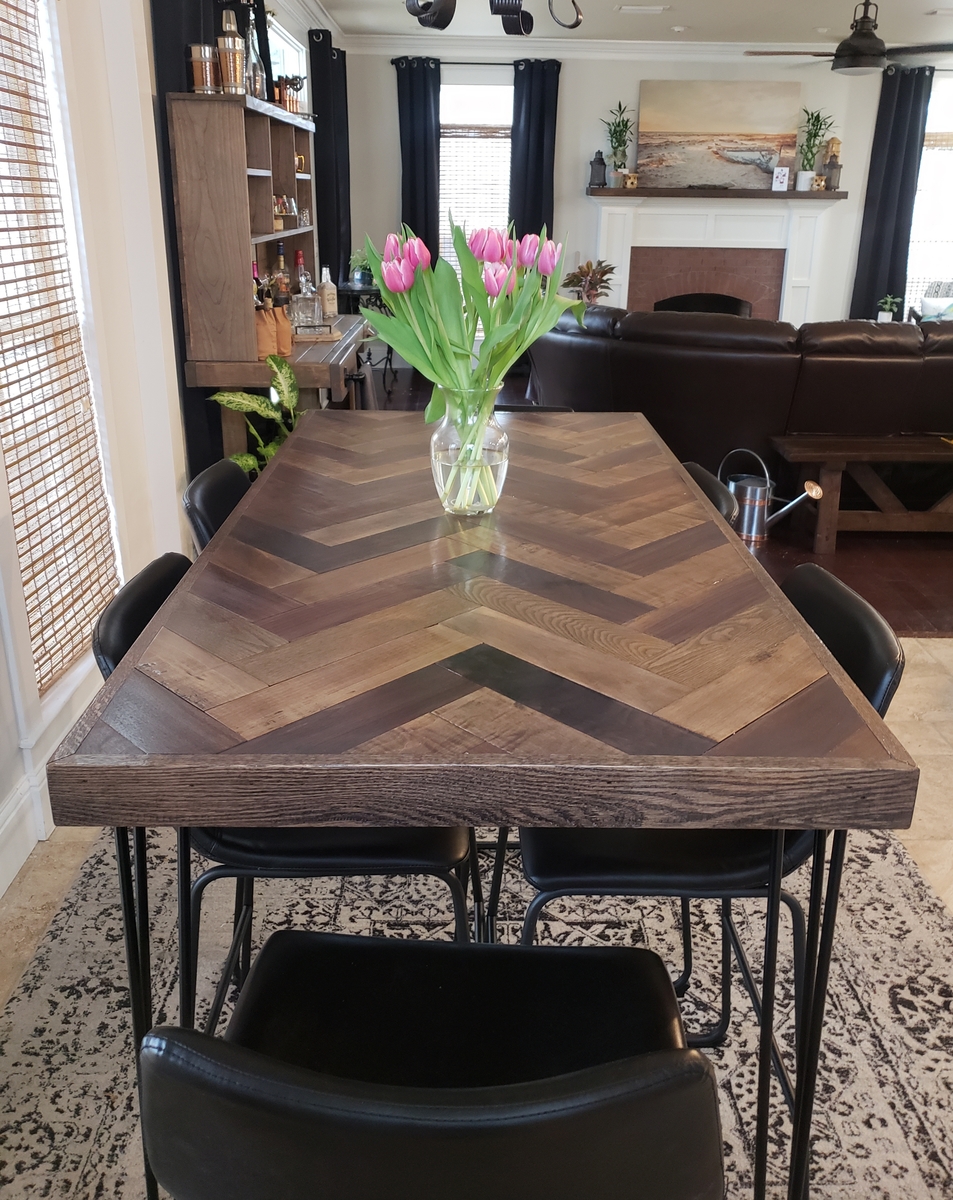
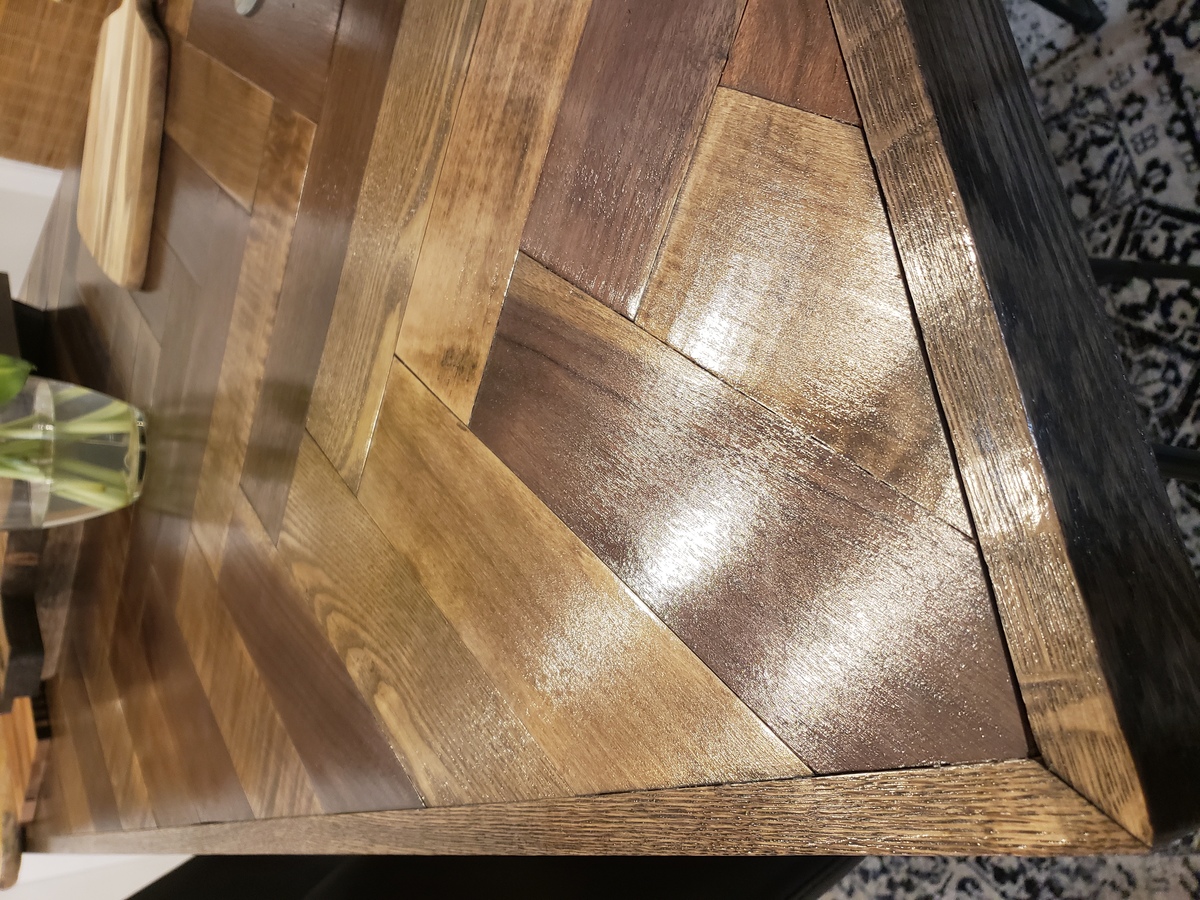
This was a project I had been dying to try out as a way to challenge myself. I wanted to make a herringbone pattern on a table top. I built the legs around the Bois Rouge Saint Paul Table plans. The hardest part was milling on the wood and making it the same width and size but once I had all my pieces the process went pretty smoothly. The funy thing is I did not build this piece for anyone specific and now I have this beautiful table that is sitting unused in my garage. The next step is to sell it!! ![]()
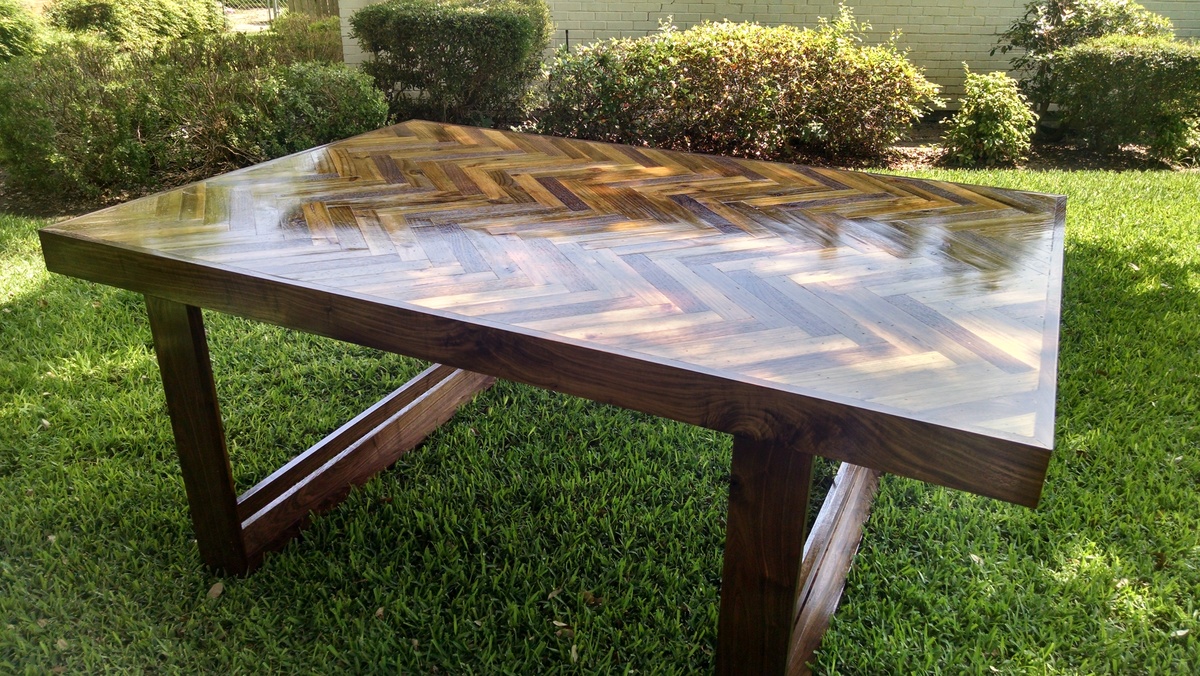
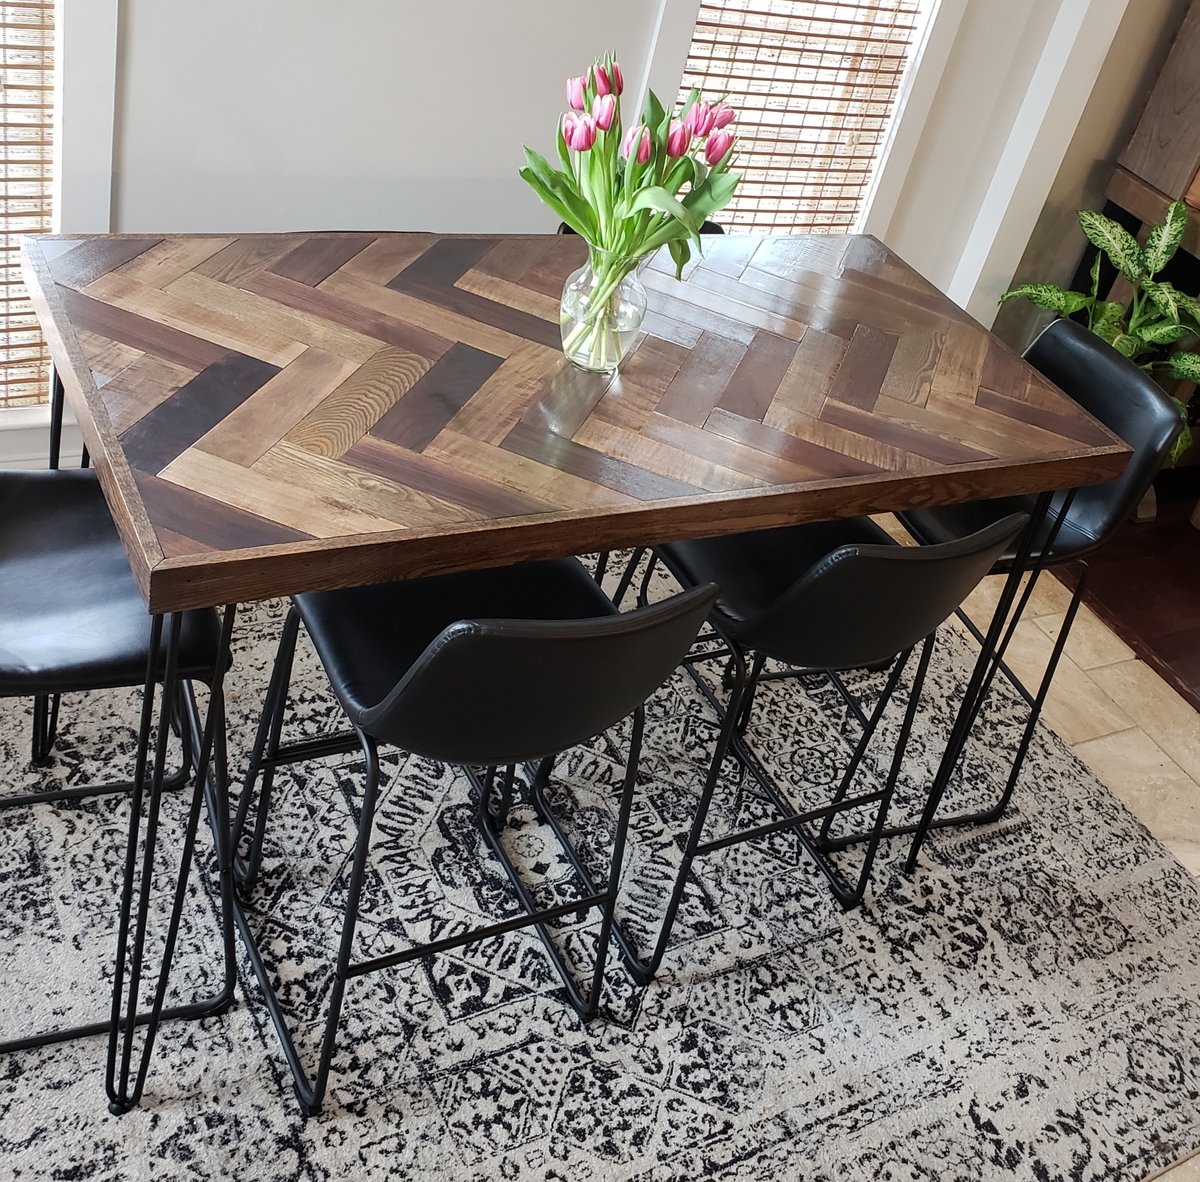
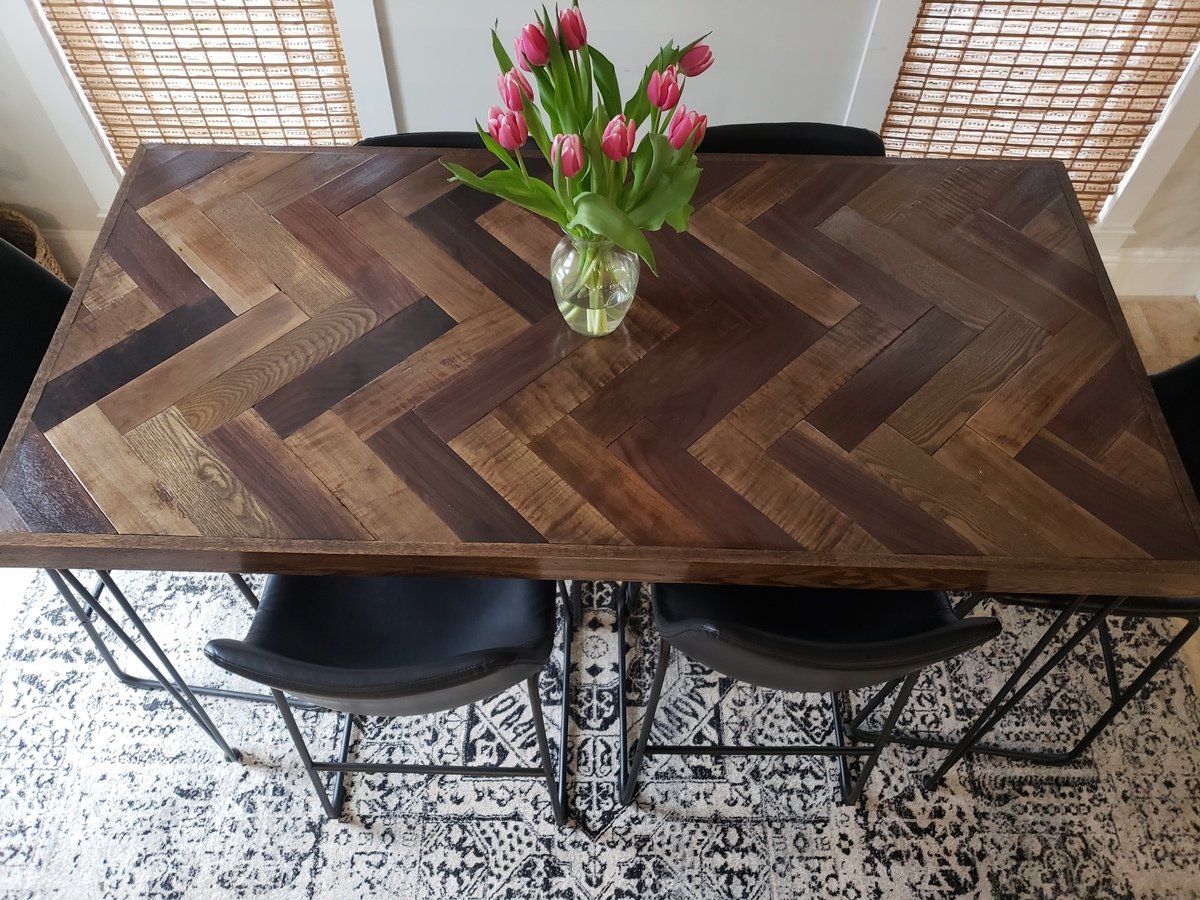
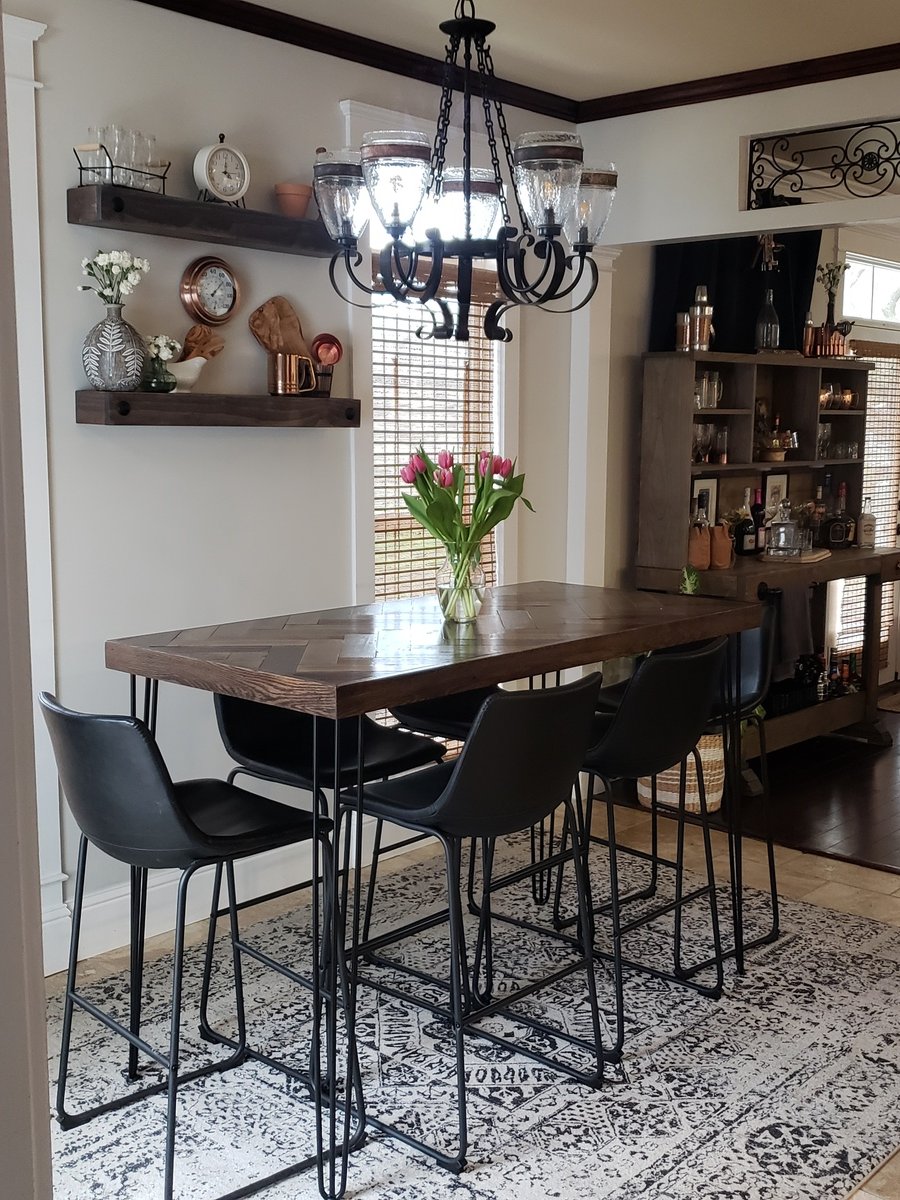
We used 3/4" birch plywood and glued 1/2" thick x 3" wide wood pieces in a herringbone pattern to make the top. We used 1 x 3 oak boards for the trim. The wood is a variety including walnut, maple, cherry, sassafras, etc. We ordered the metal hairpin legs.
We started with a base stain of Danish Oil in Dark Walnut. Once that dried, we went back over that with a very light coat of Minwax gray wash oil based stain. We used 4 coats Laquer for the top coat.
Easy build and we love how it turned out!
Tue, 04/21/2020 - 02:35
Hi. So sorry I just saw your comment. I ordered the craft boards from Ebay. They were 1/2 x 3" boards of various types.
Lessons learned.
I am kind of a visual organizational neat freak and I have been annoyed by all the little things taking up good shelf space in my pantry for a long time now. This just kept getting pushed down the list ya know, not a major project. Anyway, grabbed an extra board at the store the other day and knocked this one out. I LOVE it. I made it short because I want to build a trash bag holder for the bottom half of the door. We'll see how long it takes me. I did use a 1x4 instead of Ana's plan which uses a 1x6. I only needed small things to put in here.
Tue, 09/20/2011 - 09:41
Ah, well dang it, now I have no excuses! LOL. This is on my list of things to do as well--yours looks great!
Wed, 09/21/2011 - 09:31
I love it! Great price,too!
I especially love how the design corals all those pesky little things that always seem to get pushed all the way to the back of my cabinets and drawers.
I'm definitely putting this on my list of things to build!
Cindy from Indiana
Thu, 09/22/2011 - 08:19
I just got an anchor that looked like it had a little more 'umph' to it. It is called a Cobra Tripple Grip. It looked like it had a section that popped open a little more once the screw went in. I thought that might hold it a little more securely. I feel no movement when I jiggle it at all.
Sun, 01/15/2012 - 08:29
Very nice project.
Just came along looking for a storage shelf and I saw your door shelf. Going to build one of these for sure, sick of the little wire ones we have falling down every other day.
Sun, 01/22/2012 - 19:28
Thanks for the idea. I had to purchase one instead of make one because I live in an apartment.
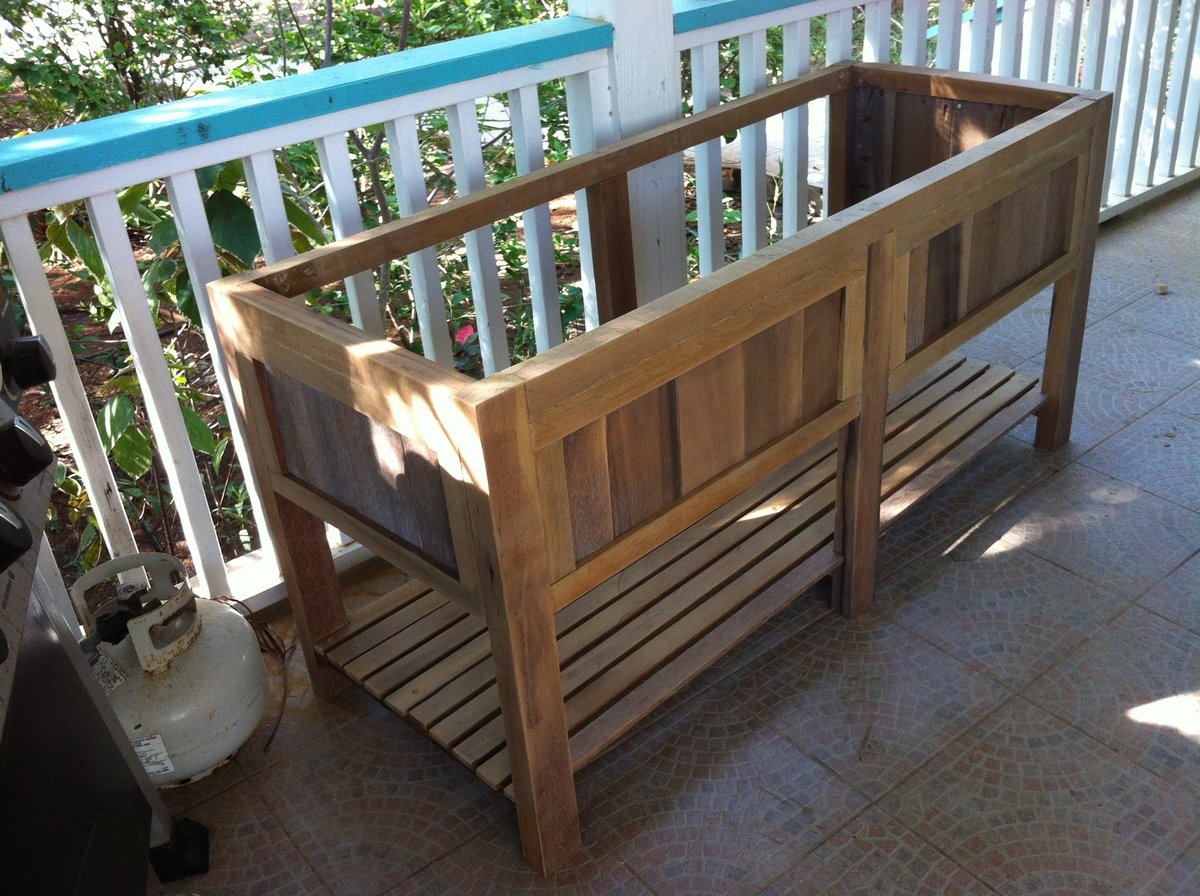
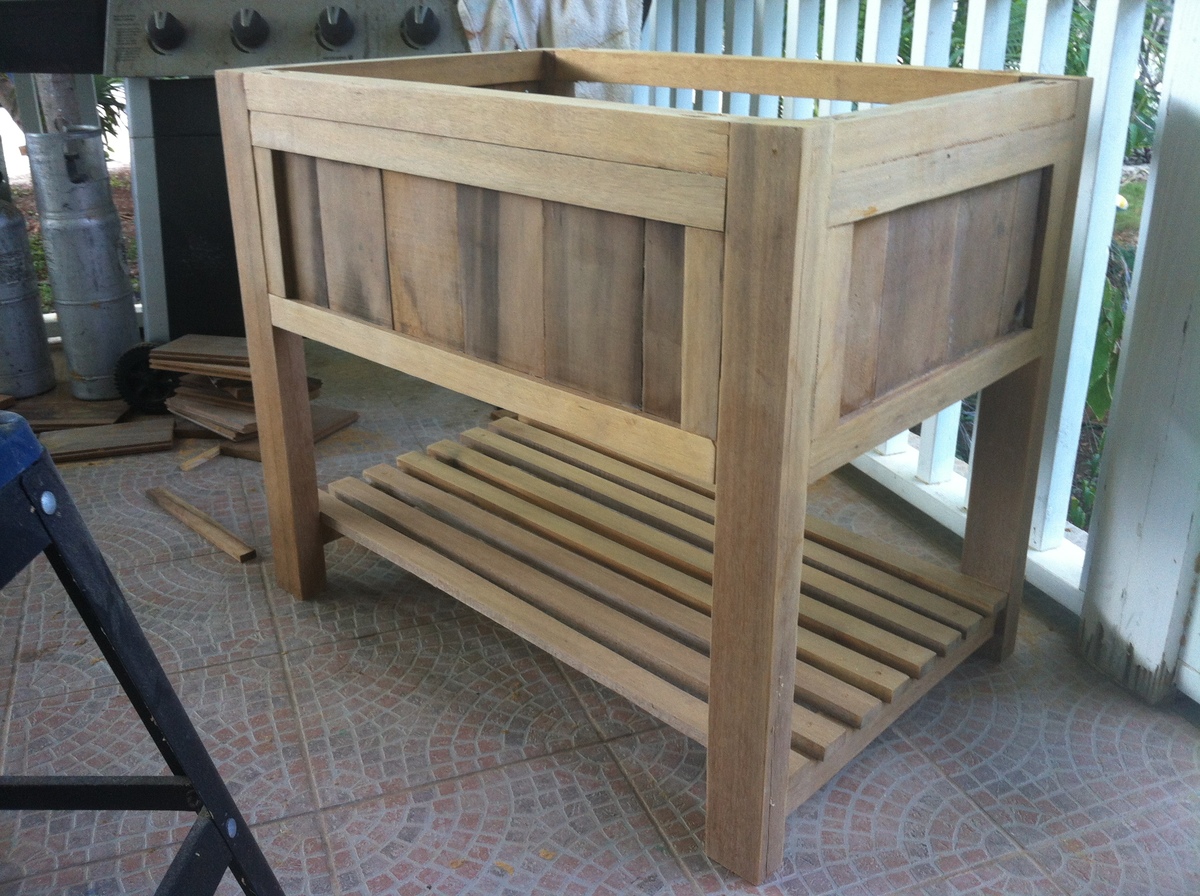
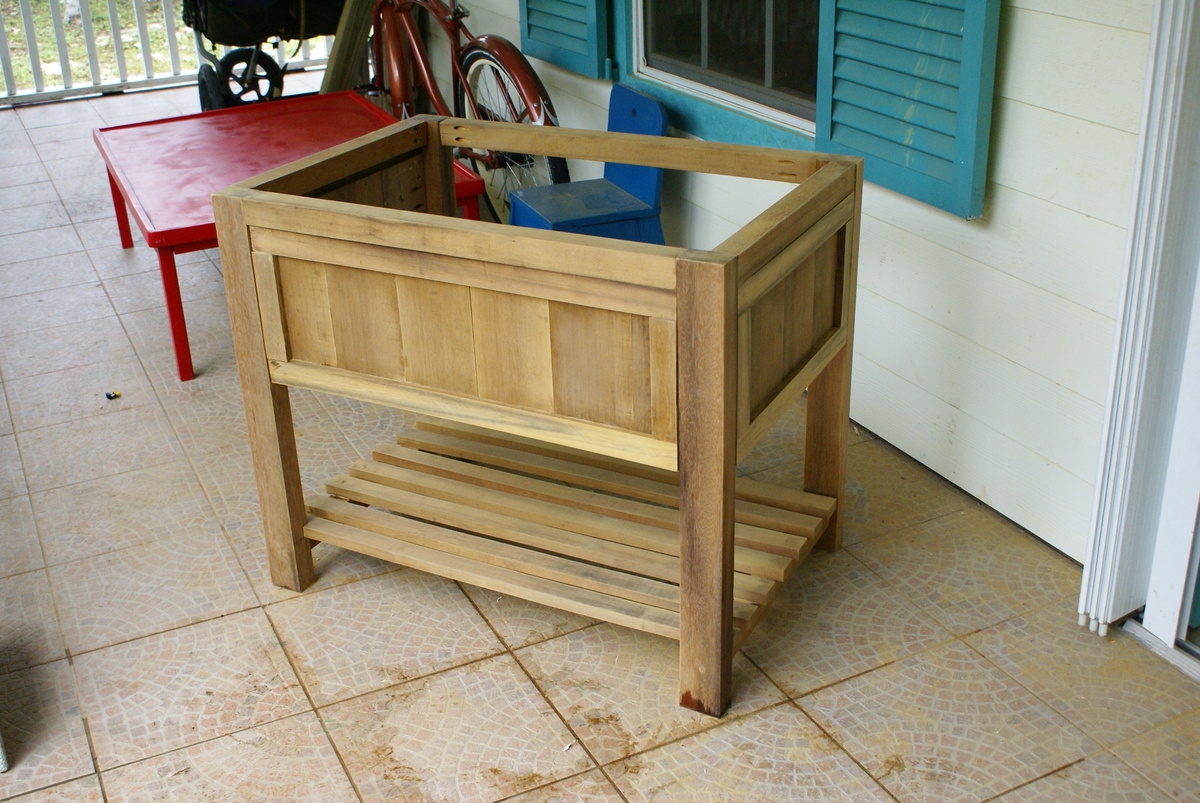
I've been working on these bathroom vanities for a family building a home. These are made of gorgeous Greenheart lumber. I have only worked with pine and spruce up to this point, but this wood is truly stunning. It has been quite the adjustment to work with, and I've broken my share of bits and screws :)
All of these together took me about a week to complete. Had I been working with a softer wood it would have taken no time hardly, but the hardwood....that's a whole other ballgame to me!
They will be adding 2'' thick concrete counter-tops on these when they get installed. I love the simplicity of their look!
Tue, 10/01/2013 - 07:35
These vanities are beautiful. It would be really neat if you could add pictures when they are installed with the counter tops! I am contemplating replacing a vanity with a DIY one, and I love seeing how other people have made things beautiful with their own 2 hands.
In reply to They are beautiful! by NimbleShopper
Tue, 10/01/2013 - 14:35
I will most definitely add the pics with the counters. I can't wait to see them myself :)
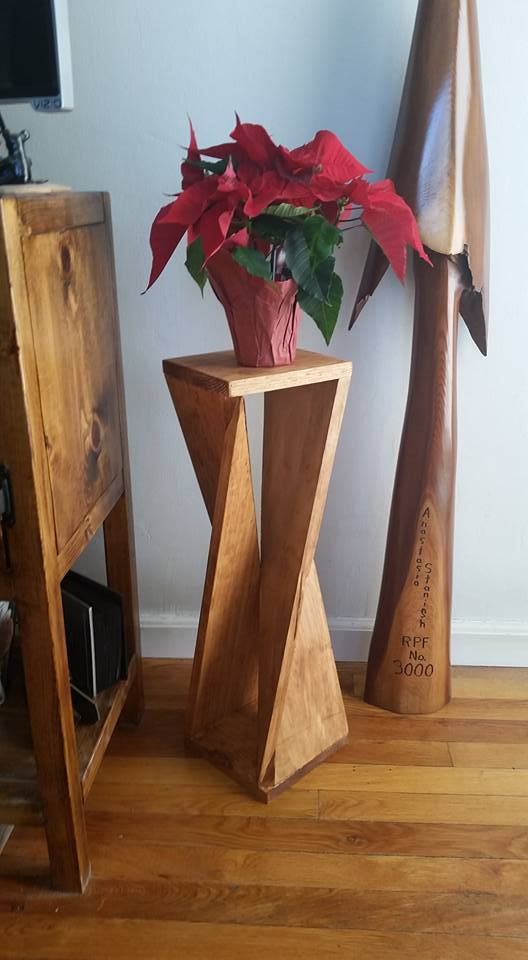
Saw this clever side table on Pinterest. It's made out of 1 1x8x8. I was able to figure out how to build a jig for the table saw to suit the project and then it was easy peasy lemon squeezy from there.
Mon, 12/21/2015 - 09:41
This is so clever and would make an inexpensive yet first-rate gift! I love it...thanks for sharing.
Fri, 10/28/2016 - 08:40
I would love to build this unique table, but can't seem to find some actual plans with dimensions and jigs
Fri, 10/28/2016 - 08:45
Would you please email me the plans for this table. Thanks so much
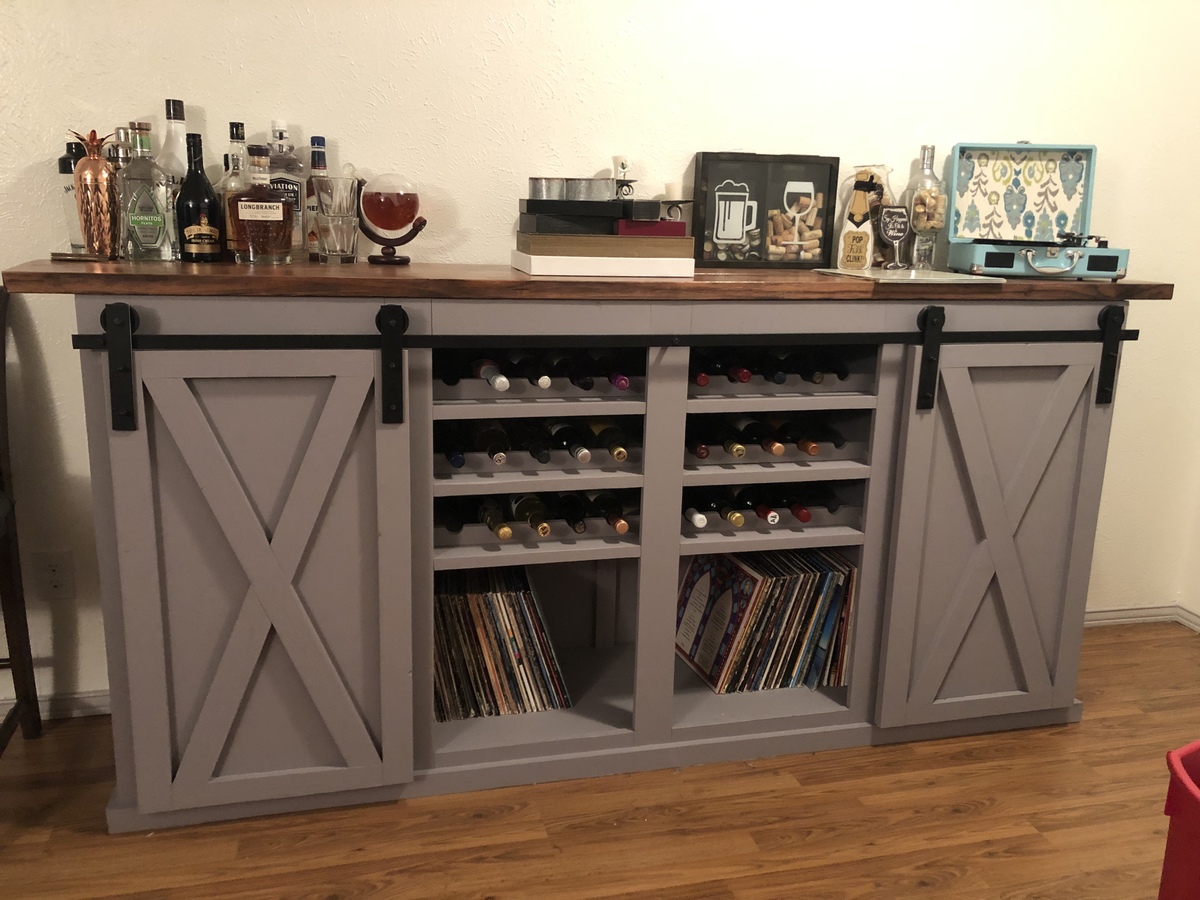
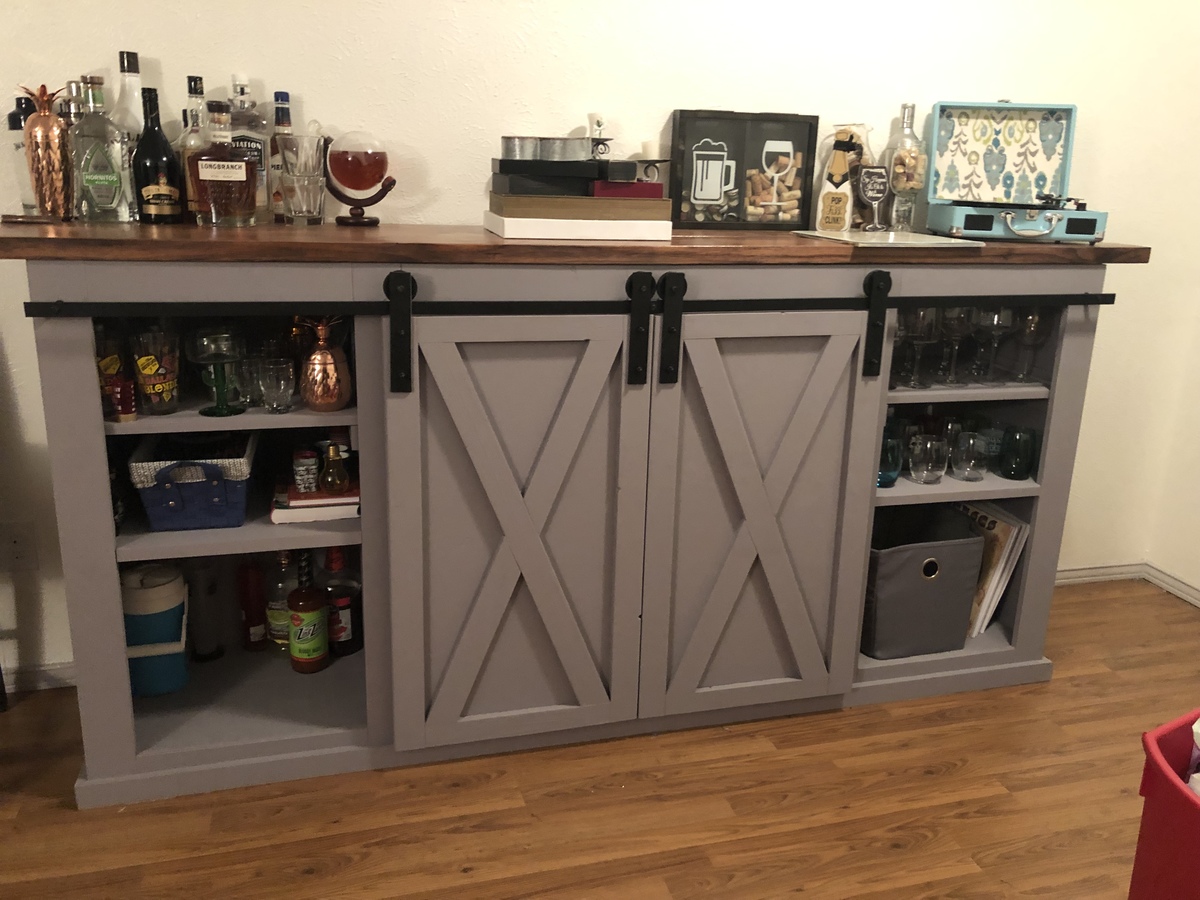
We needed a piece that served two purposes, a Wine bar and a record stand. I used a plan from the site and altered the dimensions to fit records and wine holders. I used thick wood up top and stained and lacquered it. I added a few extra shelves for glasses and so forth, and put in the wine holders. That ended up taking a little extra on this build but I had a great time doing it!

My step son, who is in college, comes to stay with us some weekends and we don't have a lot of room in the rental we are in. So I built a place for him to put his things and sleep, during his visit. This was an easy and quick build using 1x10's for the frame and 1x2's for the face frame. Being 1x10's it's super low profile and doesn't make the room feel much more crowded, so that is a huge bonus! I built it around the dimensions of this floor bed/sofa that I found on amazon.
Here's a Youtube Video of me building it, if you want to see how it went together.
I really like this design, because I feel it would make a great addition to a guest room, bonus room, dorm room, shared room and more. I ended up attaching it to the wall as you will see in the video because it will be tippy if not. Hope you like it!

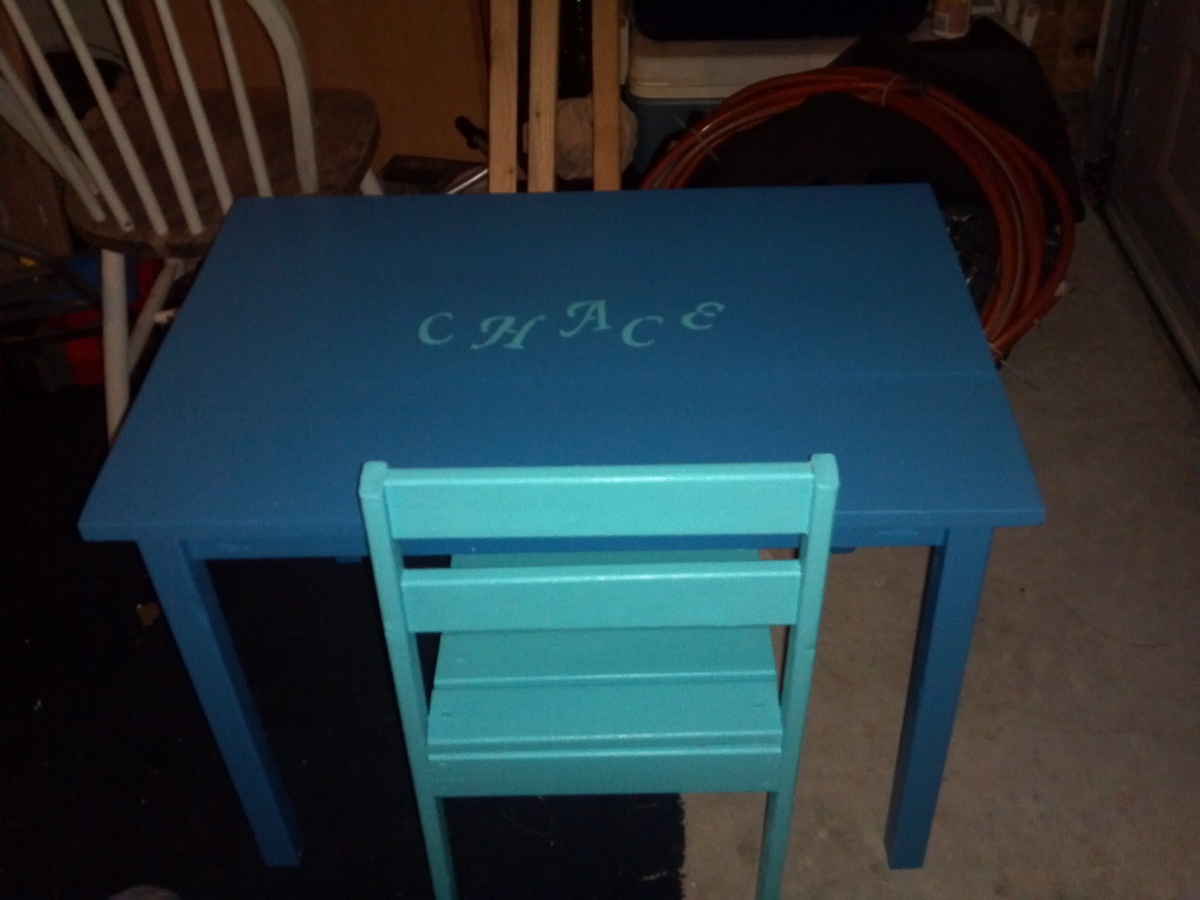
This was a gift to my good friends son. She said he needed a desk for his homework, but I hear he's using it as a dinner table. :) It was a fun project.
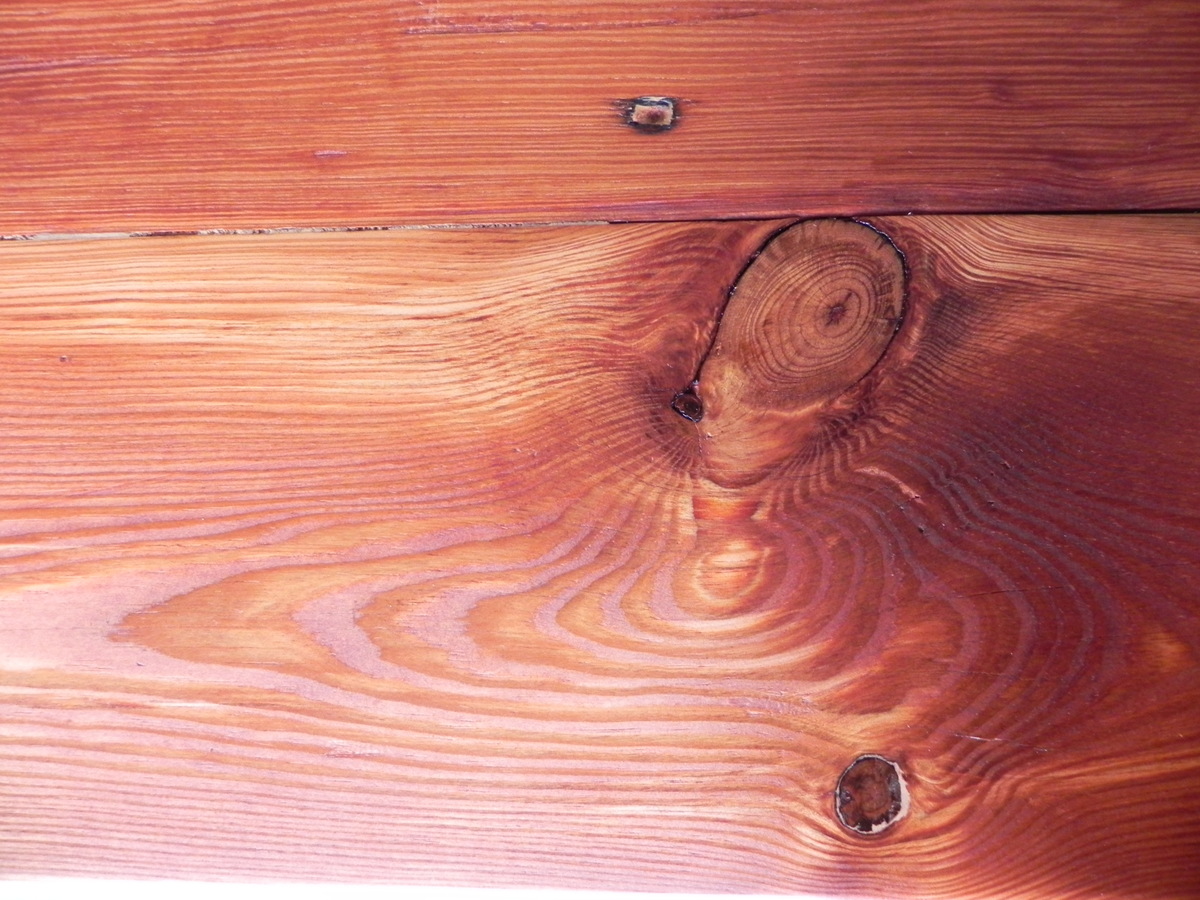
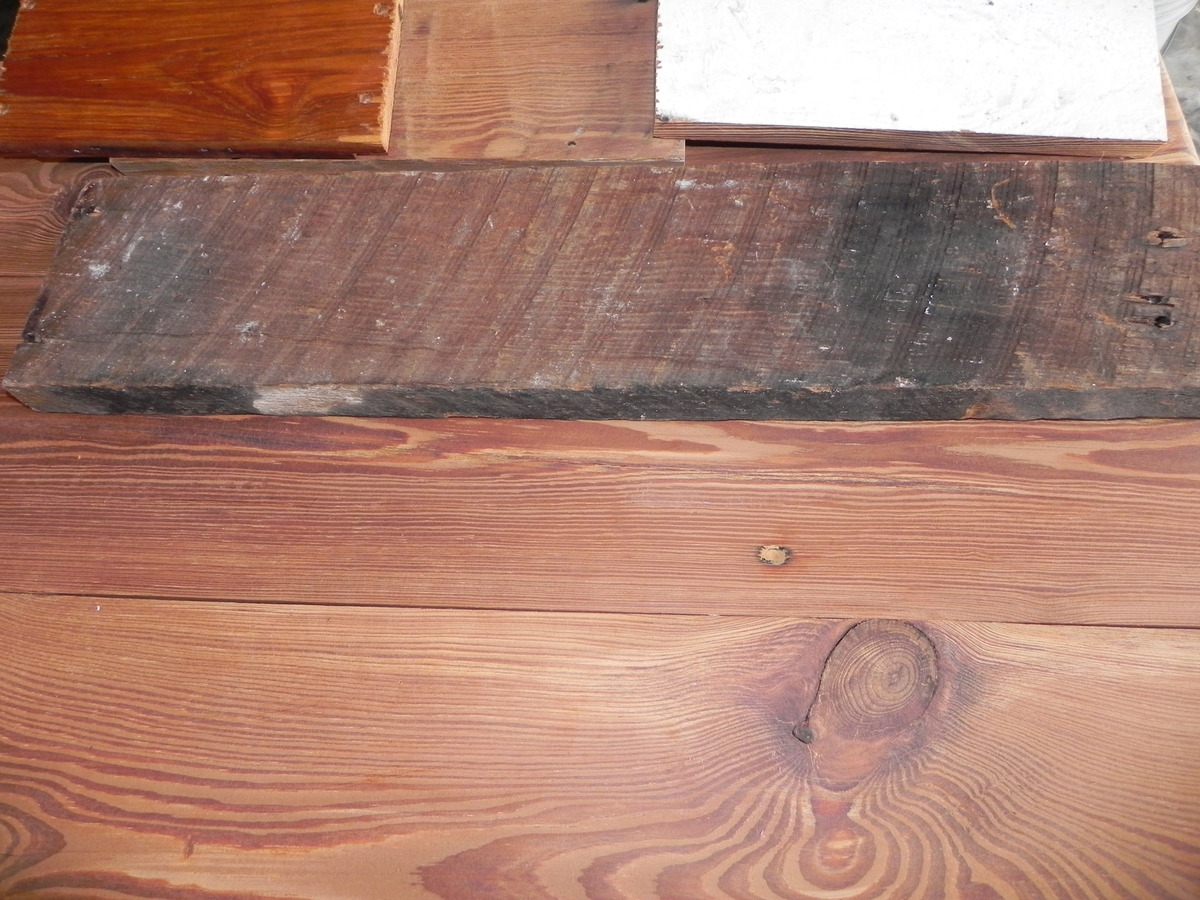
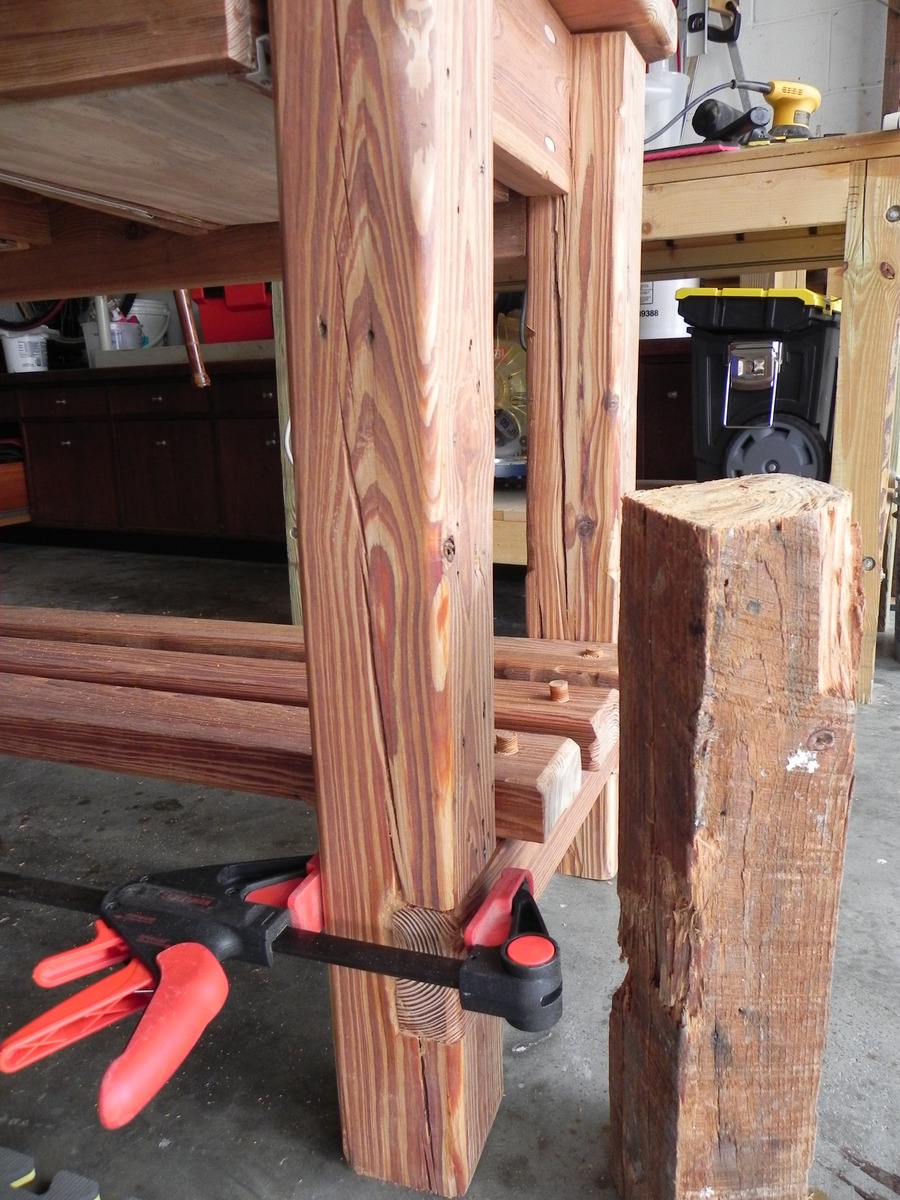
I was so excited to see this plan and knew what to do with the wood I had recently acquired when an old home was being destroyed near my house.
Love the site and the projects are too much fun!
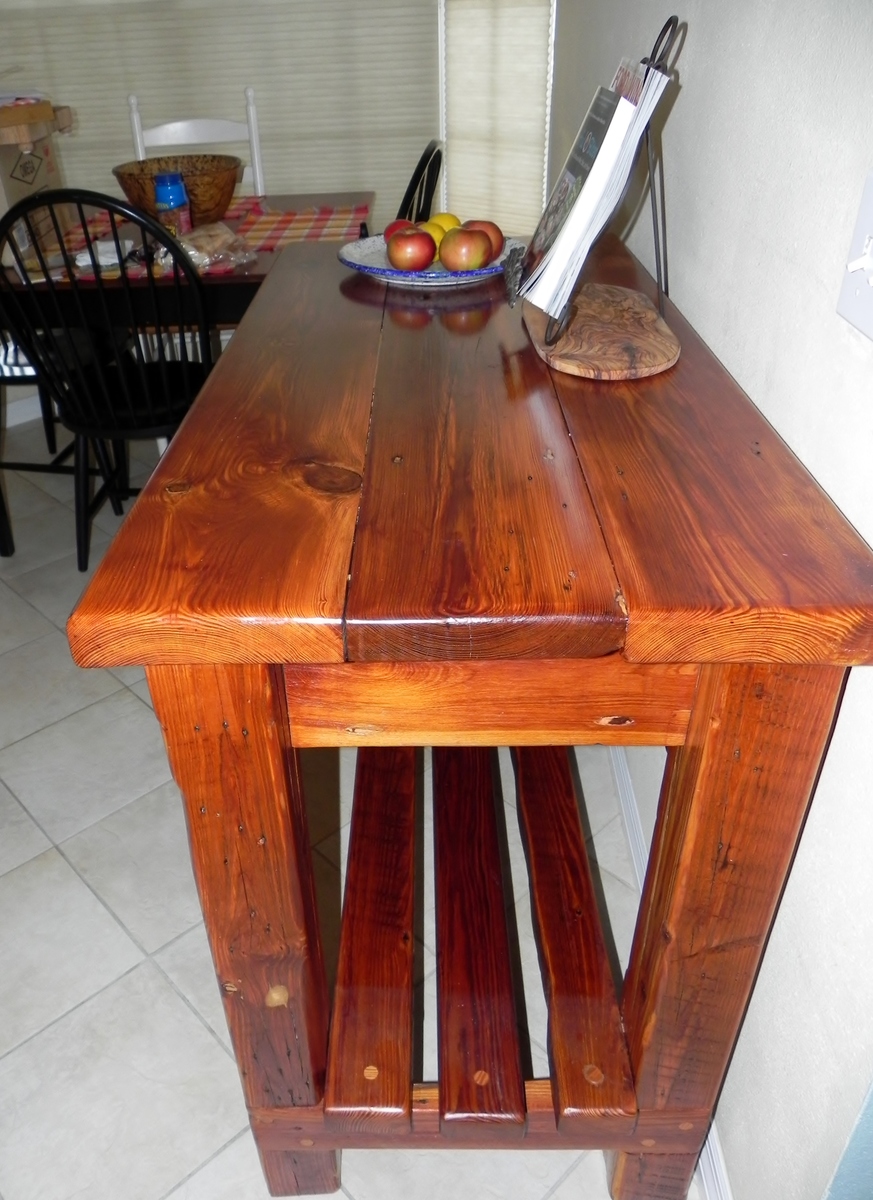
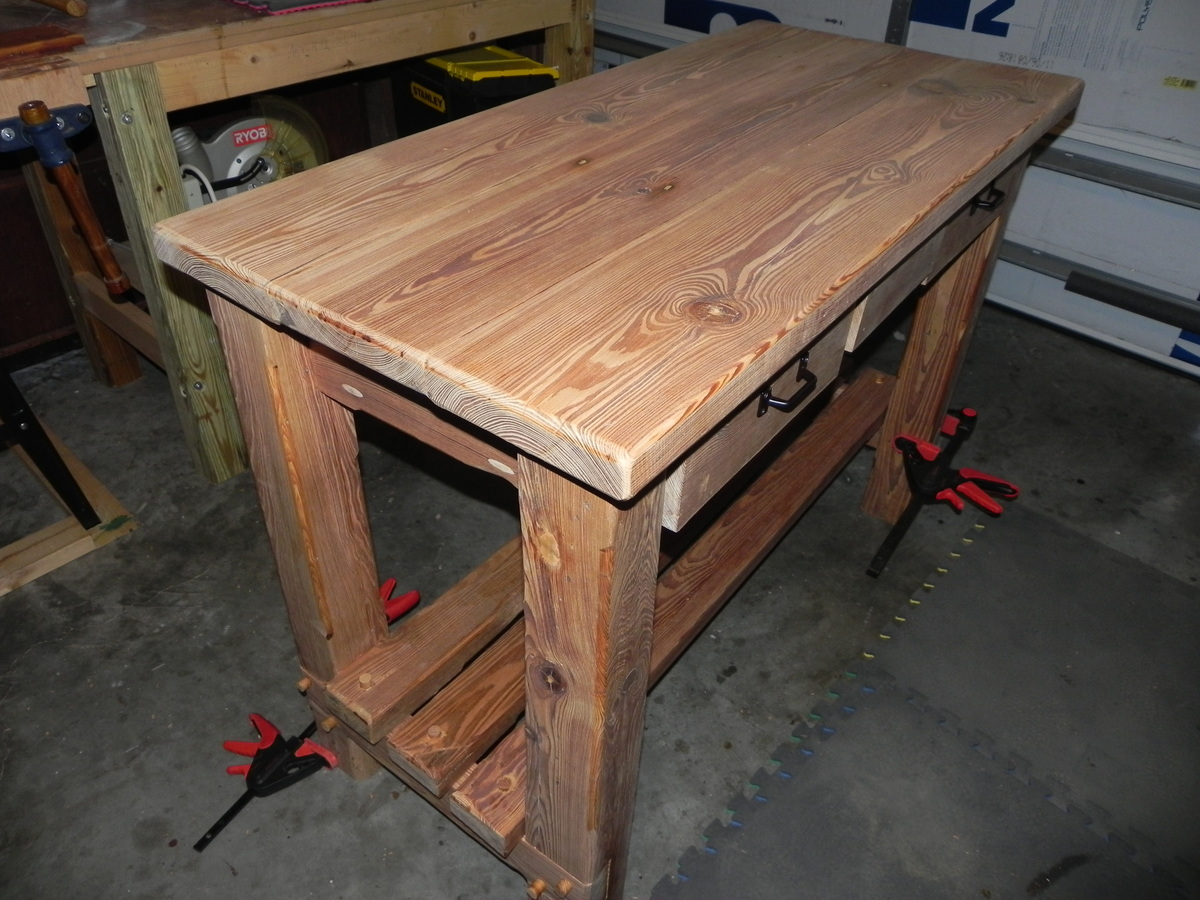
Thu, 10/03/2013 - 07:29
The heart of pine is more dense than red oak and heavy!!
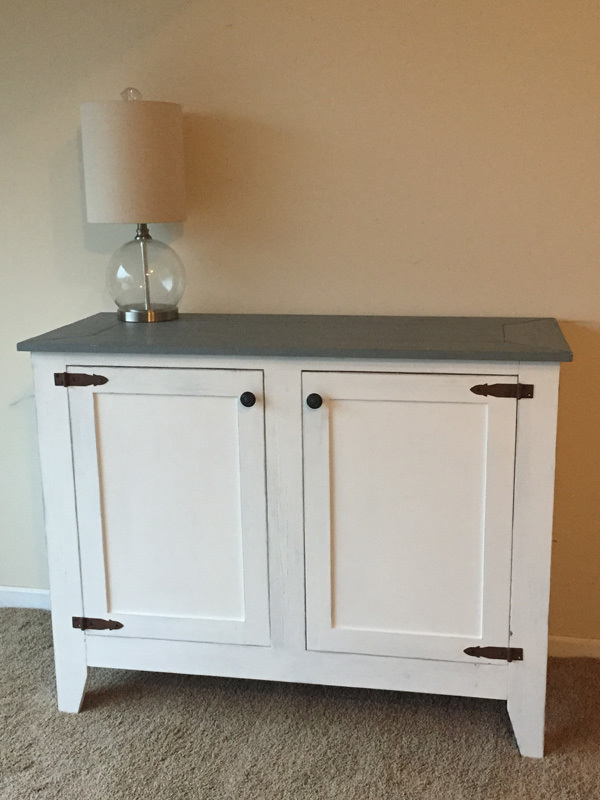
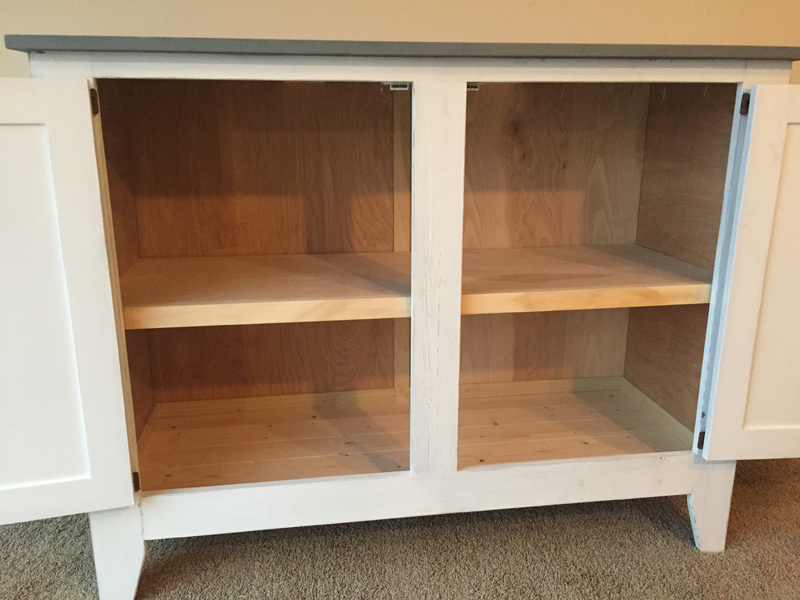
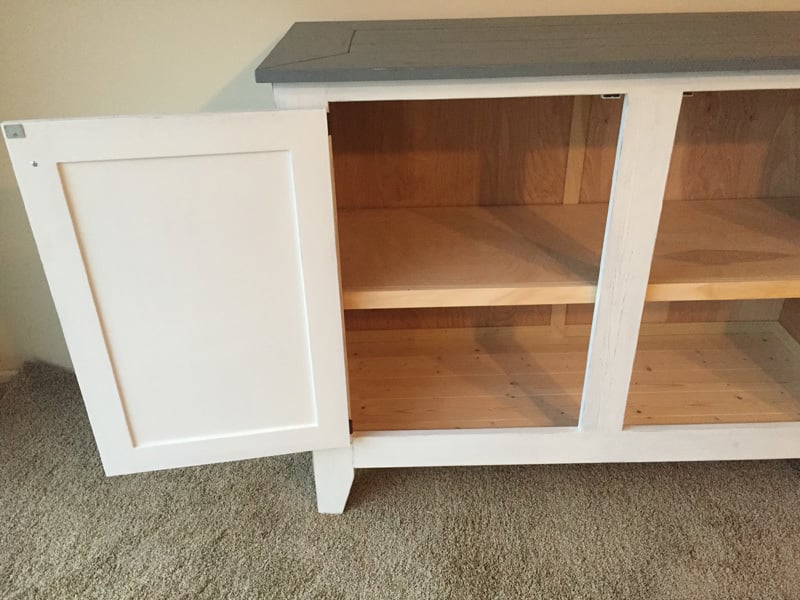
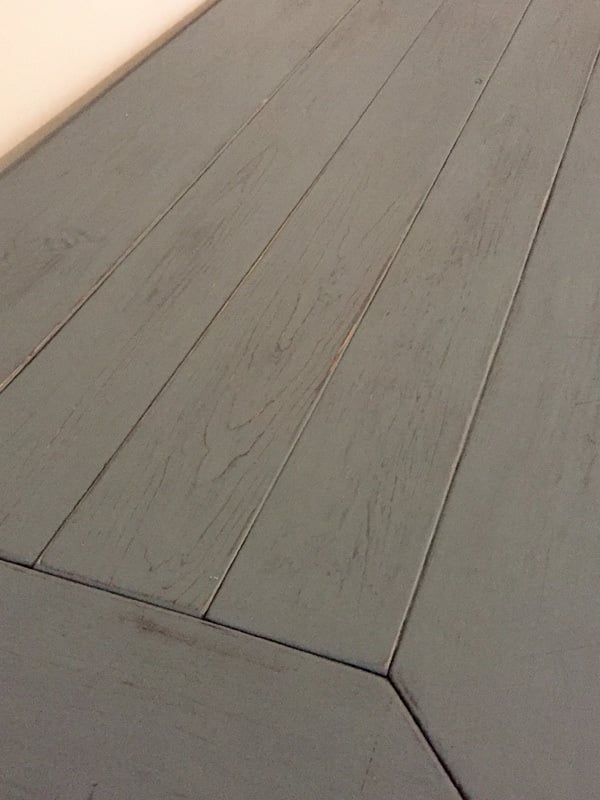
Cabinet with adjustable shelf. Finished in an antique white effect. Gave it a coat of Grey stain first then painted with two coats of white sanding back after each coat. Top was stained Walnut and then painted grey and sanded back to show some of the walnut stain and the grain through. I left the inside natural color for contrast rather than having it all white .
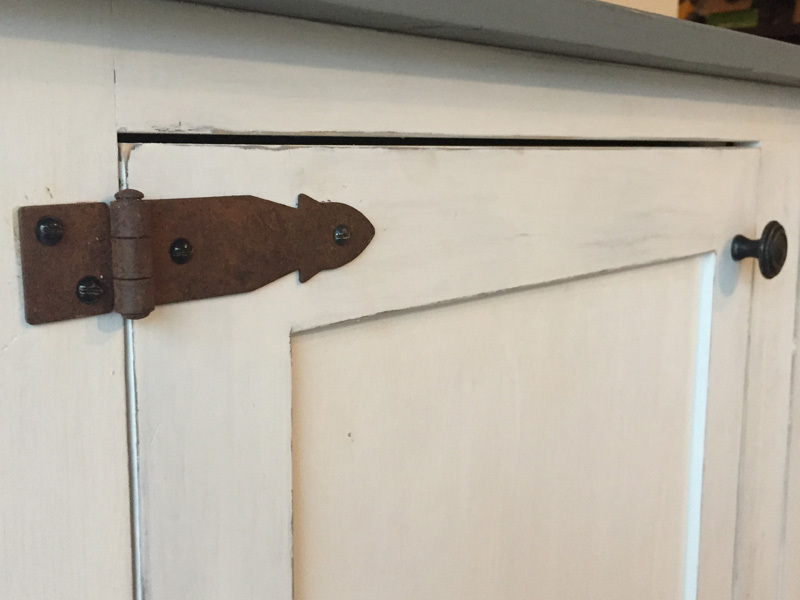
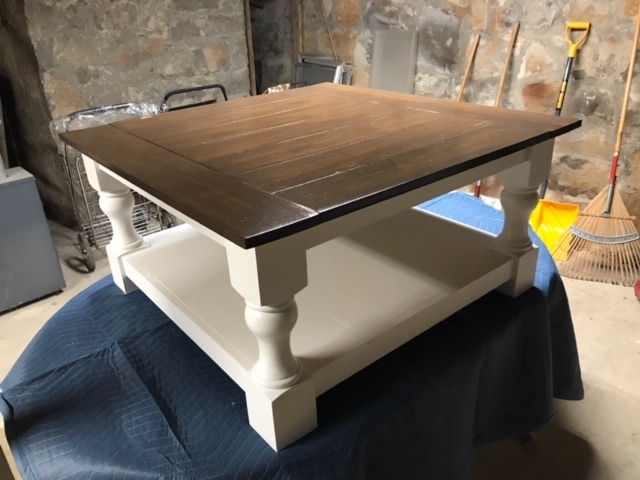
For my daughter's birthday, I used the plan from your site, but I substituted 1x6 poplar for the top, rather than the 2x6's. Turned out so well that my other daughter wants one as well.
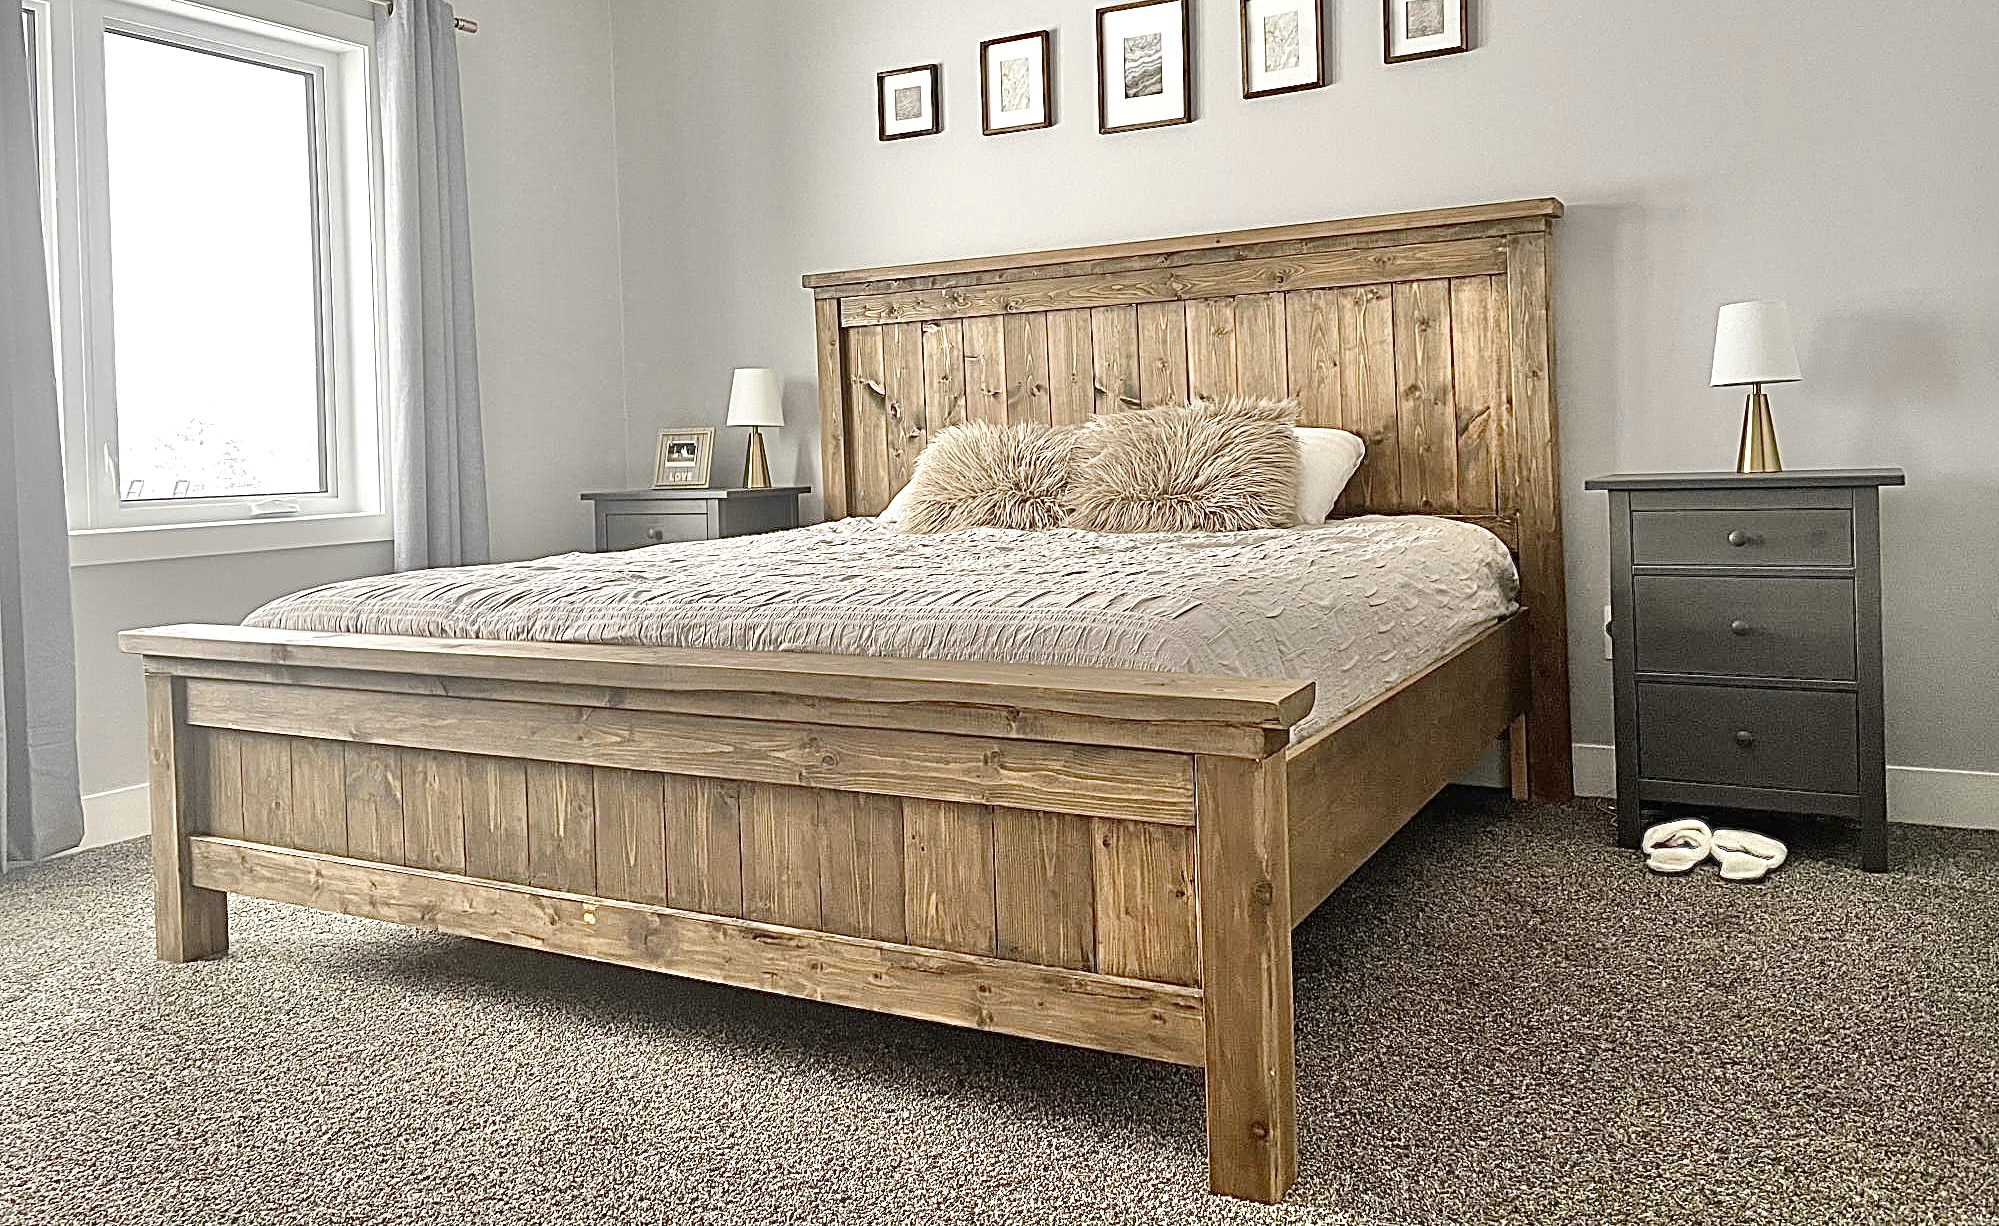
My husband and I had worked on this bed together, and we are so happy with it! We went with taller side tables that we purchased, and just stained the wood instead of painting it.
These shelves were easy to make and are sturdy also. I haven't gotten frames for my pictures yet - I was so excited to hang up my shelf.
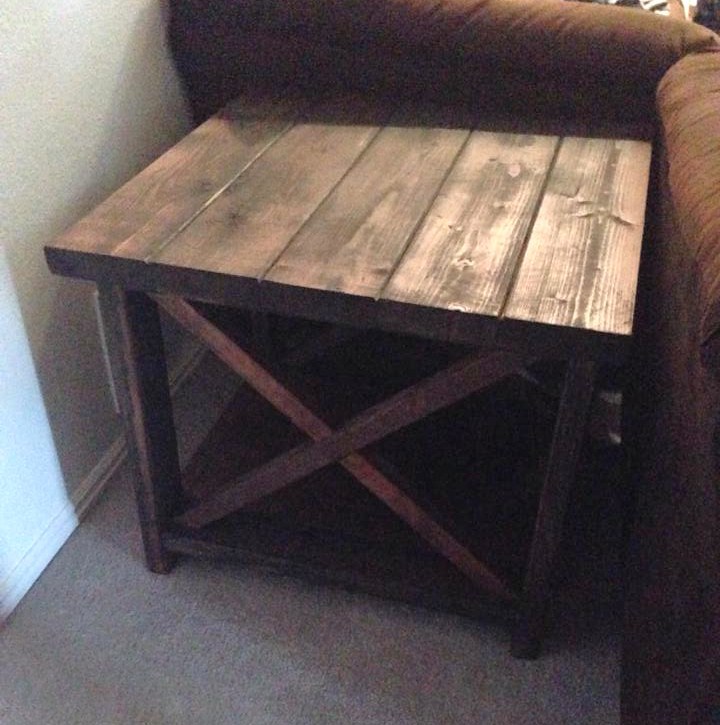
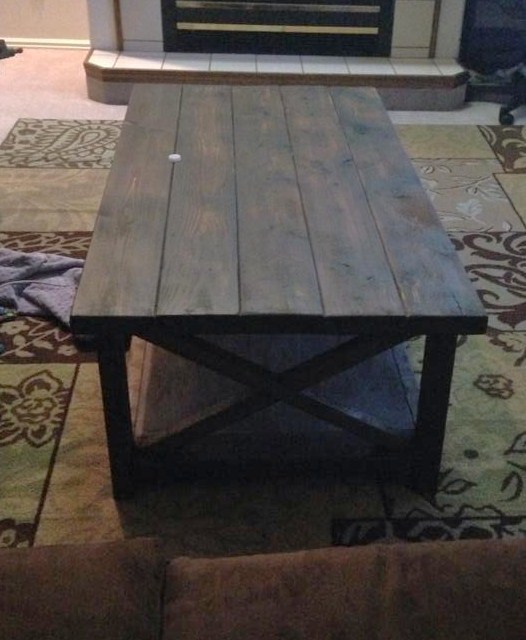
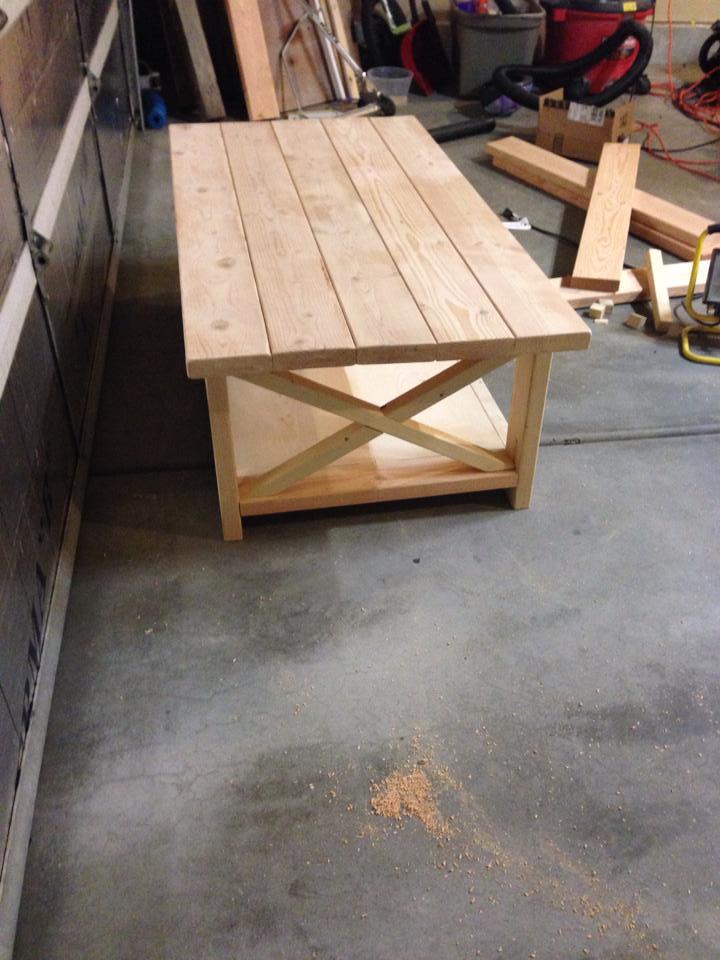
WOW this was our first build. We had some money to get started so went and bought new miter saw and sander, kreg jig, basically everything we needed to build it. Tools aside we spend only about $100 on the lumber to build the coffee table and 2 side tables.
Eric cut notches in the X instead of using 2 separate pieces for the other side, so they fit together like a puzzle piece. it was a learning experience of trial and error, but he got better and better each time.
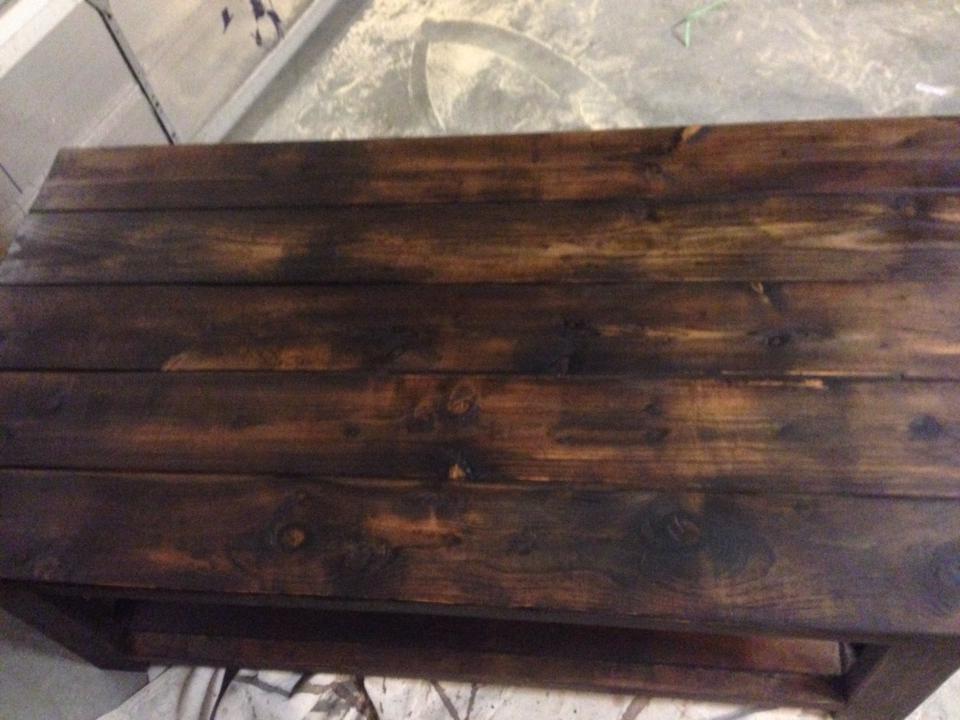
For the finish i used the tutorial of dissolving steel wool in vinegar and then added a coat of strong coffee which made an ugly green-gray color. I happened to have picked up a can of "autumn" wood stain that when applied made the color pop and look amazing. (thank goodness because i was so frustrated and wanted to give up) when we do this again (cuz i just sold the set we made) i will be better at sanding everything nice and smooth, and do staining/painting of the Xs and the top separately before putting everything together.
I dont recommend the steel wool and vinegar stain, it smelled terrible and was hard to apply because it was watery and ran a lot plus you cant see the color develop for a long time so its hard to see what was wet and what wasn't. yuk. The Minwax "gray" stain they just released would most likely work a lot better. those small can of stains for $6 are big enough for all 3 pieces we built so really i don't think i saved money buying the steel wool and vinegar.
Anyway this was way fun! Cant wait to build again :)
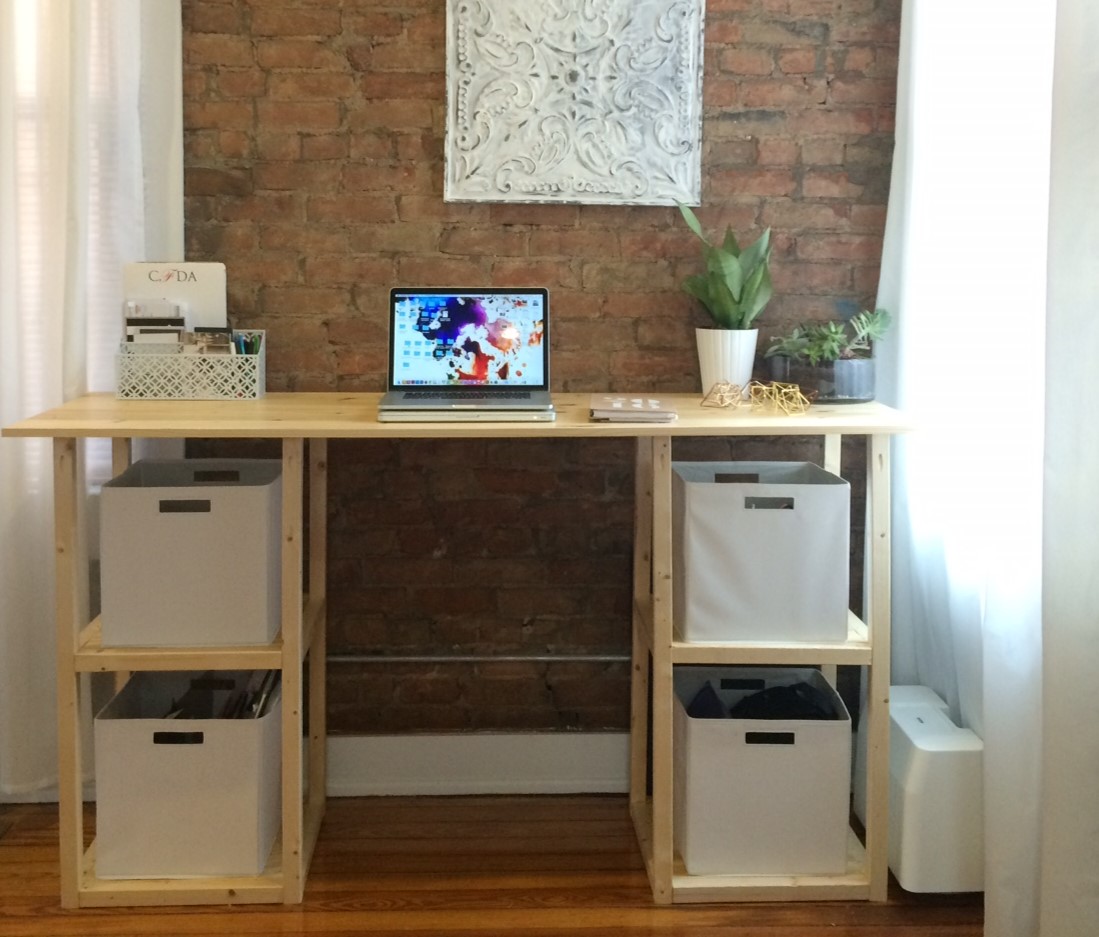
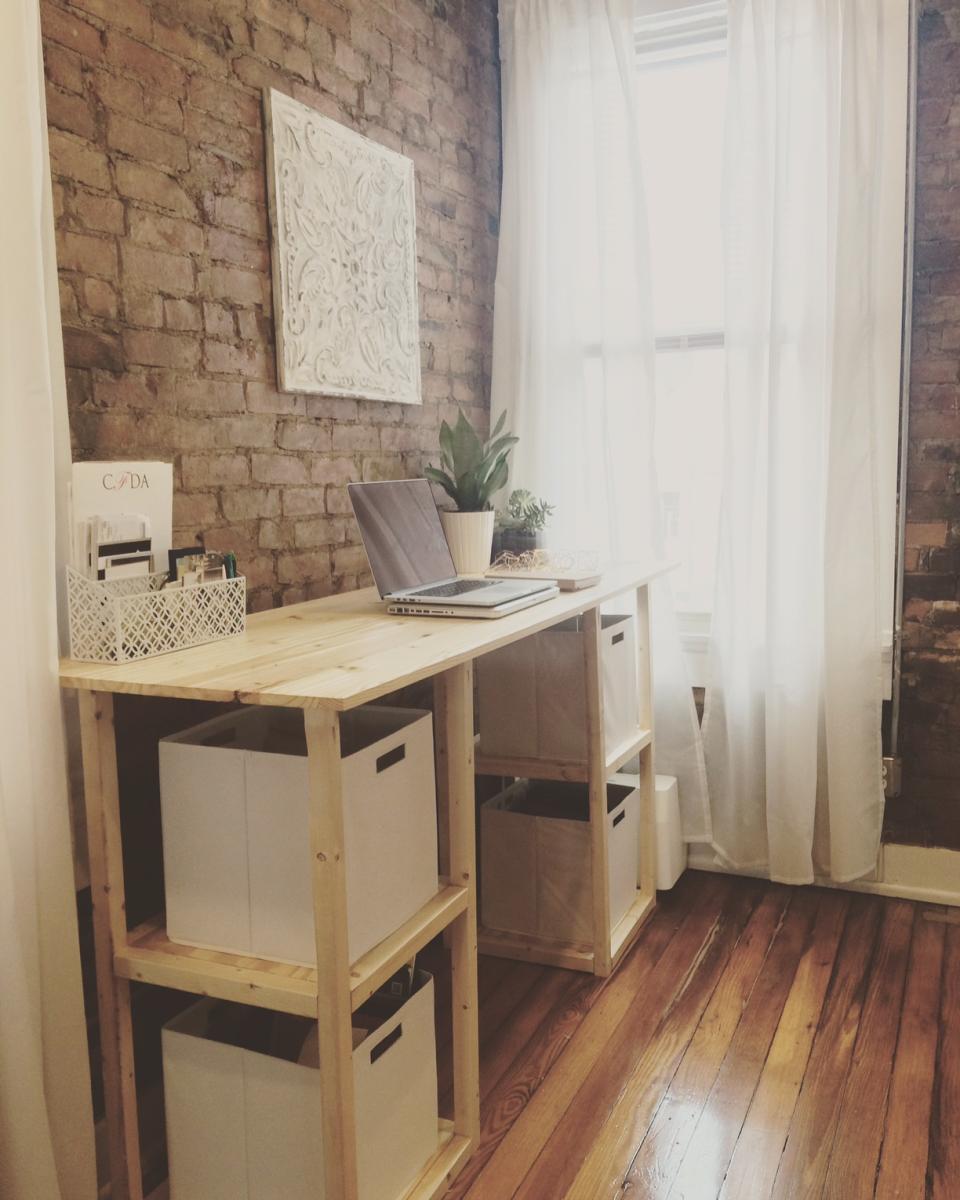
I loved the simplicity and shelving of the Parson Tower desk plans but I really wanted a standing work station. I made it taller (approx. 40 in tall) and I made the desktop longer and wider (approx. 72 x 24in) and I LOVE it!
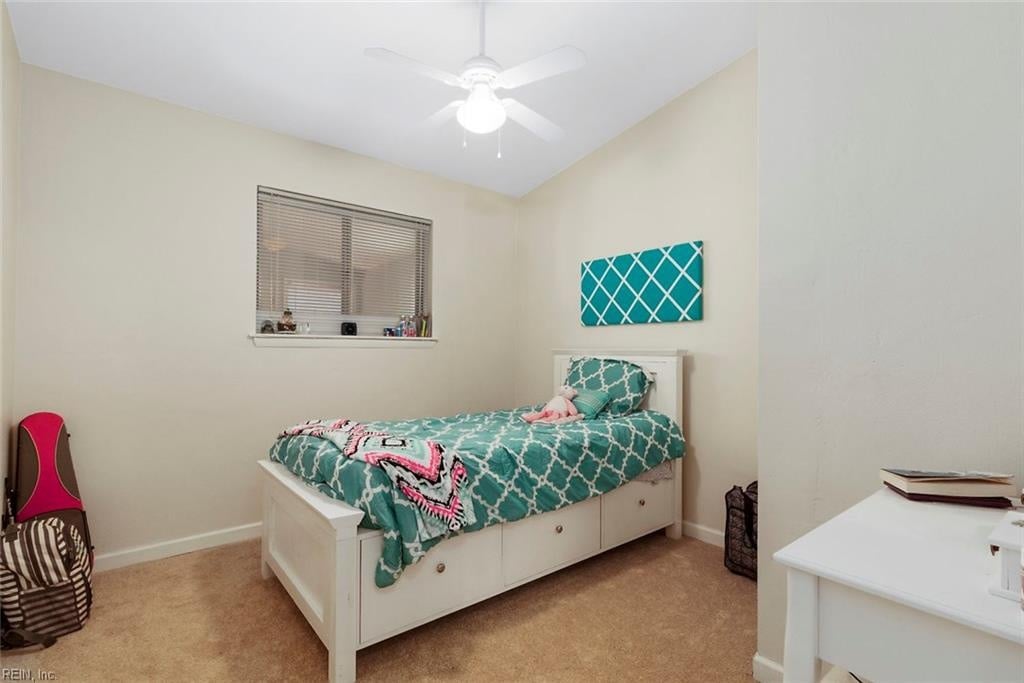
I slightly modified the plans on your site and built this bed for my daughter last year and it is holding up great.
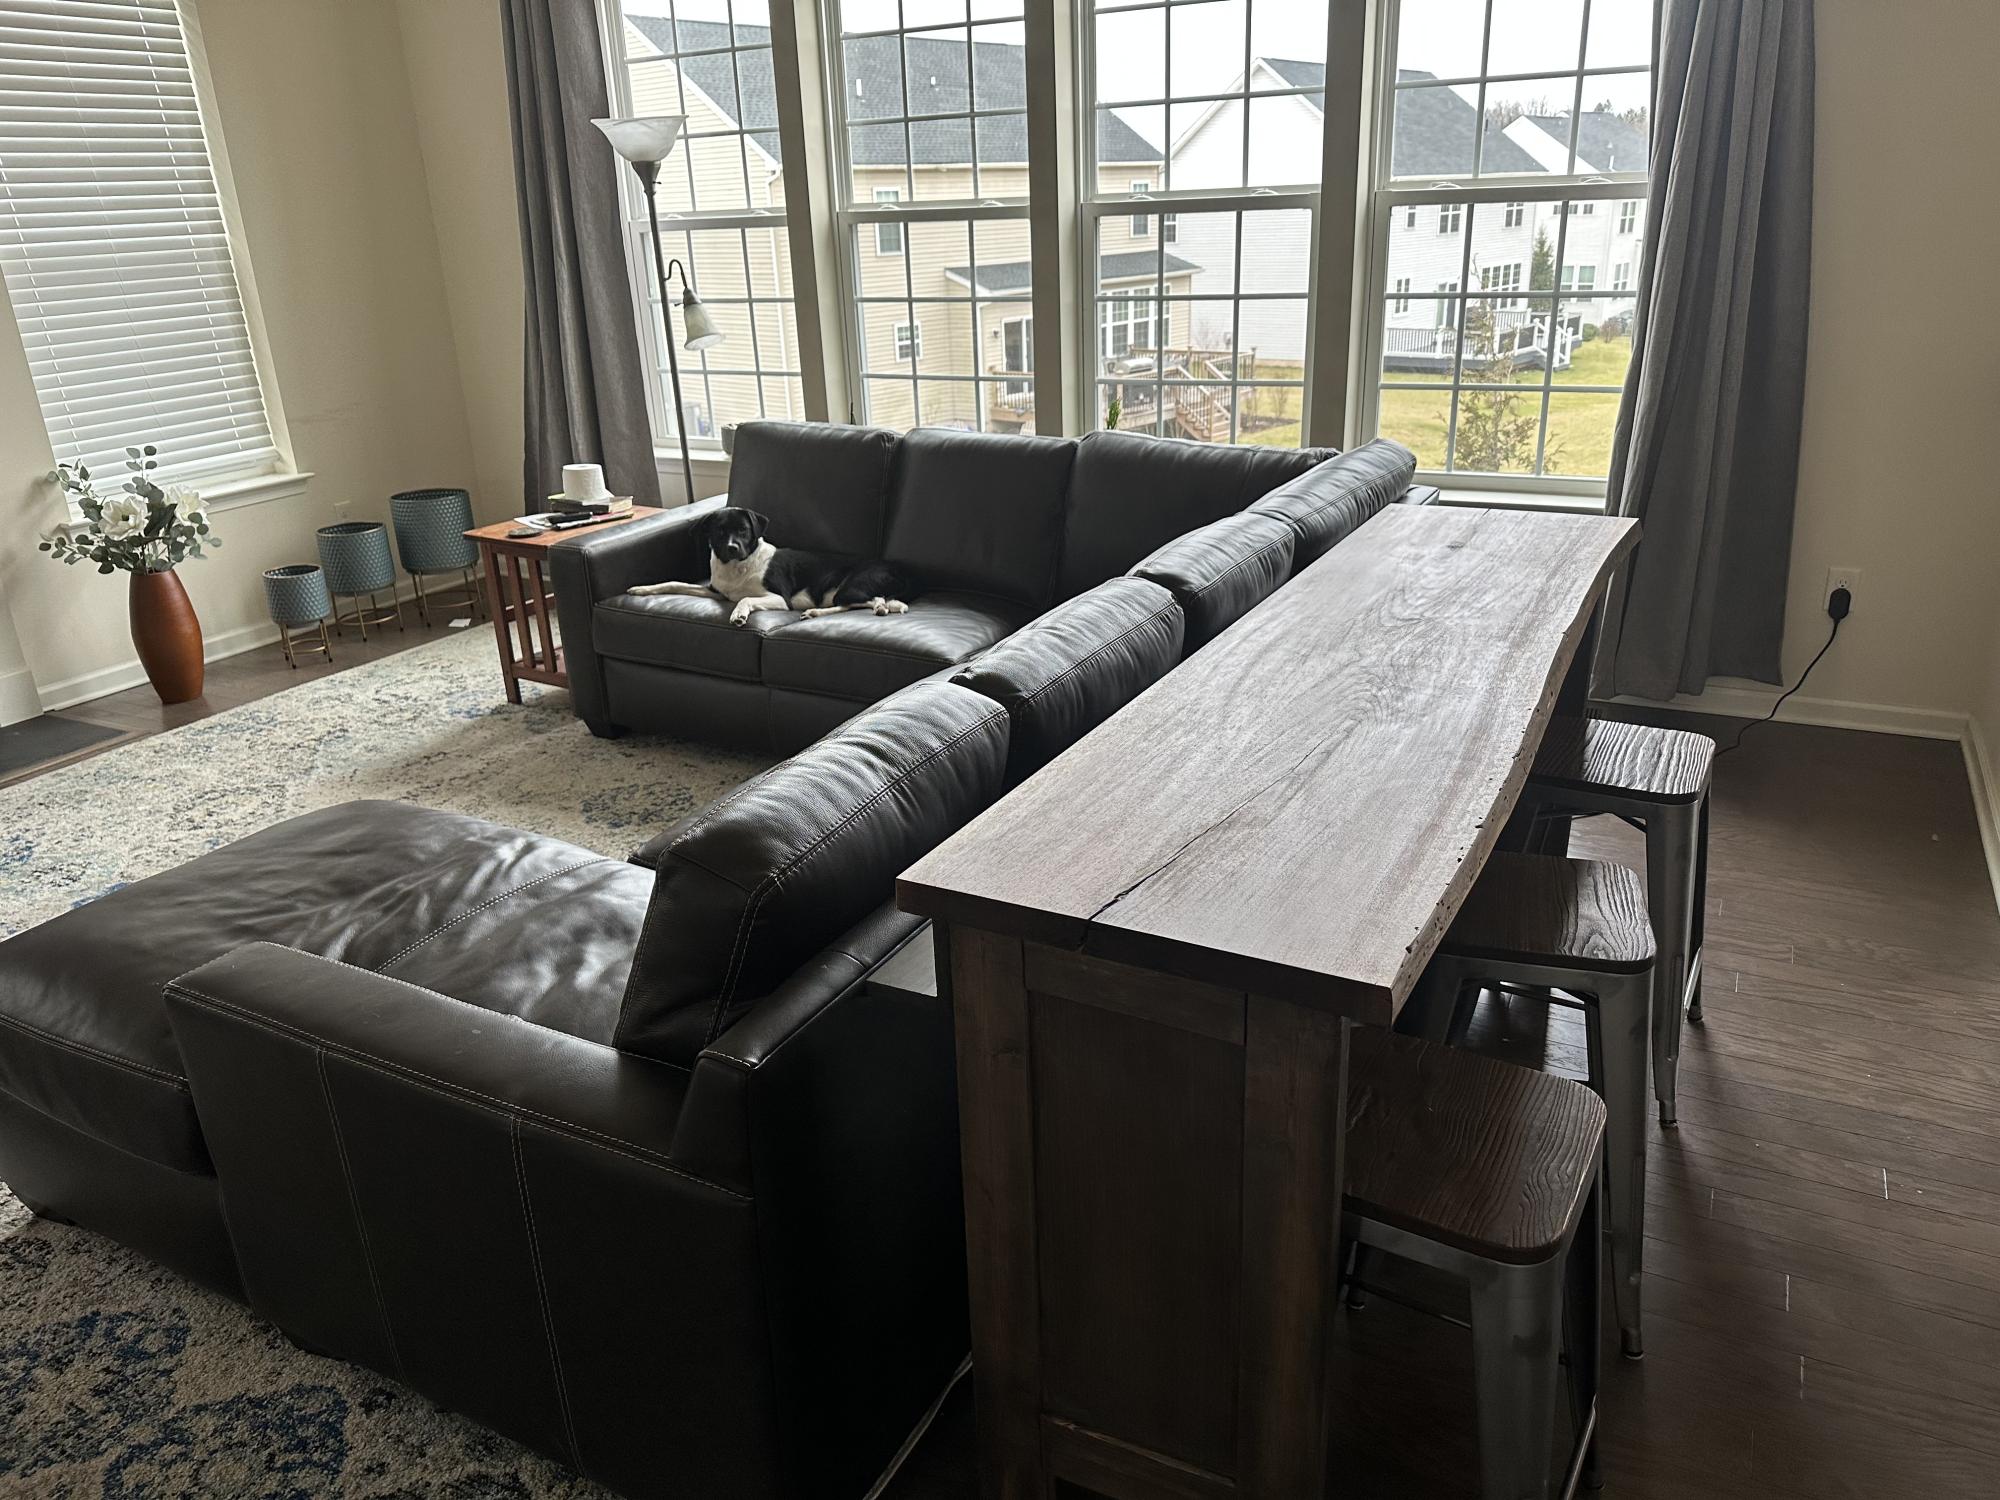
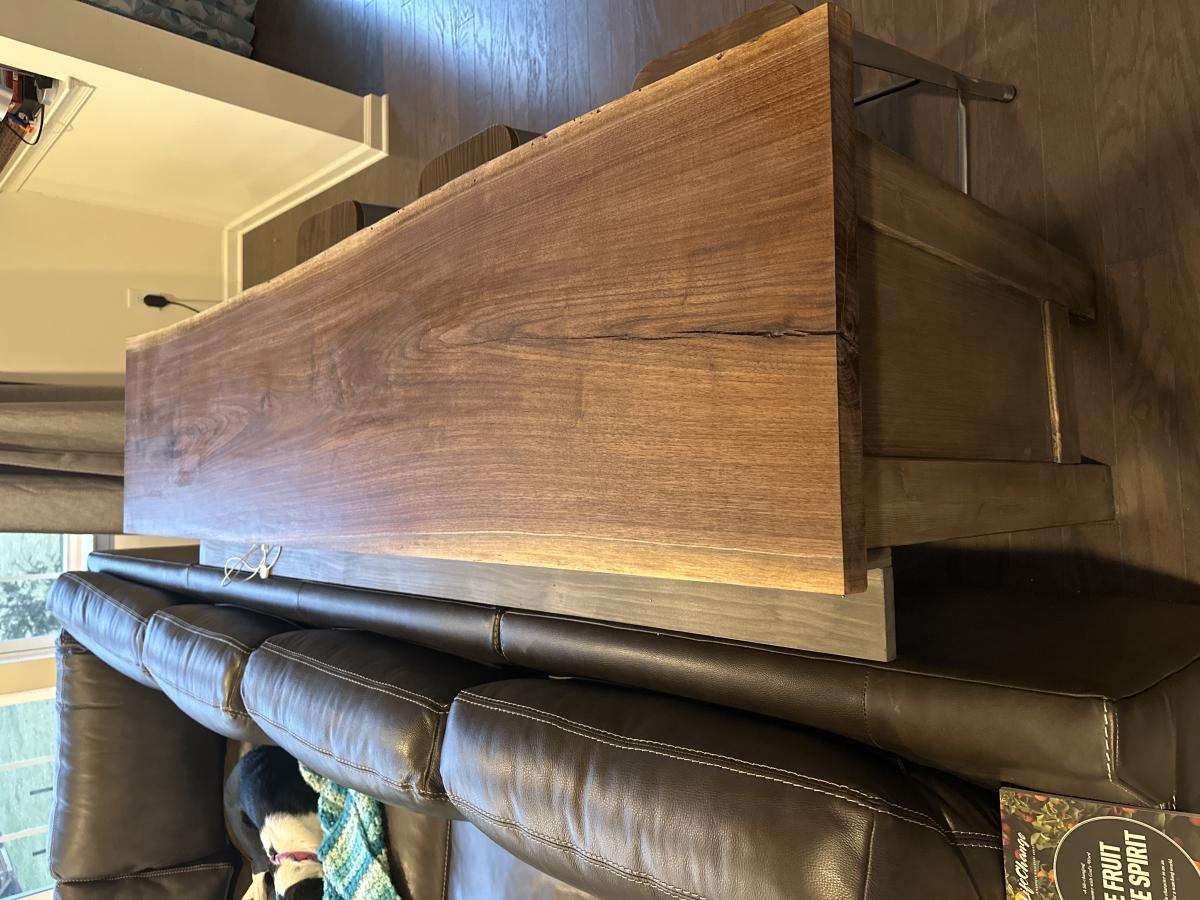
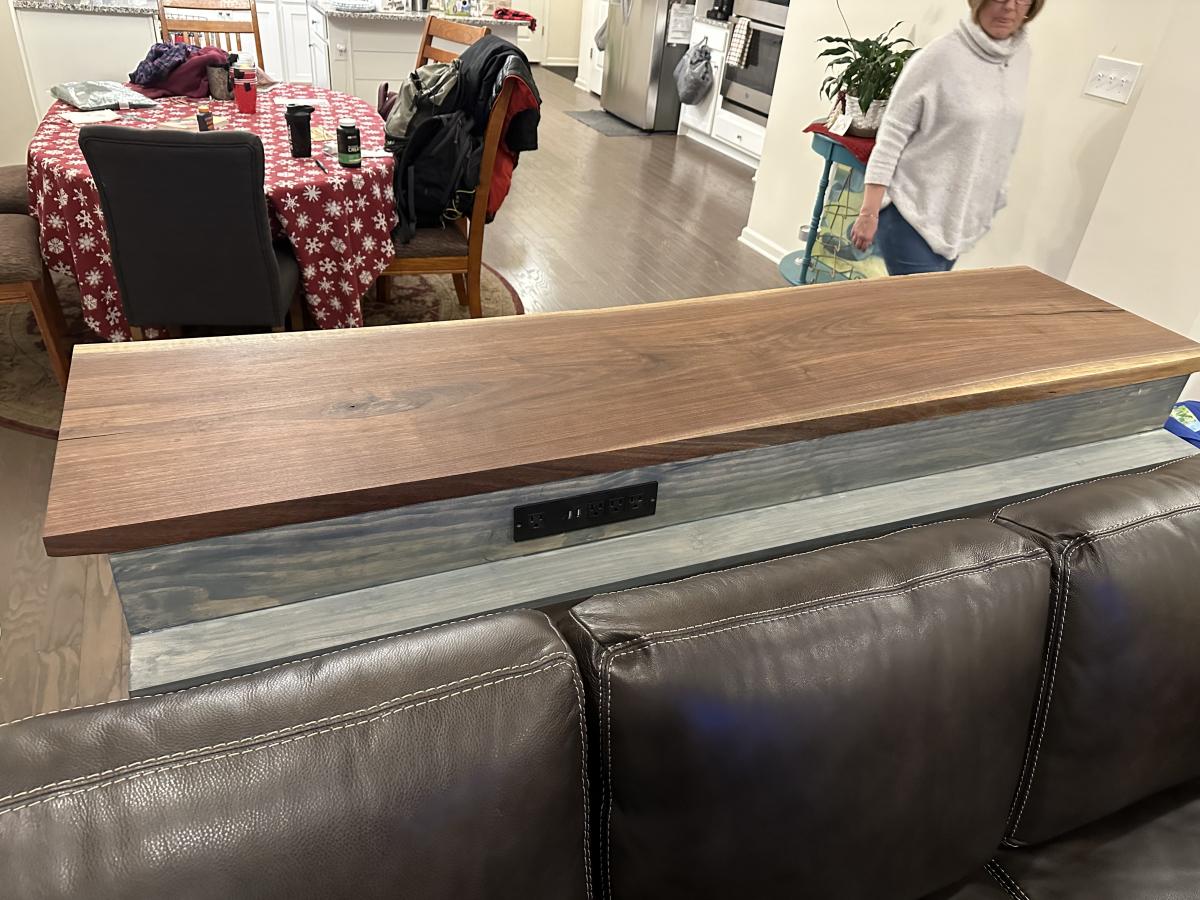
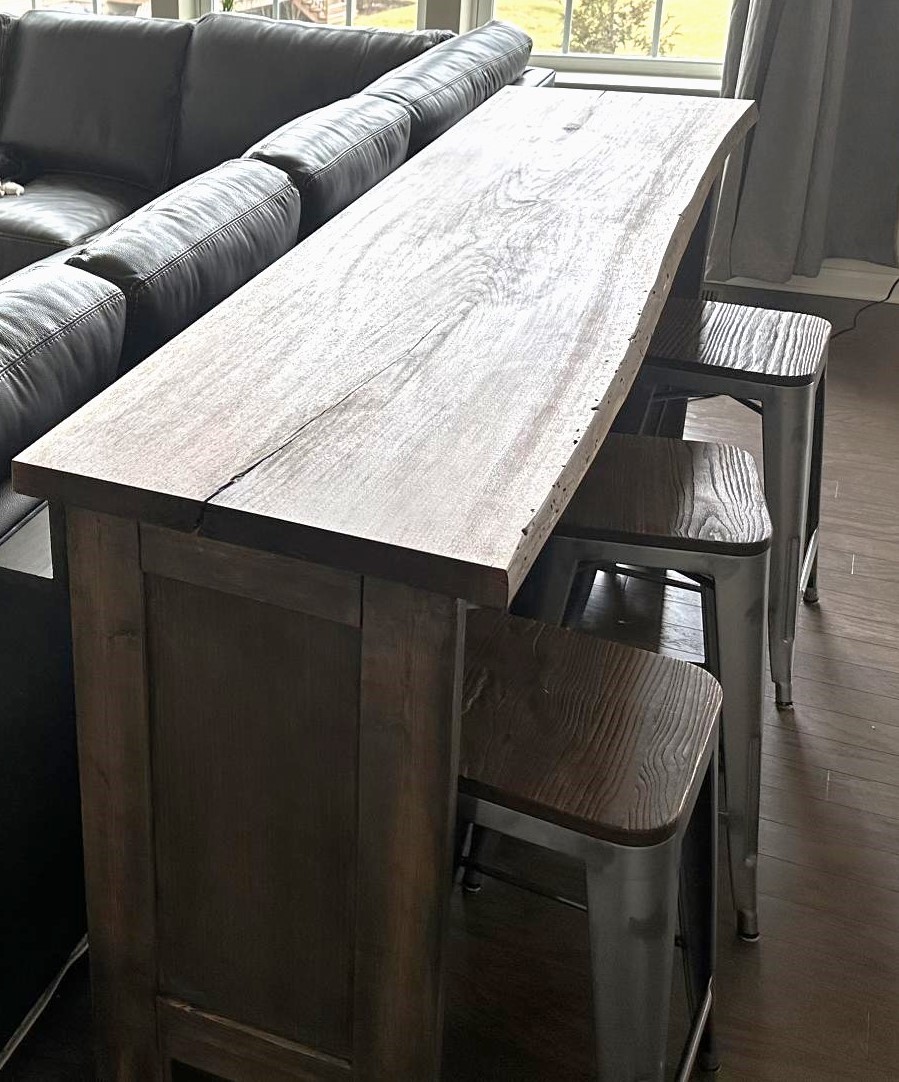
I took the basic idea of the Rustic X Console. Raised it to countertop height so I could use it for three stools. I also added a shelf so people sitting on the sectional could put drinks right behind them. Added a charging station to that shelf as well. Topped it with a live edge black walnut slab. Finally, I didn't use the X because the table was too high and the base was too narrow to make the X work. I used a tablesaw to cut a grove in the legs and then put a 1/4 plywood panel.
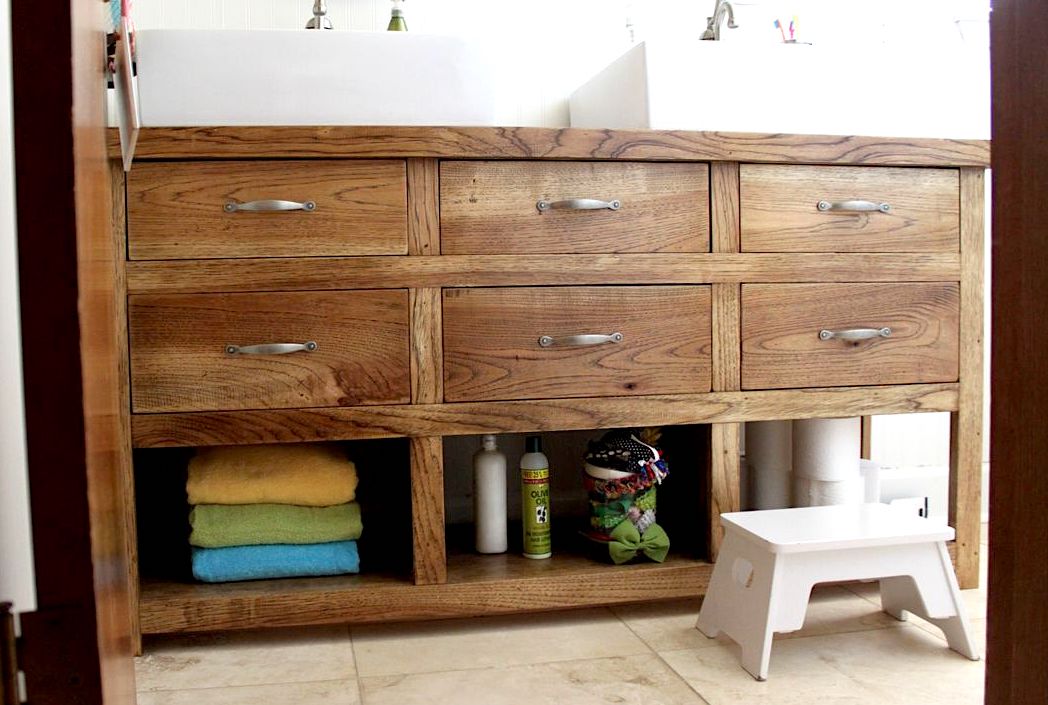
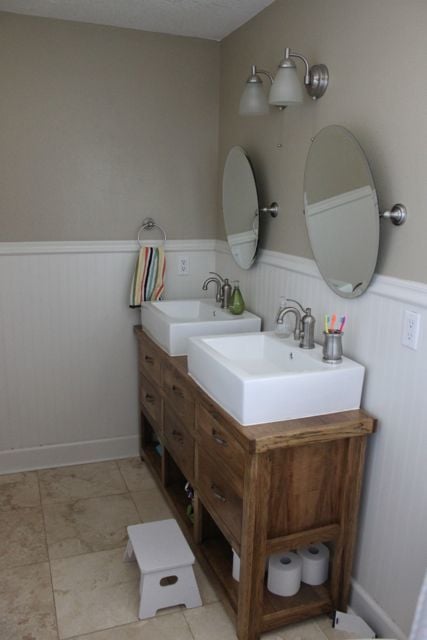
We looked high and low for a sturdy dresser we could convert to a vanity for our kid's bathroom. We could find nothing for under $500 so we decided to make it. We used solid hickory for the top and bottom and hickory vaneer for the rest. Only the middle drawers are useable, the side ones have a faux front to leave room for the sink plumbing behind. My husband also reinforced the bottom compartments by making them three separate compartments instead of one solid one. We ordered the sinks from overstock.com and the faucets are from Lowes.

Fri, 10/07/2011 - 16:14
Love it!!! I have been looking for a design I love and this is it :) Thank you for sharing!
Fri, 10/07/2011 - 16:39
My kids have been bugging for years for double sinks. I LOVE this. I was thinking along the same line but never got past the thinking part. This is GORGEOUS!
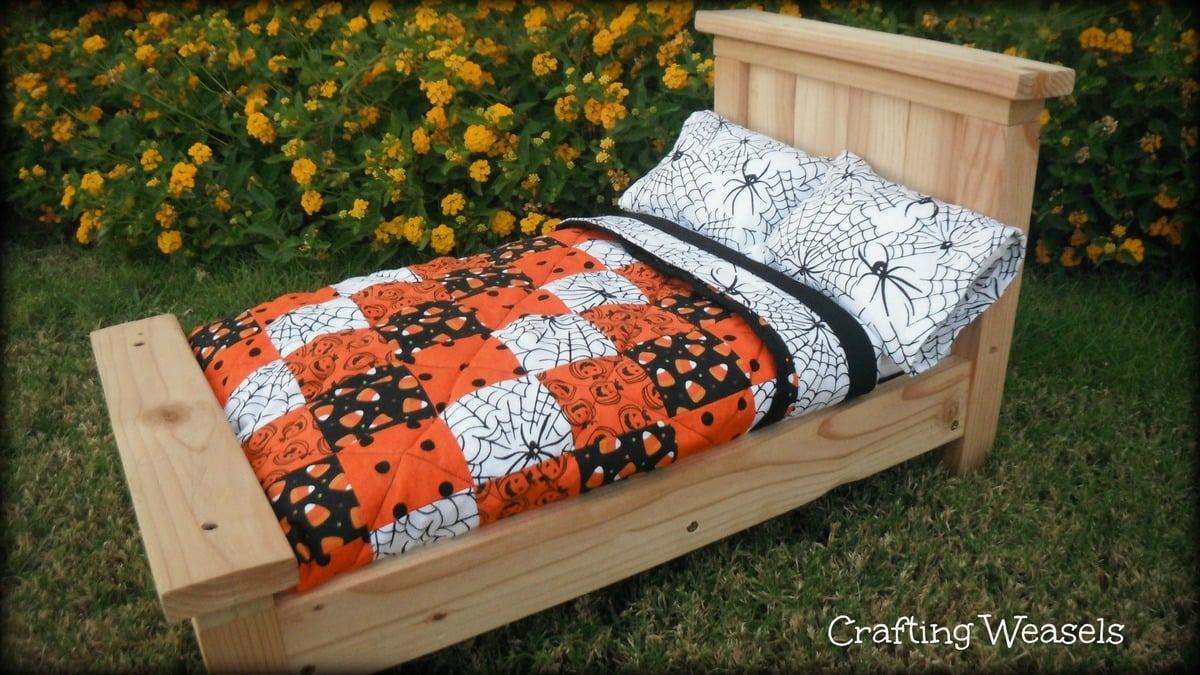
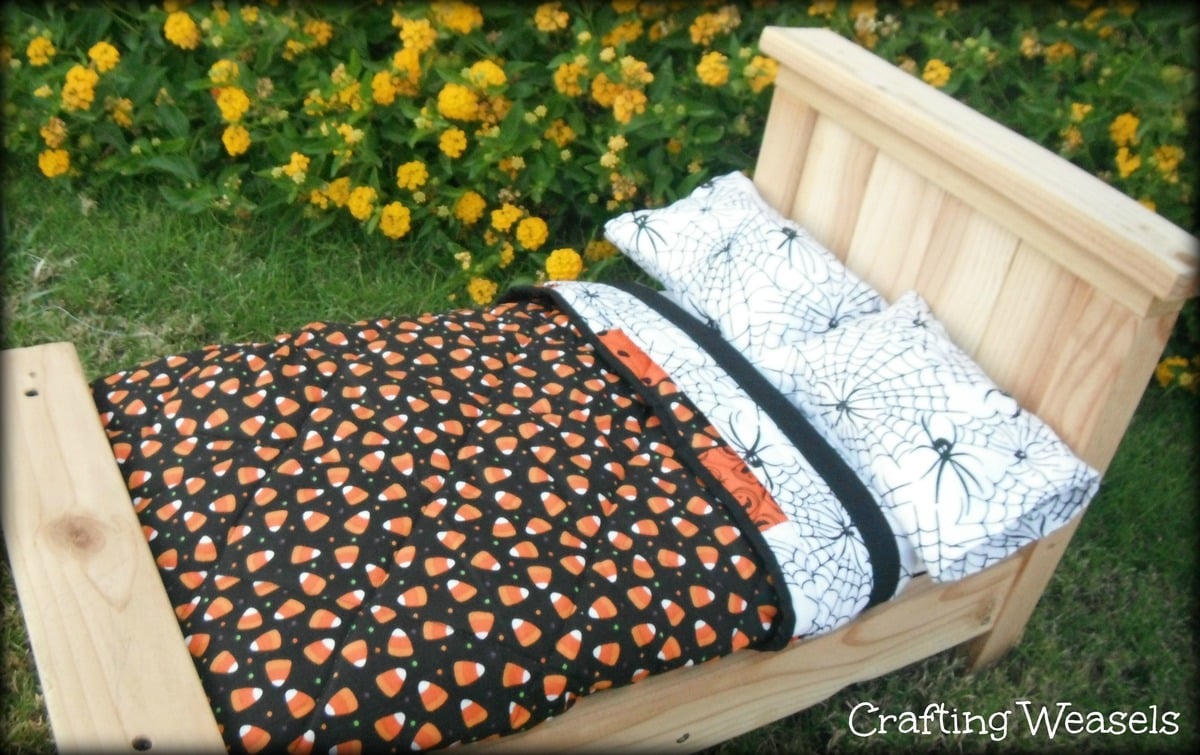
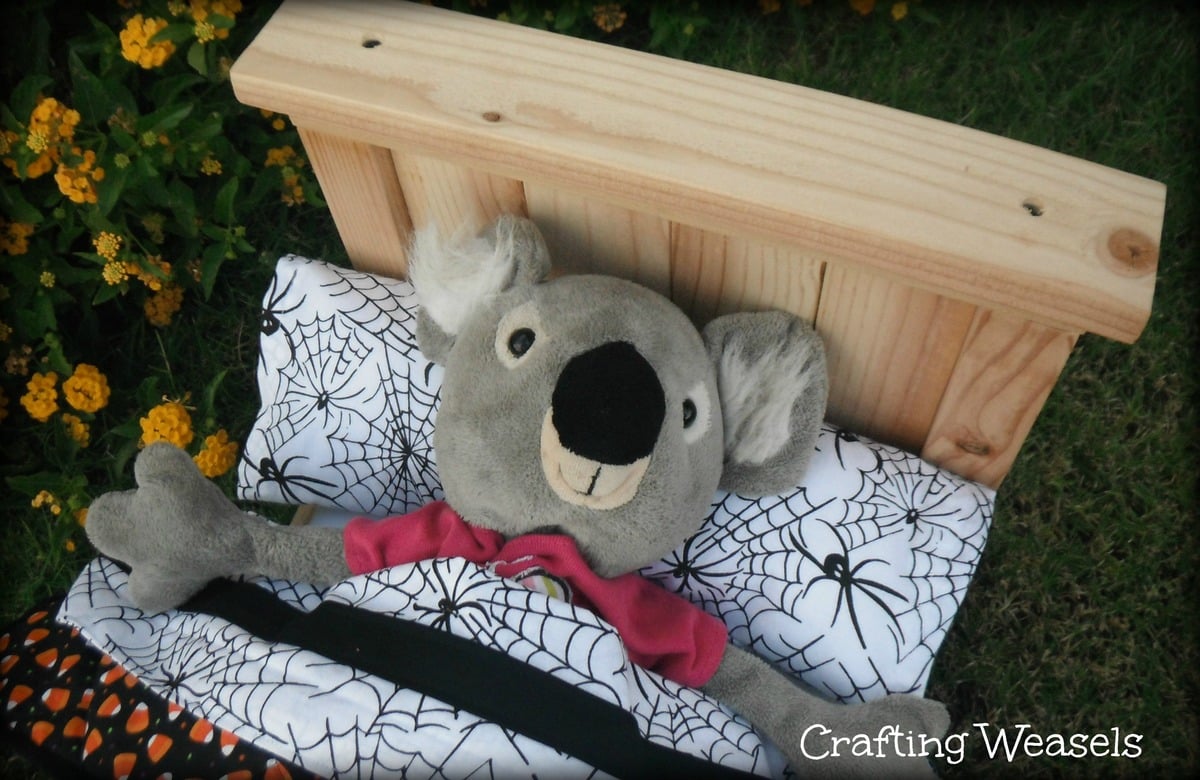
I made this bed for my daughter's Koalas (they are about the same size as the American Girl dolls).
