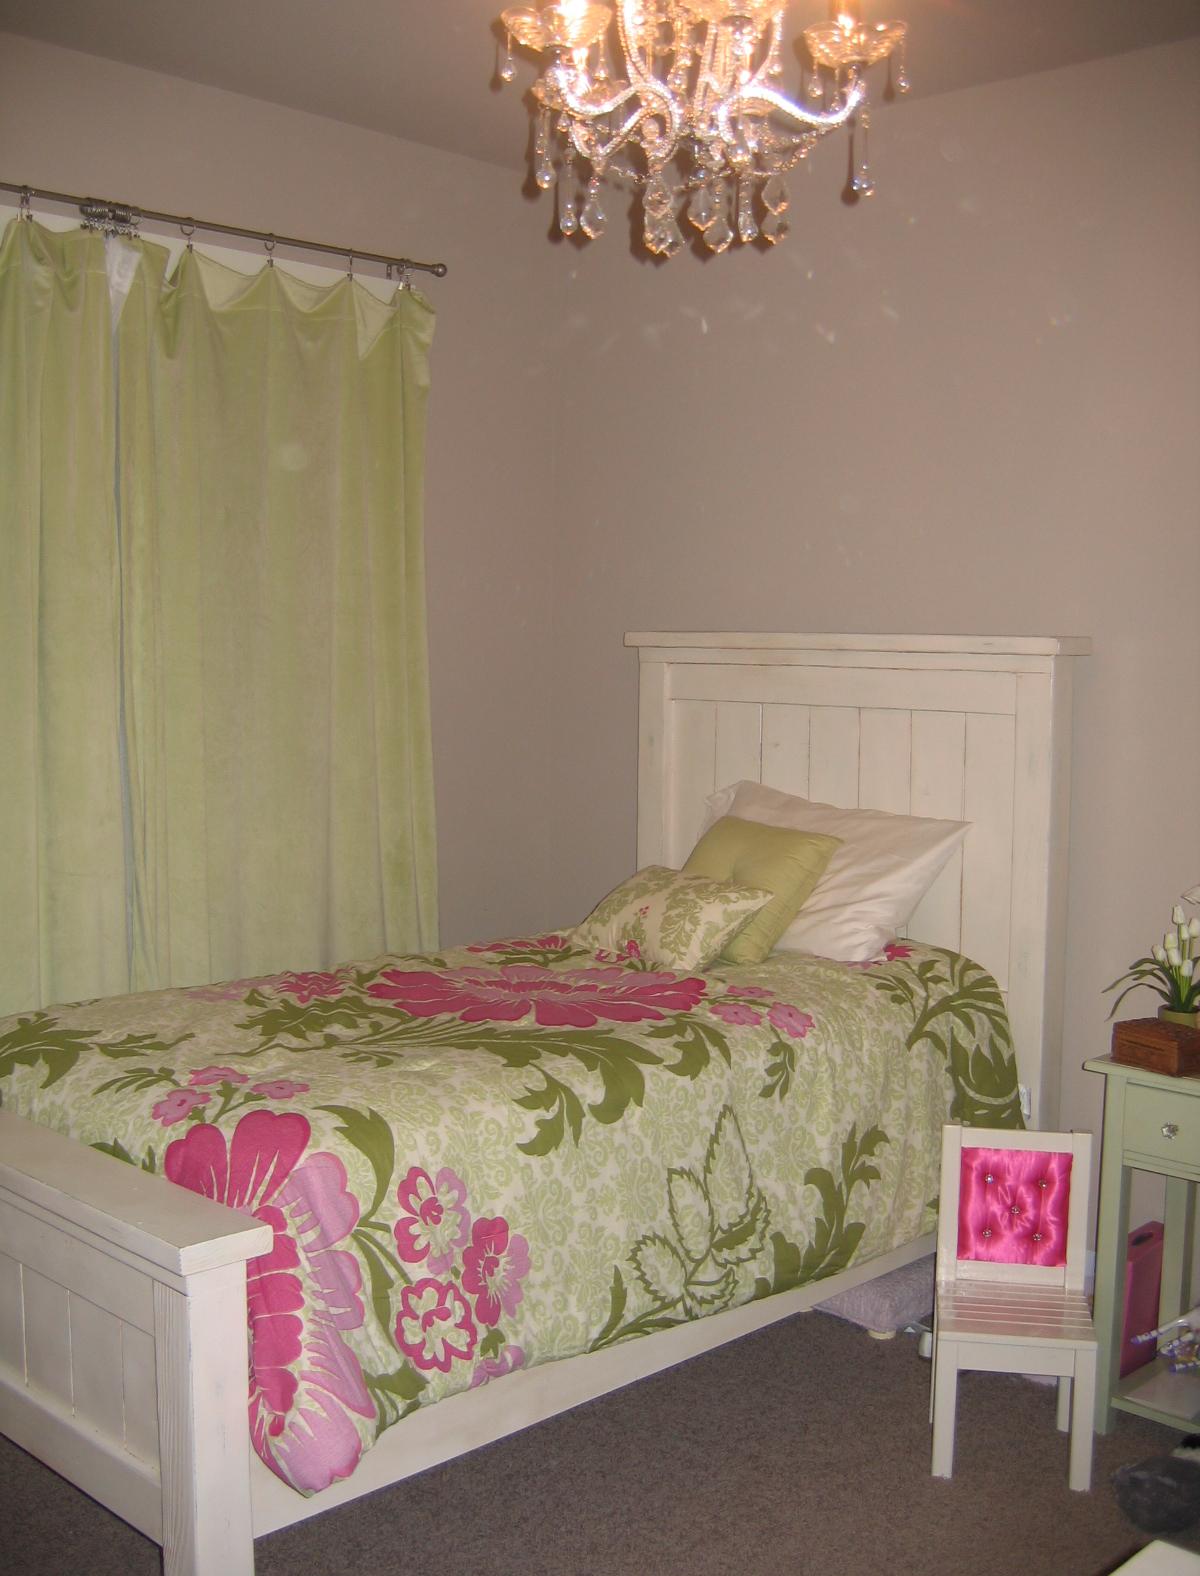
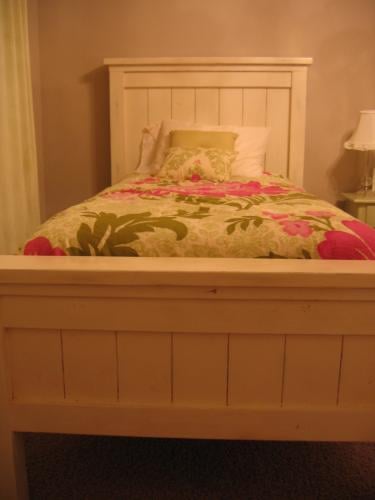
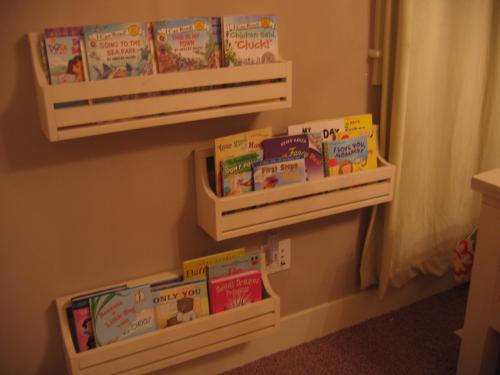
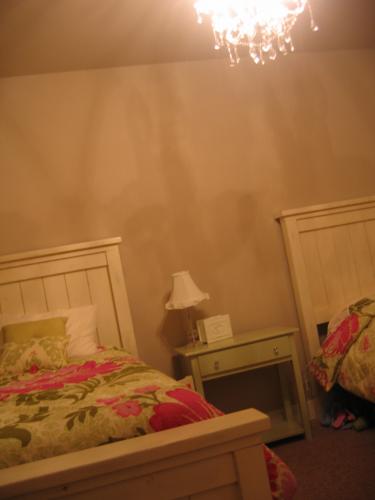
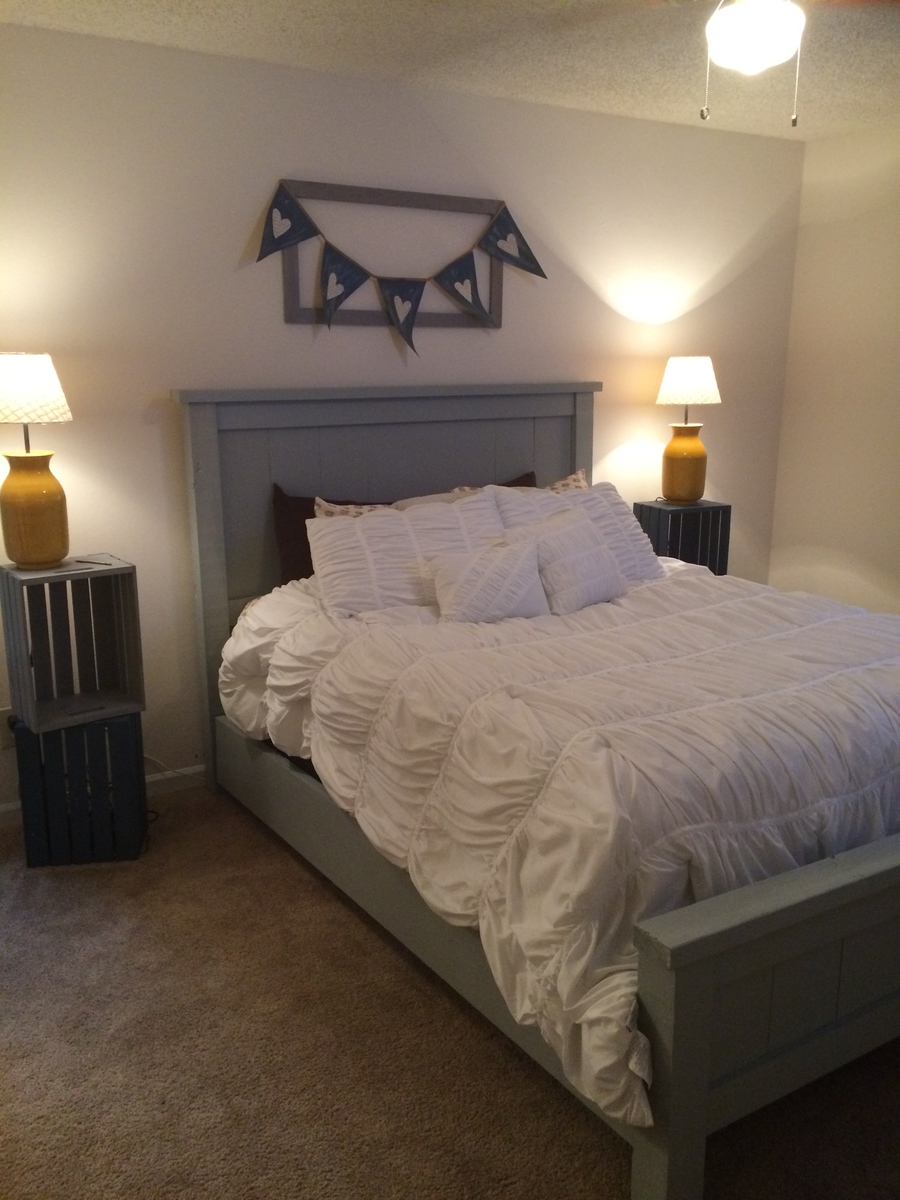
Guest bedroom with fancy king farmhouse bed, $10 ledges, wooden crate nightstands, and wine bottle lamps
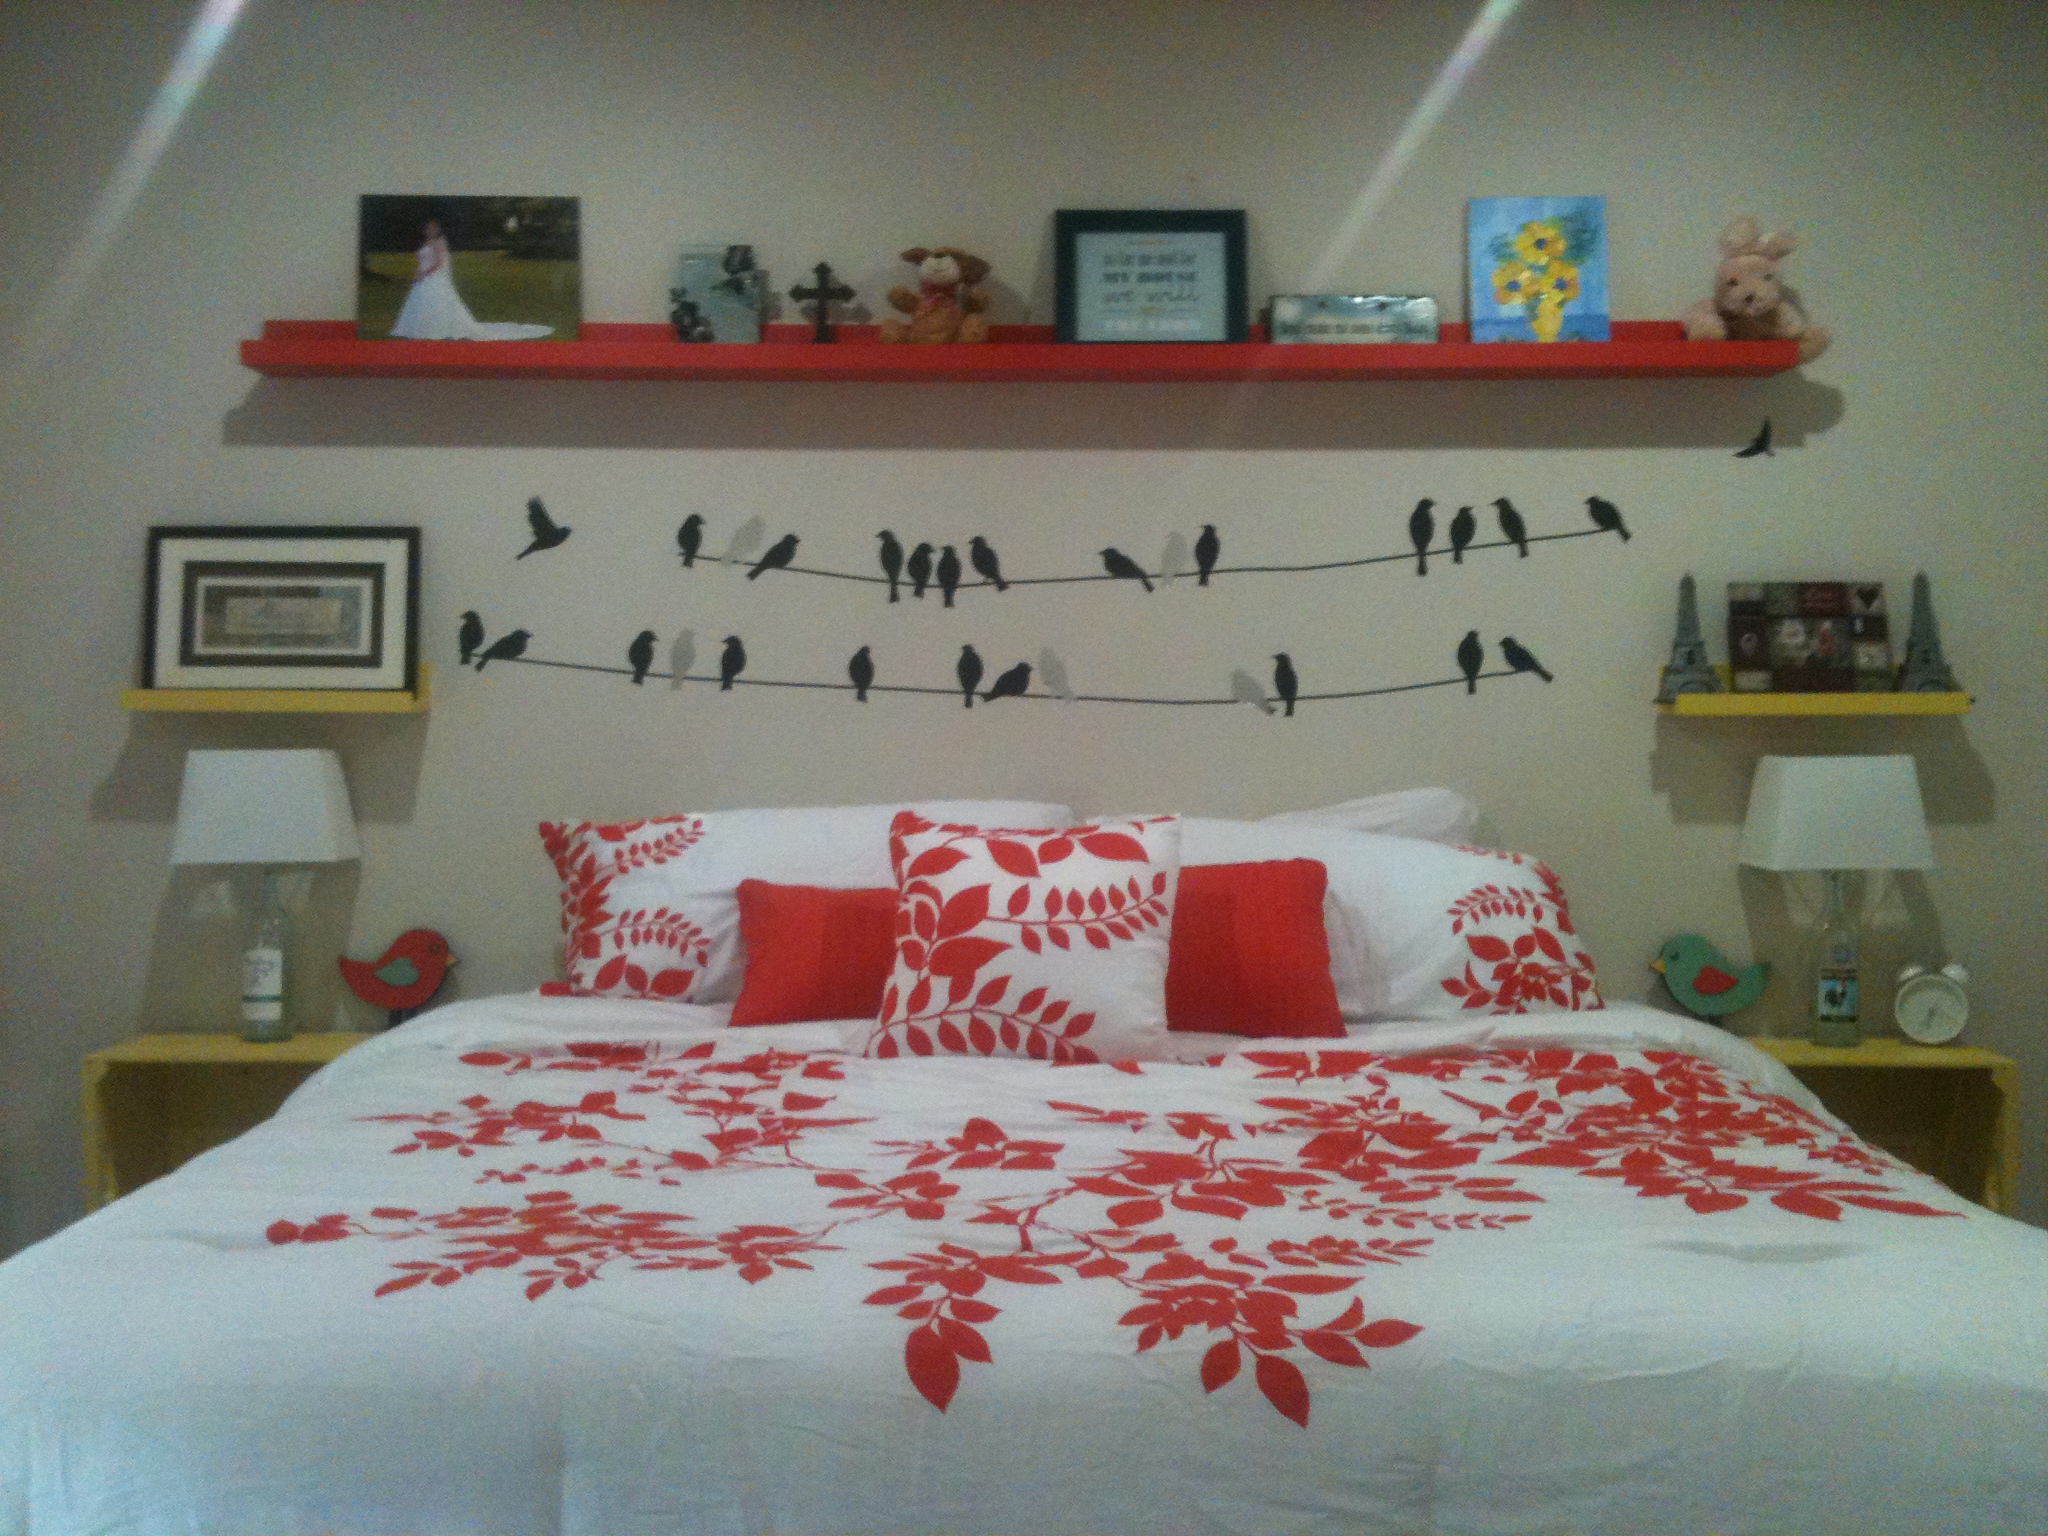
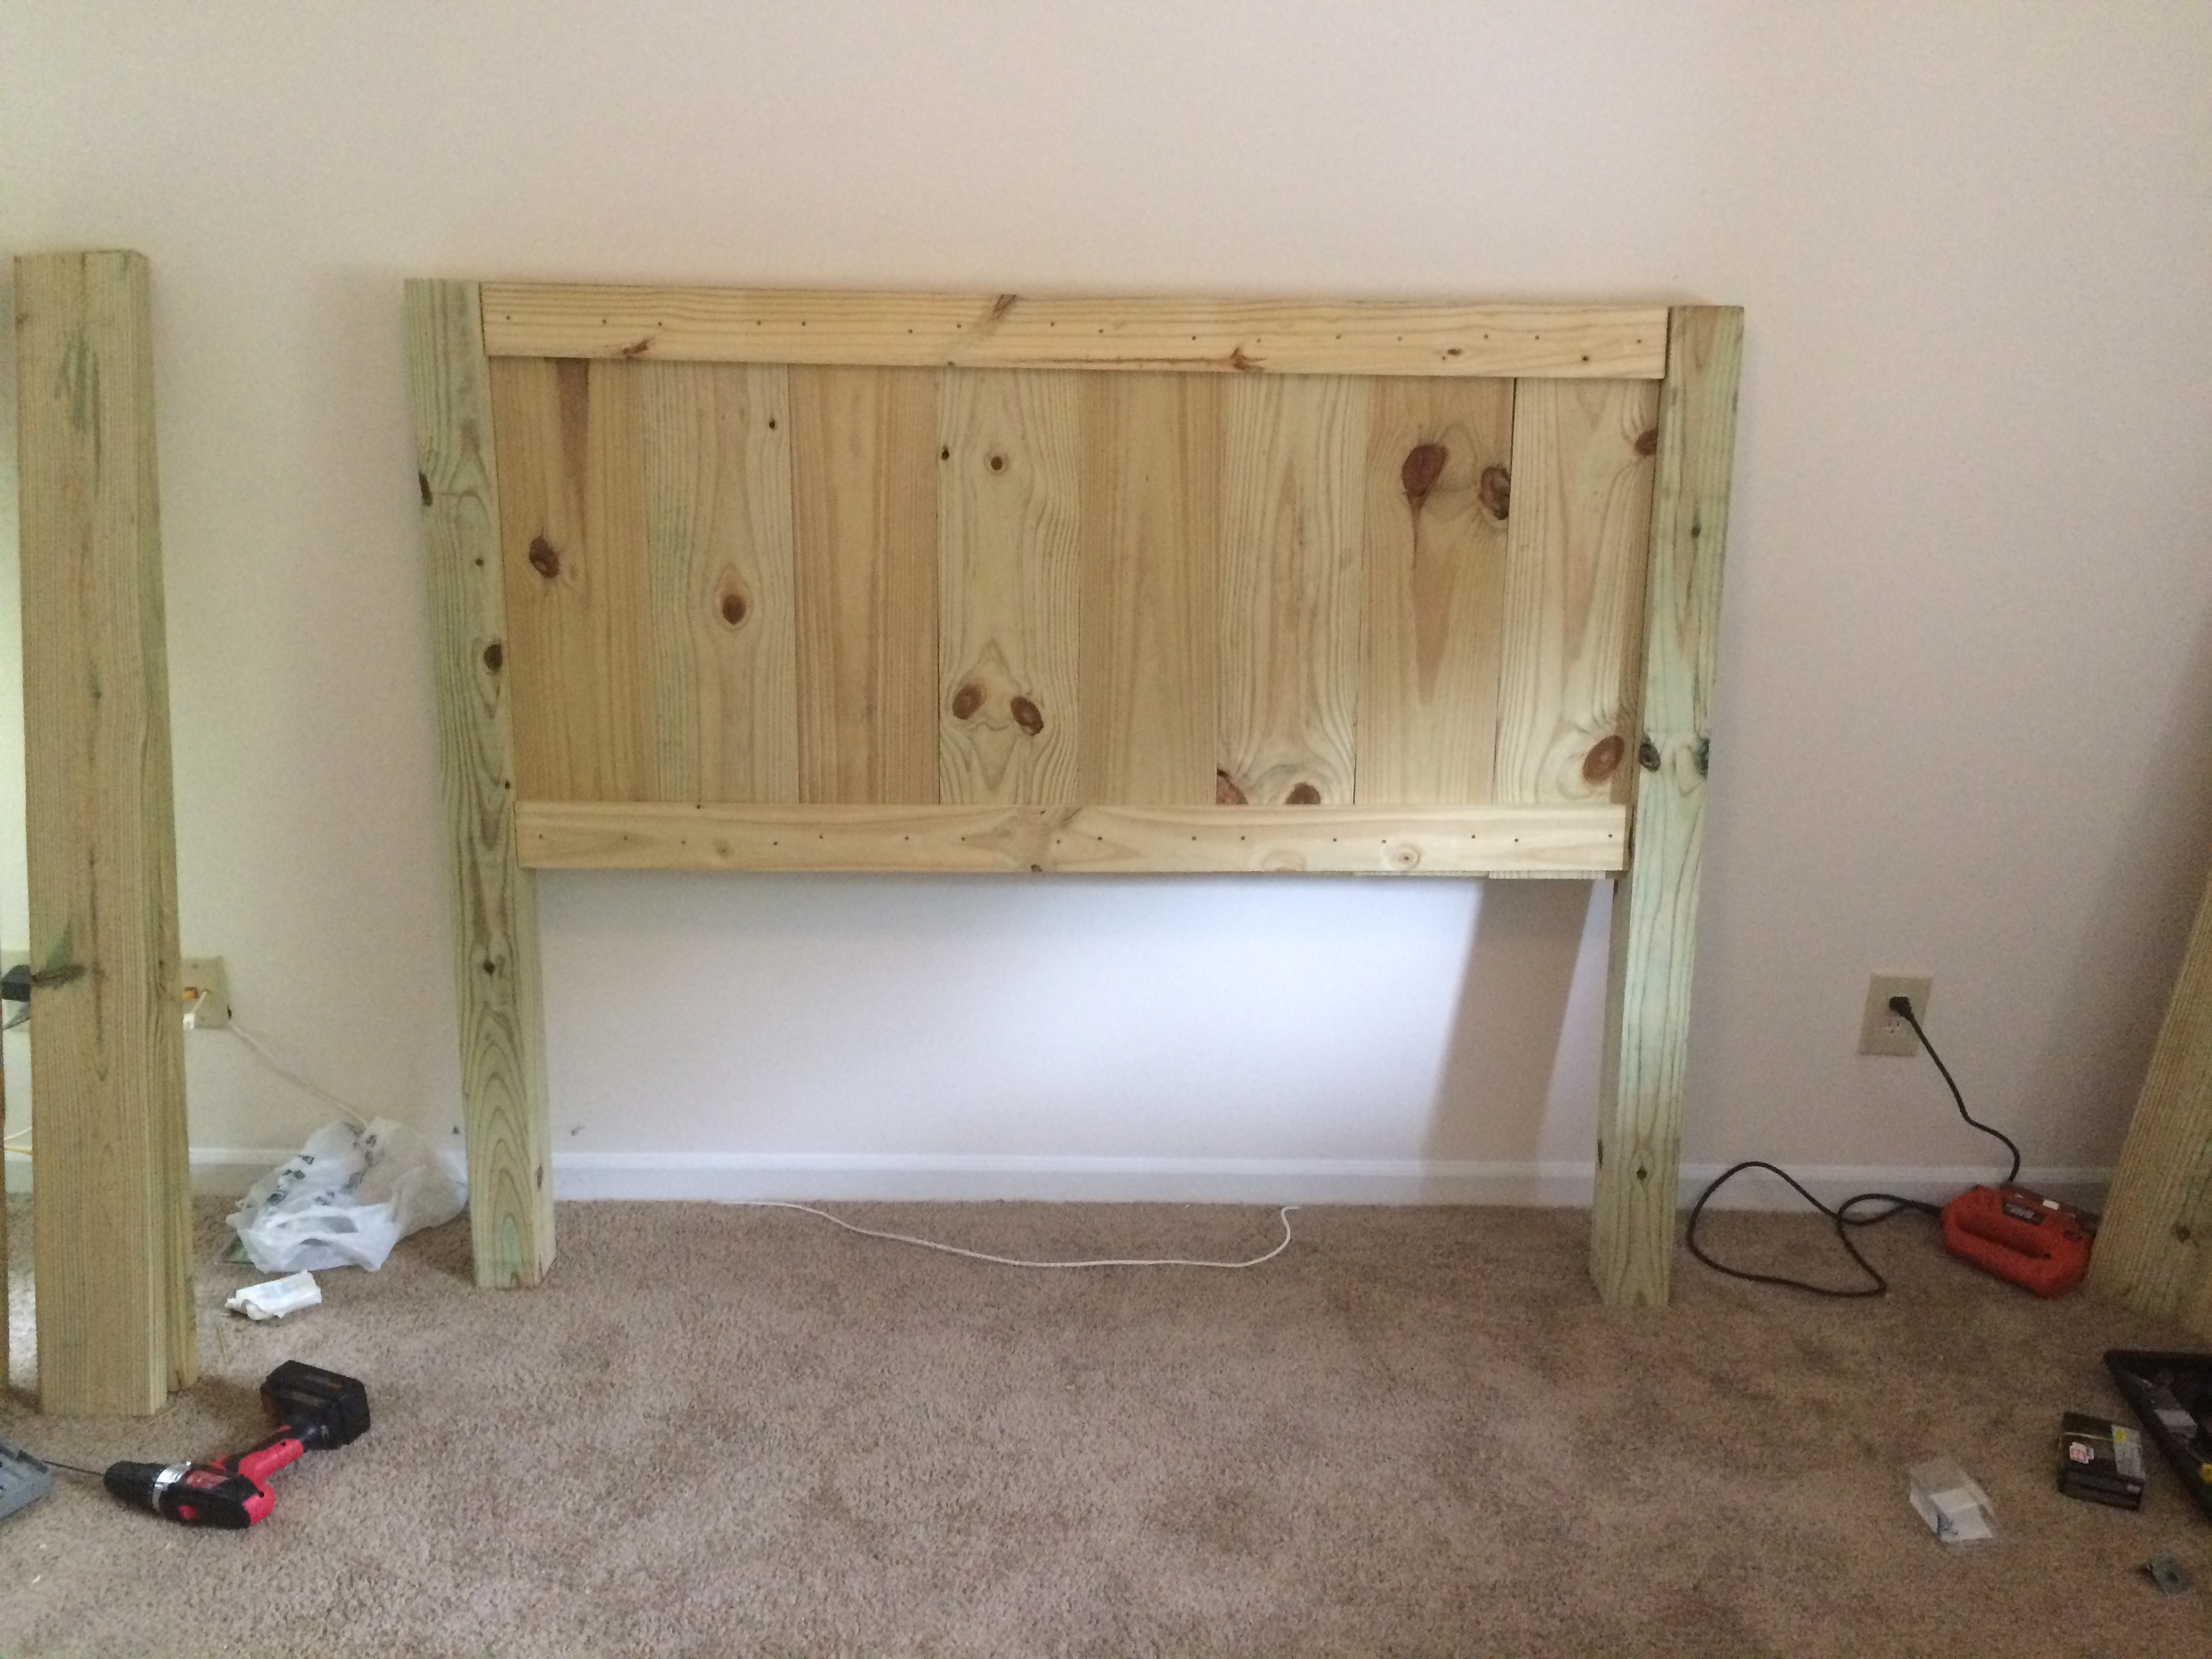
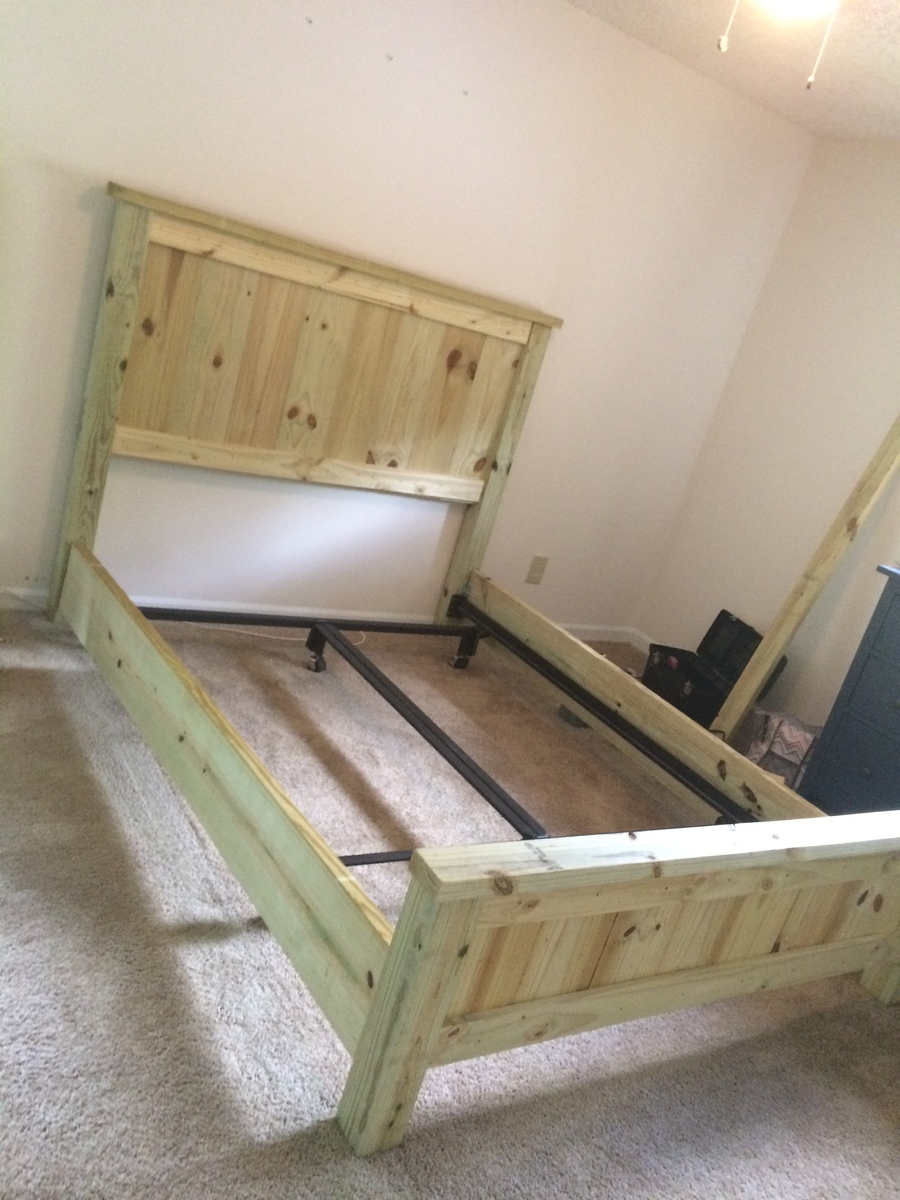
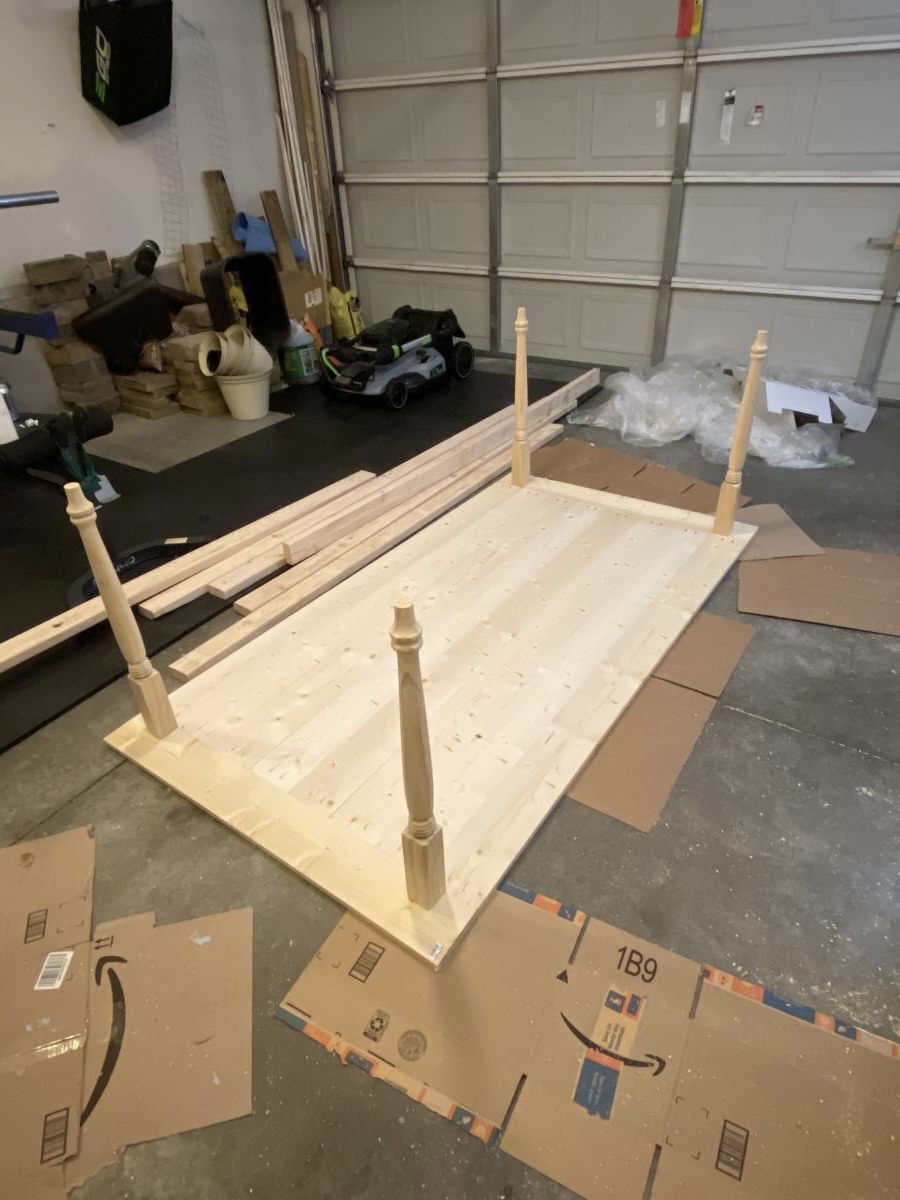
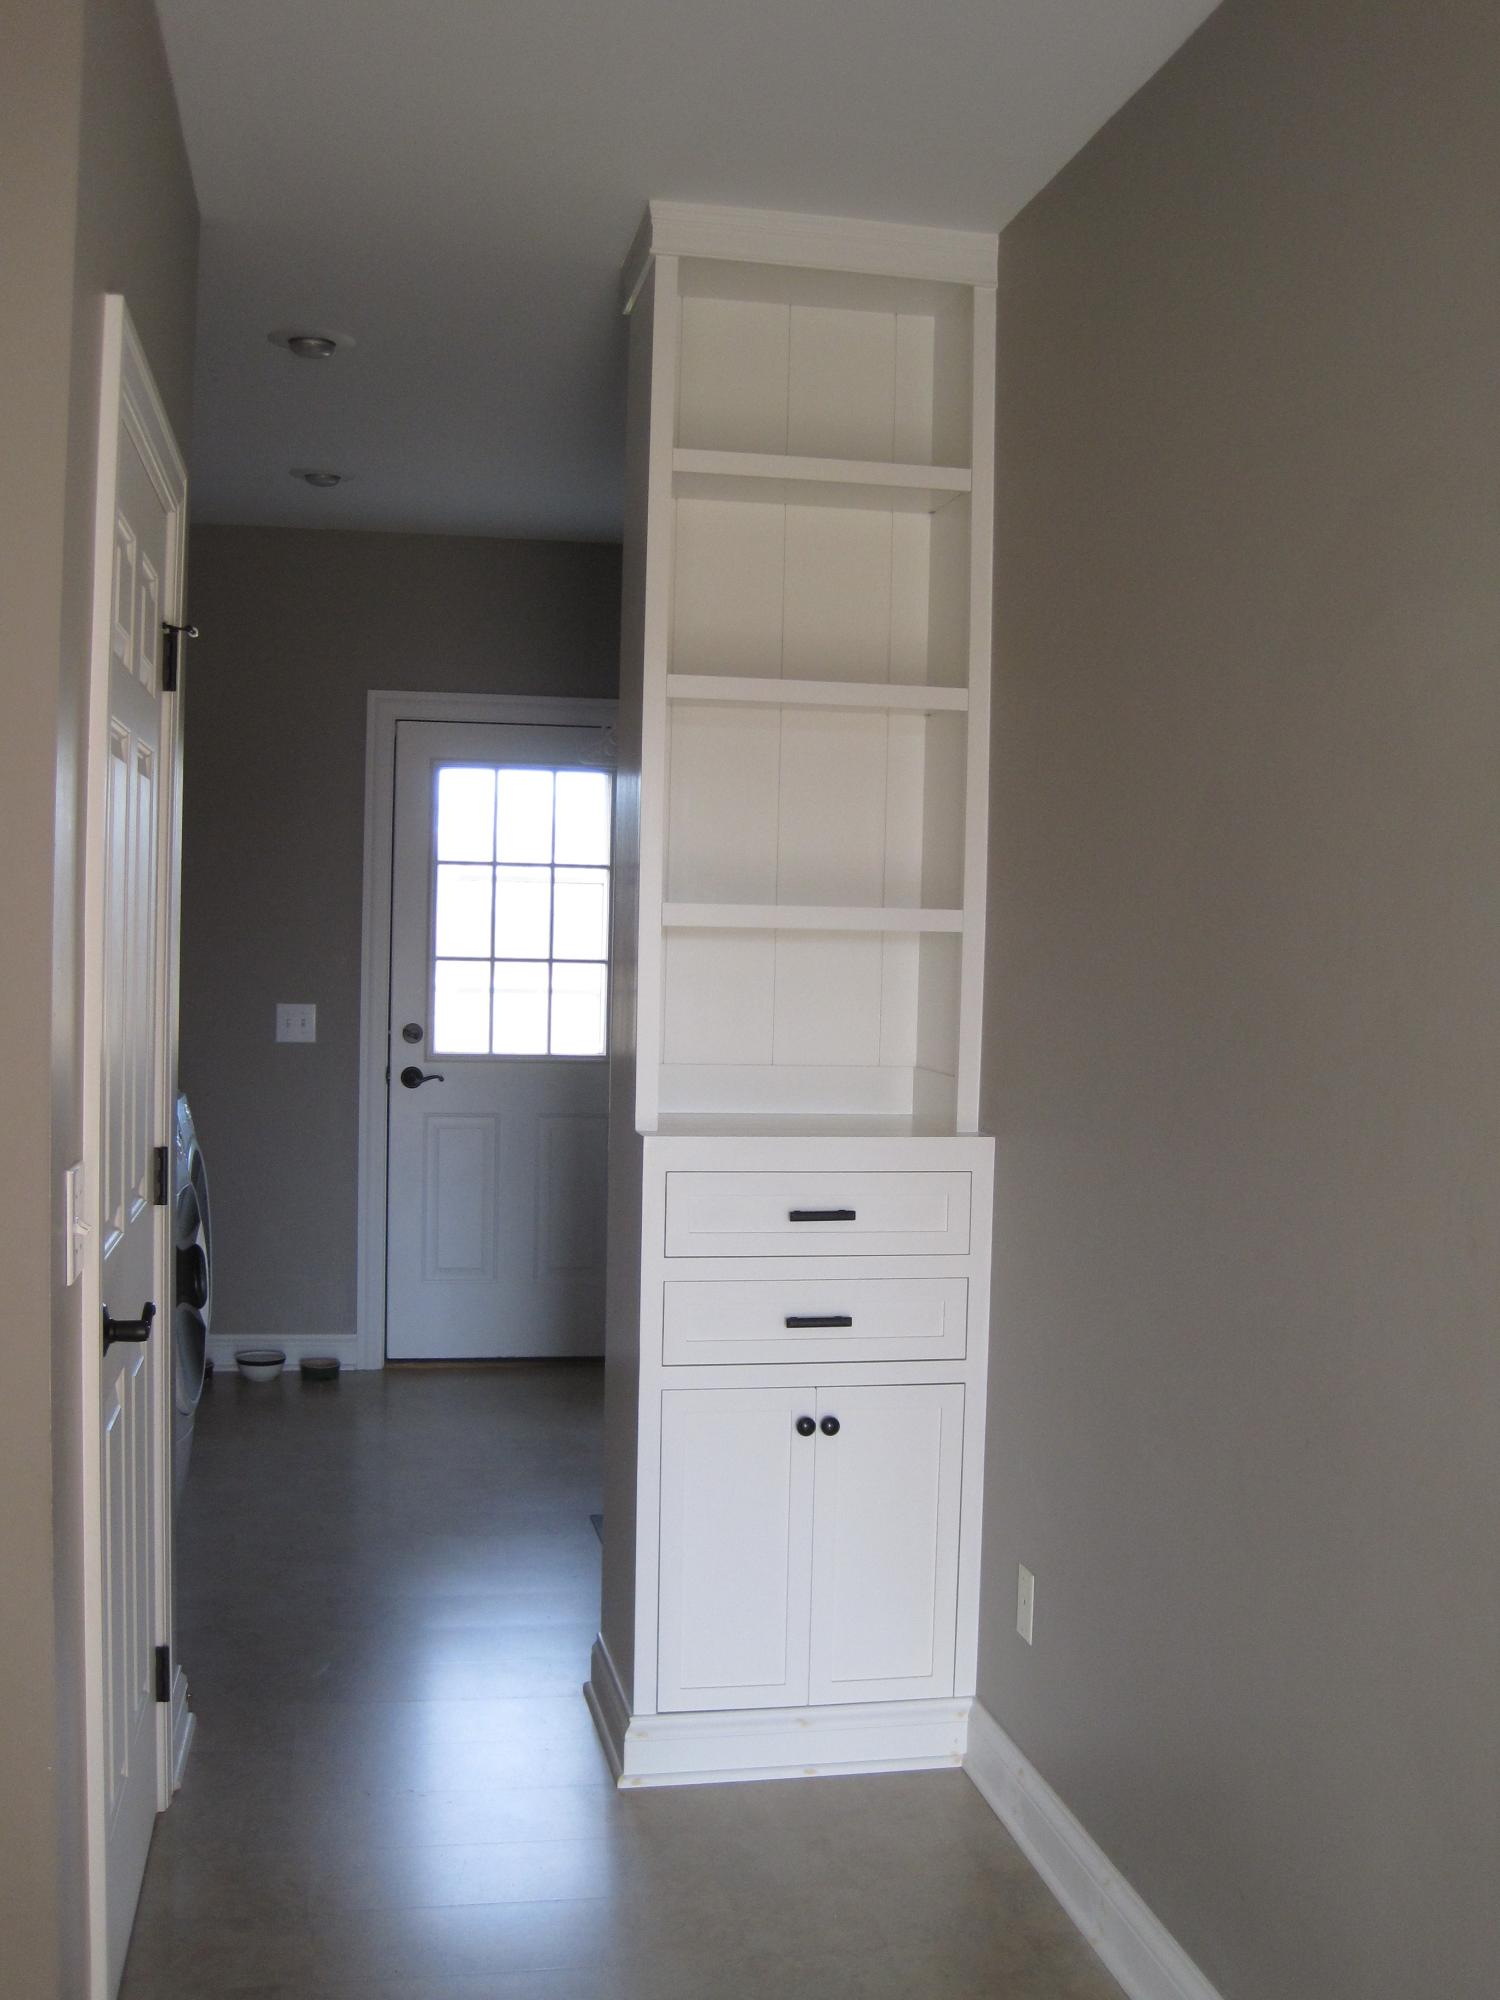
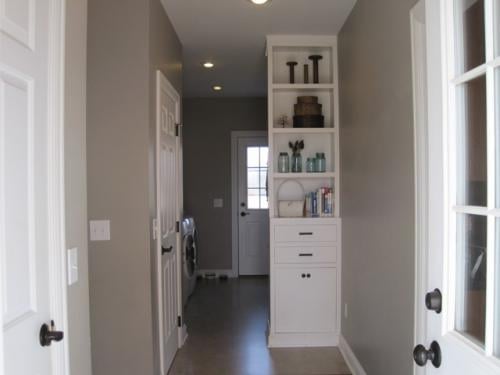
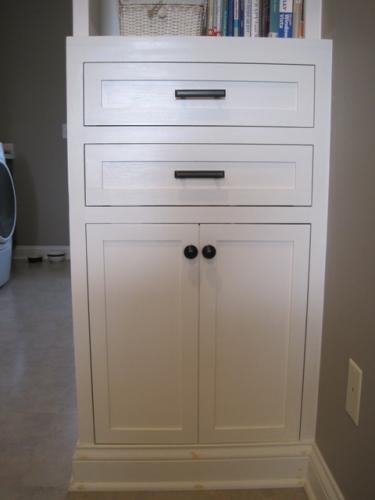
This the recent remodel of our guest bedroom. Its a modified plan from a fancy farmhouse bed that allows room for tubs to be stored underneath, three of the ledges, and the nightstands are old wooden crates that have been sanded down, painted, and mounted to the wall. We decided to do vinyl stickers as the "headboard" and felt the birds on a wire made for a good look. The lamps we made from wine bottles with labels we liked using westinghouse lamp kits. Thank you Ana White for these plans and ideas!
Built from Plan(s)
Estimated Cost
$150
Estimated Time Investment
Week Long Project (20 Hours or More)
Finish Used
"mistint" paints. White for the bed, yellow for the nightstands and lower ledges, and an orange-red valspar paint for the 8 ft ledge.
Recommended Skill Level
Intermediate