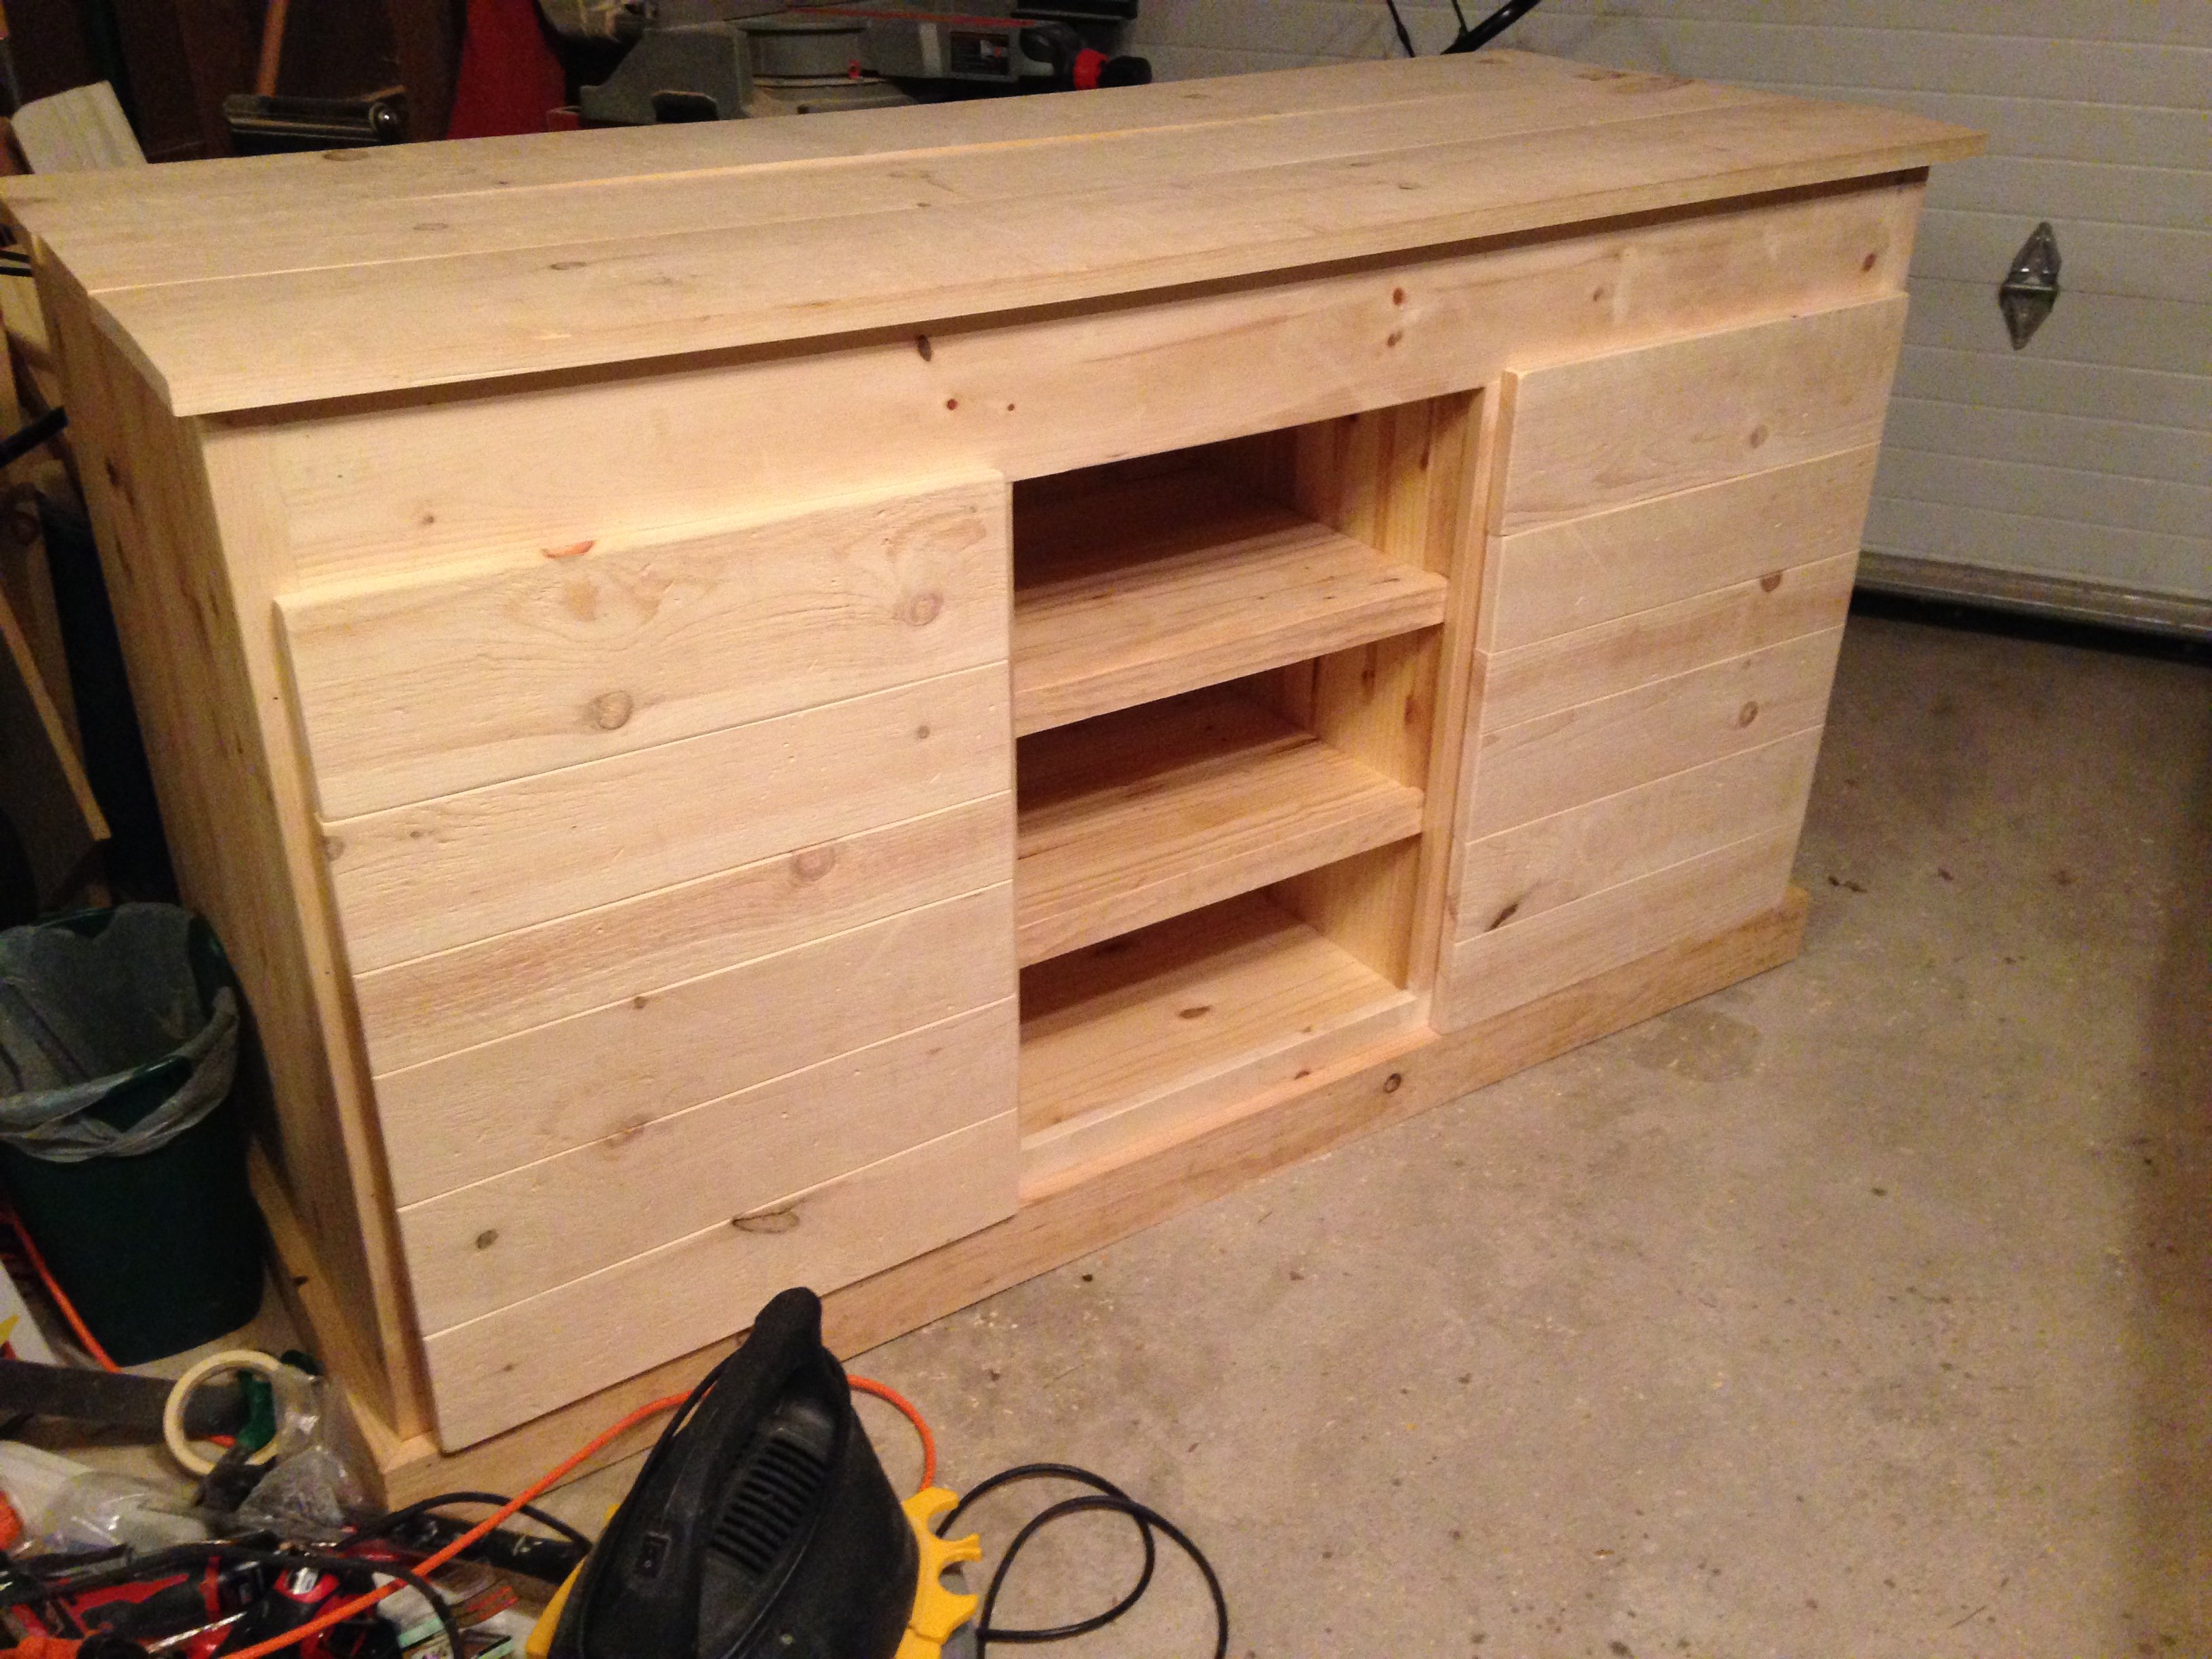
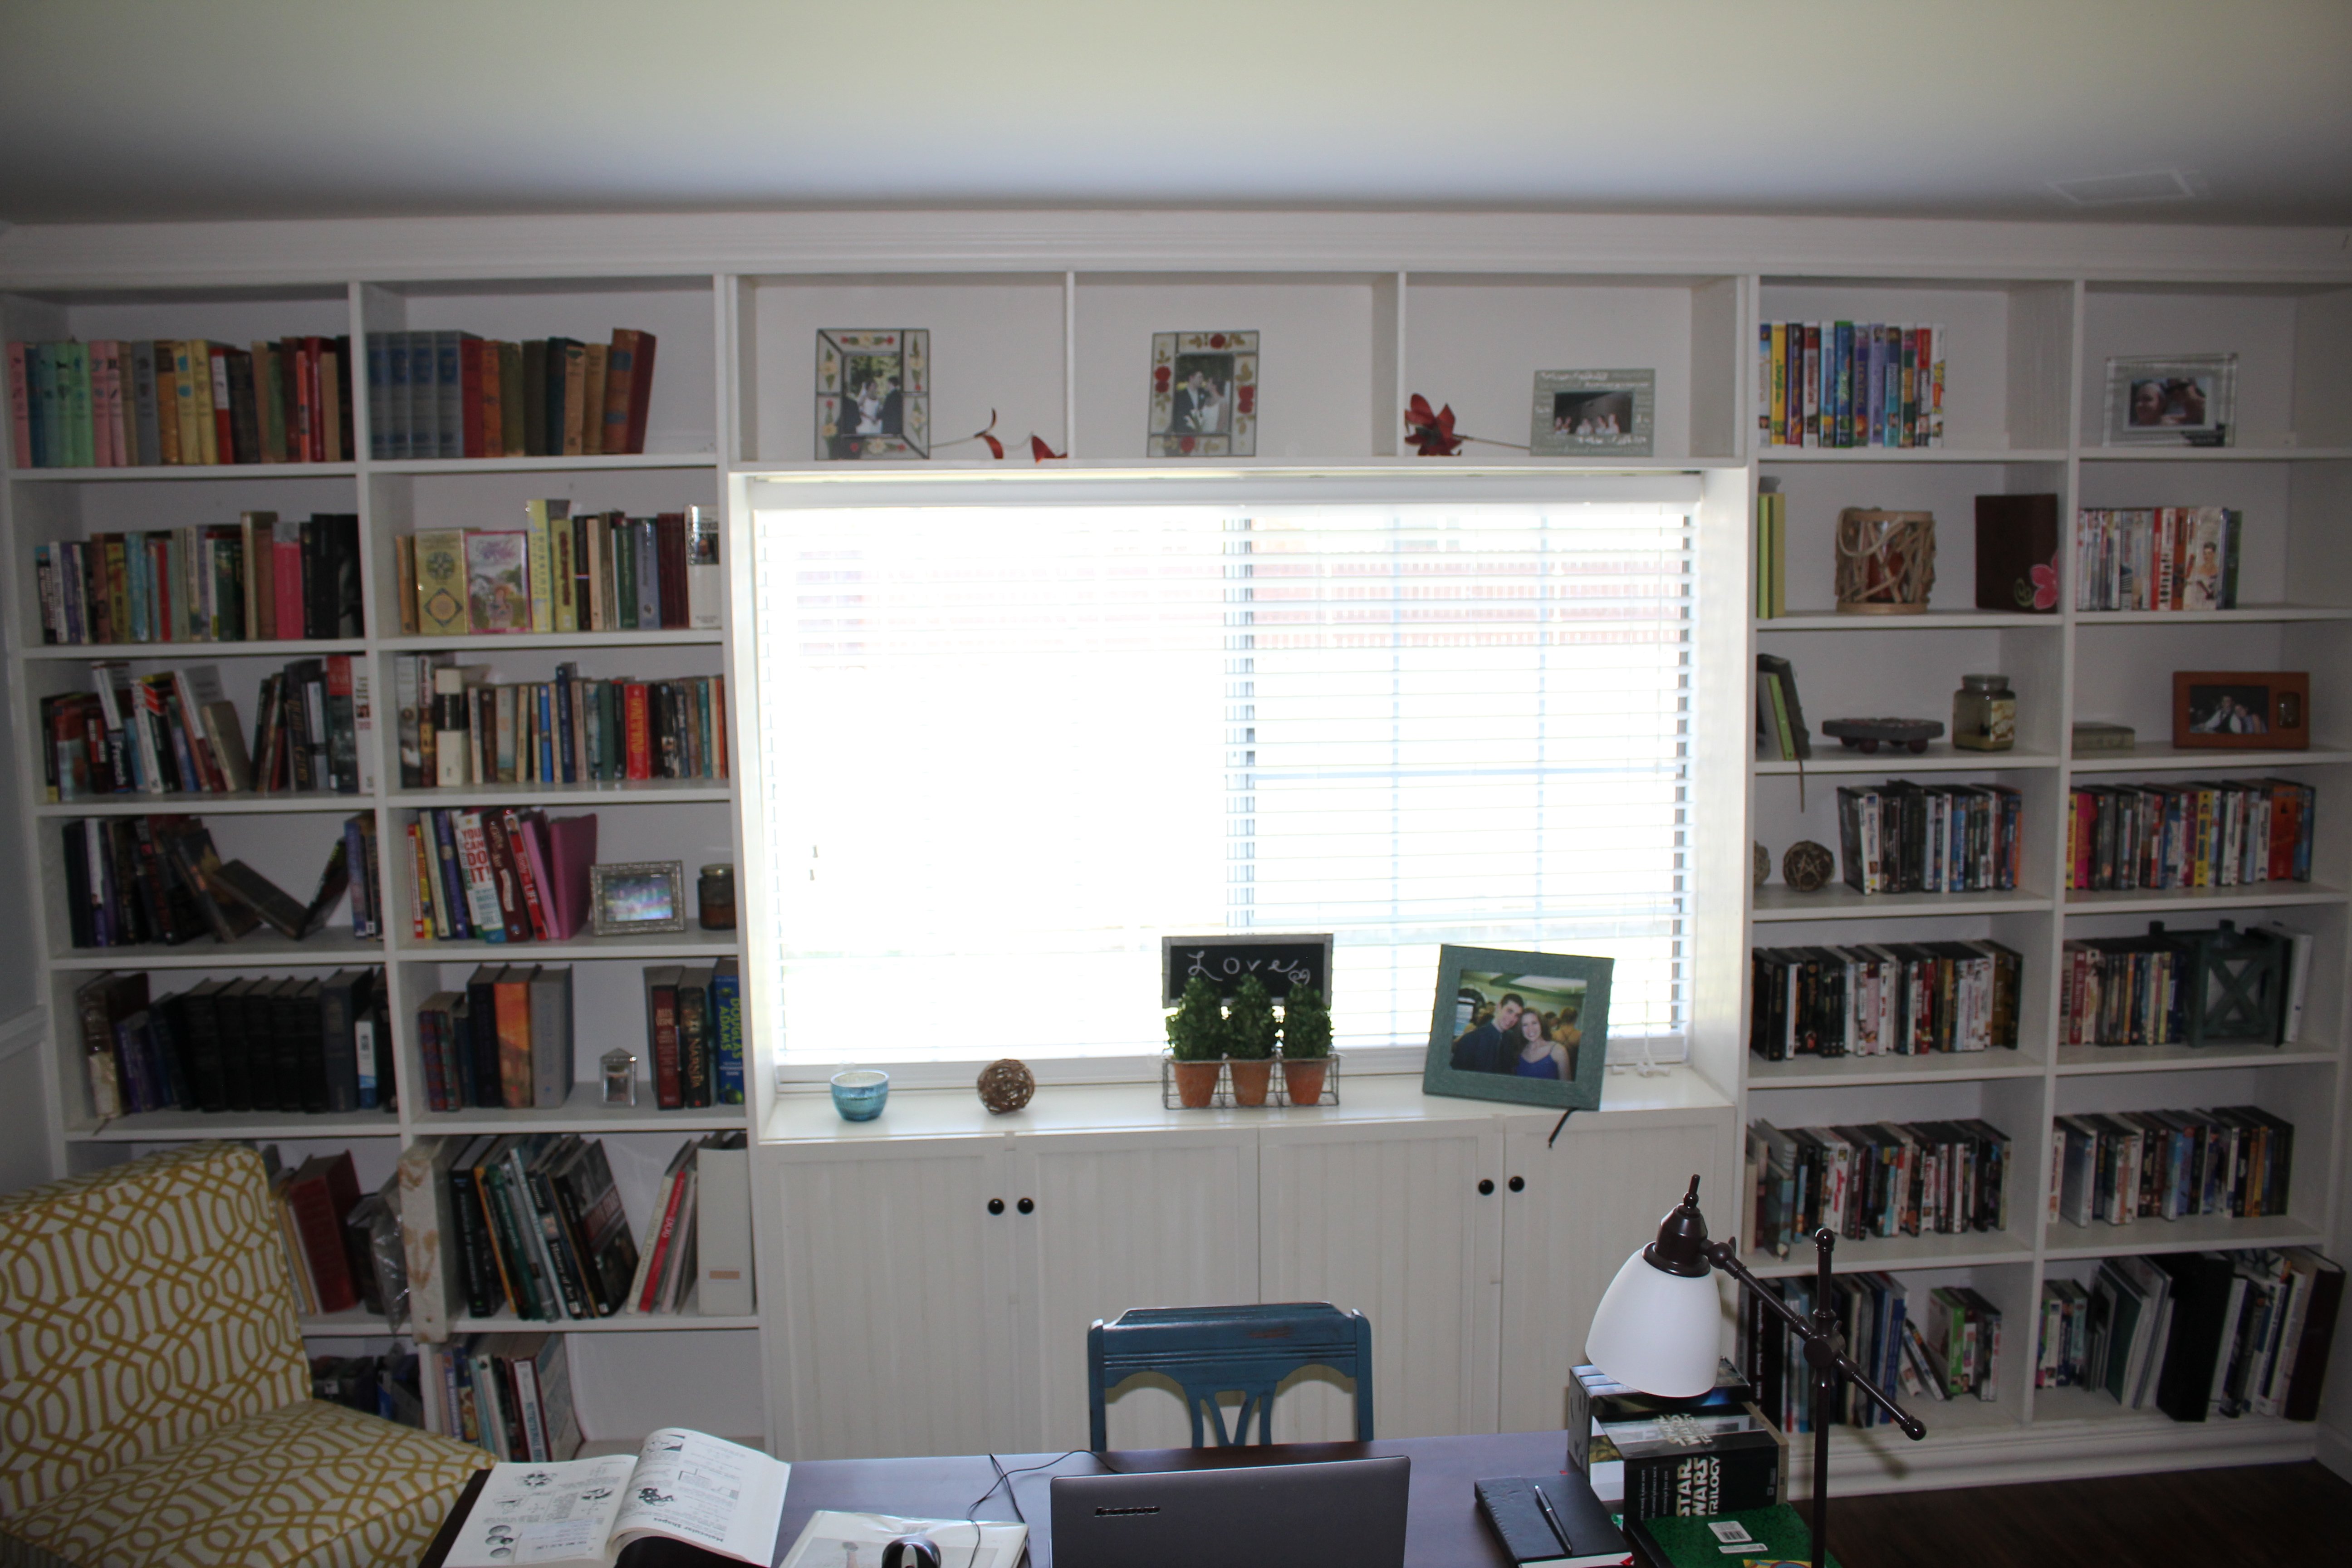
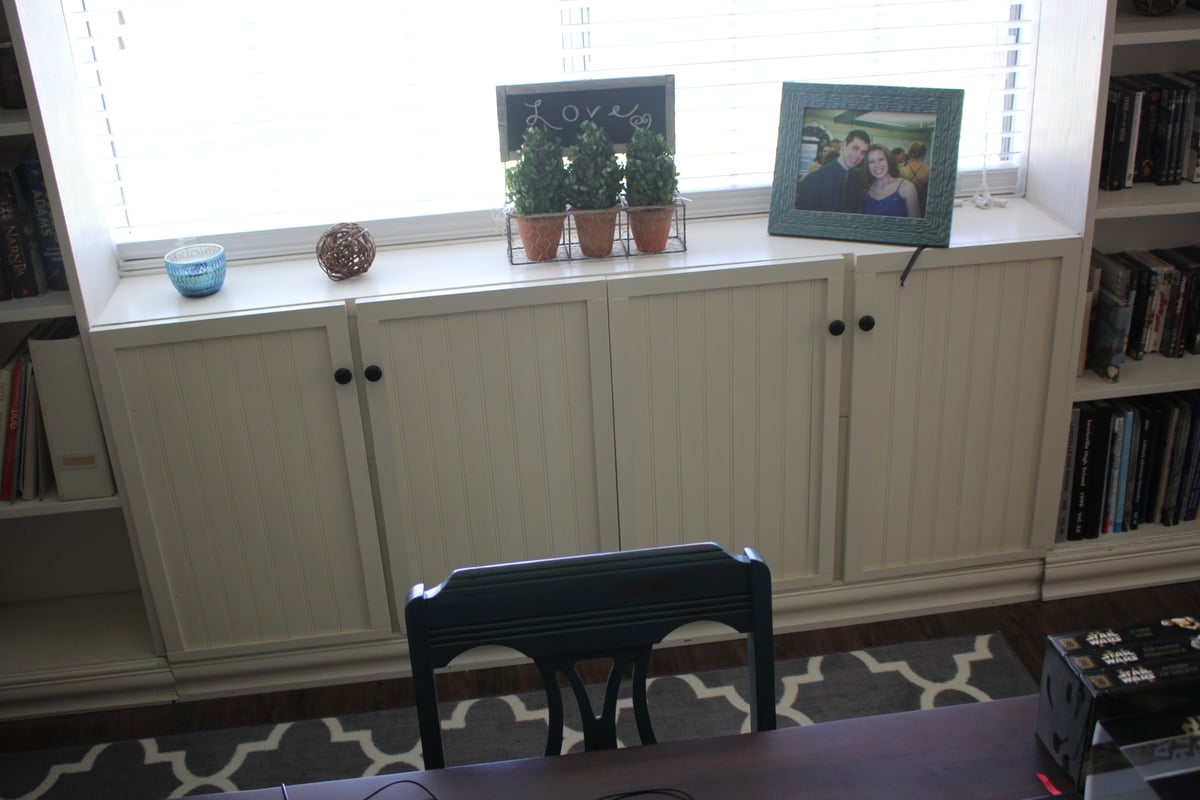
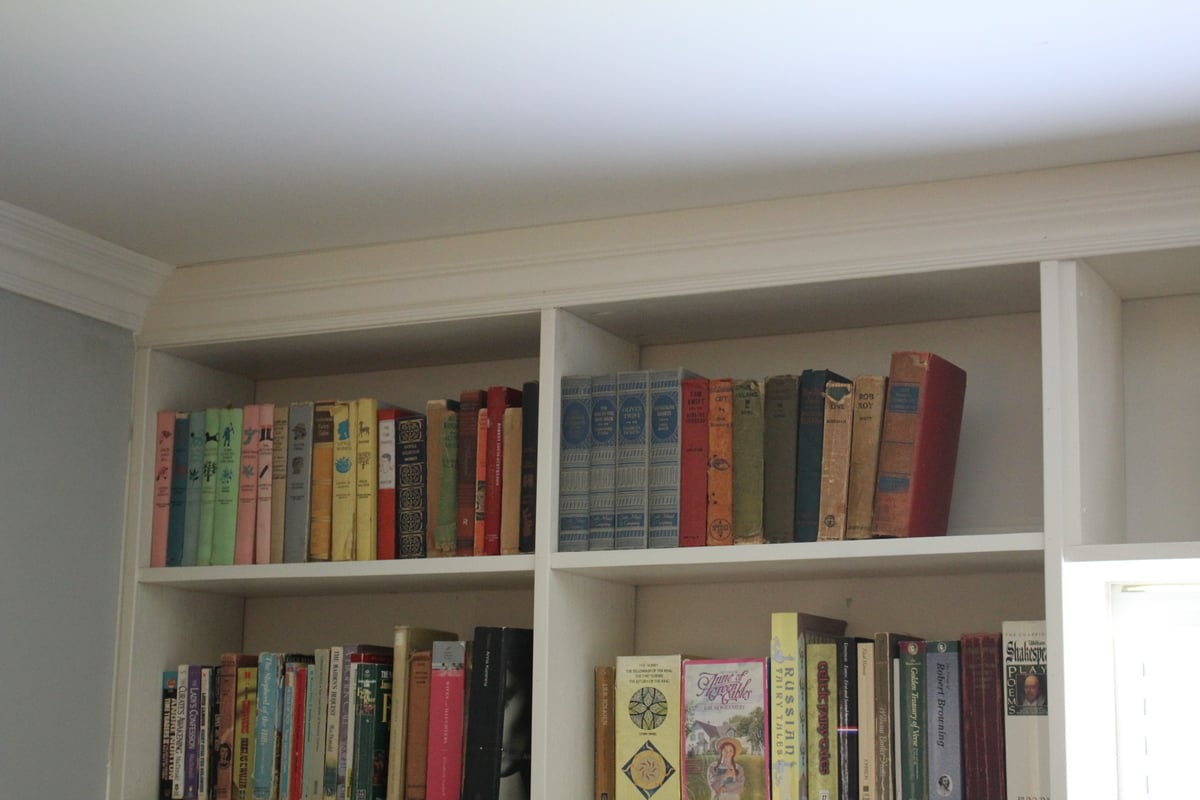
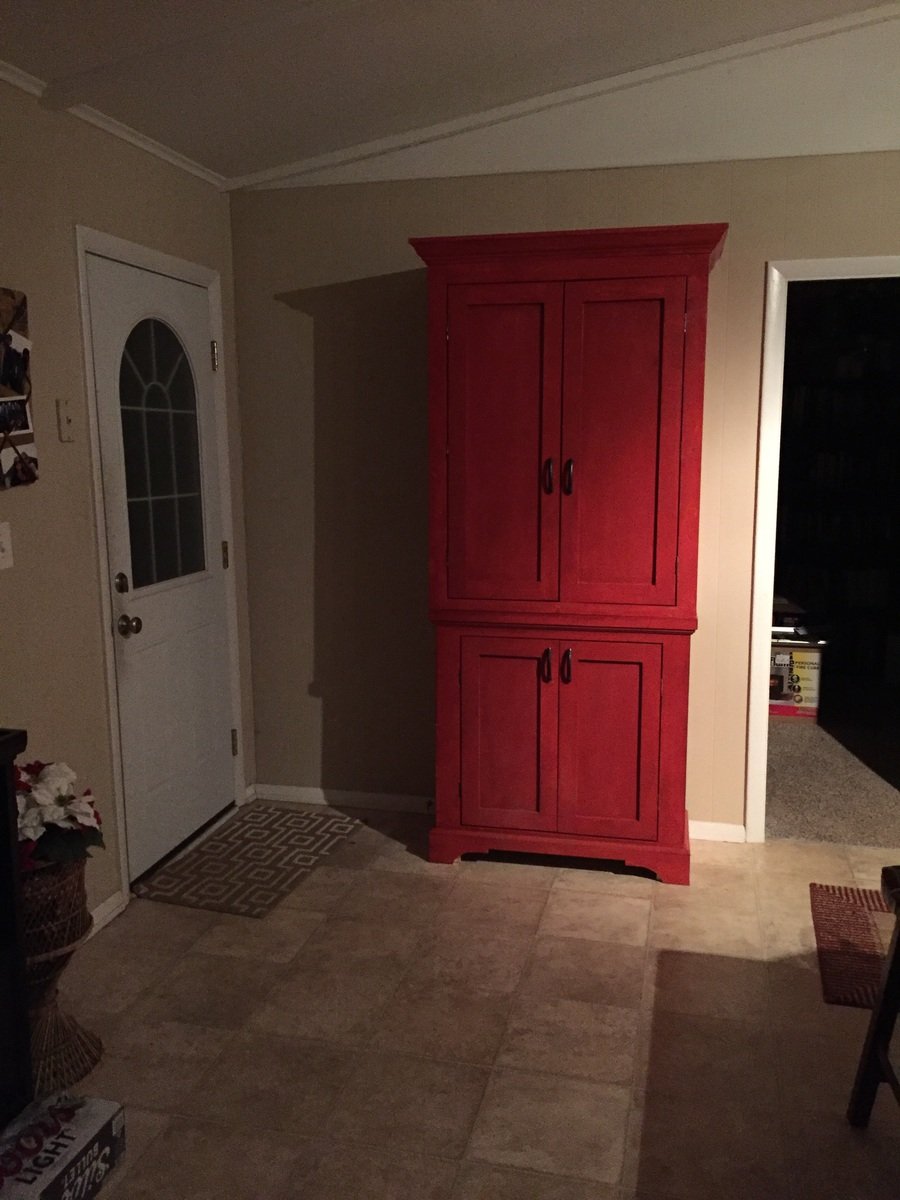
My summer-long project (admittedly, I was lazy about getting it done) was to make built-in bookshelves for our huge family room. For the bookshelves themselves I cobbled together plans from different sites, and modified them all to fit our space/needs, and the cabinets are built after Ana's cabinet plans, modified to be as thin in depth as the bookshelves. Doors on the cabinets were a pain, but they are also my favorite part of the whole shebang with their beadboard inserts. Moulding at top and bottom finishes out the look, and caulking in all the gaps helps give it cohesion.
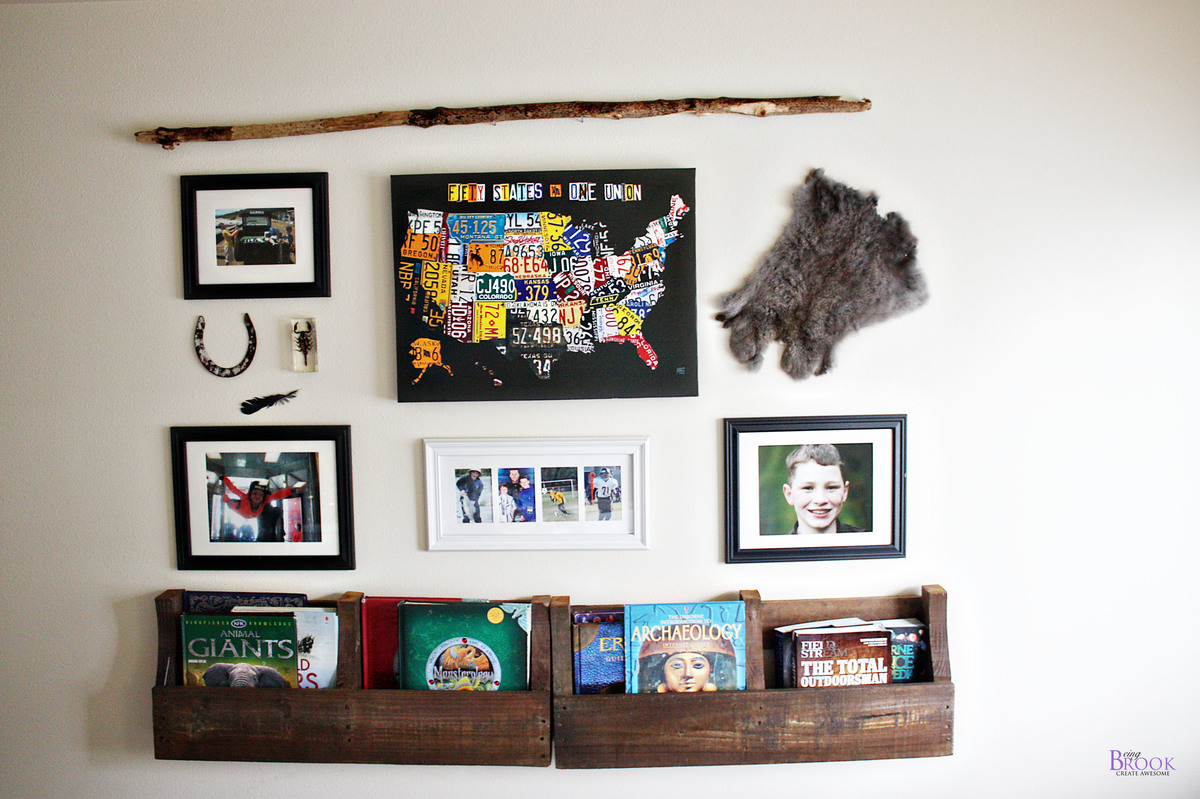
I could not be happier with my built-ins. I feel like I have a library now, and it got all of our books out of boxes and onto shelves. Yay!
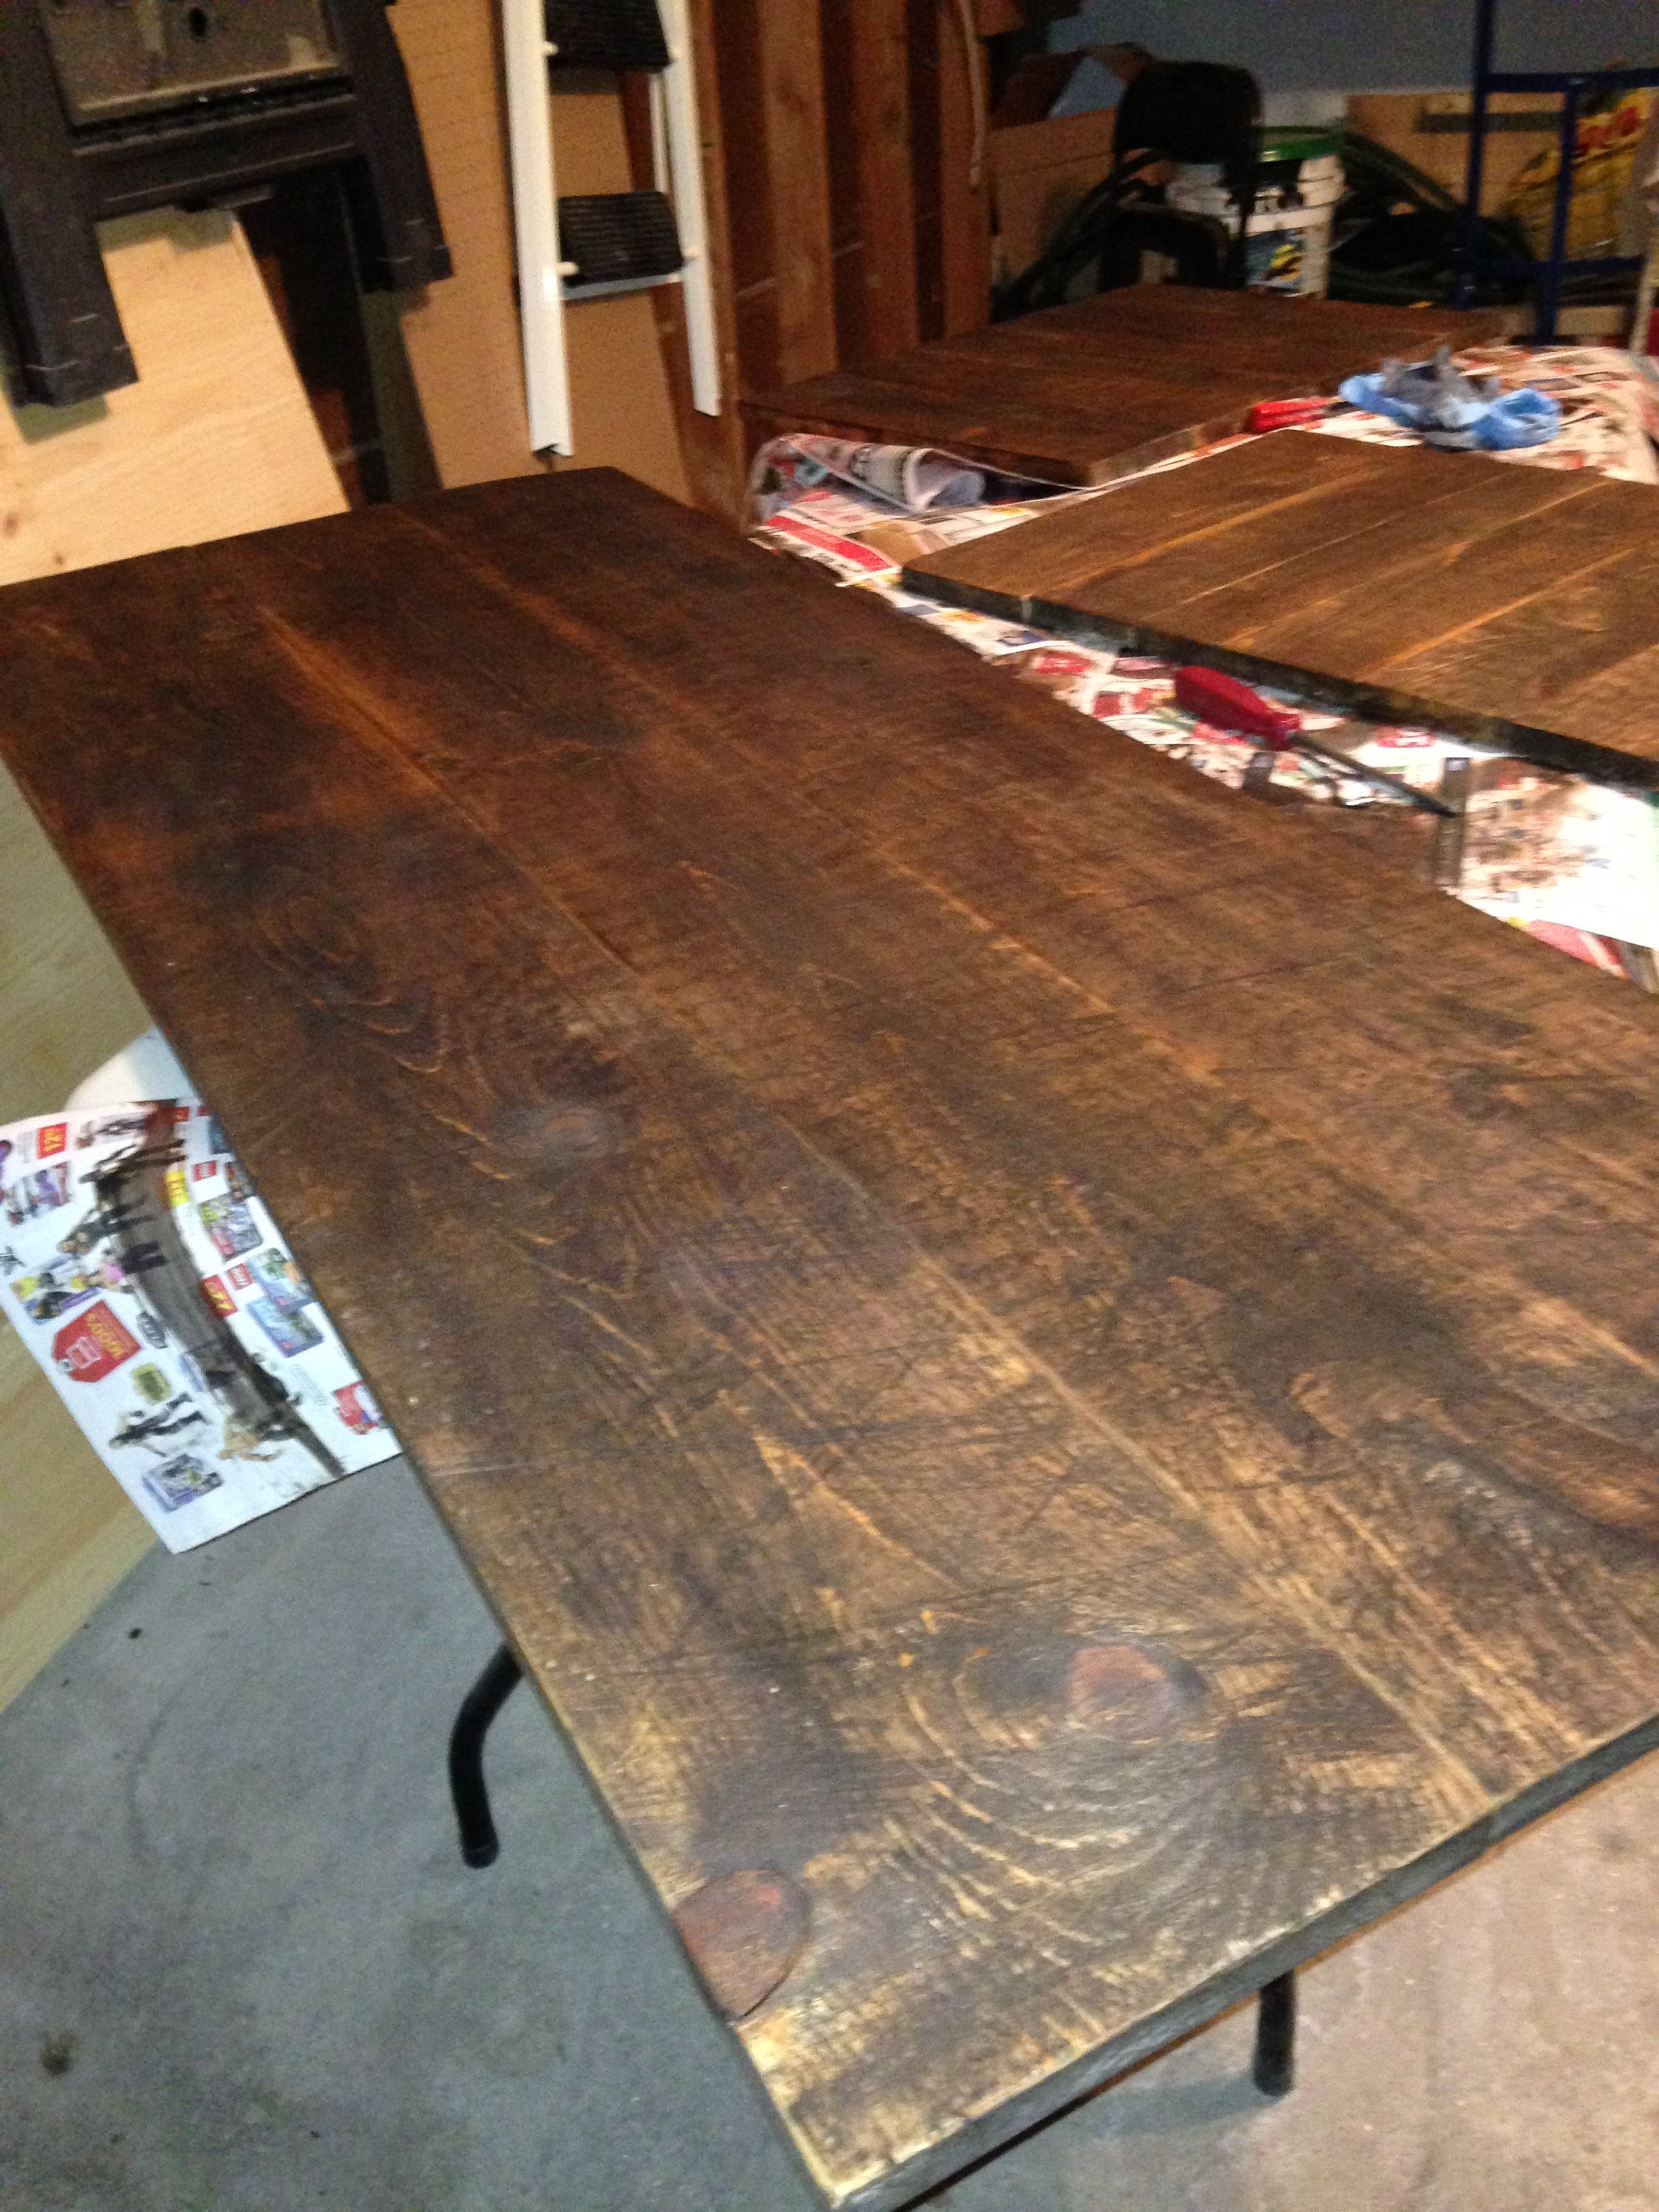
This entire project cost around $80-$100 because I acquired quite a bit of free wood off Craigslist. I also got wood from the scrap bin at Home Depot for great discounts. Since this would've likely cost near 1k to buy, I am quite pleased.
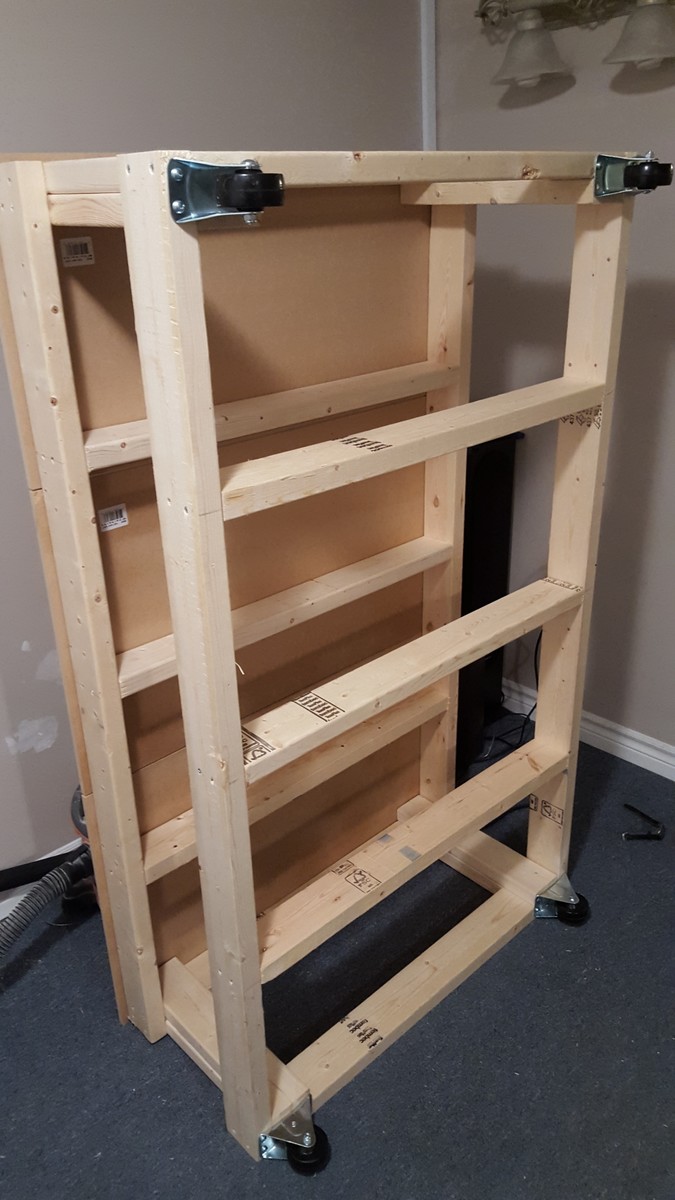
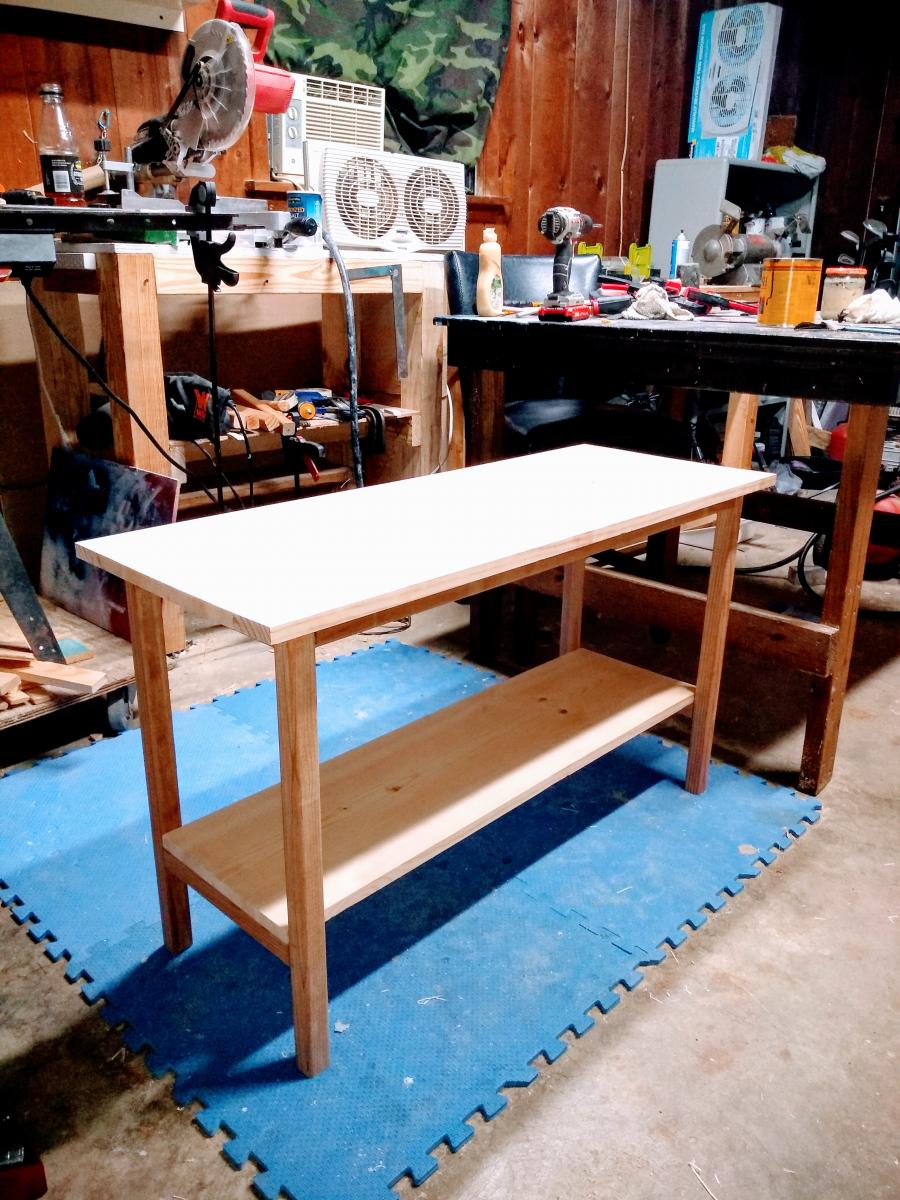
Anytime you are making projects without real plans, it take quite a bit longer and more mistakes are made. But, to have something completely customized to your needs and space is better than any price tag/time you can put on it!
Tools used: drill, kreg mini pocket hole jig, orbital sander, countersink bit, miter saw, jig saw, HPLV paint sprayer, clamps, circular saw