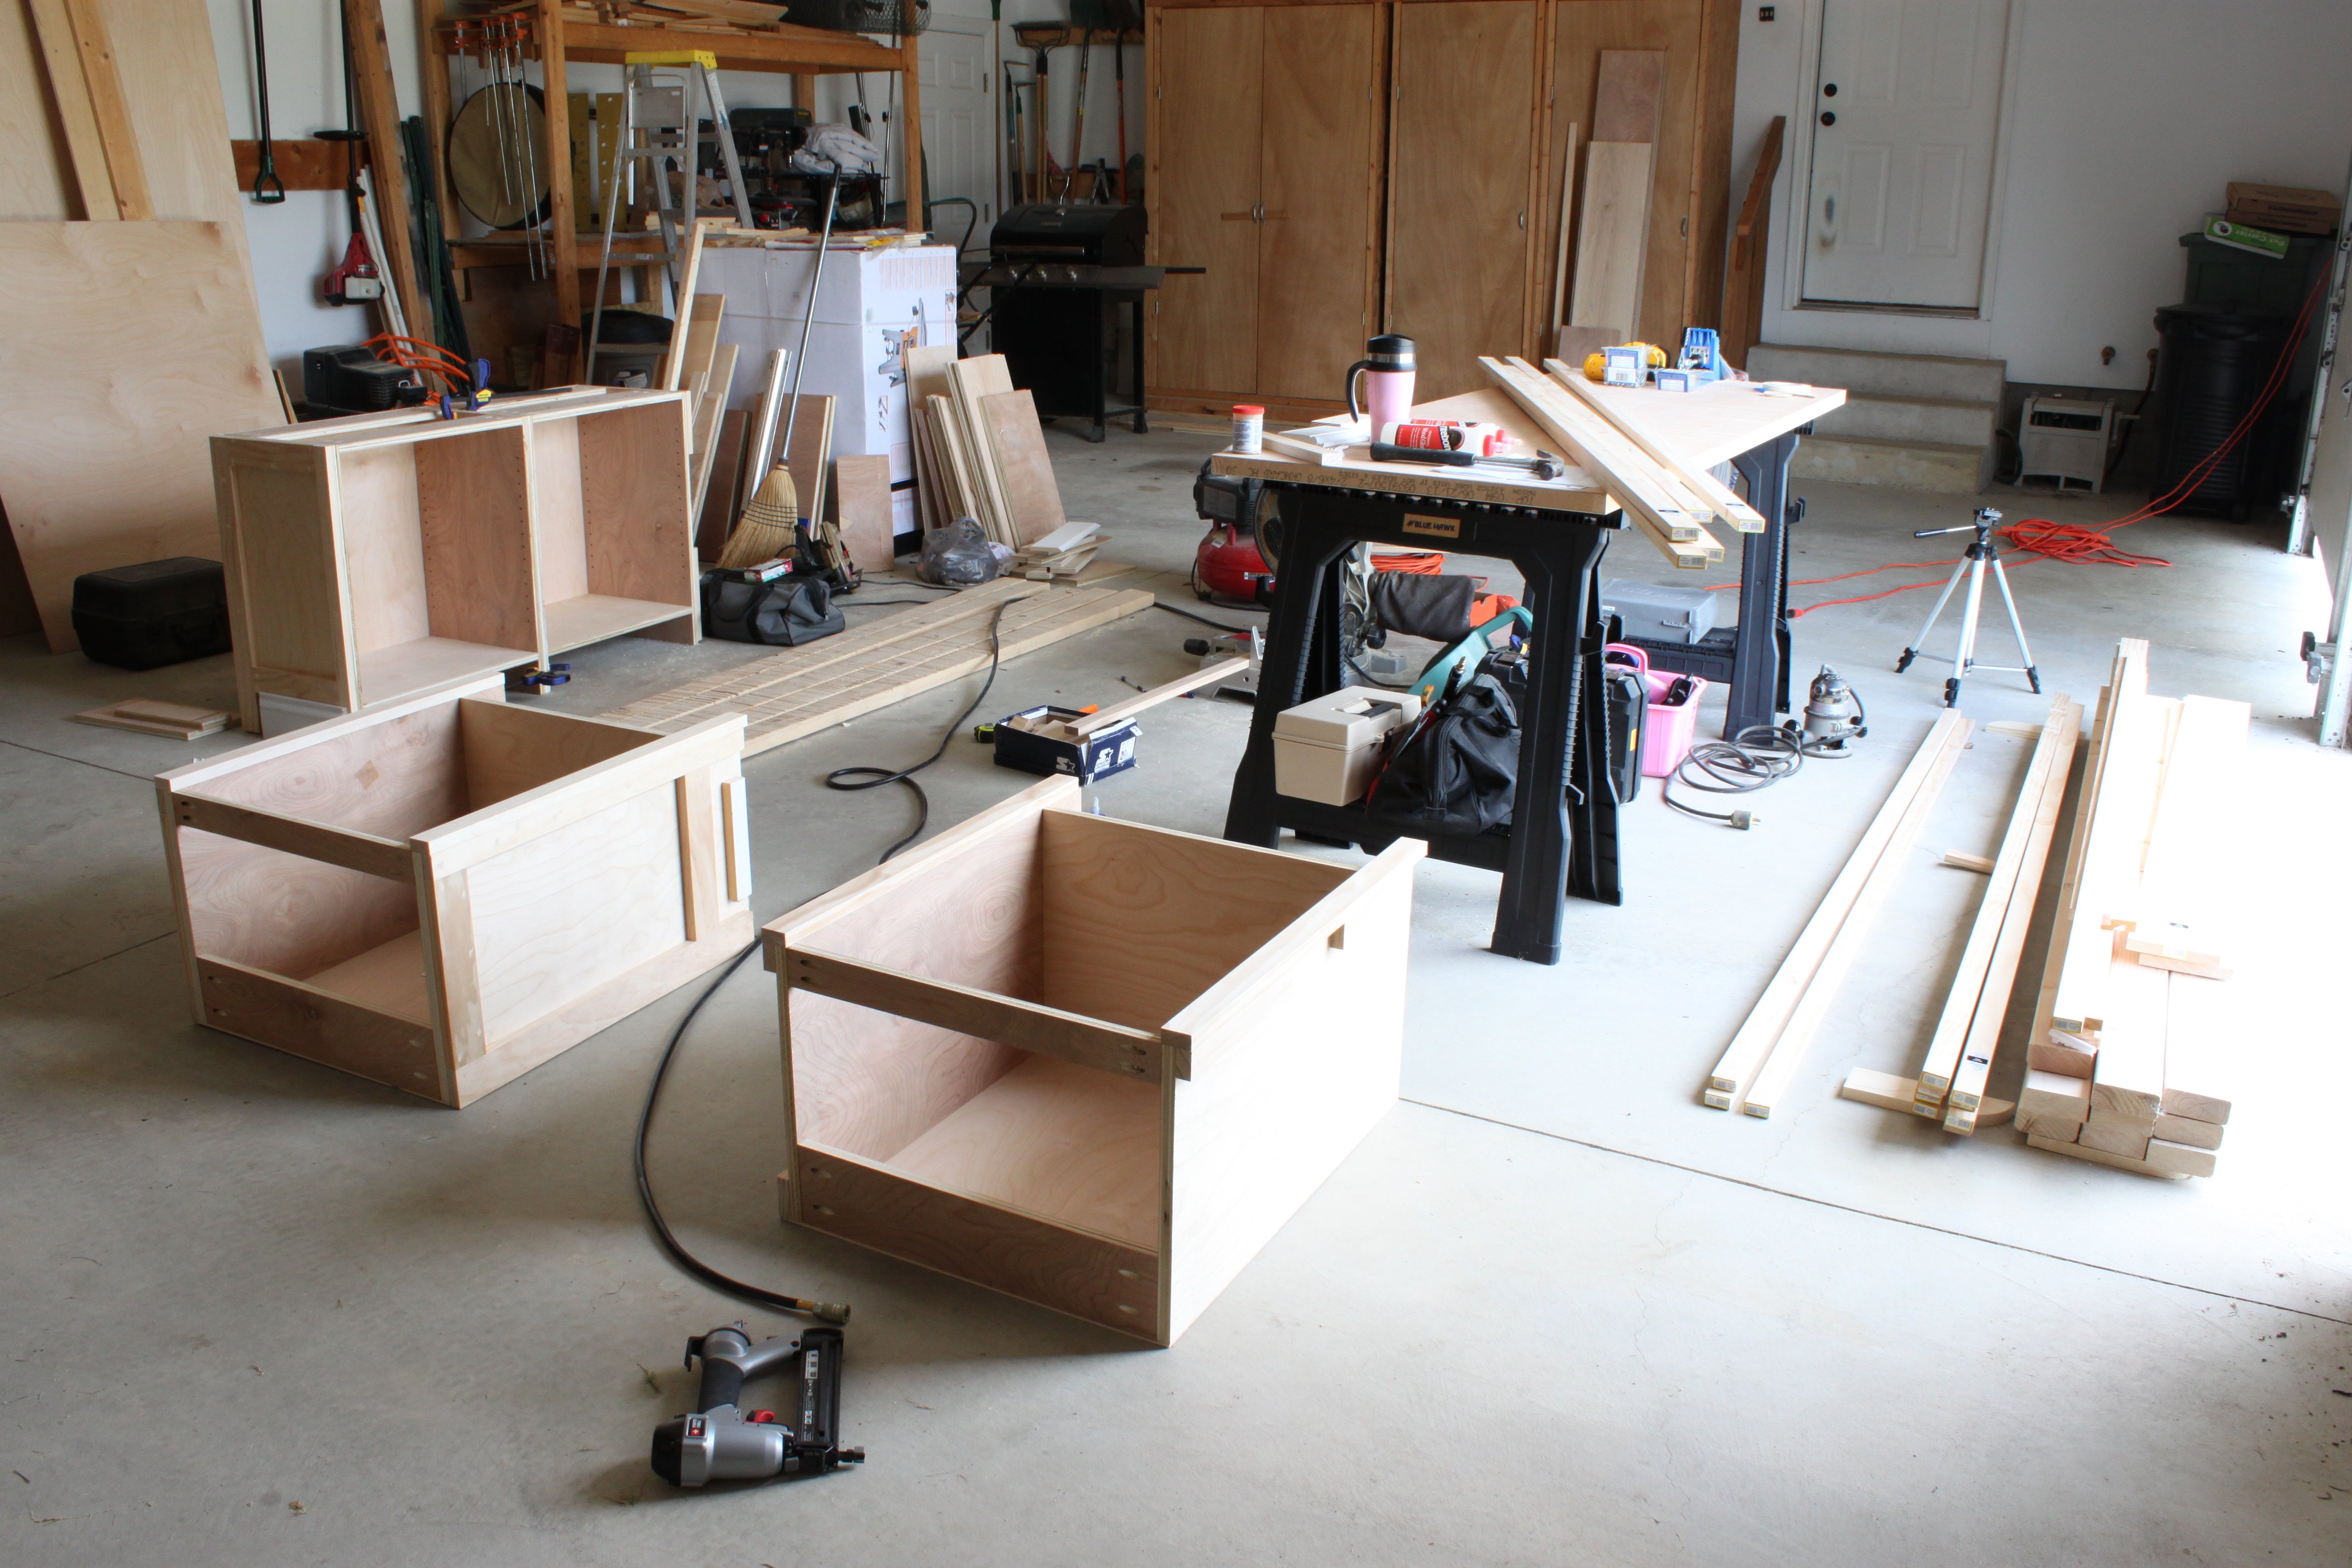
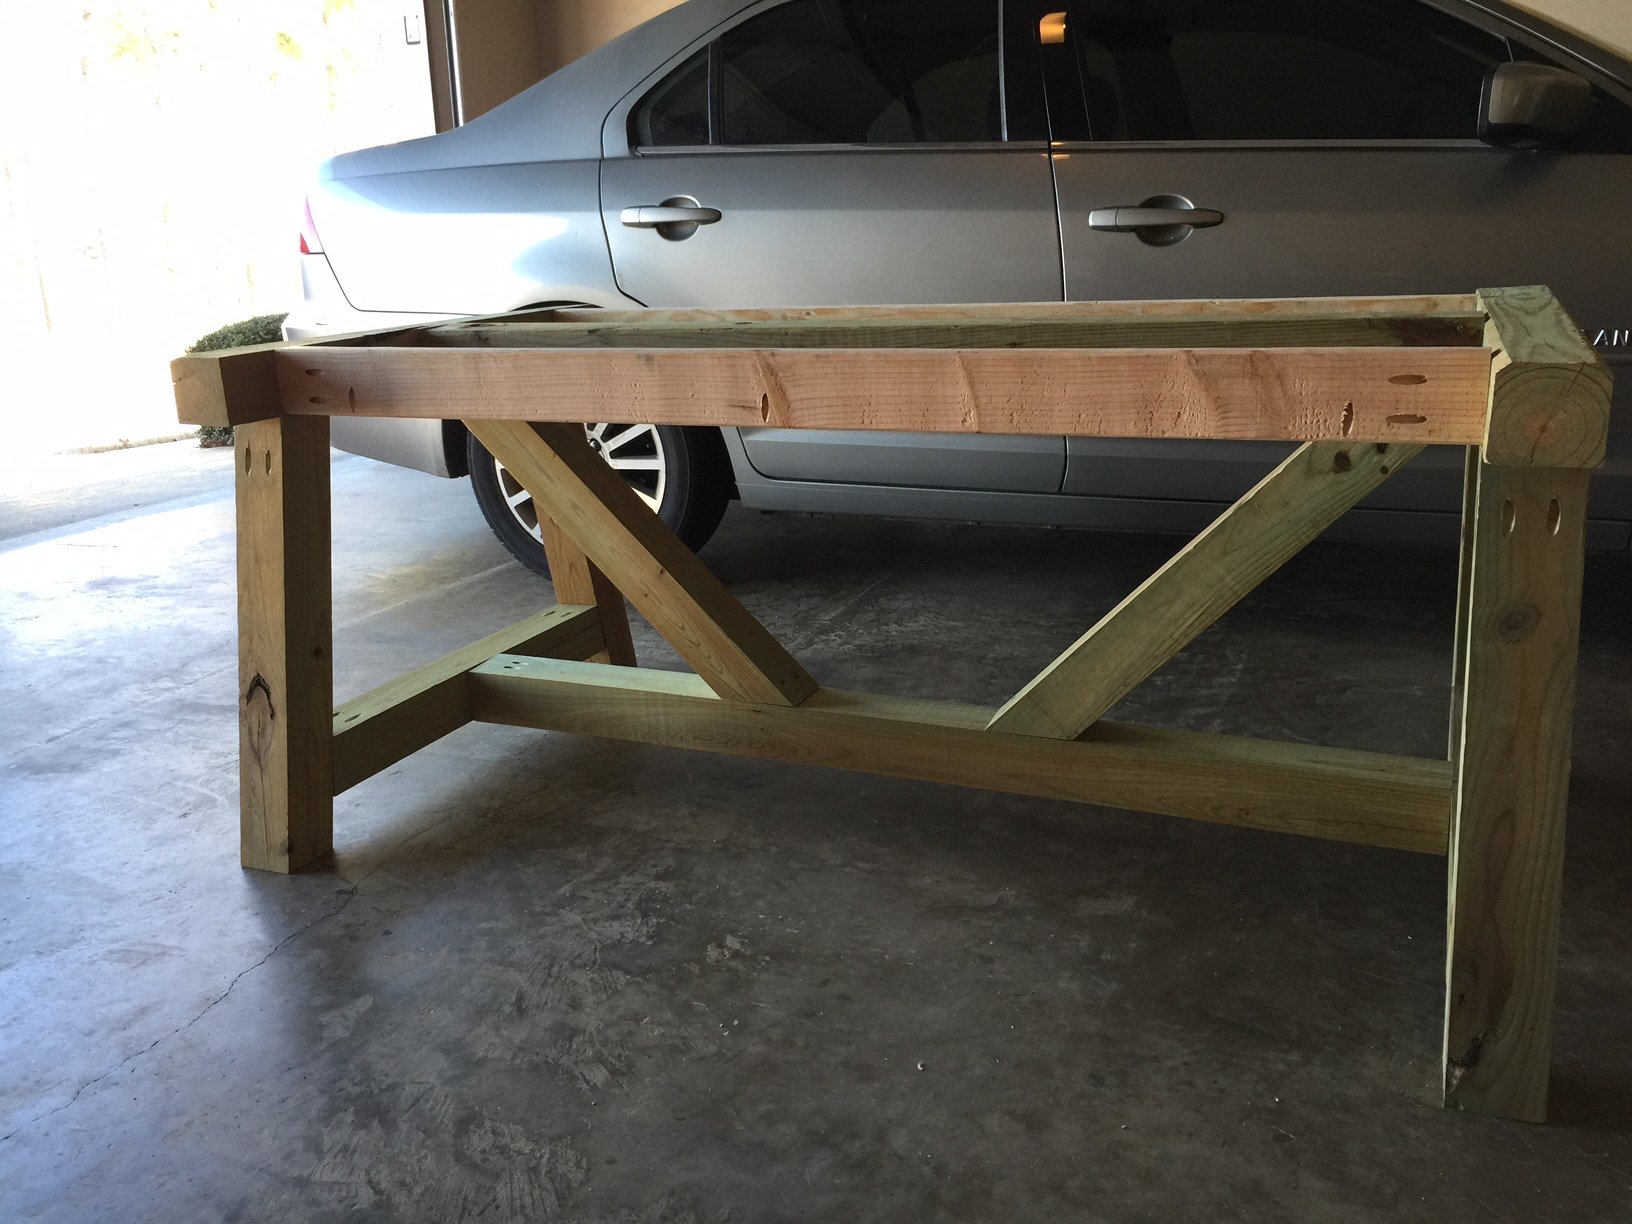
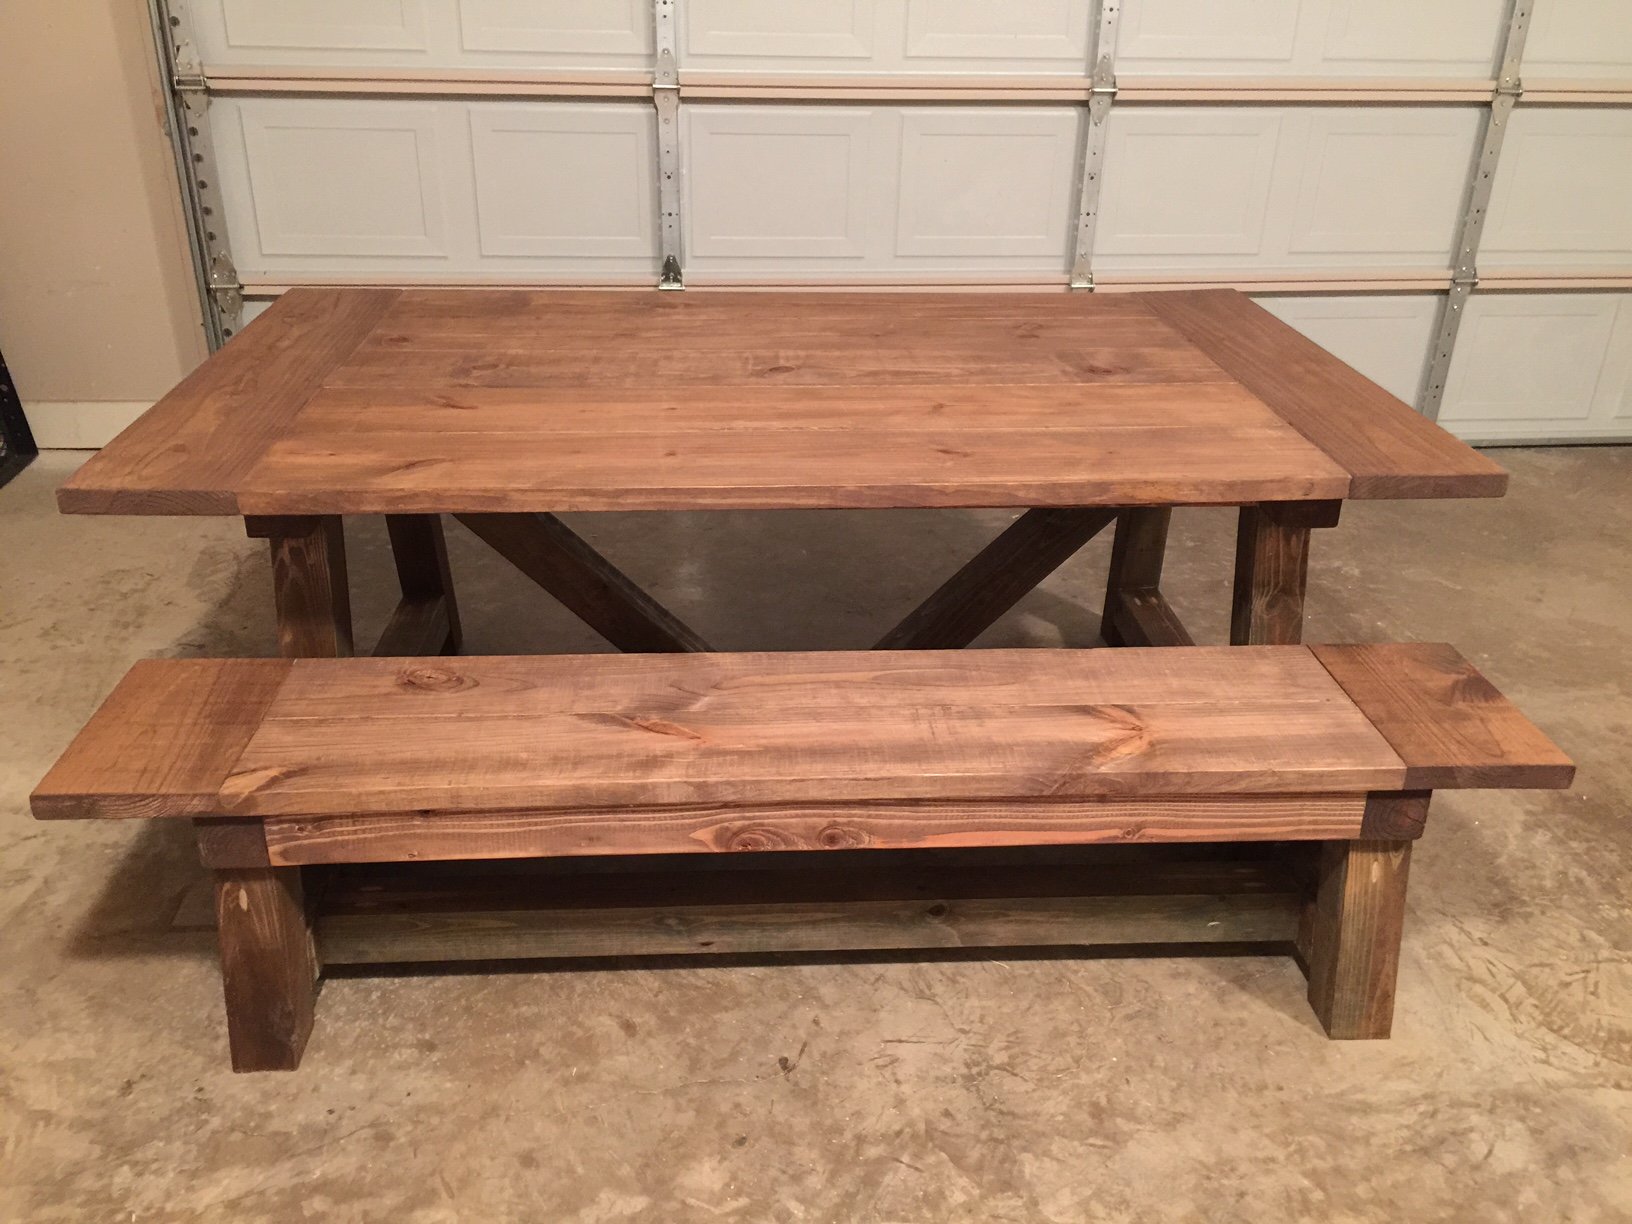
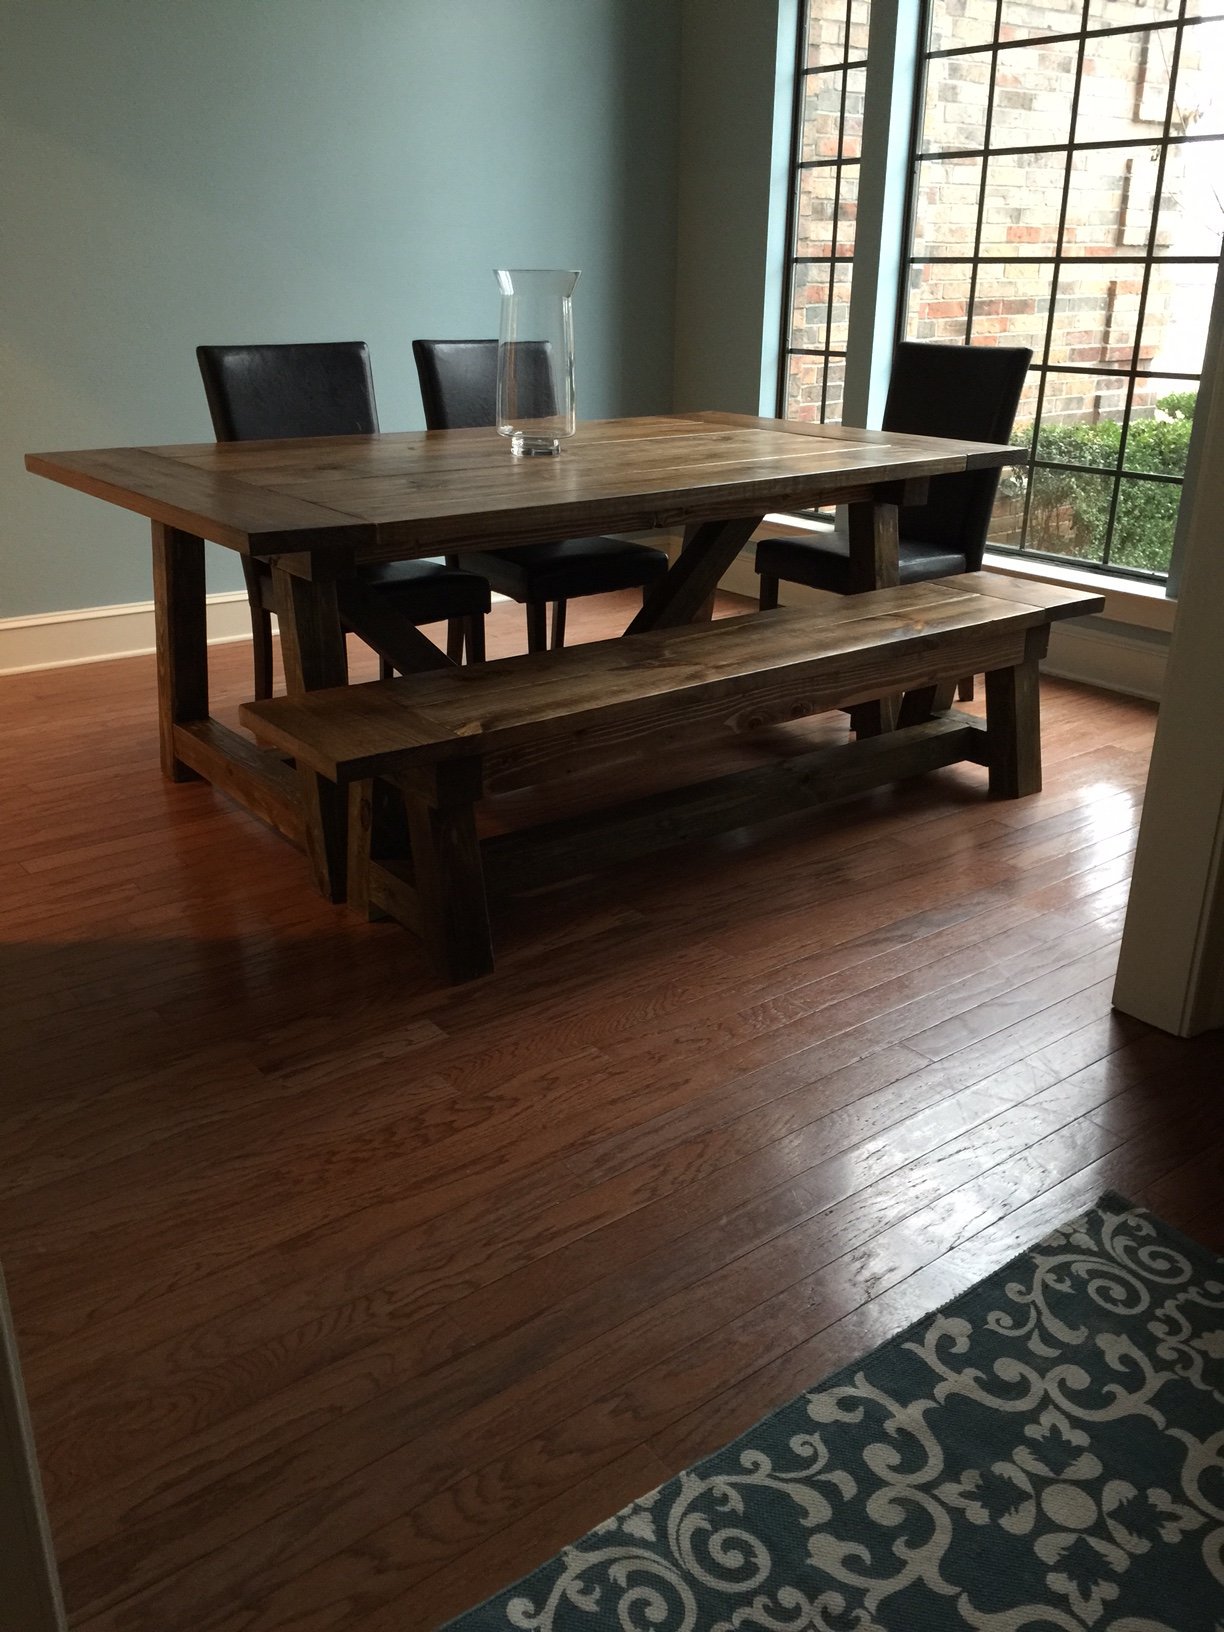
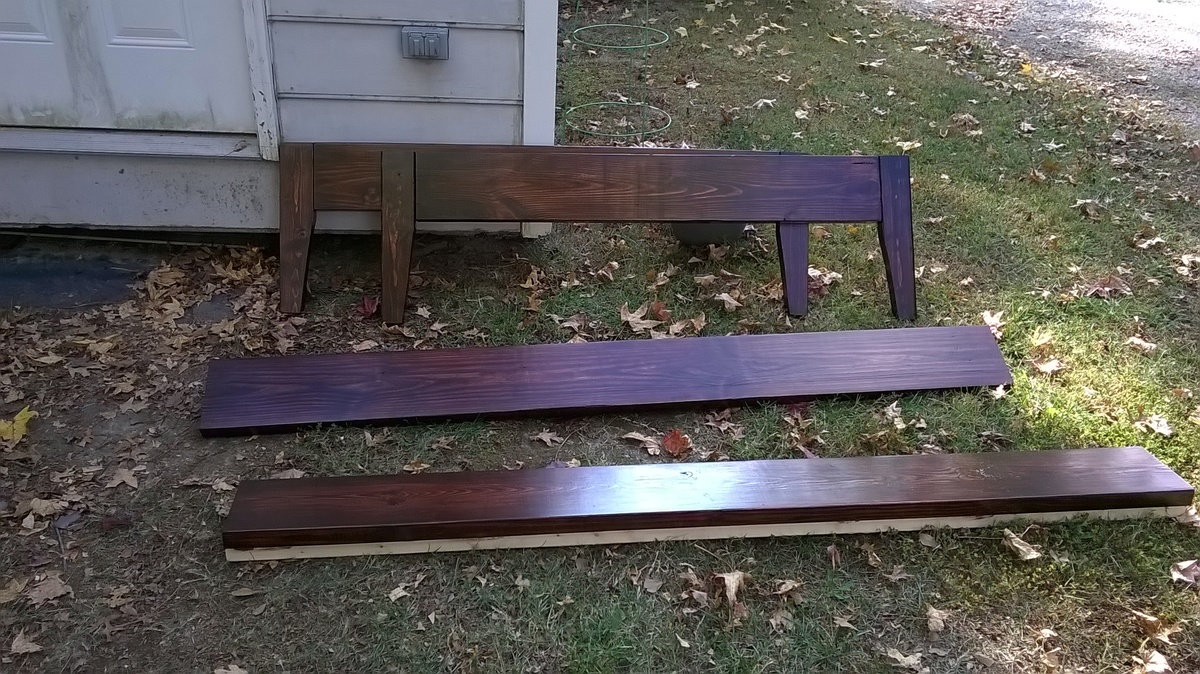
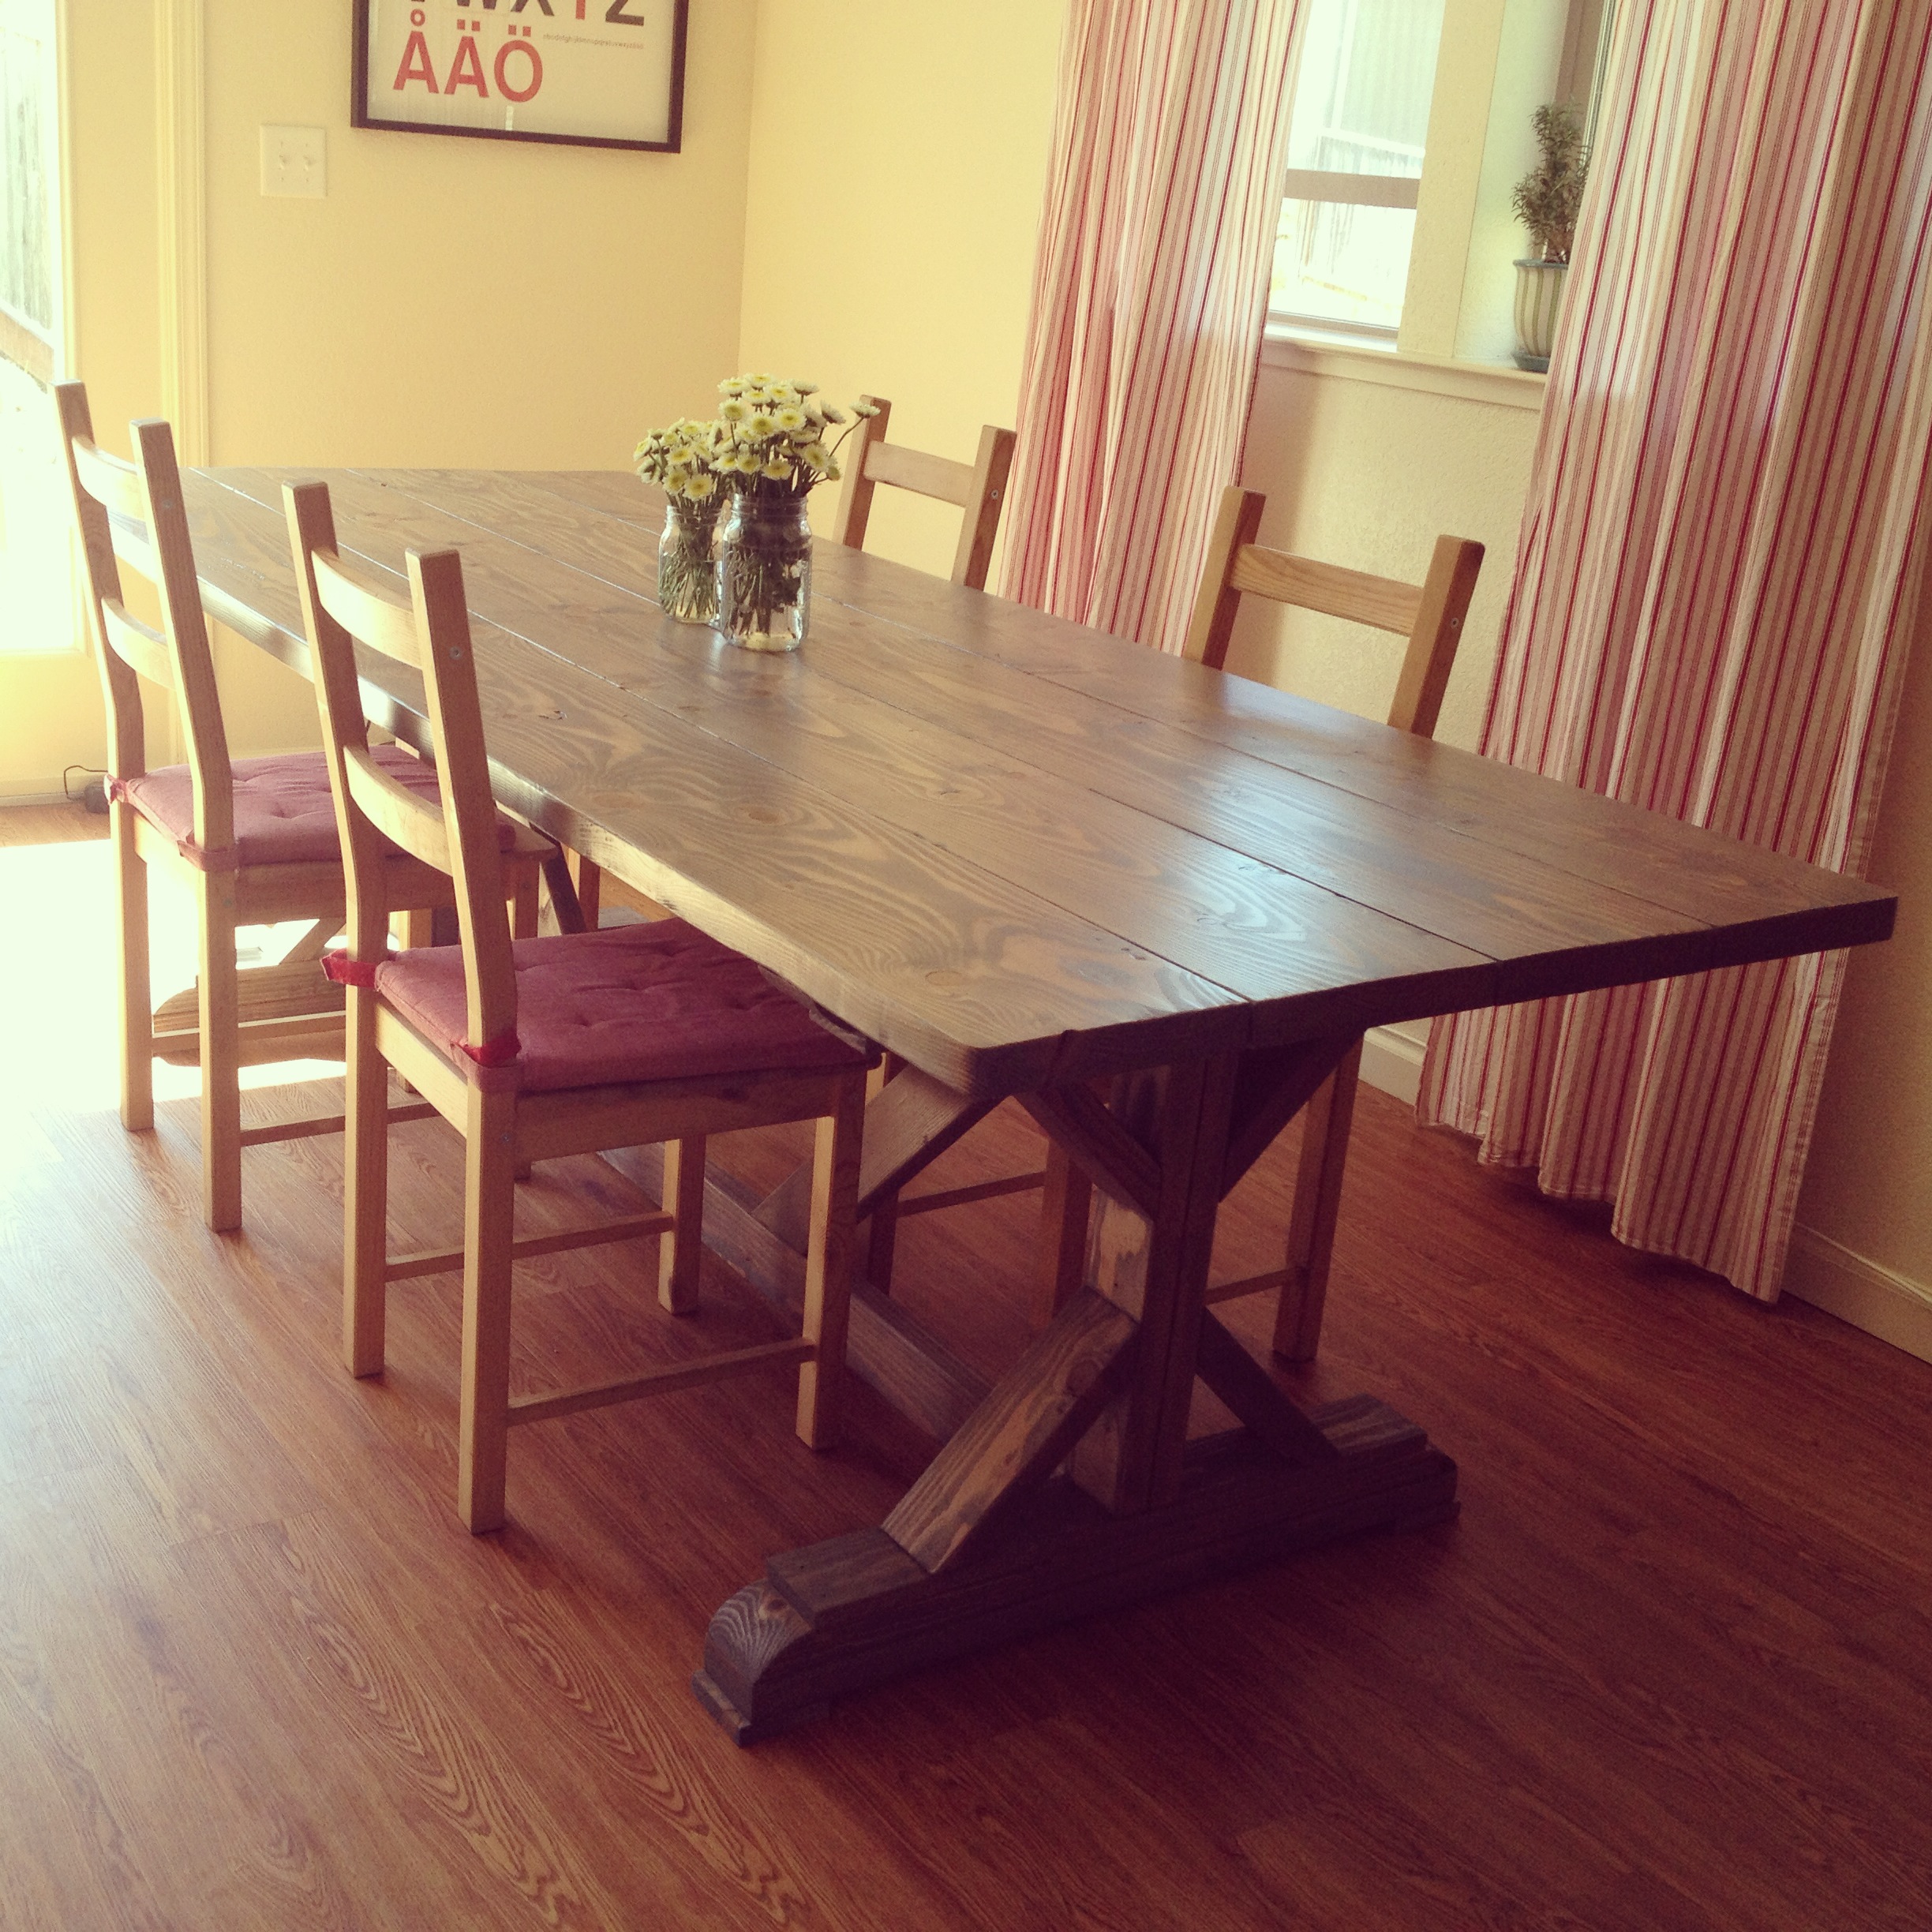
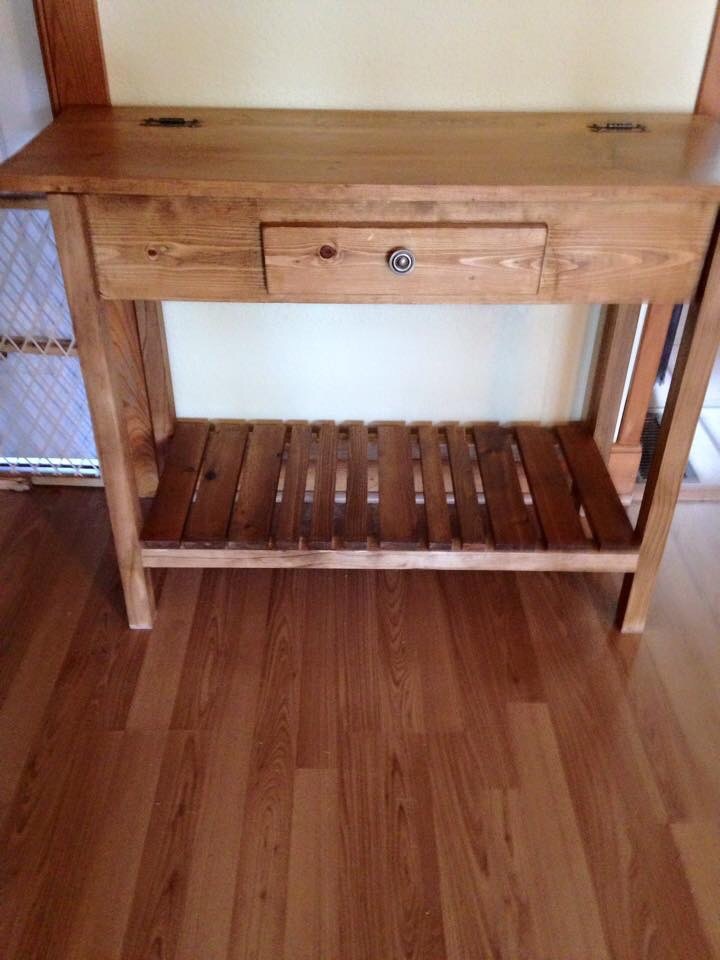
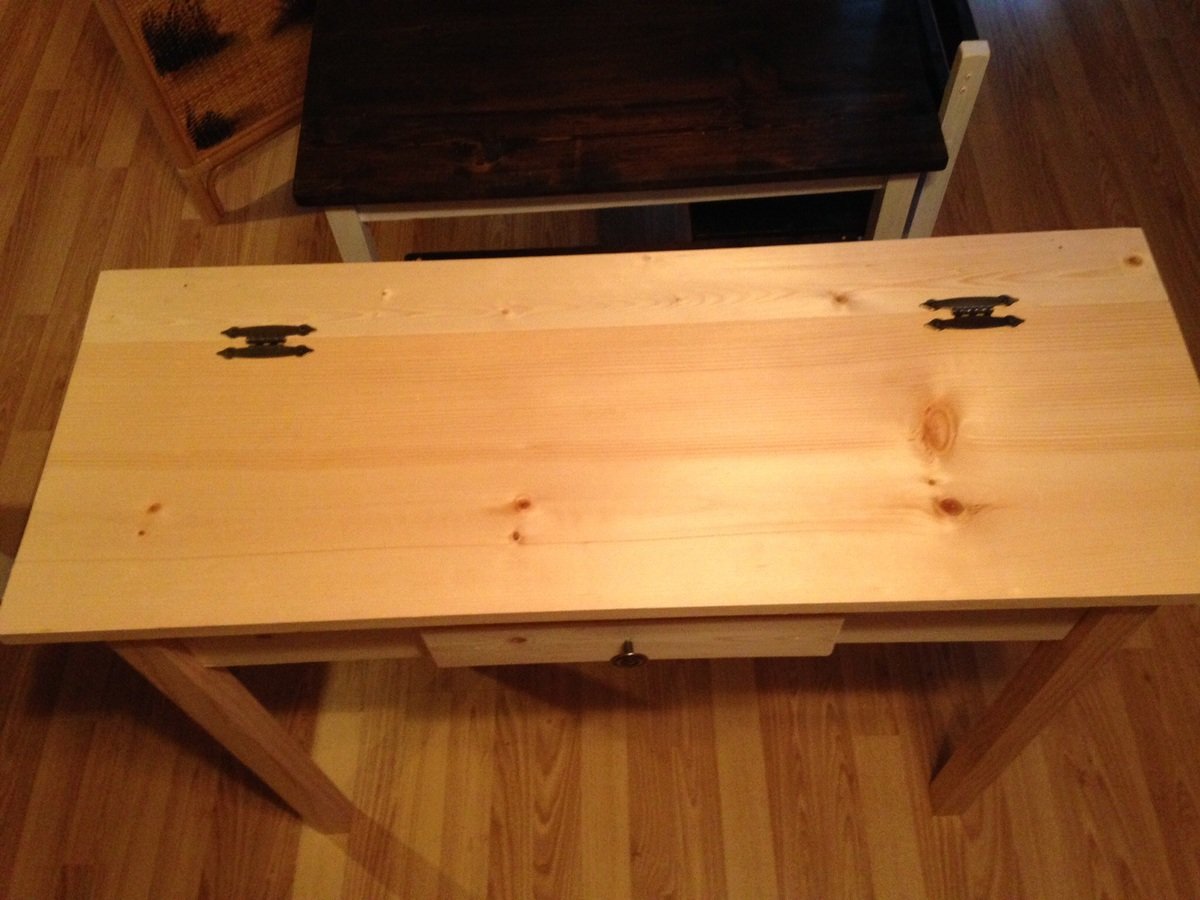
Coffee Table with 2 drawers
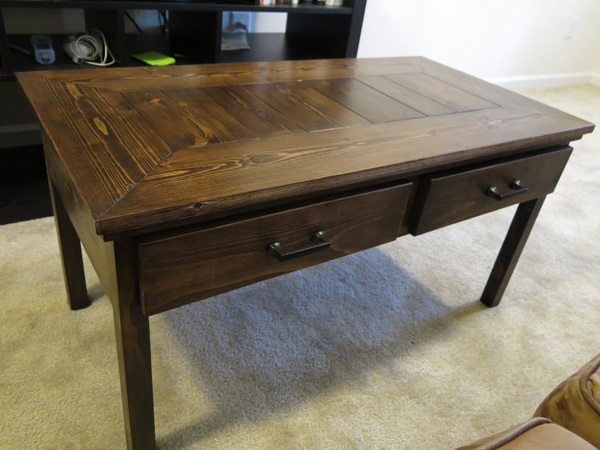
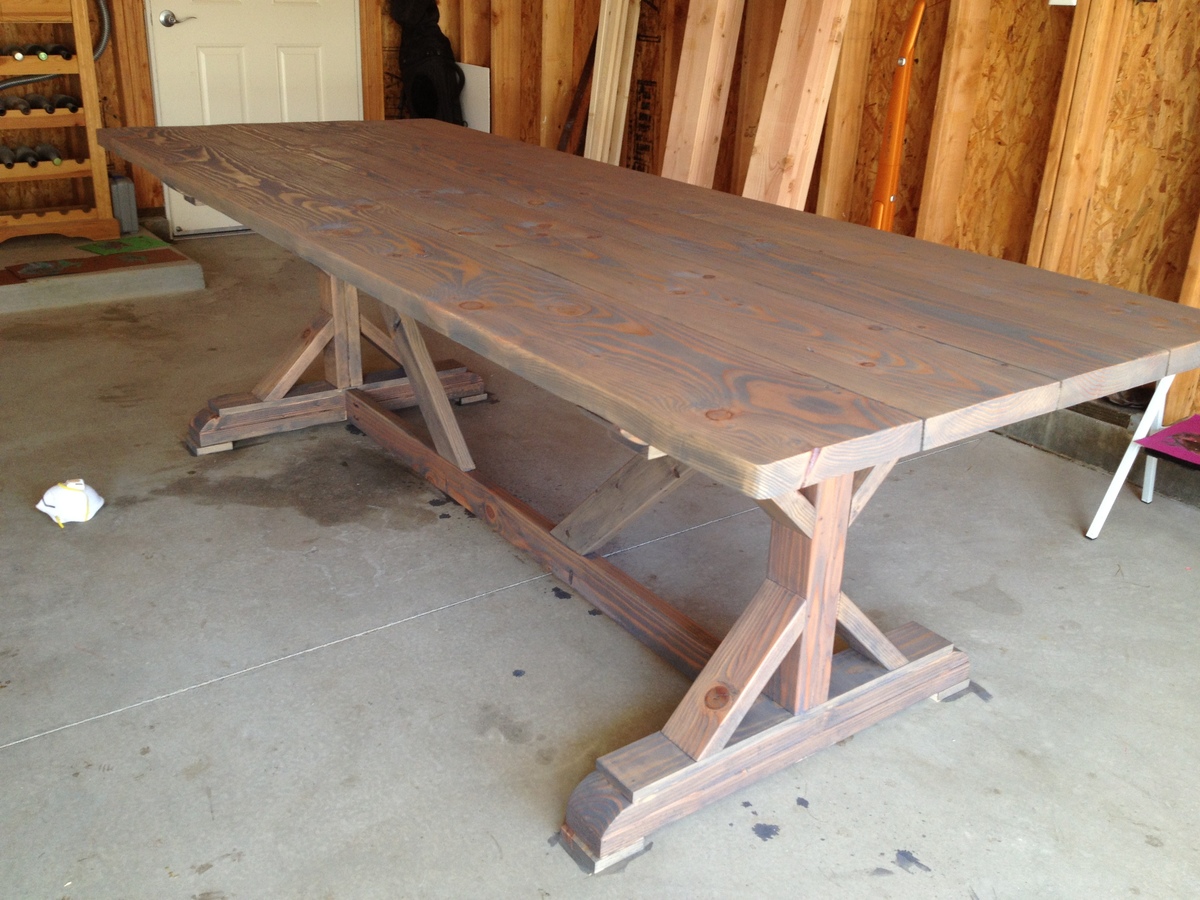
Small coffee table. Have to admit it and say messed up on this one as cut the sides wrong length and didn't realize until all glued up!!!
Ended up 3 inches wider than was supposed to be which then messed up my plans for the top.
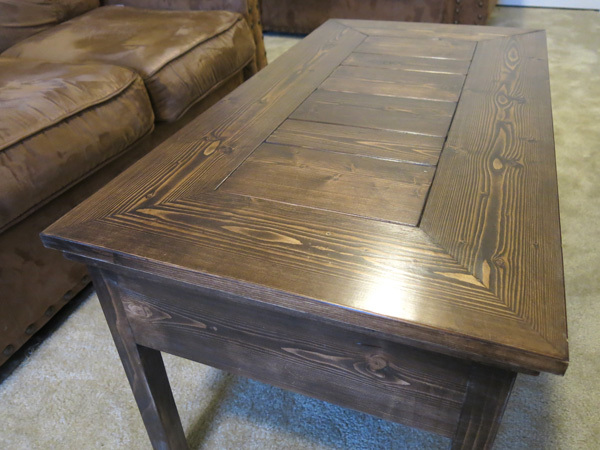
Had to redesign the top and decided to use some 1 by 6 and 1 by 4 offcuts to fill in the middle part which was supposed to be one long 1 by 6 piece. Pretty pleased with how it turned out in the end.
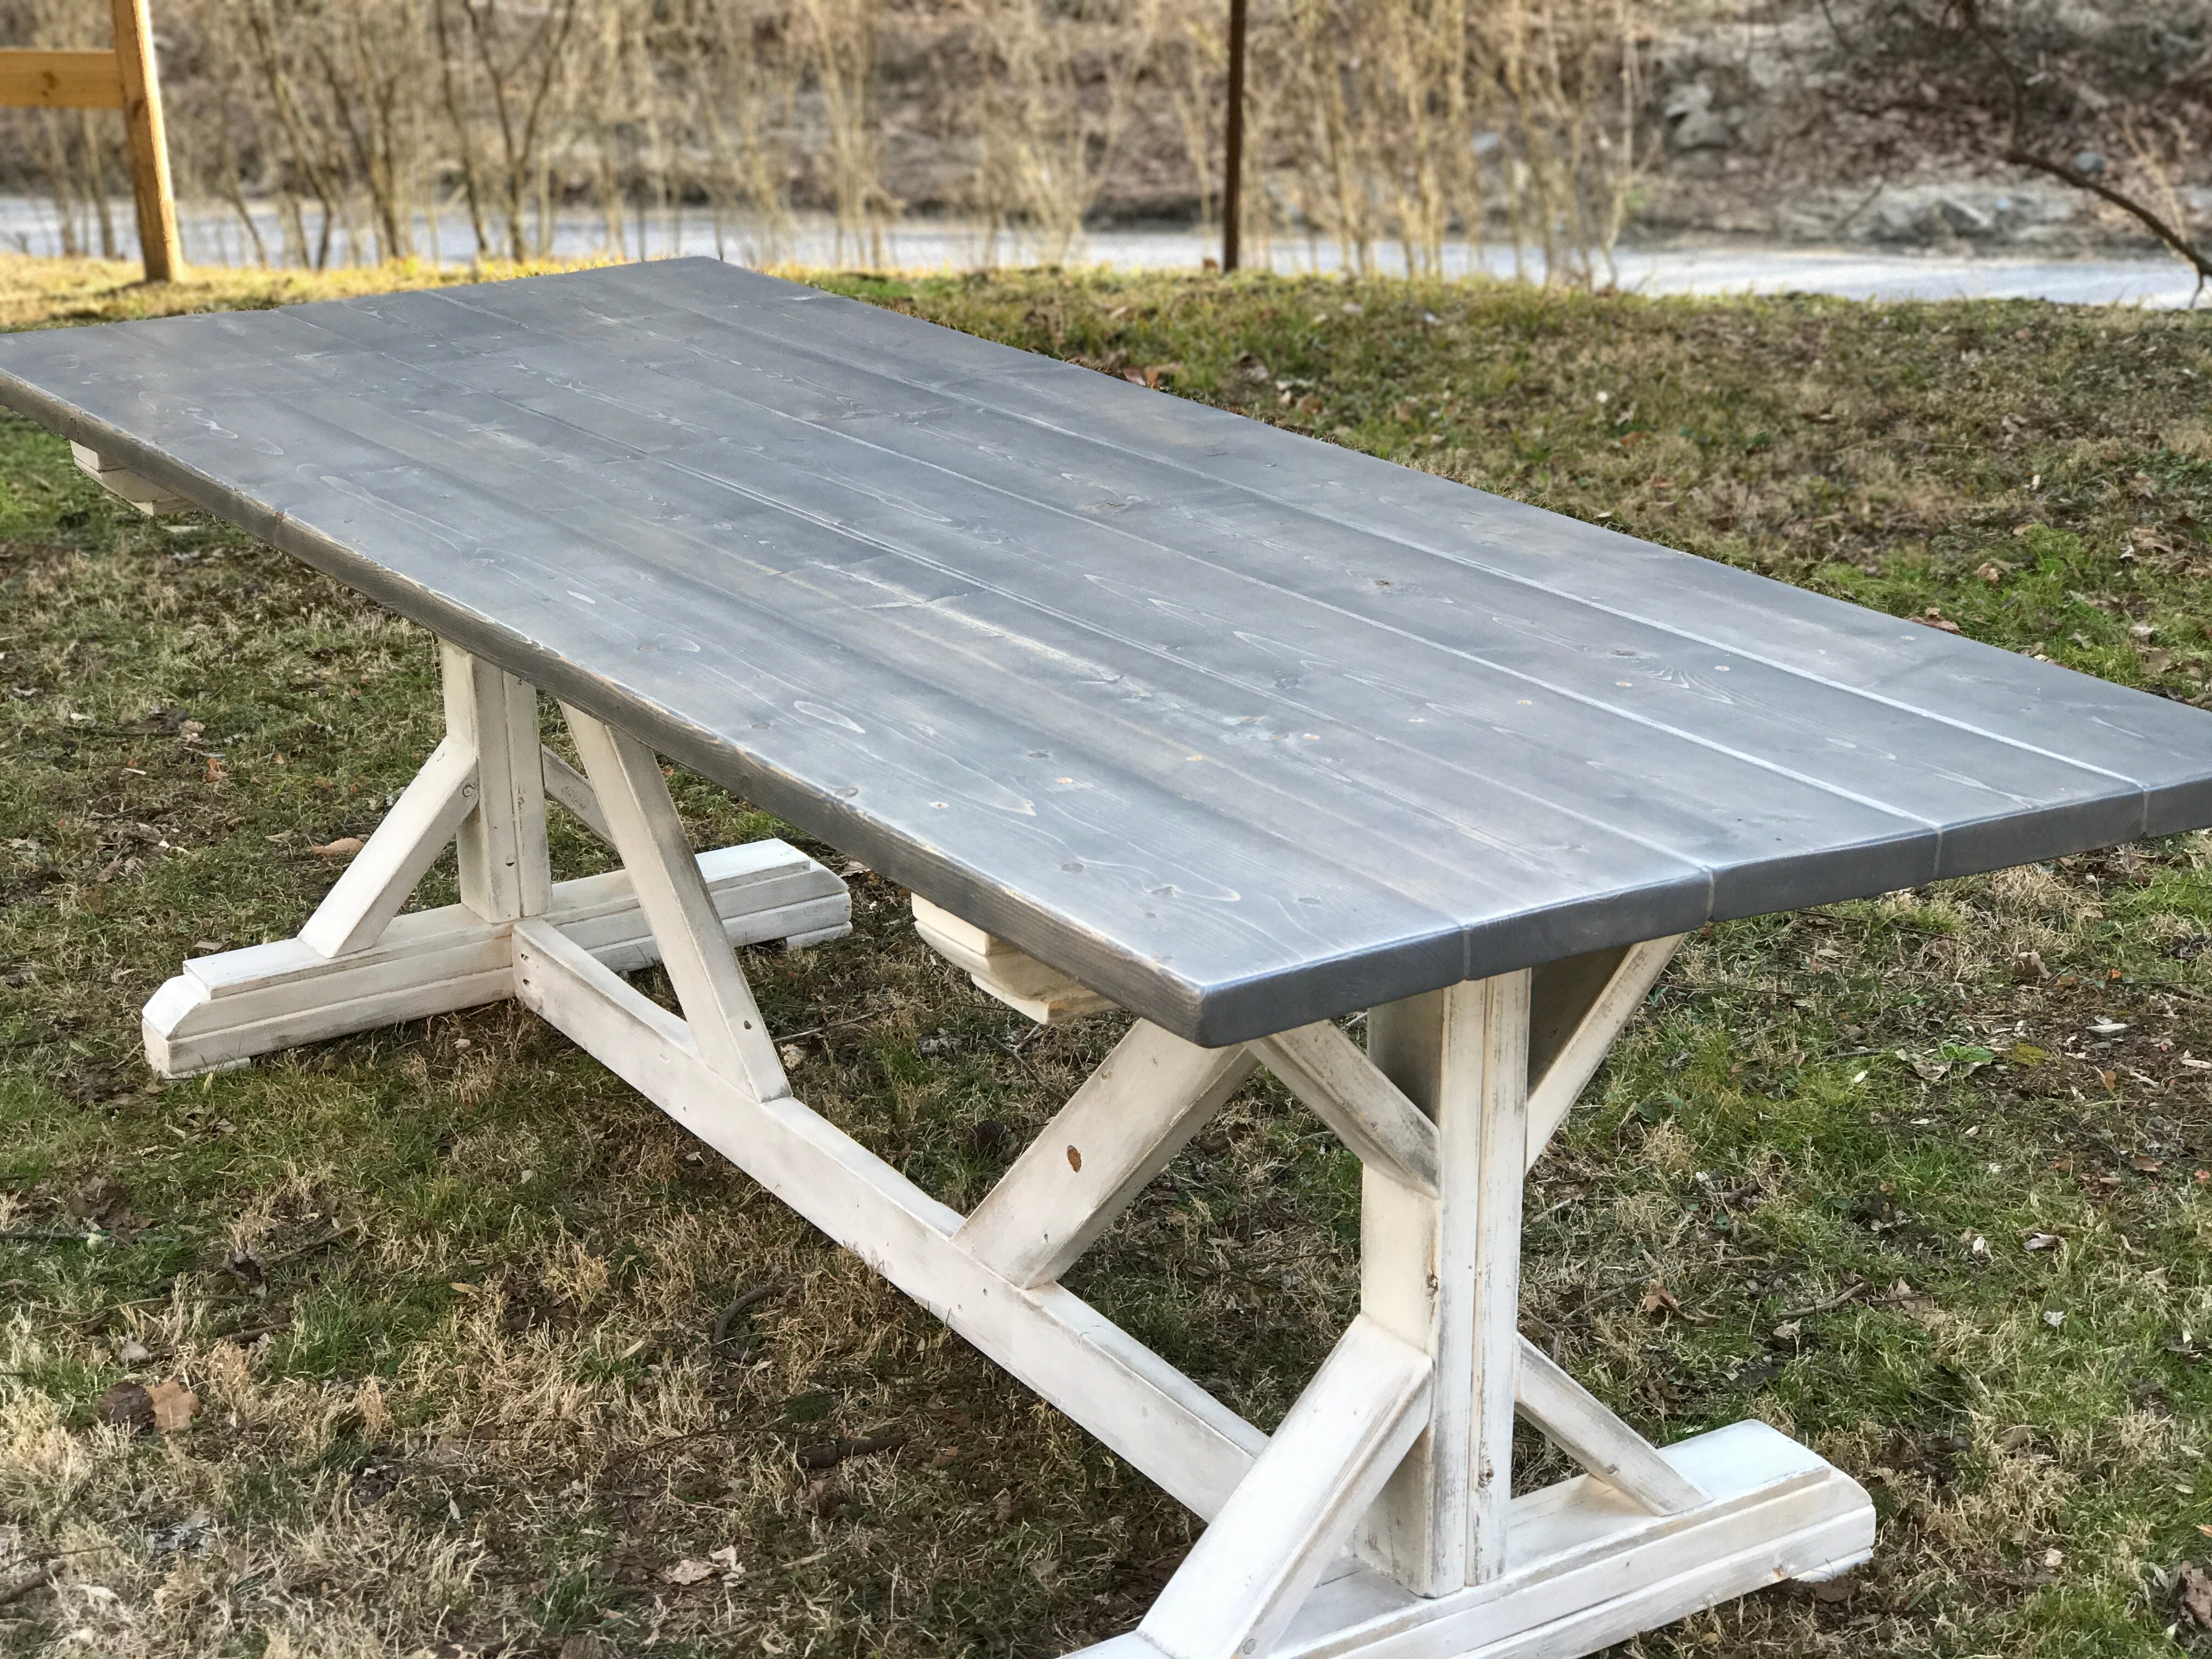
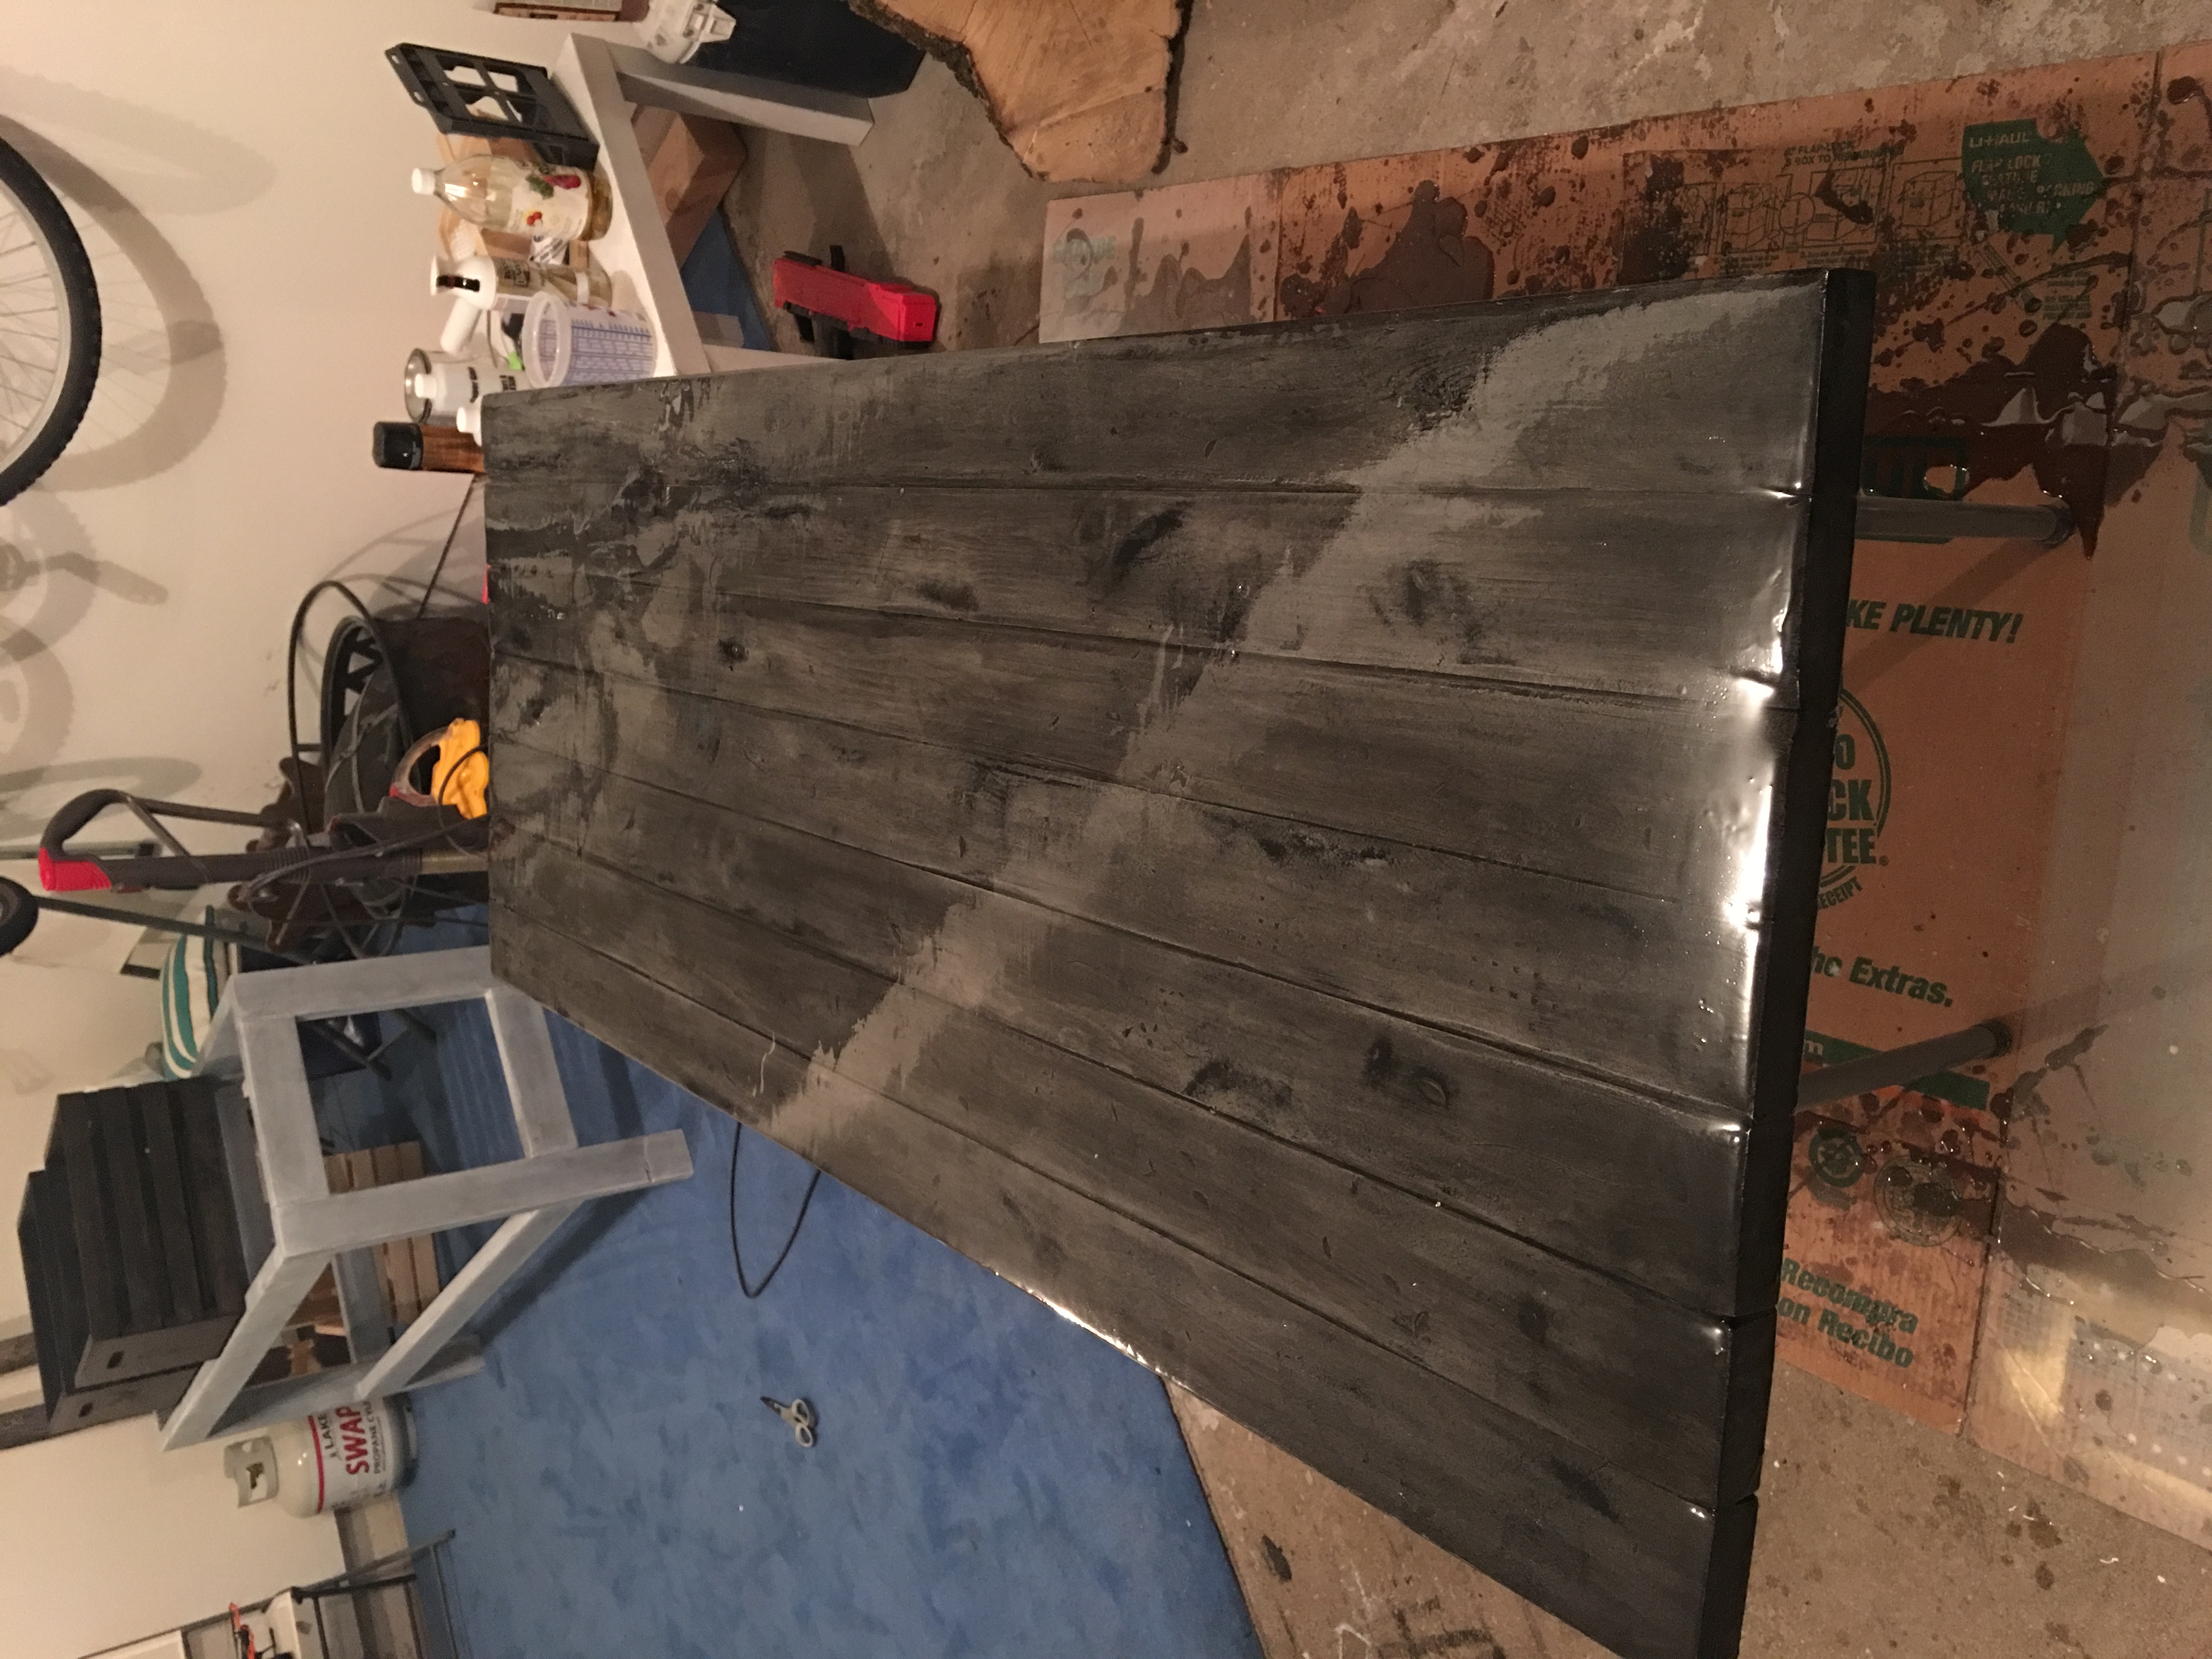
Finished with Varathane Kona and three coats of Varathane Satin Poly.
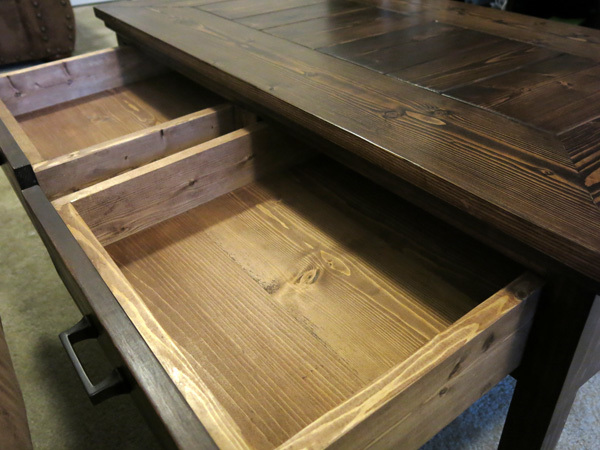
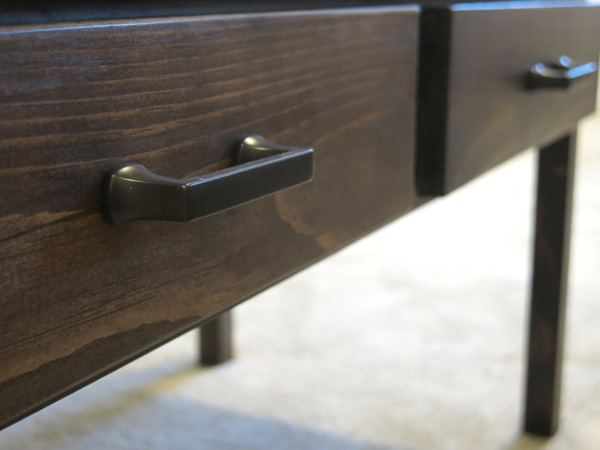
Drawers were finished in Minwax Special Walnut.
Estimated Cost
Approx $40 of new wood as a lot of it was left over from other projects.
Estimated Time Investment
Weekend Project (10-20 Hours)
Finish Used
Finished with Varathane Kona and three coats of Varathane Satin Poly.
Drawers were finished in Minwax Special Walnut.
Drawers were finished in Minwax Special Walnut.
Recommended Skill Level
Beginner