Community Brag Posts

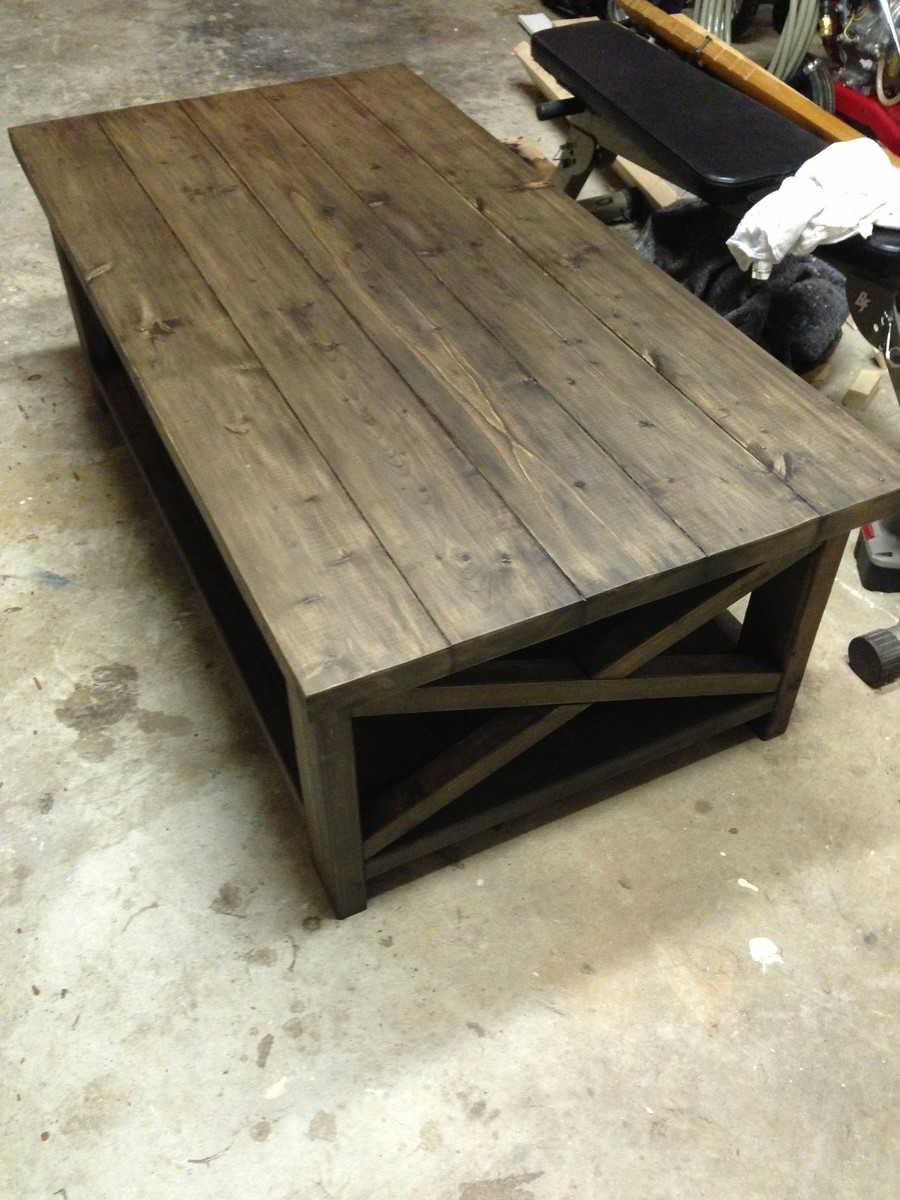
Planked top Coffee Table with recycled legs

Submitted by AndyH on Sun, 01/10/2016 - 15:00

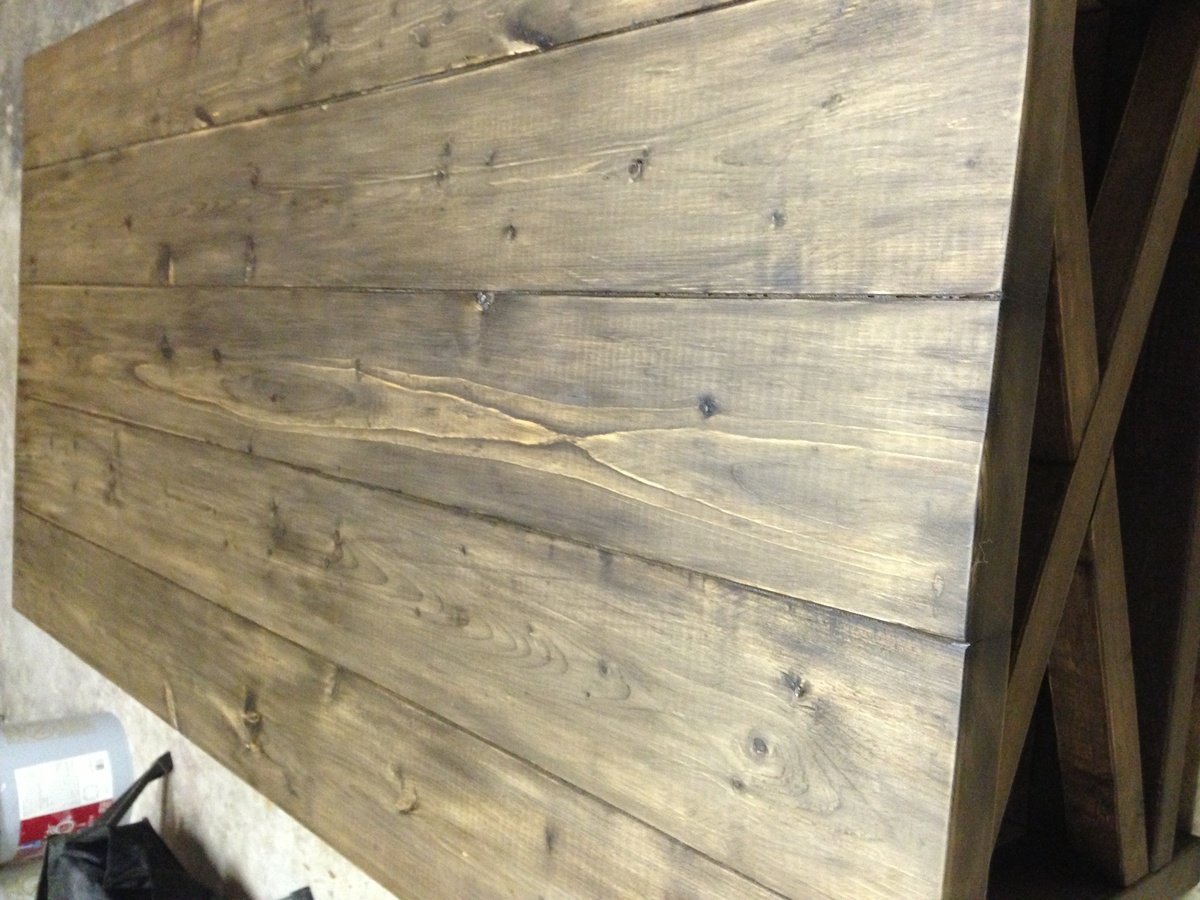
I found an old coffee table with stained legs for $10 on one of those app "for sale" sites. Sanded them down and with two pieces of 1 by 4 for the apron and 2 pieces of 1 by 6 for the top made this table. Apron is No2 whitewood and Top is select pine. Top was stained in a dark color (Varathane Kona) and then painted gray and sanded back to show some of grain and stain through. Total cost of new table about $60 (most expensive part was the select pine for the top at around $35)

Estimated Time Investment
Day Project (6-9 Hours)
Finish Used
Extra bright white and then gray for the top.
Recommended Skill Level
Beginner

Newbie at work

My first piece of furniture 

Estimated Cost
Scrap wood and 1 8ft 1x4
Estimated Time Investment
Day Project (6-9 Hours)
Finish Used
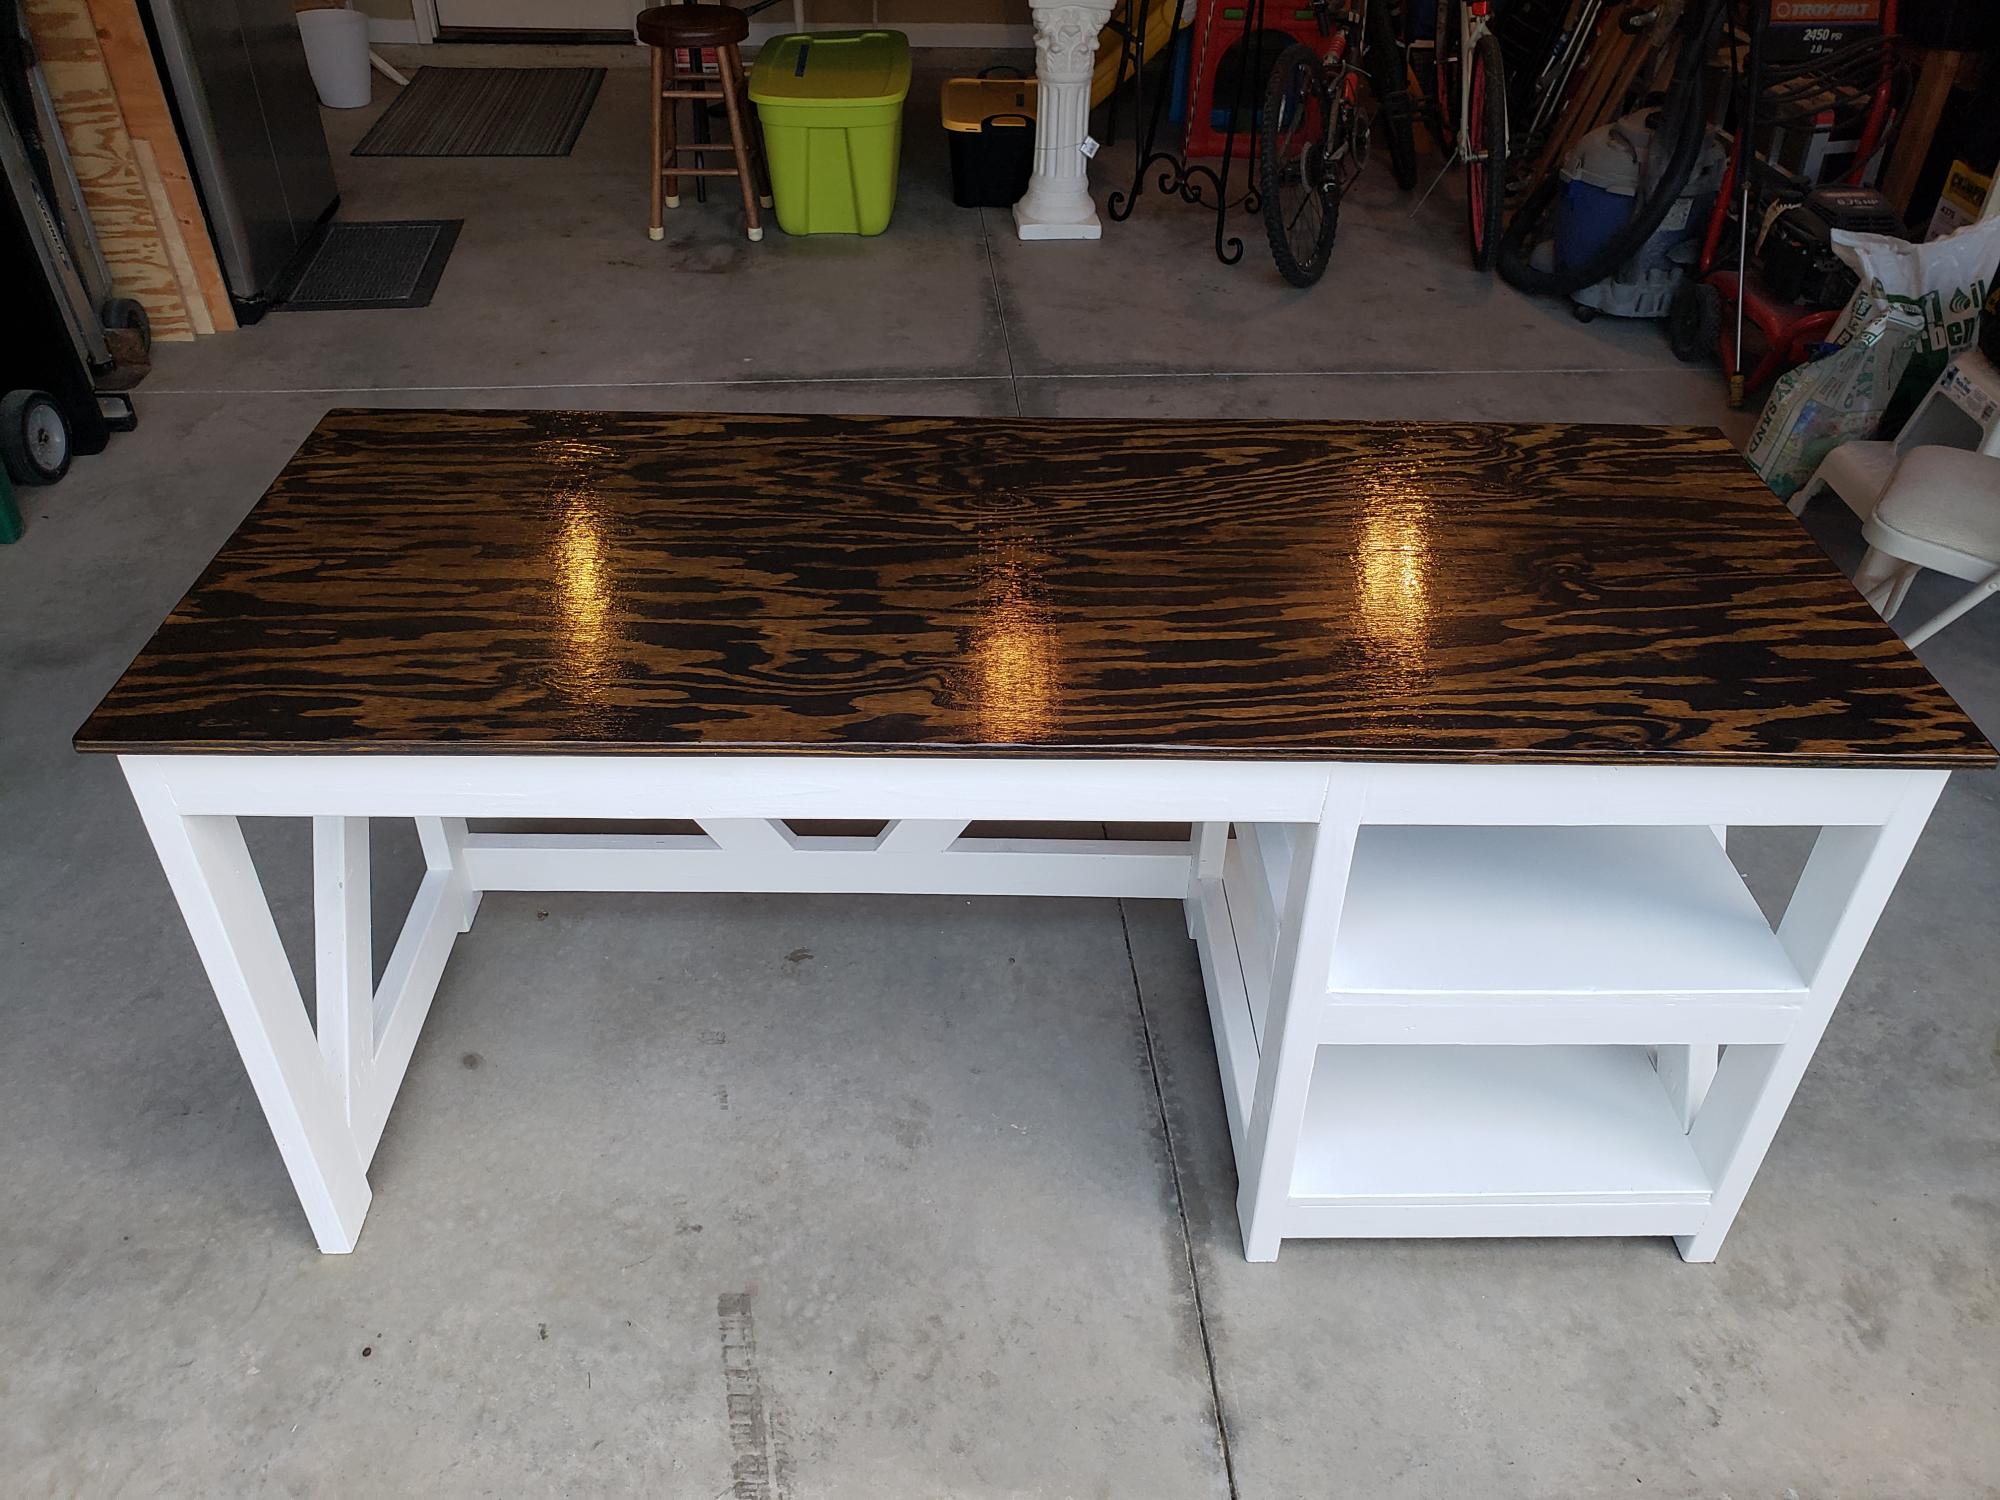
Hammered dark bronze paint and polyurethane
Recommended Skill Level
Beginner

Pallet Shelf

Submitted by beingbrook on Fri, 11/25/2011 - 09:39

We are going for a rustic look in our teen sons bedroom. He has some large books that will not fit onto his bookshelf so a pallet wall shelf seemed like a perfect solution.

This project literally took five minutes. If you don't have a sawsall it would probably take around 30 but still pretty quick.

Estimated Cost
Less than $5
Estimated Time Investment
An Hour or Two (0-2 Hours)
Finish Used
Our pallet didn't come with tons of character so I did a vinegar and steel wood treatment to it to help age the wood.
Recommended Skill Level
Starter Project

October Scrap Projects

Submitted by SaraLodise on Mon, 10/28/2013 - 14:21

Starting to get colder here in SC. I know the northerners will scoff at me but I'm a wuss when it comes to the cold... and I want my warm garage spot back. That means cleaning up my scrap wood and finishing the big projects that won't fit in my little project/craft room. So the past few weekends I have done a few scrap projects that had been on my mind for a while.

First was shelves for our oddly shaped walk-in-closet. Most of the wood was salvaged from my old dresser/armoir with a splash of scrap whitewood boards to finish it up. I love being able to see everything right when I walk in now.

Second is a simple tie rack for Mr. Lodise so he doesn't have to put them on a coat hanger any more. One more step to getting everything in the closet more visible.

Third is a holder for my hair dryer and straightening iron so they don't have to take up counter space anymore.

Best of all my car now fits in the garage again :)

Estimated Time Investment
Day Project (6-9 Hours)
Finish Used
none
Recommended Skill Level
Beginner

Chicken Coop

I Modified the plans to make the coop 4Ft wide to accommodate 4 nesting boxes. I Used roll away egg nesting trays in my coop. I keep the base pretty much the same dimension but made the planter smaller. I also replaced the 2"x 4" that framed out the house with 2" X 3".  My chicken ladder is made from three 1" x 2".   Because my chickens are so young I have the nest box blocked off until they are bigger. I will then use a hole saw to cut holes to each individual nesting box. I also added a Chicken Swing!


Estimated Cost
300-500
Estimated Time Investment
Weekend Project (10-20 Hours)
Recommended Skill Level
Intermediate

Brick Fireplace

Submitted by Anonymous (not verified) on Fri, 03/17/2023 - 18:08

We used Ana White shiplap fireplace tutorial to build the structure and then followed her advice for brick installation instead of shiplap. It all turned out so great. The fireplace has changed the entire feel of our house now. Thank you Ana!

Comments

Simple and easy console table

Submitted by Jen Pedro on Thu, 12/01/2011 - 13:44

I built this as a place where my husband can store his keys and wallet. This table has nice, clean lines. The simple angles fit with the many pieces of Asian décor that we have.

Estimated Time Investment
Day Project (6-9 Hours)
Finish Used
brown low VOC acrylic latex
polyacrylic
Recommended Skill Level
Beginner

My bench with strap style hinges

Submitted by bash7325 on Thu, 10/31/2013 - 16:39

Followed the plans closely. Used a roman ogee bit to add a decorative edge to the top. Used strap style hinges instead as well.

Estimated Time Investment
Day Project (6-9 Hours)
Finish Used
minwax ebony stain, single coat polyurethane
Recommended Skill Level
Intermediate

Comments

Val Manchuk

Thu, 10/31/2013 - 18:46

I bought some Minwax Ebony stain a long time ago and have never used it, but I will now! It makes a beautiful finish!
Val
artsybuildinglady.blogspot.ca

Farmhouse Table and Bench

Submitted by shaunbeck7 on Wed, 06/05/2019 - 08:28

This project took me about 3 weeks of my spare time. Maybe an hour or two a day. I was lucky that I bought the table legs and bench legs together to match. I’m really pleased with the results. Thank you Ana White!

Estimated Cost
$250
Estimated Time Investment
Weekend Project (10-20 Hours)
Finish Used
Stain the table and painted over top the stain with chalked white paint and sanded down to show some of the stain through the paint for the rustic look. Stain and polyurethan table top. Used wipe on polyurethane which I liked better then the brush on. Took about 4-5 coats though.
Recommended Skill Level
Intermediate

First plan,,first table. I made two of these.

Submitted by Anonymous (not verified) on Fri, 03/24/2023 - 12:44

I was retired from my job and needed a new chore.
The plan seemed easy, and not being a real good carpenter, I required easy, and the plan was exactly that.
Thanks Ana.

Comments

Spa Bench with Doors

My first Ana project- took the spa bench and added doors. Thanks for the easy-to-use plans, Ana. Still learning, though- I ended up buying three sets of hinges before I was happy!

Built from Plan(s)
Estimated Cost
$40
Estimated Time Investment
Day Project (6-9 Hours)
Finish Used
Ebony Stain
Recommended Skill Level
Beginner

Built-in Bookshelves

Submitted by brittanyj on Mon, 11/04/2013 - 11:51

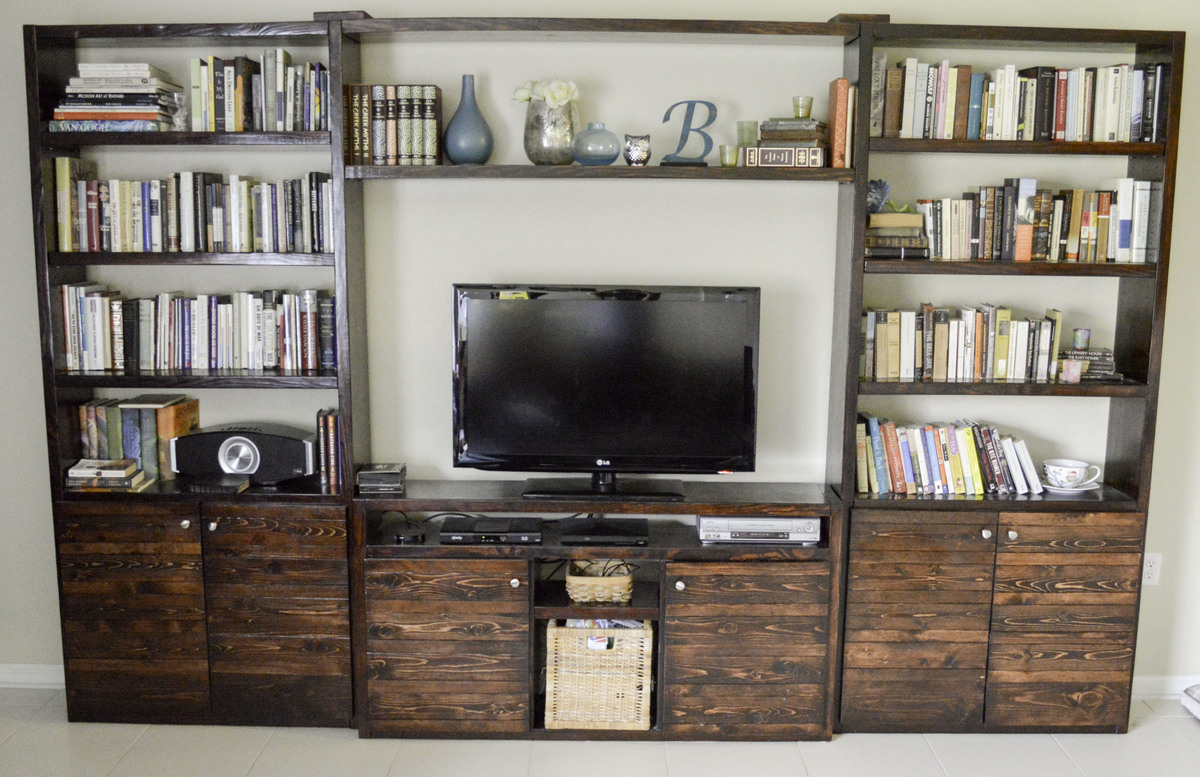
My summer-long project (admittedly, I was lazy about getting it done) was to make built-in bookshelves for our huge family room. For the bookshelves themselves I cobbled together plans from different sites, and modified them all to fit our space/needs, and the cabinets are built after Ana's cabinet plans, modified to be as thin in depth as the bookshelves. Doors on the cabinets were a pain, but they are also my favorite part of the whole shebang with their beadboard inserts. Moulding at top and bottom finishes out the look, and caulking in all the gaps helps give it cohesion.
I could not be happier with my built-ins. I feel like I have a library now, and it got all of our books out of boxes and onto shelves. Yay!

This entire project cost around $80-$100 because I acquired quite a bit of free wood off Craigslist. I also got wood from the scrap bin at Home Depot for great discounts. Since this would've likely cost near 1k to buy, I am quite pleased.
Anytime you are making projects without real plans, it take quite a bit longer and more mistakes are made. But, to have something completely customized to your needs and space is better than any price tag/time you can put on it!

Tools used: drill, kreg mini pocket hole jig, orbital sander, countersink bit, miter saw, jig saw, HPLV paint sprayer, clamps, circular saw

Estimated Time Investment
Week Long Project (20 Hours or More)
Finish Used
Primer, white latex paint, poly top coat
Recommended Skill Level
Intermediate

Comments

Handmade by [email protected]

Submitted by Anonymous (not verified) on Wed, 01/20/2016 - 04:31

This is our first time building this awesome table.  My husband used Ana's plans with the greatest of ease and then I was able to do the fun part, paint it! Did I mention that our table SOLD the very day we finished it? Yes, the same day.  We are in the process of building another table as we speak.  I am so excited!

Built from Plan(s)
Recommended Skill Level
Intermediate

Original Farmhouse King Bed

Submitted by Nor on Fri, 06/14/2019 - 10:05

I made this bed to house the new standard king mattress that my husband bought. The hardest part is probably picking the straightest lumber possible. Straight lumber would eliminate having to wrestle with the boards to line up/square and minimize power tools used. I had to ask my husband help with the screwing bowed boards together, but other than that I did everything by myself. 

Estimated Cost
220$
Estimated Time Investment
Week Long Project (20 Hours or More)
Finish Used
gateway grey behr marquee. foam roller and angle brush
Recommended Skill Level
Beginner

adapted adirondack chairs

Submitted by Anonymous (not verified) on Thu, 03/30/2023 - 09:02

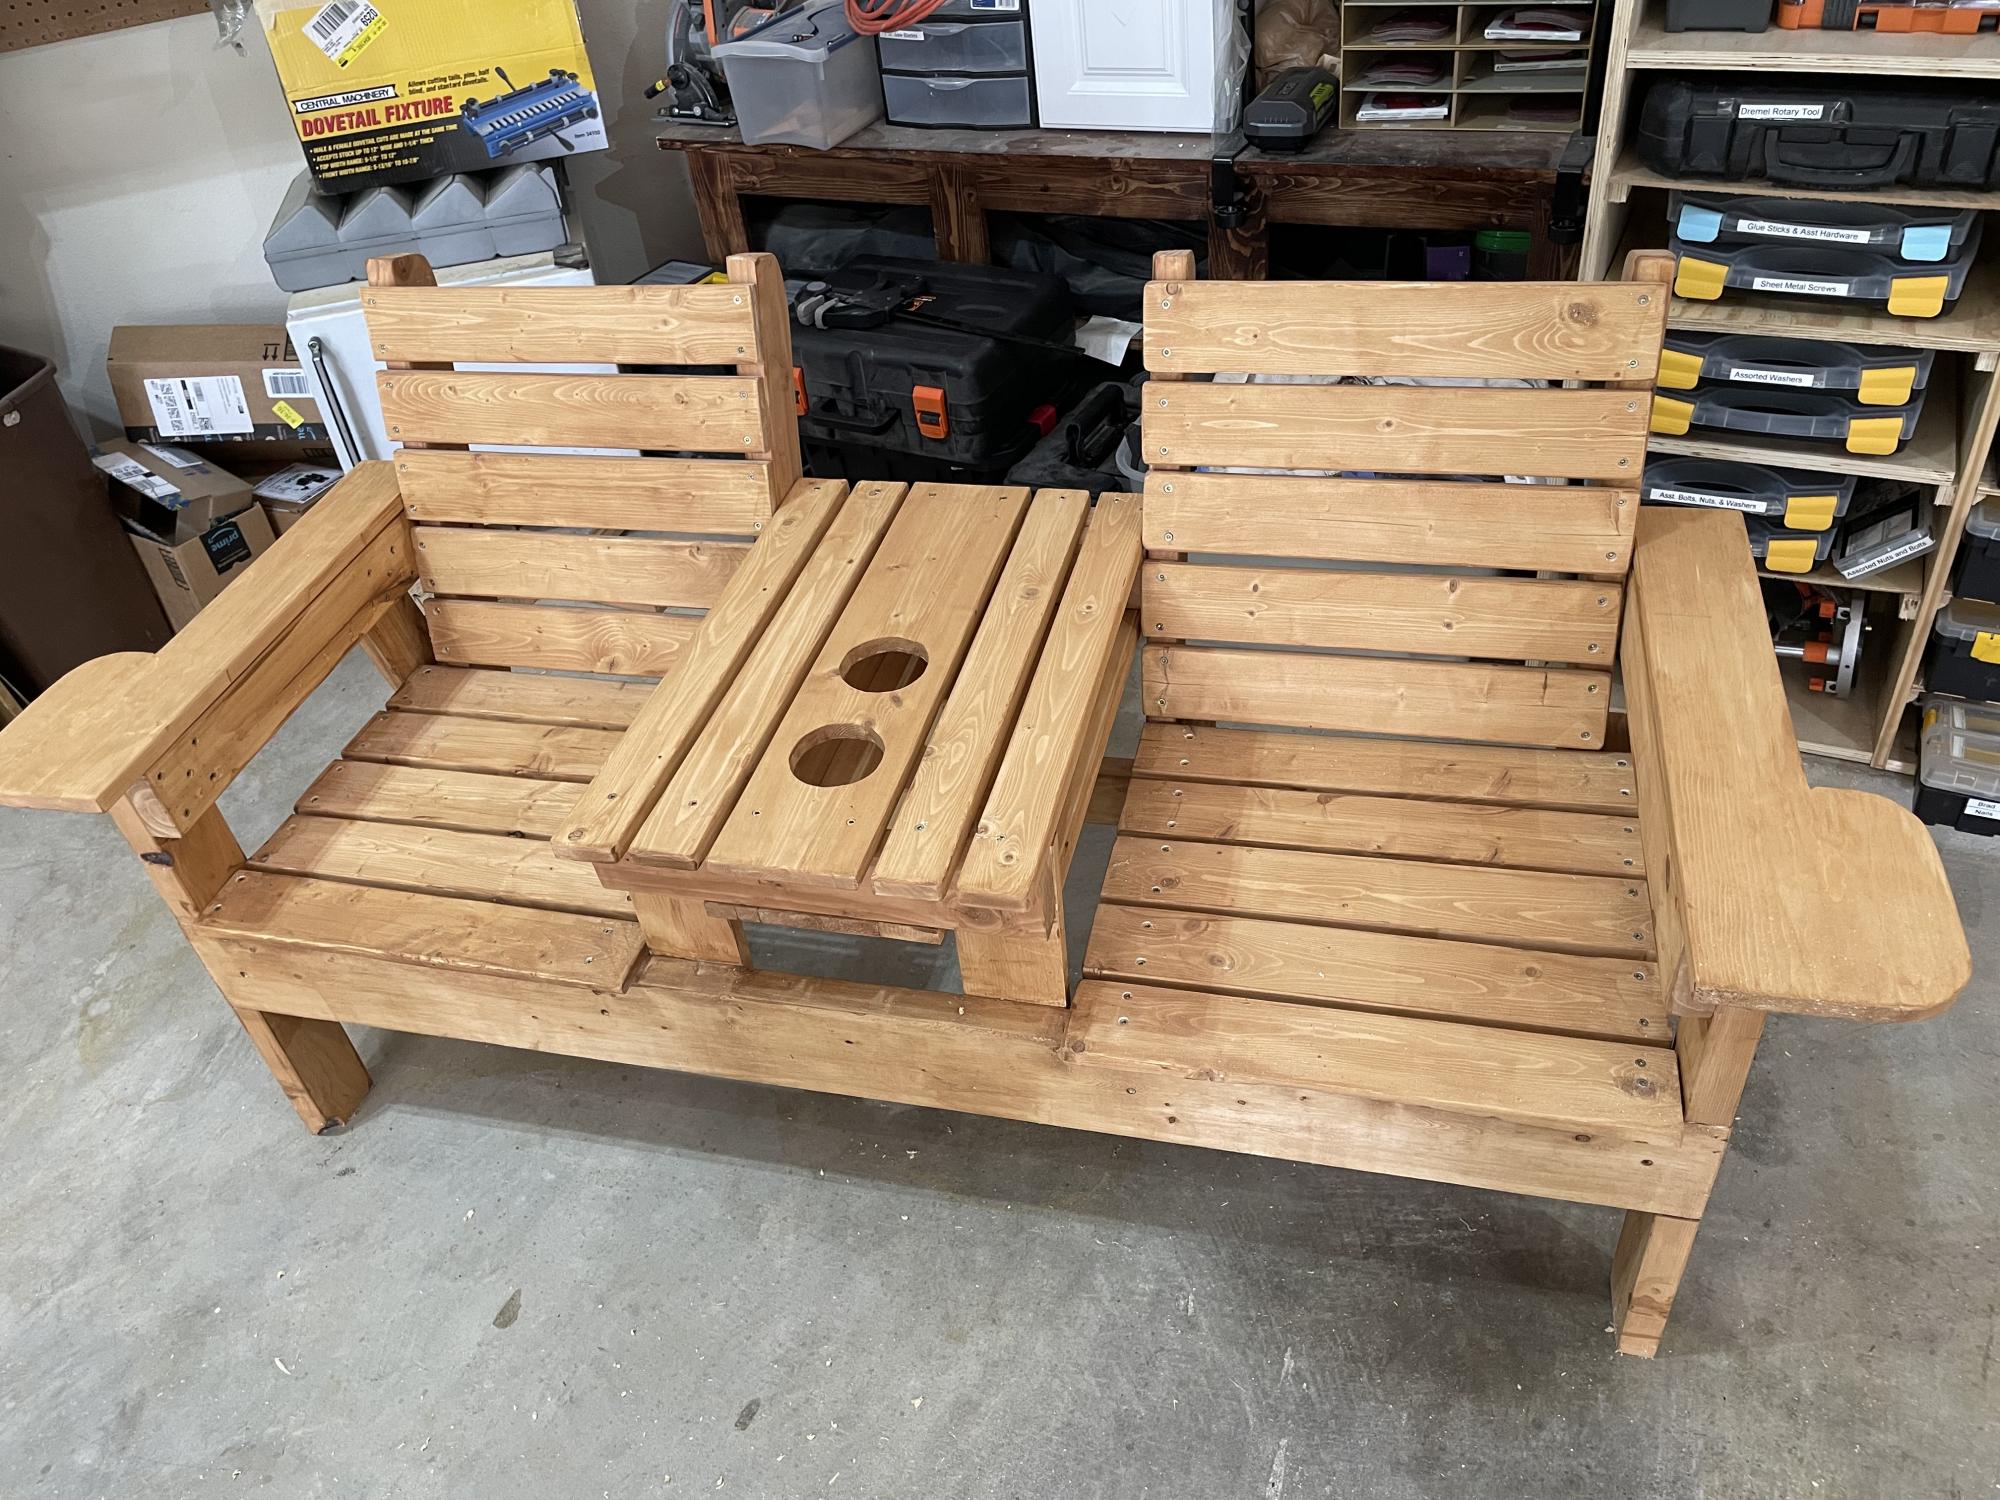
had some fun with the back and seat slat design and did an angle rather than a 90 degree where the arms meet the front support. also used a 2x6 for a larger arm rest. i think it turned out well. thanks Ana

Comments

Kids Play Kitchen

Submitted by julievic on Wed, 12/14/2011 - 11:28

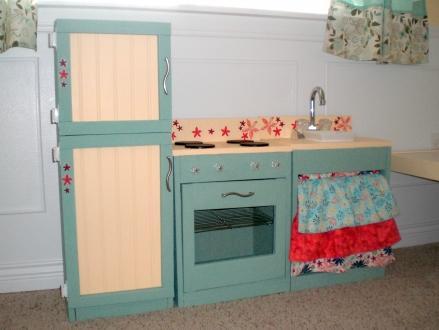
Christmas 2010 my husband and I made our little girls a kitchen using Ana's plans. We used the materials on her cut list, and used paint for the finish. Used fabric scraps to sew the sink skirt, found the knobs at hobby lobby and habitat for humanity, and small bar faucet at Home Depot. It turned out amazing!

Estimated Cost
$100
Estimated Time Investment
Weekend Project (10-20 Hours)
Finish Used
Paint
Recommended Skill Level
Beginner

Comments

julievic

Tue, 12/20/2011 - 16:04

Thanks so much for the compliment! Means SO much coming from you! I love your site and your plans, Ana you are amazing! Thank you for making me your featured builder this month, I had no clue until someone saw my face on your blog! I feel like a rock star now ;)

Farmhouse bedside tables

Submitted by TarheelTim on Wed, 11/06/2013 - 18:30

Made these out of left over antique heart pine flooring. Definitely not for beginners. Lots of small pieces, good for using up scraps! Made to match a Reclaimed wood headboard made from the same wood.

Estimated Cost
Next to nothing. Leftover flooring scraps.
Estimated Time Investment
Week Long Project (20 Hours or More)
Finish Used
Mixed my own. Dark walnut, red mahogany, golden oak, and a little cherry.
Recommended Skill Level
Advanced

Wall Clock

Submitted by junkens on Thu, 01/21/2016 - 11:53

My wife wanted something to replace the wreath on our wall after Christmas and I was thinking of making her a large wall clock as a gift.  Plan meets opportunity and we just happen to be at Hobby Lobby at the time and so it began.   I used a piece of paneling for the face of the clock (same material as peg board without the holes about $8, enough to make two if I wanted) and built a wooden frame out of 1' X 2' s on the back that resembles a four pane window frame.  Painted the face and numbers, then printed our names and transferred them on to the face and followed up tracing them with a sharpie.  Affixed clocked to face and hung. 

Built from Plan(s)
Estimated Cost
$50
Estimated Time Investment
Afternoon Project (3-6 Hours)
Recommended Skill Level
Beginner

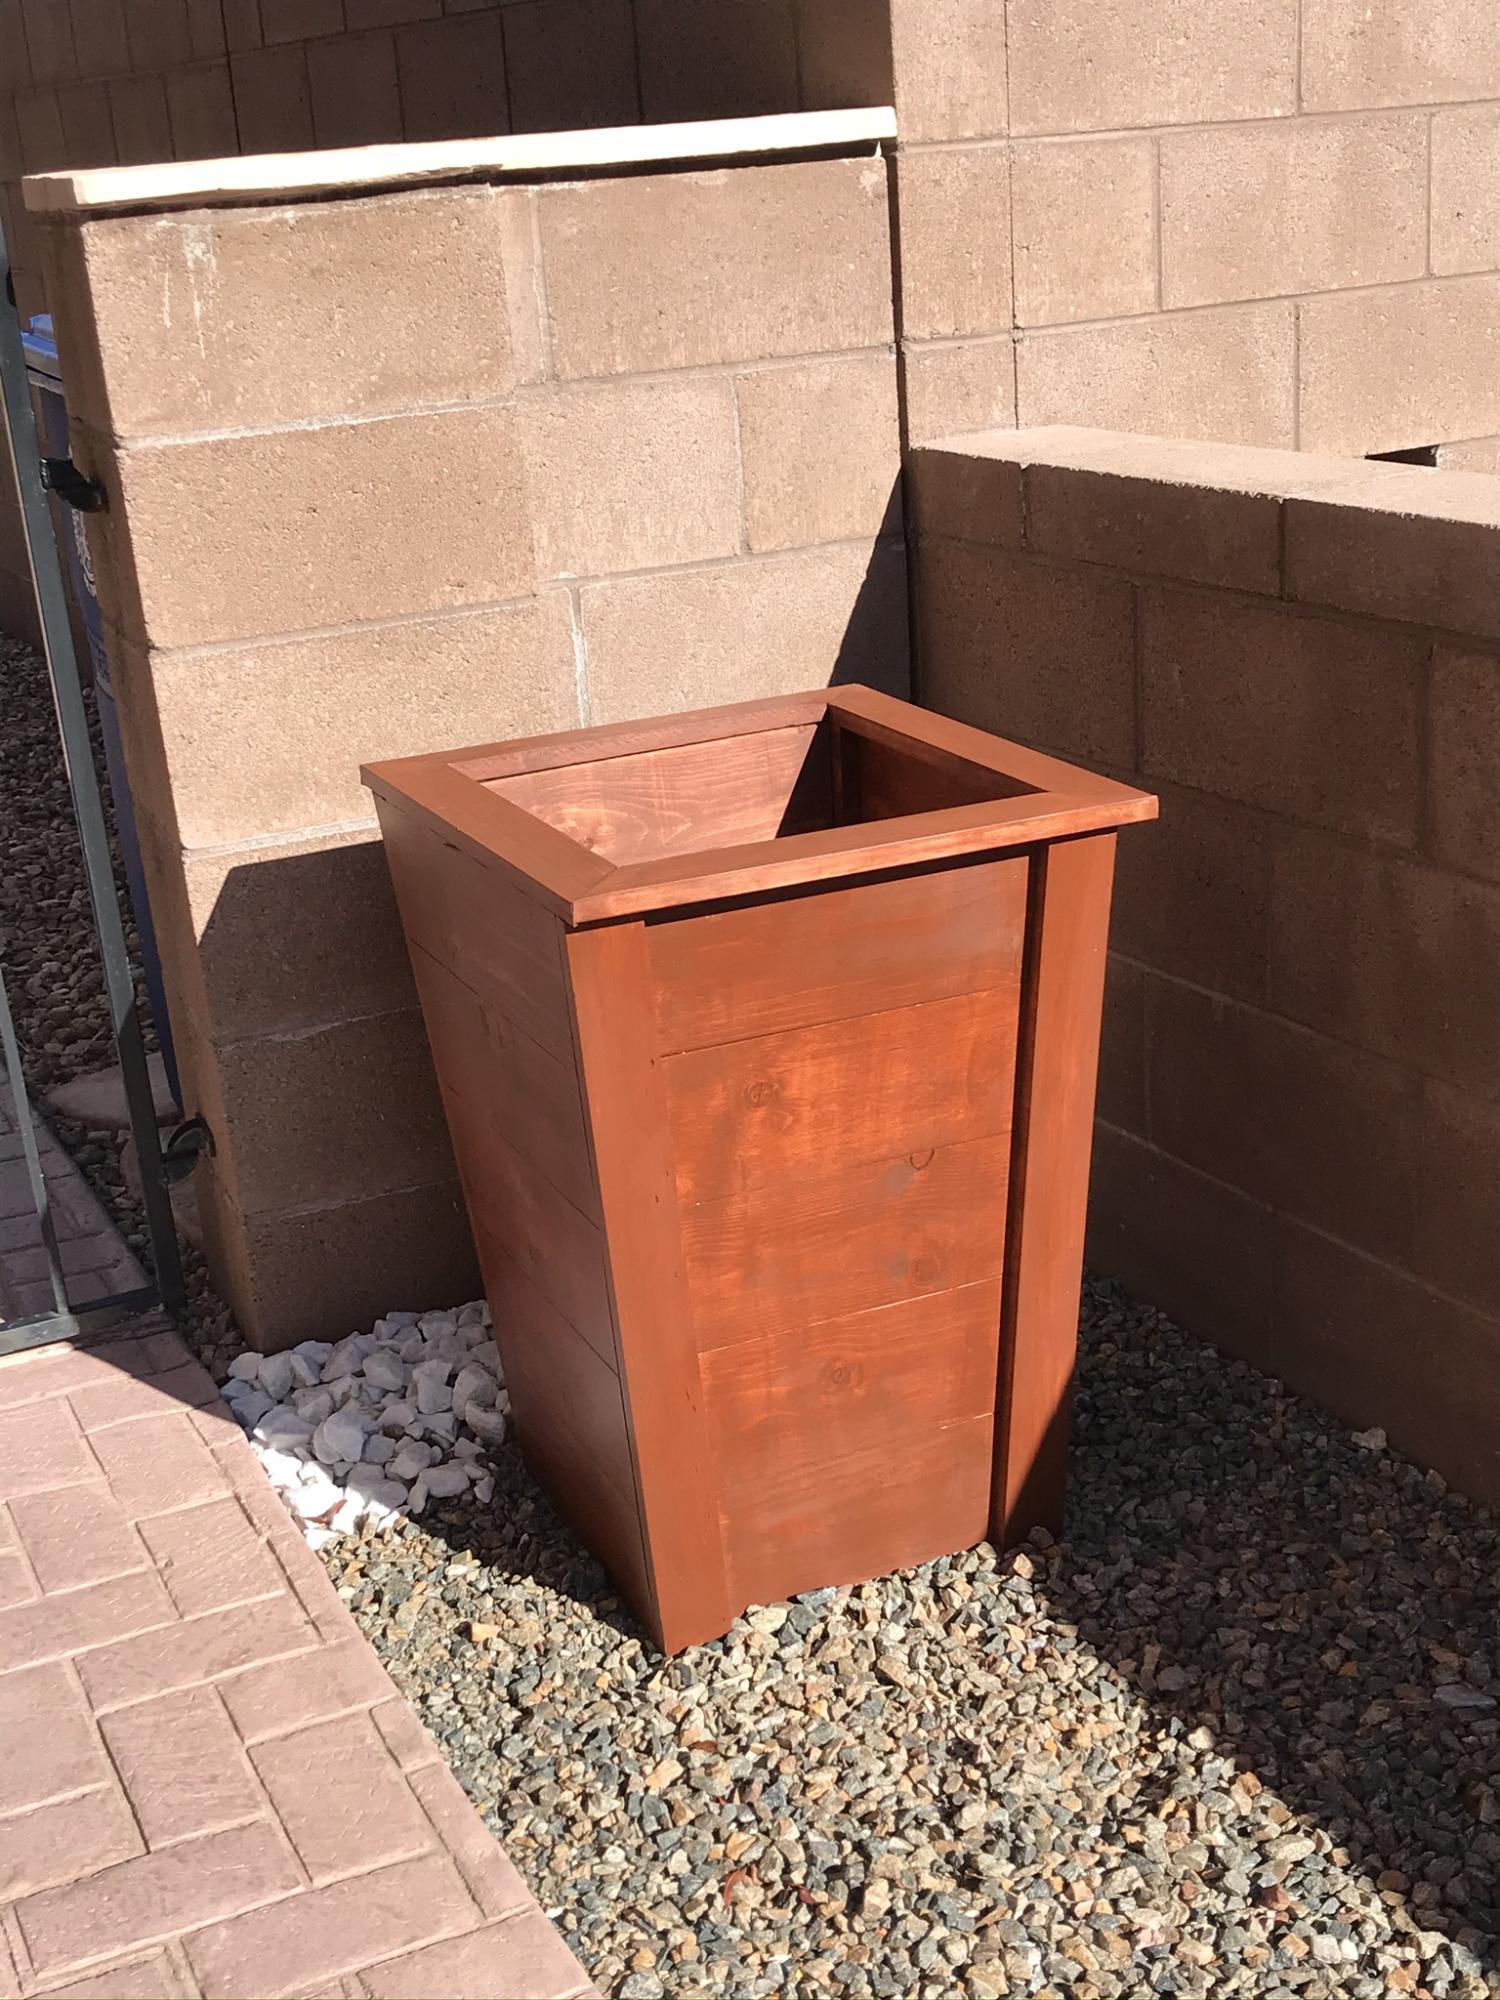
Raised planter

Submitted by Anonymous (not verified) on Sat, 04/08/2023 - 10:13

Nightstand

Submitted by Klem413 on Sun, 12/18/2011 - 18:05

Another project my husband worked diligently on! It took him forever because he's a perfectionist, but he finally got one done. He used a piece of 3/4" plywood framed with mitered wood instead of the planks for the top. Now, on to the other one.

Estimated Cost
20.00 each
Estimated Time Investment
Week Long Project (20 Hours or More)
Finish Used
Minwax Poly Shades Bombay Mahogany
Recommended Skill Level
Beginner

Comments

Debbie440

Wed, 01/22/2014 - 07:51

I love the way the top is done.......... I made a bed and stained it with the same stain as you used. I'm hoping my nightstand turns out like yours.