Chevron Coffee Table
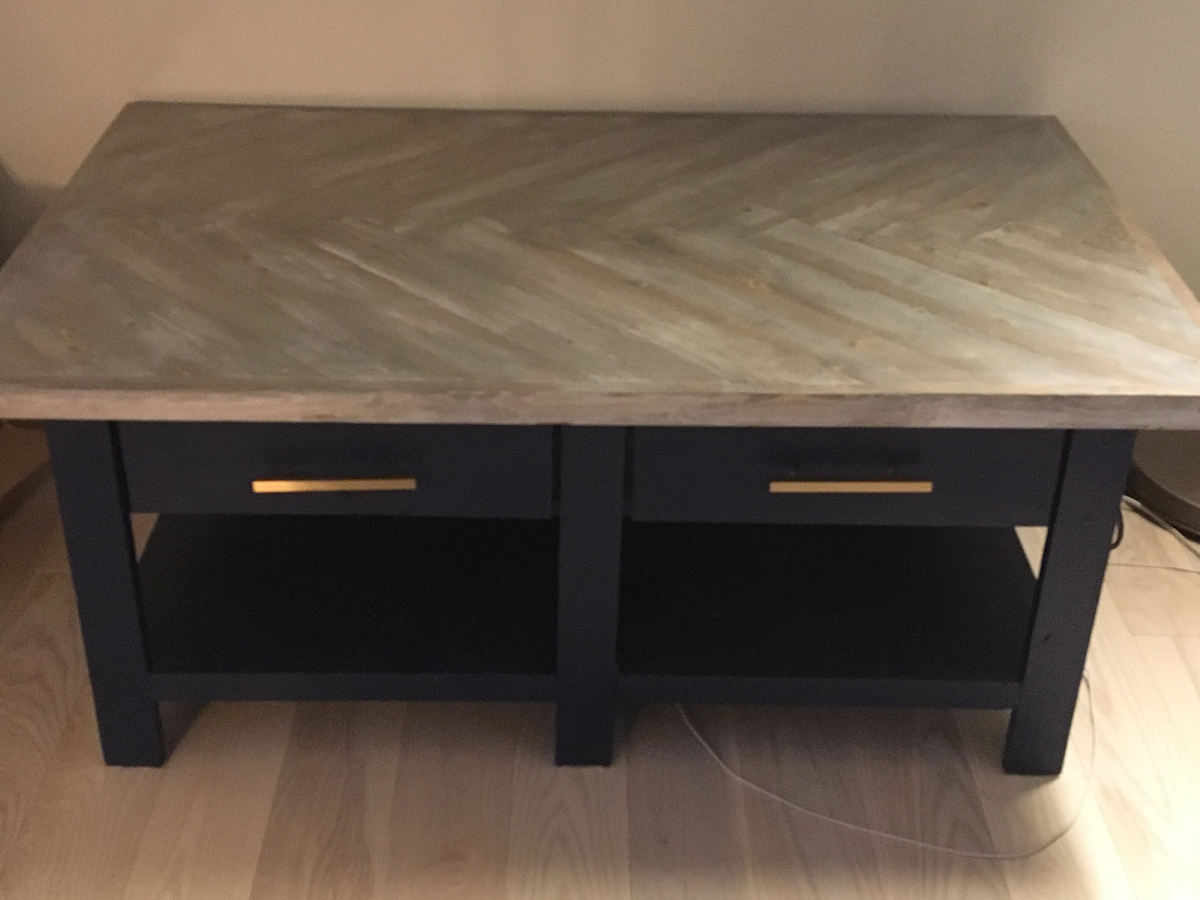
Based off of Ana Whi'te Benchright Coffee Table with a chevron/herringbone table top
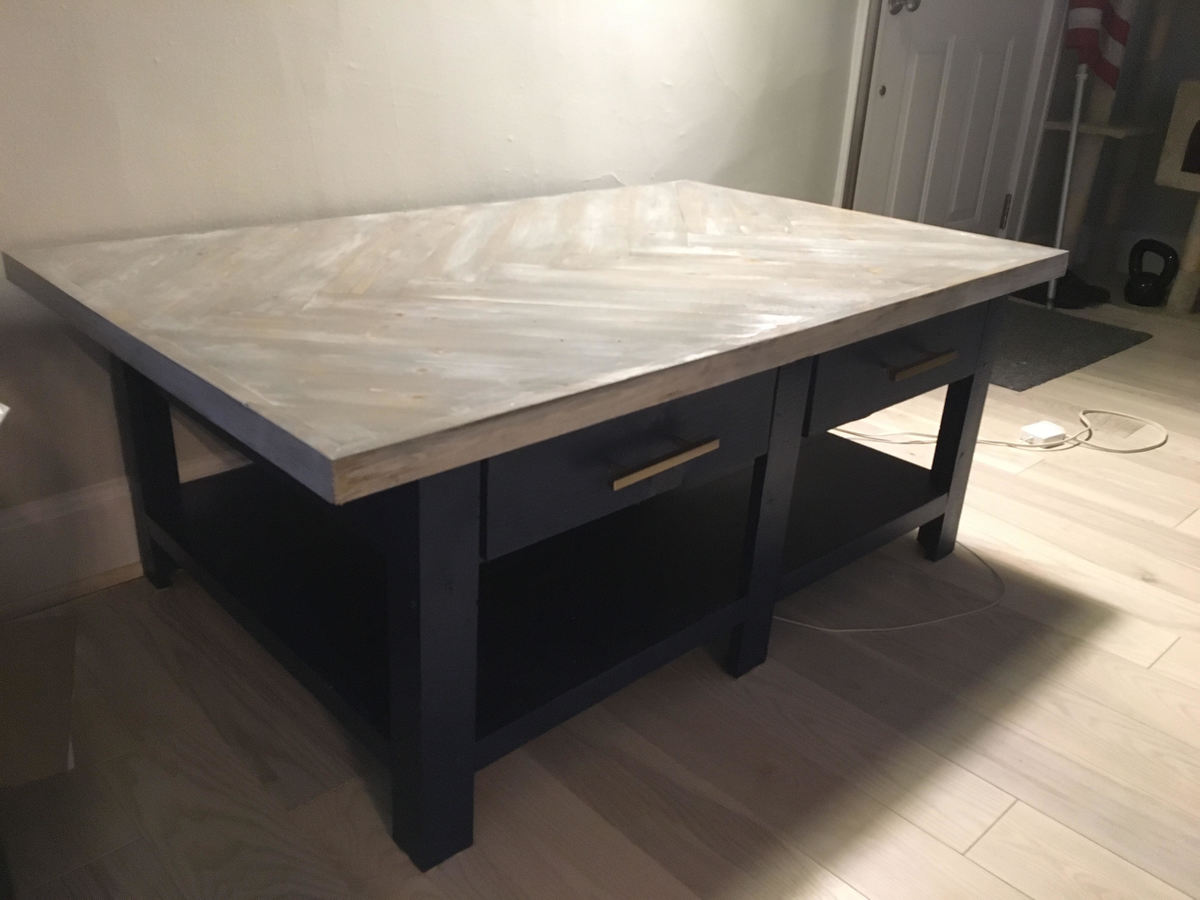

Based off of Ana Whi'te Benchright Coffee Table with a chevron/herringbone table top

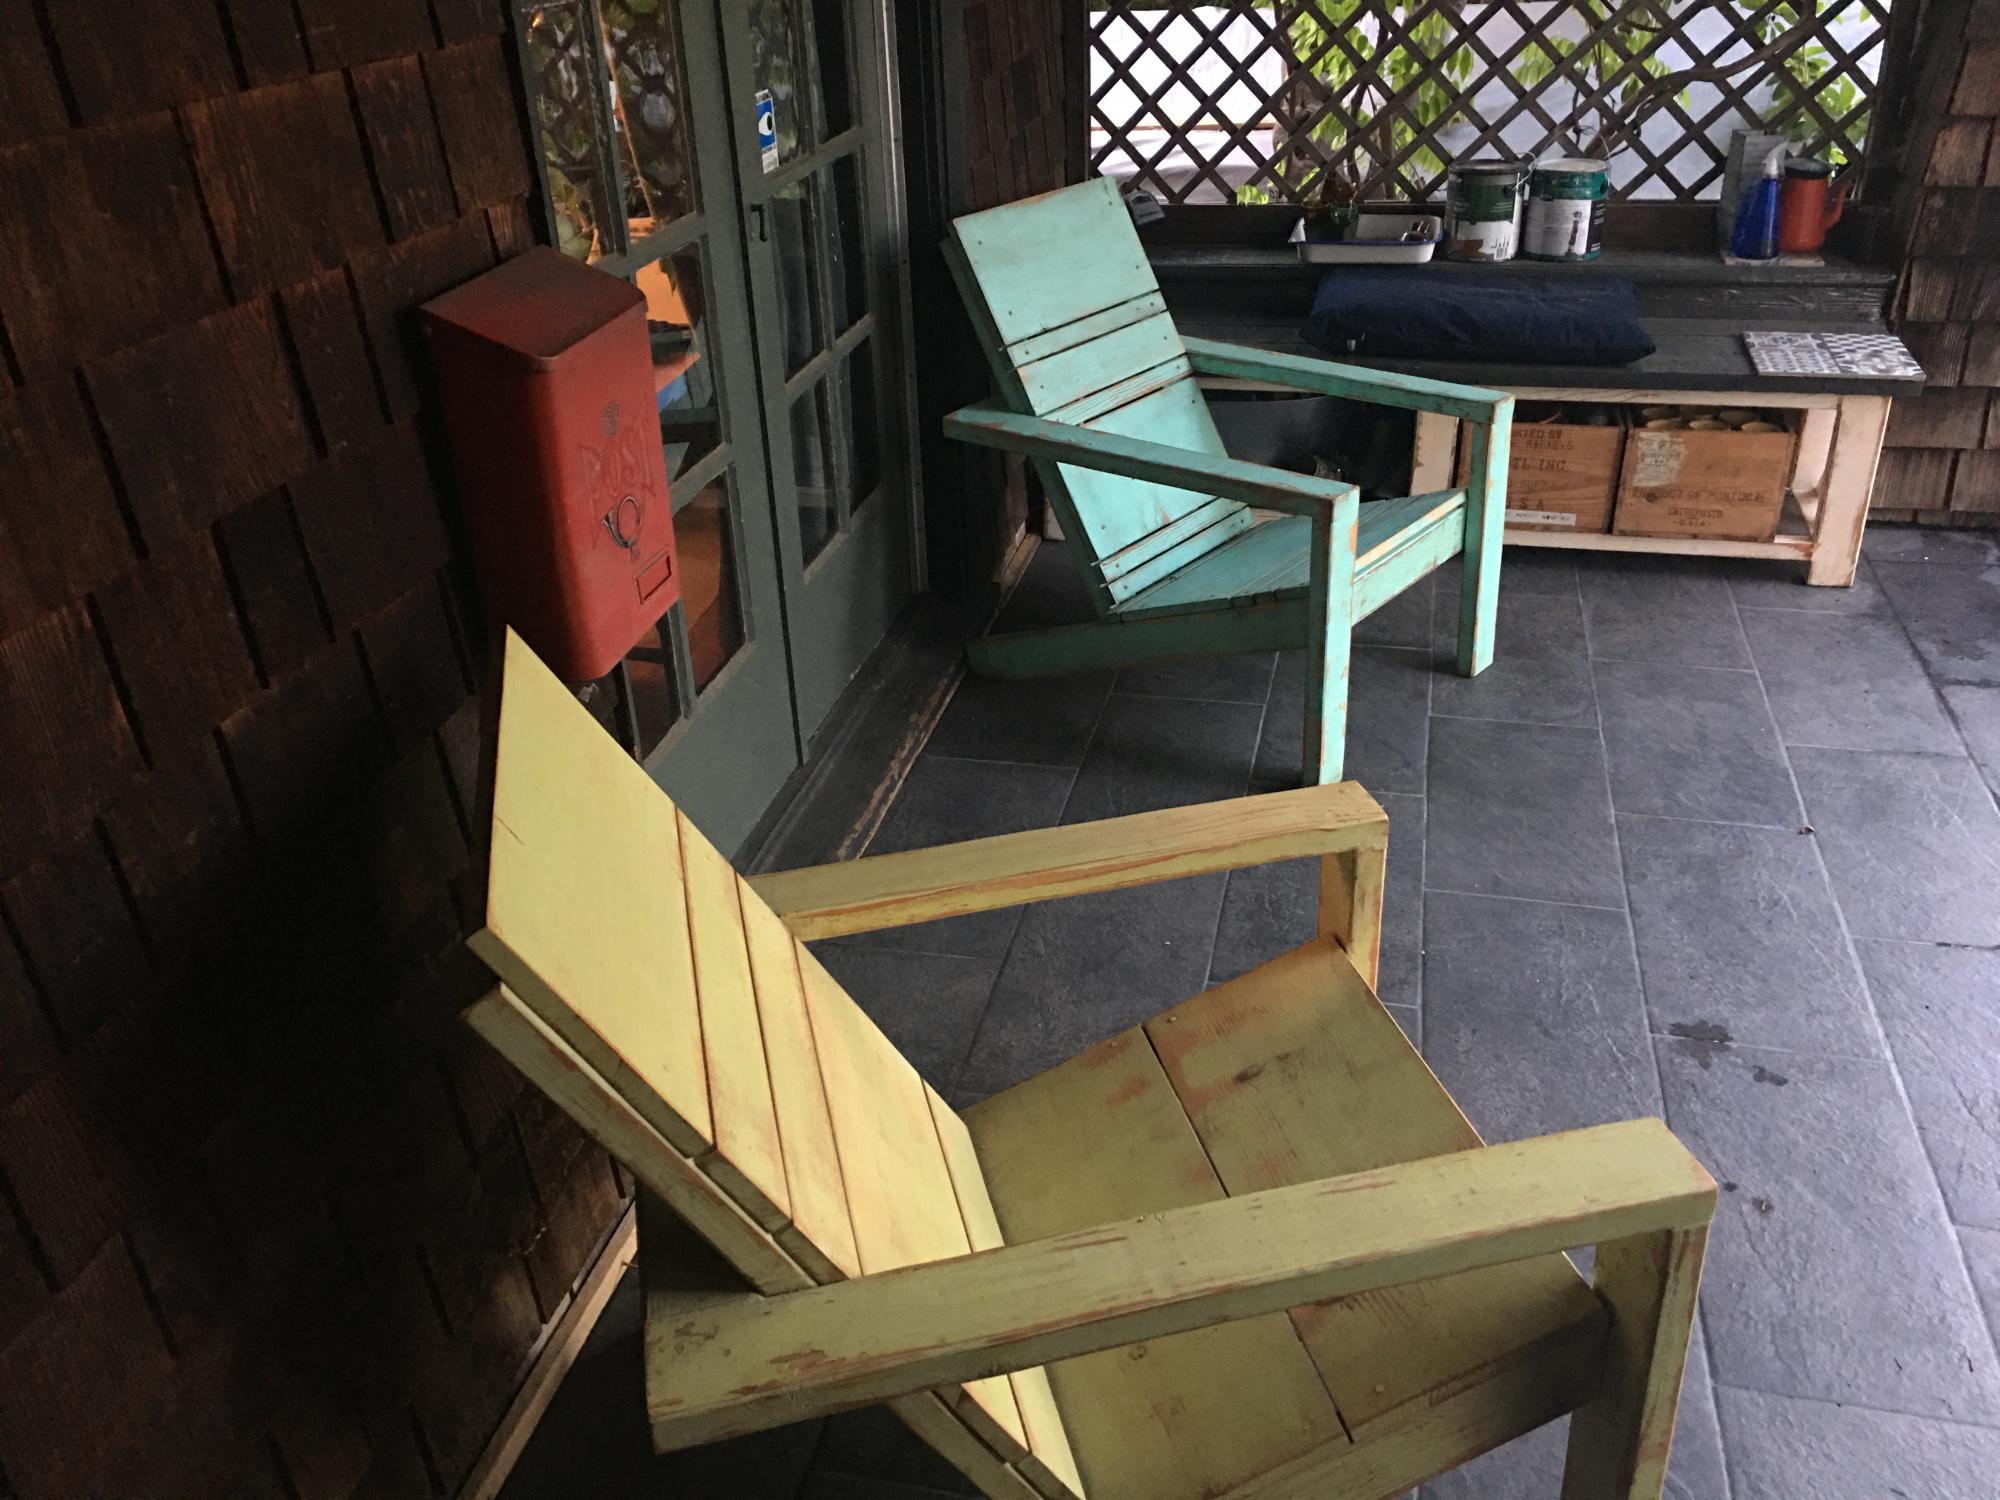
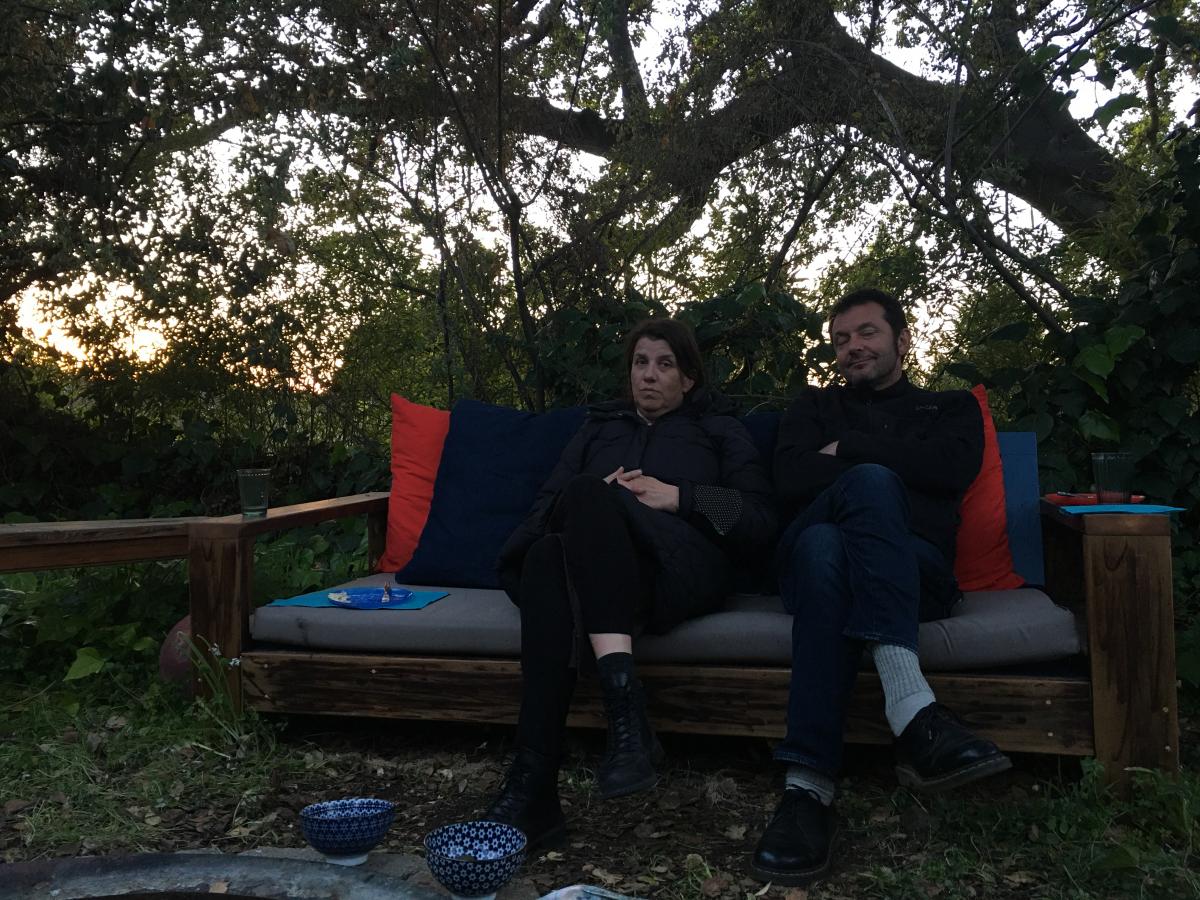
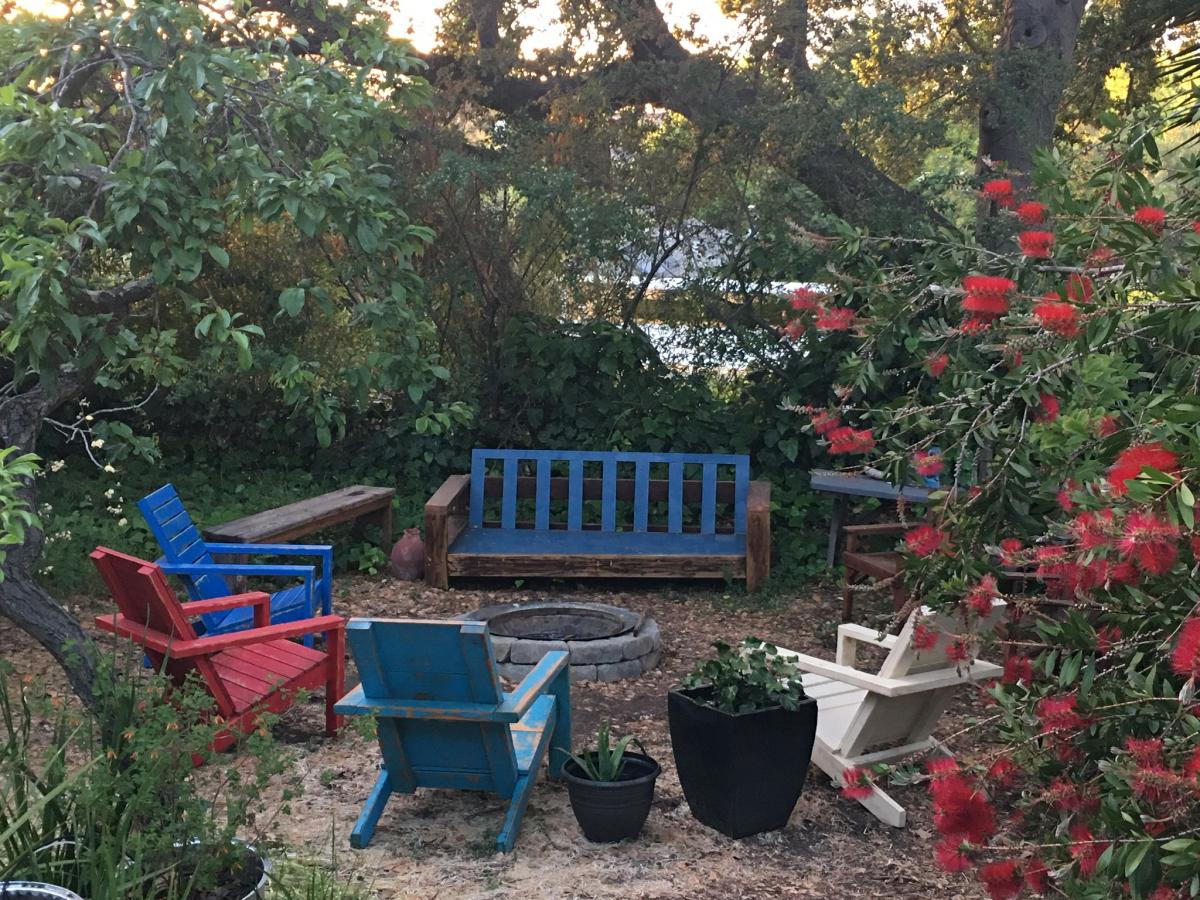
A year and a half long Covid at home and eating and entertaining outdoors encouraged us to transform our back yard into an outdoors living and dining room.
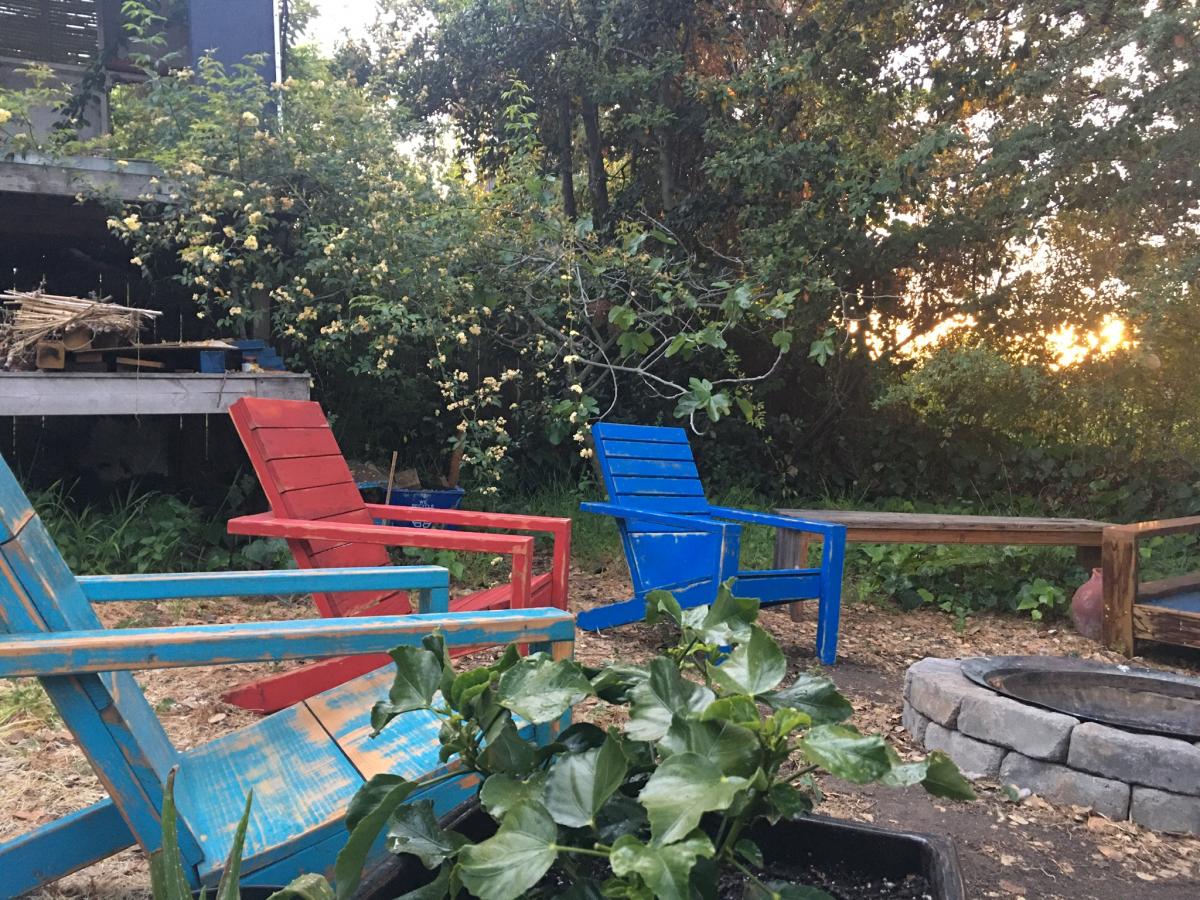
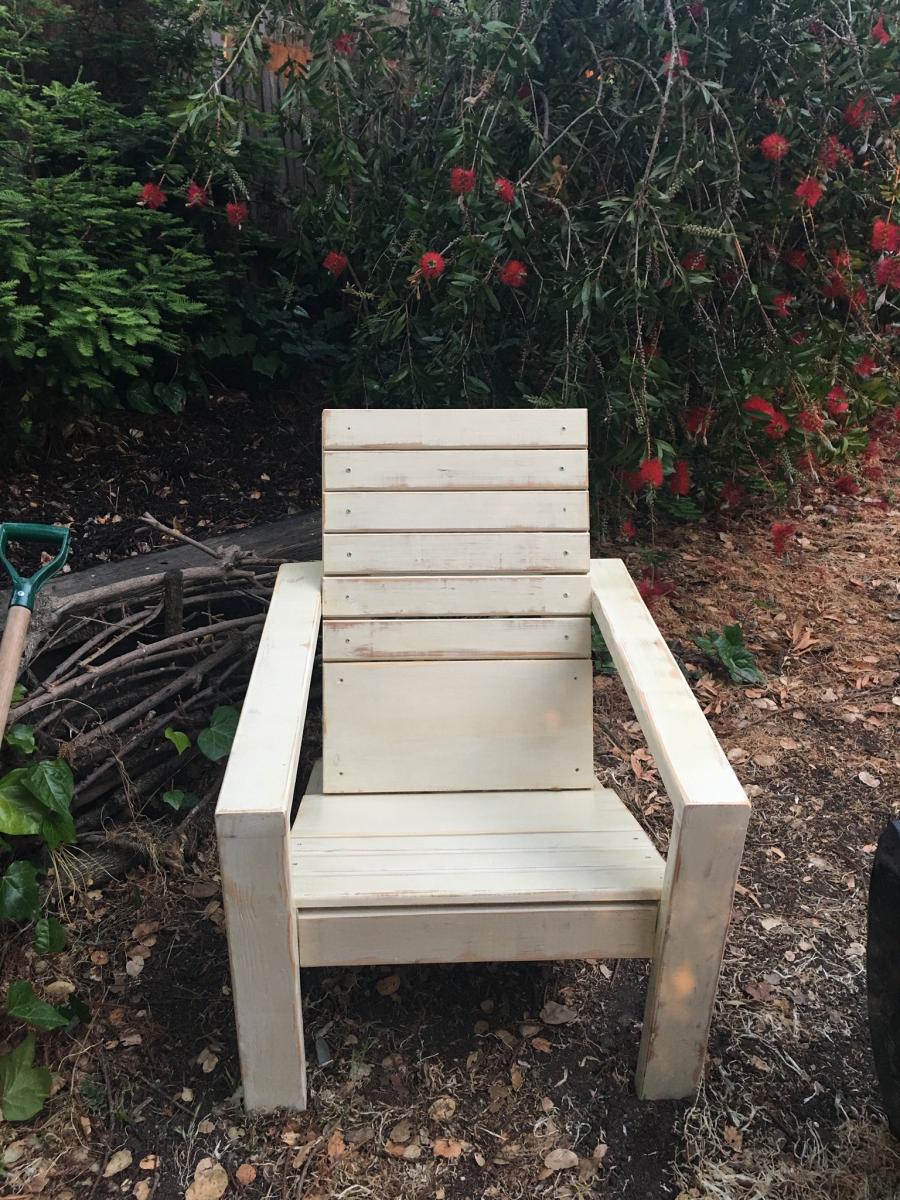
It was also the perfect excuse to finally use all the scrap wood we had lying around and turn it into these super comfy chairs. Add pillows and blankets and we have a cozy back yard that we love to spend time in.
We used this occasion to finish ends of paint cans to paint the chairs in different colors and scraped the paint down for a weathered look, then finished it all with a couple of coats of varnish. Each chair’s back is slightly different depending on scraps we had on hand. We love Anna’s simple and practical plans and instructions!!!
Tue, 10/05/2021 - 10:06
Love the alternating look and colors, very attractive and inviting!
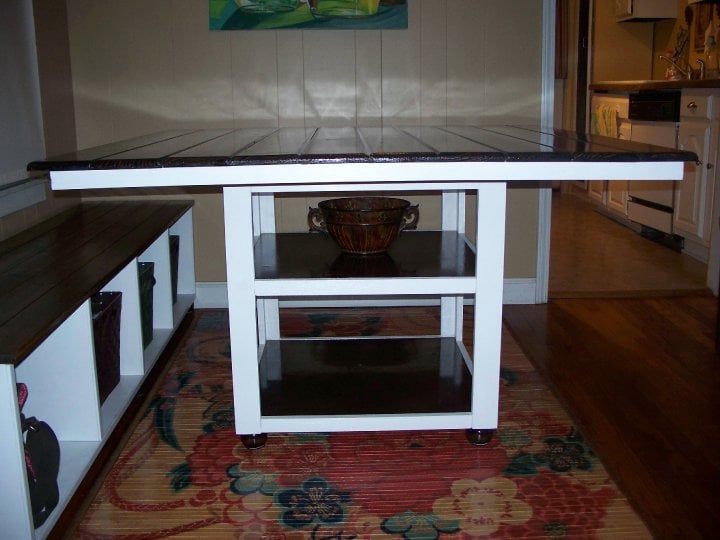
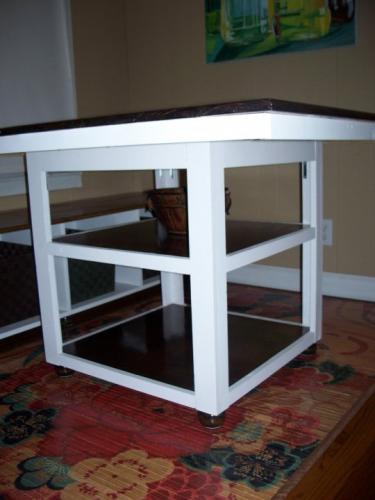
My 1st project! Came up with bench plans myself and modified Ana's Pottery Barn Storage Table plans.


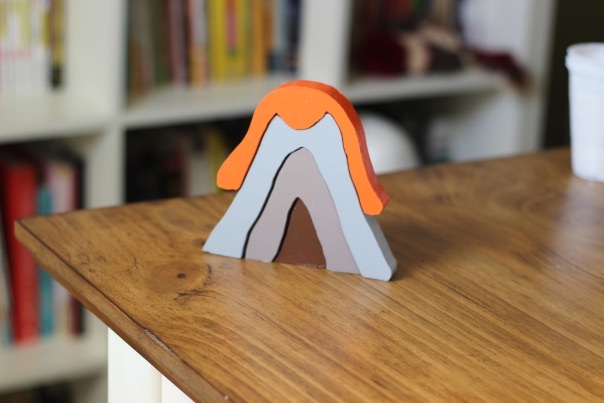
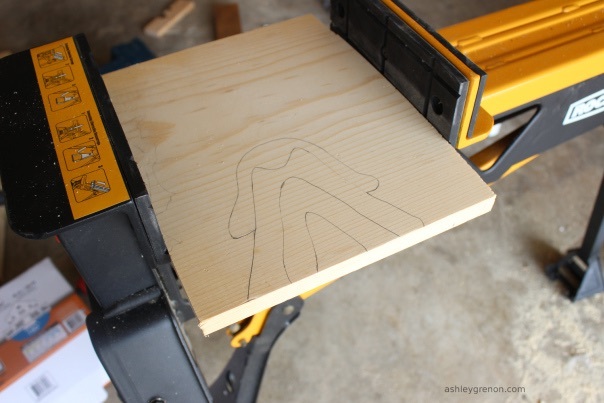
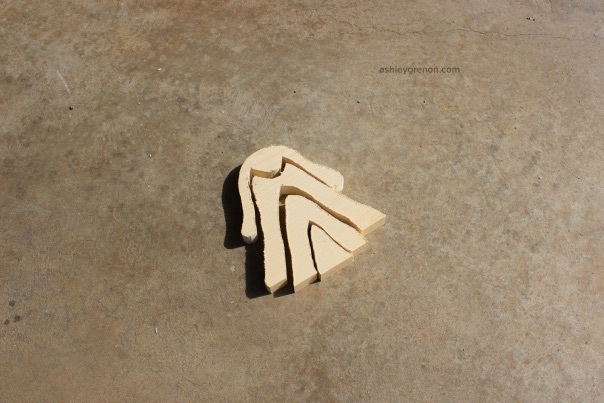
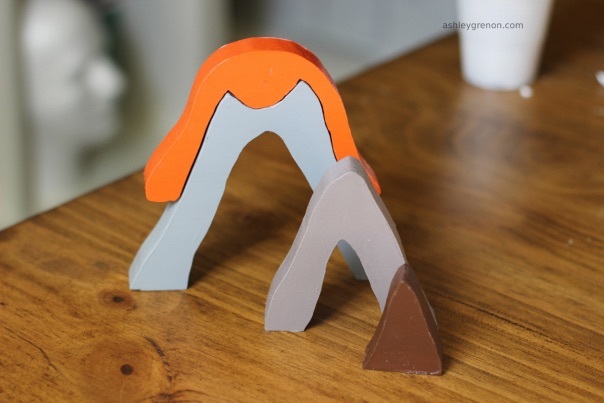
I'm so thankful for Ana's March scrap work love challenge for encouraging me to make use of scrap lumber. I completed several scrap work projects last month. This is a volcano stacker I made from a scrap piece of 1x12 pine. I got the pattern from the book Natural Wooden Toys. I used my scroll saw to cut out the shape. I painted it with craft acrylic paint and sealed it with Mod Podge. The toy is a hit with the little guy!
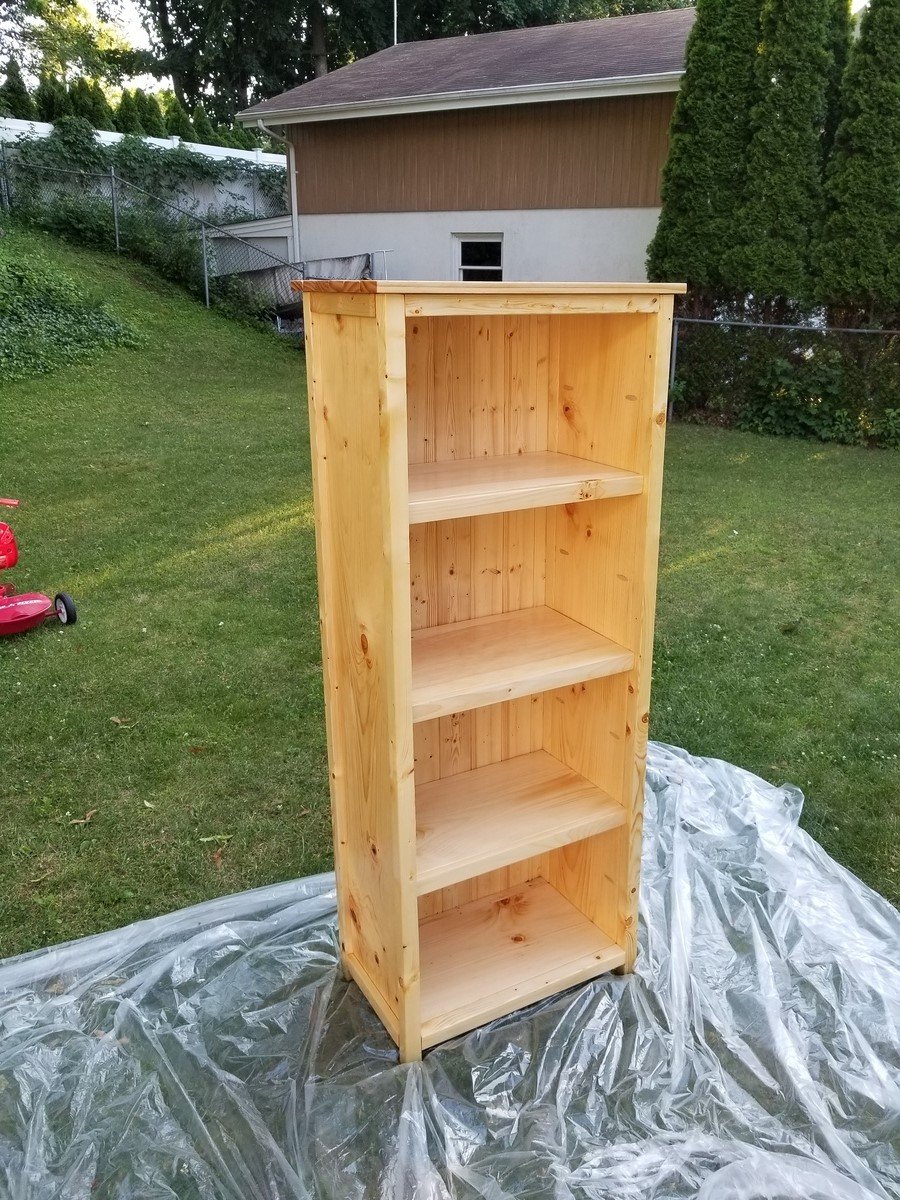
Together with my wife, we decided to start making our own furniture and it was our first project. It took us a week to complete it (it took us longer than most people as we had to learn from scratch how to use the tools for each of the steps such as the circular saw, sander, pocket holes, etc.). We also learned the hard way how critical it is to use straight boards and how difficult it is to find straight 2x2. Overall we loved the process and are very excited by the final result!
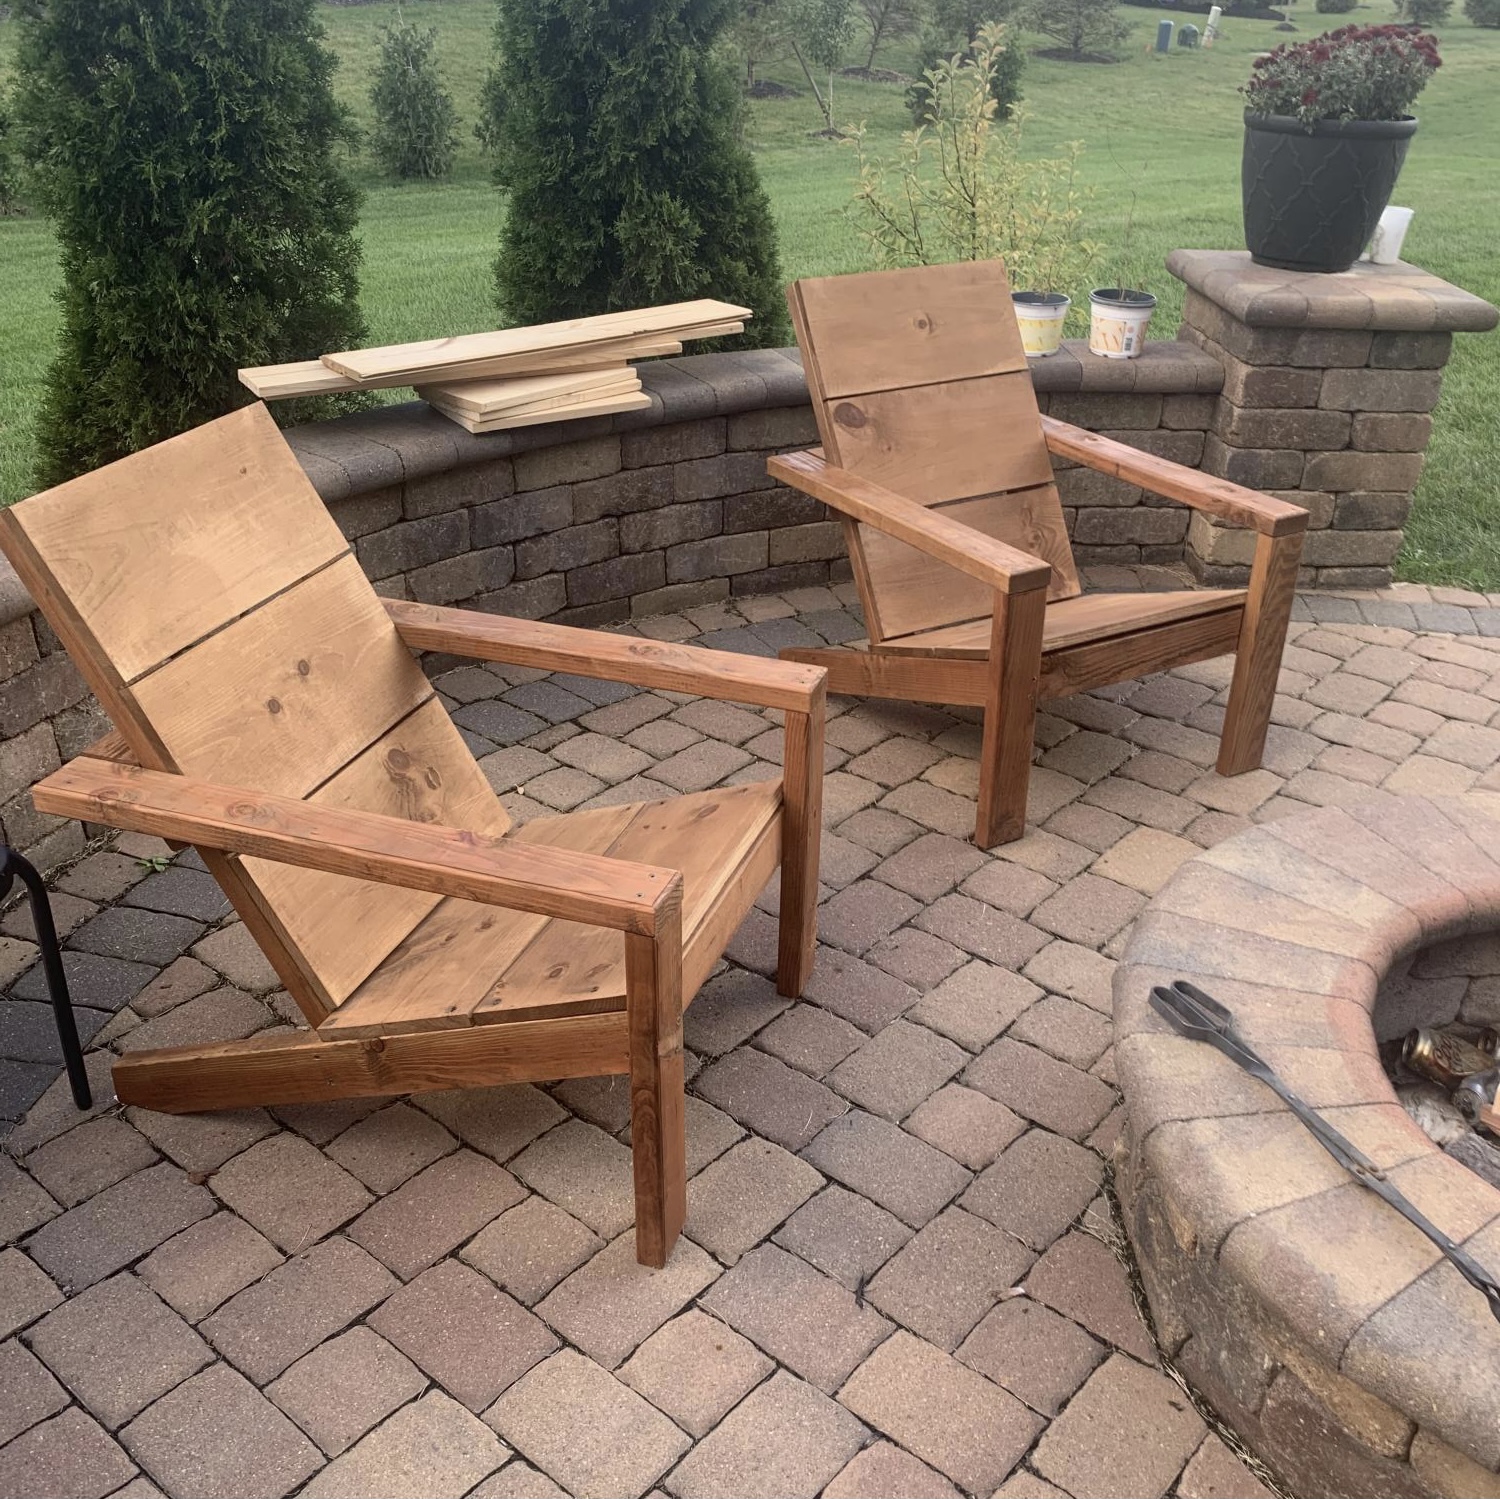
I made five of your 2 x 4 Adirondack chairs. Well I started with one and then my wife wanted four more after she saw how it turned out. We absolutely Iove them and they are easy to make! Thanks Ana!
David Knight
Tue, 10/05/2021 - 09:30
Those looks great, so happy to hear you're enjoying them!
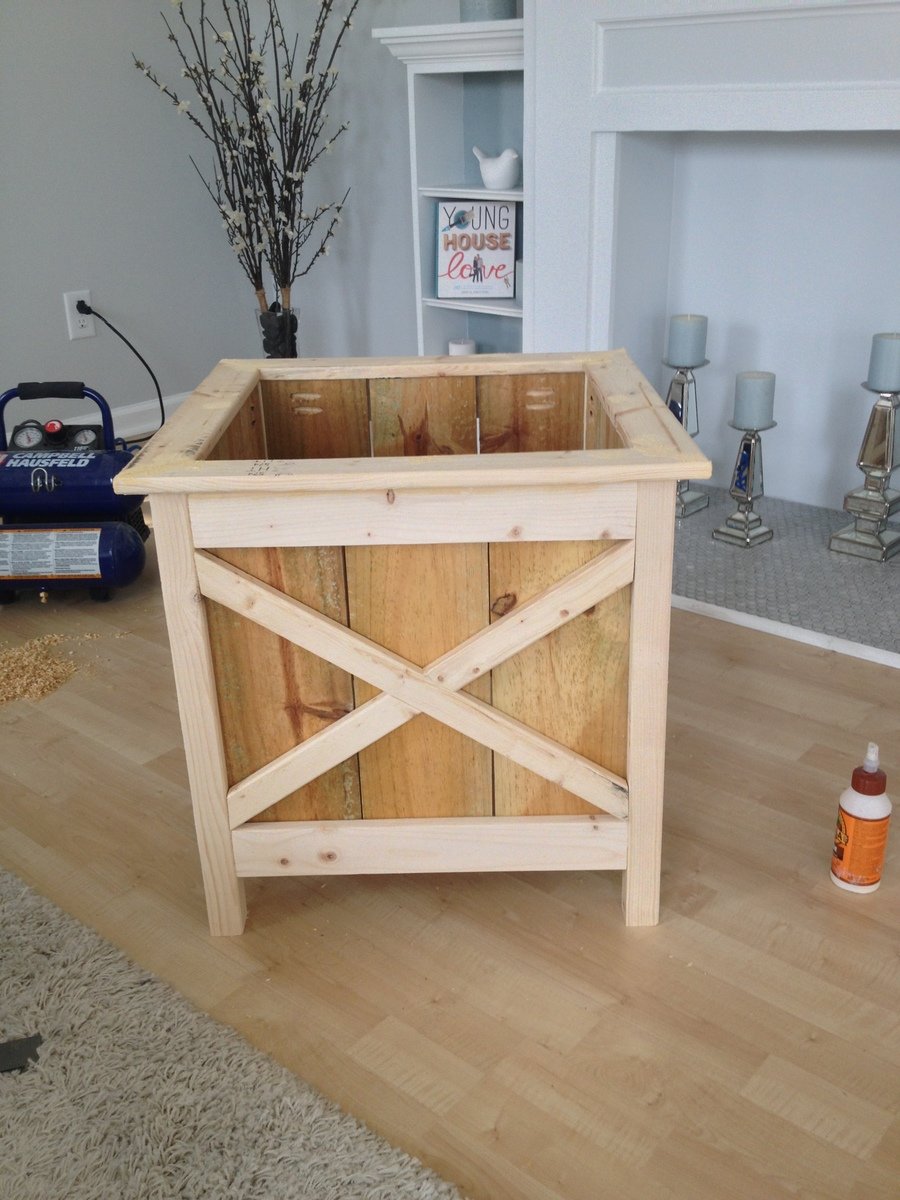
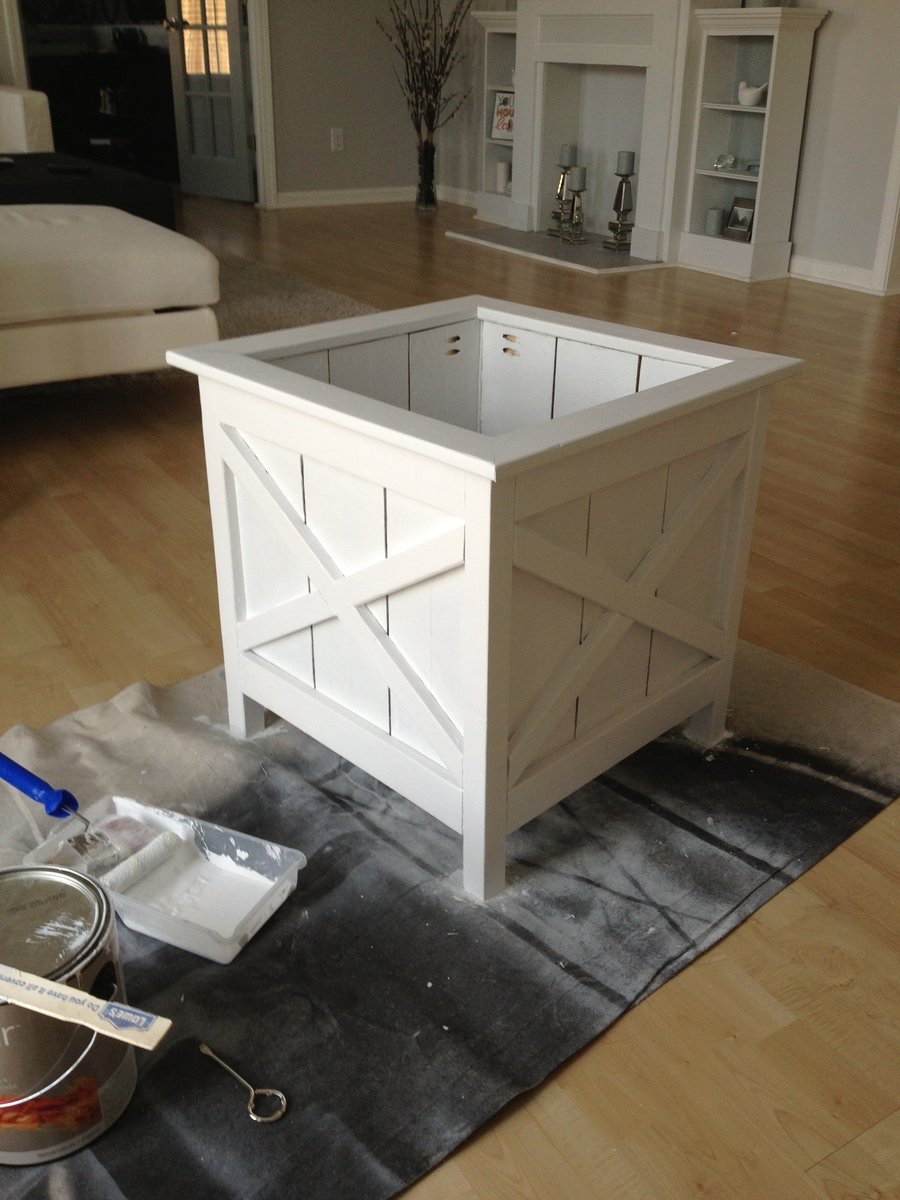
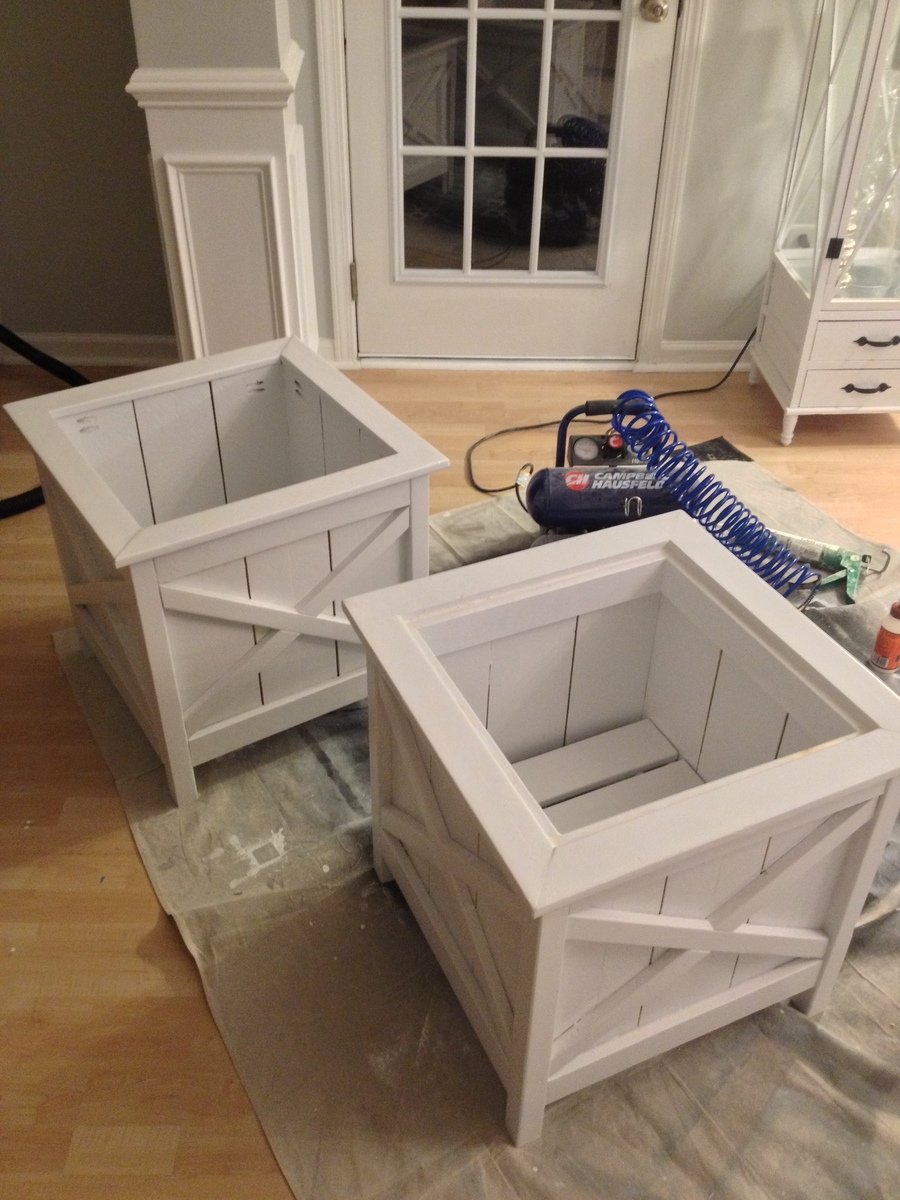
I took the original plan and tweaked it to have the X's on the sides to go along with the Weatherly Outdoor Sectional I made. Also, added the top ledge to finish it off.
Cost was less than $20 just as the plan said. Use fence pickets and furring strips to save money!
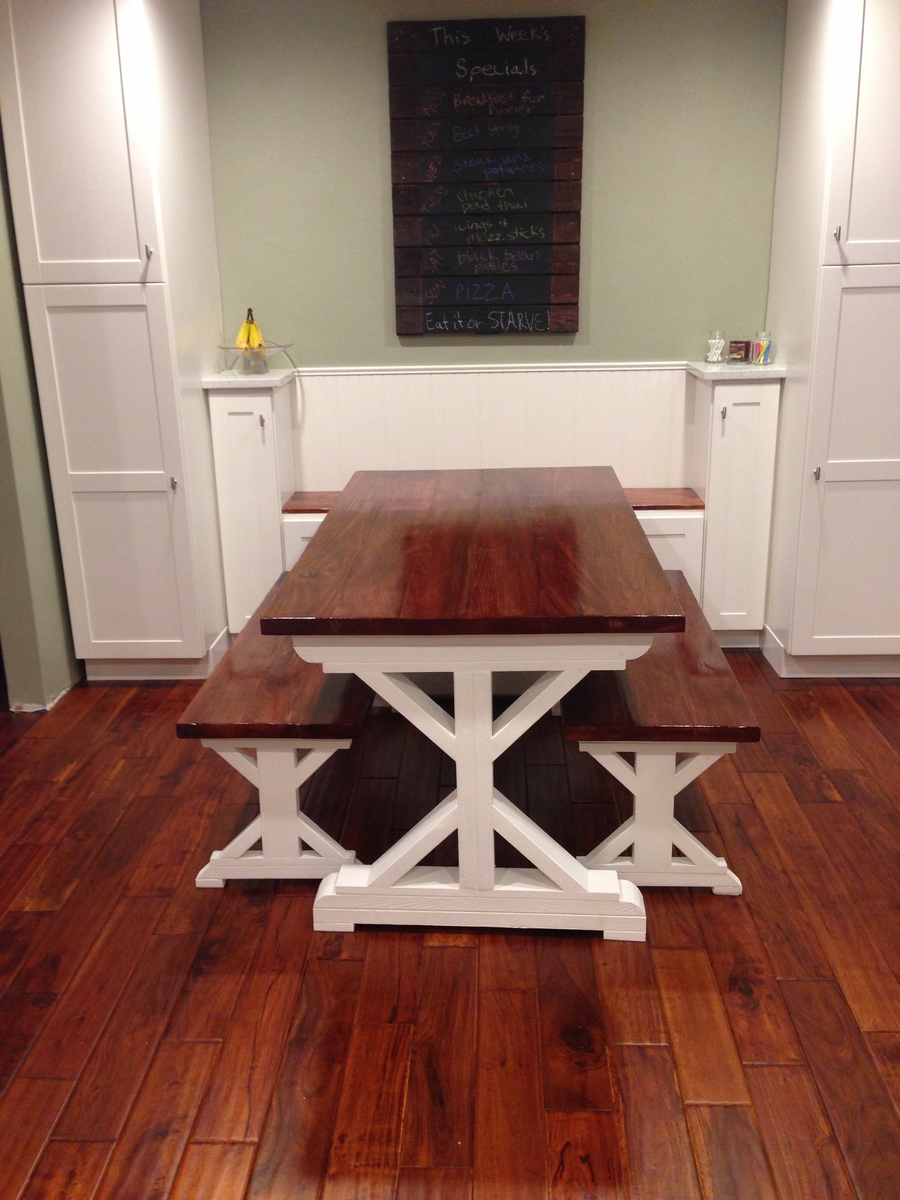
We just finished our complete kitchen remodel, from tearing down walls to new cabinets, appliances, hardwood floors, and countertops. I assembled the cabinets and installed them myself, along with tiling the backsplash and nailing down the floors. So I though I'd try my hand at furniture building. It was my first time building anything like this and I thought it turned out pretty nice!
I used left over boards from the removation for the bases of the table and benches and 2x6 poplar boards for the tops. I made some adjustments in the size since we're only a family on 3. Since I made the table shorter, I changed the 45 degree cuts on the cross braces to 30 degrees so they would fit.
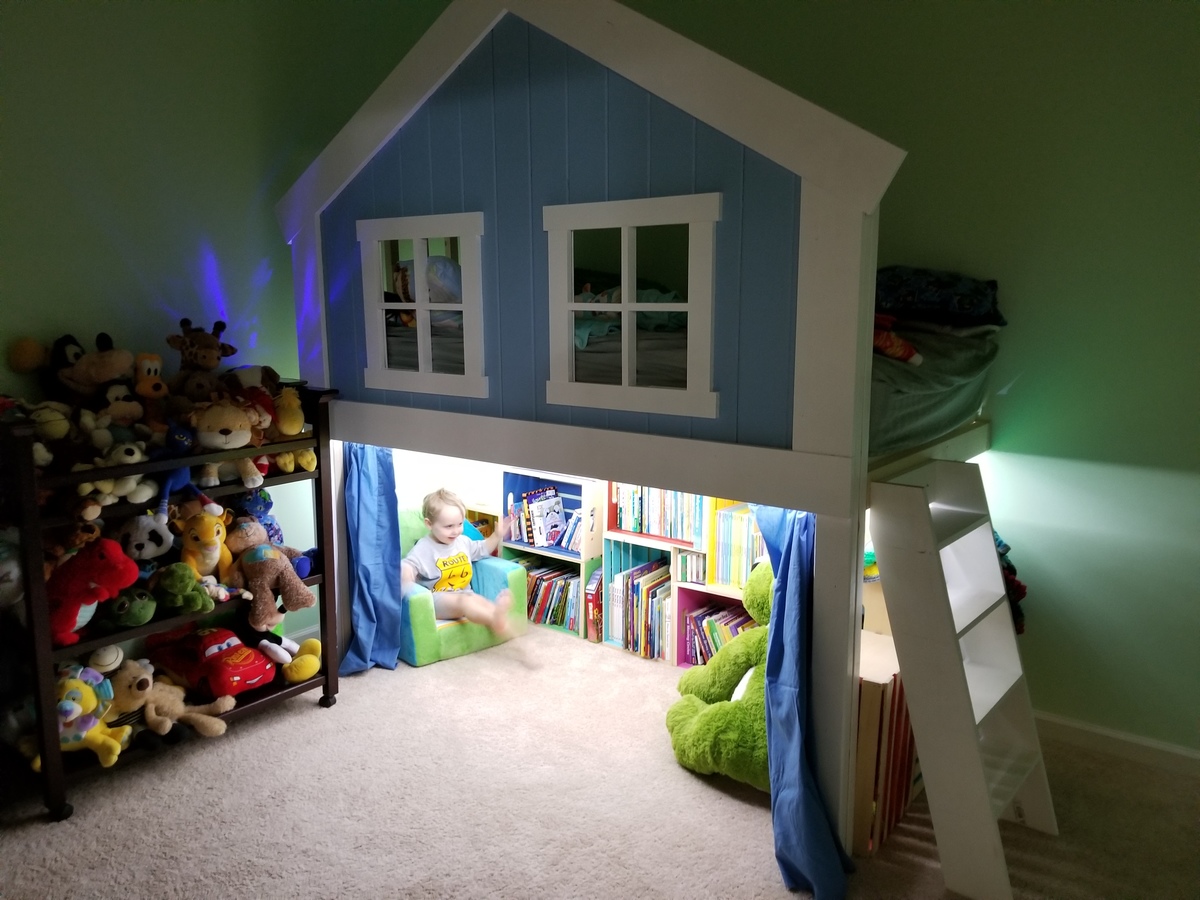
The bookshelf, of which I made last year, was made from crates. I used Ana's Clubhouse Bed idea as the basis for mine but I deviated from it quite a bit. Instead of a front entrance I made a side entrance and added two windows. Additionally I attached it to the wall instead of making it two sided.
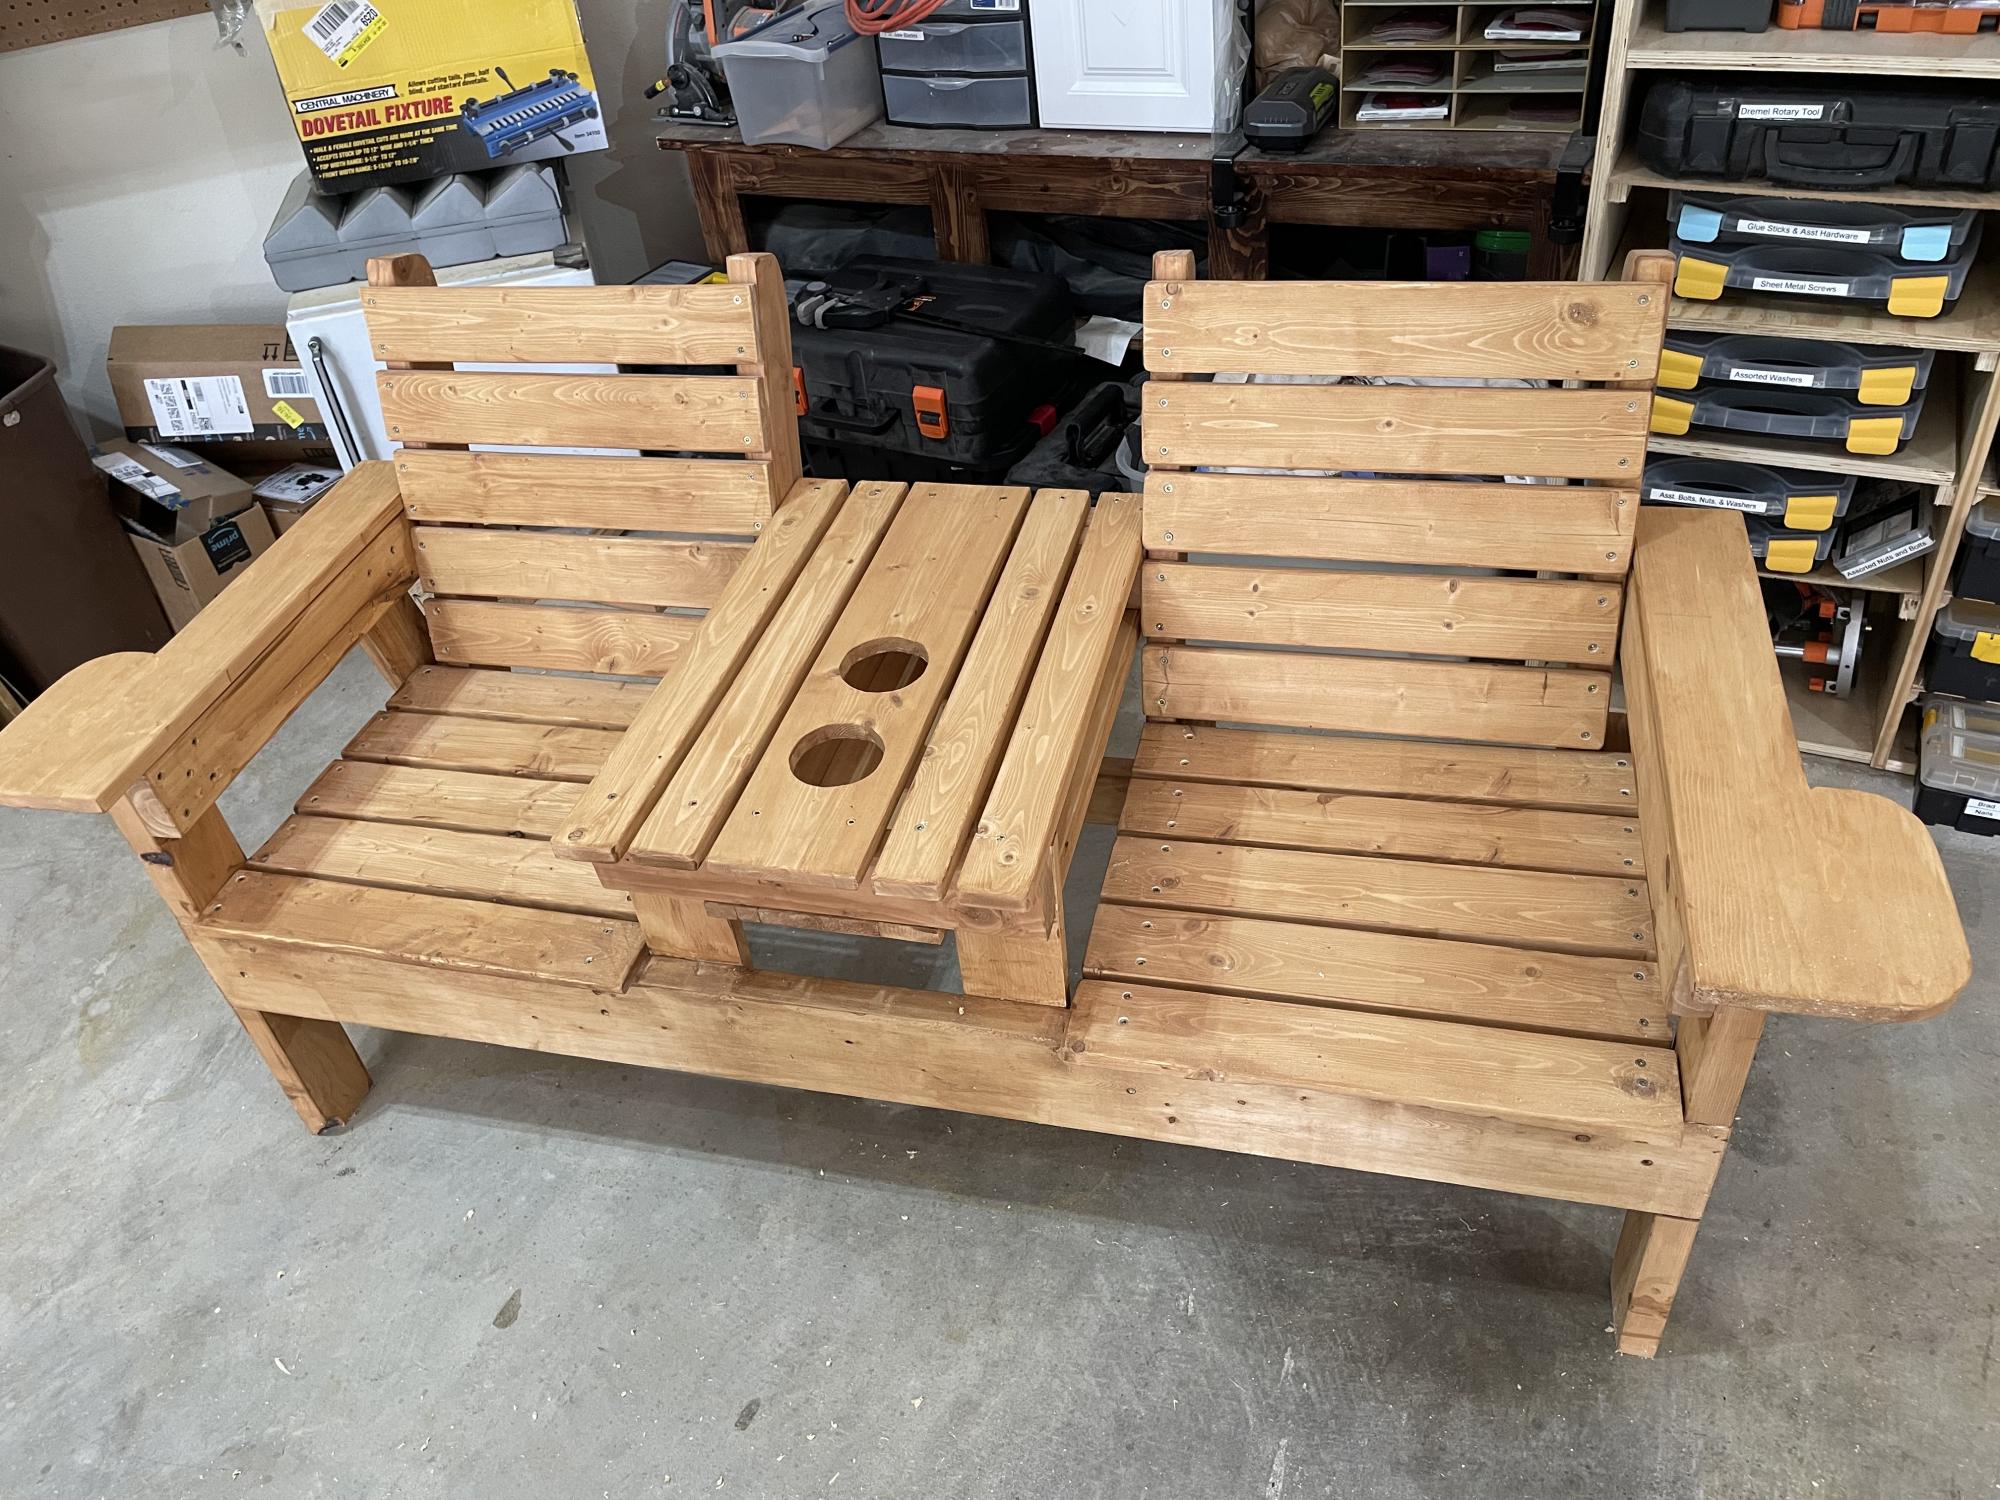
Very easy and quick to build. It is amazingly comfortable. There are no cushions needed. My wife loves it. I took parts of Ana’s Simple Outdoor Lounge Chair and Modern Outdoor Chair with a twist patterns and modified them to be a double seat instead of a single seat.
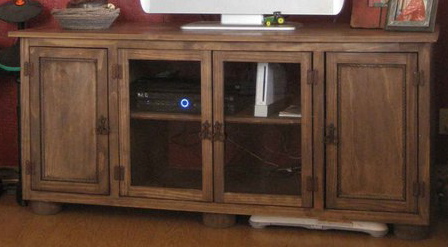
This is our first build ever, not what I would suggest for a first project, but it came out wonderfully! This was a piece built specifically for a friend of mine who had just cancelled an order for a console just like this because the company she was buying it from wanted to charge her an arm and a leg for shipping.
I had been spending a lot of time on Ana's site and started to use Sketch-up to build some pieces that I needed here for us. I told her, Heck, I could build that.. and so it began. :-)
This is made of plywood and is mostly pine, with a couple of exceptions. As soon as Ana has her plan submission thing going right, I will post plans to build this console for yourselves! :-)
I listed this as intermediate because I think you would need to have at least a decent knowledge base as well as specific tools such as; Kreg Jig, circular saw or table saw, power sander and nail gun. I also listed it as 20 or more hours, because that's what it took us to build. You might not take that long, but this was our first build with NO real experience. :-)
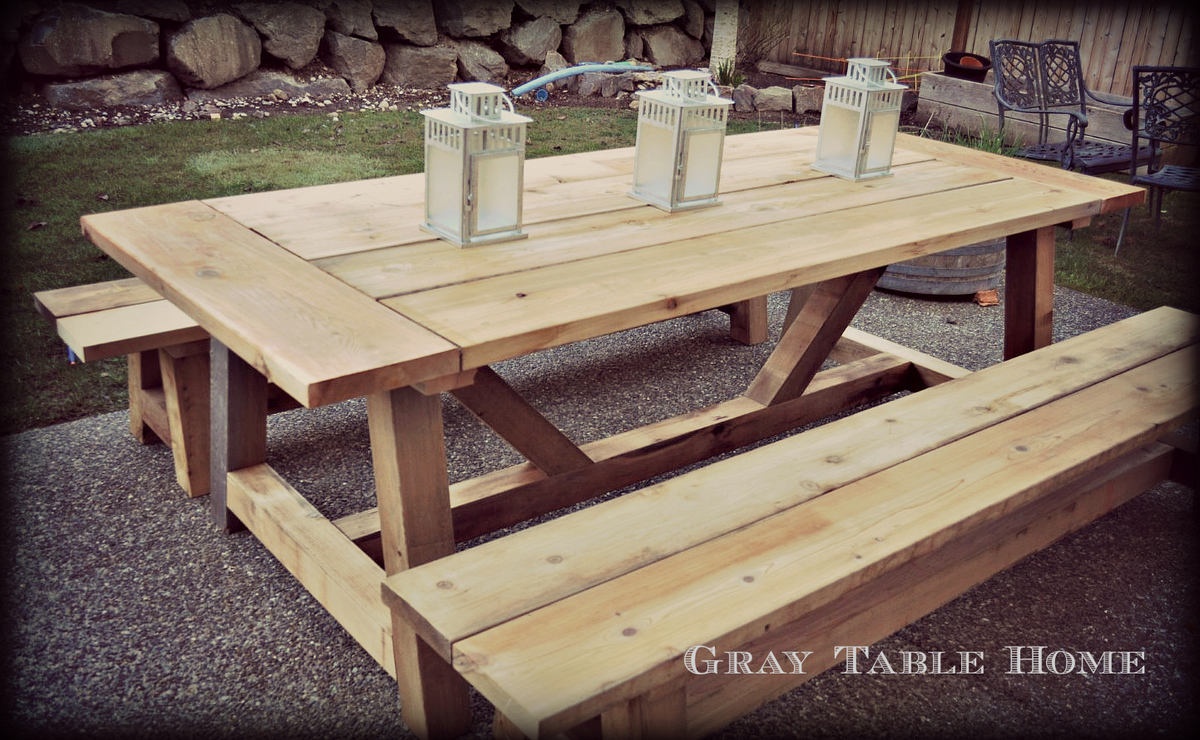
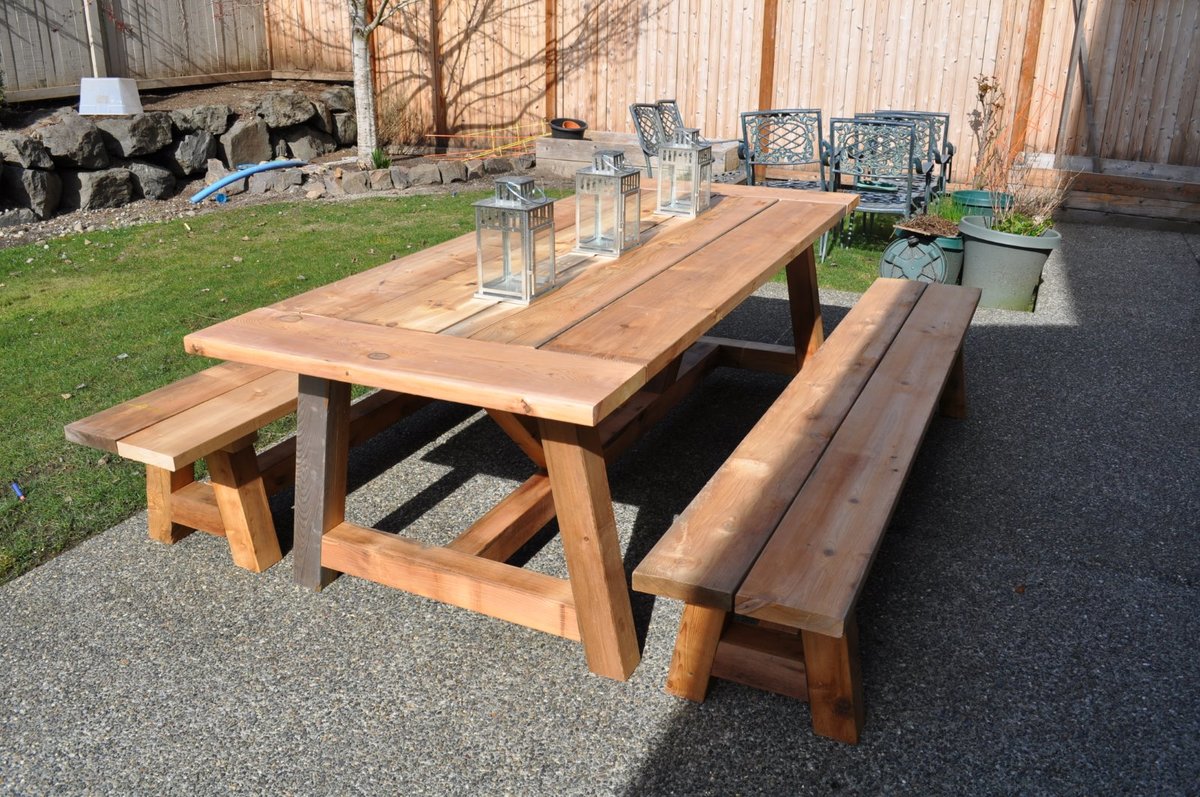
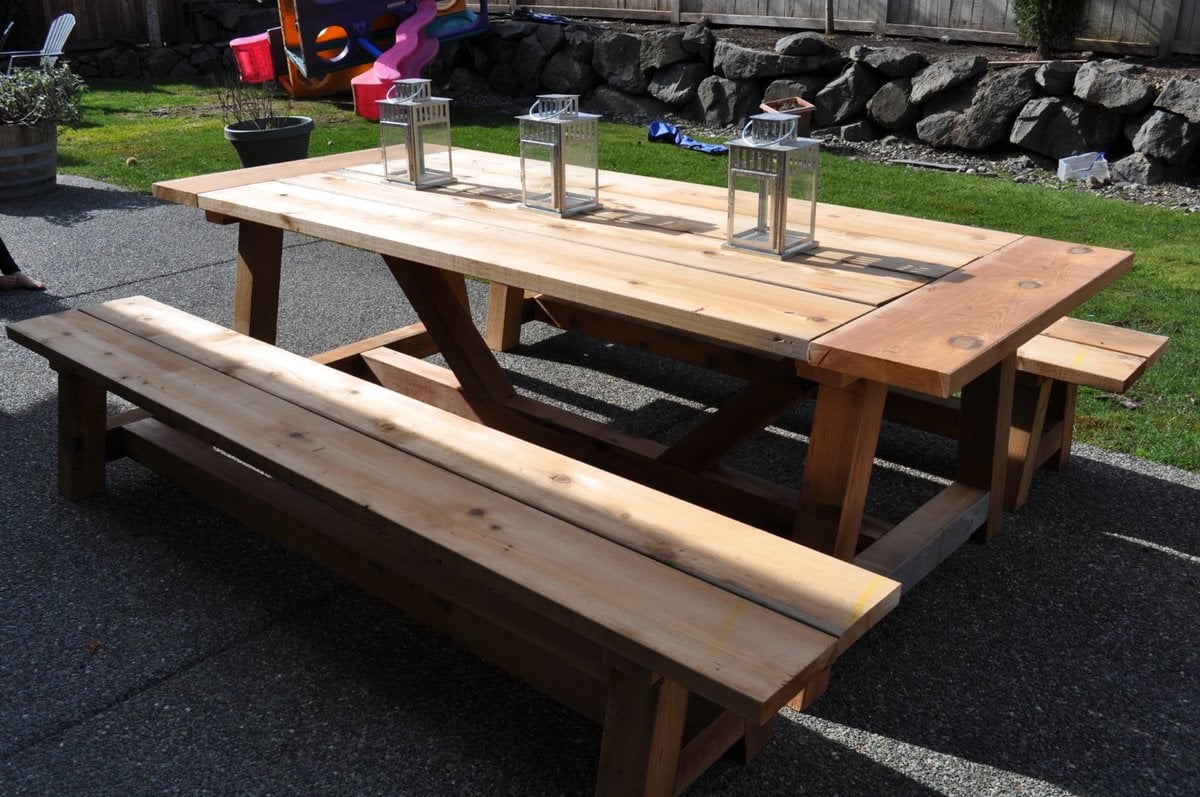
Hi! I was truly inspired by the plans I found at this site and the many brags that I saw! I have now built this table set a few times (first for myself, then for friends & family) and learned a lot each time. The things I have modifiied include...
1) Length = make it longer or shorter as space allows (I've done tables from 84" to 108" long)
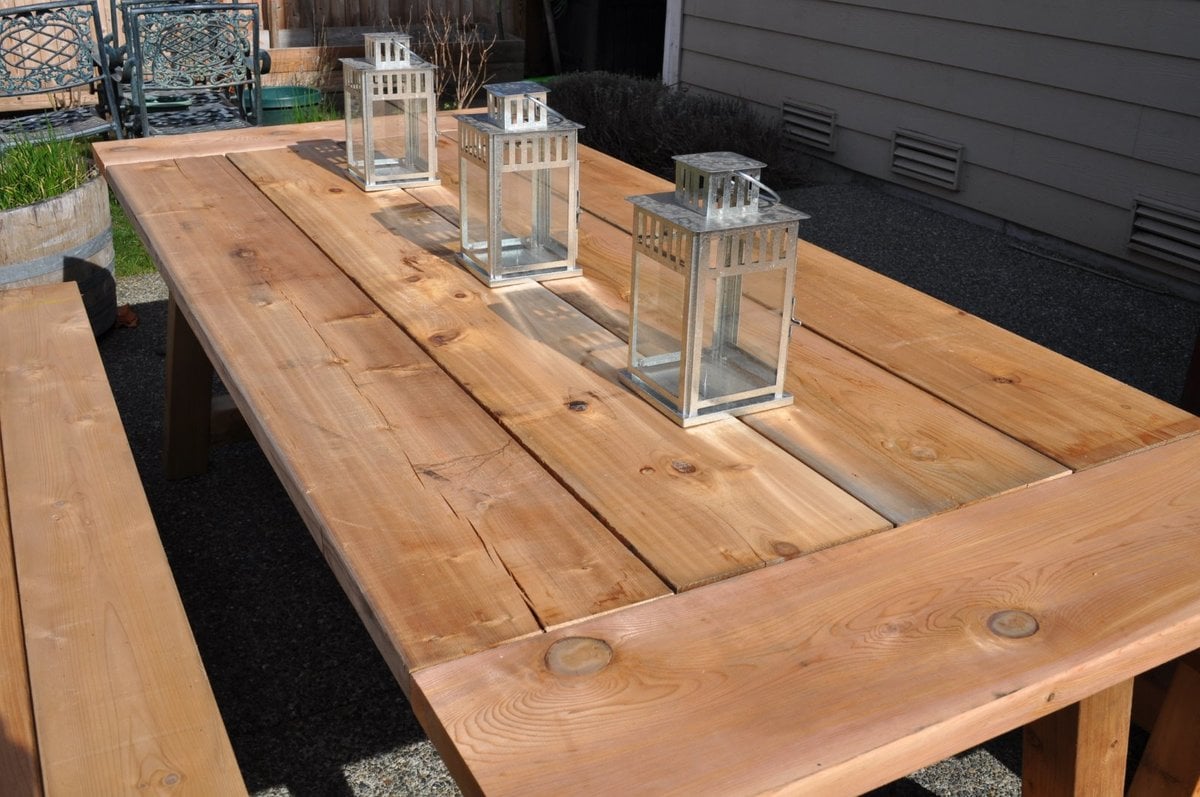
2) Outdoor table top = because these are being used outdoors, I use screws as spacers between boards so that they have a 1/8 to 1/4 gap to allow for water to run through
3) Breadboard end support = I found that with just the pocket hole screws, my breadboards were a little 'wobbly' so I added Simpson Stong Tie metal plates underneath to reinforce the ends.
4) End length = in order to provide a little more legroom to those sitting at the end of the table, I recently changed the plan so that I would have at least 15" from the table base to the end of the table top (although this pic shows the regular plan with the ~8" overhang)
I really appreciate all of the plans and brags which have been shared by users of this site. Thank you!!!
Thu, 04/30/2015 - 21:38
Thank you!!! That sounds about right for the cost - I spent about $425 on my lumber and hardware. Cedar is more expensive, but I was happy with the results. And it still seems like a good 'deal' when you consider what you would get for that price from a store.
This was my first carpentry project. I made a few mistakes of course, but I am very proud of myself for building it.
I love the fact that I painted this such a vibrant red! It adds a great pop of color to our family room. This bookcase is a great stand for our new TV, and the shelves are so nice and big, they will be great to hold toy boxes and craft supplies.
This the recent remodel of our guest bedroom. Its a modified plan from a fancy farmhouse bed that allows room for tubs to be stored underneath, three of the ledges, and the nightstands are old wooden crates that have been sanded down, painted, and mounted to the wall. We decided to do vinyl stickers as the "headboard" and felt the birds on a wire made for a good look. The lamps we made from wine bottles with labels we liked using westinghouse lamp kits. Thank you Ana White for these plans and ideas!
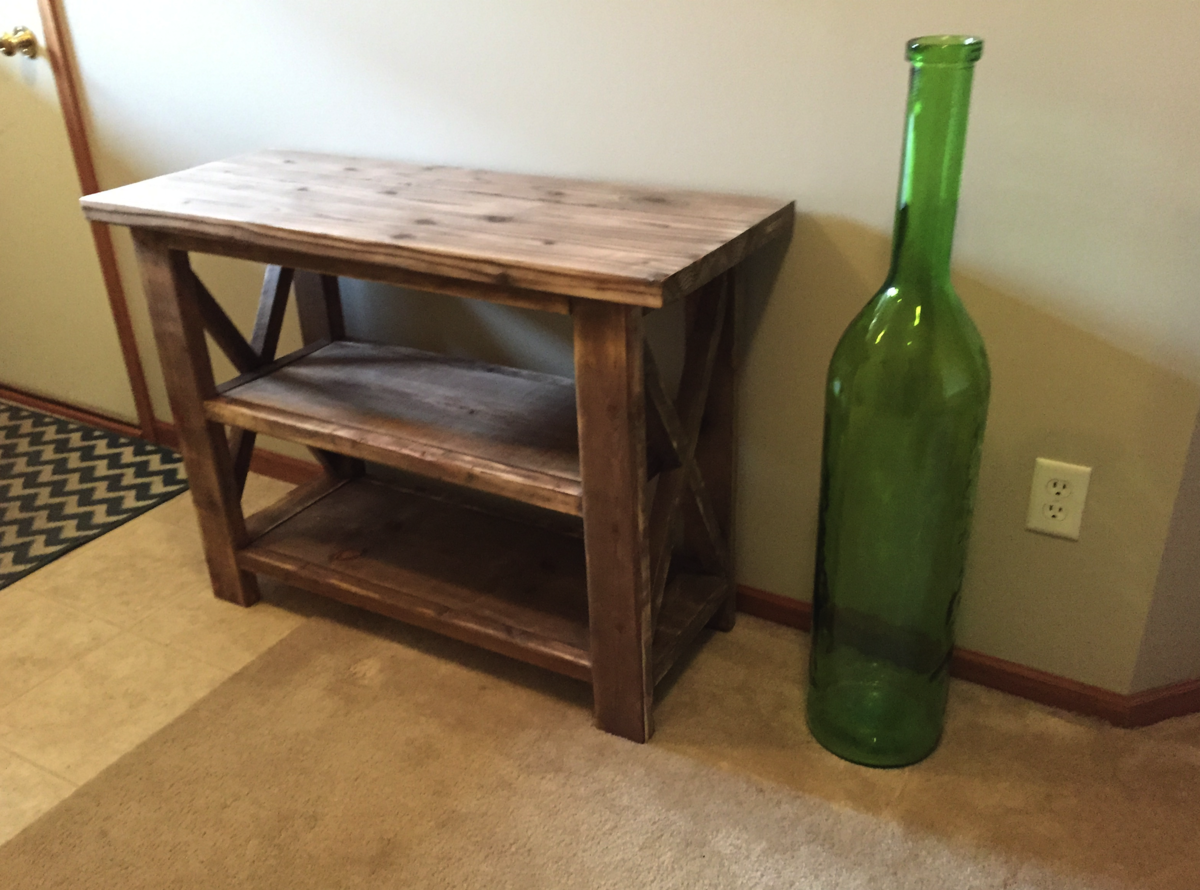
This is a half-width version of the Rustic X Console table on Ana-White.com. The oxidized finish came out purple and needed some sanding. If I build another like it, I would highly suggest sanding the X pieces before assembly. It went together very well and was my first Kreg Jig experience.
Using the plans from this website for the 2x4 tables and 2x4 loveseat, we modified the sizes to fit the couches that we bought at Target. Used cedar wood and painted black when we were done to match out deck. Less than $300 in cedar wood.
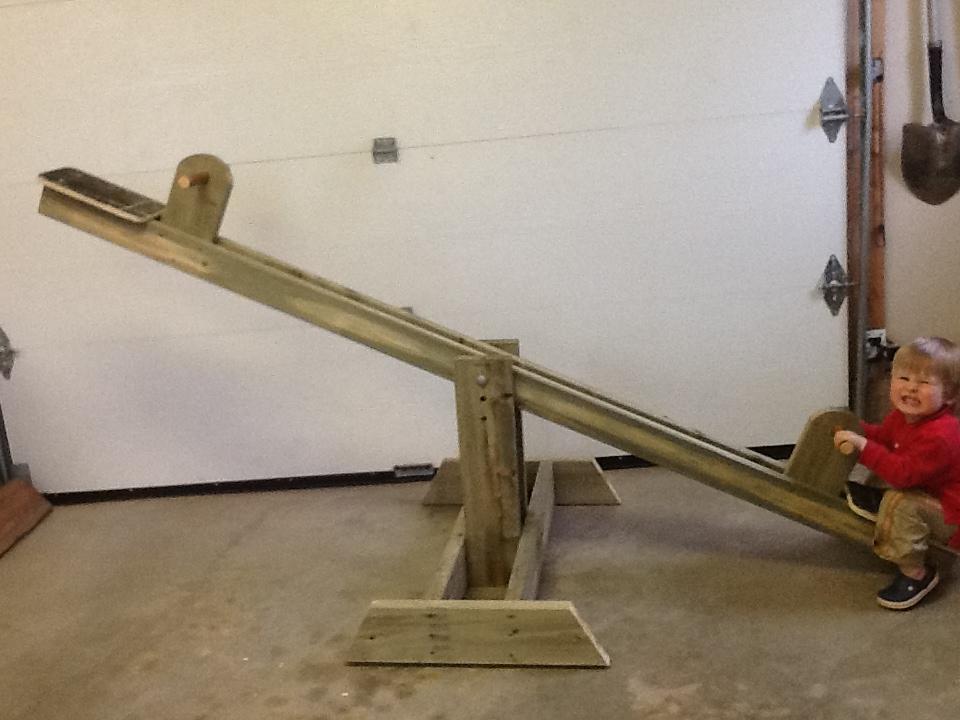
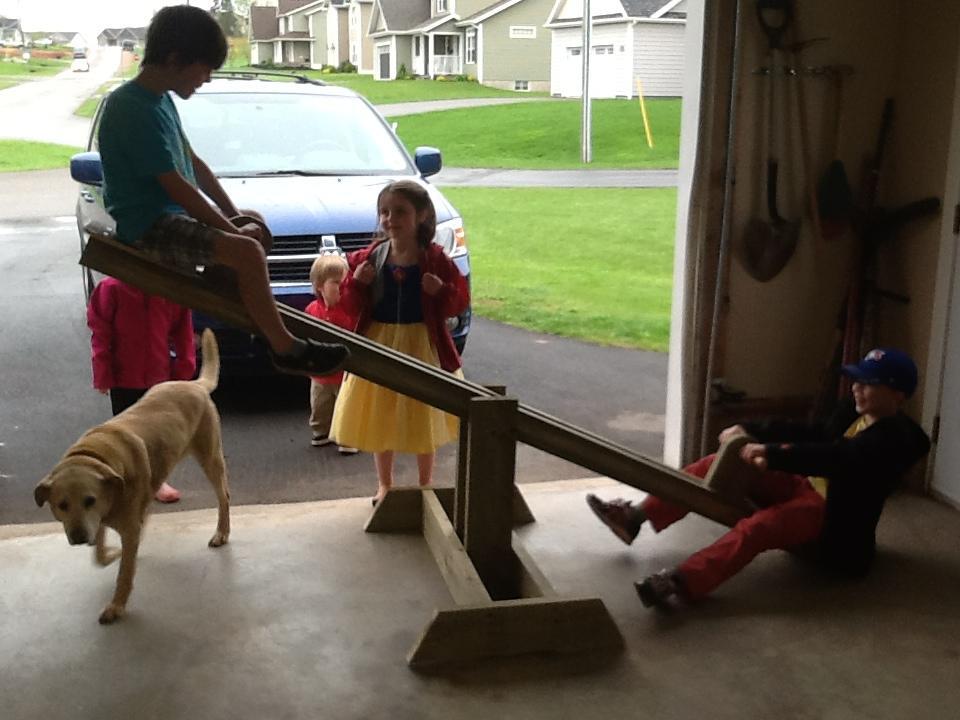
Took no time at all - 1 hour start to finish on a rainy day. Built it for the little kids but kids came out of the "woodwork" from all over the neighbourhood. Easy, fun and cheap! May add some old rubber bike tires beneath the seats to protect the wood that comes in contact with the ground. Didn't bother with a padded seat - an off-cut of plywood, with sanded edges works just fine and will be easy to replace if it starts to weather.
