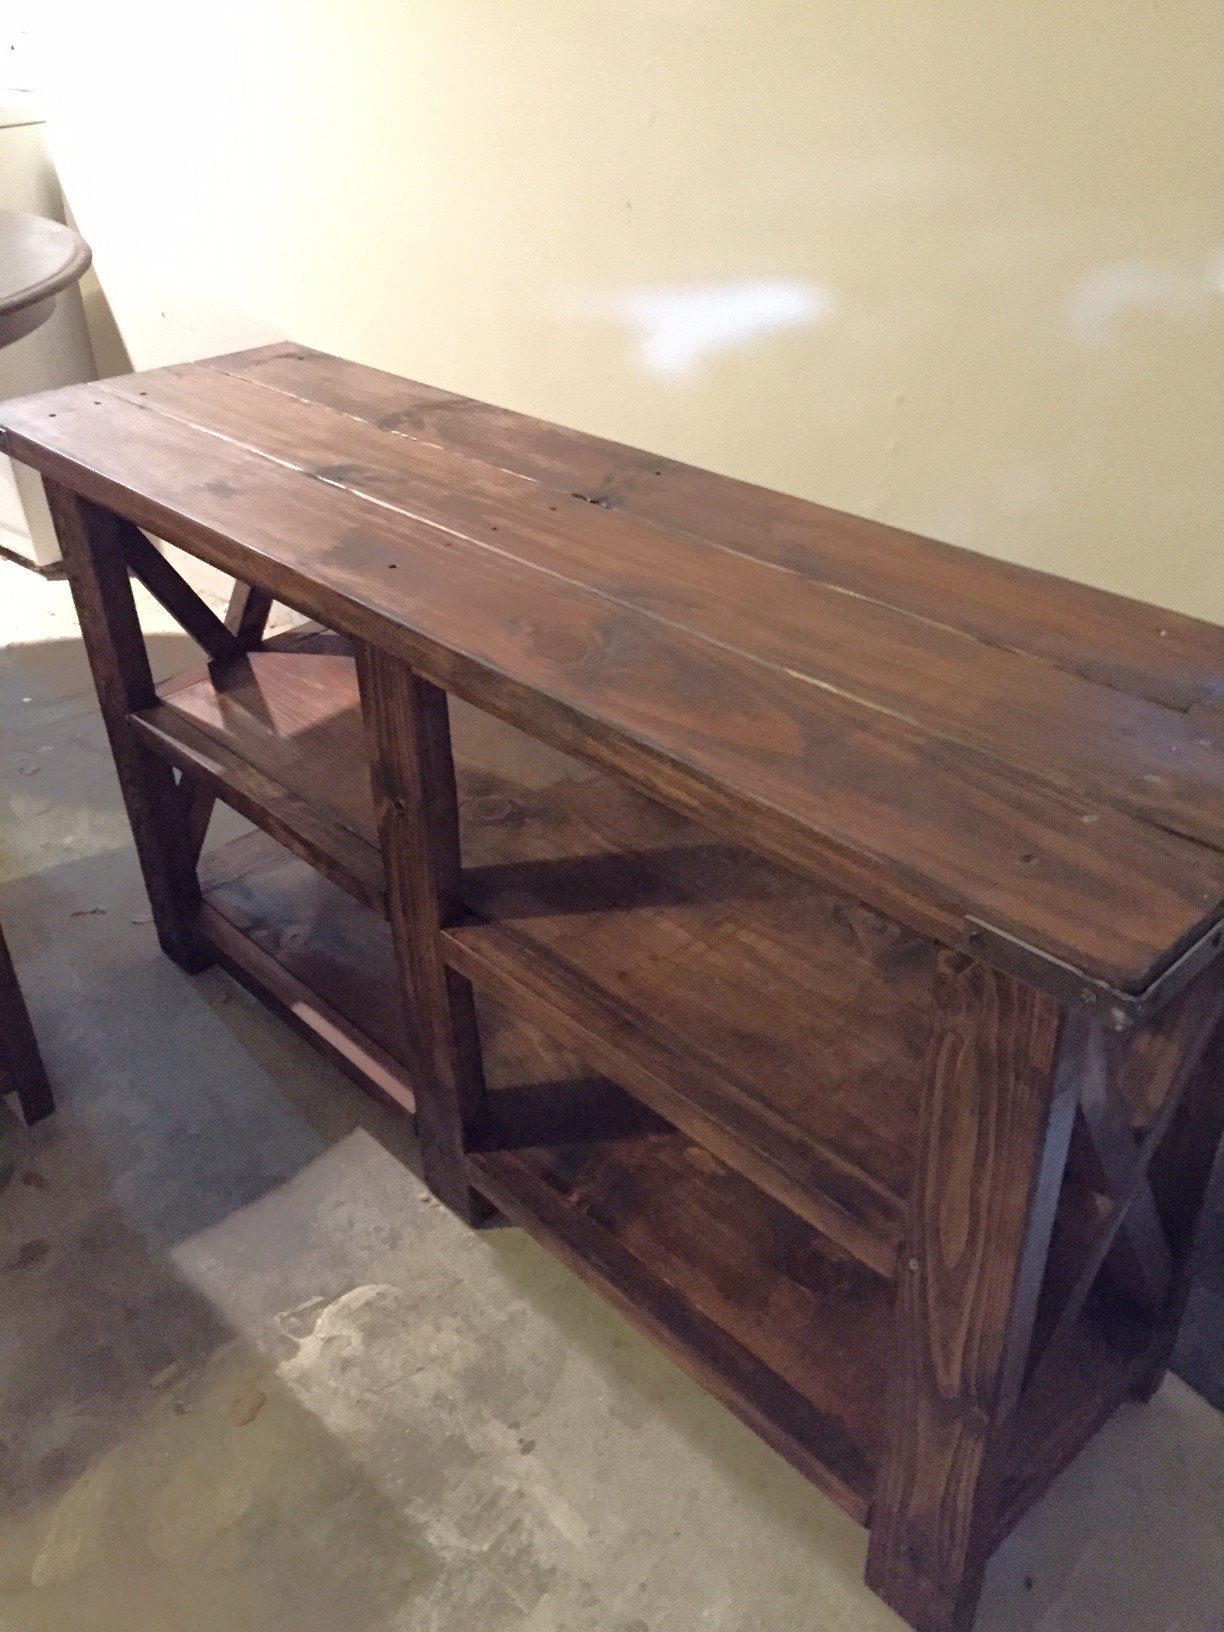
Coffee Table
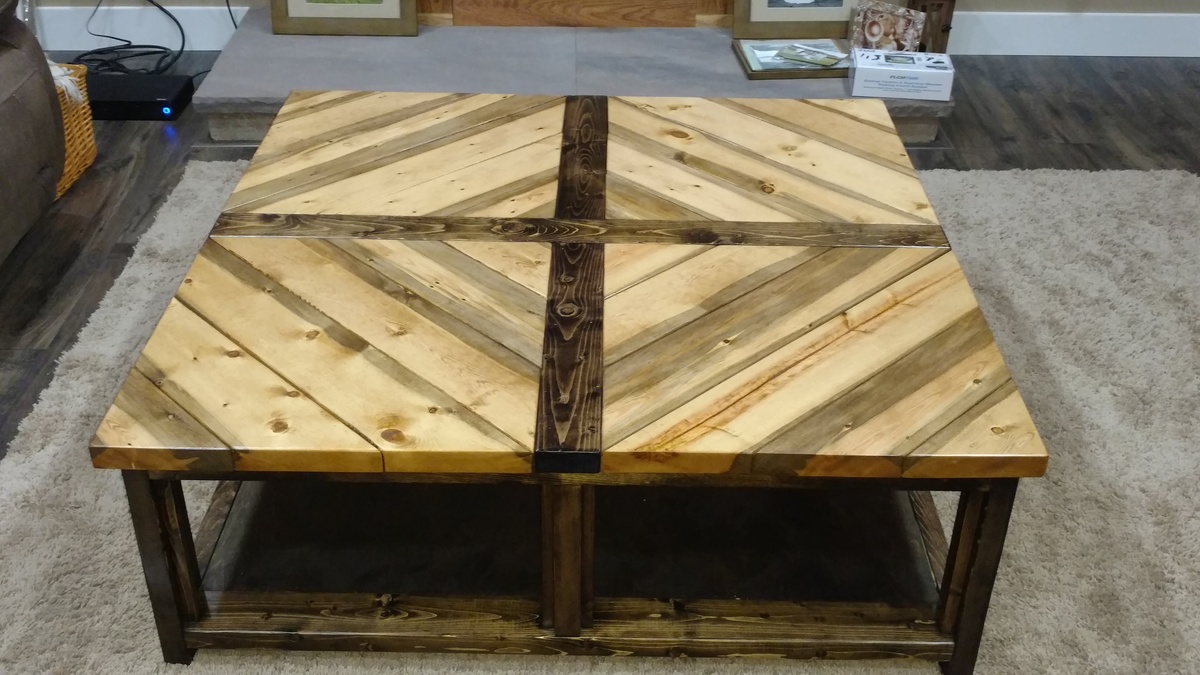
4'x4' Coffee Table
Golden Oak for top

4'x4' Coffee Table
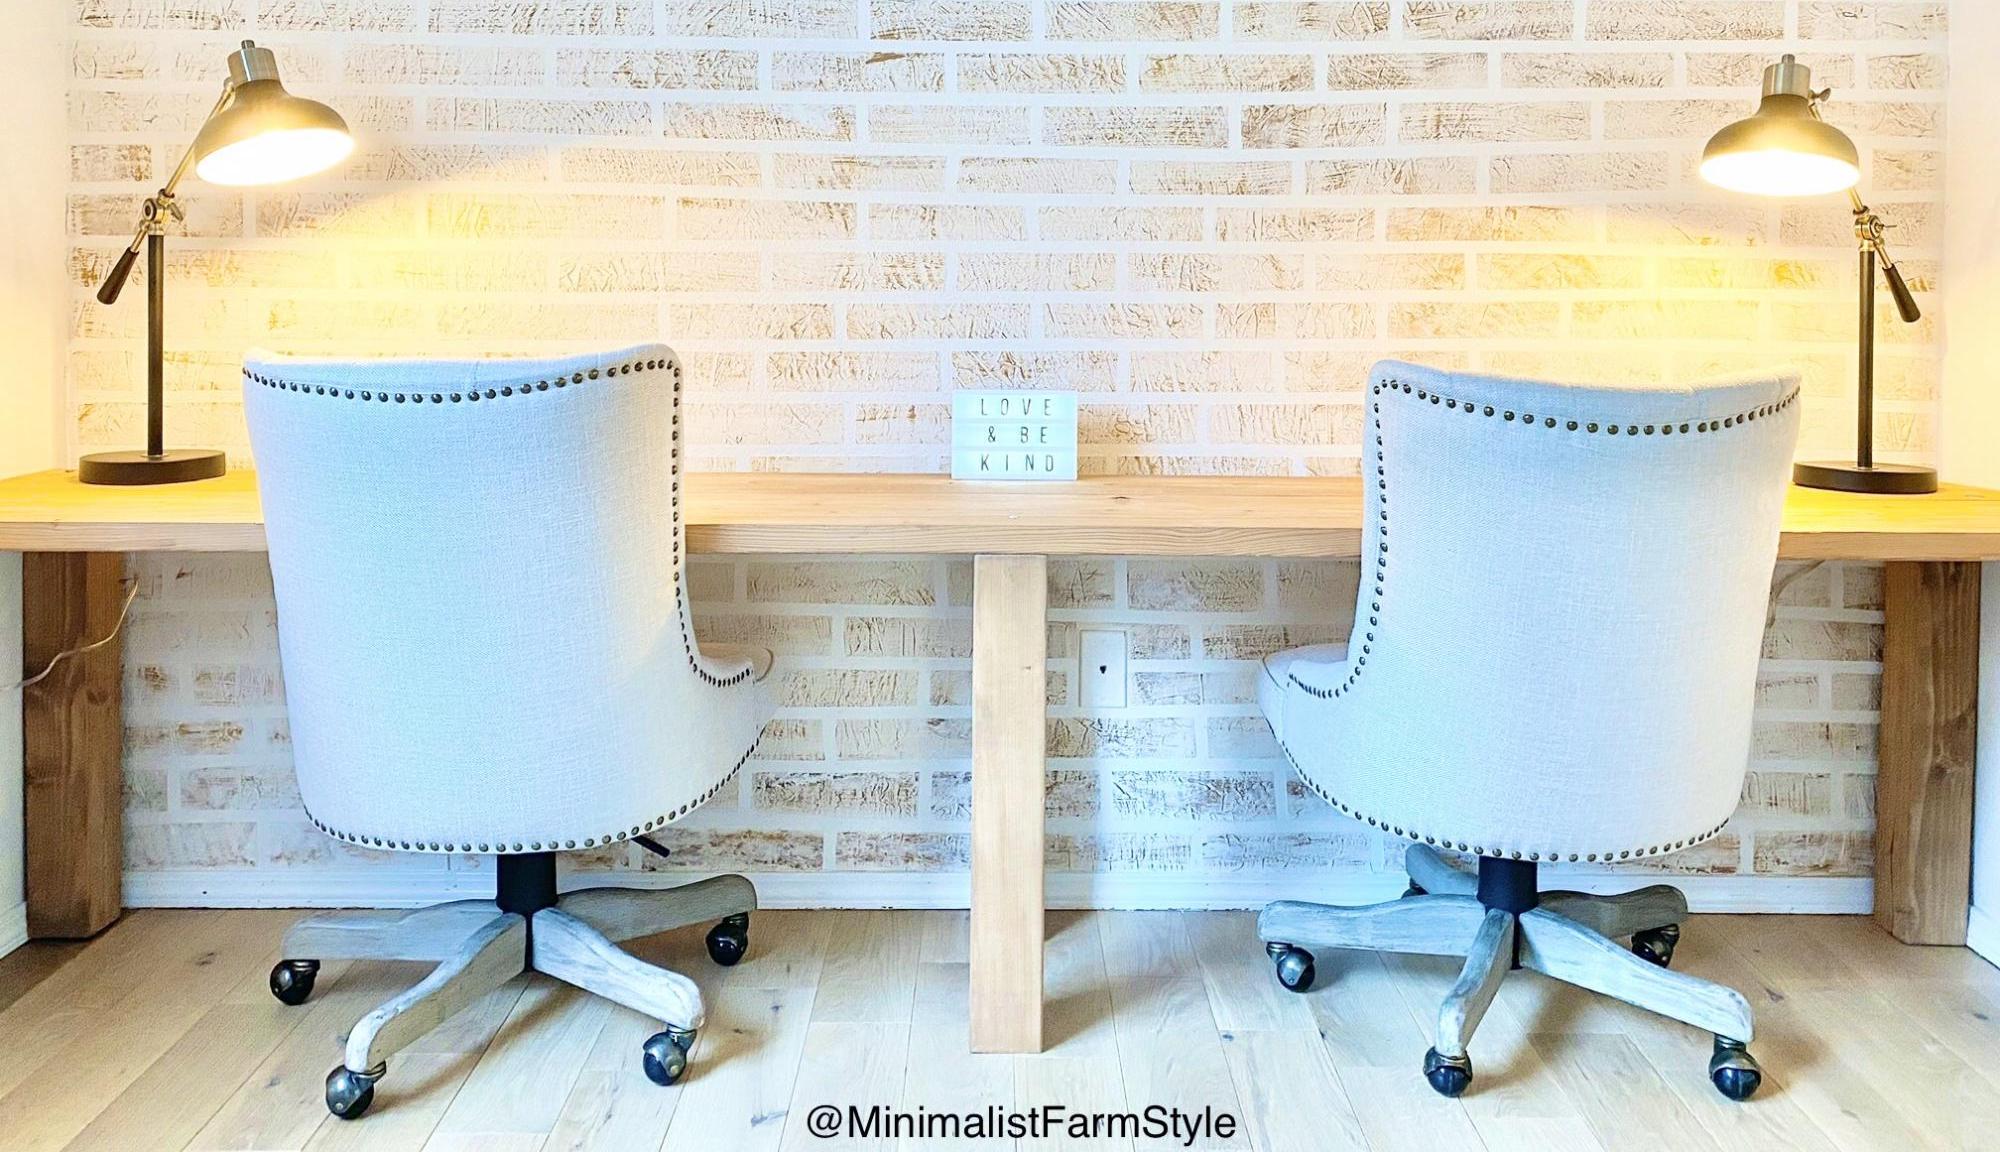
This DIY desk provides workspace for two people. A portion of the desk is for my oldest son during homeschooling and the other portion is for my husband while he continues to work from home. Cost : $35 Difference in length, width and height will result in a change in price.
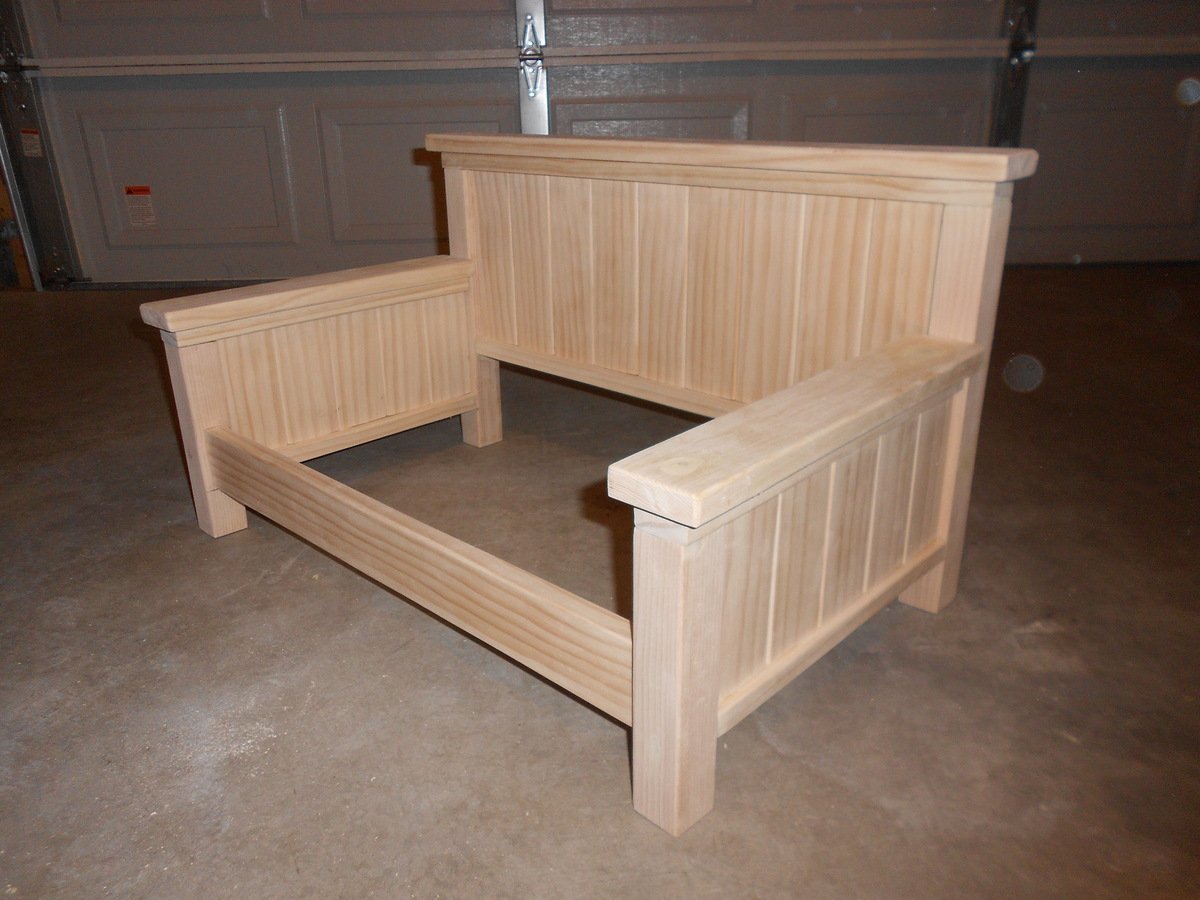
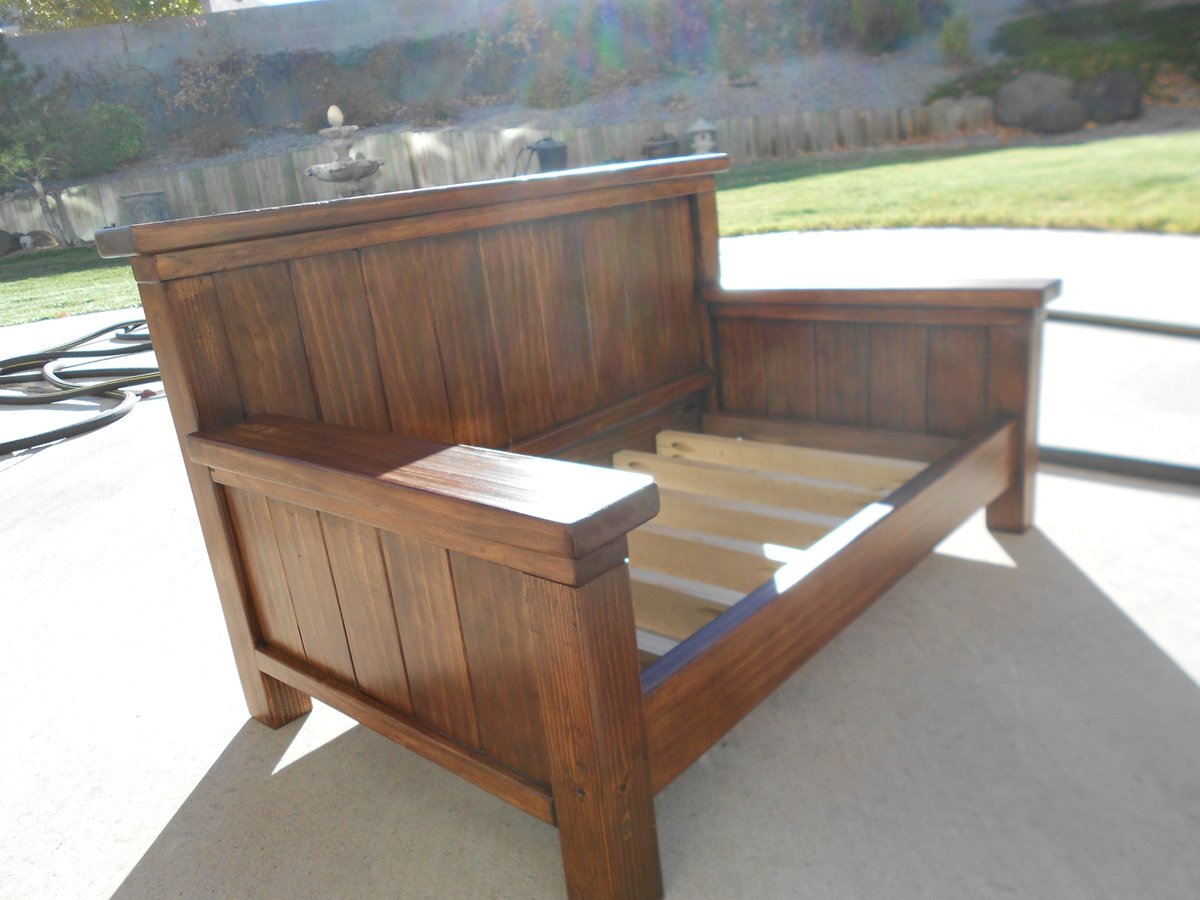
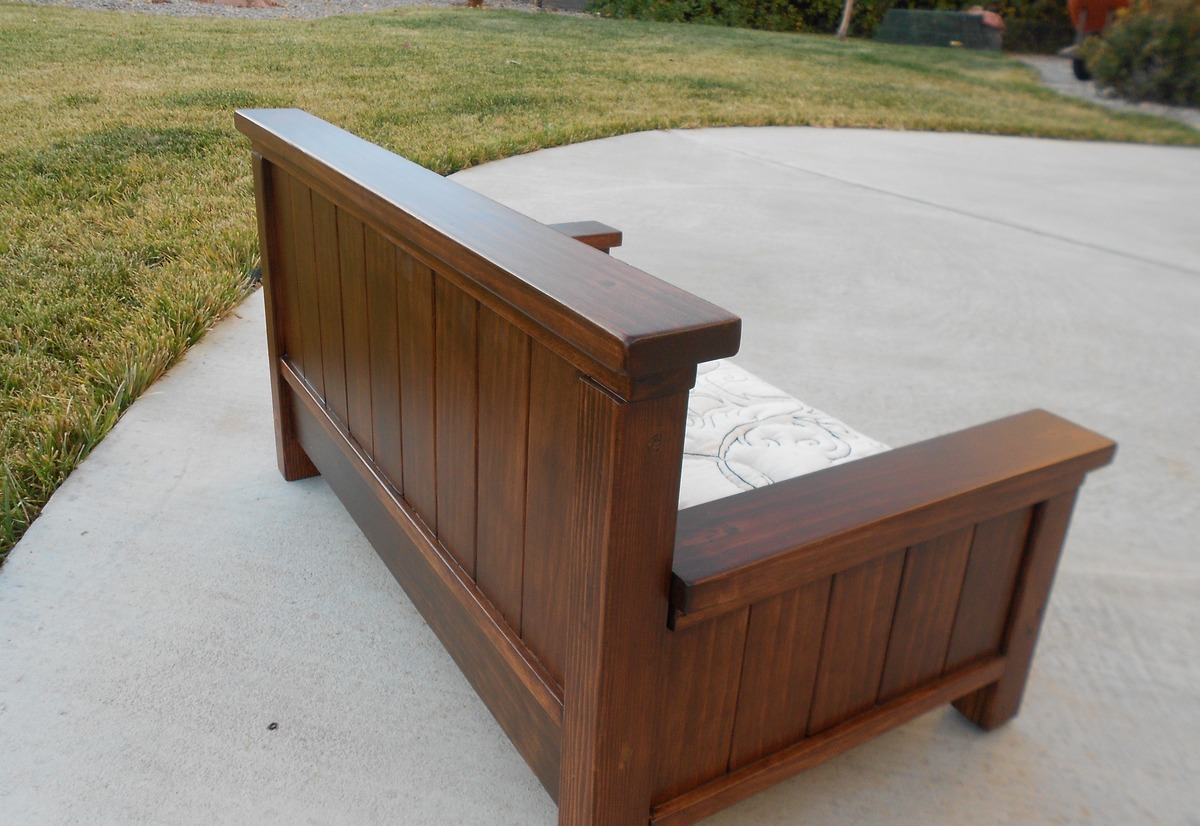
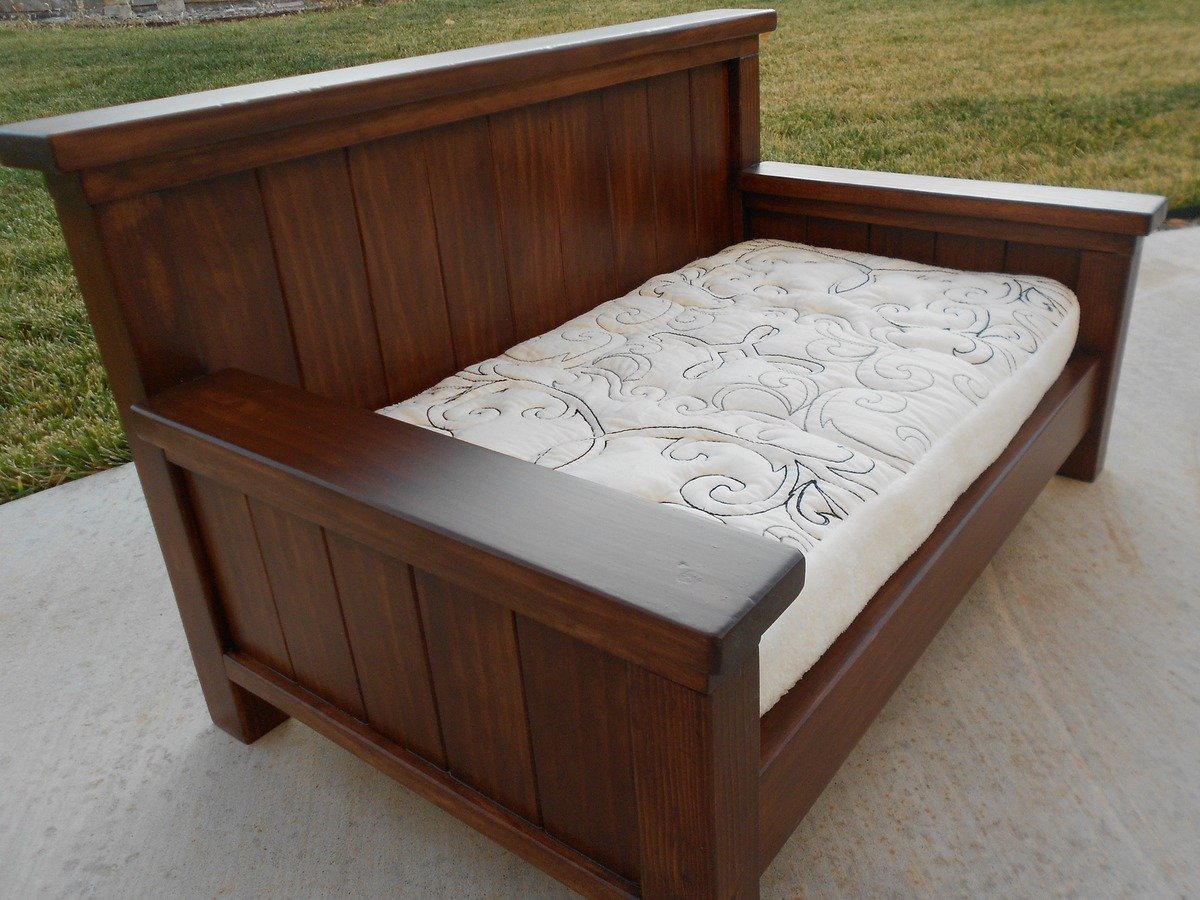
Since making a twin size daybed still seems intimidating to me, I decided to get some practice by making a small version for our dog. I modified the doll farmhouse bed making it a bit larger and in daybed style. We'll see if our doggie takes to it. If not, it will be a toddler couch!
Wed, 12/05/2012 - 07:07
I built the big farmhouse storage bed and nightstands in my bedroom and my dog needs her own little farmhouse bed now. I've been trying to decide how I want to do it... You've just decided for me. Thanks!
Wed, 12/05/2012 - 09:00
I love this!!! I think I might steal this idea and make one of these for my nephews as a little couch. About how much did you spend on lumber?
Wed, 12/05/2012 - 21:10
Thank you everyone! I believe I spent about $25 to $30 on lumber. I have the lumber receipt and it came to $44 but I had a lot left over.
Wed, 12/05/2012 - 20:52
I pretty much just followed the plans, except making it taller and wider by adding more slats and making everything taller. The finished dimensions turned out to be approximately 26 ½” x 16 ½”. I kind of made it up as I went, but I did take some notes. Here is the first part of my altered cut list:
9 ea – 1x3 @ 8” tall (headboard panel slats)
10 ea (5 for each side) – 1x3 @ 5 ¼” tall (side arm panels slats)
2 ea – 2x2 @ 8” tall (side arm legs)
2 ea – 2x2 @ 13 ½” tall (headboard legs)
For the rest of the cut list, I didn’t take notes. I just cut the lengths to fit my new dimensions. I hope this helps. If you’d like more measurements just let me know and I can measure the actual bed.
Wed, 12/05/2012 - 10:07
This looks beautiful. Where did you get the cushion from? How big is the cushion?
Wed, 12/05/2012 - 20:21
Thank you! I made the cushion with foam and batting. I got the foam piece from the fabric store. It was 2" thick, 22"x22" square. It was on sale, but I don't remember how much I paid. I cut it down to 22" x 12” to fit the inside of the bed. A regular handsaw worked great for cutting the foam. Super easy, but messy. I wrapped it in batting so it finished a little bigger, 23” x 13”. I bought one pillow sham from Walmart because I liked the design and cut it apart to make the cushion top. The rest is from one of those cheap fuzzy blankets.
Wed, 12/05/2012 - 10:30
That finish is beautiful! Can you tell me how you did it?
Wed, 12/05/2012 - 21:08
Thank you! I have much to learn about finishing. I first used regular stain. I think the color was gunstock. It turned out so not what I was going for. It was too orange. So then I stained it again with Minwax Hickory Gel Stain. Better, but the wood putty still showed and looked terrible. So I resorted to Minwax Bombay Mahogany Poly Shades which I found difficult to work with, but it did a fantastic job of covering over the wood putty filled holes. I think I used either 2 or 3 coats of the Poly Shades. I’m sure I could have skipped the first two stains and could have had the same result!
Mon, 12/17/2012 - 19:30
Fantastic bed!! I've been shopping for a dog bed. This is 100 times better than anything in the store. I may have to borrow you're idea :)
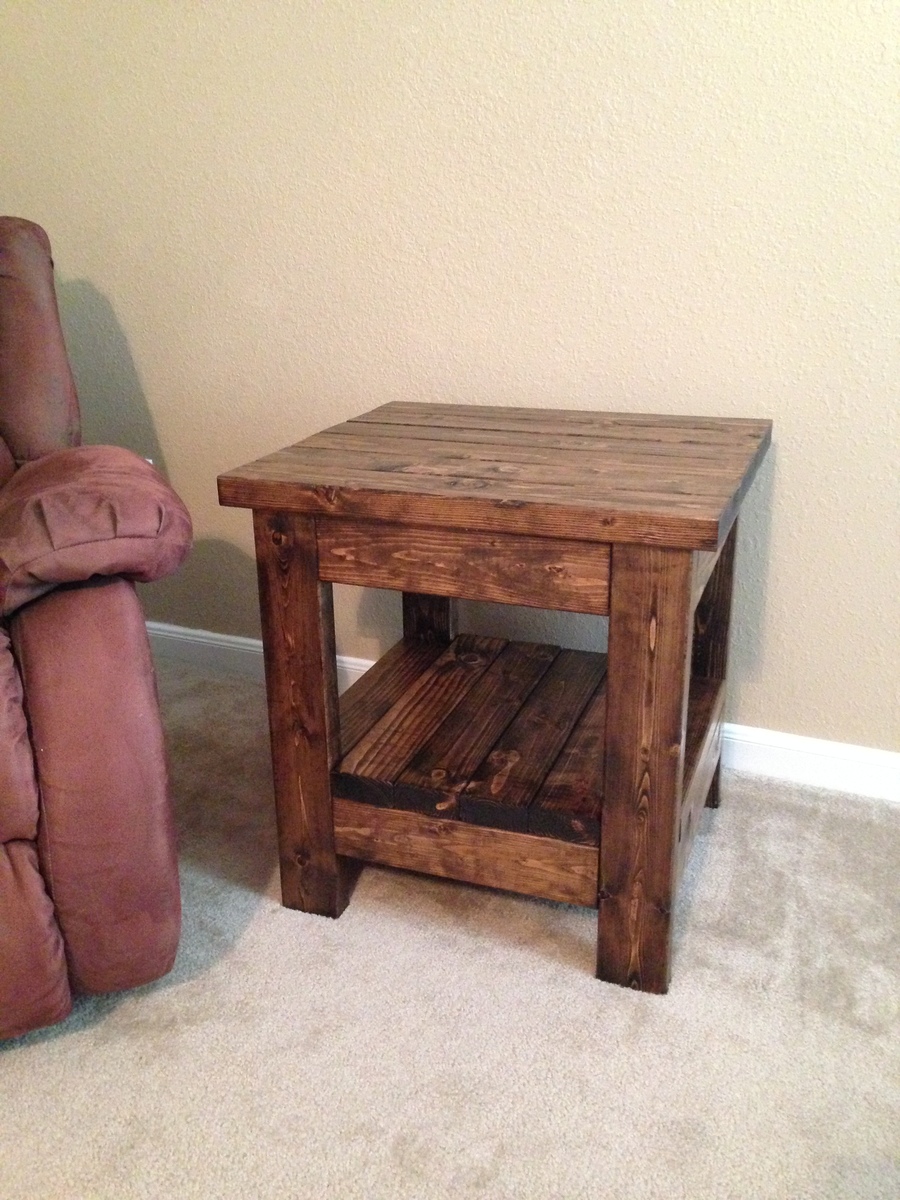
This was my second ever project. I think this will become a long time hobby.
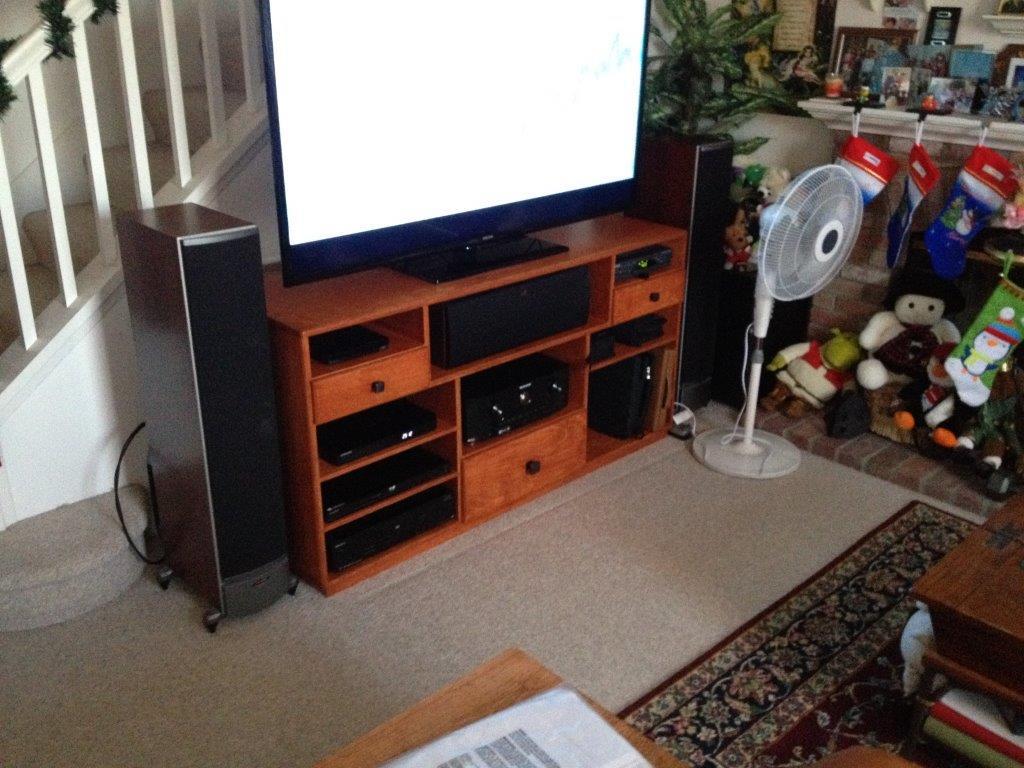
2 years ago I mad a TV stand that was nice. I decided to make a new one now that I know more about wood work. First one was made from Lowes top choice oak plywood and took a lot of work. I have discovered real hardwood stores and for plywood I like Baltic Birch.
I didn't make any hard plans for this one, made it by ear. 2 sheets of 5x5 18mm (3/4) 1/2 sheet of 12mm (1/2) and a 1/2 sheet of 6mm (1/4) Baltic. For edging I left the baltic alone and just rounded it over.
60'wx20"dx 28h
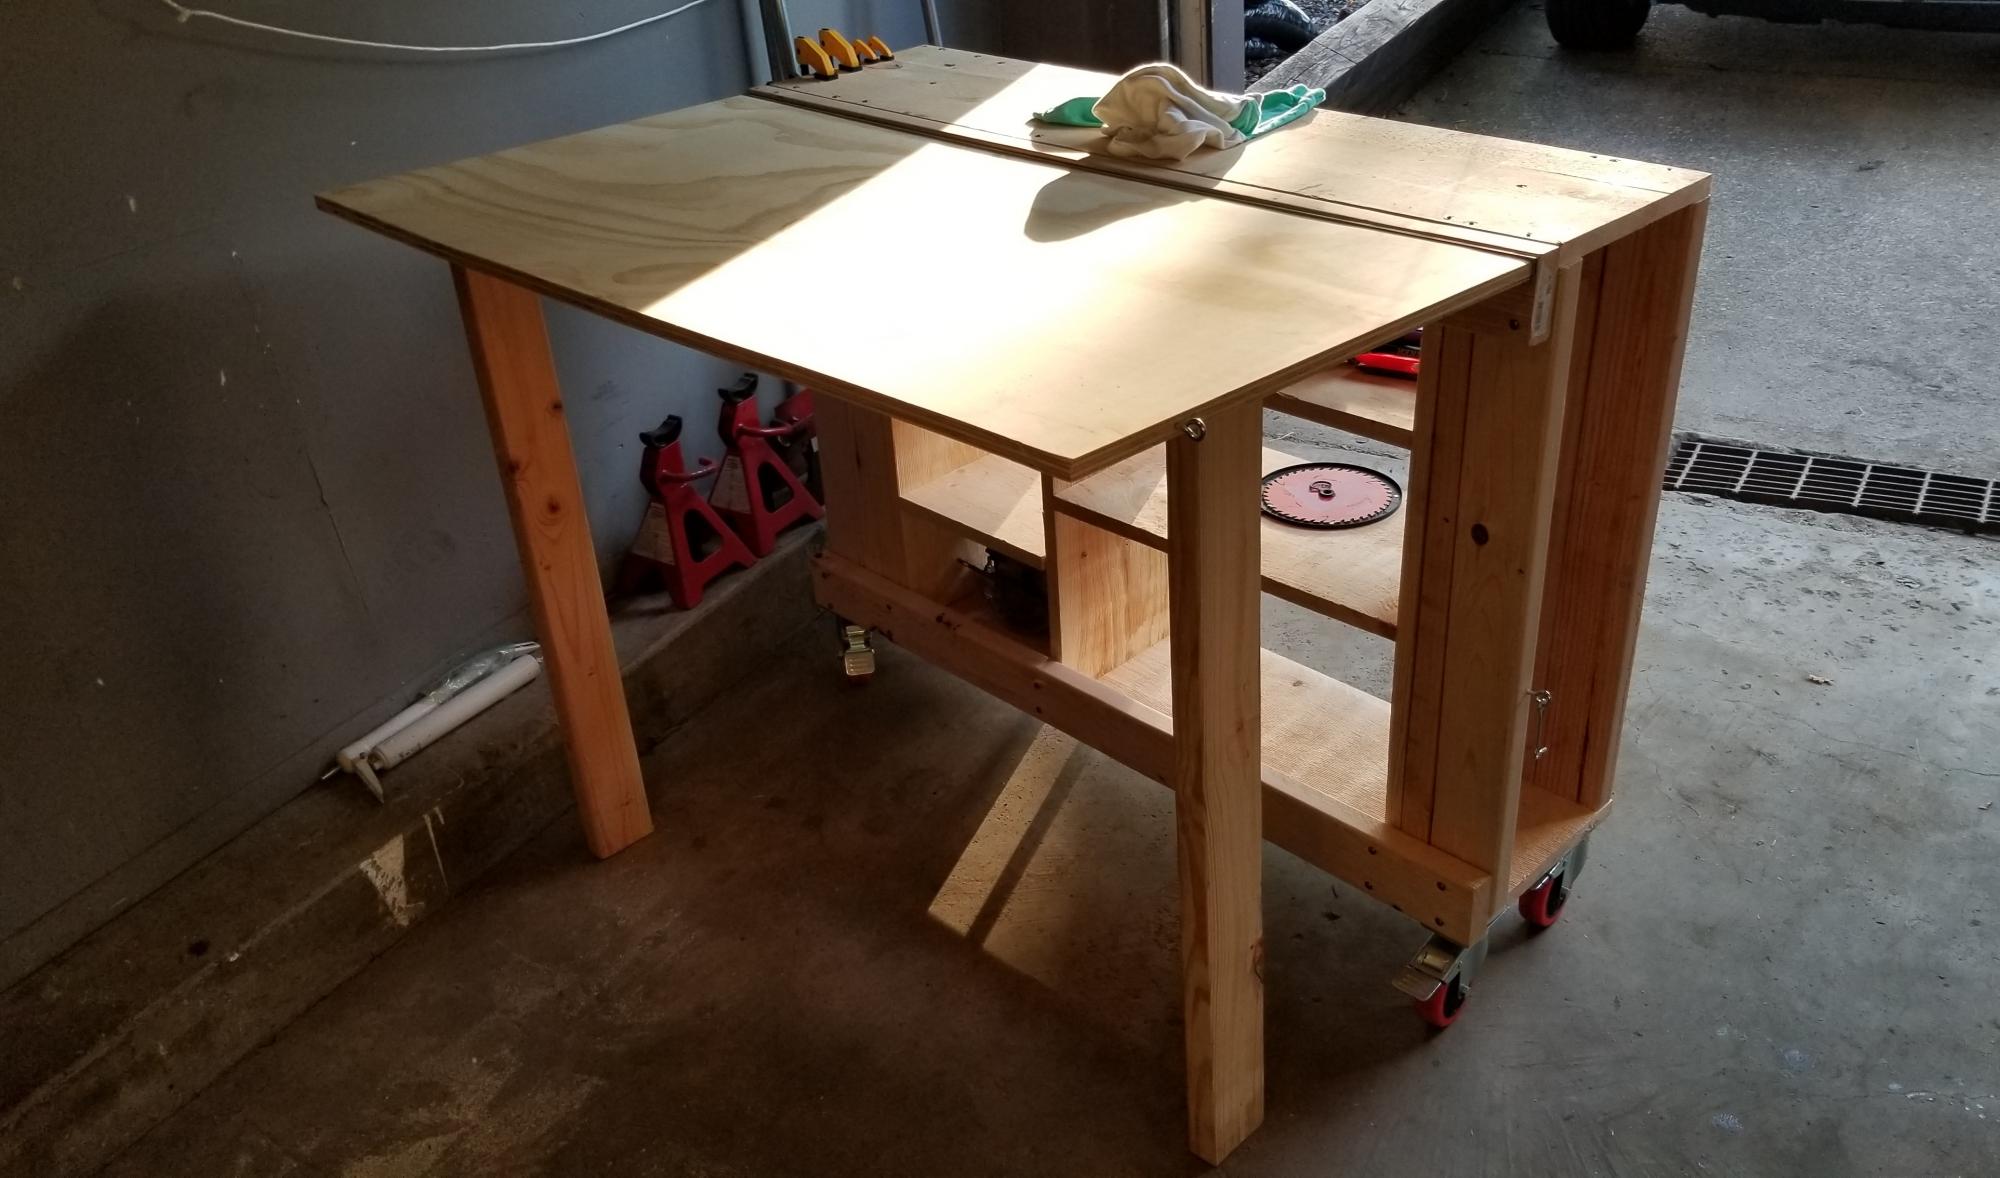
First build of my woodworking journey
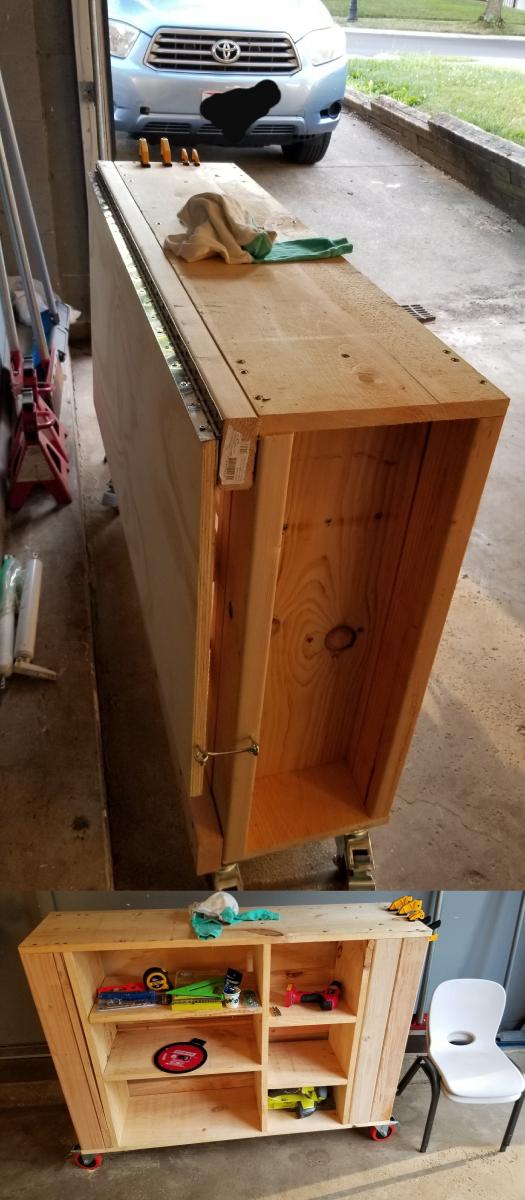
Thu, 09/17/2020 - 10:50
Workbench is a great place to start, I can't wait to see all the projects that are built on it!
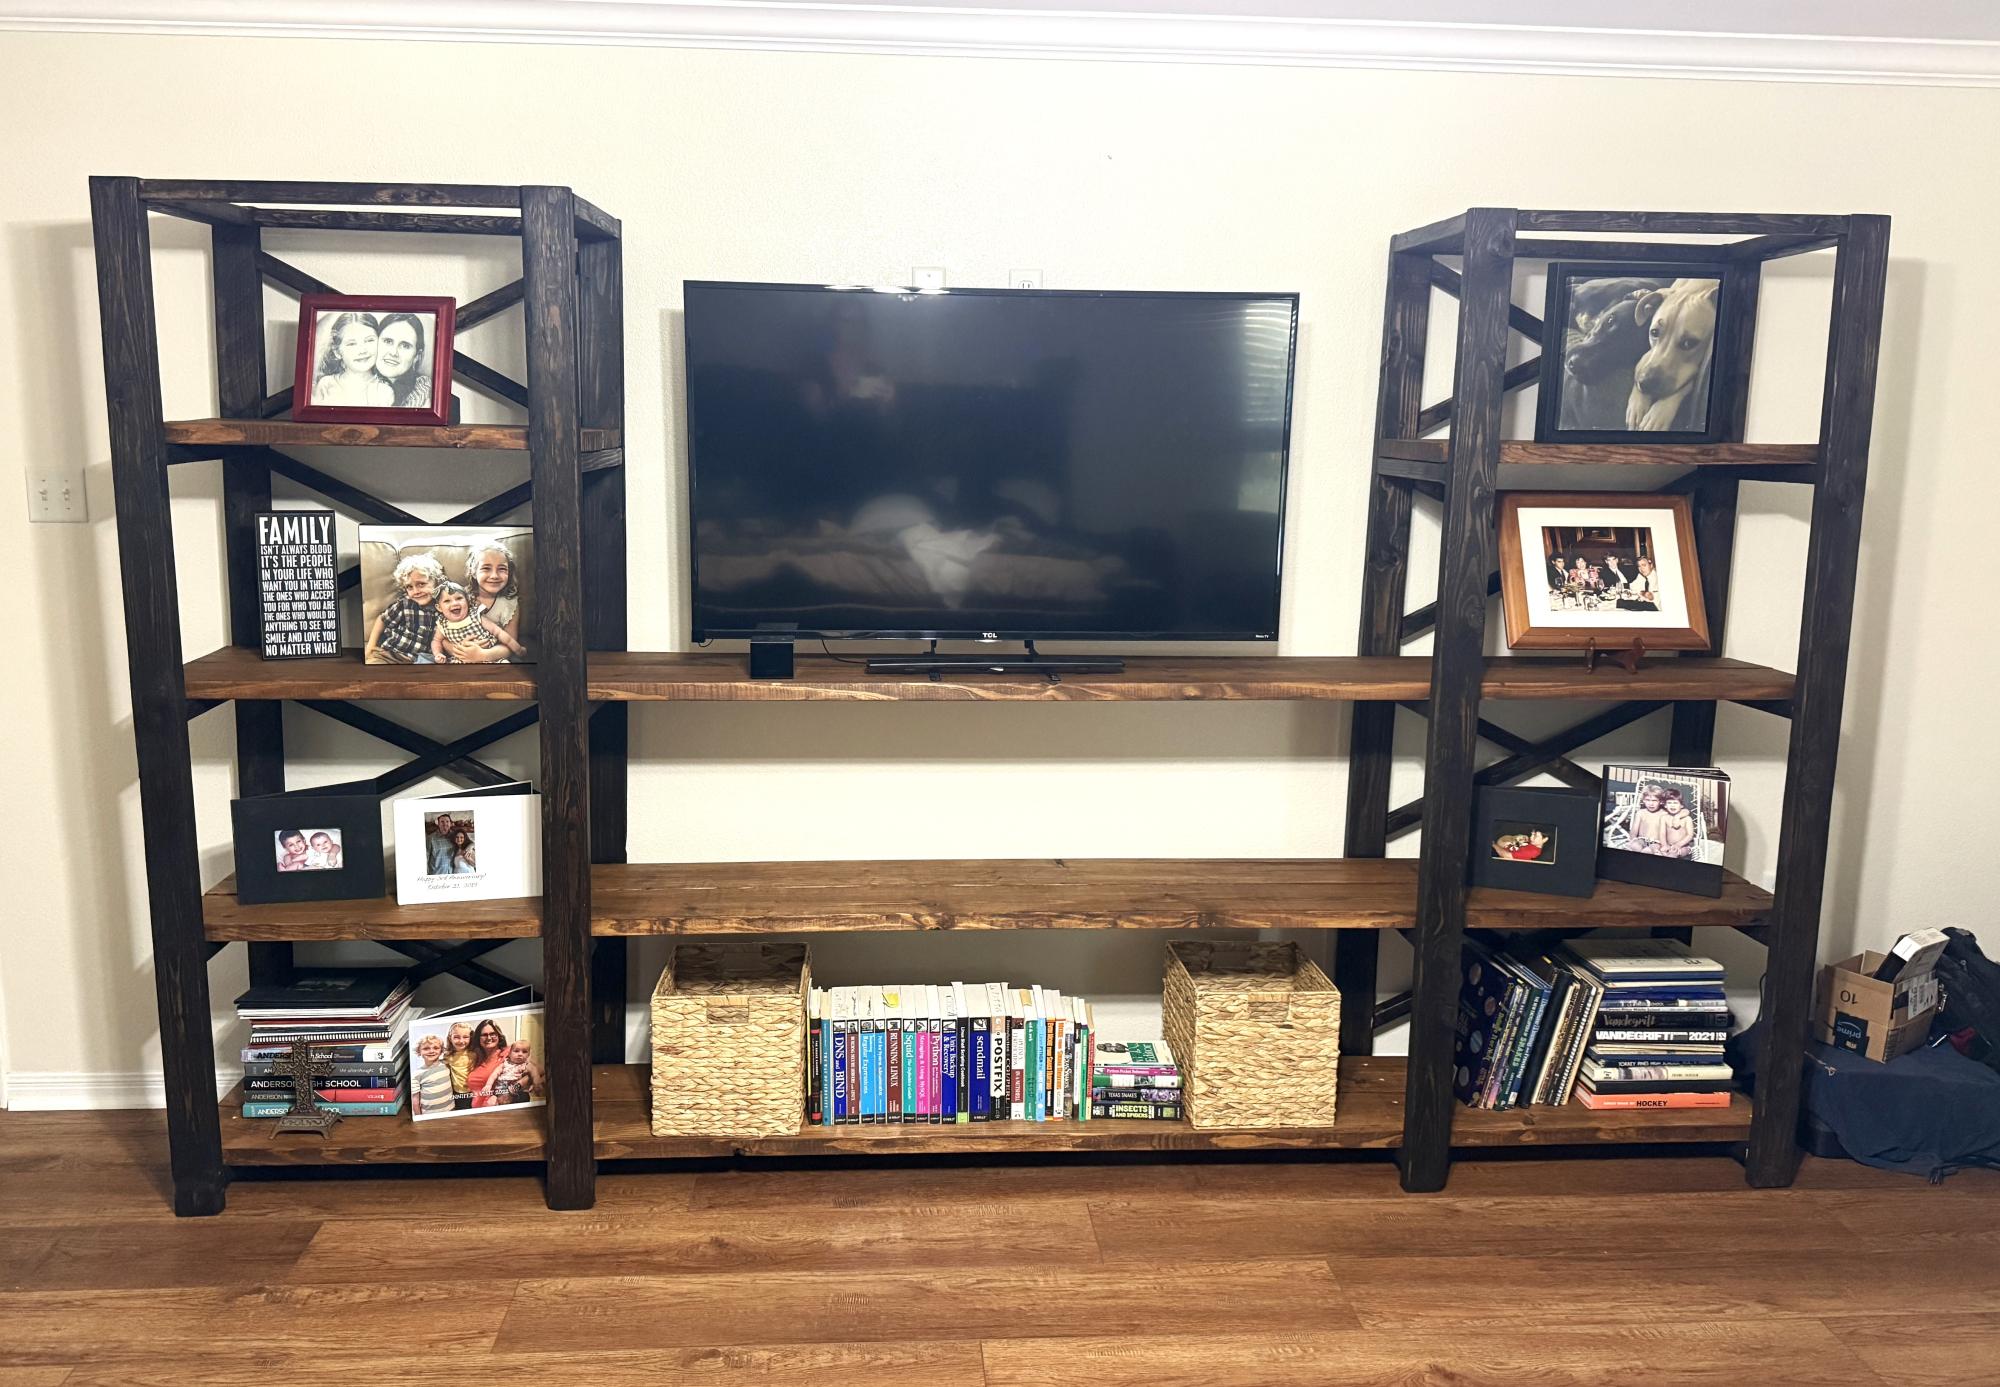
This was the 2nd piece of furniture my husband and I have ever made. We recently moved to the country and I wanted a large, functional piece for our bedroom. I studied Ana's plans for the freestanding garage shelves and then modified those with my own custom ideas - ie, used two 2x8's instead of four 2x4's for the shelves. We bought cheap lumber and had to deal with some twisted boards but in the end, it turned out perfect for our space! The goal was to get the TV at this exact height and to give us some room to display photos, etc. I absolutely love the contrast of the walnut and the espresso stains - we can't stop looking at it! :)
my first project and I am thrilled with the results. This was a Christmas gift for my daughter and son in law. I wanted something a bit rustic looking so I used inexpensive 'whitewood' and one light coat of stain (Cabernet) that I wiped off right away, then sanded the edges down. I loved using some of the tools my dad has given me.
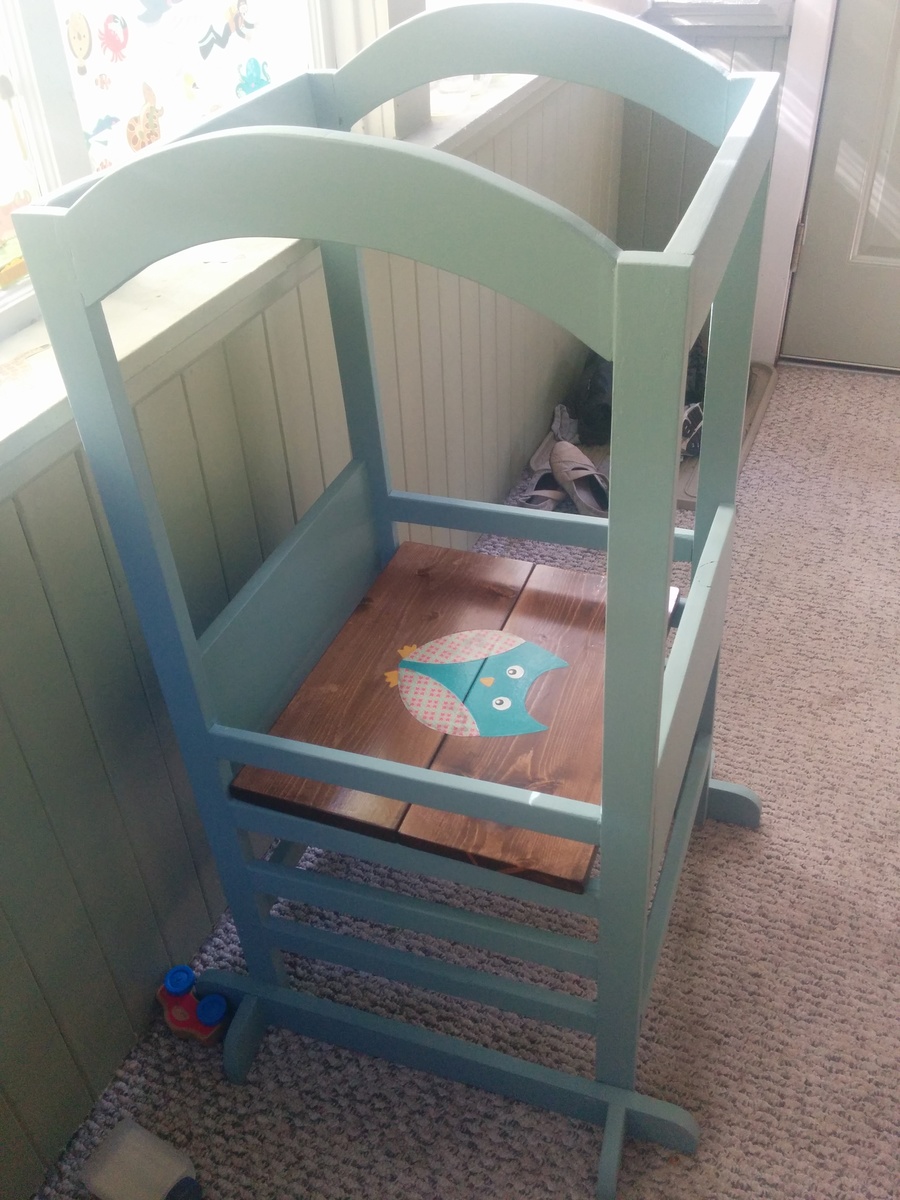
We used Behr cloud burst for the colour and Minwax special walnut for the stained platform. I hand drew and painted the owl (the wings are scrapbook paper) and coated with three coats of polyurethane.
Sun, 09/21/2014 - 08:51
I love the paint job, but am unsure of what the item is. Can you please explain? Thanks!
Sun, 09/21/2014 - 14:19
The helper tower is a sort of step stool with sides, for your child to stand by you and be your "little helper" in the kitchen, workshop, craft room -- it's a super cute idea. :) Here's the link to the plan that has lots of adorable pictures from Ana and readers who have built them.
In reply to Link to Helper Tower plan by JoanneS
Sun, 09/21/2014 - 16:20
Thanks! That helps explain the little platform :)
I have no children young enough for this. Maybe someday when I have grandchildren.
It was very easy to follow the directions and the costs were minimal. Our granddaughter is in heaven with this bed.

Modified the end table to fit my dimensions. This was project number two of three so $ estimate may not be accurate
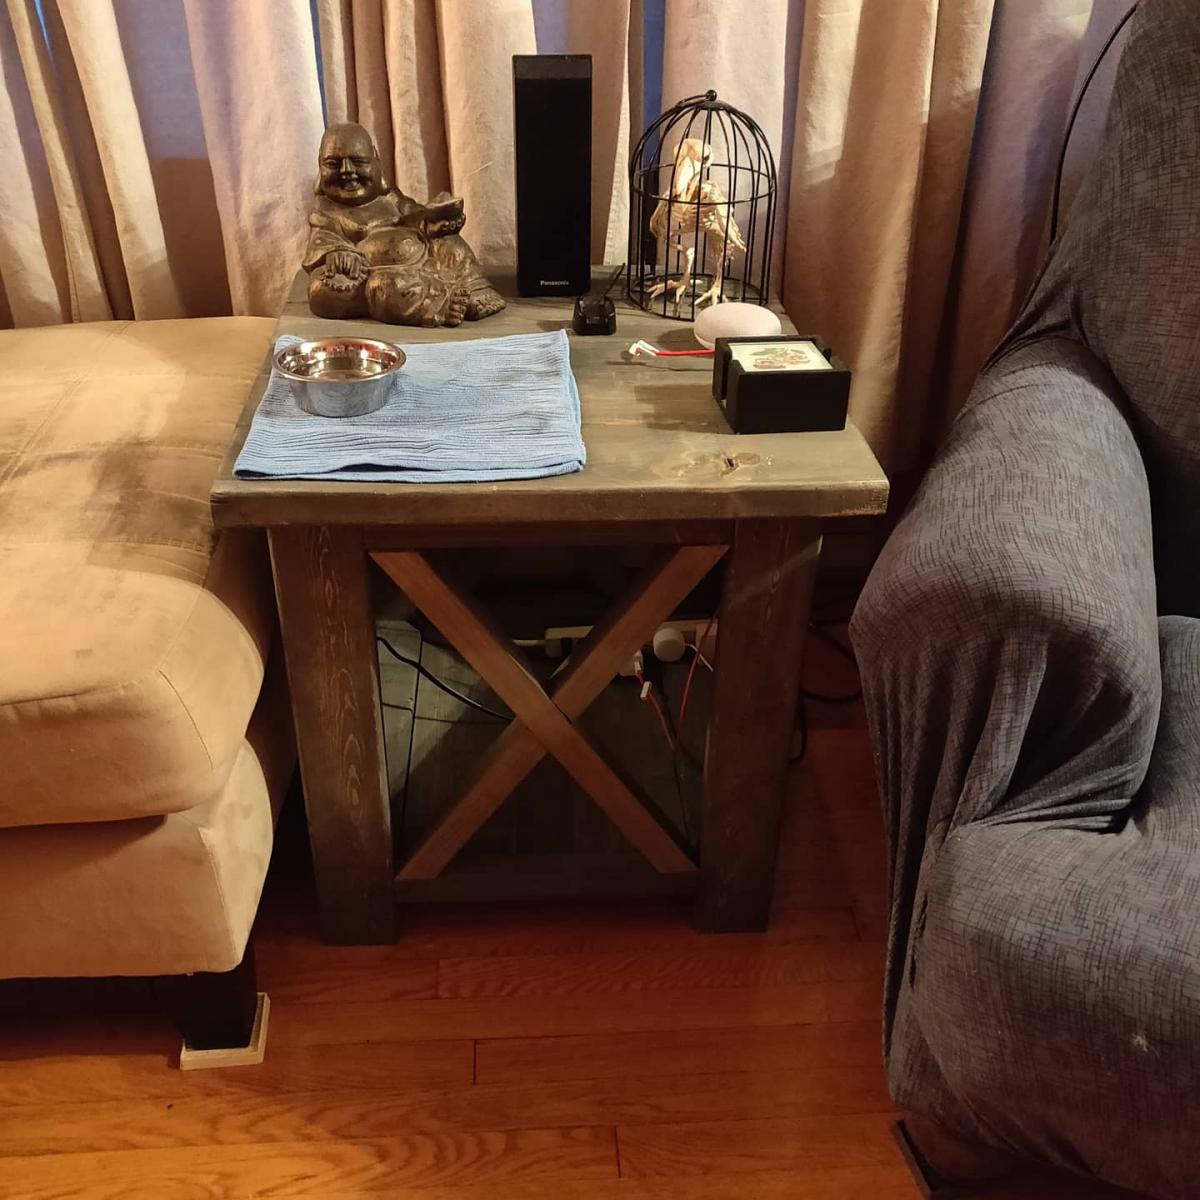
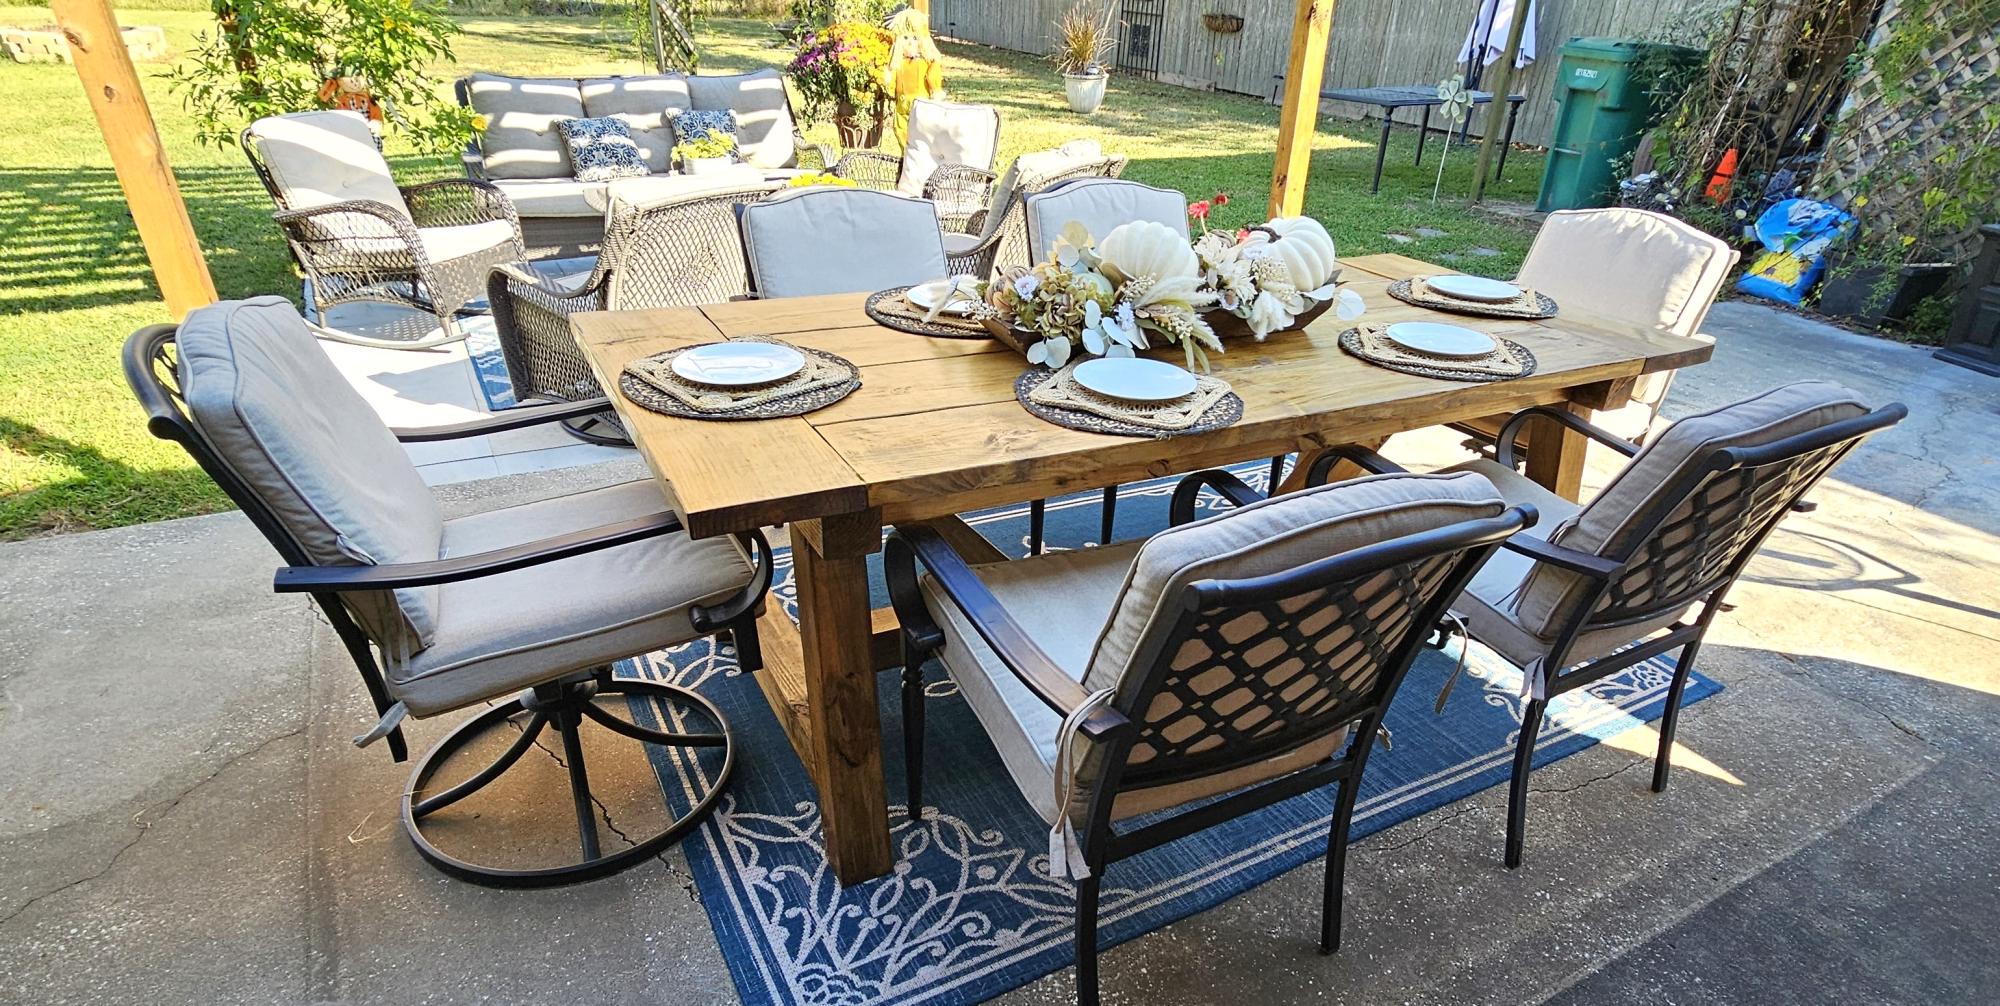
I made my first project from your website this week. Here's a picture of the finished work. Thanks for supplying your plans. They are really helpful. - Doug Davis
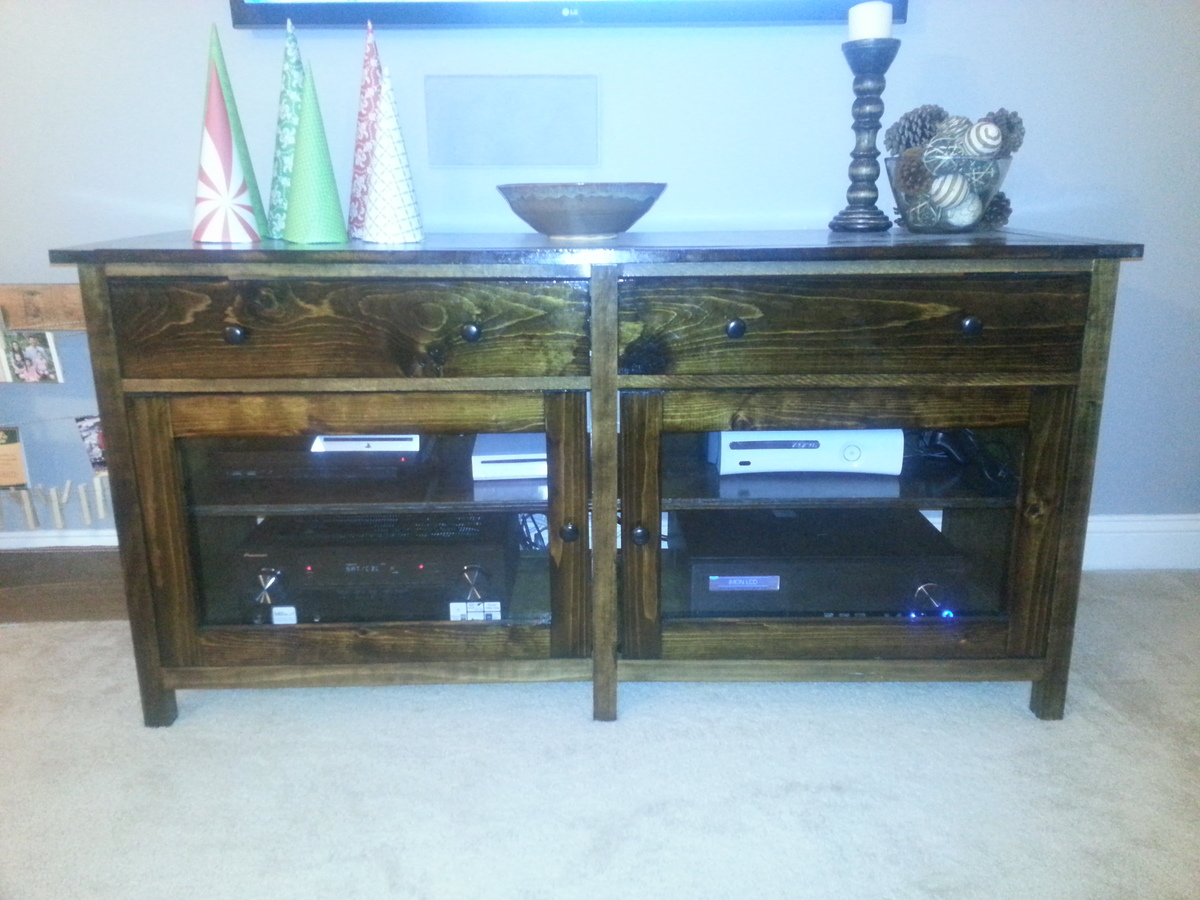
My wife and I wanted a nice TV stand for our new living room. Like always, we did not want to spend tons of money and I thought about building something anyways. My wife found the Benchwright series at Pottery Barn and loved it, but for almost $1,000 that was not in our budget. Of course I came straight here and found these plans! I had a great time building this. The measuring and cutting took only an afternoon, and the staining took a long time as this was my first real staining project. I also wanted to get nice glossy coats of clear coat, which took time.Overall we are thrilled with how it turned out! The biggest headache was the euro hinges. I followed the directions that came with them and they did not turn out right at all. It was trial and error to finally get this placed correctly.
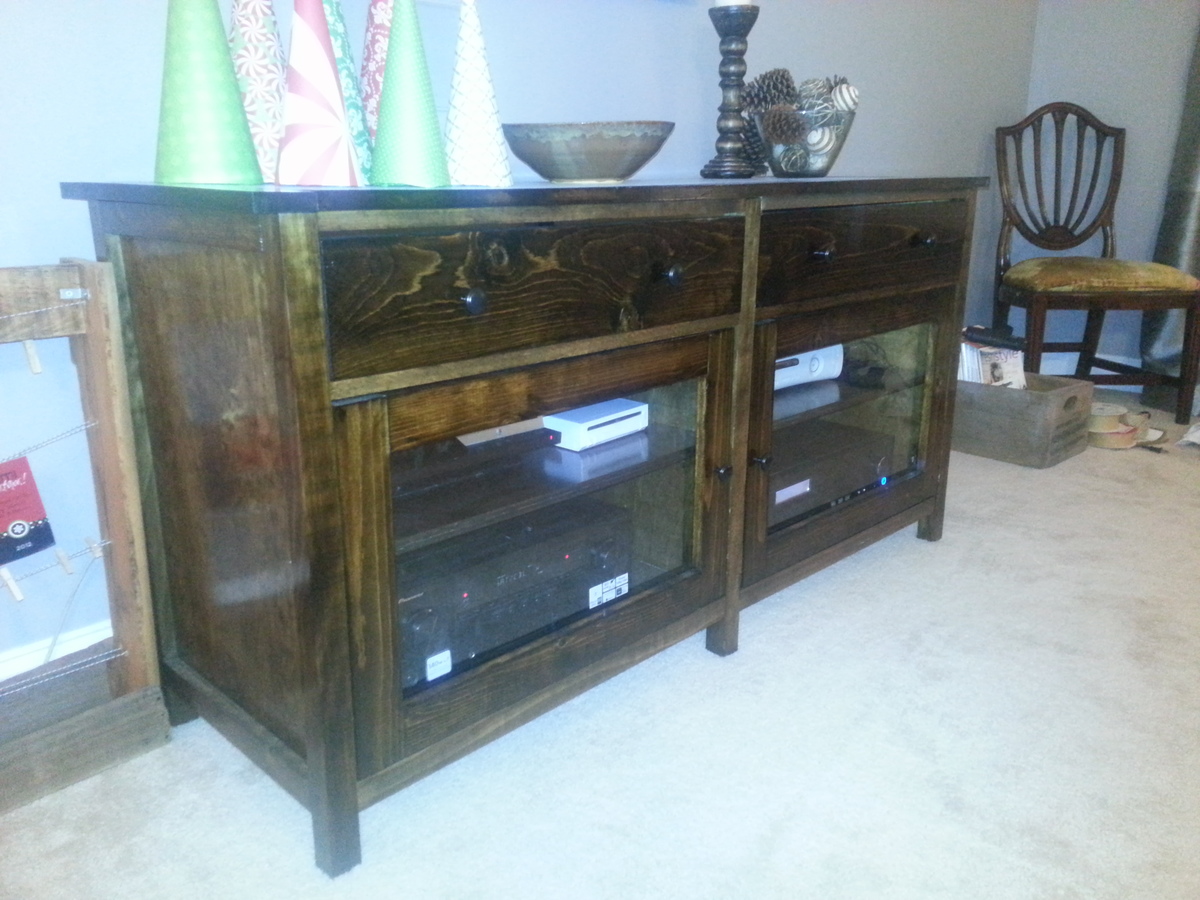
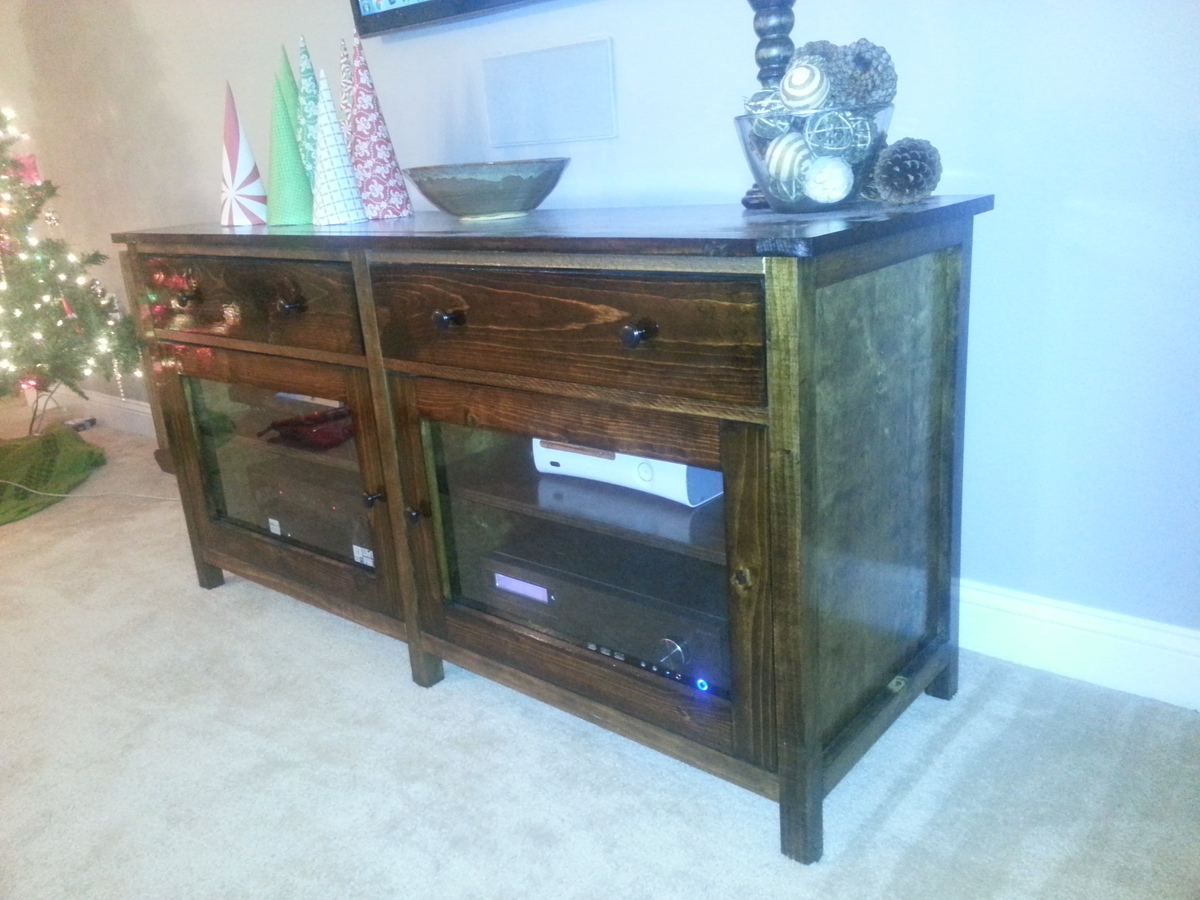
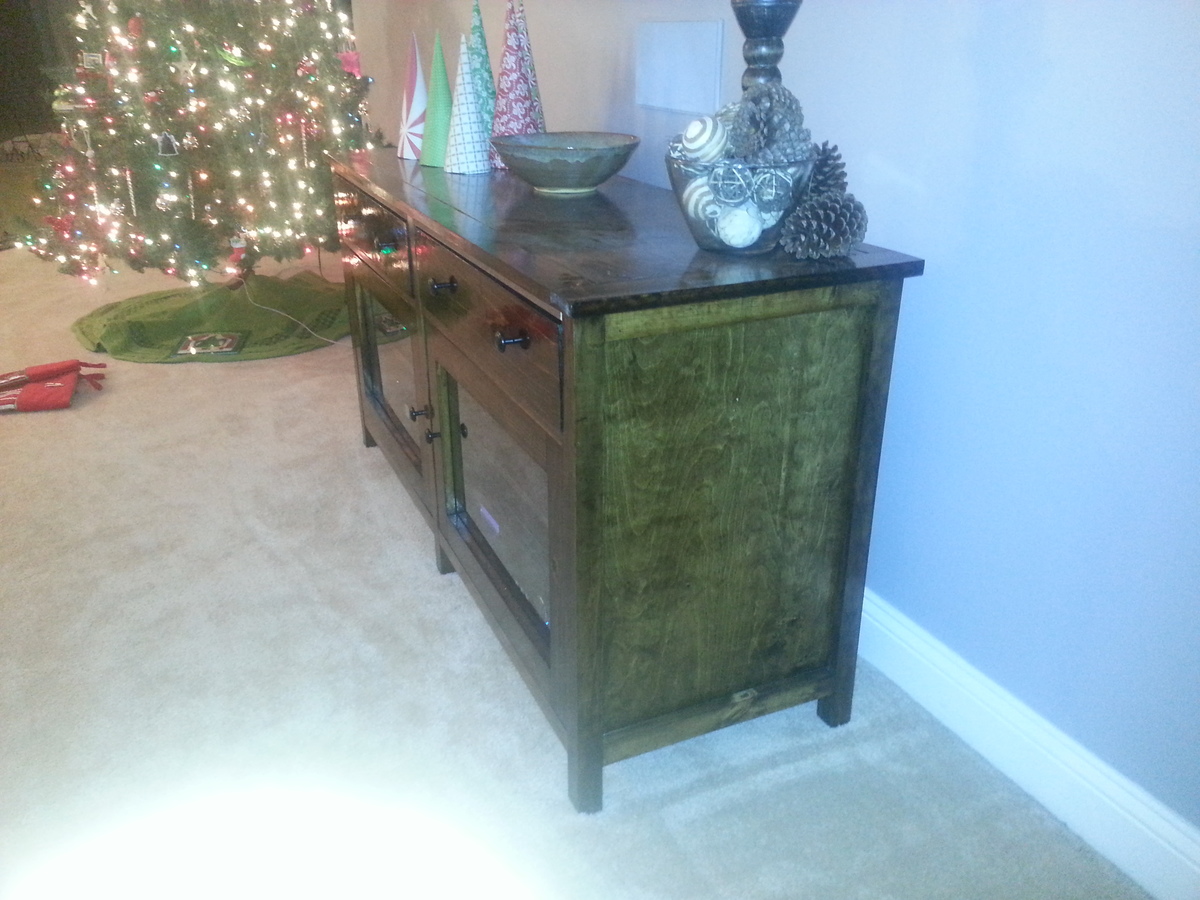
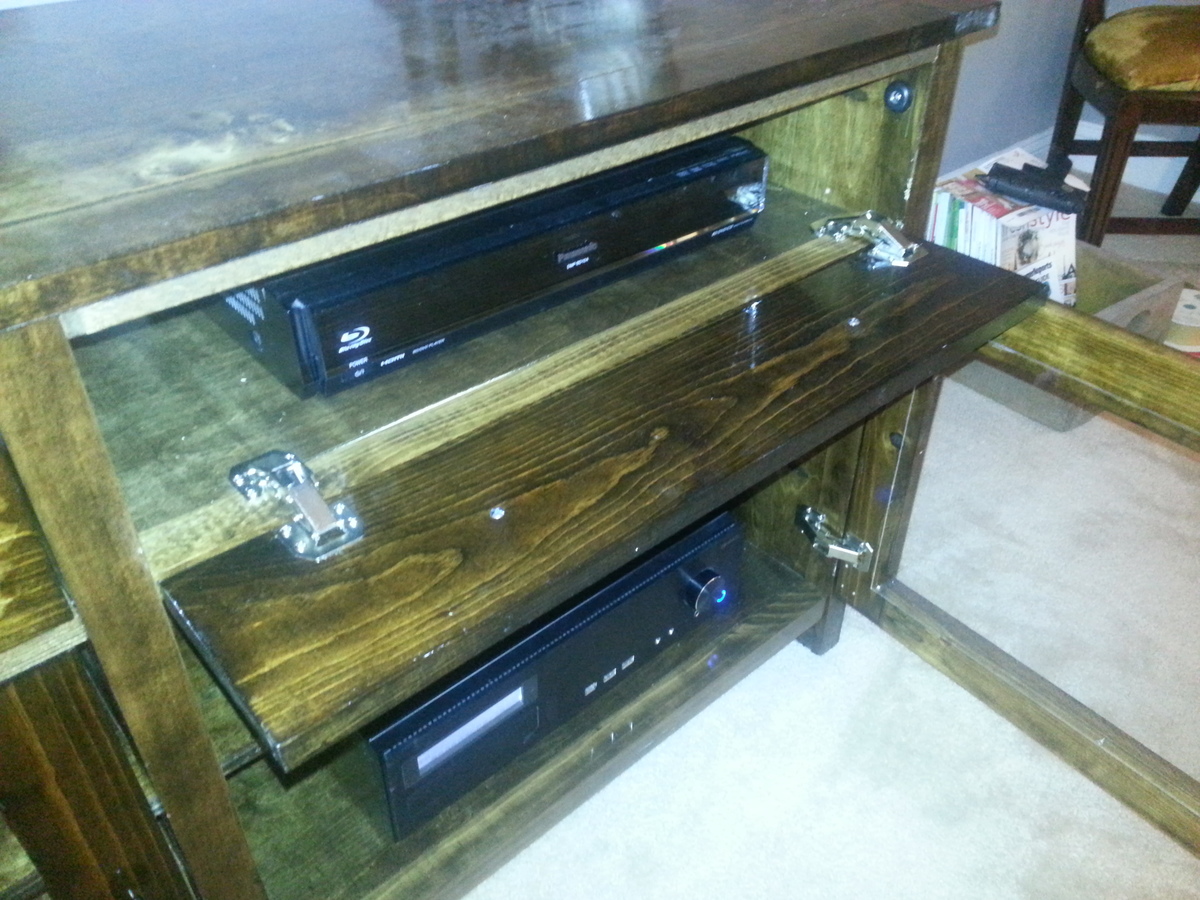
Thanks again to Ana for the instructions. It turned out great!
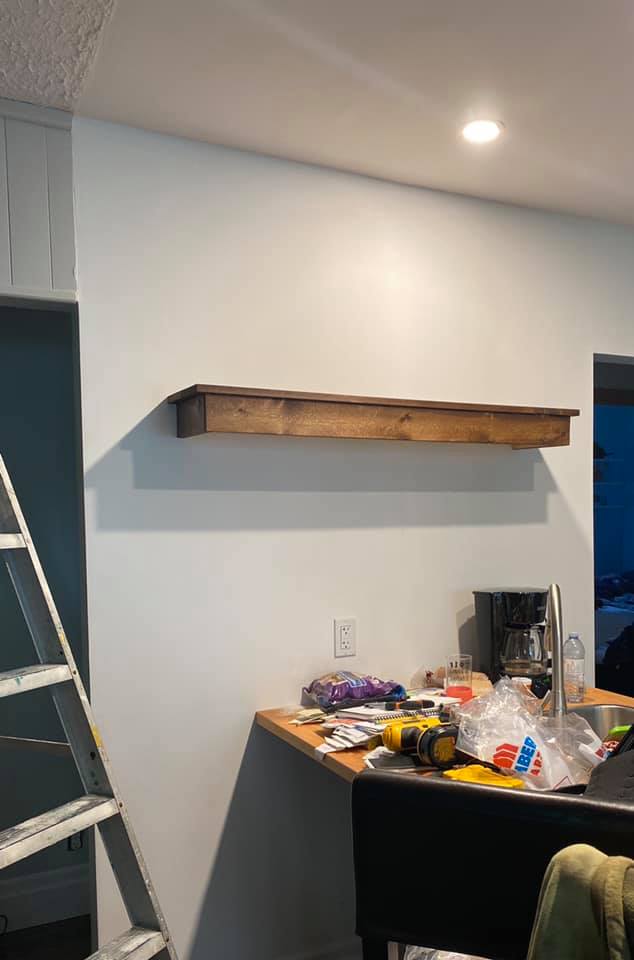
Use a combination of ideas for this floating shelf. Overhung the top to give it a lip. Finish is Minwax Provincial.
My railing inspired by Ana White’s. Thanks for the inspiration, Ana. - Ross Fasano
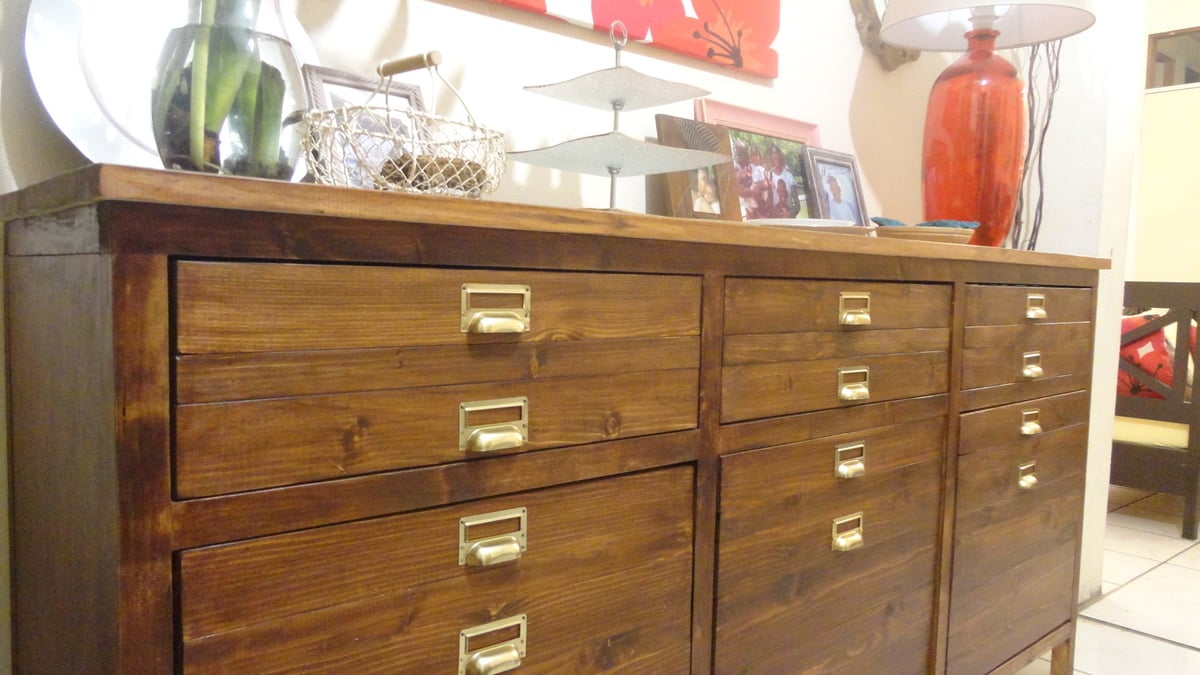
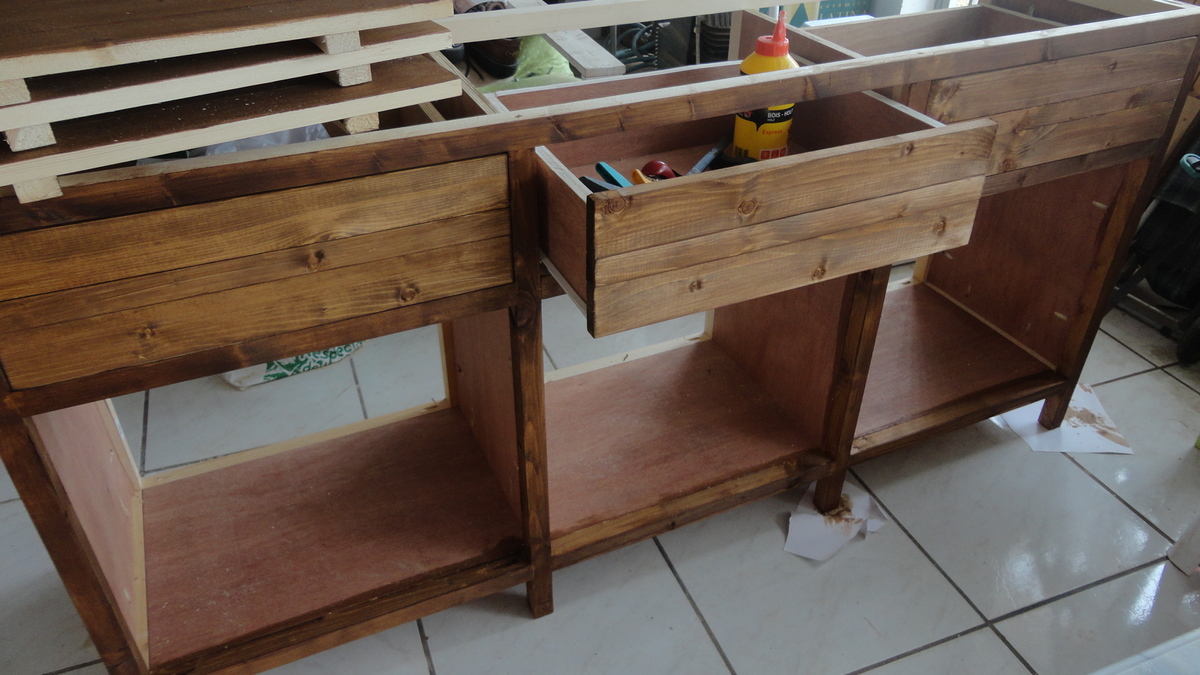
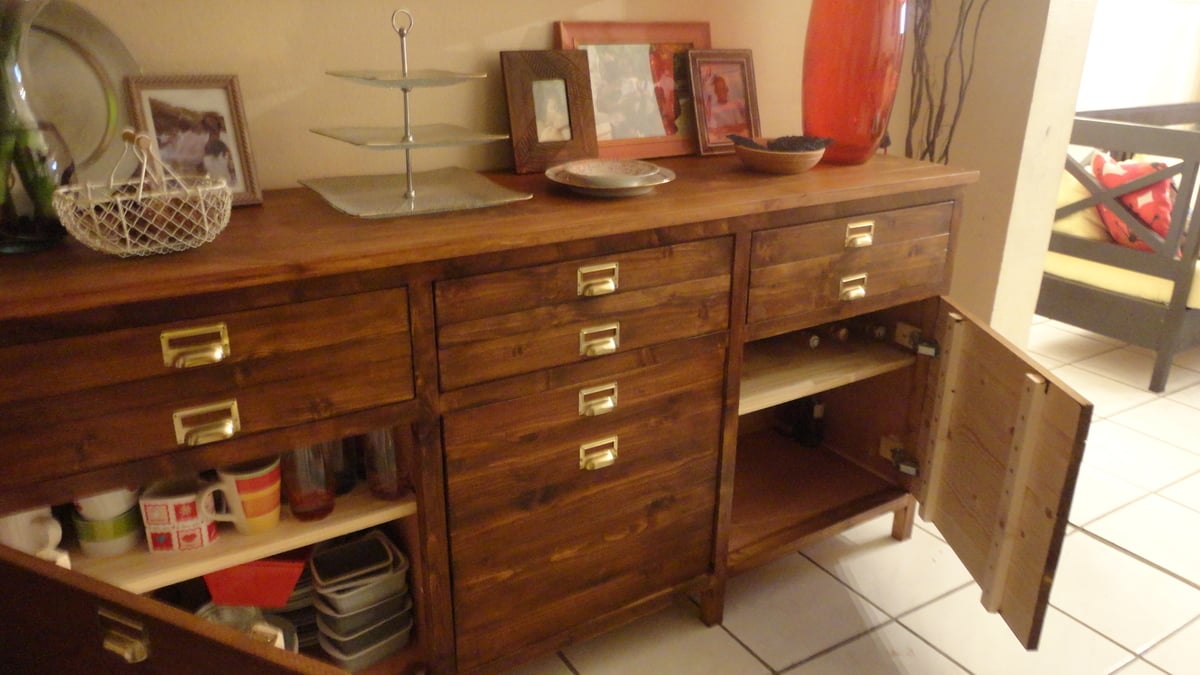
I built this console because I love it. I built the other printers console and when I saw this one, I decided to build it too. My house is not so big but I found a place for this console in the entryway.
It took me three weeks to achieve it. I was affraid drawers but now, I know I can do it. Thanks Ana and all of you because you inspire me!
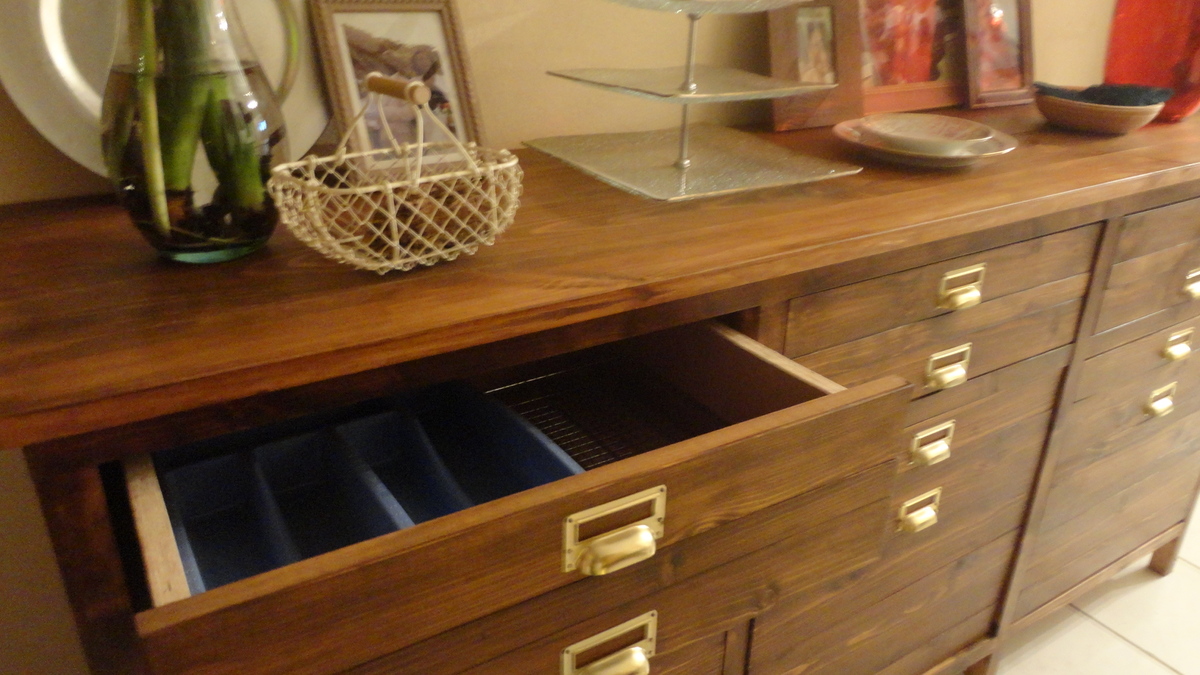
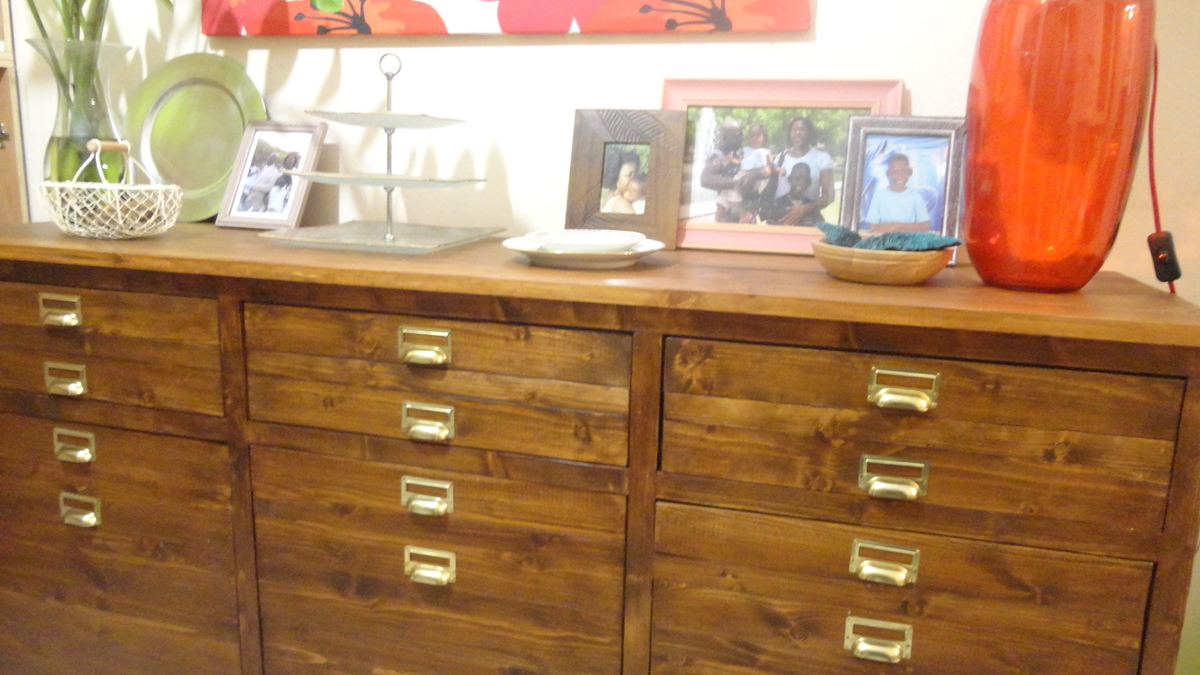
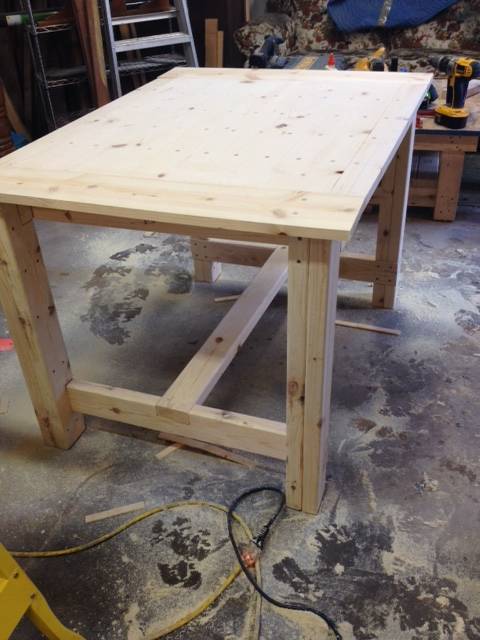
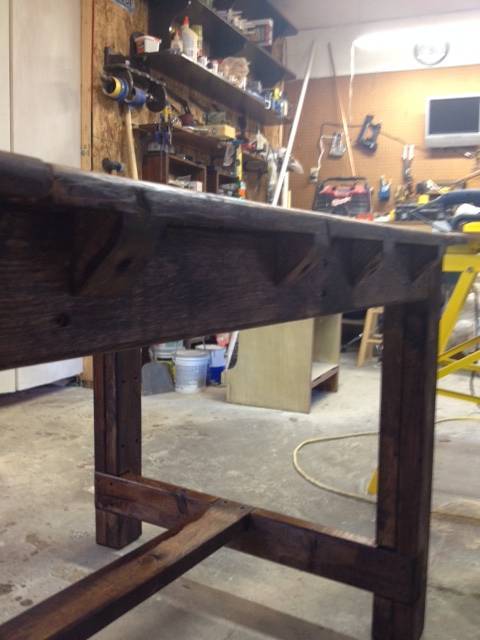
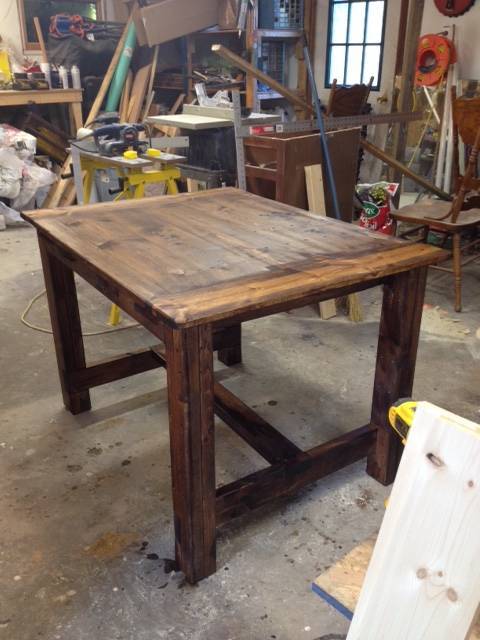
made this farmhouse table 30in tall 4ft long and 26in wide,

I wrote a blog entry about this project that you can find at:
https://1thing1week.com/2017/01/09/airplane-shelf-for-a-nursery/
This shelf is great for beginners, easy to assemble and very inexpensive! I had a blast making it. I made it for my expected son's airplane themed nursery.

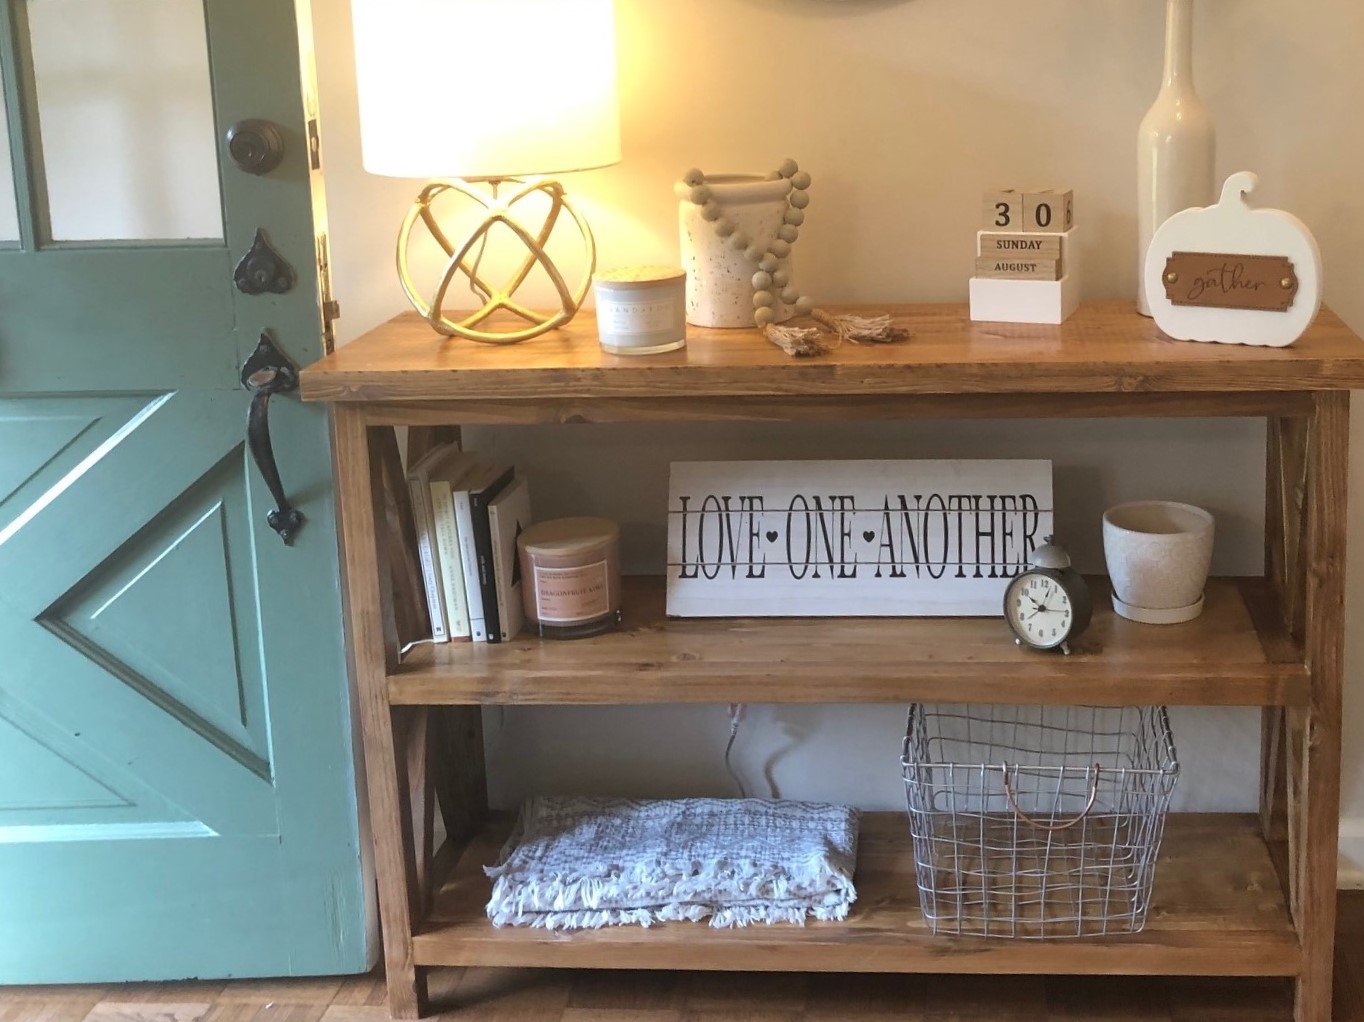
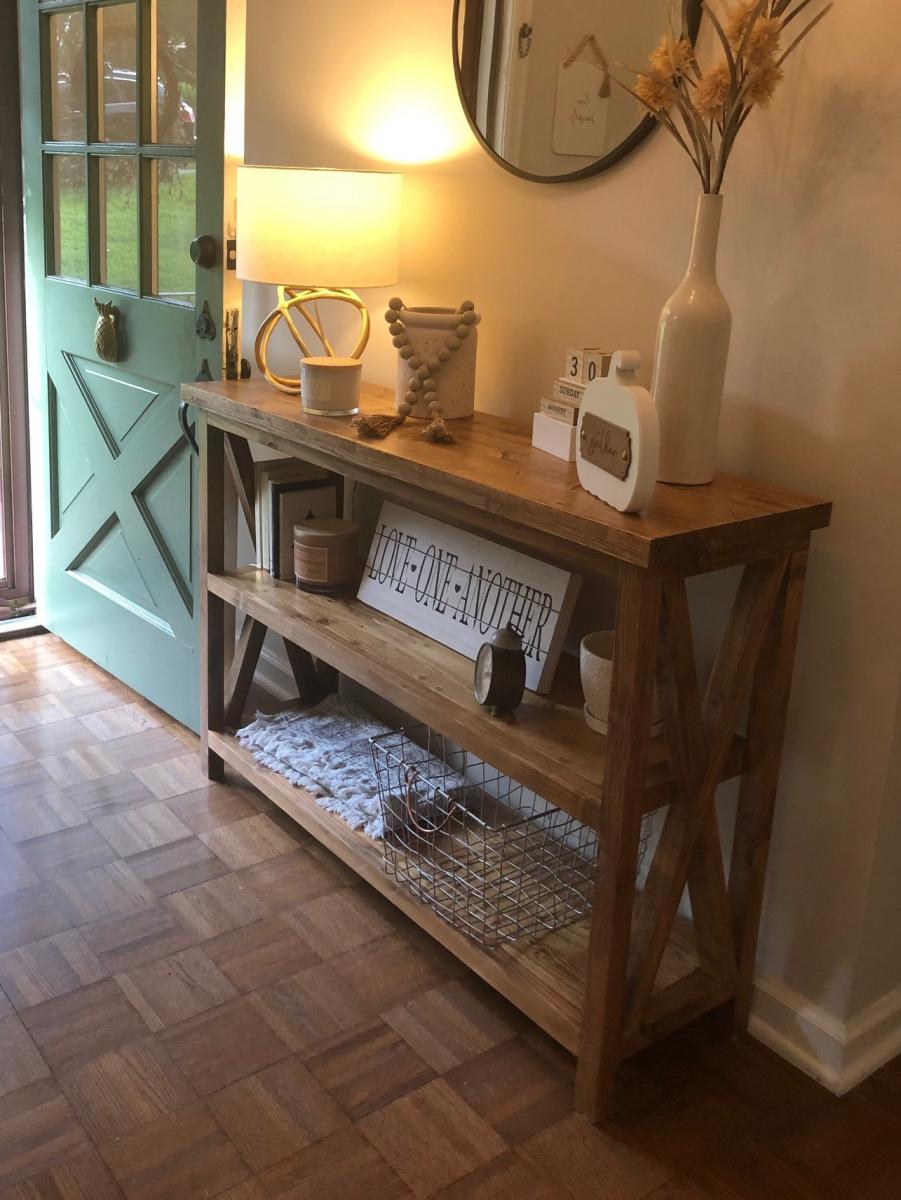
My daughter wanted a console table for her entry. I found this plan and adjusted slightly for depth (decreased to 14 inches) and length (decreased to 48 inches). This of course requires recalculating the angles for the x's. For the top, and shelves I found edge-glued panels at Lowe's and cut to size. The top is two of them laminated together. She was happy with the birthday present ... thanks for the great plans Ana!
Fri, 09/25/2020 - 14:49
Nothing says I love you, like building a custom piece for a loved one! Thanks for sharing:)
I finished two projects and had tons of leftover wood. Pieces too small to use in projects or jigs, so I sanded down the various shapes, threw out those pieces with too many knots, gouges, large splinters, and painted them for the kids to use as building blocks. Best thing was I knew what the blocks were made from rather than questioning the materials used by commercial companies (e.g. NO LEAD PAINT!) which cost about $1 per block. I made 200 blocks for less than $40 and about 14 hours of labor.
Sun, 12/23/2012 - 09:28
Wonderful idea but next time I'd use thinly diluted koolaid to "paint" with. Then there are no worries about the kids chewing on paint.
Smells good too....
Will have to do this for my grandkids!!!