Community Brag Posts

HGTV's Home Town featured Table

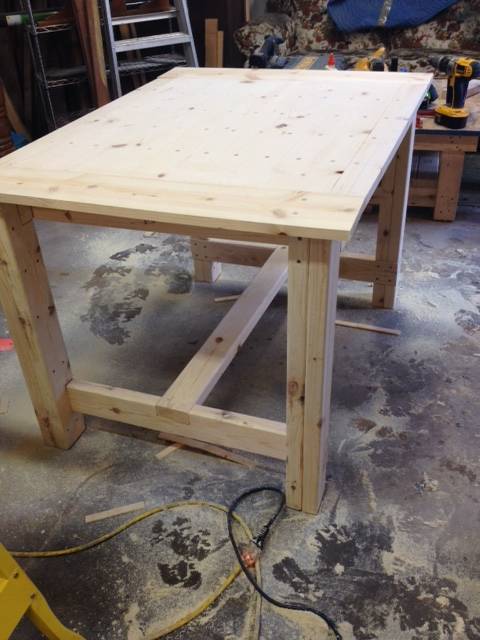
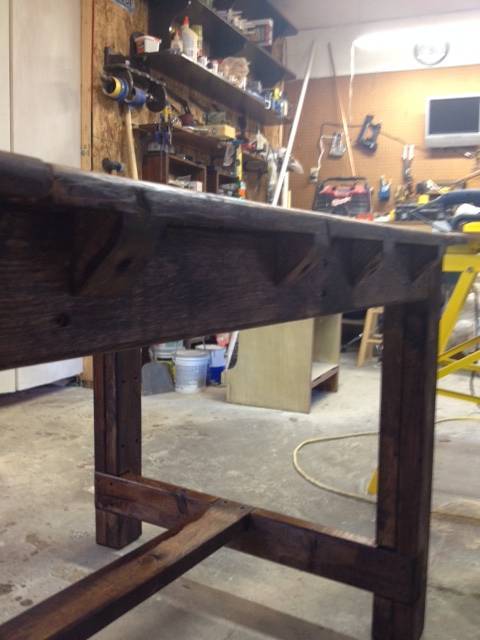
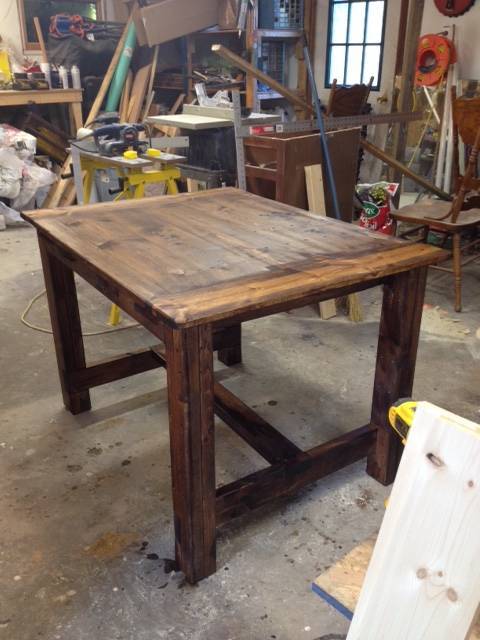
I built this table in the summer of 2017 specifically for our new home.  I used the reclaimed barnwood from my wife's grandfather's corn crib barn he built in 1947 along with a few pieces of lumber cut from trees that were blown down during hurricane Katrina.  The table top boards were planed to 1" thick and glued on edge with biscuits.  The table top is wrapped by a ripped rafter from the barn about 2" x 2".  The verticals of the legs are laminated leftover pieces, one of which has the initials of a son preserved from the original barn.  The horizontals of the legs are from pine and red oak Katrina wood.  The table bracing is made from barn rafter material and the metal straps are made from scrap and painted black.  The table itself has no stain, because we felt the true charm would be more appreciated showing the old nail holes, knots, and bug scarring.  It is finished with three coats of clear matte polycrylic.  I engineered the table into two pieces, so that the top could be removed for ease of transport. 

You may see our table in HGTV's Home Town Season 2 Episode 3 originally airing January 22, 2018 at 8 CST.

Built from Plan(s)
Estimated Cost
$15
Estimated Time Investment
Week Long Project (20 Hours or More)
Finish Used
No stain. Three coats of matte clear polycrylic.
Recommended Skill Level
Advanced

My entry way bench in Hickory

Submitted by Anonymous (not verified) on Tue, 12/28/2021 - 12:19

The bench plans were super helpful!!

Built from Plan(s)

Comments

Recycled Storage Table

Submitted by DanielleH on Tue, 05/10/2011 - 20:37

We used a $35 craigslist table top with a leaf some 50 cent cull MDF pieces and about 80 in screws, paint and wood and got a beautiful counter height dining table! Loved getting to know my Kreg Jr.

Built from Plan(s)
Estimated Time Investment
Weekend Project (10-20 Hours)
Finish Used
We adapted the plans to make this a counter height table. We ended up with a larger shelf at the bottom so I can fit a nice big basket. The shorter top shelf is perfect for glass jars, platters and napkins. We had bought the chairs on clearance from a local furniture store, we had Sherwin Williams match the stain on the top. Spray painted and rolled the shelves at the bottom black. We ordered the bun feet online as none of the local big box stores had anything that was chunky enough. The 42 inch top is the right size for our room but there's not much leg room and you can't push the chairs all the way under the table because the base is a little too large, but I LOVE the storage space and with the leaf we got, it'll seat 6!
Recommended Skill Level
Beginner

barnboard cooler

Submitted by Nickles on Sun, 06/28/2015 - 10:35

I followed a killer bee plan for a rustic cooler that I found on your site. tweaked it a little and I'm still adding to the décor on the outside

Estimated Cost
Around $15 if you have glue and screws already. I also had the barnboard from a barn we tore down last year.
Estimated Time Investment
Afternoon Project (3-6 Hours)
Finish Used
no finish
Recommended Skill Level
Intermediate

Loft Bed Full Size (12 inches shorter than plans)

Submitted by NWhited12 on Mon, 01/15/2018 - 11:10

We made these beds for the kids as their Christmas present. They’re full size and we plan to add shelves later. We had to cut them 12 inches because the kids were hitting their heads on the ceiling. I added white Christmas lights under them. I LOVE how they turned out!

Built from Plan(s)
Finish Used
I used MinWax Stain
Recommended Skill Level
Beginner

Our Chicken Coop (Aka Dollywood)

When we became accidental chicken owners, we had to build a coop fast. I found the plans for Ana’s replica of the Williams Sonoma chicken coop and got to work. They were very easy to follow and easy to modify to fit our own needs and aesthetic. We decided to enlarge the coop and remove the planter in the original plans to accommodate more chickens while keeping the original footprint. Instead of plywood, we used cedar reclaimed from an old fence we had recently replaced. We also enlarged the rear door to make clean-out as easy as possible. I cut pieces of polycarbonate to fit inside the door and windows to winterize the coop when temps drop below freezing. The run is designed to follow the shape of the coop and is large enough to give our 5 chickens plenty of space to roam when they aren’t free ranging in the yard. The planter box runs the length of the chicken run, providing plants to munch on inside and shady vines that will eventually cover the outside.

Comments

Workbench Console

Saw this bar in the PB catalog and loved it! SO excited when I found it on Ana's site... This project was a little more time-consuming than the others I've done. A ton of 2x4's are used, and we bought stud grade 2x4's...definitely got our money's worth out of our palm sander. The table top gets pretty heavy so I couldn't have done it without a hand from the hubbs. We built four separate pieces - the table top, the lower shelf/box, and the legs. We stained everything, then assembled the pieces. Finished assembling this the morning of my work Christmas party, which we were hosting. The perfect drink station!

Built from Plan(s)
Estimated Cost
$100
Estimated Time Investment
Week Long Project (20 Hours or More)
Finish Used
Dark Oak Polystain - a little distressing with hammer, nails, screwdriver
Recommended Skill Level
Intermediate

Queen Size Farmhouse Bed

Submitted by Koji on Mon, 07/08/2013 - 12:36

I started on the Farmhouse bed and as I got further into it I decided it needed a bit of 'extra' attention, hence the dentil moulding across the top and the panels to cover the 1x6's used for the headboard and the foot board, they are finished off with some cove moulding.

I used Spax bolts on the side supports and used a Forstner bit to drill down far enough to hide the bolts and made some wooden plugs to cover the holes. Minwax Special Walnut in the finish.

Hope you like it

Estimated Cost
$250
Estimated Time Investment
Week Long Project (20 Hours or More)
Finish Used
Minwax Special Walnut
Recommended Skill Level
Intermediate

Storage Bench

Submitted by Jdschrag on Fri, 01/19/2018 - 05:28

Inspired by the Vintage Bench plan we created this Little Bench for our Daughters Shoes and other stuff!  Added Trim work and layered Paint to create a Vintage look.


Estimated Cost
$40-50
Estimated Time Investment
Weekend Project (10-20 Hours)
Finish Used
Layered Enamels to distress and finished with a Clear Wax applied with soft rag
Recommended Skill Level
Beginner

Not the Full Miter table design

Submitted by Hjmoore420 on Wed, 01/05/2022 - 12:50

while this is a great design I only needed the extra storage and work space so I just made one of the storage roll away from this plan. I had to alter slightly making them a bit smaller as the space I was making this to occupy had a width of 44 inches but it is an amazing amount of space provided. I will put a clear coat on but sanded, edged and its wokring great. the clearance all around is about .5 inch t fits in beautifully and decluttered my overly cluttered workspace. thanks so much for your Ideas Ana, they are always amazing.

Comments

Bulky Dining Table: Built to Size

Submitted by macydawn on Thu, 09/29/2022 - 07:55

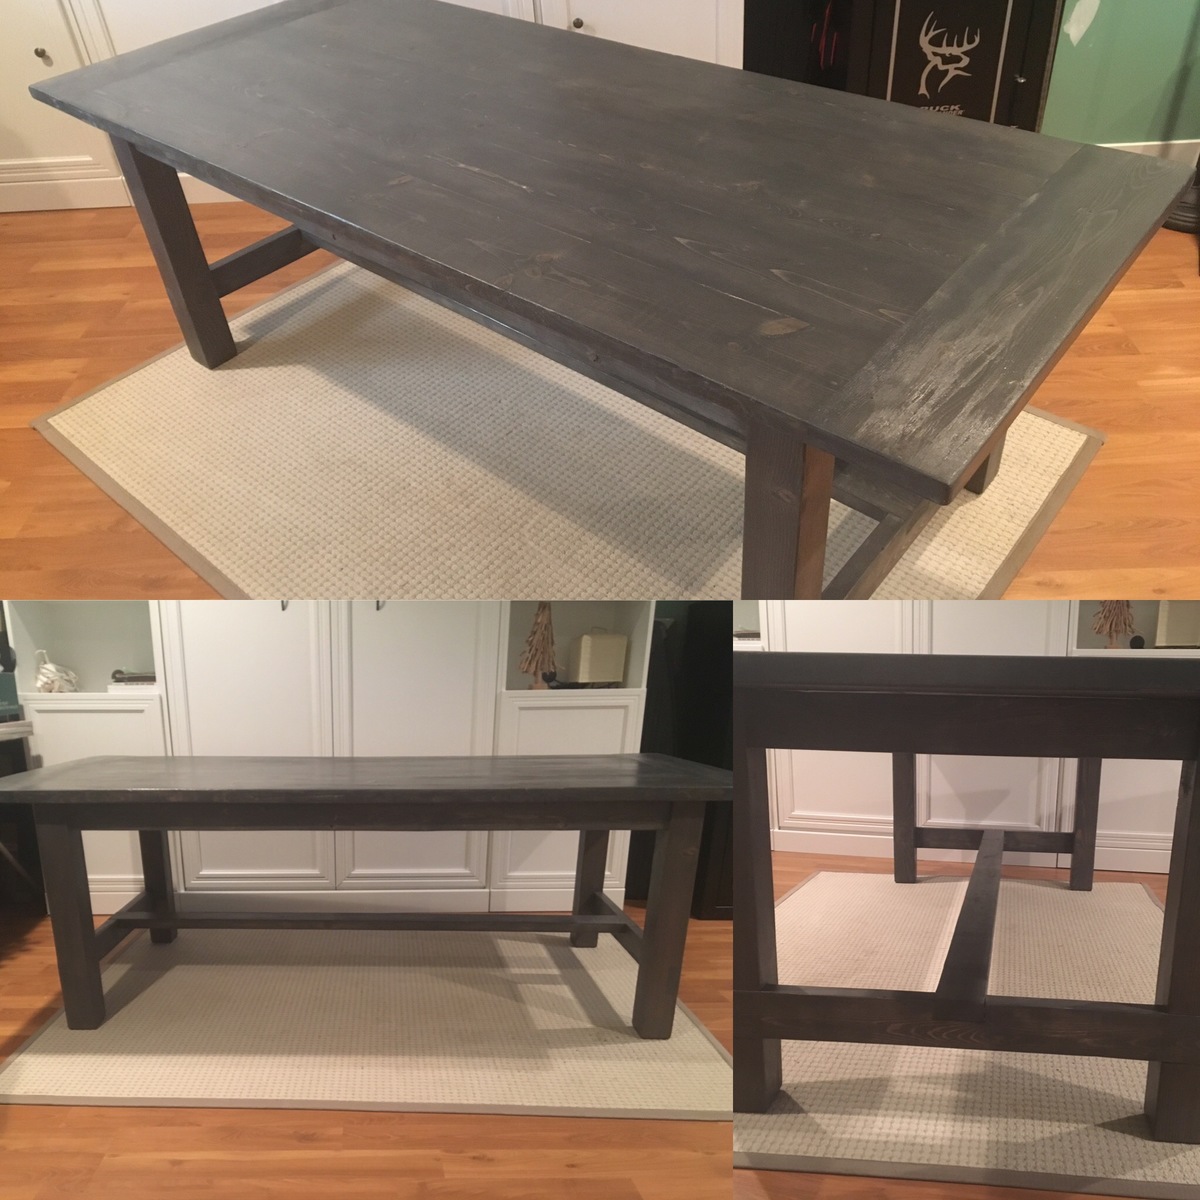
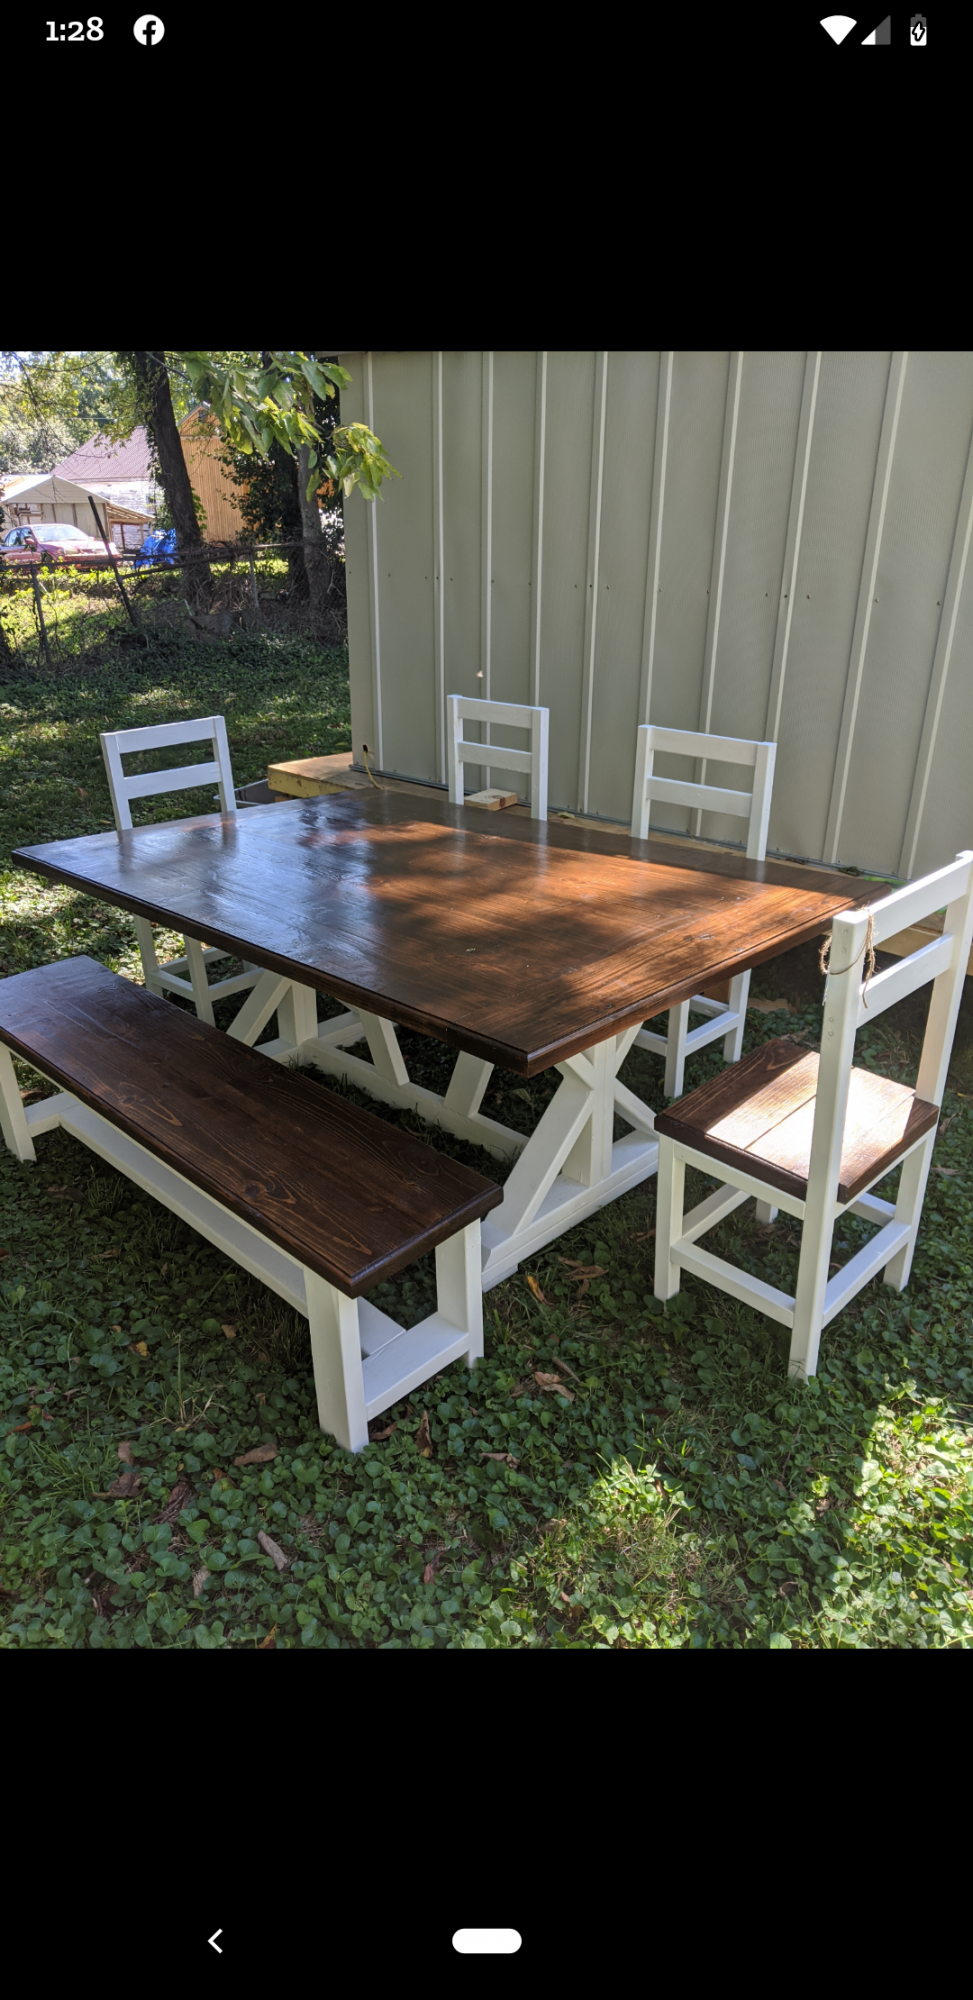
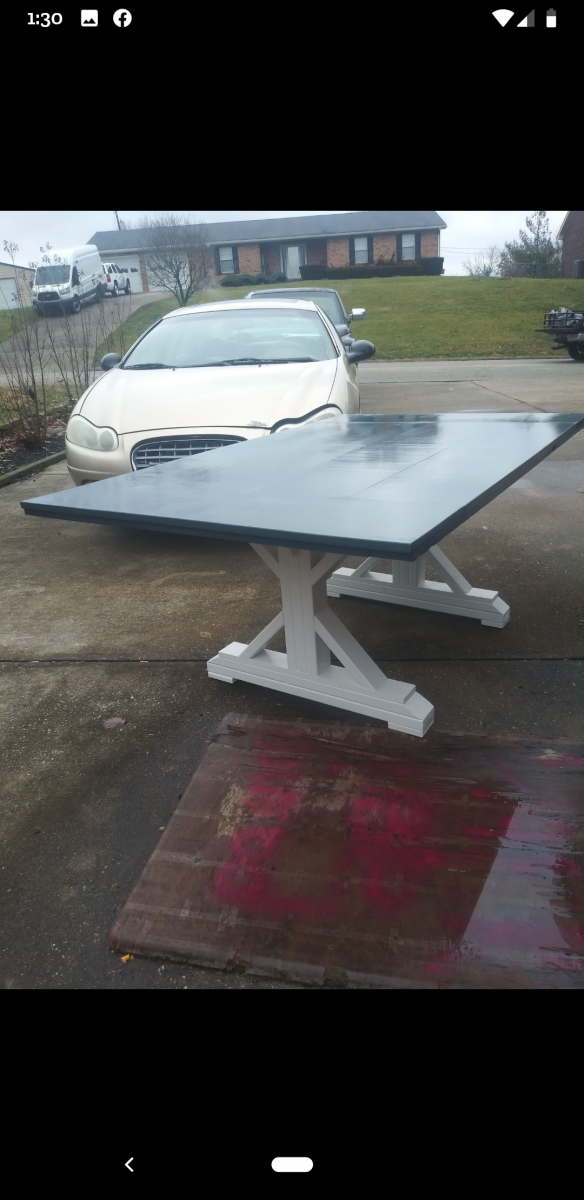
I had been wanting a trestle table for months but couldn't swallow the outrageous pricetags that came along with the tables. I was also dealing with a small space, so the table had to be just the right size.

Estimated Cost
$700
Estimated Time Investment
Week Long Project (20 Hours or More)
Finish Used
A black stain on the legs defines the fun shape.
Recommended Skill Level
Intermediate

Comments

Cedar planters

Submitted by DogDoc25 on Tue, 07/09/2013 - 21:55

This planter was easy to make. The only thing I would have done differently is to have stained and applied the weather coating before I assembled it so that the weather coating got into the cracks better. But overall, I love how it turned out! I think it would've taken only an afternoon to do if it hadn't been so hot outside which slowed me down.

Built from Plan(s)
Estimated Time Investment
Day Project (6-9 Hours)
Finish Used
1 coat of golden oak, still need to apply the weather coat (can't remember what it's called)
Recommended Skill Level
Beginner

Bar Cart or BBQ Cart

The rolling bar cart (or BBQ cart) with removable tray is the latest addition to my suite of DIY patio furniture. This site has become a bit of a building obsession with me. Even with the detailed instructions, I still found ways to make this project my own: I added a 3/4" dowel and plastic wheels, instead of wood rounds. I painted all the pieces with primer and exterior paint before assembling it, because it's hard to get paint between the slats, unless you have a spray painter. The white slat design of the bar cart, park bench and matching side tables goes with the white siding of the house for my own patio picnic.

Estimated Cost
1x3's $20
wheels $10
dowel $4
Estimated Time Investment
Weekend Project (10-20 Hours)
Finish Used
White primer & exterior house paint
Recommended Skill Level
Beginner

X End table

Submitted by smurf1018 on Tue, 01/23/2018 - 19:42

One of my first pieces of furniture I built.

Built from Plan(s)
Estimated Time Investment
Weekend Project (10-20 Hours)
Finish Used
Steel wool and apple cider vinegar mixture and Minwax Polyurethane
Recommended Skill Level
Beginner

My Farmhouse X Desk

Submitted by bknjohnson on Sun, 01/16/2022 - 14:03

After nearly two years of working from home I started searching for an actual desk and did not really find what I was looking for. Then I found the Farmhouse X Plans and knew that's what I wanted to do.

I found a birch butcher block top, 27" x 60" on sale for less than the cost of building my own top. I had to carefully adjust the measurements of the plans and also doublechecked before every cut. Measure twice cut once was definitely a good idea for me this time.

I used Z Clips to hold the top to the 2x4 frame and used my biscuit jointer to cut the groove. Took several test cuts to get the right height. I finished the top with Helmsman Spar urethane and five coats of poly. The frame used a primer and some Behr paint (I decided the color "Coffee Bean" was perfect for my long days at the office).

I plan on making slideout drawers soon, with bottom mounted drawer slides. Some baskets would work too.

So far I'm quite happy with how it all came out.

Built from Plan(s)

Comments

The Logan TV Stand

I built this for my sister for her 30th Birthday. She loved it!! It took me 4 days to make this. I took my time and put 3 coats of paint on it before assembling it. I am very pleased with the outcome...Thanks Ana for the plans!! :-)

Estimated Cost
$120
Estimated Time Investment
Weekend Project (10-20 Hours)
Recommended Skill Level
Intermediate

X table

Submitted by erodgonz on Fri, 07/12/2013 - 20:57

I did this table in 8 hours and I am ready to do some other projects. The final goal is to do the all house.

Estimated Time Investment
Day Project (6-9 Hours)
Recommended Skill Level
Beginner

Comments

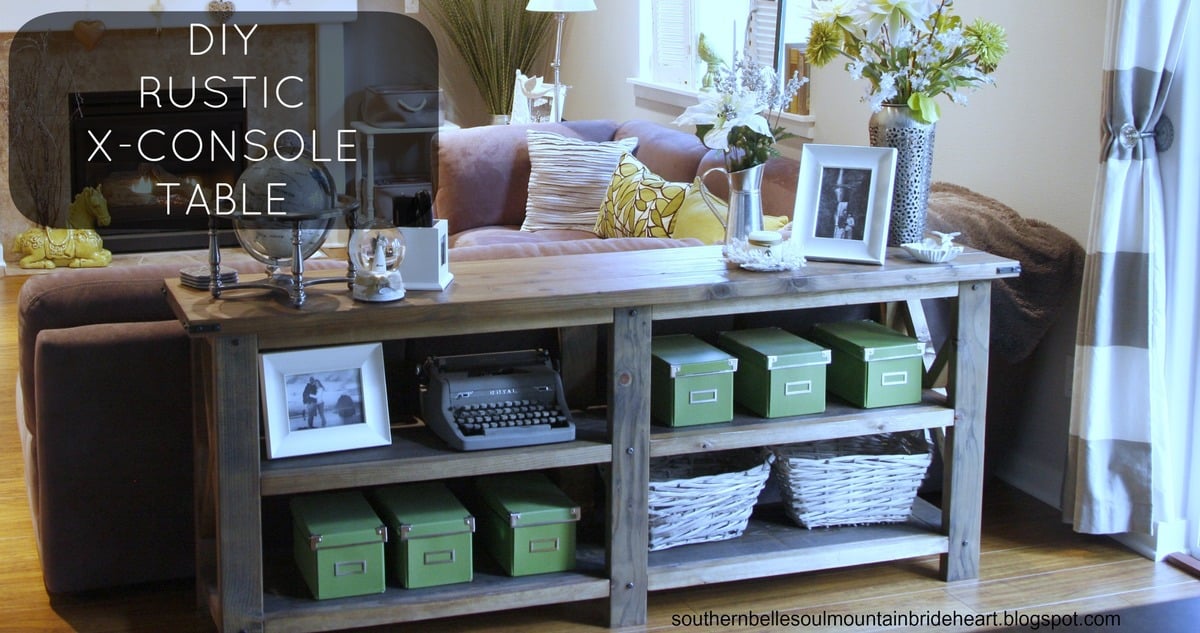
Rustic X Console

Submitted by FrankJr on Wed, 07/08/2015 - 19:12

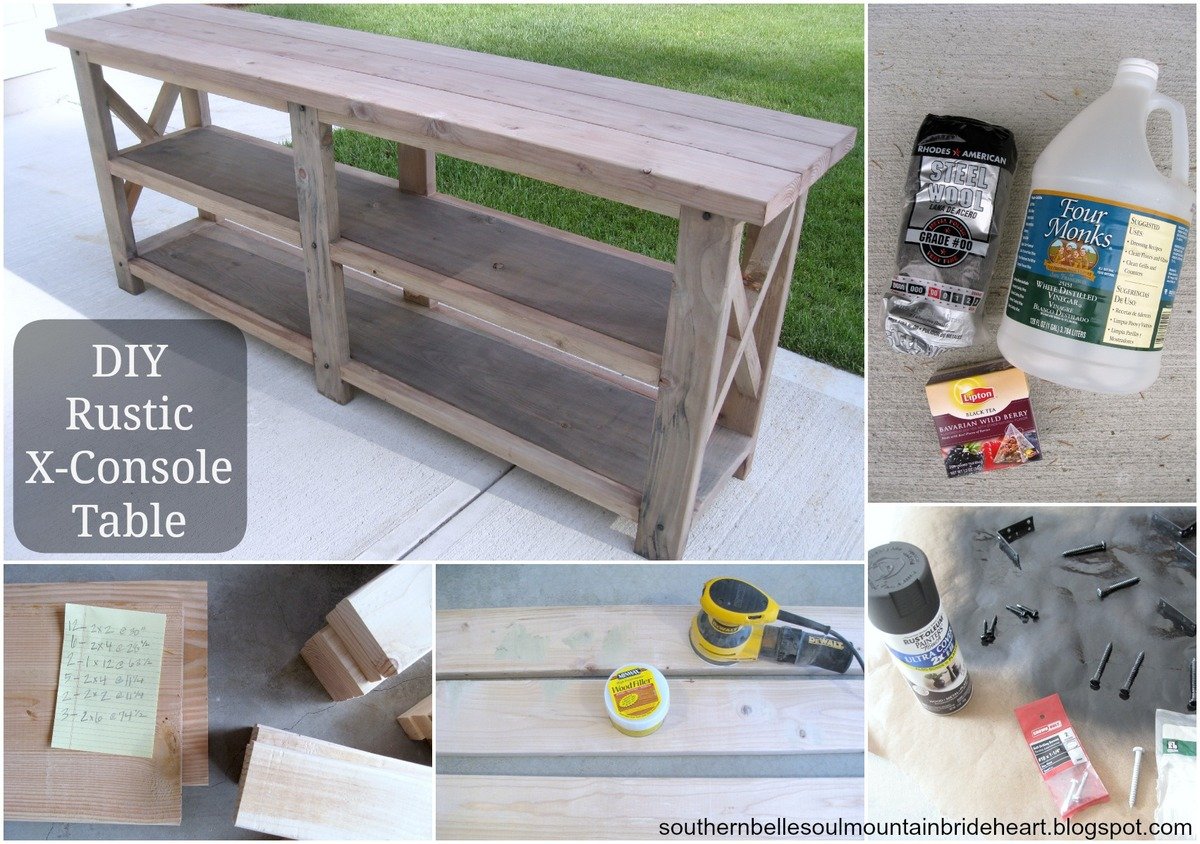
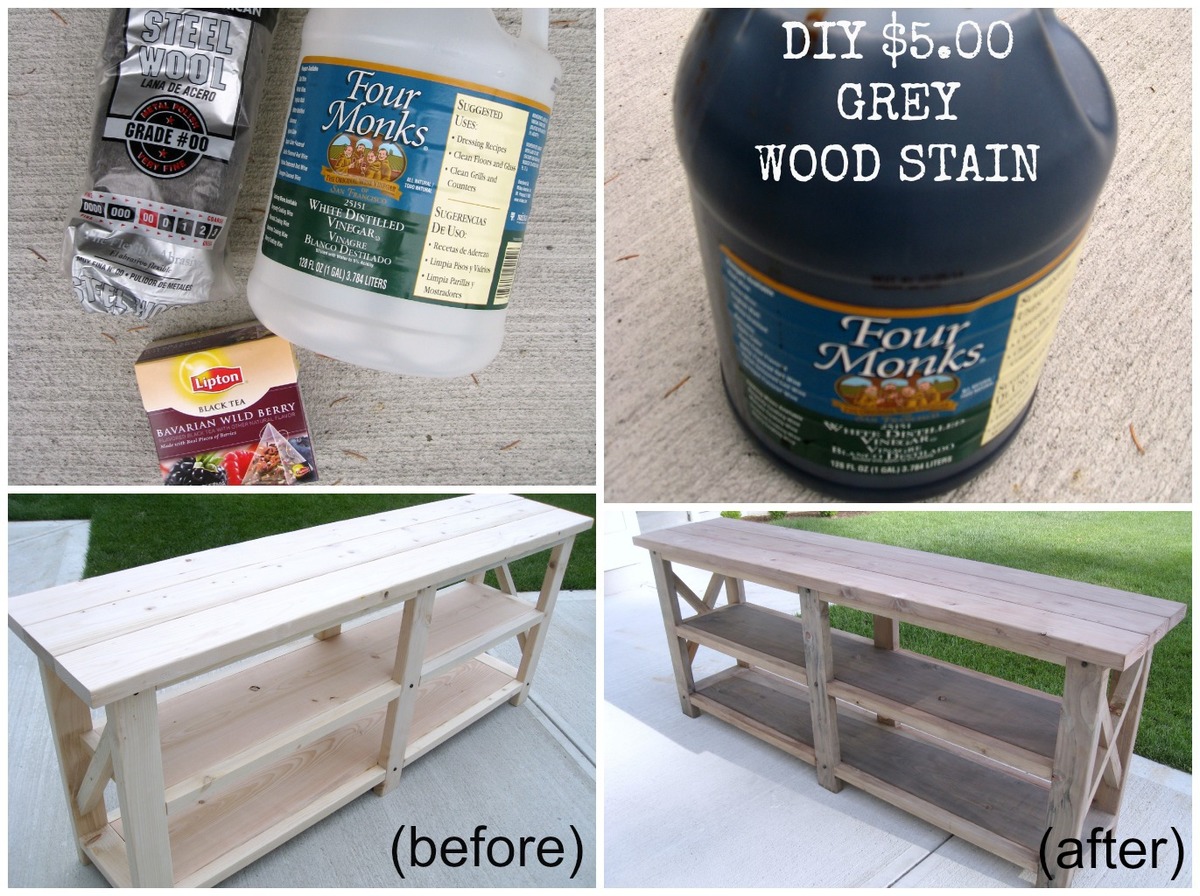
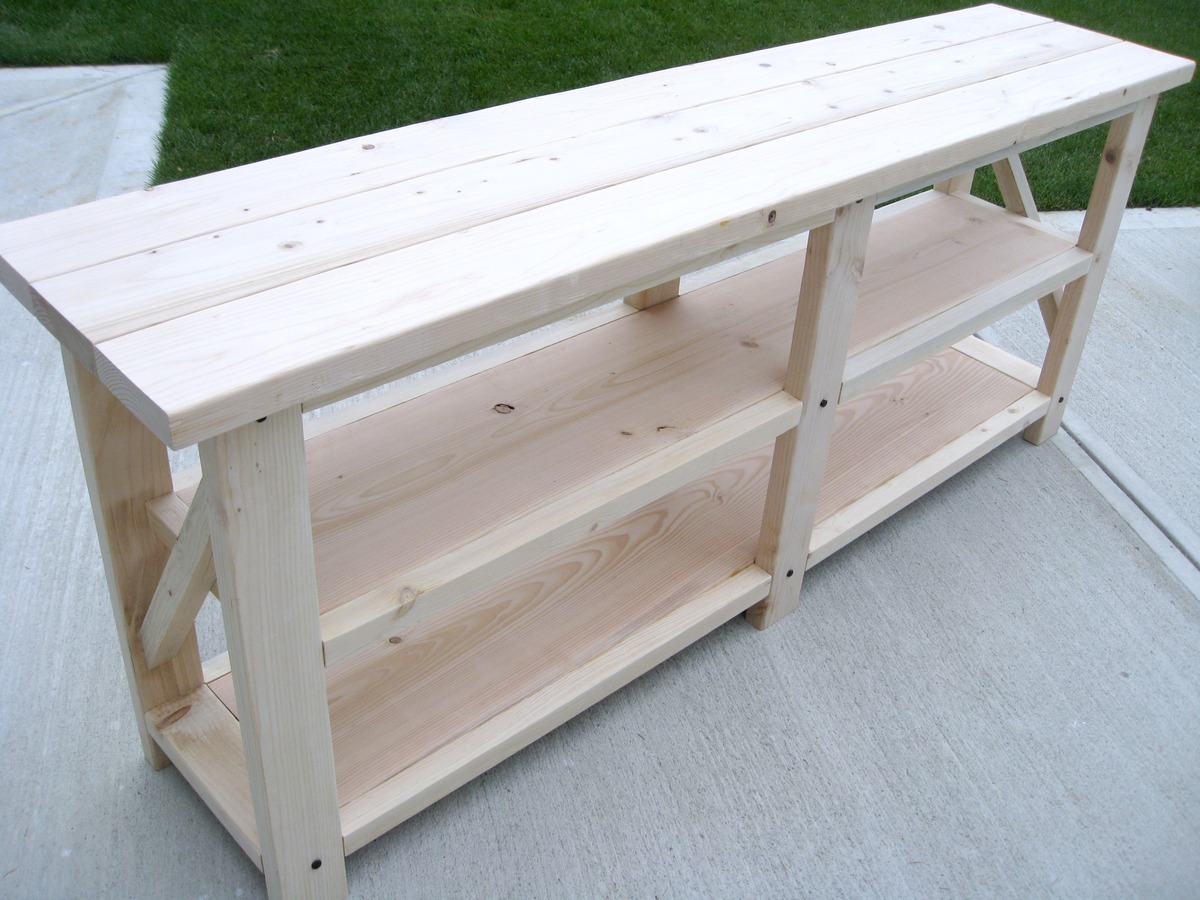
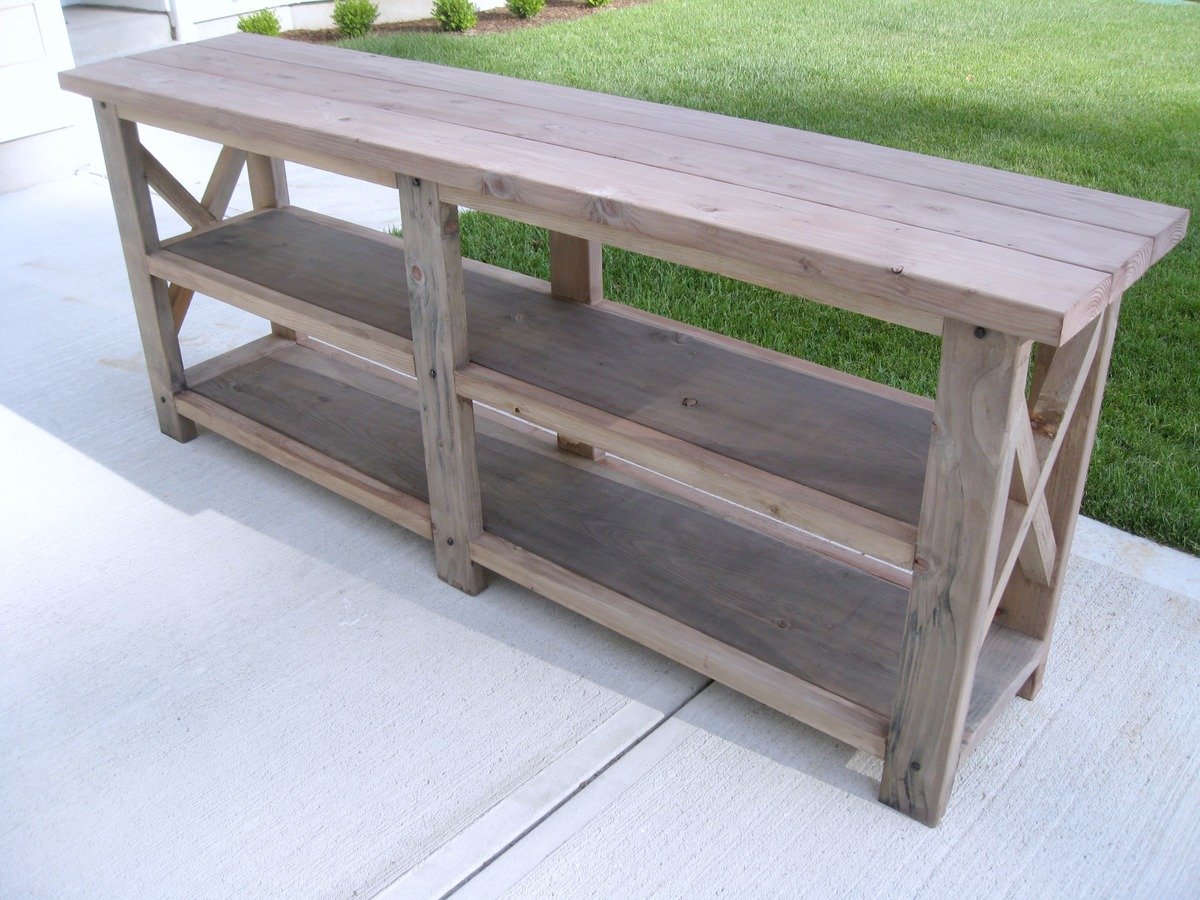
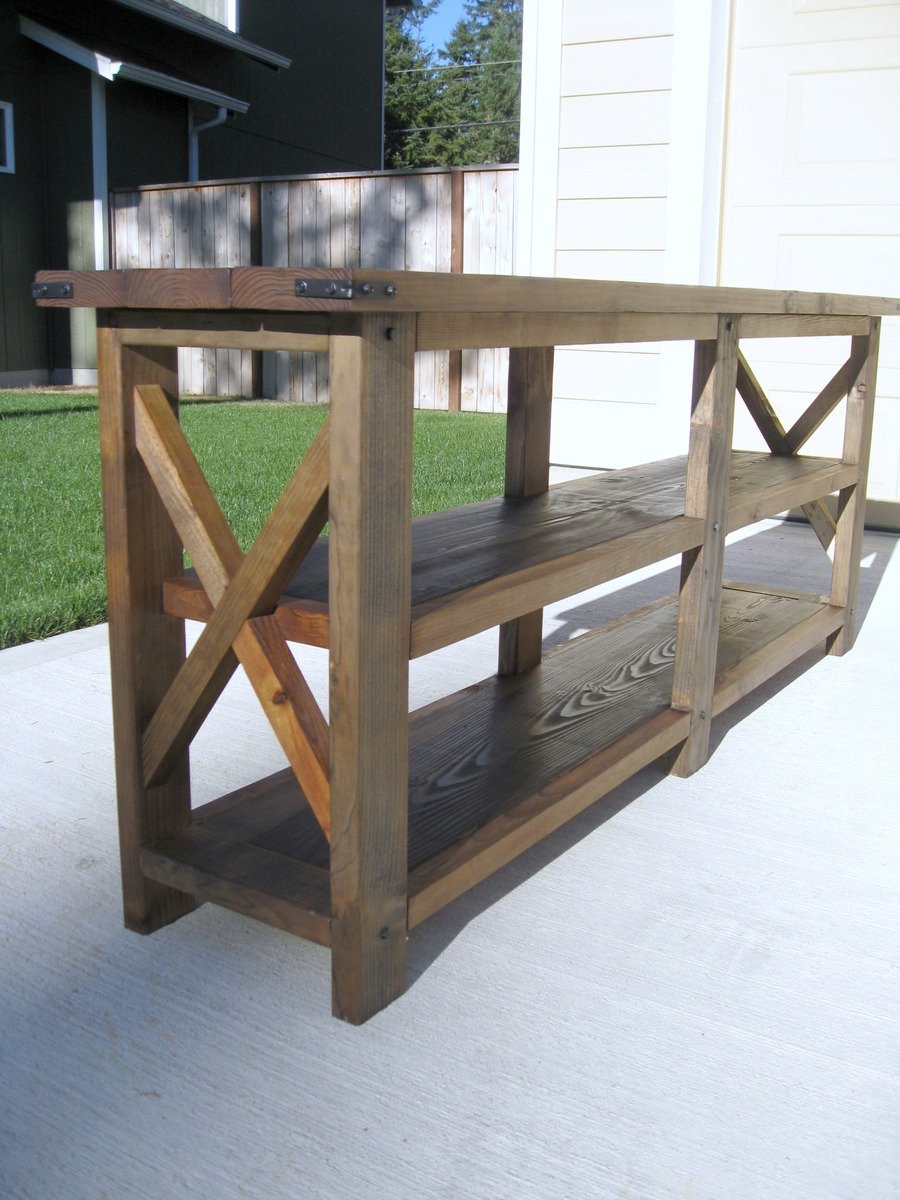
Needed a table under the TV, and this was perfect. I had to adjust the dimensions to decrease the length 6 inches to make it fit. Used the black tea, vinegar and steel wool combo for stain. Turned out great!

Built from Plan(s)
Estimated Cost
$85
Estimated Time Investment
Weekend Project (10-20 Hours)
Finish Used
Black tea and Vinegar/Steel Wool
Recommended Skill Level
Beginner

Basement Playhouse

Submitted by jimbardo on Sun, 01/28/2018 - 15:32

Built this for my two boys, ages 3 and 1.5. They are in heaven! I found the plans extremely helpful and allowed for simple modifications along the way (ie 7’ ceilings). 

Estimated Cost
$600
Estimated Time Investment
Week Long Project (20 Hours or More)
Recommended Skill Level
Intermediate

Variation on shoe box

A challenging project, using 150 year old recycled wood, hence finish showing respect to it's age. The challenge was getting the internal swinging shelf right.

(Boxes underneath are easy to build MDF toy boxes - different project). All Christmas presents