Paint and Stain 2x4 Adirondack Chairs
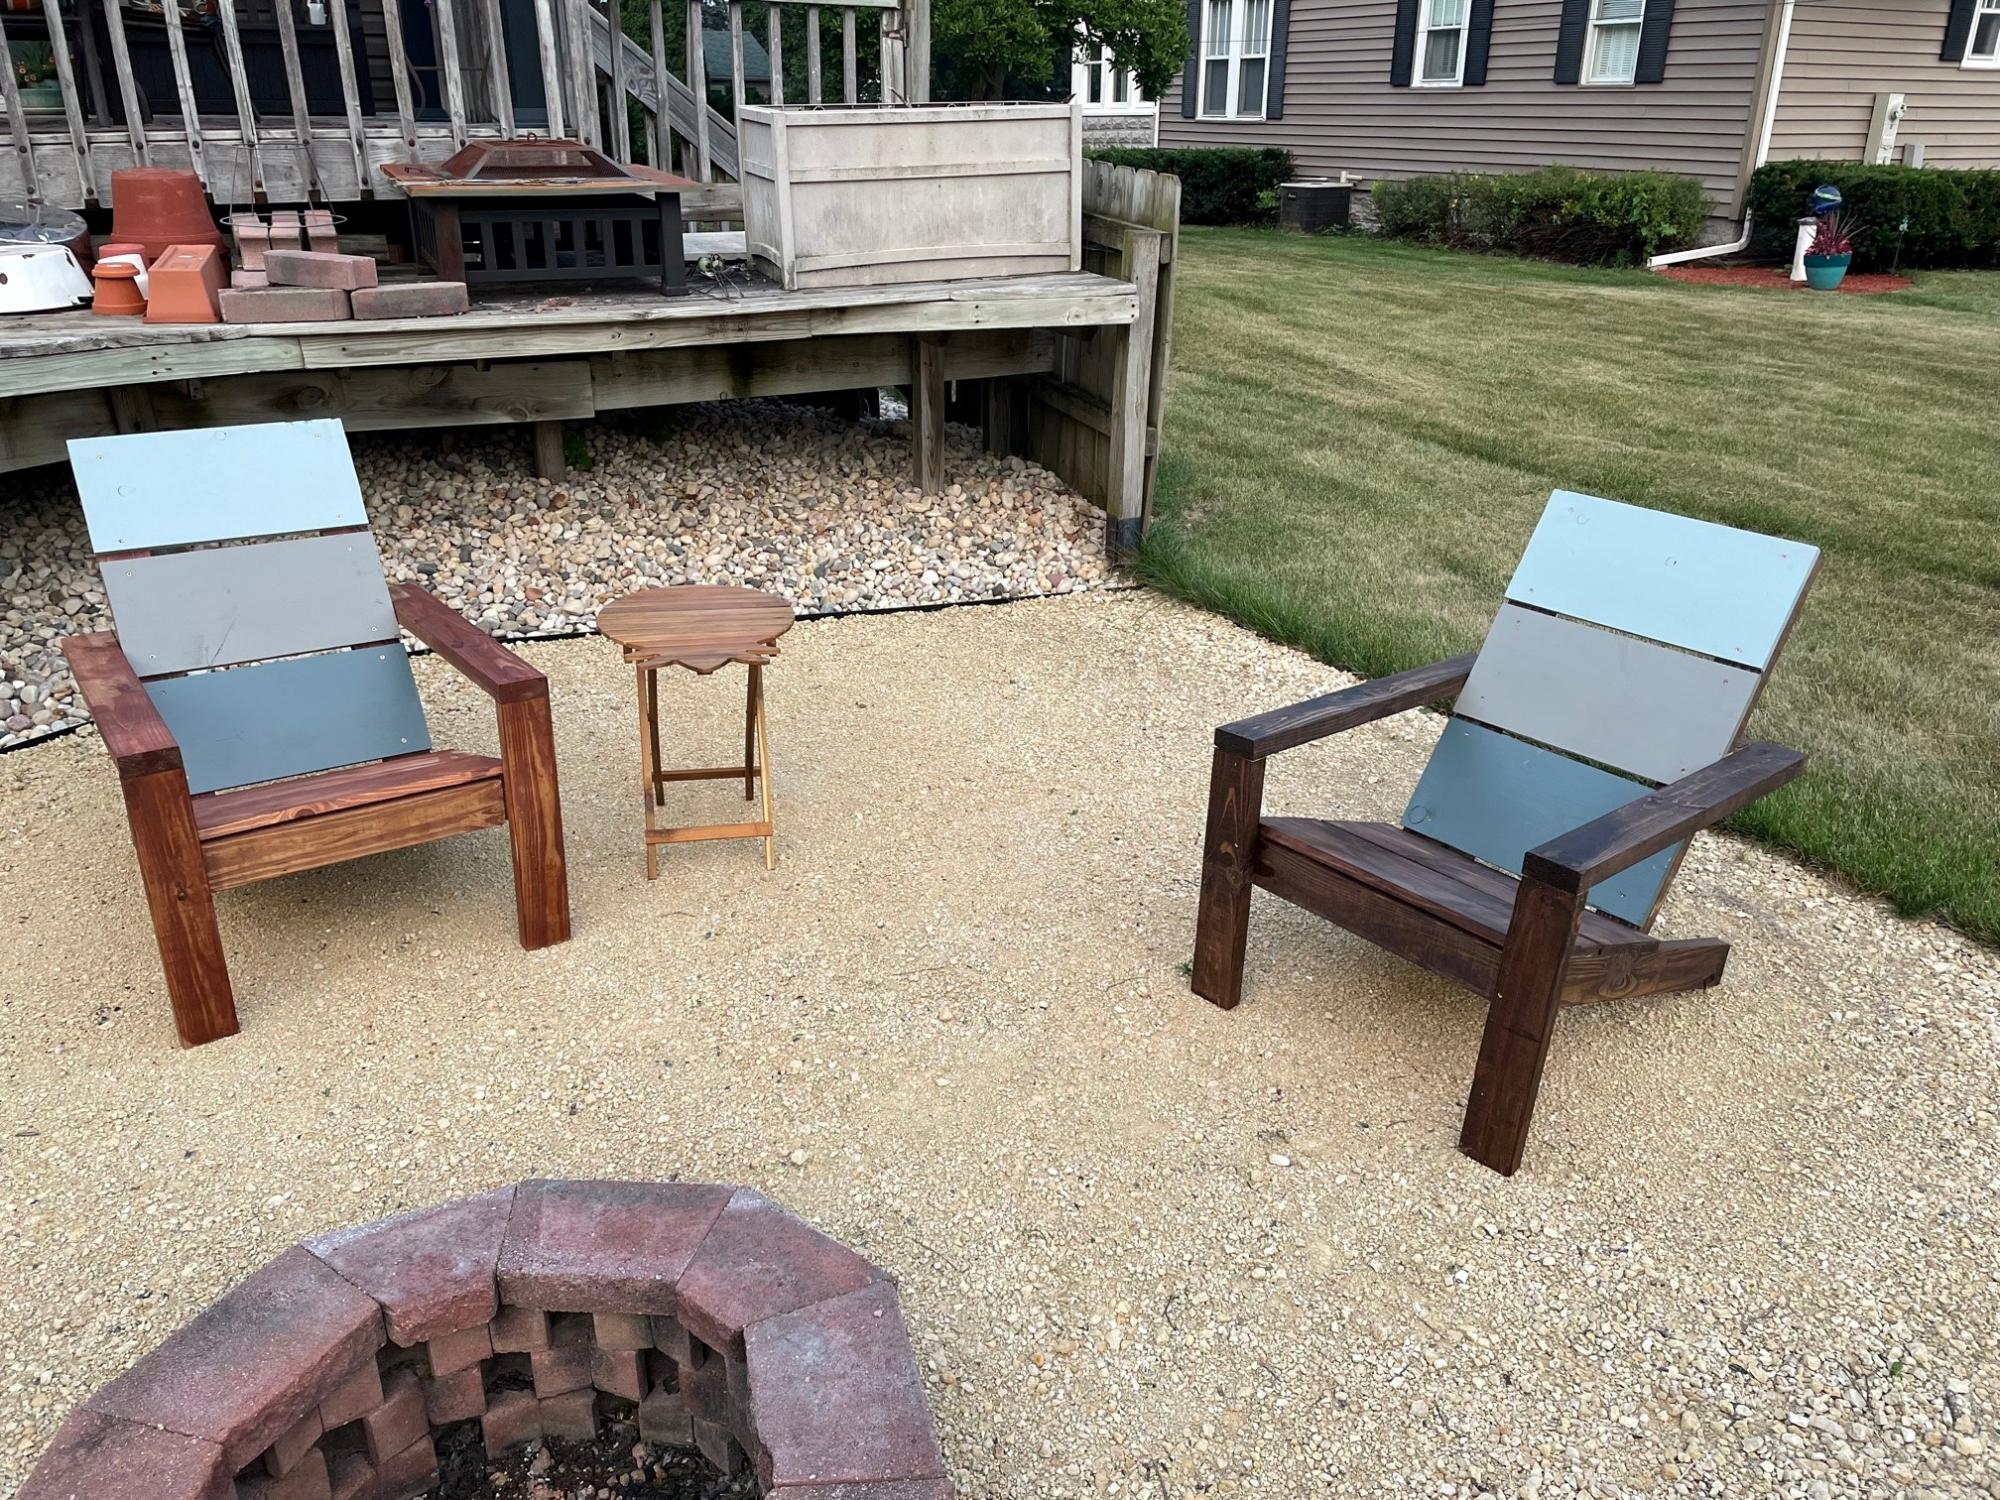
Built for our Firepit.
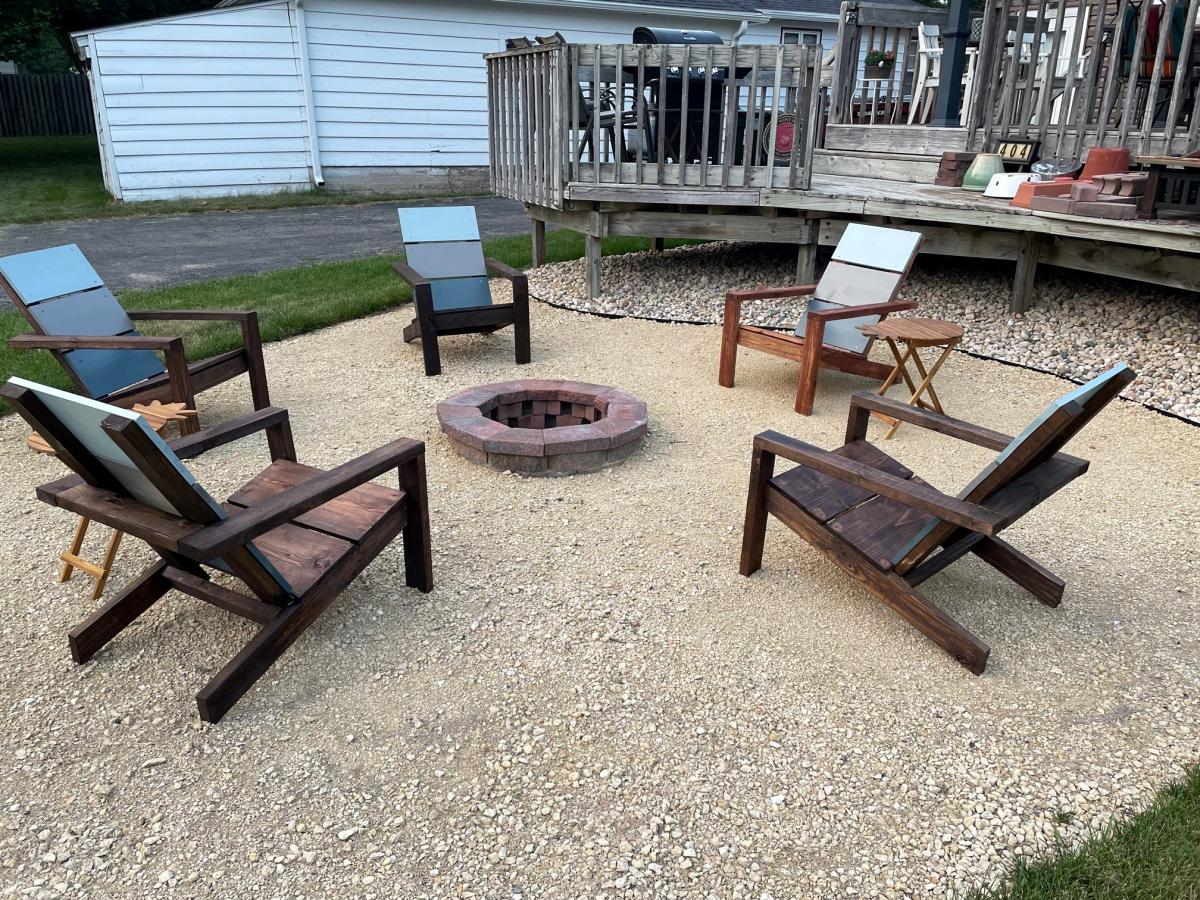

Built for our Firepit.

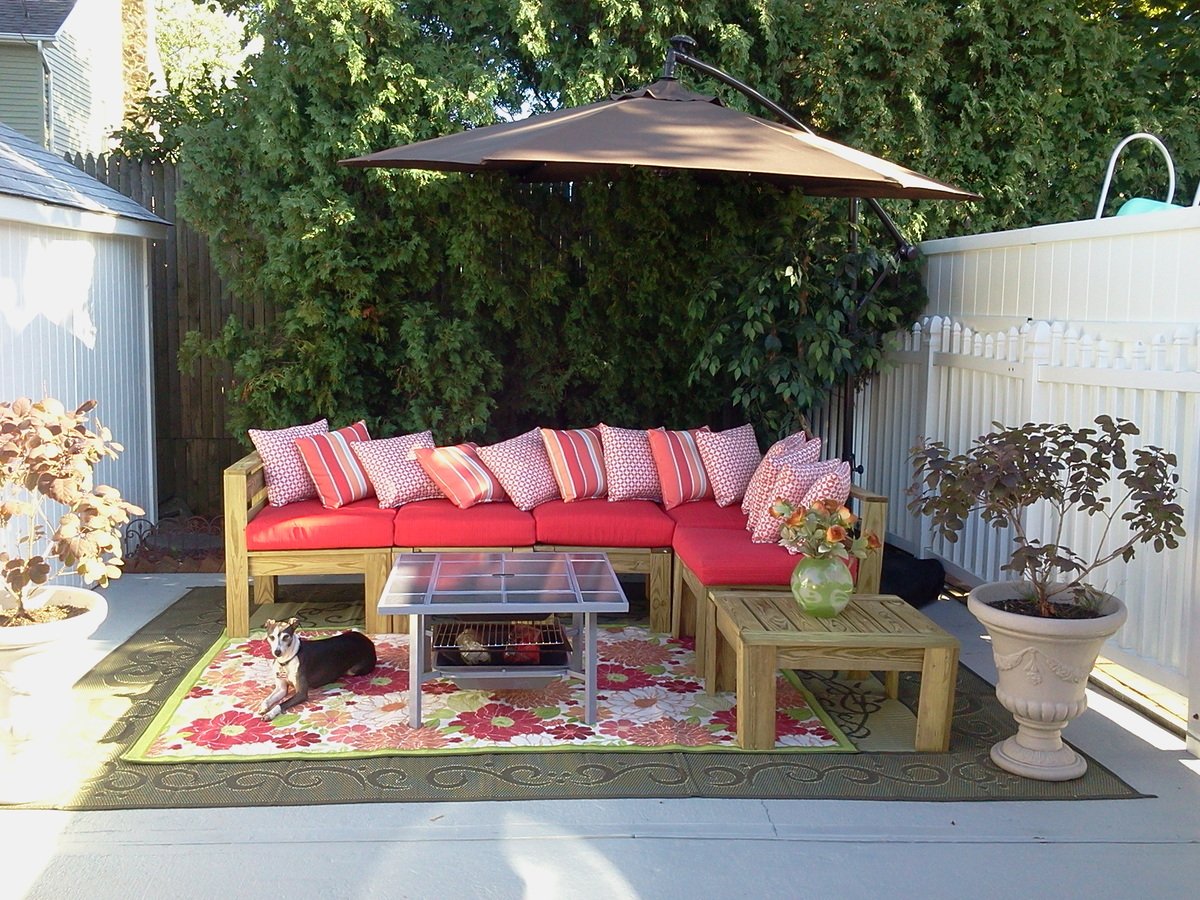
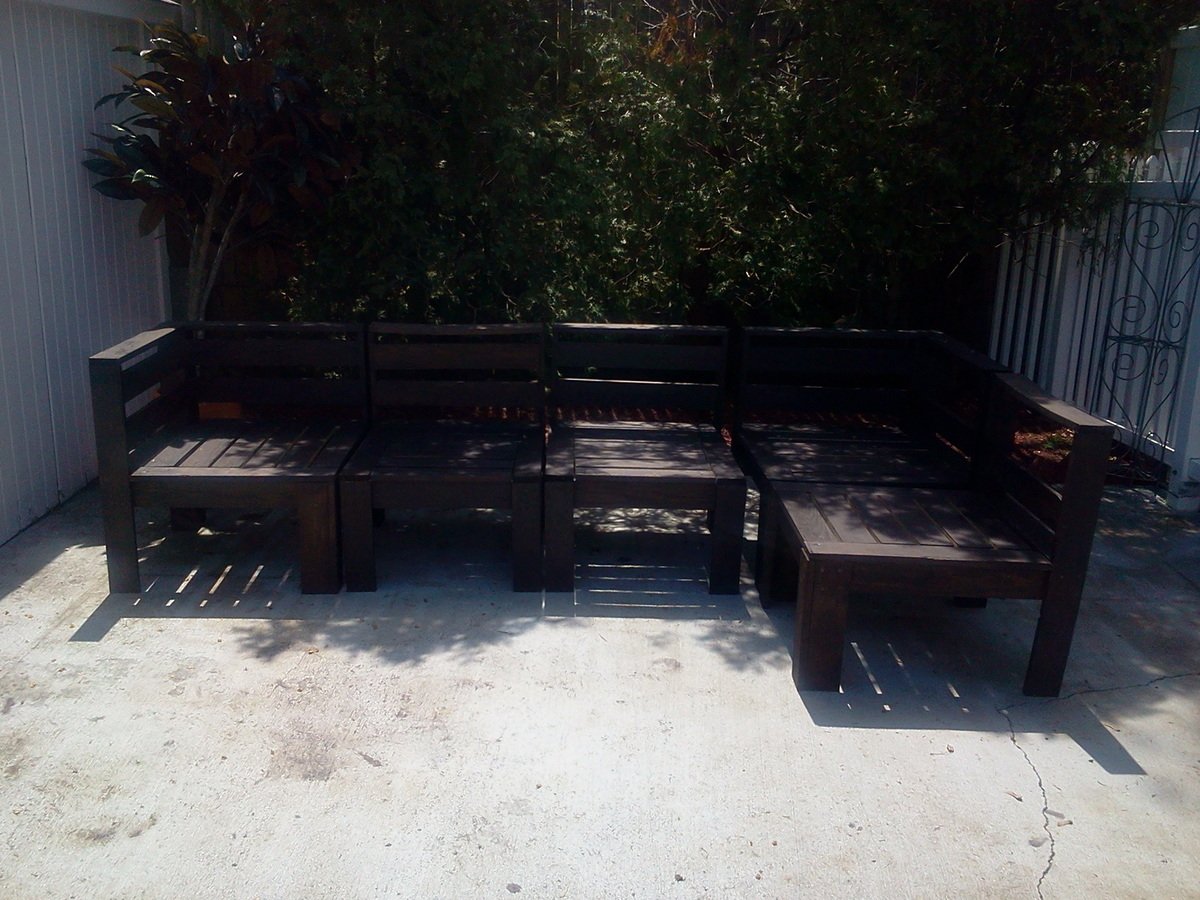
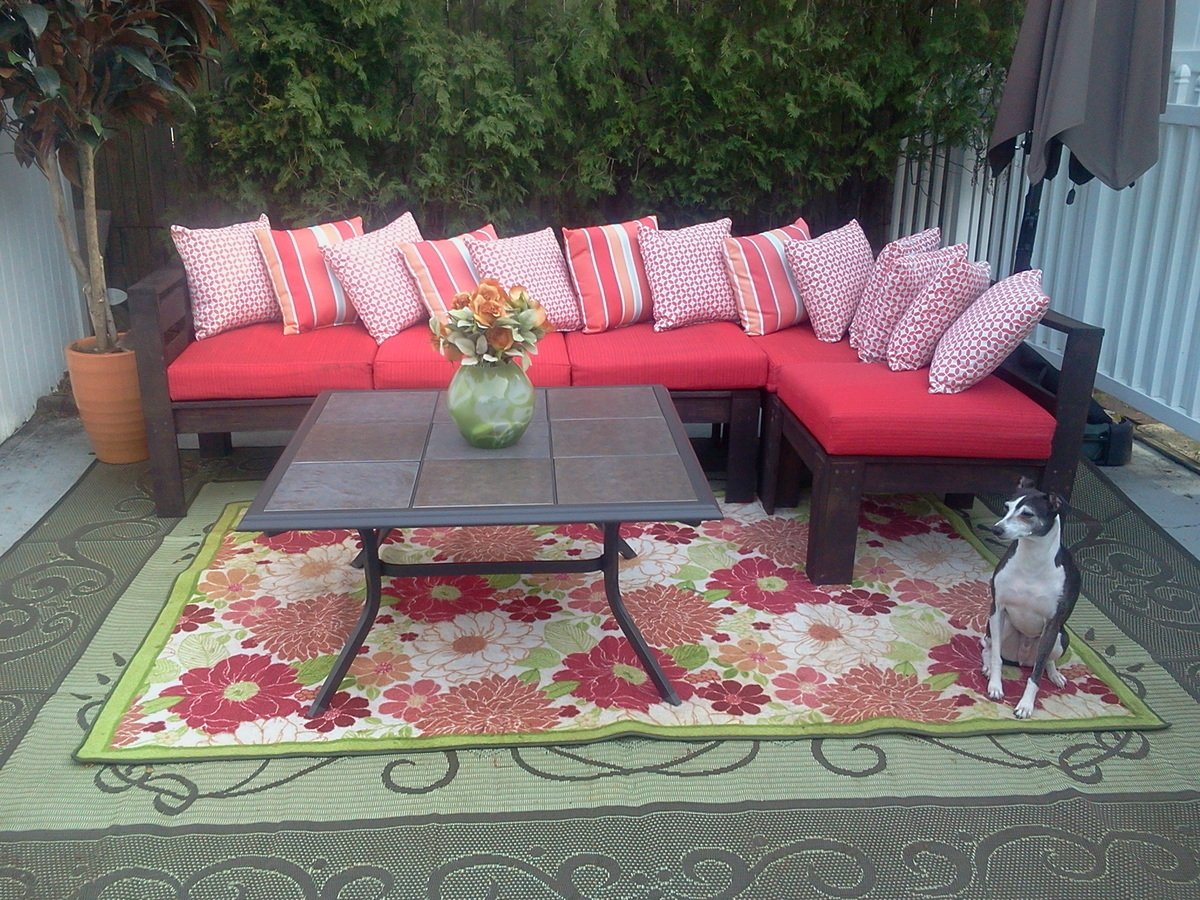
Thank you Ana White!!! This website is Awesome!!! I started my outdoor sectional project last summer and used the "Modern Outdoor Sectional" plans for my project....it really was easy....In fact, I went to Lowes and had all my sizes cut for me and all I had to do was use the kreg jig as recommended and a drill and "Wa La!"....my sectional didn't cost me more than $350! This year I am going to paint it since it is pre-treated wood, I needed to wait the season!!! So, I will upload another picture soon to show you what it looks like painted......
Mon, 04/07/2014 - 21:58
Thank you so much! Sorry, I never knew how to check if I had any comments and I am starting a new project and seen that you commented. Thanks again!
Mon, 04/07/2014 - 21:59
Thank you so much! Sorry, I never knew how to check if I had any comments and I am starting a new project and seen that you commented. Thanks again!
Mon, 04/07/2014 - 21:59
Thank you so much! Sorry, I never knew how to check if I had any comments and I am starting a new project and seen that you commented. Thanks again!
Thu, 04/25/2013 - 11:52
I can not wait until the Hubs and I can get started on ours! :) Looks great!
Mon, 05/06/2013 - 11:18
I've been looking at this project to build for awhile. I love how all the colors in the area work together. This looks like something you'd spend thousands on in a store somewhere. Nice!
Mon, 04/07/2014 - 22:00
Thank you so much! Sorry, I never knew how to check if I had any comments and I am starting a new project and seen that you commented. Thanks again!
Wed, 02/03/2016 - 06:37
Love the colors you used. Are the cushions handmade?
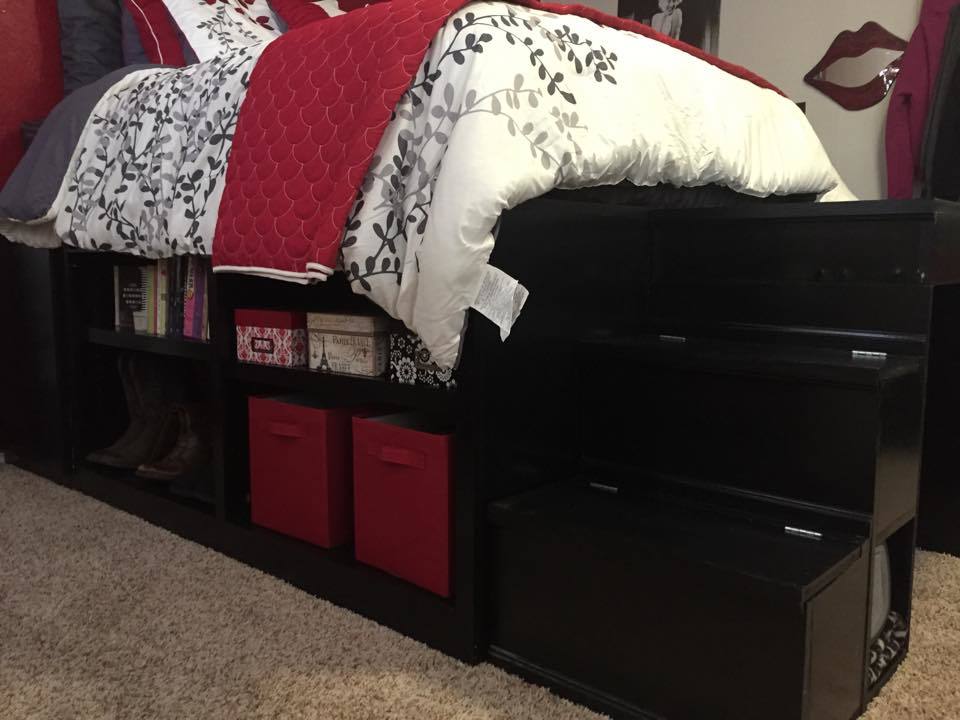
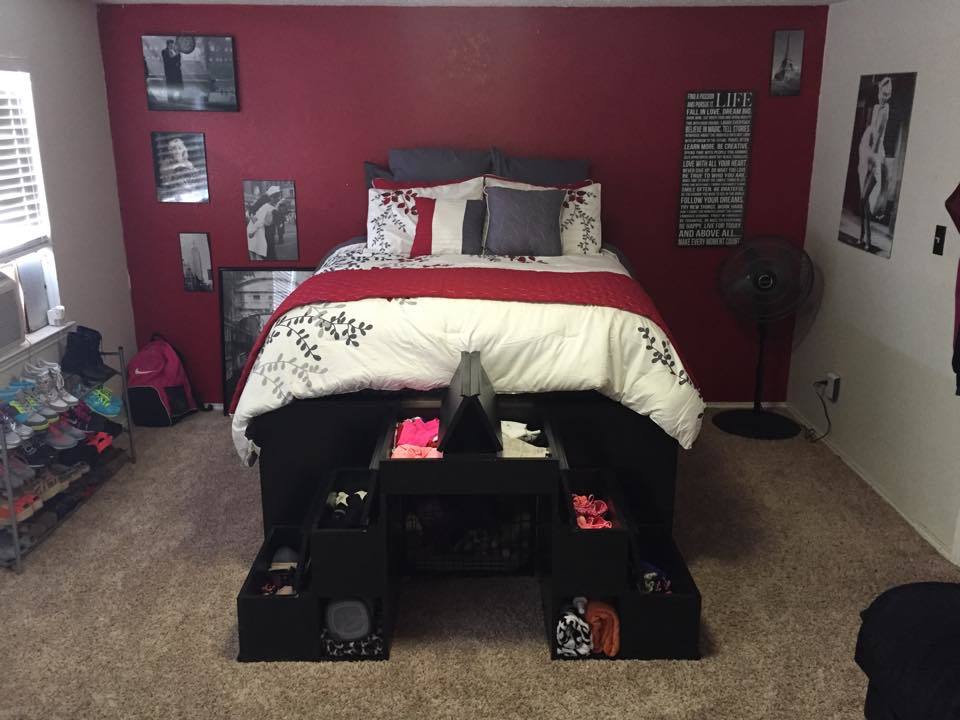
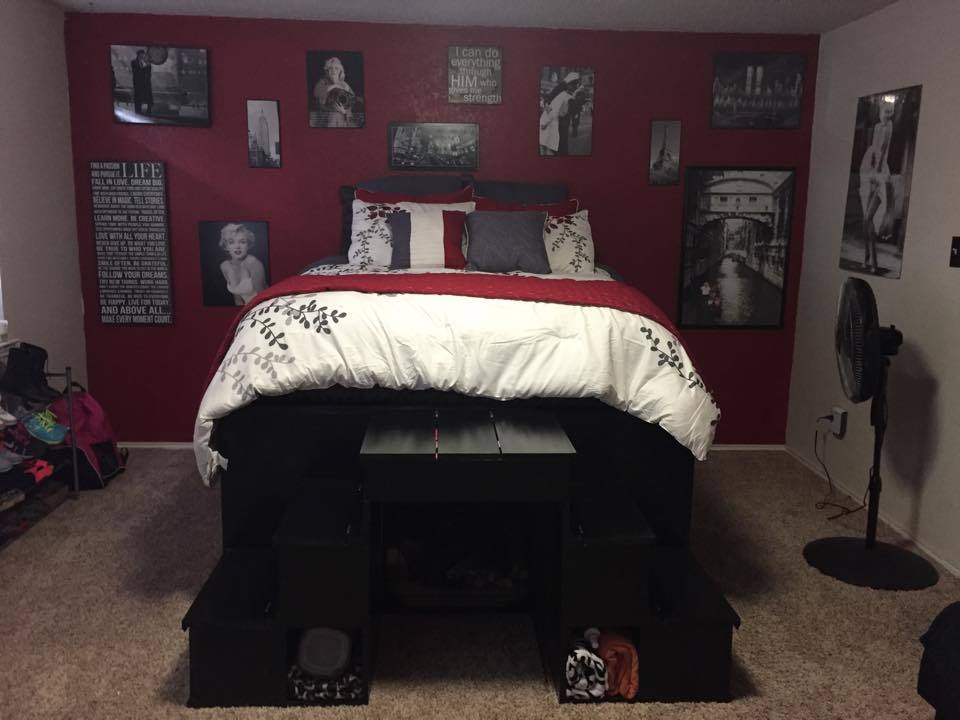
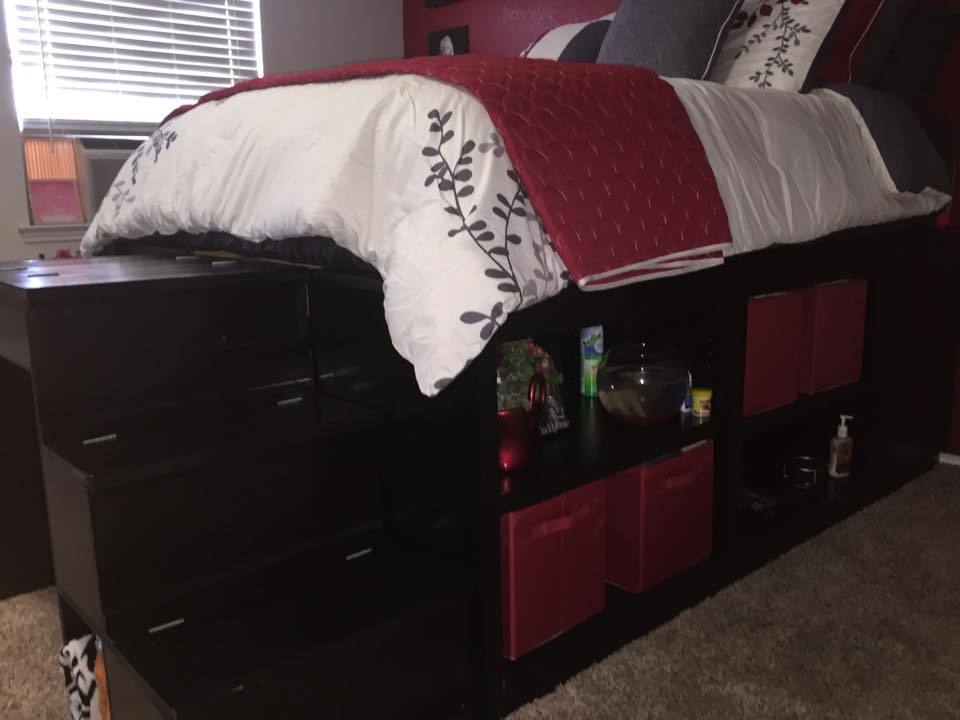
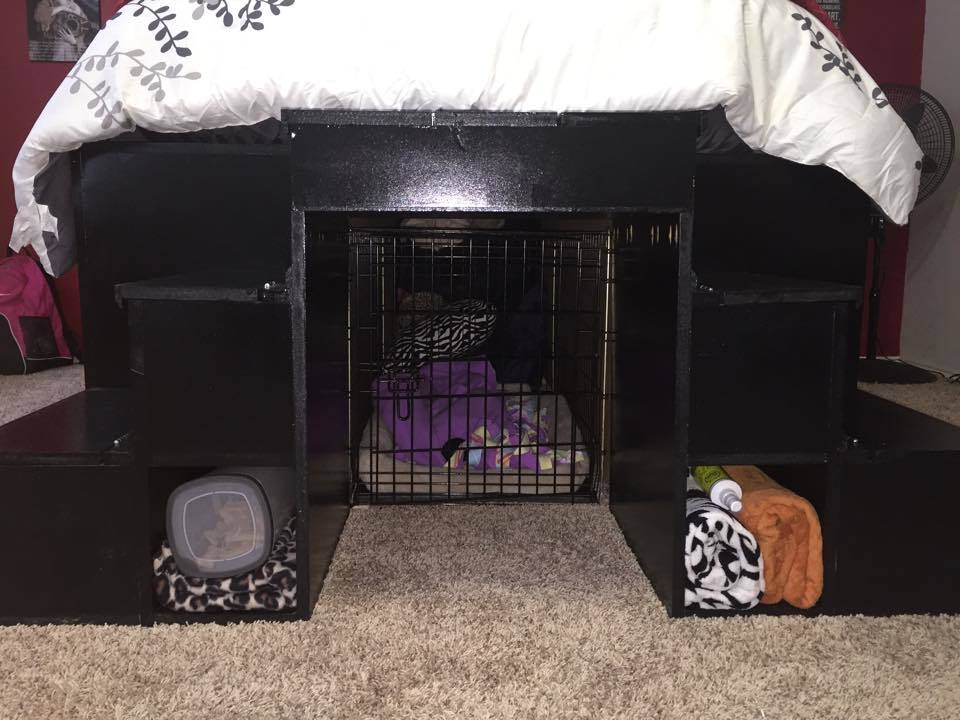
My daughter wanted a bed with lots of storage so searched on here and found the queen and king storage beds, but she wanted something taller. So, I modifed the plans for the bed and made it slightly larger than a queen storage bed, but not quite as big as the king, and almost twice the height. I then built a set of stairs (modified the plans for the stairs as well so she would have 2 sets that created a bridge for her dog's kennel to go under her bed hidden away slightly. This was by far my biggest and most challenging project to date, but we were thrilled with the way it turned out. She loves the bed and I loved the time I was able to spend with her while building (she is 20 so time like that is far and few between)
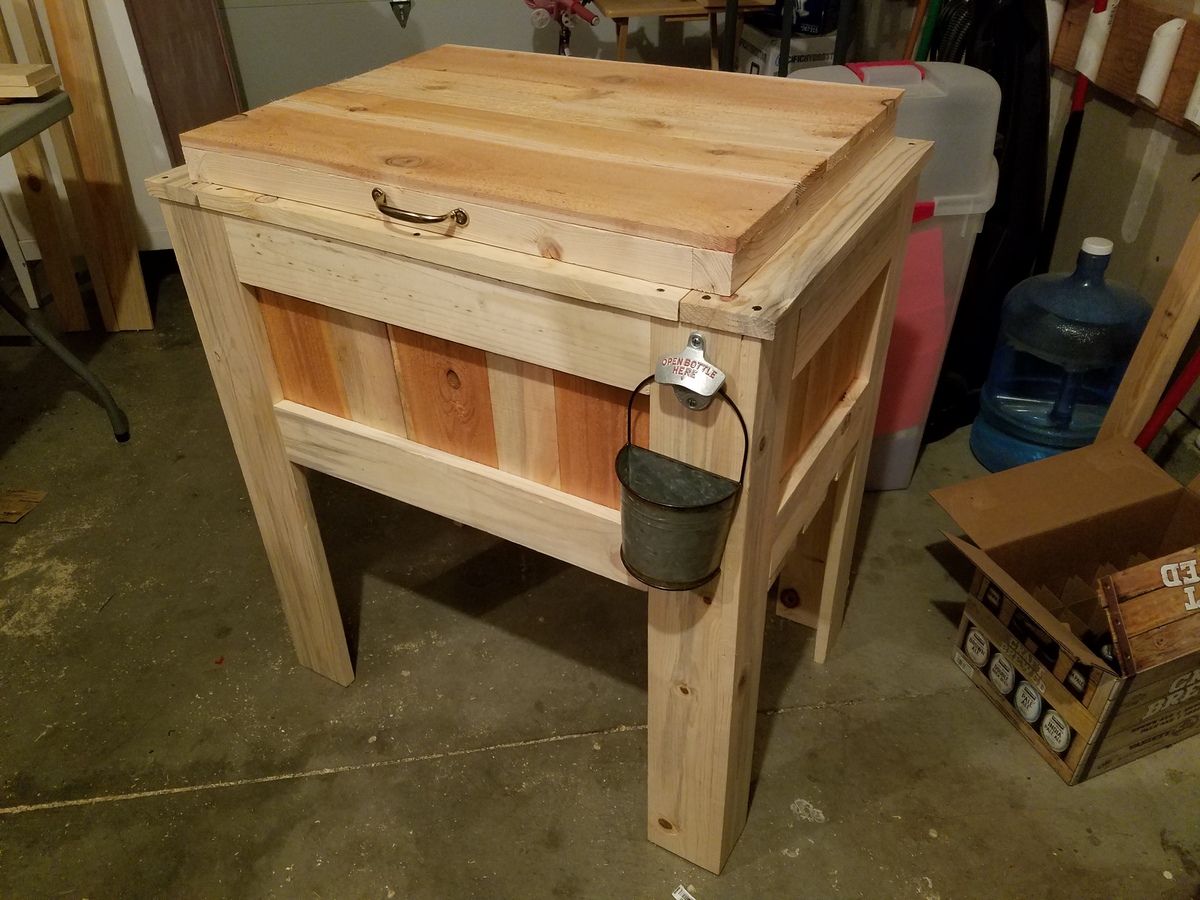
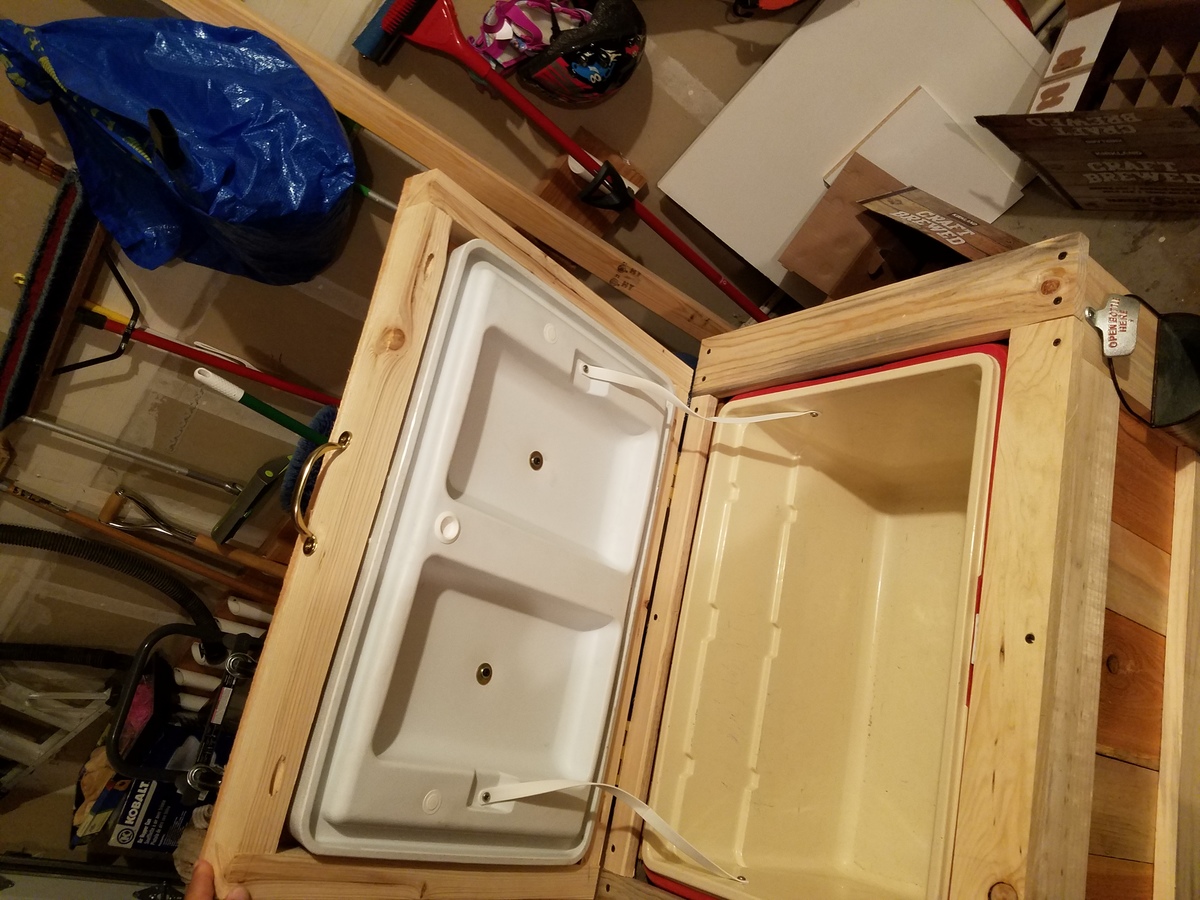
I'll be honest I didn't use these plans to build this cooler chest but this was the first place I saw the concept of building a box around a cooler to make a cooler chest so I give anna props for inspiring me I already had an old cooler to use so it helped keep the cost down I also used 1x4 blue pine and cedar fence picketts and repurposed the bottle opener from a growler carrier (in hindsight the bottle opener on a growler carrier doesnt make sense) all told this cost me about $45
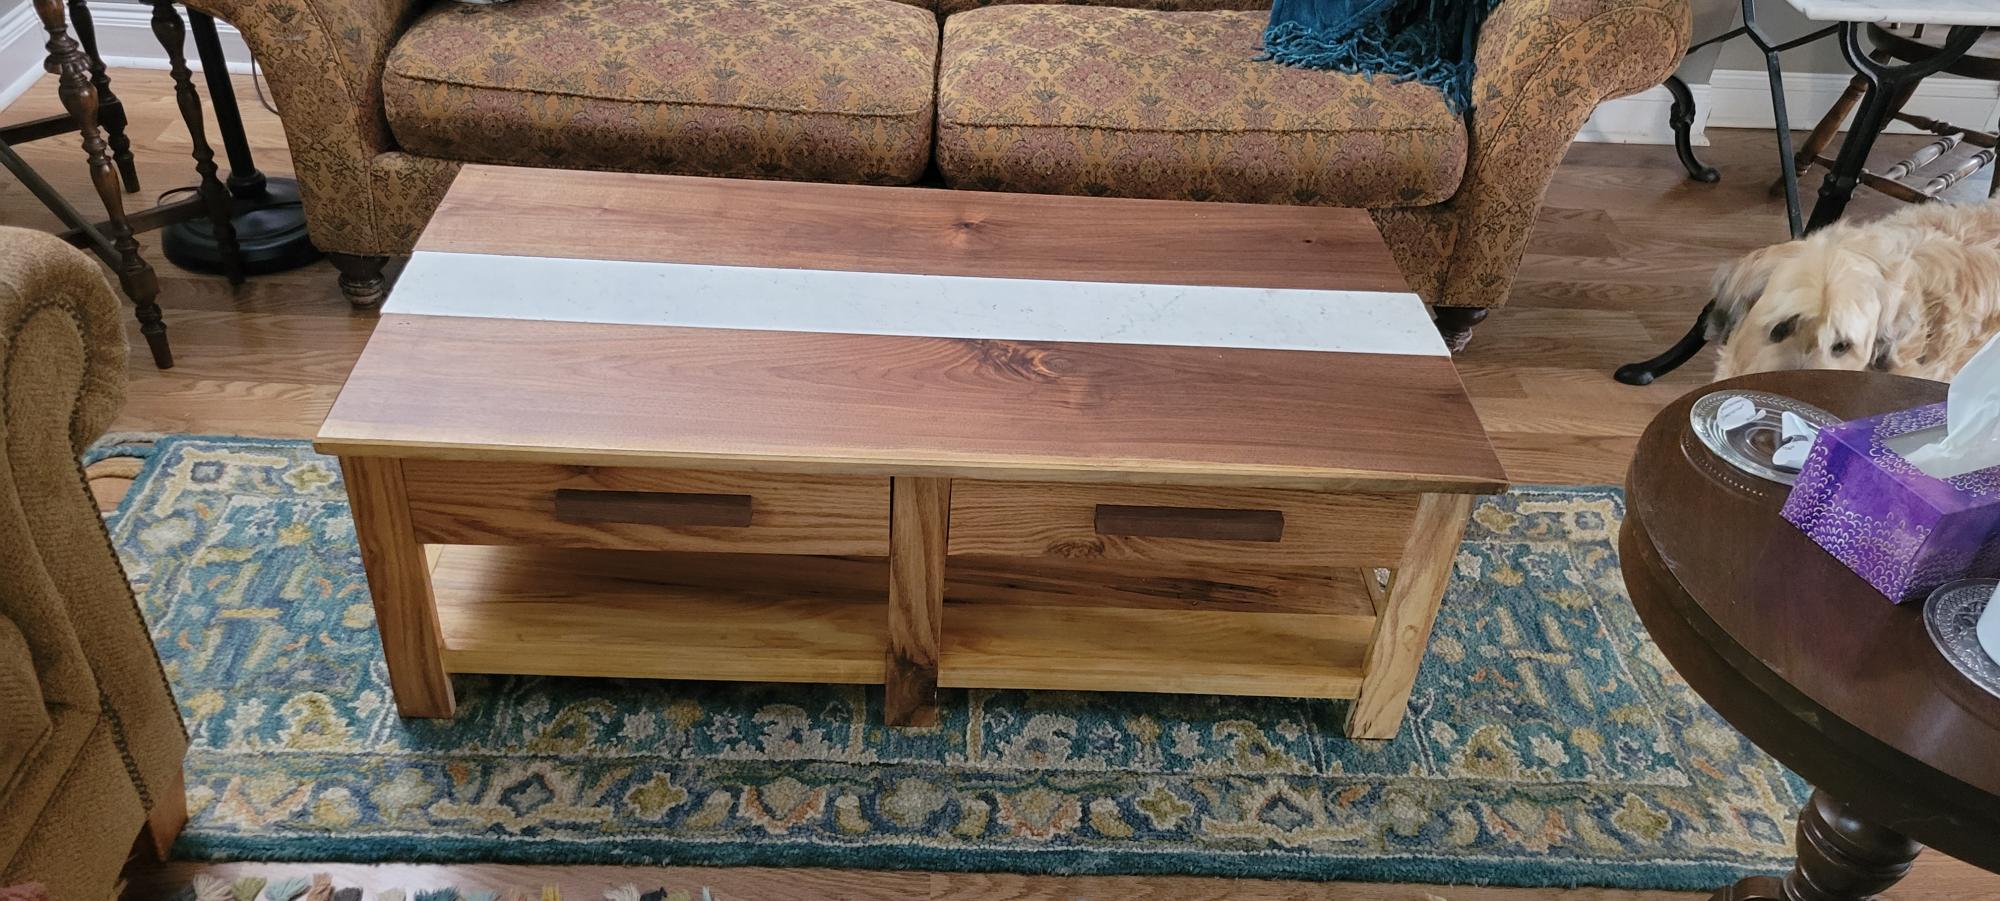
I modified the plans and used oak instead of pine. I used black walnut on top is guangzhou on top with white granite strip in the middle
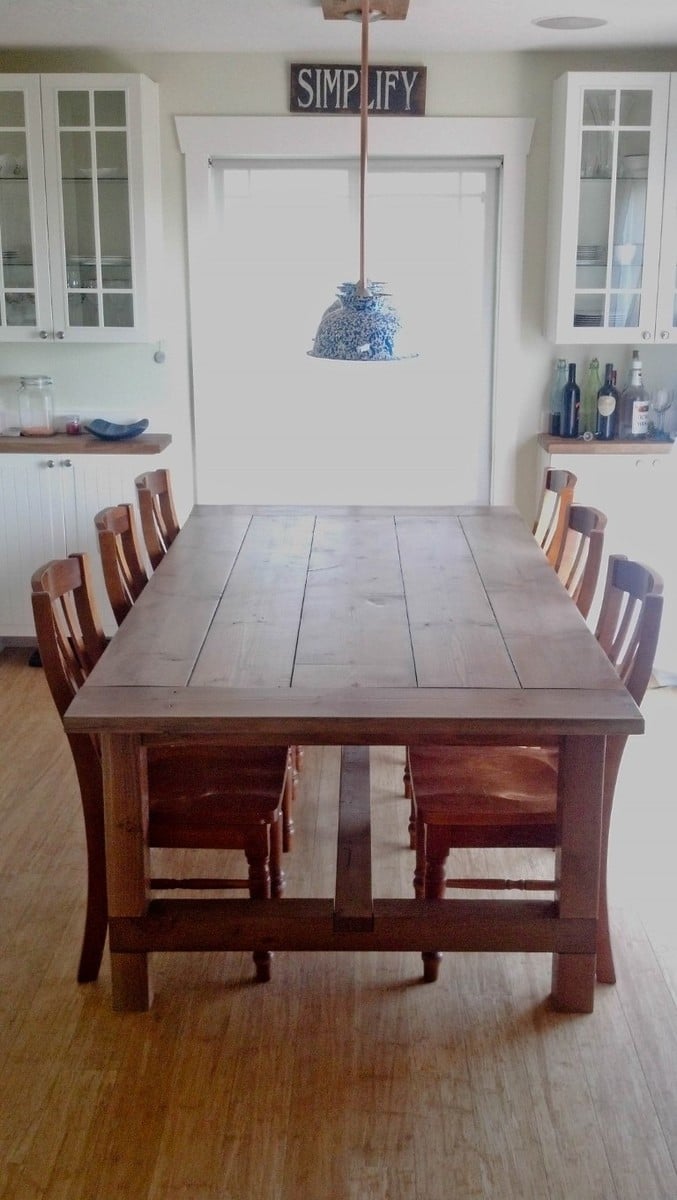
My wife and I really love the farmhouse look and feel. We saw one of these tables at a furniture store for $2000 with no chairs. I had already bought the Kreg Tool, something that I cannot believe I have done without for so long, when I went to build some $10 Shelves that Ana has on her site. My wife asked me how hard it would be to build the table and I told her I have never done anything like it. I also told her if she didn't like the end project, we could use it as a picnic table outside. It was fantastically easy with the plans and Kreg Jig. Thanks to Ana for all the helpful tips!
Now to the build. We decided that the table needed to be a bit wider and longer for our needs, so I adjusted the plans. It came out to 90"x48". The center board is a 2x12 with the other 4 being 2x10s. The end pieces are 2x8s that I had from building garden boxes. The benches that I also built were from scrap lumber, they are not pictured here as they need one more coat of stain and then three coats of polycrylic. They are 52" long and go on the ends where the kids can use the cross beam as a foot support.
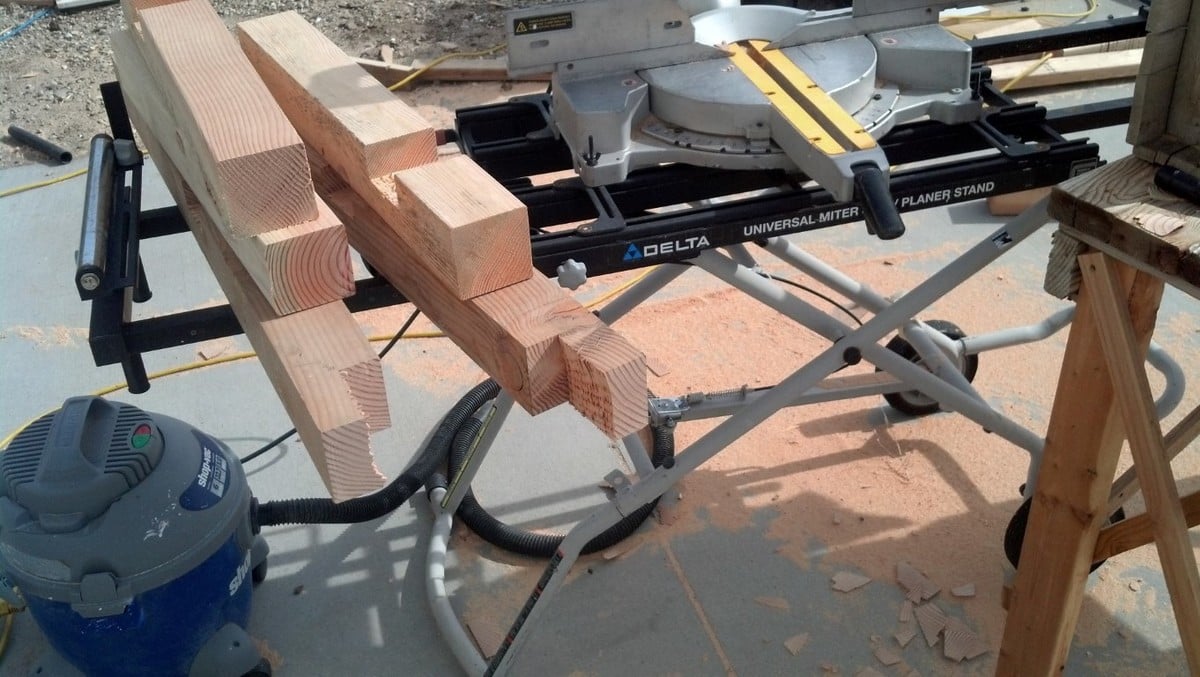
Building this project was rather quicker than I thought. Of course, borrowing a radial arm saw helped out a bunch with the legs. Once it was all together, I sanded the table three times. I used 80, 150 then 220 grit. The palm sander got a real workout over the space of about a week and a half.
Finishing the project, I decided to follow the plans and went with Minwax Weathered Oak and topped that with Minwax Polycrylic. The legs and underside of the table received 2 coats of each, but the top I gave 3 coats of stain and 2 coats of the Poly with a very light sanding in between each coat.
The table then sat completed in the garage for 3 weeks as I had to find enough help to get it into the house. This is one heavy bugger. If we ever sell the place, it stays! There are ~150 screws and all but 12 of those had pocket holes.
Fantastic build and now I am going to build the farmhouse king size bed. And a murphy bed. And more shelves. And a shoe cubby with coat rack. And a wine rack. And a greenhouse... the list goes on and on...
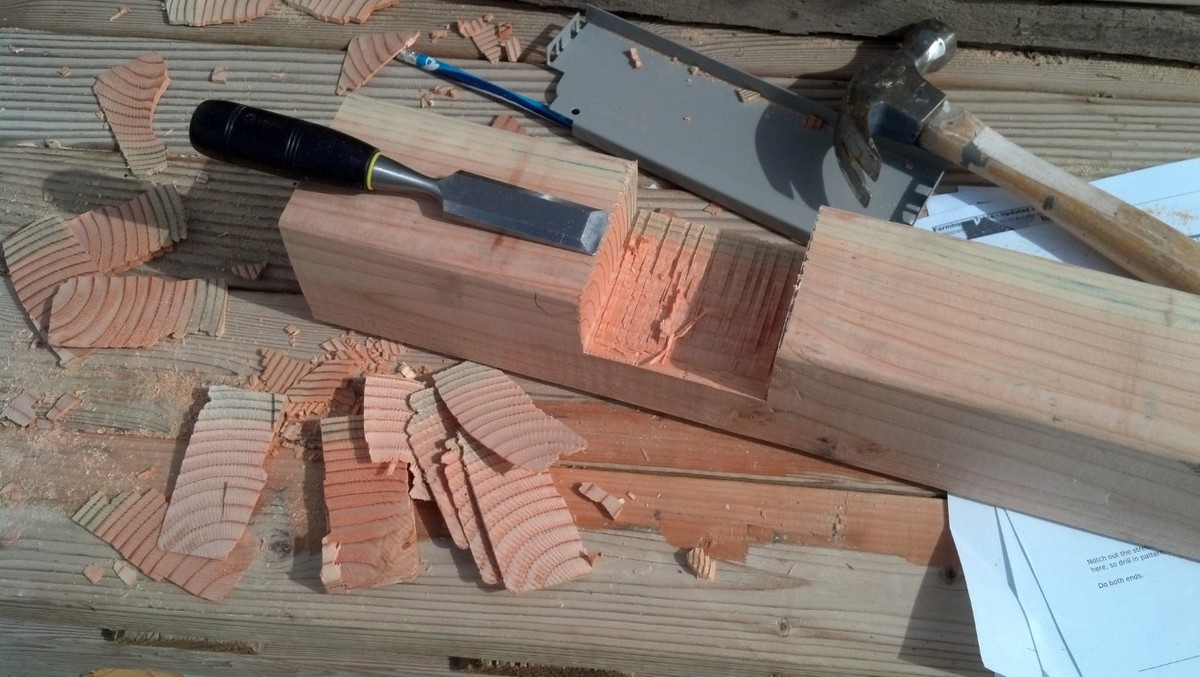
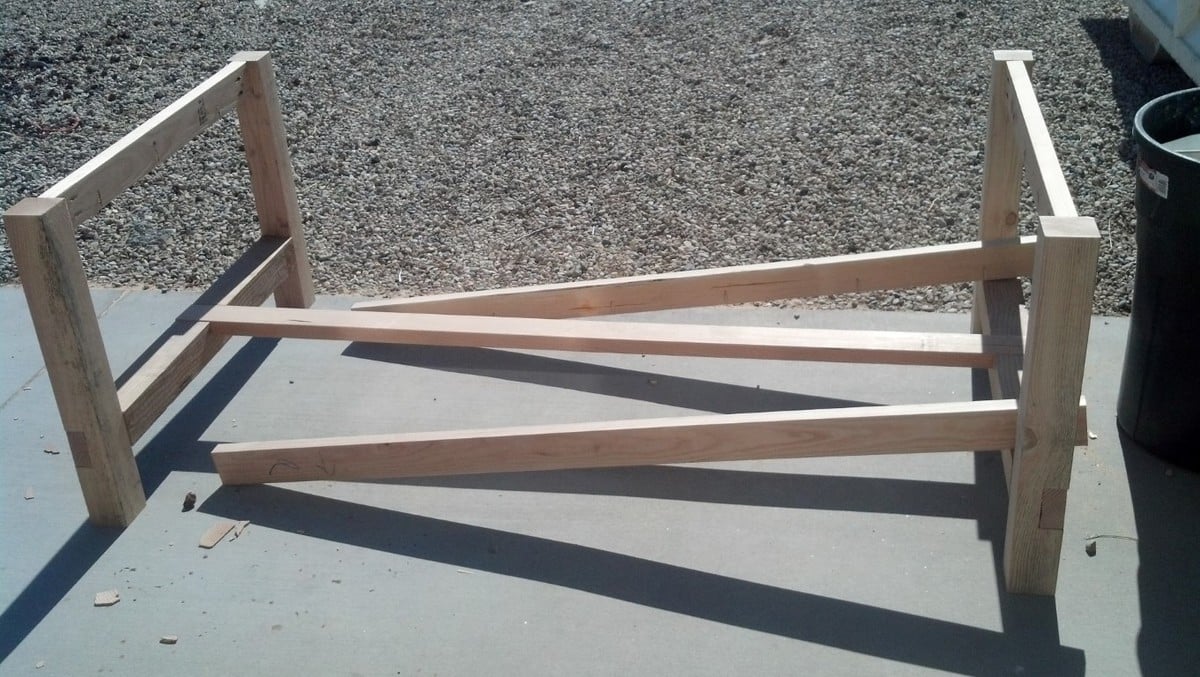
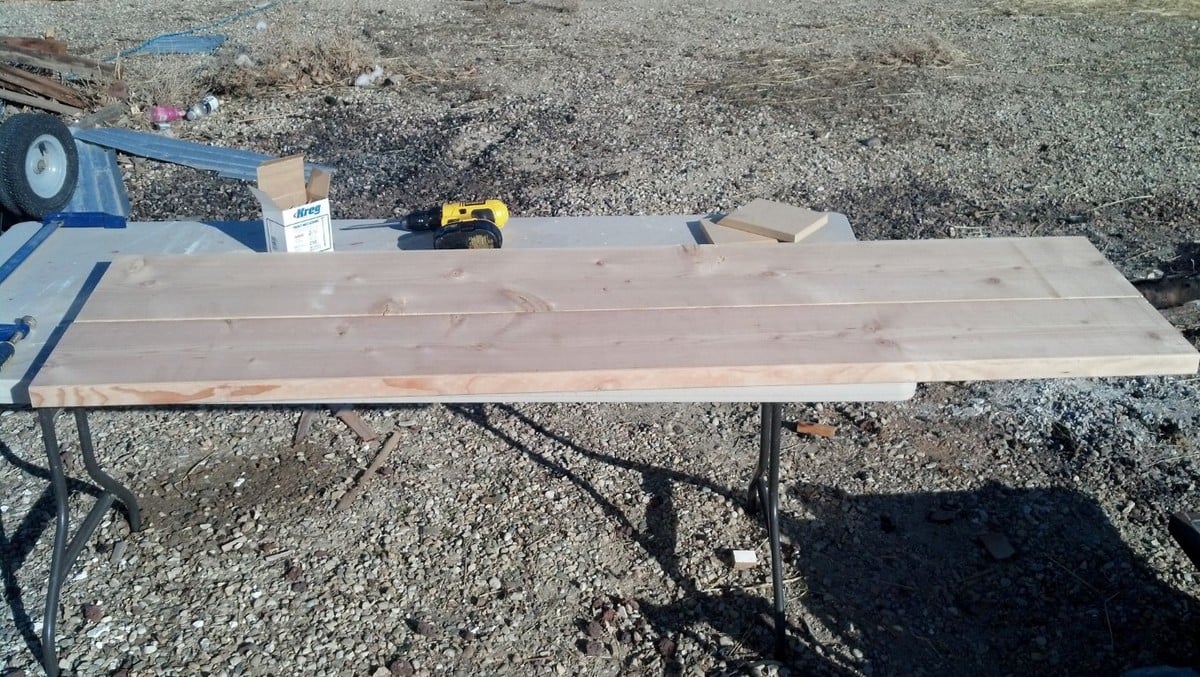
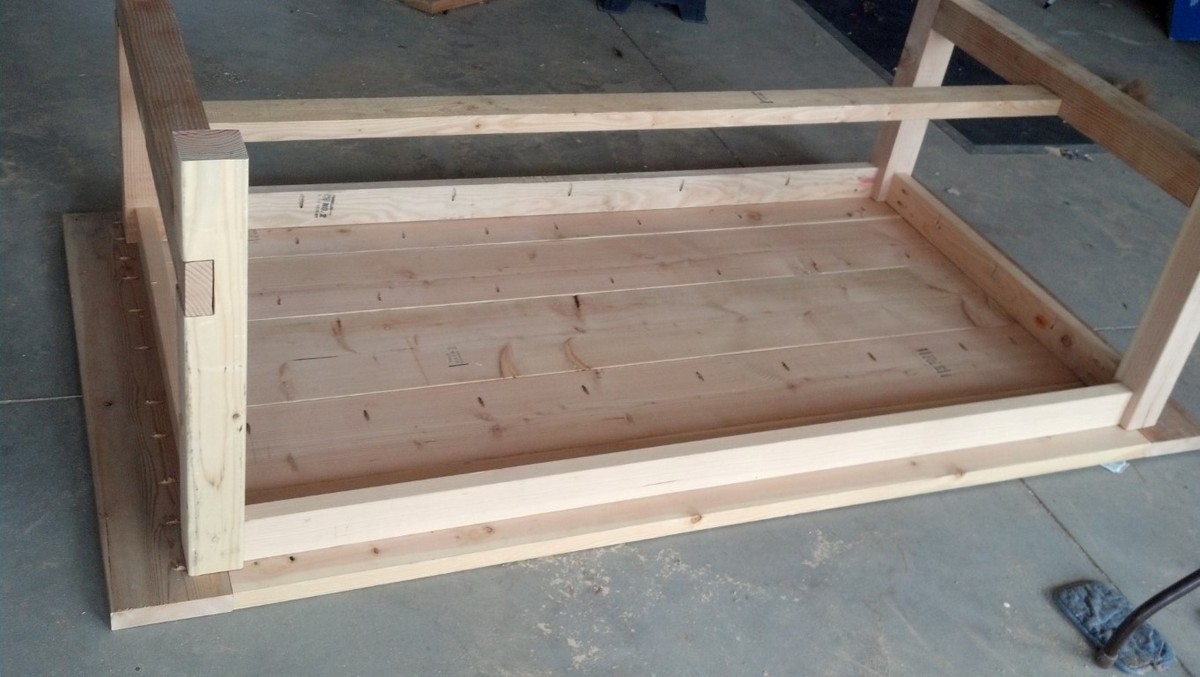
Fri, 04/26/2013 - 12:50
thanks for posting some step by step pictures they were really helpful. Great table. Really suites your space.!
Fri, 04/26/2013 - 14:09
Could you have used heavy duty steel leg braces? These could slipped into saw kerfs on adjacent sides of the apron. Then used hanger bolts to fasten the legs. This would allow the legs to be removed if needed.
Fri, 04/26/2013 - 15:09
I thought about making the legs removable, but really, it was much easier this way and very sturdy. I had a lot of fun building this.
Fri, 04/26/2013 - 18:17
I looks amazing and you have been so detailed with your finishes, it is amazing ... Your wife is one lucky girl!!!
Sat, 04/27/2013 - 18:55
You have just joined the league of addict builders. You really did a great job on this table. Did you get the lumber from big orange or blue and have it jointed? The boards look really good and the fit is tight. Anyway I am sure we will see more of you in the future.
Wed, 05/01/2013 - 07:19
Hey everyone!
Thanks for your kind words. The chairs were from our previous table we bought some years ago. I was astounded to find that Ana's plans were the same height as our previous table. Great fit for the chairs.
As for the lumber, I got it from a local building supply company (one of the last, sad to say) and they were only a bit straighter. I got them tight by using clamps. Clamps and LOTS of pocket holes.
George
Thu, 08/08/2013 - 11:08
This table looks great and I've decided that its going to be my first project, I just have two questions.
1. What version of the Kreg Jig did you use for the pocket holes?
2. Did you use satin or semi-gloss for the Minwax Polycrylic?
Thanks
Wed, 08/26/2015 - 10:53
Hi! You did a wonderful job on this table. I would like to attempt it but am having trouble figuring out what type of wood to use. The only wood I could find in the 2x8 and 2x10 dimensions was contruction lumber fir. Is that right?
Thank you!
Fri, 01/01/2016 - 11:03
Sorry about not answering... my wife told me this has been pinned over 17k times on pintrist and that there are still some questions...
I used pine, but fir would be great too. The lumber dimentions for the top were 2x10s and a single 2x12 for the center piece. 2x8s for the ends. Really, though, any dimemtion works. Just keep going until you get the size you want.
George
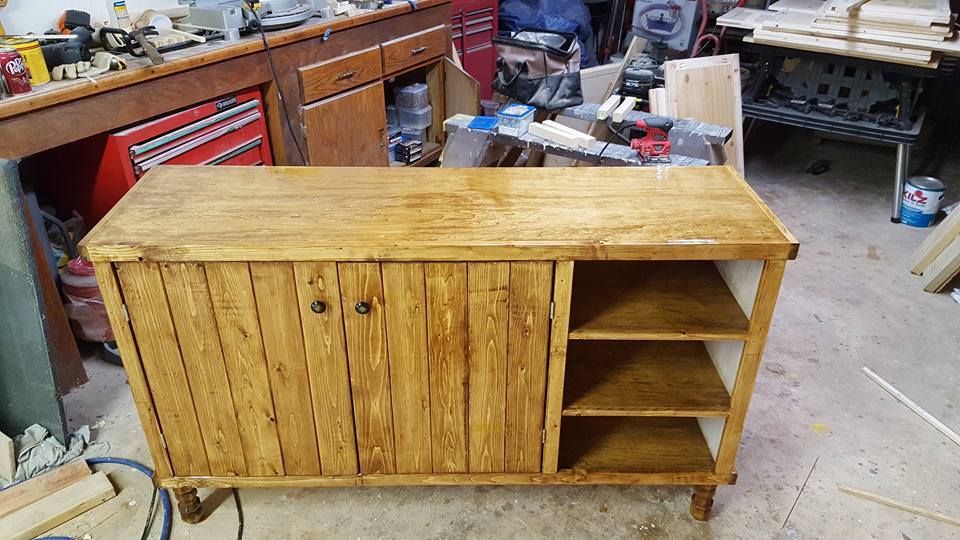
I've built several things from the page but this is the first that I have posted about. I love this site. Everything I have built has been so easy because of the way the plans are laid out. I added my own little touches to the buffet but for the most part I followed the plans as they were.
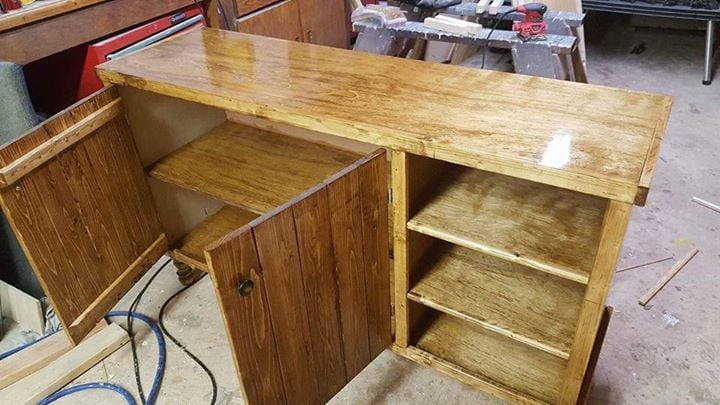
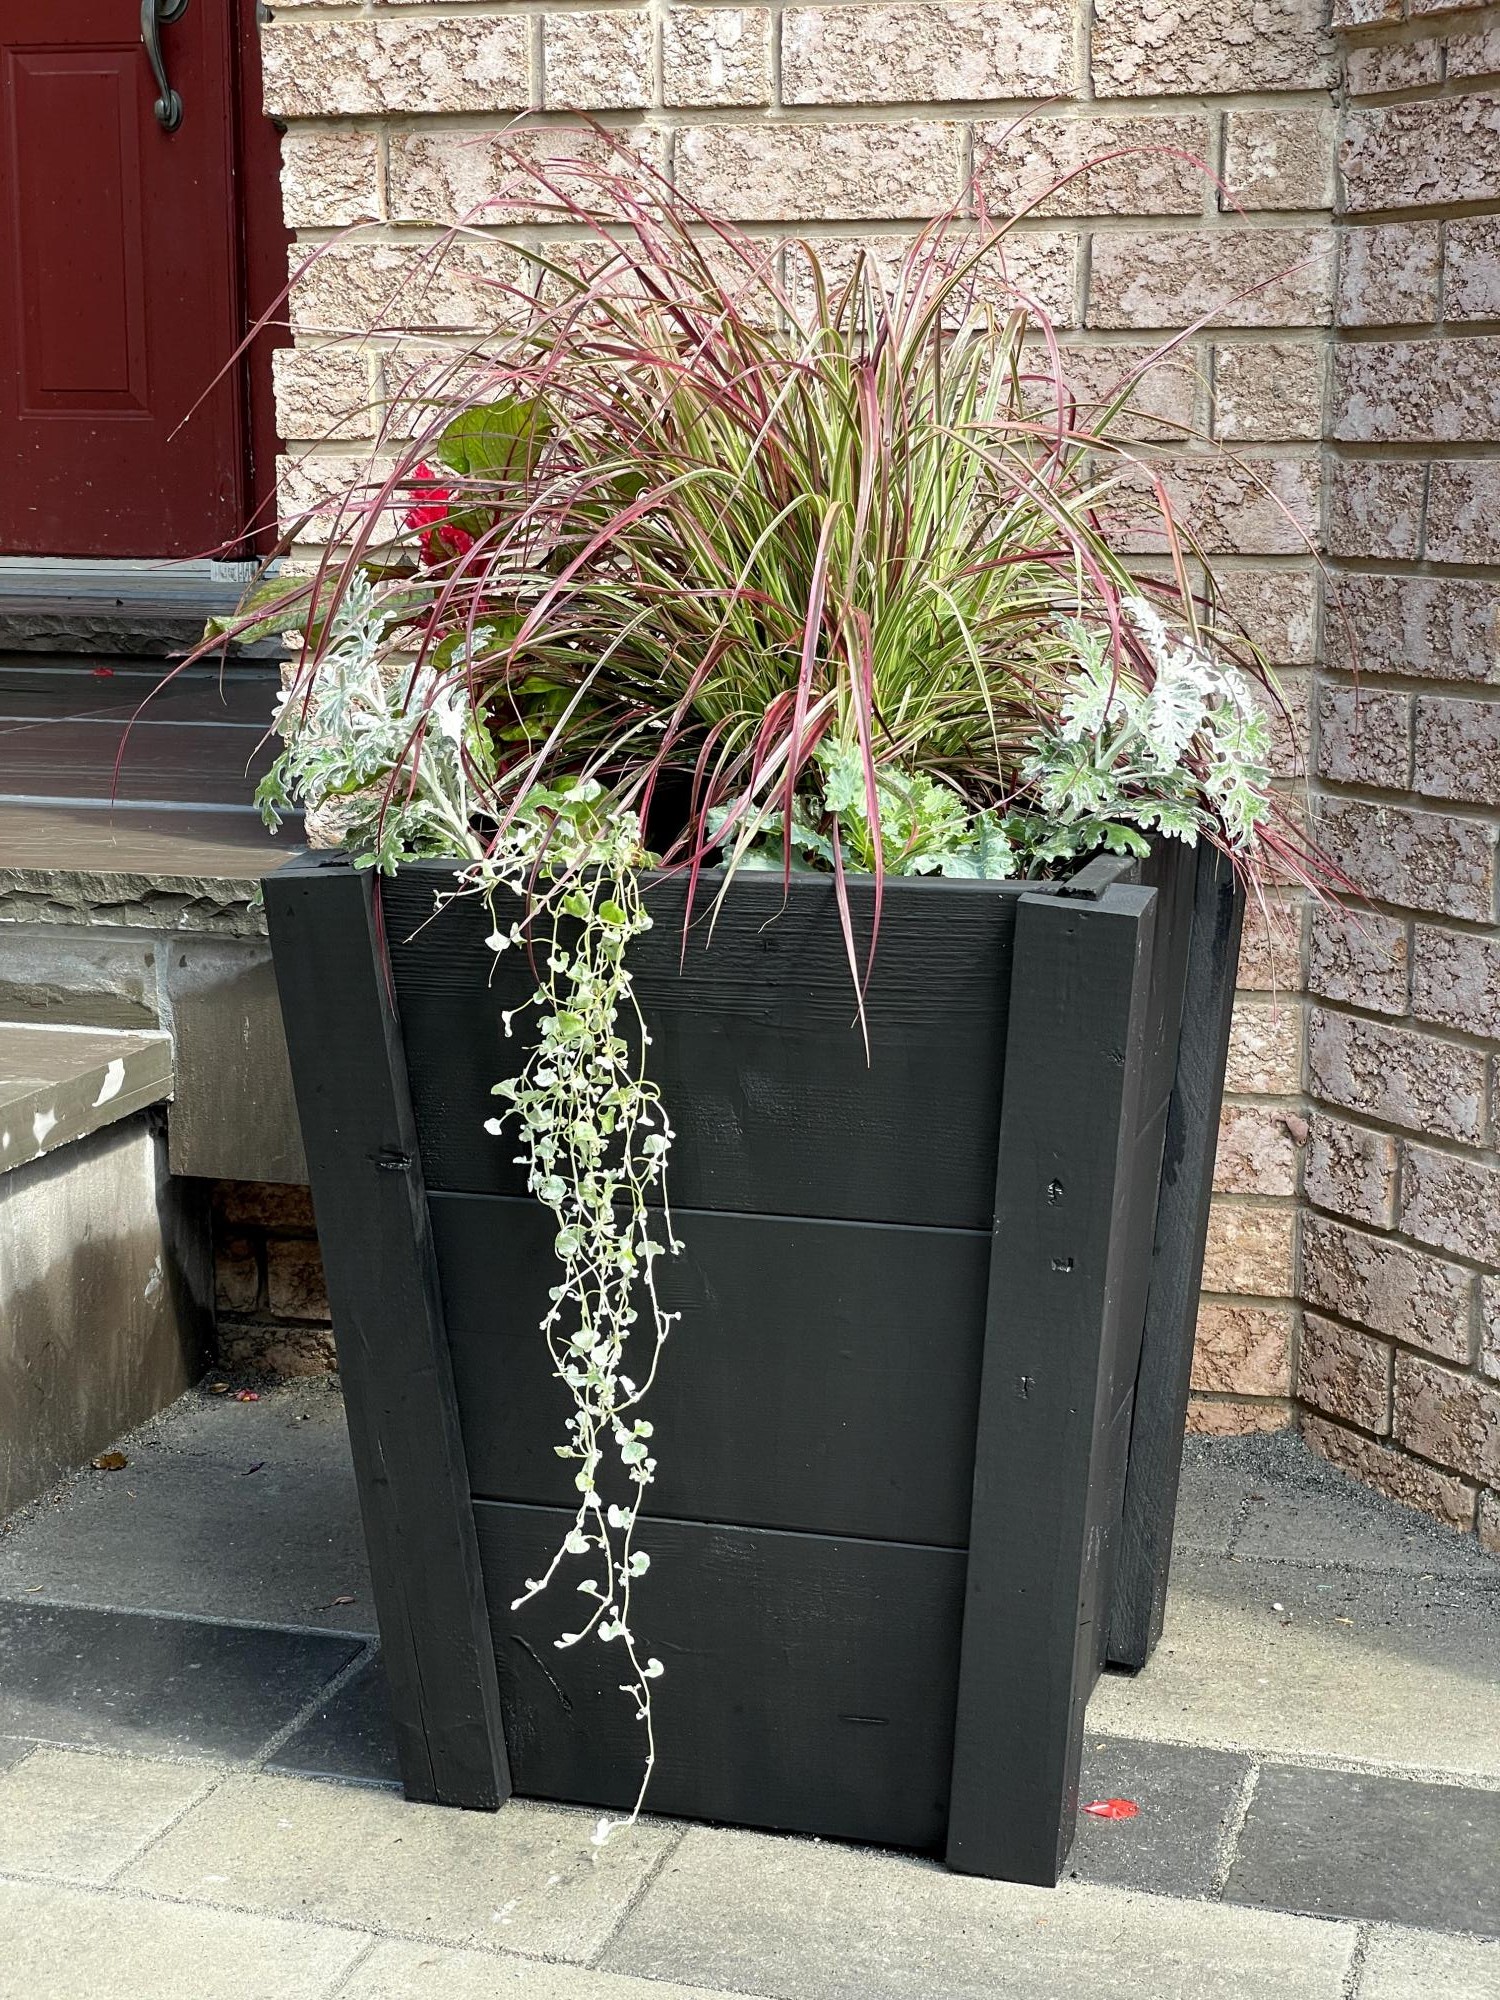
plan was easy to follow! super cost effective because I just used scrap wood found in local stores and nails. It took me longer than expected since scrap woods are not as long so need to do time in sections at a time, but all worth it.
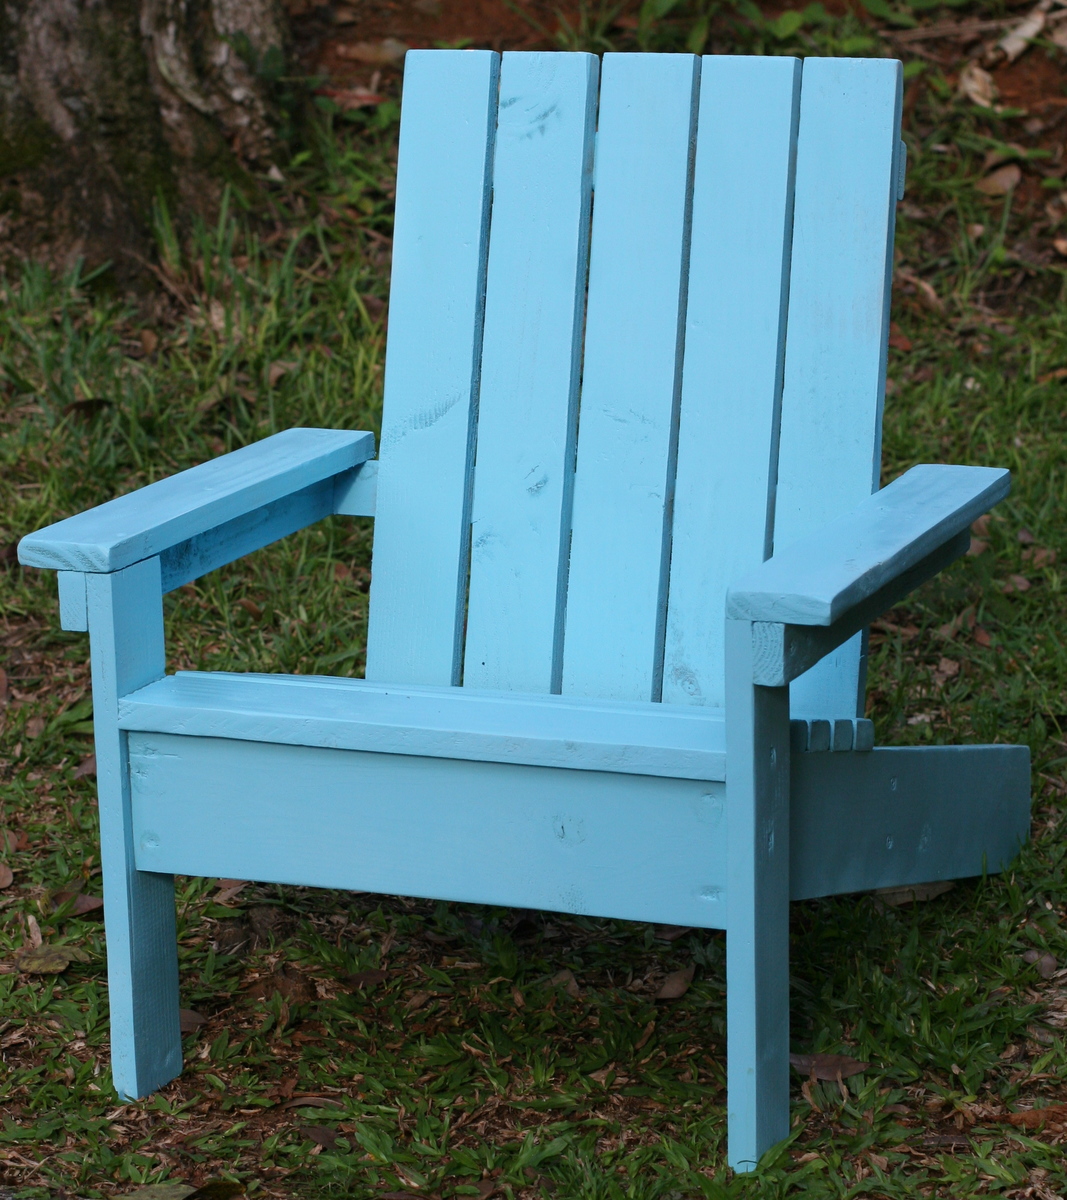
I had leftover scraps from some other projects so I decided to use Ana's plans to build this easy adirondack chair. It was built in a just a couple hours. It's the perfect size for my 4 year old!
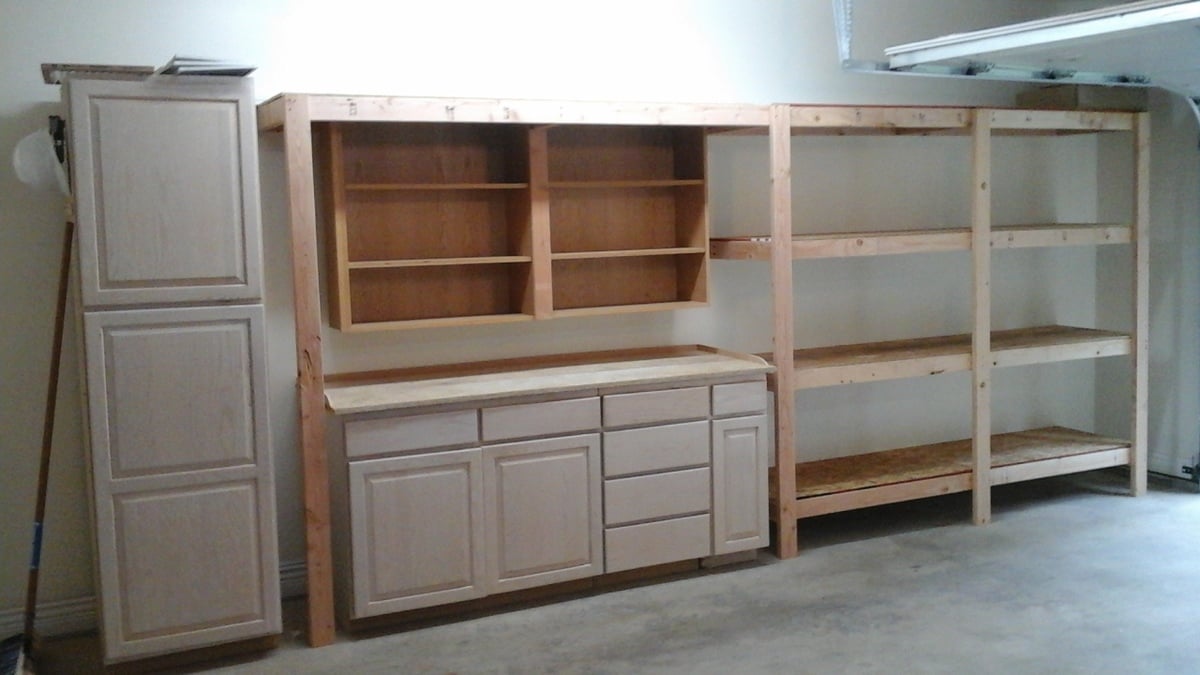
Thanks to Ana's 2x4 storage plan and a neighbor's discarded kitchen cabinets we now have a very clean and convenient storage area in our garage. It even features a work bench and sorting area.
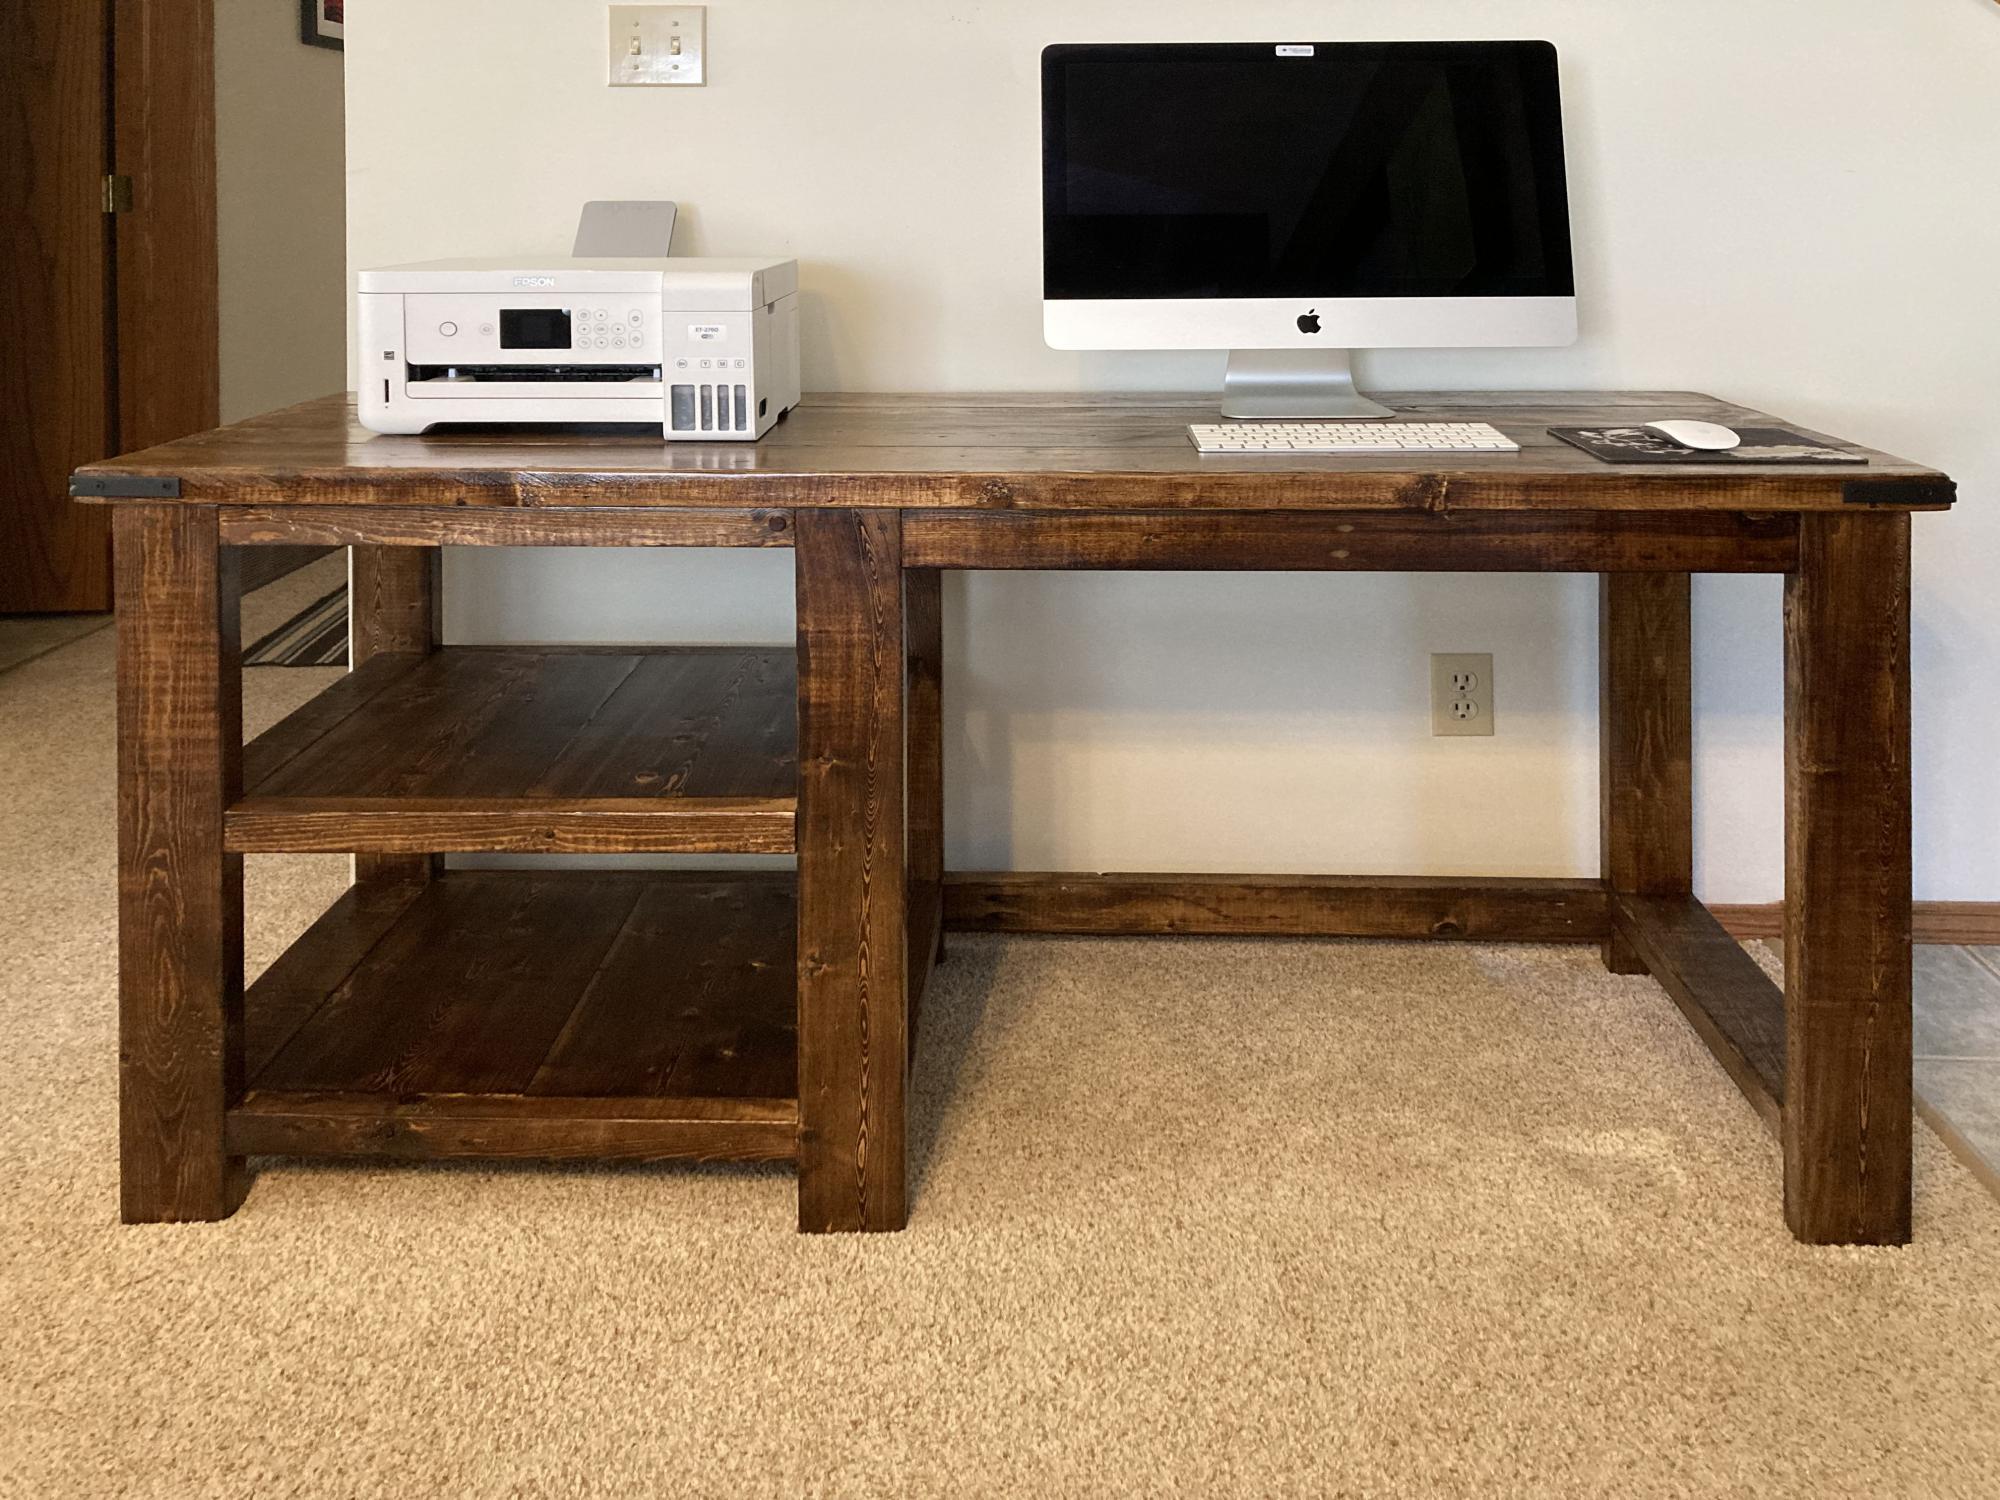
I have build several of these rustic desks. I left the "X" off of this one as I had trouble getting it to fit properly. My last desk I had no issues but not this time. I use MinWax "Provincial" stain followed by three coats of Varathan 3X glossy finish on the top and two everywhere else. I also added a cross piece between the two end sections to better secure the top to.

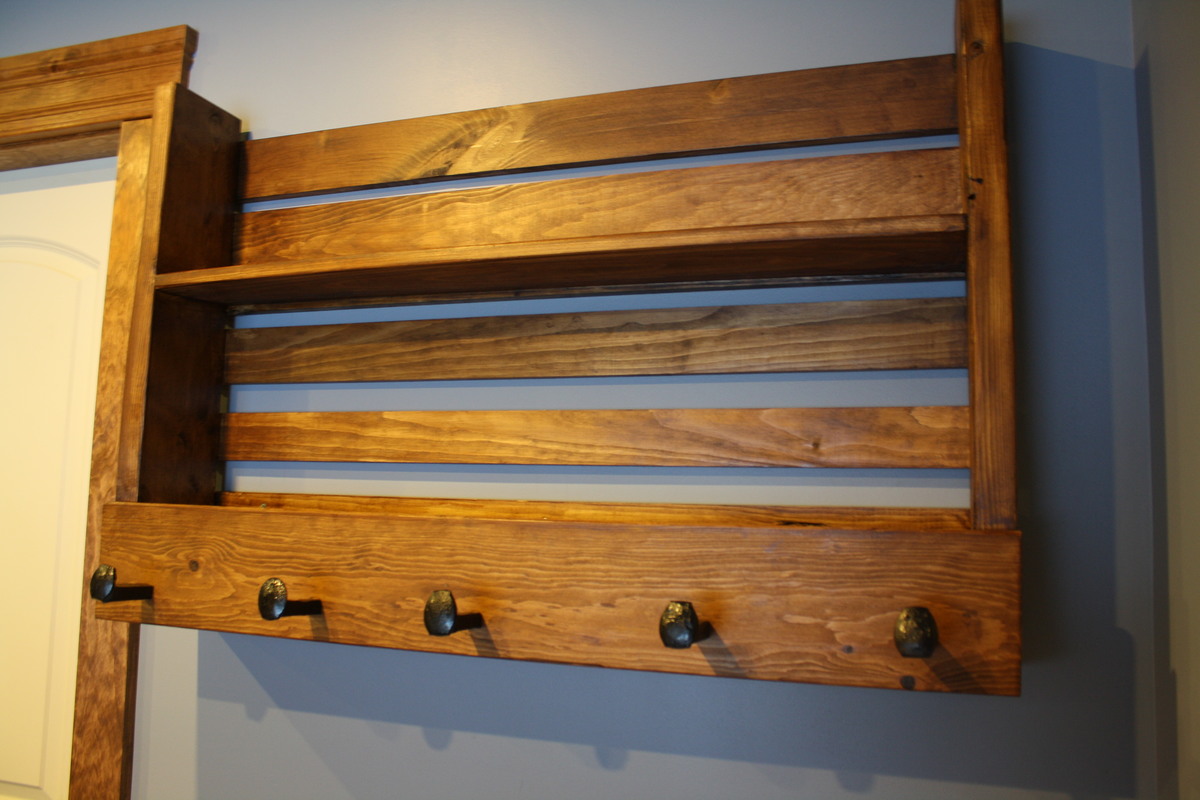
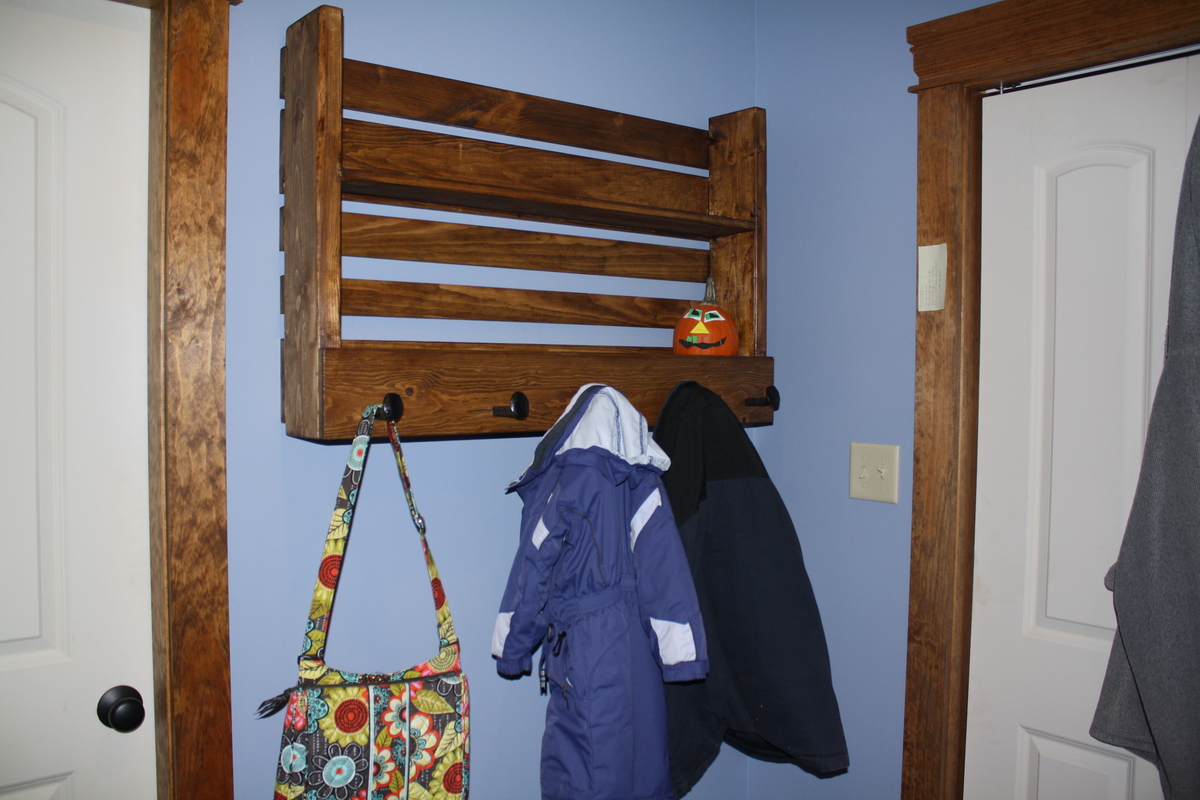
From the pallet style coat rack plans we saw from Ana and what she did for Ryobi Nation. Real simple to follow. I just change measurements to fit my space and other modificaitons because I didn't have quite enough 2x lumber. I saw the railroad spike hook idea on Pinterest and had a metal worker down my road cut them and thread them for me. I am very happy with it. I found a water-based stain (I HATE the clean up for oil based stuff) in a color called Aged Leather.
Built by my son and I. Followed the awesome plans for that most part.
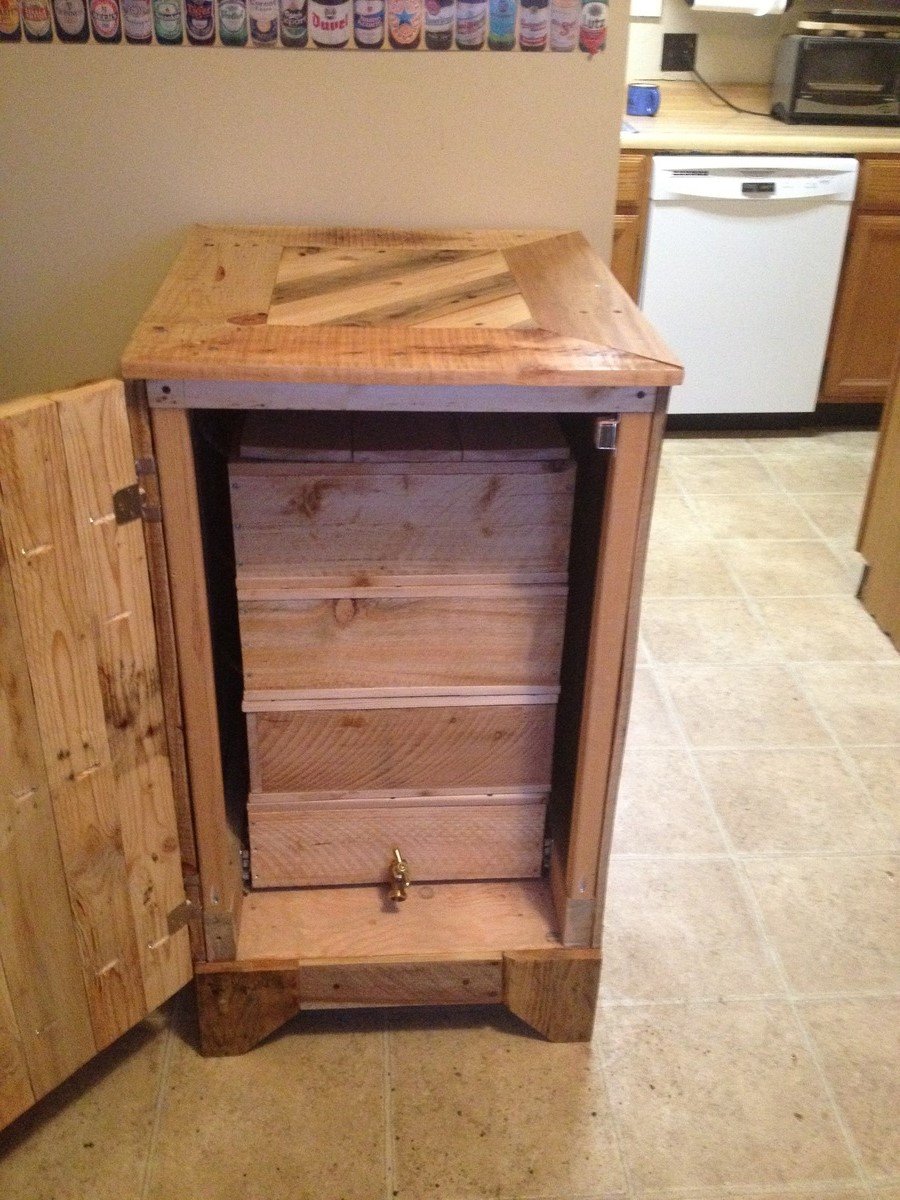
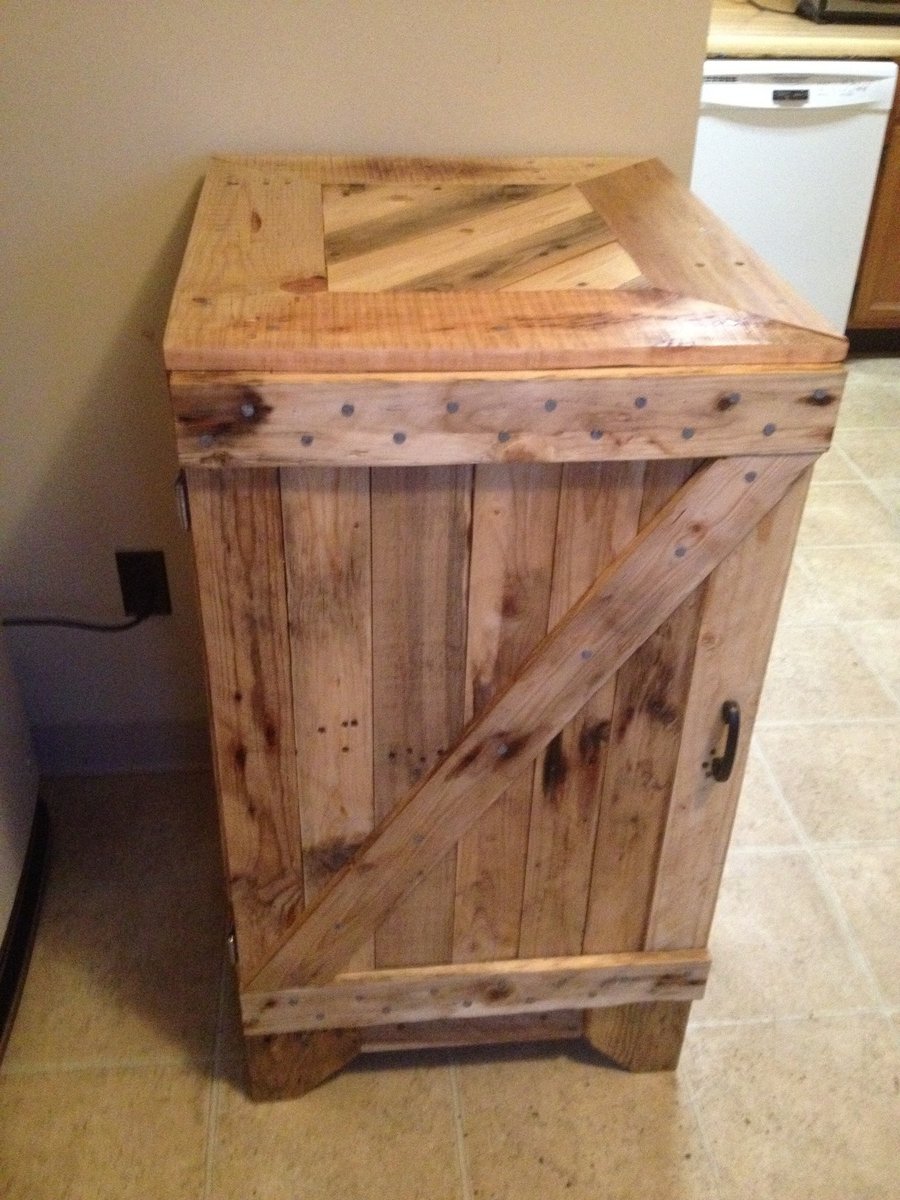
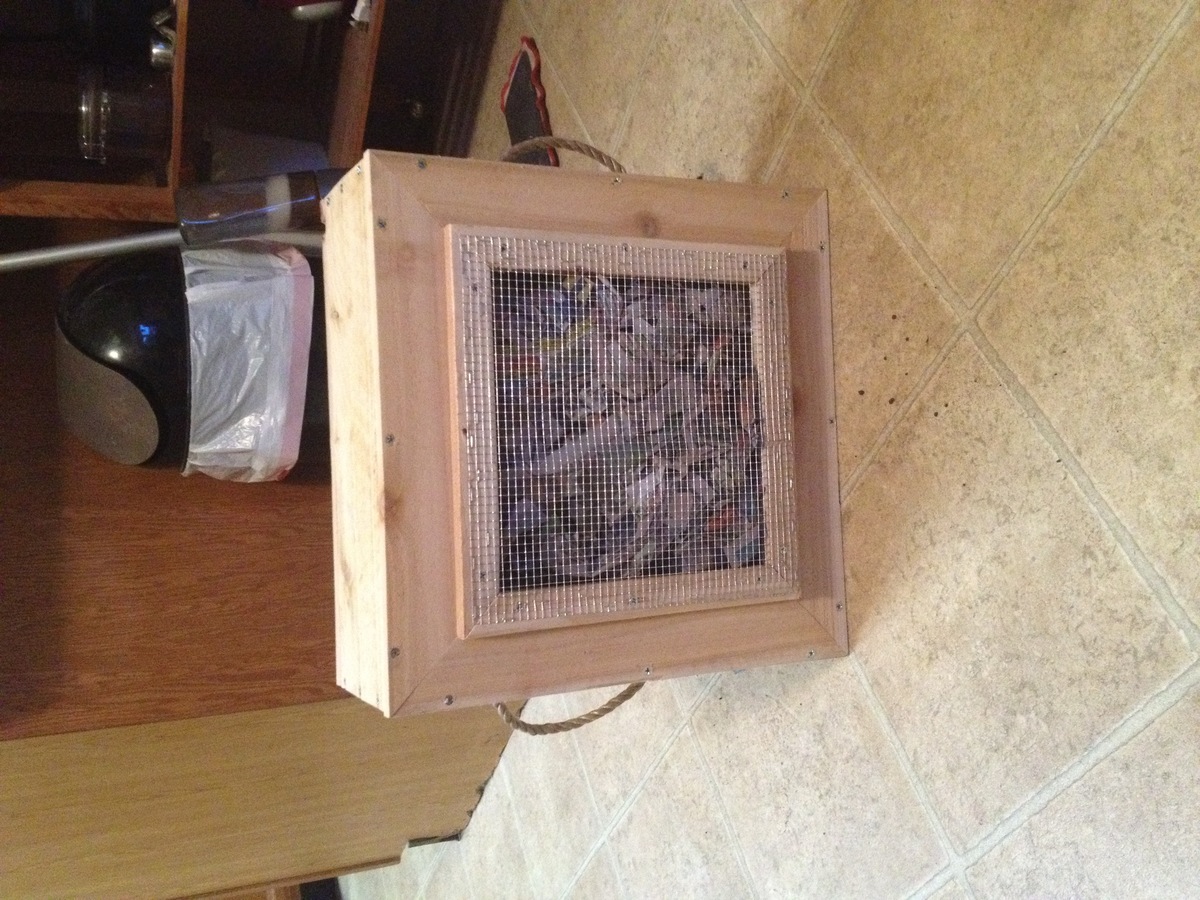
I made the worm composter from Ana's plan and built a cabinet out of old pallets. The stack of worm composters drawers slide in and out of the cabinet on a heavy duty drawer glide set. I used cedar fence board. For 3 bucks a board, it was worth the work to rip them down and sand them. The bottom drawer has a tray built out of old flashing and slopes towards a hose bib in order to collect the worm tea. I designed the drawer insert out of cardboard and cut it out of flashing, using a pop rivet gun to put it together, sealing the seams with flashing caulking. The drawer has a sheet of aluminum window screen under the top square of cedar.
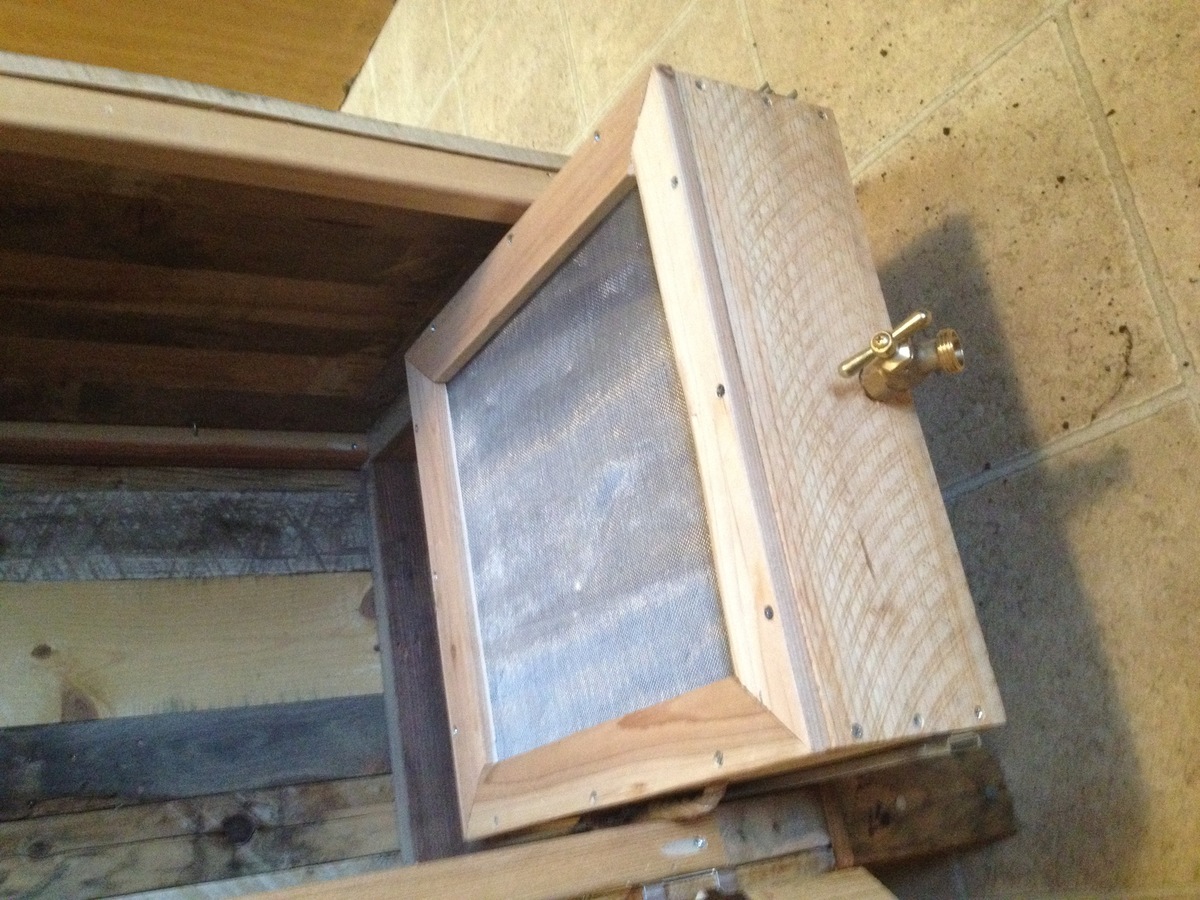
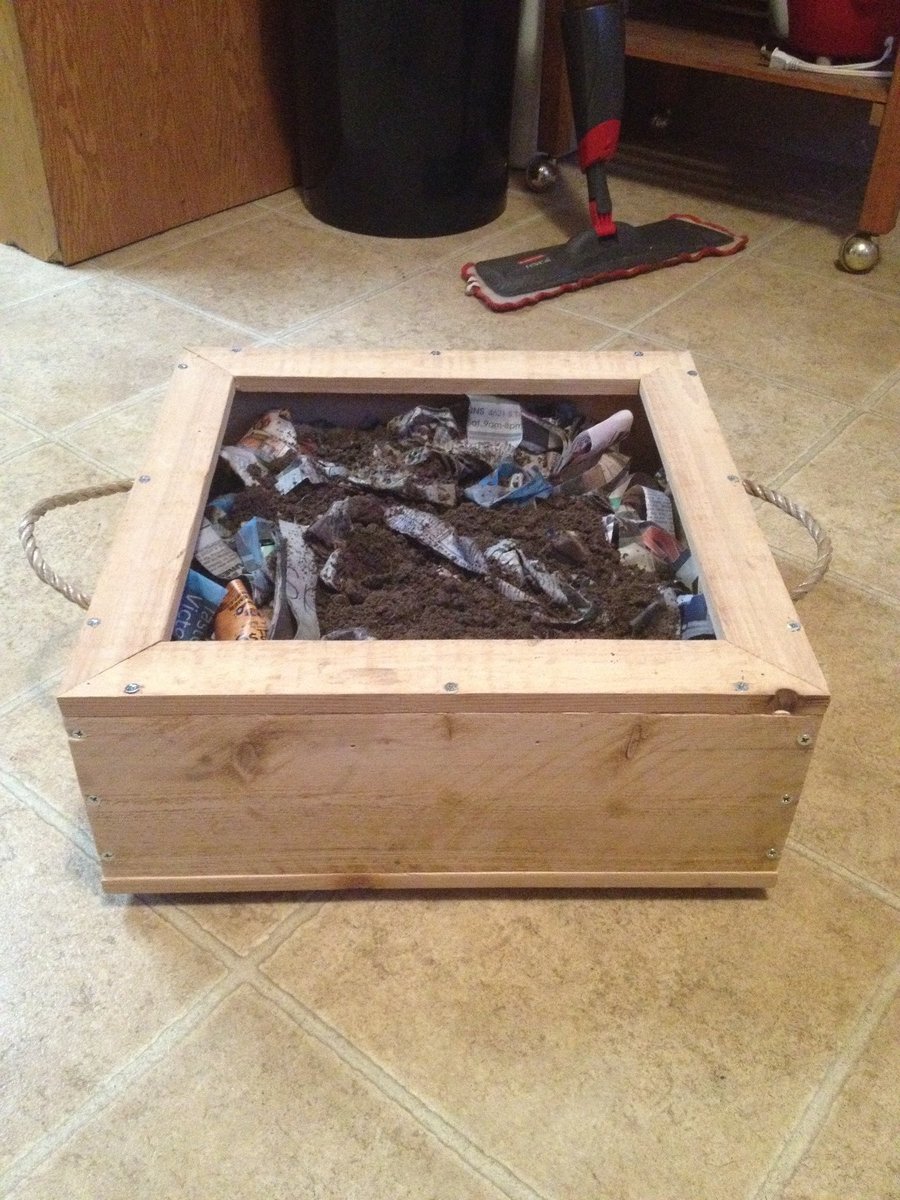
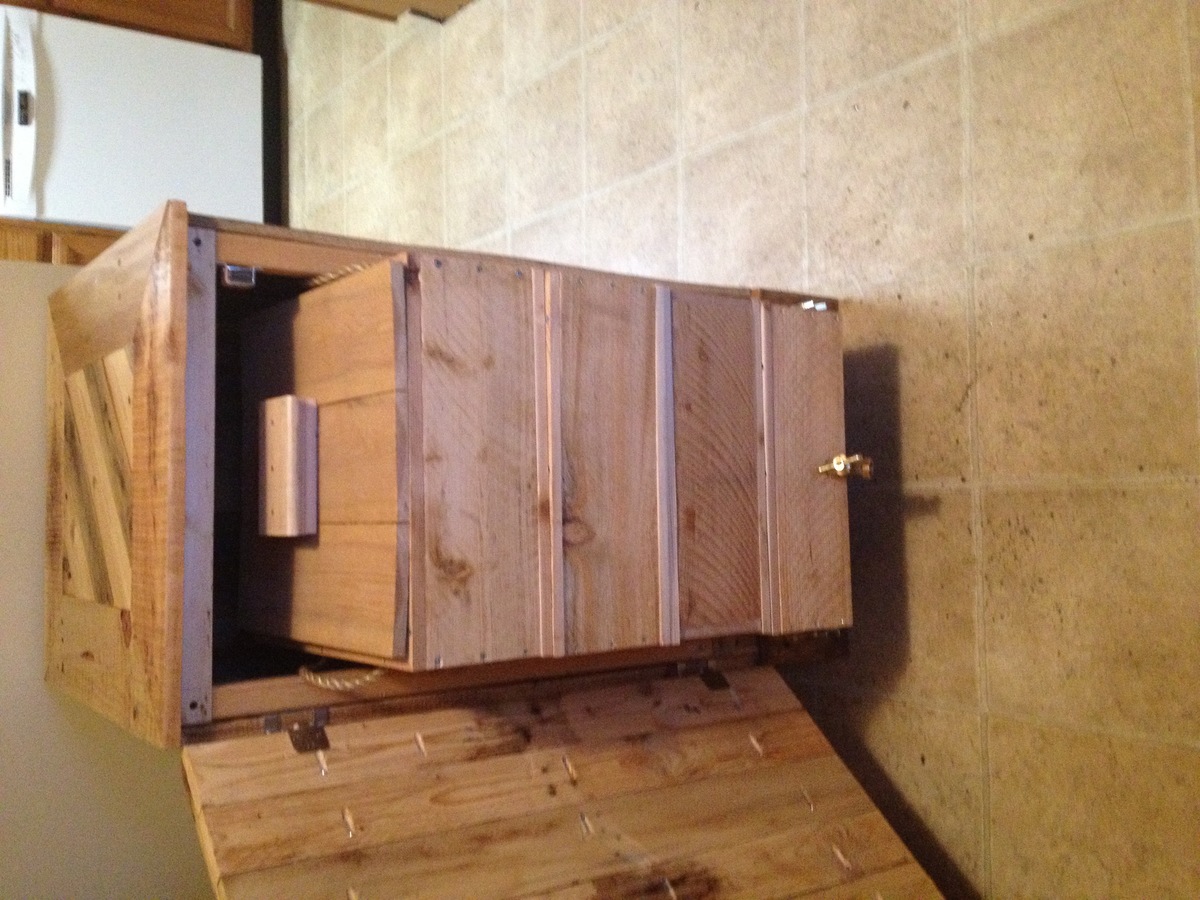
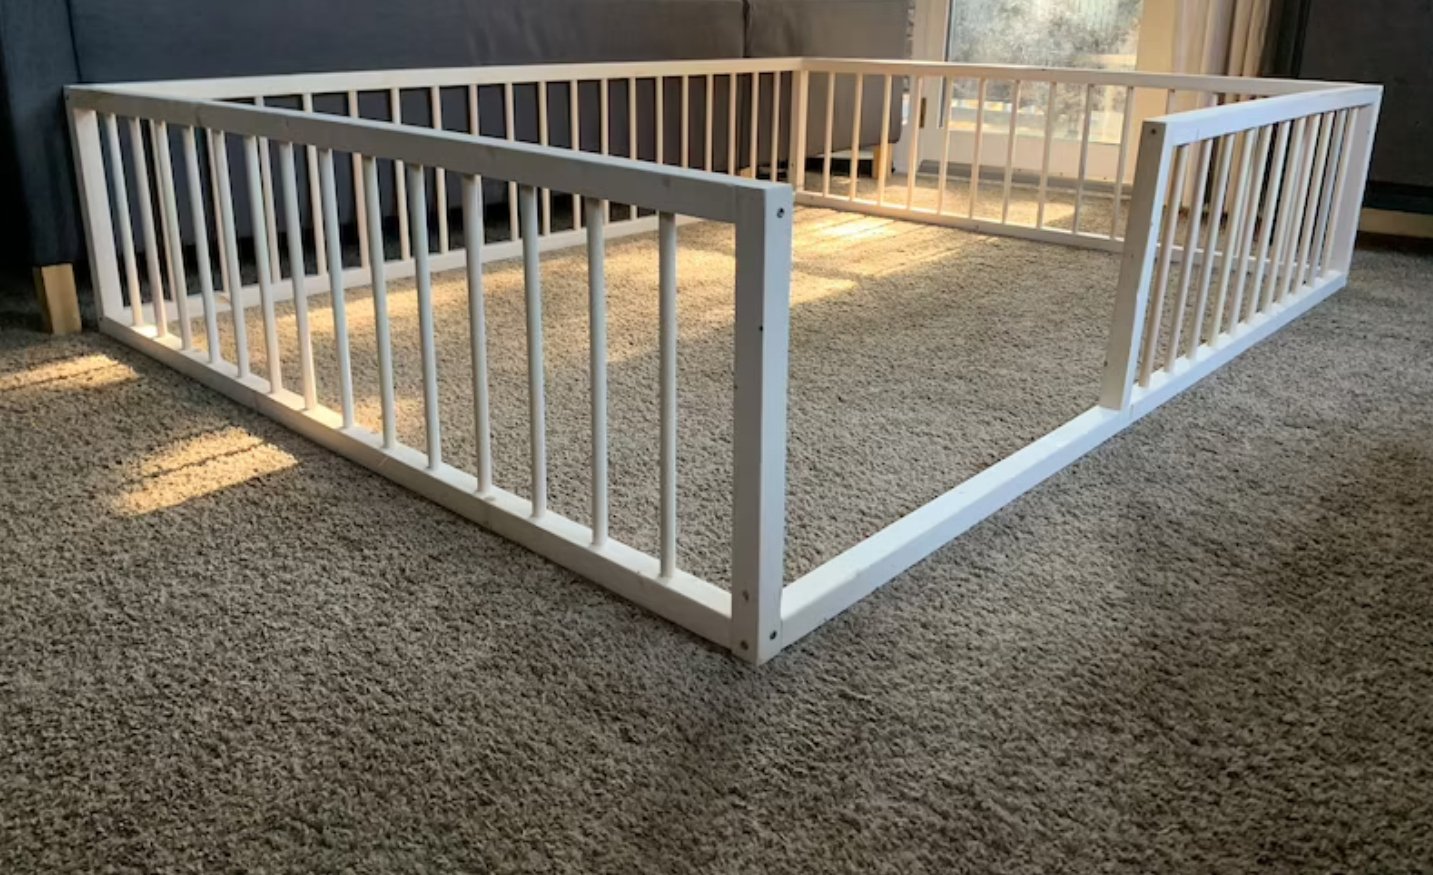
Was a little challenging at first but I was able to pull it off and it came out to be perfect
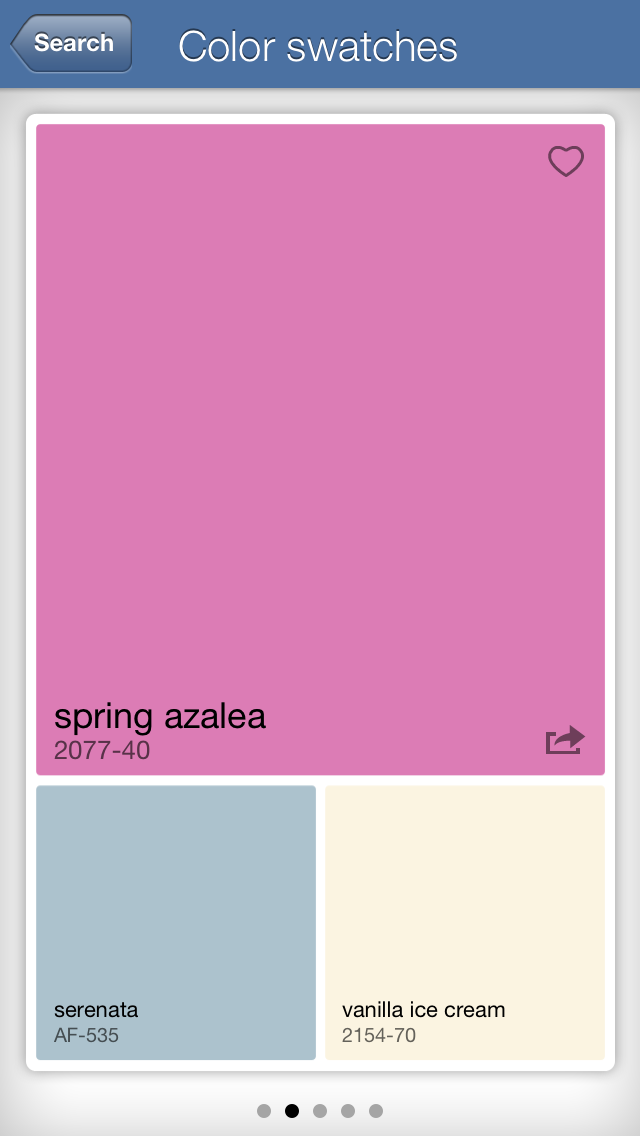
My wife and daughter wanted a shelf for her room - had to be pink. All I had to go on was a picture from a Pottery Barn ad. It's made from poplar and was my first kreg pocket hole project.
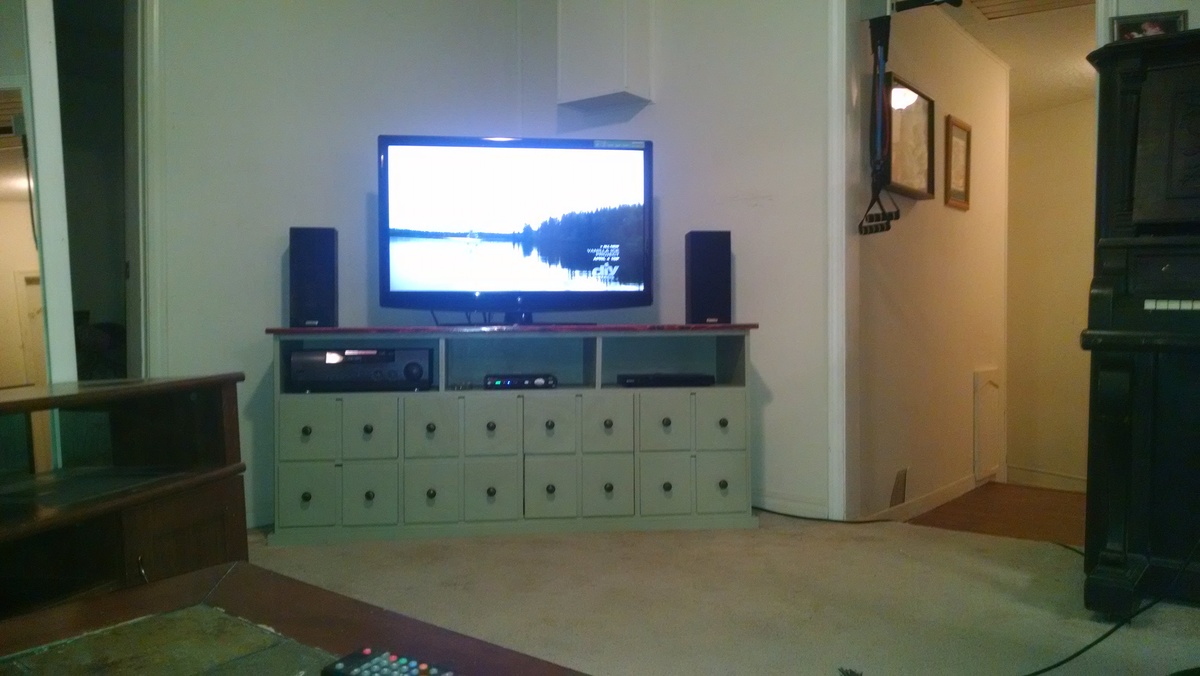
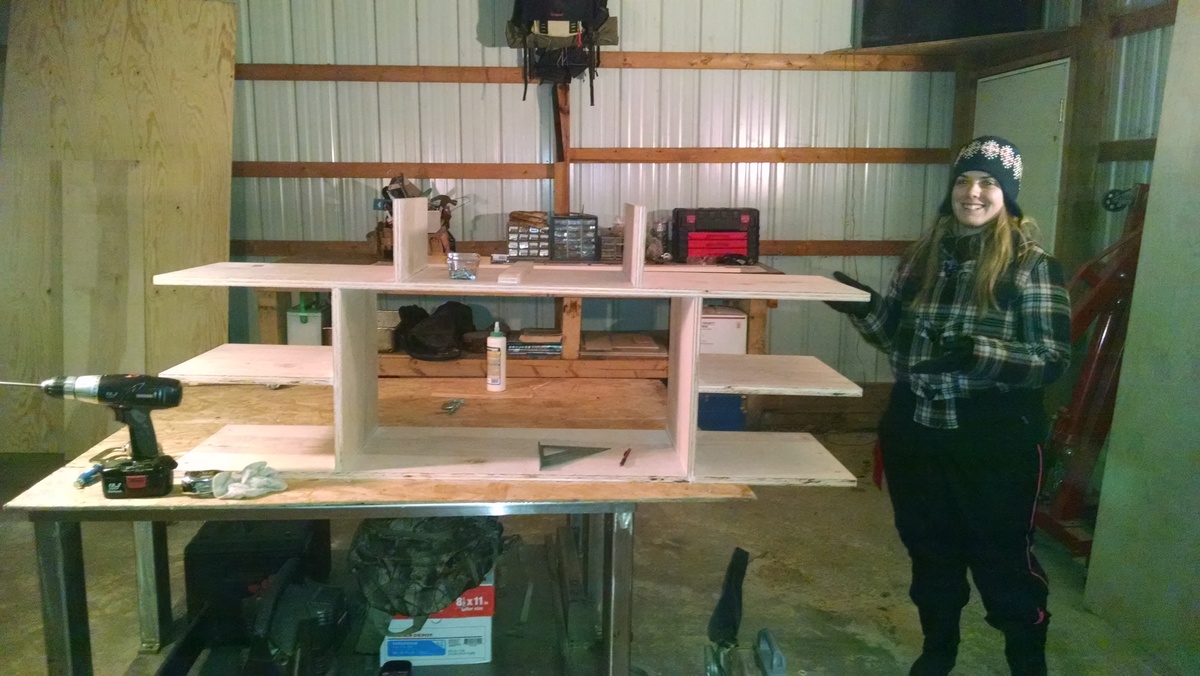
This was my first real build and it was a lot of fun. My girlfriend helped me out from time to time even though it was brutally cold in my un-heated, uninsulated, detatched garage.
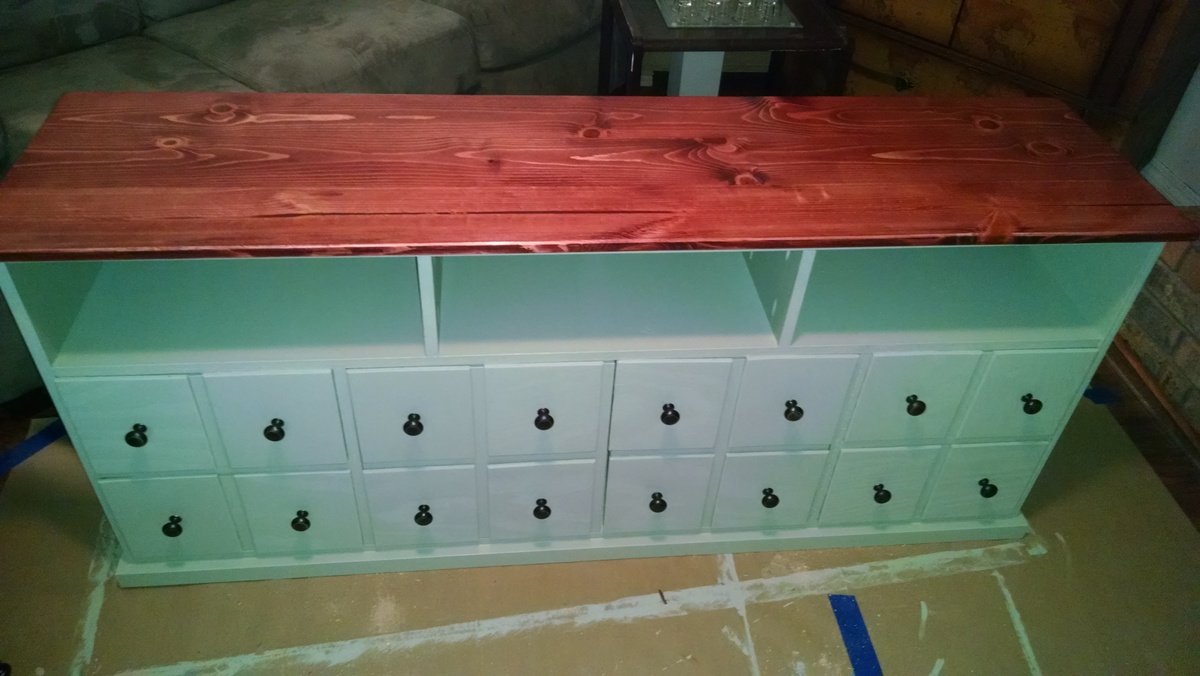
We used a sagey green for the paint and 2 coats of gloss poly on the top. Added holes in the back with a hole saw for wires and cables. I stacked the false fronts and drilled them for the knobs all at the same time for consistency.
All in for about $210 including $40 in knobs, but I did make the drawers out of some scrap I had laying around.
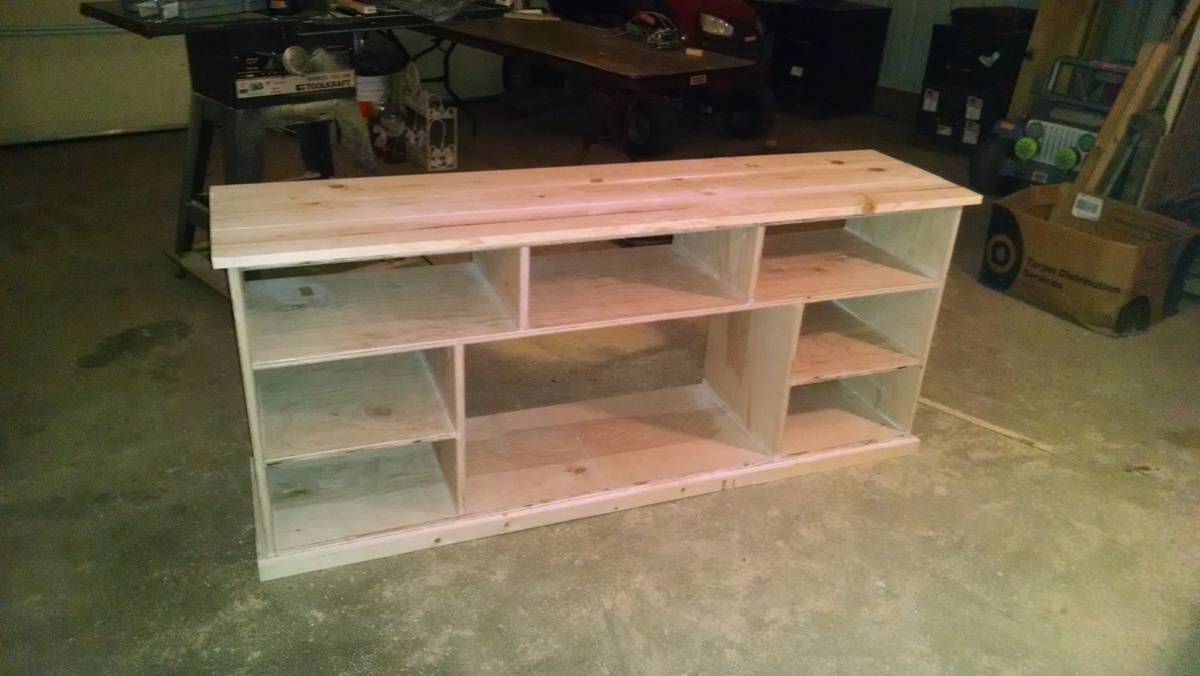
The pocket hole joinery makes this pretty easy, but I'd highly recommend a table saw for consistent cuts and deminsions. Also, definitely use lay out lines and double check for squareness before driving the screws during assembly. Take your time, and enjoy the process. It starts to look very much "diy" in that not good "ummmmmm..." kind of way before the end where it all comes together.

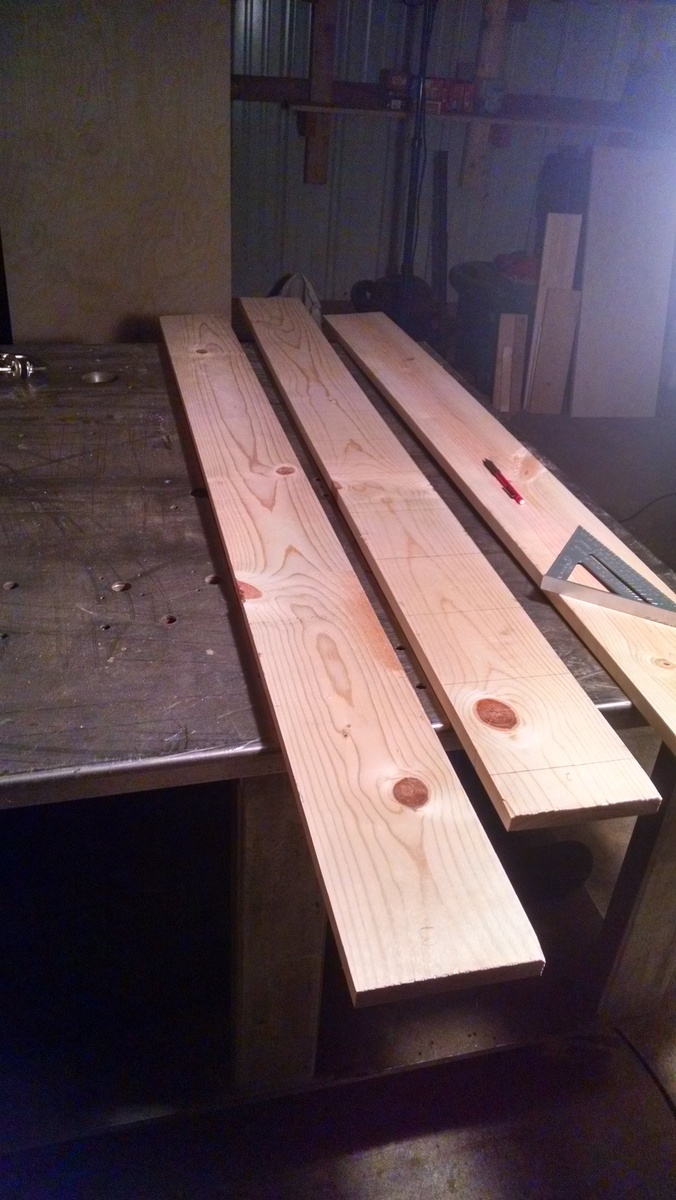
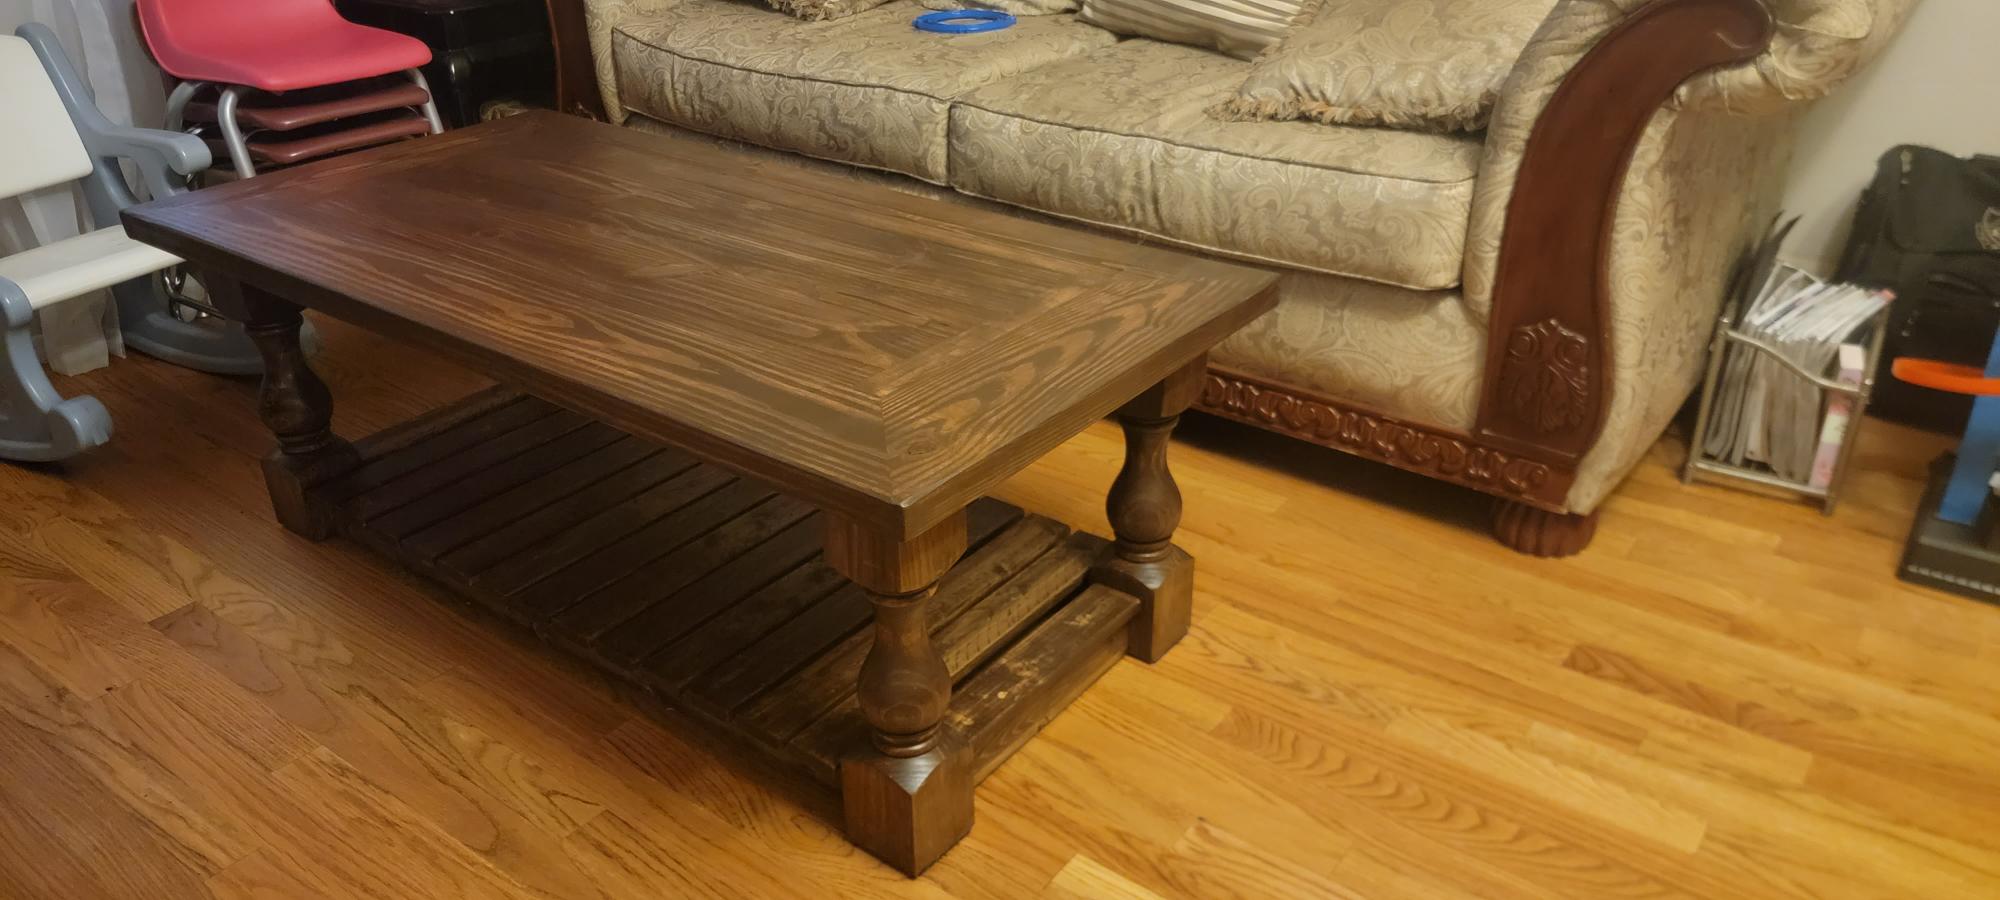
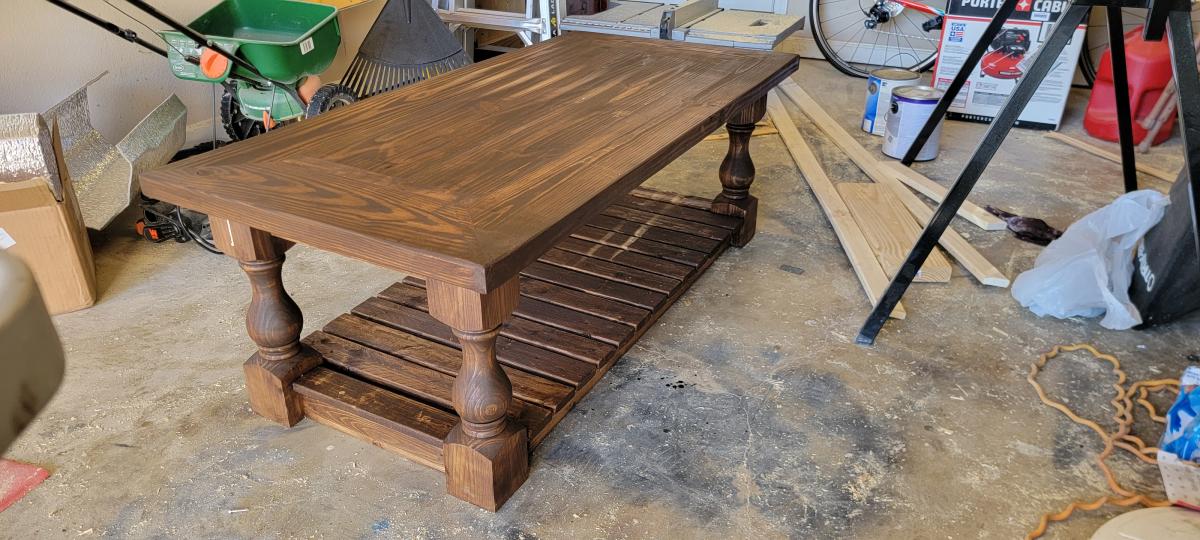
Built this for my mother in law. Was so excited how it turned out.
Comments
Ana White Admin
Thu, 08/05/2021 - 17:17
Perfectly inviting!
Thanks for sharing, love the fun finishes!