Community Brag Posts

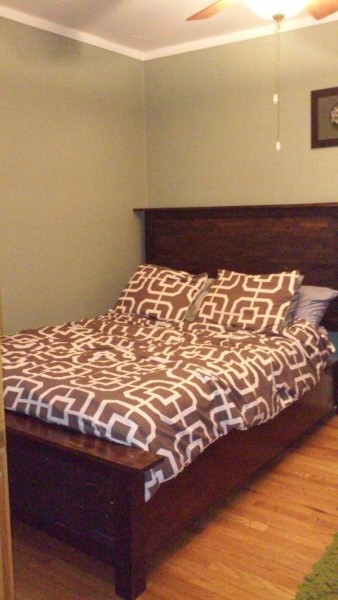
Farmhouse bed

Submitted by Anonymous (not verified) on Sun, 12/25/2016 - 19:14

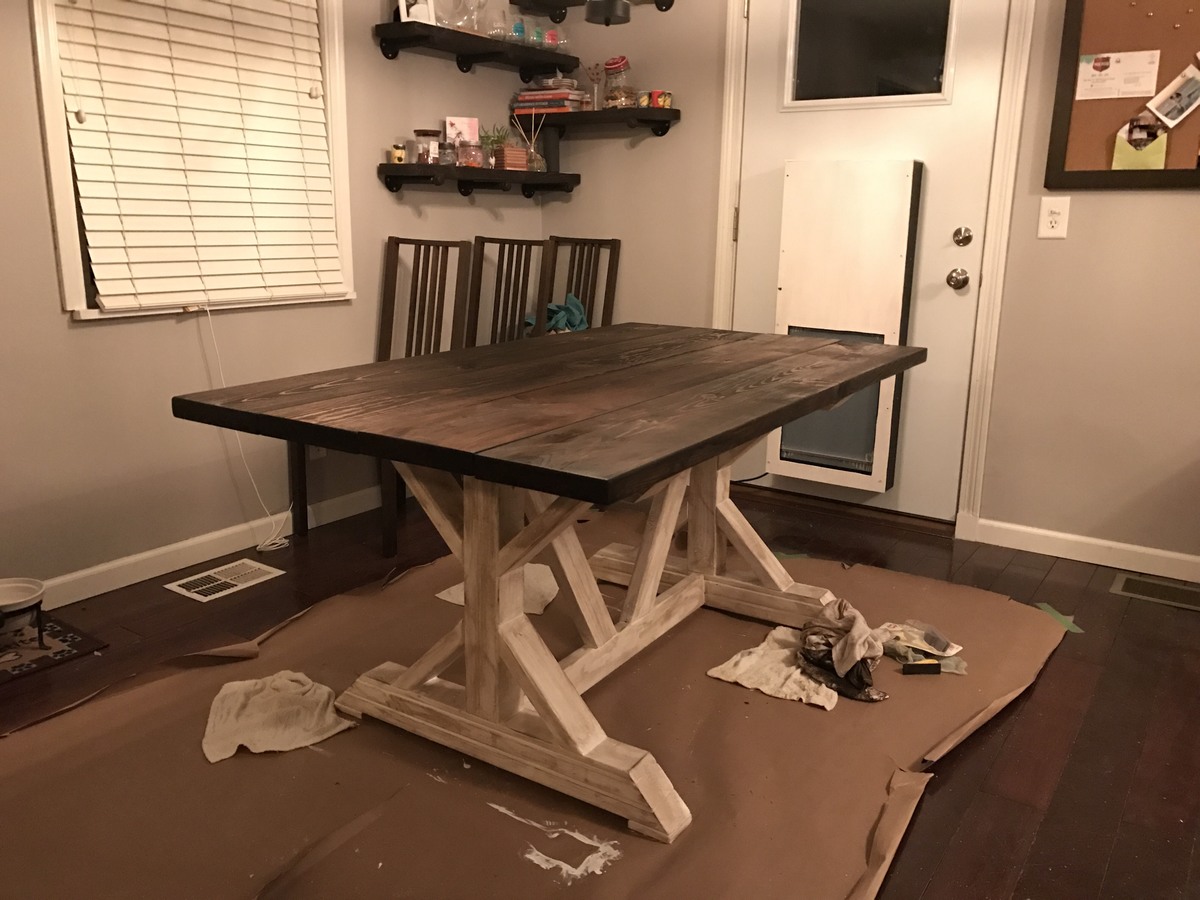
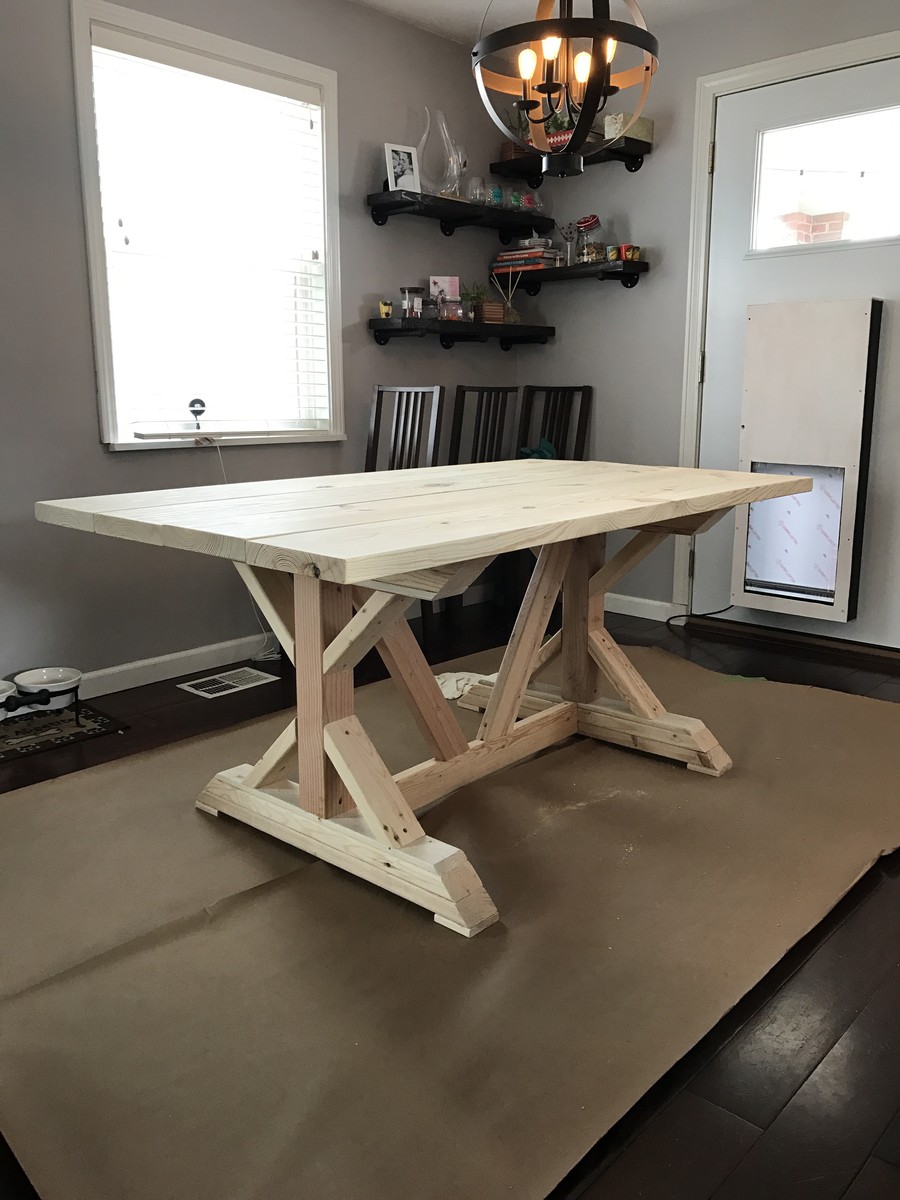
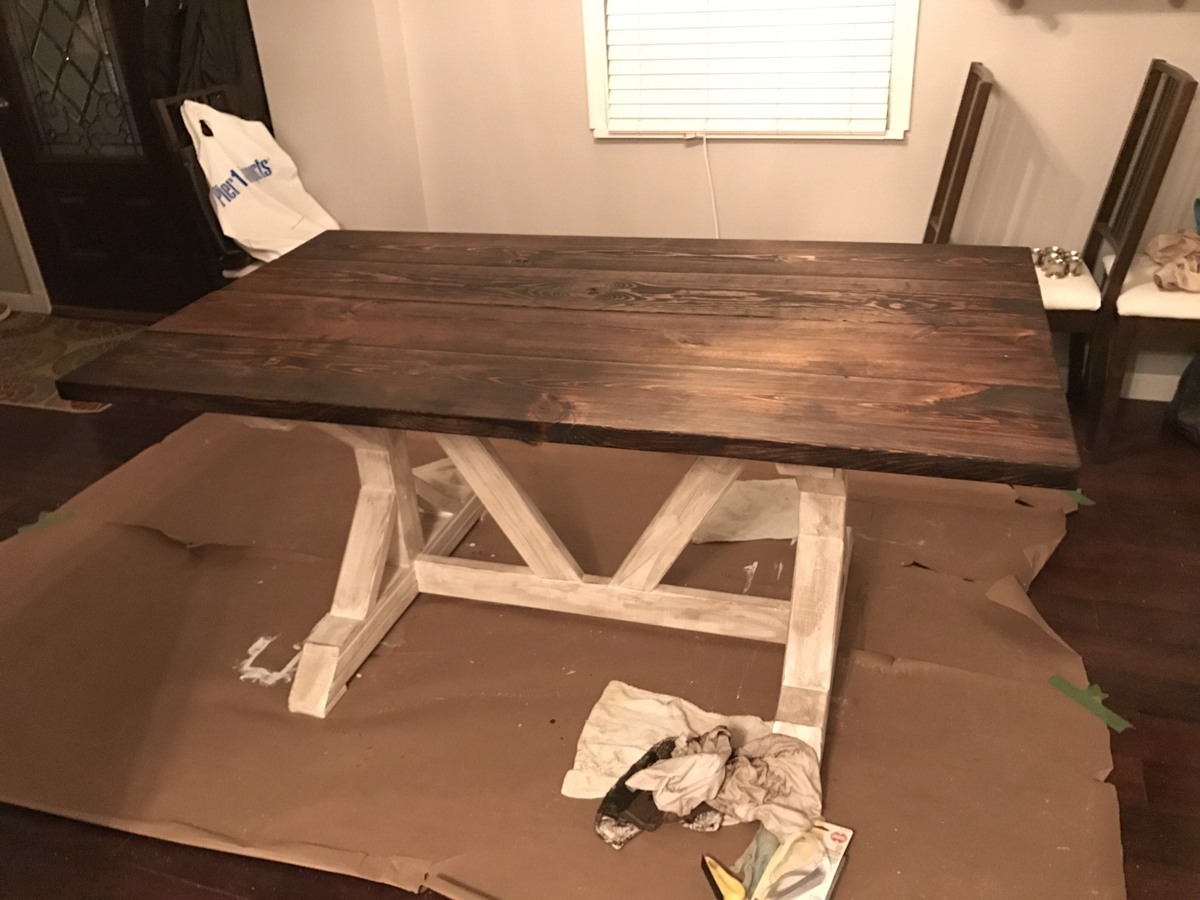
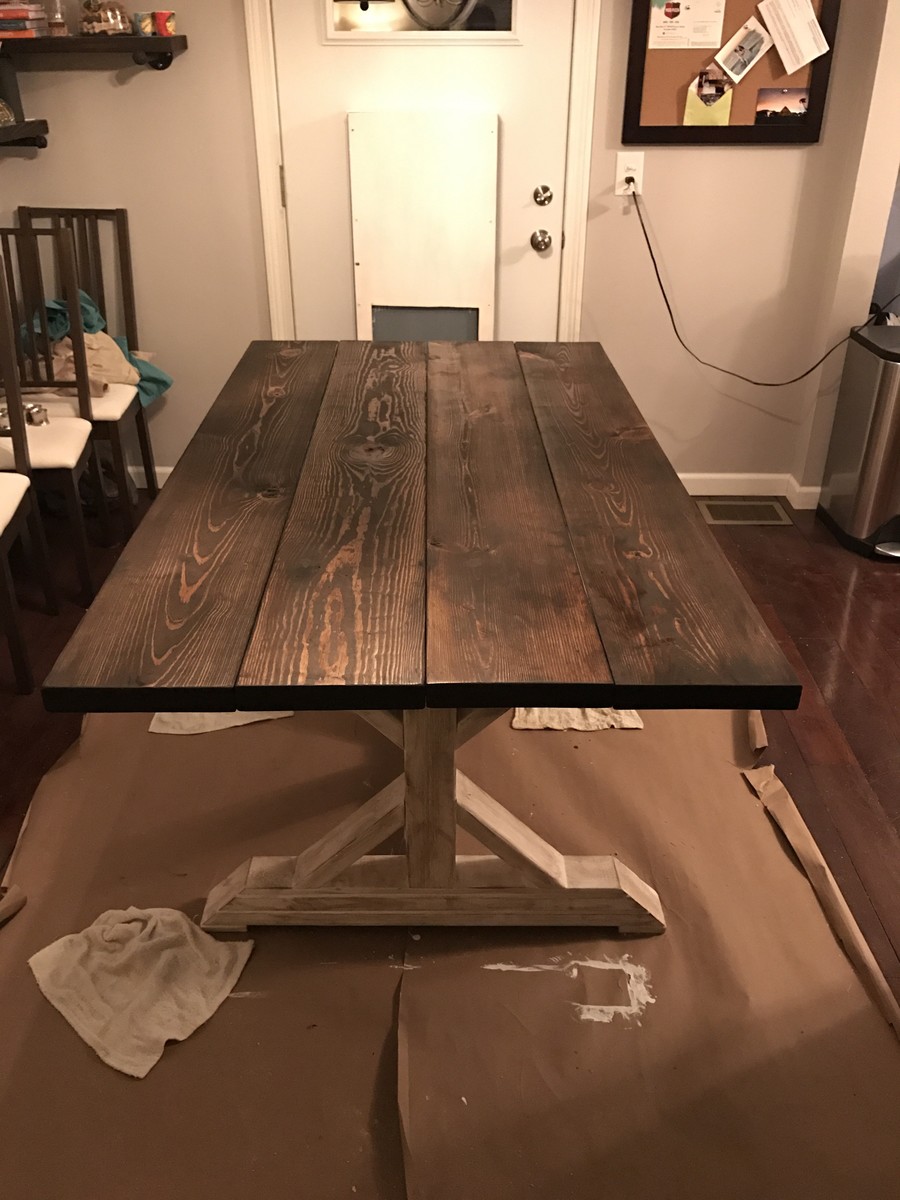
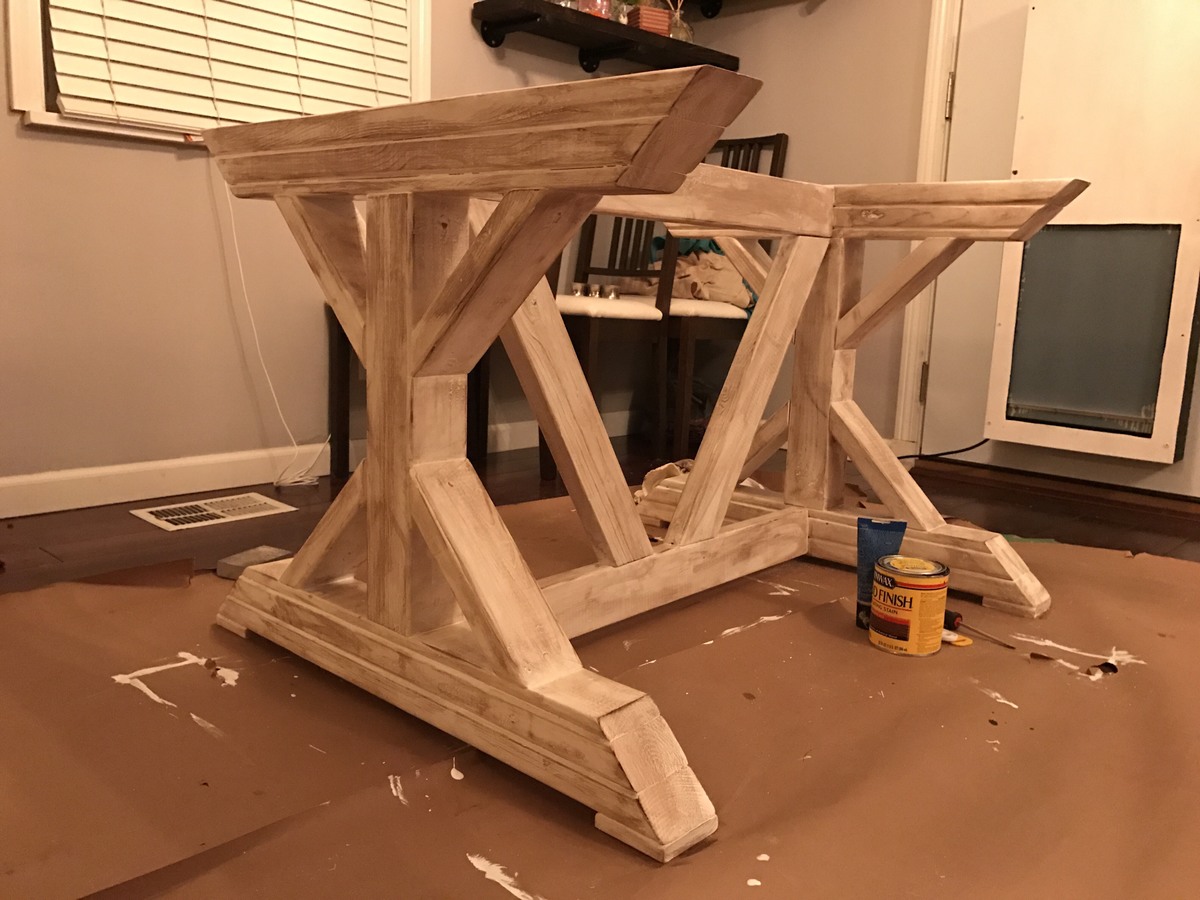
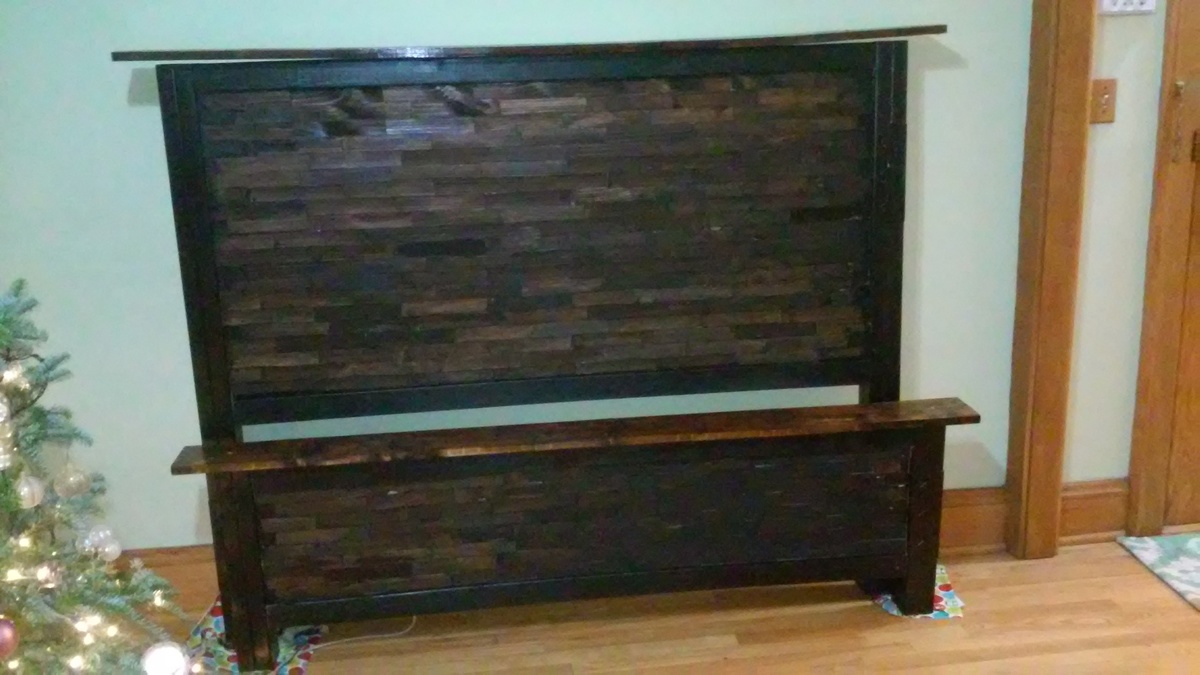
I followed the plans provided by Ana and boy am I delighted.  I changed up the color scheme based off a whim.      All the stained pieces or cordavan brown semi transparent from Home Depot and the wood is pine.     All the white is Douglas fir, (4x4, 2x4, 2x10) and I used a chalked white also from Home Depot. It was fairly easy, I just tweaked the dimension due to our bed height.   Great weekend project.  Beginner project to certain extent, turned into a intermediate based on tools used and certain finishes. 


Measurements were for a queen bed frame and tempurpedic adjustable bed frame (had to adjust post height to be taller,  adjust 2" shorter for standard Hollywood frame)

Estimated Cost
$225 based on more expensive finishes.
$120 ish in wood, paint and stain was about $60. Hardware cost the rest.
Estimated Time Investment
Weekend Project (10-20 Hours)
Finish Used
Cordavan brown stain, chalked white paint
From Home Depot. Poly coat on top
Recommended Skill Level
Intermediate

Comments

Farmhouse hall tree

Submitted by Anonymous (not verified) on Sat, 09/05/2020 - 20:06

I put my own twist on the Ana White “farmhouse hall tree”. I used 1- sheet of 1/2” project panel (4’x4’), 2 1x6x10’ boards and 3. 1x4x8’ boards. The bench was 3/4” hardwood plywood, trimmed out with scraps. I stained with a mix of briarsmoke and Kona.
The project panel was so easy to use. I bought this one at Menards.

Built from Plan(s)
Estimated Cost
100
Estimated Time Investment
Day Project (6-9 Hours)
Finish Used
Briarsmoke stain mixed with a third Kona. Polycrylic in satin
Recommended Skill Level
Intermediate

Kitchen Utility Cart

Submitted by FBatt1963 on Sat, 11/24/2012 - 17:59

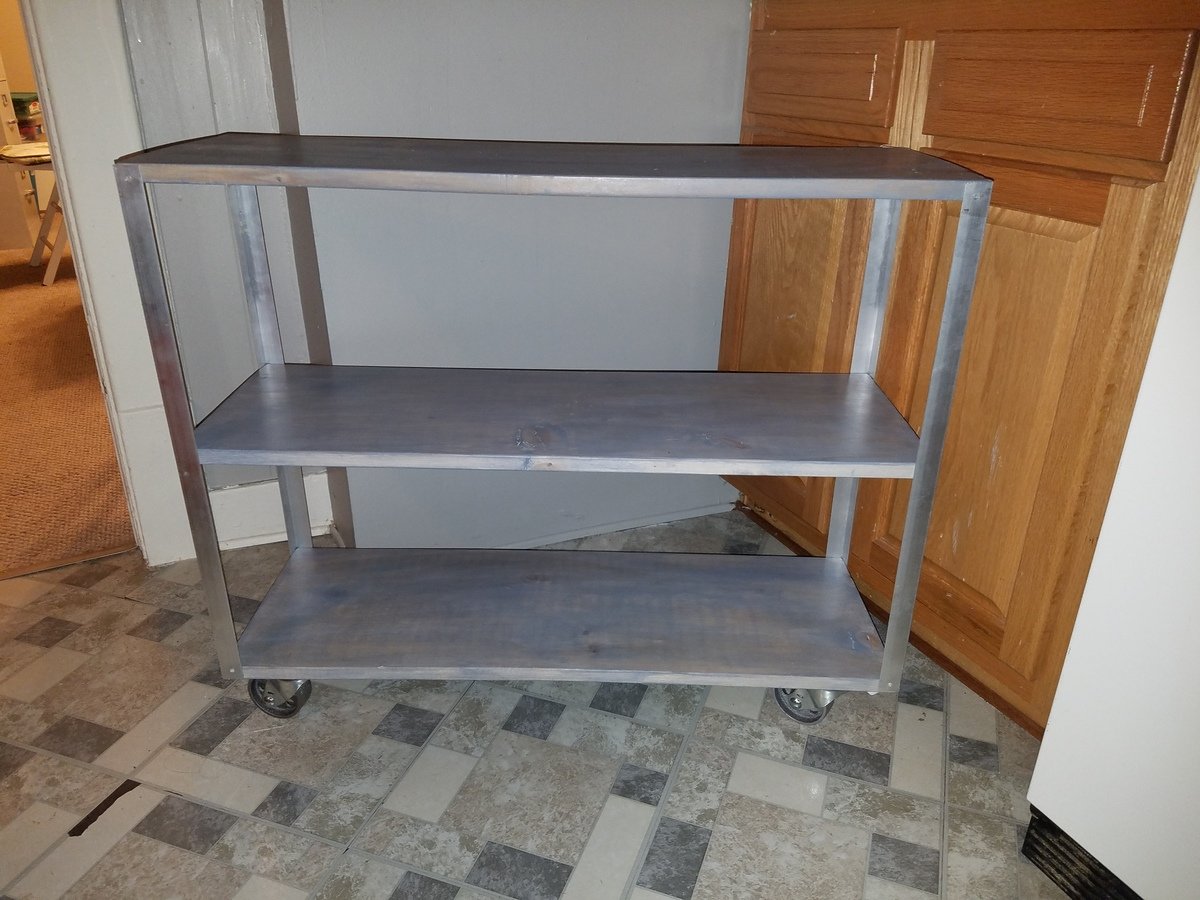
The cost was very low as I had recently purchased a pick-up truck load of maple (around 1300 bdft) at a local Northeastern Woodworkers Association auction for $1/bdft. This was the first furniture type item I had done and I was tickled to death with the results. The design was based on a number of "Big Box" examples of disposable furniture that looked very nice but would never last. I added the mahogany trim because I like the contrast (and I have a ton of it in the shop) and the sort of copper color it exhibits.

Estimated Cost
$50
Estimated Time Investment
Week Long Project (20 Hours or More)
Finish Used
Wiped polyurethane
Recommended Skill Level
Intermediate

Tall Narrow Wardrobe for Tiny House

Submitted by hkingman on Sun, 09/07/2014 - 20:27

Needed a wardrobe for a 24-inch wide space. Not sure you could buy such a thing -- certainly not in the small town where we live. Glancing at Ana's "Toy or TV Armoire" plans gave me an idea how to proceed.

Didn't plan for drawers, initially, but turned out I hadn't pre-stained enough trim for full-height doors, so decided to add drawers. Glanced at the insert plans, and it didn't look too bad. Decided to build the drawers right in with 22-inch 75lbs sliders, since again, not enough trim for full doors. Also, I think it might be tedious to first open a door or in my case doors just to get to the drawes. Miraculously, cabinet turned out to be square enough (+/- 1/16th inch) for the sliders. Here's to $99 table saws and pocket hole screws!

Thank you, Ana, for this and the other plans I built (craft table). Also, I admire your webmasters Drupal-craft!

Estimated Cost
$40 for the stain, $10 for varnish
$24 for hardware
$120 for plywood
$50 for trim
$30 for drawer sliders
$5 for pocket hole screws
Total: $279
Oh wait... $20 more for the two 2 x 6s used for the drawers, $8 worth of Tite Bond, and? Call it $310 or so.
Estimated Time Investment
Week Long Project (20 Hours or More)
Finish Used
Trim has two coats of Pratt & Lambert oil-based "Toy Wagon" color semi-transparent redwood stain, which takes two weeks to dry. The ply has water-based MinWax polyurathane. Finished most everything before assembling. Was too lazy to varnish over the trim, though that would certainly make it less "rustic." Oh well. It's not a piano.
Recommended Skill Level
Advanced

New Closet

Submitted by Anonymous (not verified) on Tue, 12/27/2016 - 16:59

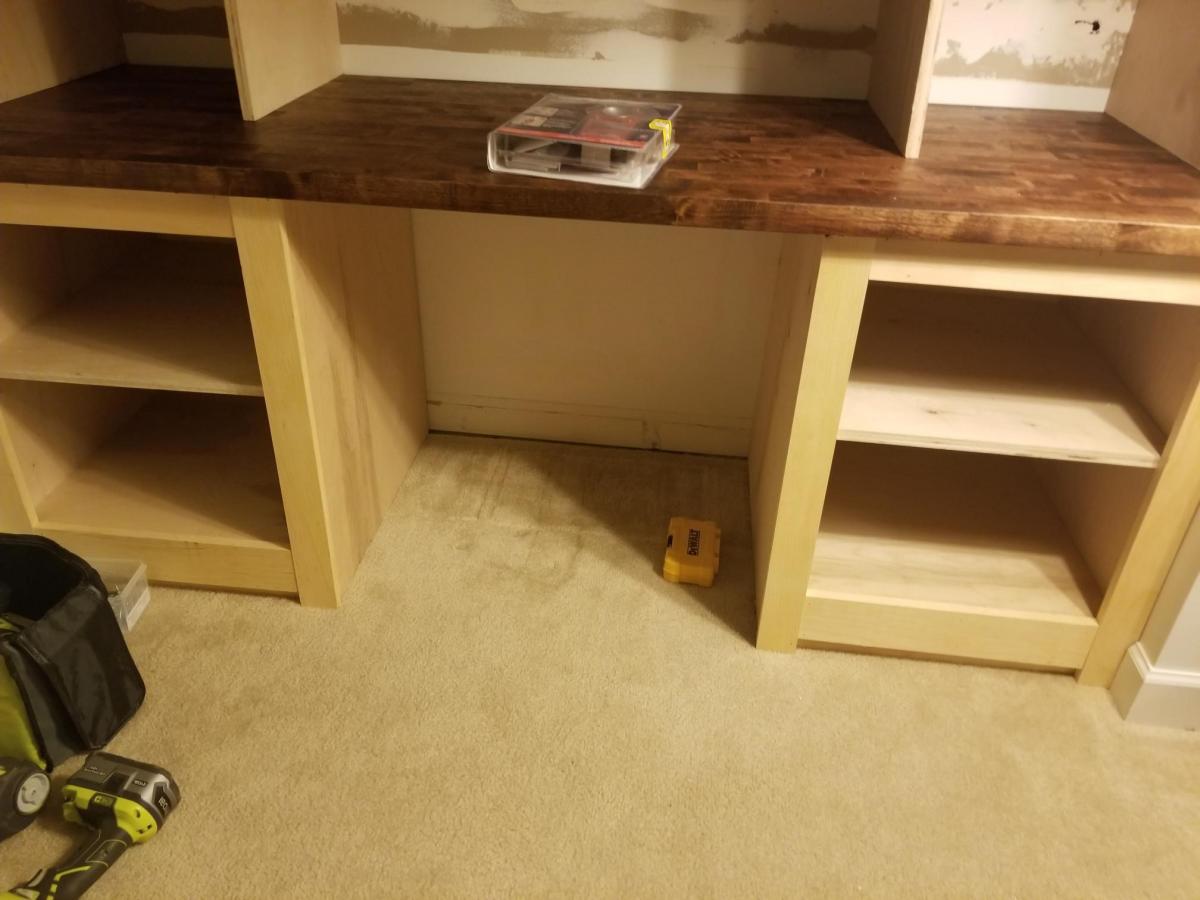
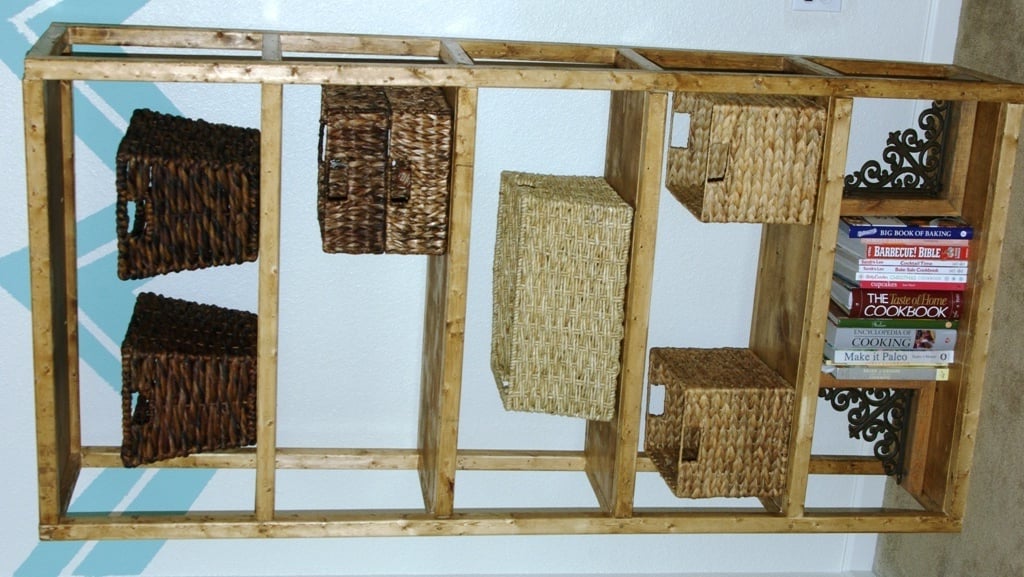
This is my first carpentry project. Bought my house recently and it had the white wire organizers on the wall but I wanted to do something different. Only had 6' width to work with so had to shorten it a bit and lose the middle shelves. Lowes didn't have enough 1x4's for the shelves so I used 1x8's and just left a gap in the front which in my opinion looks good.

Built from Plan(s)
Estimated Cost
$200-$300
Estimated Time Investment
Weekend Project (10-20 Hours)
Finish Used
1 coat of Early American stain followed by a light sand and 1 coat of Minwax Polycrylic Clear Matte
Recommended Skill Level
Beginner

Camp loft bed with animal zoo storage

I made the loft bed for my 6yr old back in March. This weekend we took care of another issue, stuffed animal storage. So I added 3/16 bungee cord I found on Amazon. I bought 100 foot spool and it was plenty. Also found on Amazon 50 count of the 1.6 inch eye screws and had 2 leftover. I had to add 3 boards to the existing bed to complete this project.

It took some practice to get the cord threaded the way I liked it. I wasn’t overly concerned with the cord going straight up and down but I knew I didn’t like the diagonal look. I also wanted the stuffed animals off the ground to prevent a spider haven.

We used a drill to start pilot holes for the eyelet screws 1 inch from the edge of the board at 4.5 inches apart. Then the kids used small screwdrivers to twist the screws in. It was a real hand saver.

I hope this motivated someone to take care of that stuffed animal storage for good!

Estimated Cost
$40
Estimated Time Investment
Afternoon Project (3-6 Hours)
Recommended Skill Level
Starter Project

Comments

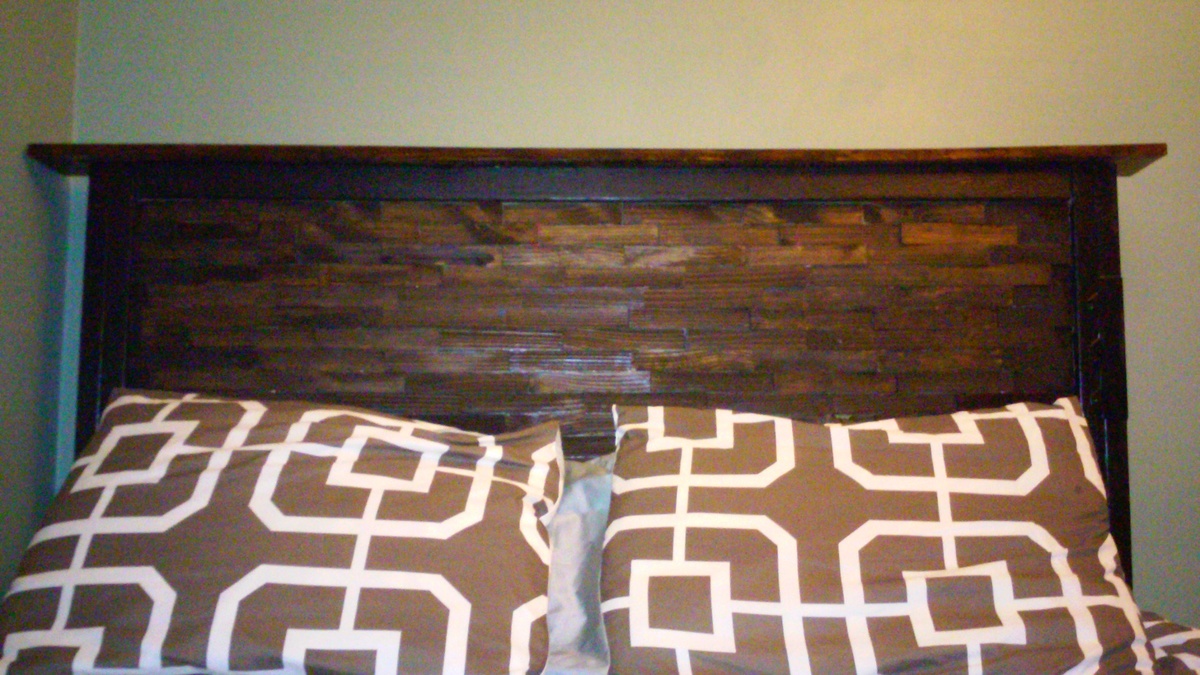
Mantel Headboard

Submitted by Nelligator on Tue, 11/27/2012 - 07:24

I knew I needed to have this bed the second I saw it. Living in a condo I didn't have the space or the patience to try this project on my own so I hired Brown's Hill Construction and Remodeling (Maine) to create it for me. I feel like I'm sleeping in a hotel every night! Love. Thank's Ana!

Built from Plan(s)
Recommended Skill Level
Intermediate

Comments

Tina10105

Sat, 10/25/2014 - 12:41

Was just wondering if you could share wat paint colour you used on your walls? I love it! 

Coat Nook

Submitted by swari on Wed, 09/10/2014 - 10:57

I am a complete novice, learning as I go. But the plans were so straight forward and well written that I got brave and added some cubbies! So happy with the nook and it helps when trying to get three little ones out the door for the school bus in the mornings. All of the things they need are in one convenient place. 

Estimated Cost
$300. The hardware was pricey (hooks and drawer pulls), as well as the paint (I purchased gallon pails at $80/gallon since we will be using it elsewhere in the house).
Estimated Time Investment
Week Long Project (20 Hours or More)
Finish Used
Benjamin Moore semi gloss paint for the wood and egg shell finish for the walls.
Recommended Skill Level
Intermediate

Comments

JoanneS

Wed, 09/10/2014 - 14:17

This looks awesome!  You did a fab job on this build, it looks very professional!  The extra cubbies and bead board are a great touch too!

Outdoor furniture

Submitted by Anonymous (not verified) on Fri, 12/30/2016 - 06:21

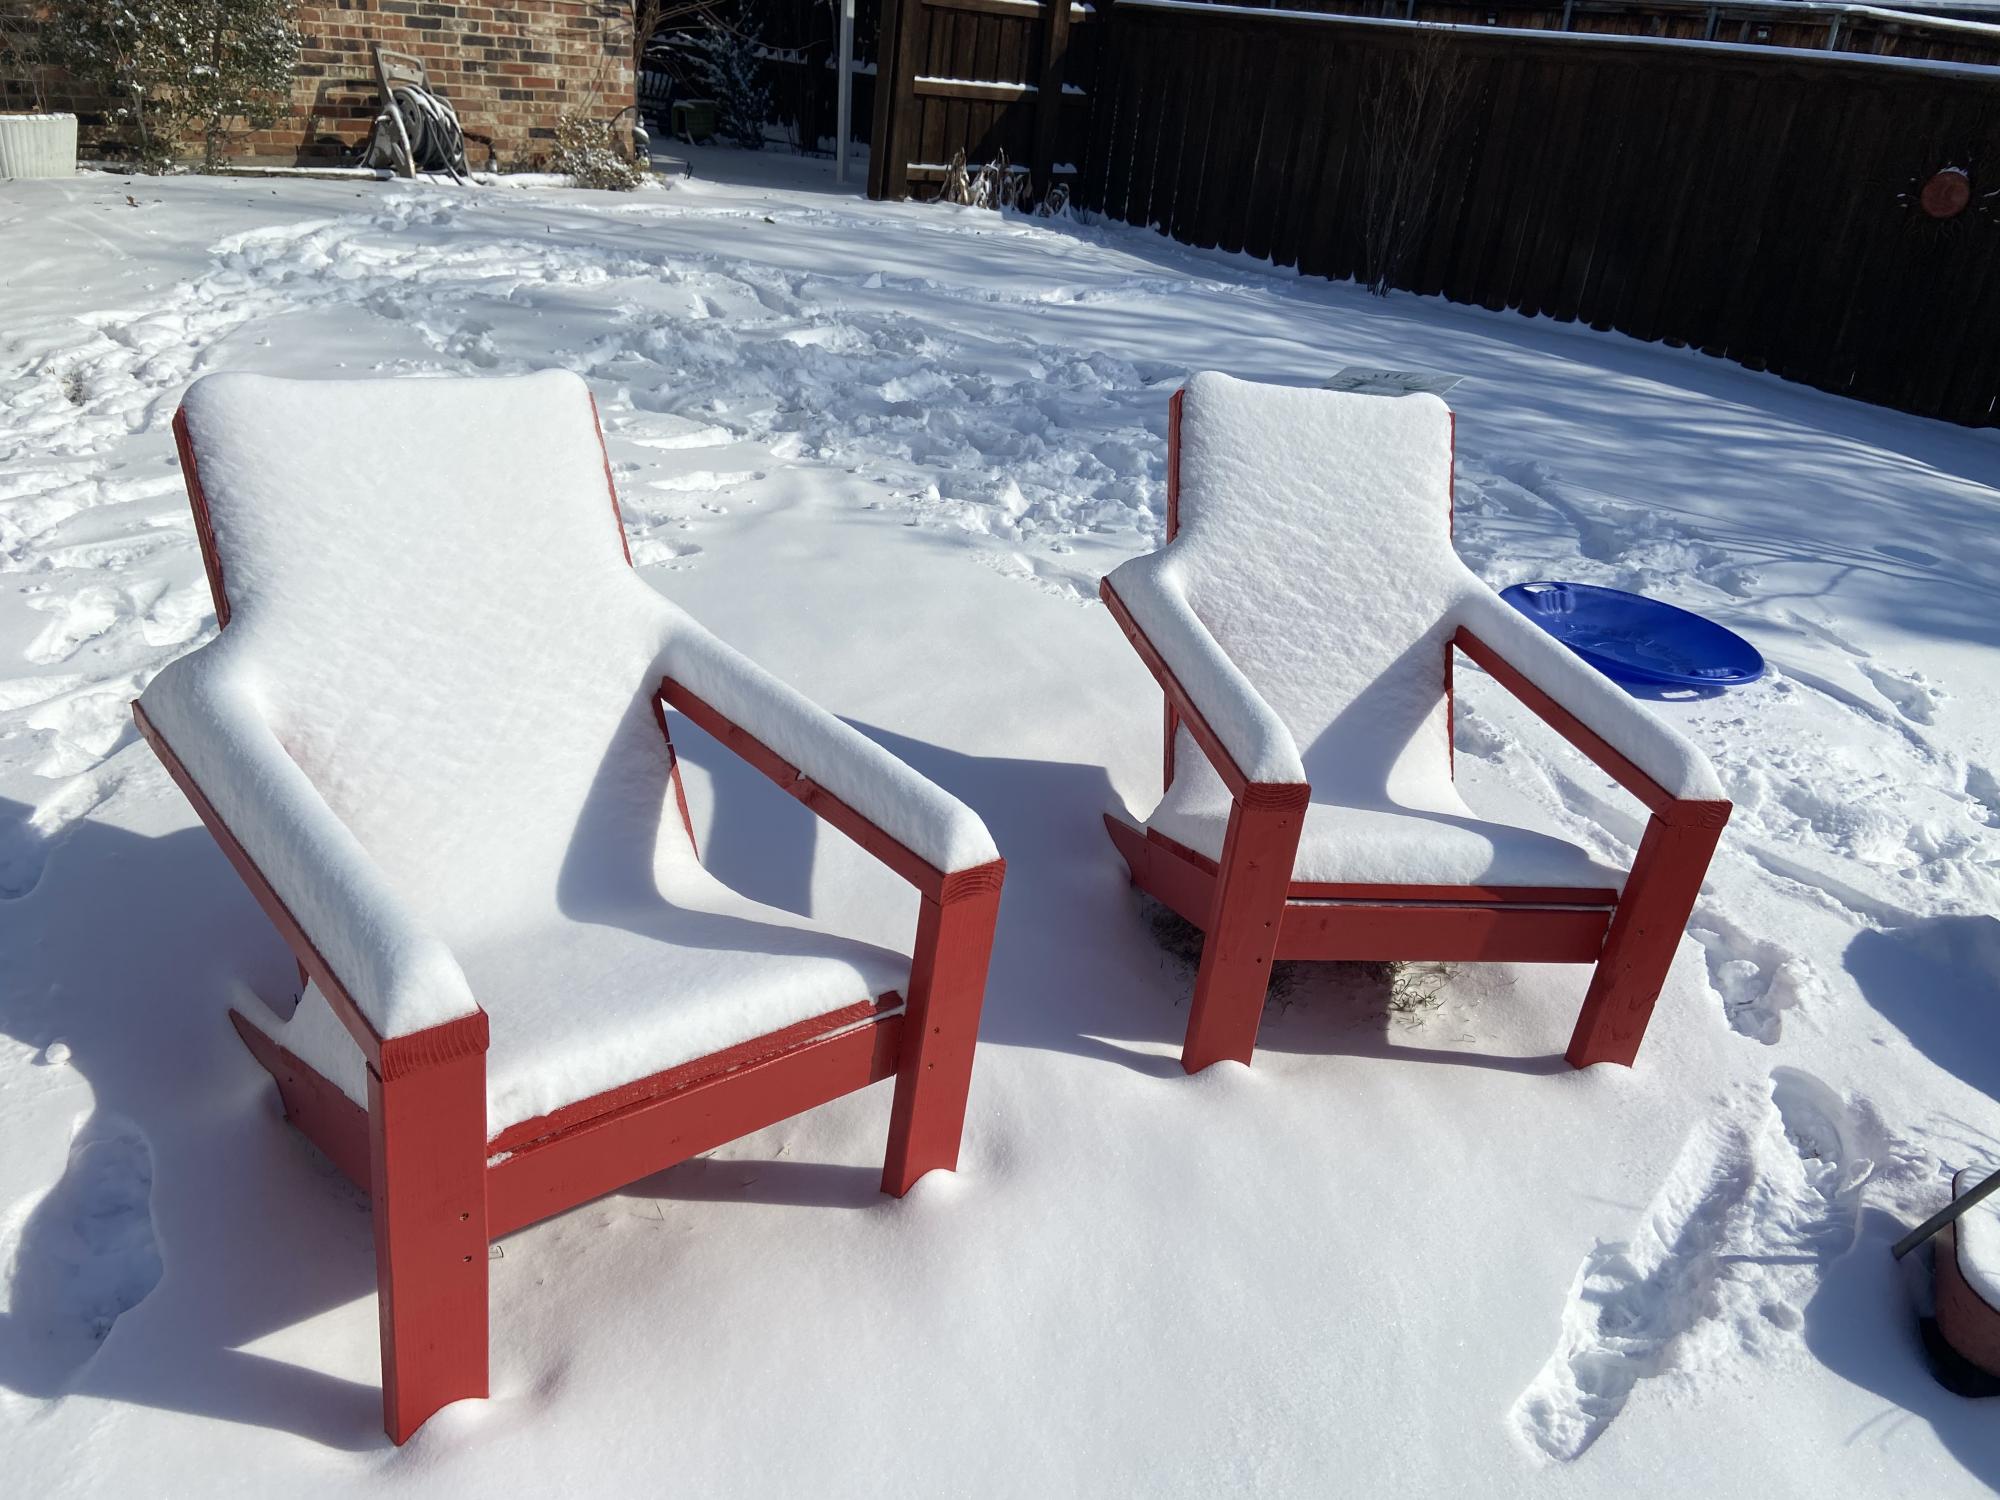
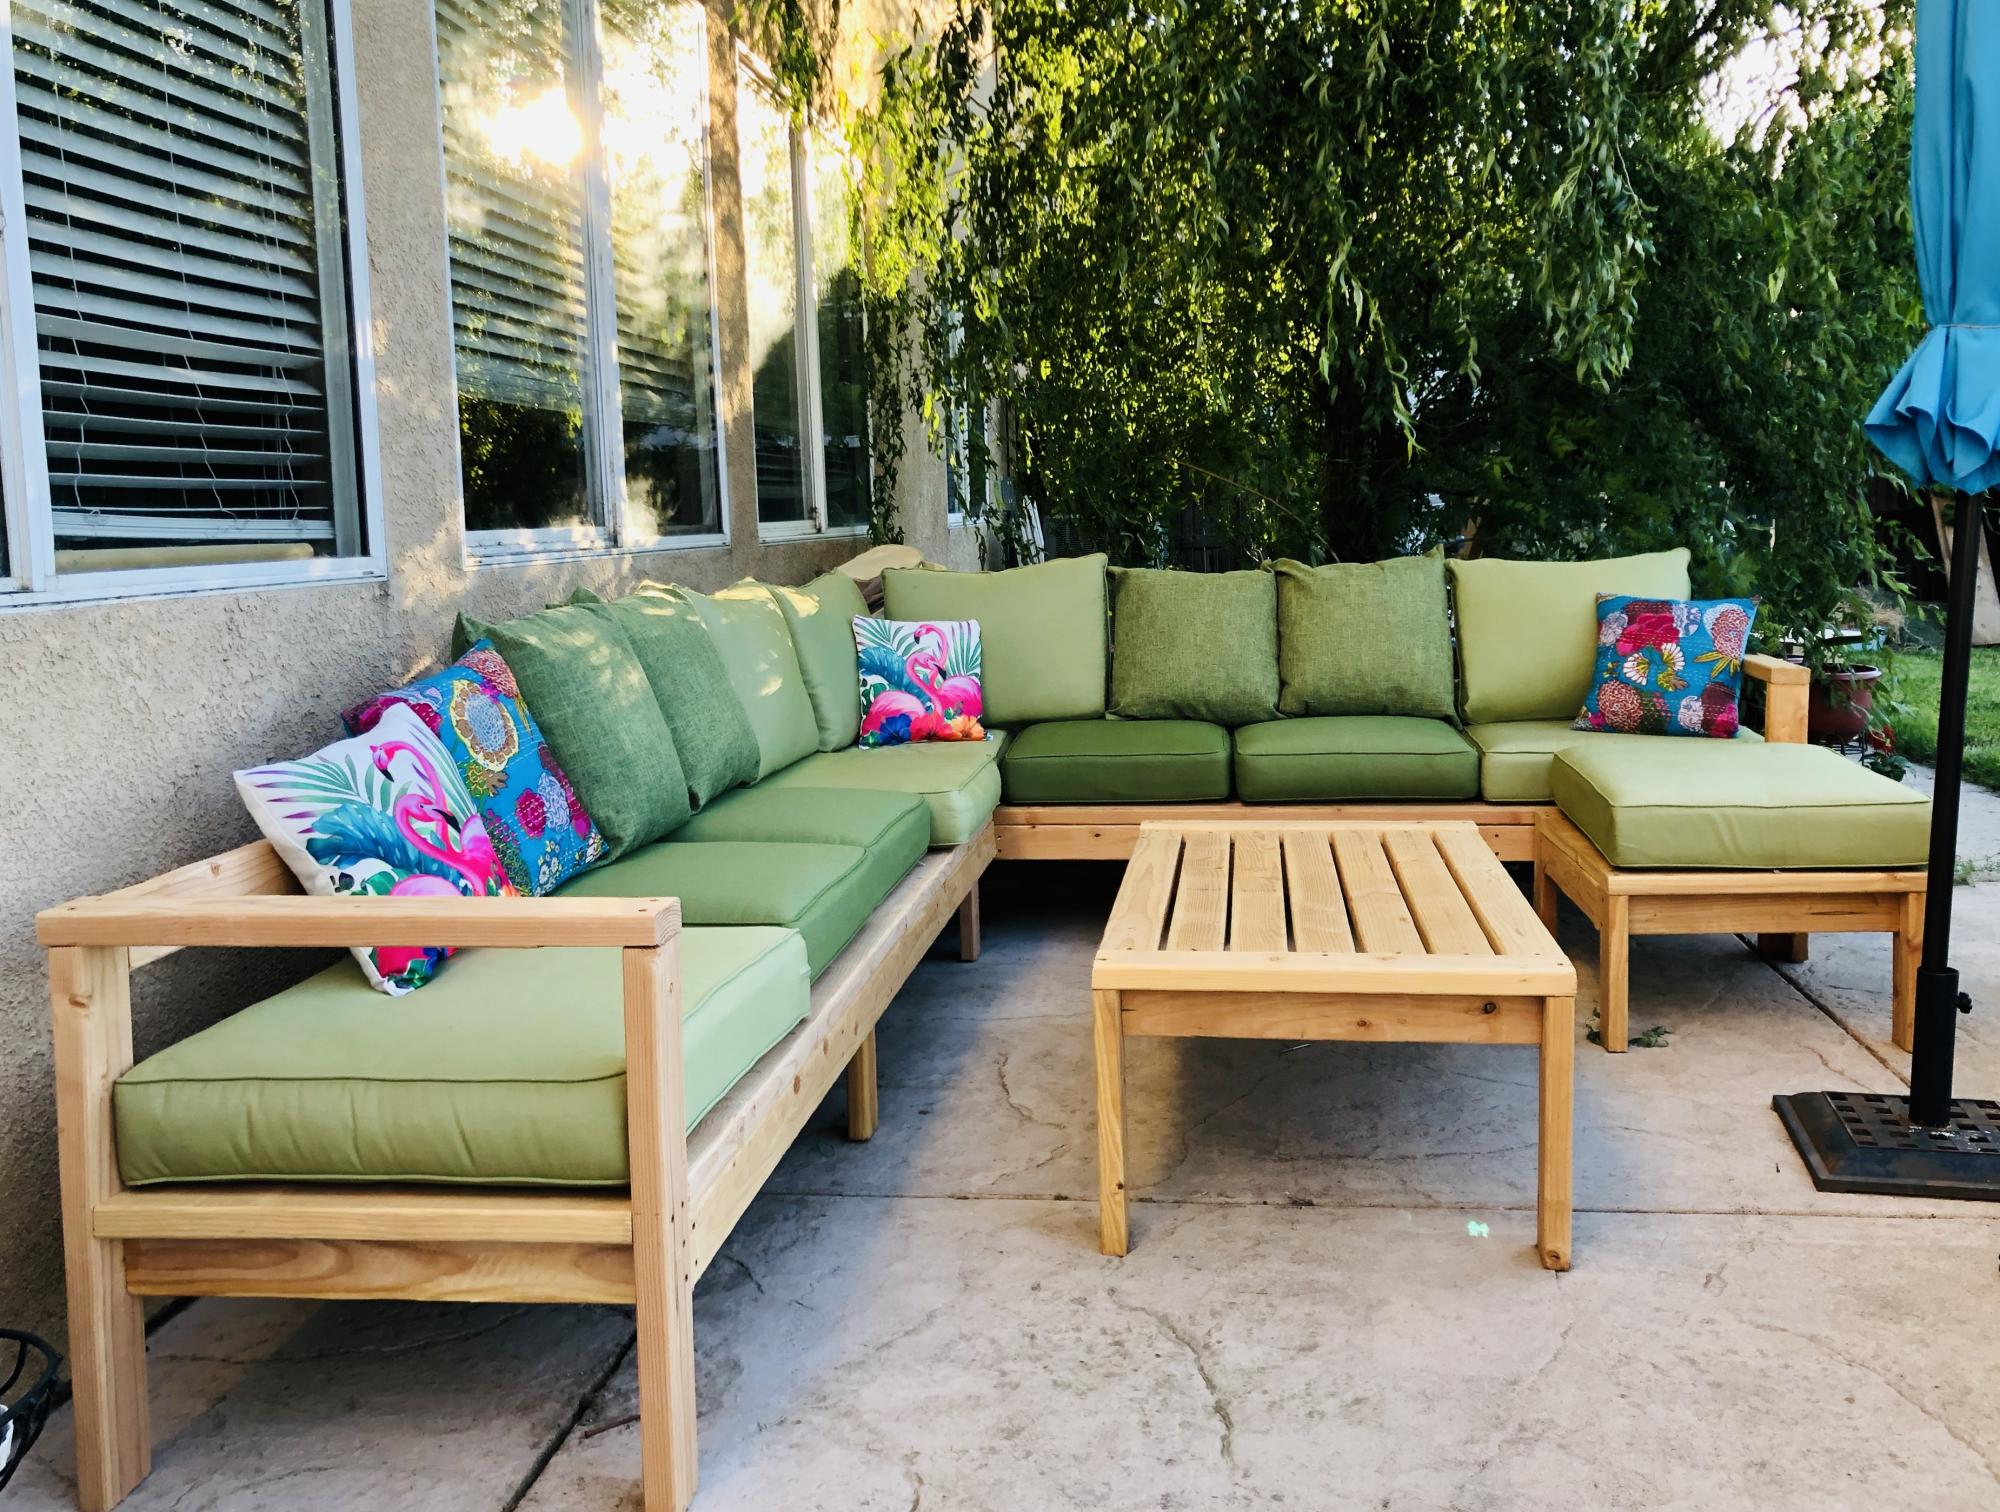
I love taking good stuff that people throw out and up cycle them. Someone on my street had thrown out two sofa sets and the cushions were is perfect condition. They had slip covers on them too. I washed the covers and built the sofa to fit the cushions. I built two single chairs, a love seat and a matching table. Super happy with the way it turned out.

Estimated Time Investment
Weekend Project (10-20 Hours)
Finish Used
Stained and varnished.
Recommended Skill Level
Beginner

Comments

Lisaatg3

Sun, 05/23/2021 - 08:49

How do you get the actual plans for this outdoor furniture set?

Play Castle with Aqua-duct System

Submitted by Toko on Thu, 11/29/2012 - 14:13

This project was around 2 years in the making after the initial idea, which consisted of adding a "small" water play area that would utilize a manual pump and some chutes to carry the water. It turned into a rather elaborate play structure that appeared to never get done. Luckily the weather played along and we were able to finish by late Fall and still run water through it. There is around 20 yds of black dirt and 2-3 tons of medium size boulders. The main structure sits on treated 4 x 4 posts and 4 x 6 joists. The decking and chutes were all made from cedar.

Estimated Cost
$1200
Finish Used
Marine Grade Poly for water chutes
Recommended Skill Level
Beginner

Comments

Simple Modern Outdoor Sectional Armless Section

Submitted by Carlos on Fri, 09/12/2014 - 12:09

Esta Es la copia del Proyecto Llamado,  Moderno sencilla Pecado Seccional Sección brazos al aire libre, Si me Hizo Fácil Por los Planos tan faciles, Pienso HACER mas y de colores llamativos, Gracias Ana.

Estimated Cost
$ 50
Estimated Time Investment
An Hour or Two (0-2 Hours)
Finish Used
Como consejo les puedo decir que deben ir verificando las medidas y cuadrar el asiento.
Recommended Skill Level
Beginner

Fire Station loft

Submitted by Anonymous (not verified) on Sun, 01/01/2017 - 19:03

Modified plans to make front panels open.  Gives more play room and easier to clean. Front panels are covered with brick themed fabric. Ladder has reflective tape on sides and steps have grip tape for traction.  Ladder has sturdy metal hooks and is removable. Sides are taller  to accommodate a younger child.

Estimated Cost
Did not track.
Estimated Time Investment
Weekend Project (10-20 Hours)
Finish Used
Sherwin Williams gloss paint (recommended for furniture by sales representative)
Recommended Skill Level
Intermediate

Double-wide Chicken Coop

Submitted by Anonymous (not verified) on Sat, 09/12/2020 - 10:13

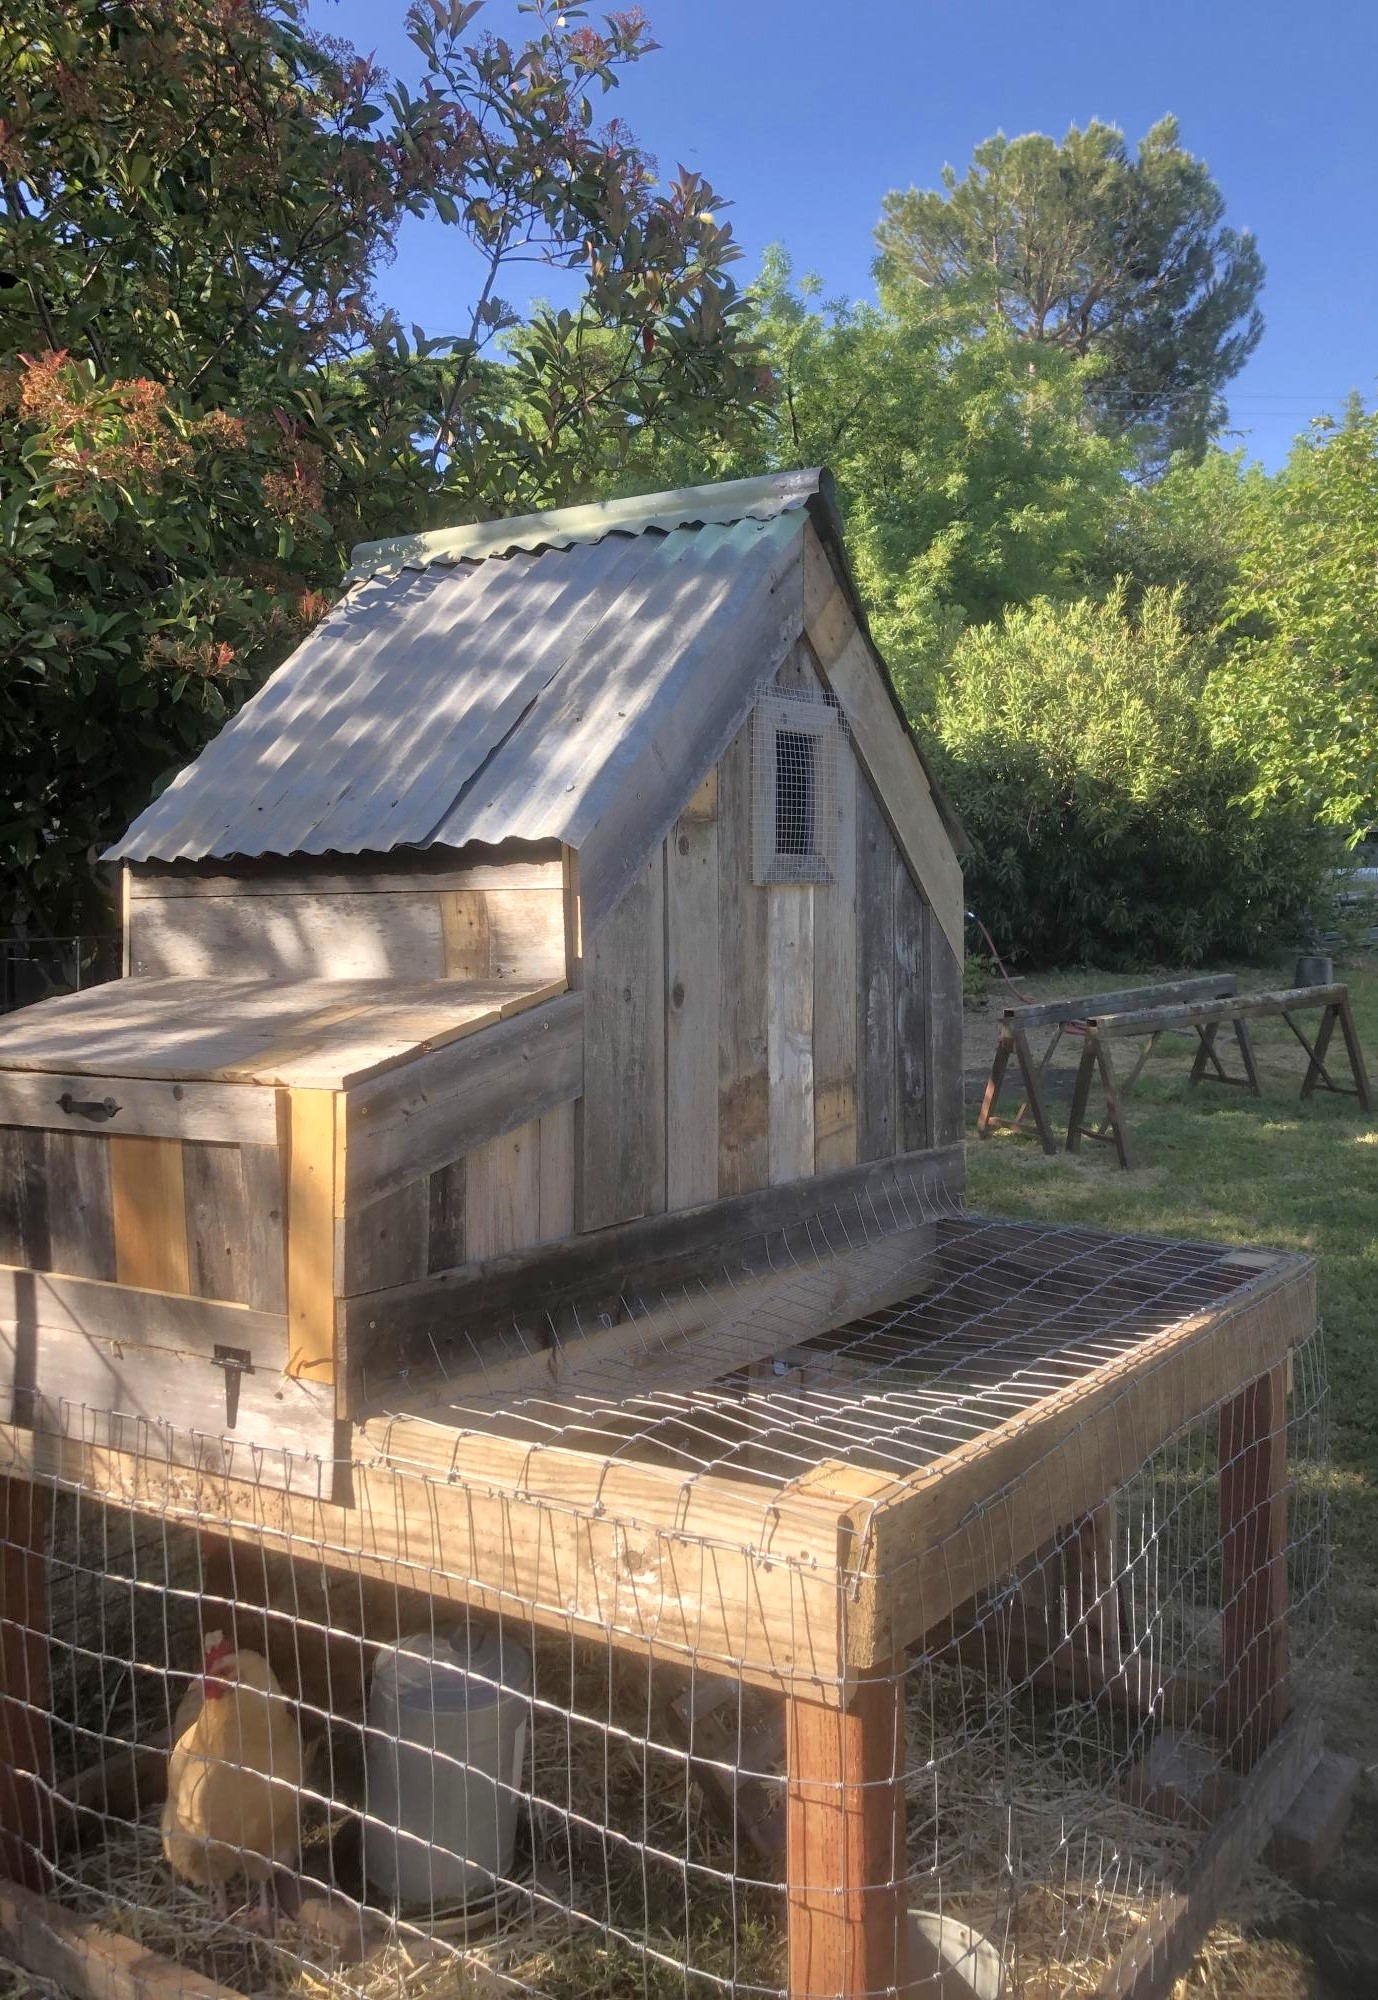
This was a fun build, though it took me quite a while because I decided to paint the interior. I ended up making it twice as wide to accommodate our six chickens. It took some planning but in the end I had essentially two coops side by side with no dividing wall between them. I also doubled the size of the run.

I cheaped out on the plywood and went with 1/2" - there was a big difference in cost as plywood was hard to find at the start of the pandemic. Using 1/2" turned out to be a big mistake. The 1/2" plywood warped quite a bit after I had painted it making it difficult to use the doors. I may have to replace the doors eventually with 3/4".

Overall I'm very happy with the end result. It's been easy to clean and maintain and the girls seems quite happy in it. This is one of the best looking coops I've come across. Thank you for these fantastic plans!

Estimated Cost
$1200
Estimated Time Investment
Week Long Project (20 Hours or More)
Finish Used
Exterior Benjamin Moore Aura/Regal leftover paint from previous projects.
Recommended Skill Level
Intermediate

Comments

Ana White Admin

Sun, 09/13/2020 - 11:25

Love the double wide modification plus the extra work on finishing it, is the cherry on top! Thanks for sharing!

Funky Zig Zag Shelf

One foot by one foot squares that are rounded at the outer corners. Held together with pocket screws and glue painted green. Then screwed into studs.

Estimated Time Investment
Afternoon Project (3-6 Hours)
Finish Used
Green paint
Recommended Skill Level
Beginner

Desk/Craft Space Table

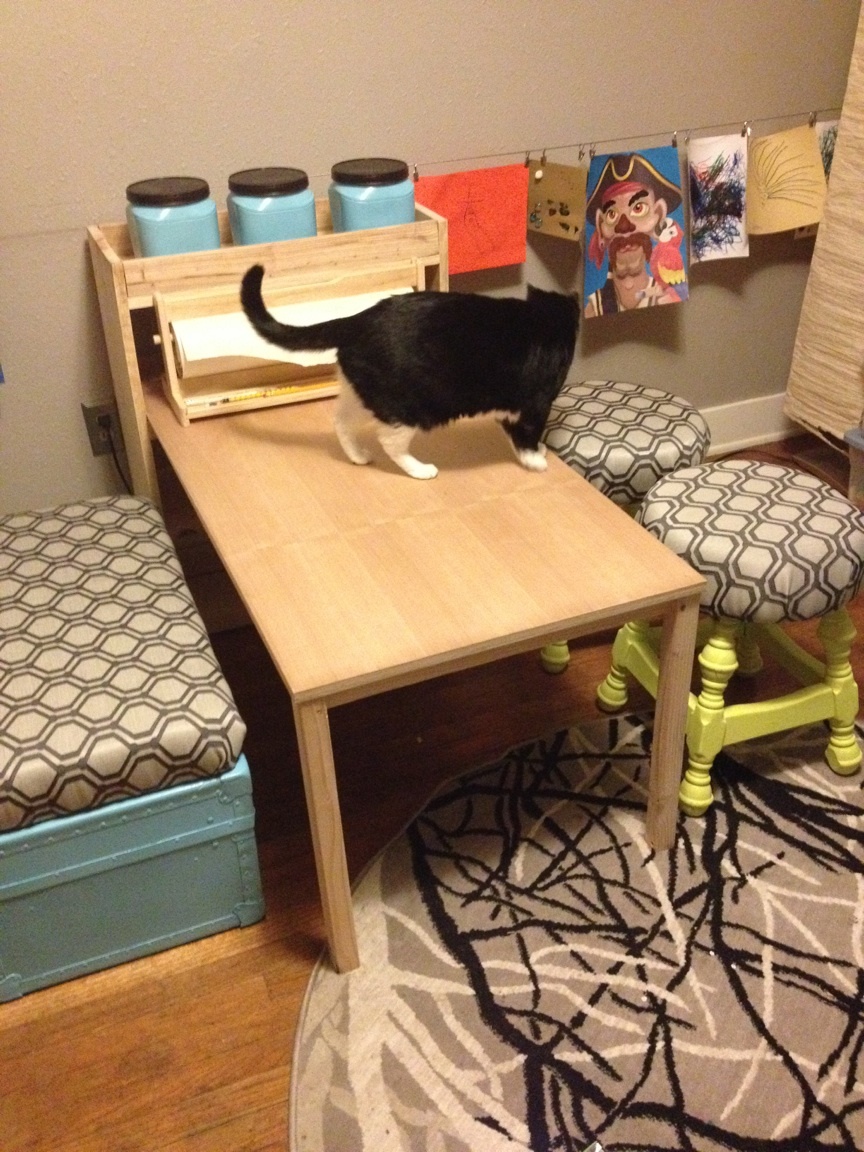
I just started wood-working and found this to be a really nice build. I did, however, adjust the height of the desk legs from 31 inches to 36 inches, because I am 6'6" and felt I needed the leg room. I used 4 Severe Weather 2 1/4in x 2 1/4in x 36in Colonial Treated Deck Spindles from Lowes at $2.88 each for the legs. I also, added the drawer dividers to help organize the storage space. Otherwise, I stuck to the plans. 

Severe Weather 2-1/4-in x 2-1/4-in x 36-in Colonial Treated Deck Spindle http://www.lowes.com/pd_7954-432S2236T15N_4294610196__productId=3185415&Ns=p_product_qty_sales_dollar|1&pl=1&currentURL=%3FNs%3Dp_product_qty_sales_dollar%7C1&facetInfo=

Stainless Steel Drawer Pulls http://www.homedepot.com/p/Liberty-8-5-6-in-Steel-Bar-Cabinet-Hardware-Appliance-Pull-117060-0/202023671?MERCH=REC-_-NavPLPHorizontal1-4-_-NA-_-202023671-_-N


Estimated Time Investment
Day Project (6-9 Hours)
Finish Used
Smokey blue chalk paint (1 cup of paint, 1 teaspoon of plaster of paris, & 1 teaspoon of water)
Minwax classic gray stain (used to give distressed spots more dimension)
Minwax dark walnut stain for desk top
Johnson paste wax
Recommended Skill Level
Intermediate

Kitchen table

Submitted by Anonymous (not verified) on Tue, 01/03/2017 - 16:40

Kitchen Table with matching benches

Estimated Cost
$100
Estimated Time Investment
Weekend Project (10-20 Hours)
Finish Used
Jacobean Stain Top
White Semi Gloss Legs
Recommended Skill Level
Beginner

Can’t Believe We actually built this

Submitted by Anonymous (not verified) on Mon, 09/14/2020 - 13:48

5 1/2W x 5 1/2L x 8H.
Ana made this project very easy for me. I did the main building while hubby cut the wood & helped drill in hard to reach areas. Thank you Ana for boosting my confidence. I’ve never done anything trike this.

Built from Plan(s)
Estimated Cost
500.00
Estimated Time Investment
Weekend Project (10-20 Hours)
Finish Used
Did not have time to paint. Will have to be another long weekend. When I do, it’ll be white.
Recommended Skill Level
Beginner

Comments

Doggie Daybed

Submitted by moosmani on Tue, 12/04/2012 - 20:18

Since making a twin size daybed still seems intimidating to me, I decided to get some practice by making a small version for our dog. I modified the doll farmhouse bed making it a bit larger and in daybed style. We'll see if our doggie takes to it. If not, it will be a toddler couch!

Estimated Time Investment
Weekend Project (10-20 Hours)
Finish Used
Poly Shades
Recommended Skill Level
Beginner

Comments

dananryan

Tue, 12/04/2012 - 22:14

I love the modifications you made. I believe you are ready for a twin size. Lucky doggie...

spiceylg

Wed, 12/05/2012 - 05:40

Oh my gosh, I love it. I have to build one for my dog. You did a great job. You are definitely ready for the twin, go for it! Love the dog cushion, too!

abbpim

Wed, 12/05/2012 - 07:07

I built the big farmhouse storage bed and nightstands in my bedroom and my dog needs her own little farmhouse bed now. I've been trying to decide how I want to do it... You've just decided for me. Thanks!

Ashley I. (not verified)

Wed, 12/05/2012 - 09:00

I love this!!! I think I might steal this idea and make one of these for my nephews as a little couch. About how much did you spend on lumber?

moosmani

Wed, 12/05/2012 - 20:52

I pretty much just followed the plans, except making it taller and wider by adding more slats and making everything taller. The finished dimensions turned out to be approximately 26 ½” x 16 ½”. I kind of made it up as I went, but I did take some notes. Here is the first part of my altered cut list:
9 ea – 1x3 @ 8” tall (headboard panel slats)
10 ea (5 for each side) – 1x3 @ 5 ¼” tall (side arm panels slats)
2 ea – 2x2 @ 8” tall (side arm legs)
2 ea – 2x2 @ 13 ½” tall (headboard legs)
For the rest of the cut list, I didn’t take notes. I just cut the lengths to fit my new dimensions. I hope this helps. If you’d like more measurements just let me know and I can measure the actual bed.

moosmani

Wed, 12/05/2012 - 20:21

Thank you! I made the cushion with foam and batting. I got the foam piece from the fabric store. It was 2" thick, 22"x22" square. It was on sale, but I don't remember how much I paid. I cut it down to 22" x 12” to fit the inside of the bed. A regular handsaw worked great for cutting the foam. Super easy, but messy. I wrapped it in batting so it finished a little bigger, 23” x 13”. I bought one pillow sham from Walmart because I liked the design and cut it apart to make the cushion top. The rest is from one of those cheap fuzzy blankets.

moosmani

Wed, 12/05/2012 - 21:08

Thank you! I have much to learn about finishing. I first used regular stain. I think the color was gunstock. It turned out so not what I was going for. It was too orange. So then I stained it again with Minwax Hickory Gel Stain. Better, but the wood putty still showed and looked terrible. So I resorted to Minwax Bombay Mahogany Poly Shades which I found difficult to work with, but it did a fantastic job of covering over the wood putty filled holes. I think I used either 2 or 3 coats of the Poly Shades. I’m sure I could have skipped the first two stains and could have had the same result!
colsen

Mon, 12/17/2012 - 19:30

Fantastic bed!! I've been shopping for a dog bed. This is 100 times better than anything in the store. I may have to borrow you're idea :)
Distressed Picture Frames From Scraps

Submitted by sraper2 on Thu, 09/18/2014 - 10:52

I built everything above my couch using scraps from my garage.  The "family" and hearts were cut out of a scrap piece of 1x12.  The frames were made using my worst 1x2 and 1x3s.  I sprayed them with stain and then paint and finished them by sanding them down. 

Estimated Cost
Free
Estimated Time Investment
An Hour or Two (0-2 Hours)
Finish Used
Stain and Paint
Recommended Skill Level
Beginner

Modified Farmhouse Desk

Submitted by AhmaNaz on Thu, 09/17/2020 - 10:04

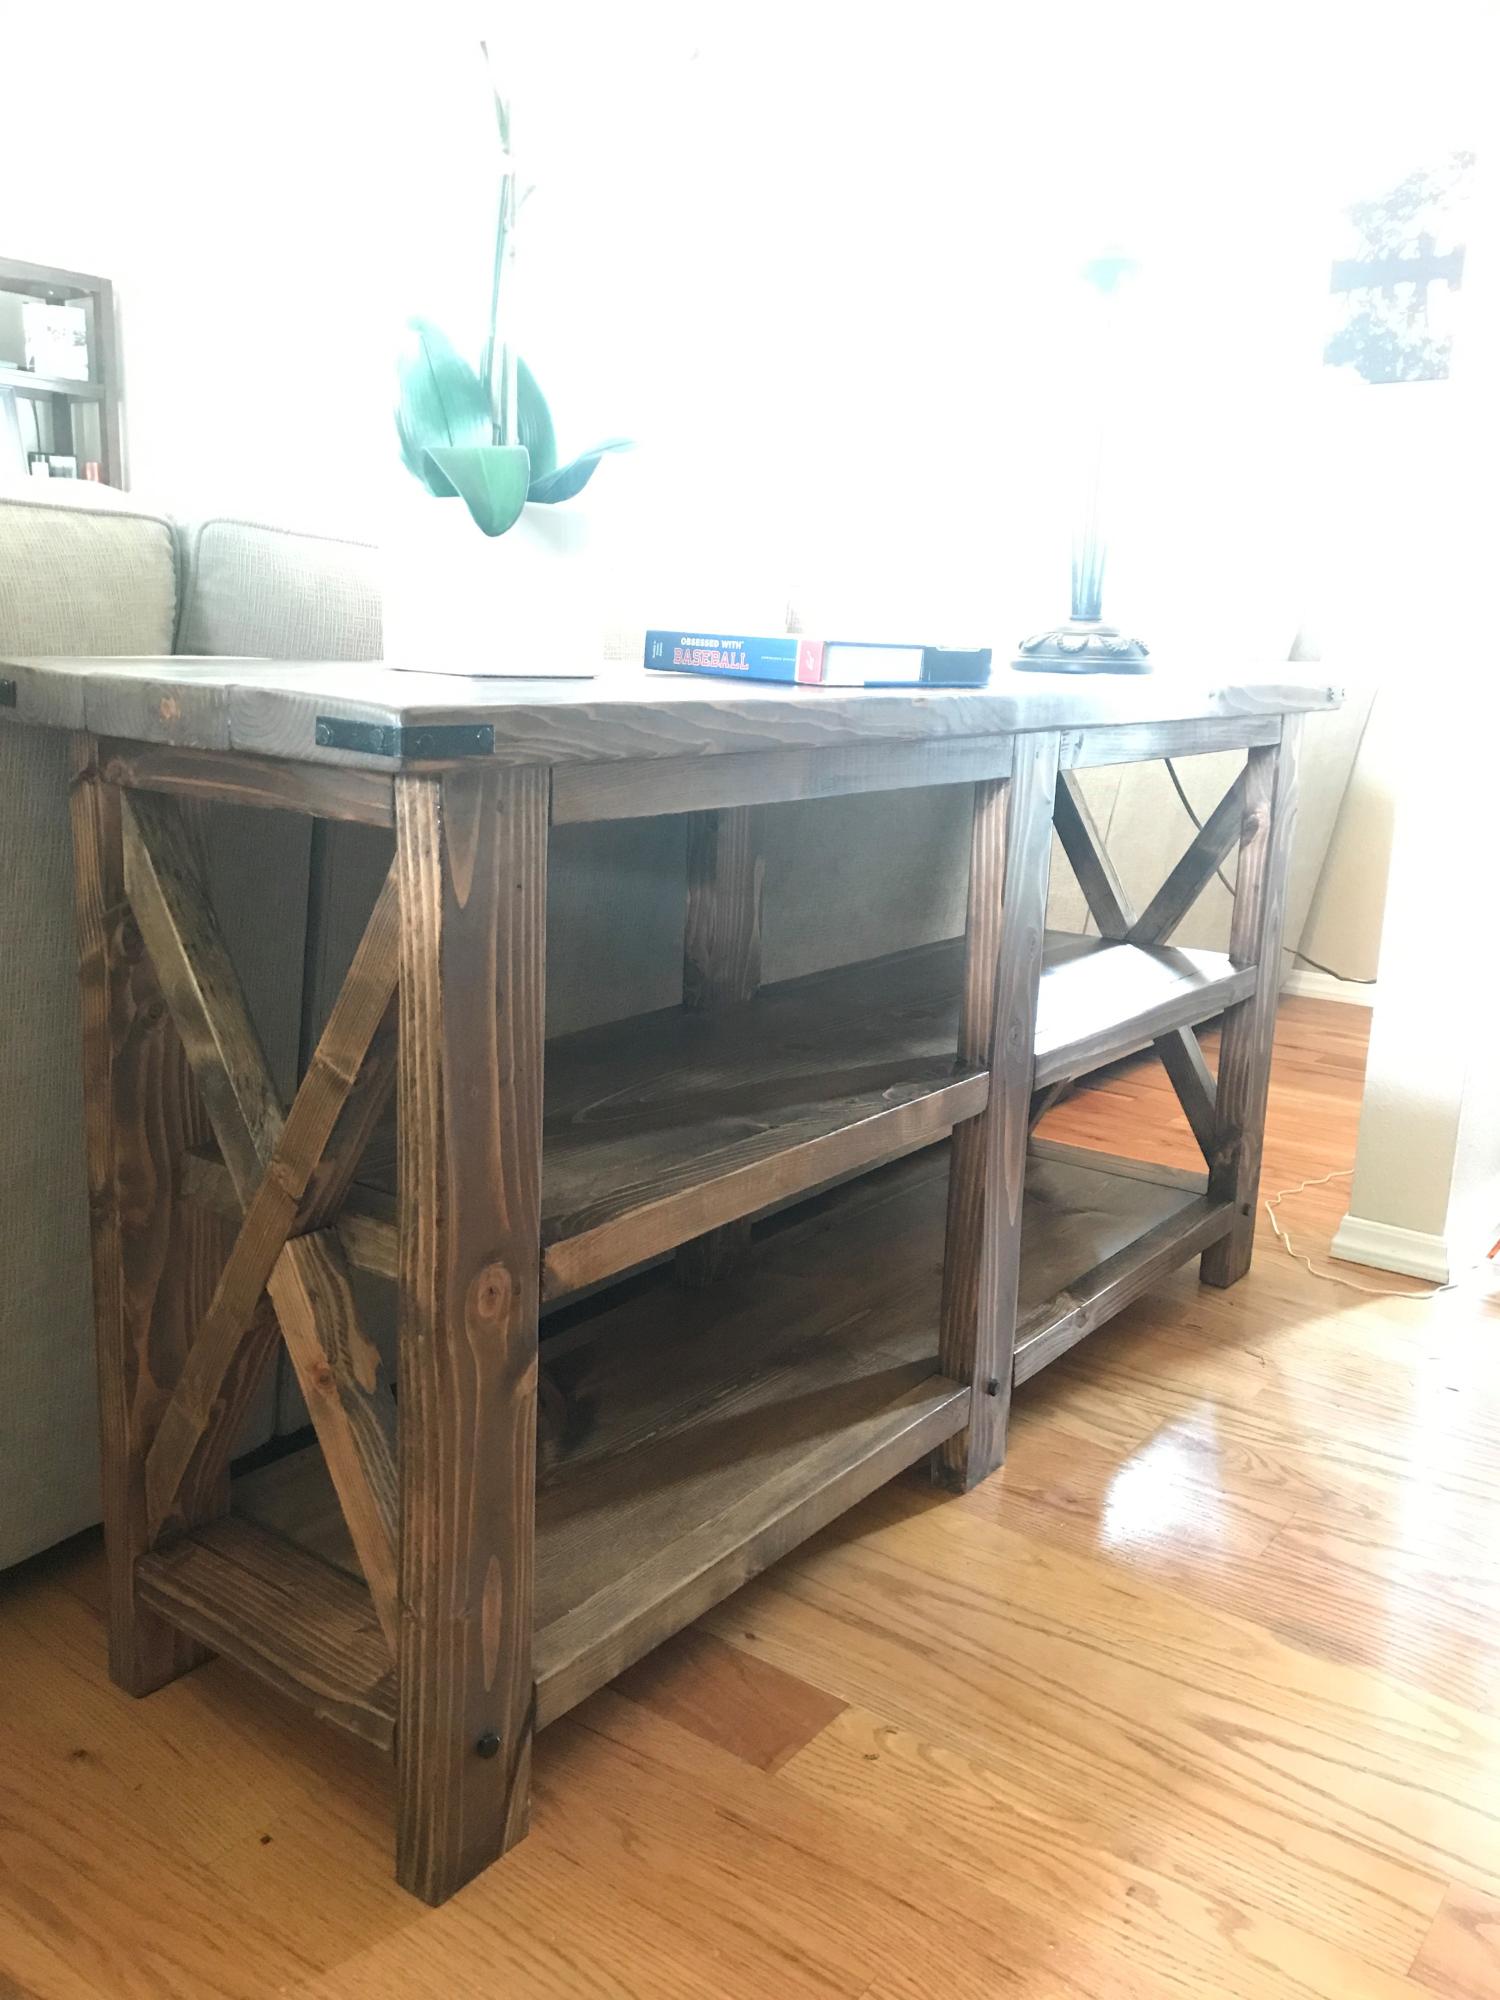
Desk for my sis, build on out of state visit. Left raw for her to finish. The X was a character builder as I only had my circular saw and my first time but decent enough lol

Built from Plan(s)
Estimated Time Investment
Afternoon Project (3-6 Hours)
Finish Used
Raw
Recommended Skill Level
Intermediate

Comments