Grandy Sliding Door Console
We were needing a new tv console for our boy's playroom and this was a lot of fun to work on. This was the first piece of furniture I have built and I was able to follow the plans pretty easily.
We were needing a new tv console for our boy's playroom and this was a lot of fun to work on. This was the first piece of furniture I have built and I was able to follow the plans pretty easily.
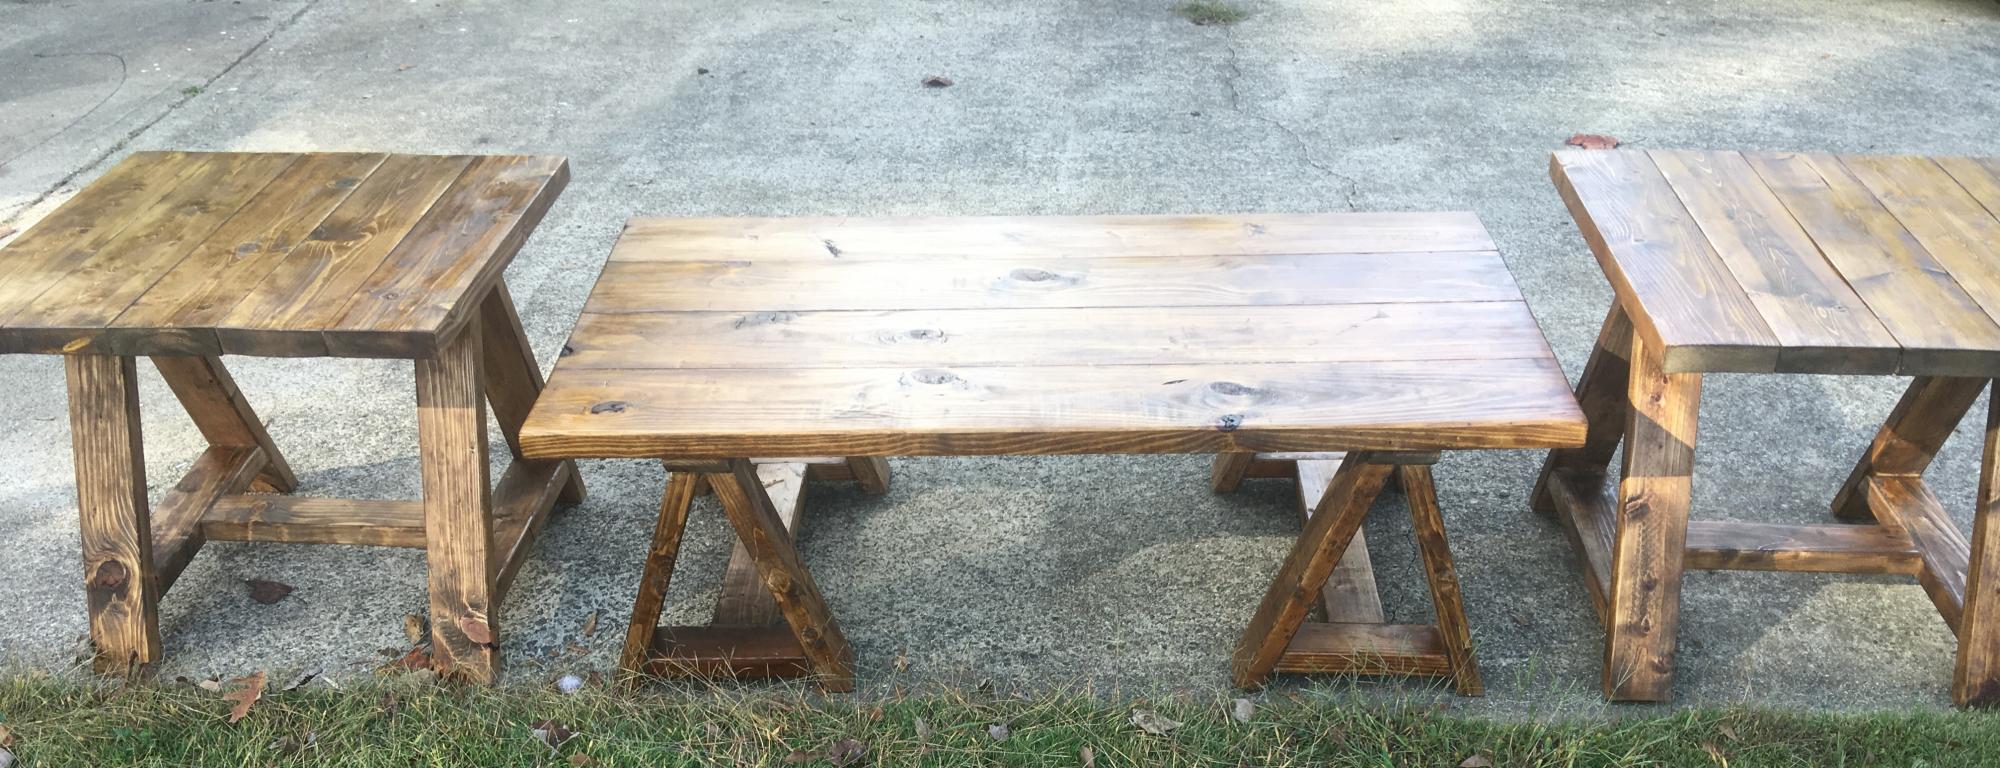
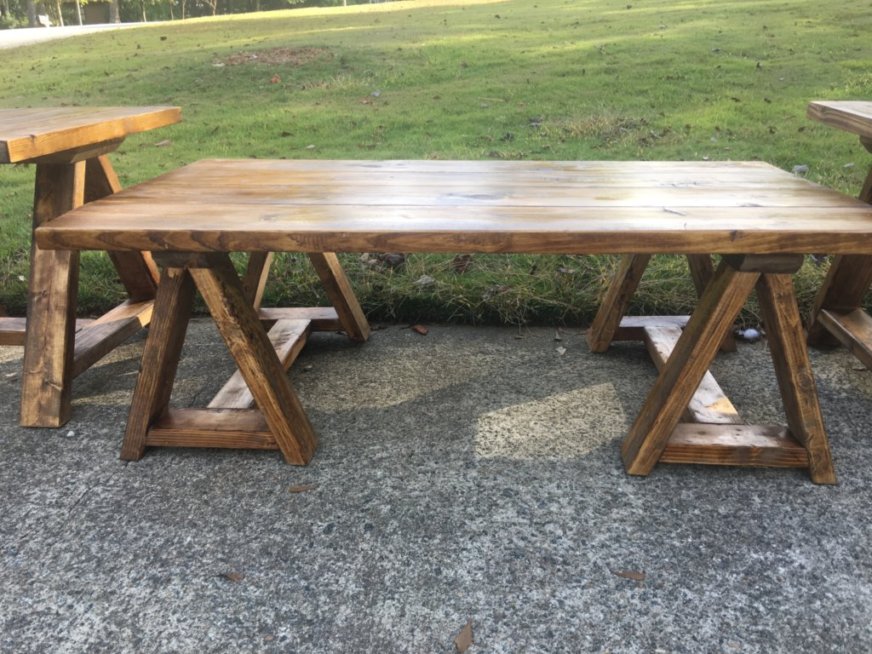
I made this as a gift for my friends son. They are expecting a new baby so I made sure every inch was sanded, and sanded and sanded. This was a fun different build. The slightly angled table legs need extra attention in order to guarantee level.
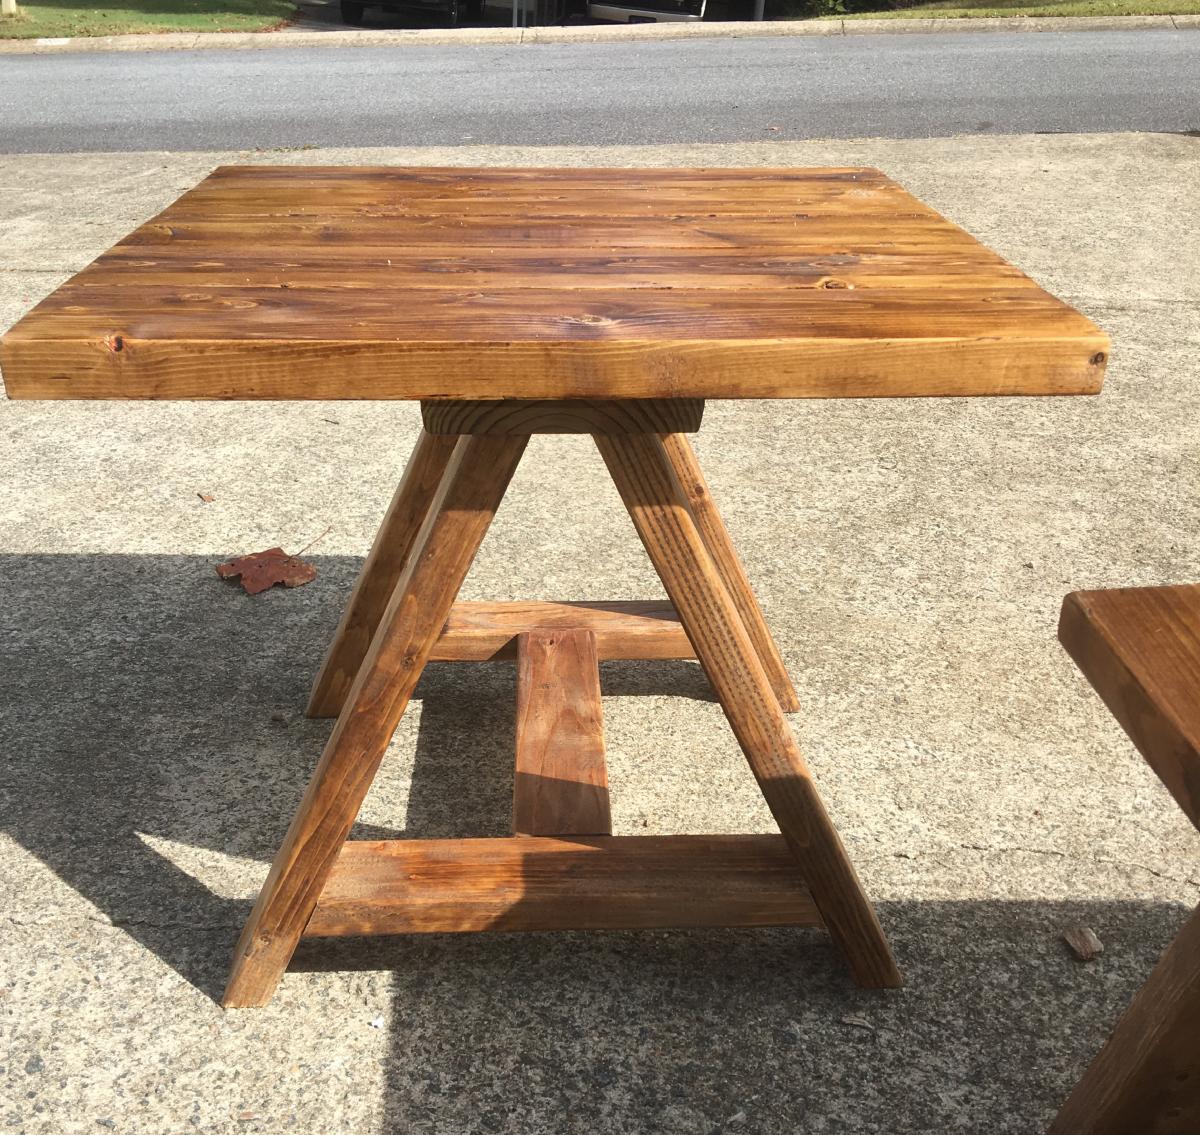
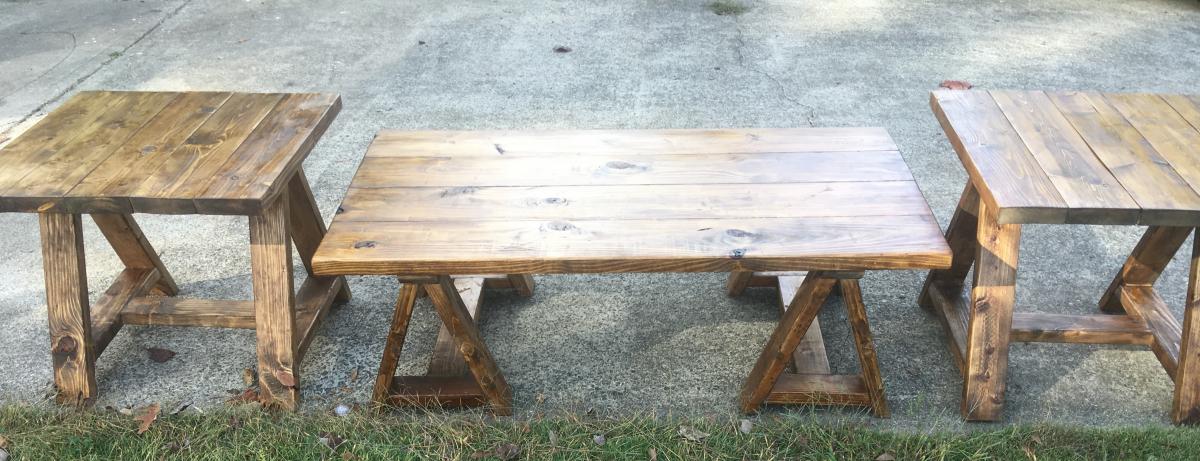
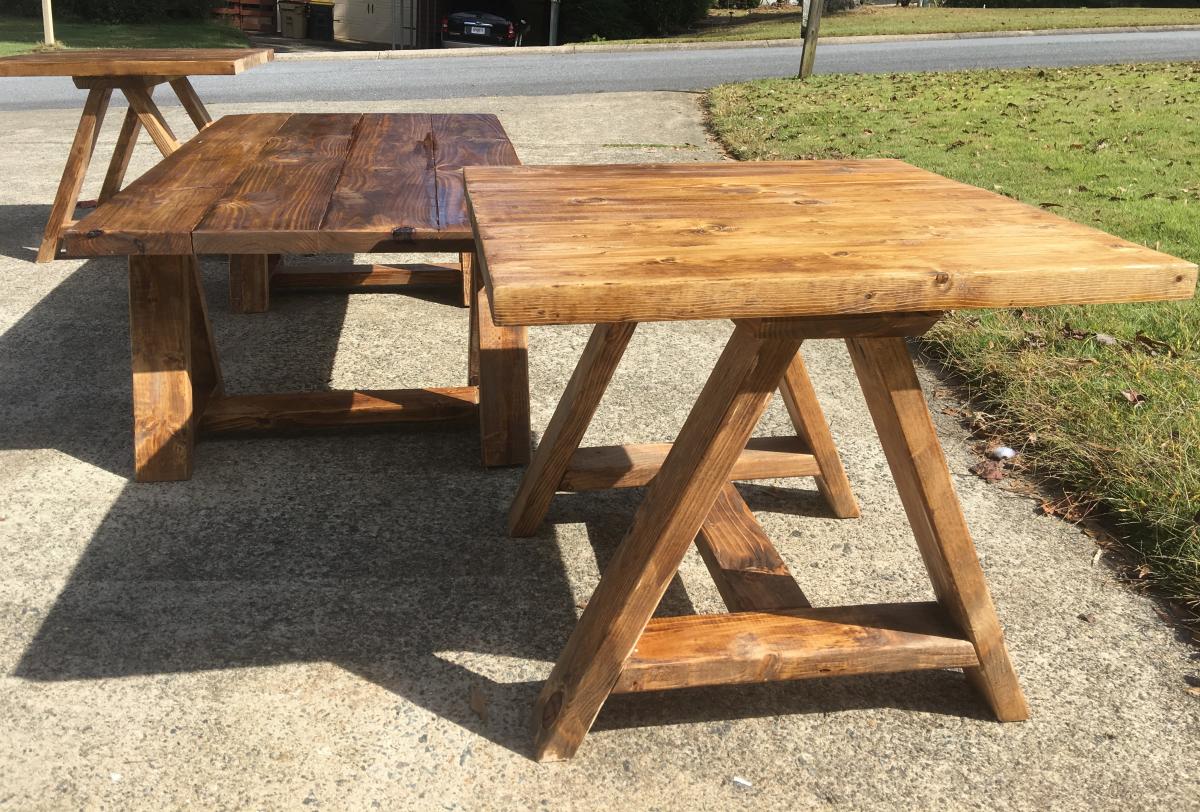
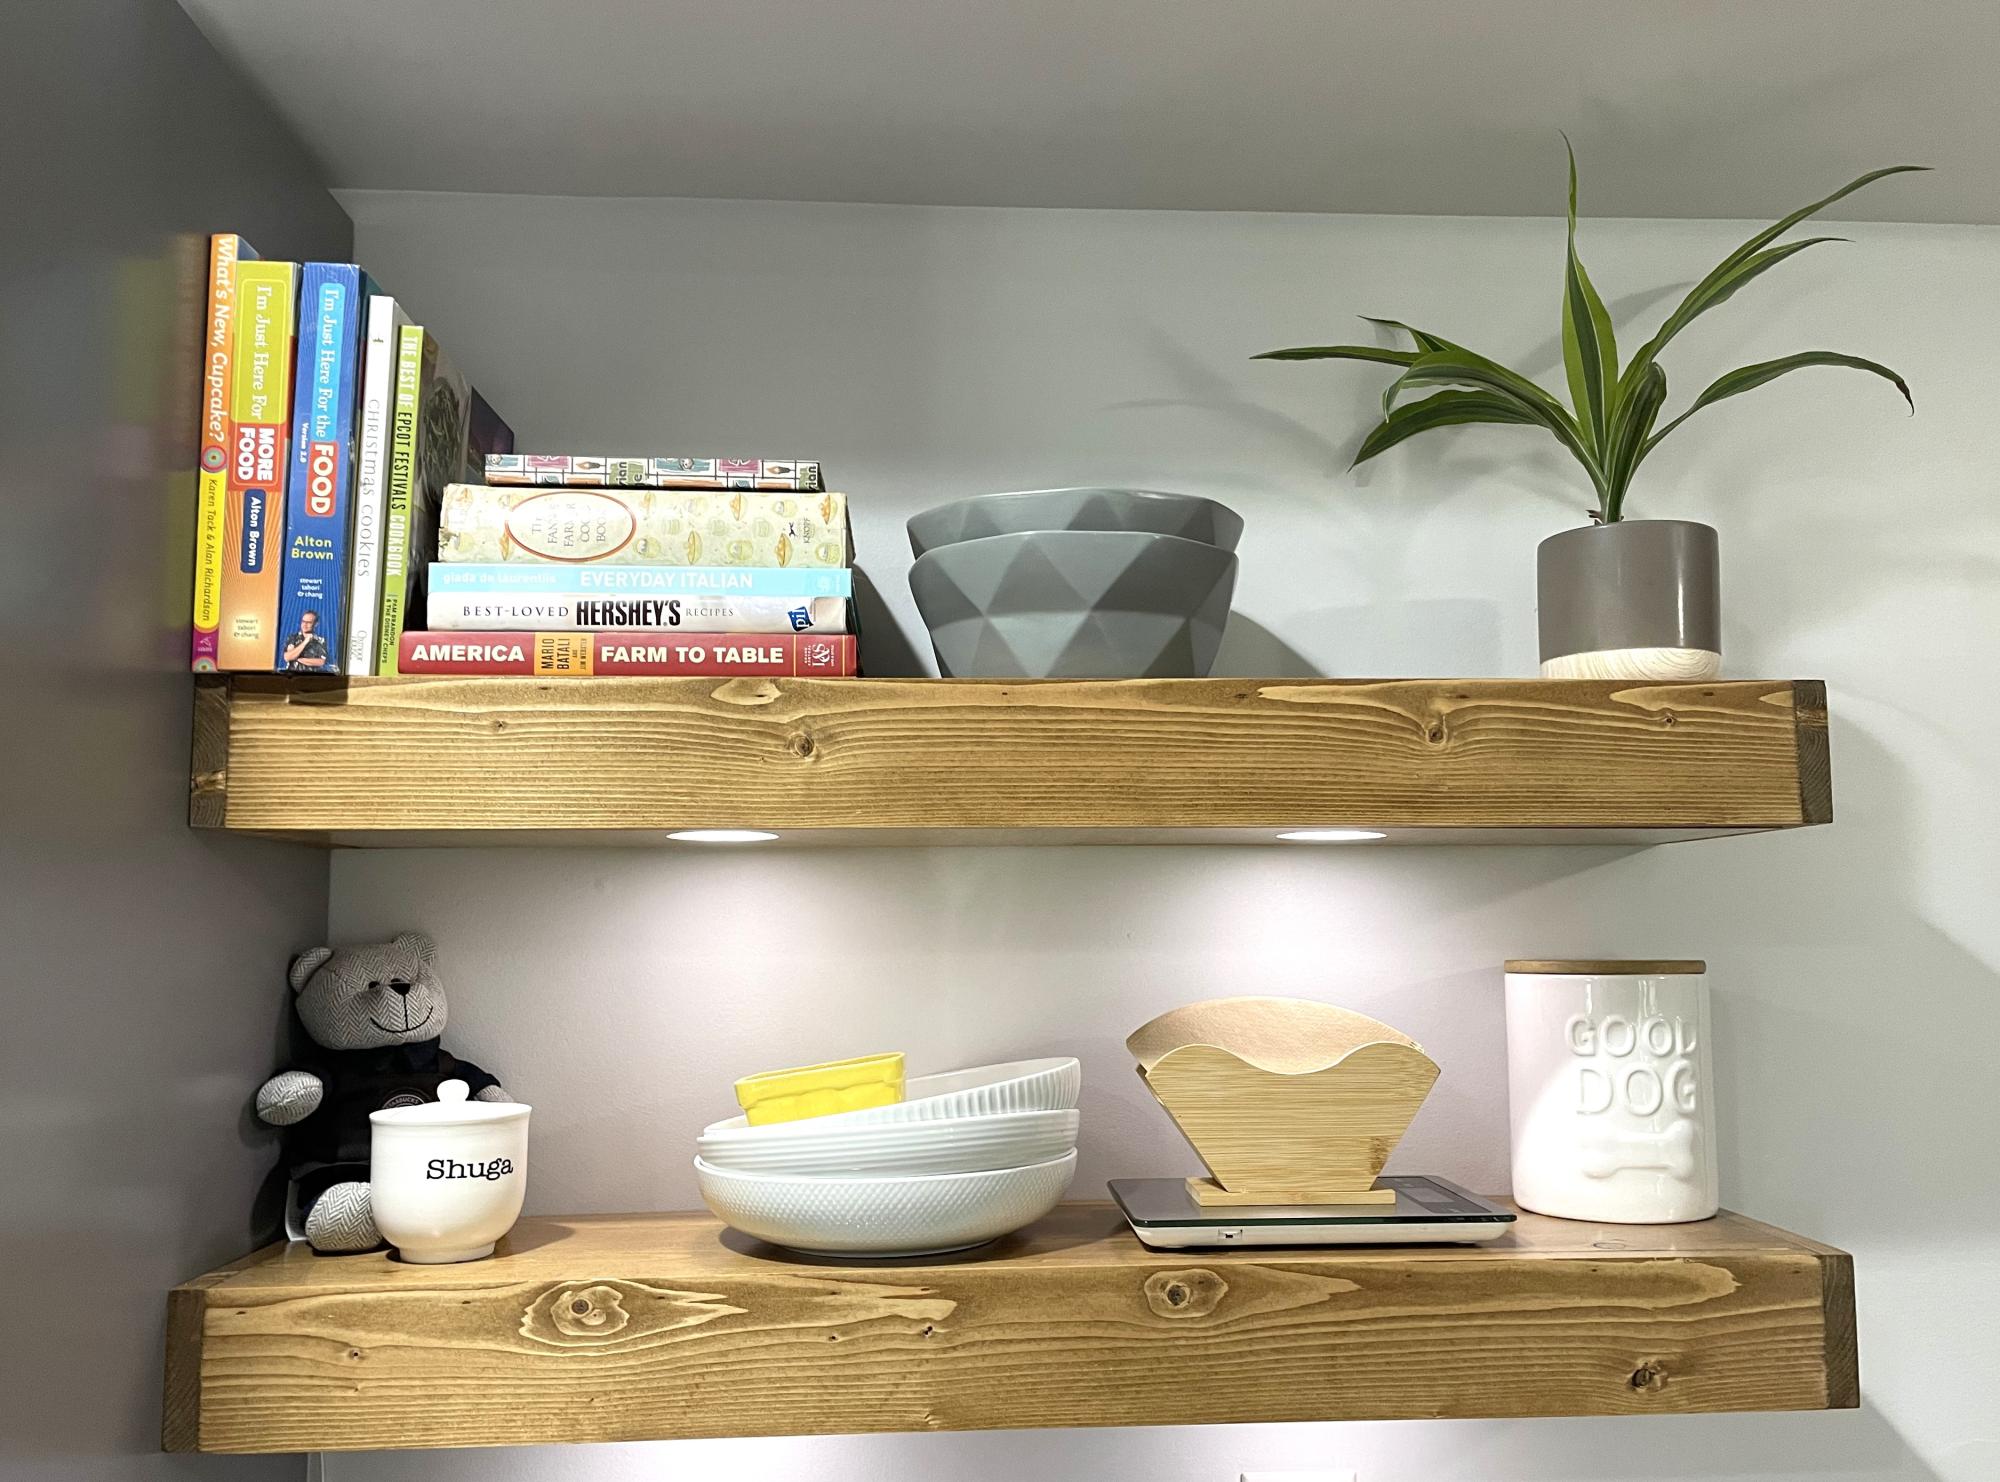
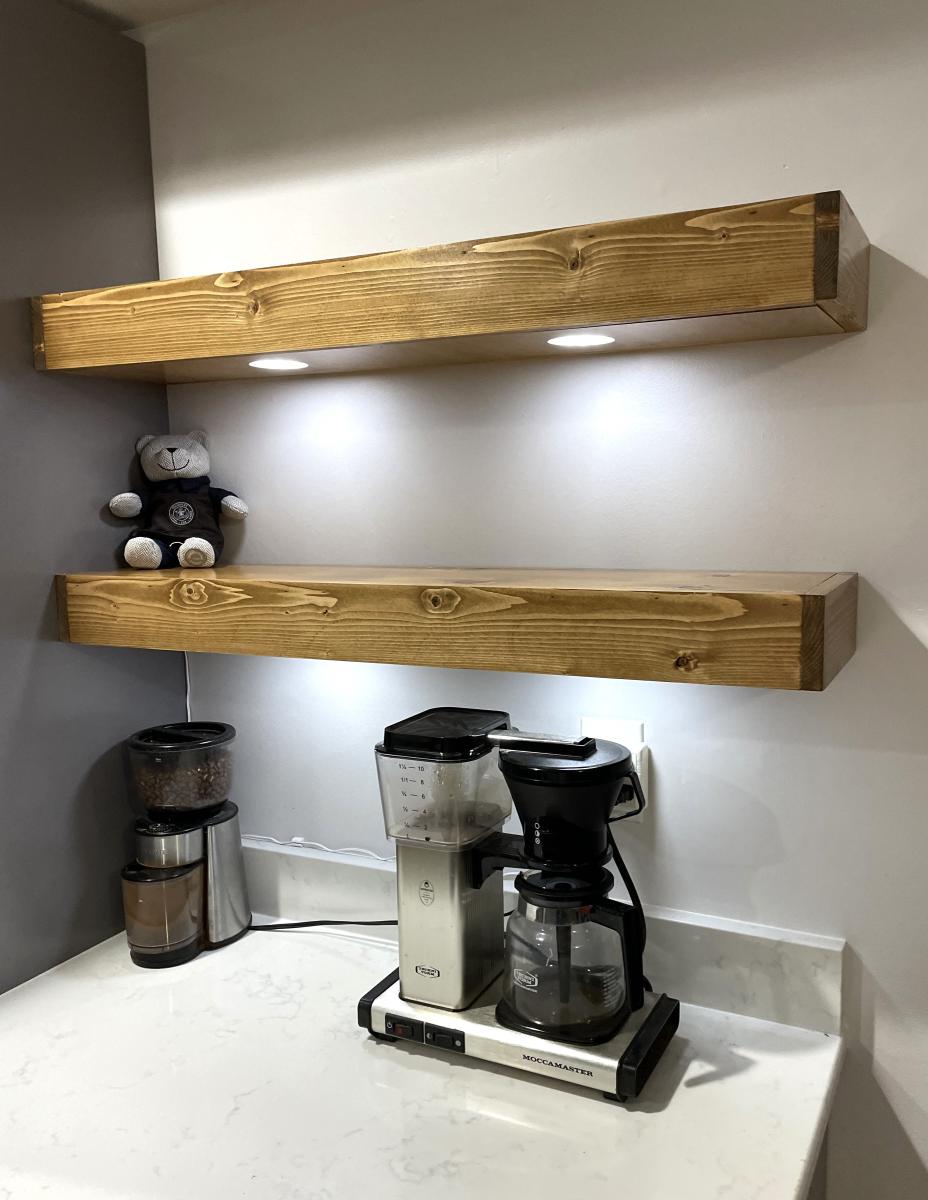
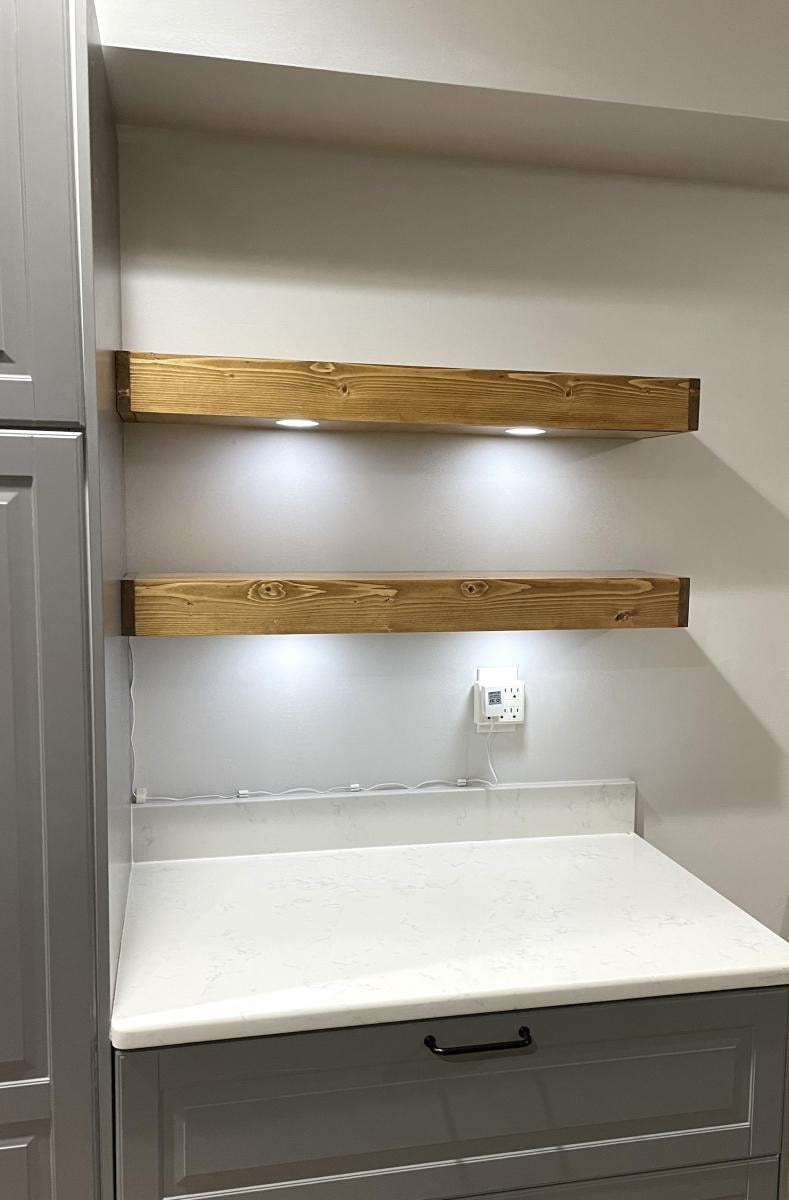
This was our first build from wood to finished product! I had done some refinishing furniture project, but never a project from raw wood like this. It was easy to do, the hardest was installing the smart lights and making sure they worked!
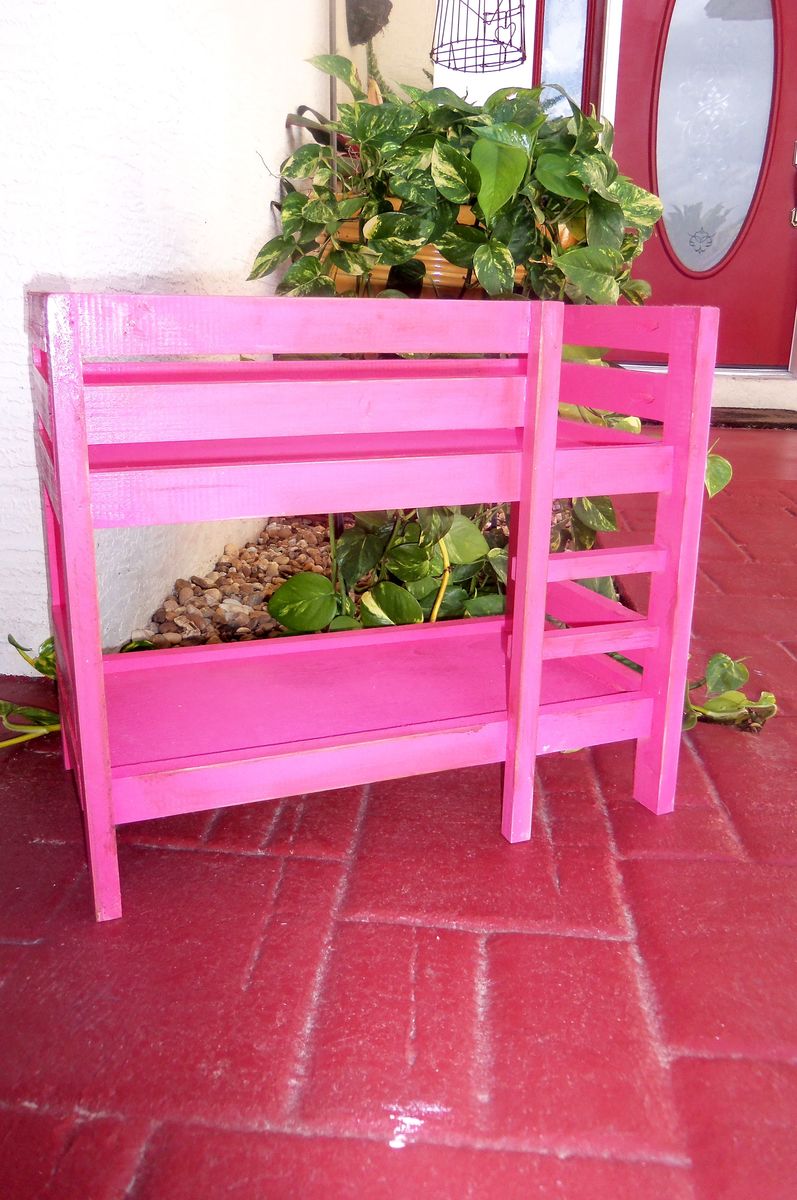
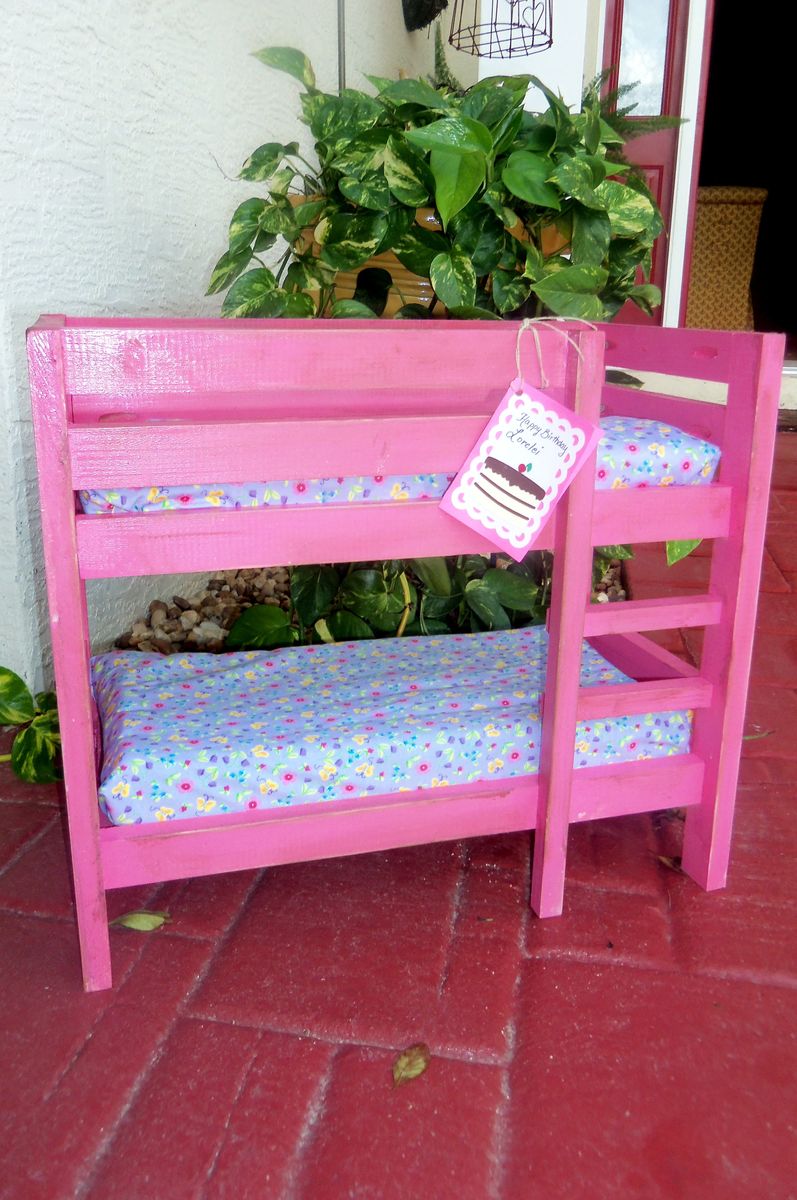
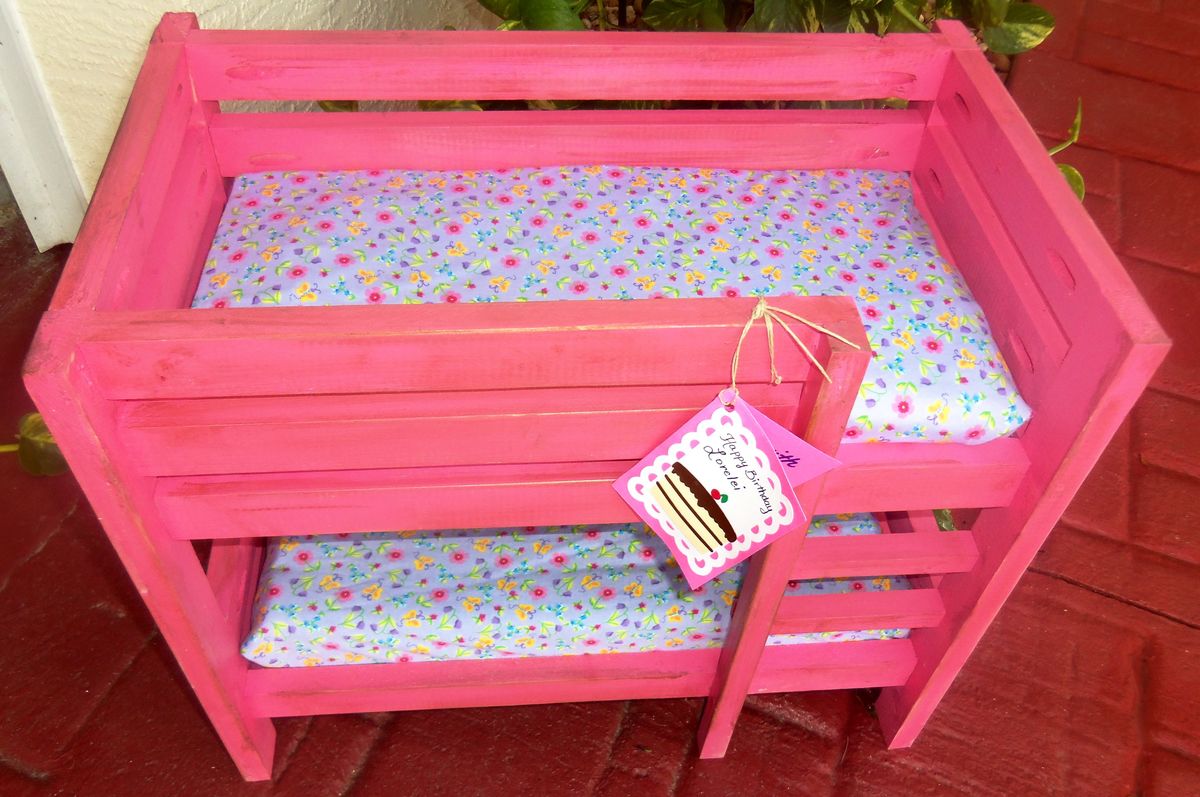
We have a lot of birthdays (5-6 year old range) this week so we decided to try some of these plans out. So much fun and they get easier each time :)
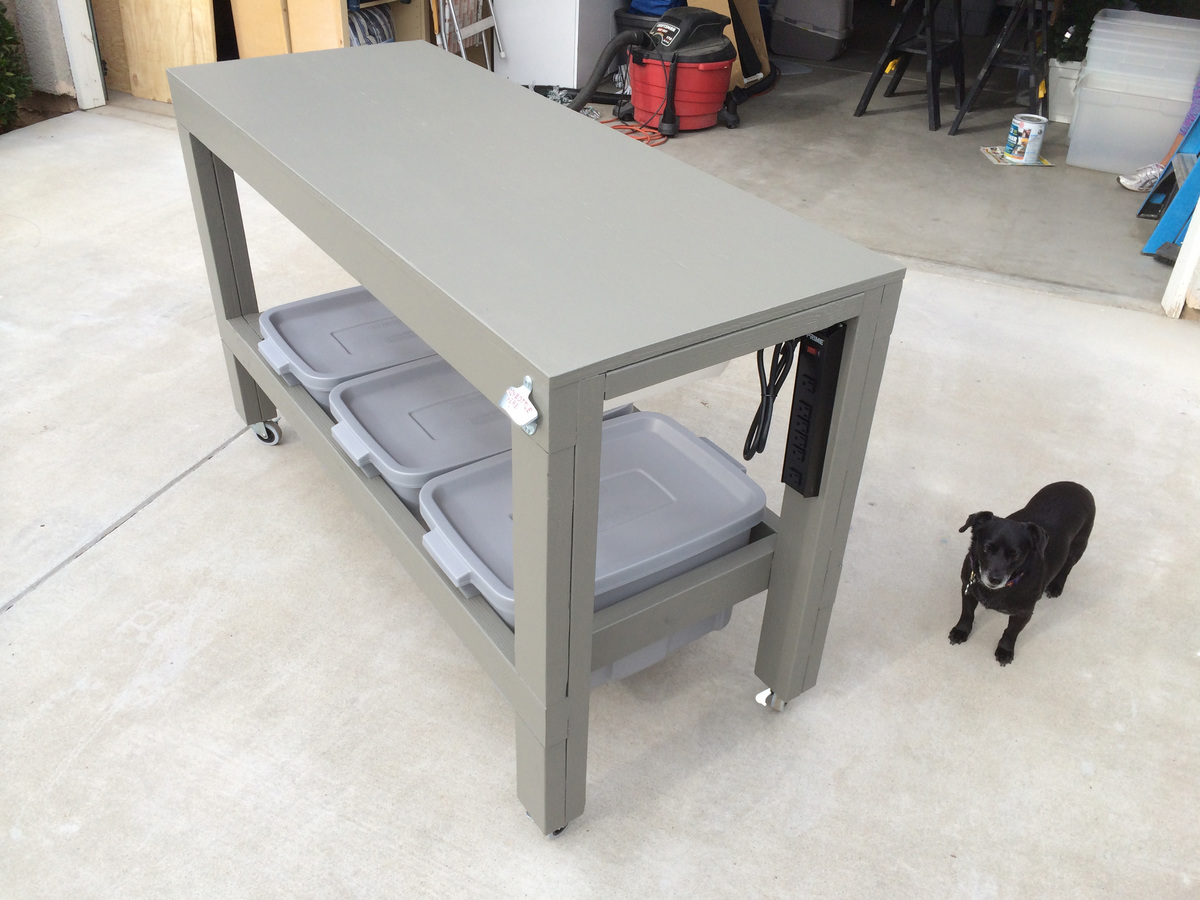
This is from Ana White's "Get the Job Done Workbench" post,
http://ana-white.com/2011/11/workbench-get-job-done
First project using my new Ridgid Sliding Compound miter saw/table and new Kreg HD Jig for pocket holes.
Thanks to my girlfriend for noticing that the depth worked out perfectly for resting three Rubbermaid Roughneck Totes underneath for holding clamps, tools, etc. Also added a paper towel holder under neath, a power strip and of course a bottle opener to the front. :)
Primer and some cheap $2.50 "Oops" paint from Lowe's finished the project.
Now I can move on to other projects and use this sweet new workbench!
Loved these plans. Super easy to follow and modify as needed.
And "Marty" in the photo also approves of the final product.
Thanks!
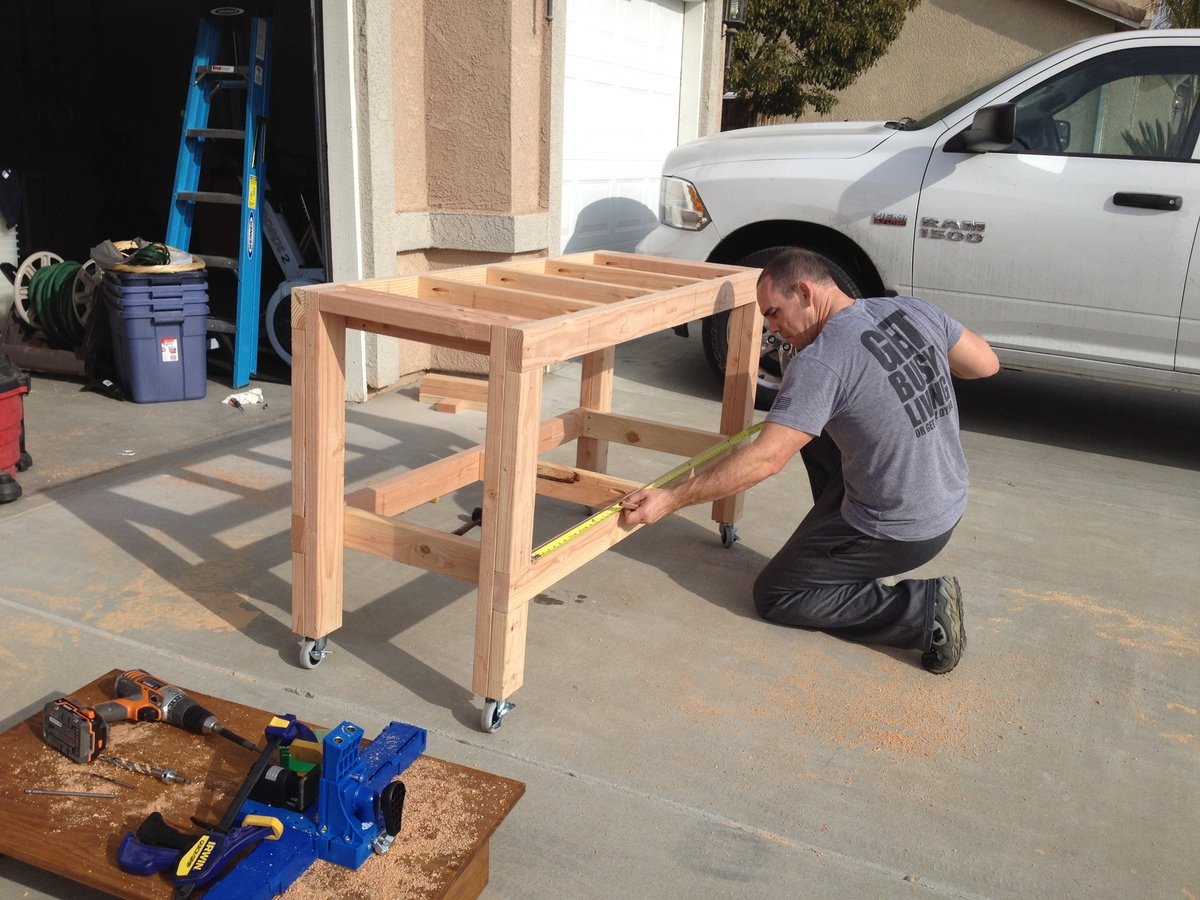
Mon, 01/13/2014 - 10:26
Great build, and the bottle opener is a nice little added touch, very convenient!
Fri, 08/12/2022 - 13:35
I am looking for the plans to build the mobile workbench on casters but the video is for the wall board to hang tools and for a different work bench with no casters. How do I get the plans for the mobile work bench?
Fri, 08/12/2022 - 13:47
Adding to my prior comment, I thought the plans were different because it does not mention casters that I can see. I now see the bench is in the plans but no mentioned of casters other than comments. I will double check. Thank you.
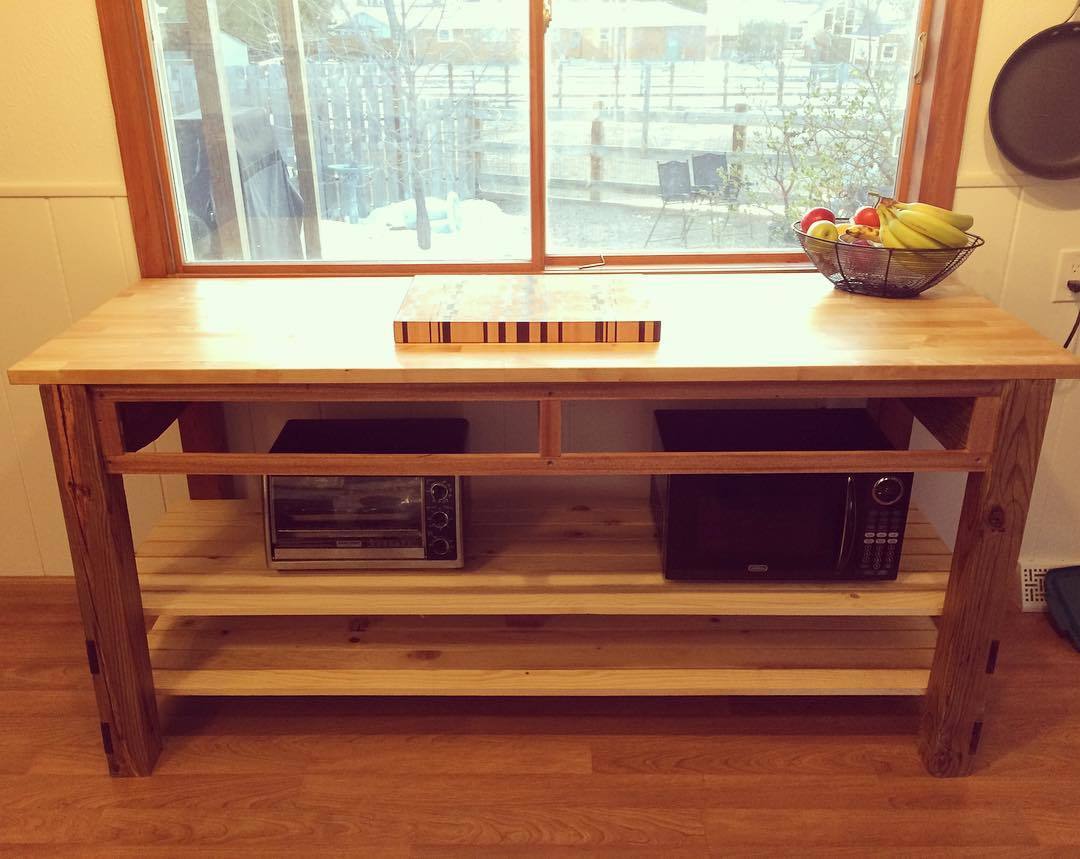
I found these plans and modified the dimensions to work in my space. The top is solid birch, and the legs are cedar 4x4s I found in a shed on my property. The side skirts rear skirt, shelf supports, and drawer fronts are solid walnut I have had laying around for years. The face frame was a door jam in my house made from solid mahogany. It came out nice, especially since it's my first time building anything like this! Thanks for the plans!
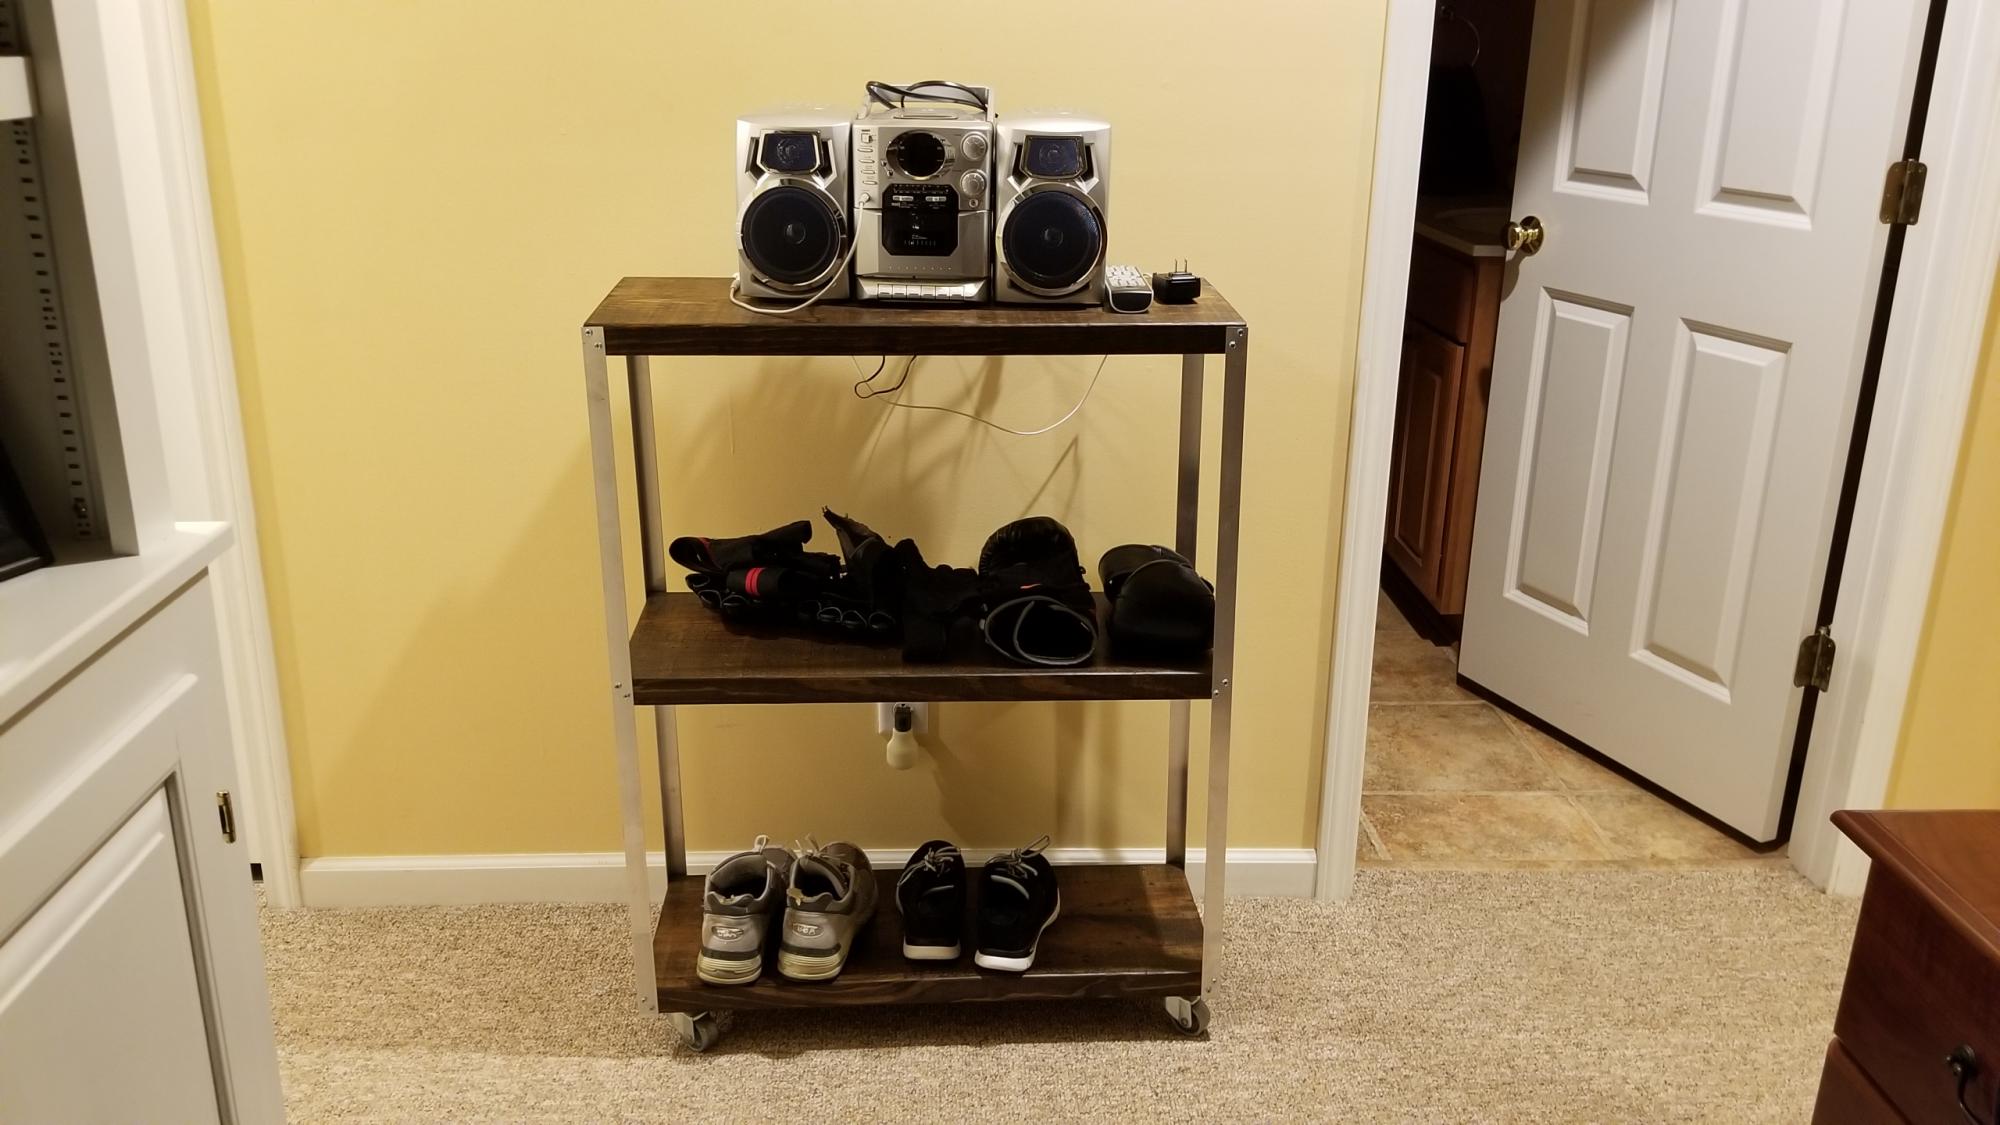
This was a super easy build, that provides a lot of storage!
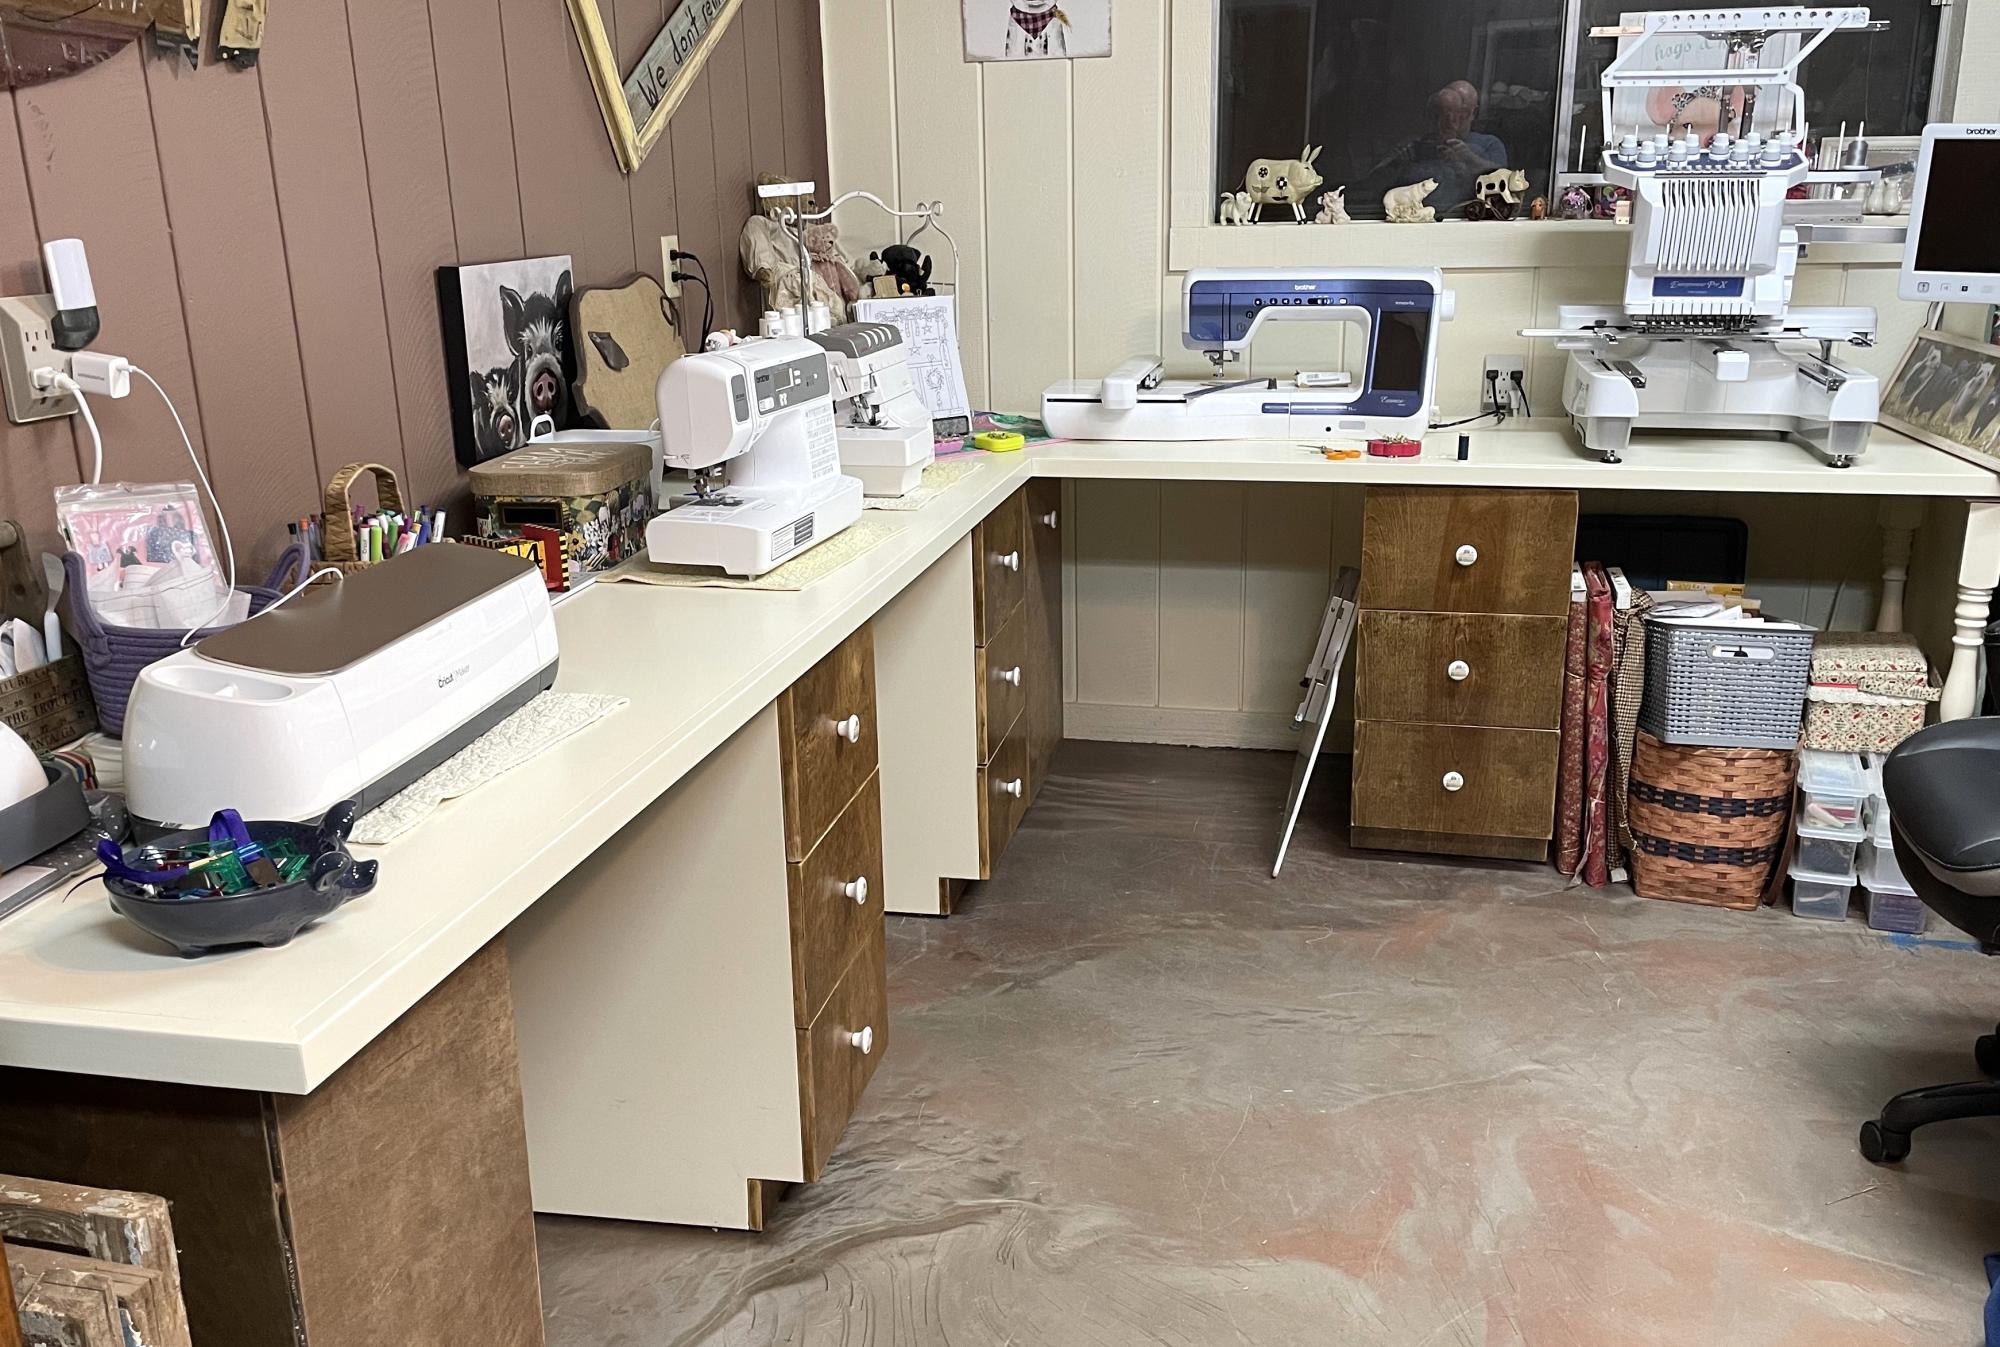
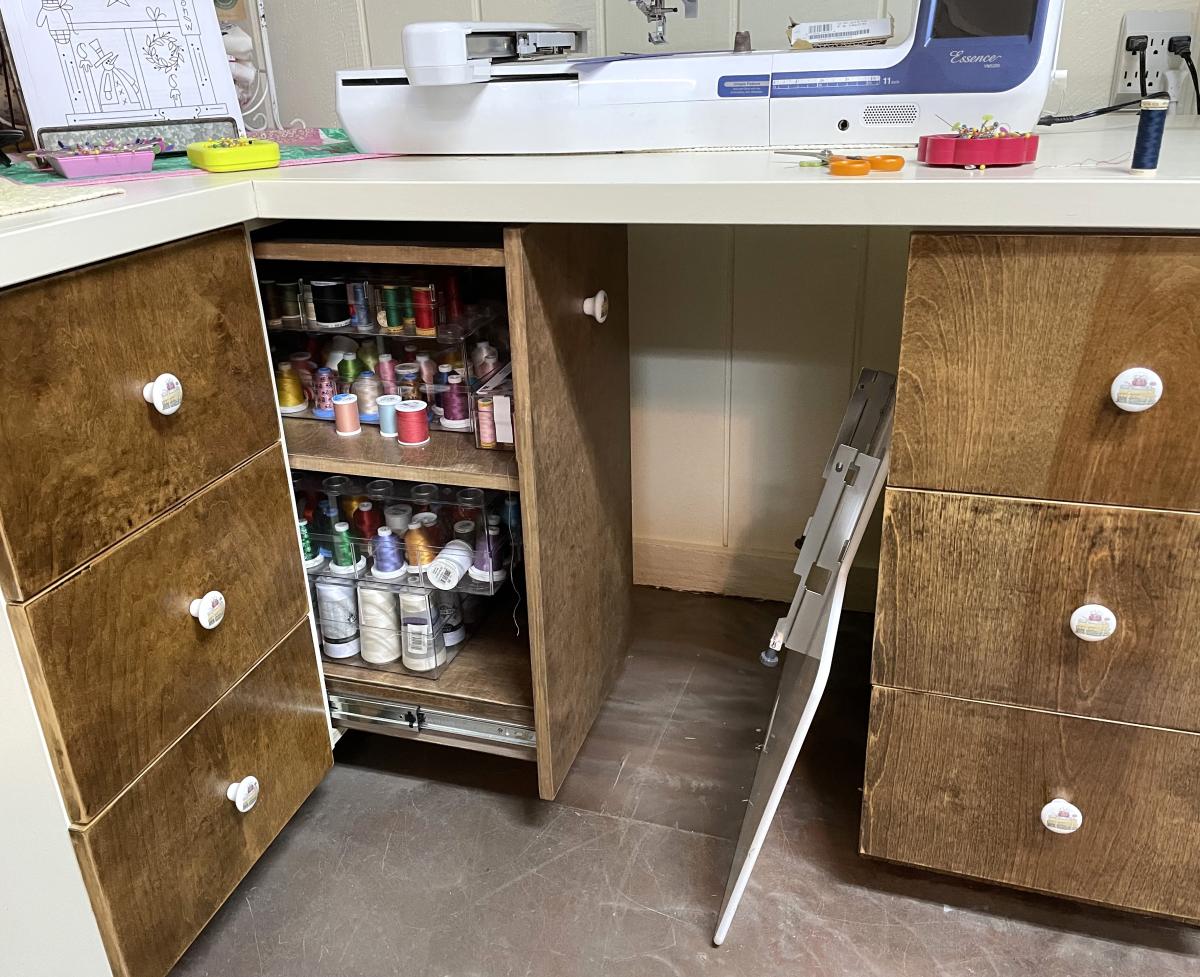
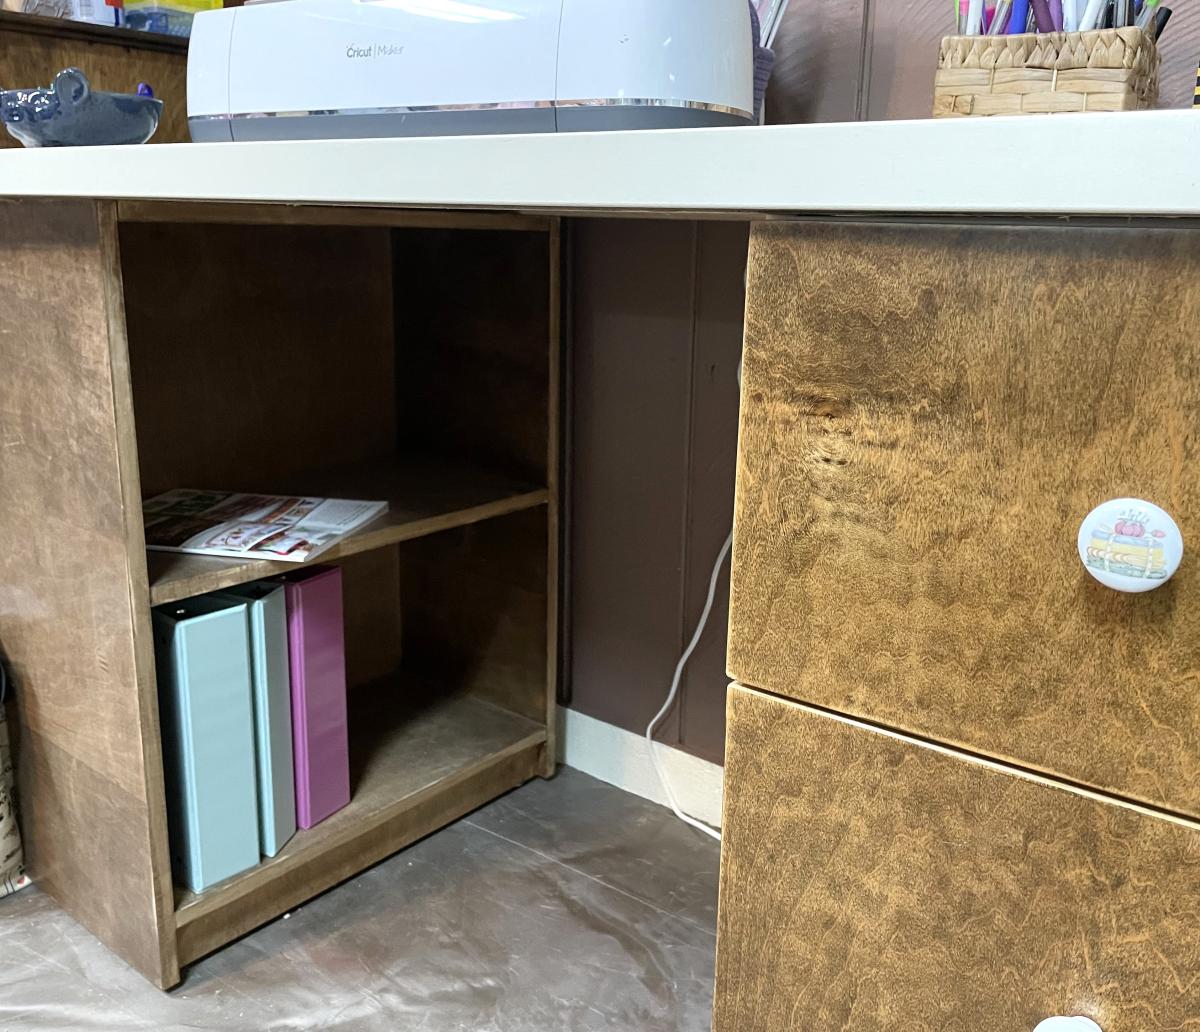
Four station sewing table. Each station separated by a 15” 3 drawer cabinet. Blind corner includes a pull out shelf/book case which doubles as support for the back corner. Long end supported by a bookshelf which is turned 180 from the original design due to other furniture placement that can easily be changed later. Short end supported by temporary legs. 5th station and additional 5ft. of cabinets on the way. Roughly 10ft x 8ft x 26in. x 31in. high. Wife saw similar on Pinterest which was tagged Ana White but only found brag post so used imagination and basic cabinet design plans modified to meet my size requirements.
Pops’ Workshop
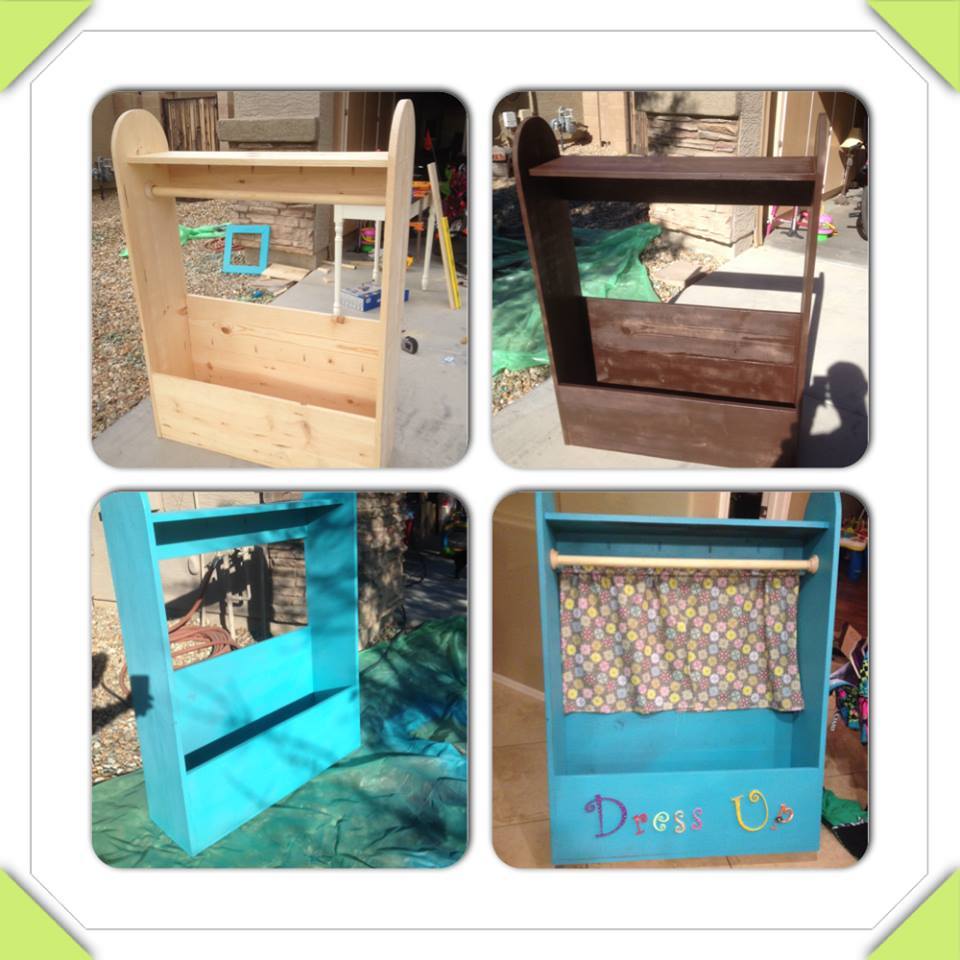
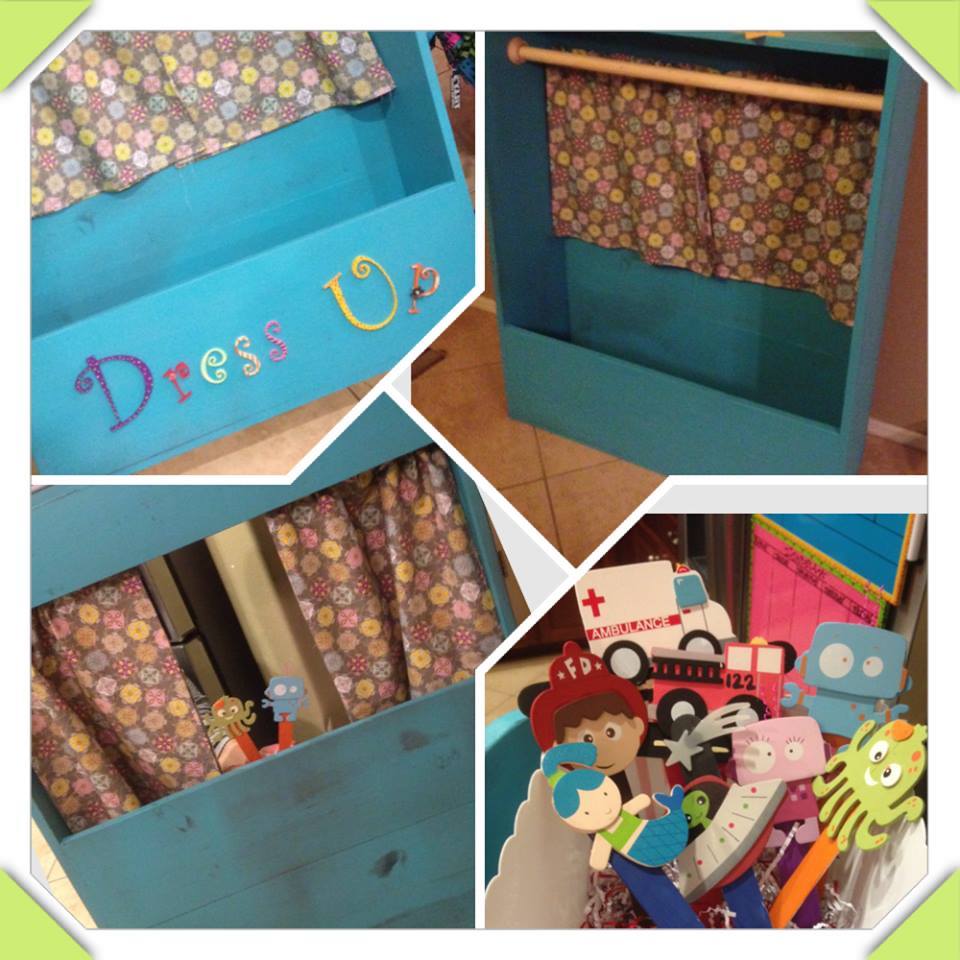
We turned the back into a puppet show theater for the kids. We added a shelf up top for storage, inclosed the back and added curtains w/ rod. For the puppets we kept it cheap...found some wooden cutouts and large popsicle sticks. The letters on the front were small ones bought from the craft store and used some paint I had around the house.
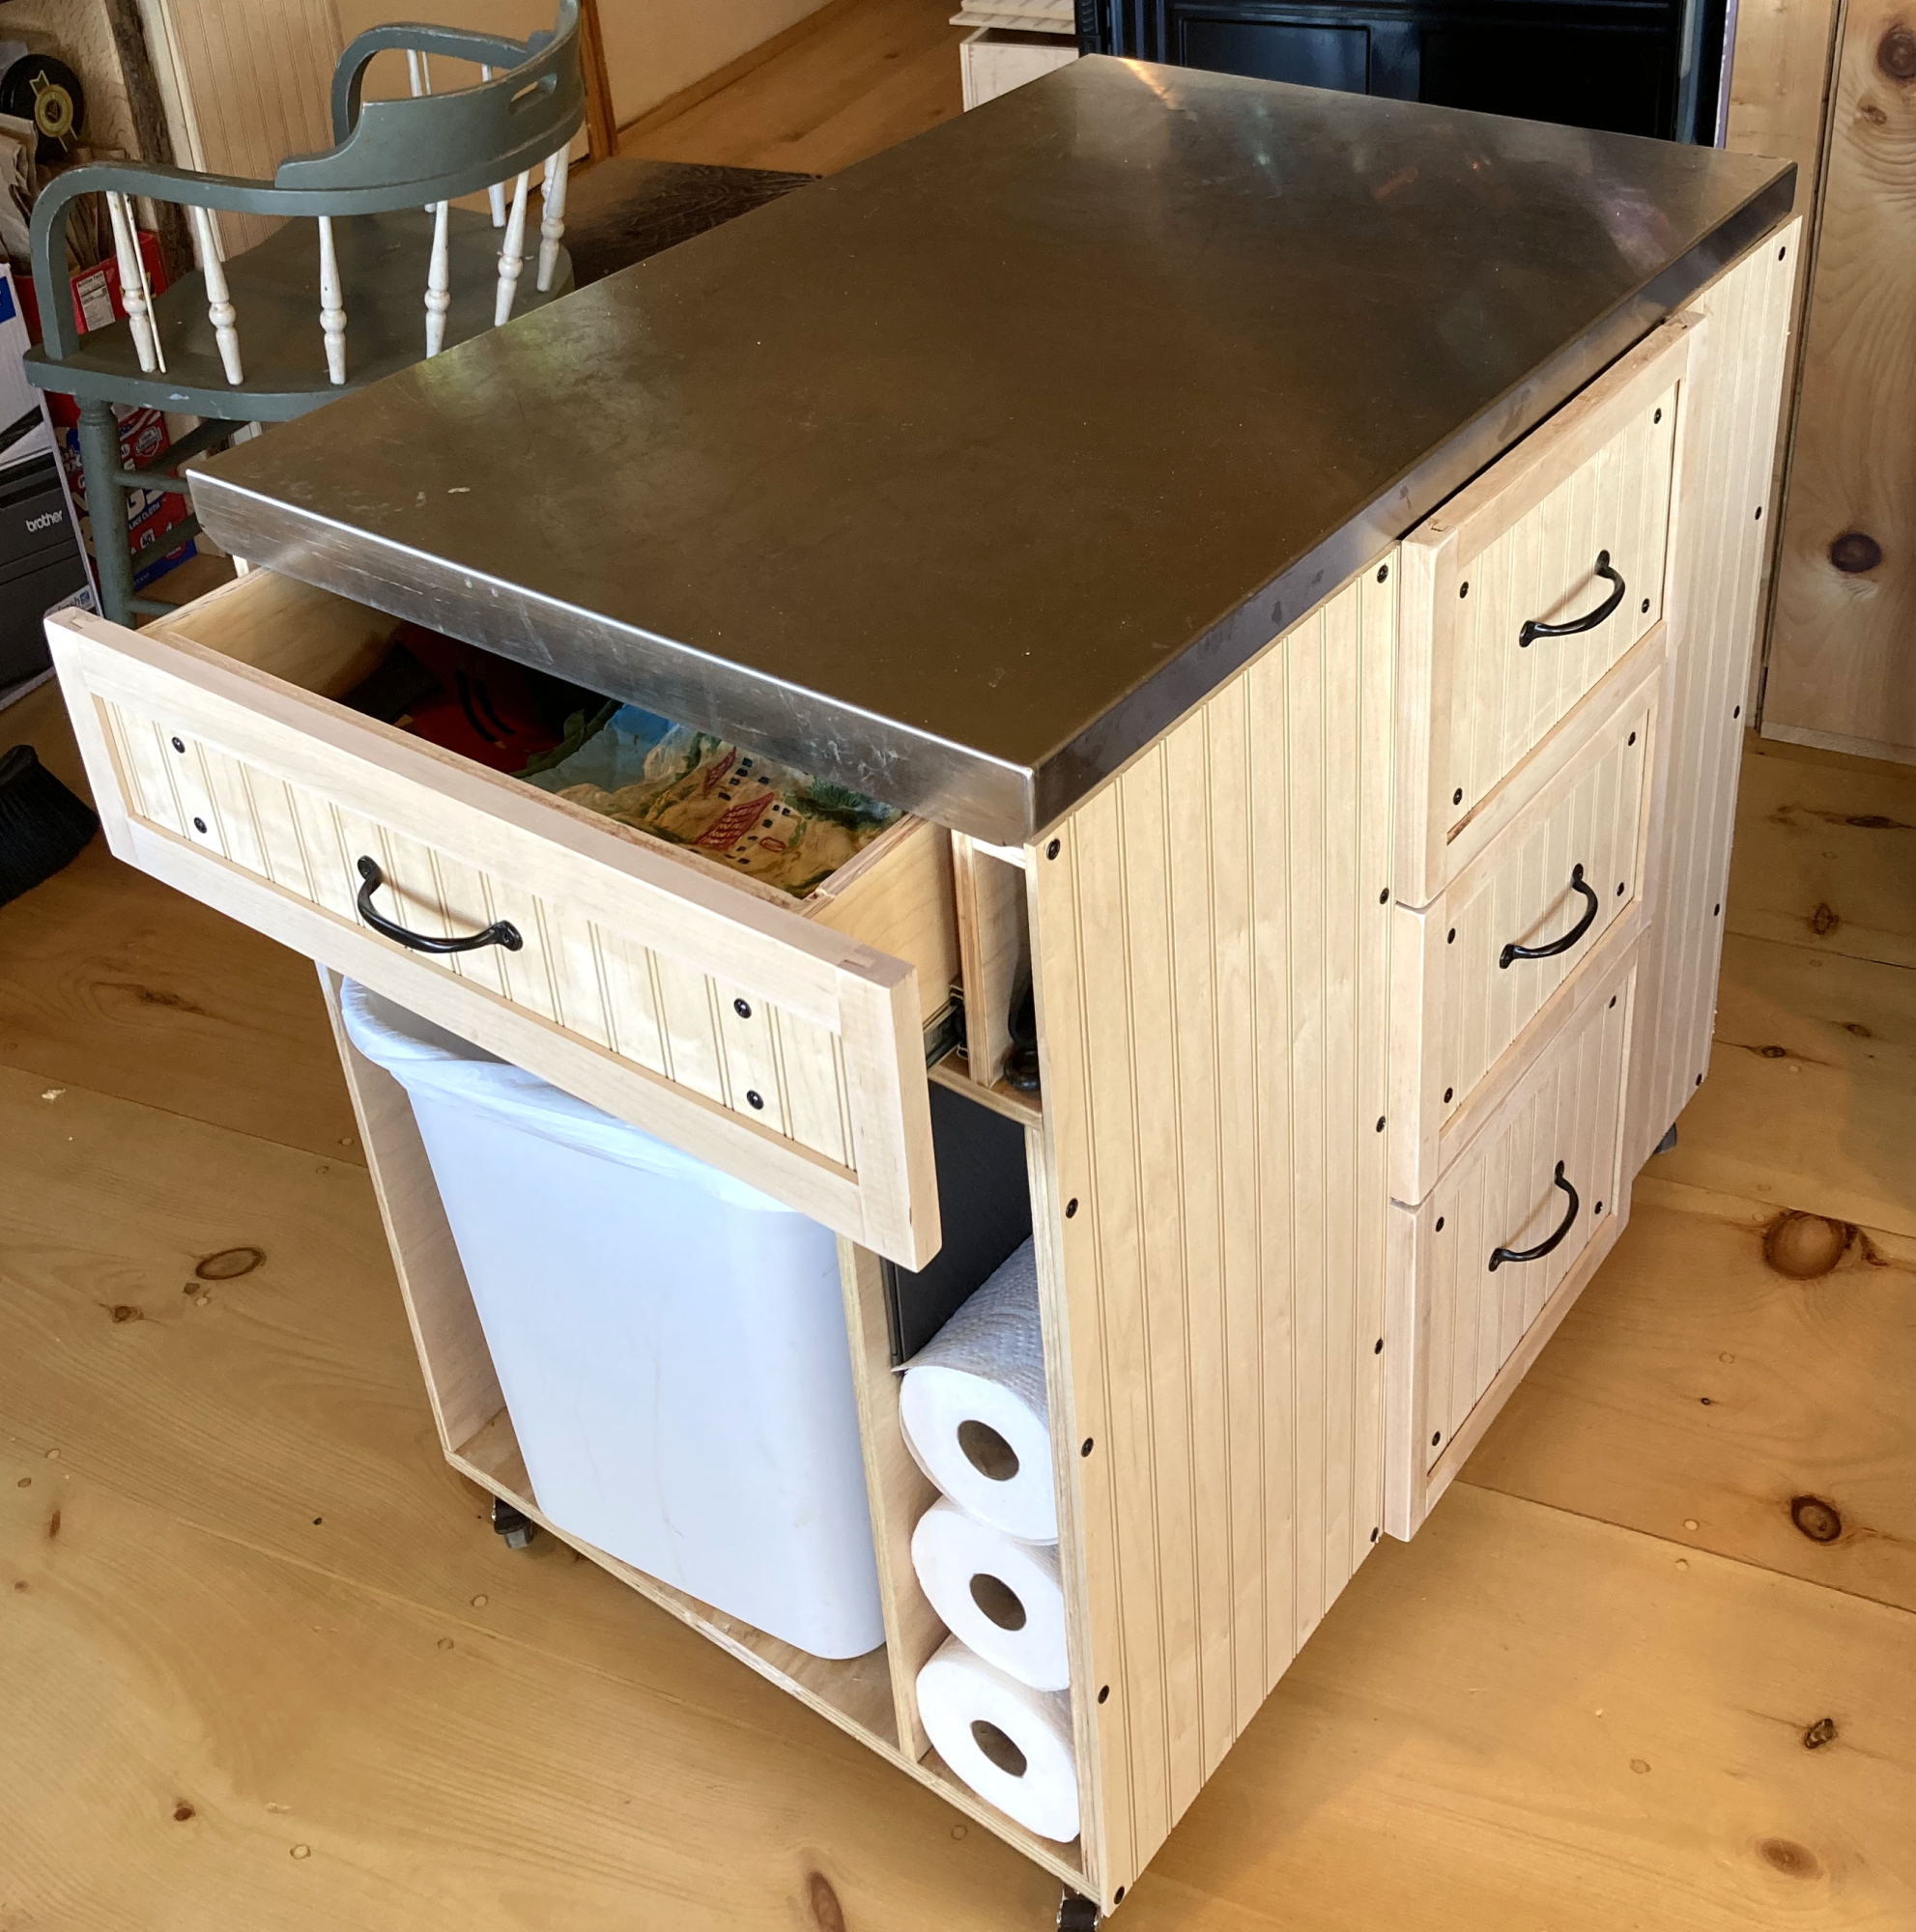
Hello, Ana.
This is my first share and I plan to share more eventually. First, please know how much I appreciate your willingness to share with and motivate your followers. Thank you.
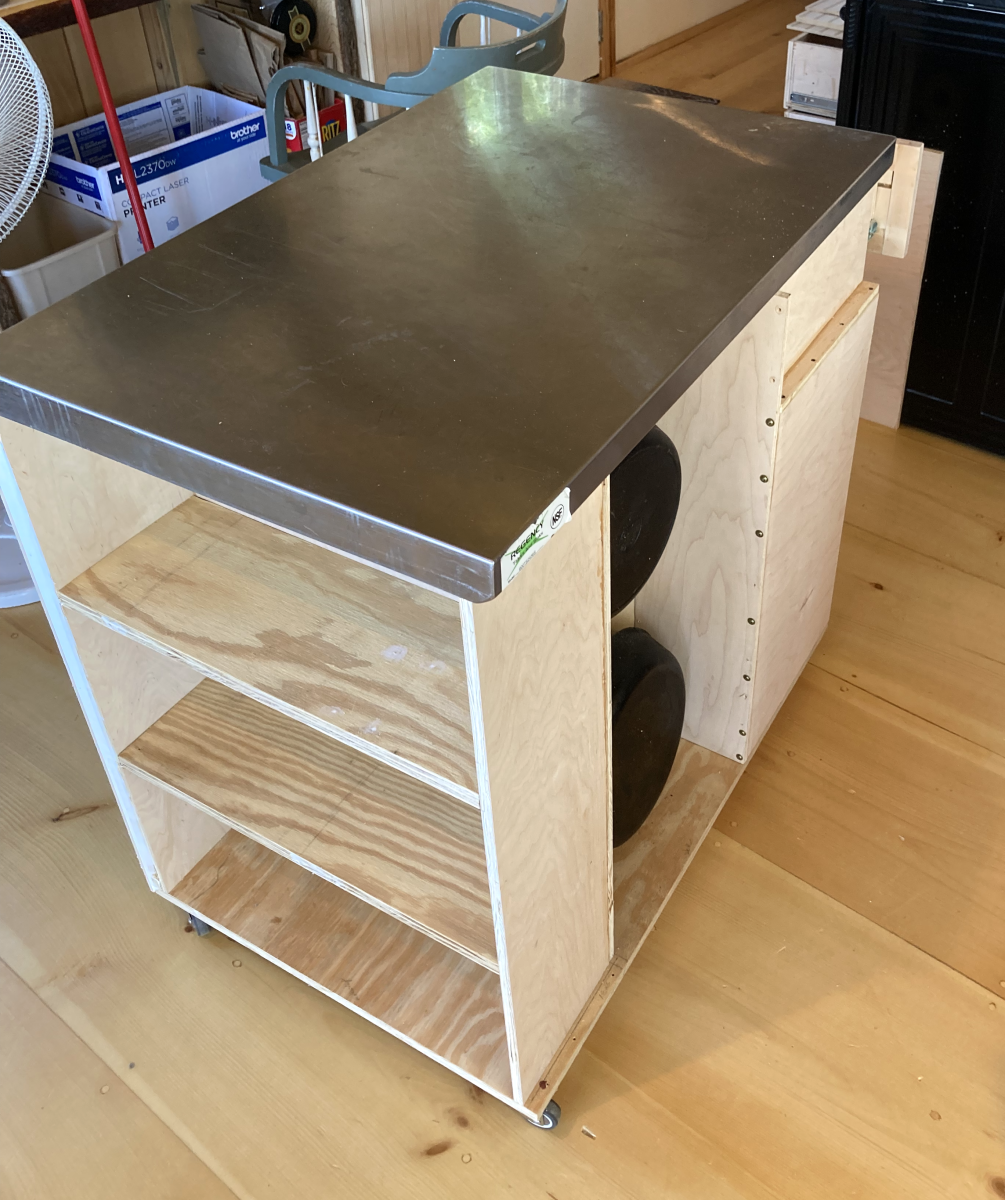
As for the cart I am sharing, I do not have any plans other than the ones that were in my head so the cart would fit under the stainless steel top. My wife wanted more surface and storage space next to the electric stove in our camp here in Maine. We purchased a used stainless steel table from a restaurant supplier, removed the legs, and prepared the underside of it so it would attach to the cart. In case it is not clear from the two photos, one end is for her cookbooks, the opposite end has a place for the garbage can and a drawer for various kitchen necessities. One long side has drawers where she puts pots and pans. The other side has a place for her to hang her heavy iron fry pans.
I learned a lot from making this and I'm happy to share it with you.
Frank
I altered the plans to fit the space where it would be going. I extended the length and added another side of shelves. I also reduced the size of the doors a little and made the base a little shorter to reduce overall height. This project required and extra sheet of plywood to complete. I used the Purebond birch from Home Depot and whitewood for the face frame and doors. I liked the finish in the original plan so I tried to make it look similar. I used different shades of brown and also scorched some boards of the door and some areas of the face frame with a torch. For the light areas on the door and frame I just taped off and sanded down. I worked on it when I had some spare time but this project could be completed in a weekend including the finish.
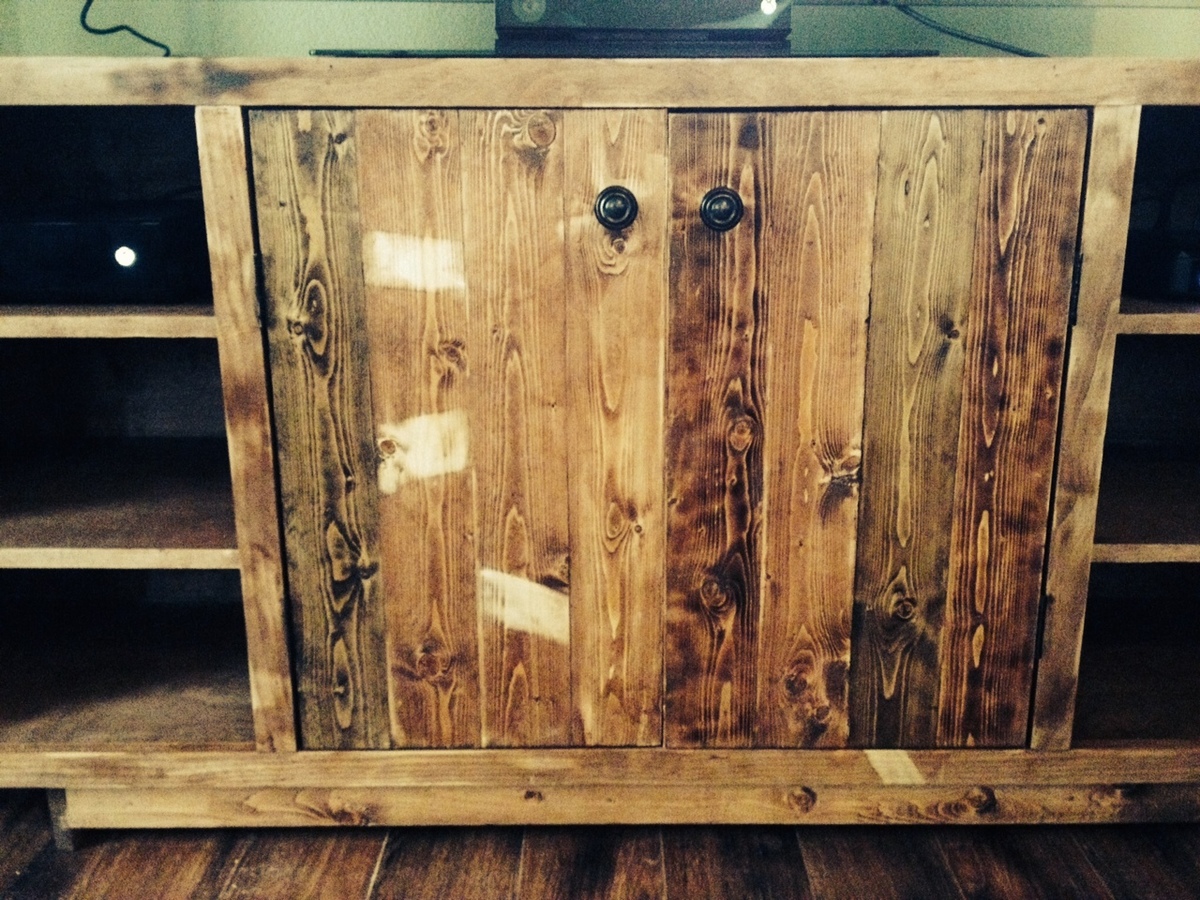
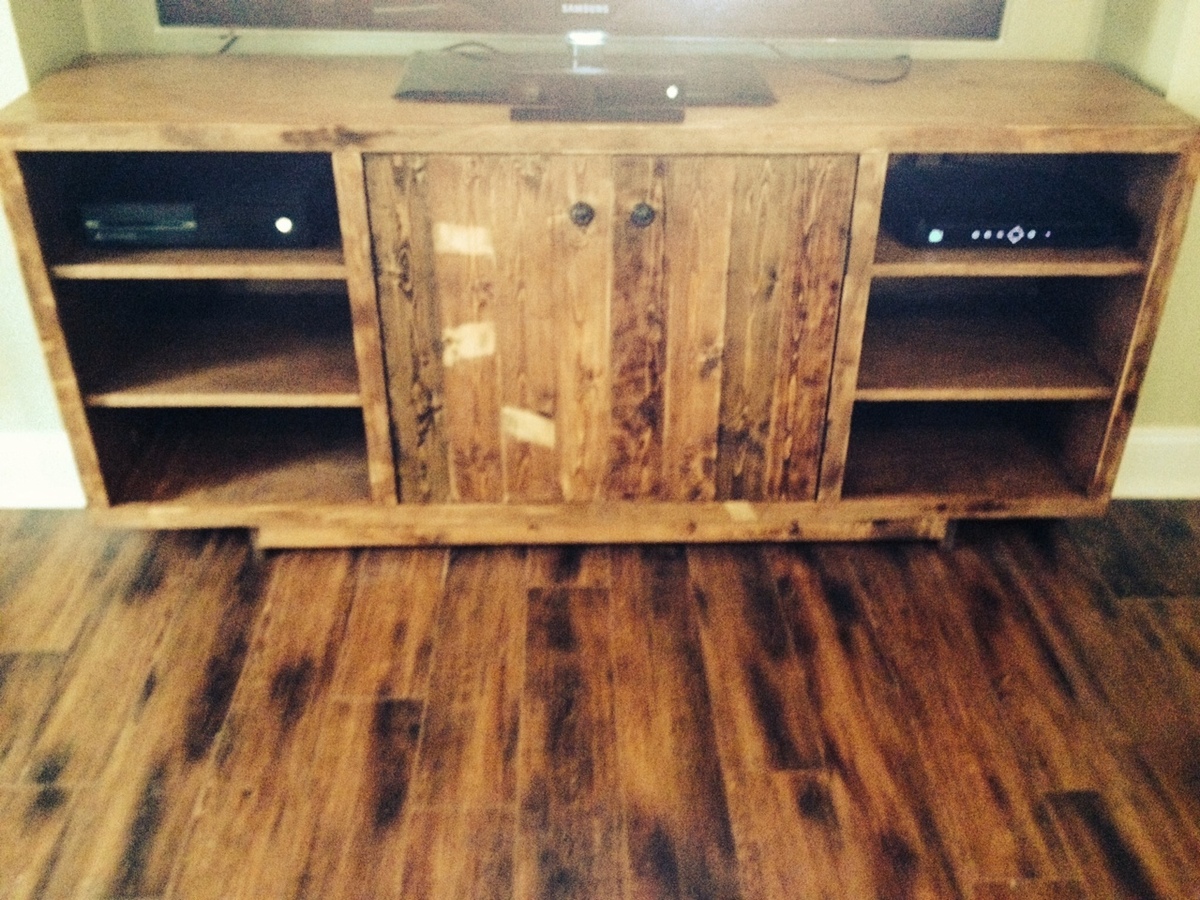
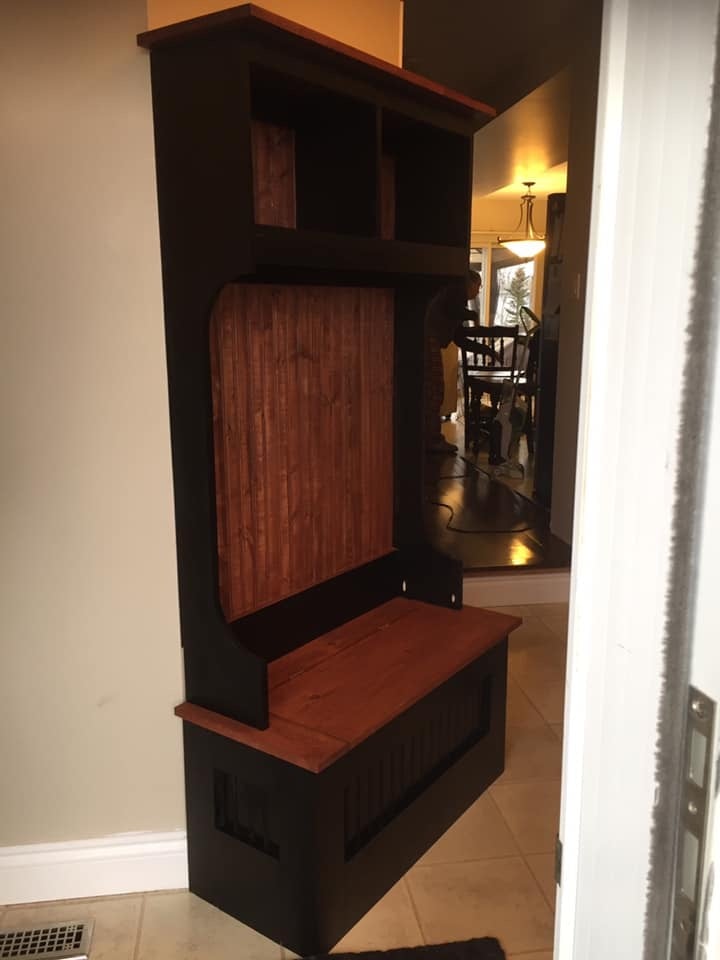
Love how this project turned out. Looks amazing in our entryway.
Thu, 11/11/2021 - 05:13
What did you use for the back on this? I am having a hard time finding 4x8 bead board I can stain.
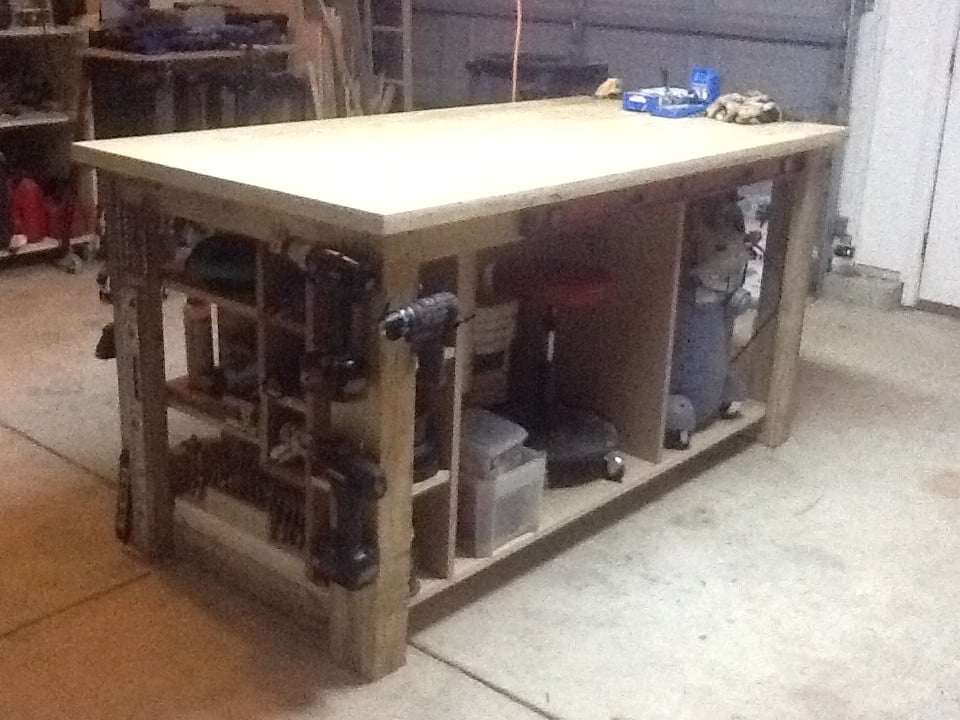
I based my work bench on the "sturdy workbench" plan. I made my top using two sheets of blonde 3/4 inch plywood. I glued/screwed and clamped two 3' x 6' sheets together (had the store cut 4x8 sheet to my dimensions). I didn't stain it but did coat with 3 coats of poly. The legs and supports are 2x4s (i think i used 7 though some was left over scrap) and the shelves were built from scrap MDF I had left over from a previous project. I designed my top to hang over at least two inches (longer in some areas depending on where the supports line up) to make clamping easier and it sits 37" from the floor. I wanted to ensure i had adequate space for my shopvac and air compressor so I lowered the base from the original design to avoid making the workbench too tall. This work bench is a very good size for my needs and extremely sturdy!
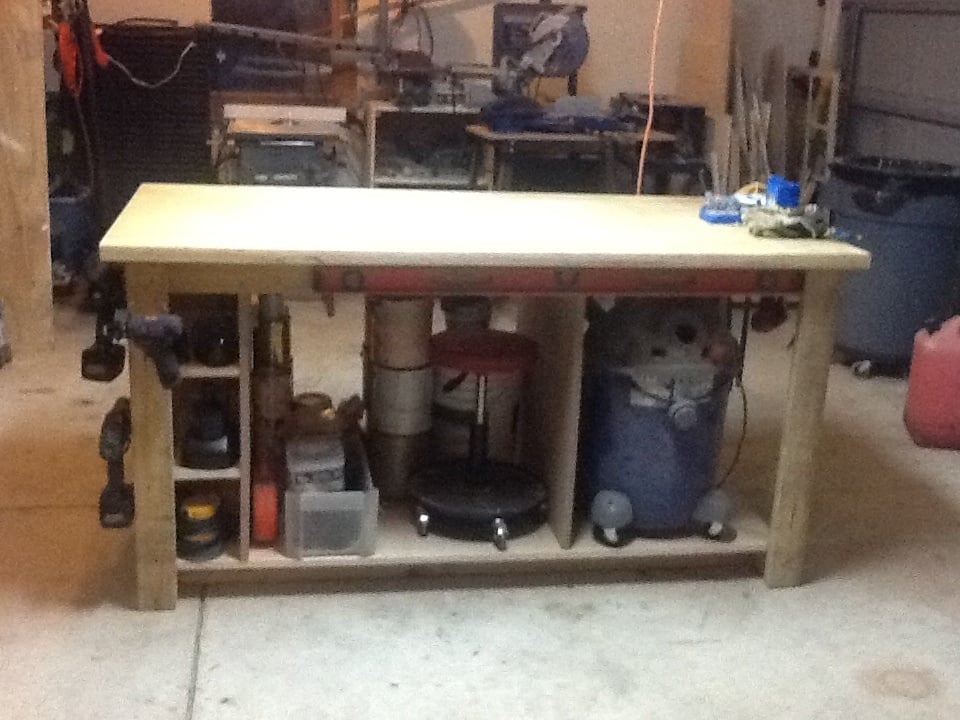
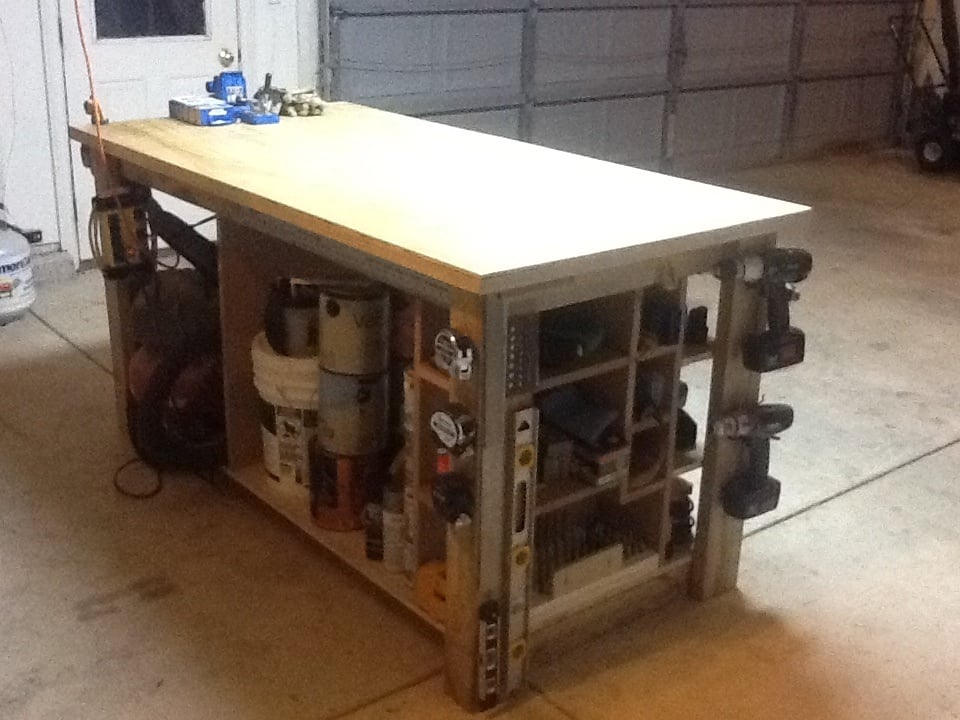
I created this based off the Grandy Style Console. However I used an actual cabinet style with adjustable shelves. Loved making it!
Follow me on Facebook or instagram!
www.facebook.com/four8zero
www.instagram.com/four_8_zero
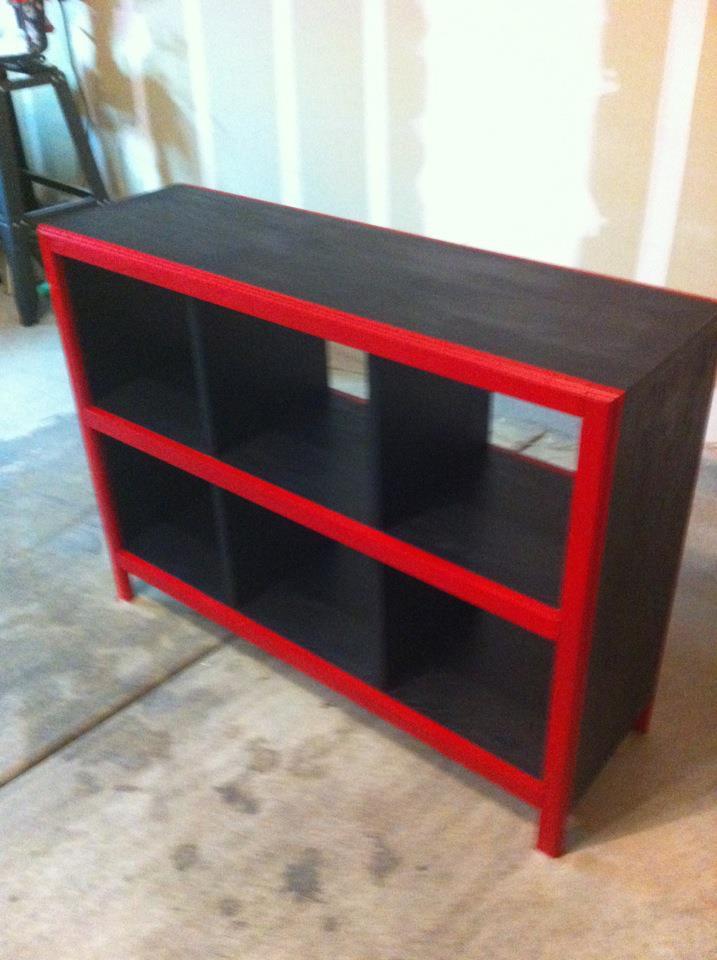
my best friend has built a couple of projects from this site. i enjoyed helping him a bit so when he decided to build one of these for yes baby that is due this summer, i figured i'd double up and build one for myself while we were at it. i haven't built anything since high school (10 years ago). he had all the tools and had made a lot of mistakes along the way so he brought be up to speed and told me a lot of "don't do this...trust me" tips that are helpful.
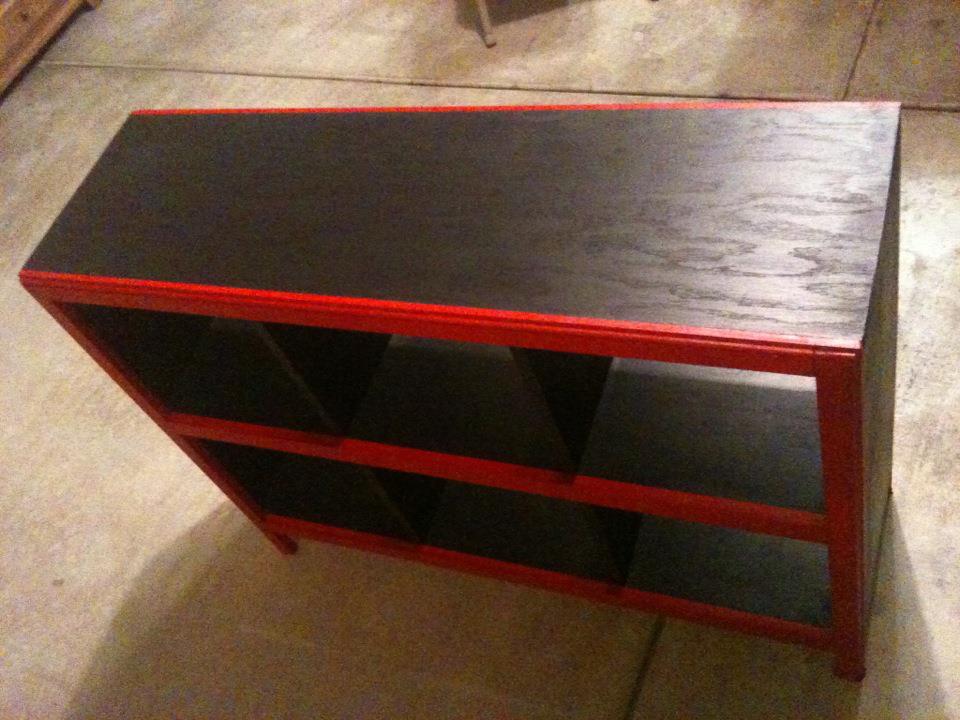
we used premium ply wood cut to 1x12s and poplar 1x2's for this. total wood cost was about 30 bucks per shelf. I decided to use a trim router for my framing along the outer edge. I think it gives it a professional look at it took 10 minutes to do.
NOTE: if you want to rout around the entire top and you used pocket holes....DONT DO IT. we found that one out the hard way on the other shelf. if your bit does anything but slightly round the edge it's gonna hit the screws. :(
i made a last second change and went with a vibrant red and a dark dark black to make it up. i couldn't be happier. it doesn't match my room at all but i don't care at this point. my friend did a great job taping off the trim and the lines are just awesome.
This thing is stout. i'm not a small man and would not hesitate to stand on top of this thing all day. can't wait to show it off to anyone i can:)
Sun, 04/08/2012 - 03:49
Great job on the build and paint job and welcome to the community!
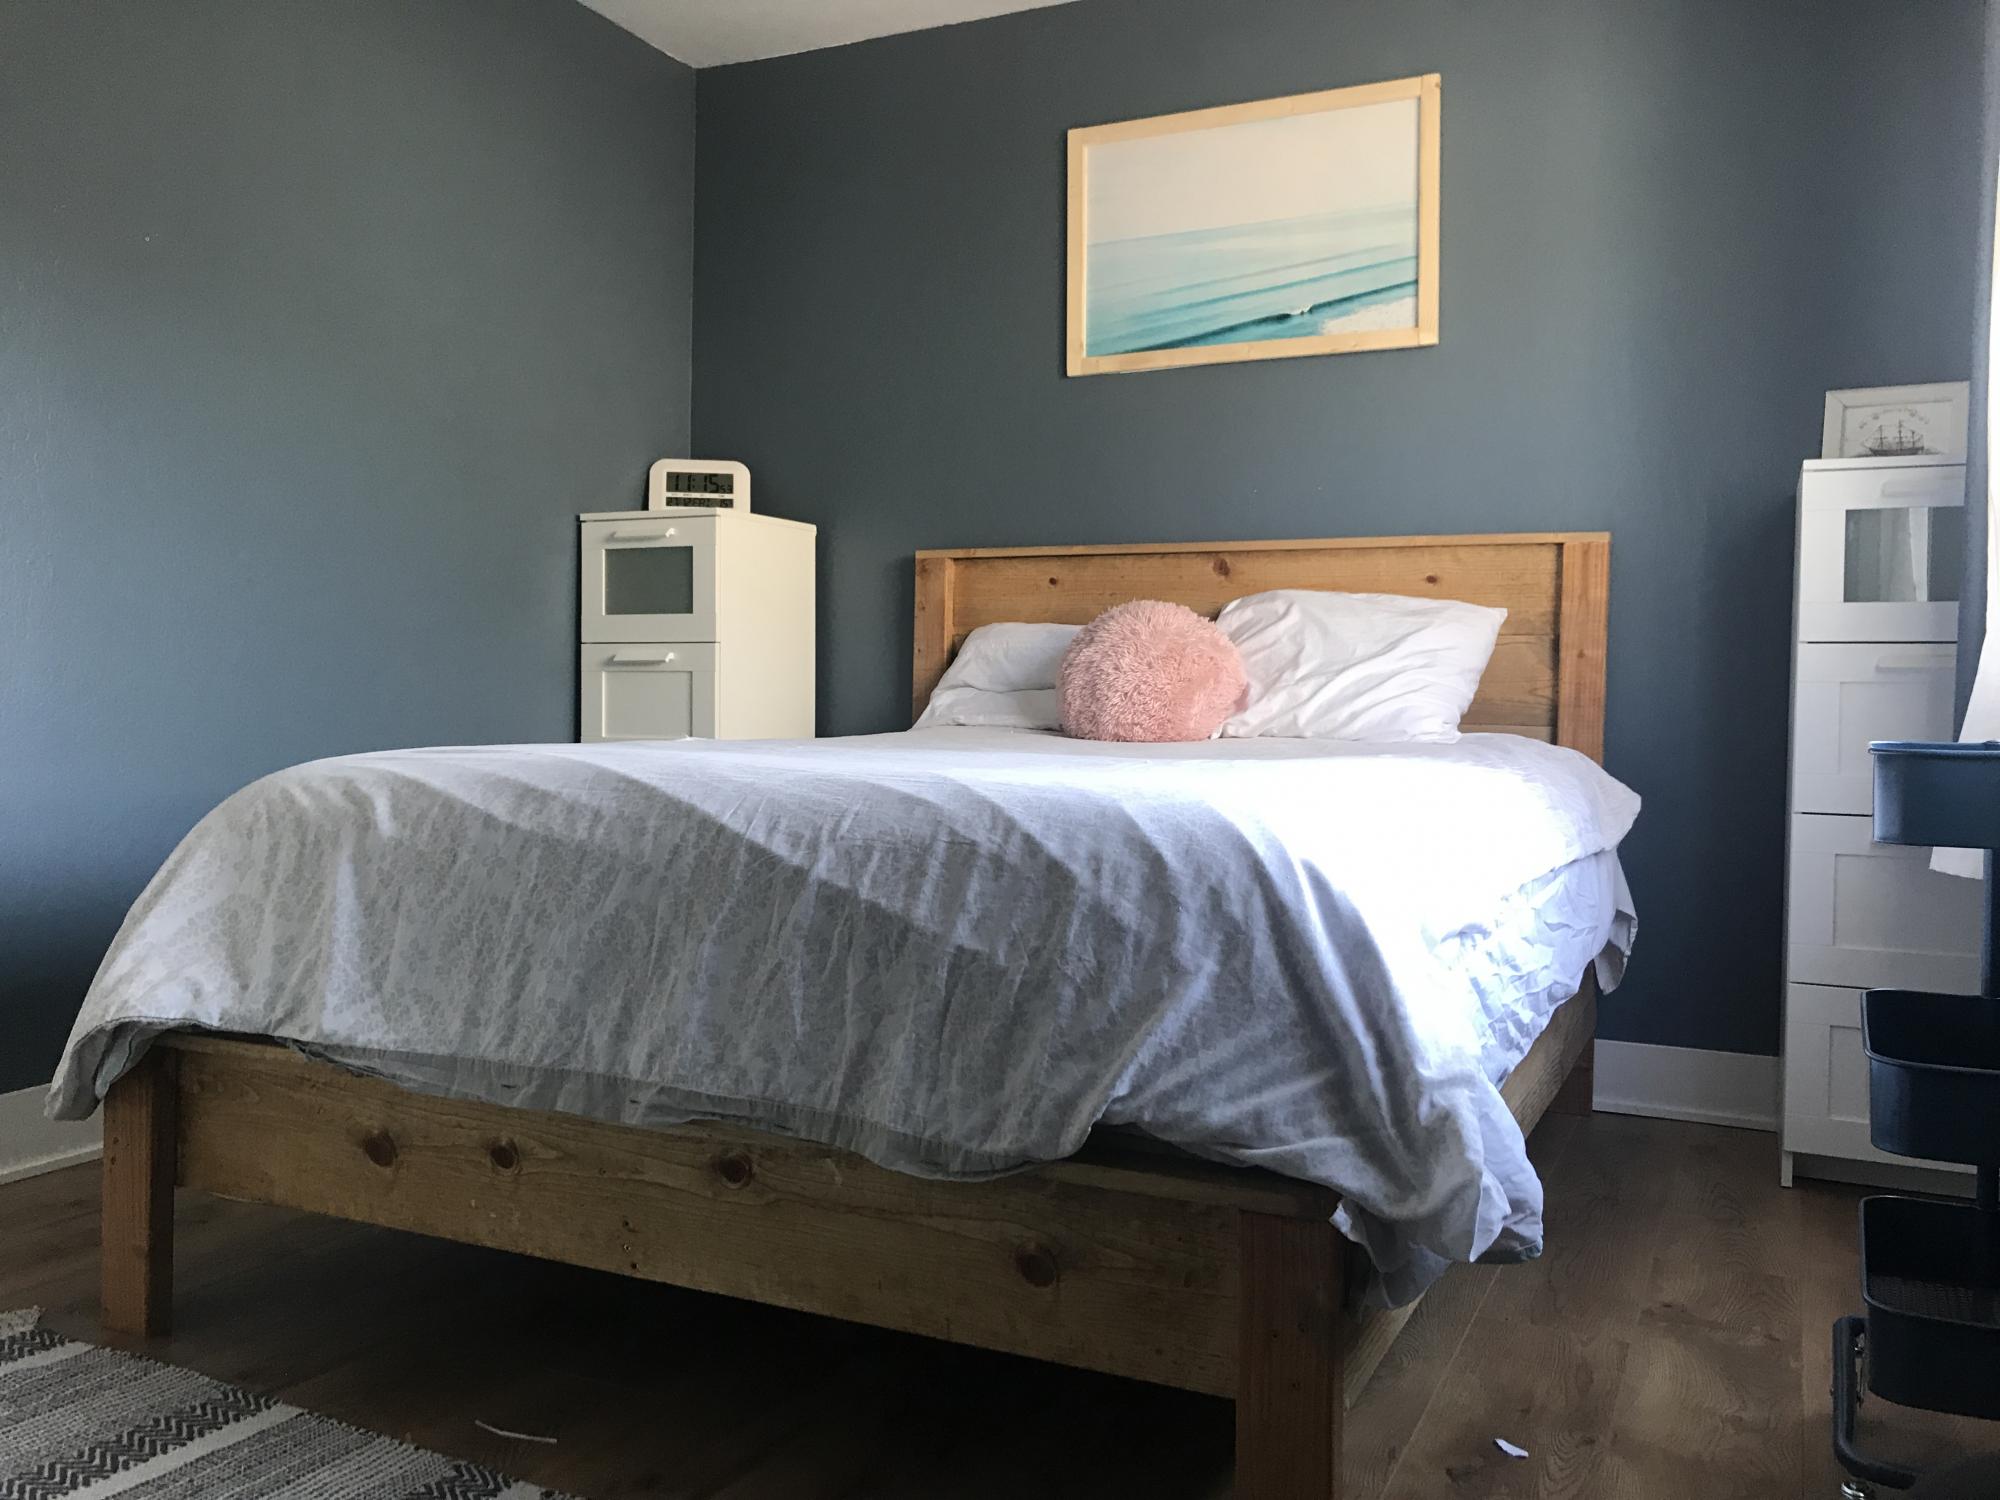
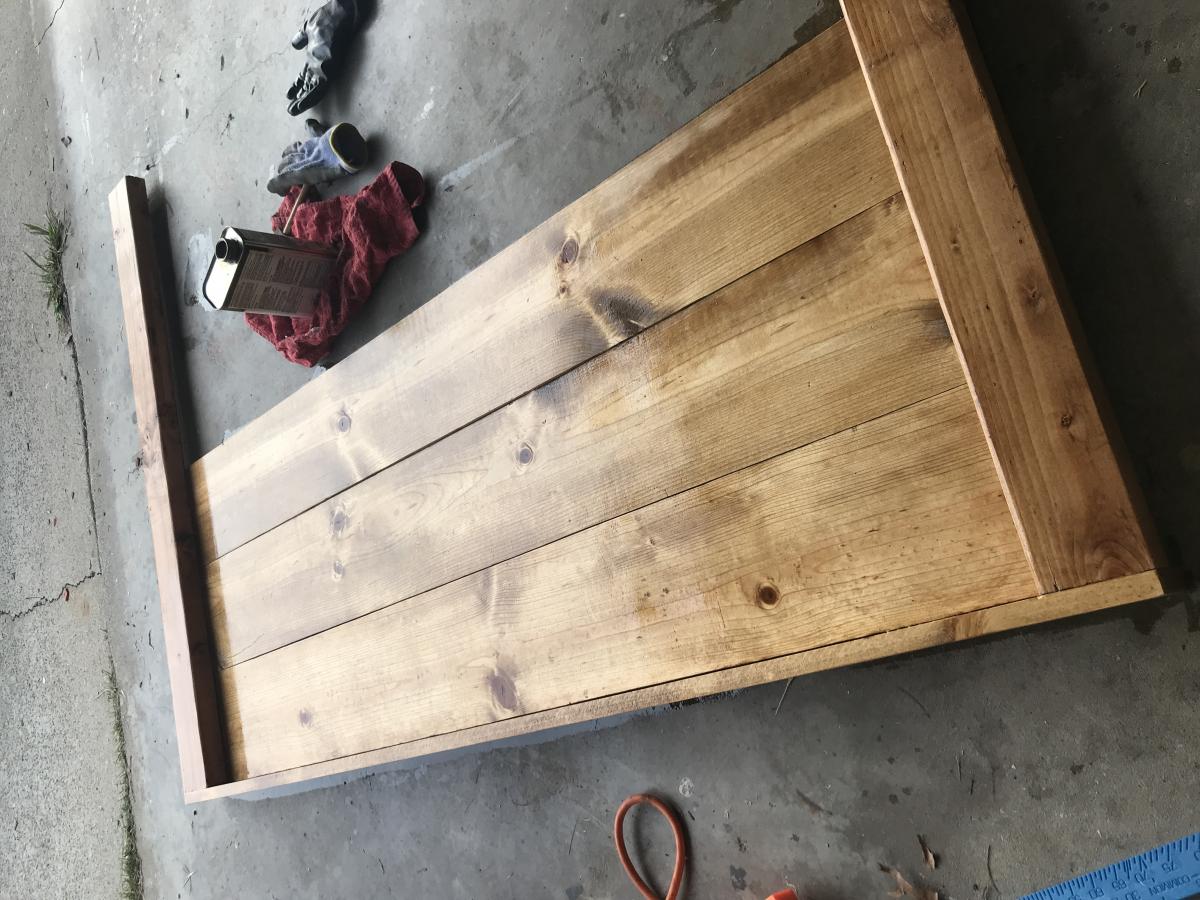
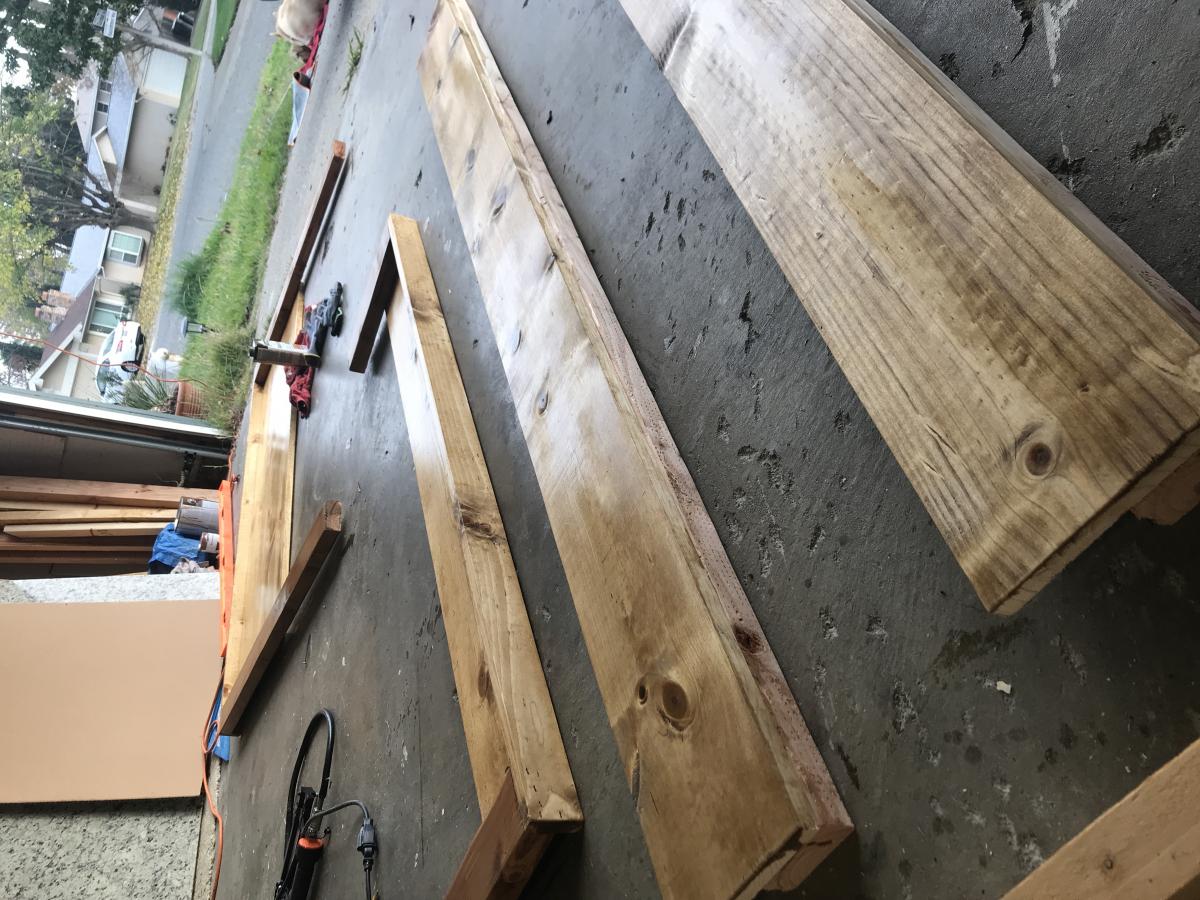
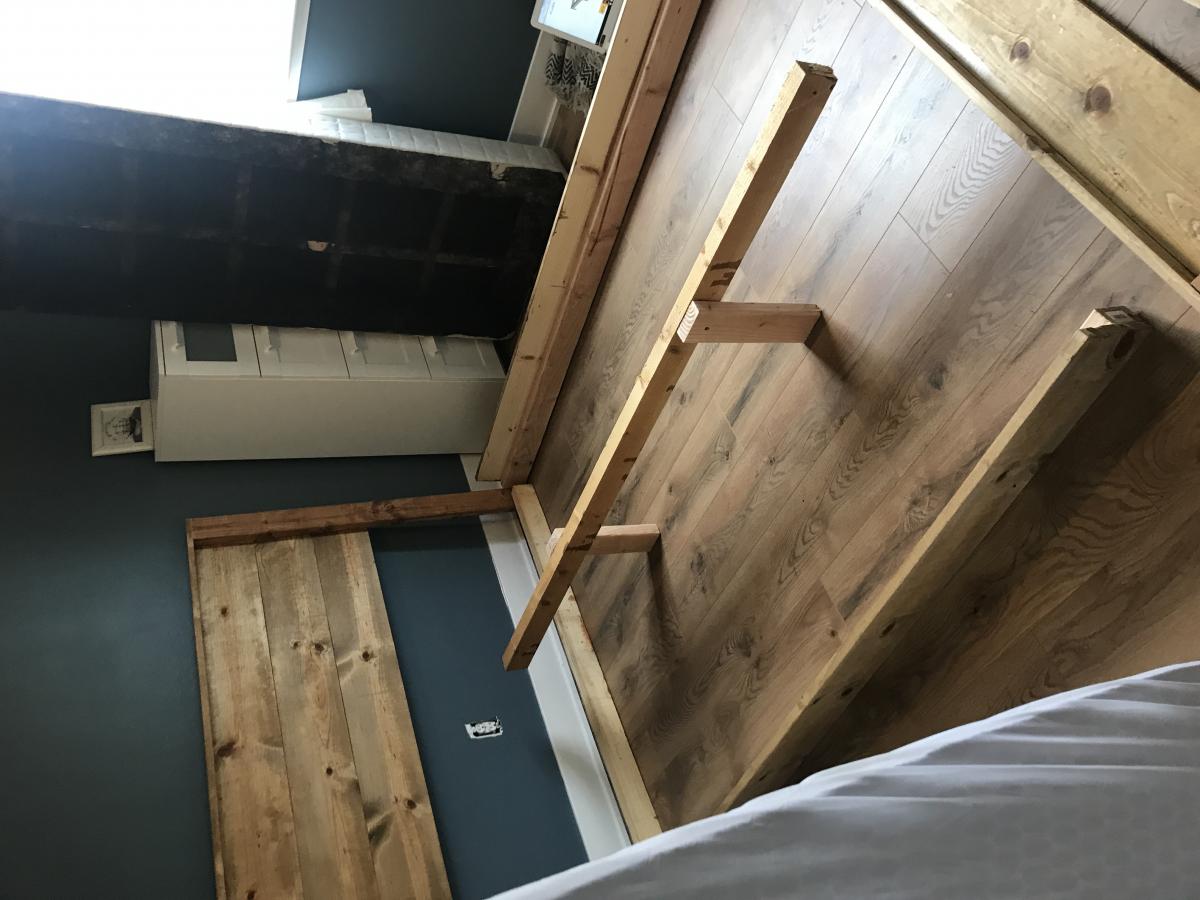
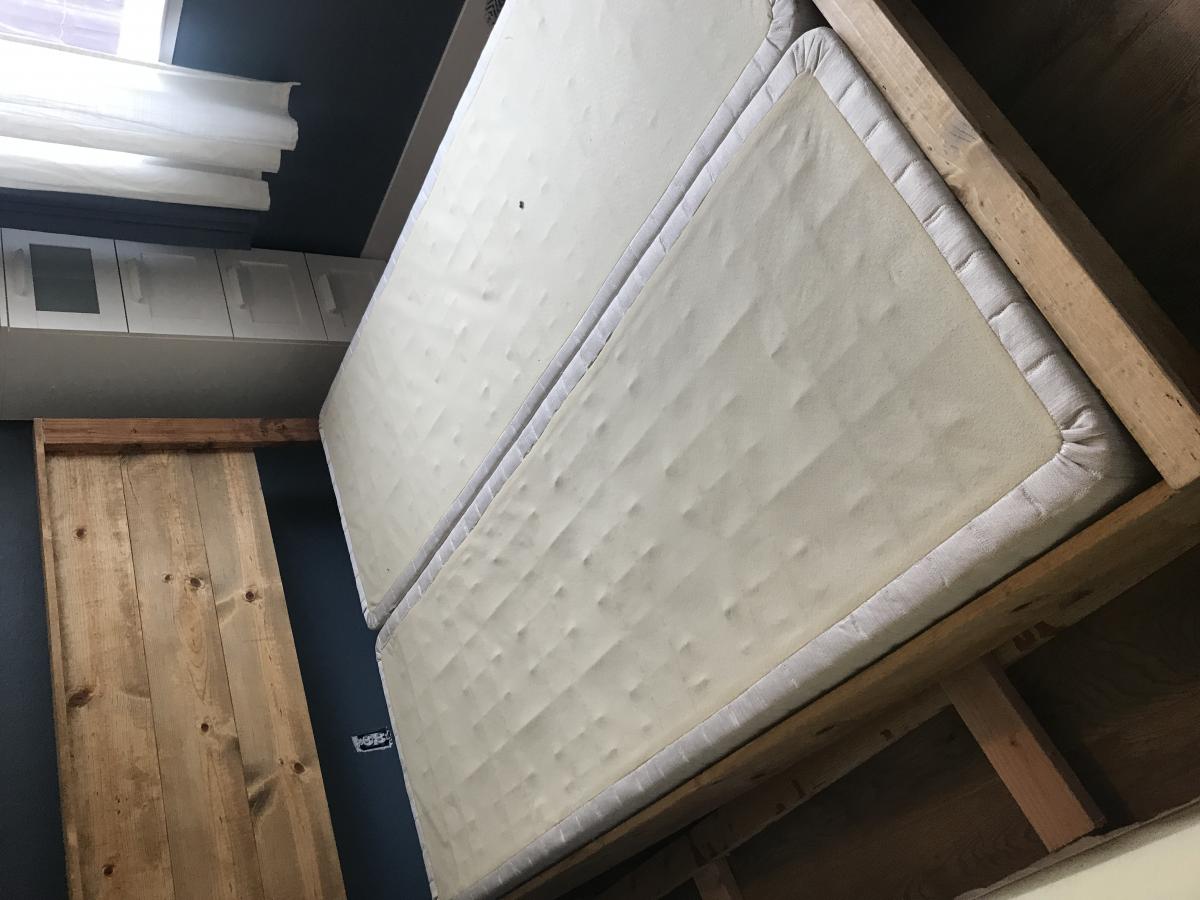
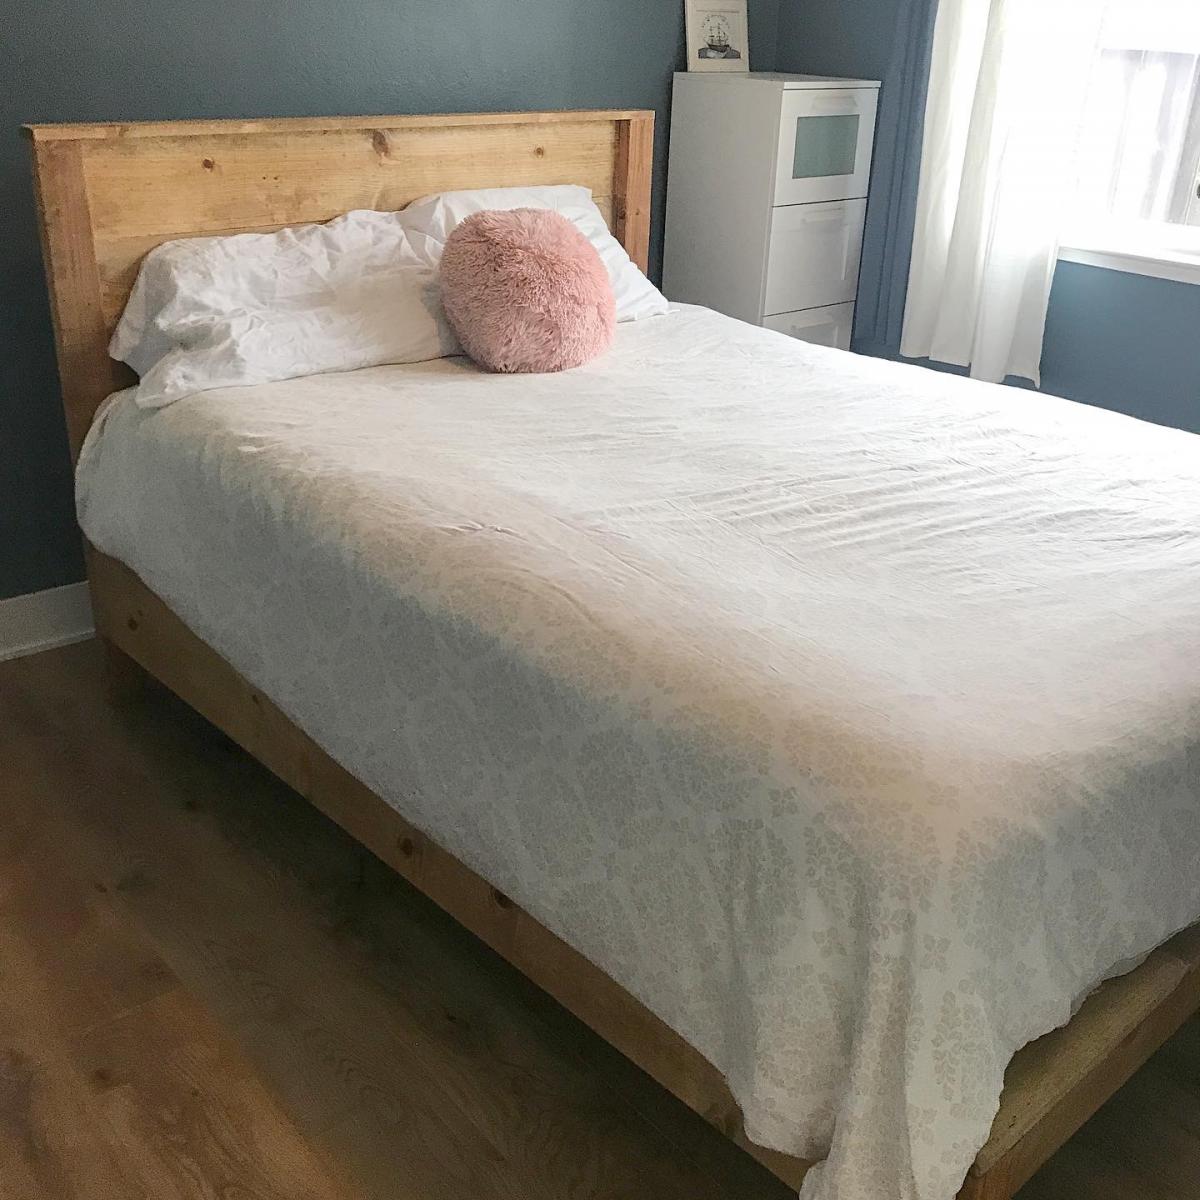
I built this bed for a guest room. Easier than I expected and took 2 days! I used watco danish oil in medium walnut. I was able to save some $ by using two twin box springs that I already owned instead of adding slats. I modified the height of where the box springs sit by lowering the cleat 2” and shortening the legs on the center support by 2” as well. It worked perfectly!
Comments
gigilynce
Tue, 04/05/2016 - 07:57
Door hardware problem?
My doors are sticking out over 1 inch at the bottom. Any suggestions why?
Benchboss19
Wed, 04/06/2016 - 07:05
Door Hardware
Ana,
I was wondering how you were able to fabricate the door hardware? Your plans don't seem to include them in the overall plan area. Can you provide this information please?
Thank you.
emarg
Sat, 08/08/2020 - 09:46
What hardware did you use…
What hardware did you use here? I have been having trouble finding hardware small enough to fit in the 3.5" space above the doors, and I do not have the tools to create my own hardware.
Thanks!