Community Brag Posts

First Project and PUMPED!!

Submitted by FongerB on Fri, 01/03/2014 - 07:57

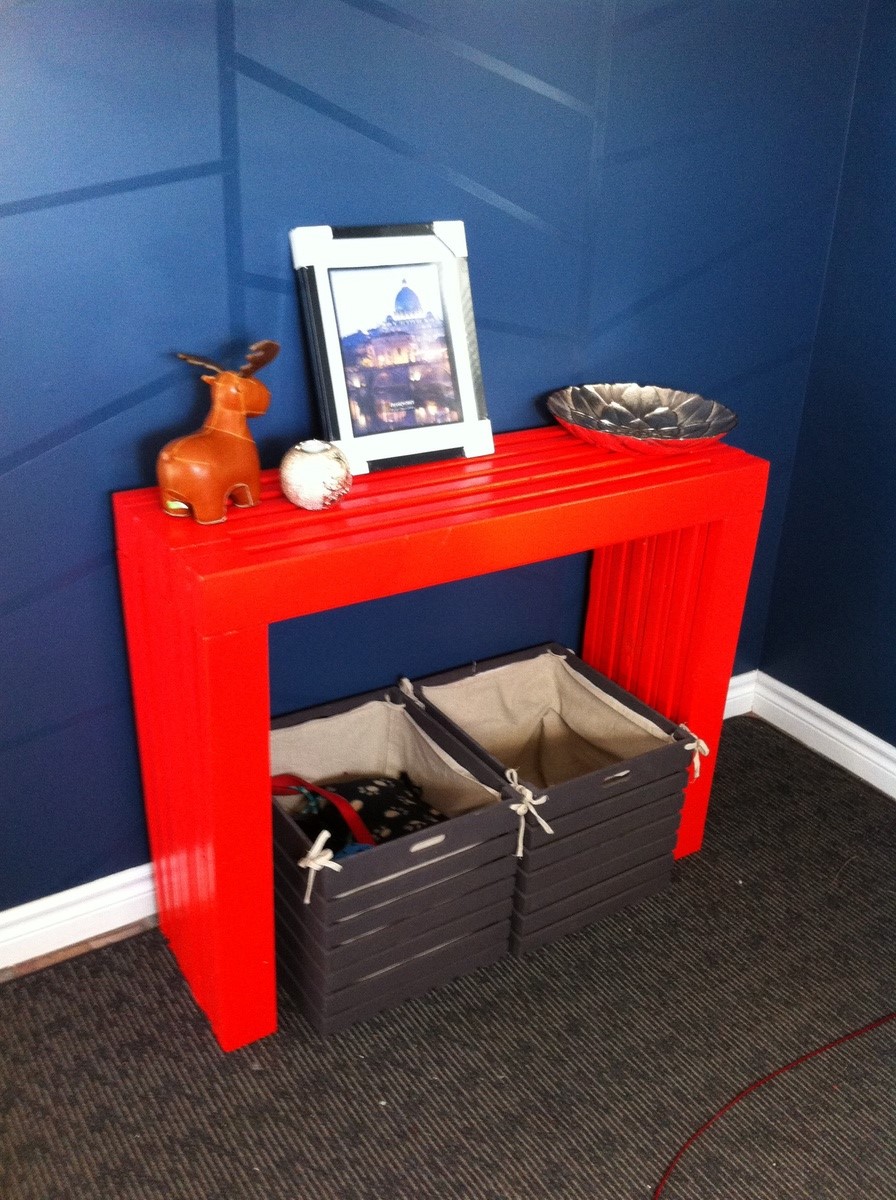
This was my first project ever and I'm so excited how well it turned out!! However, I did modify the length and height for my space. The table is 40" long and 33" tall. The finish is Benjamin Moore Tawny Day Lily (awful name) with their high gloss wood finish. Thank you Ana!! You made this project seem easy and now I'm excited to build more!

Estimated Cost
40$
Estimated Time Investment
Afternoon Project (3-6 Hours)
Finish Used
Benjamin Moore Tawny Day Lily (3 coats) + Benjamin Moore High Gloss wood finish (2 coats)
Recommended Skill Level
Beginner

Comments

Had to be custom.

Submitted by Anonymous (not verified) on Tue, 03/22/2016 - 17:52

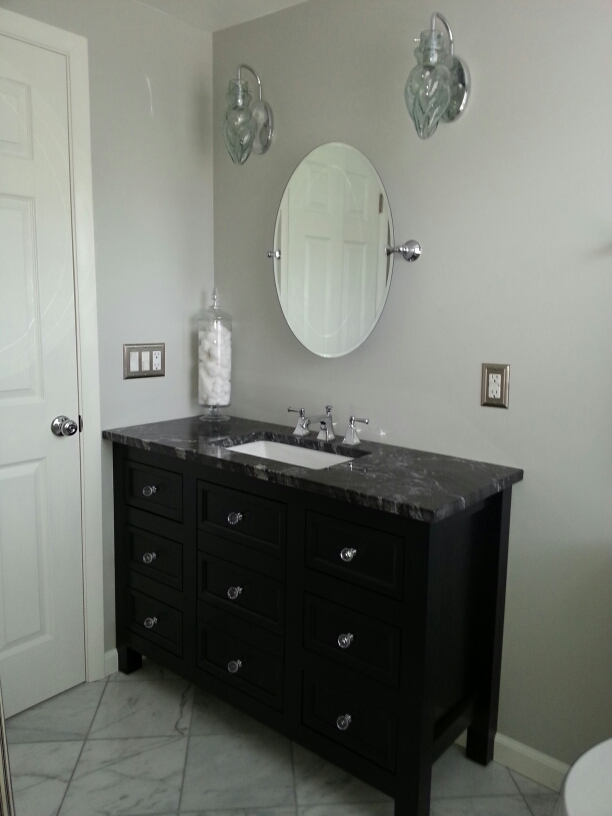
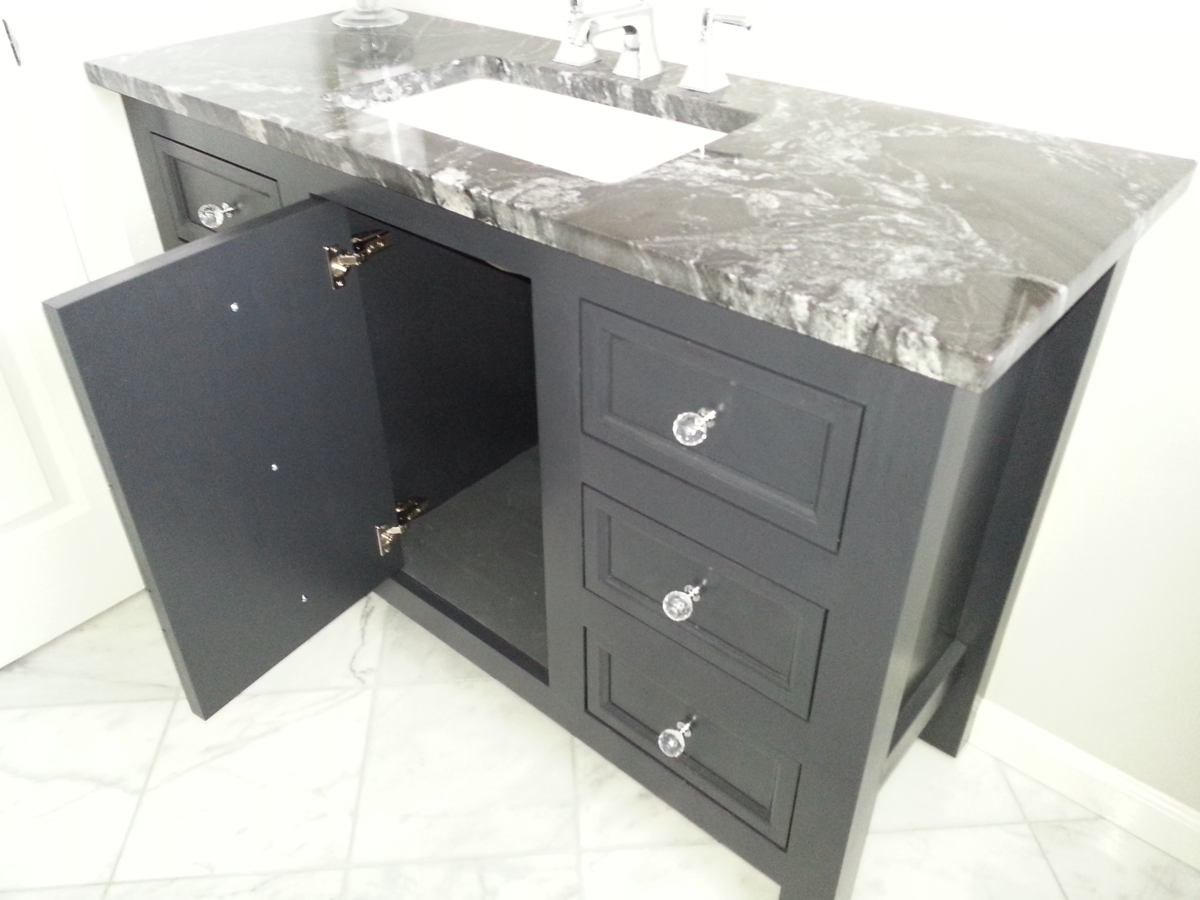
Thanks, Ana for the plan!  We were remodeling a nearly 60 year old bathroom and a store bought vanity would absolutely not fit. Using your awesome plans, we were able to get a vanity that would fit, and be one of a kind.

Built from Plan(s)
Estimated Cost
$300 for the cabinet.
Estimated Time Investment
Week Long Project (20 Hours or More)
Finish Used
Three coats of Valspar Cabinet Enamel in Sherwin William's Tri-corn Black. Wait 24 hours between coats and sand lightly with 220 grit. Then, two coats of Minwax Satin Wipe On Poly. Again, sanding even lighter between coats.
Recommended Skill Level
Intermediate

Comments

Kids Wooden Play Grill

Submitted by Anonymous (not verified) on Sun, 11/03/2019 - 17:10

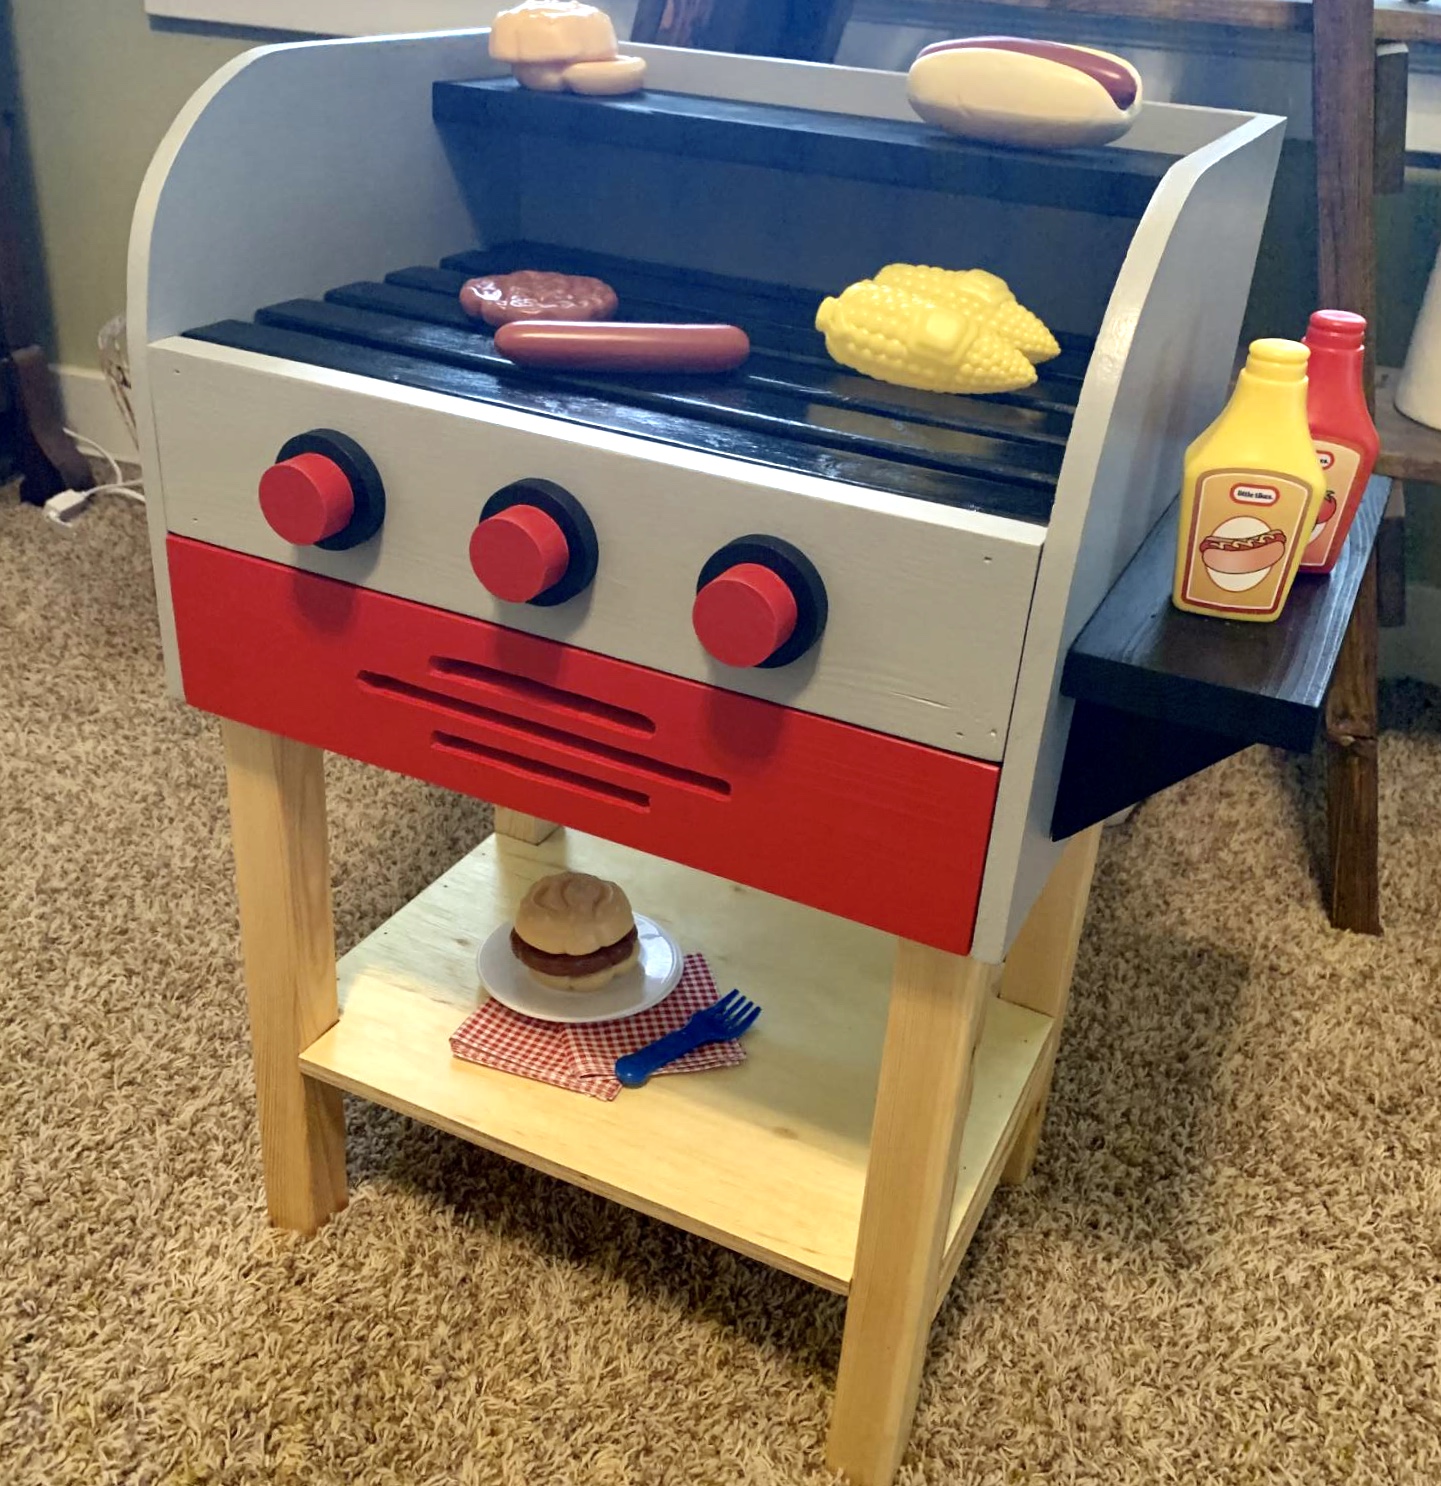
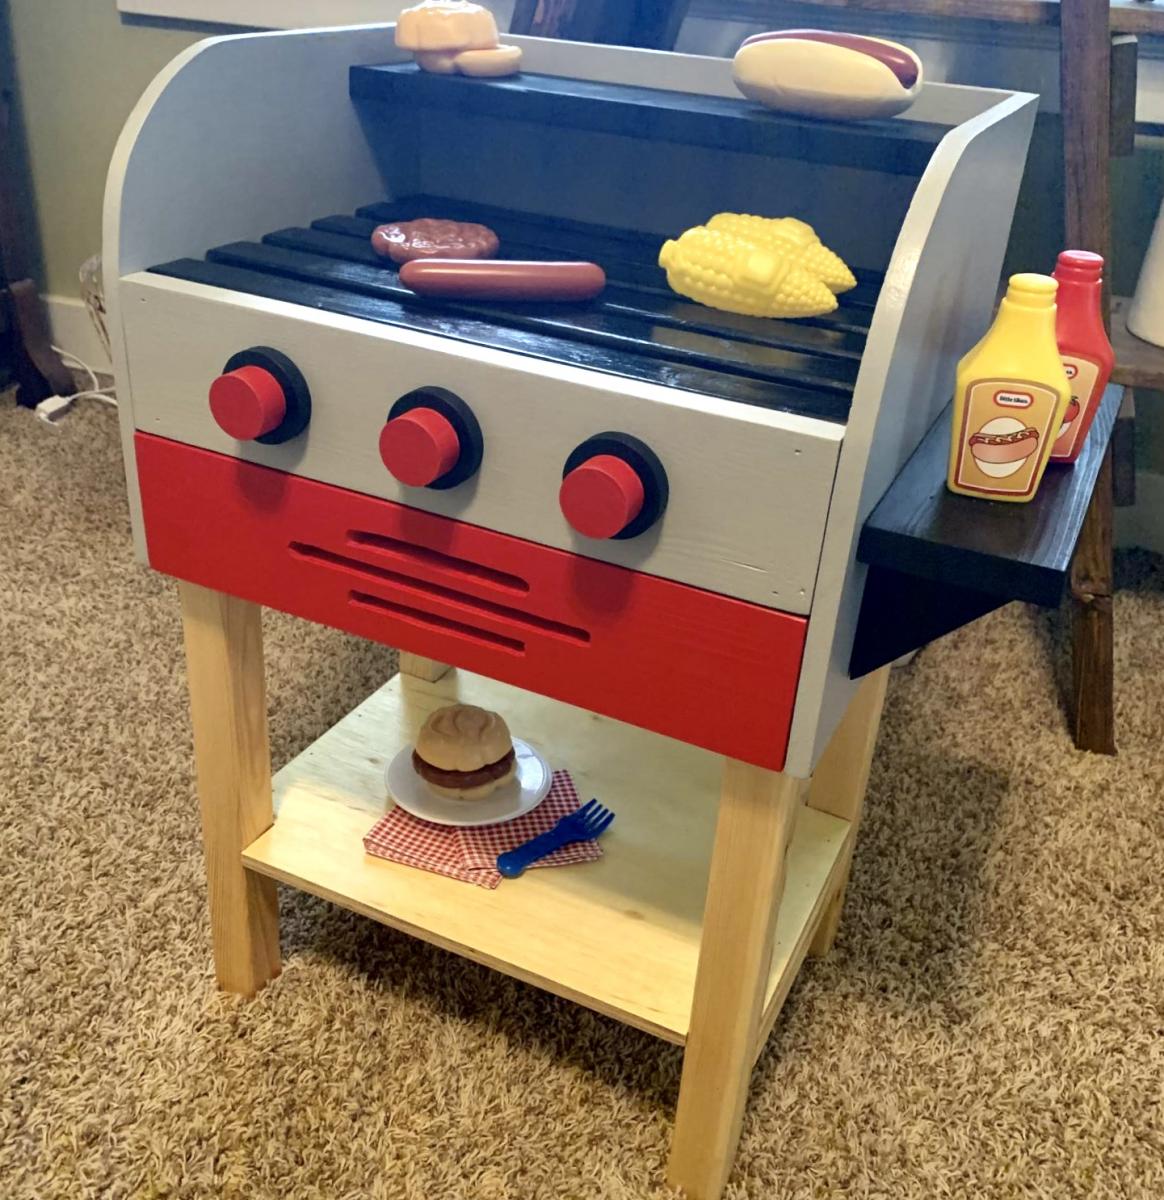
Built this toy grill for my nephews first birthday. Went together without many hiccups. I will say these plans seemed less detailed than other Ana White plans I have worked on...but for the better I guess, as it forced me to figure somethings out on my own. I opted to add the drawer behind the grill plate, like the blogger who also made this grill did. Kept the same color scheme as well. Pretty proud of how it turned out.

Built from Plan(s)
Estimated Cost
$40
Estimated Time Investment
Day Project (6-9 Hours)
Recommended Skill Level
Intermediate

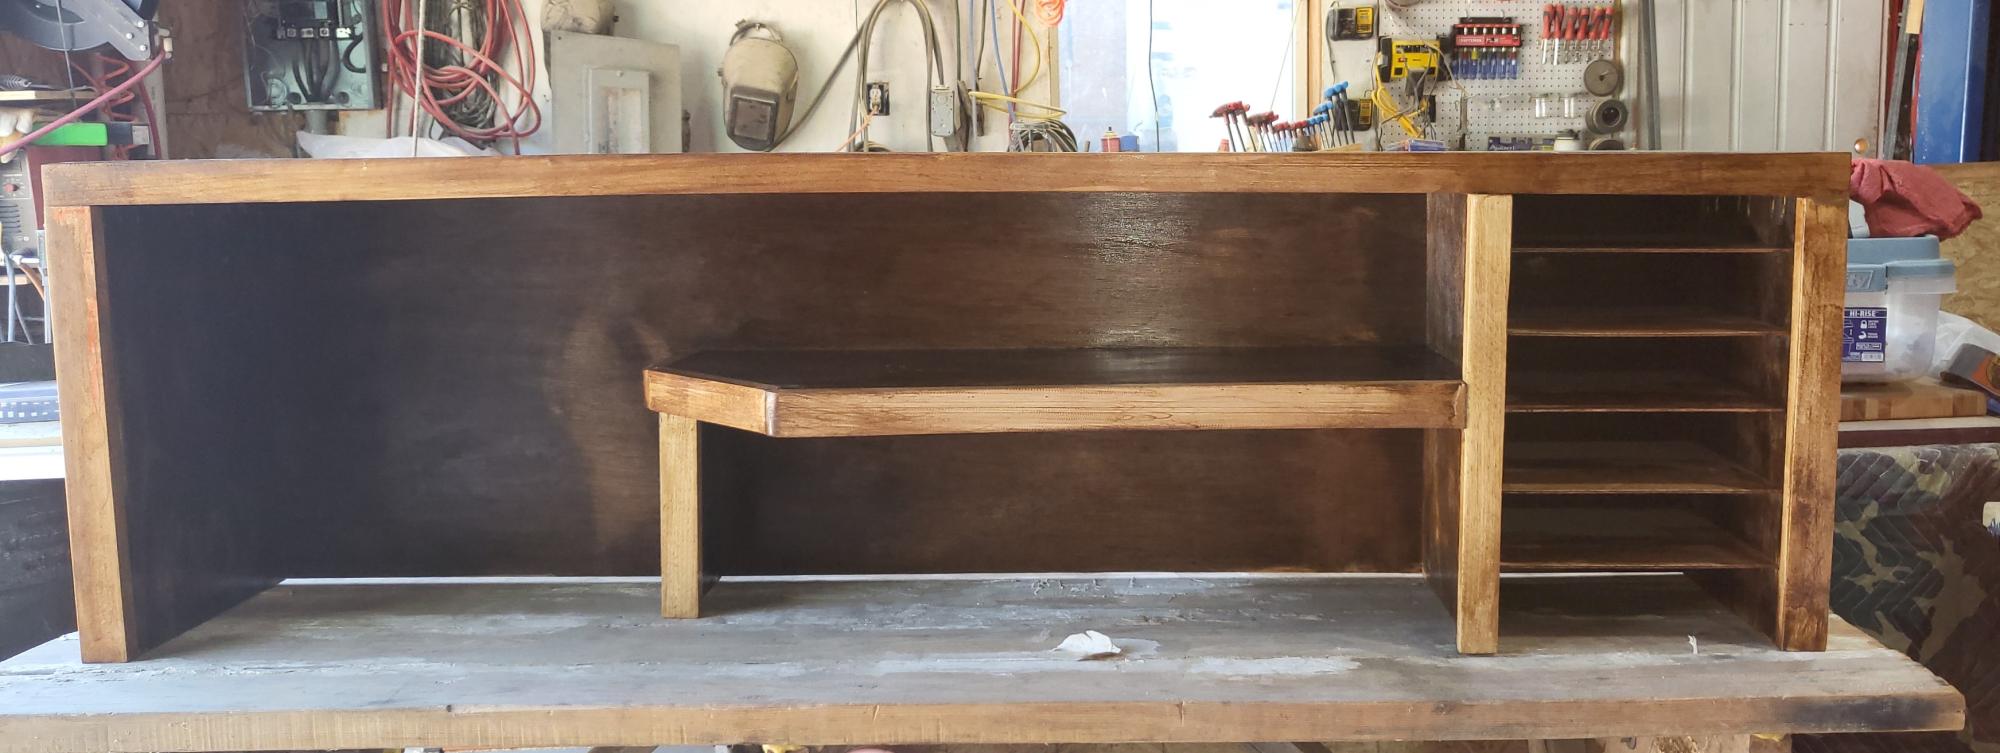
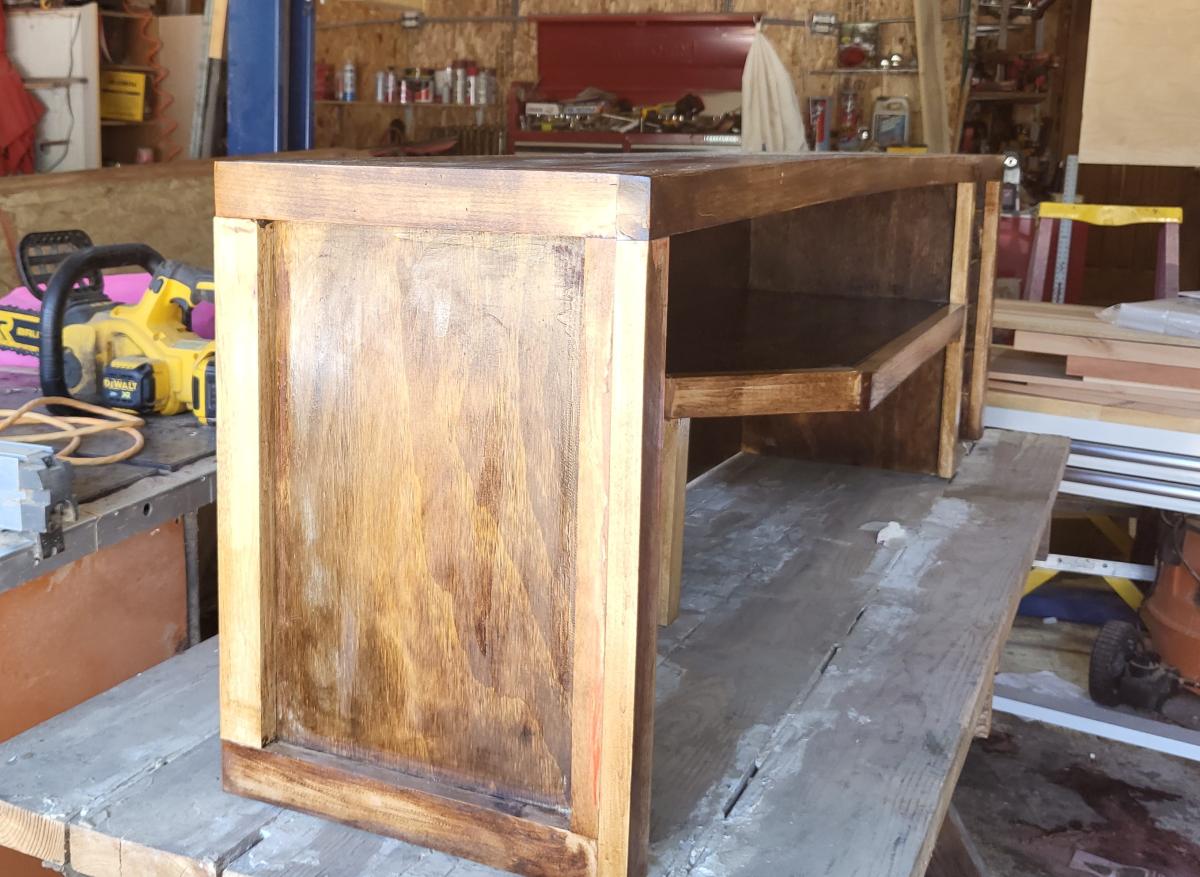
Desk Hutch

Submitted by Anonymous (not verified) on Mon, 07/24/2023 - 10:24

Built this for my desk at work.

Buck Roop

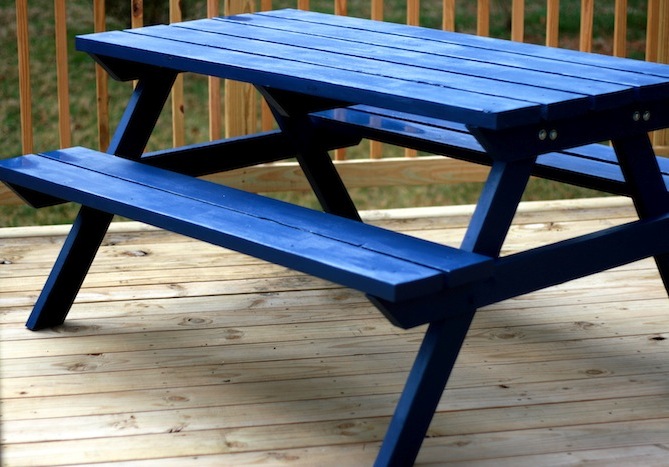
Picnic Table

Submitted by tara2 on Tue, 03/13/2012 - 07:35

Our first project of many to come!!! Thanks Ana for your website!

Recommended Skill Level
Starter Project

Comments

Seasonal And Holiday

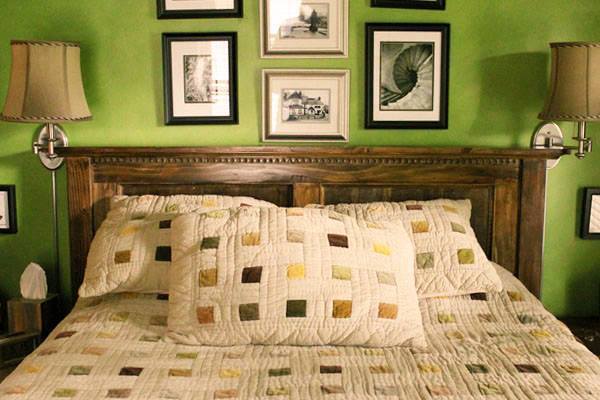
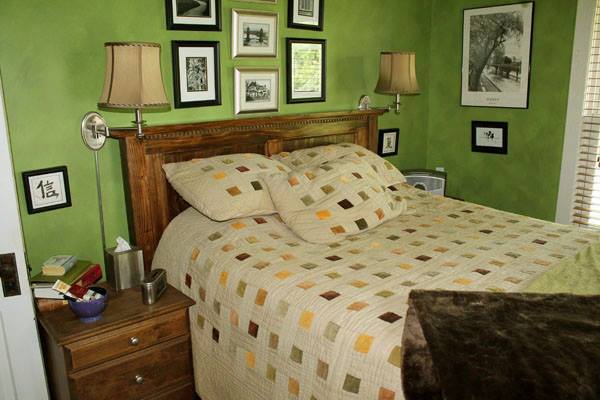
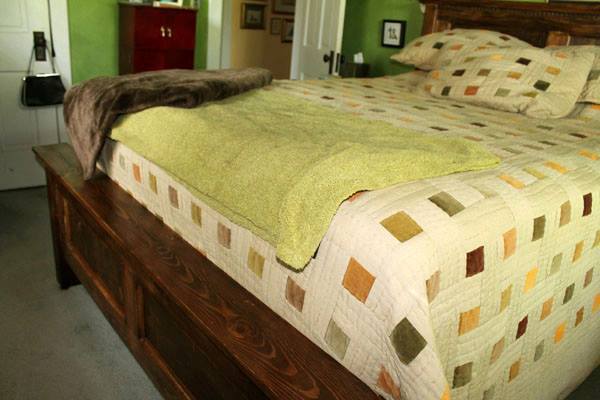
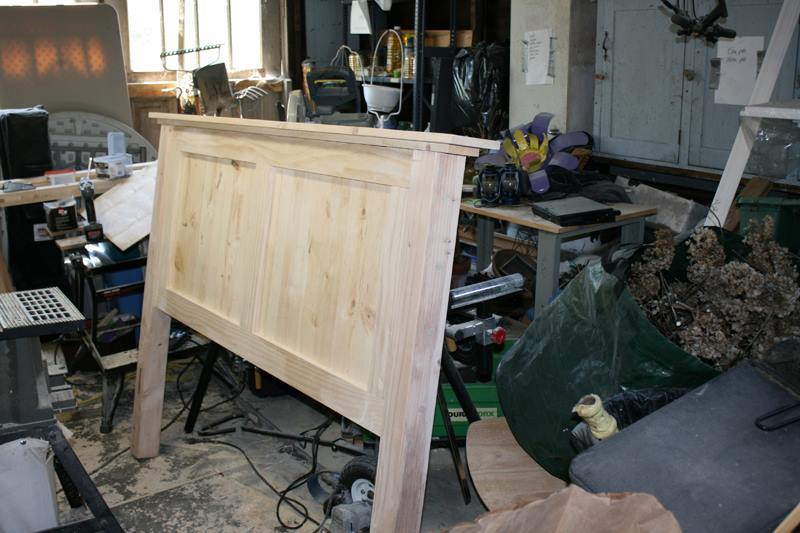
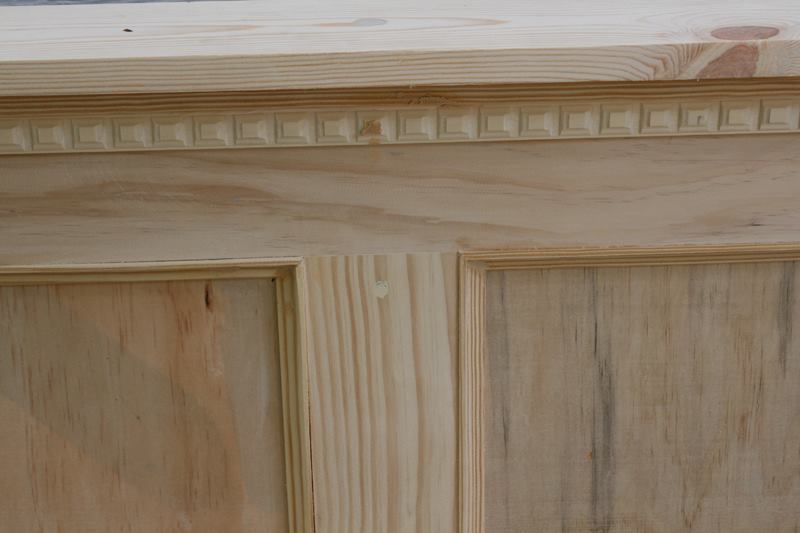
Queen Size Farmhouse Bed

Submitted by Koji on Sun, 01/05/2014 - 12:09

Started off as the rustic farmhouse bed, but I couldn't help adding bits to it - dentil moulding, panels on the headboard and footboard.

Estimated Time Investment
Week Long Project (20 Hours or More)
Finish Used
Minwax Special Walnut over minwax stain base. Helps to keep the staining to a minimum with less soaking in and dark spots.
Recommended Skill Level
Intermediate

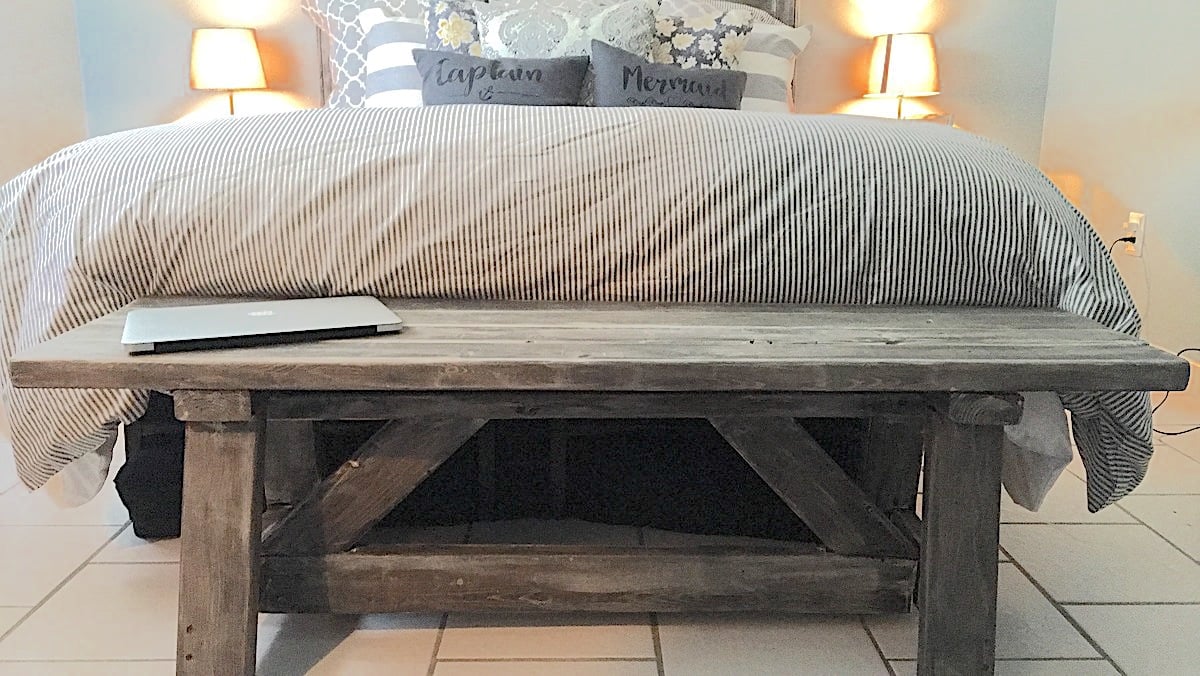
Built it in one day. So very pleased with this bench.

I am so very happy on how this bench turned out. I am new at building things and so I asked my husband to help me we did this in a day. now I have 3 people that want one (family of course.)

Estimated Time Investment
Day Project (6-9 Hours)
Recommended Skill Level
Beginner

Comments

tgrott

Wed, 03/30/2016 - 07:46

Do you have plans?  I haven't built anything yet and have my neice's wedding shower this weekend...thinking this would be an AWESOME gift for her!!! 

Can one lady with one weak arm take this project on by herself???

And, can you tell us how much it cost you to make?


Thanks!

Doll Stroller

Submitted by DIYMomof4 on Fri, 11/15/2019 - 06:50

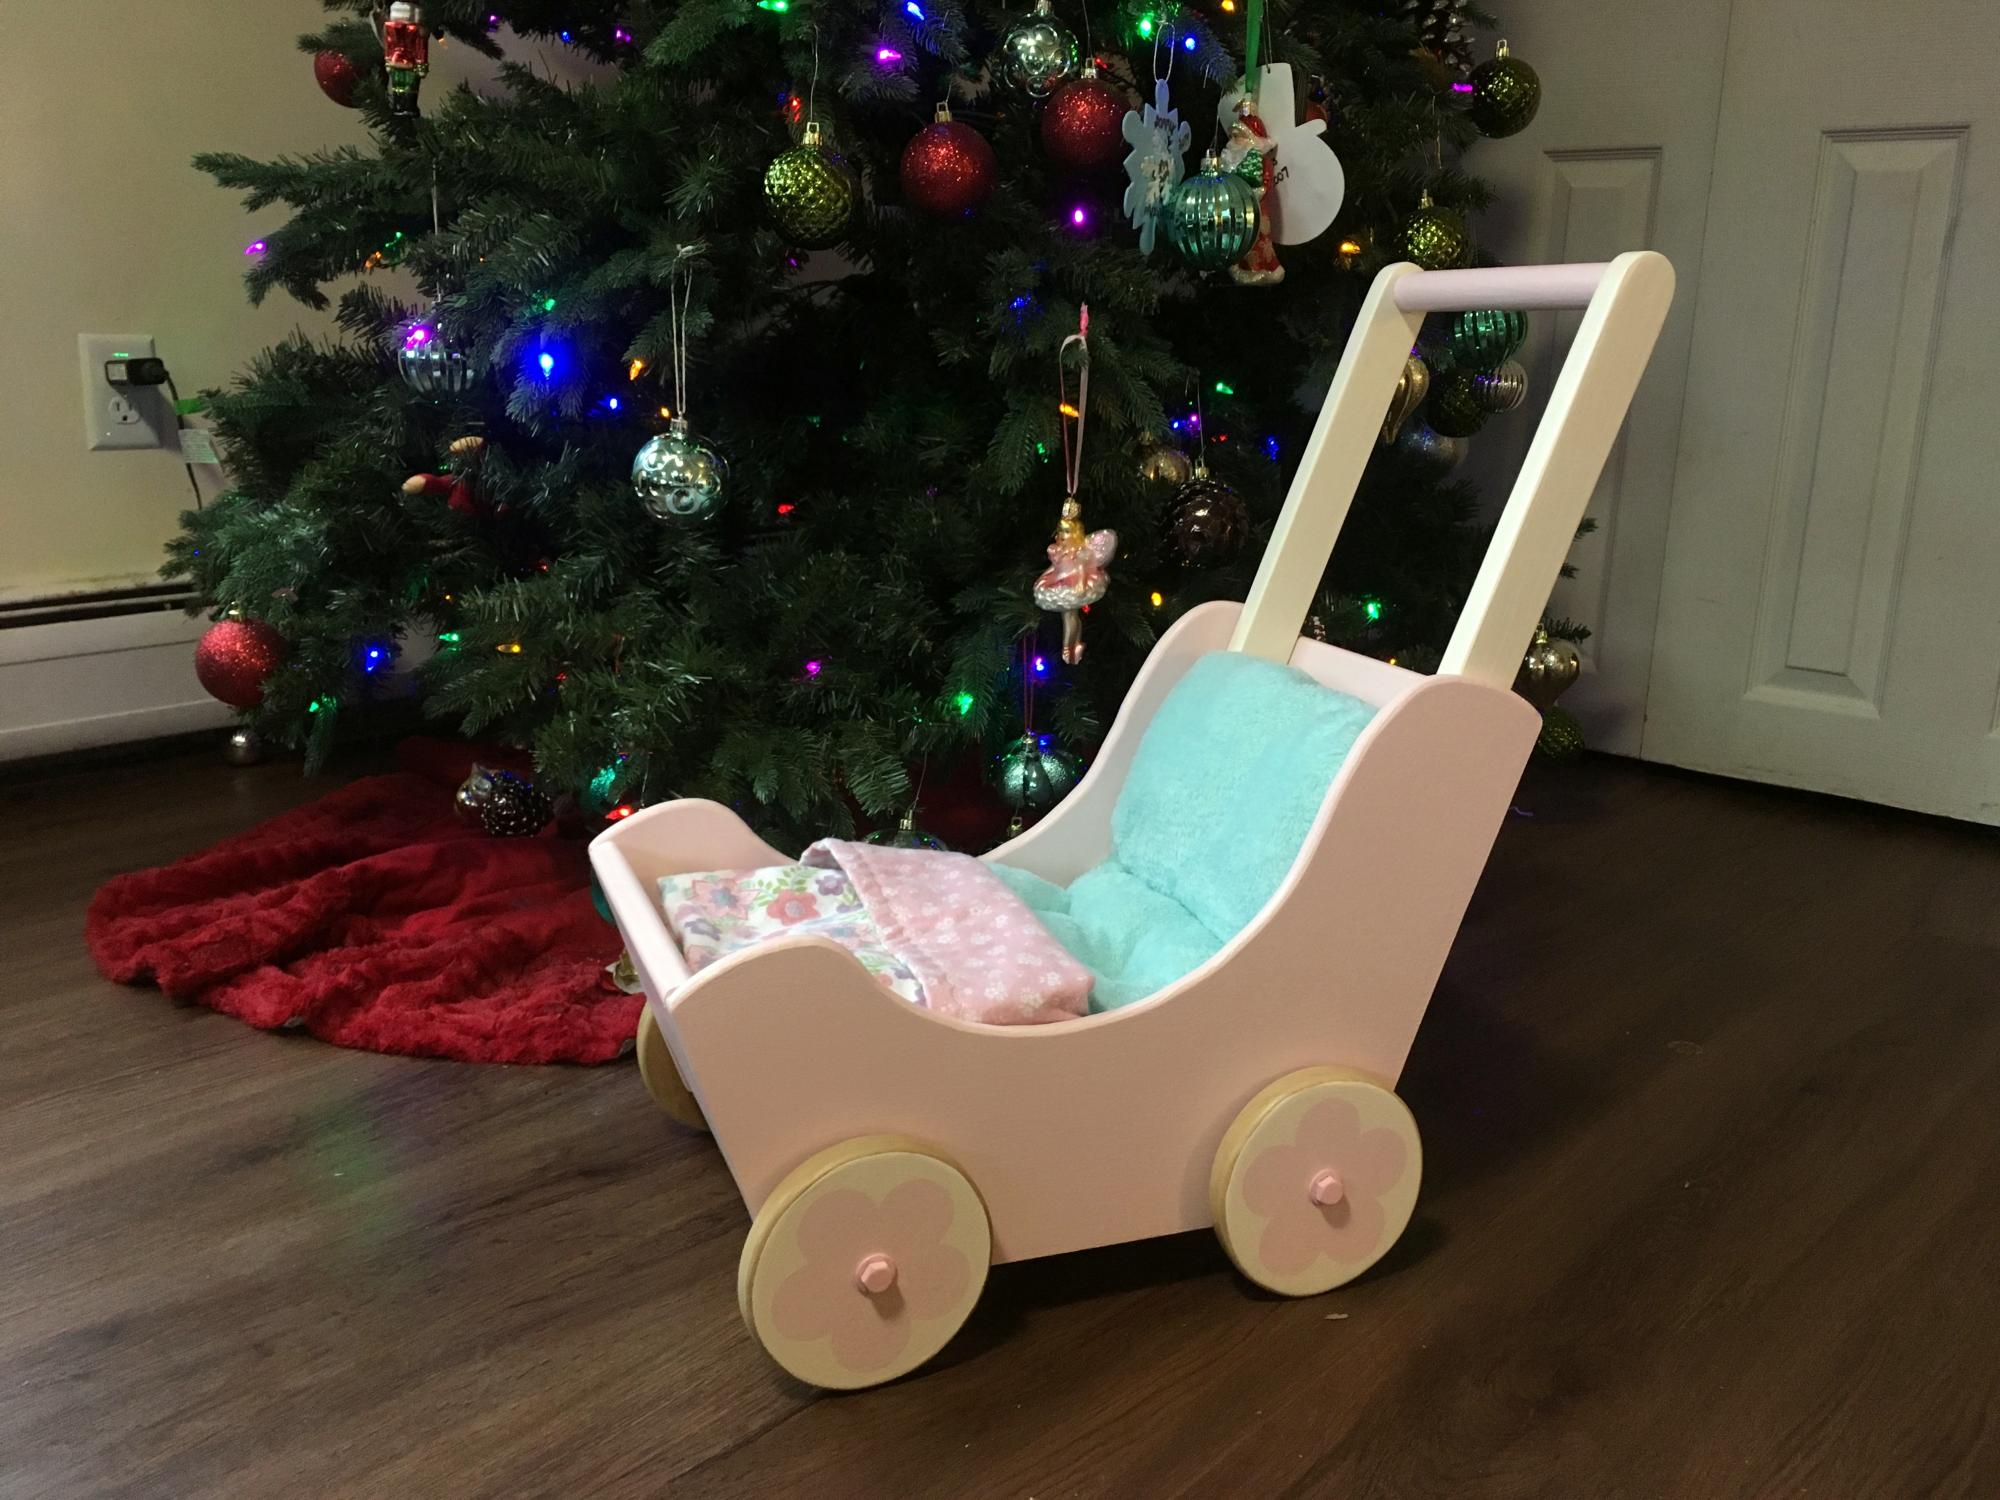
I made this stroller to donate to a charity fundraiser.  I'm very pleased with how it turned out!  I routered the edges with a small round over bit, which I think makes it a bit safer for little ones.  I attached the 1x2's of the handle 3" above the stroller bottom, which gives it a height similar to other doll strollers.  I also decide to change the way the wheels were attached.  In the picture, the wheels are attached as the plan shows.  I decided I would use (2) 3/8" metal rods as axles, washers for spacers, and an axle cap on each end.   This works really well, and the axle caps look nicer than the painted bolts.  Unfortunately, I donated the stroller without taking updated pictures!   

Built from Plan(s)
Estimated Time Investment
Weekend Project (10-20 Hours)
Finish Used
Behr Ultra Ceylon Cream and Radient Rose
Valspar satin polyurethane - on the wheel backs and edges
Recommended Skill Level
Intermediate
Seasonal And Holiday

Single Lounger for the Simple Modern Outdoor Collection

Submitted by Shai on Fri, 03/16/2012 - 20:07

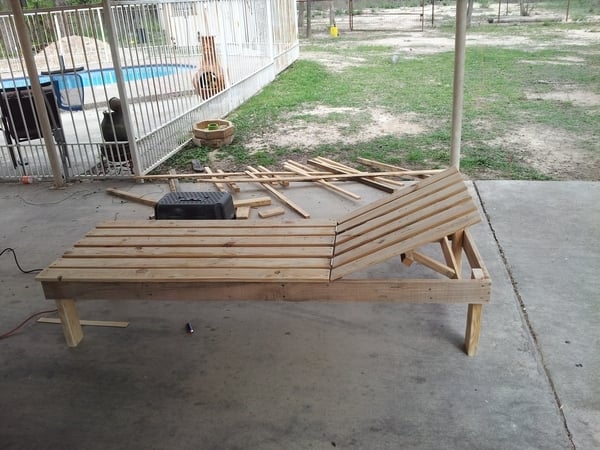
I used Ana's pattern, but modified it a bit to suit my needs and my materials. I used a large pallet I got for free from a local building supply company. My total cost was $8.00, which was for the hinges and the screws. I am so happy with it, and very grateful to Ana White for providing the plans!

Estimated Cost
$8.00
Estimated Time Investment
Afternoon Project (3-6 Hours)
Finish Used
Unfinished, but I plan to stain it dark brown to match our other patio furniture.
Recommended Skill Level
Intermediate

Comments

komalb

Tue, 08/20/2019 - 14:54

Can you post some pics of the back/underside so I can see modifications better? I was hoping to do something just like this and wanted to get some inspiration for the backrest portion. 

Customized Hailey storage bed

I got tired of the aluminum framed bunk beds in my kids room, and wanted to build something they can enjoy for years to come.

My 7 year old didn't have the luxury of one of our dogs jumping up on his bed, as he was on the top bunk, and my wife and I didn't interact with him as much as we would have liked during his reading time prior to bed.

Only one thing to do....build the boys some beds. Although they have a little less room in their bedroom, they have their own individual beds and storage nooks.

In an effort to reduce wasted space, I took a similar page out of birdsandsoap's book by hinging the footboard to create easy access to the void under the slats.

The head and footboards were 'tiled' by simply cutting 1x2 and 1x3 pieces and attaching them with wood glue.

Between the sanding, staining, and poly coats, it took about a week (on and off) to complete the set, but overall am very happy with the finished project.

Only 1 bed is included in the pics, as the other one is identical.
Built from Plan(s)
Estimated Time Investment
Week Long Project (20 Hours or More)
Recommended Skill Level
Beginner

Comments

Knot Good with Wood

Thu, 01/09/2014 - 04:05

I was unsure exactly how I wanted to design and finish, so I just looked through tons of brags on here. I think they are very cool now that they are done, and my kids end up using the hinged footboard to gain access to build small forts.....

Thanks for the great feedback!

handcrafted amish style side table

Submitted by rburmania on Tue, 03/29/2016 - 10:56

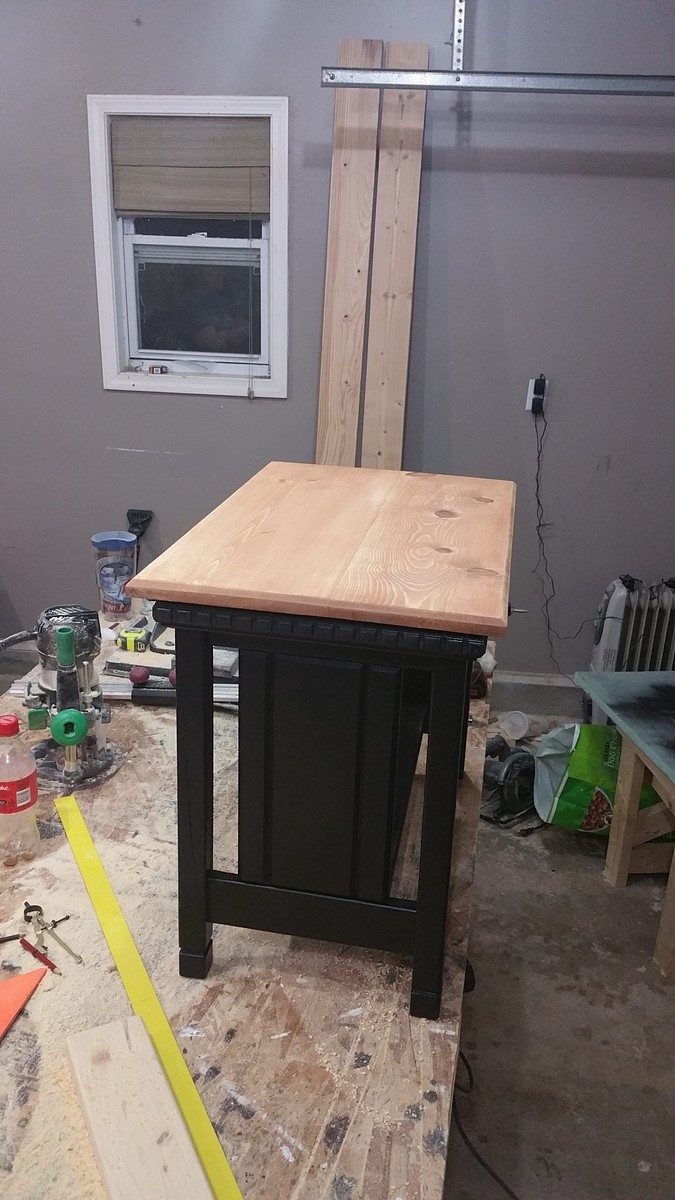
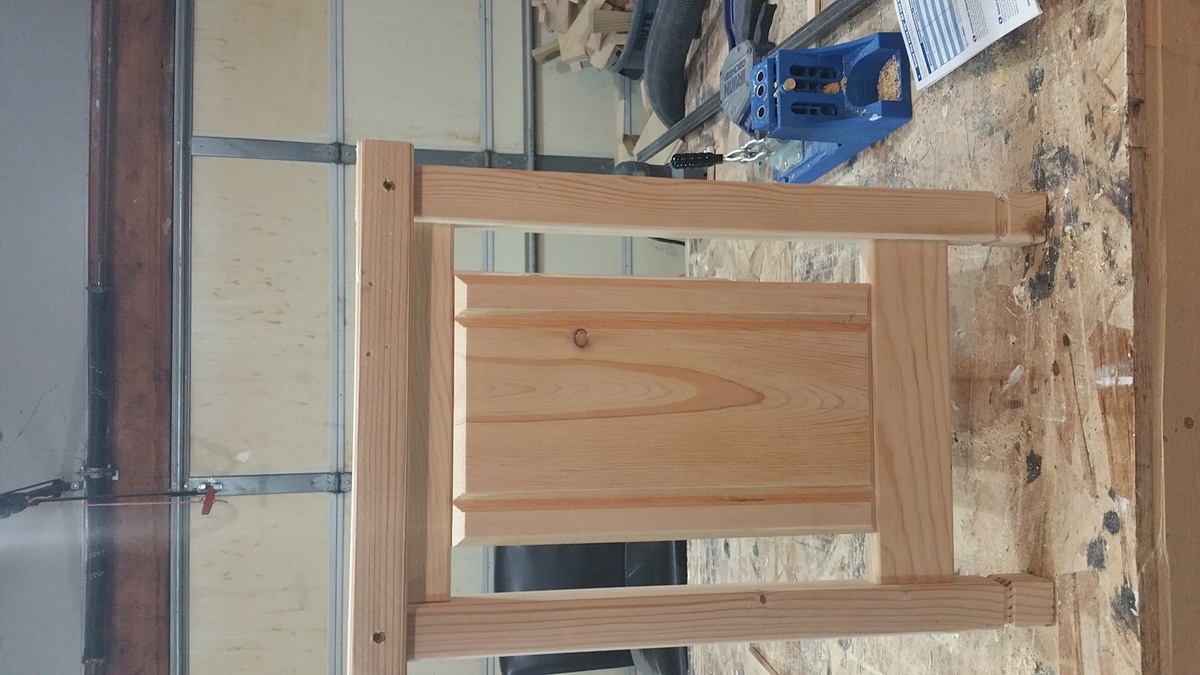
Handcrafted amish style table easy to do and gorgeous

Estimated Cost
$25
Estimated Time Investment
Afternoon Project (3-6 Hours)
Finish Used
Provincial and black satin passing
Recommended Skill Level
Intermediate

Pedestals

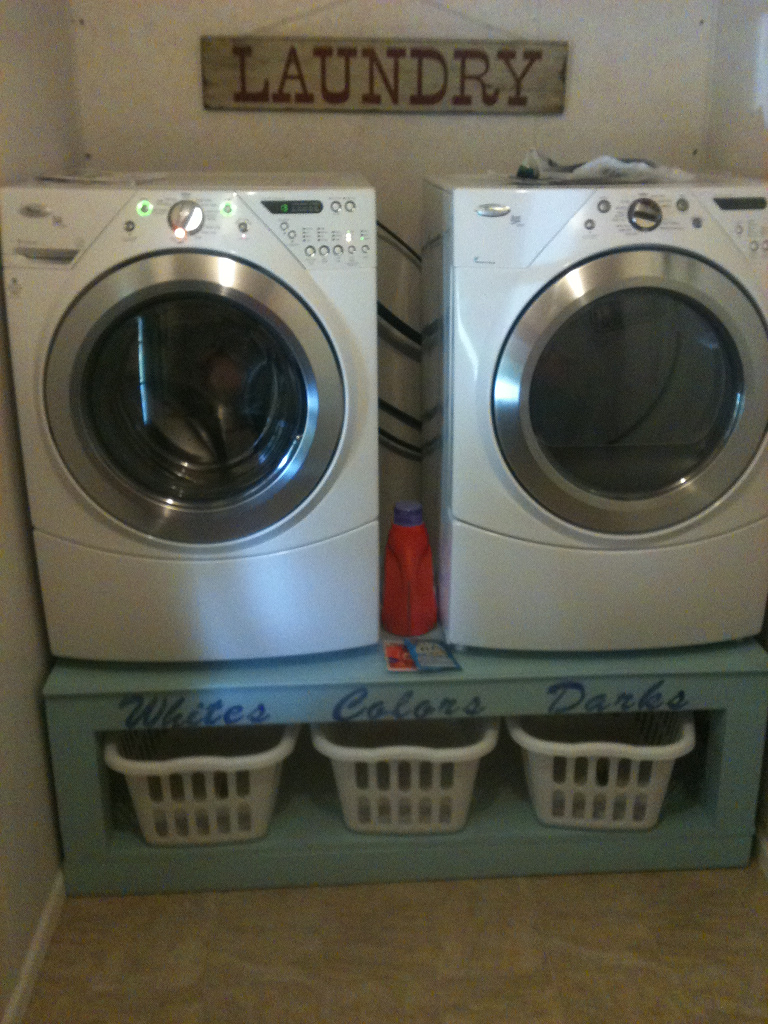
My husband built this for me because it cost as much for one pedestal as it did to build this. I got storage and height for both my washer and dryer for the price of one pedestal. My husband built it, We painted it and I stenciled it.

Estimated Time Investment
Day Project (6-9 Hours)
Recommended Skill Level
Beginner

Doll bunkbeds

Submitted by Benjies on Thu, 01/09/2014 - 11:44

This was really a quick project. It's sized to fit a standard American girl doll. I tag-teamed with my mother to make a Christmas gift for my 4-year old daughter. I built the bed and she sewed the mattresses, reversible blankets, and pillows. My daughter loved them. My only regret was using plywood instead of backboard for the box springs. The plywood was too thick making it a tight squeeze to get the dolls in the bed with the pillows and mattresses.
Estimated Cost
>$15
Estimated Time Investment
Afternoon Project (3-6 Hours)
Finish Used
I used krylon white spray paint with a gloss finish. I then did a couple of clear coats of a gloss enamel for protection.
Recommended Skill Level
Starter Project

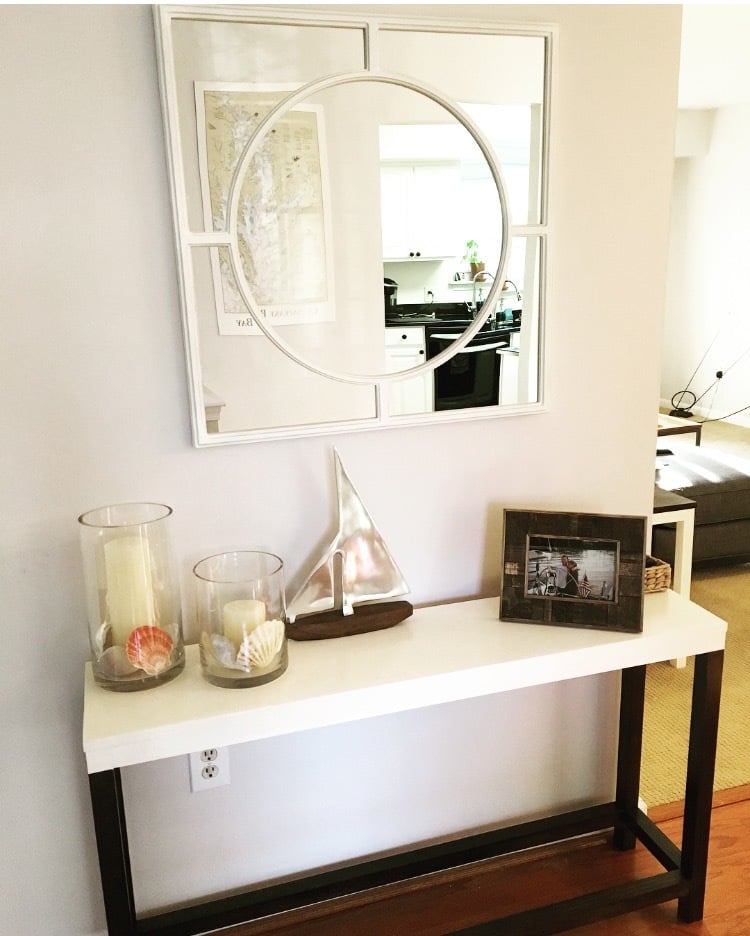
Entry table built for a sailor

Submitted by Anonymous (not verified) on Thu, 03/31/2016 - 17:39

This table is the perfect size to fit our entry way, I just love the dark walnut bottom with the white top.  It is just the right piece in its space, and was super simple to put together.  We modified the plans a bit, instead of using liquid nails we used the kreg tool and screws to assemble.  We also just used one board for the top of table and taped off more of the base and painted it white to give it the illusion of a thick top.

Estimated Cost
$50
Estimated Time Investment
Day Project (6-9 Hours)
Finish Used
Walnut stain on the bottom (2 coats)
A simple bright white paint on top we had from painting trim around the house (3 coats)
Recommended Skill Level
Intermediate

Soda Crate Caddy

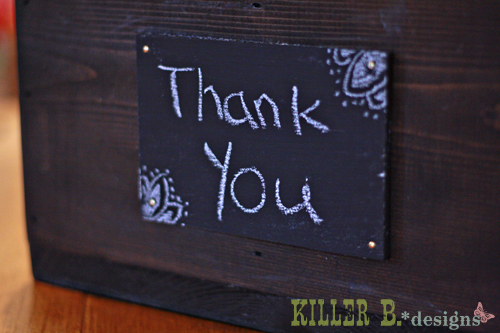
I had some scraps lying around, and it was just the right amount to do this soda crate caddy. The only change was using scrap 1x12 on the bottom instead of two 1x6's. I finished the whole thing in under 2 hours, including stain and the chalkboard front. I gave it to a friend as a thank you present for baby sitting my baby girl.

Built from Plan(s)
Estimated Cost
free - used scraps
Estimated Time Investment
An Hour or Two (0-2 Hours)
Finish Used
Rustoleum's Ultimate Stain in Kona
Recommended Skill Level
Beginner

Grandy Sliding Door Console

Submitted by Anonymous (not verified) on Sat, 04/02/2016 - 18:57

We were needing a new tv console for our boy's playroom and this was a lot of fun to work on. This was the first piece of furniture I have built and I was able to follow the plans pretty easily.

Built from Plan(s)
Estimated Cost
$250
Estimated Time Investment
Week Long Project (20 Hours or More)
Finish Used
Serious Gray from Sherwin Williams
Recommended Skill Level
Intermediate

Comments

Benchboss19

Wed, 04/06/2016 - 07:05

Ana,

I was wondering how you were able to fabricate the door hardware? Your plans don't seem to include them in the overall plan area. Can you provide this information please?

Thank you.

emarg

Sat, 08/08/2020 - 09:46

What hardware did you use here? I have been having trouble finding hardware small enough to fit in the 3.5" space above the doors, and I do not have the tools to create my own hardware.
Thanks!

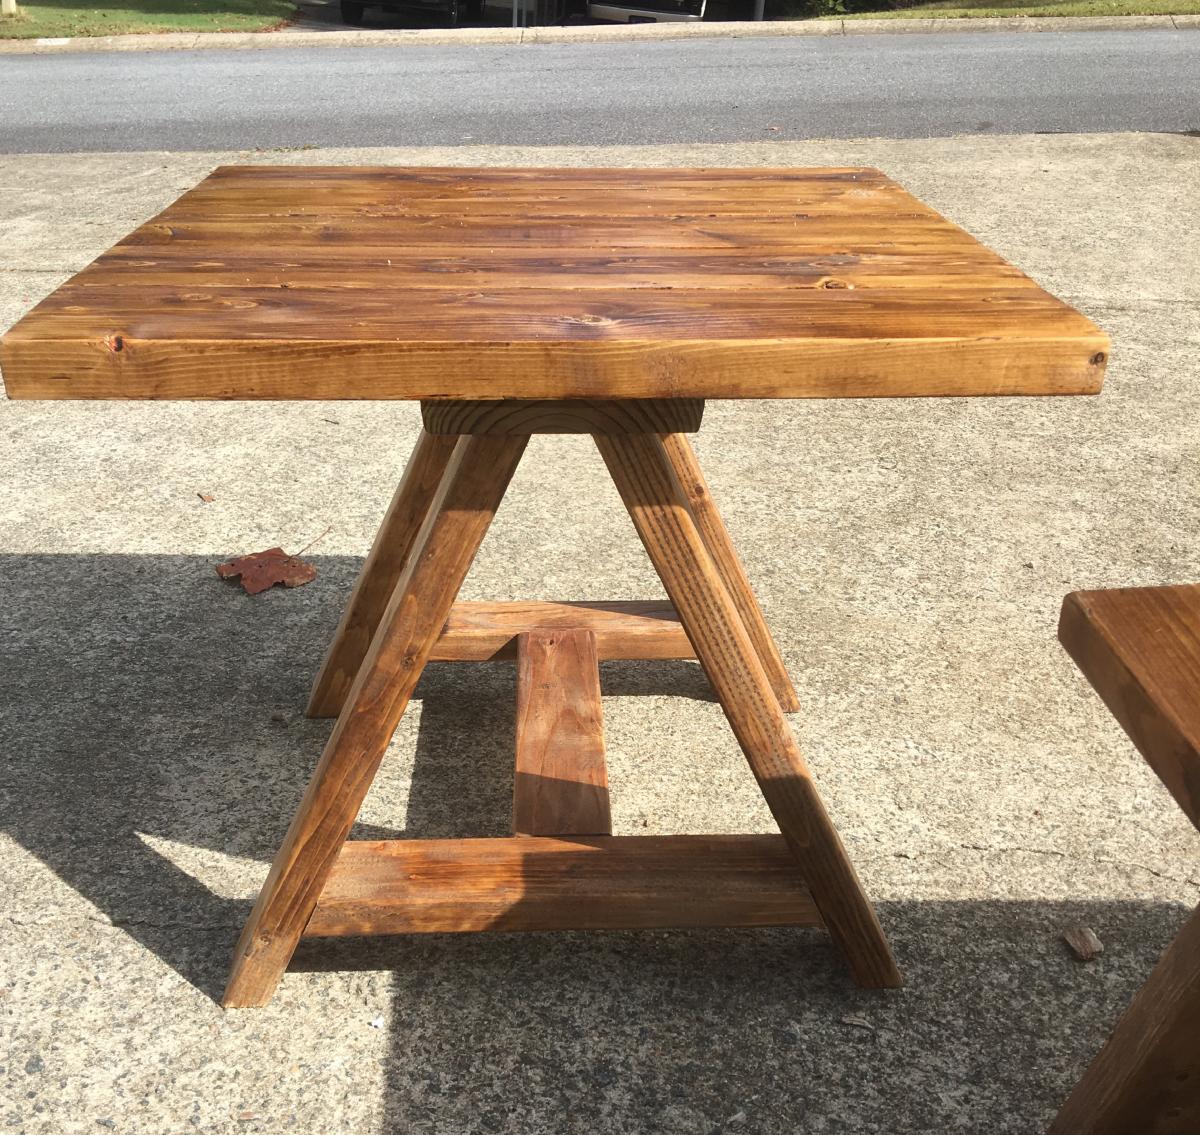
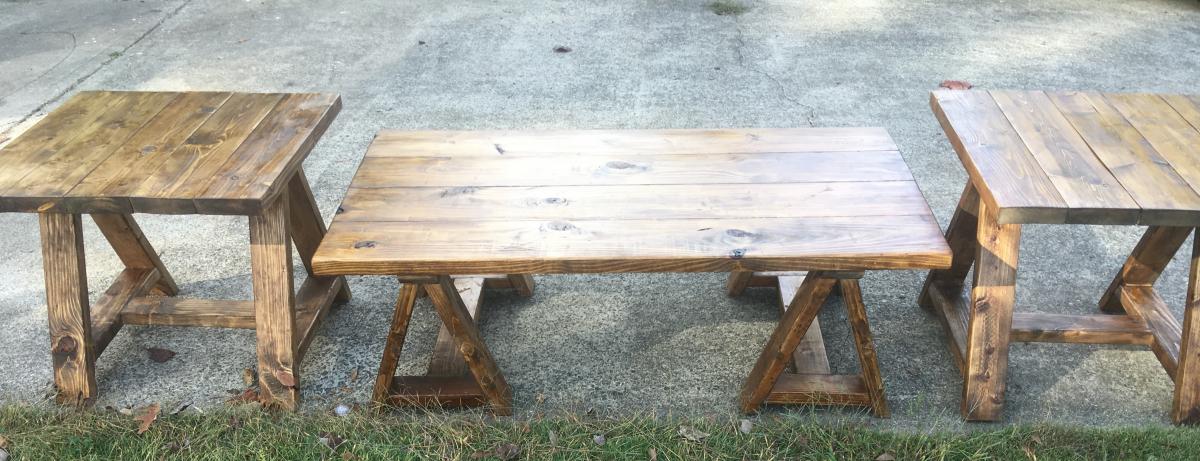
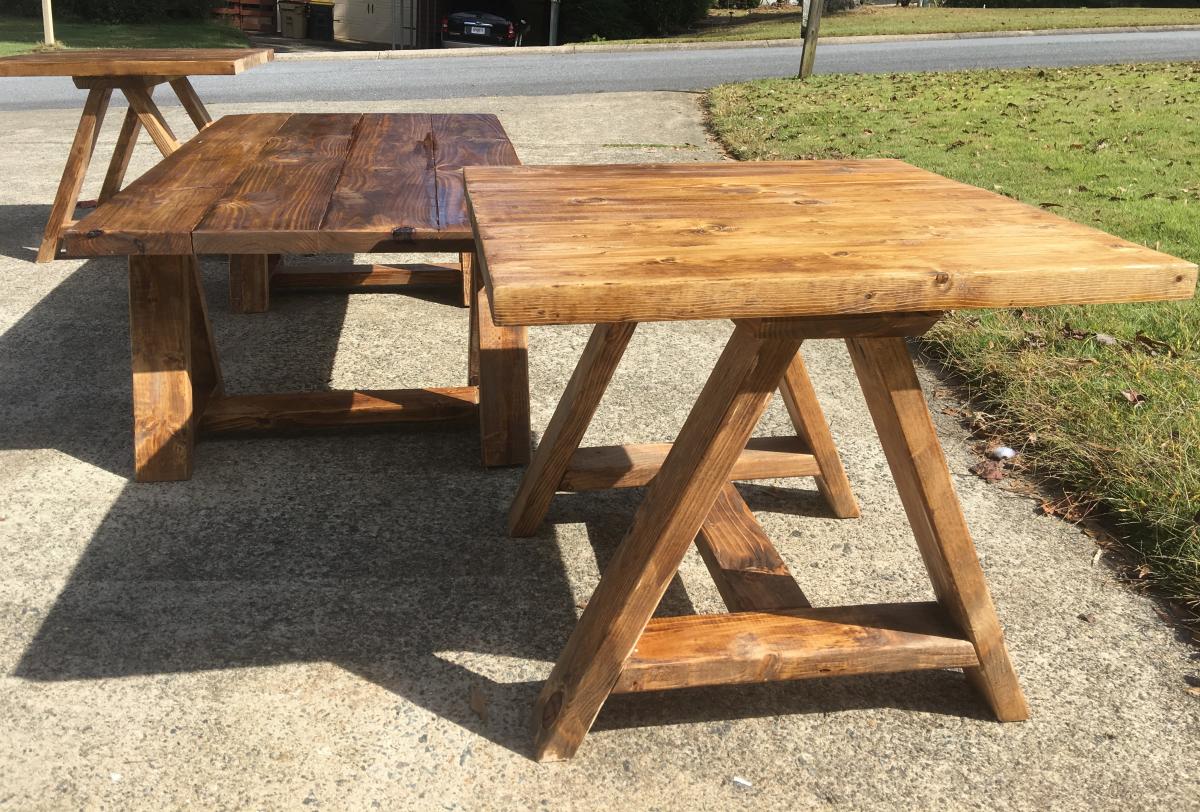
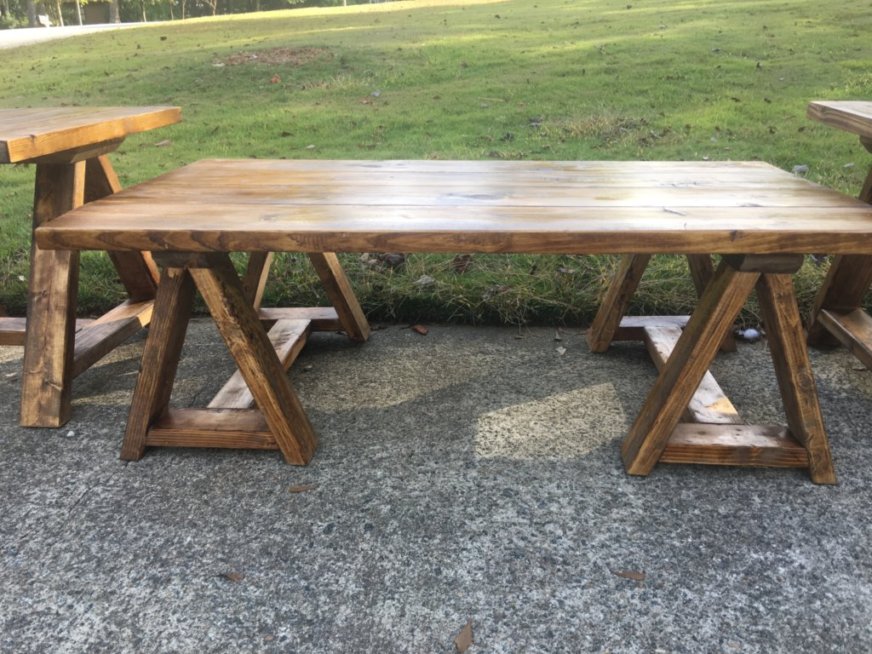
Sawhorse Coffee & Side Tables

Submitted by Anonymous (not verified) on Sat, 12/07/2019 - 11:59

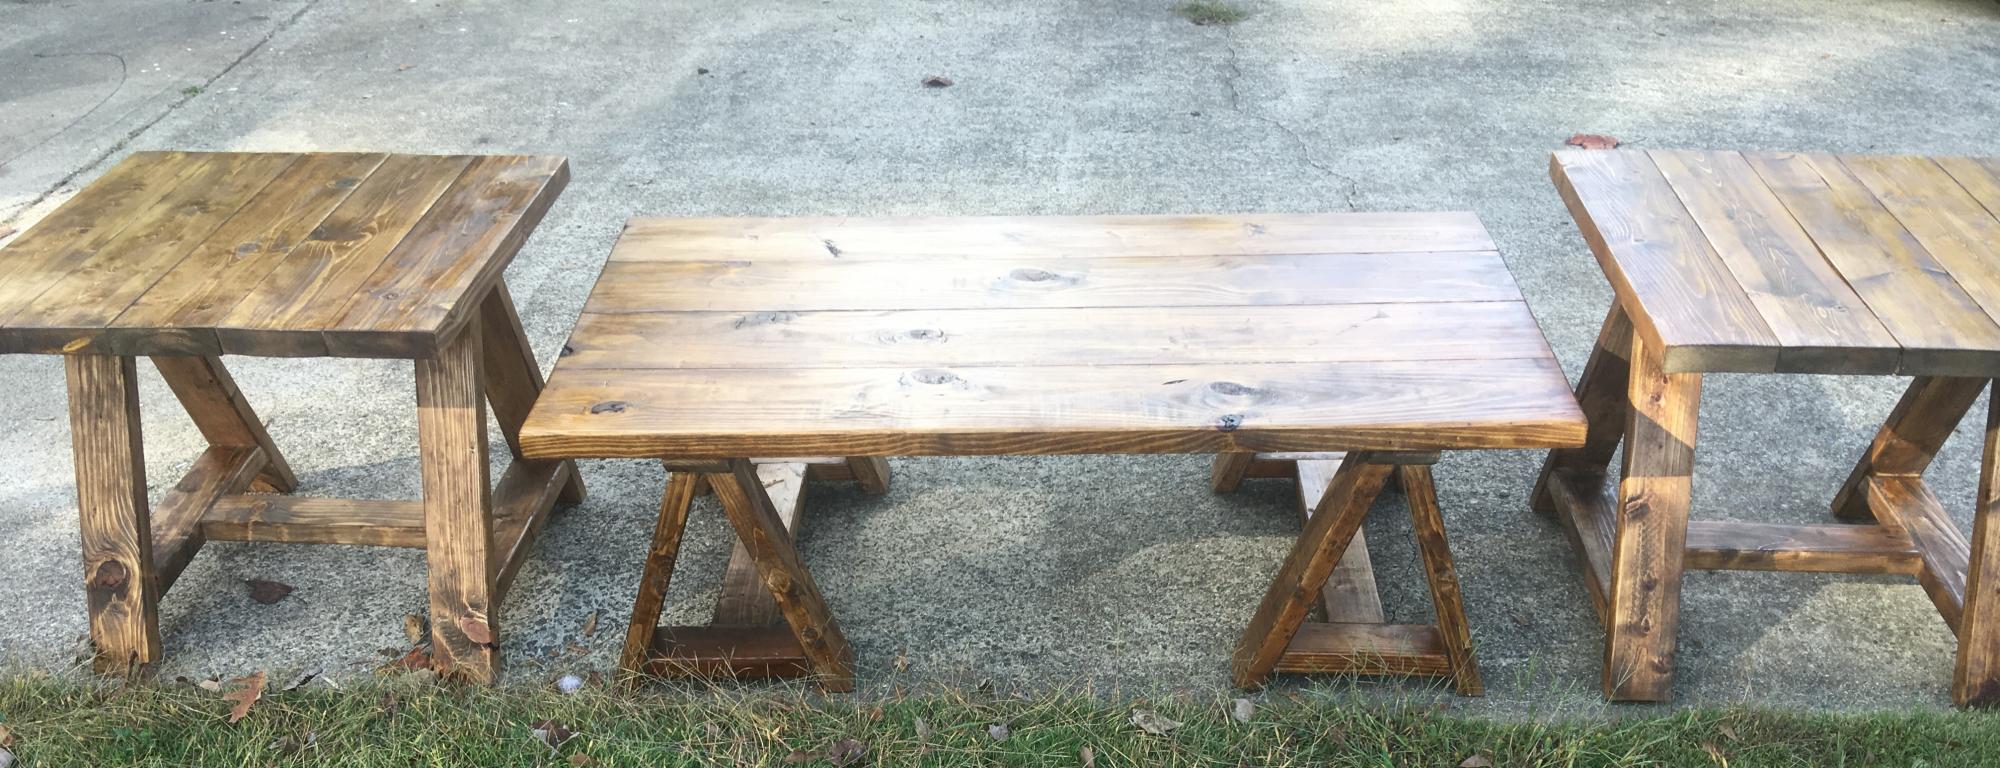
I made this as a gift for my friends son. They are expecting a new baby so I made sure every inch was sanded, and sanded and sanded. This was a fun different build. The slightly angled table legs need extra attention in order to guarantee level.

Estimated Cost
Around $100 for all 3 pieces
Estimated Time Investment
Weekend Project (10-20 Hours)
Finish Used
Watco Medium Walnut however it did not cover as well as I would have liked on this particular wood. sand really well before staining. I used 240 grit sandpaper and vacuum wood between applications. I ended up mixing the stain with small amount of Mix Wax Medium Stain to get better coverage.
Recommended Skill Level
Beginner
Back