My first build! Not too bad. :)
First try at building a piece of furniture myself. I am inspired to do so much more projects like this now.
Built from Plan(s)
Recommended Skill Level
Beginner
First try at building a piece of furniture myself. I am inspired to do so much more projects like this now.
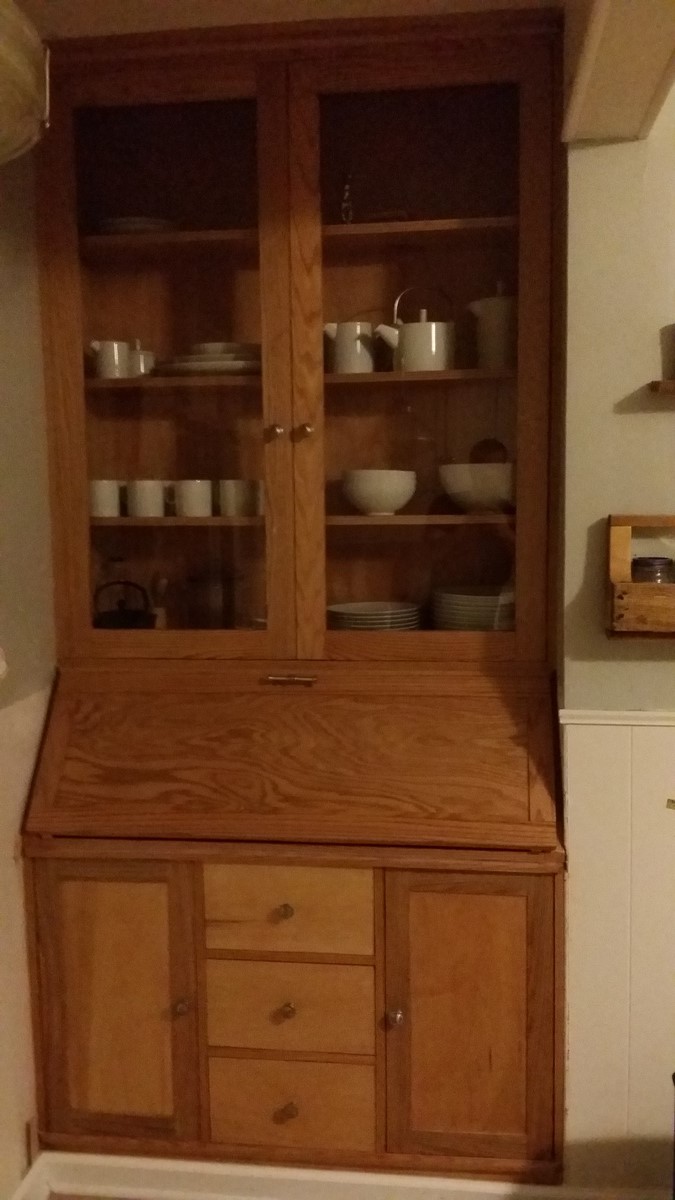
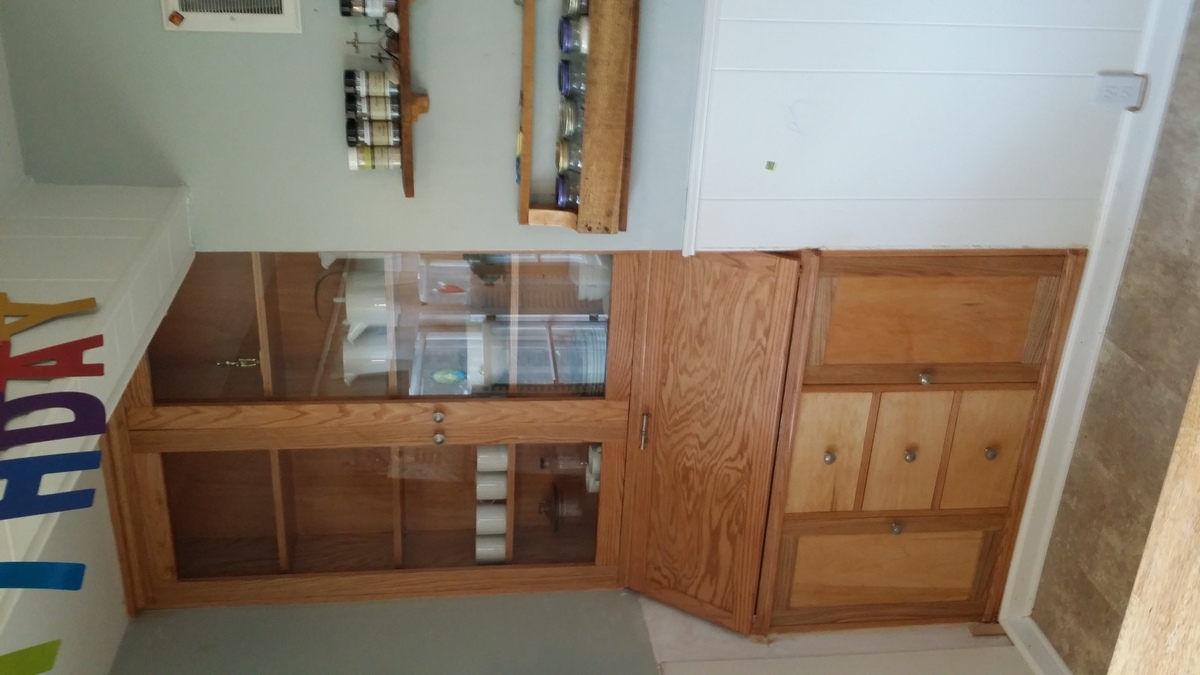
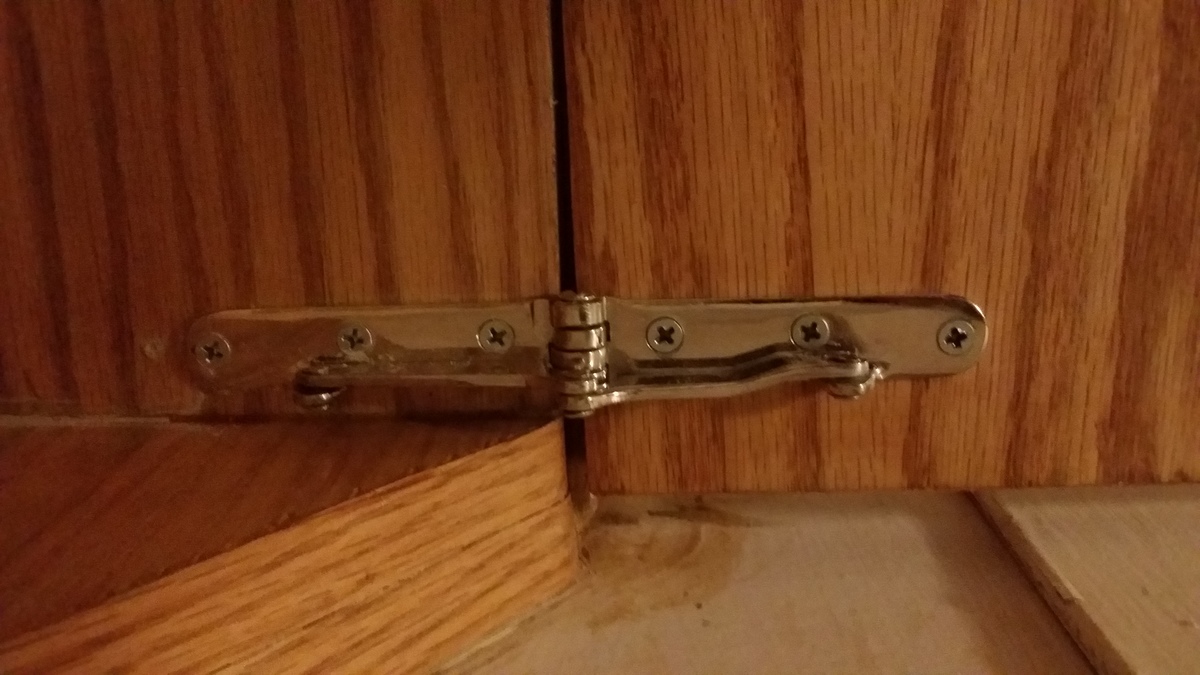
Wanted a builtin hutch change the plans a little for depth and height. I used tempered glass instead of lexan for the last ability as lexan discolor and looks a little cheap. Mostly red oak plywood, but choose hard wood for shelves so they wouldn't sag and small desk drawers and doors because it was easier to buy it cut and cost effective. Wish I would have done the drawer faces hardwood also. I used maple on the bottom and decided I wanted more grainy look so finished the desk and top with redoak. Matches bottom trim which was red oak. Special ordered old style secretary desk hinges. I had them played $60 for both. I liked the look and they are stable. Time consuming building but impressive when done. Don't know why photos alway turn up sideways, tried flipping them and saving them same result...

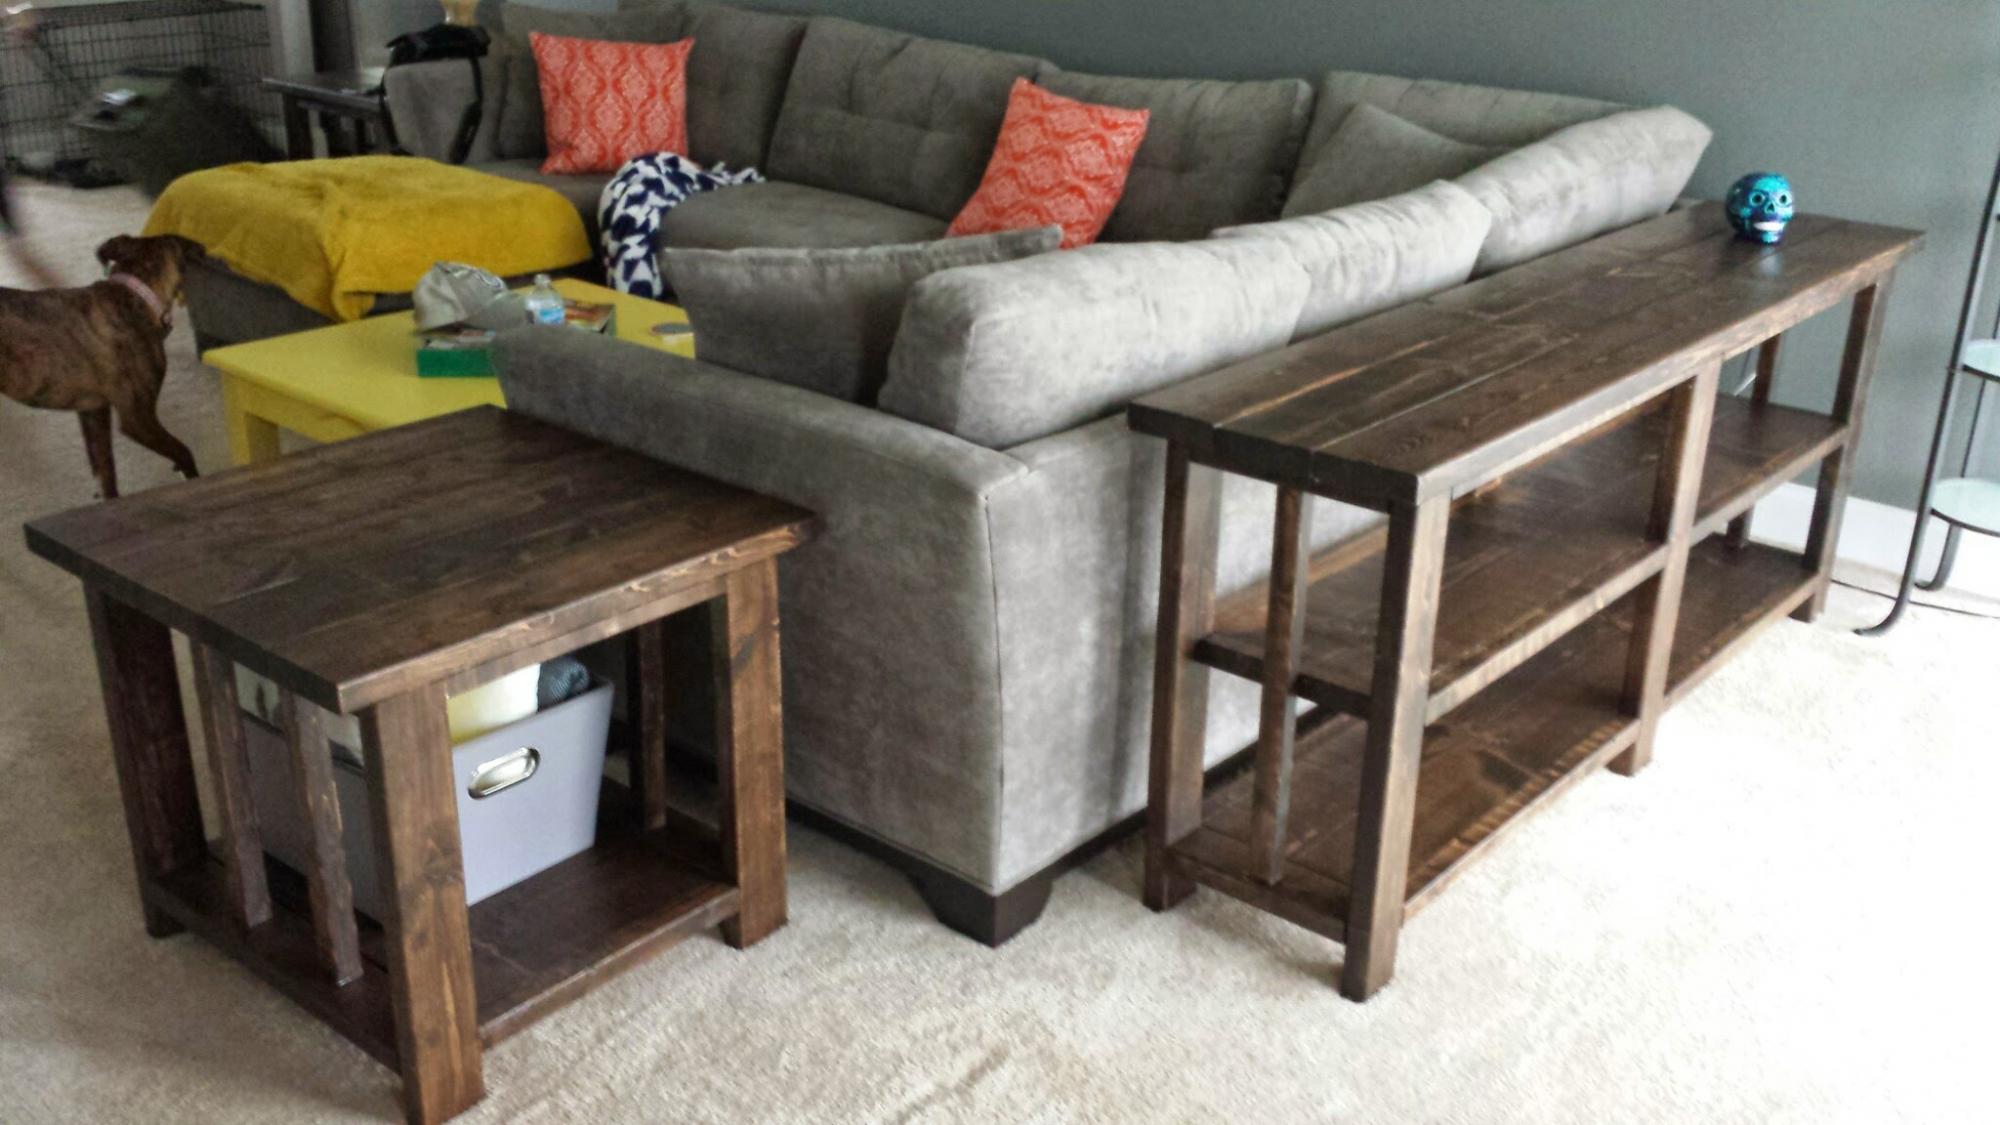
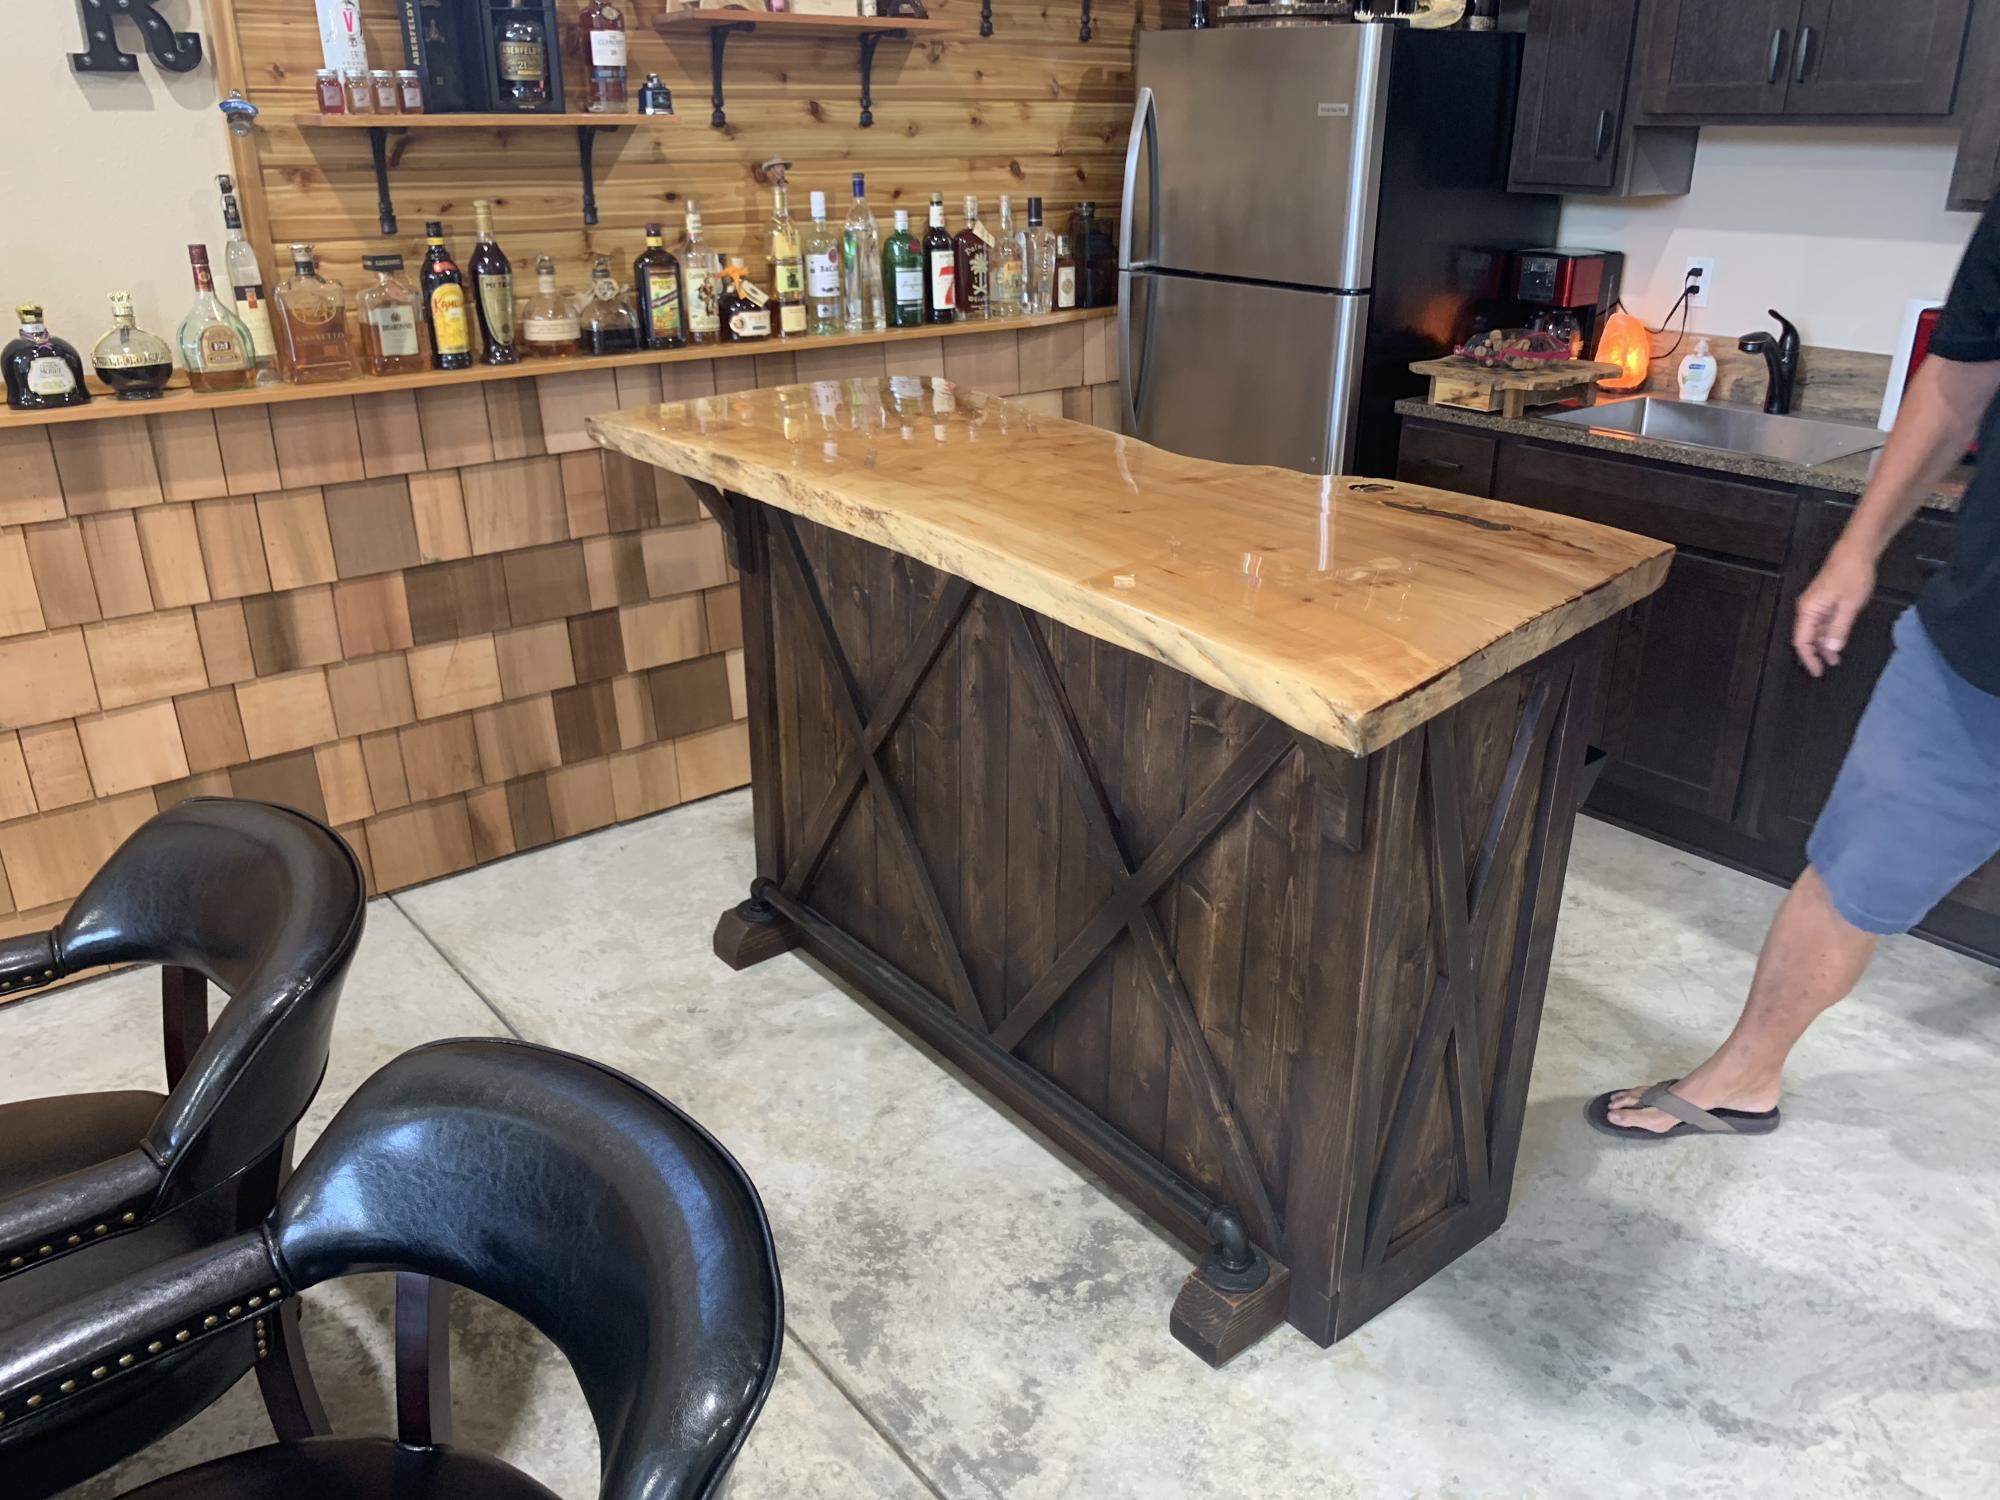
My first build! Didn't want the X's so I put a straight piece on each end.
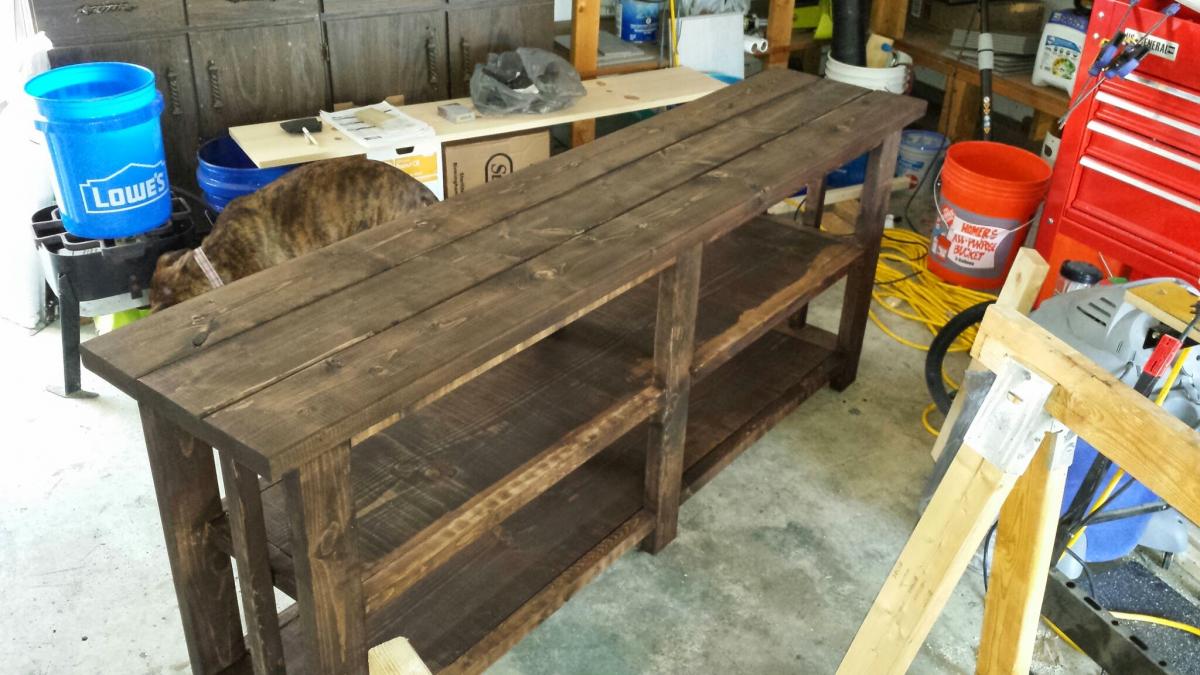

The plans I used were actually from design confidential but it is the same table.
Tue, 04/24/2012 - 23:16
This looks great! did you modify the plans (length) at all? It looks like your cross beams are closer together and I like that look best.
Tue, 05/15/2012 - 04:15
My husband and I are looking to build this table very soon. He is unsure as to what wood you may have used for this project. We absolutely love this dark wood. Will you please tell us what wood you used for this project?
Thanks! Can't wait to have this beautiful table sitting in our dining area!!!

I have been waiting a long time to have this amazing piece of storage. The size is what was intimidating to me but it was easy to build. This project is perfect for a beginner . Make sure you have an extra set of hands due to the size otherwise this was easy and straight forward to build. I love the storage it offers to keep my Minnesota winter gear organized. The kids have a place for all of their snow pants, boots, coats etc.
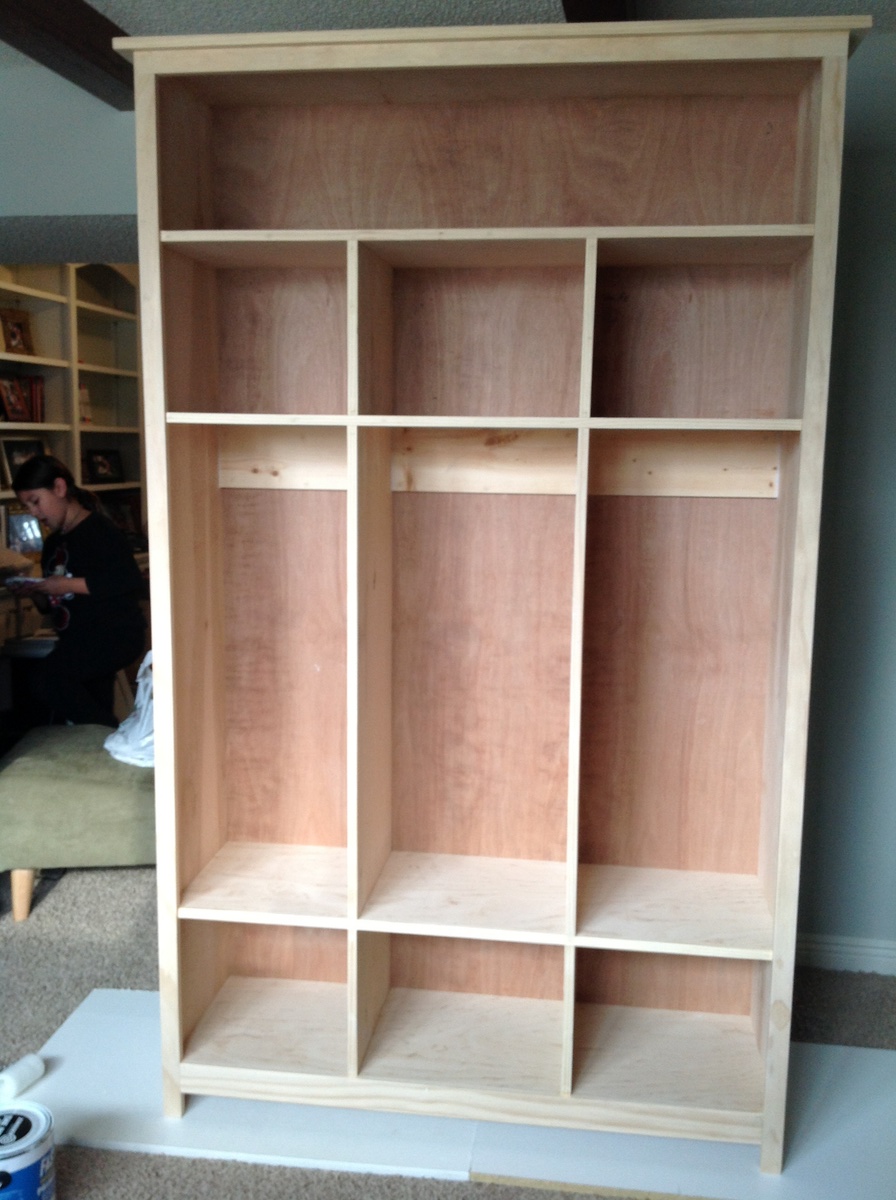
Used the original plans and customized it a little bit. Great plans !
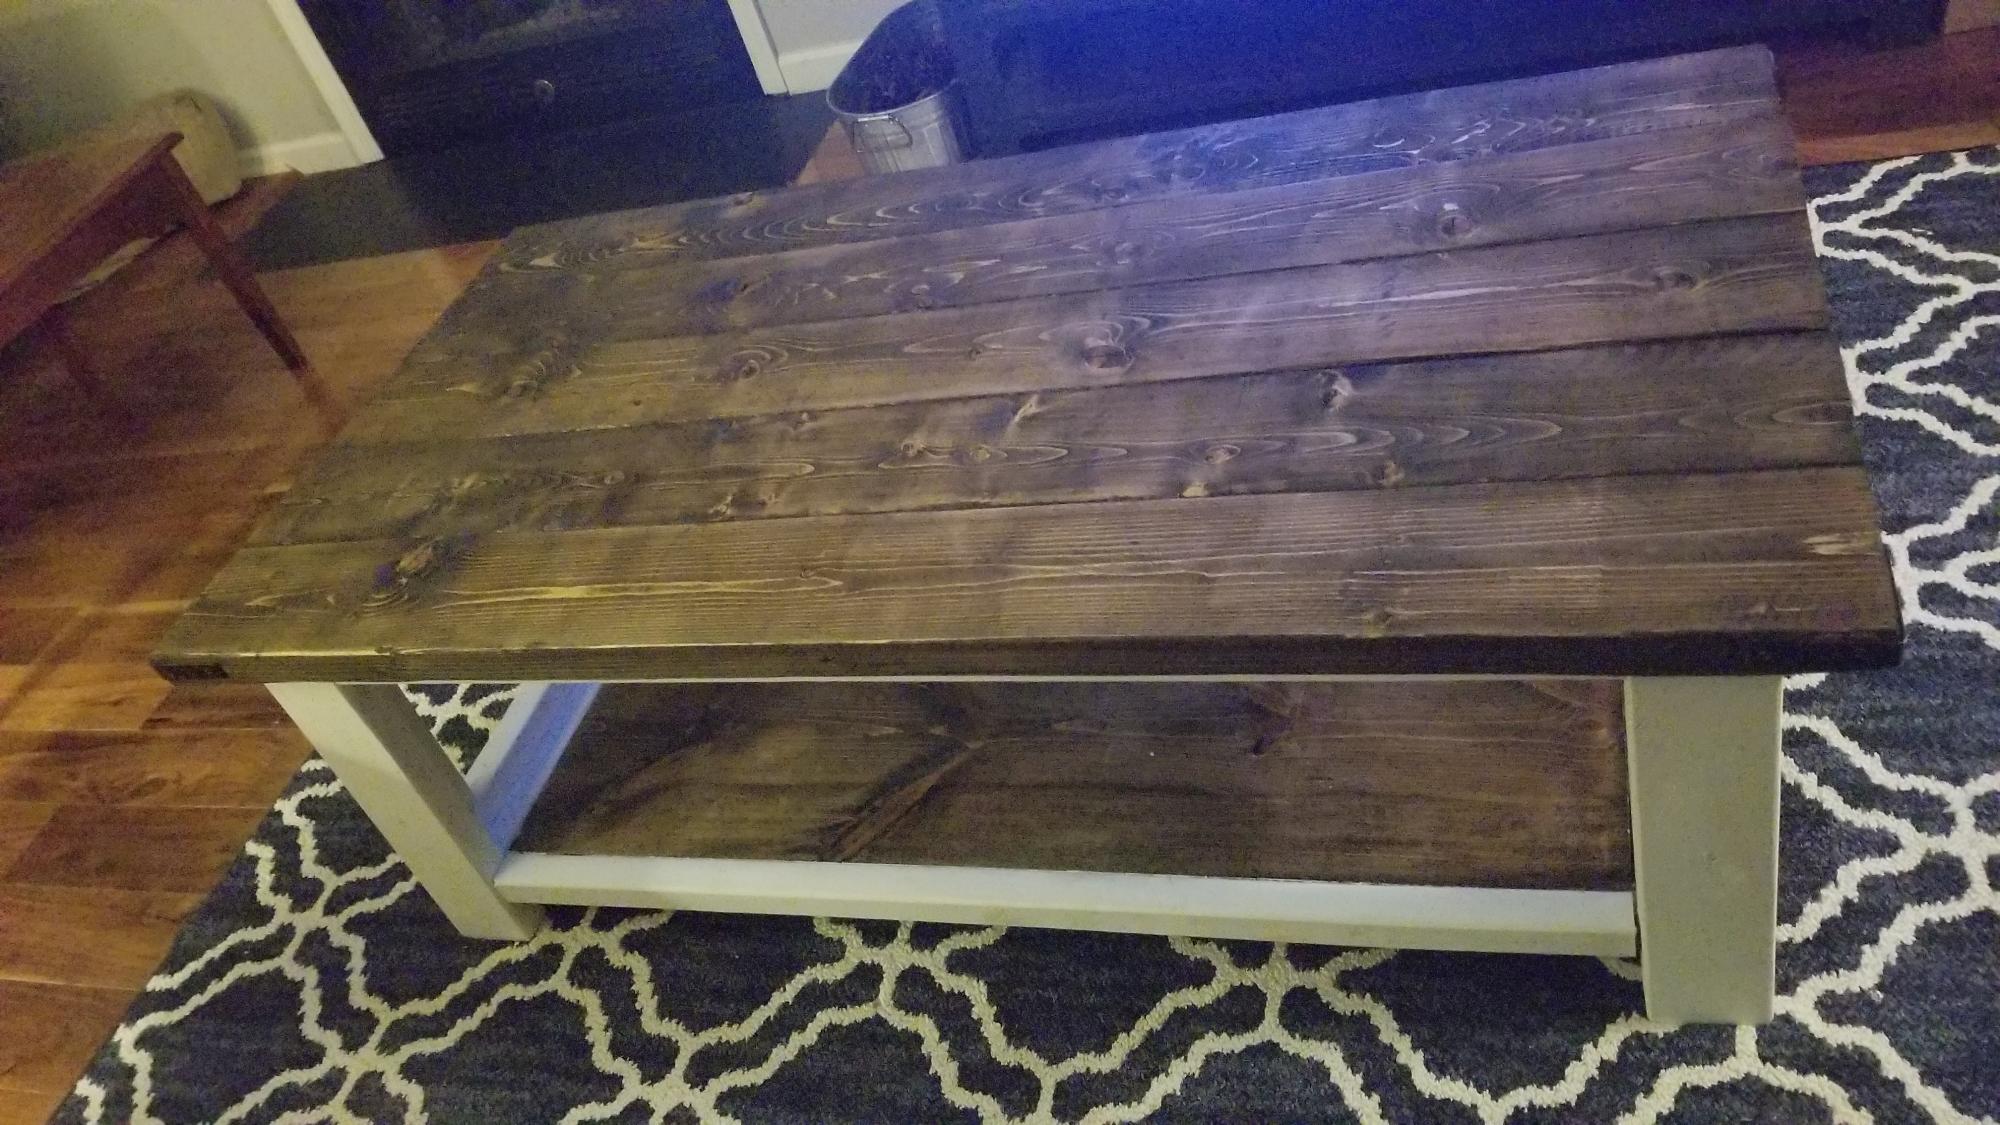
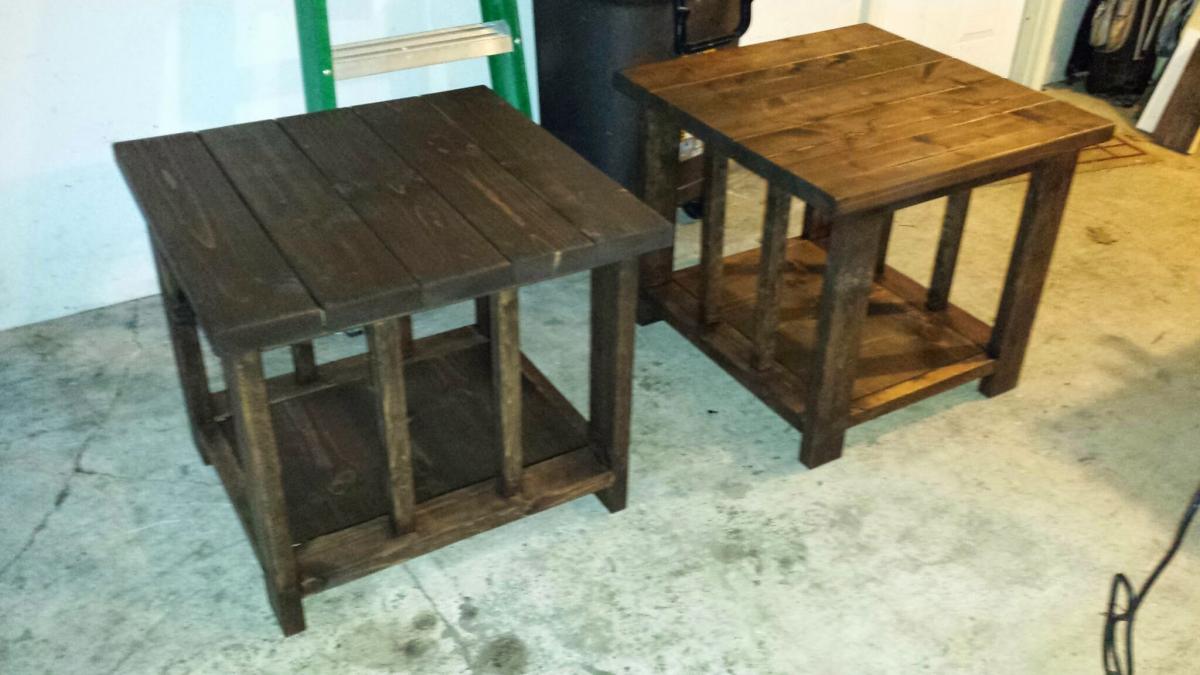
I'm really bad at making the X's, so I just added some straight pieces for decoration.
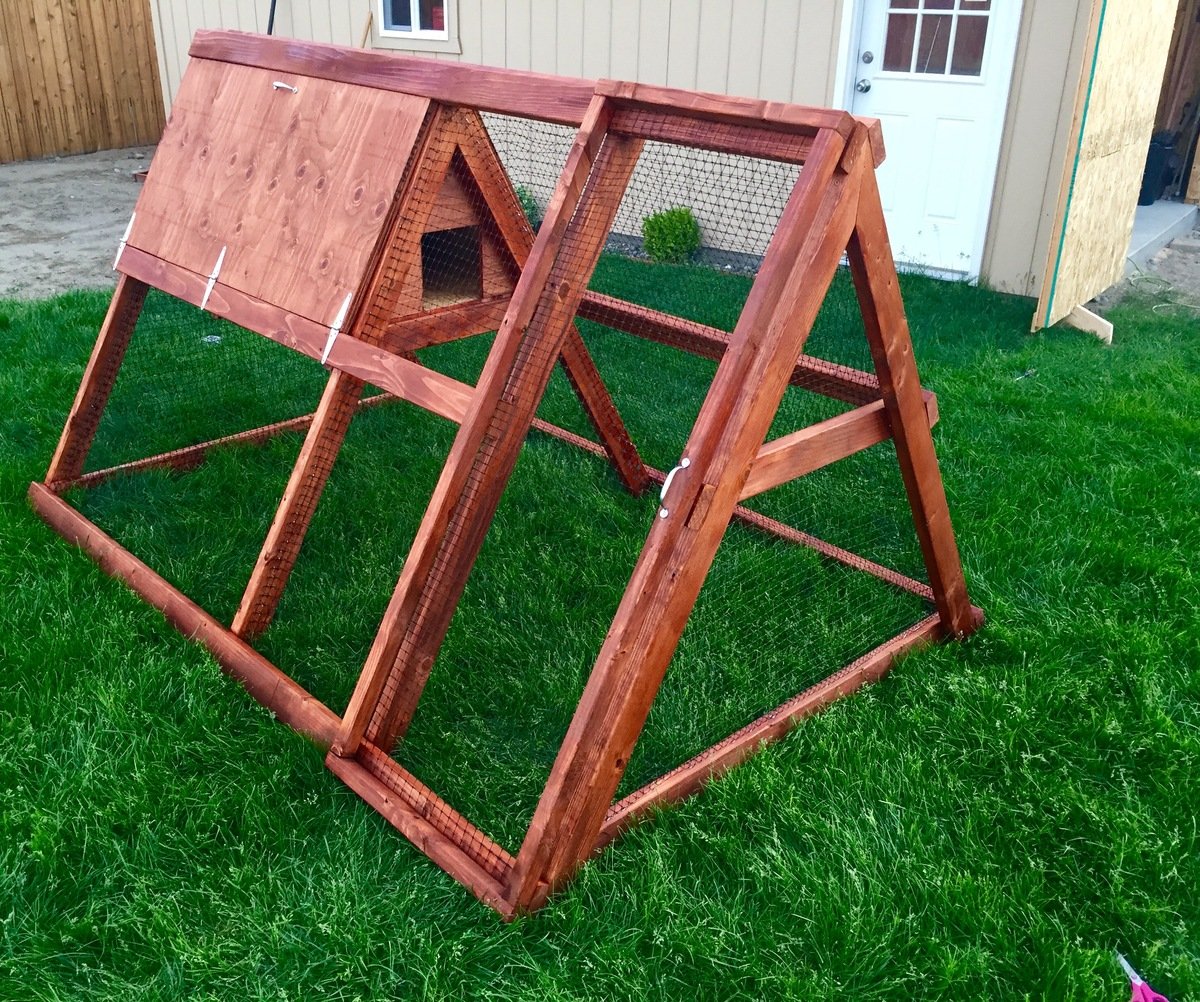
I made mine with 1/4” shock/bungee cord instead which I preferred for this project but turned out great. Easy to follow and the easiest project I’ve ever made. Go for it!
Kate
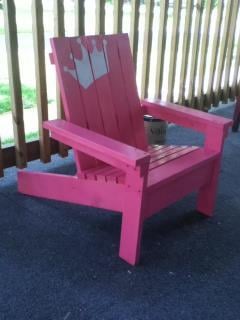
This was my first Ana White project. A kid size Adirondack chair fit for a princess :). The cost was around $25. I finished it in a weekend, but that was trying to fit it in between laundry, dishes, and taking care of kids. It was easy to do and I learned a lot.
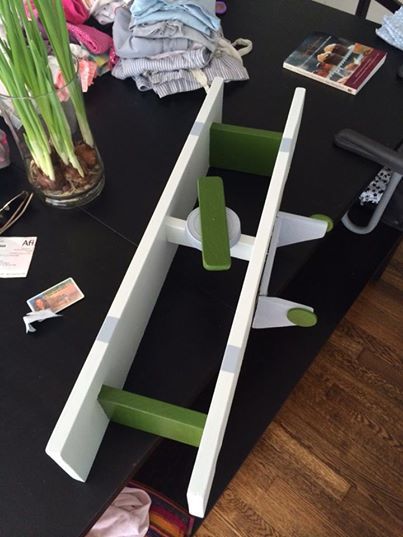
I made this shelf with reclaimed random wood but followed the original plans almost exactly. I used an extra large jar of peanut butters top for the front of the plane and the propeller was made for a random little piece of wood I just sanded down the edges to round them. The landing gear is from two corners of scrap wood and I bought the round pieces of wood for the wheels at michaels for about 10cents because I do not have a hole saw.
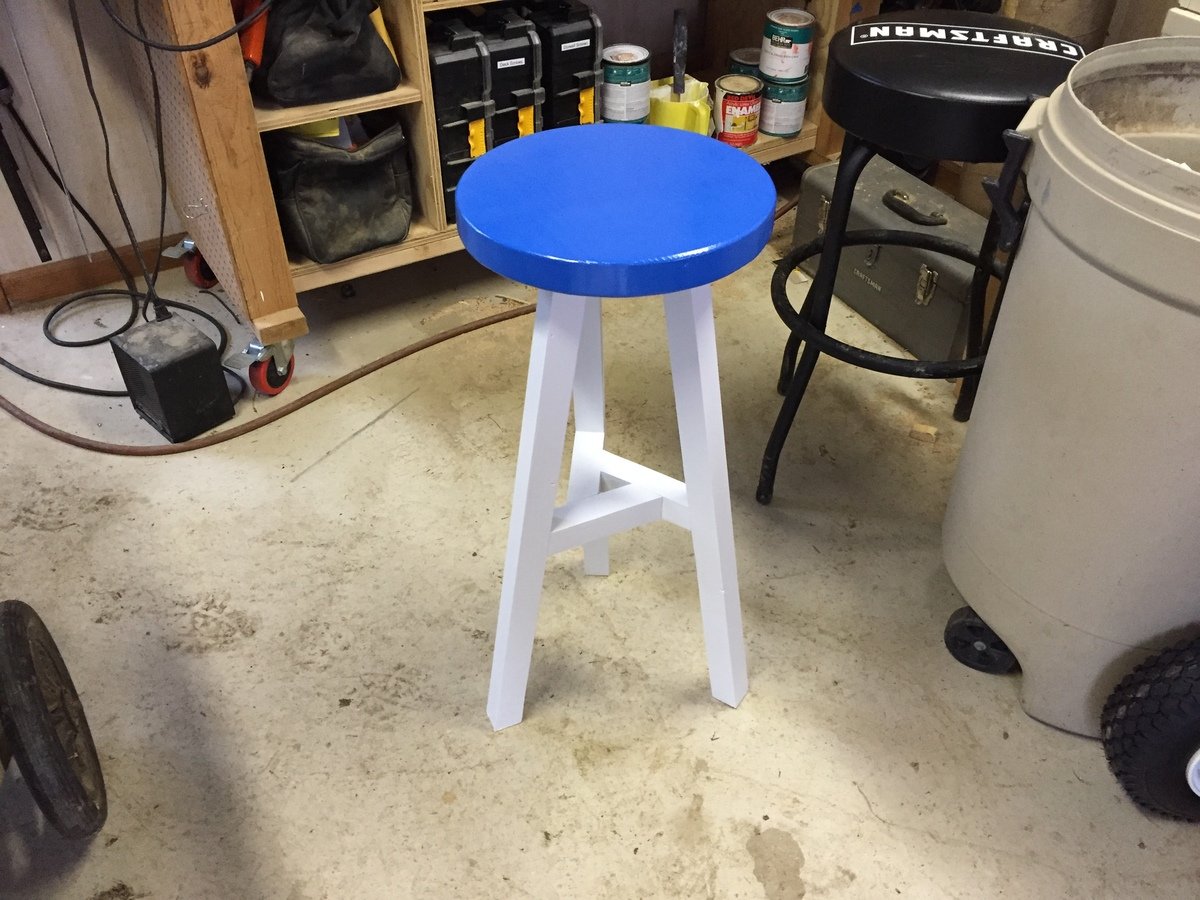
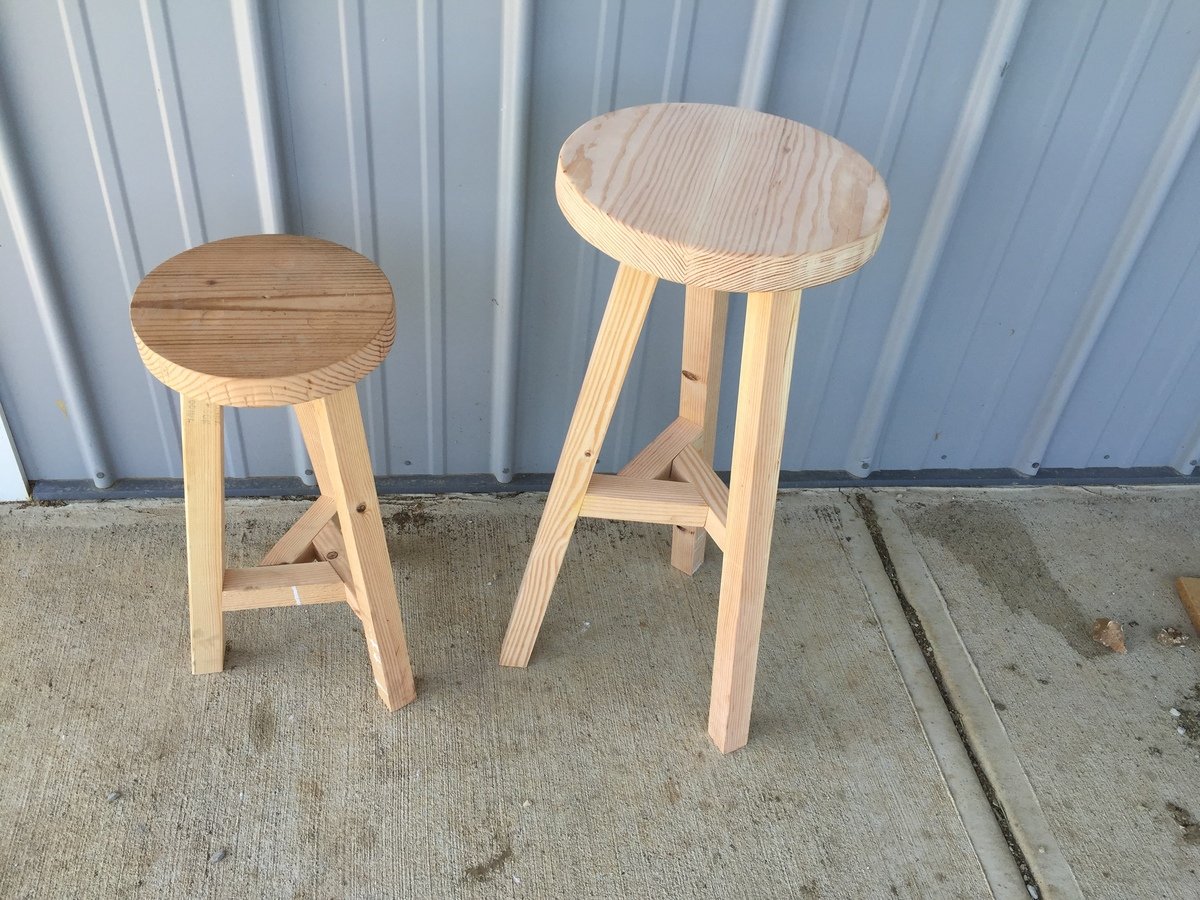
My 13-year-old daughter asked me about making a stool, with the main requirement being it had to have a round seat. So I turned to this ana-white.com to see if I could find something that we could do and found the plans for the three-legged stool. The first one we made with the dimensions specified in the plans but she thought it was too short. So we made another one with longer legs and a larger diameter seat.
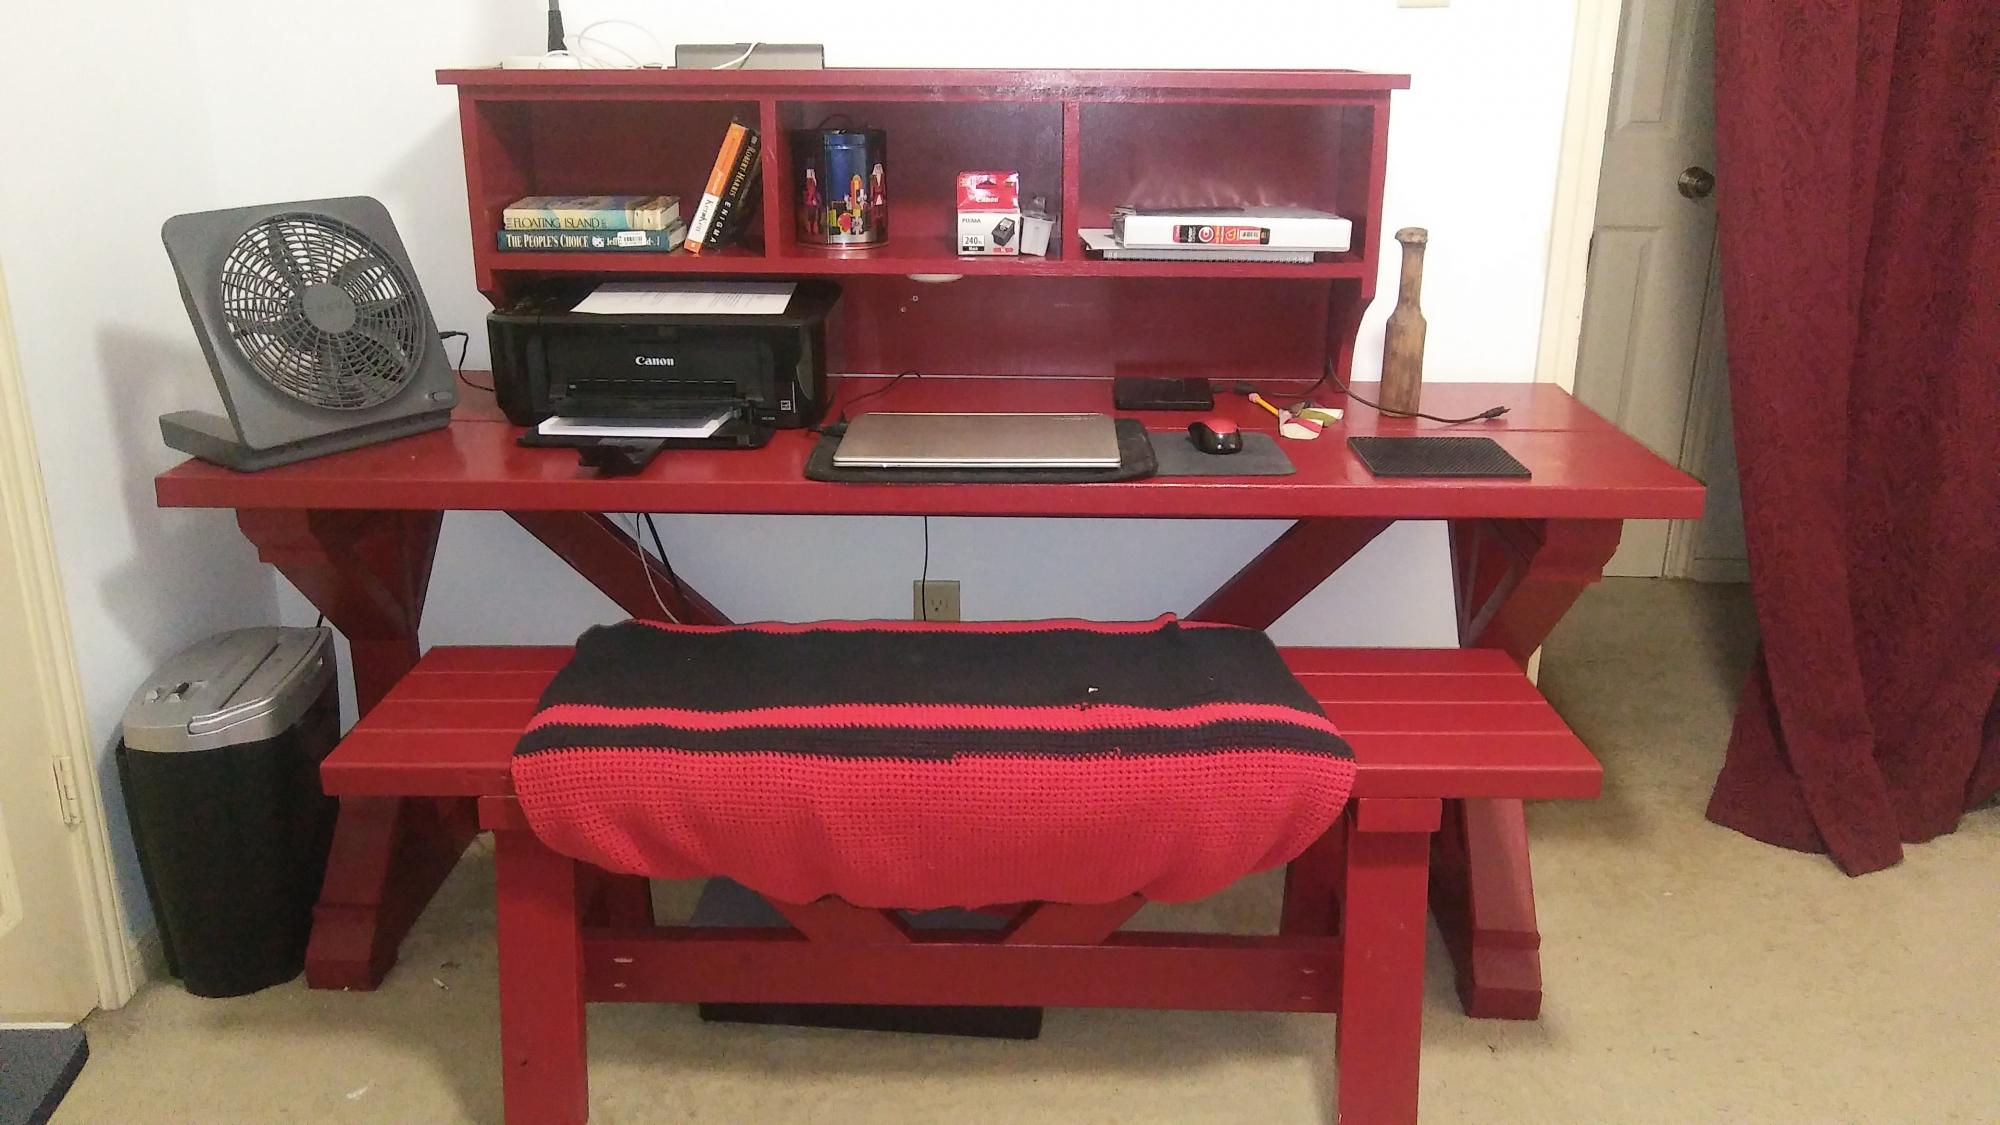
Combined a few of your plans to make my wife a Workstation. Plans were easy to follow and there were no dimension errors.
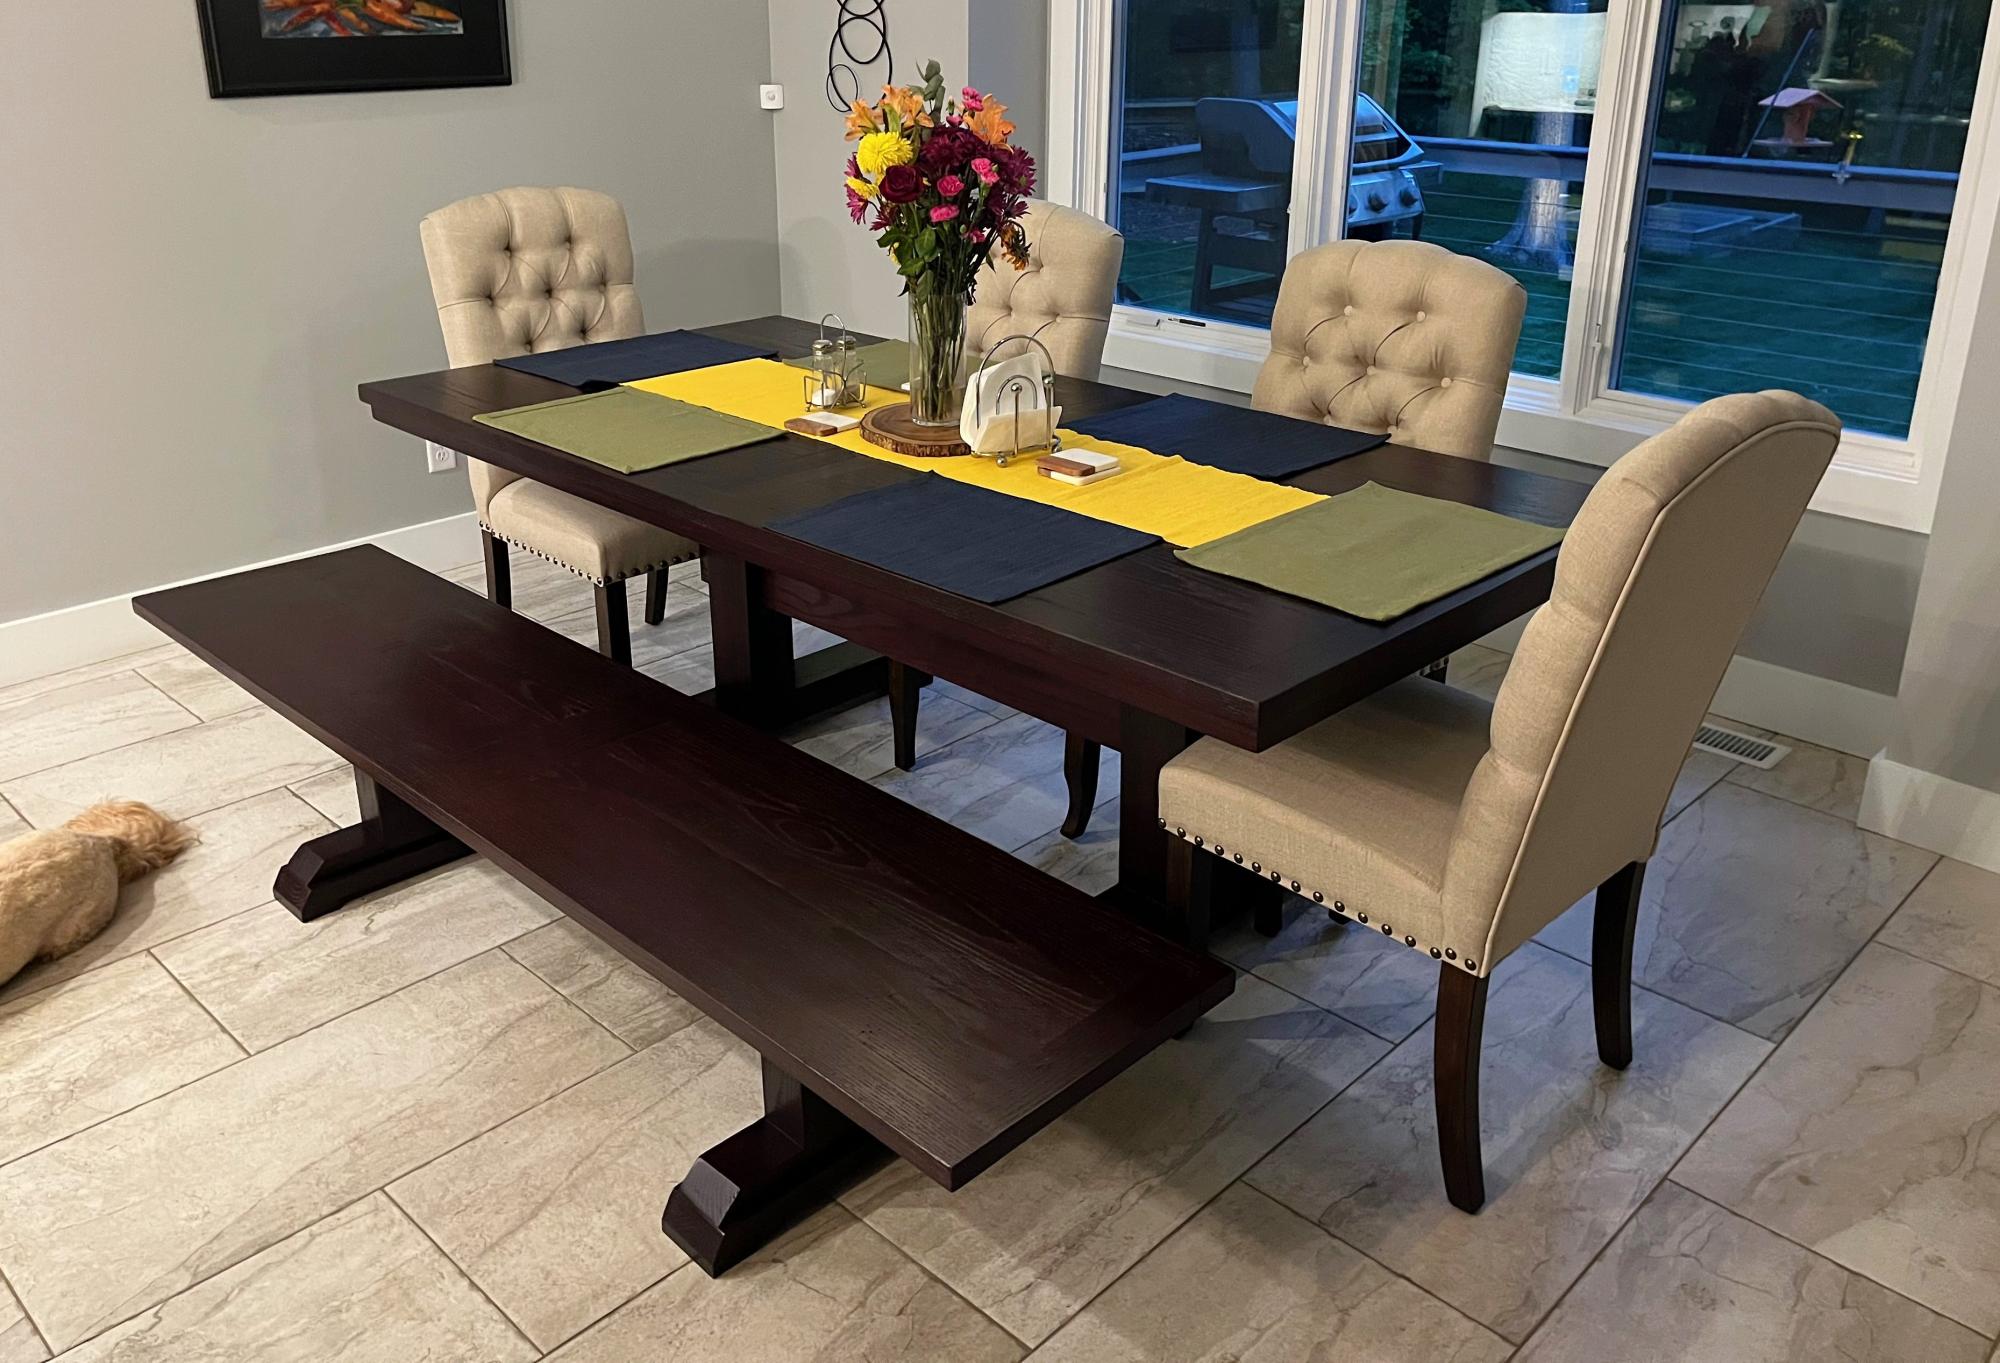
This was made from Red Oak trees that were cut down to clear a lot to build our home. We saved the trees with plans of making a dining room table. I used the Triple Pedestal Farm House Table plan and modified it for the size that we wanted to fit our space. The end result was just want we wanted!
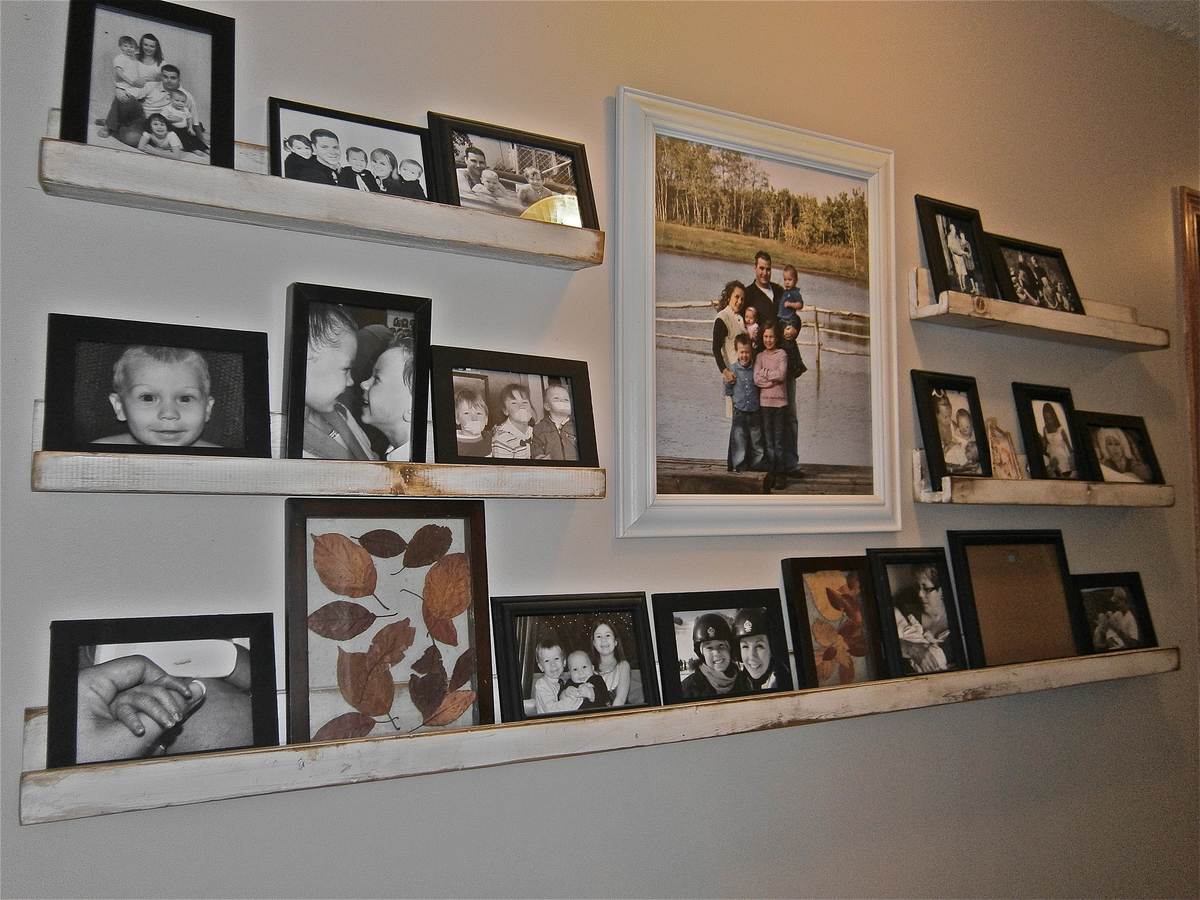
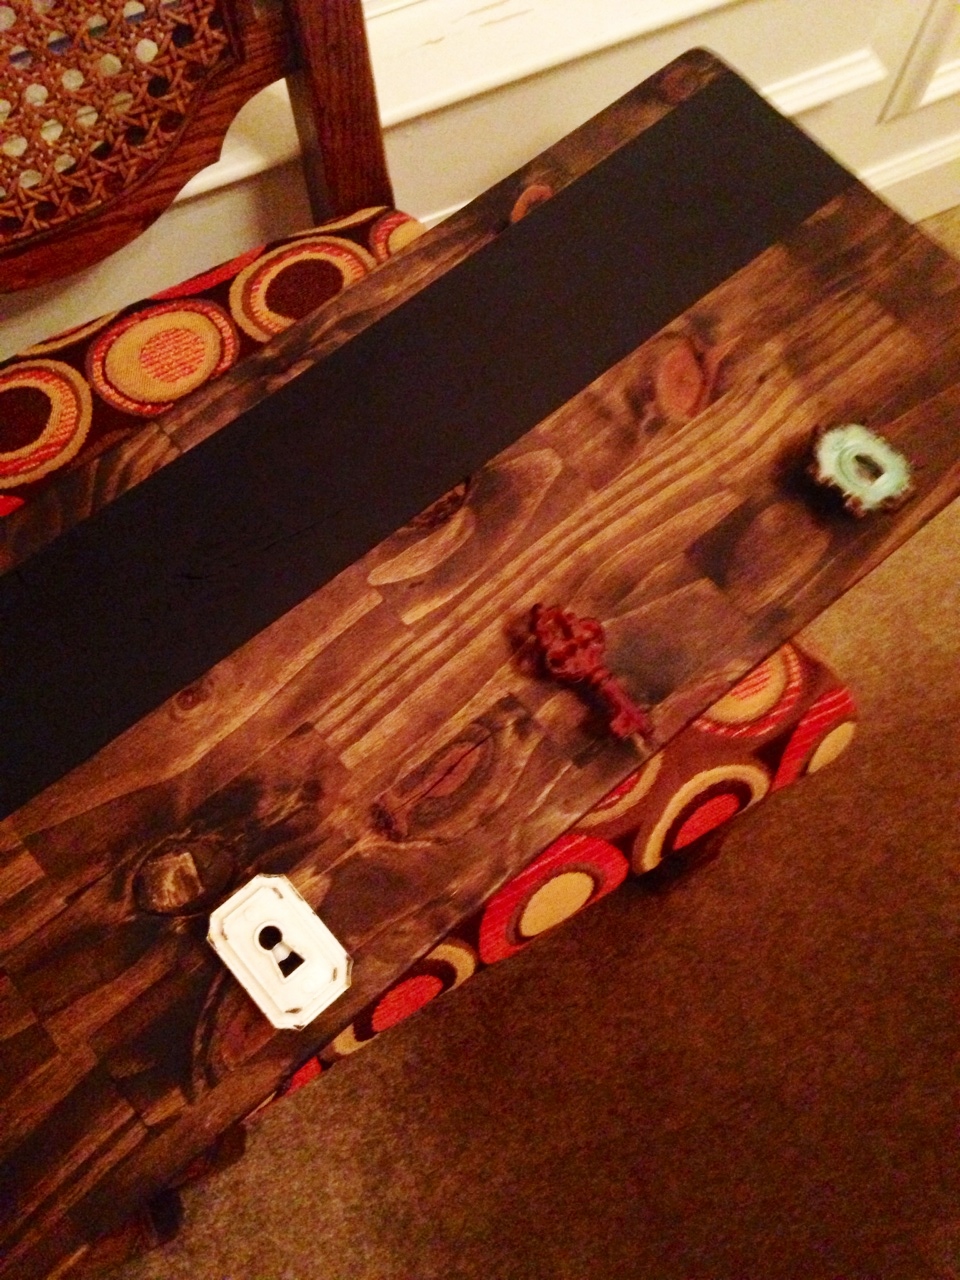
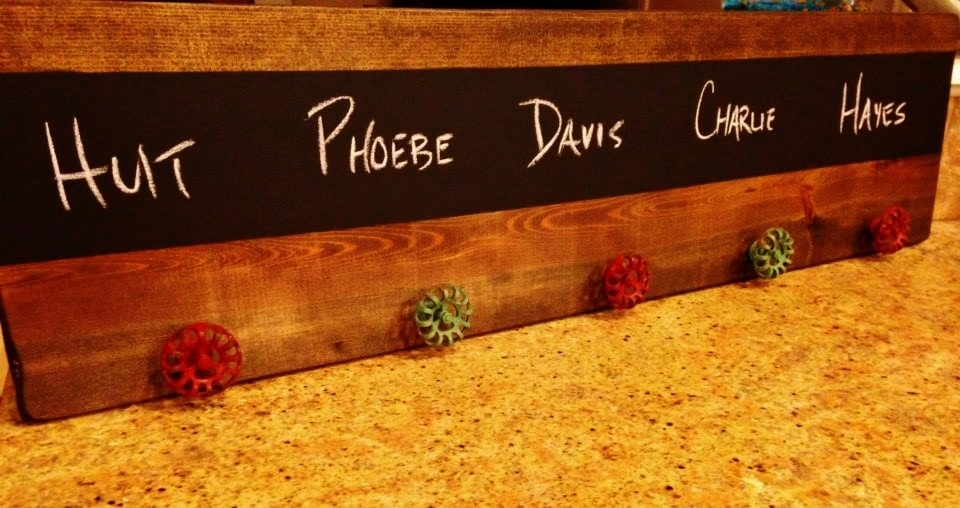
This project took my "picture wall" to a higher level!
So easy too.
Sat, 10/20/2012 - 12:01
Love the way these shelves are done with the large family picture in the center.....
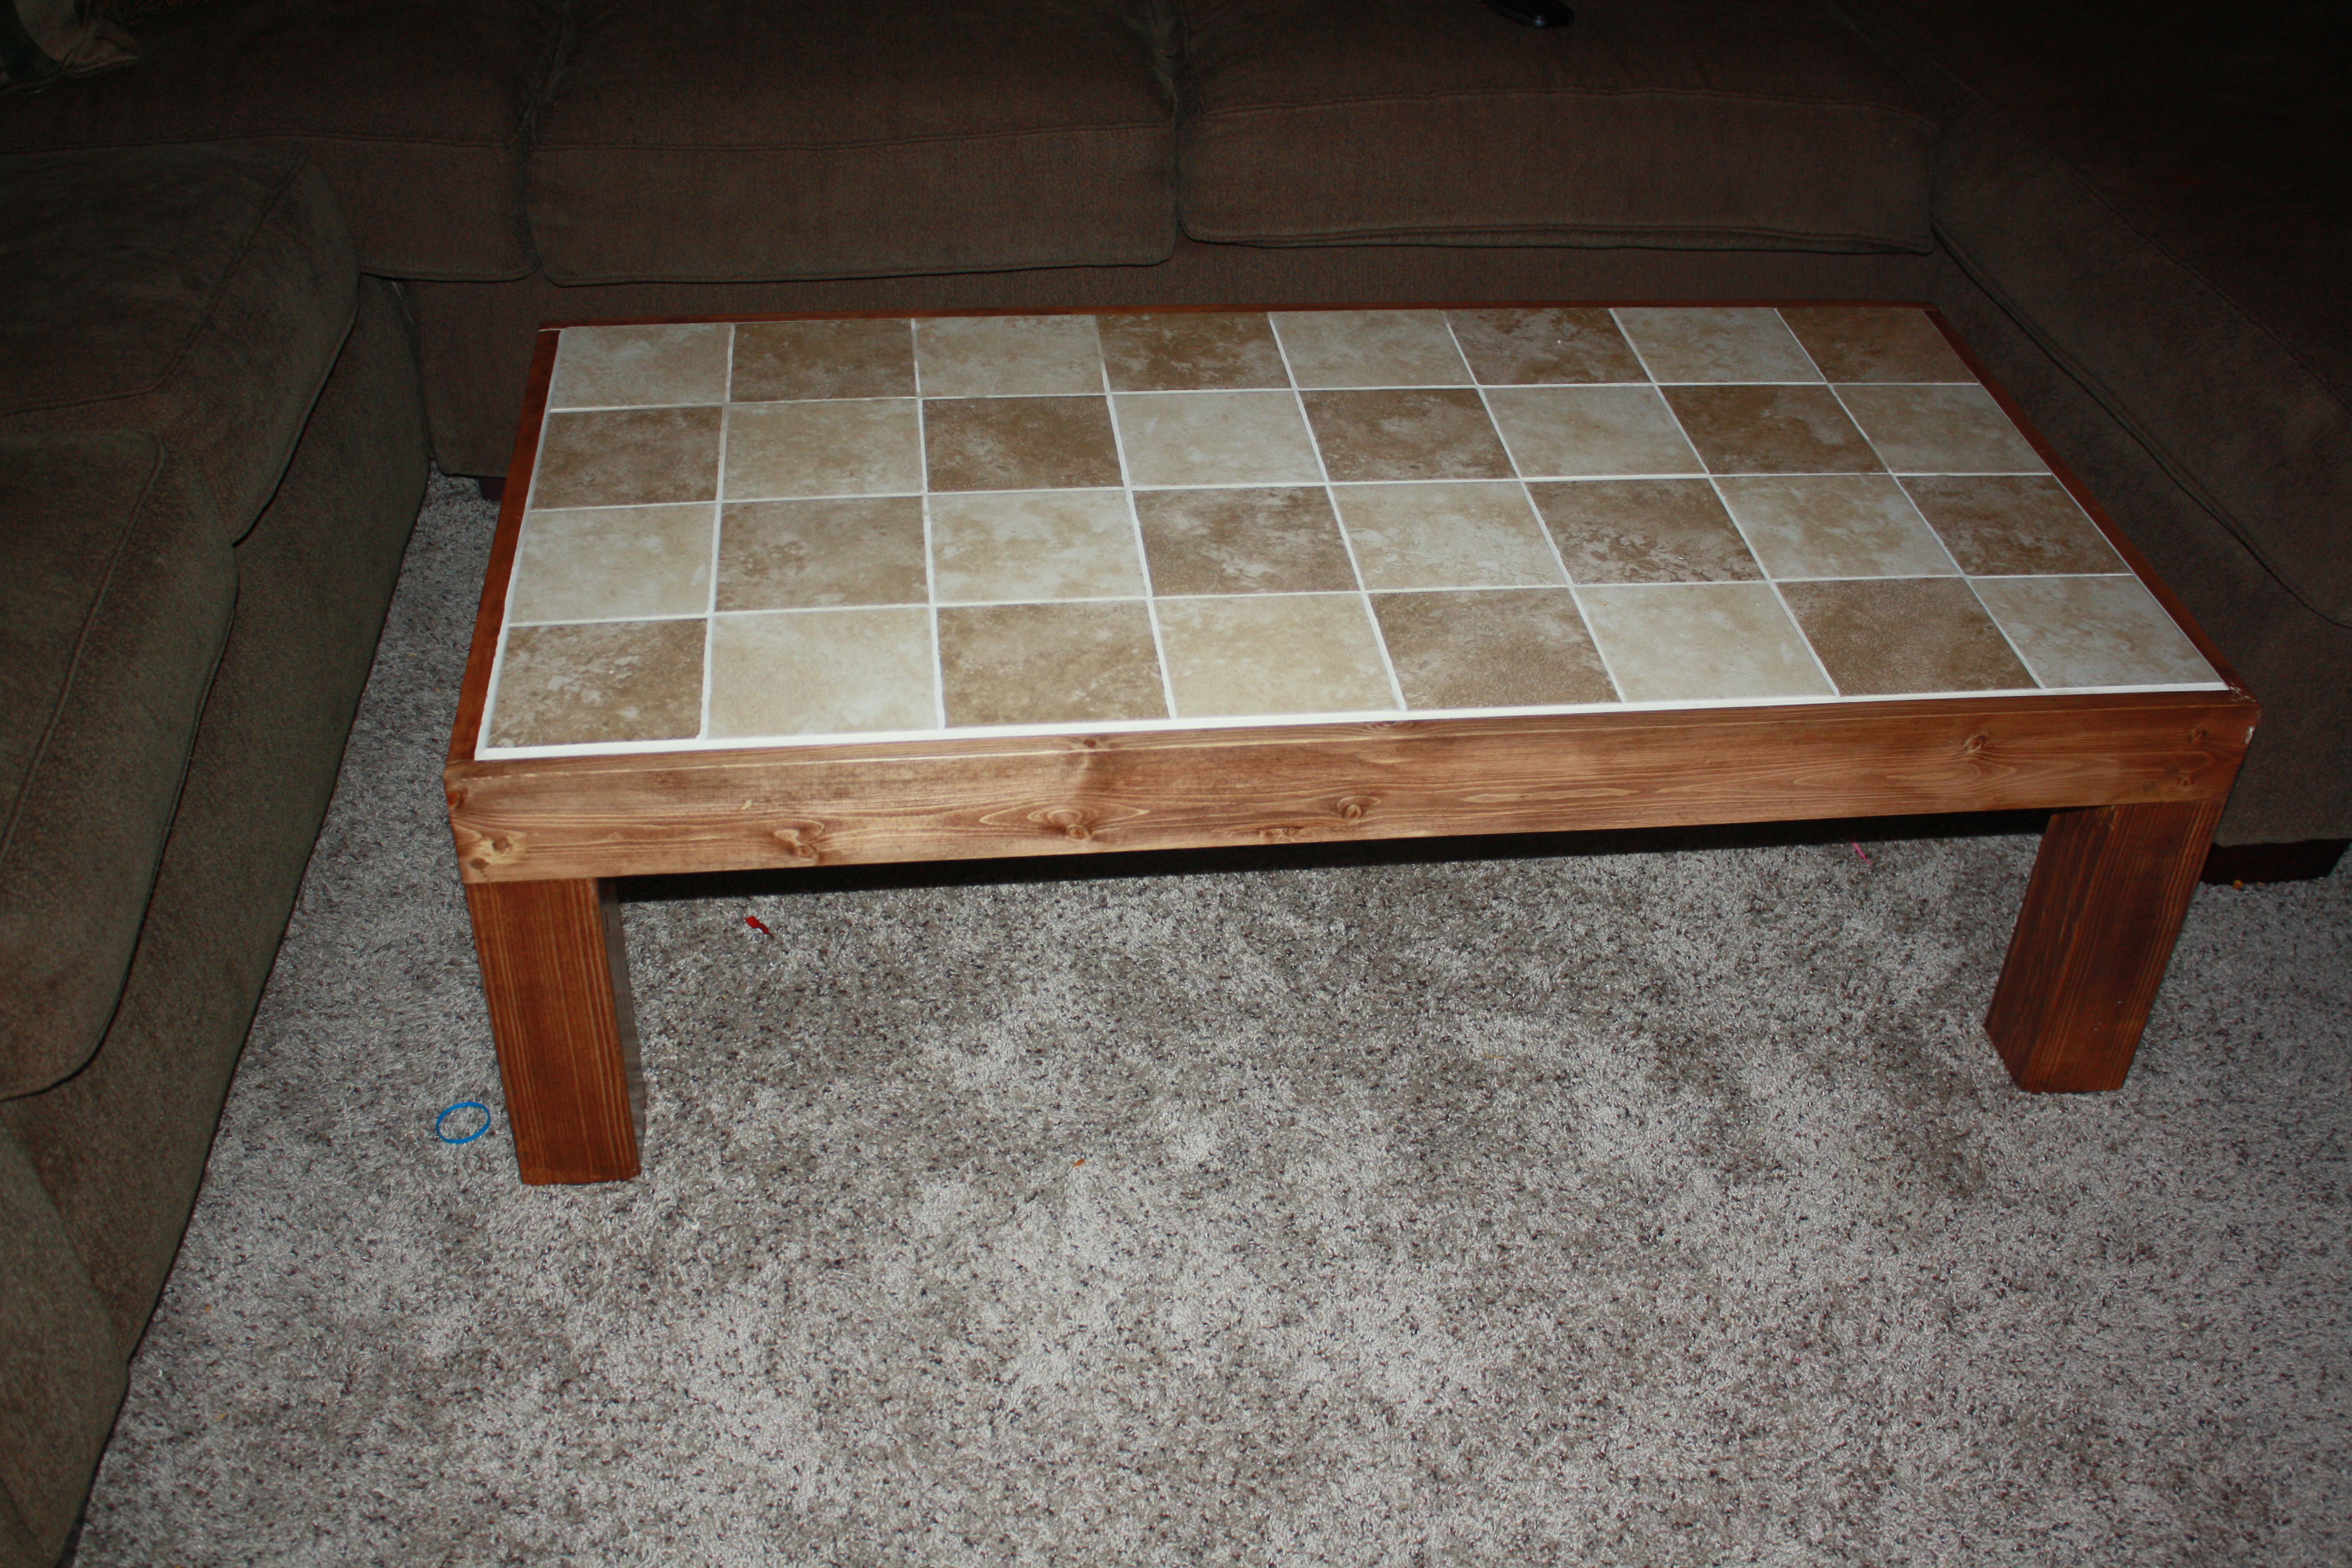
This was one of the 1st woodworking projects I did on my own. I never tiled before so it was a challenge. Even bought myself a tile saw to do it. I could not be more happy with the way it turned out and I love having it in my living room.
Sun, 02/16/2014 - 19:32
This was a fun project to do and a great conversation piece when people come over!
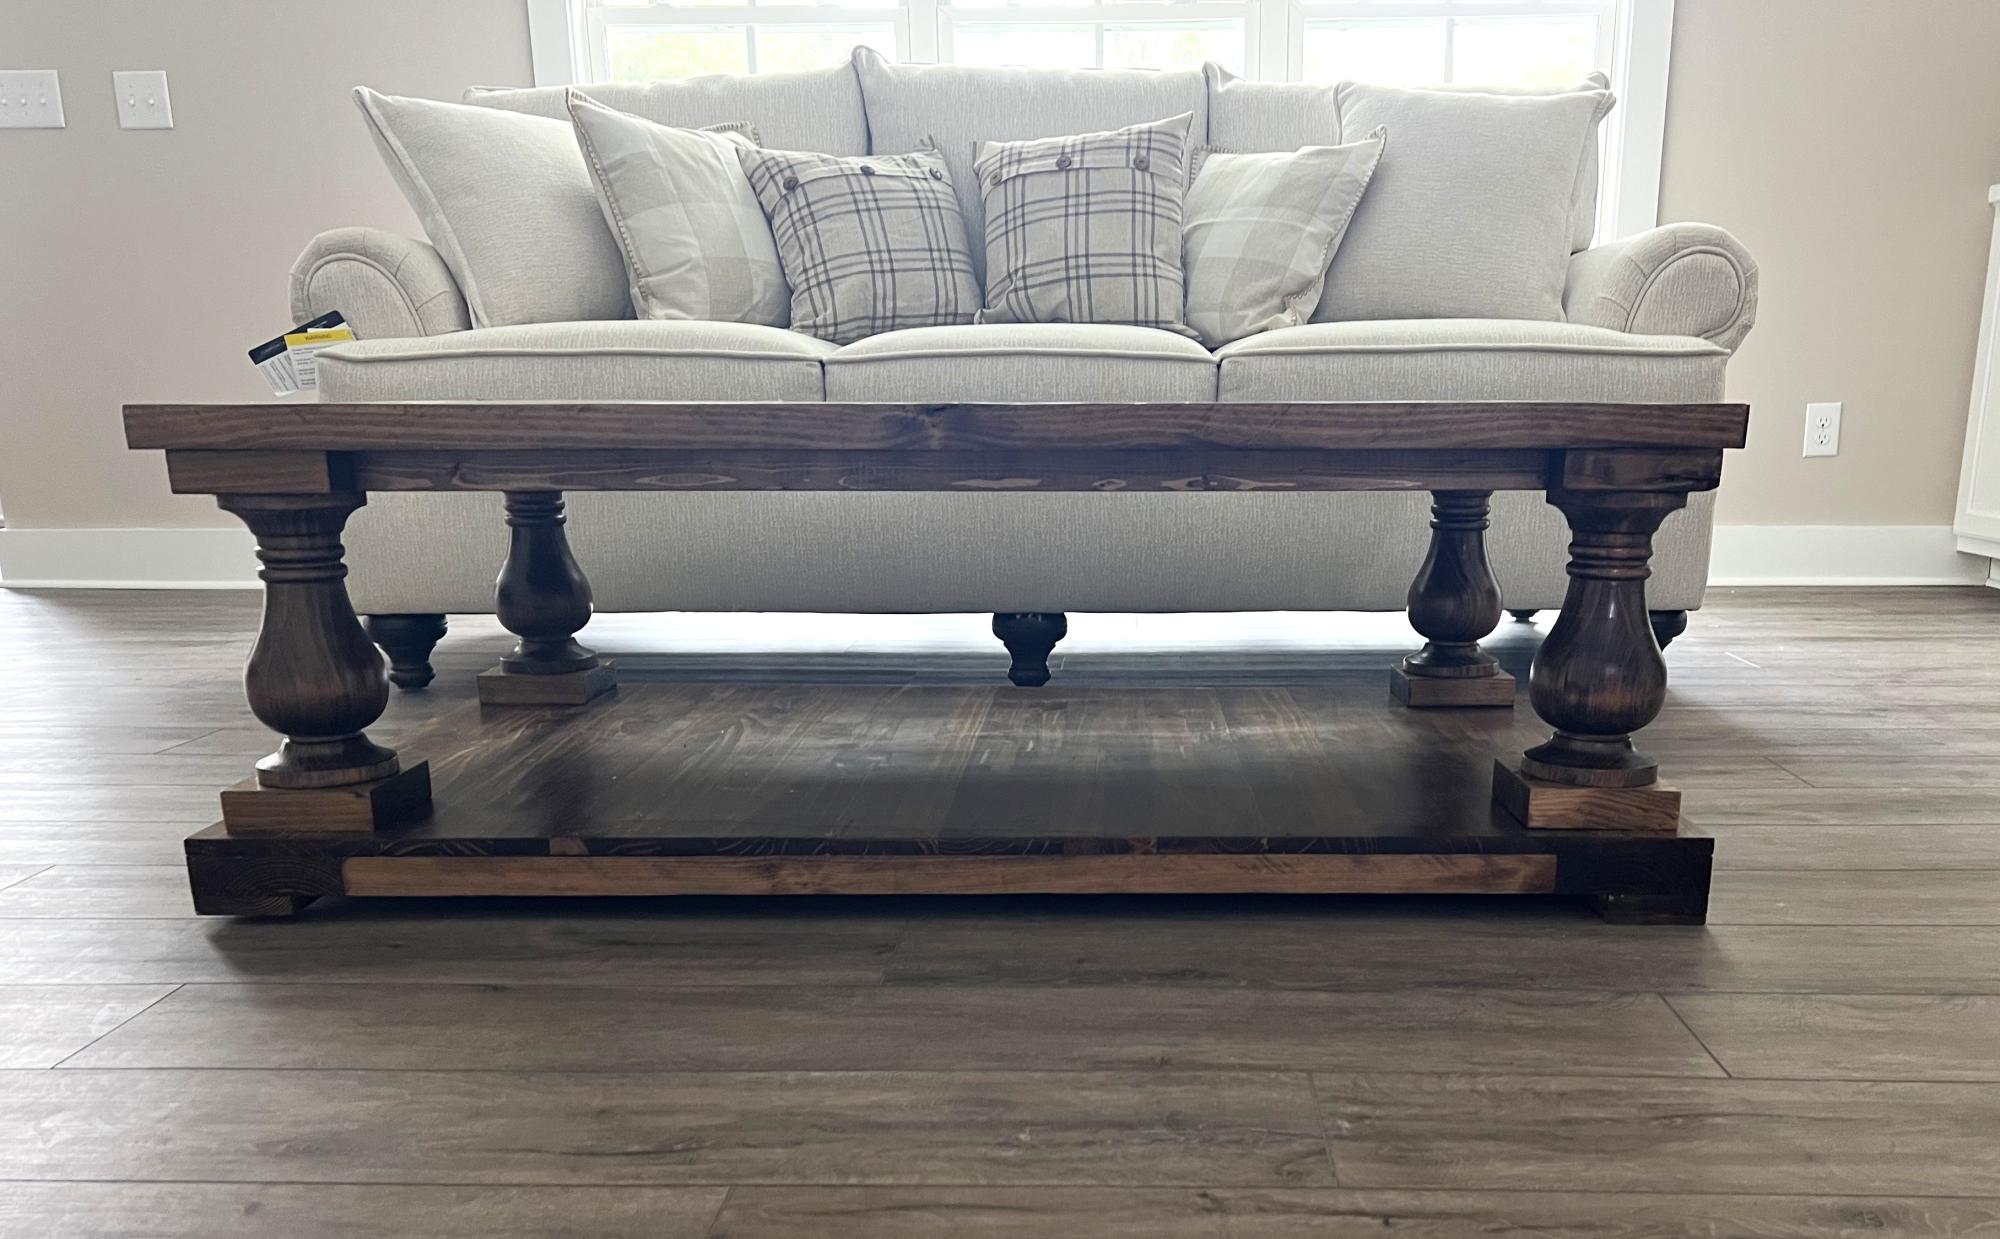
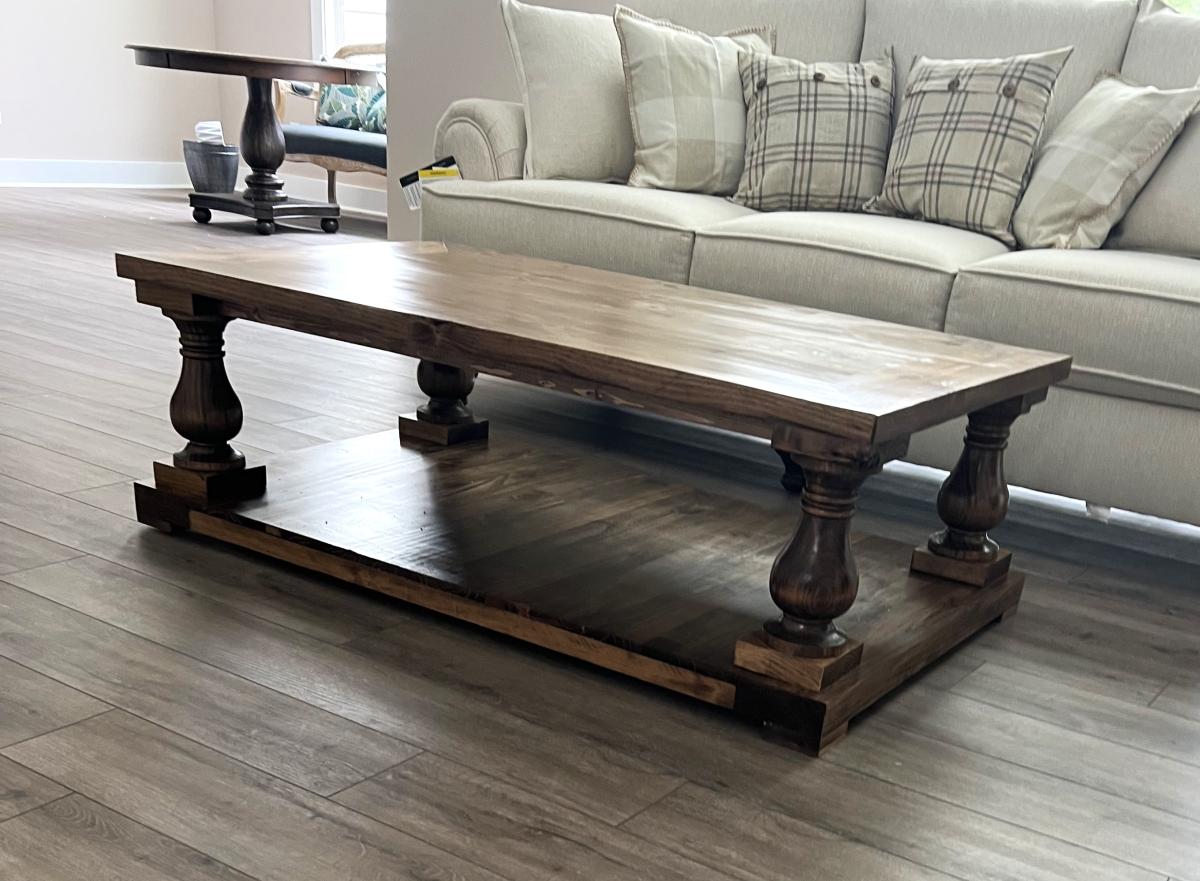
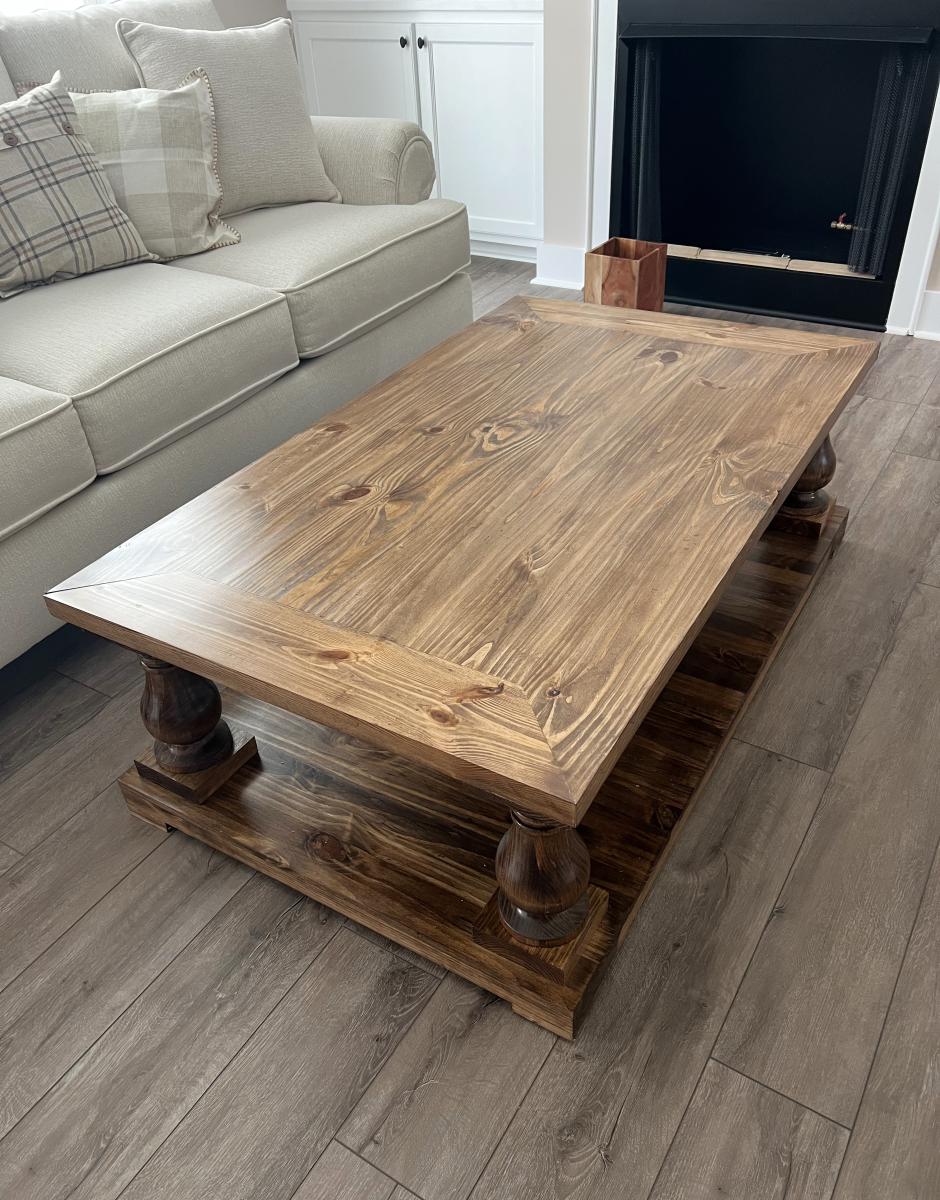
My rendition of the baluster coffee table.
Wayne A.

This was the easiest and quickest build I've done yet. The more time consuming part for me was stapling down the curtains on the underside.
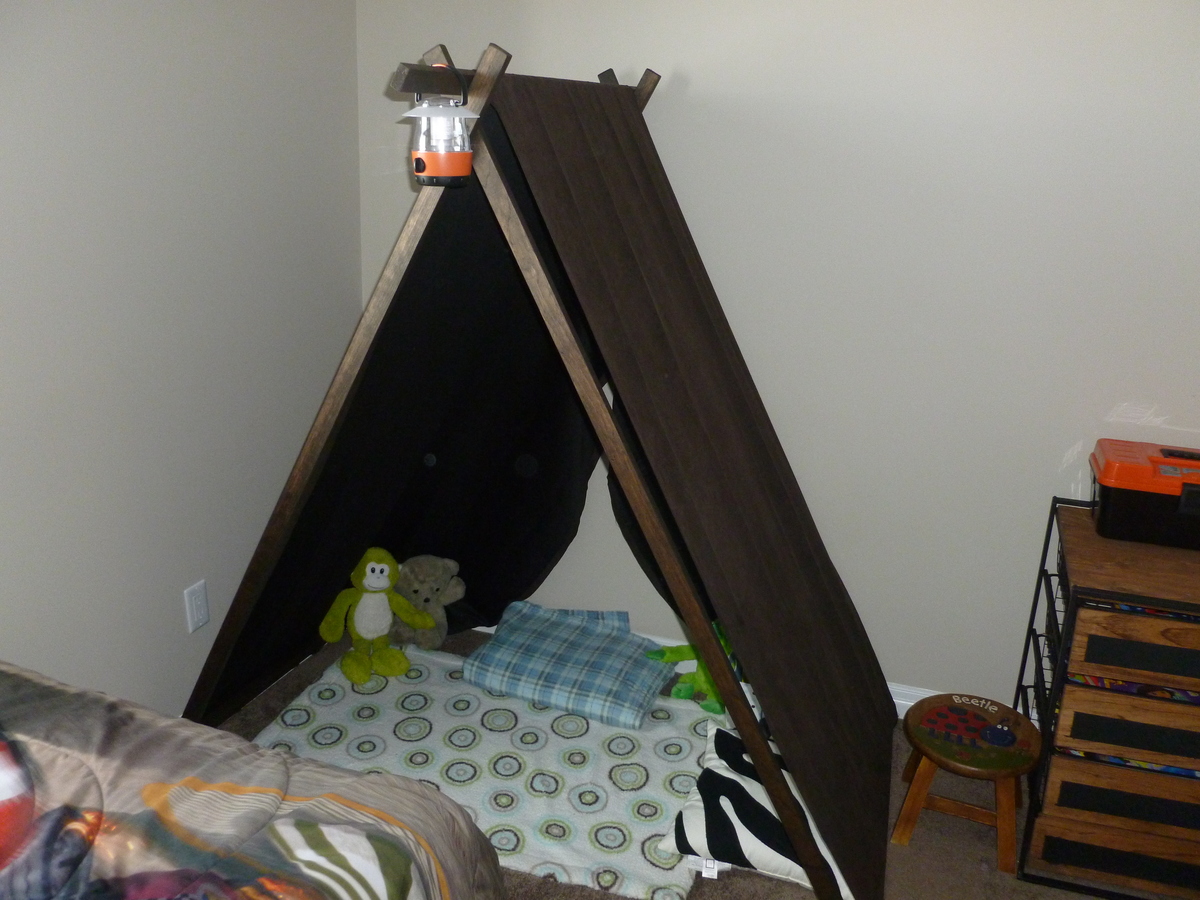
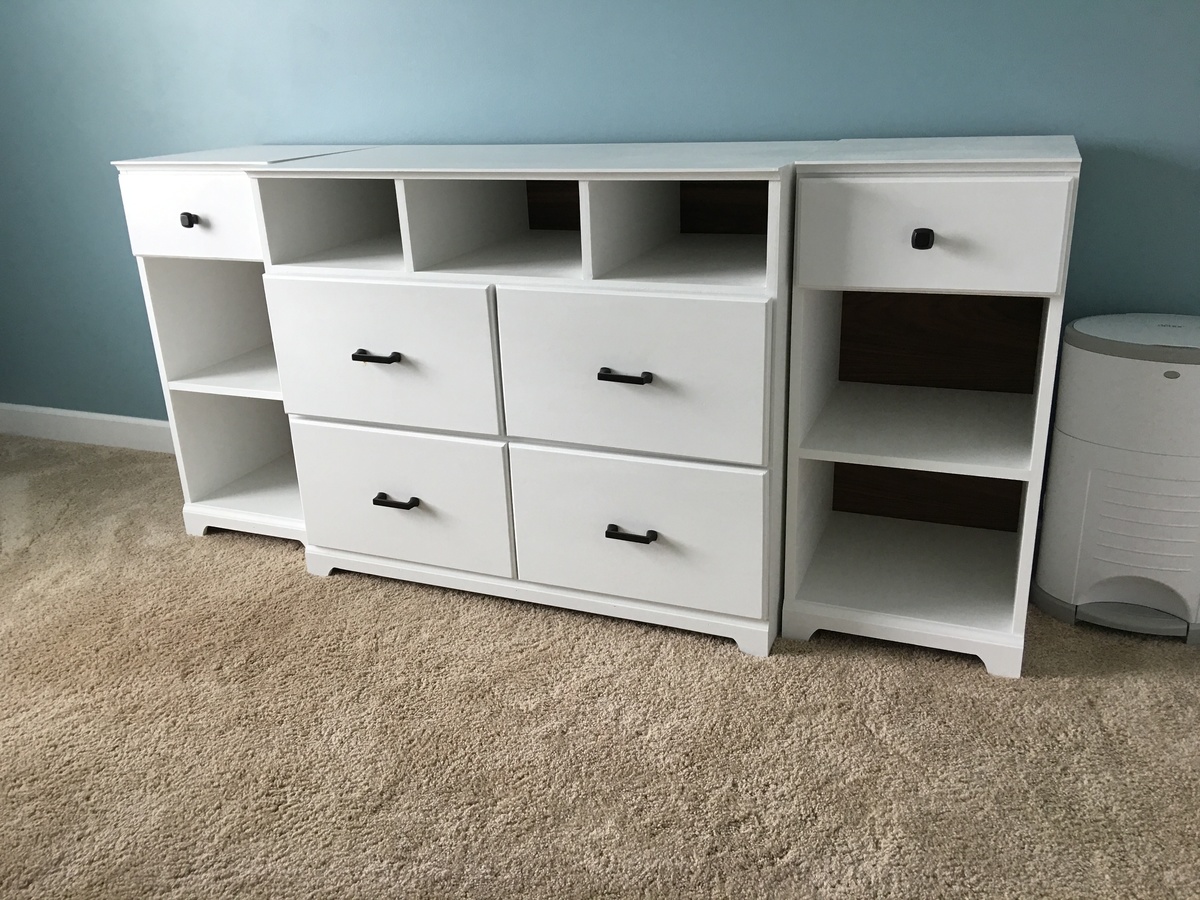
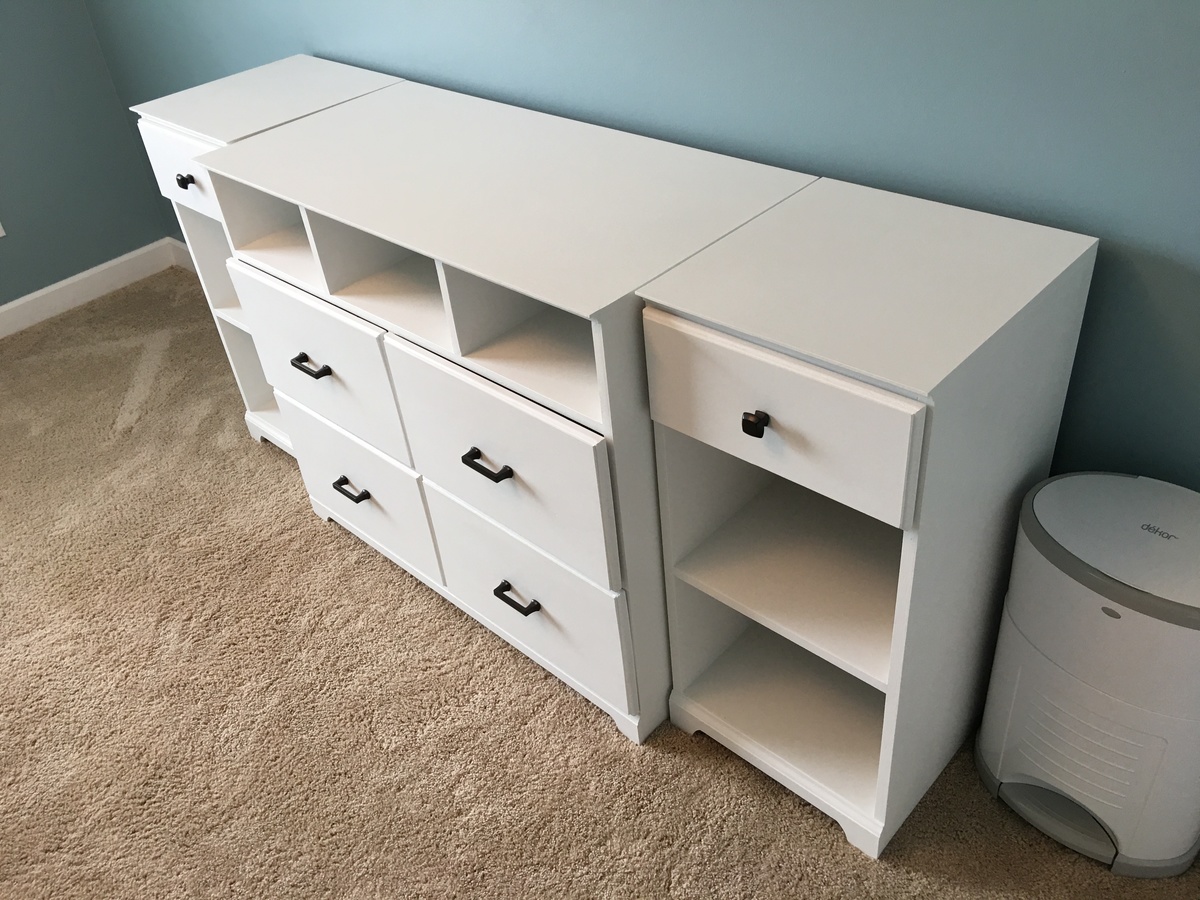
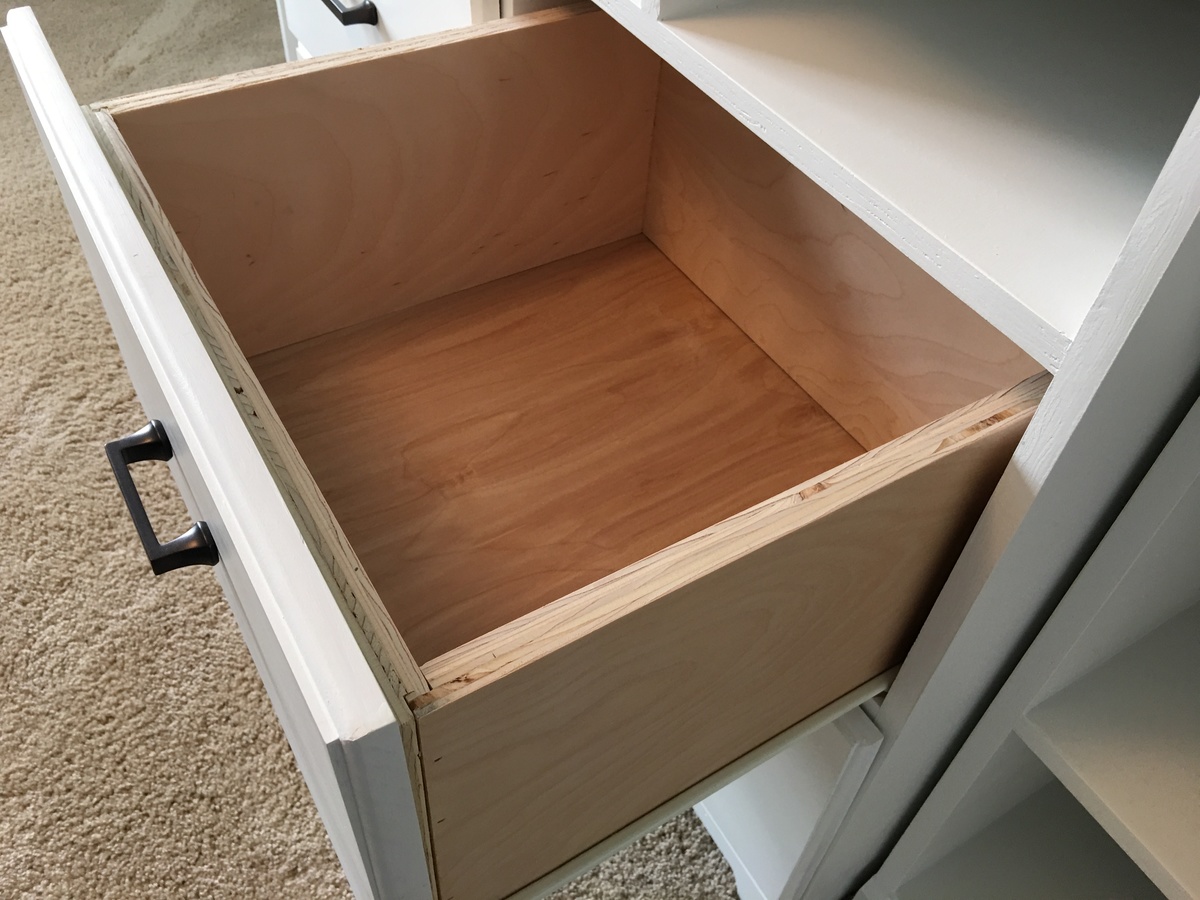
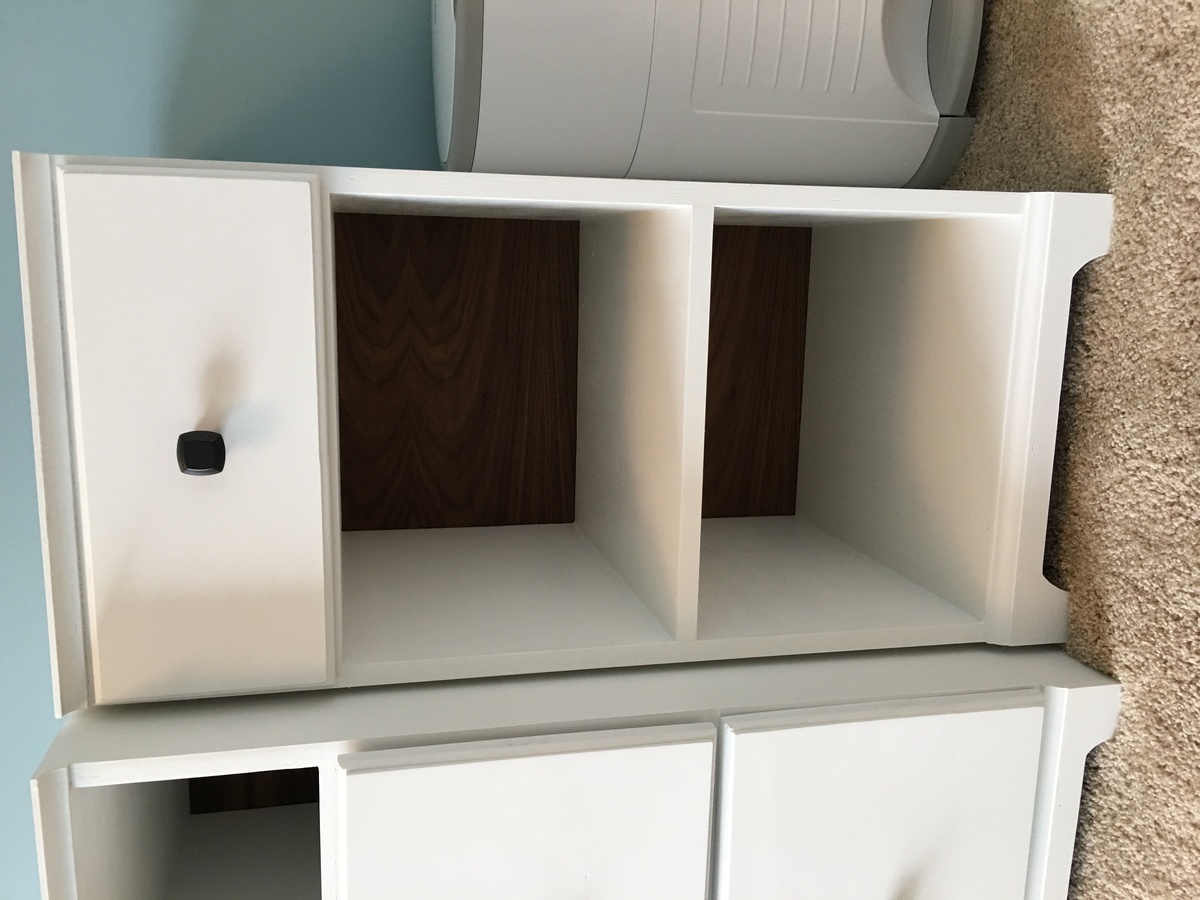
Inspired by the Madeline plans, I built this changing table for our impending arrival.
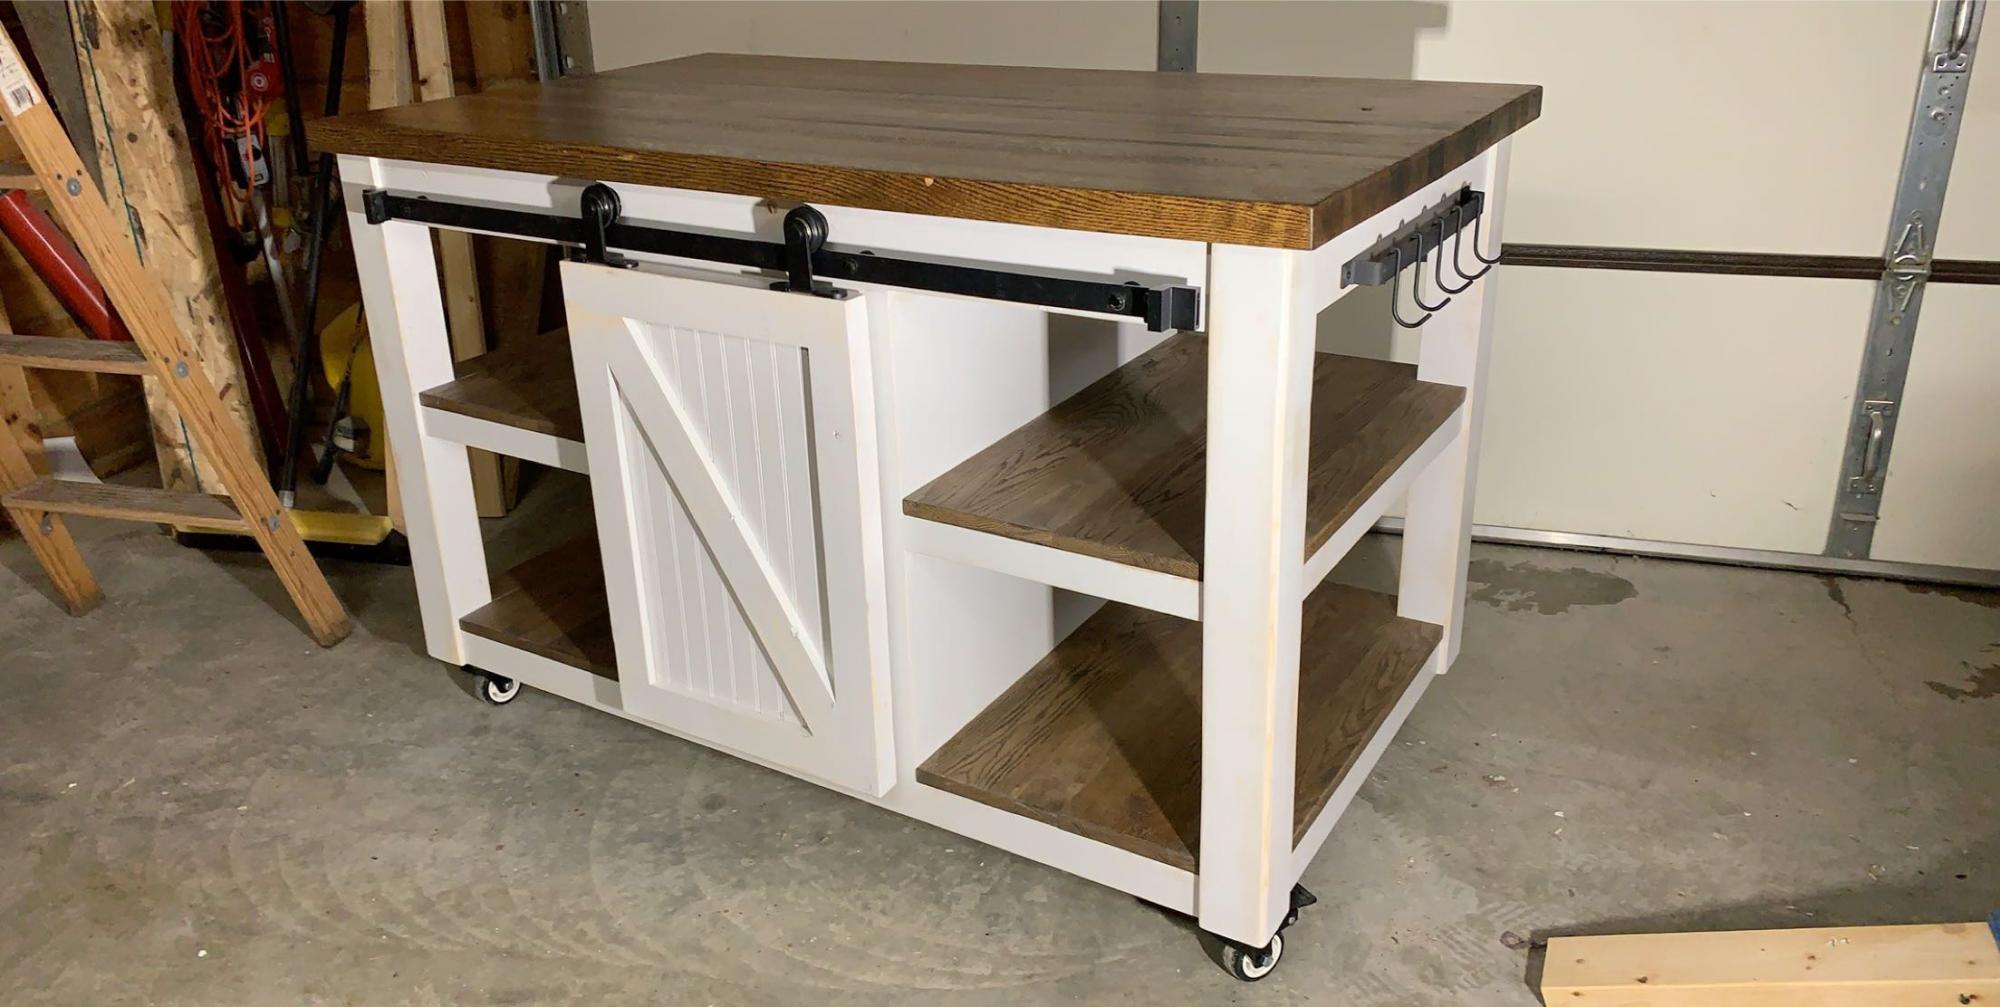
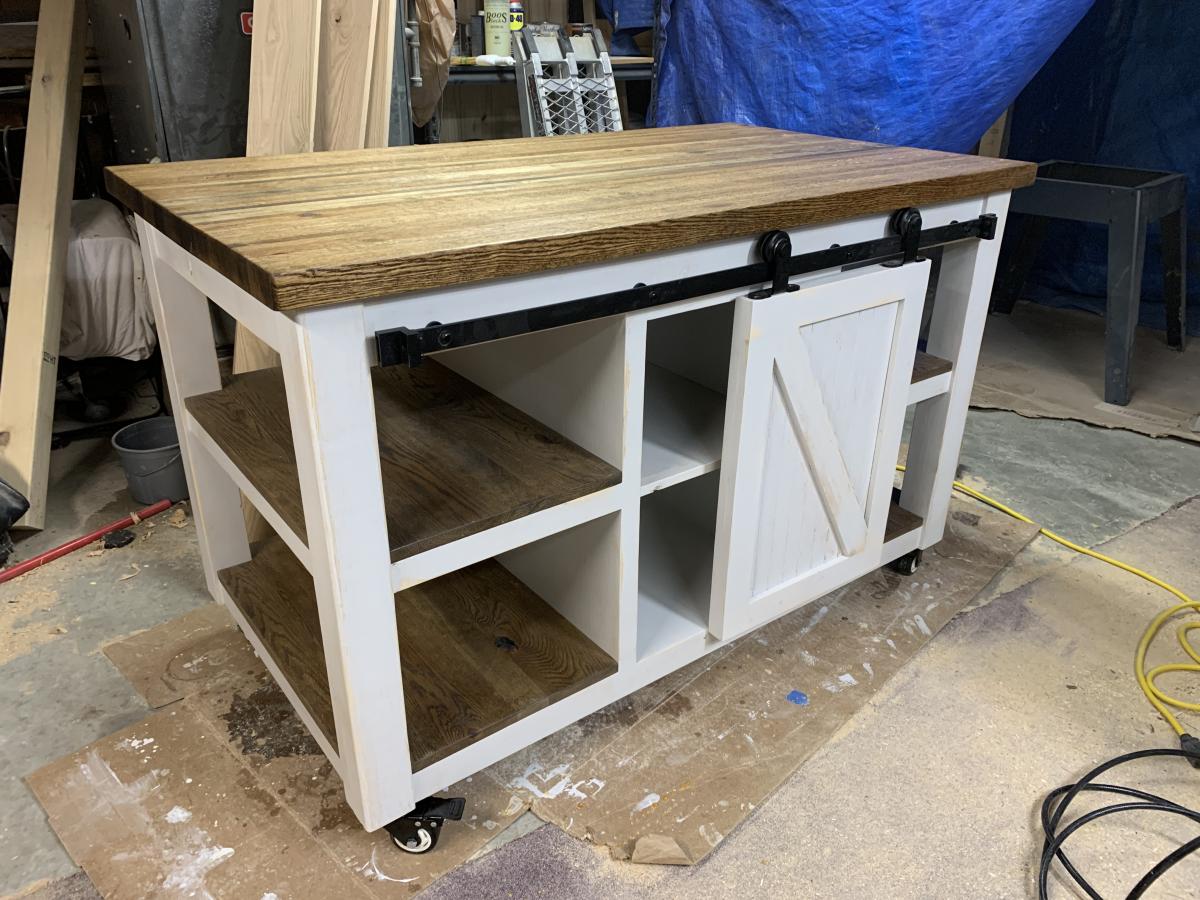
I built this custom kitchen island for a family friend that wanted something bigger than what can be purchased at a retail store. They also wanted to have a butcher block top for cutting meat. The base is made out of select pine and the stained parts is red oak with a couple strips of birch. The over all project took me 5 days to build. With the top being the longest because it consisted of 94 1 ¼” pieces glued together. Thanks for looking!