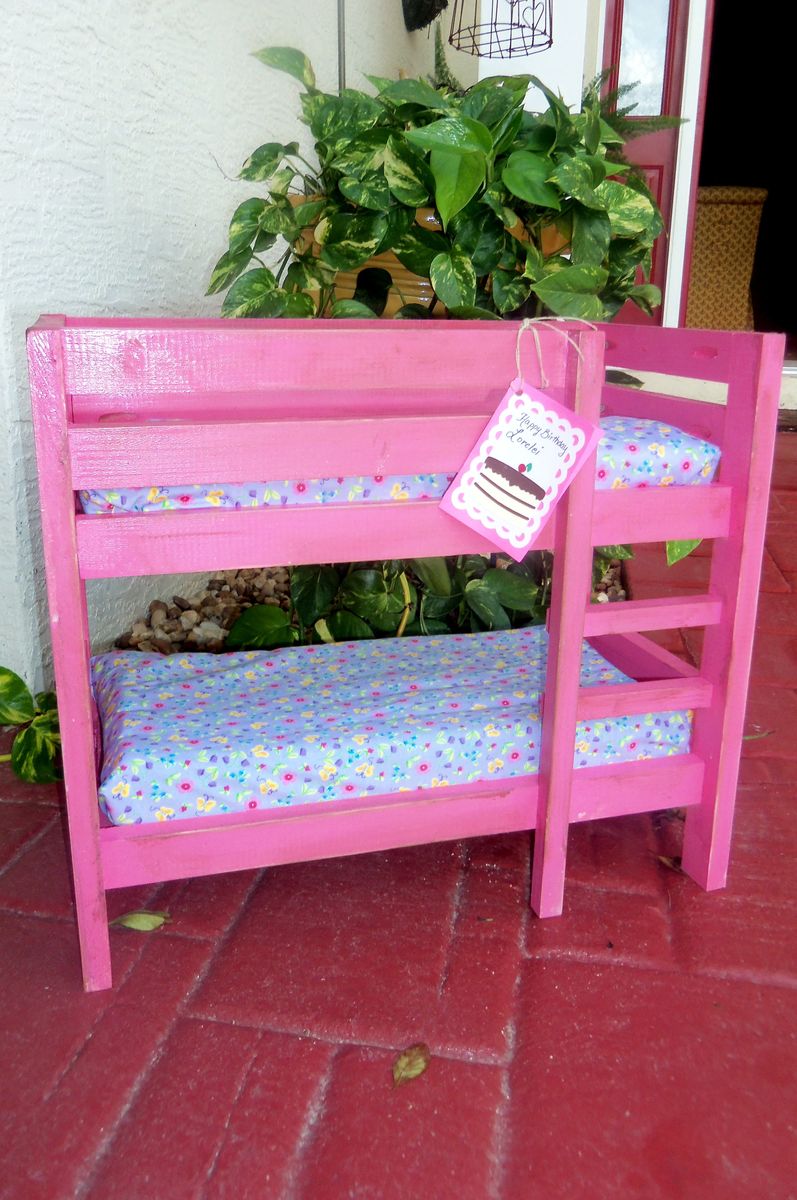
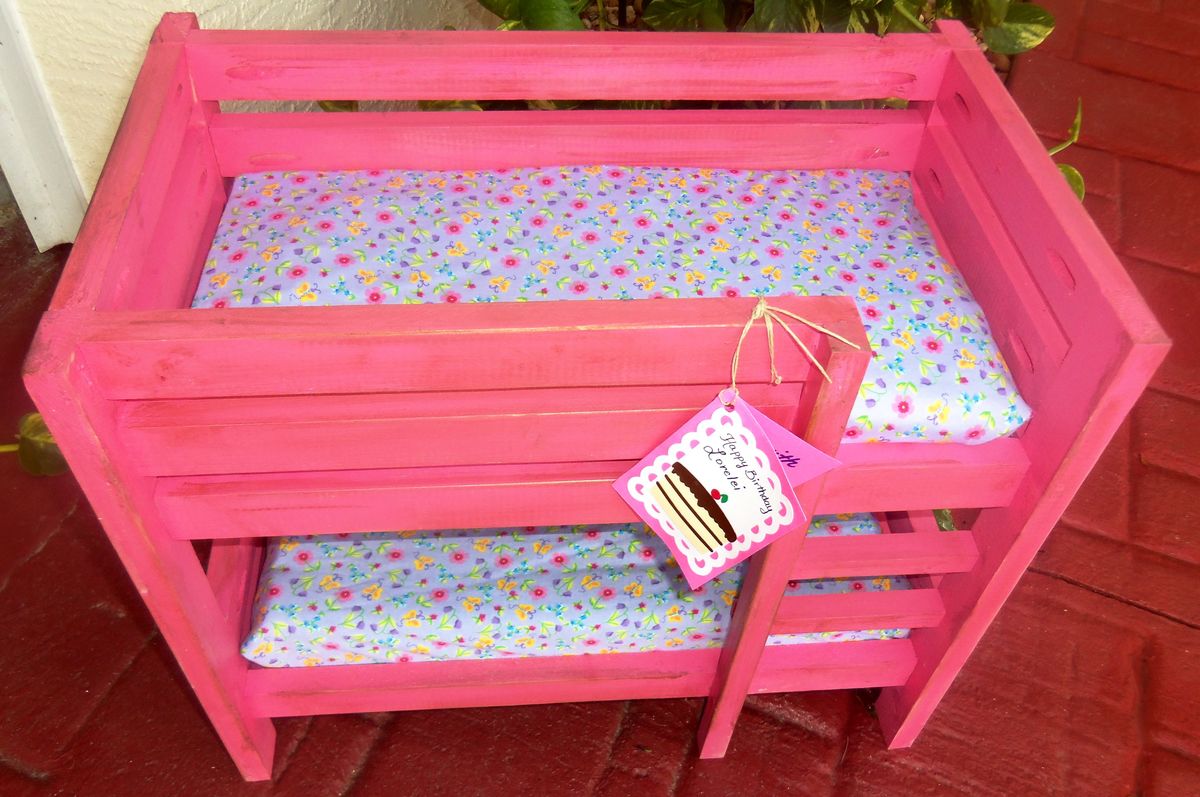
A wee Bunk Bed for a Birthday
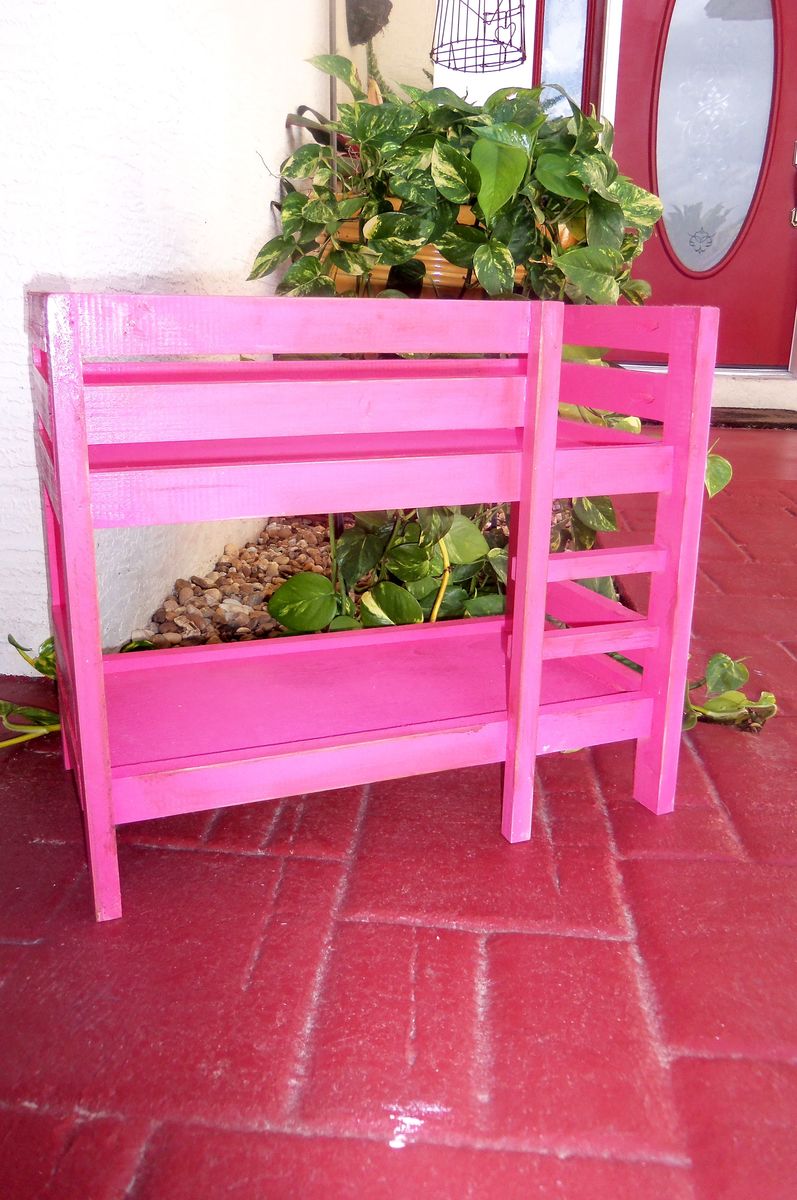
We have a lot of birthdays (5-6 year old range) this week so we decided to try some of these plans out. So much fun and they get easier each time :)
Built from Plan(s)
Estimated Cost
20
Estimated Time Investment
Afternoon Project (3-6 Hours)
Finish Used
Just some extra pink paint I had lying around
Recommended Skill Level
Beginner