Outdoor Dining Table with Sectional
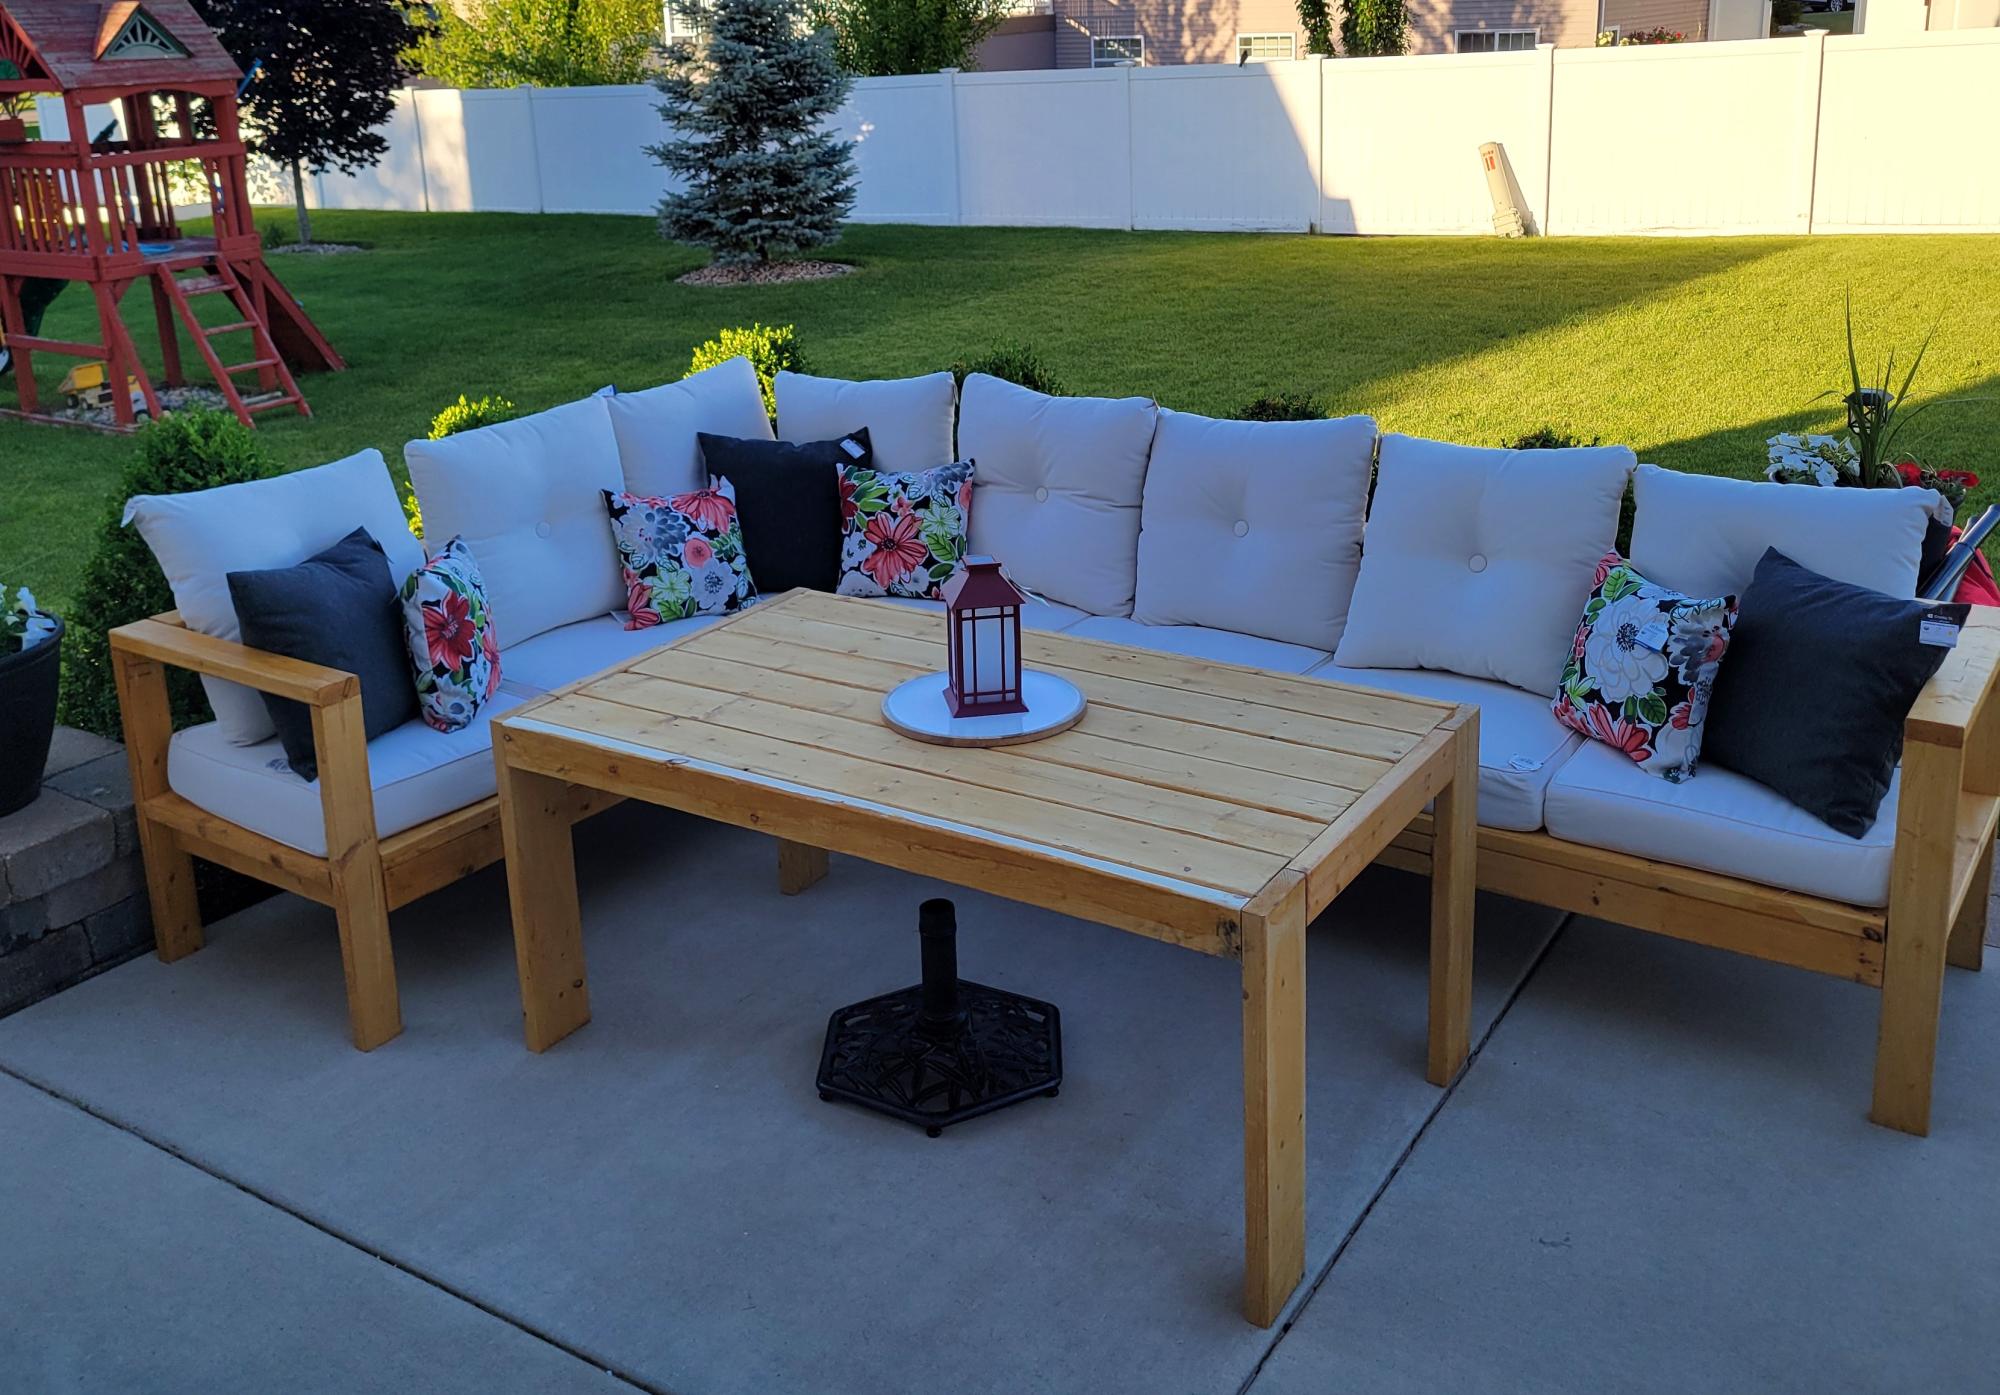
Outdoor sectional with modern farm table. Angela Herrera
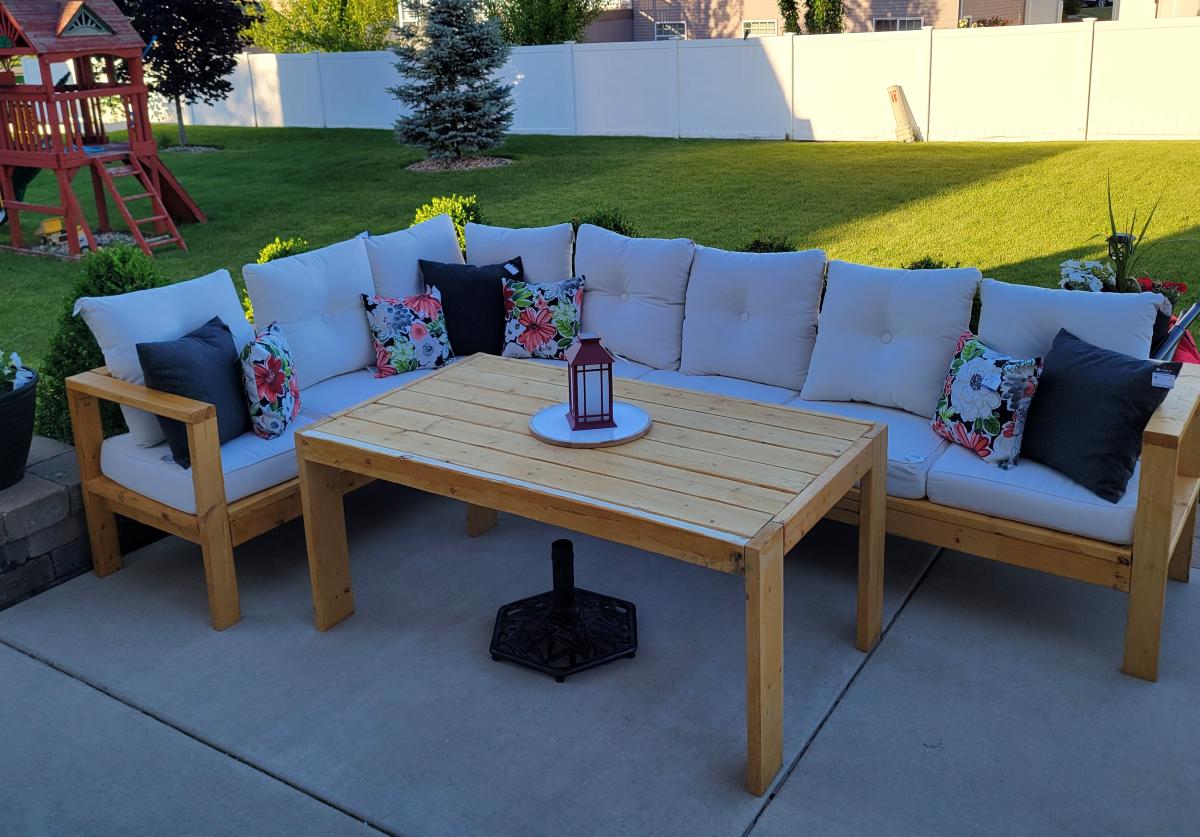
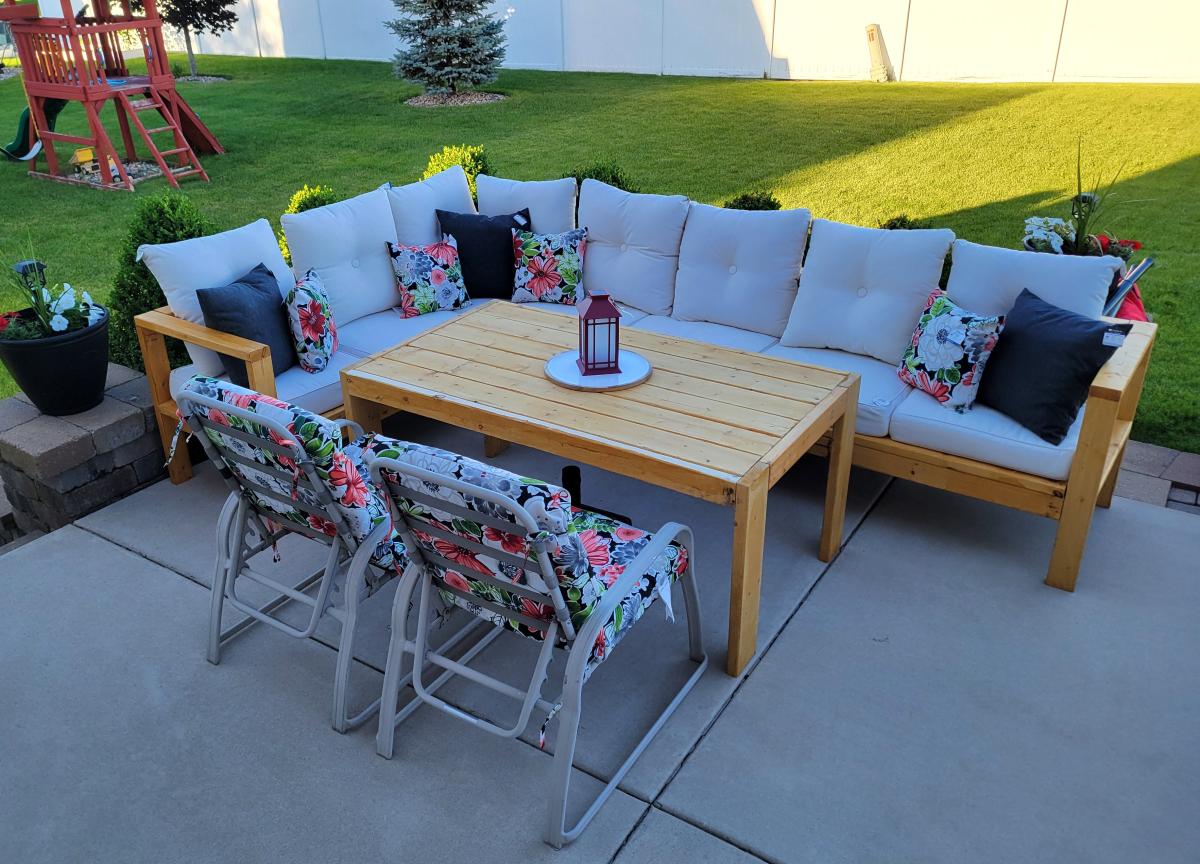

Outdoor sectional with modern farm table. Angela Herrera


So i made these chairs to go with the table i built. I actually built 7 of them at a time, three for me and four for a friend. I had a little over a hundred pieces of wood to put together which became a chore, so i don't recommend doing so many at once. I got burnt out quite a few times, hence why it took me a month to finish (couple hrs here every other day or so).
Anyways, the plans we very easy, the wood on the other hand was difficult. Using furring strips is inexpensive but i had more then i wanted split, and they wern't all the same thickness. Making the front legs stick out more (no biggy) and some screws went too far through even though they were the right size according to the plans. Two 1x3's furring strips sandwiched together ( side aprons) might not take a 1 1/4 inch screw. I had to cut off a few tips from the inside of the chairs.
All in all i am so happy with the end results, even happier that in total it only costed me less then $20 in wood! Would have been a little more because i got the wood for the chairs for free, in exchange to build my friend a table and chairs set like mine.
Link to the Chair Plans.
http://ana-white.com/2010/11/plans/four-dollar-stackable-children’s-chairs


My wife was going to buy a resin bench from Lowes. I told her I would build a REAL bench out of wood myself. I found the One Board Bench plan and thought it was a classic looking bench that was not too busy and perfect for the spot under the pine tree she was wanting to fill.
I went with Cape Cod Grey Olympic Maximum Semi-Transparent Exterior Stain instead of the natural wood look using the Tung Oil originally in the plans.
This was my first venture into woodworking since middle school shop class. I've always wanted to get back into it and I thought this was a perfect project to get my feet wet and shake off the rust.
Thanks, Ana, for your amazing plans and the inspiration I needed to get back to a hobby I love after over 20yrs.
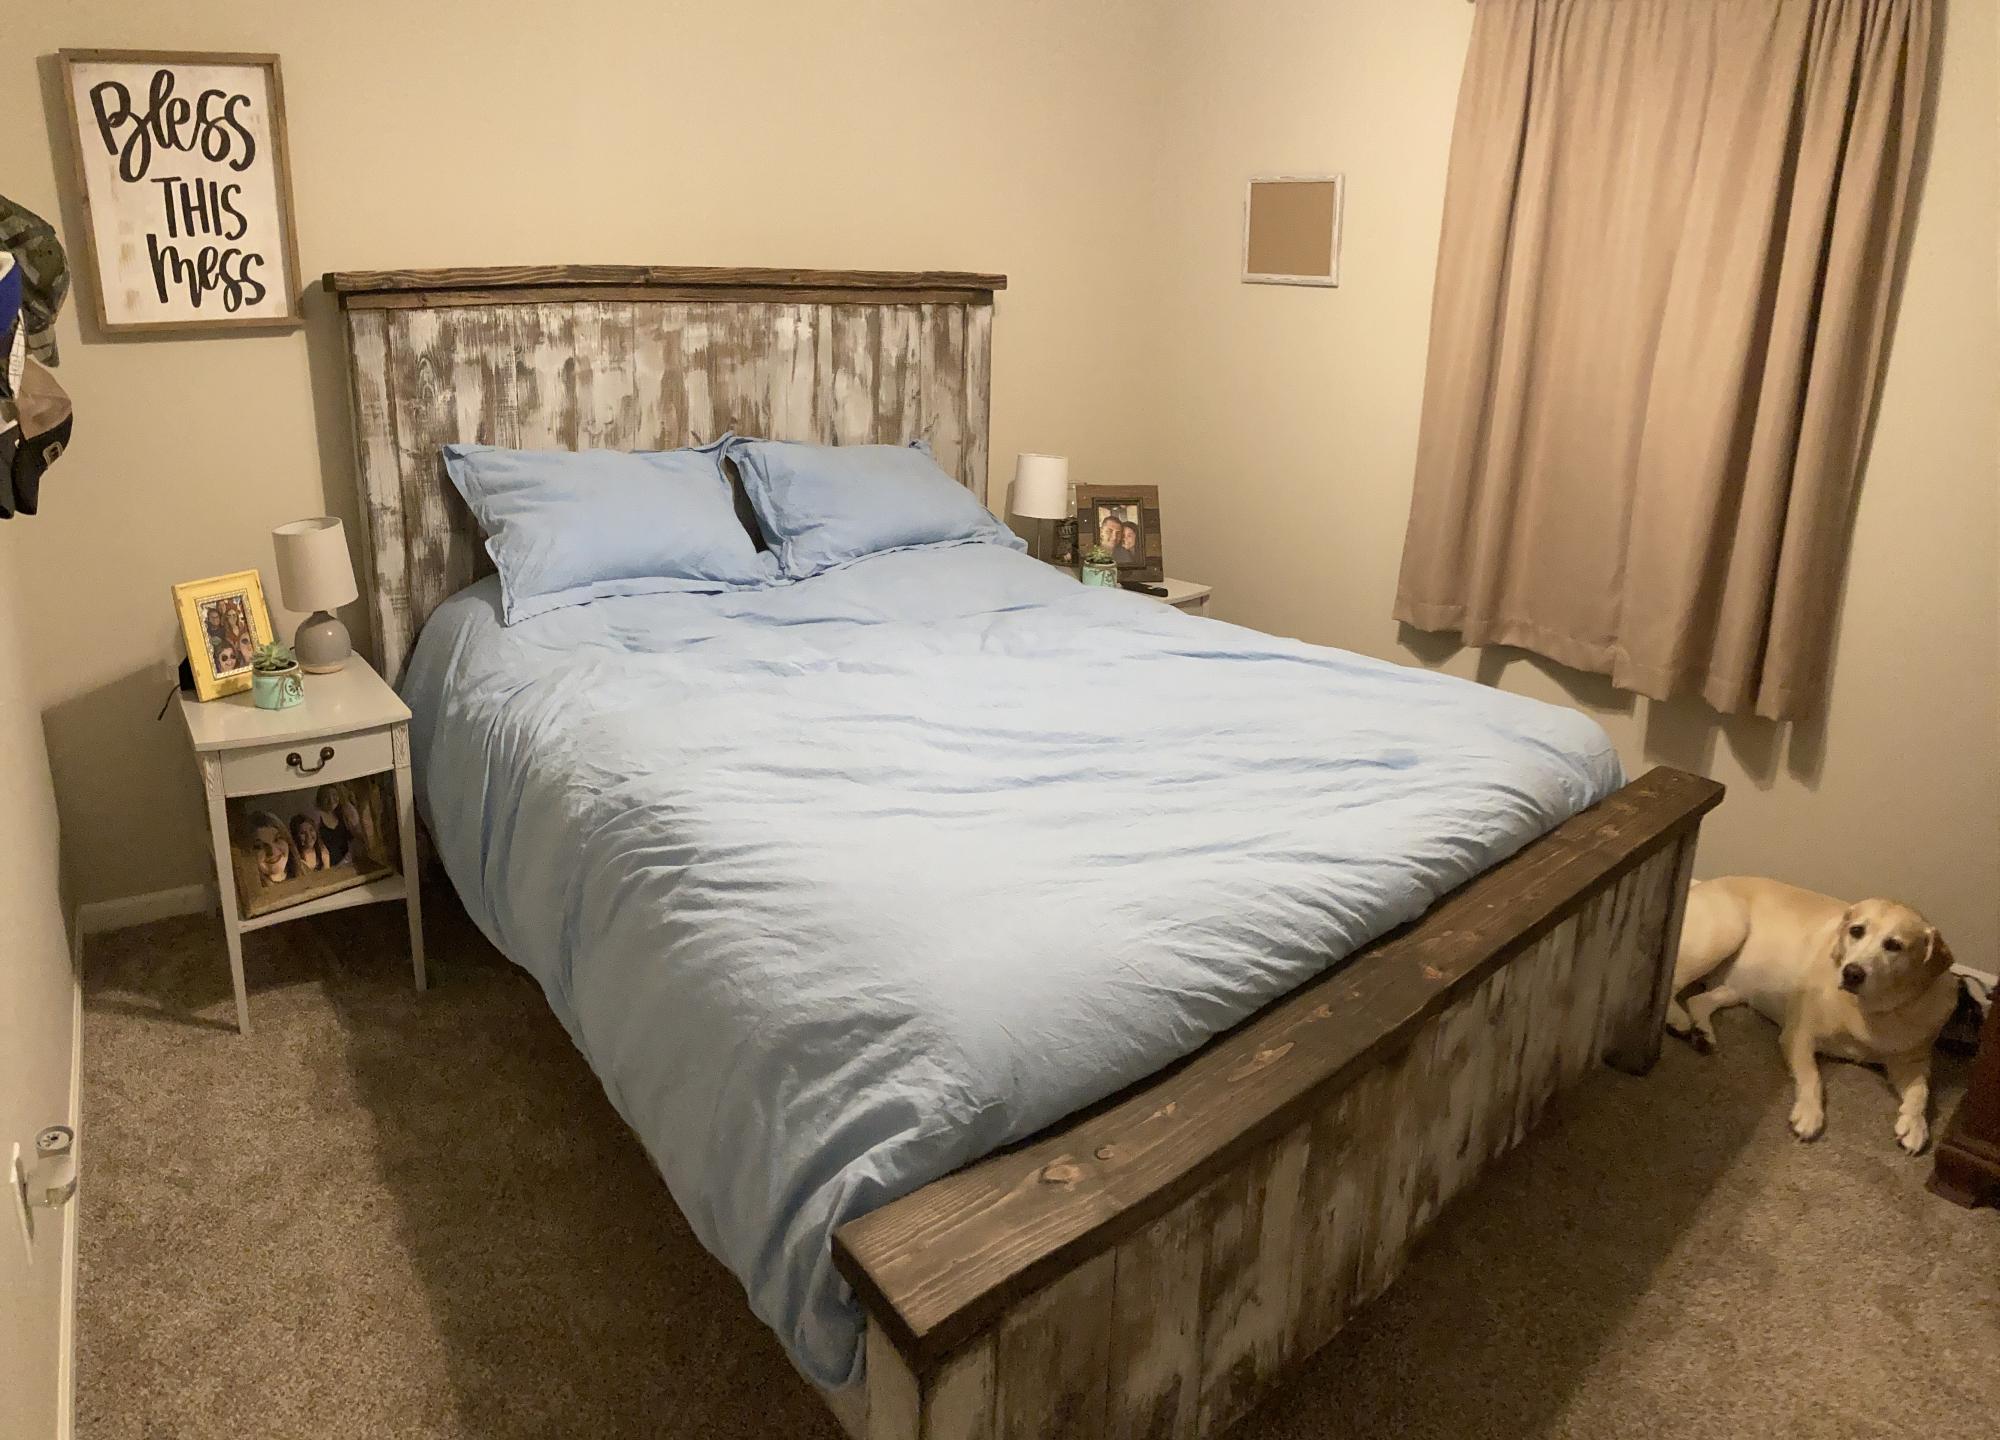
Queen bed with headboard and footboard.
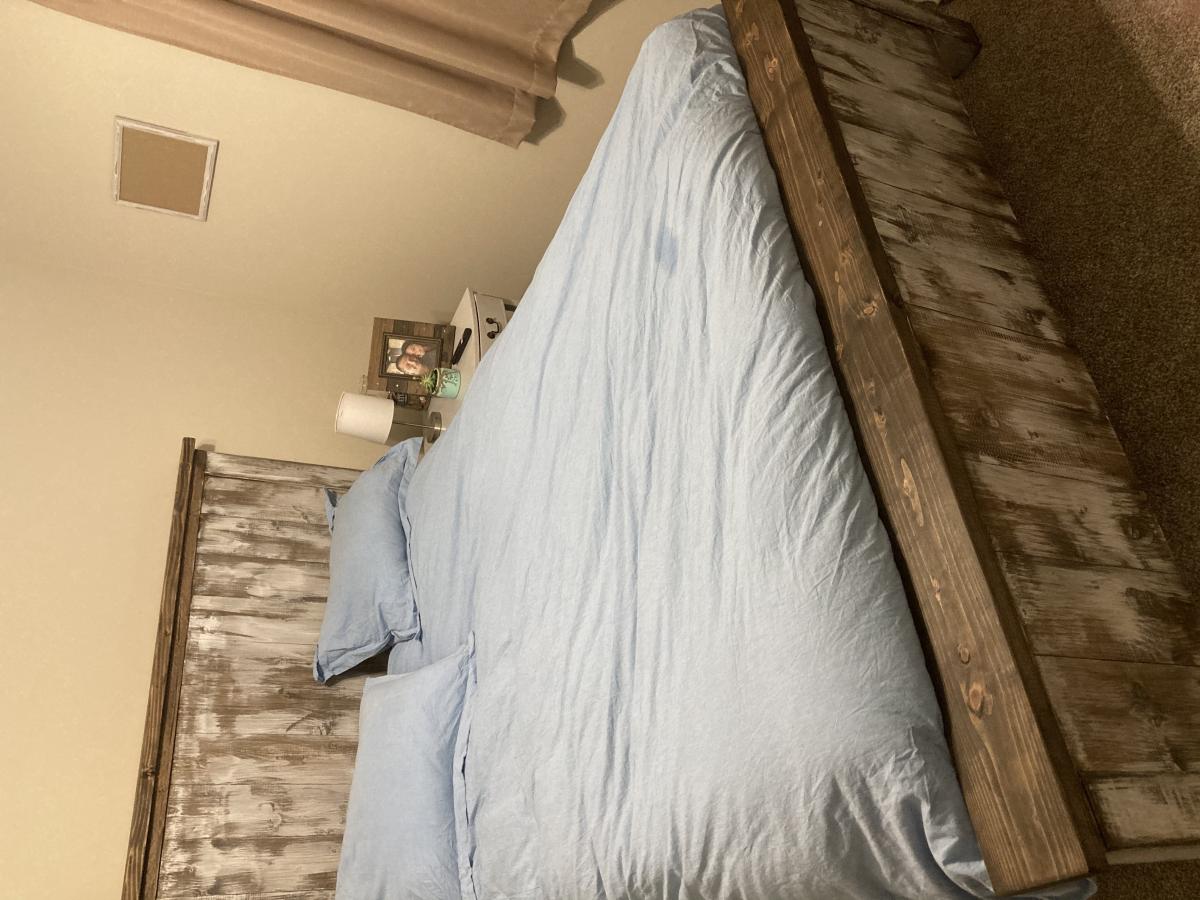
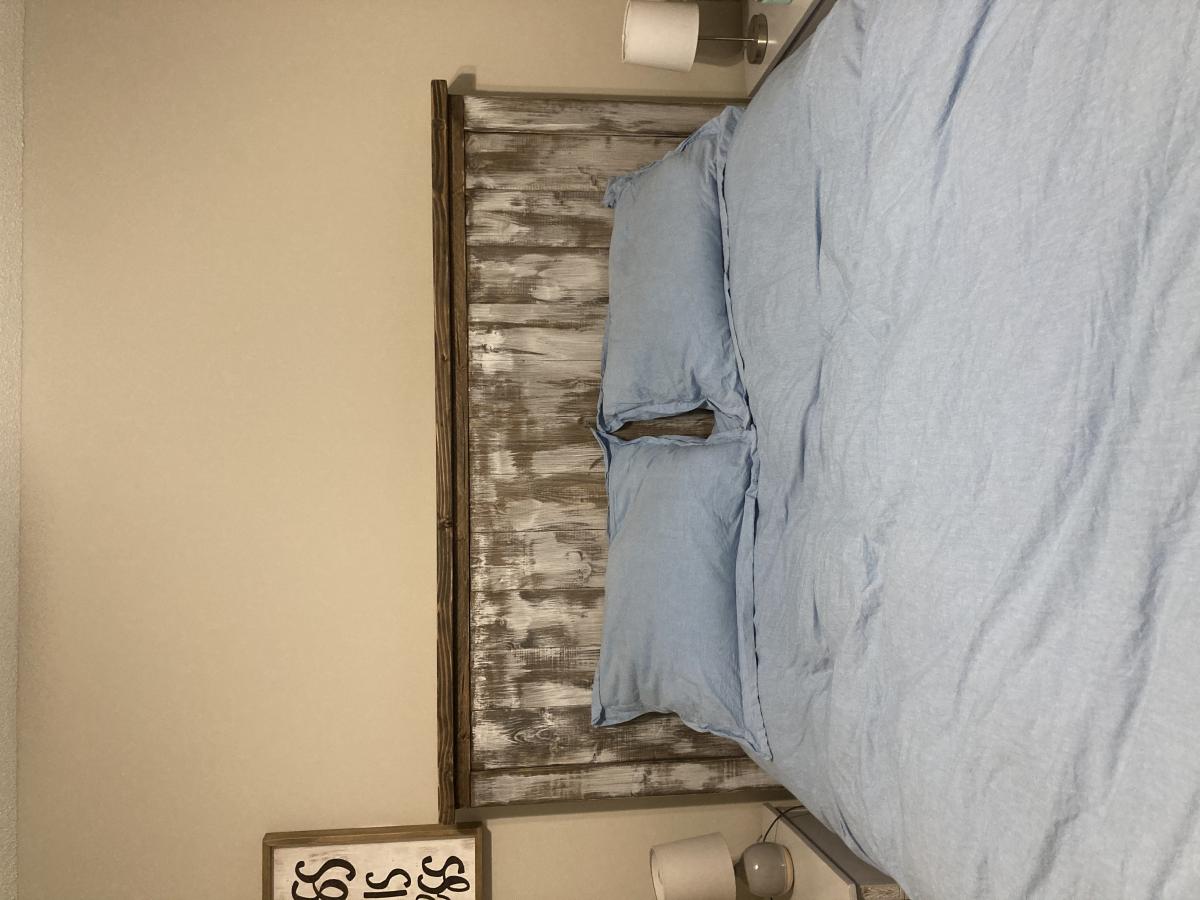
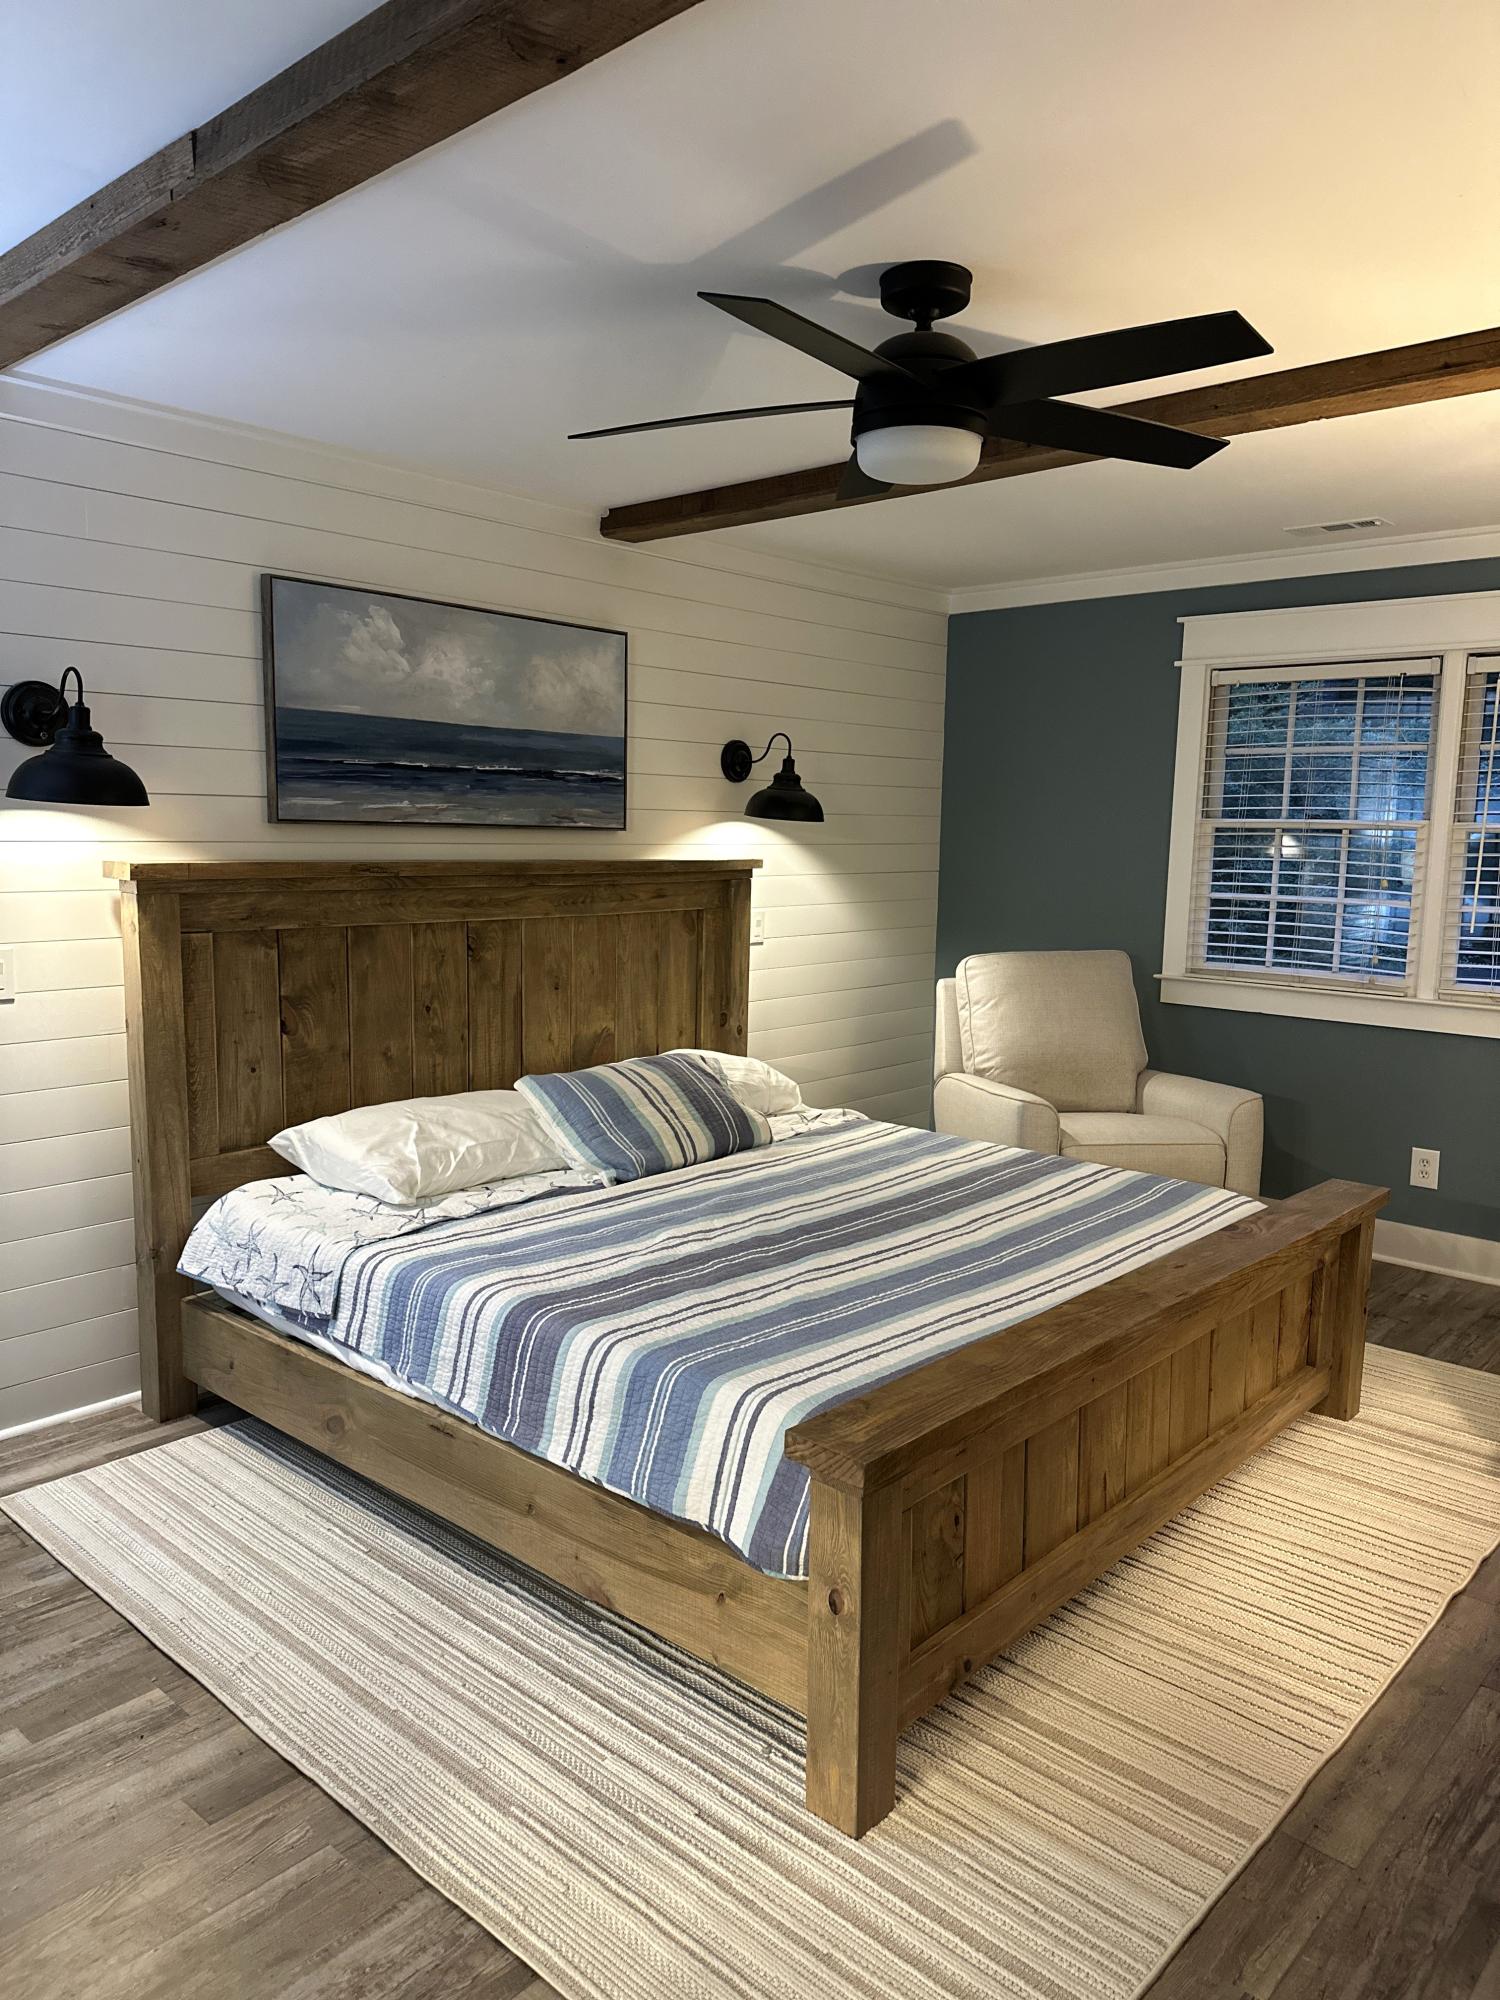
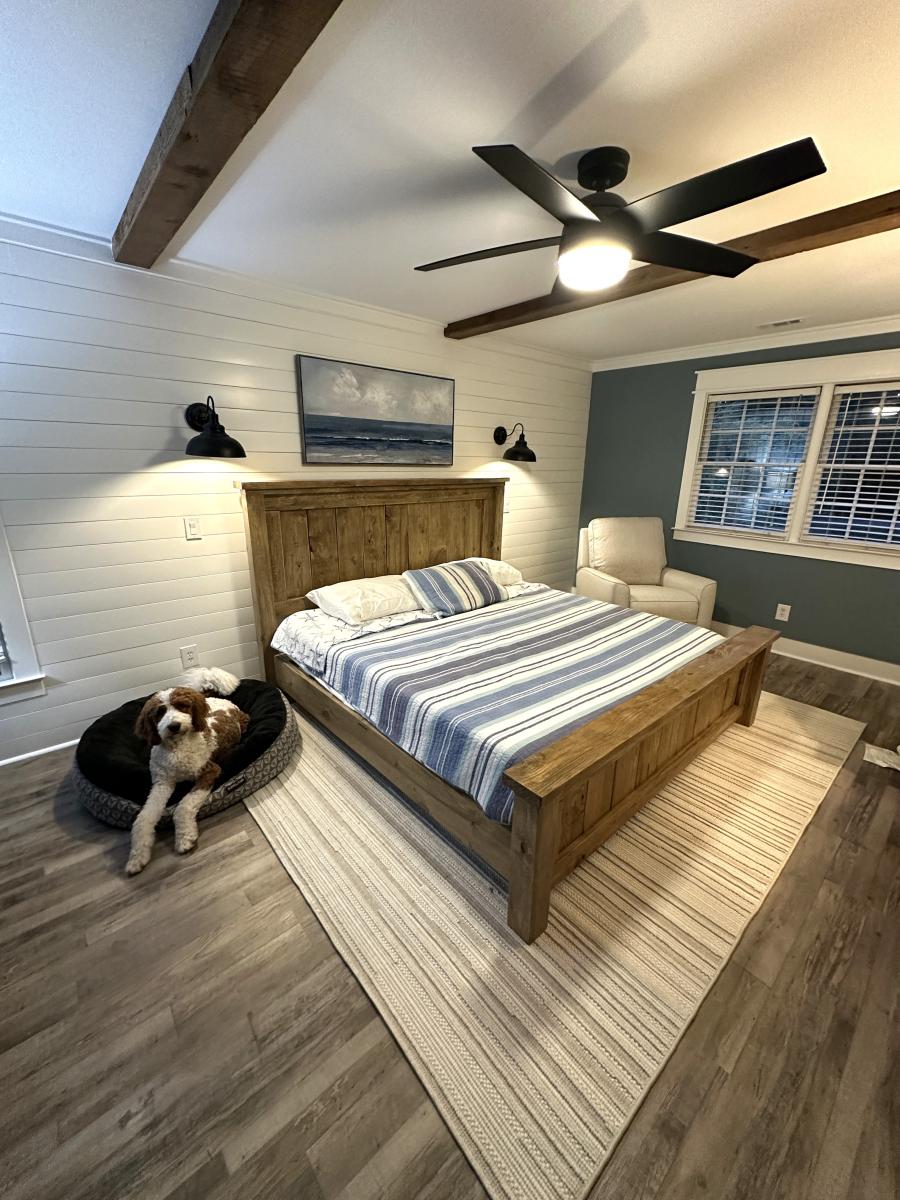
Gorgeous Farmhouse Bed Prowdcreations
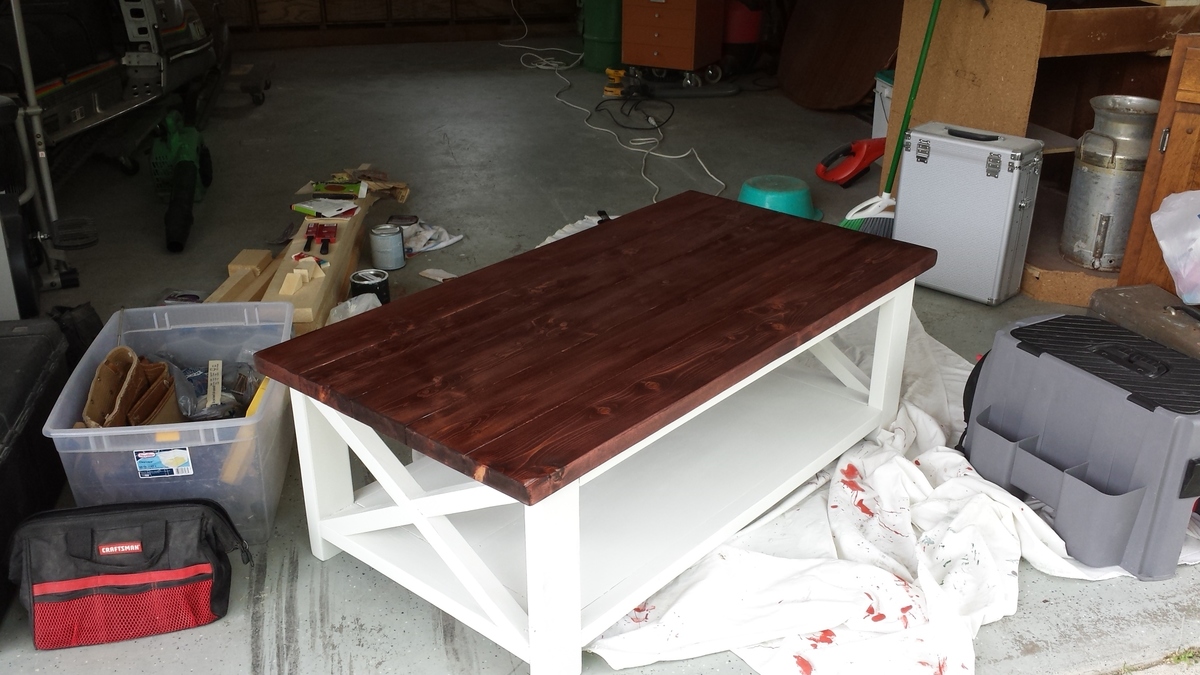
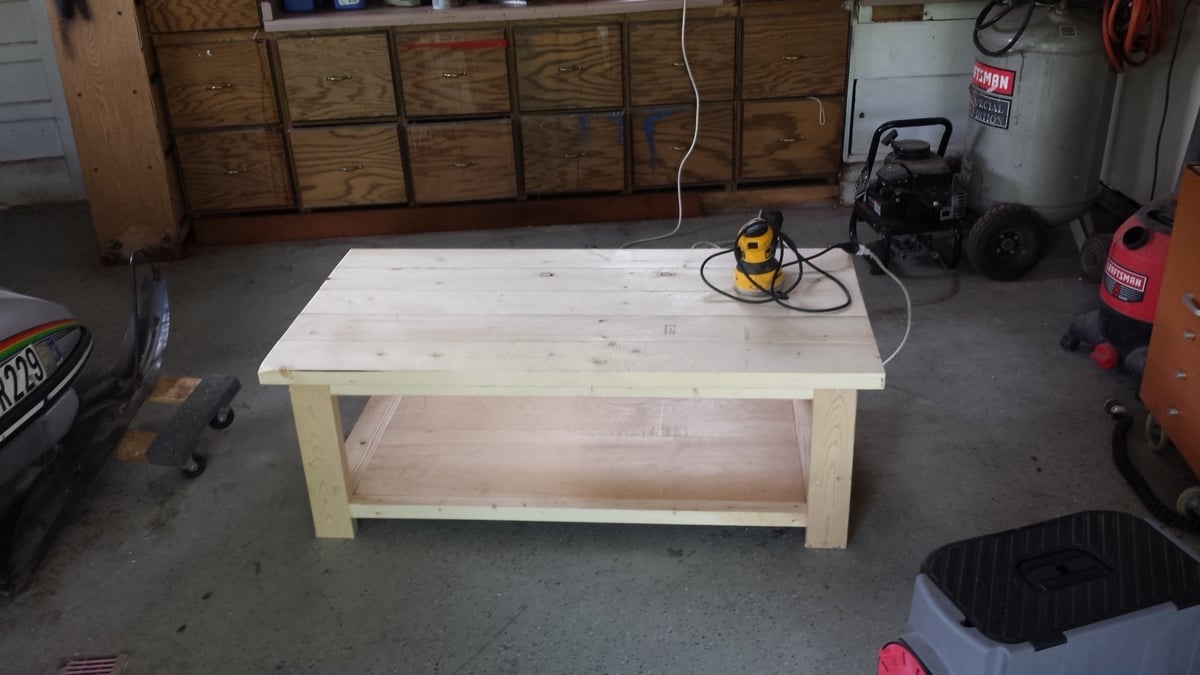
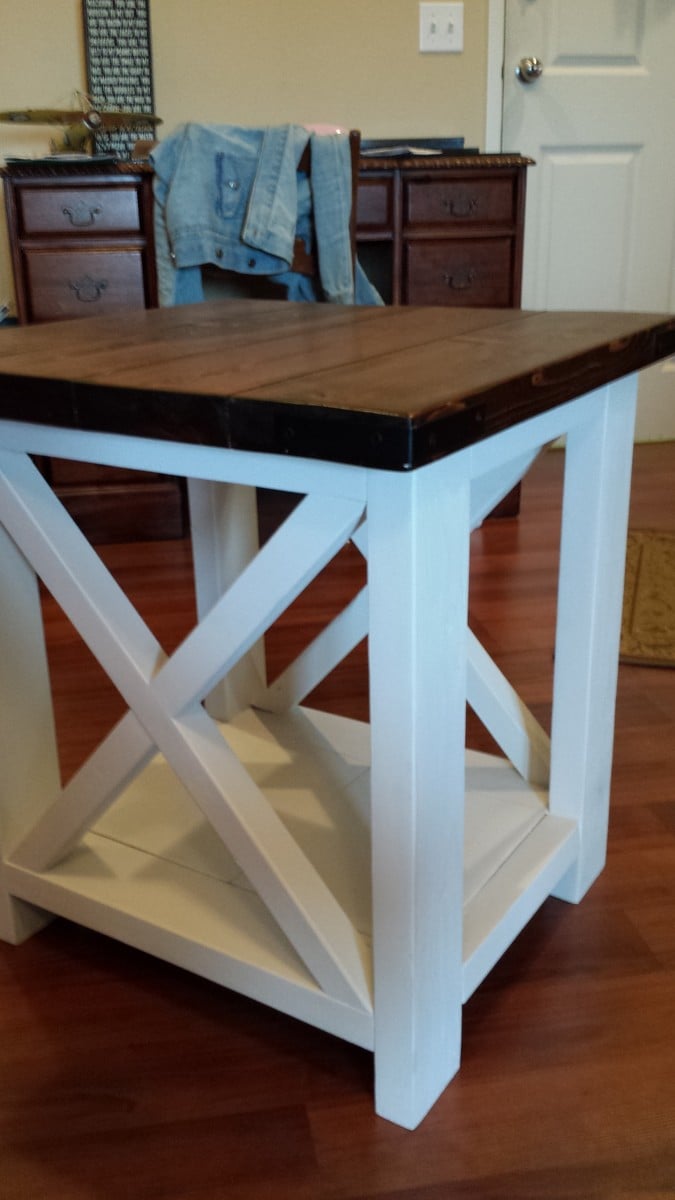
My wife and I got the idea of the two tone from one of the other brag posts and thought it looked great. The end table plans called for it to be 27 by 27.5, we thought this was a little to big for our home so I changed the plans to 22 x 22. Everything worked out great with the exception of some tool spacing issues. When screwing in the PHS my drill did not fit in the smaller space that was left after I shortened the length. Over all I am thankful for this website and all of the people who give back. We saved a lot of money doing these two projects and they turned out exactly how we wanted.

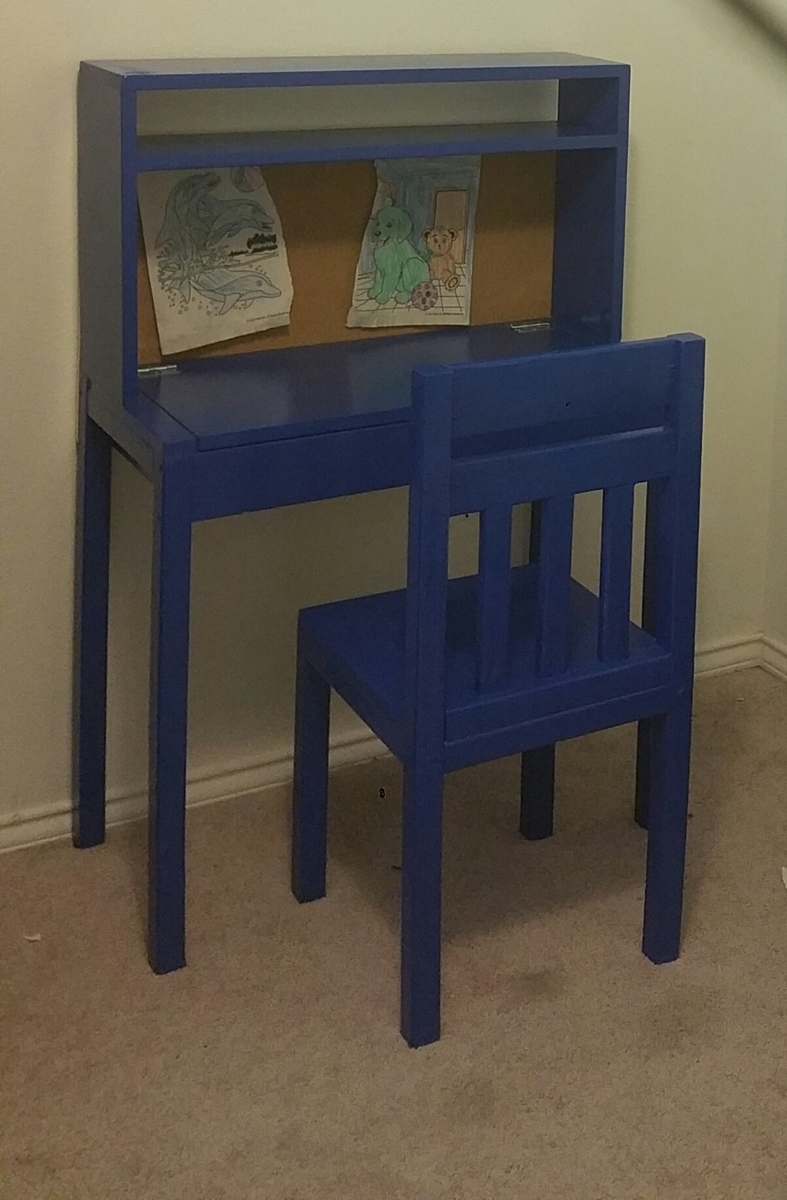
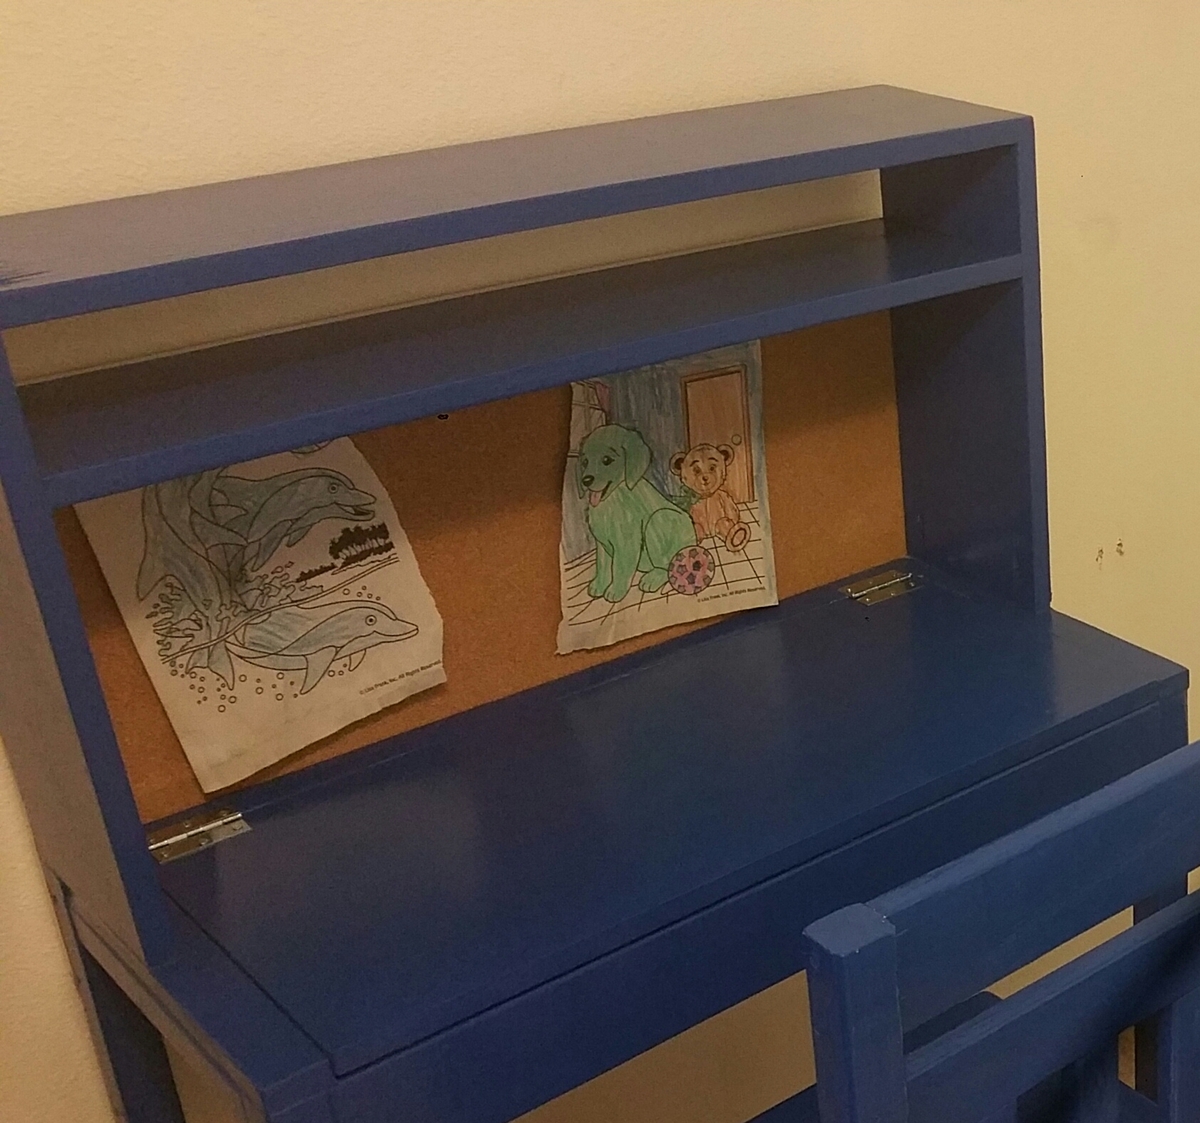
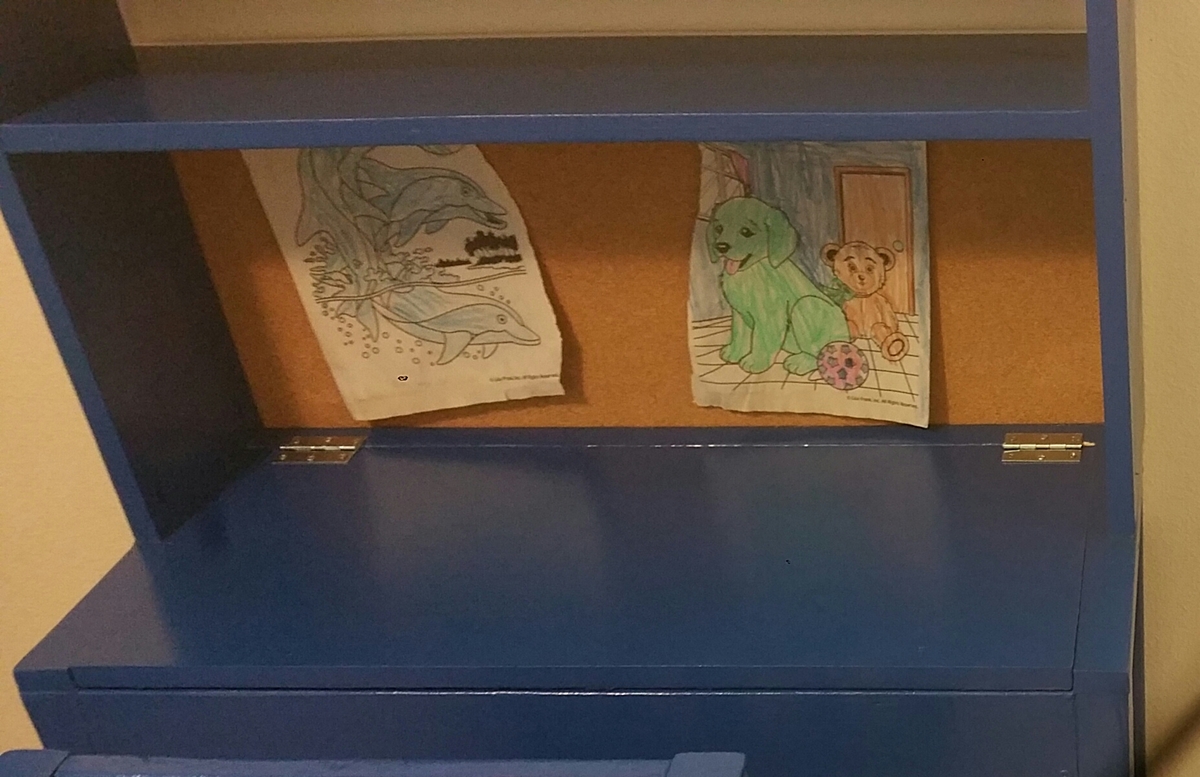
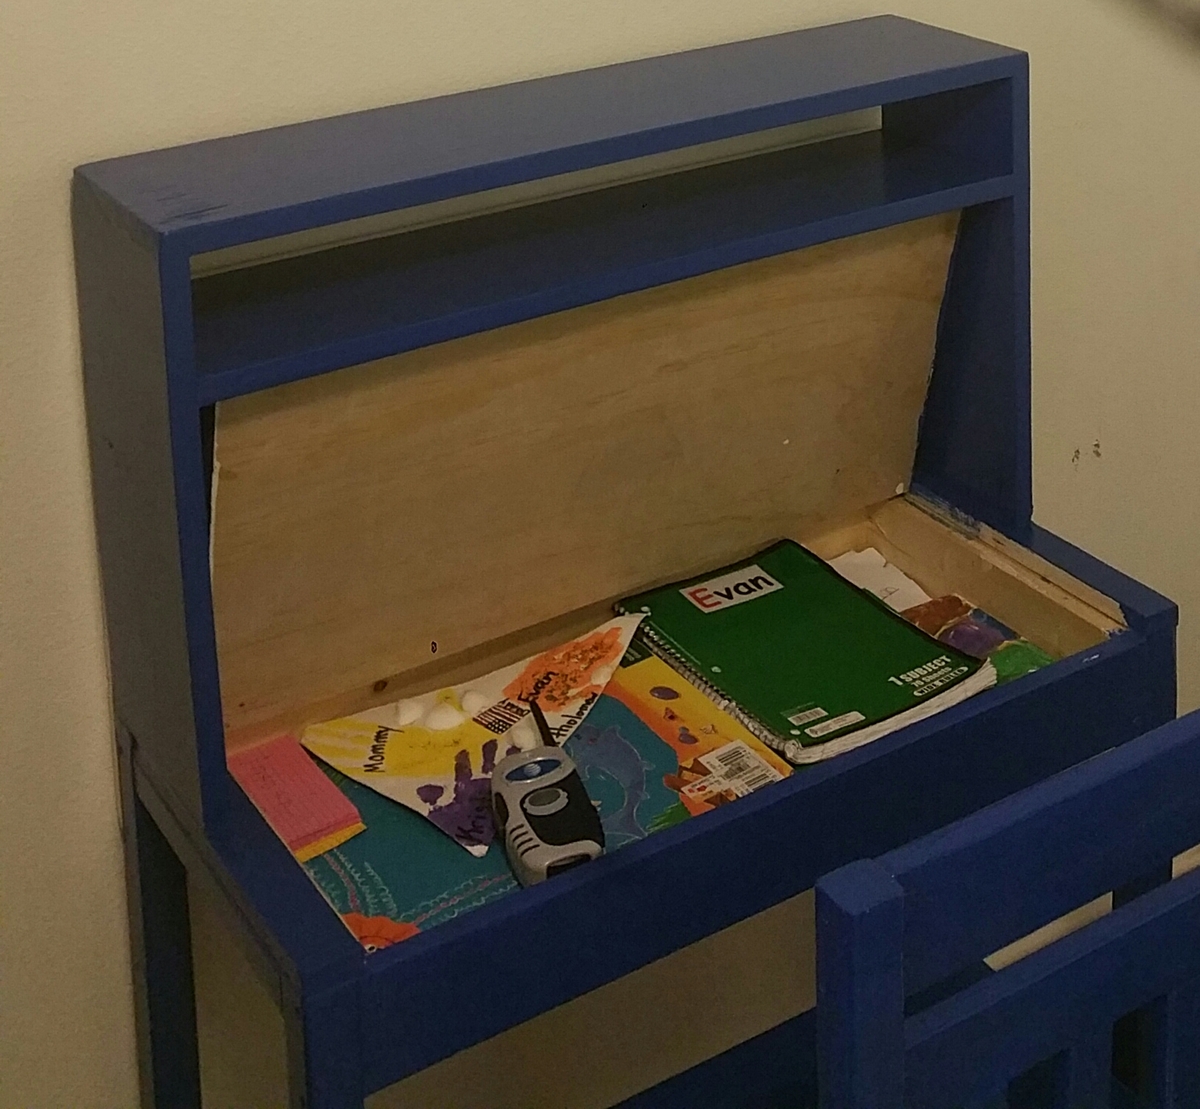
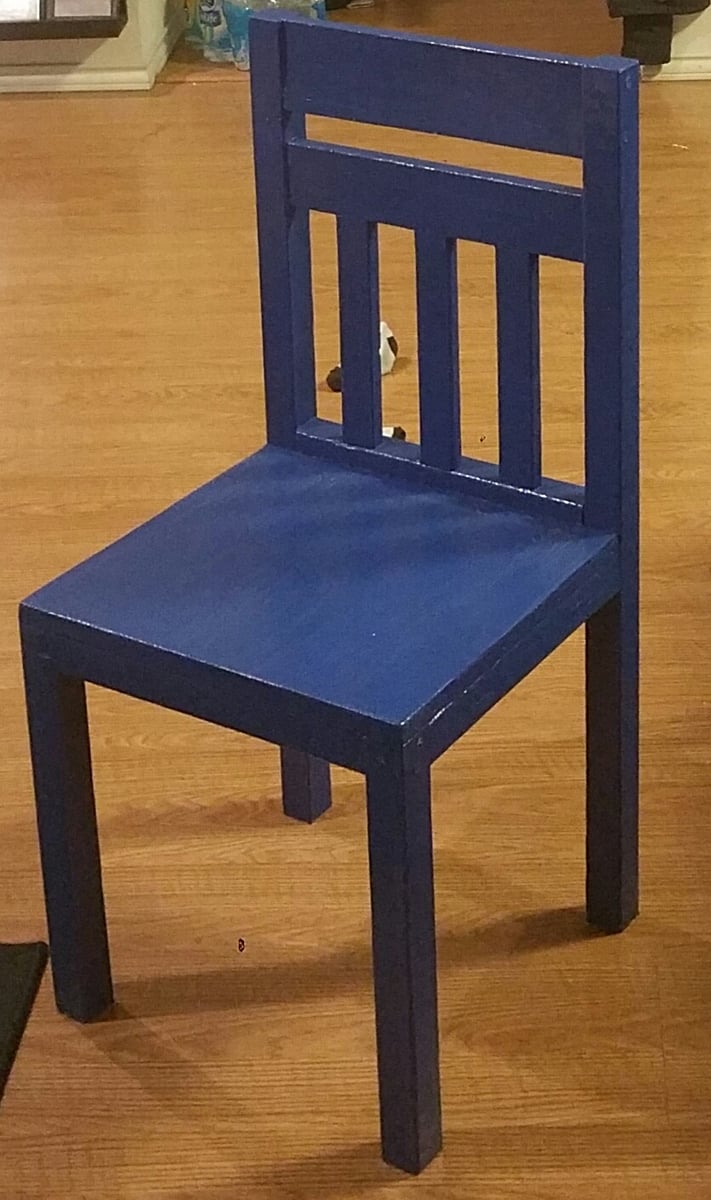
I wanted to build a desk for my son that had a compartment for storing his things. I also wanted it to have a place for him to pin his drawings up so I added a corkboard. I modified Ana's scrap lap desk plans and this is what I came up with. I also built him a matching chair. I think it turned out great!!
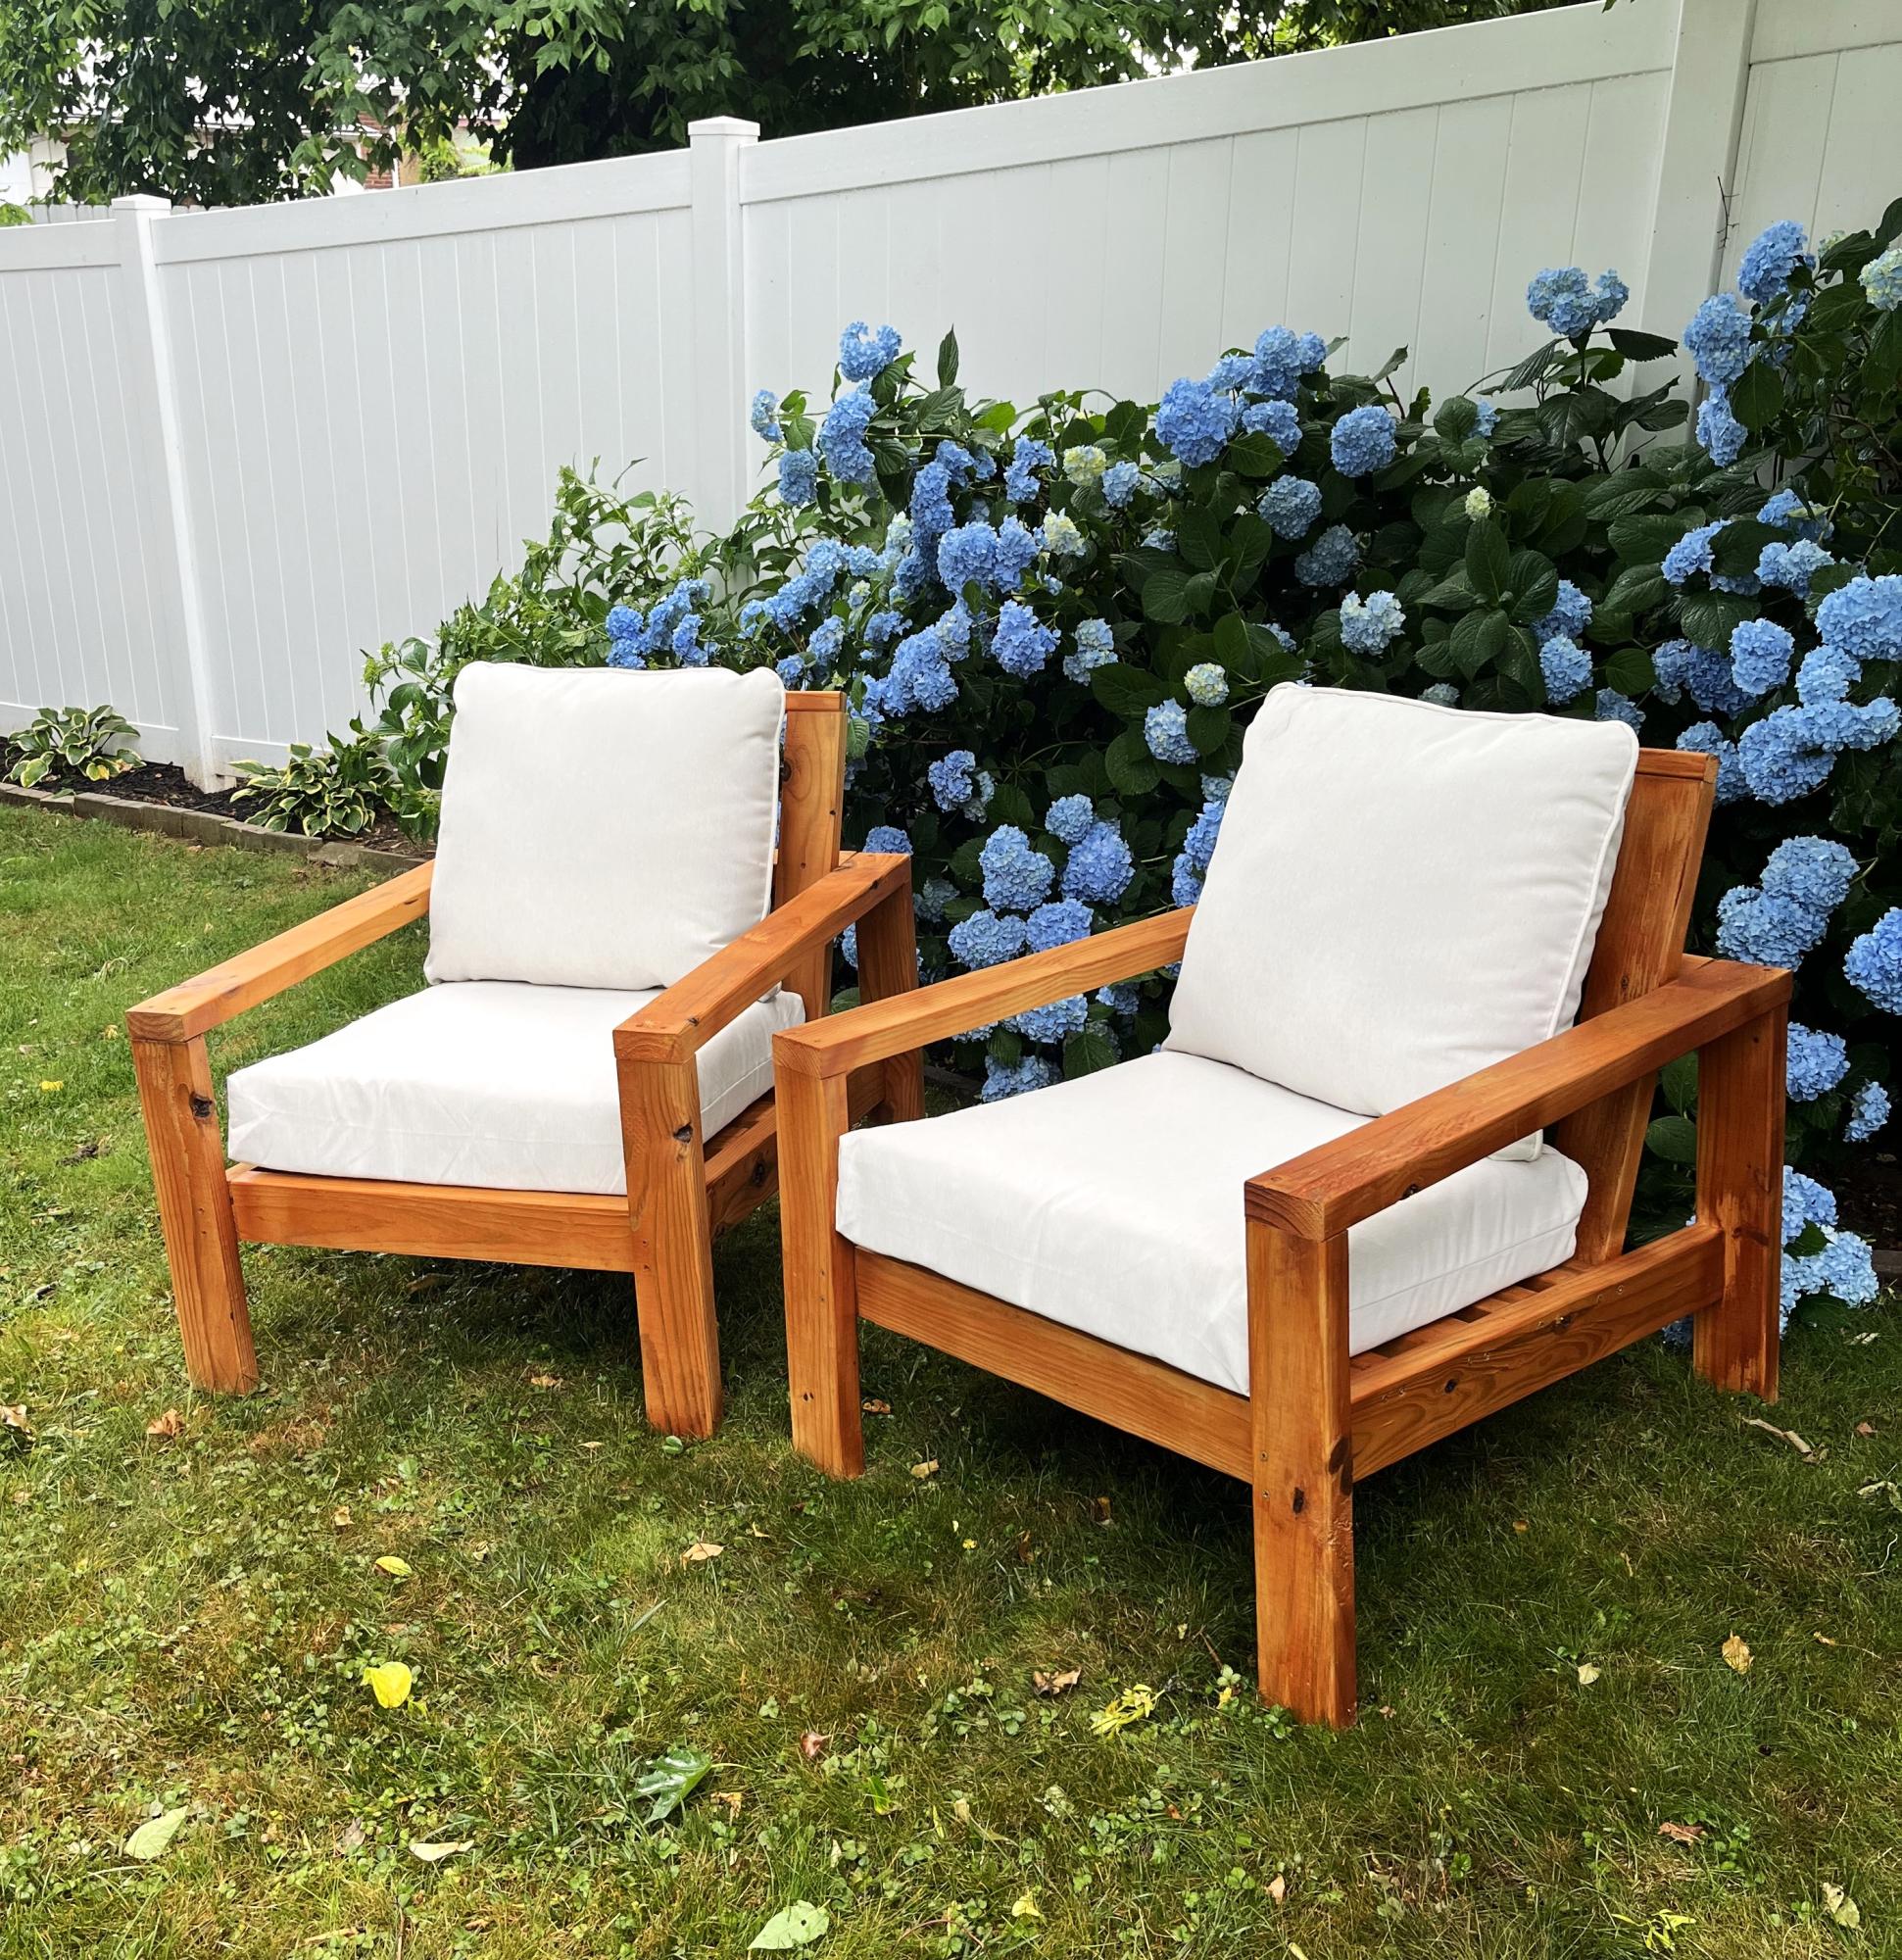
New outdoor chairs!
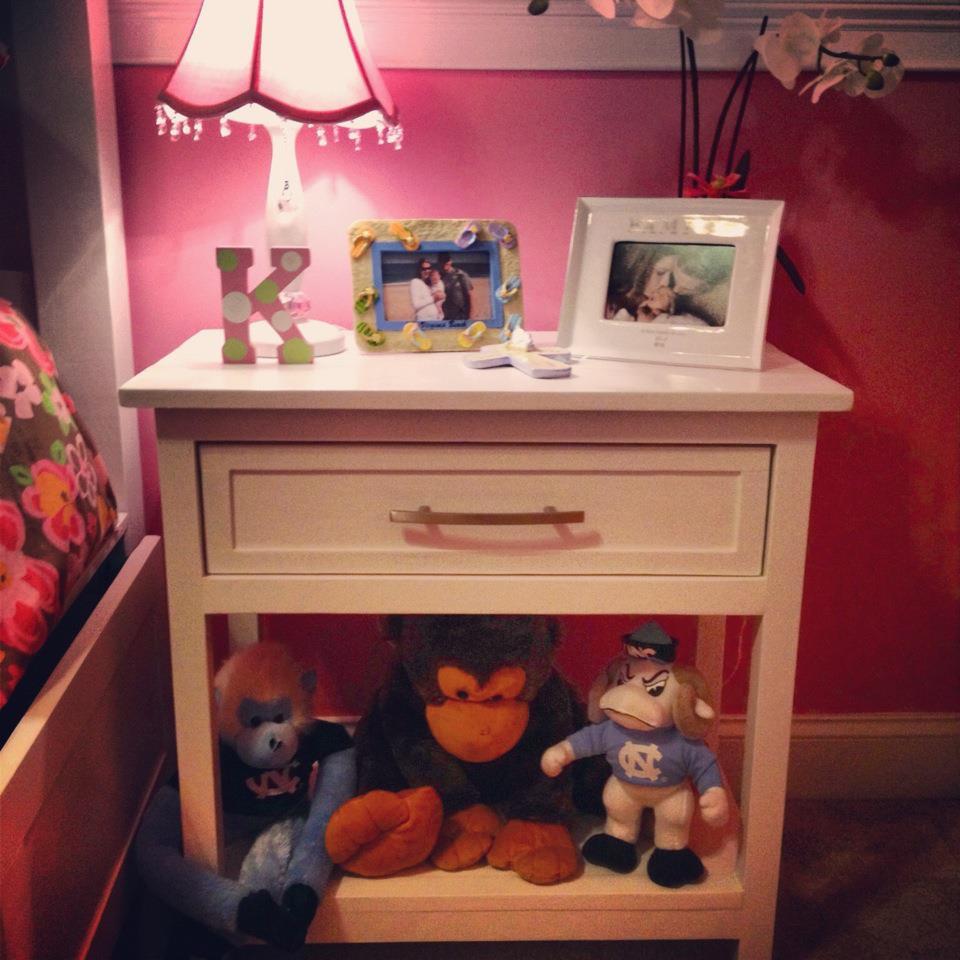
Built this bedside table to go along with the Farmhouse Storage Bed I built for my daughter. I added molding to the front of the drawer to match the molding on the drawers in her bed. I used a ratio based of the size of the drawers which left me using 1/4" plywood strips cut to 1" wide to frame out the box.
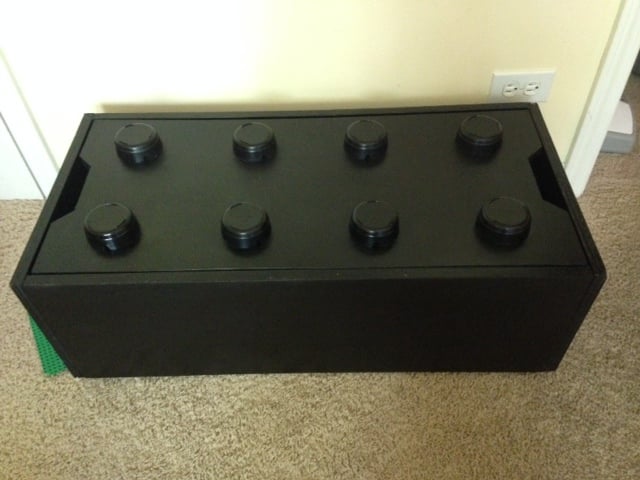
I didn't have a jig-saw since I am still pretty new at this, so I searched for alternatives. I found these plastic ashtrays at the dollar store, flipped them upside down and spray-painted them! Now my bin even says 'made in china' ;)
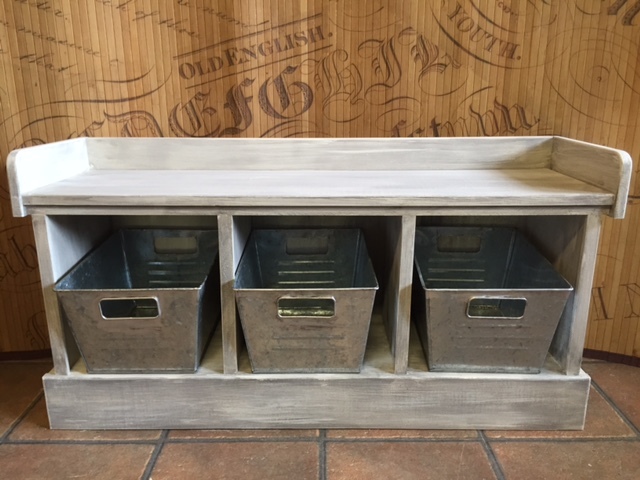
We made the entry way bench down to 40 inches. It was my first Ana project. Will do many more! www.amyjoprice.com
My wife wanted a Farmhouse table for as long as I can remember. When we bought our first house it was the first project I undertook. I finished building it in time for all 15 members of our extended family to come for Thanksgiving but didn't have time to stain it. After the holidays I went back to school and staining it went to the back burner. When I finished my degree three years later it was time to finish the table. The end result was worth the wait according to my wife.
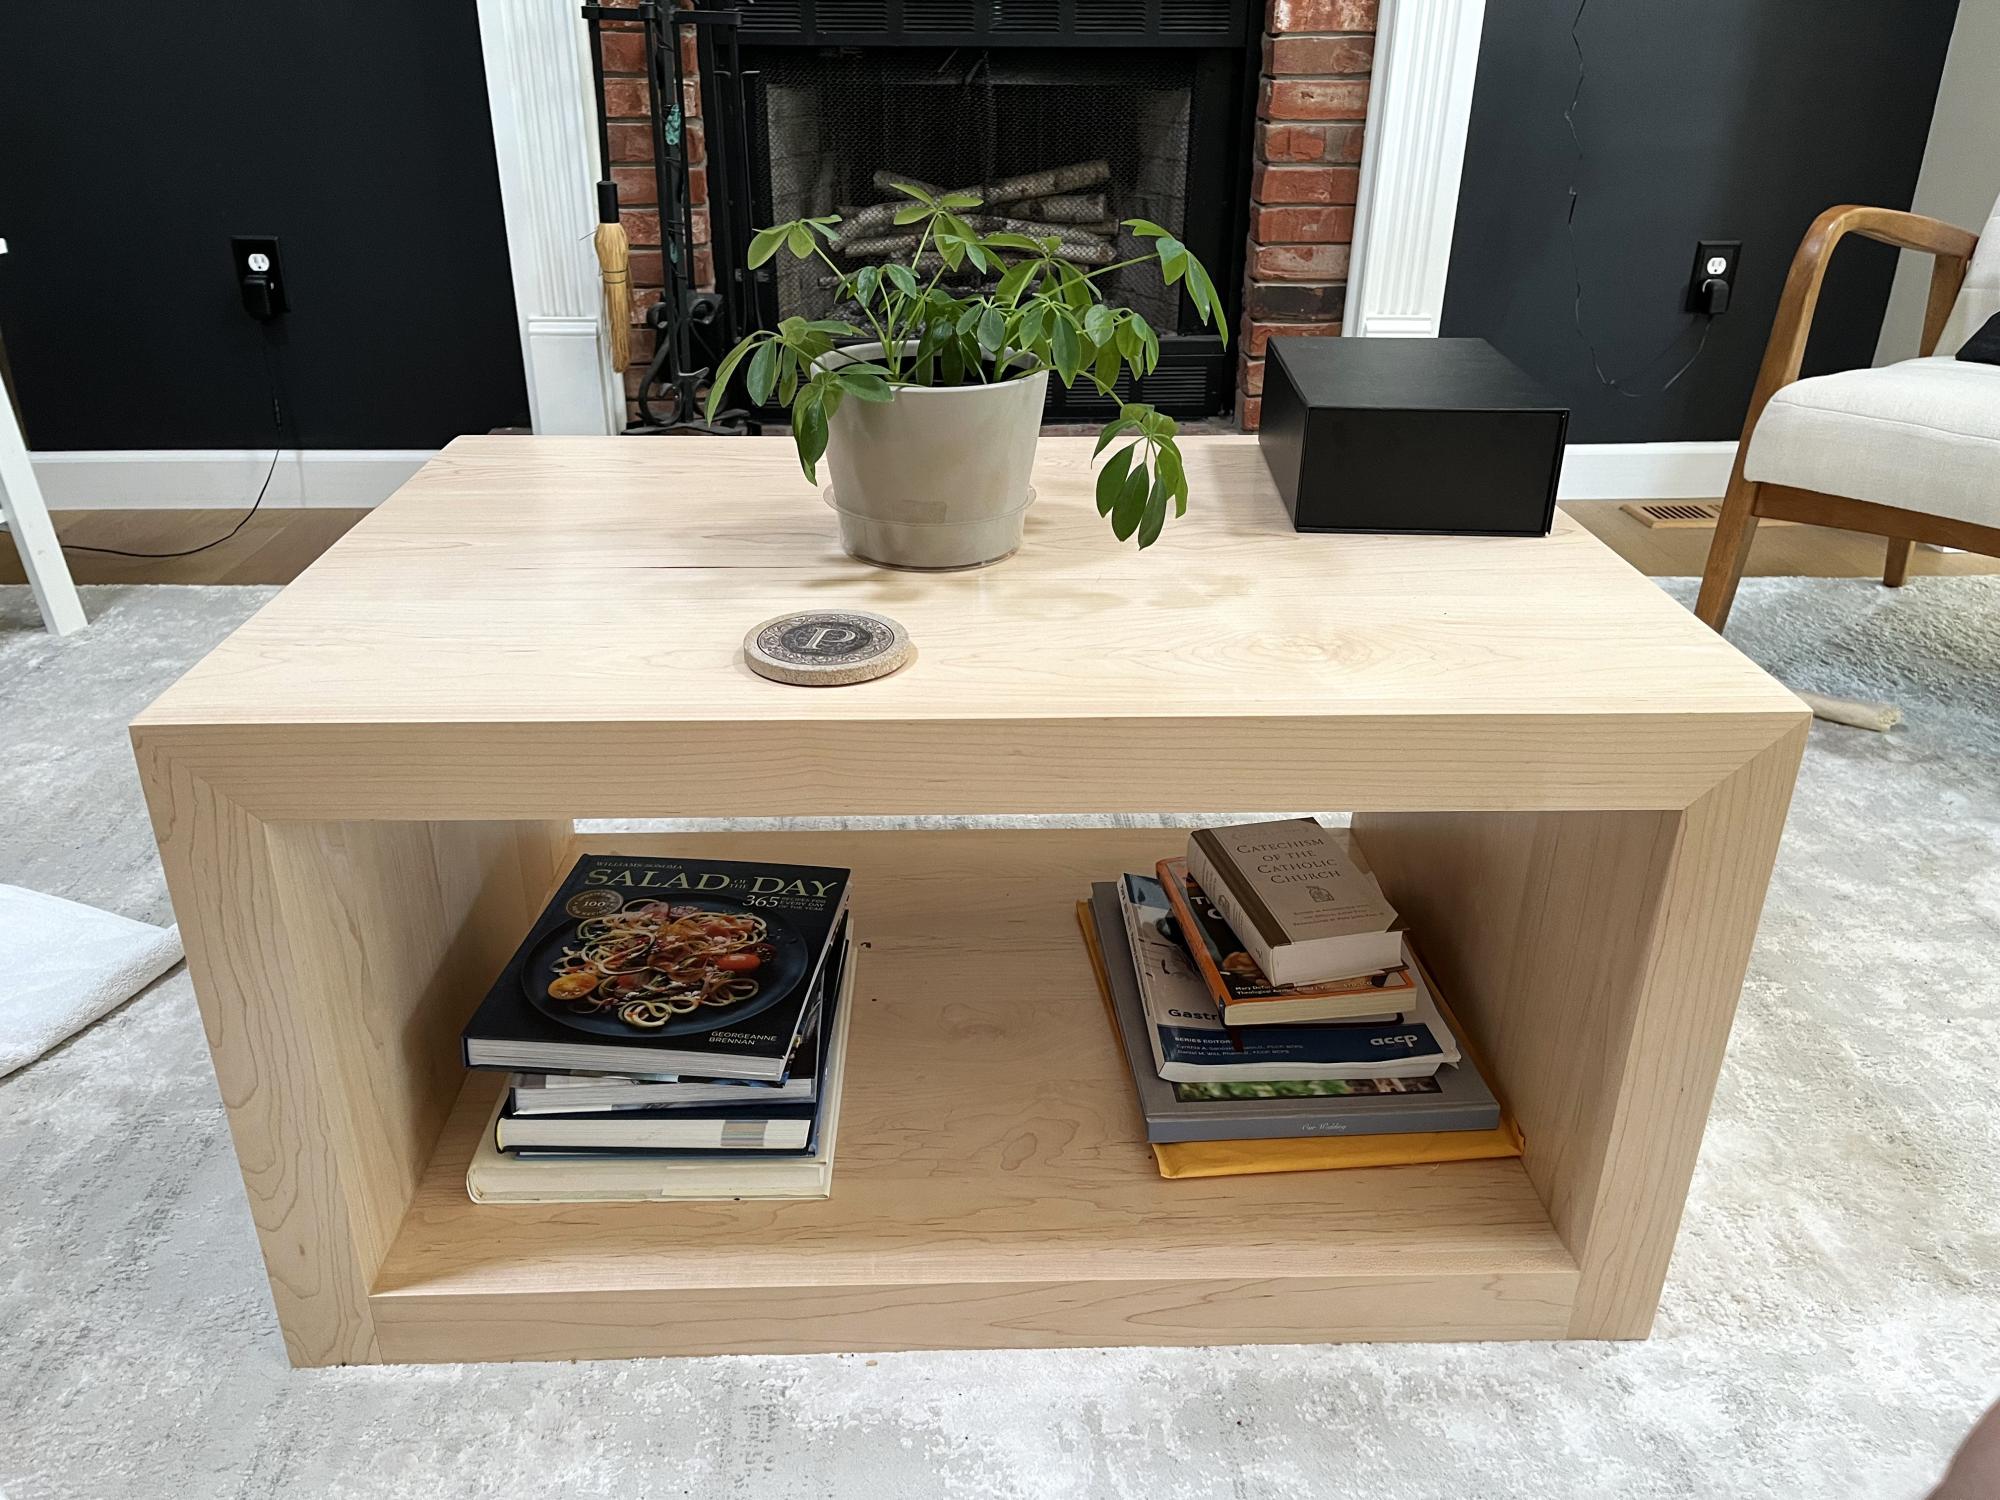
Hard maple waterfall coffee table.
Scott
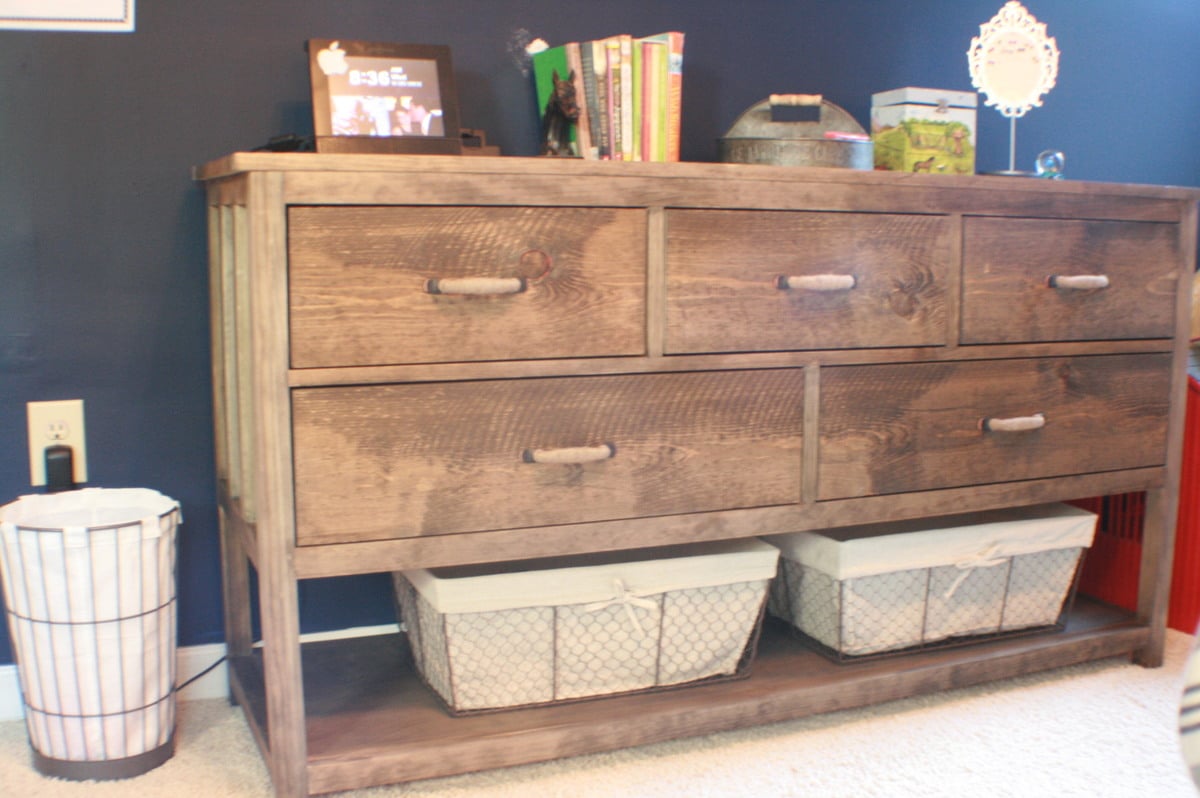
My husband and I did this together. It took him about 4 days to get the dresser built and then I did the finish. It is SOLID and we absolutely love it. It's in our 10-year old daughter's "horse" room and goes really well with the barn wood on her back wall and her barn door (closet).
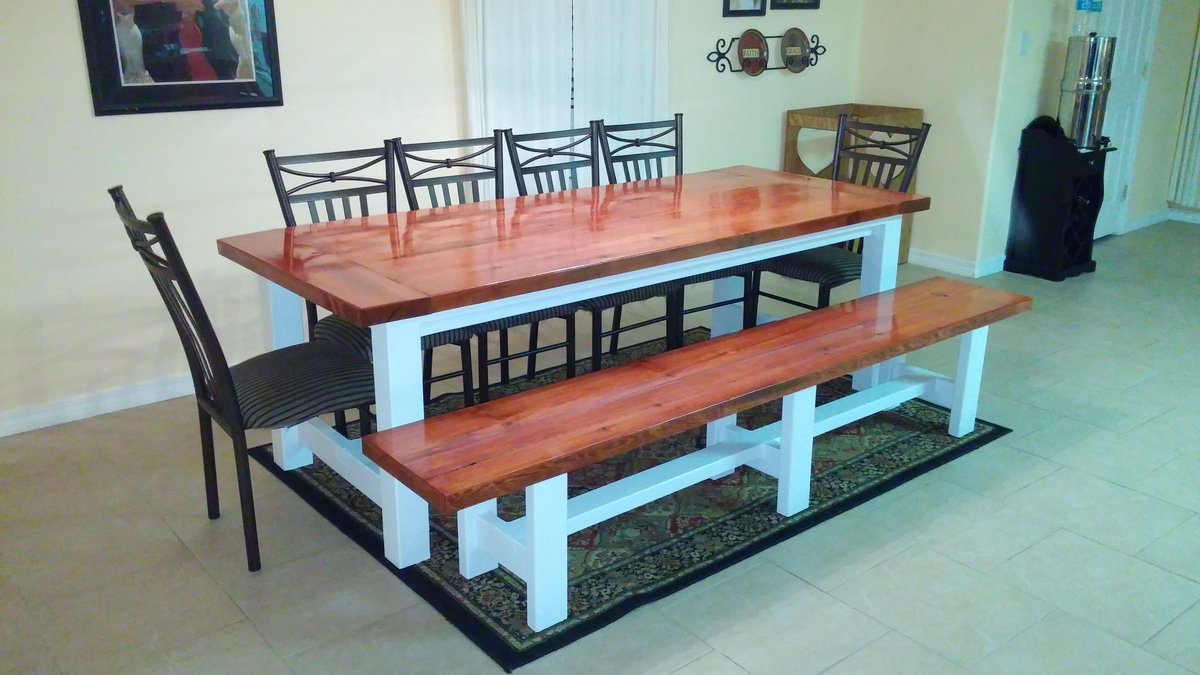
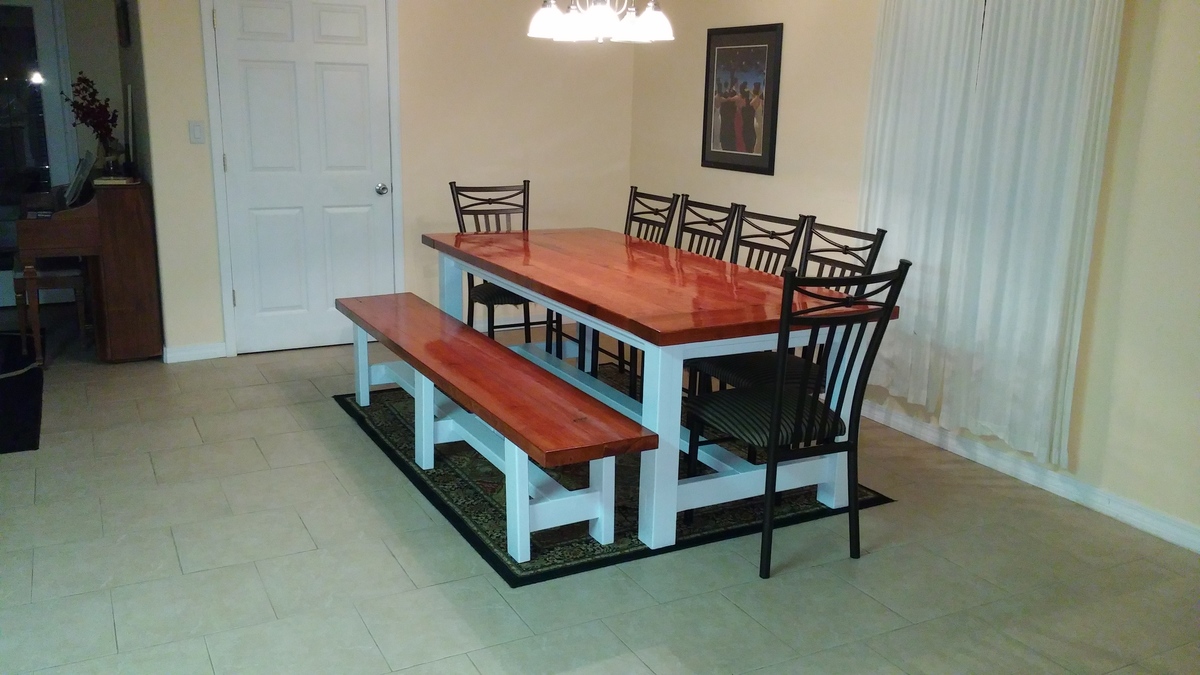
I built the Rustic Farmhouse table and I only had to make minor changes because I got the wood rough cut milled in my neighbor's backyard. I built the bench with the left over pieces without any plans, just tried to make it match the table. We love it and it is definitely a step up from what we had before! I just have to browse your chair plans now because these chairs in the picture are from our old table.
Wed, 08/13/2014 - 13:07
Are you willing to divulge your exact paint color and stain? Is it white? Looks kind of bluish. Love the contrast. Great job.
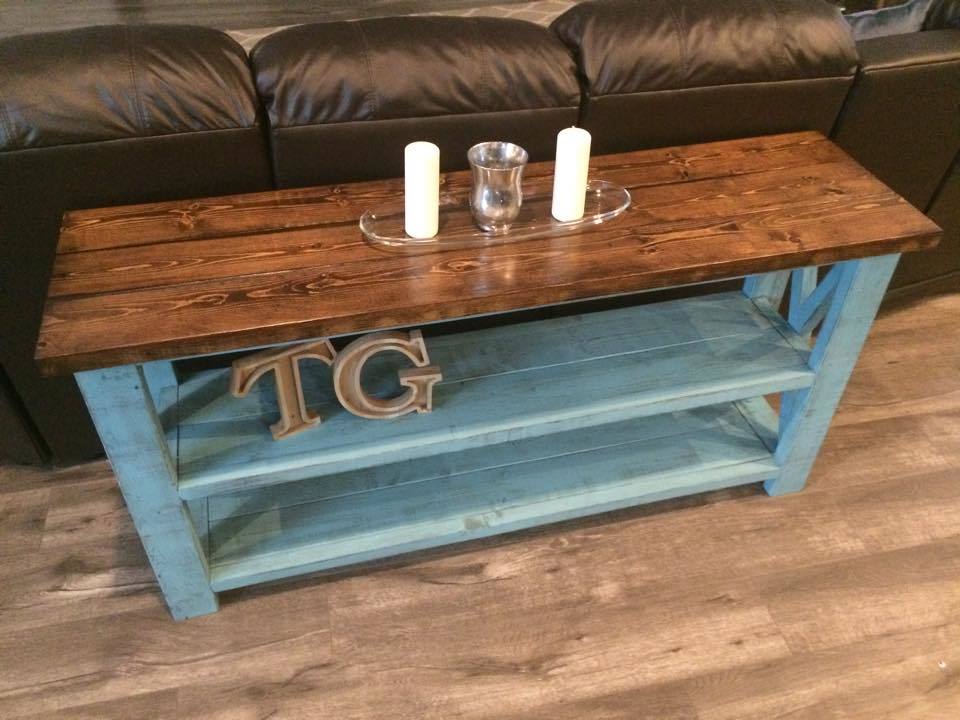
Slightly Modified from the Console table plan, but 2 toned Rustic X Console or Sofa Table with colored distressed finish
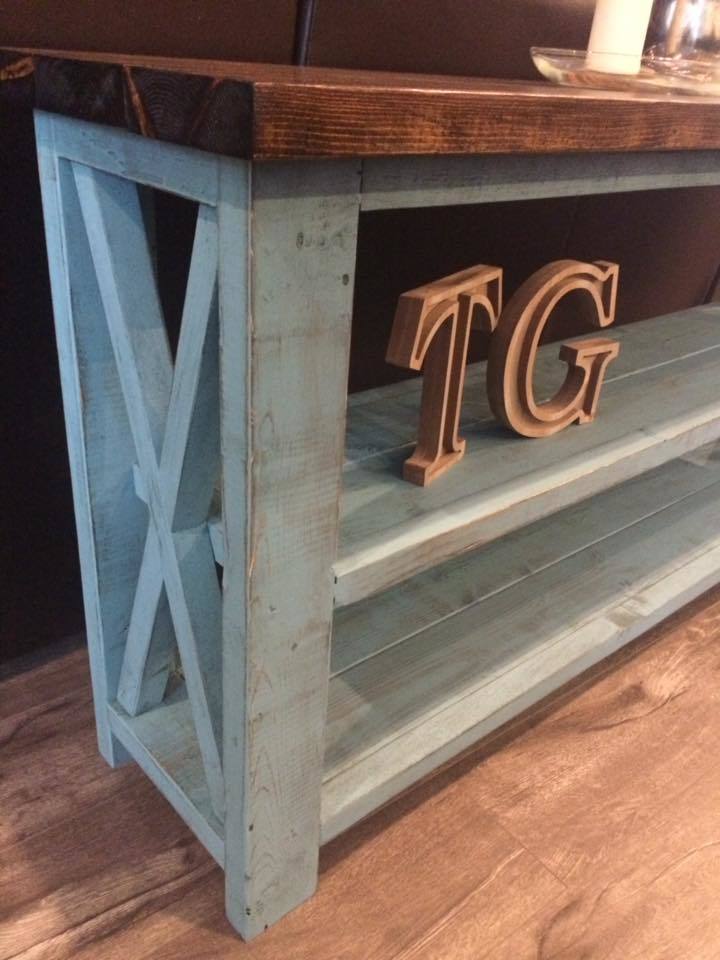
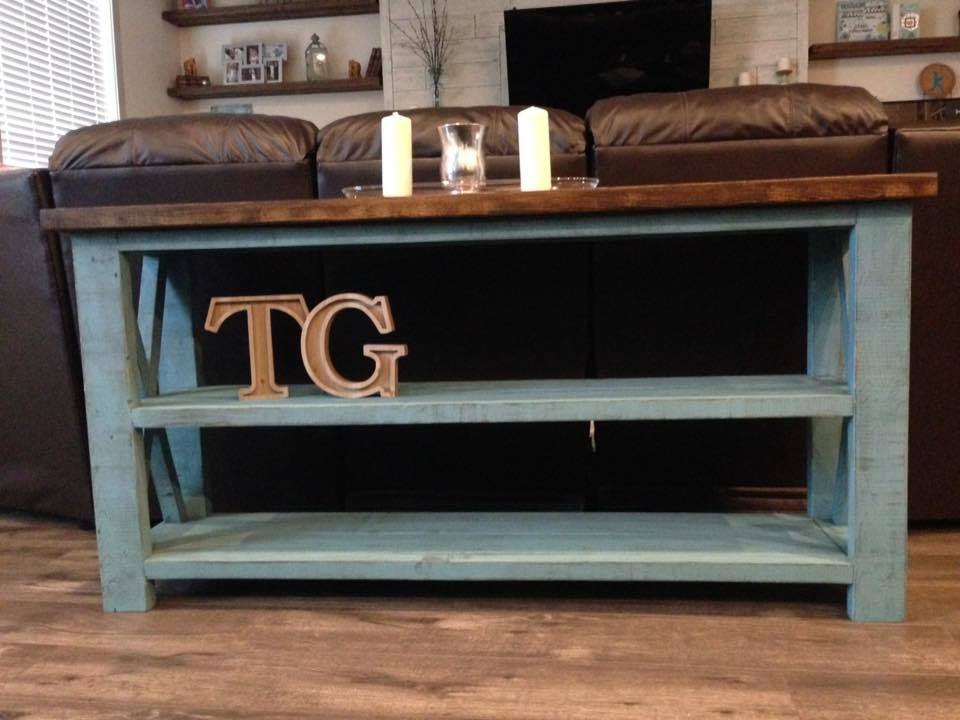
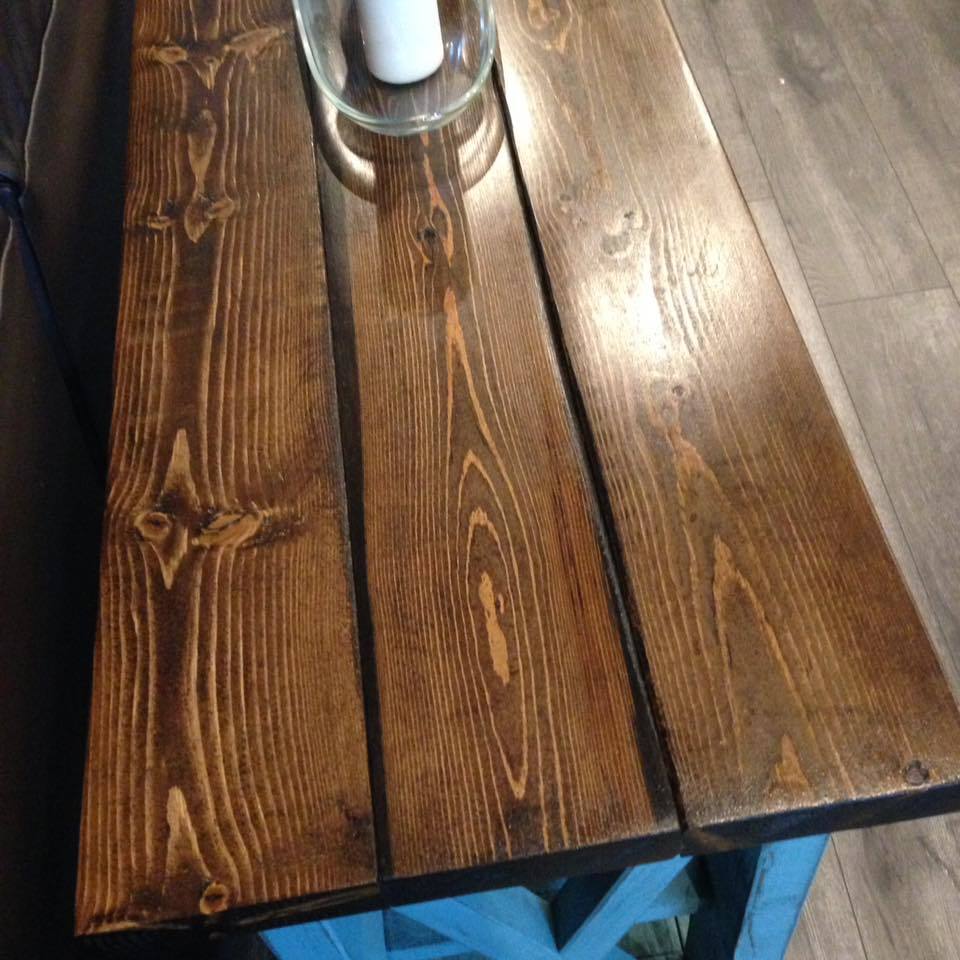
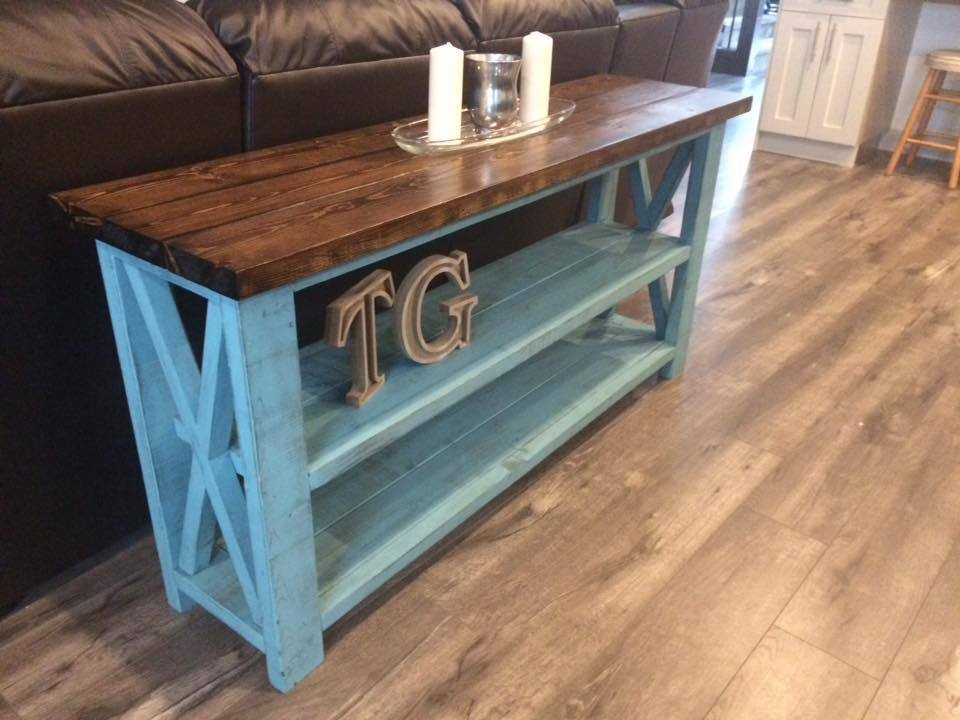
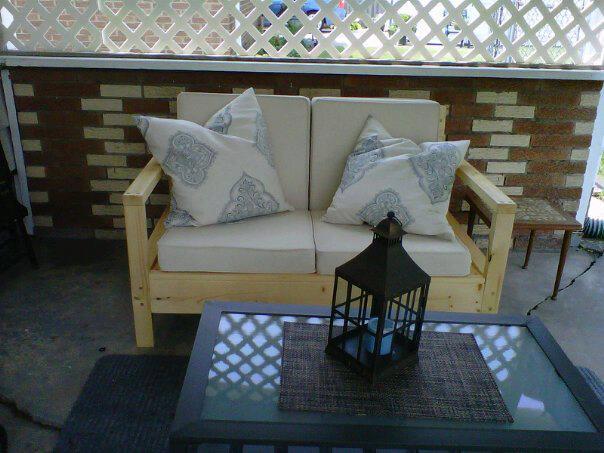
Did this project for a friend. Super easy and instructions are extremely helpful! I didn't have a jig to create pocket holes so I left the screw holes exposed. I then covered them with wooden dowels and sanded it down. I kind of liked it better than hiding the screws underneath!
This is the third project I've built from Ana's blog, and my husband and I just LOVE it!!It was very easy to build, even six-months pregnant. I lucked out in that I had everything I needed for this project on hand with the exception of one 1x3 (and the basket, of course), making it a super affordable and much nicer-looking alternative to purchasing a portable bassinet.
I used pine for this build. The only modification I made to Ana's original plan were the rockers. I couldn't find the pattern for her rockers, so I took a rocking chair we had, laid it on it's side and traced its rockers onto a large piece of craft paper. I just used the sander to round off the corners on the top so that the legs would be easy to attach.
I built this in an evening and my husband was able to stain it that night as well. (He's not great with stain, so I had to clean it up a bit after this picture was taken and before the poly was put on.) Had I started earlier in the day, this would have easily been a one-day project including our trip to the store for the 1x3.

My husband and I did this as a weekend project. We had been looking for a bench like this for quite some time but they were either cheaply made or way too expensive. My husband went through the plans and decided he could do it. We added a shelf to it and also made it larger to fit the area we were putting it in. The great thing about the plans is that you are able to easily modify them to create what you are looking for.

