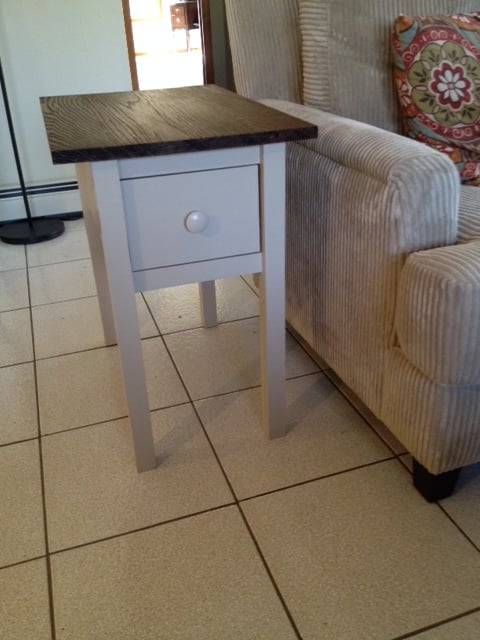
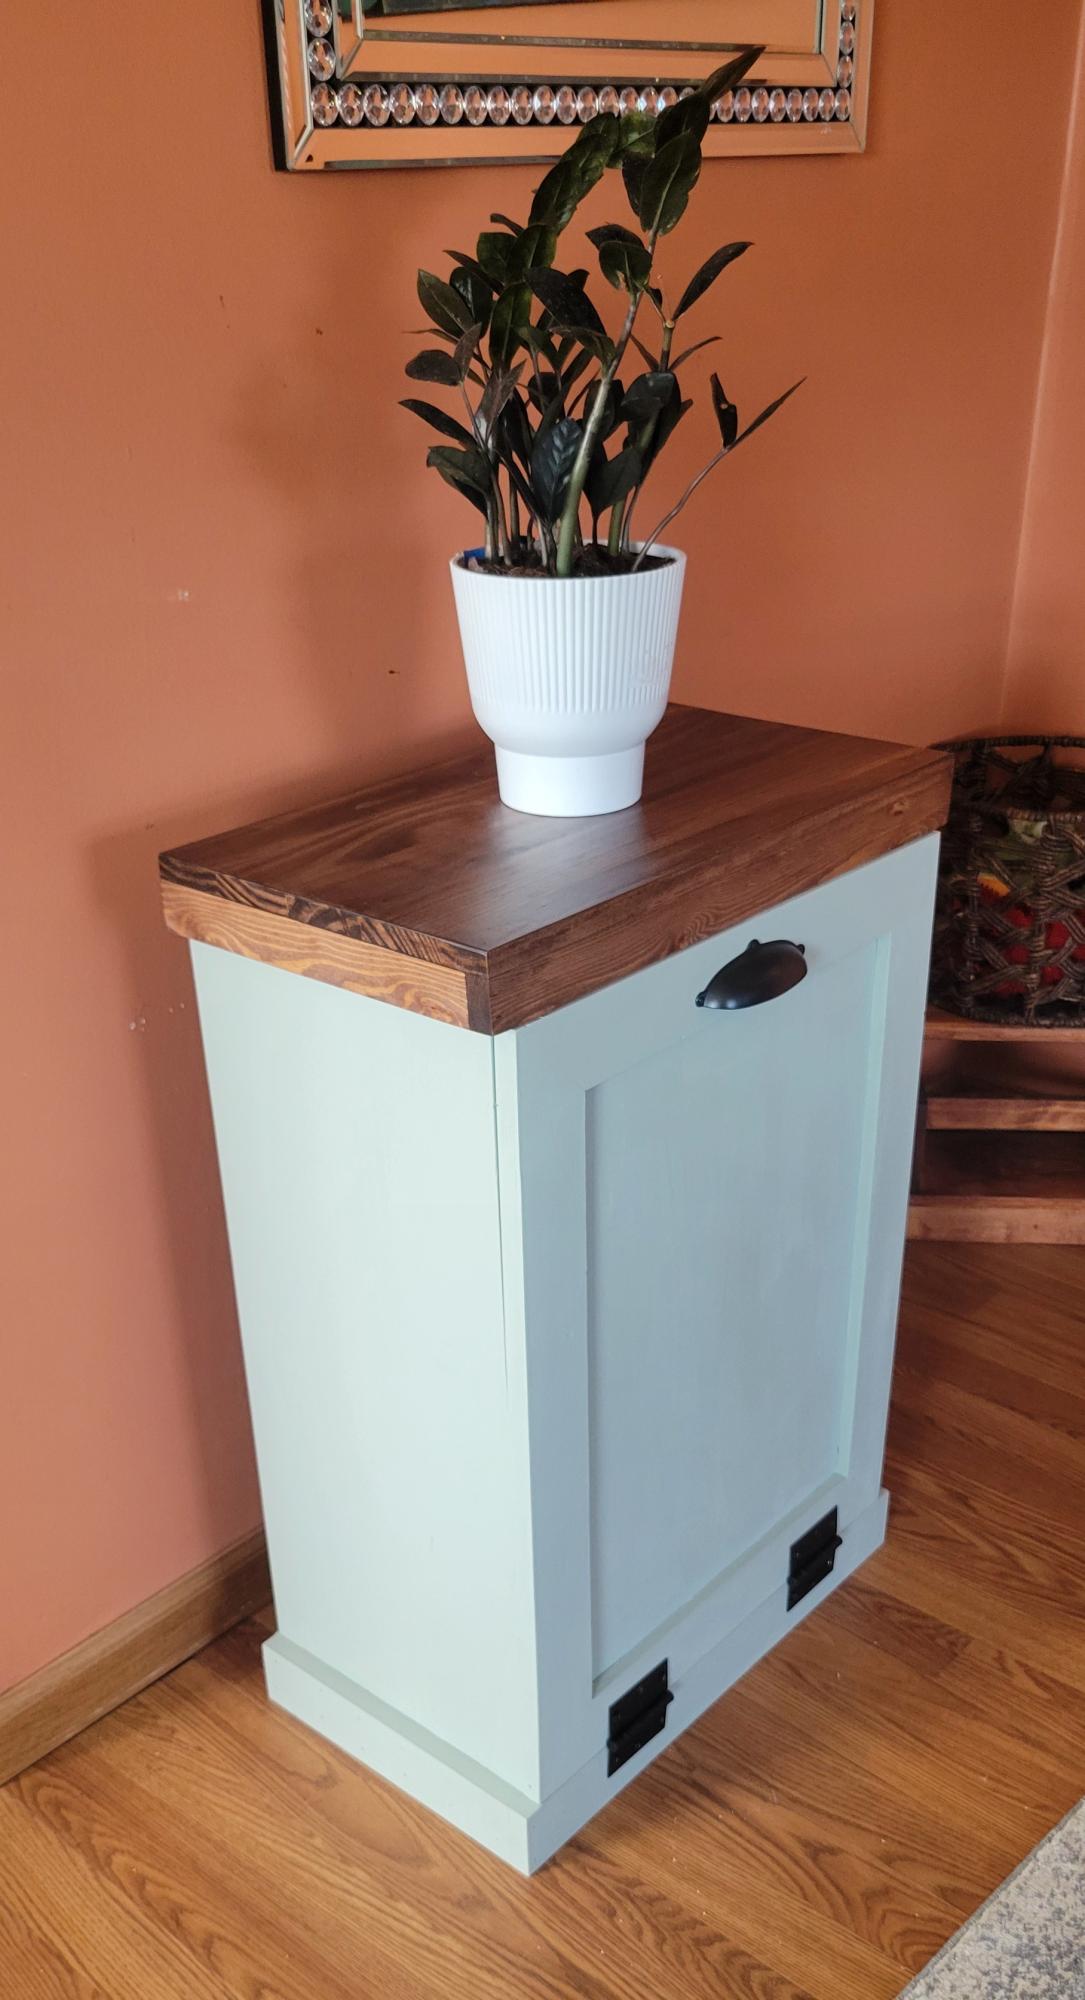
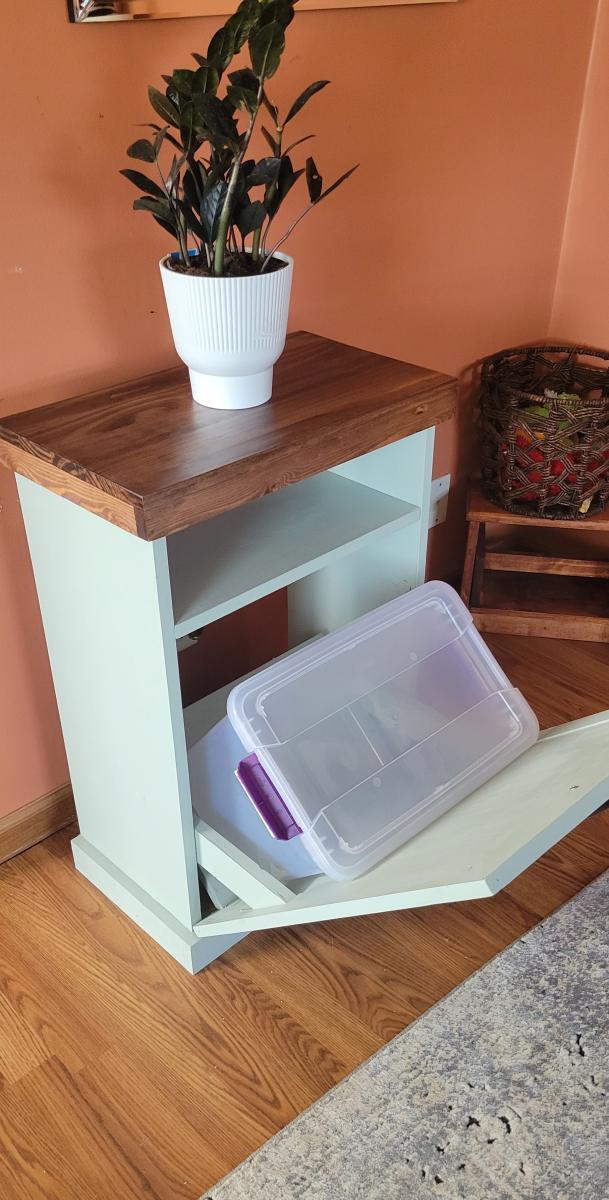
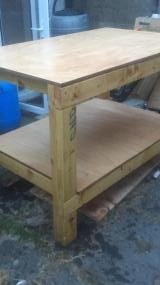
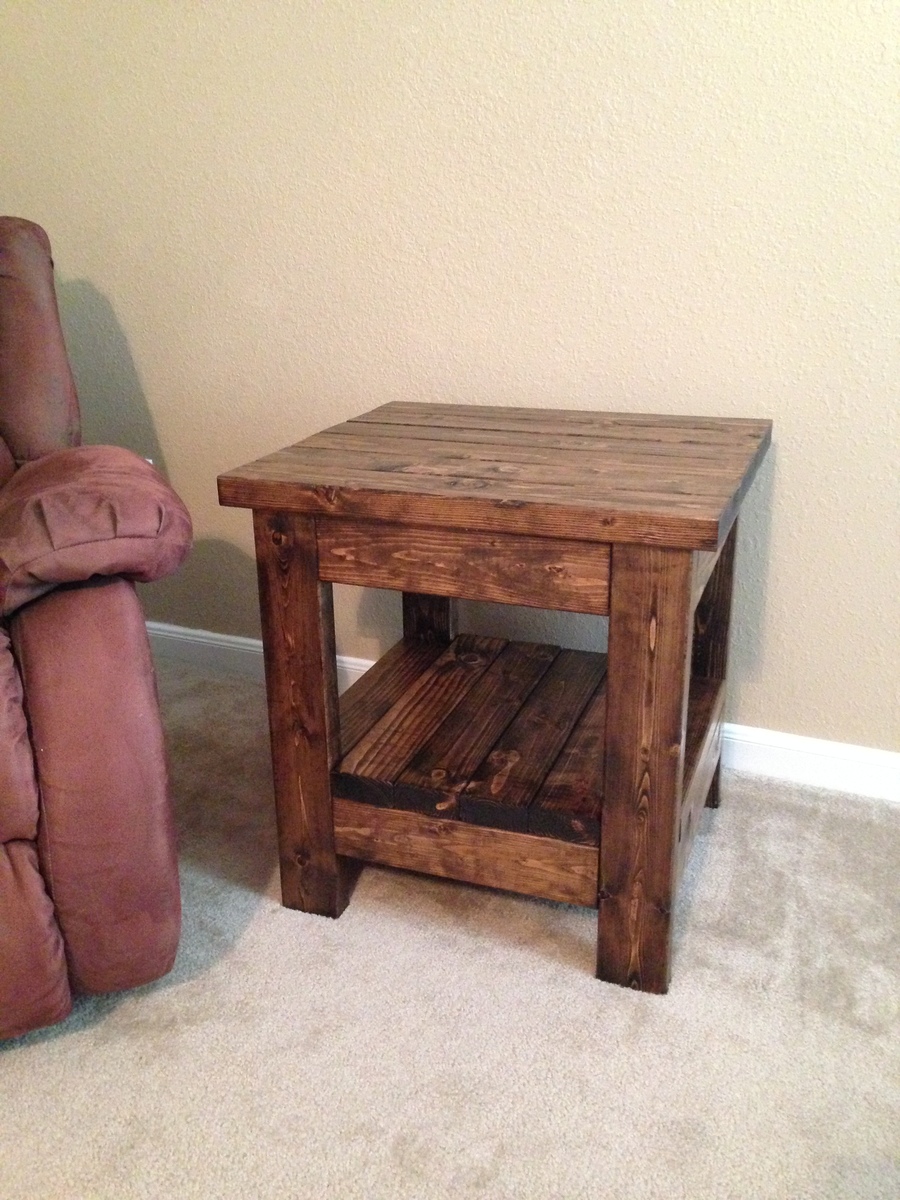
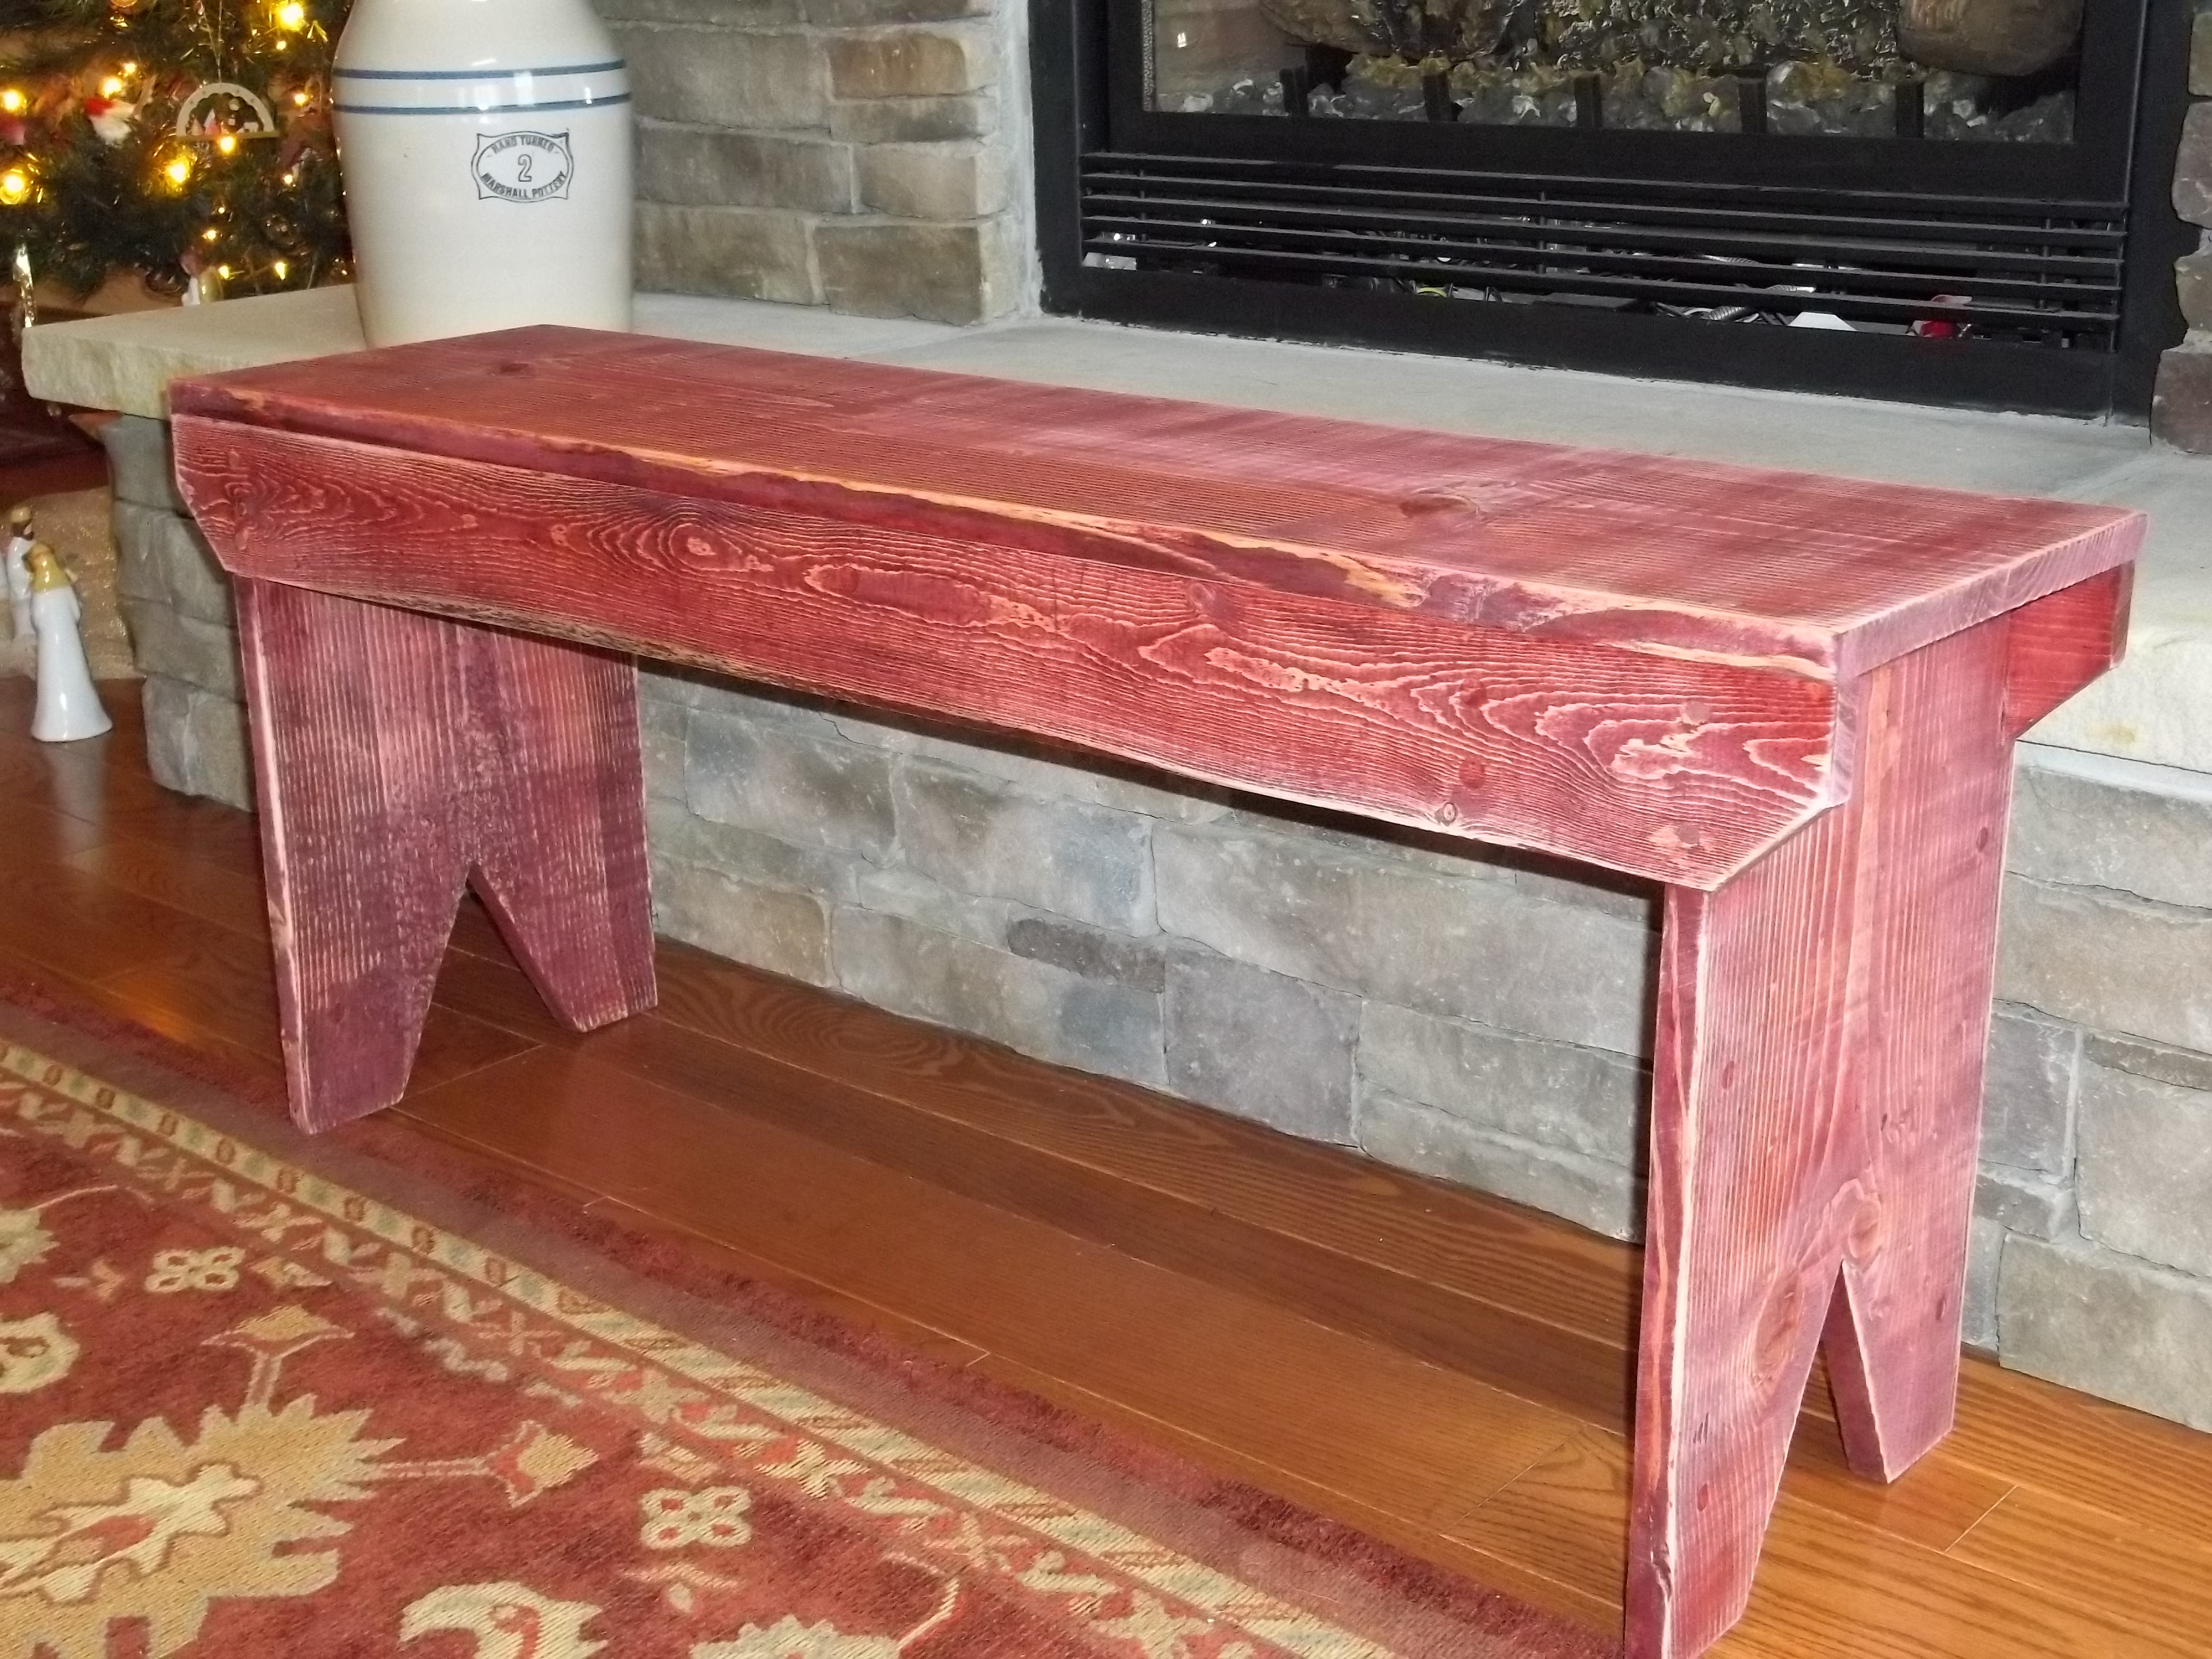
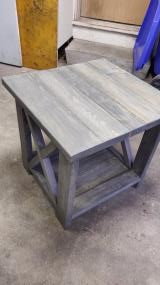
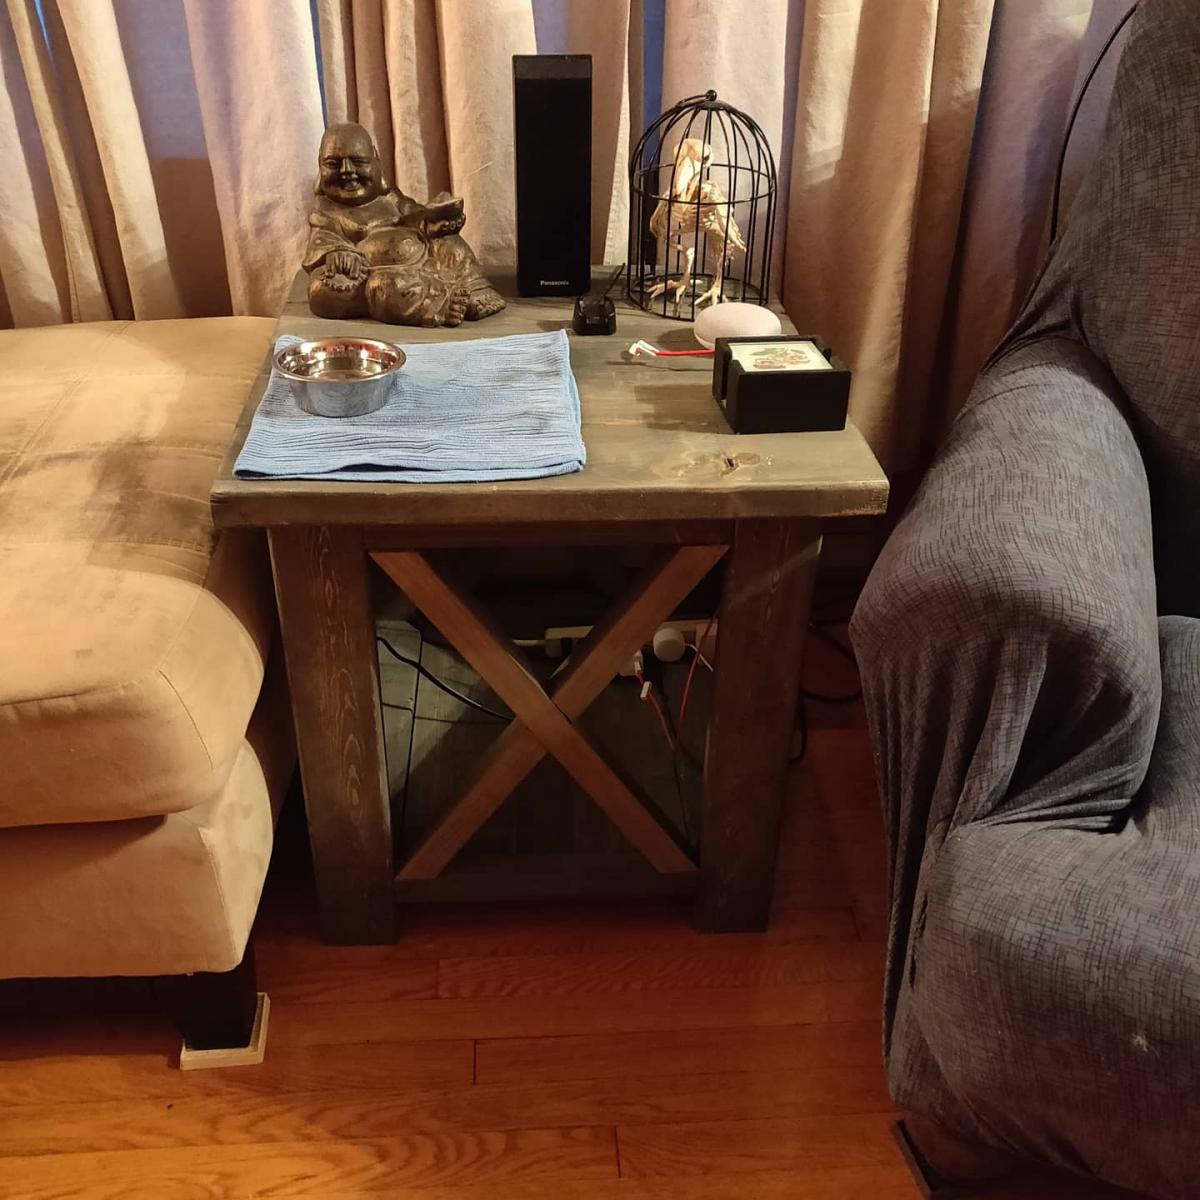
Narrow Cottage End Table
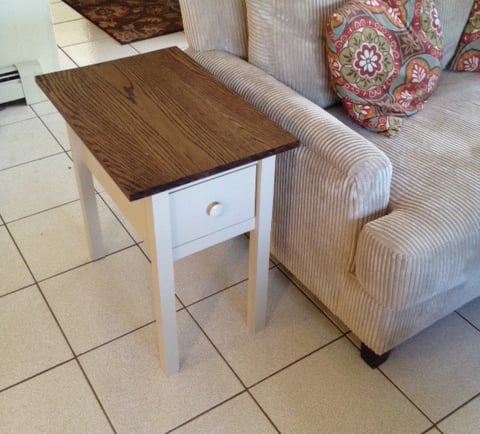
This was my first woodworking project! Thank you Ana for the easy to follow plans. Making this end table has given me the confidence for my next project - bathroom vanity unit, which is almost completed.
Built from Plan(s)
Estimated Cost
$50.00
Estimated Time Investment
Weekend Project (10-20 Hours)
Finish Used
Stained top and painted base
Recommended Skill Level
Beginner


Comments
JoanneS
Wed, 09/10/2014 - 14:12
Gorgeous table!
Congrats on an awesome build! You did an absolutely beautiful job! LOVE the finishes you used! :) JoanneS