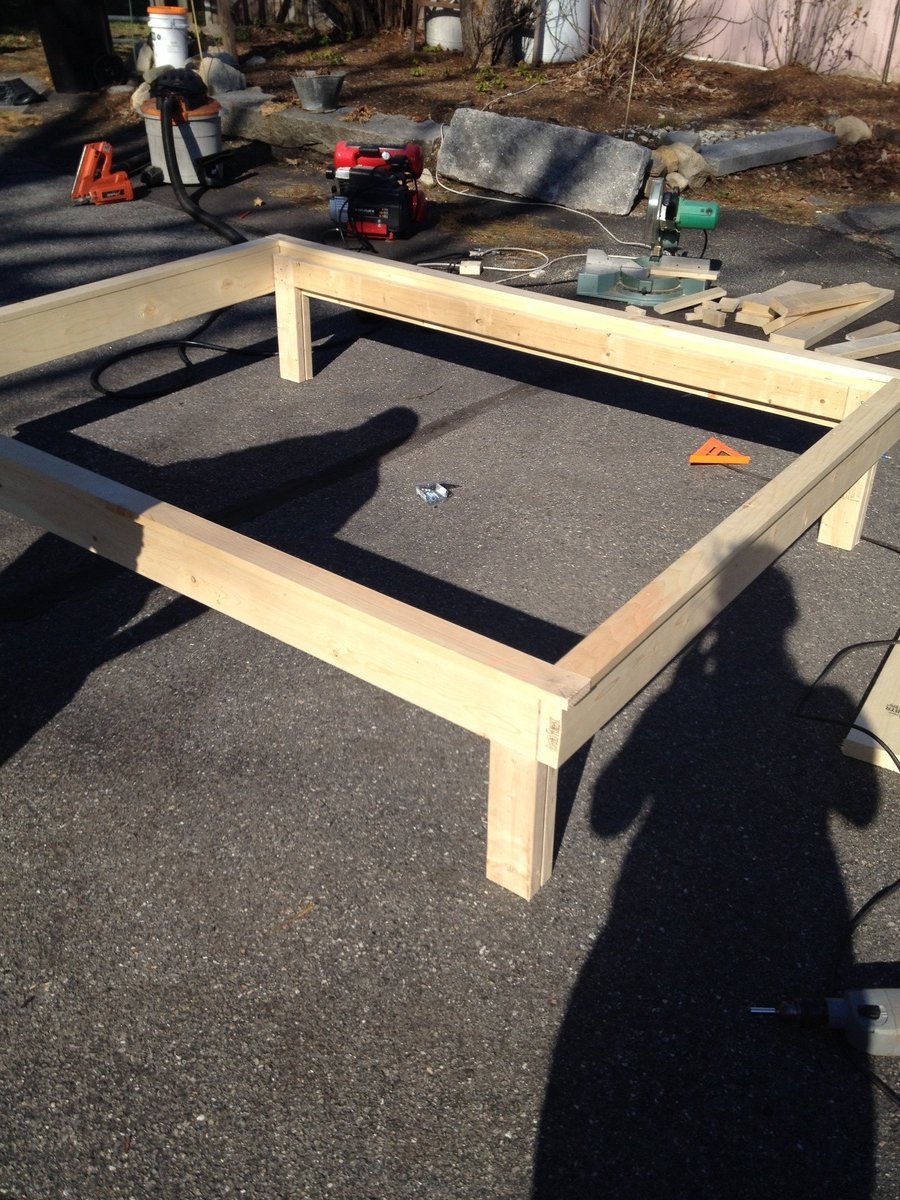
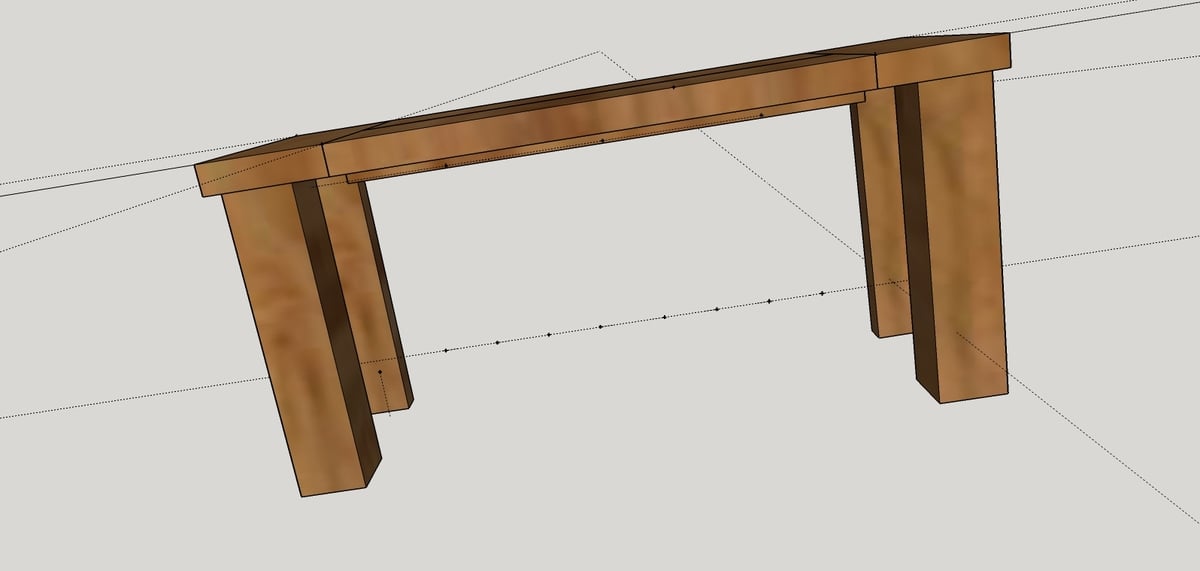
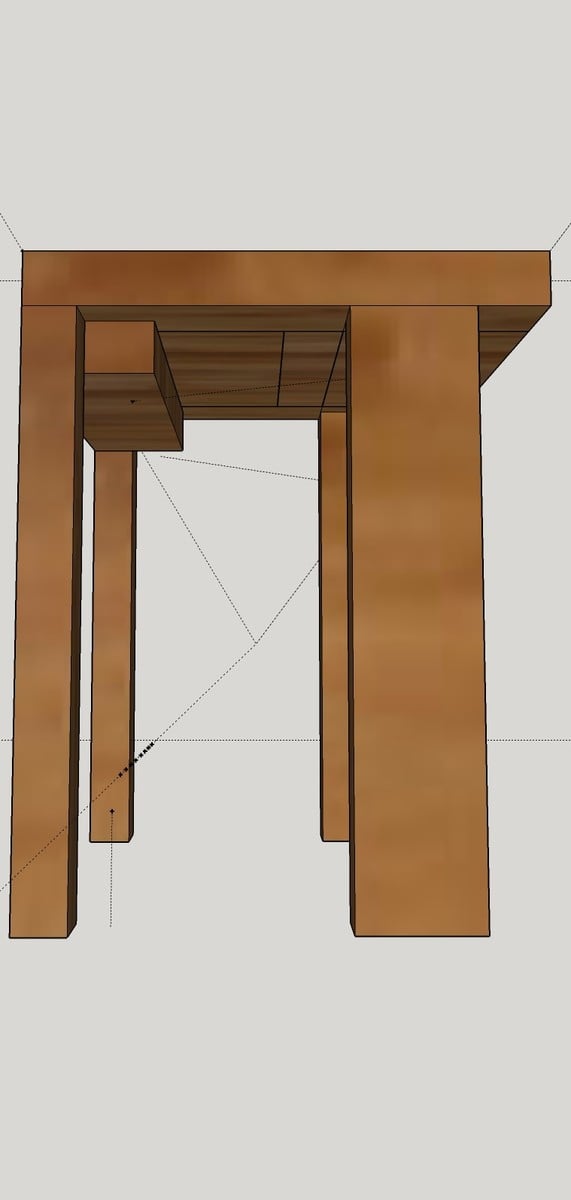
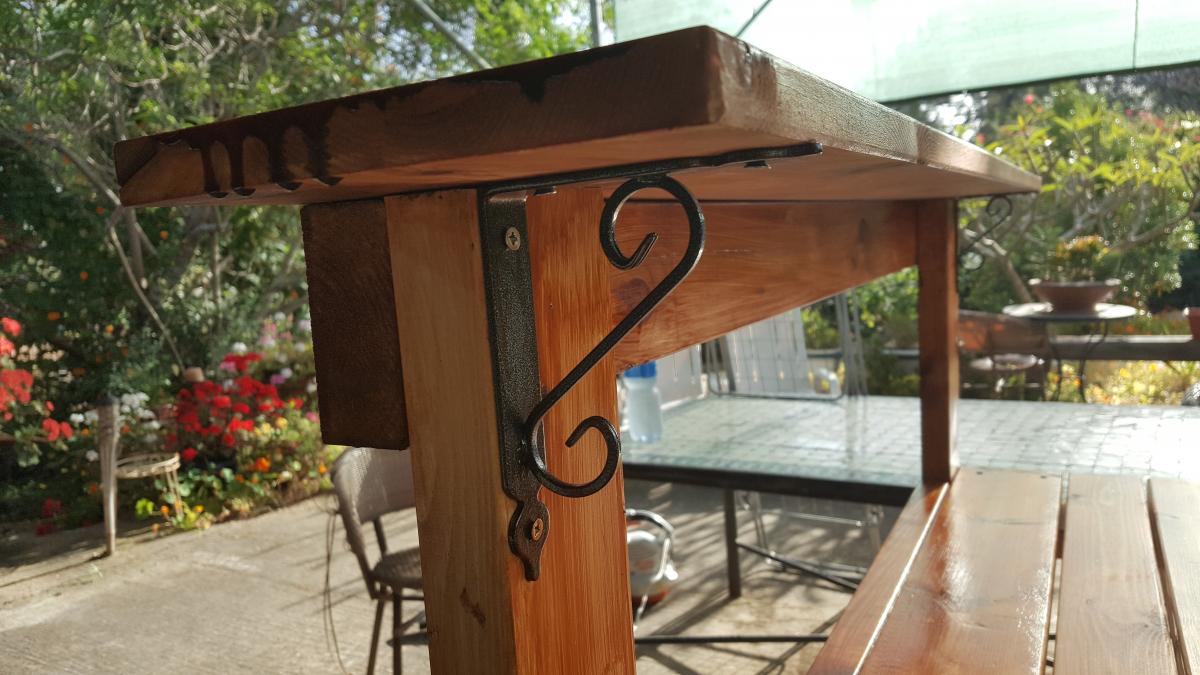
Children's Picnic Table
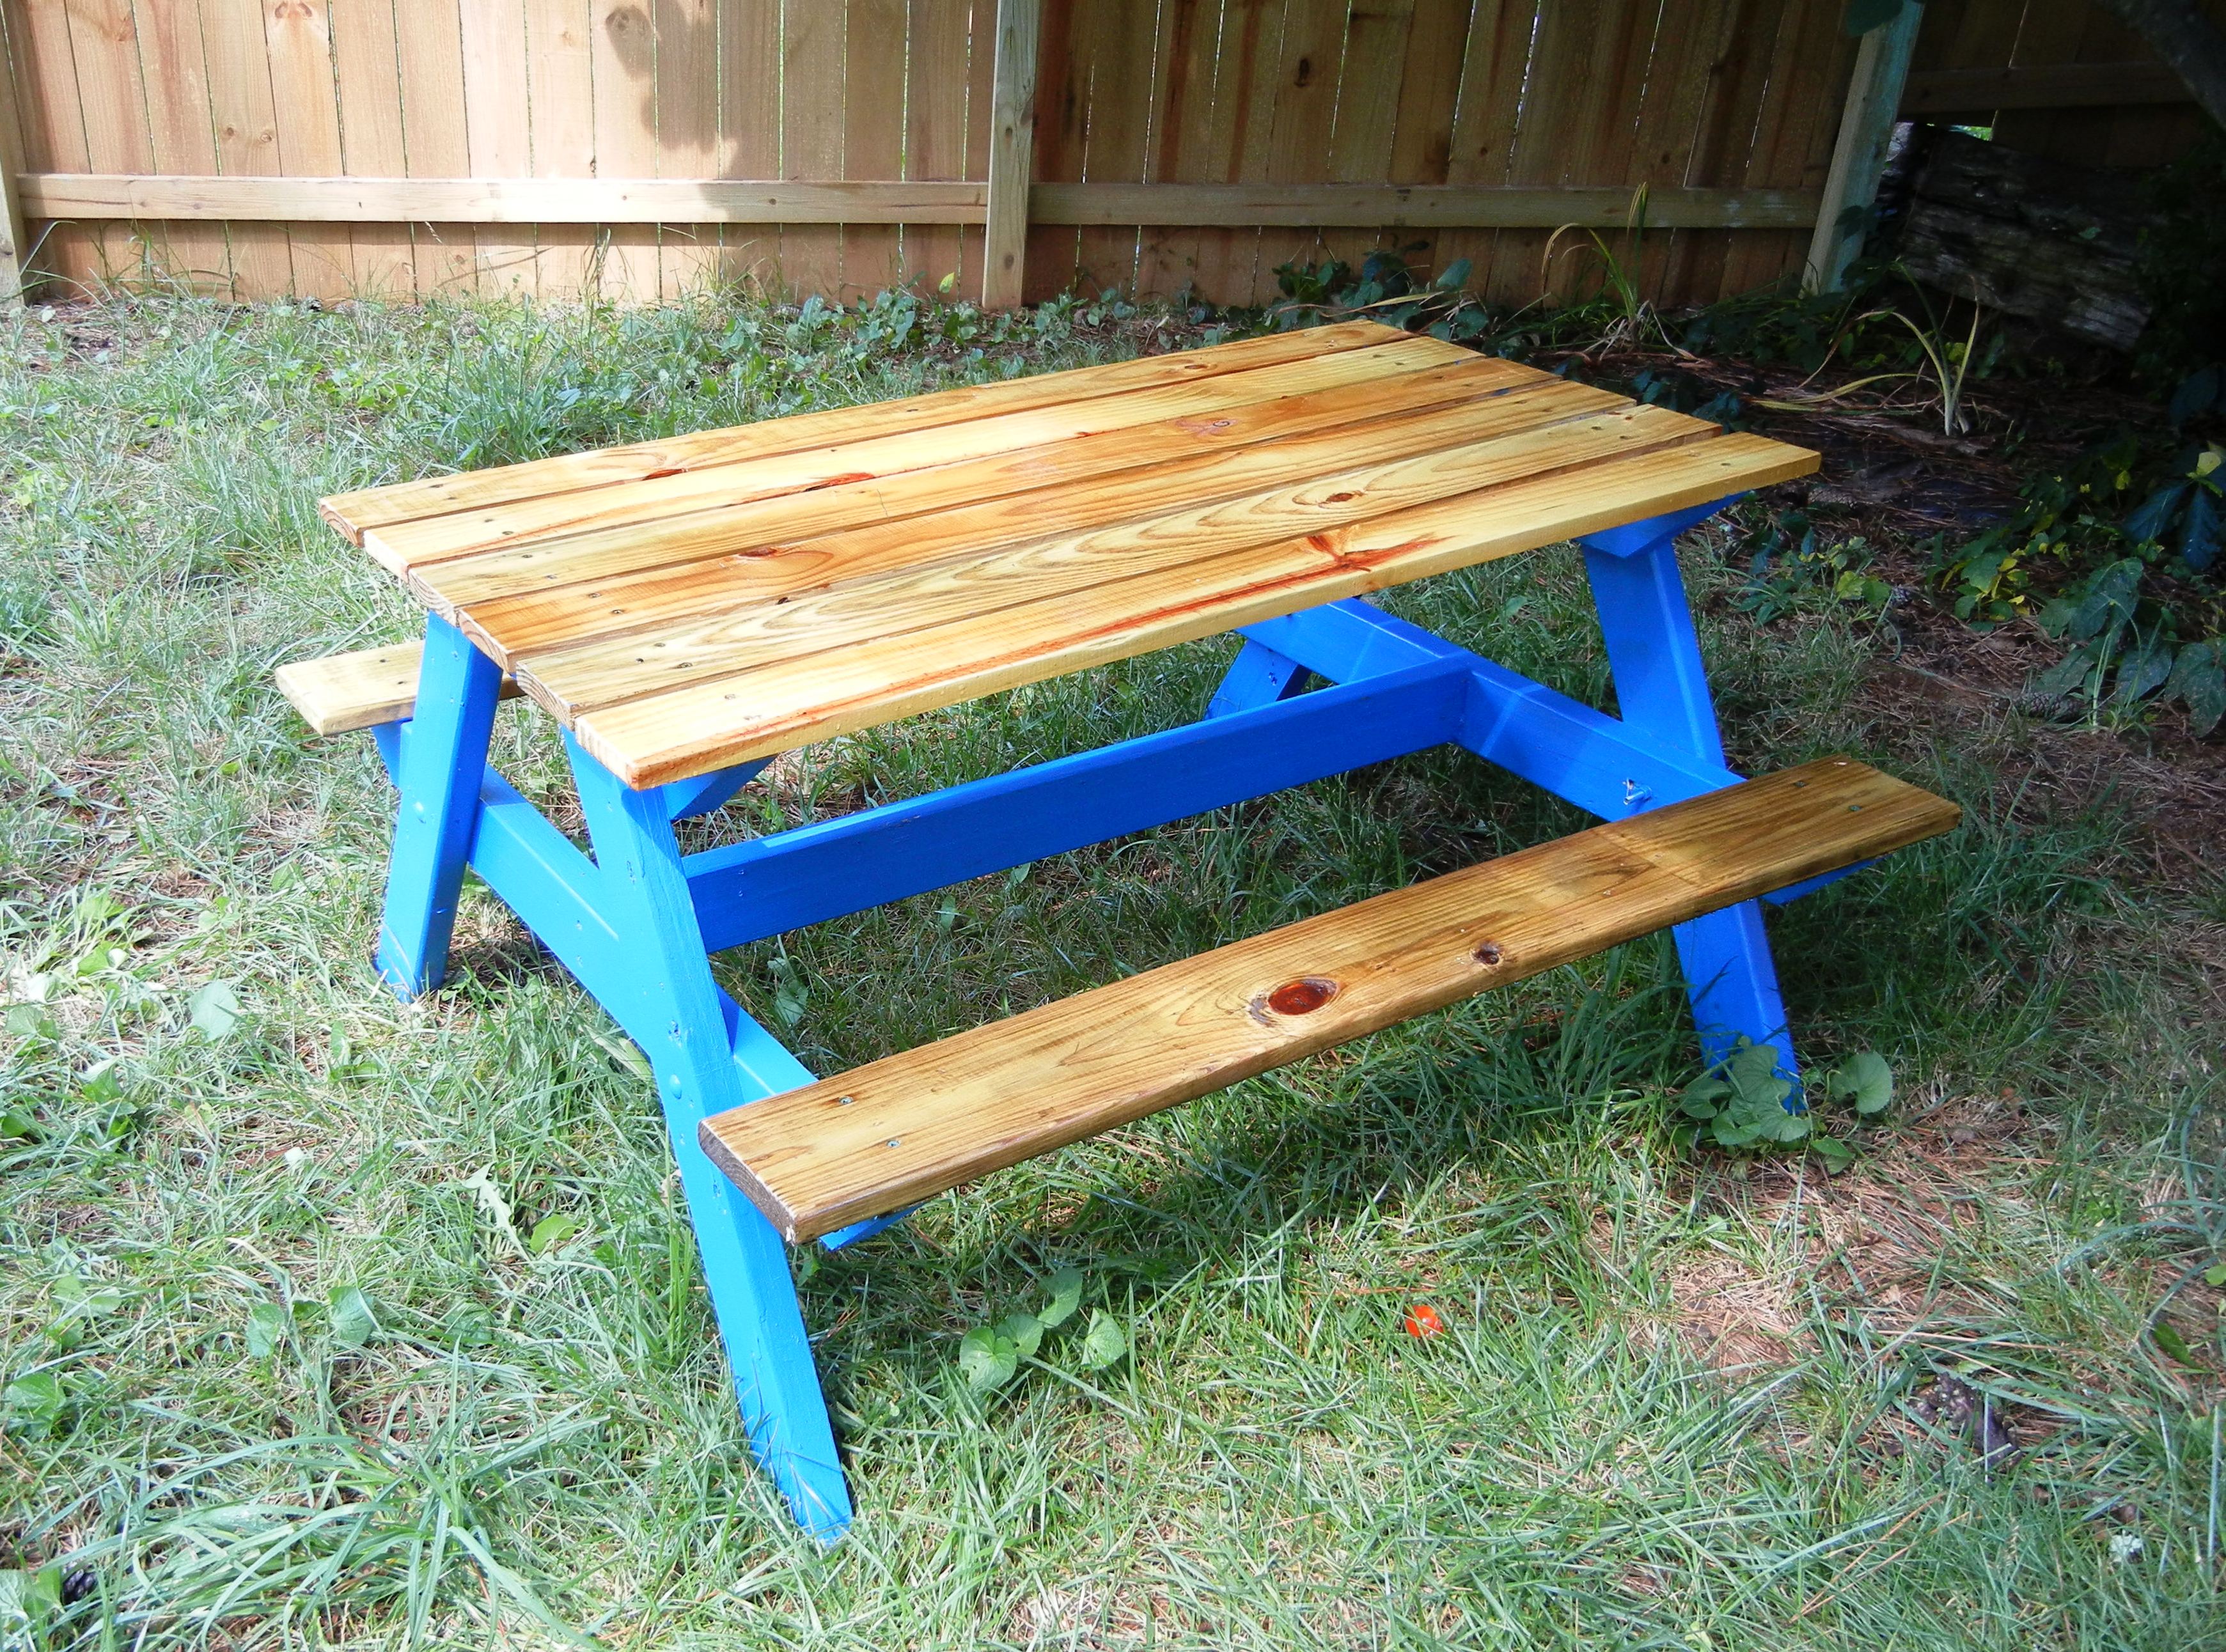
Children's picnic table

Built from Plan(s)
Estimated Time Investment
Afternoon Project (3-6 Hours)
Finish Used
Helmsman Spar Urethane semi-gloss on table top and benches, Peek-a-boo blue on legs and supports.
Recommended Skill Level
Beginner