How to Quit Woodworking in 8 Simple Steps (Almost) - Coffee Table Edition
First off, I appreciate you for taking the time to click on my project. Rest assured, this project didn't make me quit woodworking, I know the title was a little "click-batey". I don't want to discourage you from replicating this table because of the title of this post, as this has been my favorite project I've done to-date. The struggles that made me want to quit were laughably self inflicted and by my own doing, they weren't due to the instructions online. That being said, it did make me second guess whether I bit off more than I could chew. I promise not to disappoint with the story behind this build, so lets get into it.
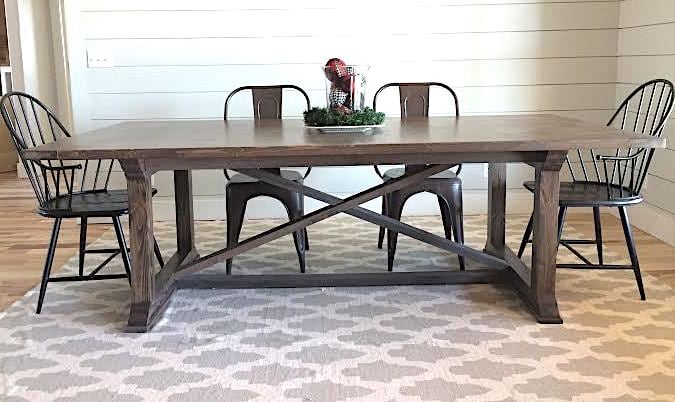
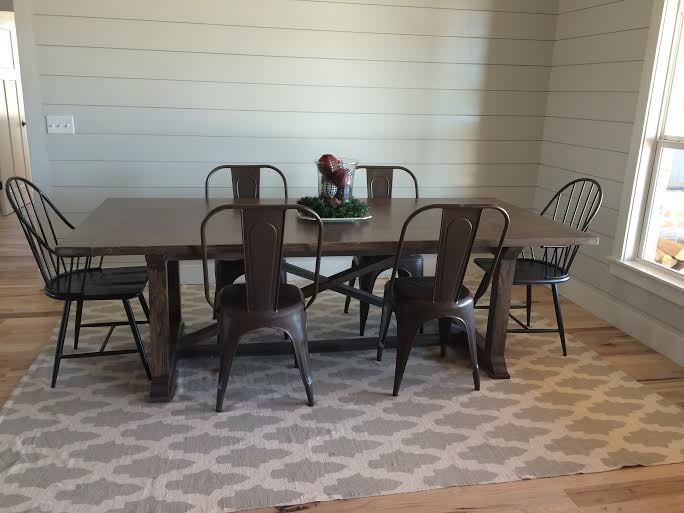
My wife and I moved into a new home in the suburbs of Chicago and like many first time homeowners thought to ourselves, "We'll have no problem filling the house with all of our stuff." Then after settling in we had the realization of, "Wow...we really don't own that much furniture, this is going to get expensive FAST!" So after a decent amount of DIY and woodworking "research", I decided to give furniture building a shot. It all started with a desk...or so I thought it would. I fell into the hobby first by thinking that I needed to build an L-Shaped desk for my office. After having a few meals in our new home, I realized a new dining table would have to take precedent. After building the dining table, I was ready to tackle the desk, but then quickly realized that we didn't have anywhere to sit and eat. So I ended up doing more "research" and found a beautiful design based upon a Williams Sonoma box-joint bench. Following the bench build, I was ready to build the desk for my office...WRONG again! I was getting quite good at building furniture now, so the new couch we just purchased required a new coffee table that wasn't 30 years old and purchased 11 years ago at a garage sale for $5.
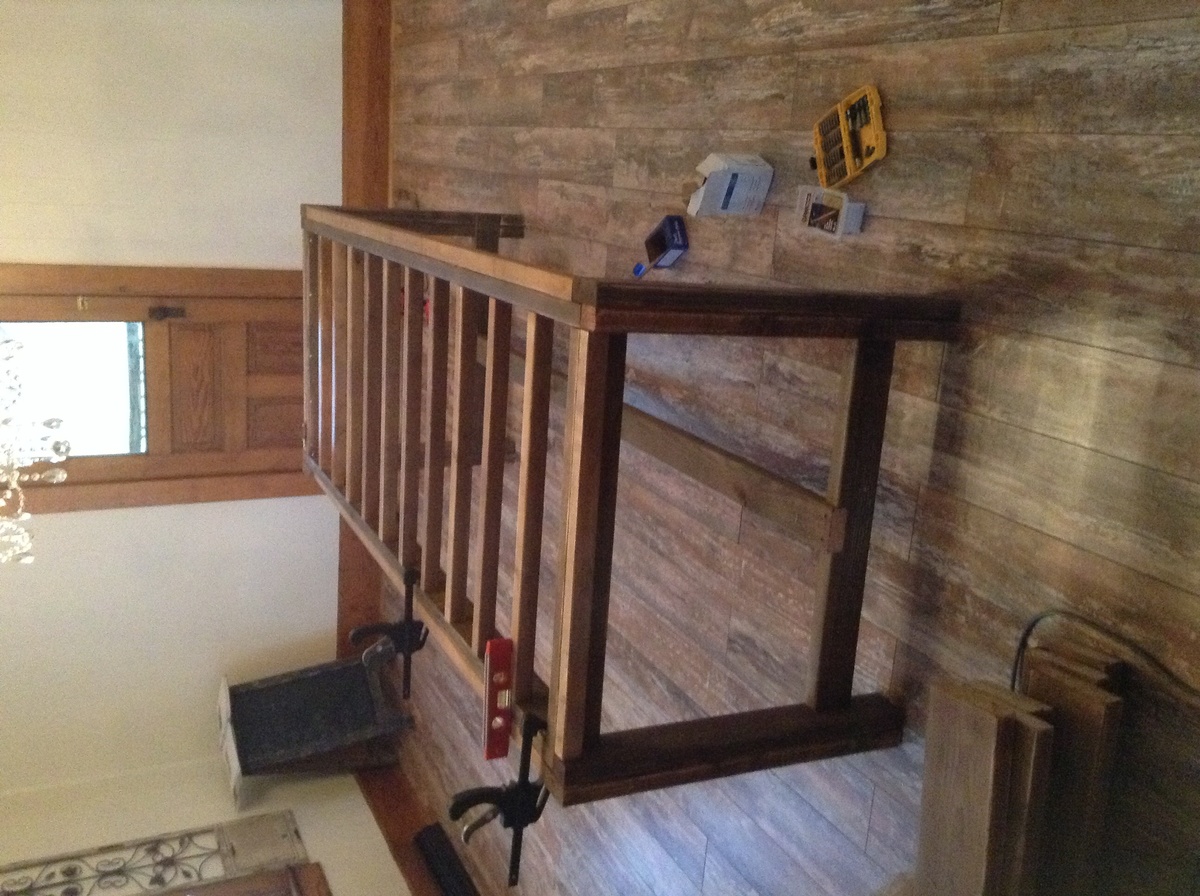
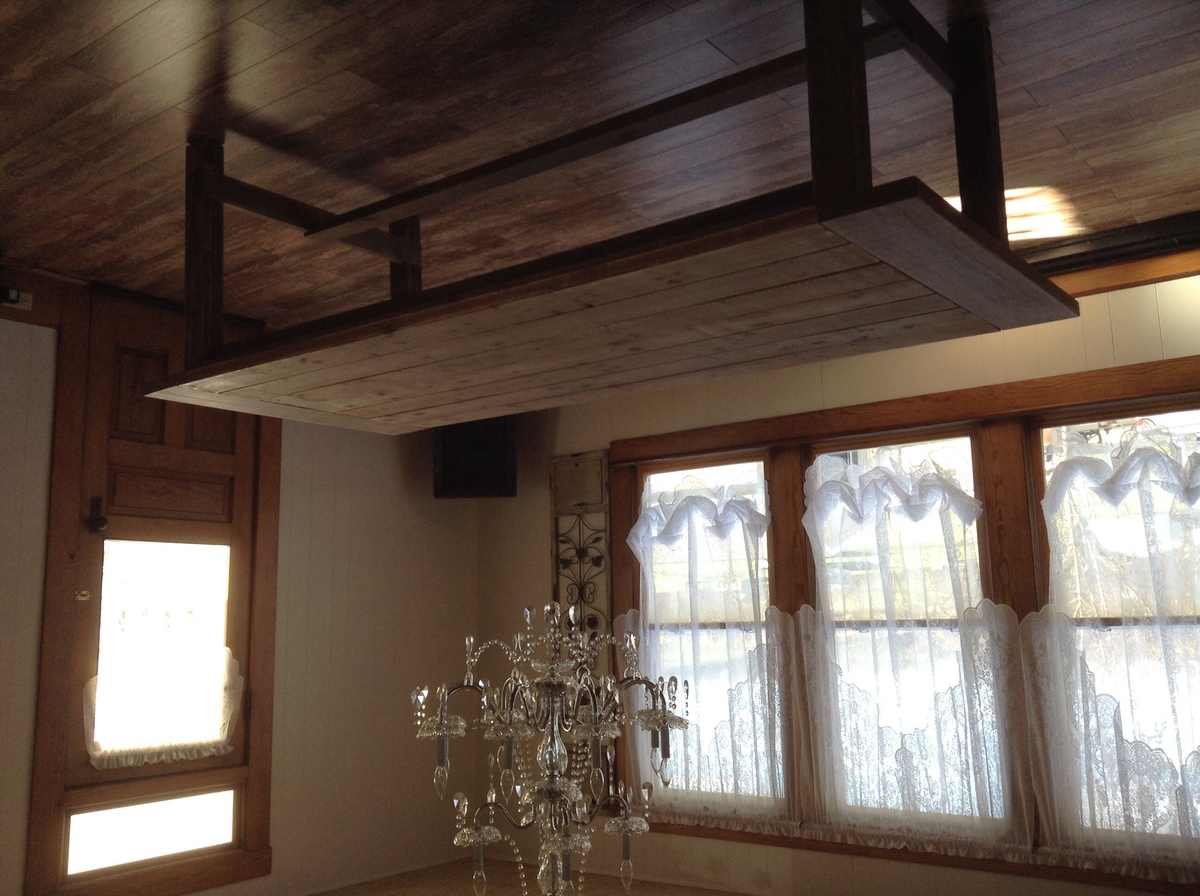
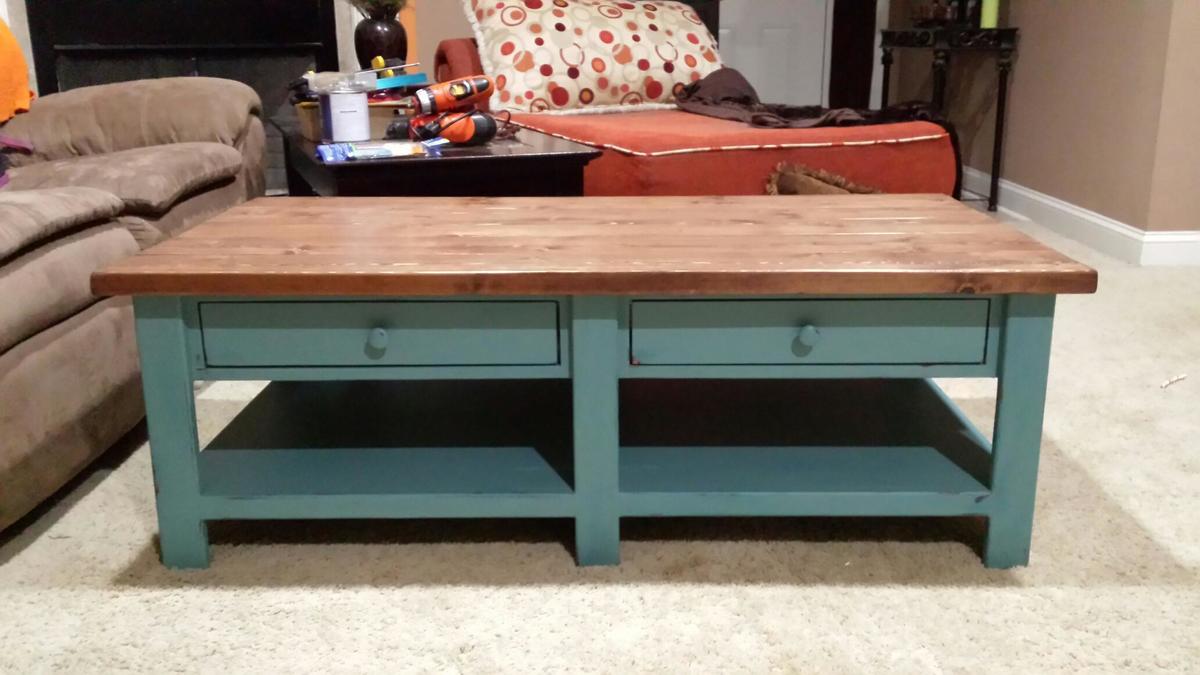
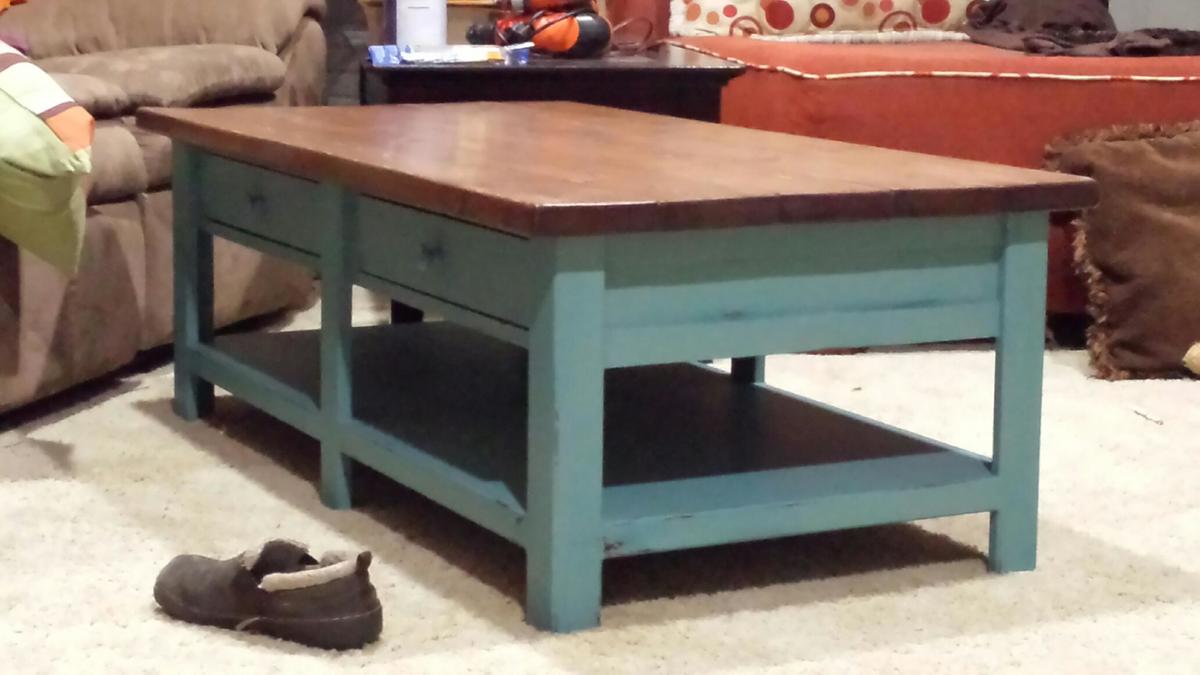
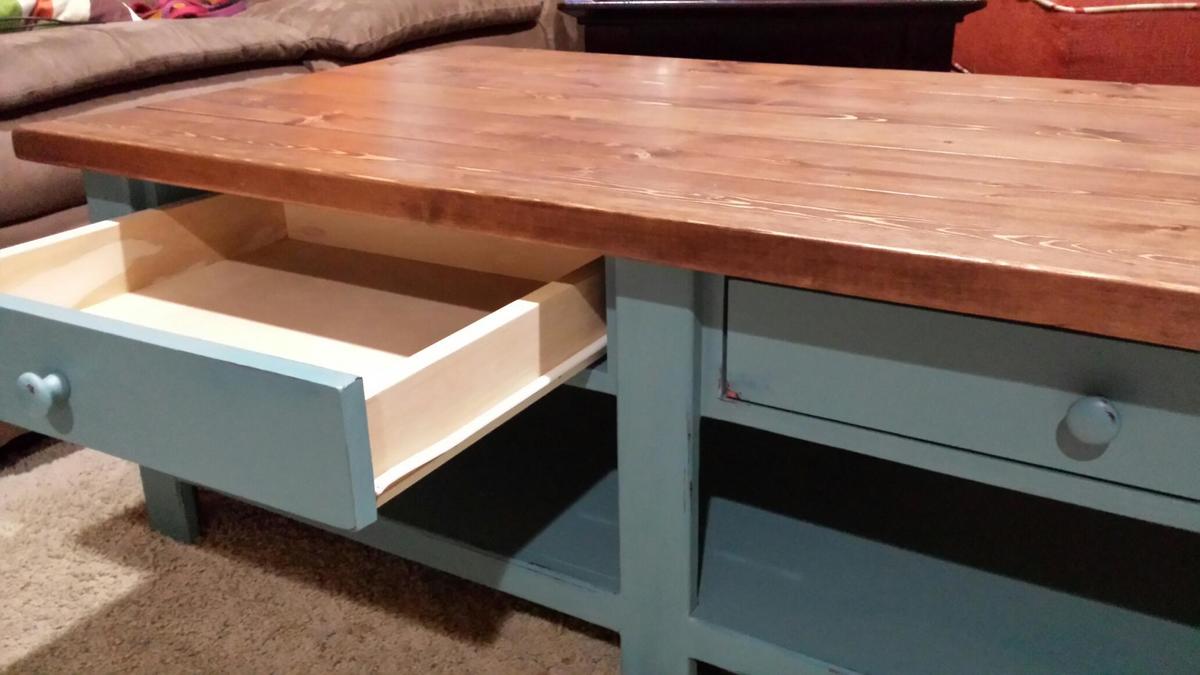
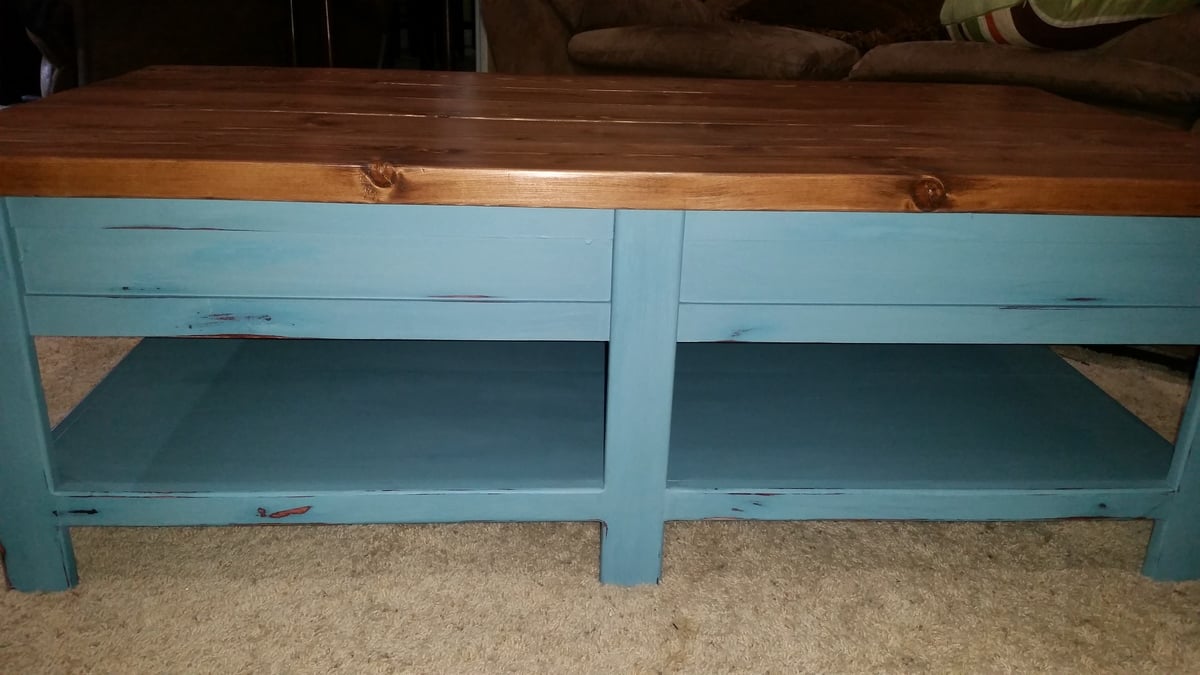
After finding the coffee table design on Ana White's site, I knew the build would not only be a challenge, but rewarding in the long run. About a day into the build I thought to myself, I really need to get the office desk done. So *Enter* a really terrible idea, "I'll do both the coffee table and the desk at the same time, it'll be no problem!" Hind sight is 20/20, because I was a moron for thinking that. We're fortunate enough that space wasn't an issue, I have about a 20' x 12' workshop that was able to accommodate both projects simultaneously. Unfortunately, I gave myself a deadline and the 3-4 days a week of traveling for work wasn't helping. I don't suggest doing that. I had all the pieces joined after the first week, but wanted to stain and finish each piece before putting the table together. This was due to the fact that I didn't want to be crawling on the ground and under the table trying to stain and finish. Finishing each individual component was painstaking to say the least, but glad I built the table the way I did. Luckily, the coffee table along with the L-Shaped desk took about 2 weeks total, and I could't be happier with both project.
Thank you again for taking the time to view my post, the story was a bit long winded but hopefully entertaining and insightful. I would appreciate you adding this as a pin or engaging the post socially and sharing. Please feel free to reach out if you have any questions, I'll do my best to respond in a timely manner.
Sincerely,
Jeff G.
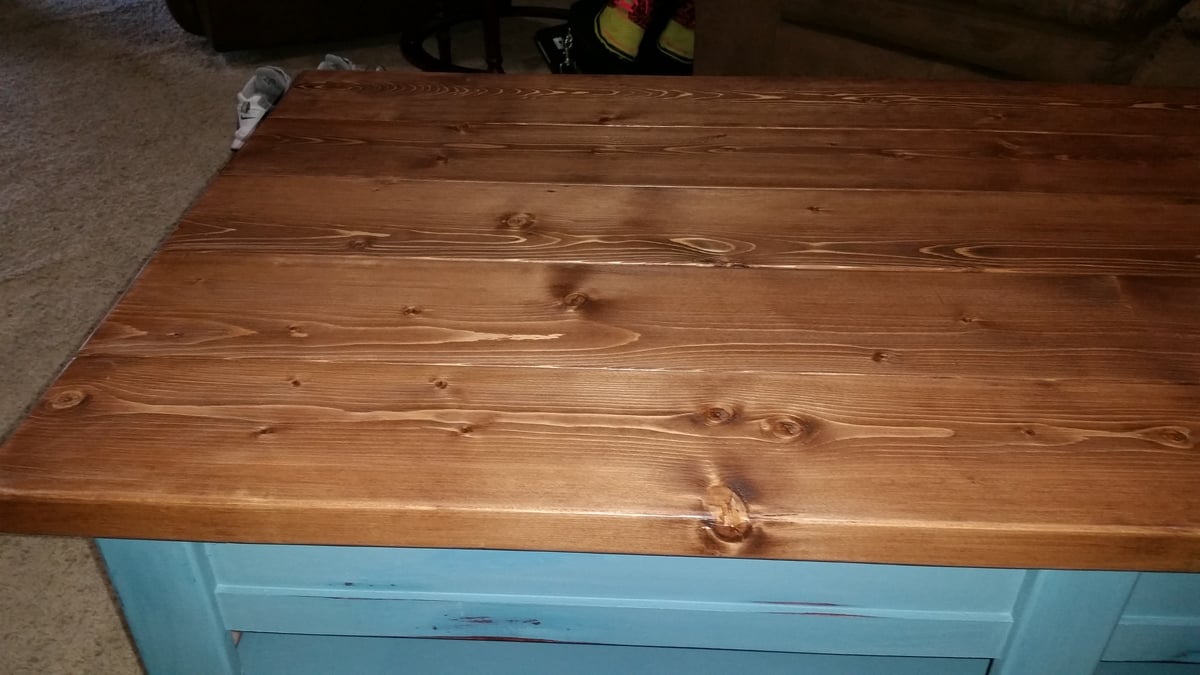
1. One coat of Minwax English Chesnut (Sand to 220, apply stain and wipe off after 10 minutes)
2. One light coat of Minwax Weathered Oak (Paint on a light coat of stain and wipe off after 3 minutes)
Finish:
1. Three coats of General Finishes Arm-R-Seal Satin (Oil Based)
2. Lightly sand after each application of finish, thoroughly clean before next application







Comments
Ana White
Tue, 10/01/2019 - 20:58
Wow it’s so beautiful!!!
Wow it’s so beautiful!!!
In reply to Wow it’s so beautiful!!! by Ana White
JG Sicilian
Tue, 10/01/2019 - 21:11
Thank you Ana, much…
Thank you Ana, much appreciated!