Community Brag Posts

Workbench

Submitted by joja on Sun, 04/01/2012 - 15:30

Another project inspired by Ana!

Estimated Time Investment
Afternoon Project (3-6 Hours)
Recommended Skill Level
Beginner

Emersen console

Submitted by news1811 on Sat, 01/18/2014 - 12:19

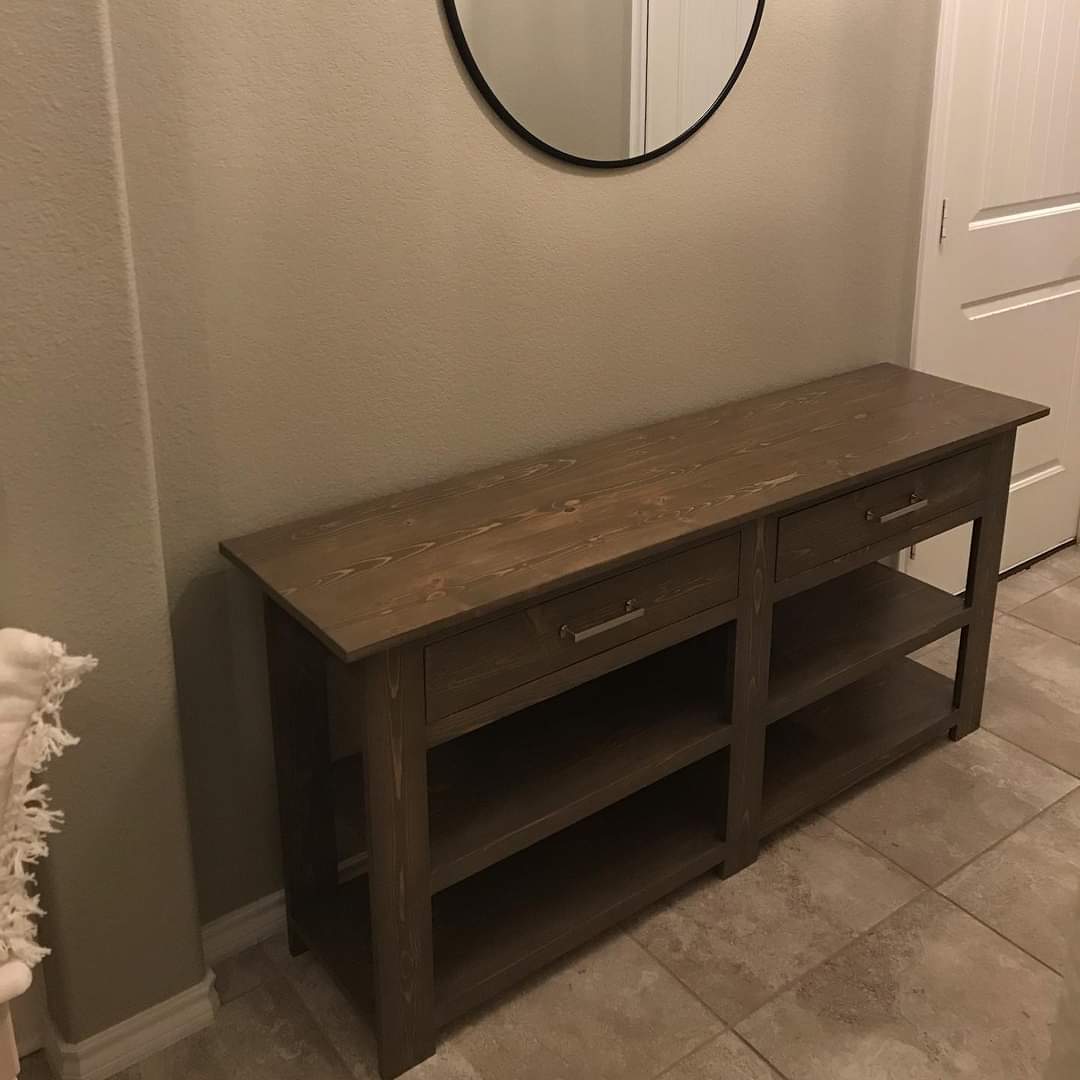
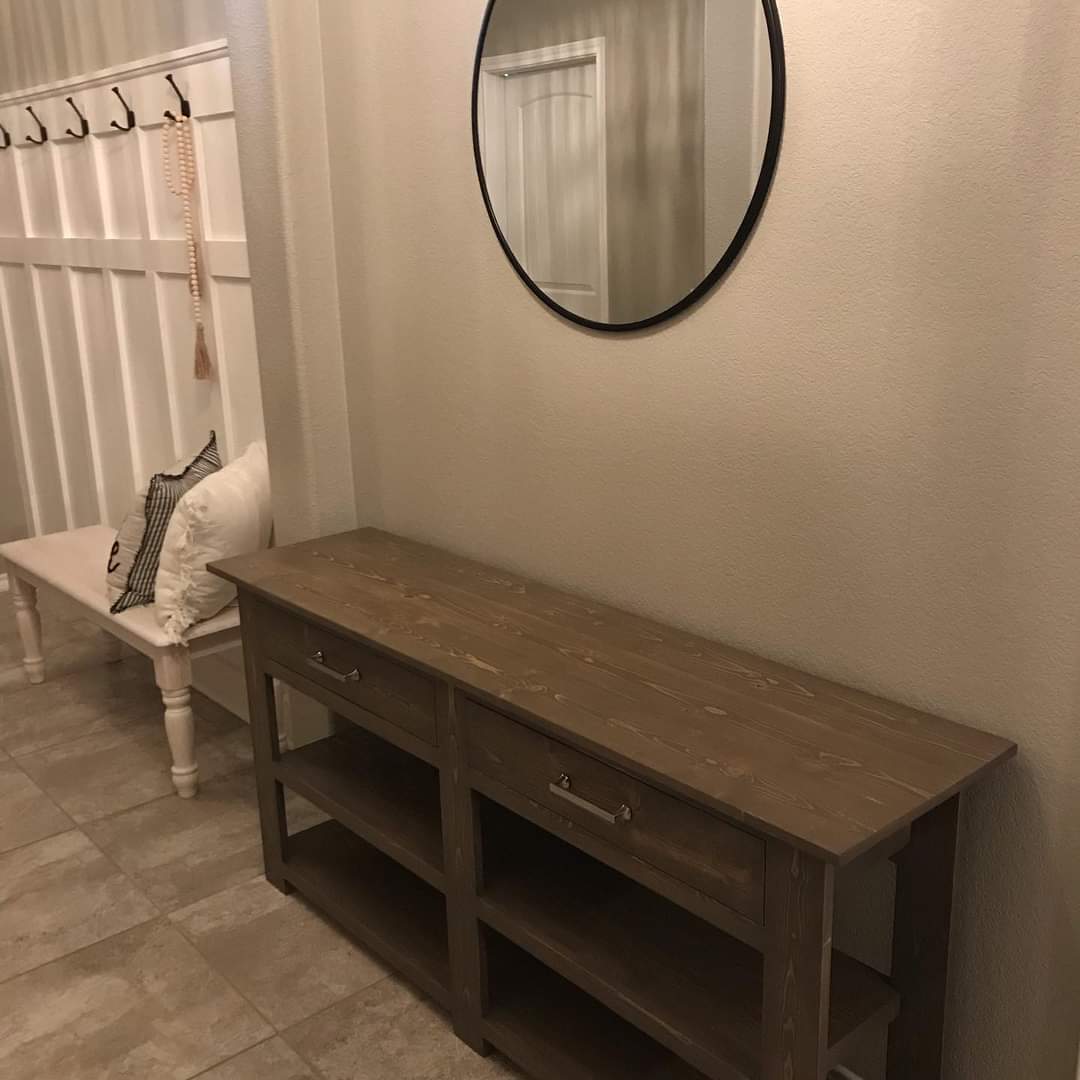
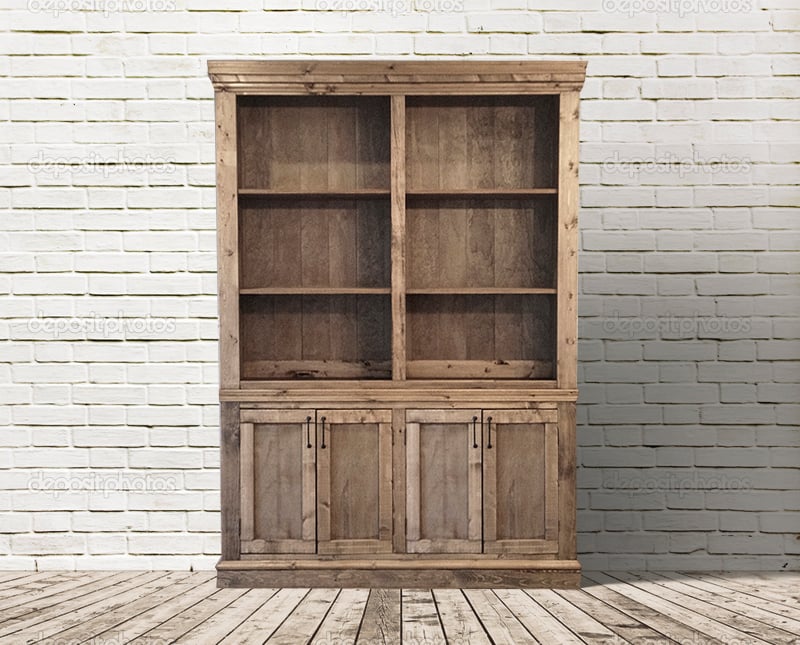
I altered the plans to fit the space where it would be going. I extended the length and added another side of shelves. I also reduced the size of the doors a little and made the base a little shorter to reduce overall height. This project required and extra sheet of plywood to complete. I used the Purebond birch from Home Depot and whitewood for the face frame and doors. I liked the finish in the original plan so I tried to make it look similar. I used different shades of brown and also scorched some boards of the door and some areas of the face frame with a torch. For the light areas on the door and frame I just taped off and sanded down. I worked on it when I had some spare time but this project could be completed in a weekend including the finish.

Estimated Cost
$200
Estimated Time Investment
Weekend Project (10-20 Hours)
Finish Used
I used Rustoleum American Walnut as a base and used Miniwax Dark Walnut for the darker boards. I also used a hand torch to scorch some boards and other areas. I finished with a few coats of polyurethane.
Recommended Skill Level
Intermediate

Entertainment Center and Bookshelves

Submitted by talvey50 on Sun, 04/10/2016 - 21:08

A combination of the Printers Triple Console Cabinet and the Reclaimed Wood Rolling Shelf (x2). We knew we wanted the bookshelves so I made those first. The plans were really easy to follow and I knocked out both in a weekend. Once I got those where we wanted them, it left a void that only the Printers Console could fill. That took a little longer than anticipated and was about at the extent of my woodworking skill (so far!) but it came together perfectly.

Estimated Cost
Rolling Shelves ($100 each)
Printers Console Cabinet ($250-300)
Estimated Time Investment
Week Long Project (20 Hours or More)
Finish Used
My favorite stain ever....white vinegar and steel wool. Shred up some 0000 steel wool in a jar and pour white distilled vinegar. I usually let it sit for a couple of hours before wiping on the wood.
Recommended Skill Level
Intermediate

Comments

Queen Farmhouse bed with storage and Farmhouse Doll Bed

Submitted by CPeeples on Sun, 12/22/2019 - 06:11

I built this queen size farmhouse bed using Ana's Plan. I wanted hidden under bed storage so I did alter that part of the plans. The box is pretty heavy so i added foot supports to carry the weight. I have access to the storage on both sides of the bed. I have built another version of this bed where i added gas springs to help lift the bed for access but i chose not to do it on this one. As an added feature, i also built a matching doll house bed. I love this bed, and it turned out beautiful. 

Estimated Cost
$400
Estimated Time Investment
Week Long Project (20 Hours or More)
Finish Used
Min-wax Espresso stain and Min-Wax Poly
Recommended Skill Level
Intermediate

Media bench

Submitted by joja on Thu, 04/05/2012 - 06:58

Inspired by Ana!

Estimated Time Investment
Afternoon Project (3-6 Hours)
Finish Used
Stain.
Recommended Skill Level
Beginner

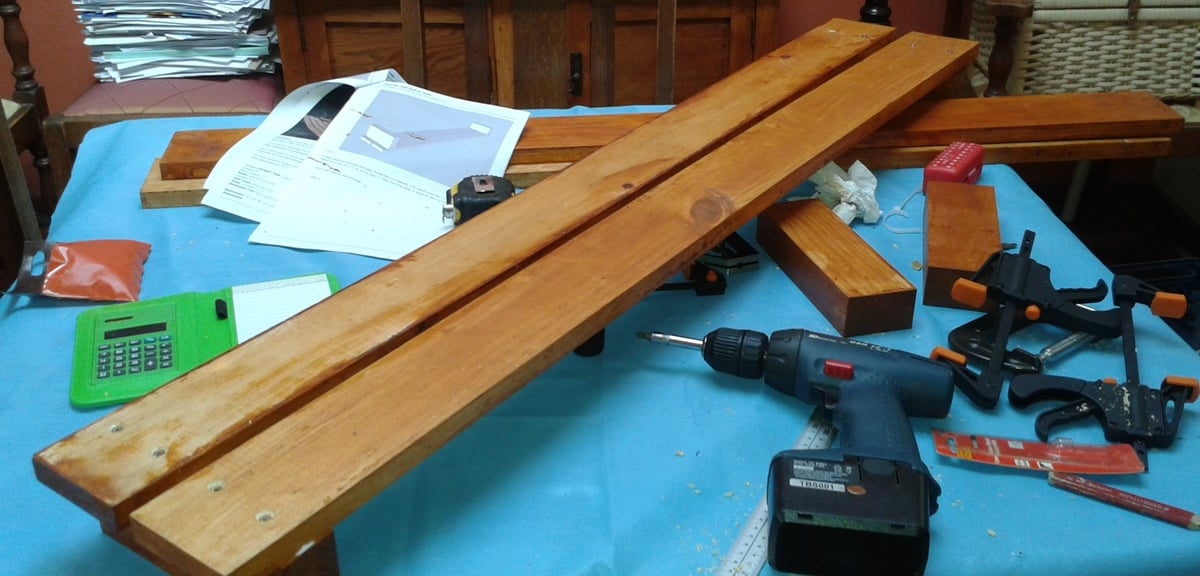
Work bench with 3/4 blonde plywood (2sheets) top

Submitted by tommybo76 on Mon, 01/20/2014 - 16:20

I based my work bench on the "sturdy workbench" plan. I made my top using two sheets of blonde 3/4 inch plywood. I glued/screwed and clamped two 3' x 6' sheets together (had the store cut 4x8 sheet to my dimensions). I didn't stain it but did coat with 3 coats of poly. The legs and supports are 2x4s (i think i used 7 though some was left over scrap) and the shelves were built from scrap MDF I had left over from a previous project. I designed my top to hang over at least two inches (longer in some areas depending on where the supports line up) to make clamping easier and it sits 37" from the floor. I wanted to ensure i had adequate space for my shopvac and air compressor so I lowered the base from the original design to avoid making the workbench too tall. This work bench is a very good size for my needs and extremely sturdy!

Built from Plan(s)
Estimated Cost
100
Estimated Time Investment
Day Project (6-9 Hours)
Finish Used
Polyurethane satin
Recommended Skill Level
Beginner

Famhouse Dining Table

Submitted by kristyzed on Wed, 04/13/2016 - 11:27

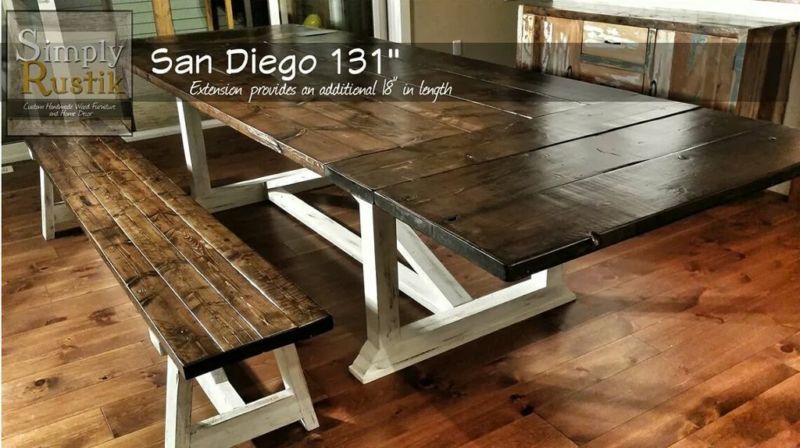
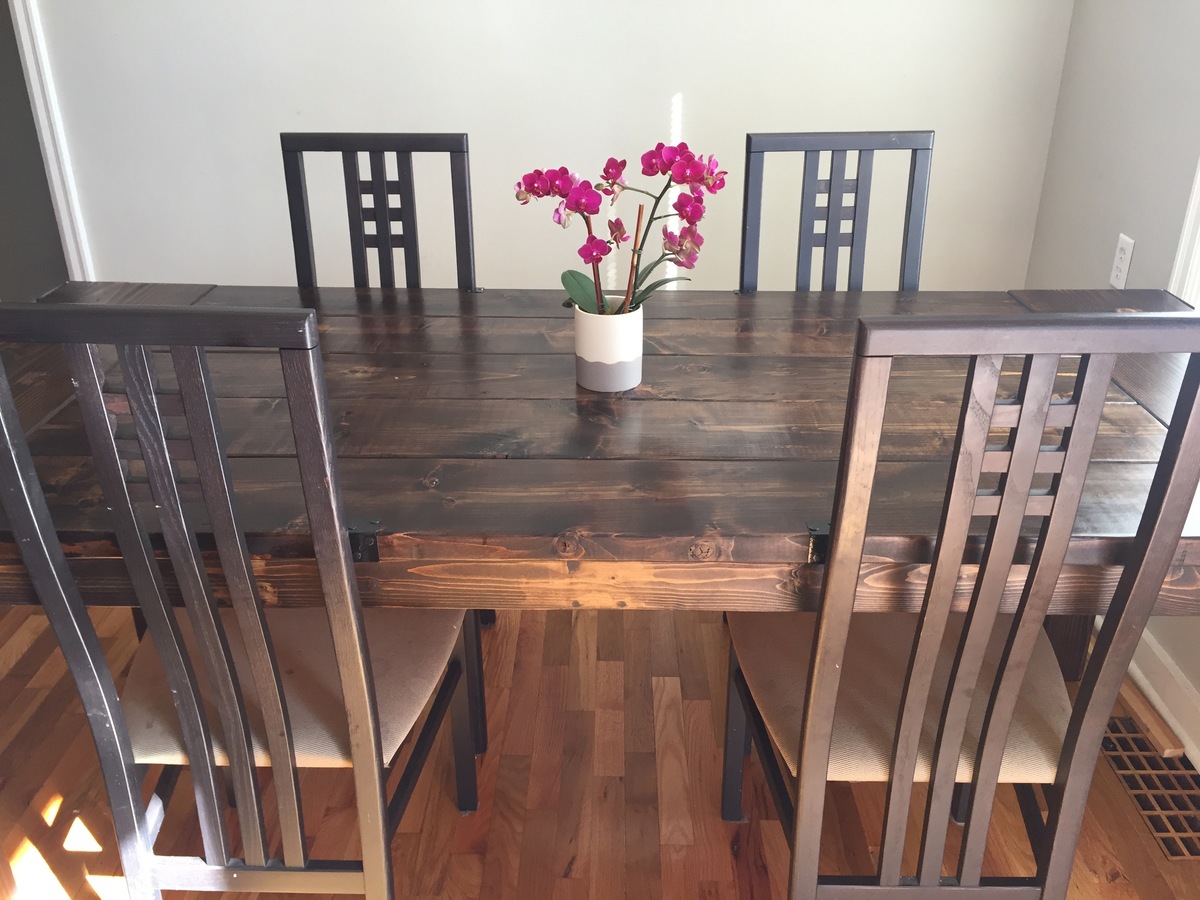
I wanted a really long table for my dining room to use at family gatherings so I can host more dinners. This table is 9 feet long and has plenty of space for our needs. I used knotty pine and finished it with Minwax Espresso wood stain. I then added 1 coat of polyurethane as I didn't want the table to appear shiny but still wanted some protection in case of spills.

This project was definitely a labour of love but I'm thrilled with the results.

Built from Plan(s)
Estimated Cost
$200
Estimated Time Investment
Week Long Project (20 Hours or More)
Finish Used
Minwax Espresso stain
Polyurethane
Recommended Skill Level
Intermediate

Live Edge Farmhouse Dining Table

Submitted by Anonymous (not verified) on Thu, 08/31/2023 - 11:23

I was scared to try this project because it is listed as "intermediate" and I don't have that much furniture building experience. I originally wanted to do this with live edge, but when I saw how much it was gonna cost, I thought I would just do planks. Lucky me, I found 5 8ft live edge pieces (1 ft wide, 3 inches thick) for CAN $100. Some 2x4 and 1x4 and I was ready to rock and roll. I decided to make the table 6 ft long, so the legs are 5 ft apart. I made the connection a bit different than in the plans, just because I want to be able to stretch our legs underneath. It is as stable as can be. I love Ana White's plans. Great instructions, great cut list and almost no left overs.

Nicky Peeters https://www.facebook.com/nicky.peeters.70

Built from Plan(s)

my first project

Submitted by metalmx on Sun, 04/08/2012 - 01:03

my best friend has built a couple of projects from this site. i enjoyed helping him a bit so when he decided to build one of these for yes baby that is due this summer, i figured i'd double up and build one for myself while we were at it. i haven't built anything since high school (10 years ago). he had all the tools and had made a lot of mistakes along the way so he brought be up to speed and told me a lot of "don't do this...trust me" tips that are helpful.

we used premium ply wood cut to 1x12s and poplar 1x2's for this. total wood cost was about 30 bucks per shelf. I decided to use a trim router for my framing along the outer edge. I think it gives it a professional look at it took 10 minutes to do.

NOTE: if you want to rout around the entire top and you used pocket holes....DONT DO IT. we found that one out the hard way on the other shelf. if your bit does anything but slightly round the edge it's gonna hit the screws. :(

i made a last second change and went with a vibrant red and a dark dark black to make it up. i couldn't be happier. it doesn't match my room at all but i don't care at this point. my friend did a great job taping off the trim and the lines are just awesome.

This thing is stout. i'm not a small man and would not hesitate to stand on top of this thing all day. can't wait to show it off to anyone i can:)

Built from Plan(s)
Estimated Cost
40-50 dollars with paint included.
Estimated Time Investment
Weekend Project (10-20 Hours)
Finish Used
satin black and ruby red satin for the trim. both paint a brand i forgot from lowes.
Recommended Skill Level
Beginner

Comments

Hut tree house

Submitted by dreamworx on Wed, 01/22/2014 - 10:47

I used all scrap wood that I had laying around. even the 2X4s were old painted wood and looked beautiful when sanded down.

Estimated Cost
if you buy the wood 150.00
Estimated Time Investment
Week Long Project (20 Hours or More)
Recommended Skill Level
Beginner

Outdoor sofa

Submitted by Anonymous (not verified) on Sat, 04/16/2016 - 07:25

I built the sofa and loveseat from 2X4's and used 1X4's for the top of the coffee table. I used standard patio cushions for the sofa and cut the tops off to use at the side for arm rests.

Estimated Cost
$130.00 (I already had the cushions stored)
Estimated Time Investment
Weekend Project (10-20 Hours)
Finish Used
latex wood conditioner followed by exterior CIL woodcare exterior stain by home depot
Recommended Skill Level
Beginner

Family Cabin with Flip up bed

Always wanted an Alpine lodge, we live in London so a Garden cabin for the kids (and Dad) will have to do! 

flip up bed and storage cabinet (for mattress)

sofa bed, foam cushions with leftover curtains  

mini storage boxes from wine boxes

inspired by tiny house (especially the sofa!)

Still more to do. Desk on its way and bulk head lights fitted soon. 
 

no real plans just rough sketches and trial and error

Estimated Cost
£300 for interior
Estimated Time Investment
Week Long Project (20 Hours or More)
Finish Used
Old white paint and fence paint

Little Helper Tower

Submitted by h.abbott on Tue, 04/10/2012 - 05:55

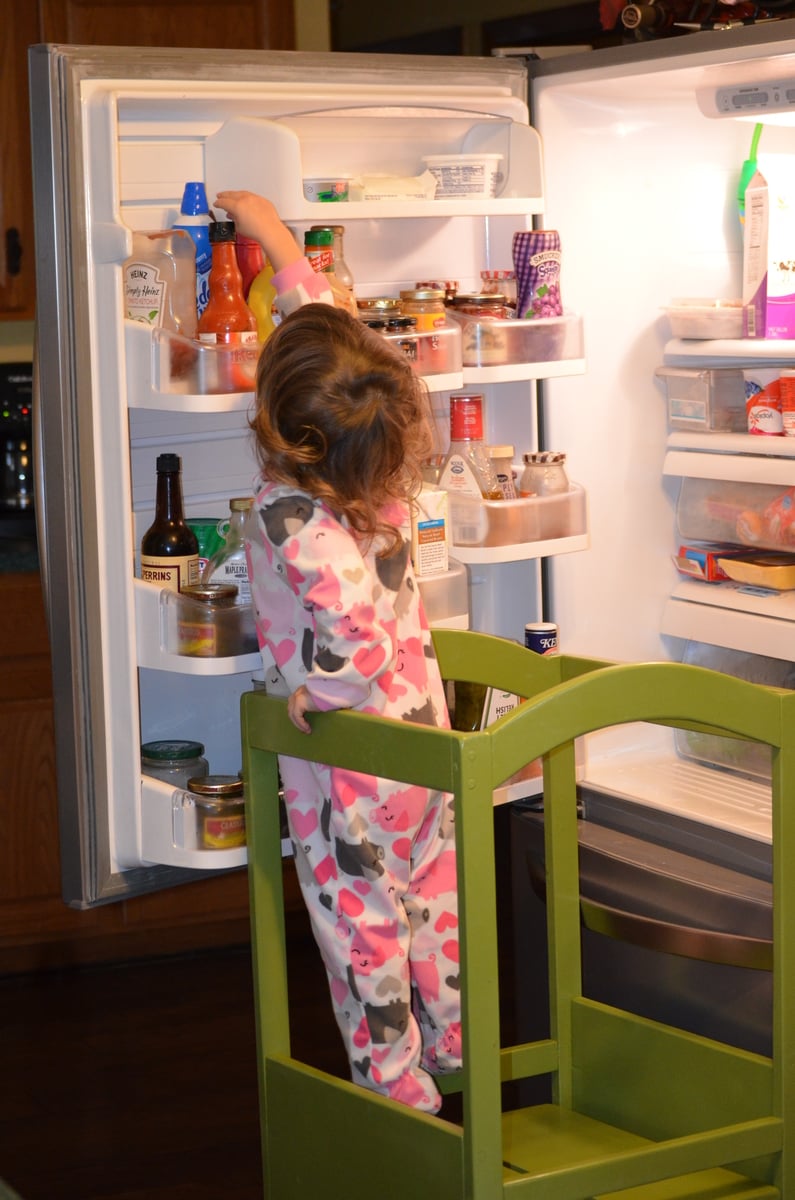
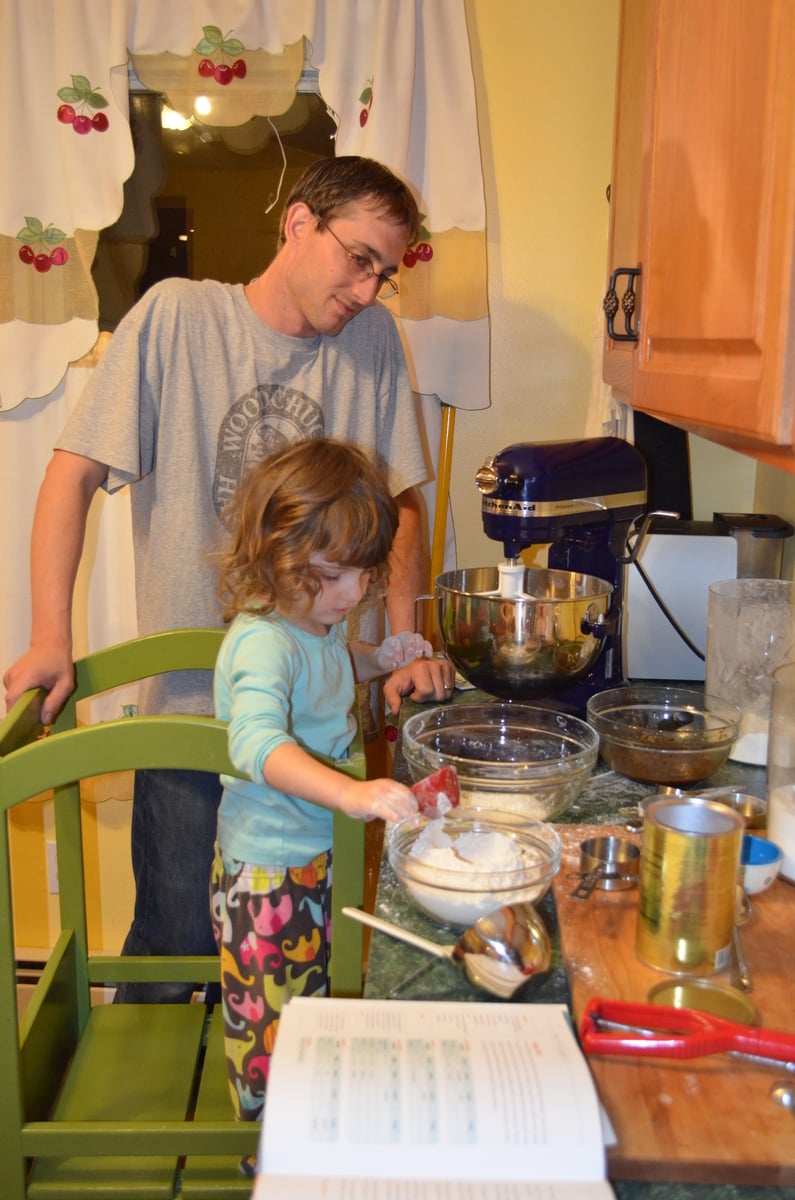
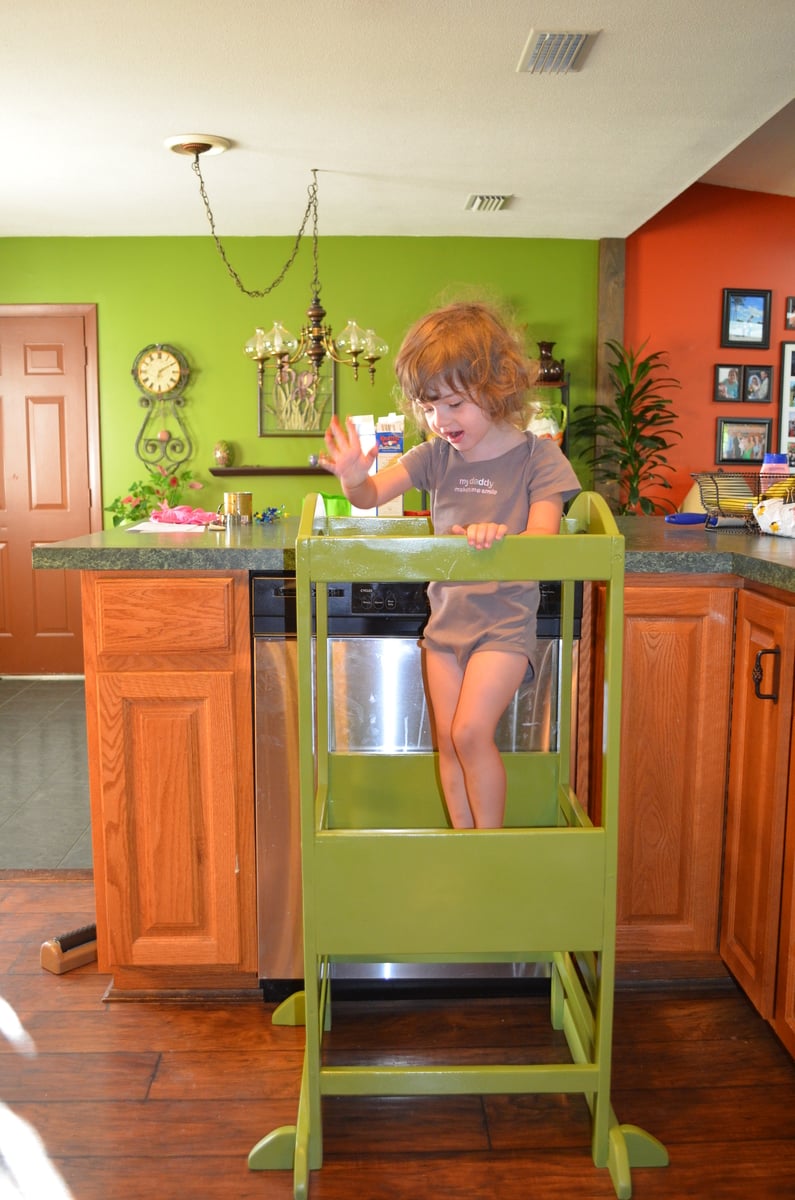
We decided to make a helping tower for my little guy for Christmas after I saw it on Pinterest. The curves were not the easiest, but I think they turned out fine. He's just finally starting to use it more as a helping tool rather than a playing platform. Definitely happy that it keeps him from standing on the chairs.

Thank you so much for this plan. I love this site!

Estimated Time Investment
Weekend Project (10-20 Hours)
Finish Used
green spray paint to match kitchen.
Recommended Skill Level
Beginner

Comments

Craft Room Build

This project was one that I've been planning for about 18 months- I had to wait until we moved back into our home to start the build, so I had plenty of time to think about how to maximize my storage space in this small room with a slanted ceiling. My husband had some time off from work and offered to watch our toddler during the day time- so that was all the motivation I needed to start this big build!

Overall, it took about a week from beginning to end. The cost was between $400-$500 for everything- including hardware, paint, supplies etc. Still a huge savings over what it would have cost us to purchase desk and storage units to work in this room (I priced them out at about $2000-$2500 - WAAAAY out of our price range).

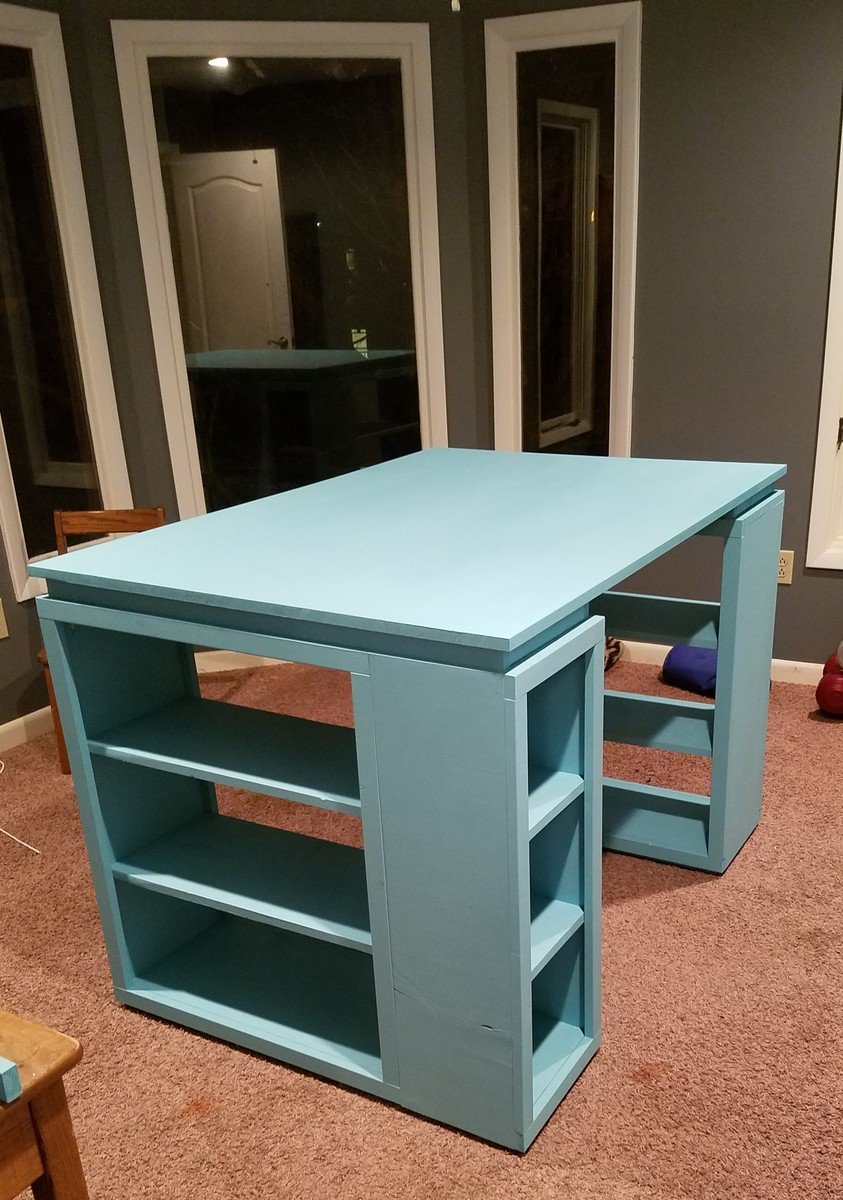
For the main desk unit I used the plans for the reclaimed look wood bedside table. I modified the height of the legs to 28" tall so that the sewing desk height was correct for when I'm sitting at my machine for hours on end. I also modified one of the units to be an open shelving unit, so that I could store my patterns and misc. sewing notions in baskets on the shelves.

The desk top was created by using six 1 x 4 whitewood boards joined with pocket holes. The corner joint is "woven" in a sense to give a unique look to the unit. I used 4 brackets in the corner (secured to the studs) to support the weight of the corner of the desk. I used Dark Walnut stain and then followed up with 3 coats of Poly (sanding in between each coat).

The two fabric/machine storage bins were made using the cubby bookcase plans as a base. Both plans were modified to maximize fabric storage with the small space- hence no face frame on each unit. The middle storage unit is one that was my first build a few years back, before I'd even heard of knock off wood- oh how it would have been so much easier if I'd known about this site back then. I added a plywood top with a piano hinge to fold out for a stand up cutting unit. For the legs, I simply went to the table/baluster aisle at my local hardware store and purchase some hardware to secure two balusters to the plywood top. Screwed them in on the outside of the window frame so I don't have to unscrew the legs every time I fold it up and away, cut the balusters down to the proper height and that was done!

The ribbon/wrapping paper storage was super easy- just used some of my left over 2 x 2 furring strips, along with 14 dowel rods and 1 /14 screw in hooks. I pre-drilled the holes for the screw in hooks as well as the 3" screws I used to mount it to the wall.

The thread holder was a previous build of mine as well- just cut out LOTS of dowels that fit into the peg board and glued them in place. Added a little decorative trim to finish it, and painted it white.

Overall I could not be more excited about how this build turned out...aside from wood working, sewing is my next favorite thing (I have a small Etsy shop and do local craft fairs for fun). Having the stand up cutting station is a HUGE relief, as after 10 or so years in the Army, my knees and back are shot (who would have ever thought that jumping out of airplanes wasn't good for you!) The fabric storage is great and allows me to see all of my different fabrics so I eliminate over-buying (which I obviously have a problem with) and purchasing doubles.

I can't thank Ana enough for her website- I grew up with a dad that builds everything, but was always a bit intimidated when it came to building stuff for myself. Her plans really break everything down to the simplest level of instruction and make the building process stress free. This was my first time building a cabinet unit and I was very worried about the drawers not working, but I just followed along on the instructions and they came out perfect.

Estimated Time Investment
Week Long Project (20 Hours or More)
Finish Used
Valspar semi-gloss white
Minwax dark walnut with Rustoleum POLY top
Recommended Skill Level
Beginner

Comments

Ana White

Fri, 01/24/2014 - 10:05

I love this space, you did an amazing job with all of the builds! Thanks for sharing!

DecorSanity

Fri, 01/24/2014 - 17:11

You did an amazing job, way to go! I love to sew too, and I think building is a lot like sewing...but with saws and hardware instead of scissors and a sewing machine!

dgwheeler24

Fri, 02/07/2014 - 13:09

I would also like to see your corners up close.

Was your decision to not use a leg(s) for the support (and instead used the brackets) for a reason? Was it just easier?

I love the desk that size, but since we are military we move every couple years...I want to use legs for easier breakdown for transportation instead of something as permanent as the brackets. Not sure how far apart to space the legs for the support...

Fire Truck Loft

Submitted by Turk1479 on Mon, 04/18/2016 - 17:21

I built this for my son using the fire truck loft and playhouse loft plans combined. I put tread on the stairs to add safety and enhance the realism. I was pleased with the instructions. The hardest part was painting it red. I hate painting anything red. Make sure you get a primer tinted to gray that works with the red you choose.

Estimated Cost
$600
Estimated Time Investment
Weekend Project (10-20 Hours)
Finish Used
Latex paint, chrome spray paint for the mirrored bumpers.
Recommended Skill Level
Intermediate

Kids table

Submitted by Anonymous (not verified) on Mon, 01/06/2020 - 00:19

This little table and chairs were so simple to build. My little granddaughter just loved her Christmas present.

Estimated Cost
$50
Estimated Time Investment
Day Project (6-9 Hours)
Finish Used
Unicorn SPiT, pixie punk pink, zia teal and purple mountain majesty. 2 coats of wipe on polycrylic, and 2 coats of furniture wax.
Recommended Skill Level
Beginner

Add Metal Accents to Furniture

Here's a small tutorial on how to add simple metal accents to furniture. We used something as simple as door knobs at your local home improvement store to make it happen!

Check out the tutorial here http://sawgrasshome.com/?p=1443

Estimated Cost
$20 - $30
Estimated Time Investment
An Hour or Two (0-2 Hours)
Recommended Skill Level
Beginner

Comments

birdsandsoap

Sat, 04/14/2012 - 23:14

so clever. I love when others figure out how to do awesome things like this and then show me how! Thanks!

Kristen Davis

Wed, 03/25/2015 - 11:26

Hello,

I am very interested in this tutorial, "Add Metal Accents to Furniture", but it appears that the link provided, is a dead link. Do you happen to remember anything about this tutorial? Thank you!

Kristen Davis

Wed, 03/25/2015 - 11:25

Hello, I am very interested in this tutorial, "Add Metal Accents to Furniture", but it appears that the link provided, is a dead link. Can you please assist me in finding the direct link to this tutorial? Thank you!

Back