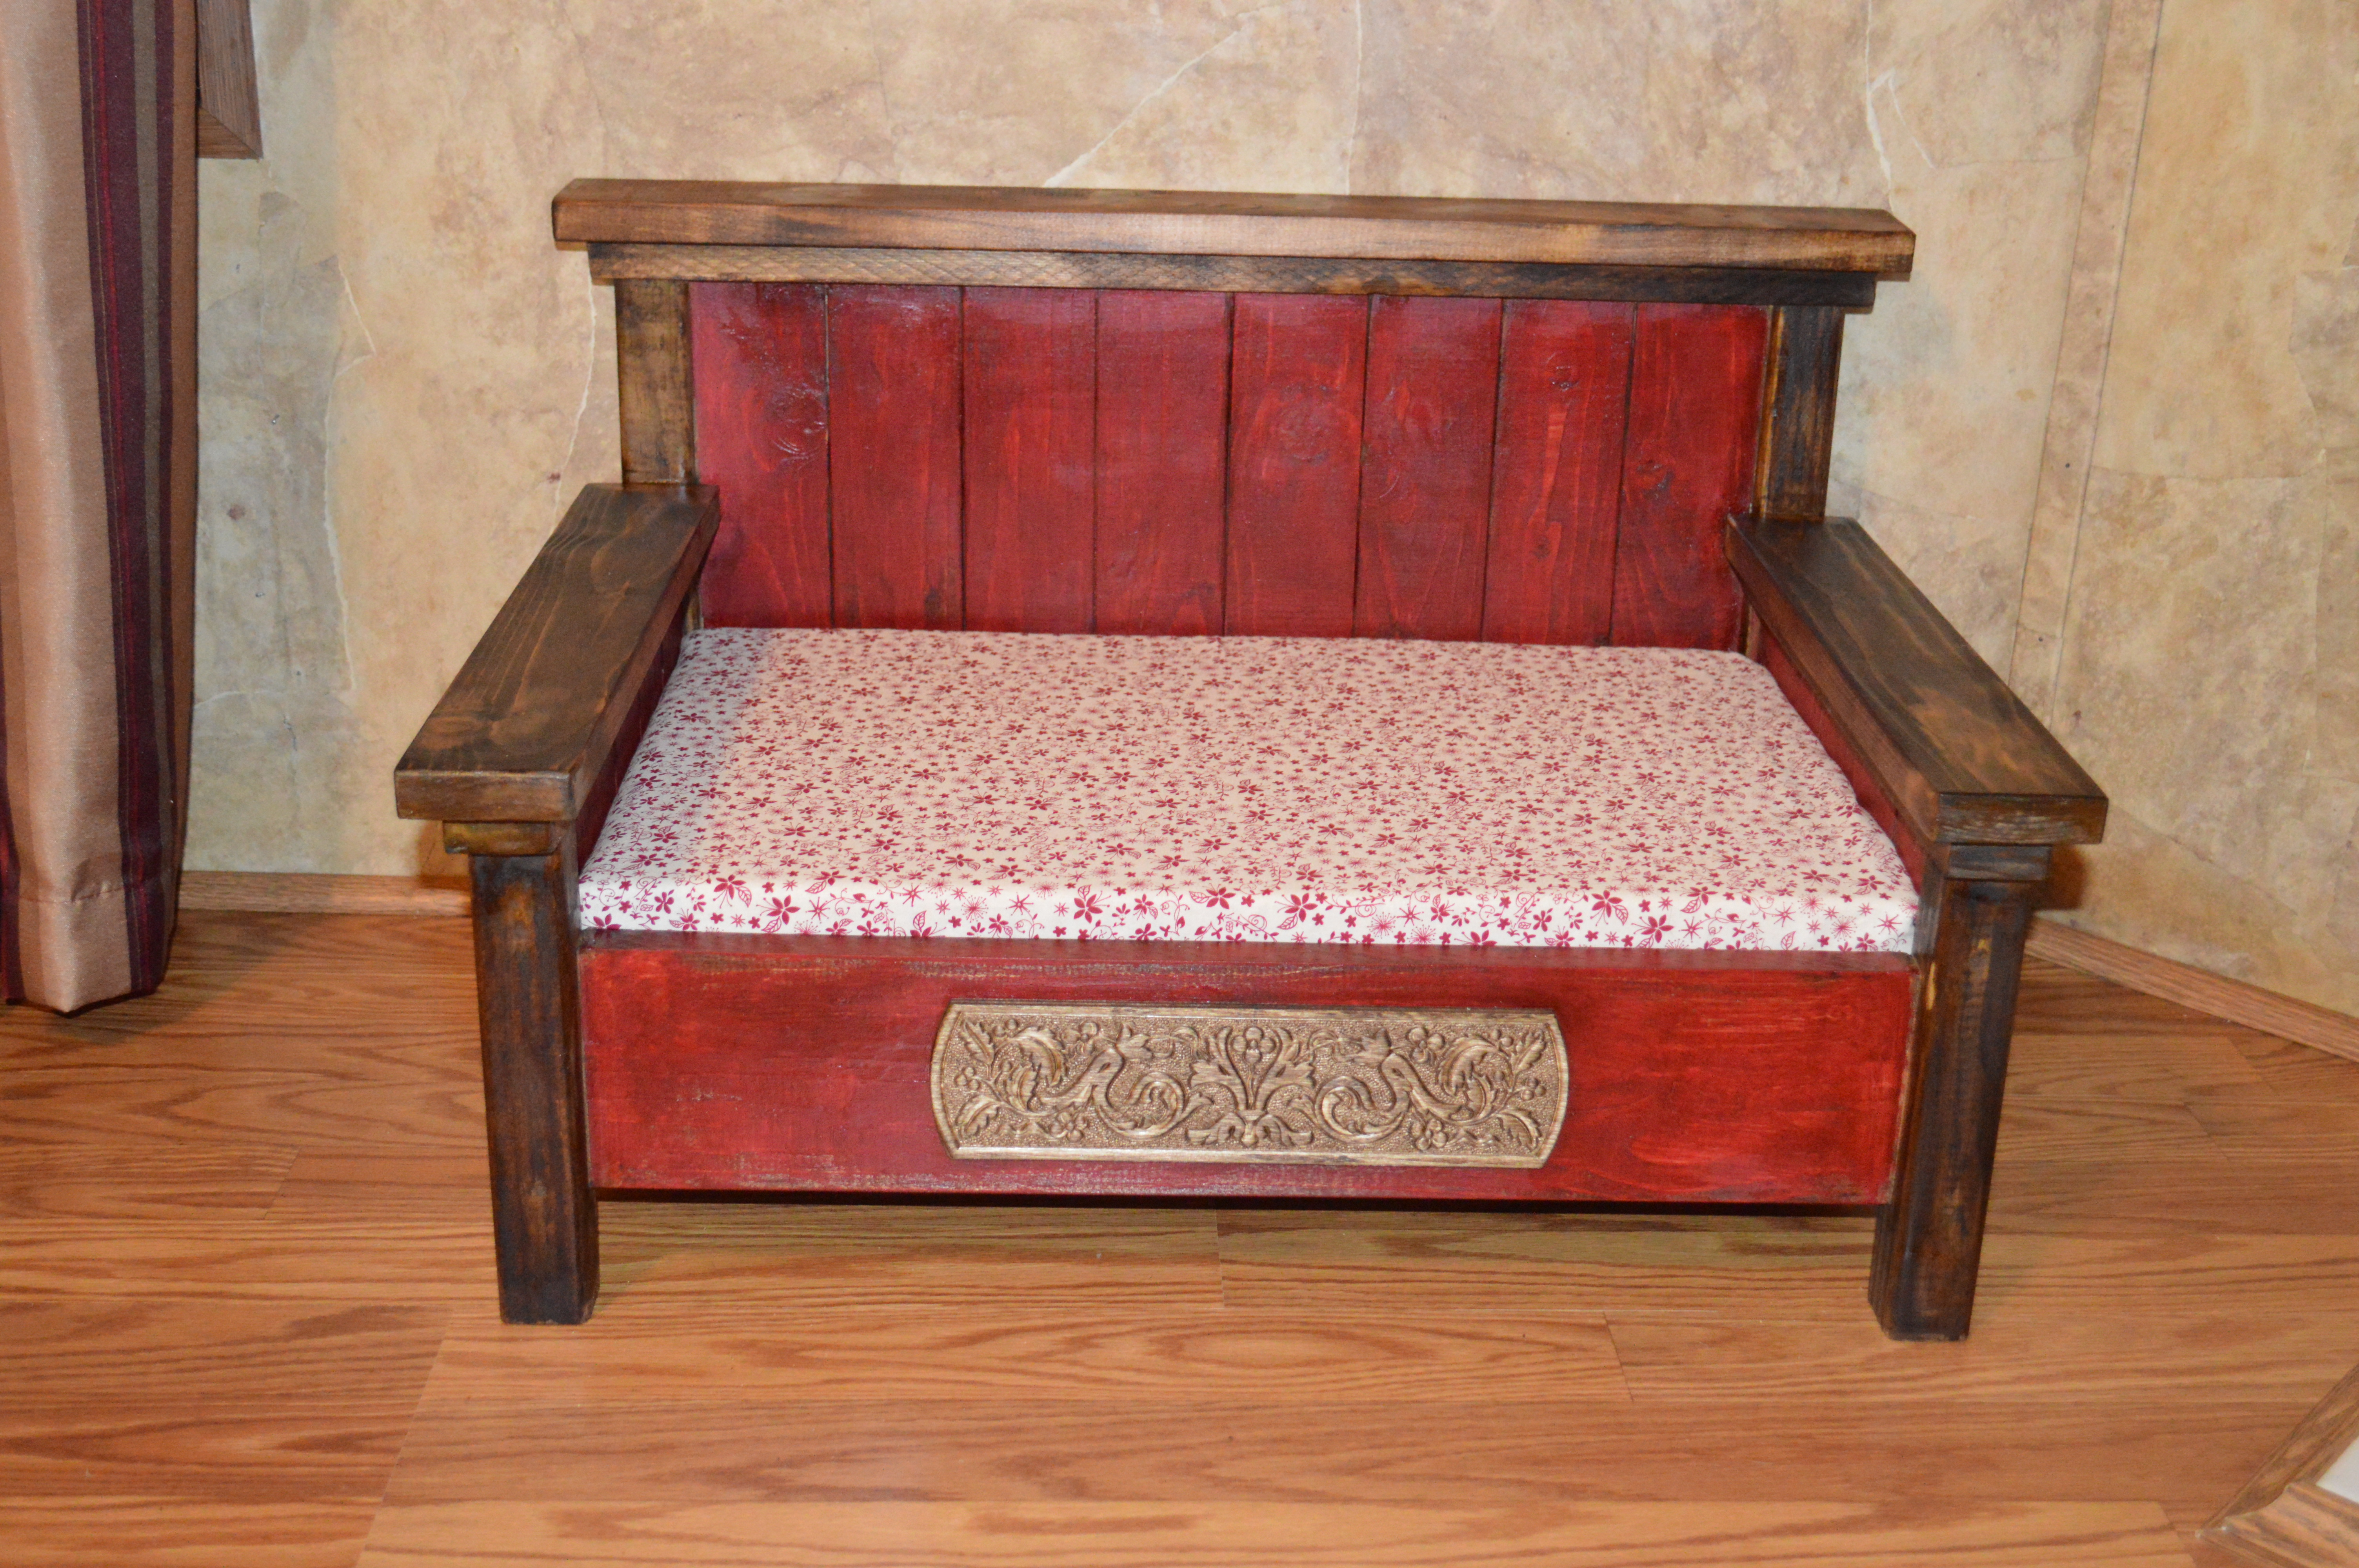
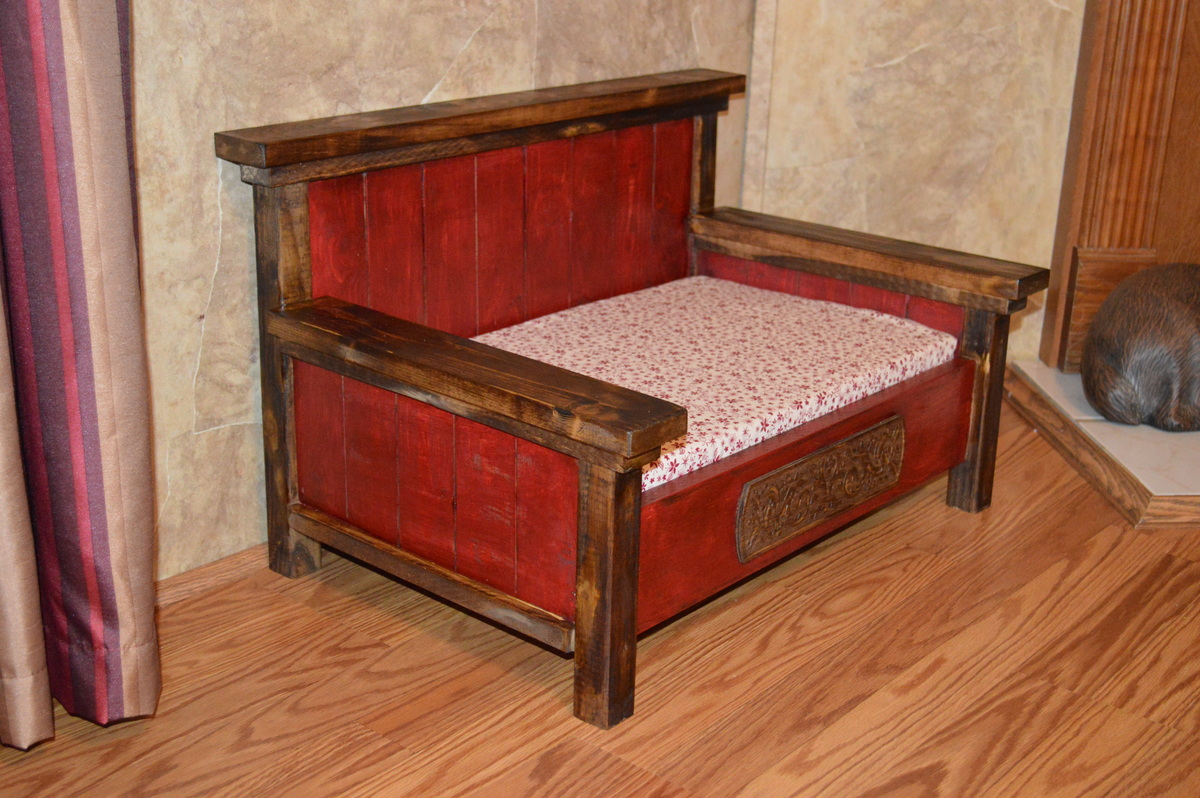
Farm House Full Bed with Drawers
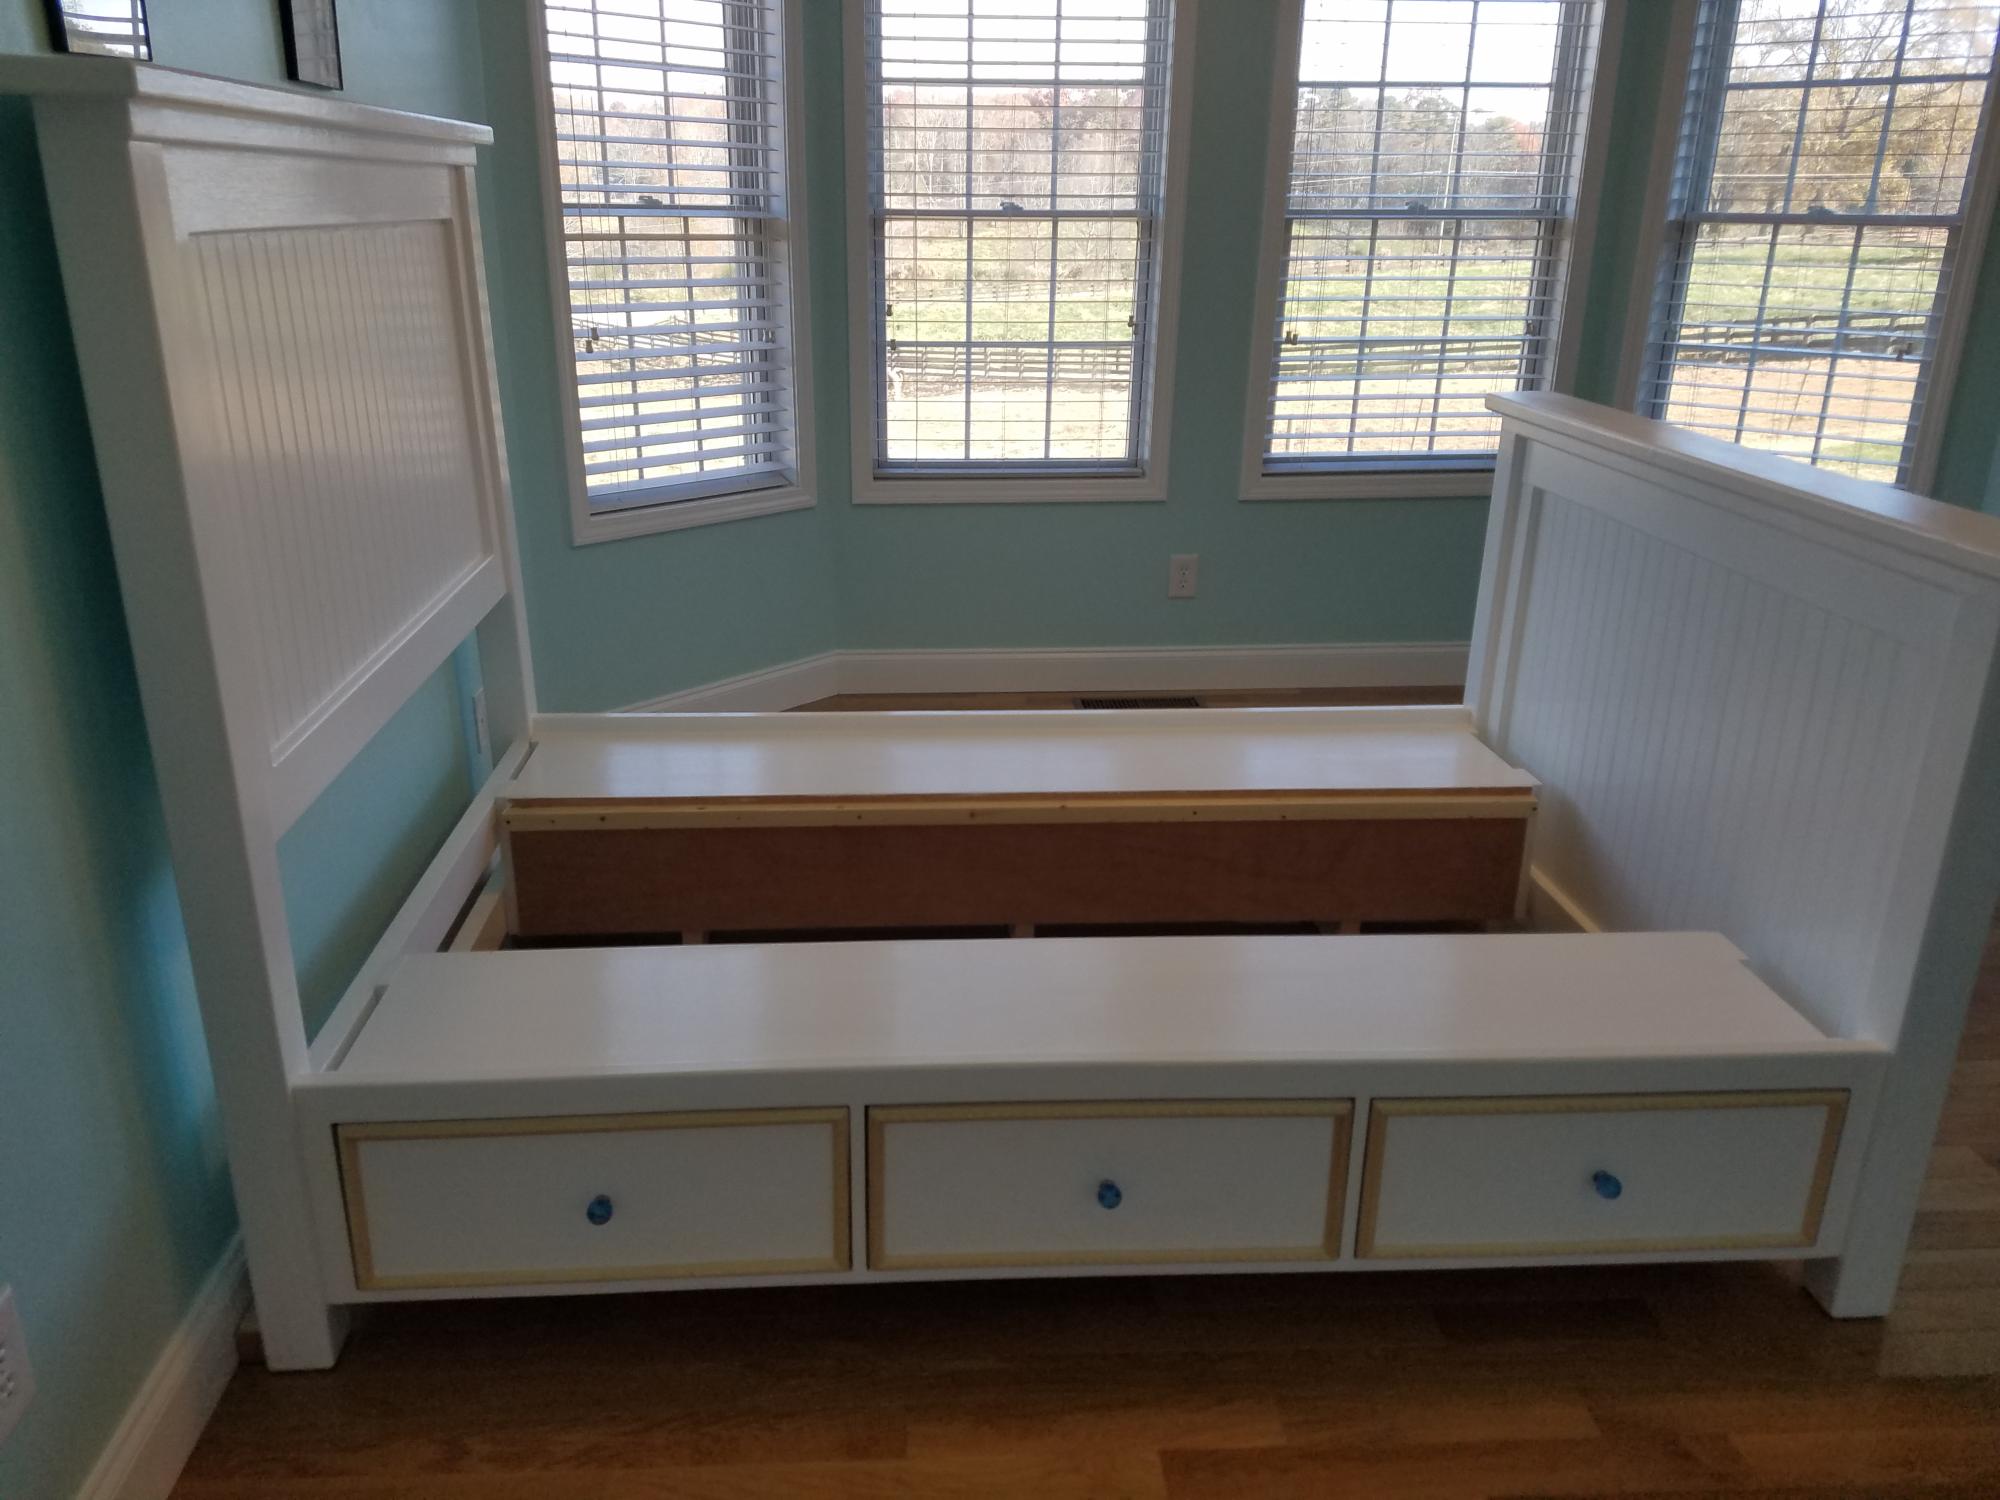
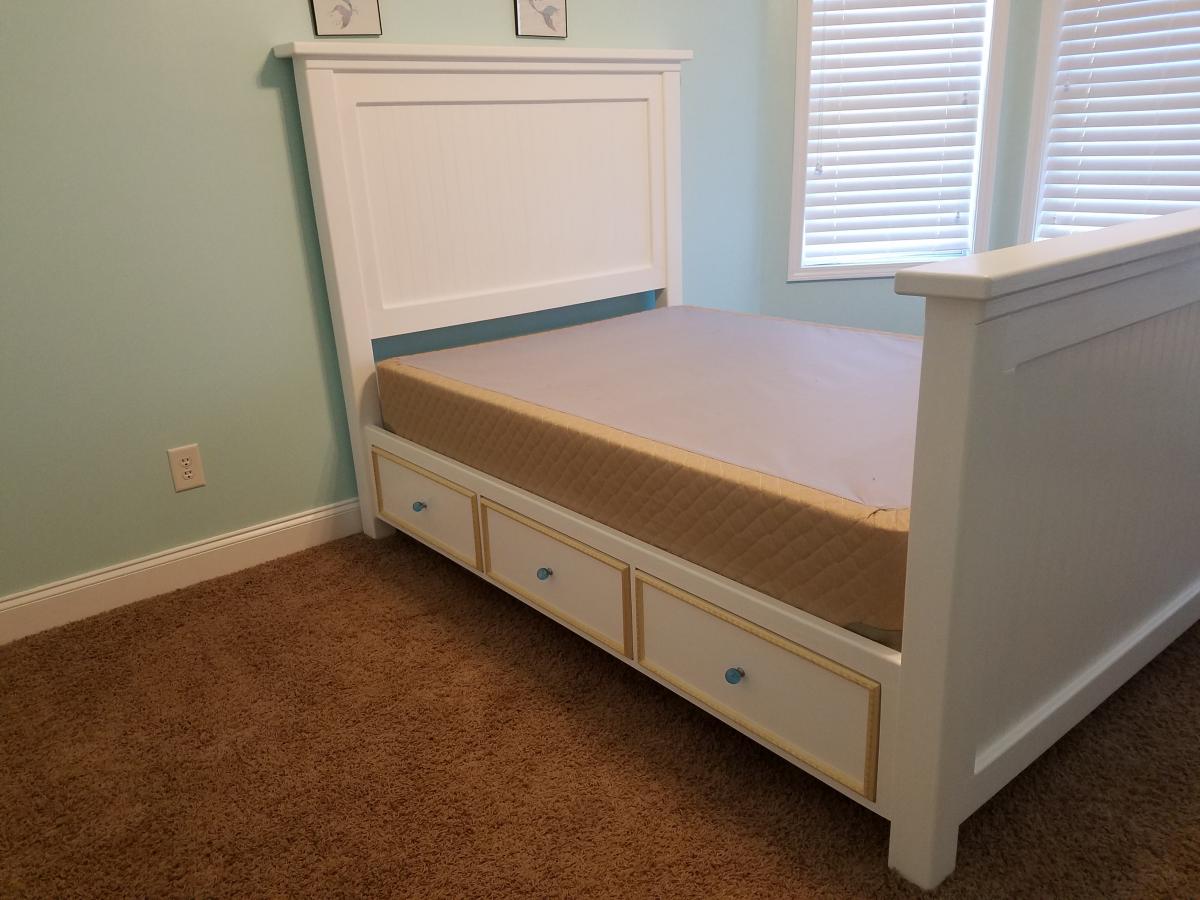
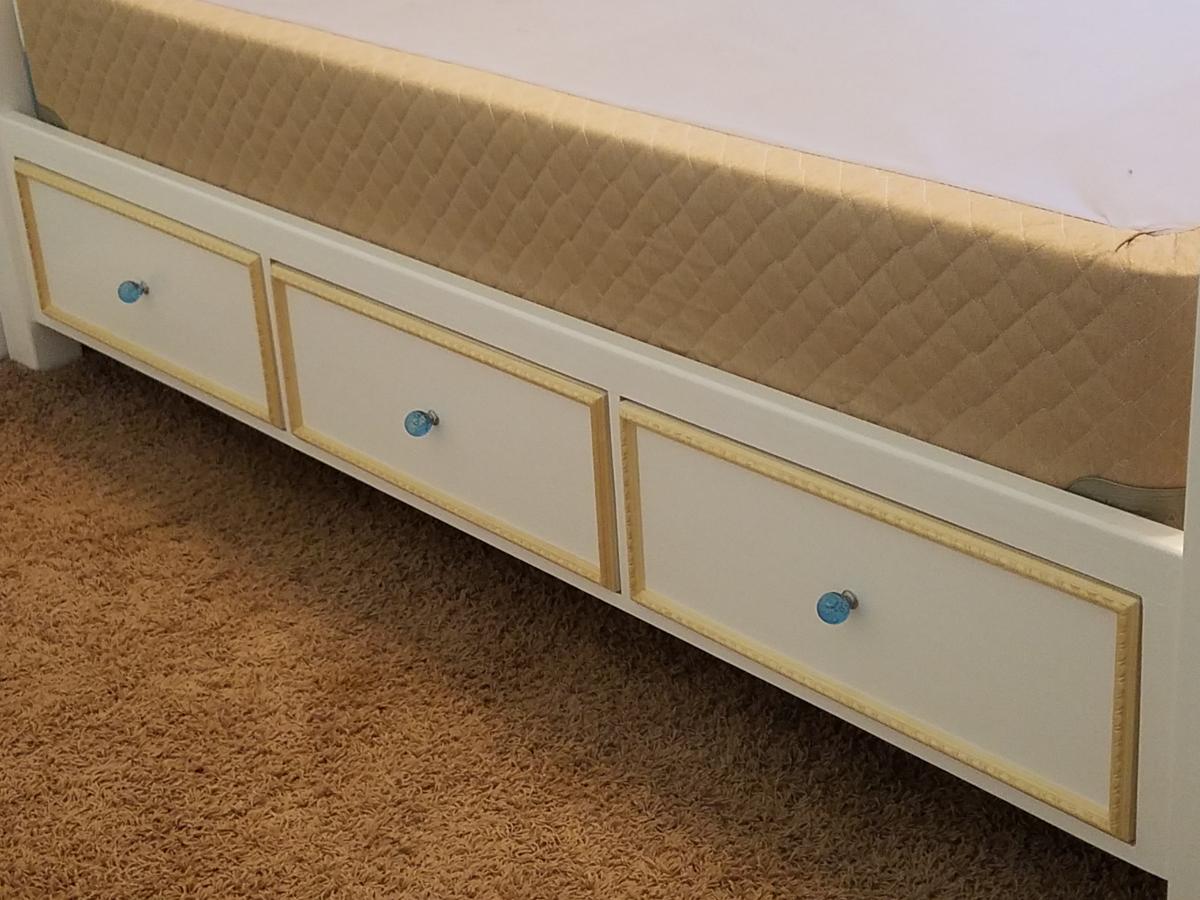
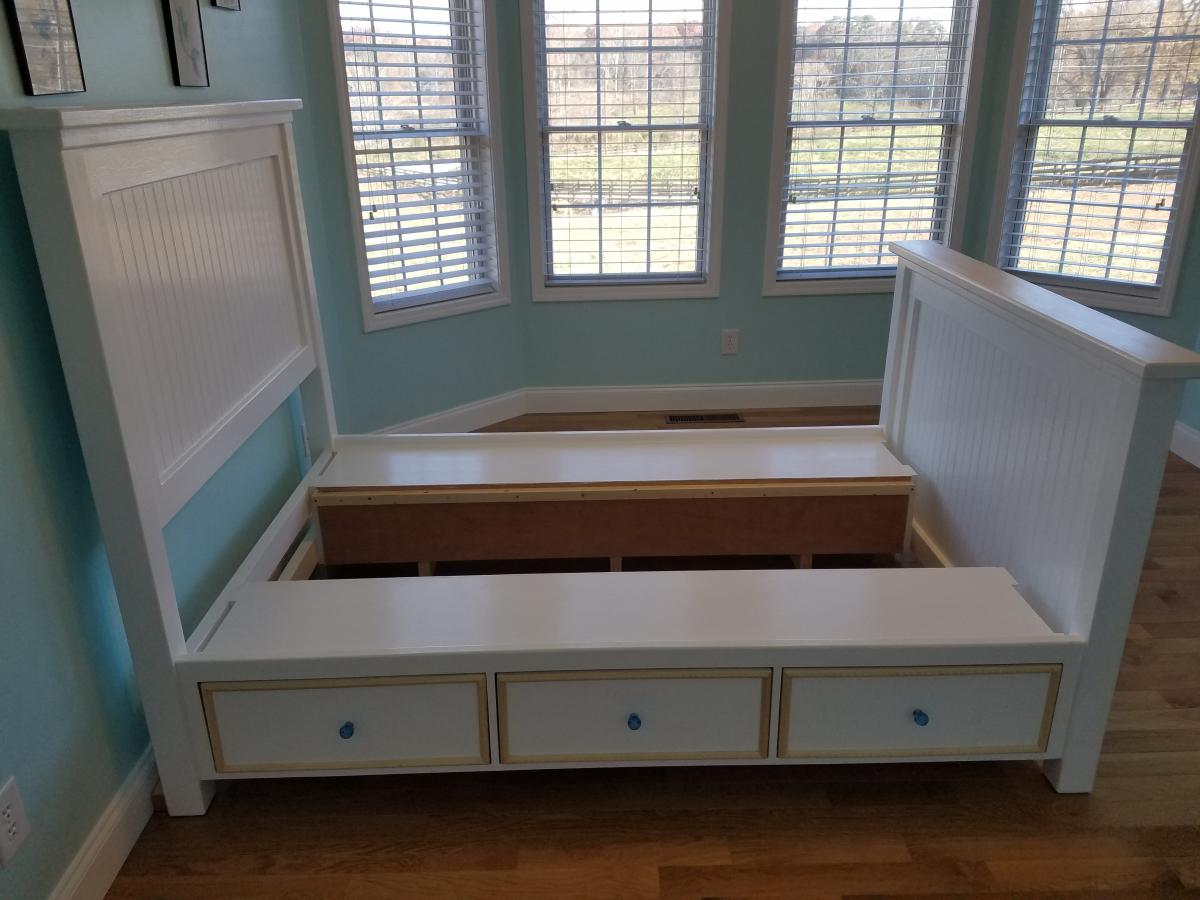
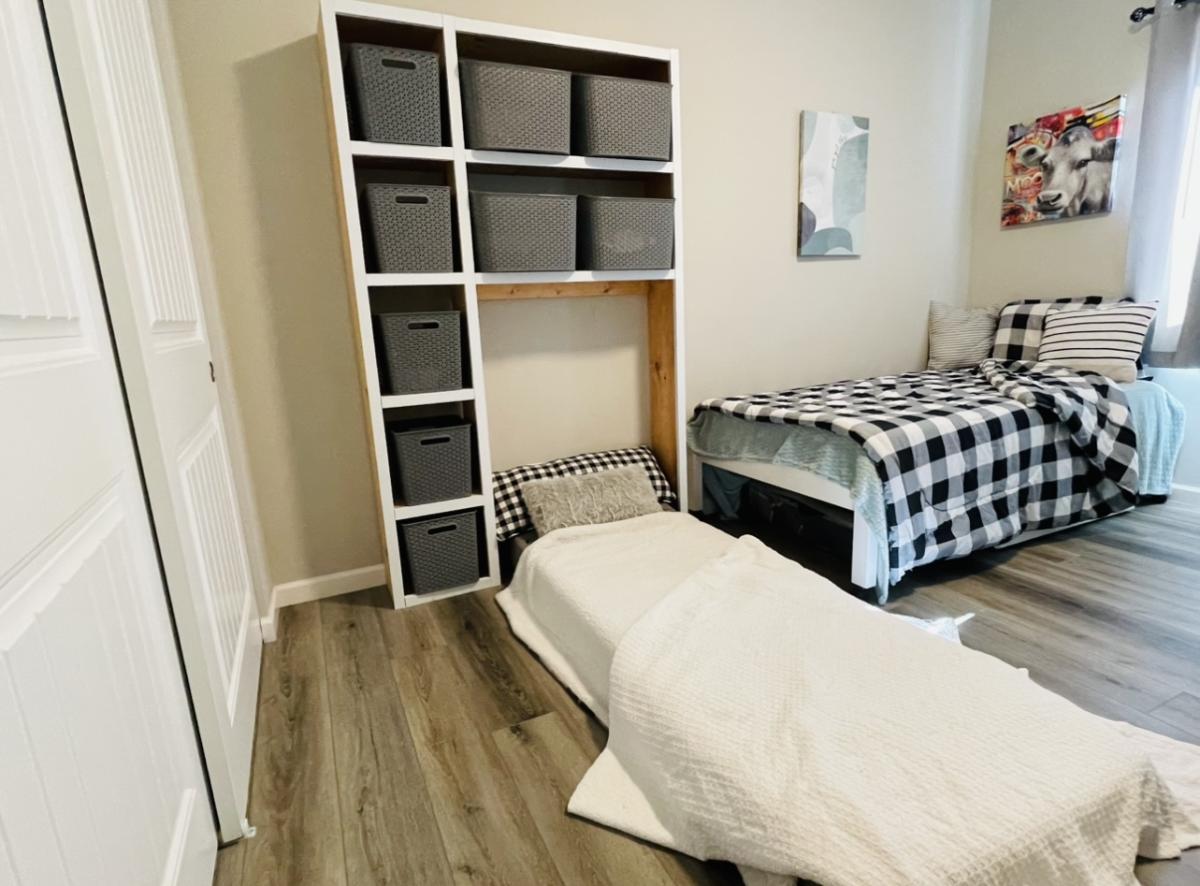
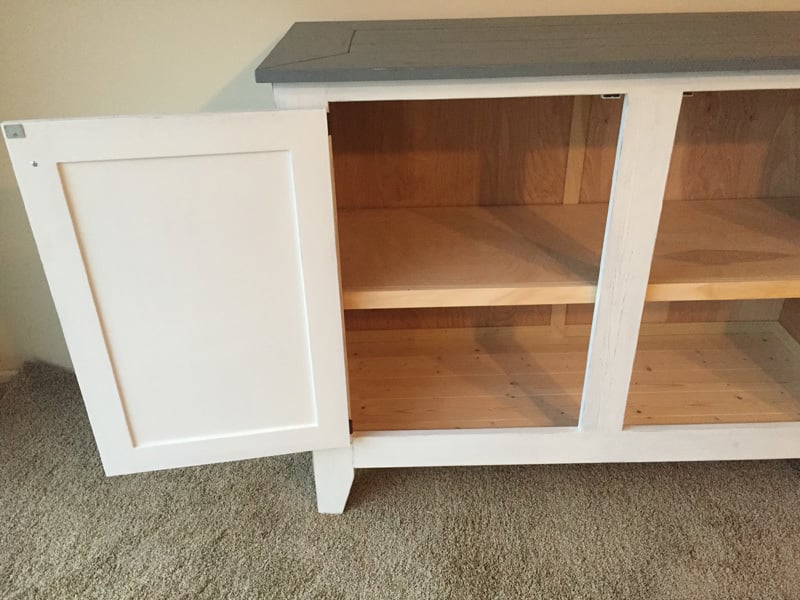
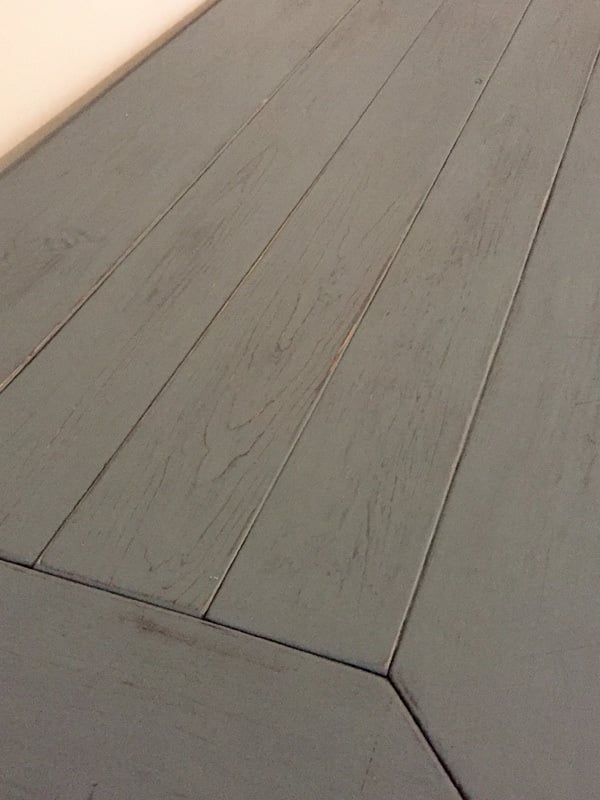
I built two beds one for each of my daughters using the Farm House Storage Bed with Drawers. The plans were very detailed and extremely helpful. I modified the plan to utilize a box spring and mattress set since the girls already had a full mattress set. This was my first piece of furniture to build so it did take a few weeks to complete. I added the trim molding around the drawers to add a little custom work to it. The original plan had the foot board below the mattress and I wanted it to be above the mattress and I extended the boxed to allow foe a comforter to be tucked down the bed. I placed purple knobs and blue knobs on the other bed to give the girls their favorite color to add to the bed. I used a semi gloss Sherwin William's interior paint on the beds to make it easy to clean. The girls love the beds and when we have company over they are amazed how the beds look and most end up taking naps on the beds. I spent $450.00 total per bed, which also included the knobs and the full extension / easy drawer slides.


Comments
Ana White Admin
Fri, 11/18/2022 - 08:19
Very pretty!
Love all the added details, very well done, thank you for sharing!