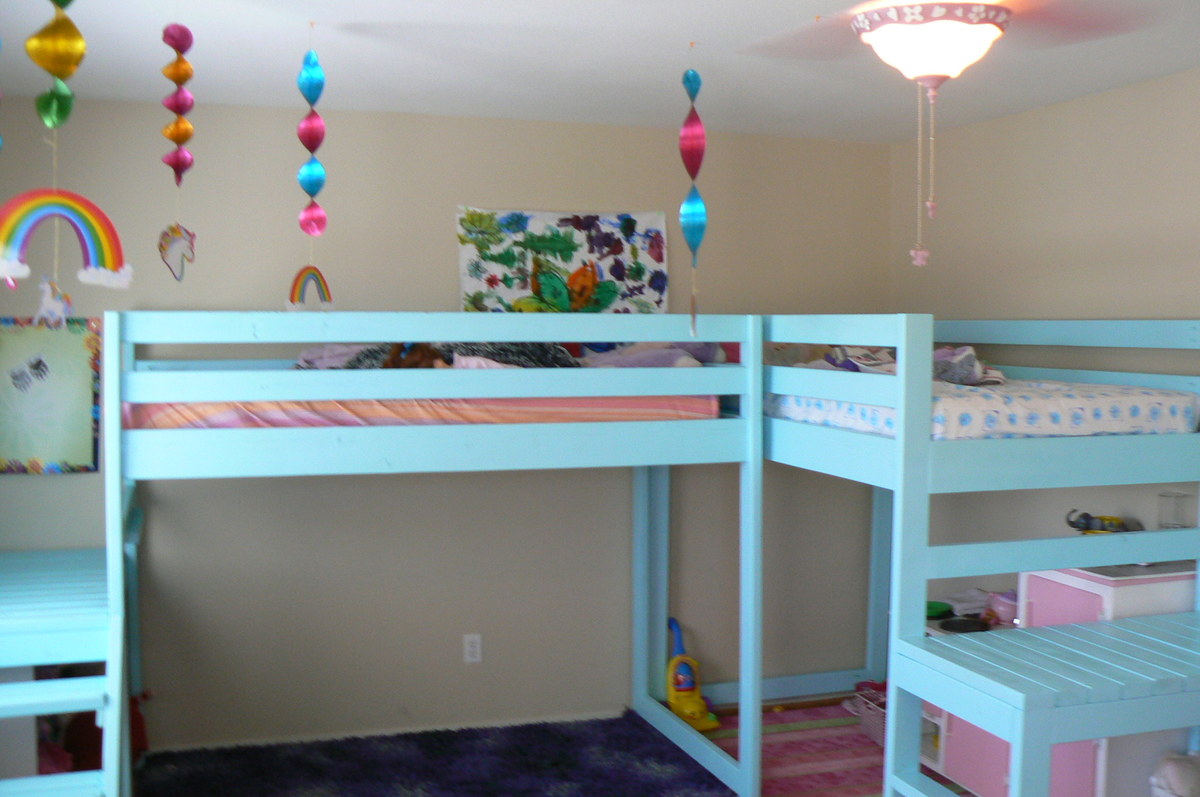
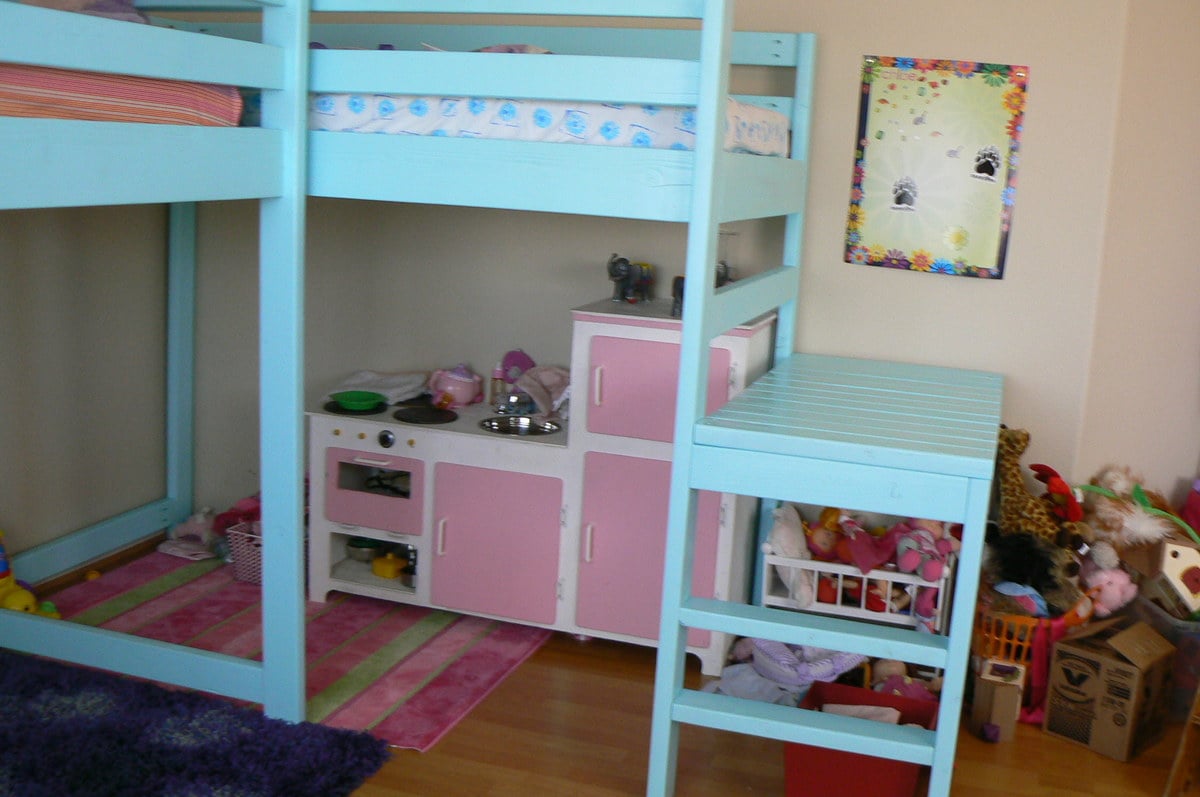
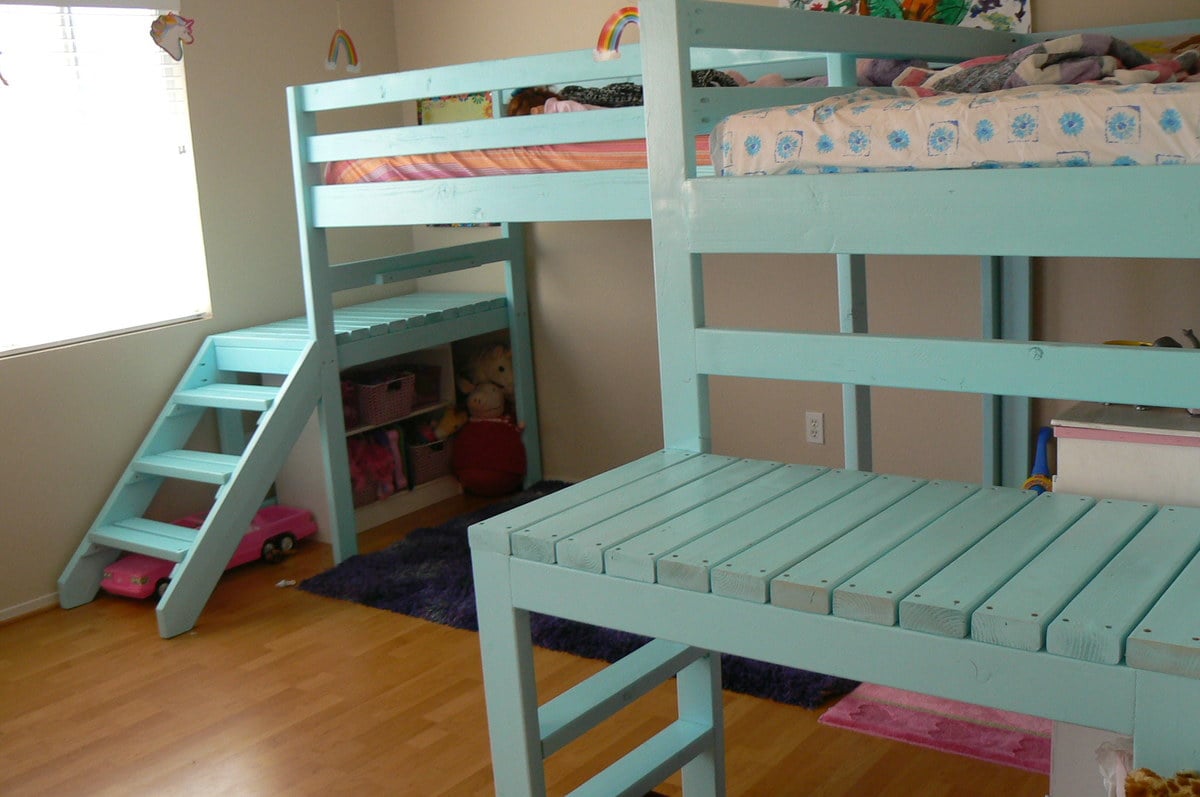
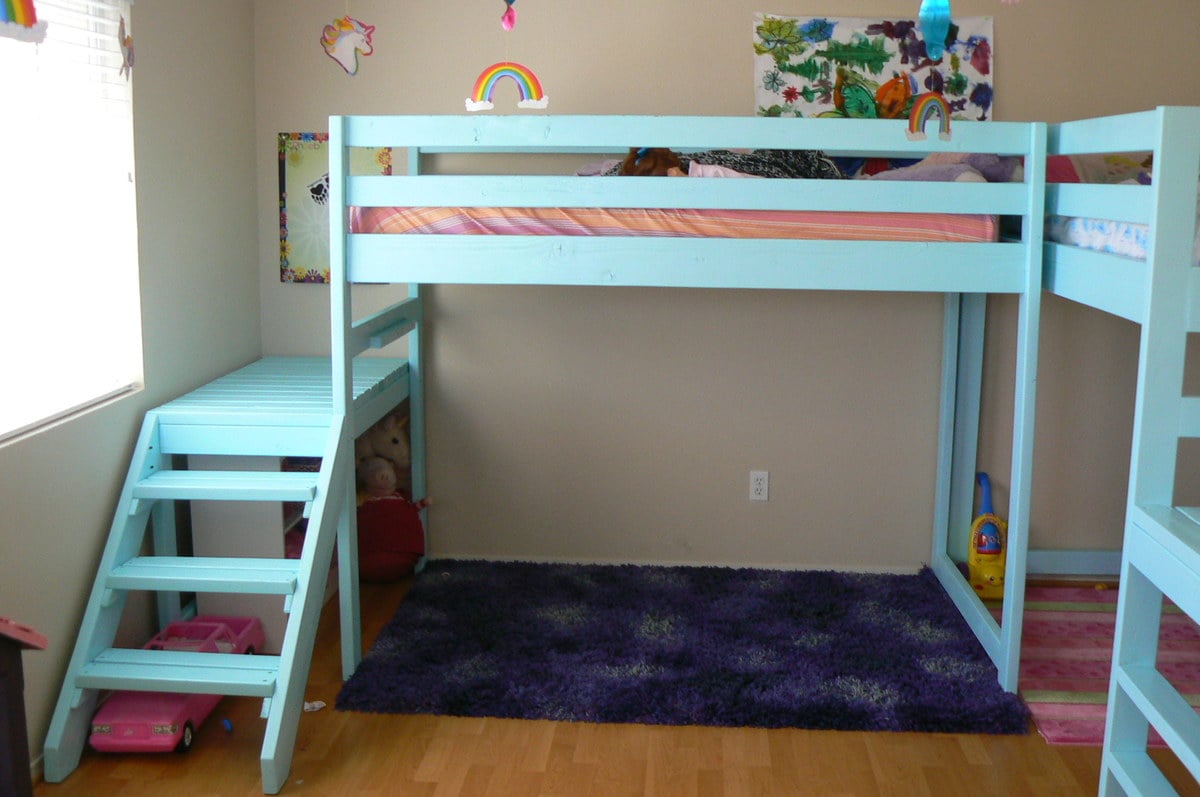
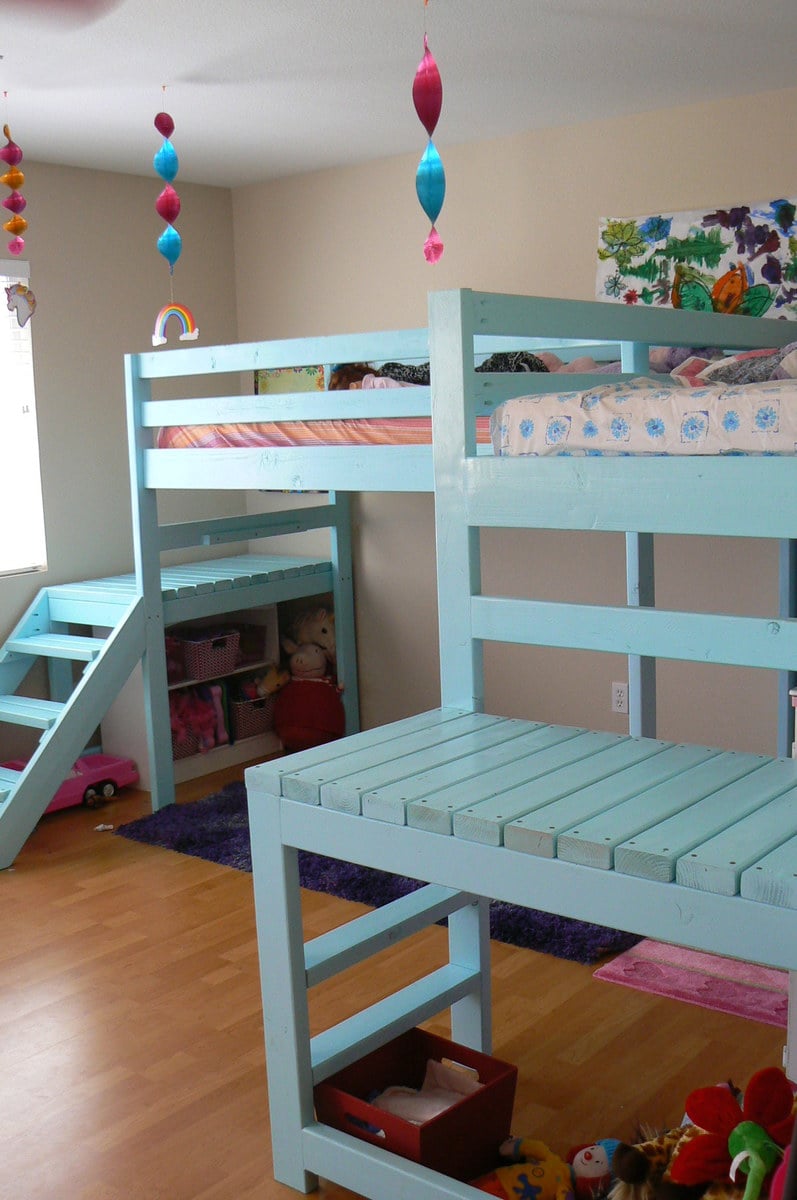
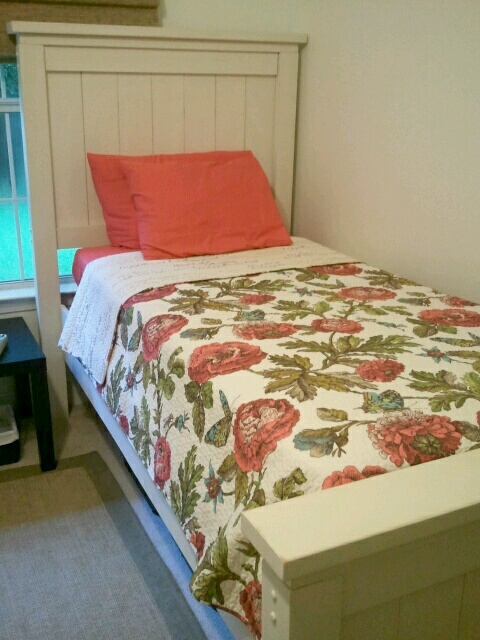
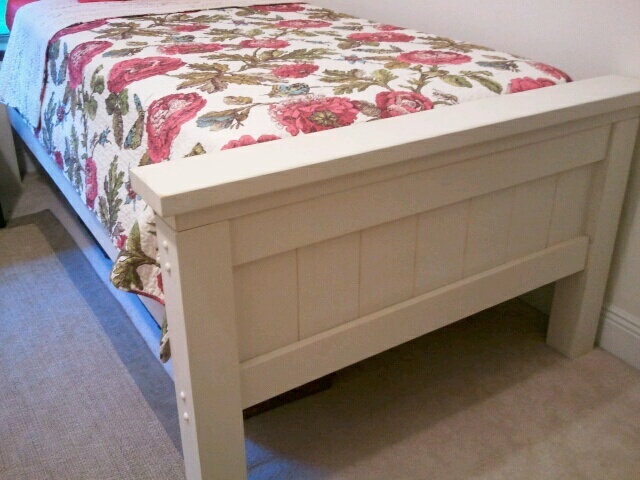
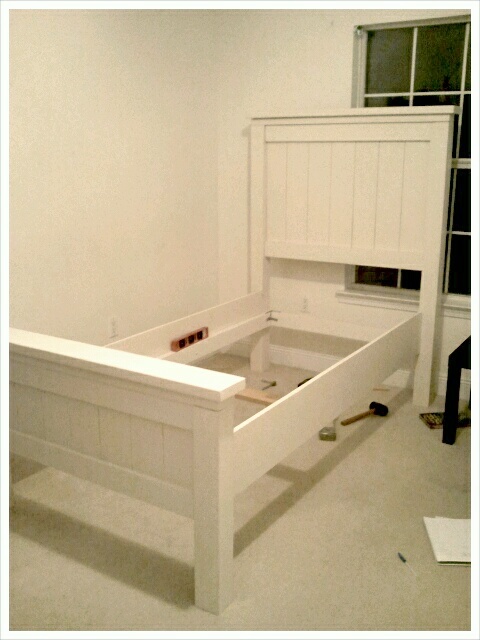
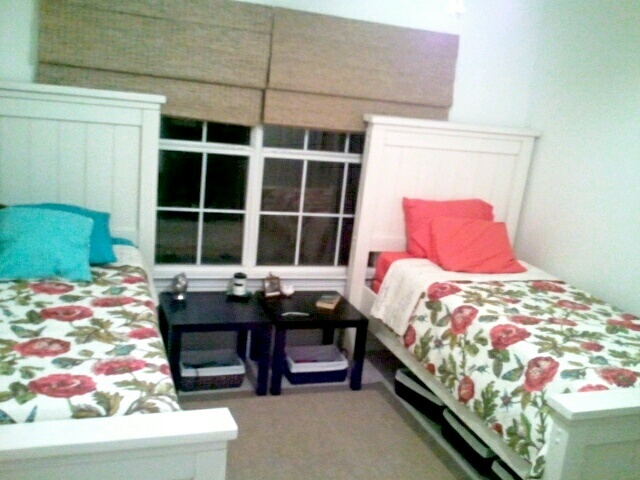
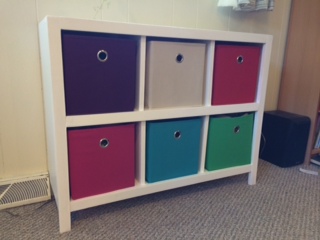
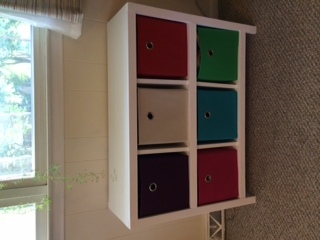
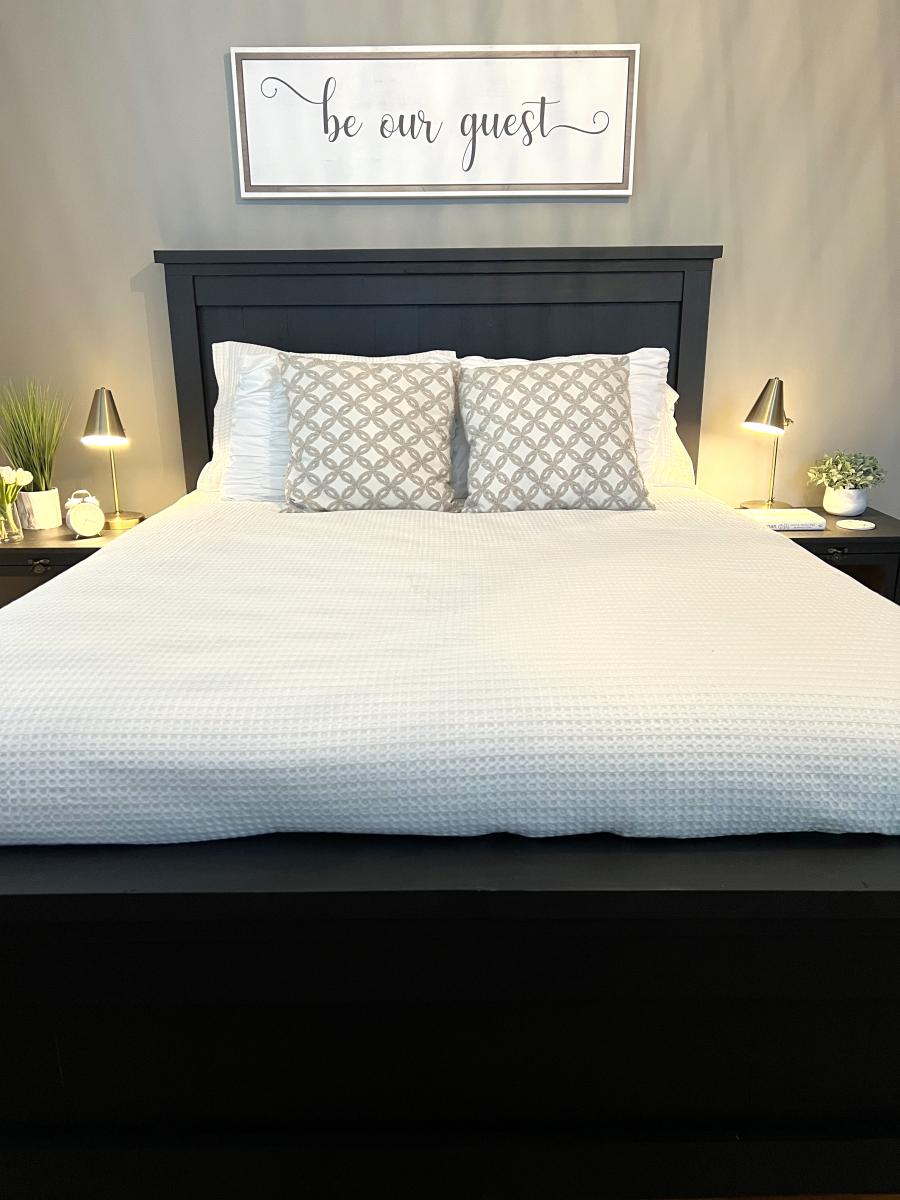
Our girls had made do with hand me down room furniture and decor( youngest 2, out of 5 girls). It was time to give them a space they love. I have never built anything other than slight upcycle projects. Slightly modifying this or that , never just starting with lumber and a plan. They picked the farmhouse beds and my husband was gone for 3 weeks backpacking, so off to buy lumber. Not as easy NO ONE HAS UNTREATED 4x4 posts!!!!! i called 3 counties, almost cried, to order was 3 weeks, or just cant get them. Finally found a cedar and cypress mill 1 hr away. Hopped in the car and off i went to load up.I had 2 beds to do so the second one went faster. What i learned?
1. even after predrilling you will do best hand screwing screws. Cypress was really hard in places and a stripped screw equals stress.( just like there is no crying in baseball, there is also no crying in carpentry)
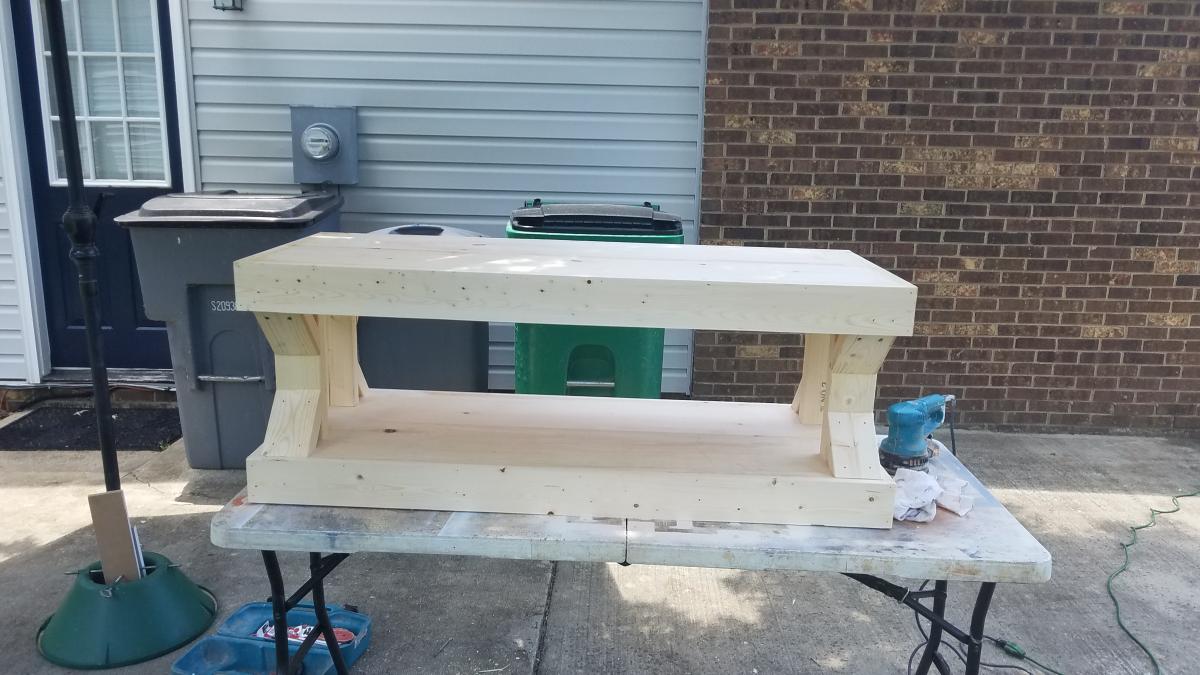
2. the 2x4 that is under the 2x6 on headboard and footboard should be cut AFTER you assemble the 1x6 and 1x4 base. Much easier than making cuts with a circular saw on 1x6
3. your hands will feel like they were run over after day 1 of sanding, it will pass and get better.
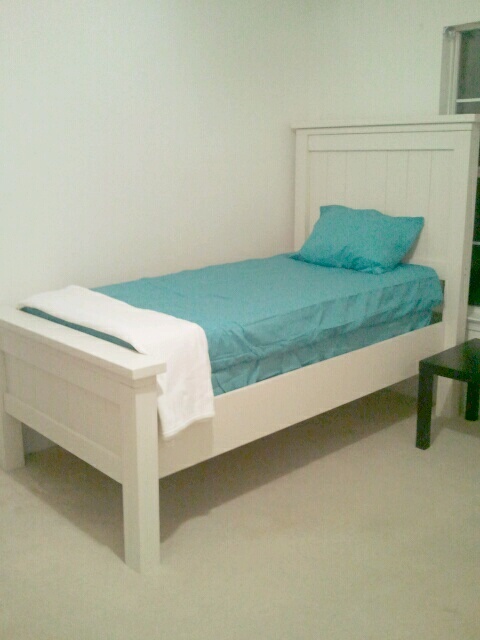
4. perfect is not possible. It probably not even preferable. You want perfect? That is a machine
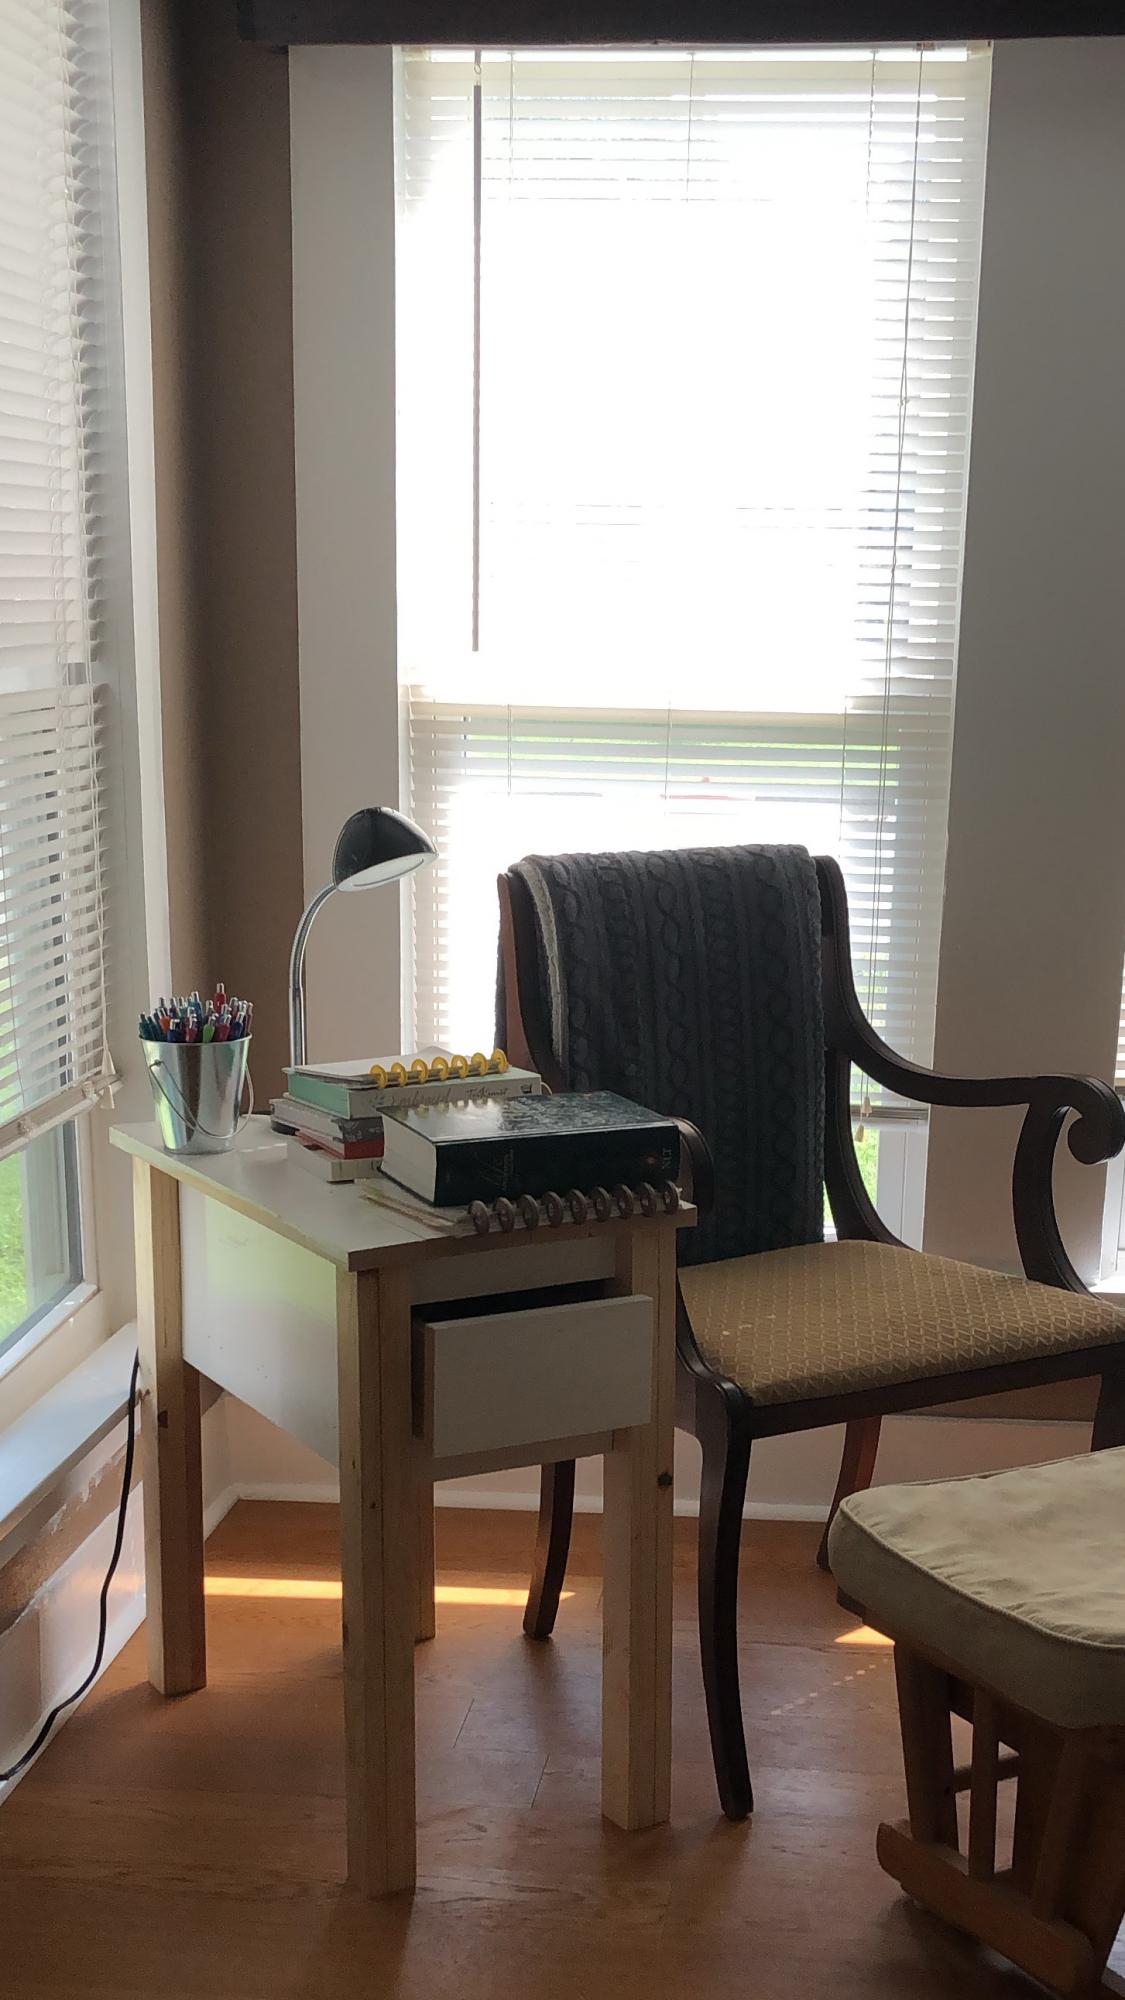
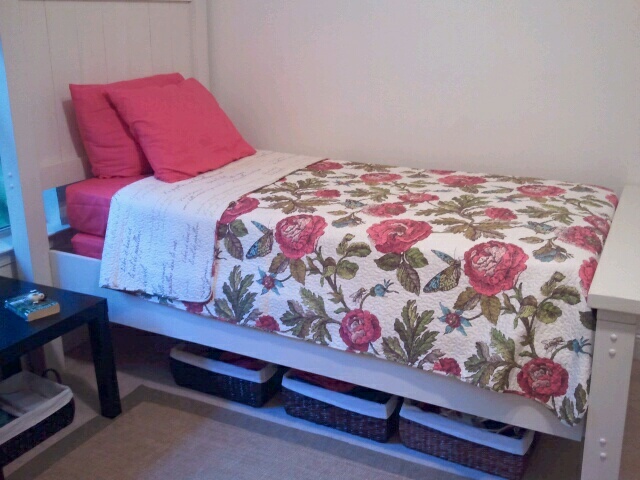
The room still needs some special touches, lamps, nicknacks, etc. cannot paint , rental. so sad. oh well


Comments
Pam the Goatherd
Thu, 06/19/2014 - 21:51
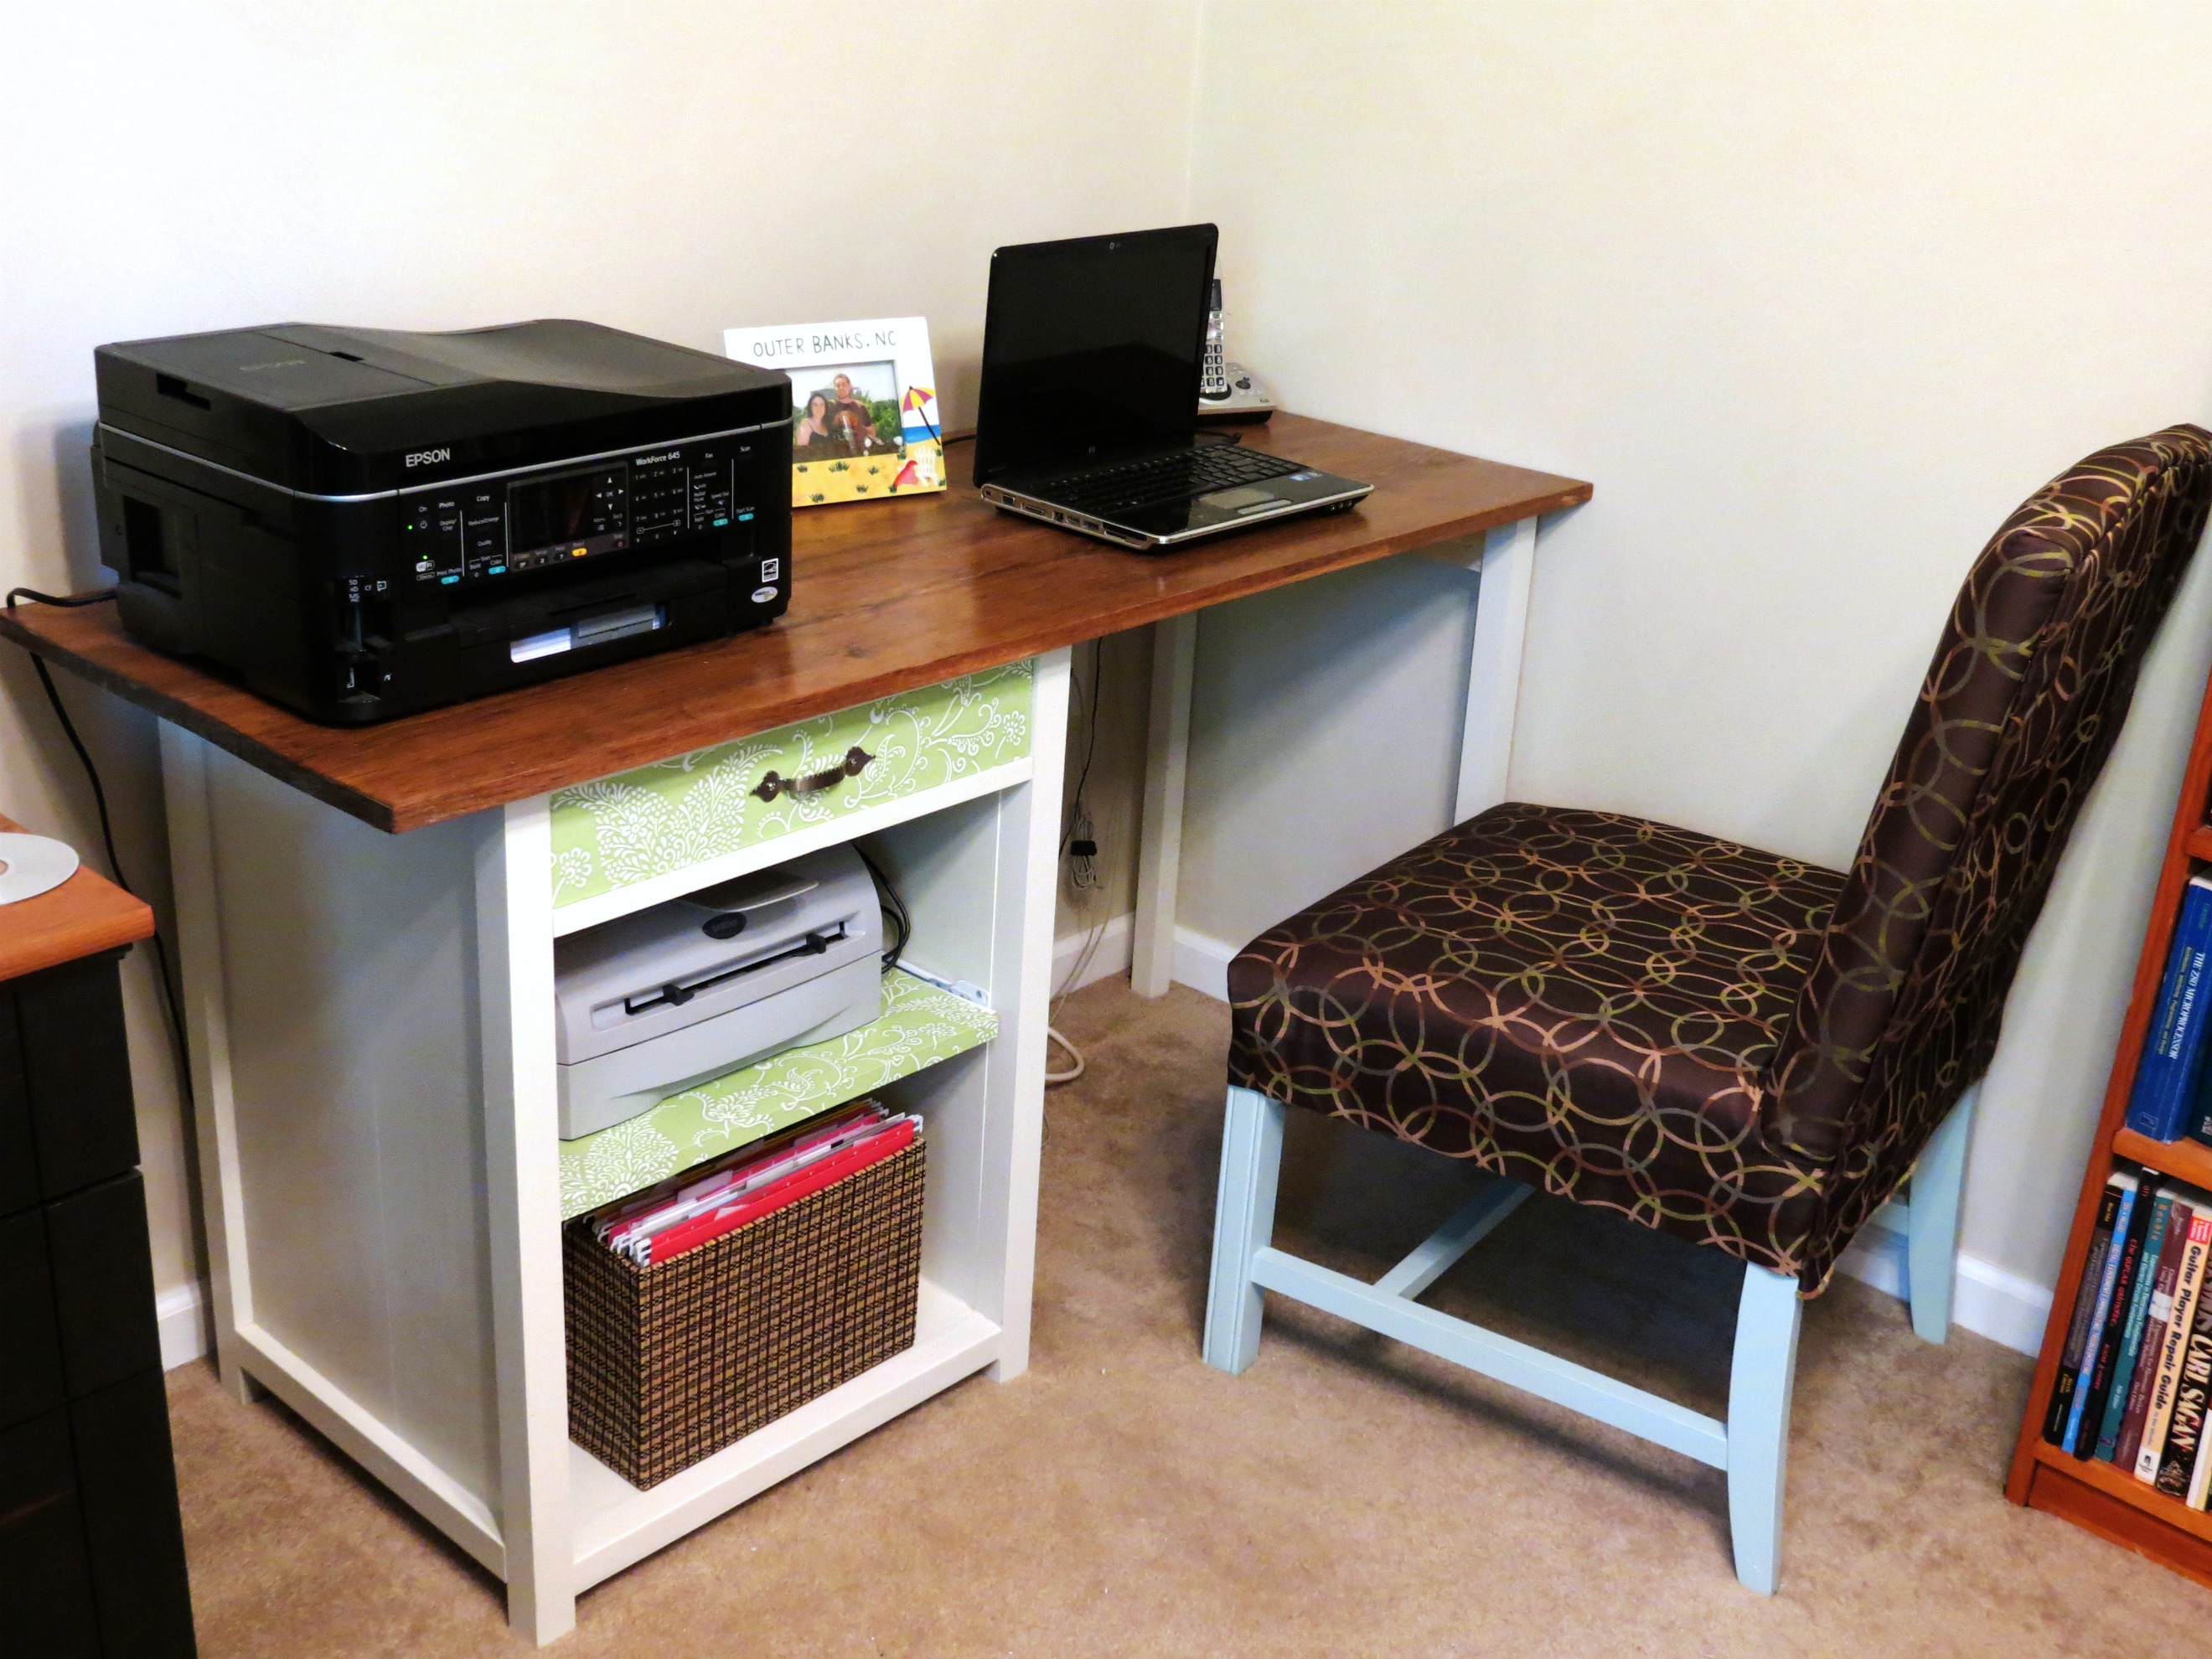
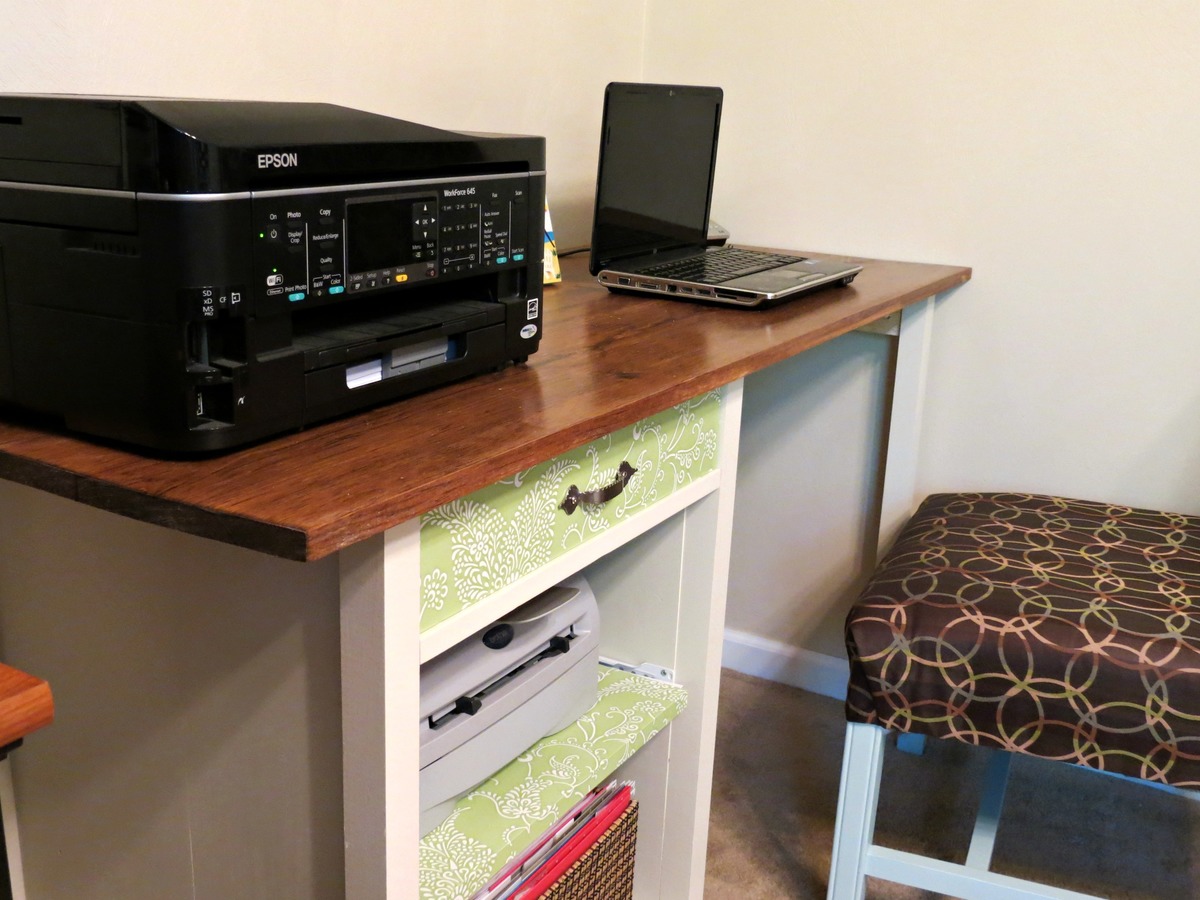
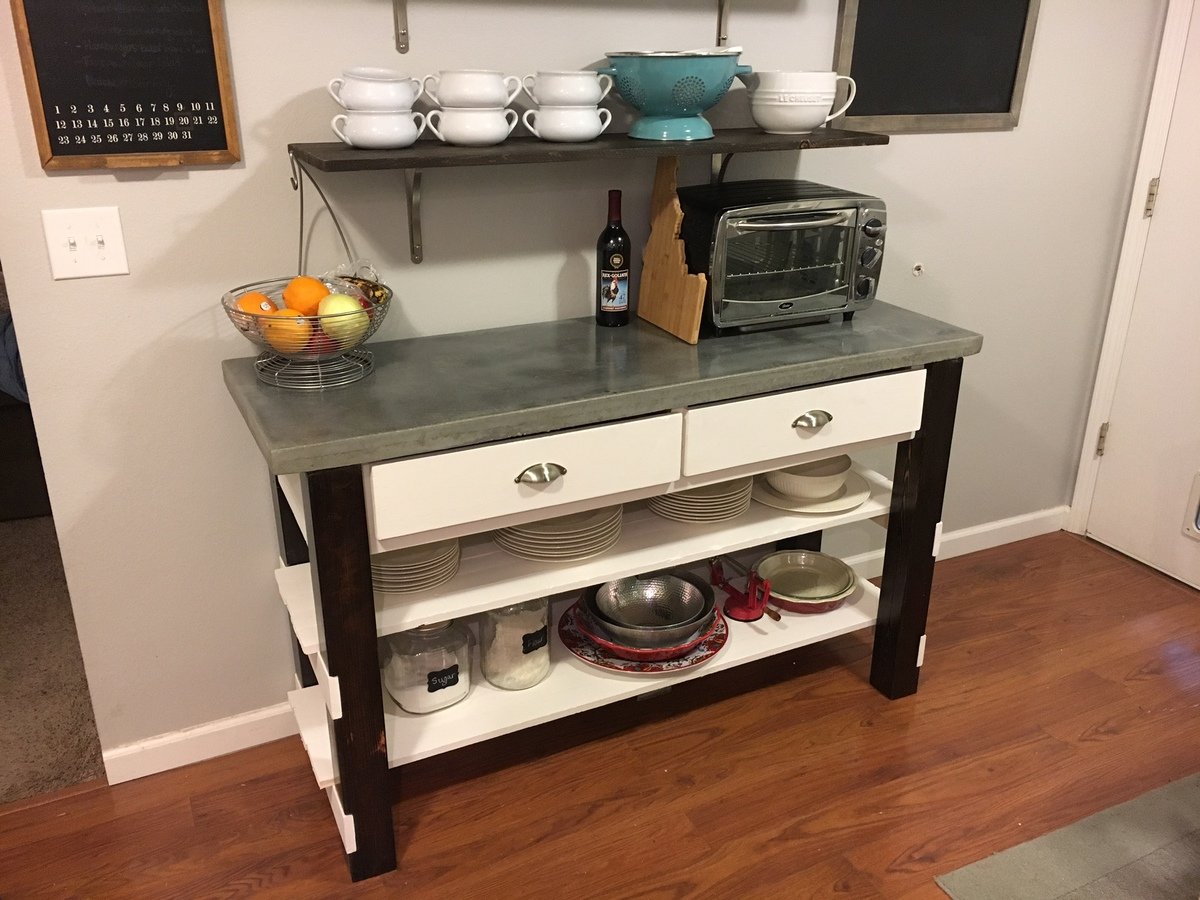
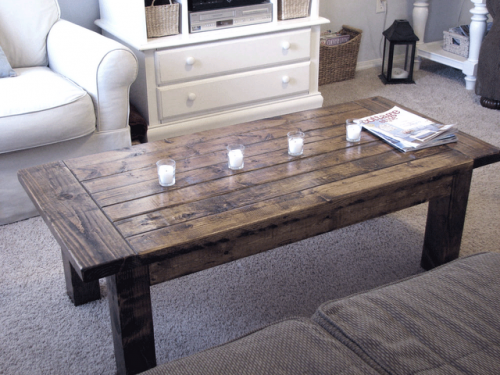
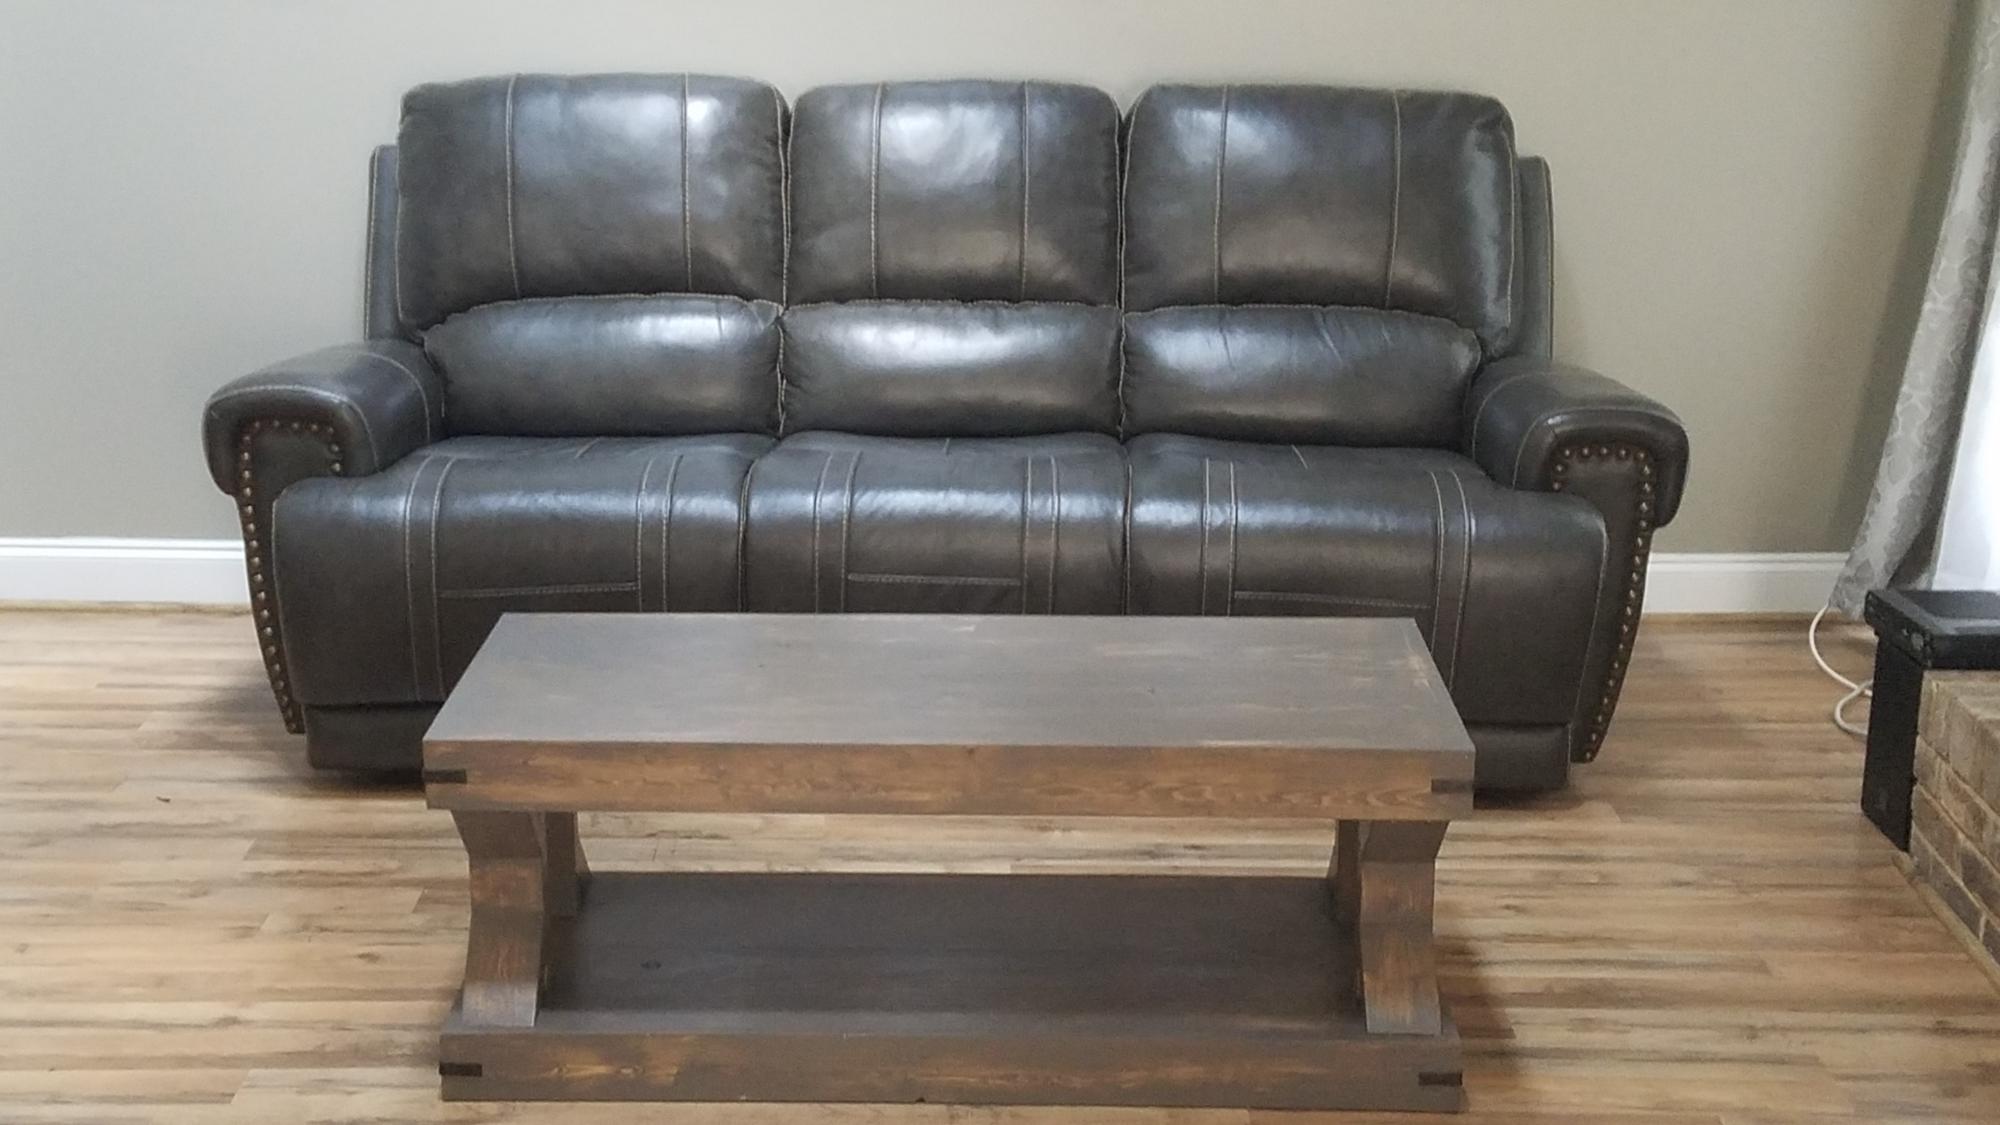
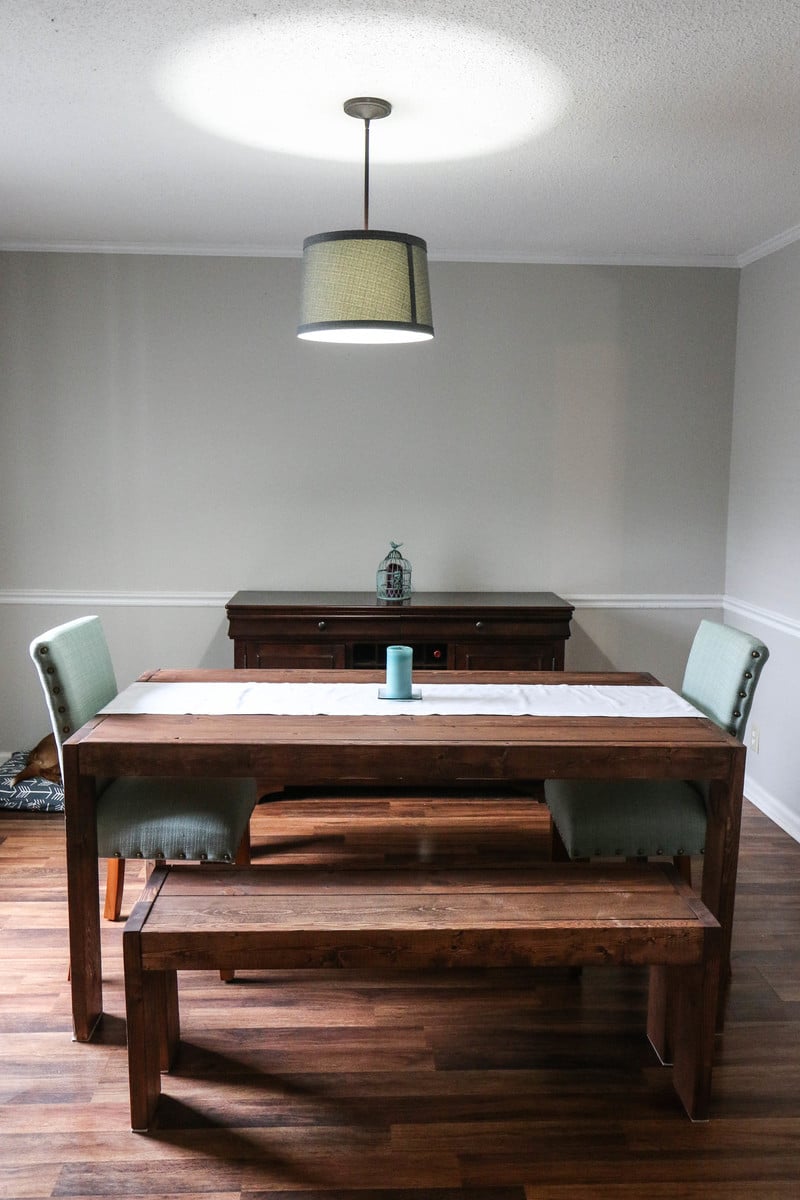
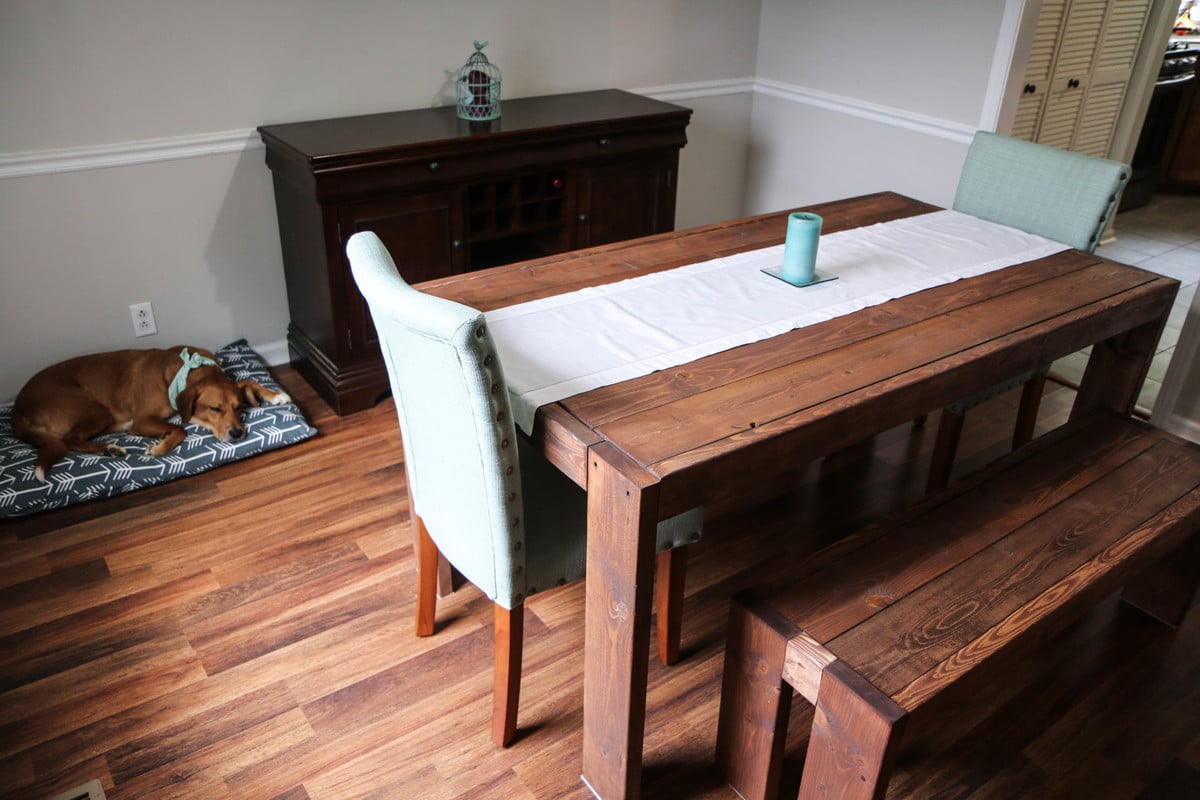
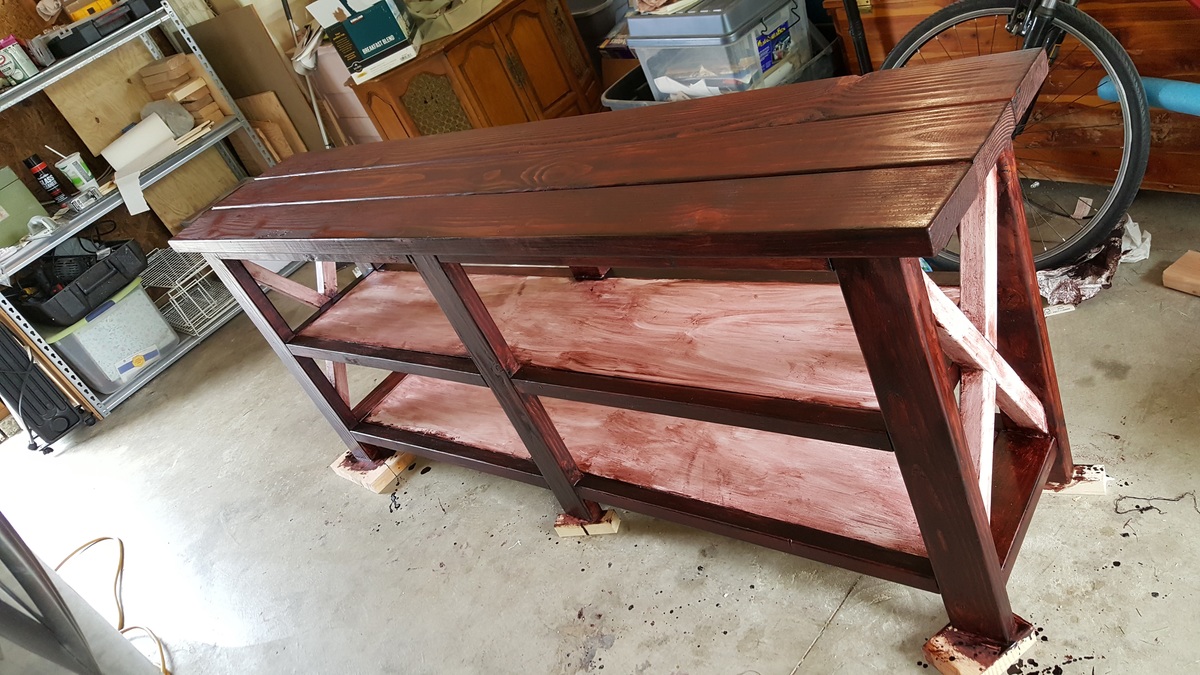
Beautiful! That's got to be
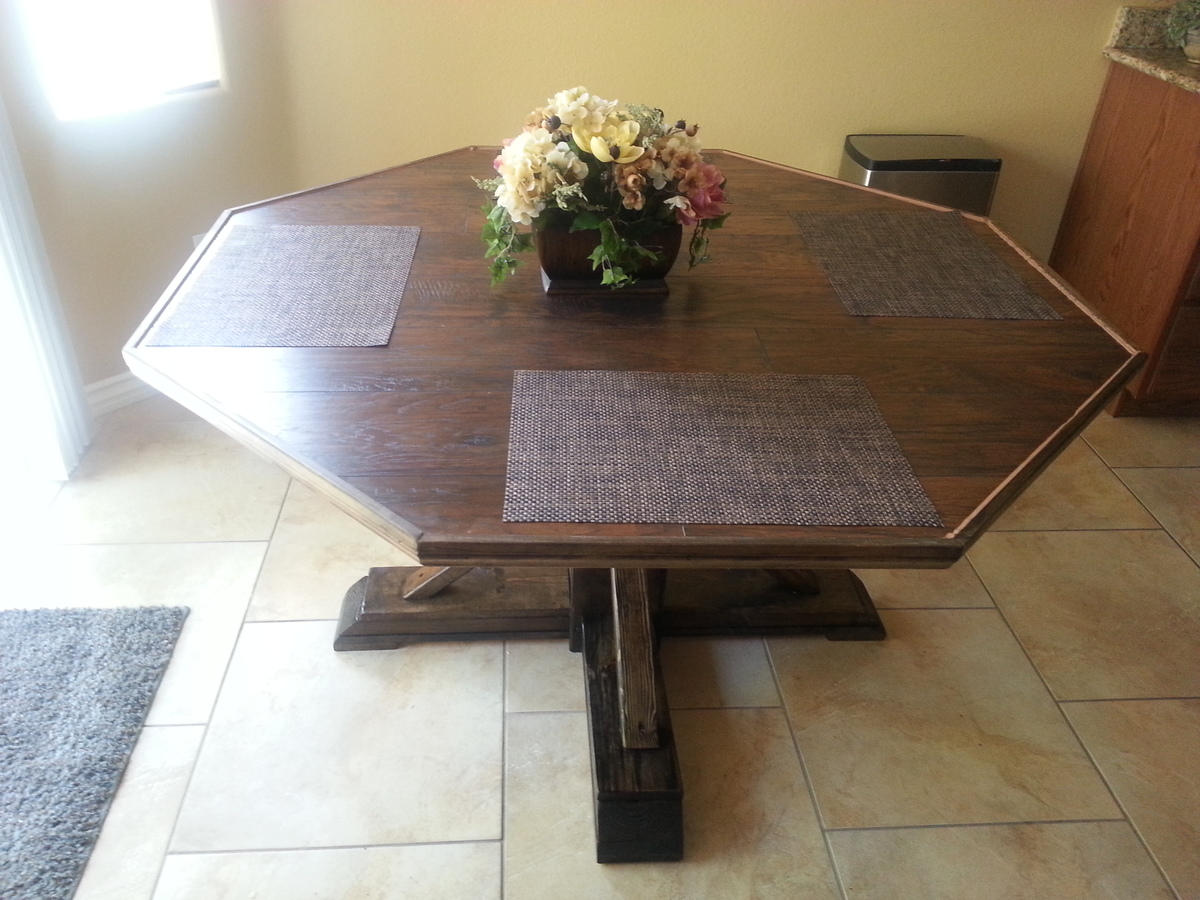
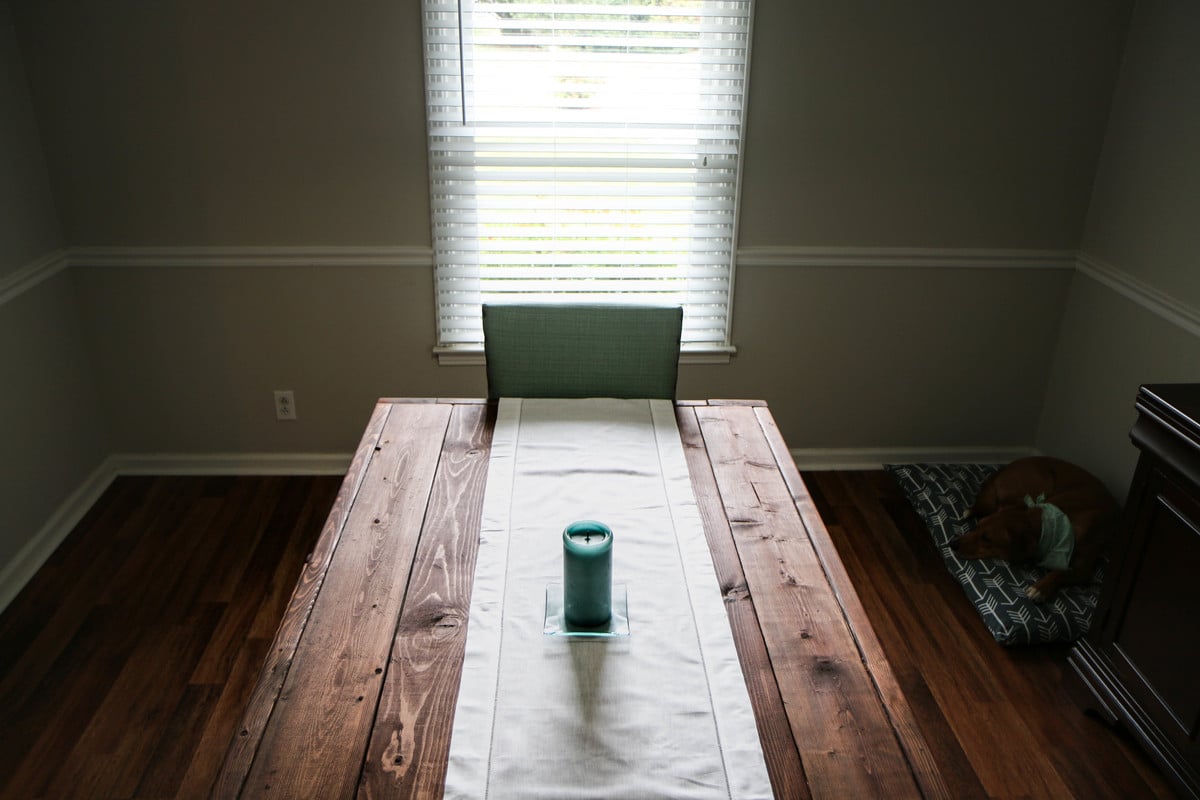
Beautiful! That's got to be an incredibly heavy table with the two layers of top.