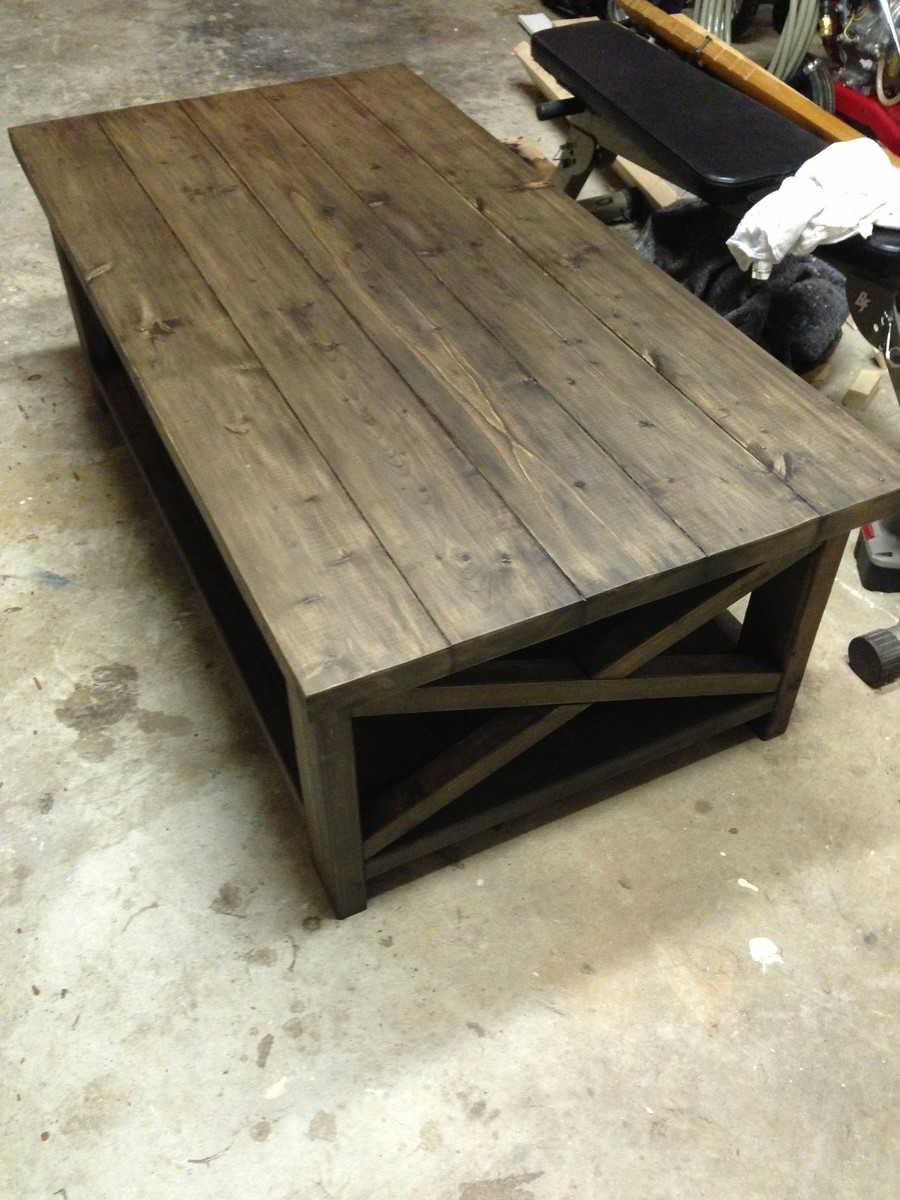
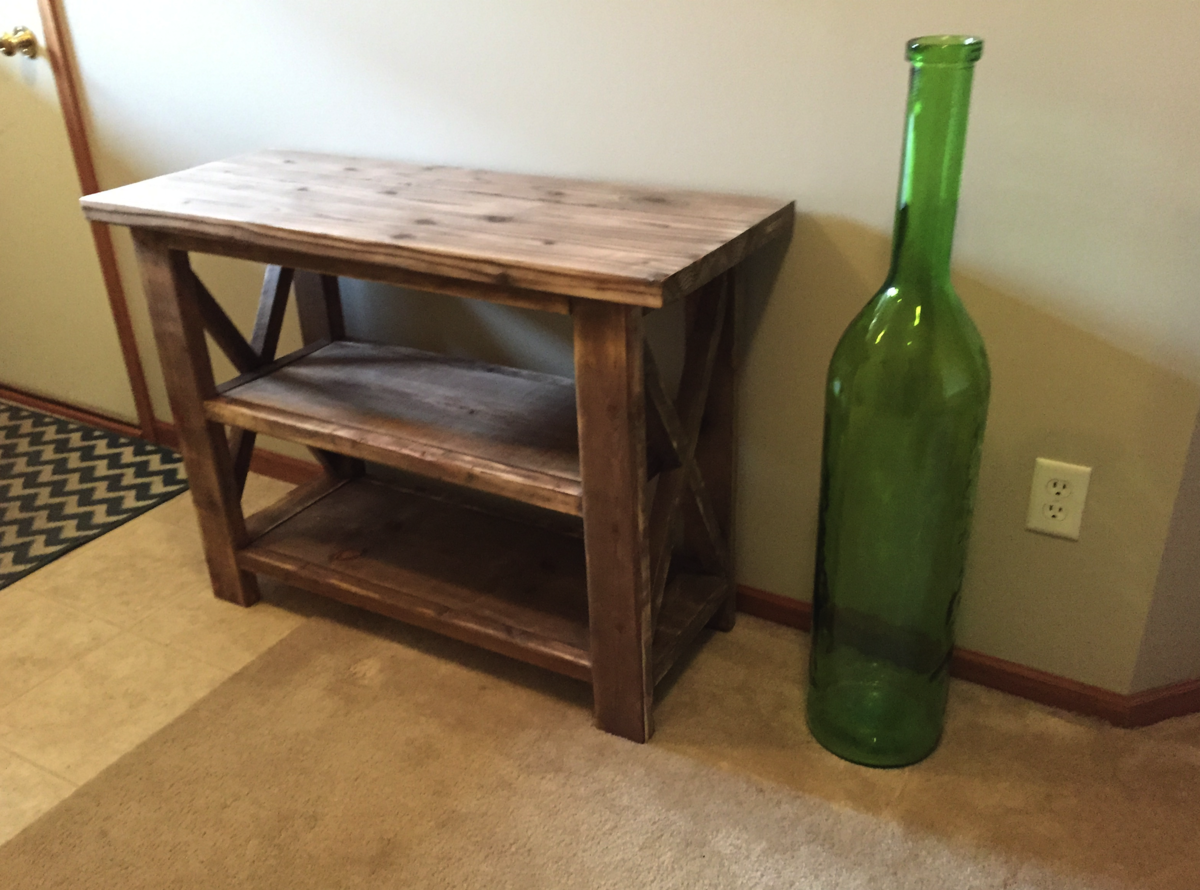
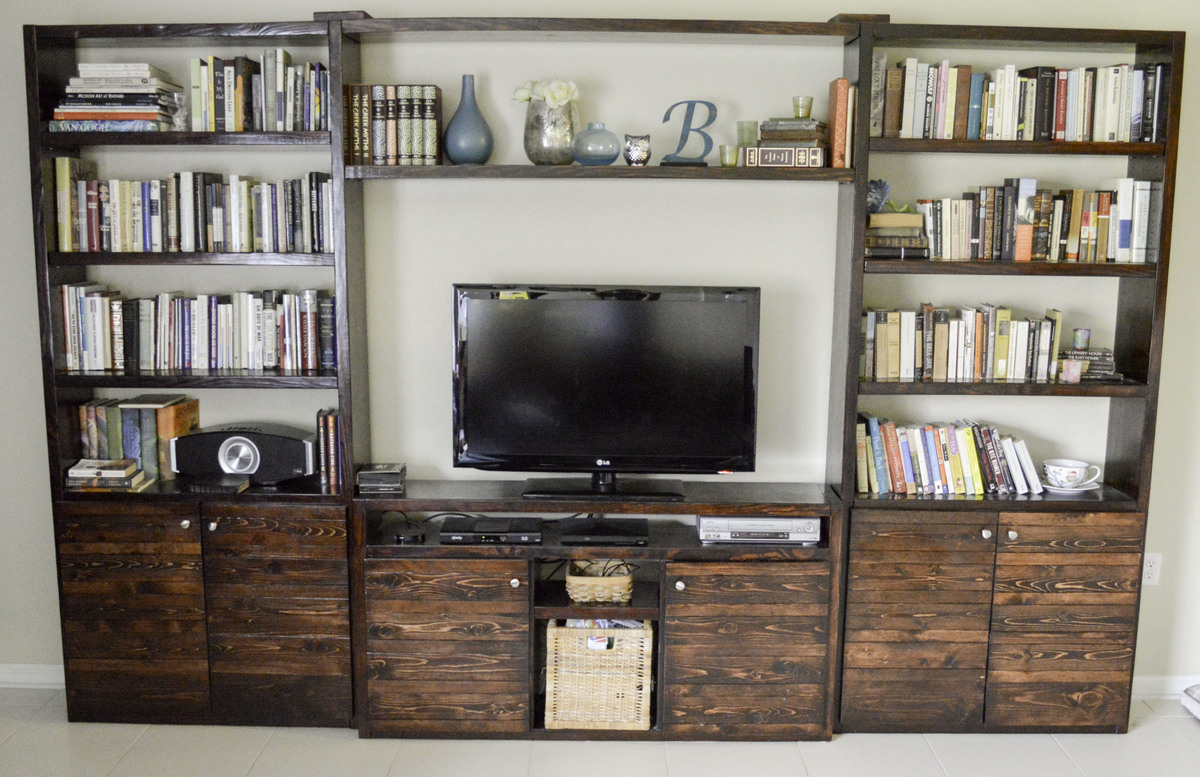
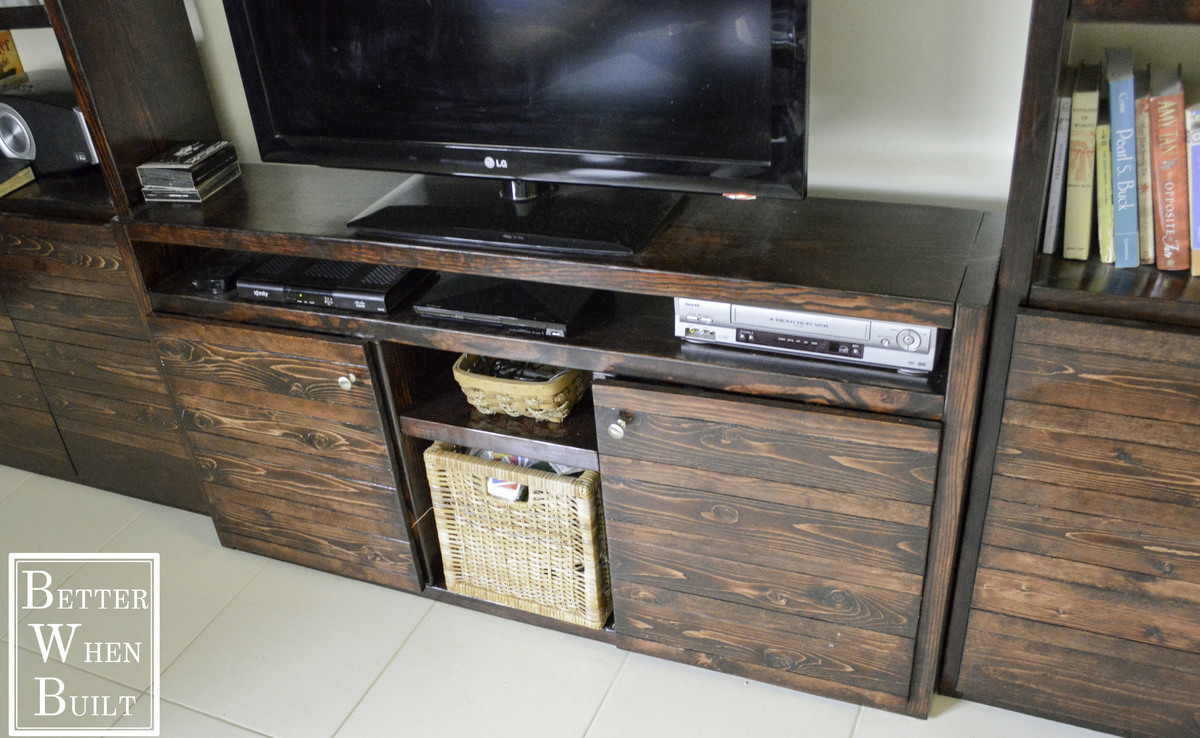
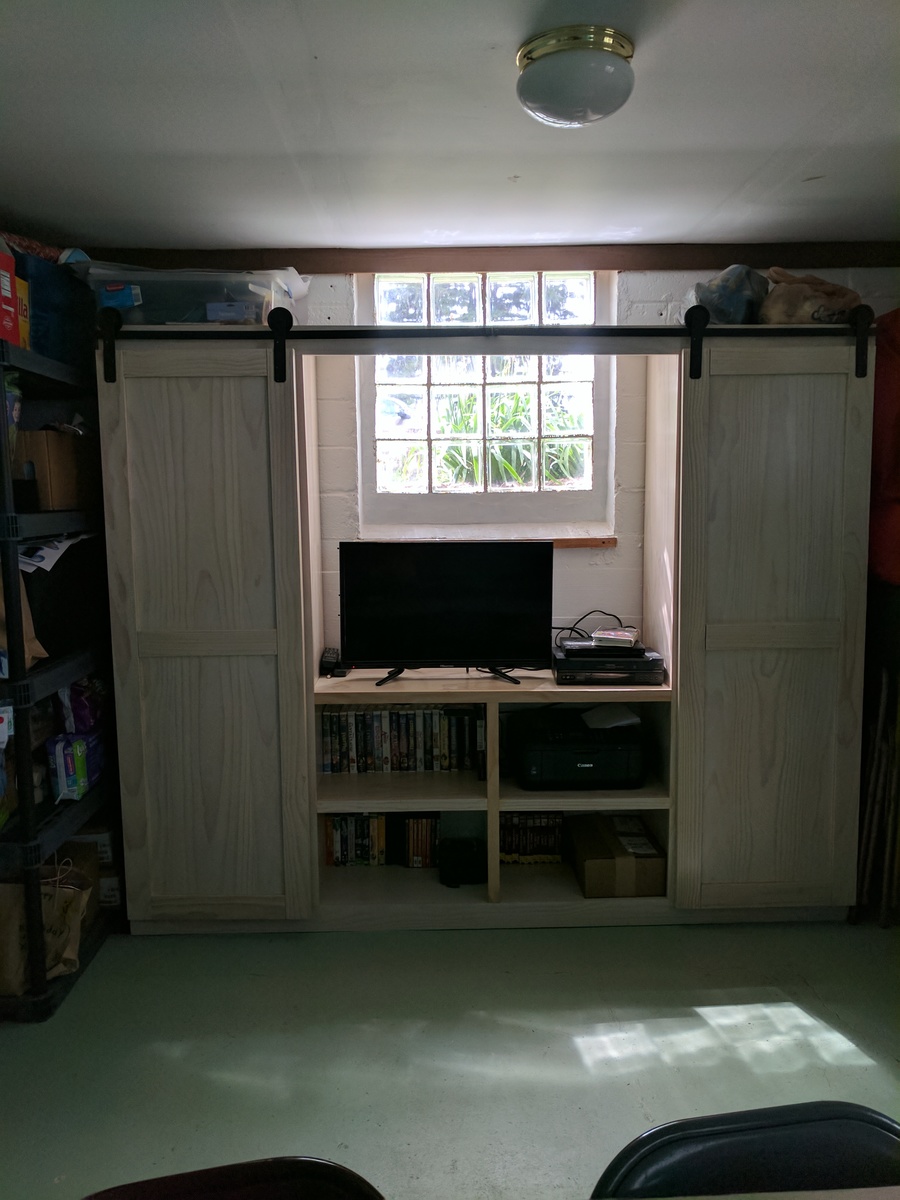
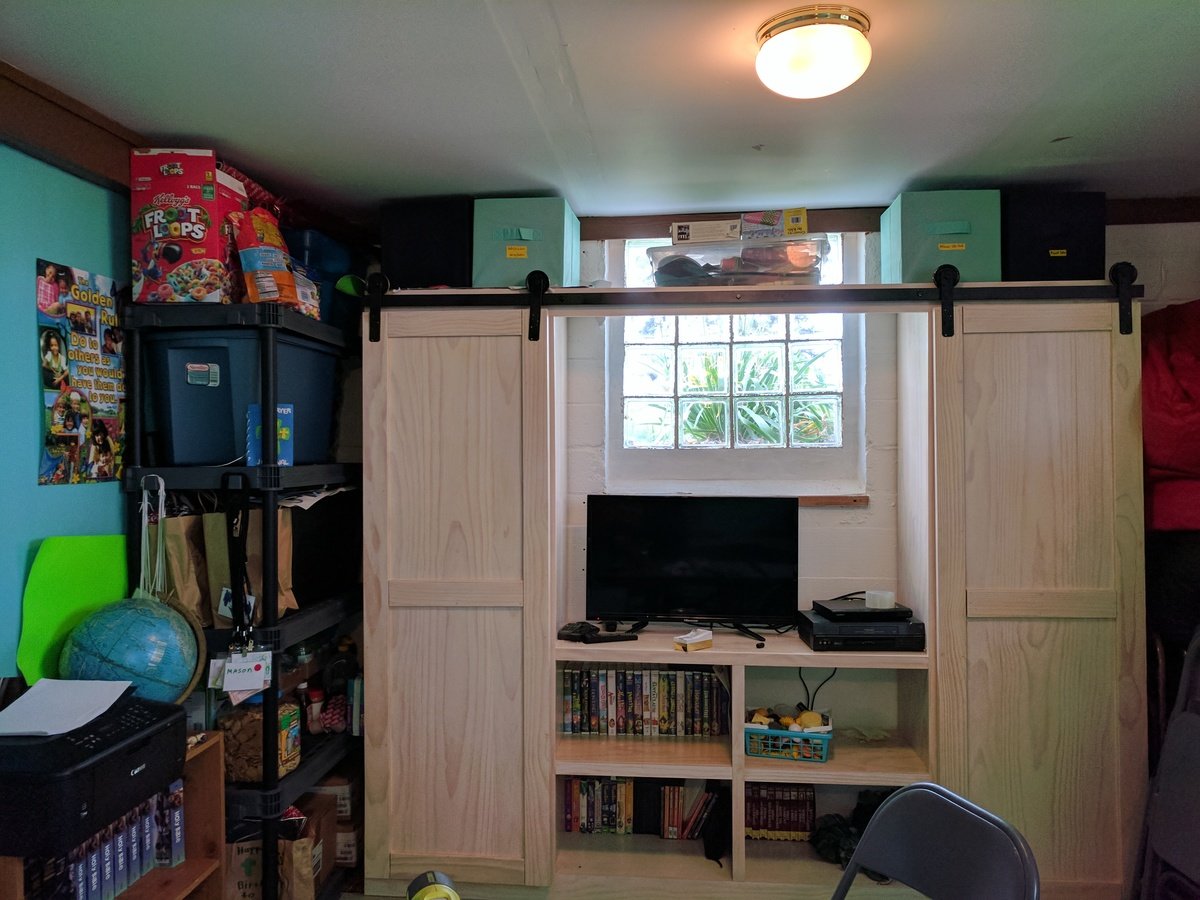
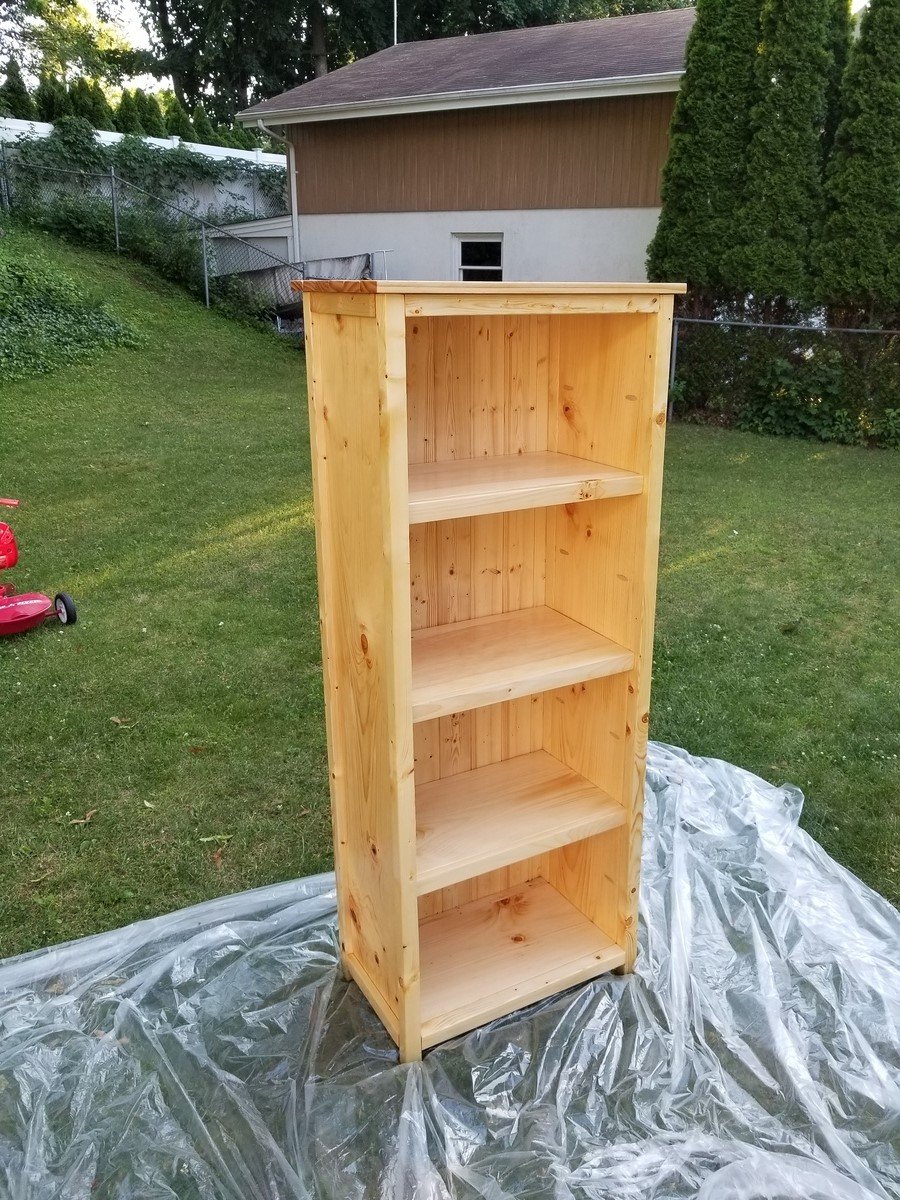
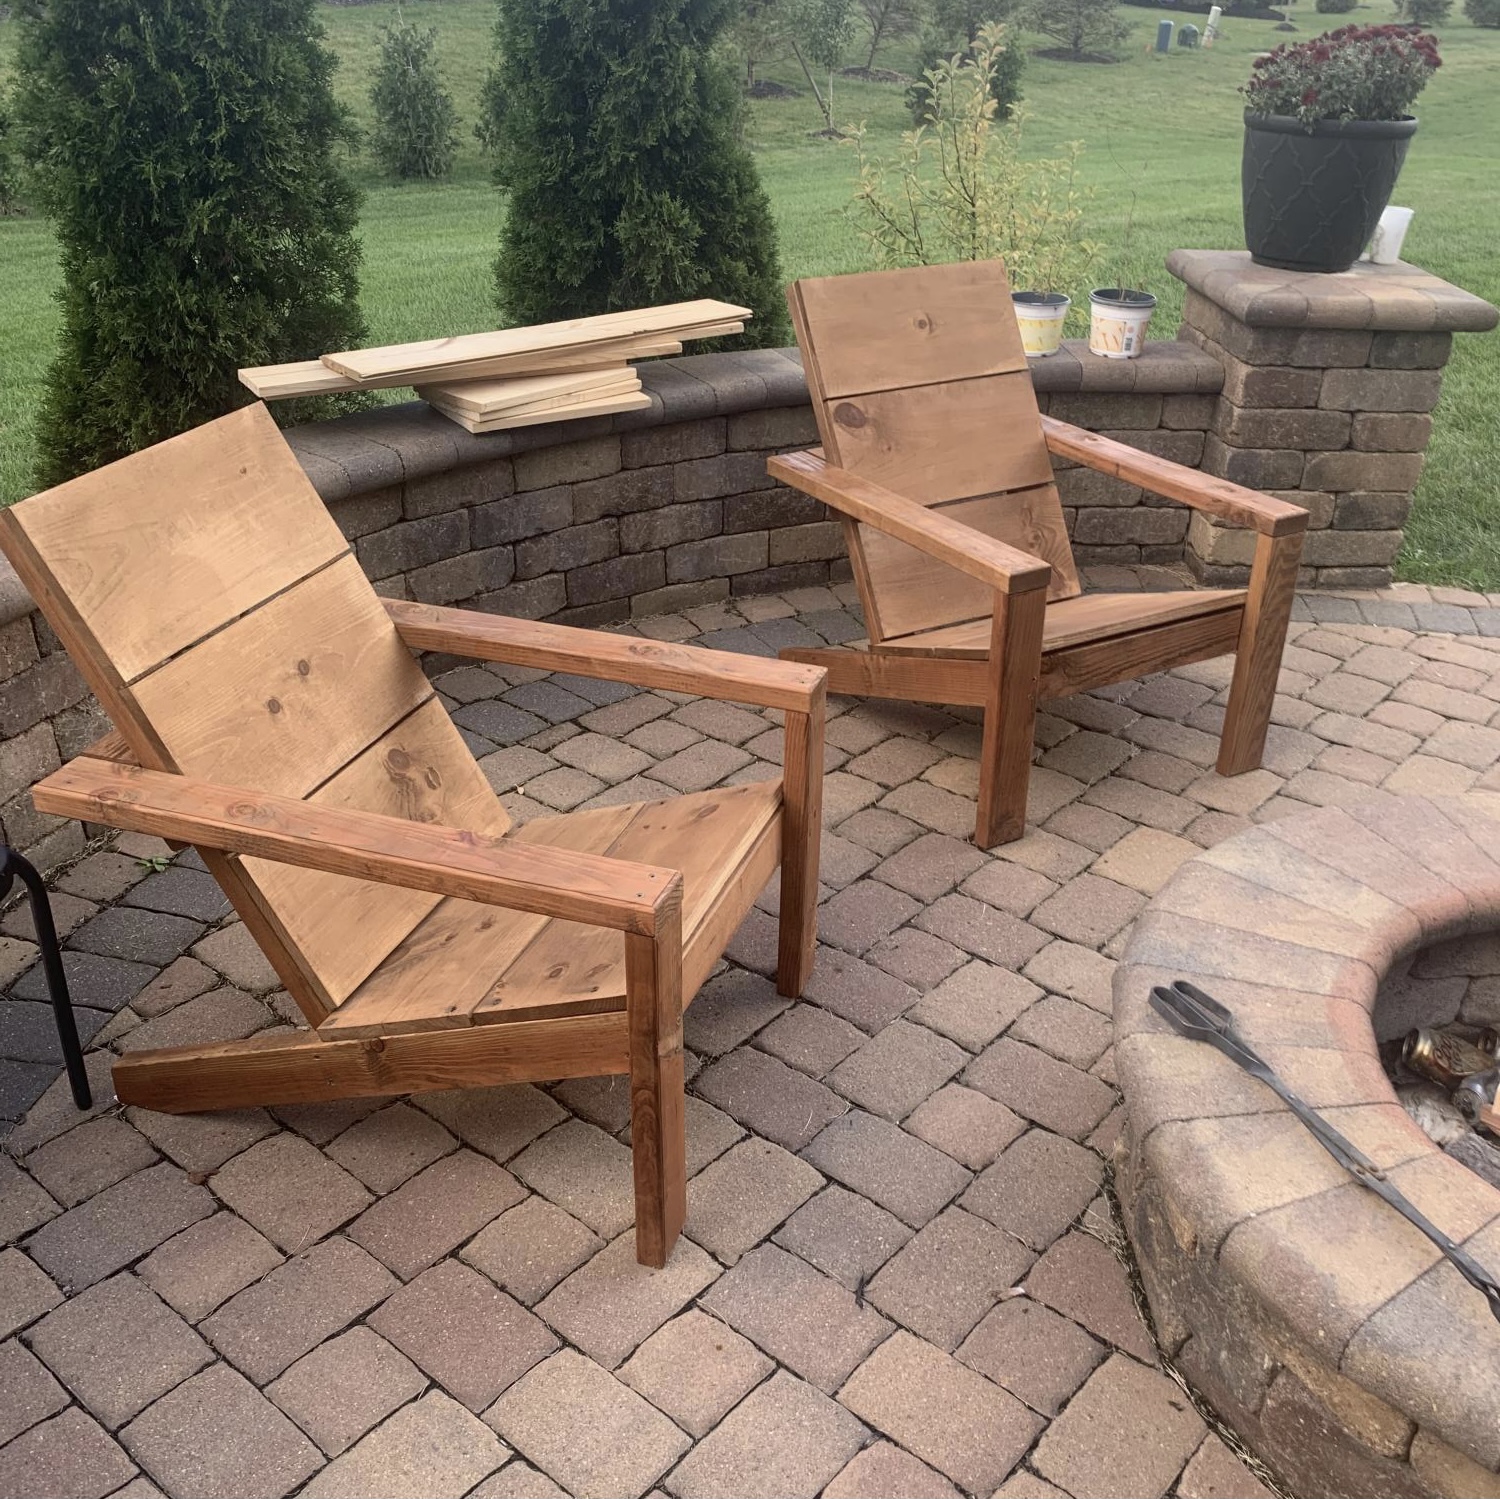
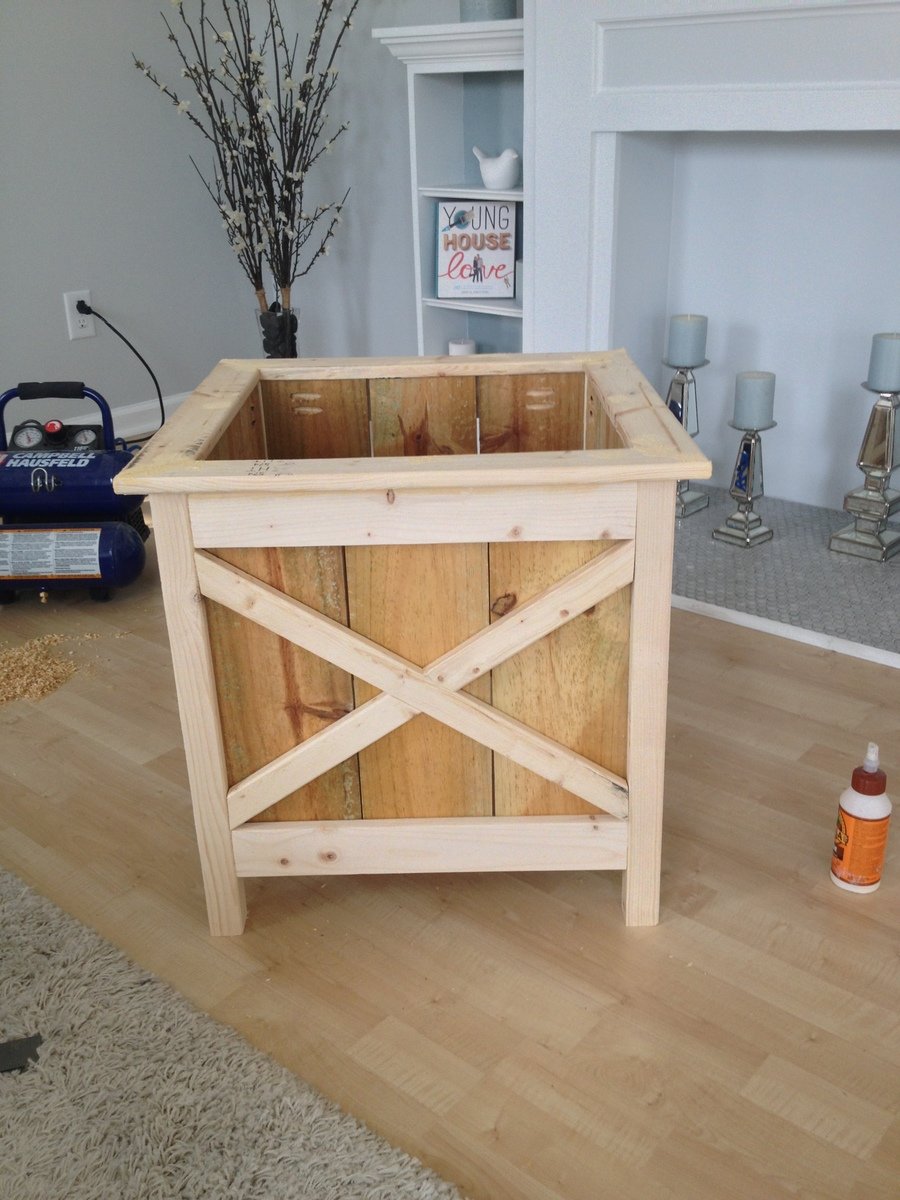
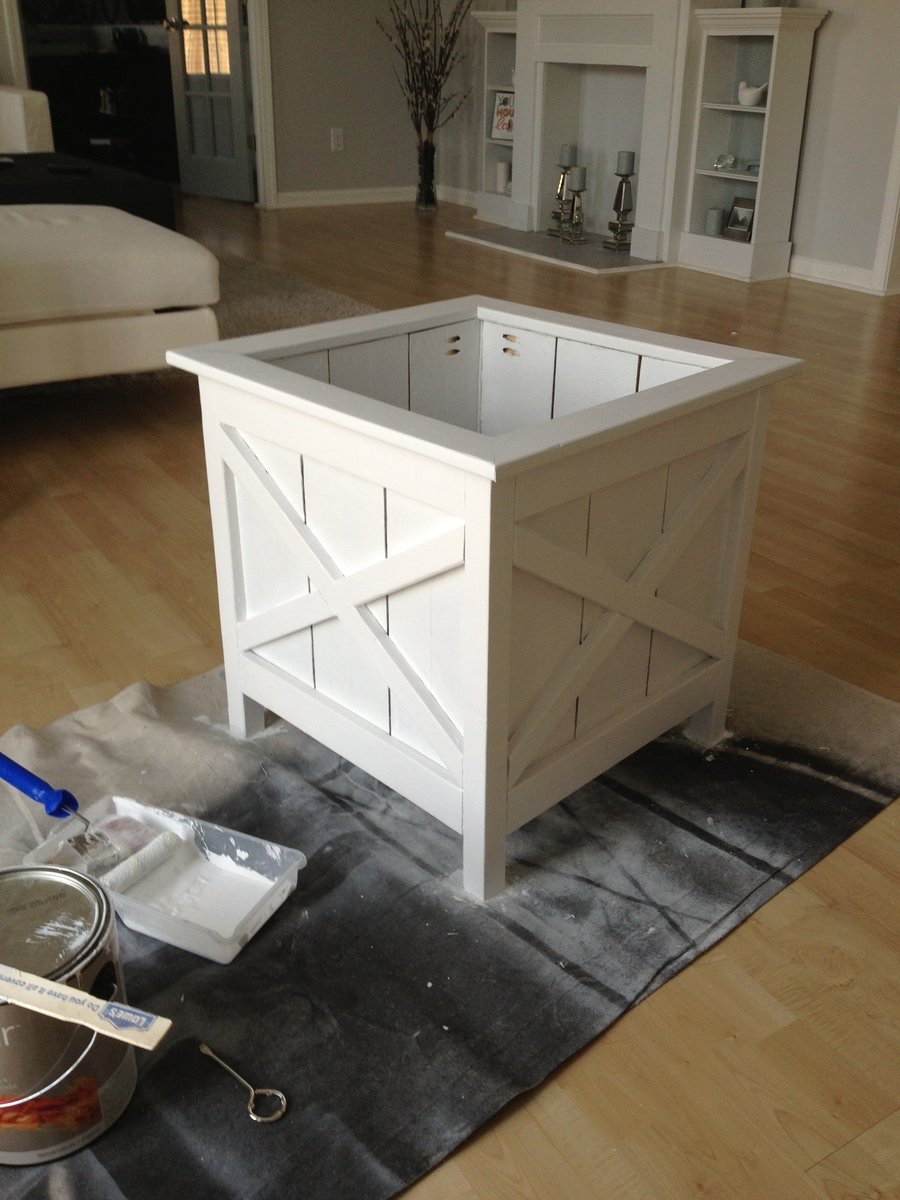
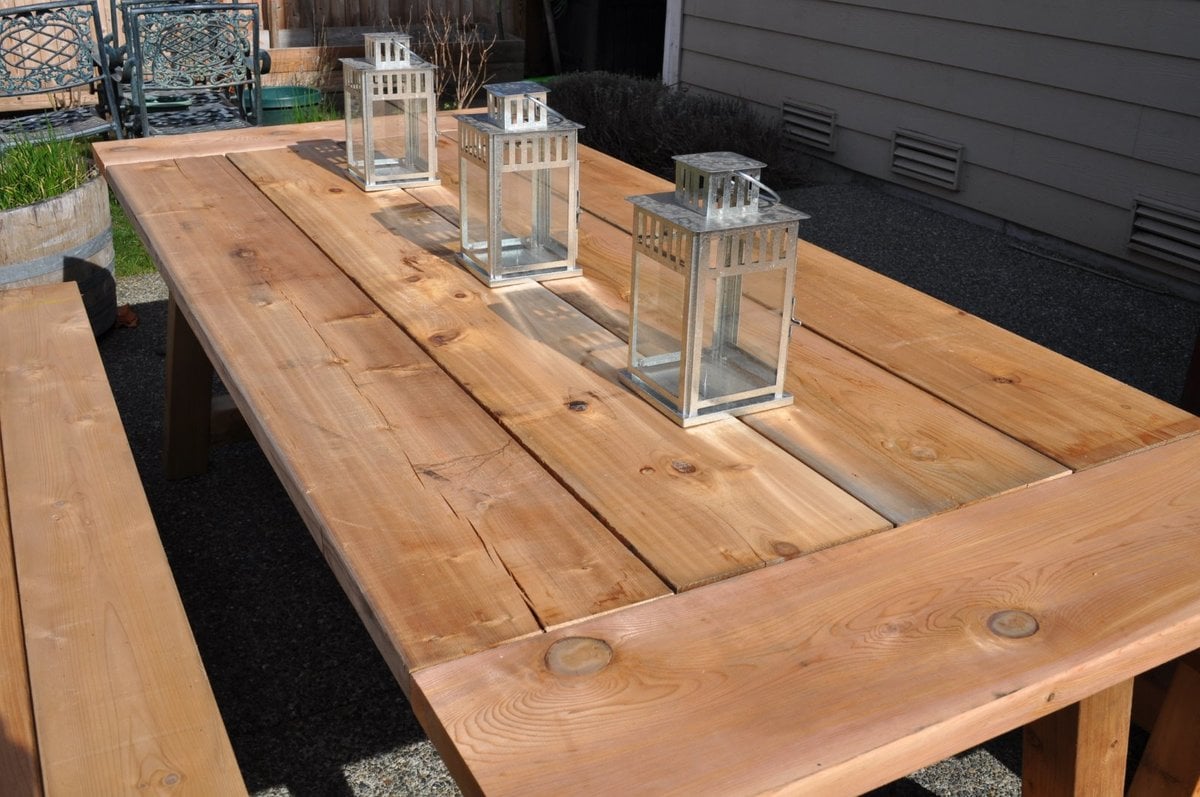
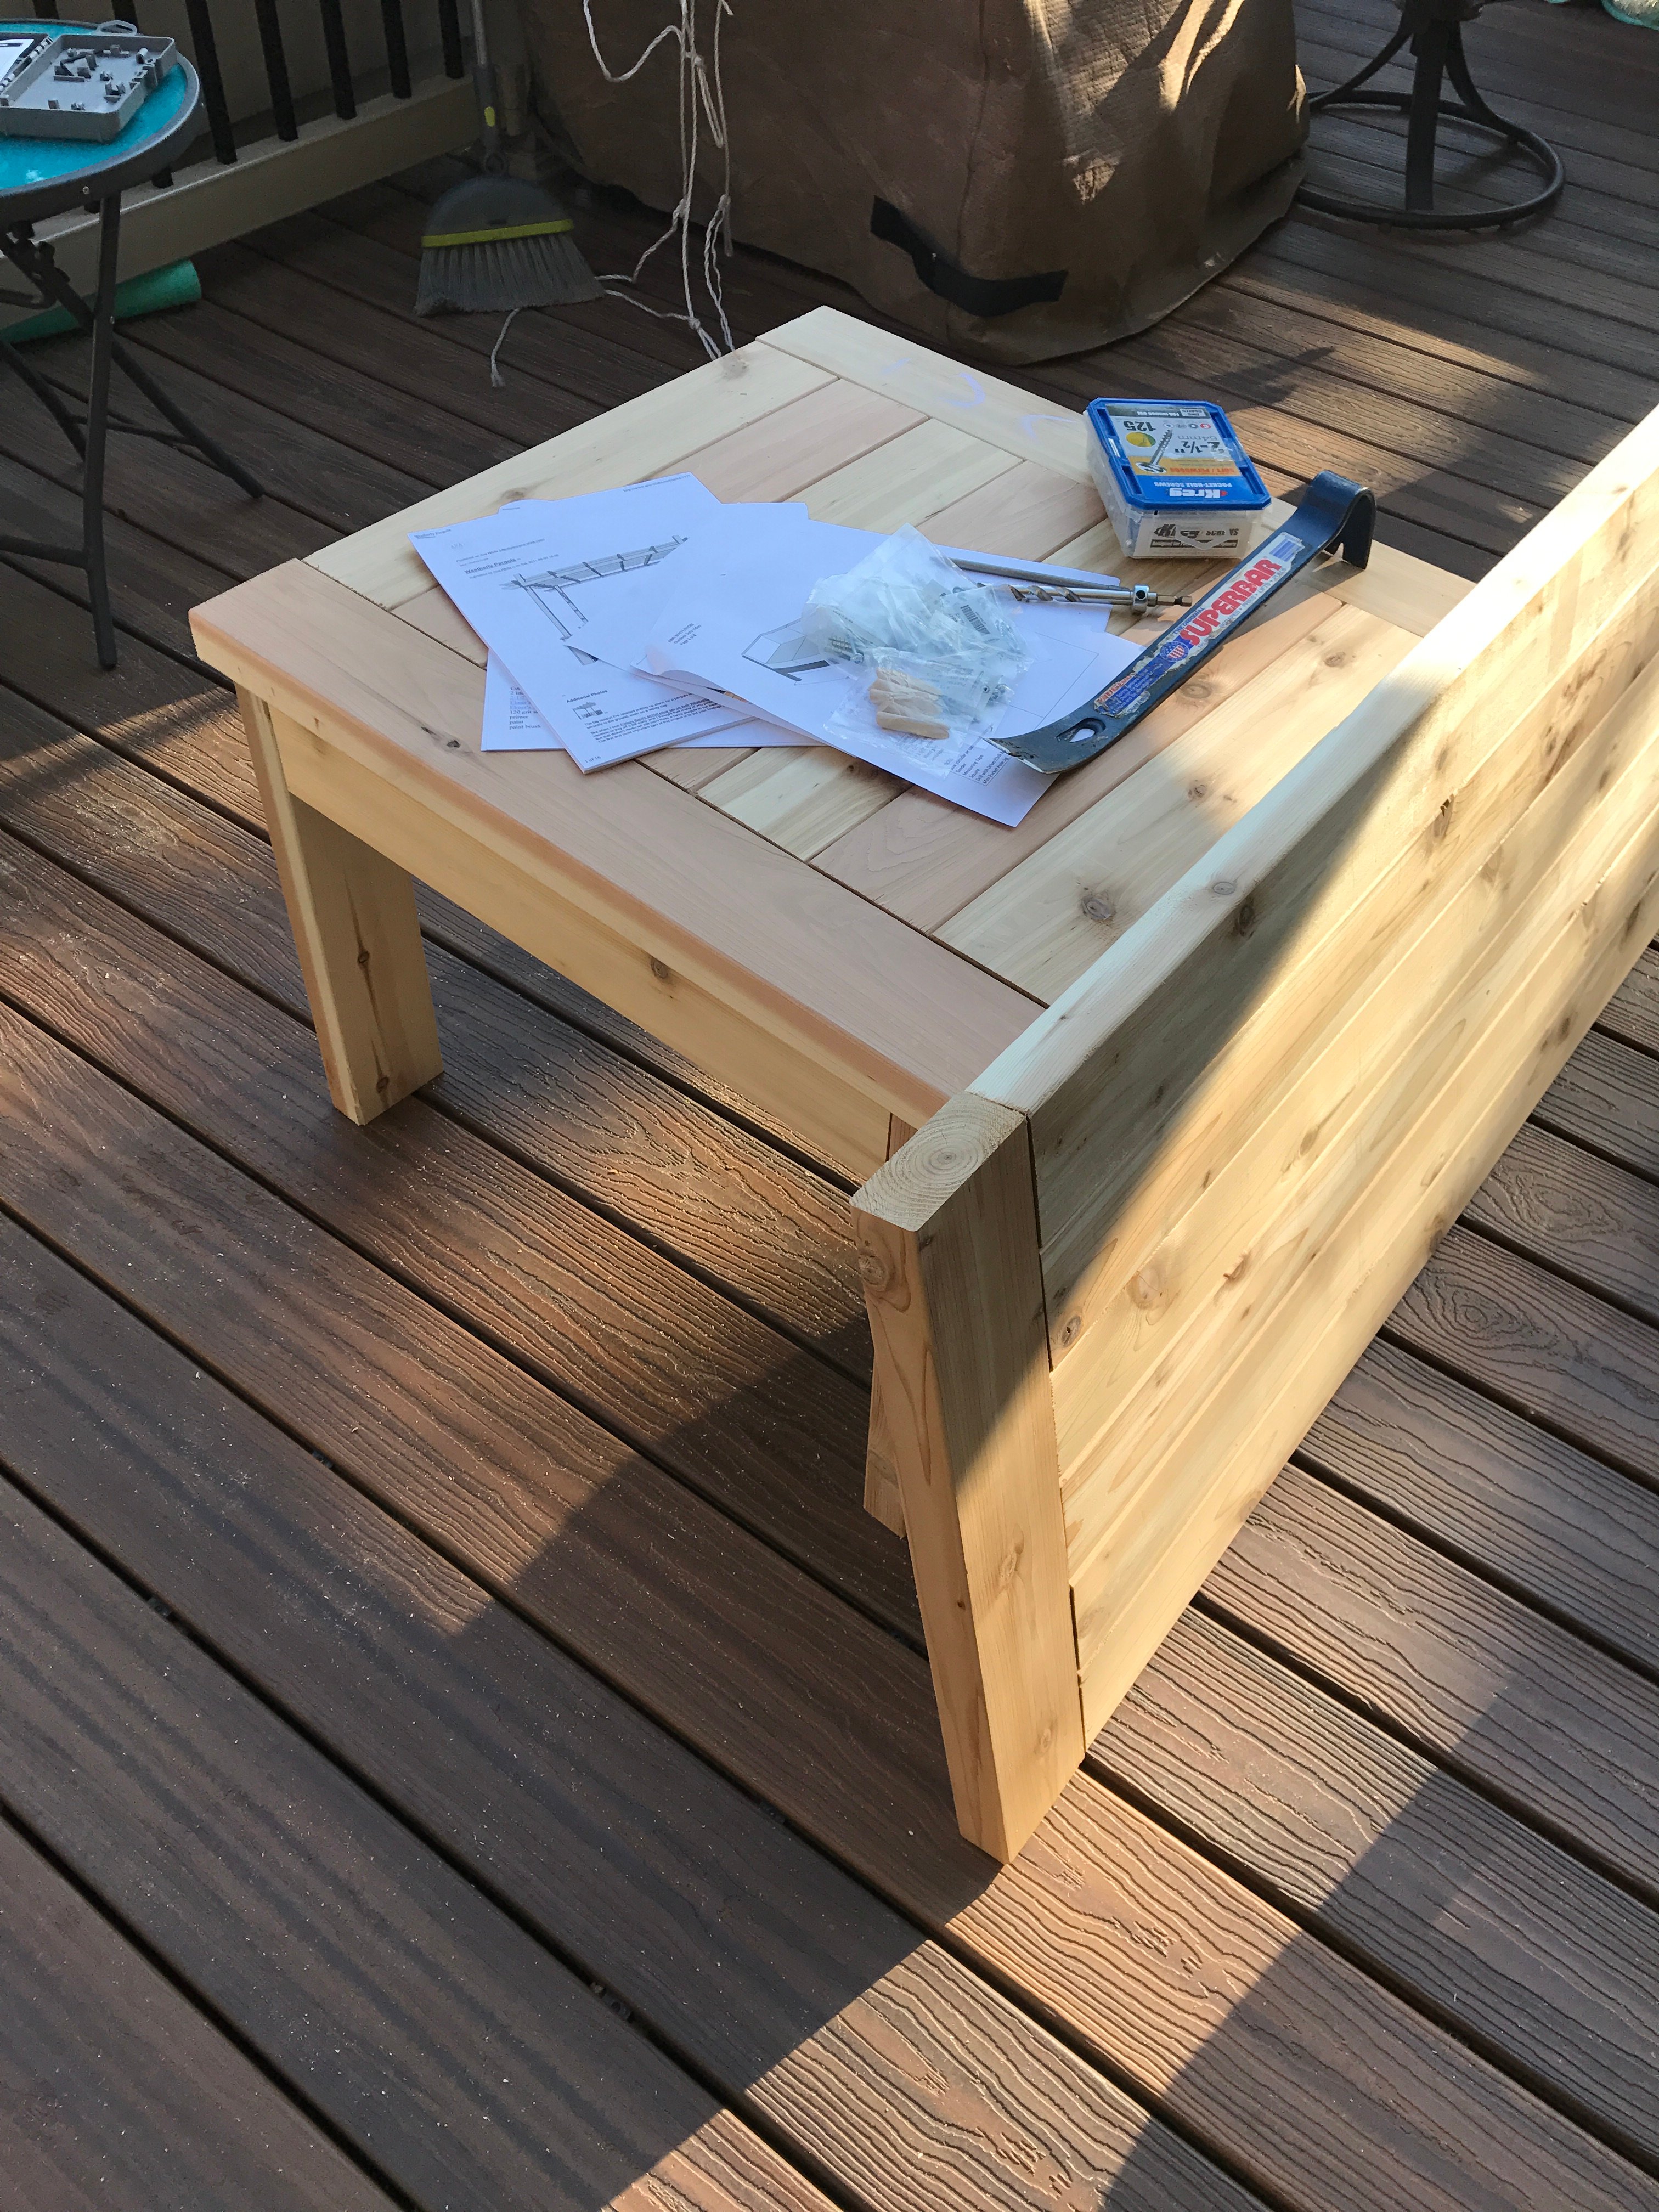
Community Brag Posts

My spin on kentwood nightstands

I included some pictures of very rudimentary drawings I did of all the cuts of wood you would need to build these if anyone wants to take a stab at it.  The drawings are rudimentary but you can definately build from them

Another idea I got from the kentwood posts.  Actually this was a brag from another user that got the idea from the kentwood nightstand post.  So I took to building it.  It is built out of solid pine.  For middle shelf and bottom shelf are cut from 3/4 thick plywood as my local store didnt cary pine large enough for the shelves and I did not feel like gluing slabs of pine together.  Though I ending up putting slabs of pine together for the top, because I wanted that to be pine like the rest of the nightstand.  I drilled a few pocket holes in each piece of pine.  Glued the edges and screwed them together with pocket holes which worked out great and I didnt have to clamp and wait for them to dry.  The inlay on the door is something I found at my local home depot.  It I glued it on and put a couple of pin nails around the eadges.


I finished the night stands with a cream white latex paint and glazed over the paint with valspar antiquing glaze which gave it a great ages grayish look.  Then sprayed it with a couple coats of Varethane Soft Touch Matte Polyurethane.  Which I dont recomend using.  I only used it because it was the only matte poly I had laying around.  If I were you I would opt for a much better poly to go over waterbased paint like General Finishes High Performance Poly.  The top I stained with General Finishes java gel coat and Gel coat poly.  I wasnt digging the way the gel coat looked on the pine nor did I like the color of the stain paired with the color of the nightstands.  so I have since then sanded off the gel coat and stained the top an onyx which to me looks a lot better.  Sorry I do not have any pictures of that.

Estimated Time Investment
Weekend Project (10-20 Hours)
Finish Used
Kilz Premium pimer and sealer
Off white water based paint
Valspar Antiquing glaze
General Finishes Gel Stain
General Finishes Gel Top Coat Polyurethane
Recommended Skill Level
Beginner

Comments

kbdesigns

Wed, 11/18/2015 - 08:09

Very nice attention to detail! All the small things that you've done different/better that have made this piece unique, very talented!

In reply to by kbdesigns

diversity210

Wed, 11/18/2015 - 16:56

Well thank you very much.  I like to be unique or at least try to be unique.  Though sometimes it can be hard to pull away from the cliche and the usual.  I dont take all of the credit though.  Got the idea from another users brag post on the kentwood nightstand page.  I added my own person touches to the build but its still fairly similar. 

Love My Desk

Submitted by Anonymous (not verified) on Sat, 01/05/2019 - 13:16

I absolutely love how this turned out! Great plans! I used a lot of old wood my grandfather had so this project was extra special. 

Built from Plan(s)
Estimated Time Investment
Weekend Project (10-20 Hours)
Finish Used
Antique White Chalk Paint and Kona Rustoleum Stain for Top
Recommended Skill Level
Intermediate

Comments

King Farmhouse Bed

Submitted by Martinec97 on Tue, 10/04/2022 - 06:46

This is a King size farmhouse bed that I made based off of Ana's plans. I love it! I painted it a light gray and then glazed over it with a darker gray. Thanks for looking! - Wendy

Comments

My Apothecary Cabinet

Submitted by Sarah A. on Mon, 08/22/2011 - 17:41

I have always loved apothecary consoles! Then my grandmother gave me her huge collection of pottery, which I have admired since I was a kid. I had nowhere to put it, so it was a perfect excuse to build this.

I used MDF for the cabinet and pine for the top. I did a thick top, I stacked two 1x6s on top of each other, giving me 1.5" thick top. I also distressed in and filled in with Ebony Wood filler. I absolutely love how it turned out. I hadn't used pine before, I always use poplar. This project made me love pine!

I modified the plan slightly...I made 4 doors instead of drawers. I also made the top cubbies 2" taller, just to add extra height. I still need baskets for the cubbies, though!

Built from Plan(s)
Estimated Cost
$180
Estimated Time Investment
Weekend Project (10-20 Hours)
Finish Used
For the top, I used Minwax stain in Provincial. I then distressed it with a screwdriver and filled in the scratches with ebony wood filler. I did two coats of wipe on poly on top, sanding between coats. For the base, I used Vaslpar kitchen and bath paint, can't remember exact color.
Recommended Skill Level
Beginner

Comments

Kristi Hays

Fri, 08/26/2011 - 08:29

You did an amazing job! This piece has been on my to-do list for awhile now. I think that's the beauty of Ana's site, seeing the wonderful finished projects of other amateur builders gives us all the confidence to tackle things we'd never otherwise dare. I hope when I finally get around to building this, it will turn out as lovely as yours has, thanks for sharing.

Sarah Crawford (not verified)

Mon, 08/29/2011 - 12:12

This looks really great! This is next on my to-do list to make as a tv stand... it'll be my biggest project yet & I'm nervous, but this looks wonderful & makes me think it'll be worth it :)

First Build Bedside Table

Submitted by pemmo on Mon, 09/16/2013 - 01:15

My first build, a small side table for our newly decorated guest bedroom. Adapted from the Mini Farmhouse Bedside from Ana's website and the side table from her book.

The top and shelf were made from reclaimed oak panels from an old wardrobe.

I now have a second table and a farmhouse bed to make. I constructed without a Kreg jig but am thinking of buying one now to make construction cleaner.

Built from Plan(s)
Estimated Cost
£25
Estimated Time Investment
Day Project (6-9 Hours)
Finish Used
Annie Sloan Old White chalk paint for the frame (with clear wax), water based satin floor varnish for the oak sections.
Recommended Skill Level
Beginner

Comments

Bunnie1978

Mon, 09/16/2013 - 08:16

Trust the 5 million people on this site that have said "it's the best thing ever" and go buy it! You don't have to get the whole set if you can't afford it, there is a $20 one that you just have to clamp right to your wood. Takes longer but still totally awesome.

Good job.

Bar Cabinet

Submitted by BobC on Fri, 11/20/2015 - 20:31

I had this wine refridgerator that my wife gave to me years ago for a birthday and it really needed a home since it's been sitting in the corner of our dining room for several years.  After seeing some of the adaptations of the Printer Cabinet, I decided to try to modify if for my use.  I put pencil to paper and came up with a two sided design that would hold the refridgerator and all of our wine/bar glasses as well as some liquor.  It came out much better than I expected since this was my first real go at making any kind of cabinetry.  Measure twice, cut once really works.  I am eager to start my next project.  Thanks for the inspiration!

Built from Plan(s)
Estimated Cost
$450 (300 was for the piece of Granite I purchased for the top)
Estimated Time Investment
Week Long Project (20 Hours or More)
Finish Used
Minwax - Sedona Red stain, Poly
Recommended Skill Level
Beginner

Cherry Hardwood Fancy Hall Tree

Submitted by Anonymous (not verified) on Tue, 01/08/2019 - 16:23

I built this Fancy Hall Tree with cherry hardwood and cherry plywood. The lower bench is done with rabbet joints and dados instead of pocket hold screws but the upper portion is all pocket hole screwed together but instead of laminating a large piece of plywood tot he back I cut individual panels and dropped them into rabbets like a picture in a frame.  The supporting wings are connected to the base and the back panel with pocket screws as is the panel to the base.

Estimated Time Investment
Week Long Project (20 Hours or More)
Finish Used
I finished with a natural danish oil and then three coats of polyurethane.
Recommended Skill Level
Intermediate

BEST DIY Garage Shelves (Attached to Walls)

Submitted by Anonymous (not verified) on Mon, 10/17/2022 - 13:28

Total cost $87. This project was very easy and did not take much time.

Comments

Shoe crates

Submitted by stcarroll on Fri, 08/26/2011 - 10:08

We desperately needed something next to the door to put shoes in. I didn't quite yet have the courage to attempt the shoe dresser (http://ana-white.com/2011/01/shoe-dresser) and there are lots of scraps in our shop from my husbands projects. I tried these crates out and they were super easy and super fast to throw together during nap time. I primed and painted because I used plywood instead of 1x12.

Built from Plan(s)
Estimated Cost
FREE!!!!!
Estimated Time Investment
An Hour or Two (0-2 Hours)
Finish Used
primed and painted with left over paint we had from misc. projects.
Recommended Skill Level
Starter Project

Comments

clucaswvu04 (not verified)

Fri, 09/09/2011 - 08:54

I loved the vintage crate plans but hadn't thought of a good use. We have a shoe problem in our house too. With 3 kids, they all get mixed up and it drives me crazy! We've tried an over the door shoe organizer; but that hasn't been especially helpful because the 2 youngest would need a stool to reach anything about the bottom 2 rows. I think I just found my weekend project - one for them each in a different color should do the trick. Thanks for sharing

King farmhouse headboard

We have not had a headboard for our king size bed since we bought it 5 years ago. We upgraded from a queen and just never bought one. Since moving into our new home I've been going for a rustic look in the home and I knew this headboard would be perfect. I did lower the height of the headboard to be 4.5' and for the back panels you still only have to get the 6 foot length for a king.

Estimated Cost
$100
Finish Used
Minwax english chestnut and a sealer
Recommended Skill Level
Starter Project

X End Tables

Submitted by Laura Kemp on Mon, 11/23/2015 - 15:26

I made these tables using the rutic x end table plans. The finish I found on shanty2chic.com

Built from Plan(s)
Estimated Time Investment
Weekend Project (10-20 Hours)
Finish Used
I found the finishing technique on shanty2chic.com. I used Rustoleum Kona stain on the whole table. Then on the legs and x beams I applied Vaseline on the edges and where I wanted the paint to chip off. After I applied the Vaseline, I painted the legs and x beams with Valspar Wet Pavement paint (grey-ish color paint). I had to let the paint dry completely, then sanded it down with 80 grit sandpaper to get that "shanty" look :)
Recommended Skill Level
Beginner

Comments

Tv console

Submitted by Anonymous (not verified) on Sat, 01/12/2019 - 23:16

This project was fun. The hardest part was trying to find barn door hardware. I did end up finding one on amazon but it was still too long and had to cut it down. Very doable in a weekend.

Built from Plan(s)
Estimated Time Investment
Weekend Project (10-20 Hours)
Finish Used
Mission oak gloss
Rust-Oleum gray chalk paint
Recommended Skill Level
Intermediate

Shoe Rack & Floating Shelf plus a tablet wall mount

Submitted by Anonymous (not verified) on Sun, 10/23/2022 - 12:11

A shoe rack and floating shelf.
The shoe rack is made from 200mm x 50mm rough sawn pine and 16mm dowel.

The floating shelf was made partly from offcuts left over from the 4 x 4 pedestal dining table.200mm x 50mm rough sawn pine ripped into 3 pieces (75mm, 95mm, 75mm) and put together using glue and batten screws the 75mm pieces were offcuts from the table.

The reasons I made them from 3 pieces are
1/ I had offcuts left from a previous project
2/ The timber I use is only 200mm wide the shelf ended up being 245mm
3/ I am unable to dress timber that wide

The tablet wall mount was made from 2 offcuts glued together side by side and machined out with the router

Reclaimed Wood Night Stand

Love these night stands! I spent $40 on lumber for two night stands and $30 on the hardware! You can see more pics of my finished night stands at www.shanty-2-chic.com

Estimated Cost
$50 - $70
Estimated Time Investment
Day Project (6-9 Hours)
Finish Used
Minwax Dark Walnut Stain and Minwax Polycrylic
Recommended Skill Level
Intermediate

Comments

acgosiger

Mon, 08/29/2011 - 09:56

I am going to be making these for our master bedroom (hubby and I currently do not have matching night stands). NOw that i see them finished i am even more excited! You did a fantastic job on them!

takahler (not verified)

Mon, 08/29/2011 - 20:10

We made two of these same night stands earlier this month. I haven't taken a good enough picture to post on here. I need to do that. Great job!

Guest (not verified)

Wed, 09/28/2011 - 22:17

This is wonderful. I'm looking for something similar to build in the next couple weeks. Could you share the plans for it please?

Toni (not verified)

Mon, 05/28/2012 - 06:25

My hubby made these for my daughter and they turned out awesome.So now I have to have them too. He is working on them now, but we are making them out of some oak we already had. Can't wait. Now I need a matching headboard!! Looking for plans...

Jewelry Case

My sister had all her jewelry on a jewelry tree and couldn't see all of what she has. So I had an excuse to make her something, yay
The front is glass but I don't recommend using glass unless you have the exact size. I broke the glass while cutting it so I had to get help from my neighbor the the art frame maker. I added felt to the bottom for random little things and screwed a dowel in for rings. We're gonna attach it to the wall someday when were up to it but for now it sits on her bedside table.

Built from Plan(s)
Estimated Cost
Free, I had the scraps. Oh I did buy the knob it's was like $4 bucks or so.
Estimated Time Investment
An Hour or Two (0-2 Hours)
Finish Used
dark walnut and spray on poly in semi gloss. It's what I had but if I could go back I woulda've used special walnut with satin poly. :) and sanded some more :P
Recommended Skill Level
Starter Project

Tryde Coffee Table

Submitted by ZZcomic on Wed, 11/25/2015 - 19:19

Followed the directions fairly closely except for a few things. cut down on the 2x2 supports for the 2x4. It kinda just seemed like overkill. Also, we added a block under the top and bottom of the 2x4 so I wouldn't have to screw in from the top. I wanted it to look more professional than that. The last thing I did differently was I used step dowels and a lot of wood glue to keep the 2x6s on. Overall I'm pretty happy with the result. I think it looks very good. Thanks for the plans!

Built from Plan(s)
Estimated Cost
40$
(Entirely lumber, I had the tools, stain and screws already)
Estimated Time Investment
Afternoon Project (3-6 Hours)
Finish Used
Winmax Red Mahogany
Recommended Skill Level
Beginner

Walnut Dresser

Submitted by Anonymous (not verified) on Tue, 01/15/2019 - 14:00

I made a headboard for my sister a few years back out of Black Walnut and she's been after me ever since to build a dresser that matches it. She found the Kendal Extra Wide Dresser plans and sent them to me. I made a few modifications with thicker legs, larger upper drawers, and height. Thanks for putting these simple plans out there.

Shawn

 
Built from Plan(s)
Estimated Cost
Materials: ~$400
Retail: ~$600
Estimated Time Investment
Week Long Project (20 Hours or More)
Finish Used
General Finishes:
Seal-A-Cell
Antique Walnut Gel Stain
Arm-R-Seal
Recommended Skill Level
Advanced

Reclaimed Wood Look Bedside Table - Modified

Submitted by lishamarie on Thu, 09/01/2011 - 18:42

I built the reclaimed wood headboard for our master bedroom, and then found some awesome reclaimed-look stools at Pottery Barn on sale. About a month after that, Ana came out with her reclaimed wood bedside table plans. I was slightly bummed that I already had these cool stools, but then I realized that I had a whole guest room that I could build for! My guest room has a beach theme so I painted my tables white. The room is also kind of small, so I decided that I would put in one drawer and put in a shelf on the bottom. That way it wouldn't look so huge in the room. I love it! And I found these cool bronze starfish knobs at Lowe's. I got a little overzealous at times and I have pocket hole screws in places that are visible, but not that visible. It could be better. All in all, I'm very happy with the way it turned out.

Estimated Cost
$60 (for two)
Estimated Time Investment
Day Project (6-9 Hours)
Finish Used
Valspar Flat White Spray Paint and Valspar Clear Flat topcoat. I sanded all the edges with 150 grit sandpaper before applying the topcoat. After the topcoat dried, I lightly sanded it again with 220 grit sandpaper to smooth out all the bumps.
Recommended Skill Level
Beginner

Comments

leejae76

Sat, 10/15/2011 - 18:14

Curious about how the bottom shelf is supported - how did you attach it to the solid side panels? Looks great! :)

Full Size Playhouse Loft Bed with Storage Stairs

Submitted by crwarren11 on Thu, 12/03/2015 - 11:35

This was my first real woodworking project and I feel like I learned a lot that I could pass on to others taking on this project. First post here!

It was a lot more time consuming than I thought. It is hard to estimate how many hours I put into it, but I'd say at least 20-30 hours of actual work is required. As a first-timer there was probably a lot of wasted time, and trying to squeeze in time for this around work, family, and other priorities probably added time. Other than a couple of days where I put in a solid 4-6 hours of work, the other days were an hour here or there that I could squeeze in. I decided to sand, prime, and paint everything before assembly. I think this was best for me, but I can see why others have recommended painting the entire bed white and then cutting in the color. After assembly there was definitely some touch-up required.

It also cost me a lot more than what others had posted. I spent around $900 for the project, including everything that was required...wood, new saw blades, new jigsaw blades, sandpaper - lots of it, screws - about 600 total, kreg jig, primer, paint, hinges, hinge supports, extra wood for a few mistakes along the way. I'm in Southern California and bought everything at a major home improvement store, so I probably didn't get the best prices on everything, but it is convenient to our house.

I started with taking the plans for the playhouse loft bed and playhouse loft bed with storage stairs - thank you so much for these! I built everything in CAD and converted it to a full size bed. This was very helpful for me as an engineer to see how everything was going to fit together. Even then I made some mistakes along the way! One of the best things this gave me was a consolidated cut list that showed me how many common size/lengths there were...like the 66 1x2x11.5's needed for the rails and the 13 1x3x68.5's (I attached this pdf here http://ana-white.com/sites/default/files/bill%20of%20materials3.pdf). This way I could set up a block on my saw and just knock out the cuts all at once and have them all be the same length. Building it in CAD also saved me on a few things, such as using a 1x4x120 instead of the 1x3x120 called for in the plans, which was not available at the store. This affected the dimensions of the stair walls and a couple of other things.

Things I learned along the way:

- pocket holes are cool and very useful; the kreg jig was well worth the $100

- wood isn't straight or square (I know, obvious for you pros out there!): the bends and curves over an 8 foot length of pine can be quite dramatic

- my garage floor isn't flat: assembly of the first rail taught me this!

- the rails are by far the most time consuming part of this project, between drilling pocket holes, assembly, filling pocket holes, sanding, priming and painting all the nooks and crannies, I probably spent 90% of my time on the rails...but my 5 year old really enjoyed drilling many of the holes and filling them with the kreg hole plugs and glue

- 4ft x 8ft MDF is incredibly heavy so you will need help to transport and it actually measures 49" x 97", so I didn't realize that I needed to cut 1" off of the height for it to match the 48" I had planned for...that would have been much easier to have the store cut for me! No table saw in my tool set...

- even with the help of CAD, I got confused during assembly on some of the directions, such as which wall would be facing outside or inside. This really only affected how I was trying to hide assembly features and screws, but something to look out for when you assemble. I replaced a couple of trim pieces that weren't as perfect as I wanted

- I used a lot more pocket holes during assembly than I expected, which was another reason that I say the kreg jig was well worth it

Differences in my plan:

- the stair widths are adjusted down to 22 3/8 from 22 1/2...you don't want the stairs grinding against them walls when you open and close them. You should check your actual width of your stair area before assembly because things might be different for you and squareness also affects this.

- I have four total stairs to account for the full size bed width, so heights and depths of each have been adjusted

- the lowest stair needs to be slightly shorter to account for the arc when raising/lowering it. As dimensioned, it will interfere with the front legs, so I used 10 1/4 depth instead of 10 1/2.

- I felt like the bed needed more support underneath so I added two more 2x2's with pocket holes on both ends

- I added hinge supports to the storage stairs to prevent squished fingers

Still thinking about added a window or door or some kind of access to the tallest stair compartment from inside the playhouse area...it is really tall so anything going to the floor in there might be hard to get out. The outer stair wall still seems kind of loose so I'm not sure if I need to add more pocket holes where it attaches to the back leg/wall or what. Not sure if I can add CAD models here, but I can supply them if anyone is interested.

Estimated Cost
$800-$900 including tools and supplies
Estimated Time Investment
Week Long Project (20 Hours or More)
Finish Used
Sanded, primed, and painted (two coats). I used kreg wood plugs to fill the pocket holes and 80 grit sandpaper to sand them down to flush with the rails.
Recommended Skill Level
Beginner

Comments

Jamie Zirkle@

Sat, 02/15/2020 - 08:53

Question,  what is CAD? lol 🤔 Also, do you have more pictures of your full size playhouse loft bed with side stairs? How tall is this when over all done? You did an amazing job!! Thanks