Community Brag Posts

High School Student Projects

Submitted by Anonymous (not verified) on Thu, 02/15/2024 - 10:47

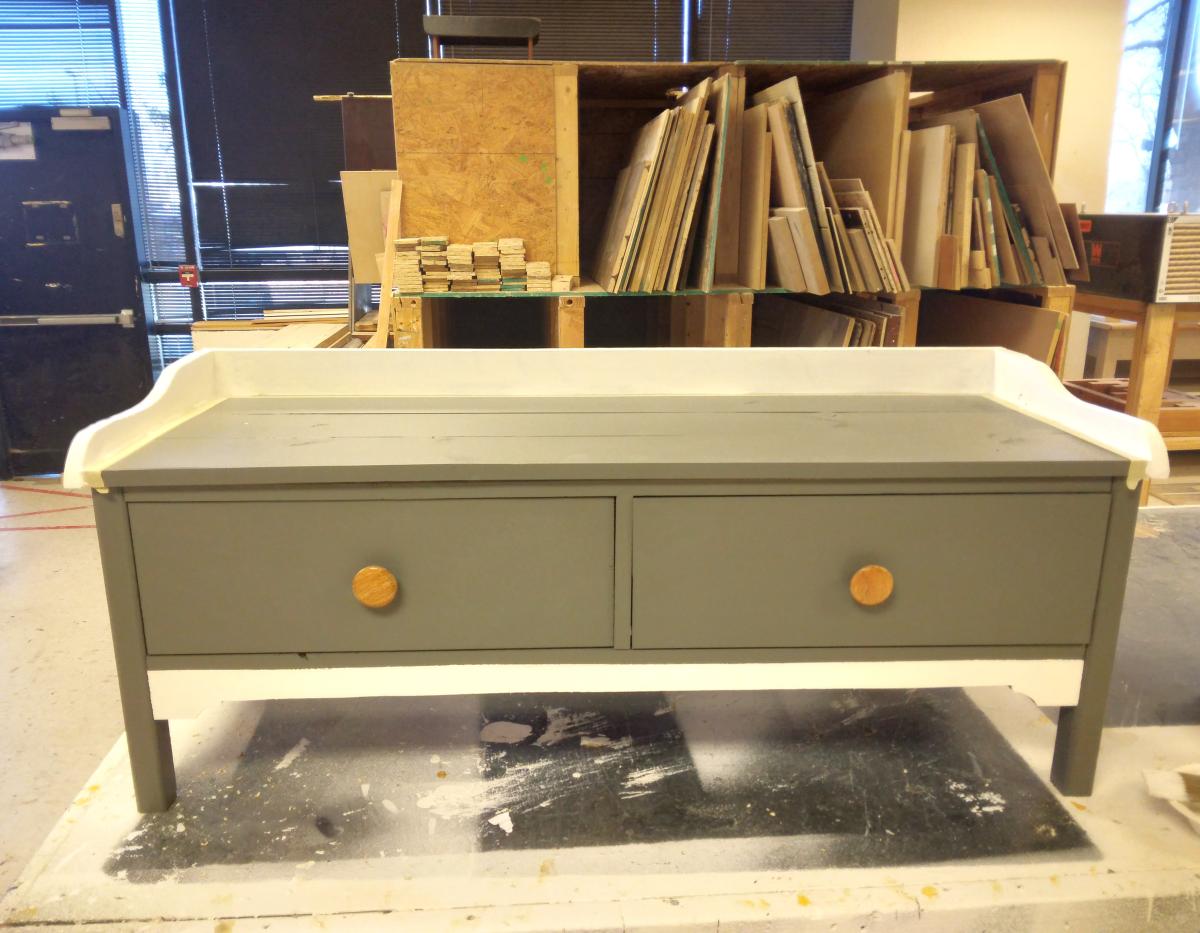
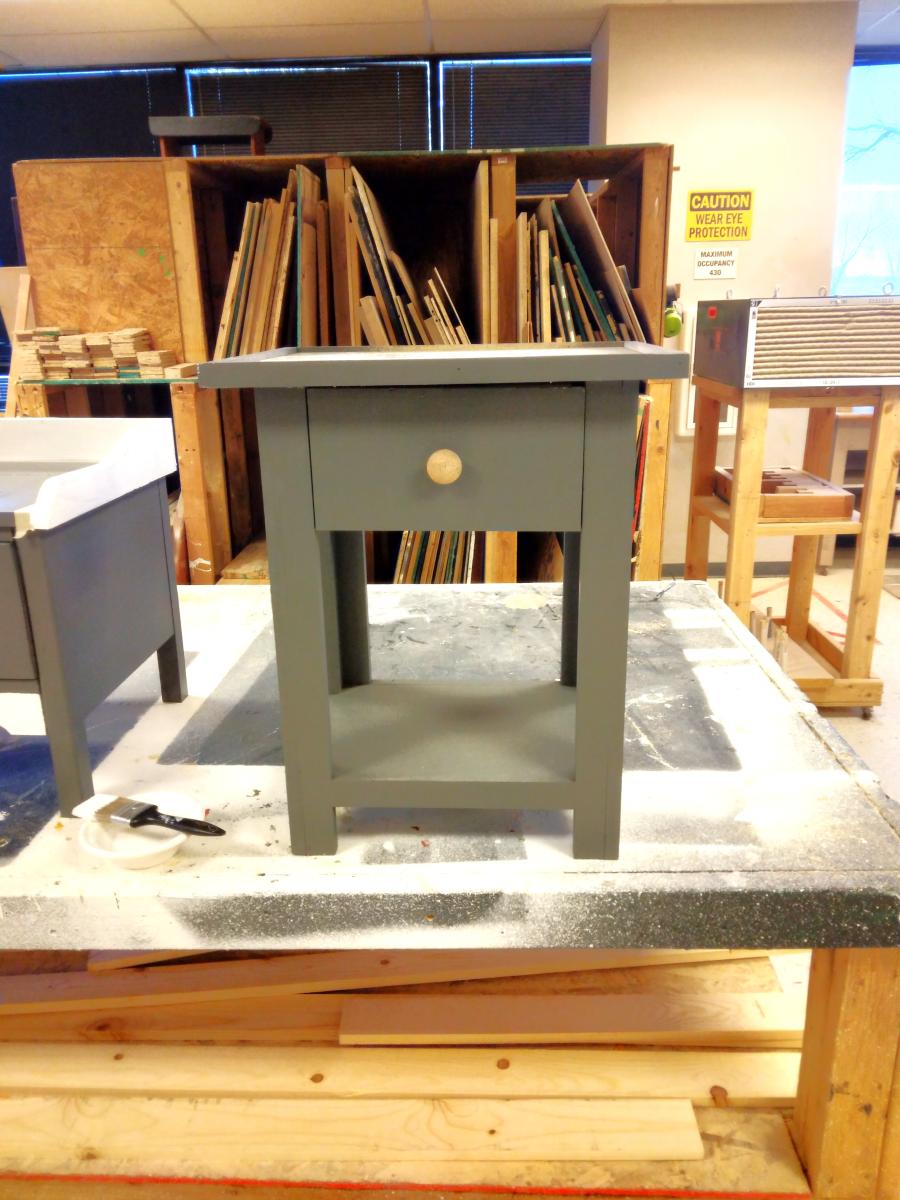
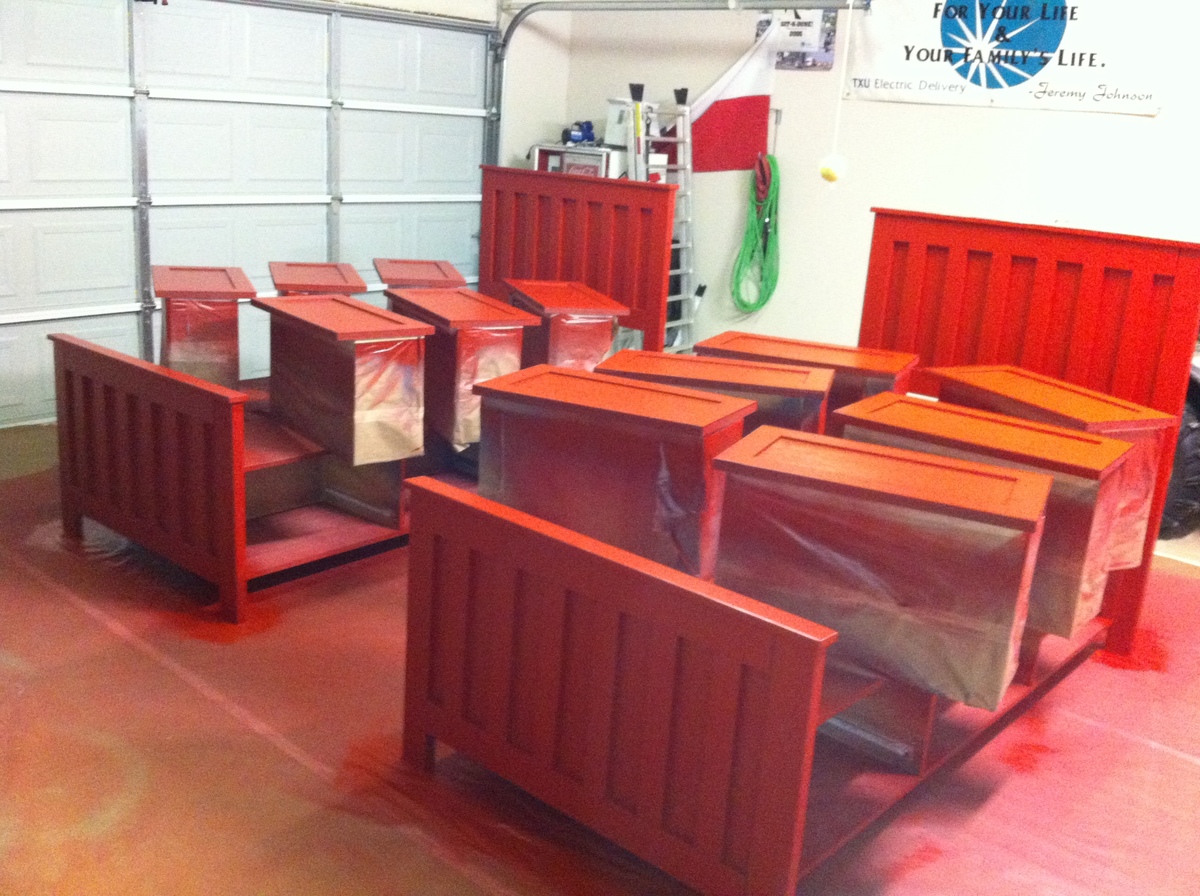
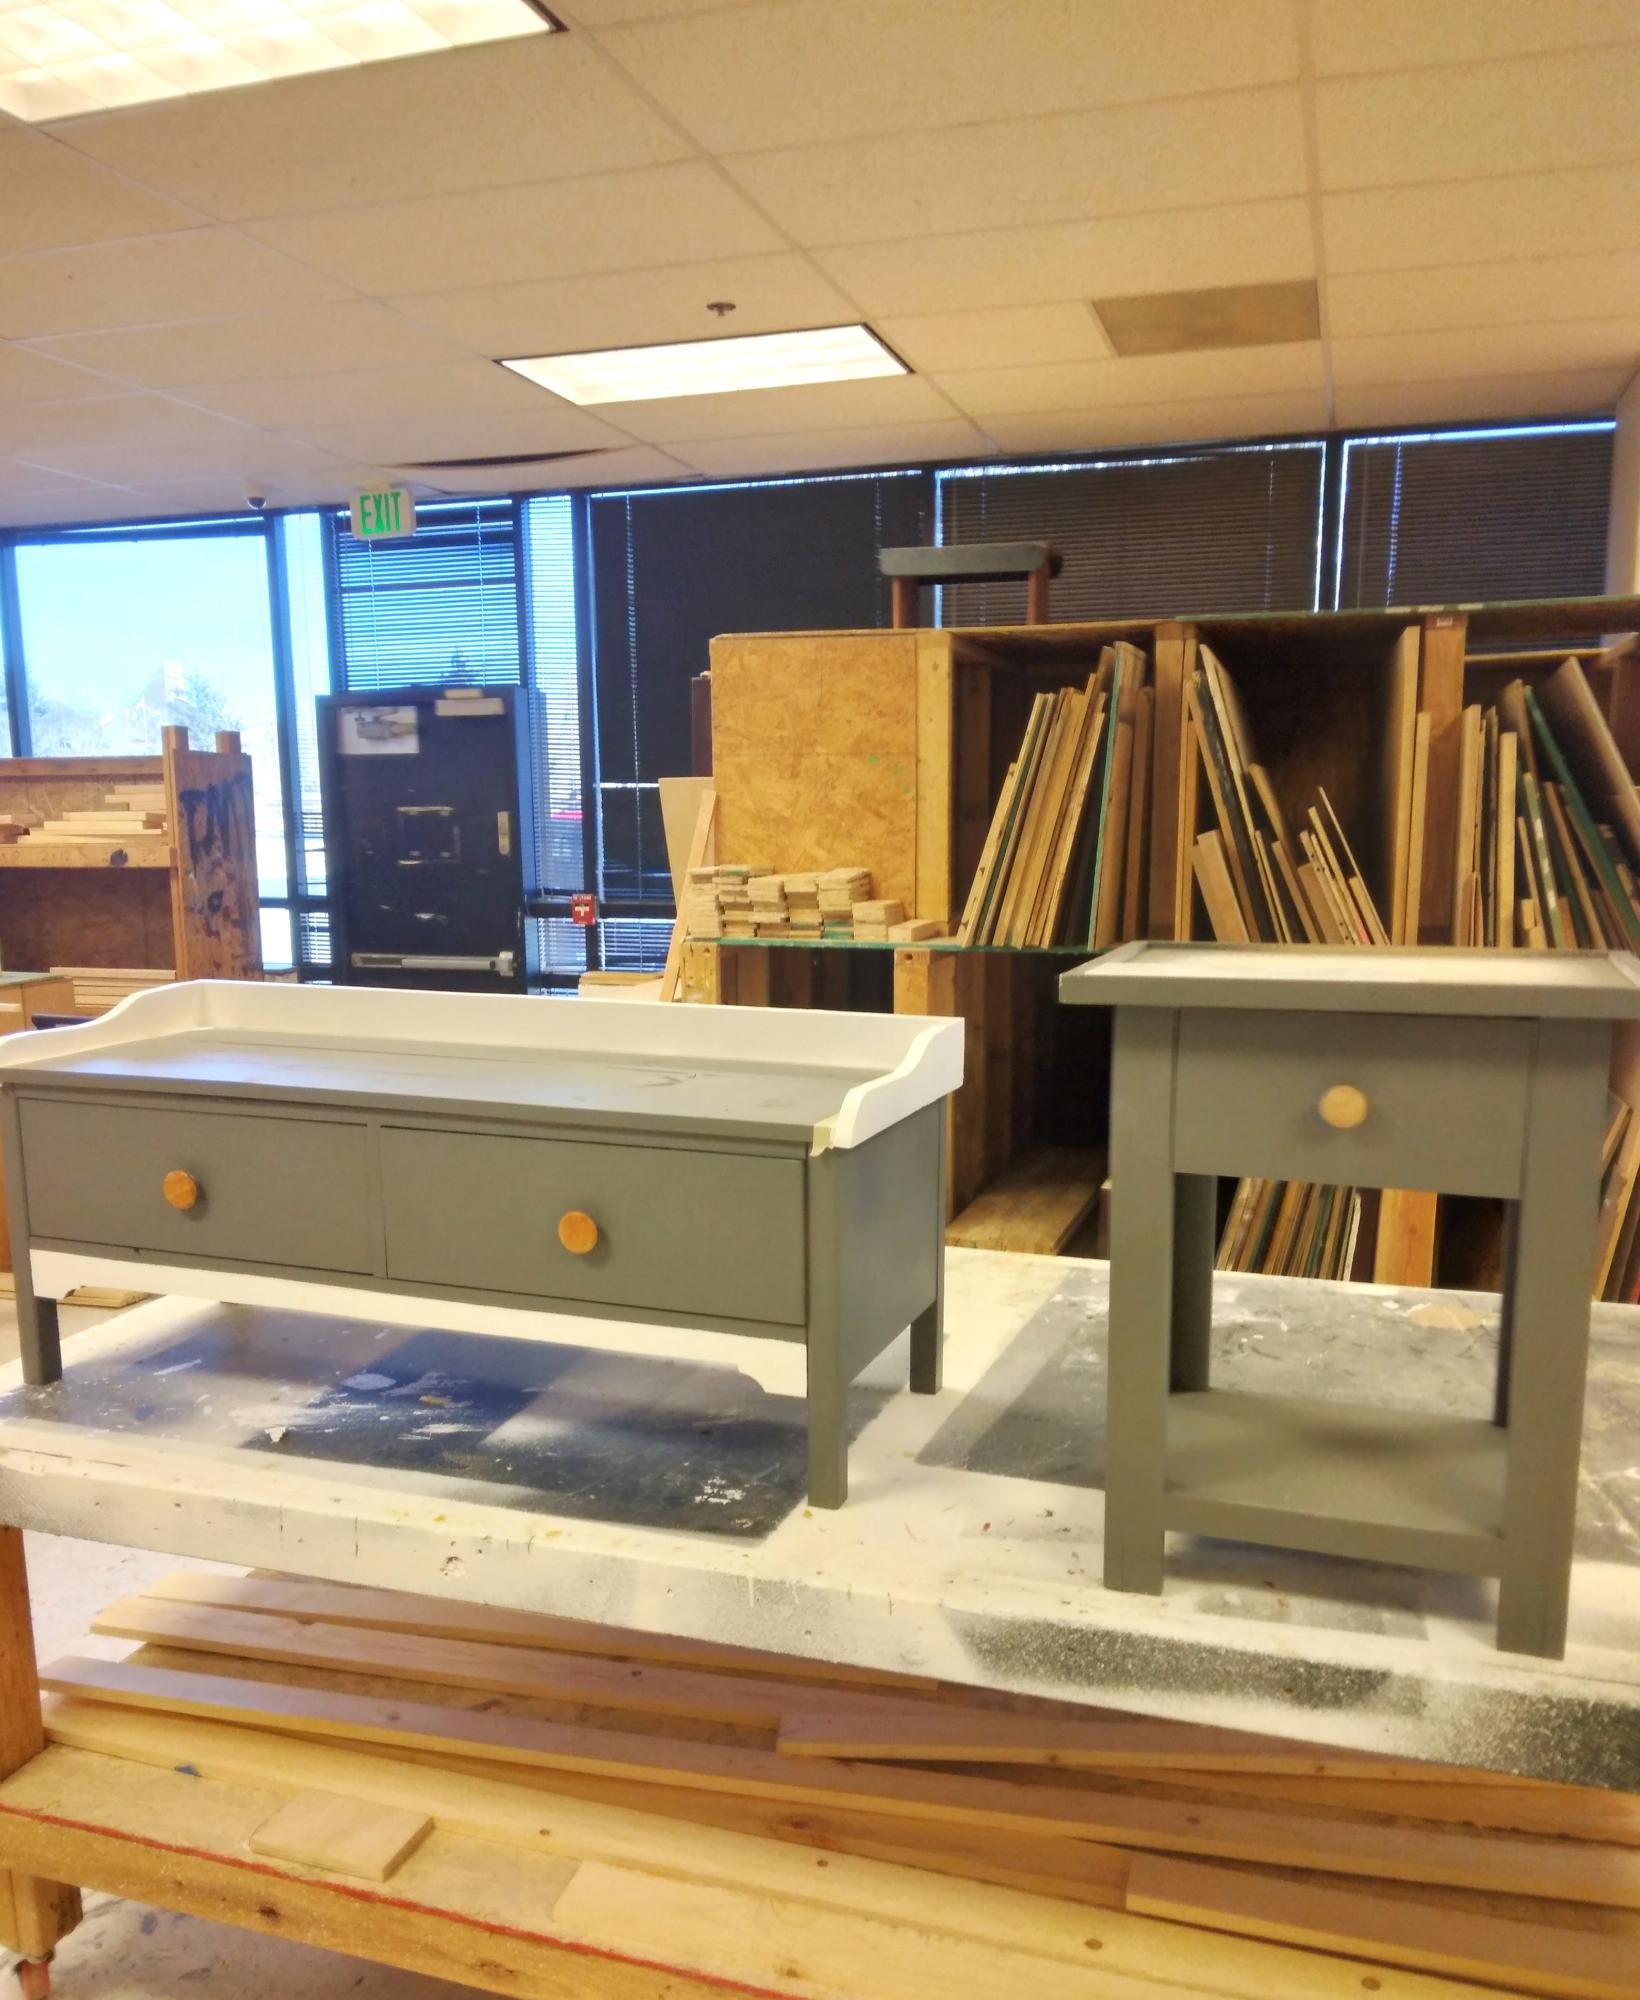
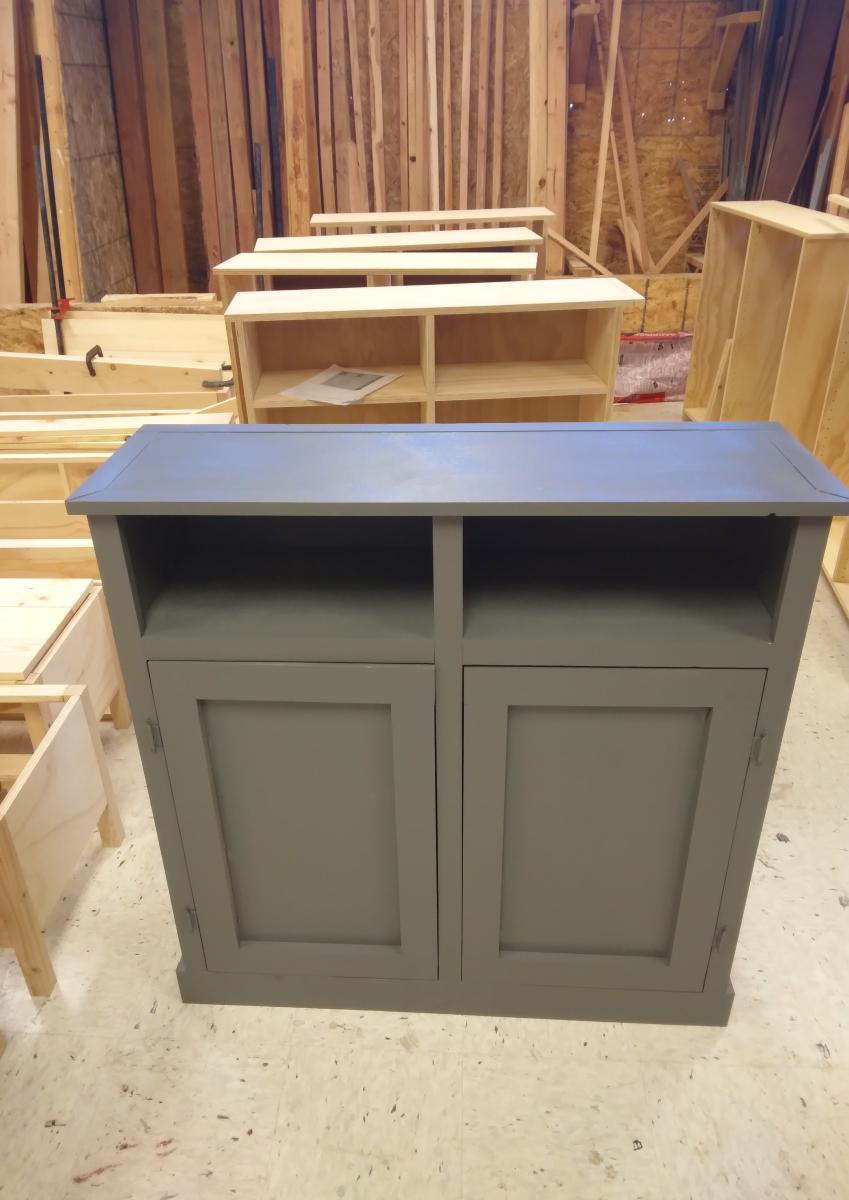
We are a title one school located in Colorado springs C.O.. We have been using your plans for the past six years and find them accurate and affordable to build . The pictures are Jrs and Srs projects . Woodshop would not be a woodshop with out your generous helping plans . THANK YOU.

Atlas preparatory High School H.S. woodshop

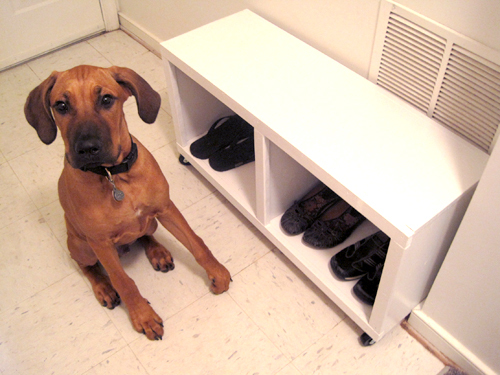
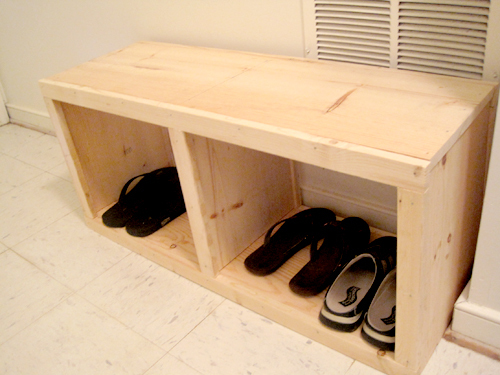
West Elm Knockoff Rolling Cubby

This was my very first build! I didn't even have a saw, so I had the lumber guys at Lowes cut my boards for me. Also, I altered the dimensions to fit my space.

Check out my blog link for more info!

Built from Plan(s)
Estimated Cost
$64.00
Estimated Time Investment
Day Project (6-9 Hours)
Finish Used
Primed and painted with white glossy paint.
Recommended Skill Level
Starter Project

Kendra Storage Console (aka Bookshelf Toybox)

Submitted by bdel on Wed, 05/14/2014 - 11:34

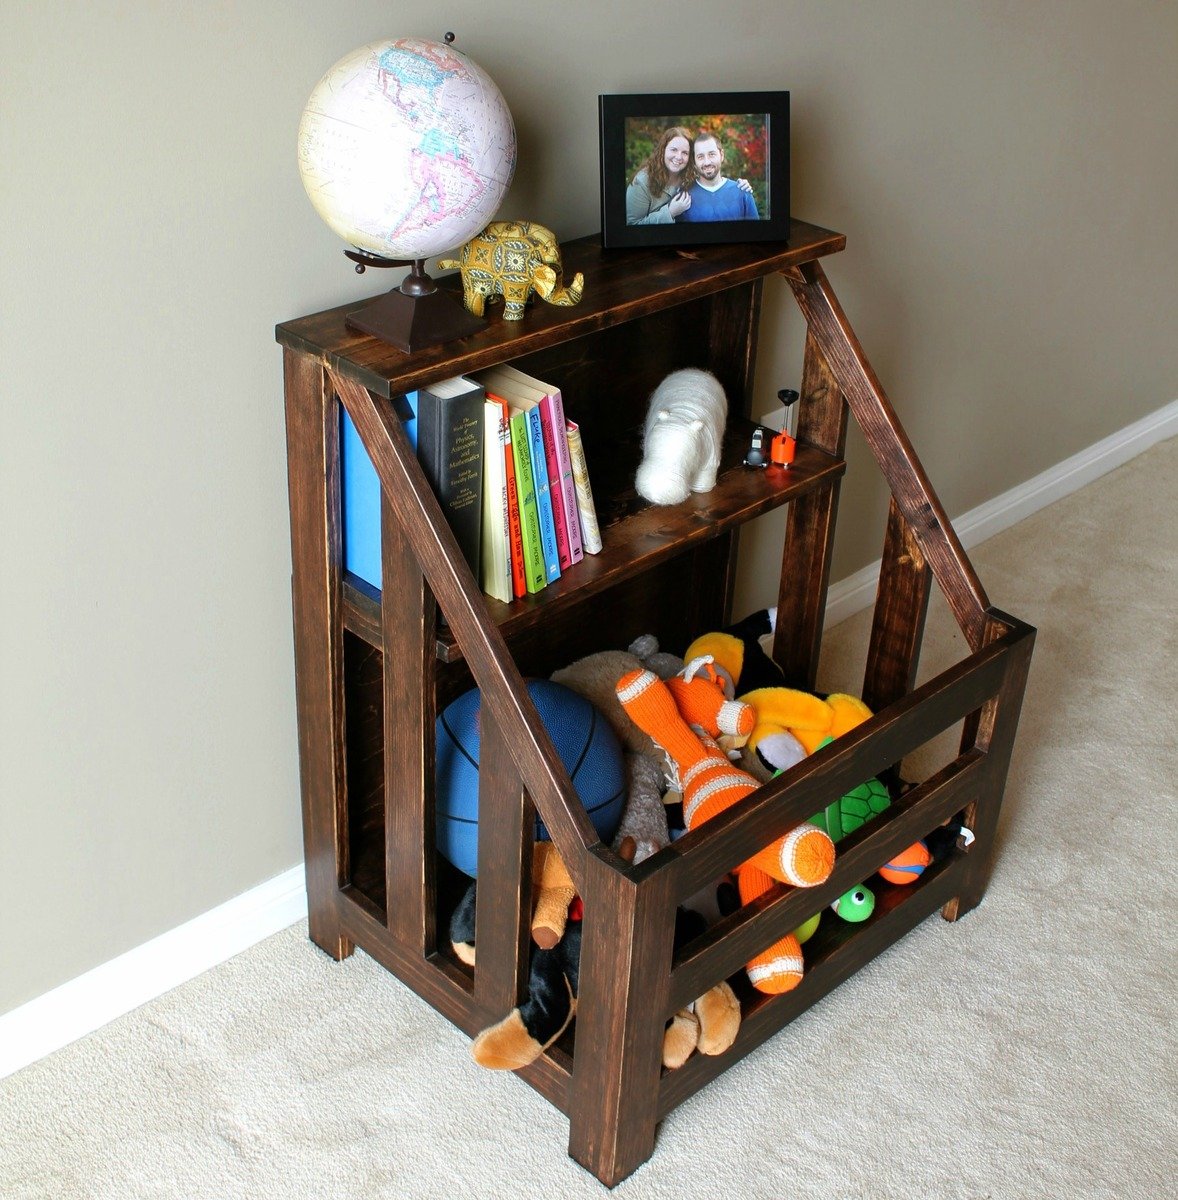
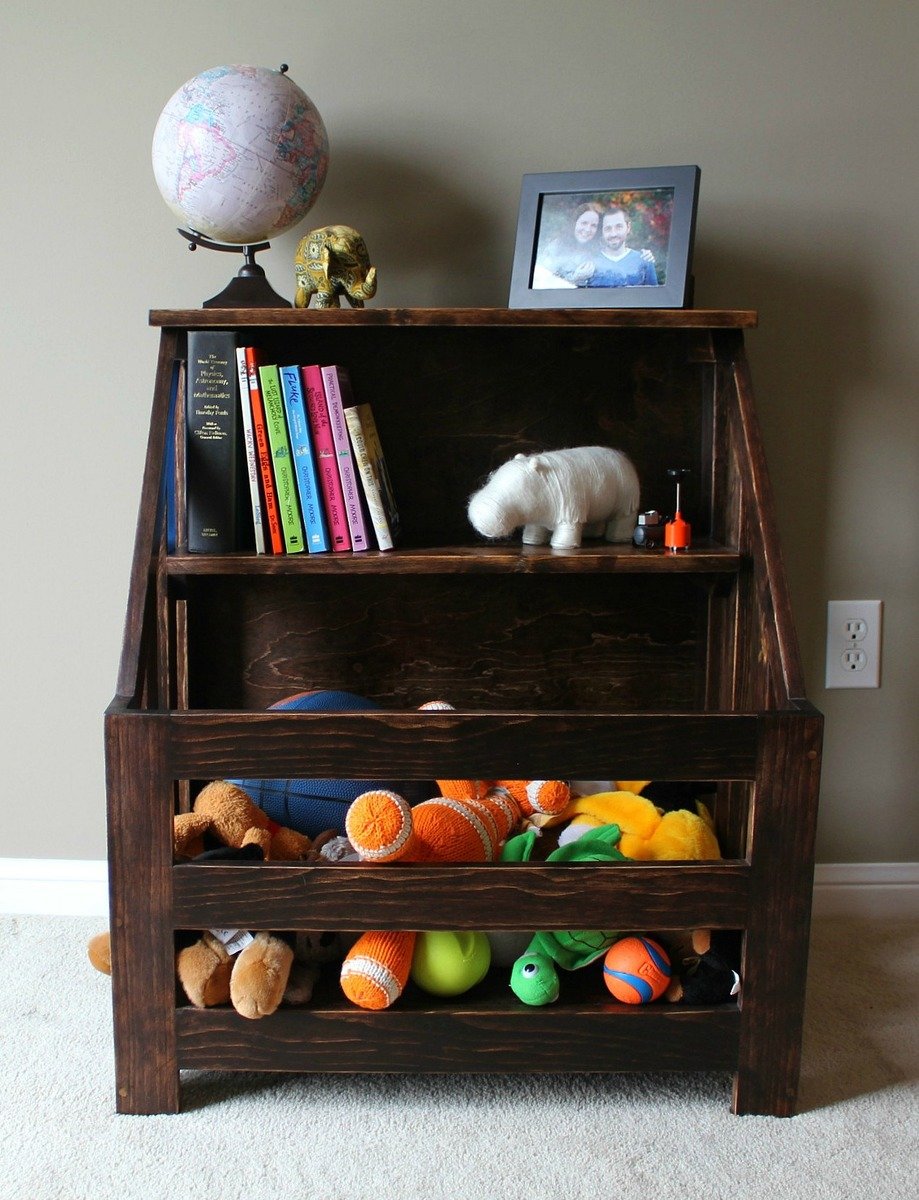
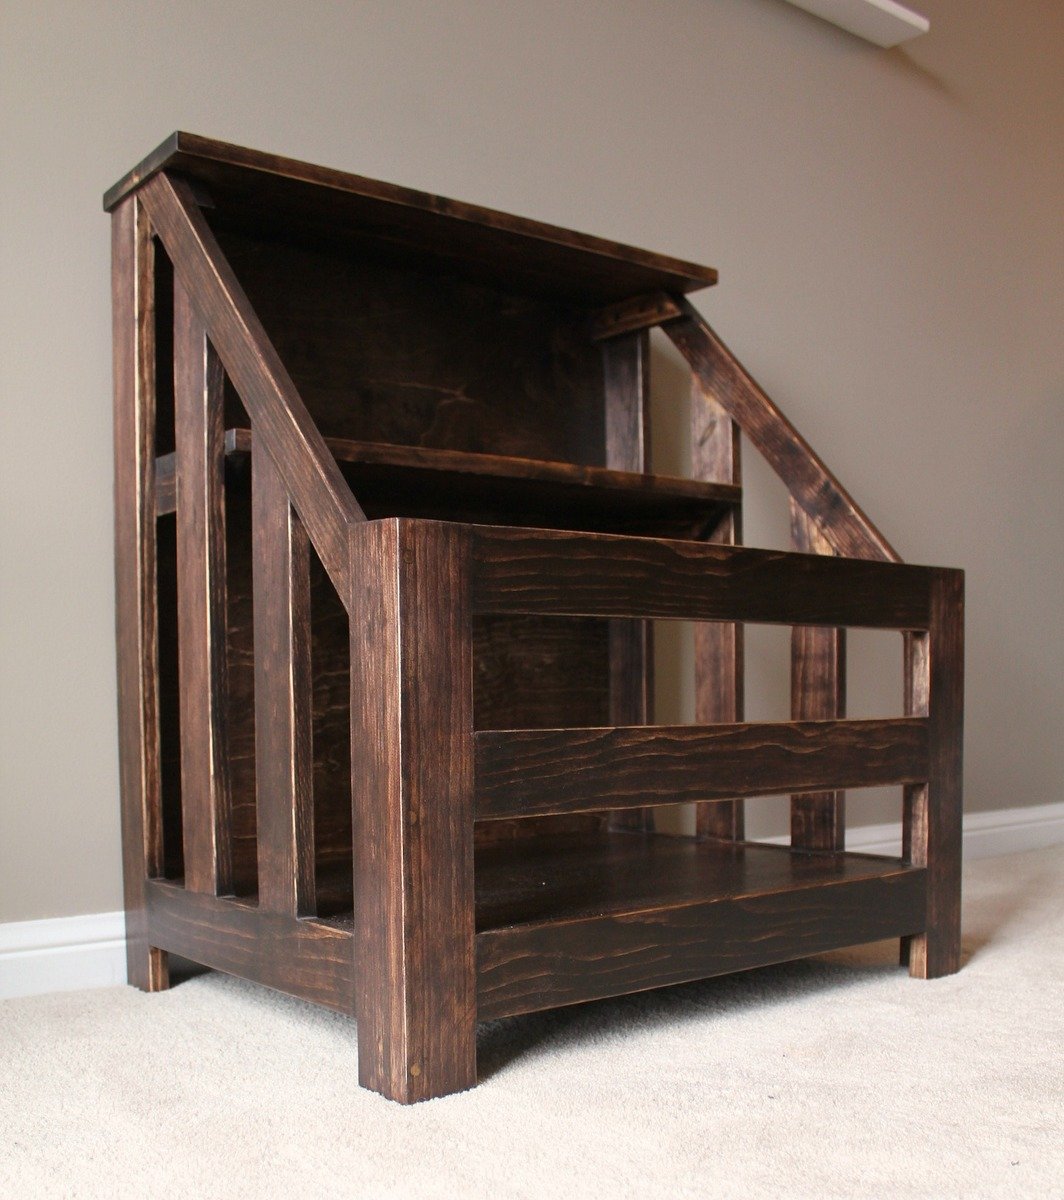
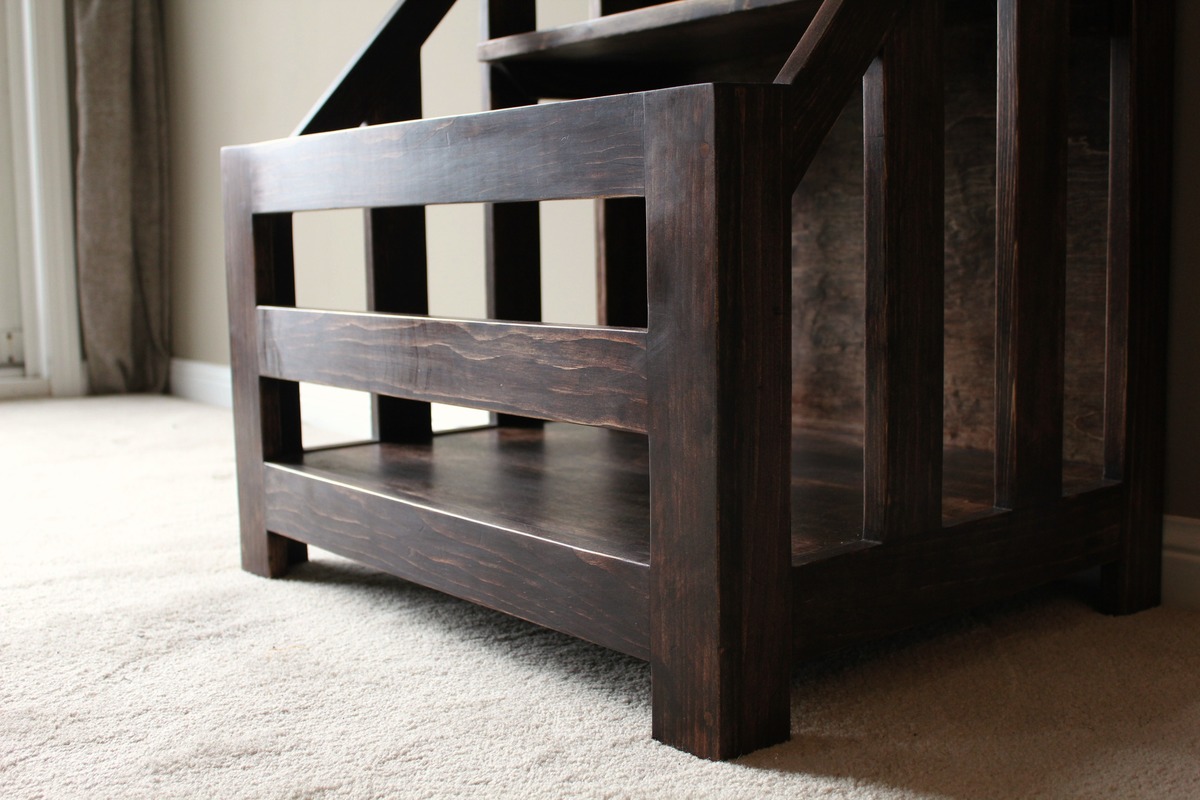
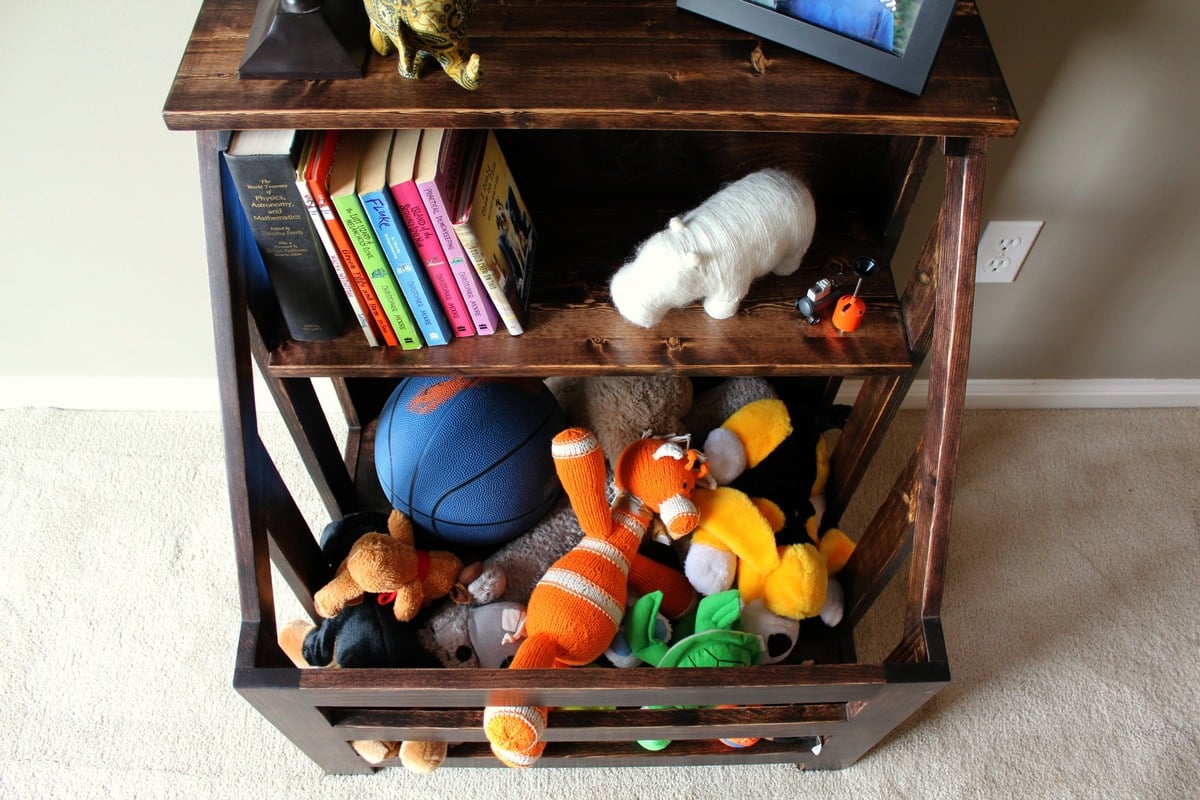
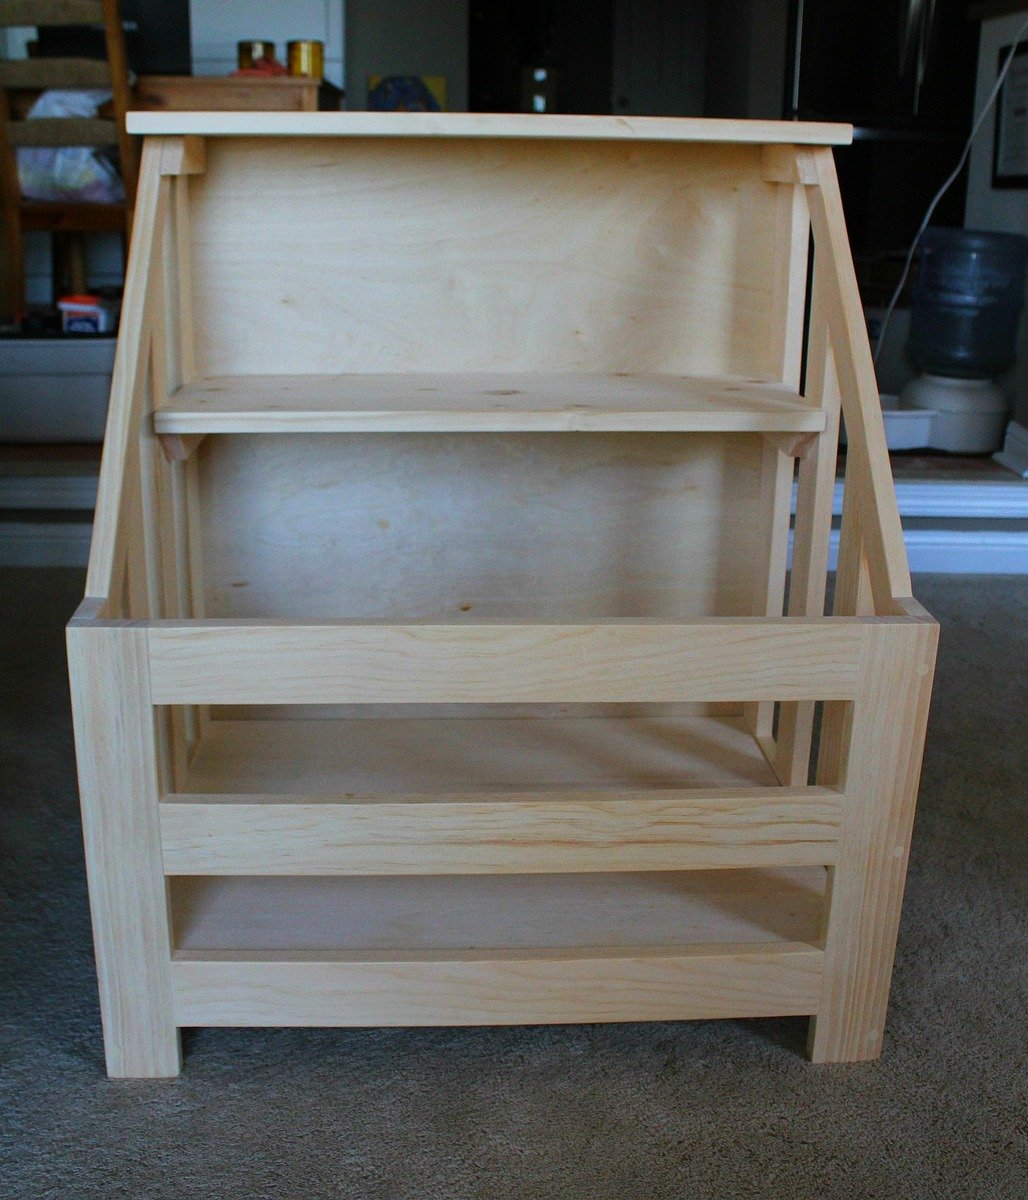
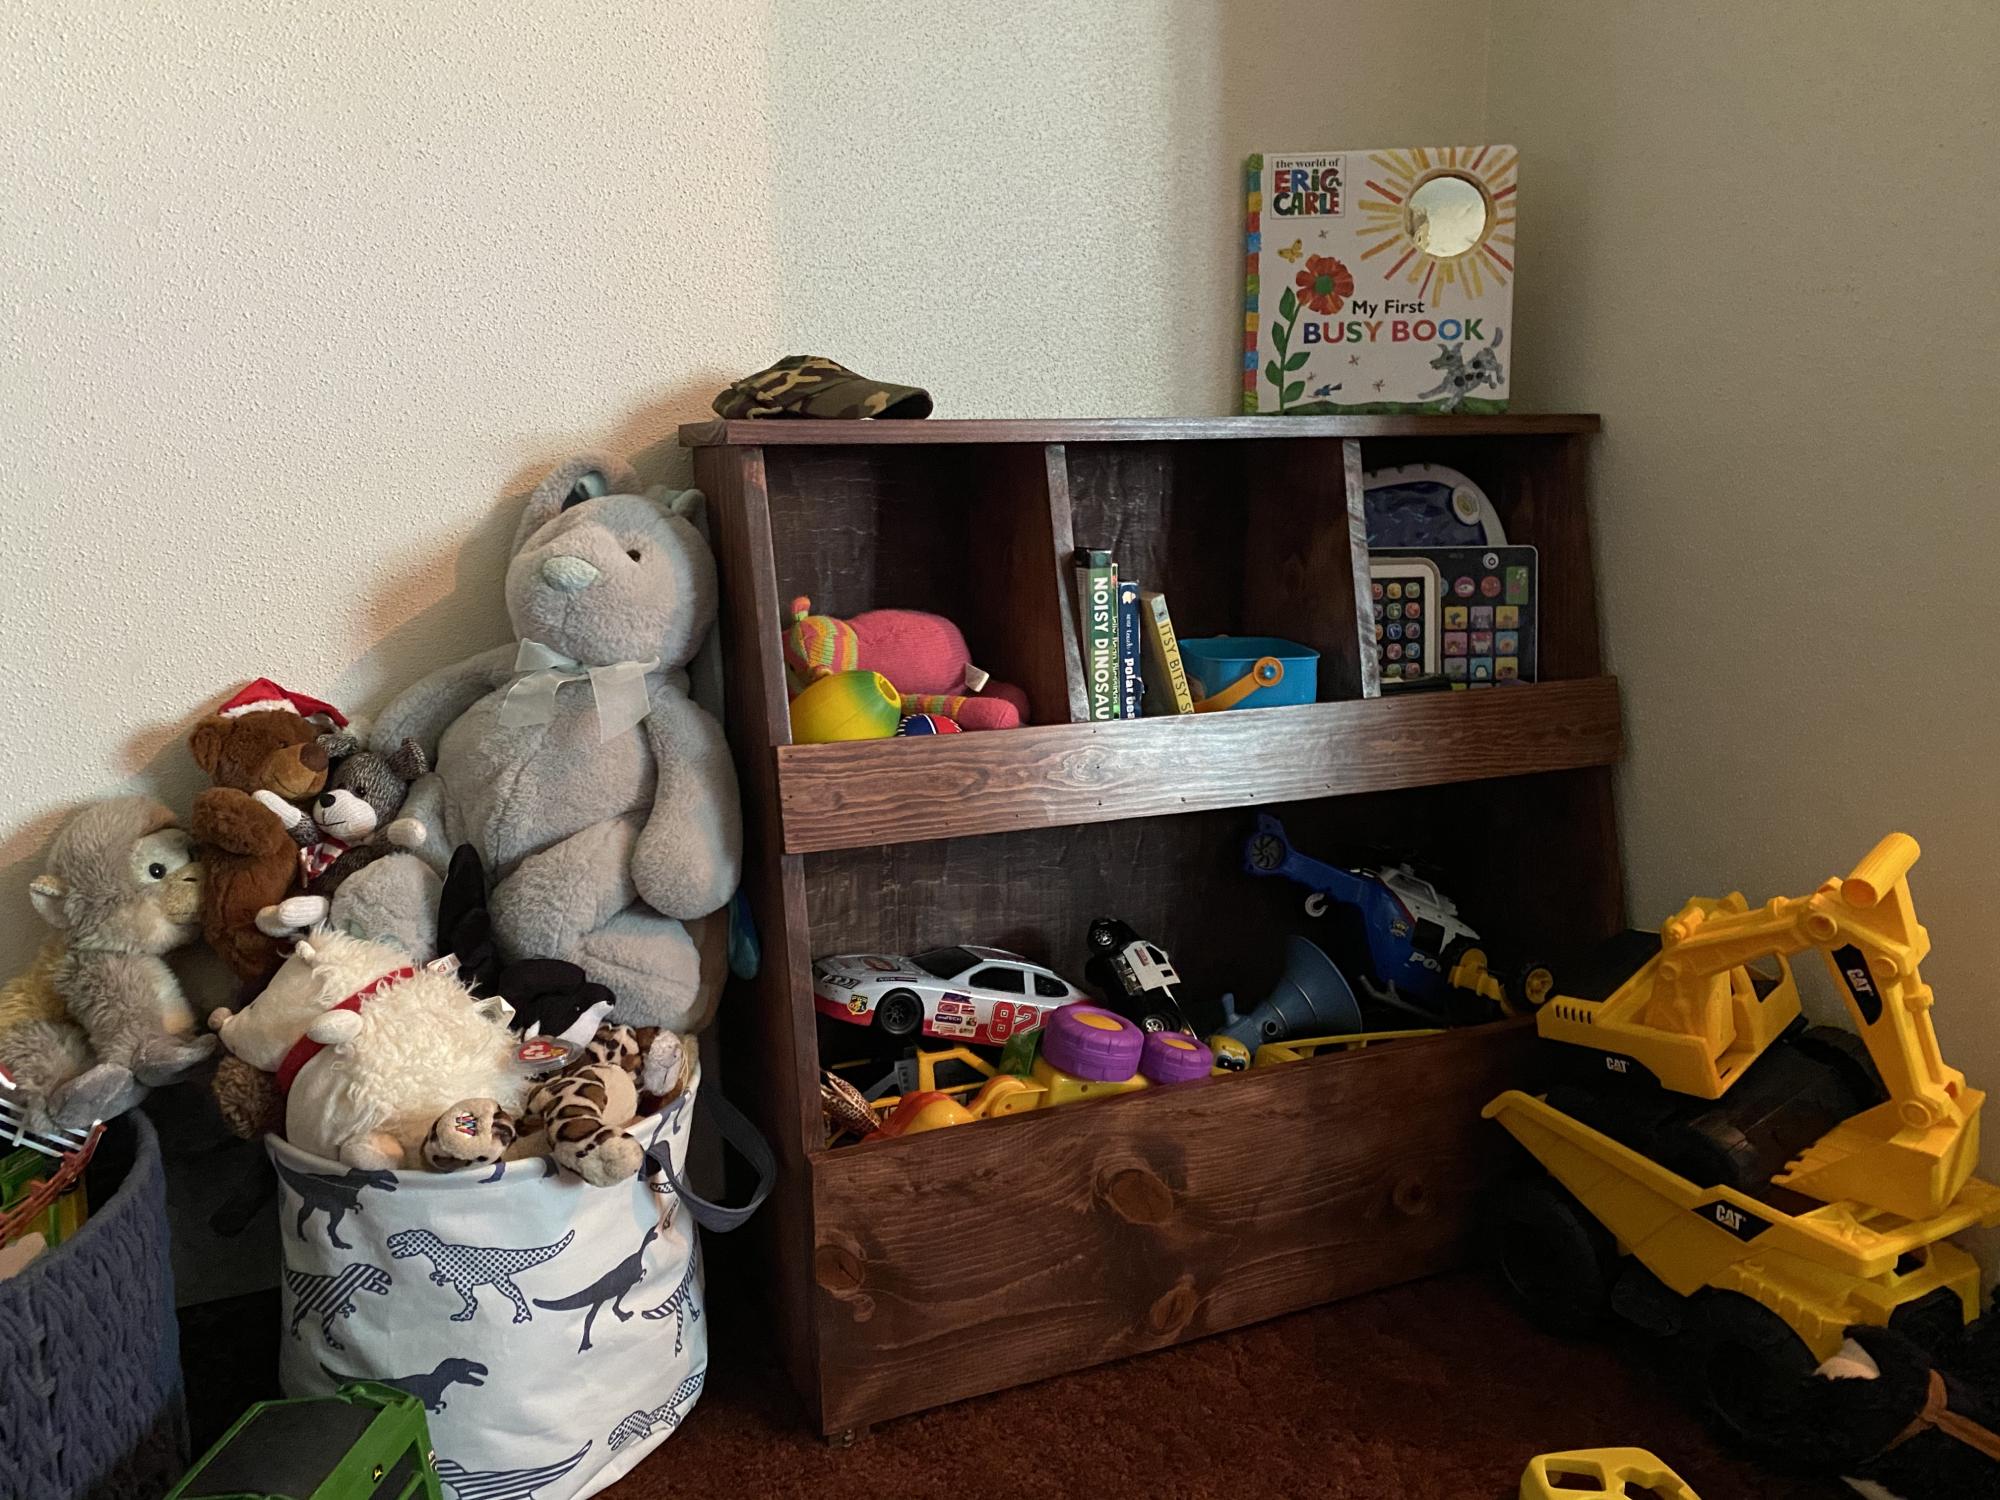
We built this bookshelf/toybox for our cousin's daughter - as a 1st birthday present. Overall, the project only took a weekend (including staining and waxing), and the cuts and assembly are pretty straight forward.

We wanted it to be larger than the one in the plans, so it took some time to figure out the dimensions before we started cutting. There was a bit of, "What do you think of this height?" and, "Is this too wide?"

My husband and I have built quite a few projects together so this one was fairly low on the difficulty scale. As long as you are comfortable with a mitre saw, you can do it. The kreg jig made it easier to drill pocket holes, but even with only different-sized drill bits and a steady hand you can make them.

This is one of my favourite builds - maybe because it was a gift for the sweetest little girl. Plus others have shown interest in it, so I might just have to start a side business!

More details on what we did can be found at:
http://turtlesandtails.blogspot.ca/2014/05/child-sized-bookshelf-toybox…
Built from Plan(s)
Estimated Cost
$100 (CDN)
Estimated Time Investment
Weekend Project (10-20 Hours)
Finish Used
Minwax Dark Walnut Stain,
Minwax Red Mahogany Stain,
Minwax Furniture Wax,
Steel wool after waxing and buffing gives an even smoother finish
Recommended Skill Level
Beginner

Comments

Jon Barnes

Wed, 09/10/2014 - 08:13

I was thinking the same thing when I saw the original design.  I like it but the dementions are quite a bit smaller than I want to make for the toy box gift that I want.  I am doing the same thing.  It will be a 1st birthday present for a little girl  I am thinking of making it 36 wide and at least 36 high and 24 deep.  What would the dementions be and how much would that change the side angle cuts? 

Small Table Plant Stand

Submitted by Anonymous (not verified) on Fri, 02/23/2024 - 10:19

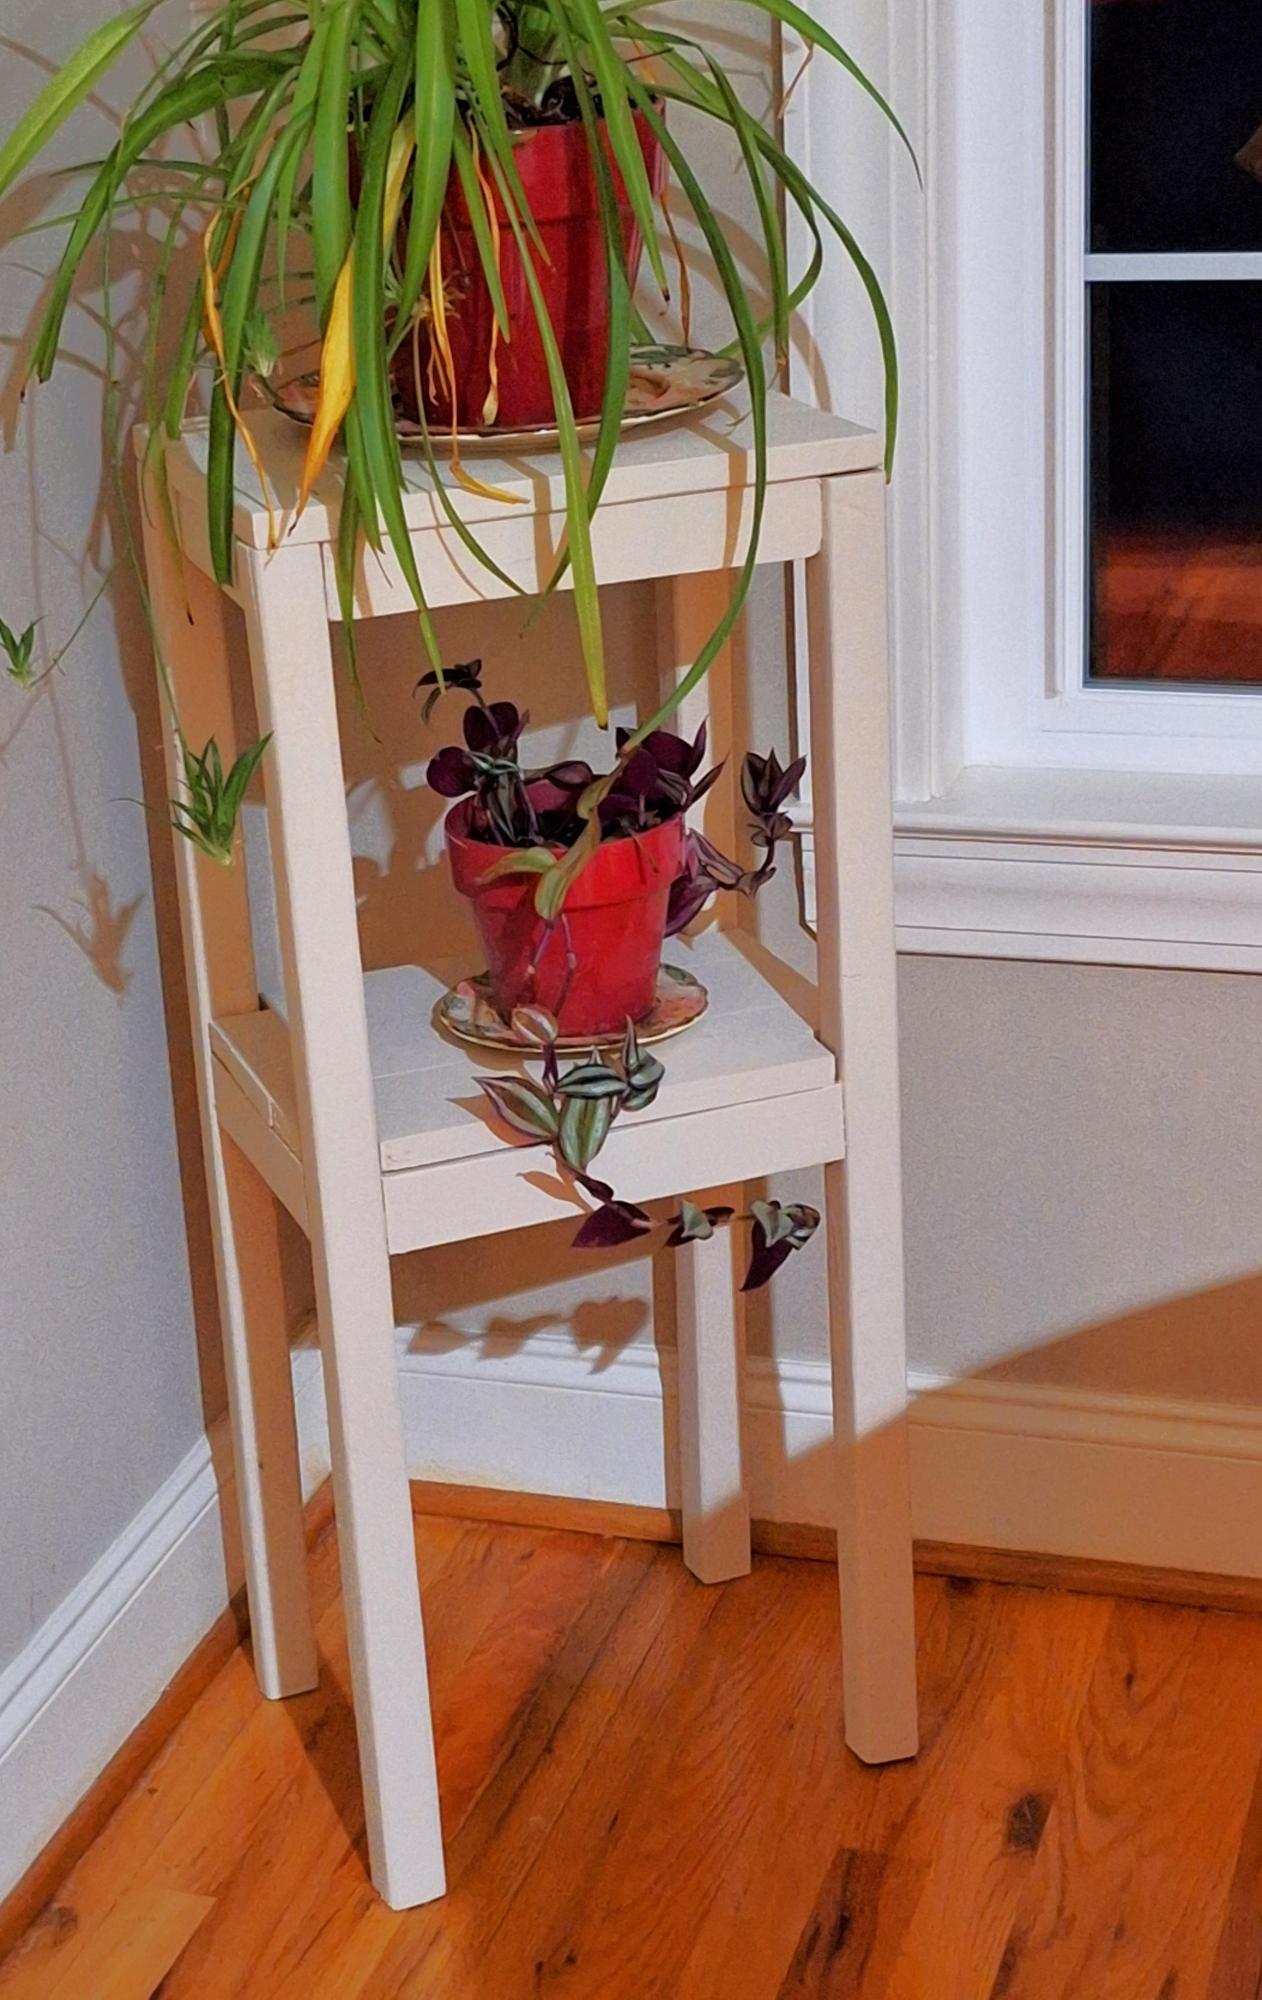
This is a revised kids table plan. I needed a plant stand. It is 36 inches tall and the top is made from 1 × 4's. The top is about 11 x 14. What did I learn from this?. The top is so small it was hard getting the kreg dill bit in to screw in the Kreg screws. I should have thought of that. Also learned that you dont get a tight fit if you have to take out the screws. 2nd time they dont grab and hold as tight. Overall I'm happy the way it turned out. But lots of room to improve.

Barb Runquist

Combined the Kentwood and Farmhouse Beds!!!

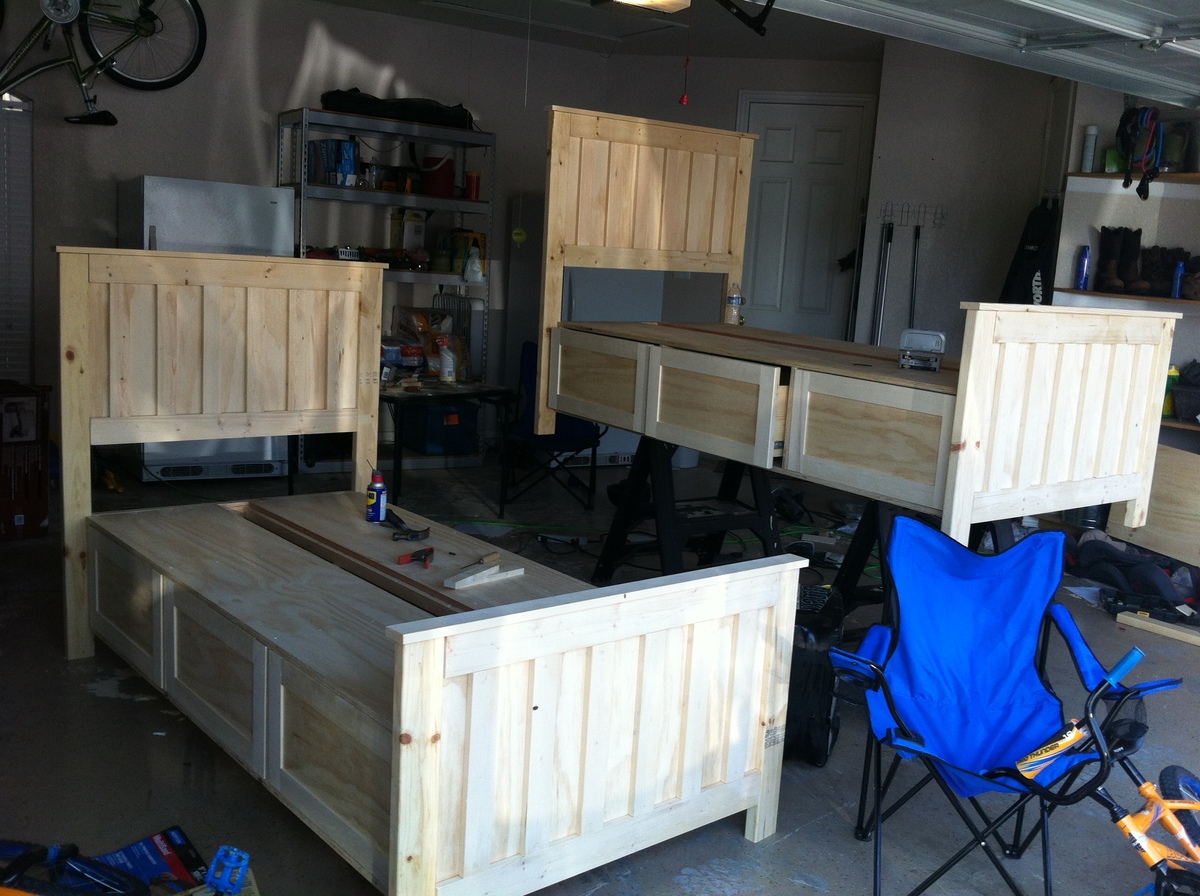
We loved the storage of the Farmhouse bed, but loved the headboard and foot board of the Kentwood. We also wanted a twin size bed. Instead of trying to figure out the measurements to make the farmhouse to a twin size (which is shorter in length), we made it at the full size length and just bought XL twin size mattresses, which were not hard to find and now we can keep the beds even after our boys become teenagers :-)

We basically built the headboards and foot boards from the kentwood exactly as Ana's plans state. Then we built the Farmhouse storage drawers. We love them!!! Thank you so much Ana for MORE great bed plans (this is our second set of bed plans we have made!

Estimated Cost
$350 per bed
Estimated Time Investment
Week Long Project (20 Hours or More)
Finish Used
Primed and painted
Recommended Skill Level
Advanced

Comments

sgilly

Tue, 07/24/2012 - 20:48

These look great. I'm sure your kids are thrilled with their beds, and how amazing that you made these for them. They'll probably take them with them when they move out - years from now!

Thanks for the plans, this is exactly what I was looking for.. So I made two.

Submitted by dshudson on Mon, 05/19/2014 - 03:38

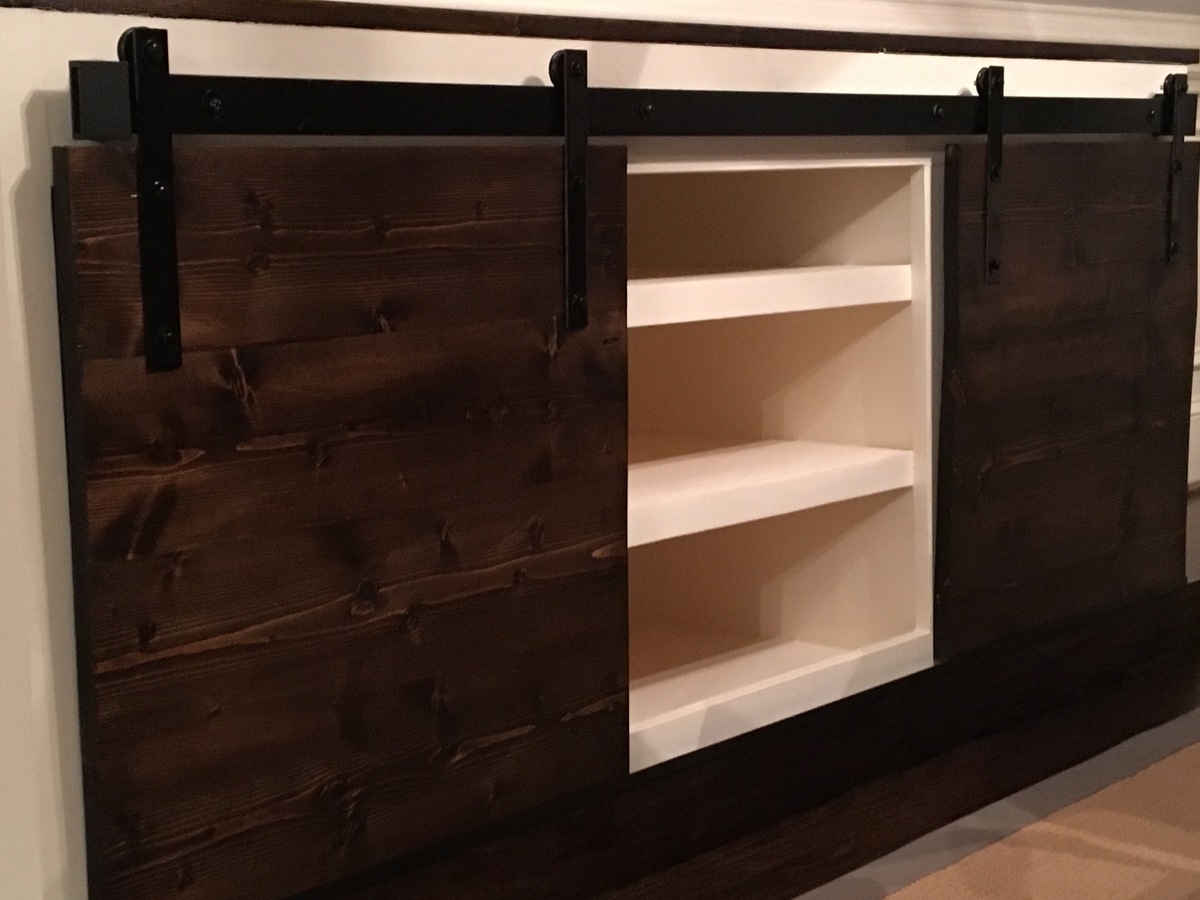
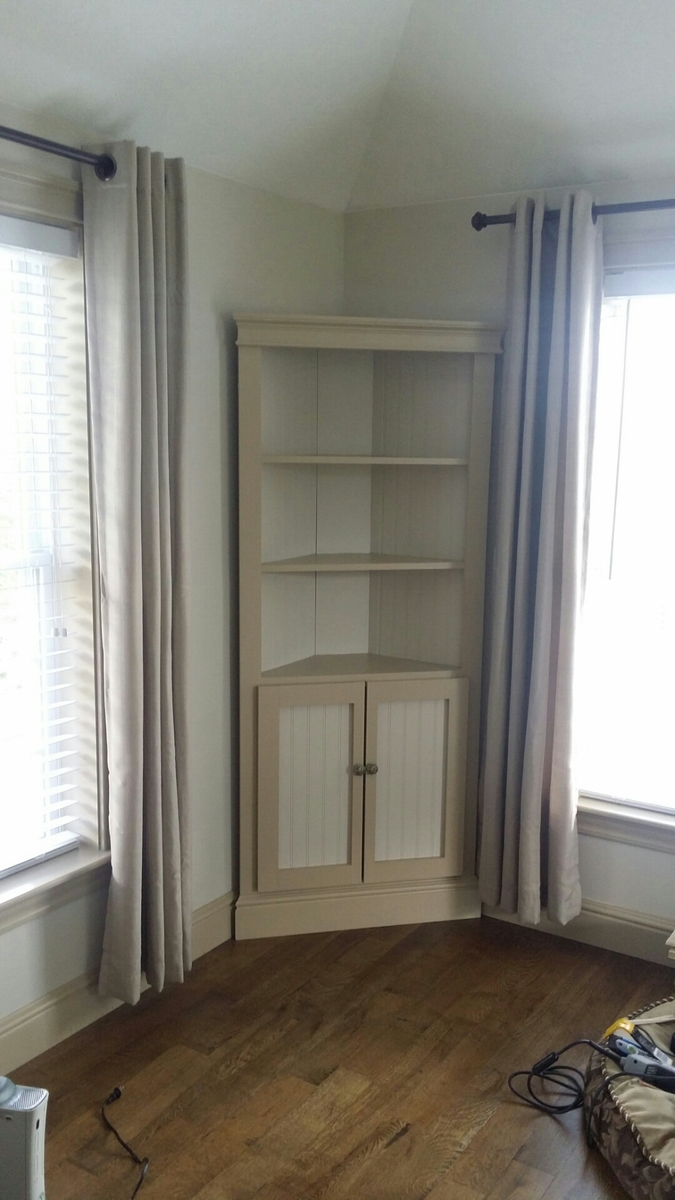
I did this project over the weekend. I love it. Makes the family room pop. I needed something to hide my cable box and this worked perfectly. I made two, one in each corner. I too purchased the creg jig and now that I know how to use it, I will be doing more diy projects. Thanks.

Estimated Time Investment
Weekend Project (10-20 Hours)
Recommended Skill Level
Starter Project

Comments

MSGRet

Mon, 05/19/2014 - 06:05

Excellent job, looks great. Where did you get the plans from? My wife bought one from a unfitted furniture store last year and stained it but it looks nothing like what you build. I would like to build one myself if I can get the plans.

MSGRet

Mon, 05/19/2014 - 07:56

Thanks guys, just what I was looking for but couldn't find it earlier. Thanks for your help.

Based on FatBobK2's design.

Submitted by Kougar1994 on Fri, 08/19/2016 - 15:30

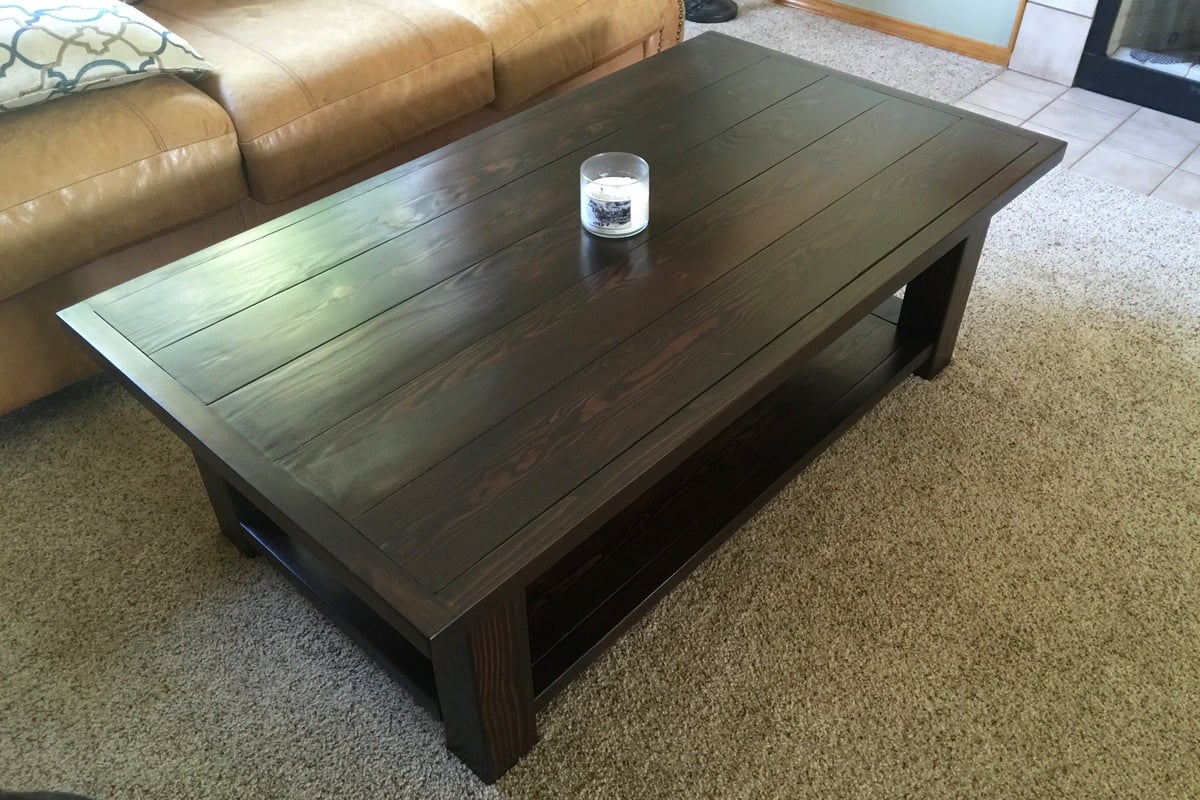
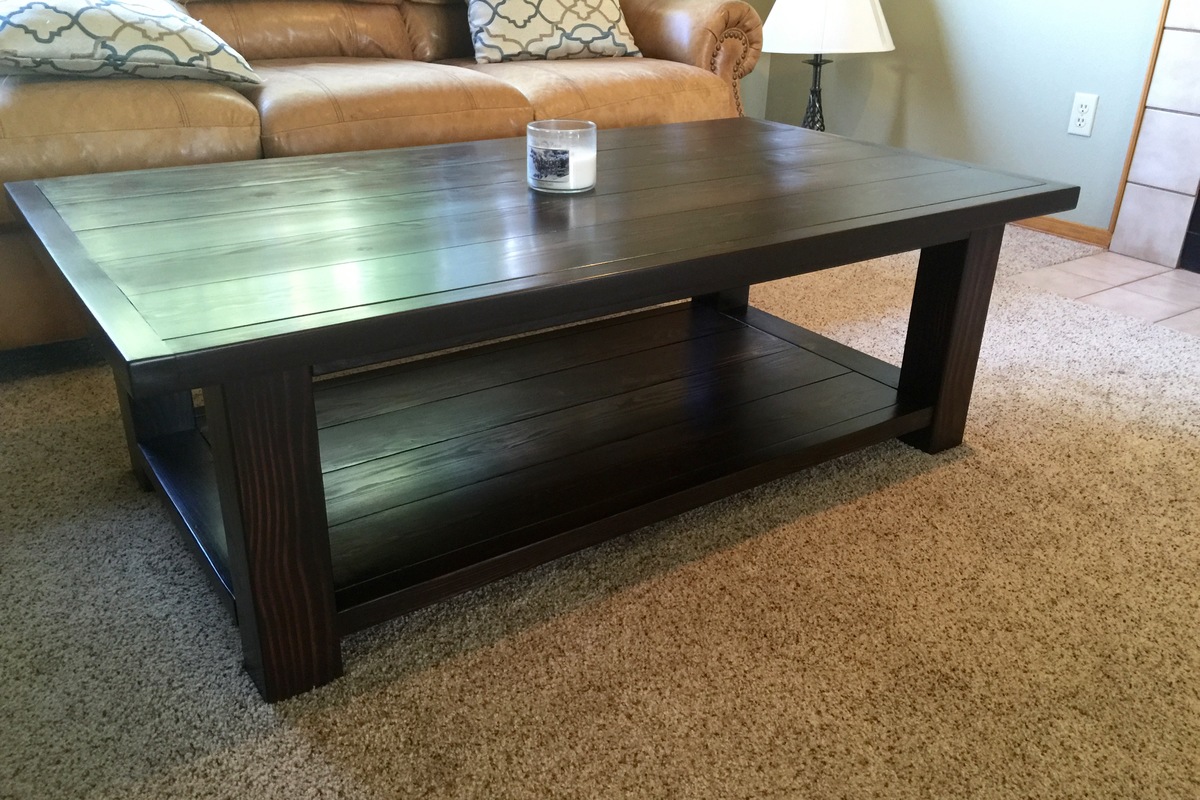
This was based on FatBob2Ks great design.  I took iut the Xs used 4x4 legs and 2x6s fir the bottom shelf.  I also put a furring strip around the edges to hide the end grain and add some surface area.  I sanded starting with 89 grit, then 120 and finishing with 150.  For stain I used a rag to rub on General Finishes Java Gel Stain for 2 coats. it's really forgiving on bare wood and you don't need conditioner.  I sealed everything with Minwax satin poly wipe-on and did three coats.  


Built from Plan(s)
Estimated Cost
$80. I bought local lumber. The big bix stores just don't have straight boards unless you're buying S4S hard wood.
Estimated Time Investment
Week Long Project (20 Hours or More)
Finish Used
General Finishes Java Gel Stain and Minwax wipe on poly
Recommended Skill Level
Intermediate

Modern Oversized Outdoor Chair

Submitted by zpbrown84 on Tue, 06/02/2020 - 10:41

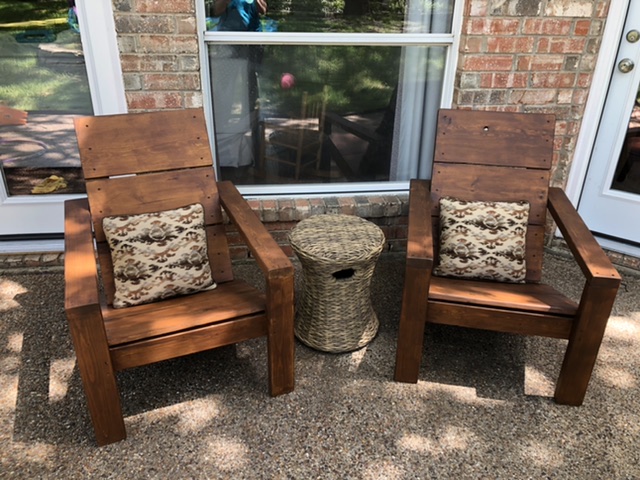
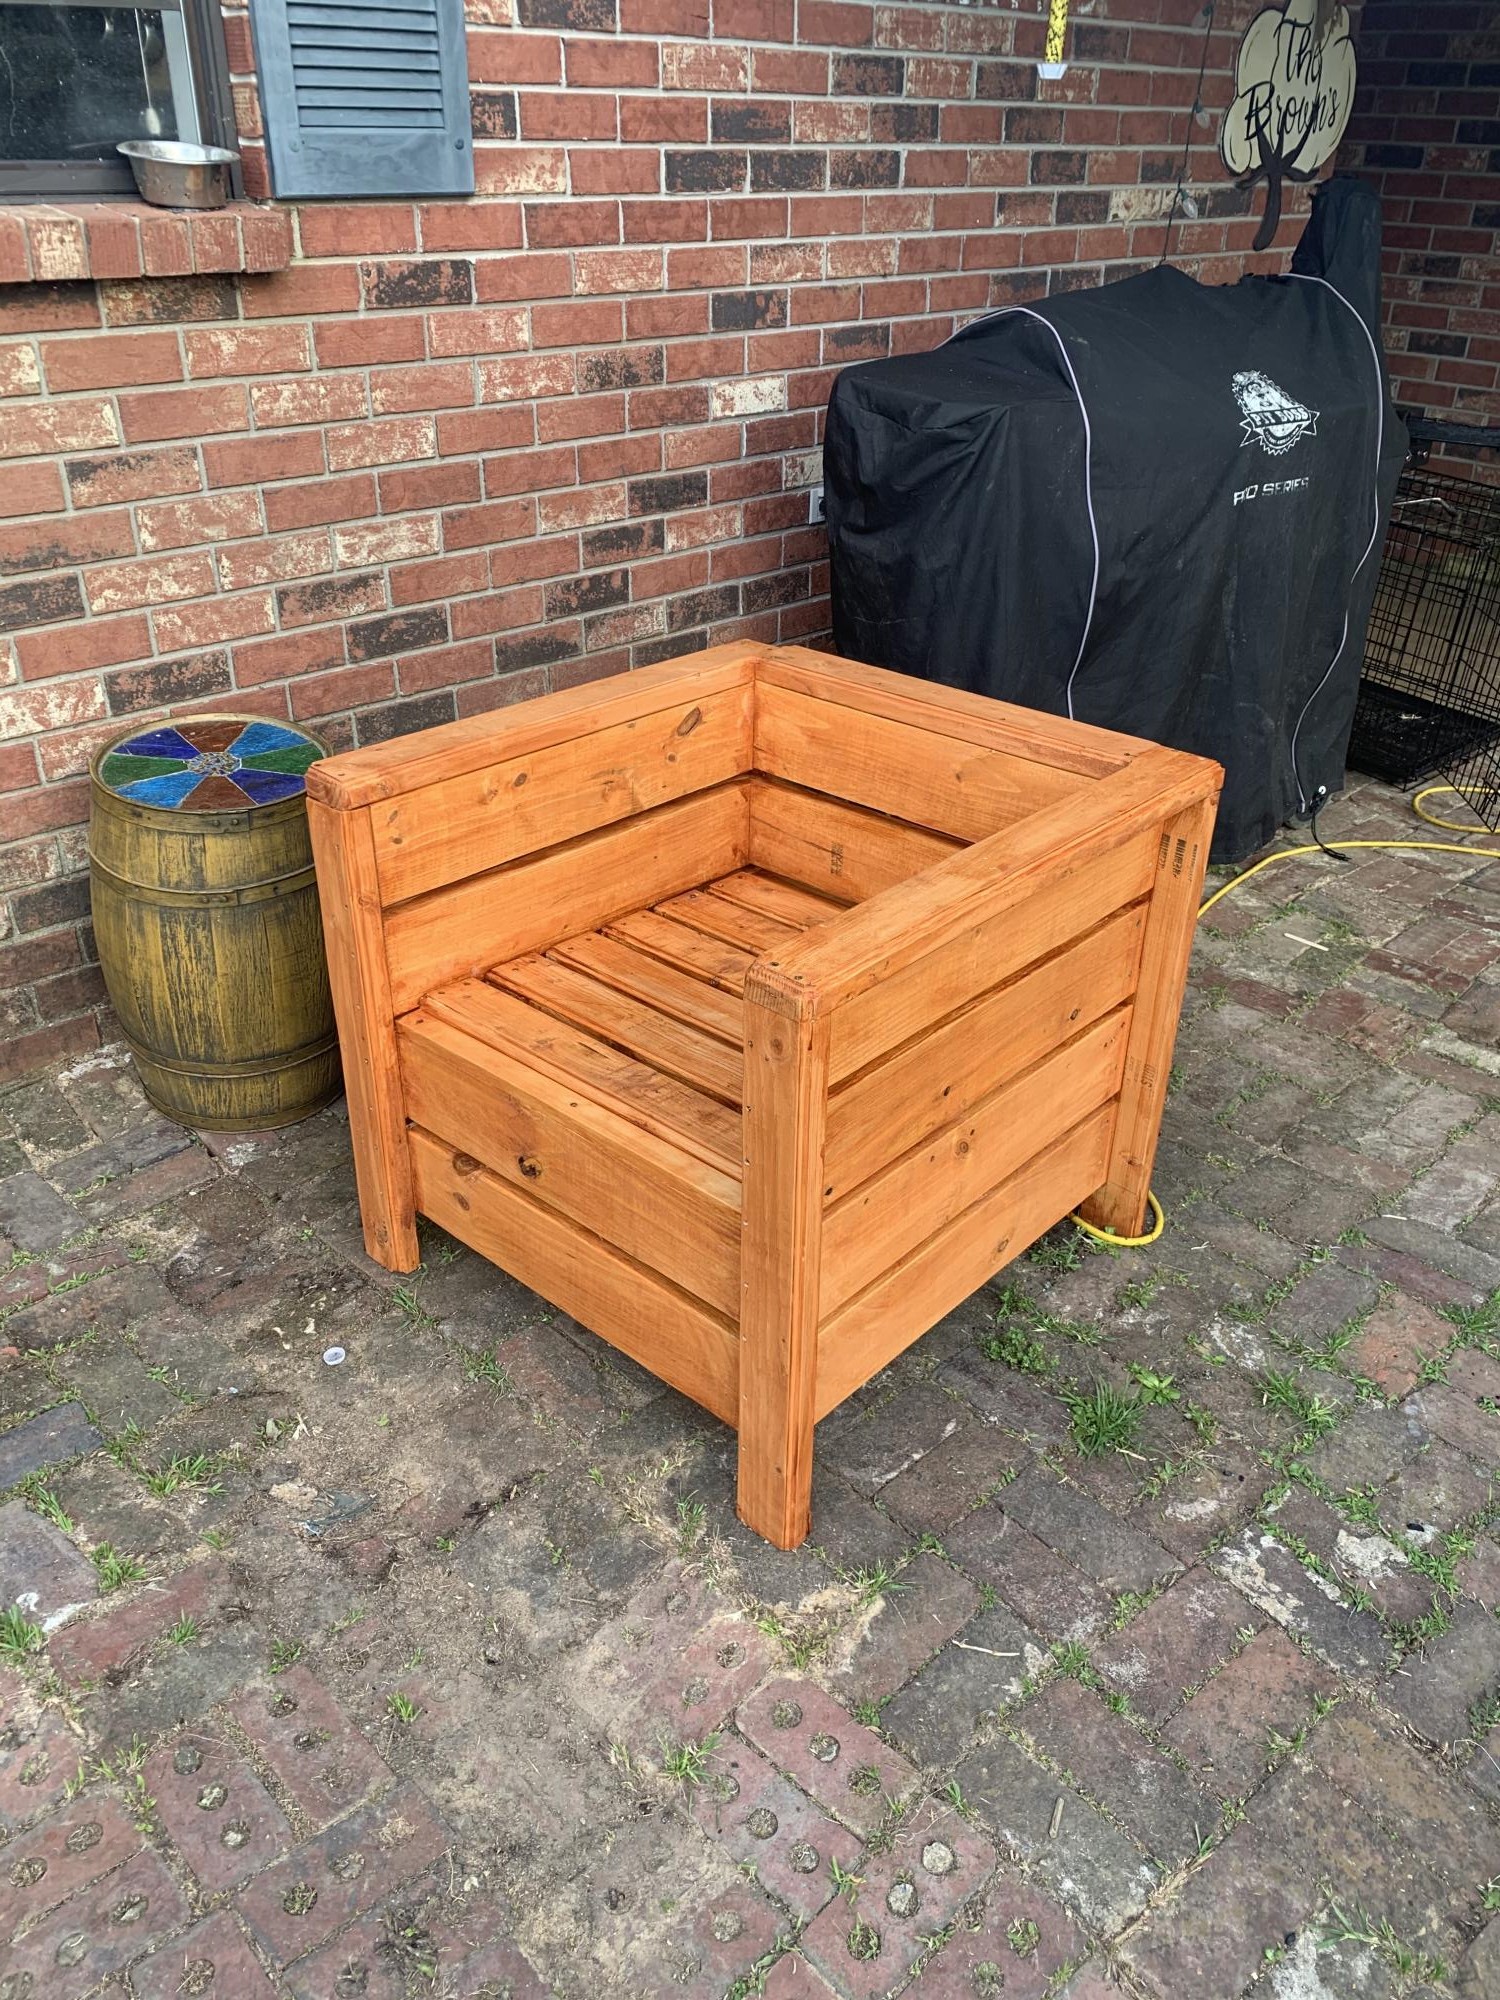
I made one of these chairs the the back hit me to low and was uncomfortable so this one I the legs 5 1/2” longer. This is my second project and took half a day but I am very happy with the outcome and started a second chair to match.

Built from Plan(s)
Estimated Cost
$50
Estimated Time Investment
Afternoon Project (3-6 Hours)
Finish Used
Valspar Transparent Redwood and I used a 1/4 Roman Ogee router bit on the arms and legs
Recommended Skill Level
Beginner

Outdoor Wood Island

Submitted by Putterer1 on Mon, 02/26/2024 - 10:43

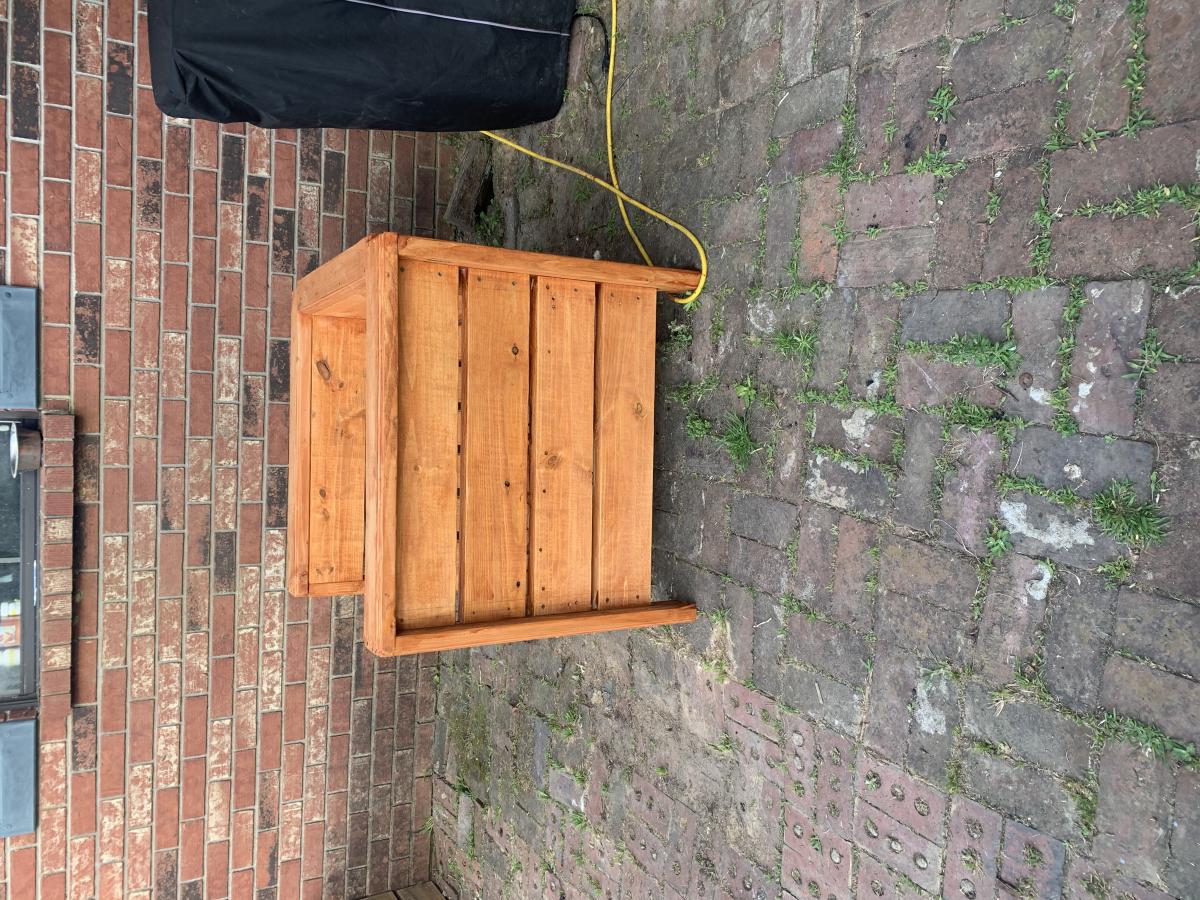
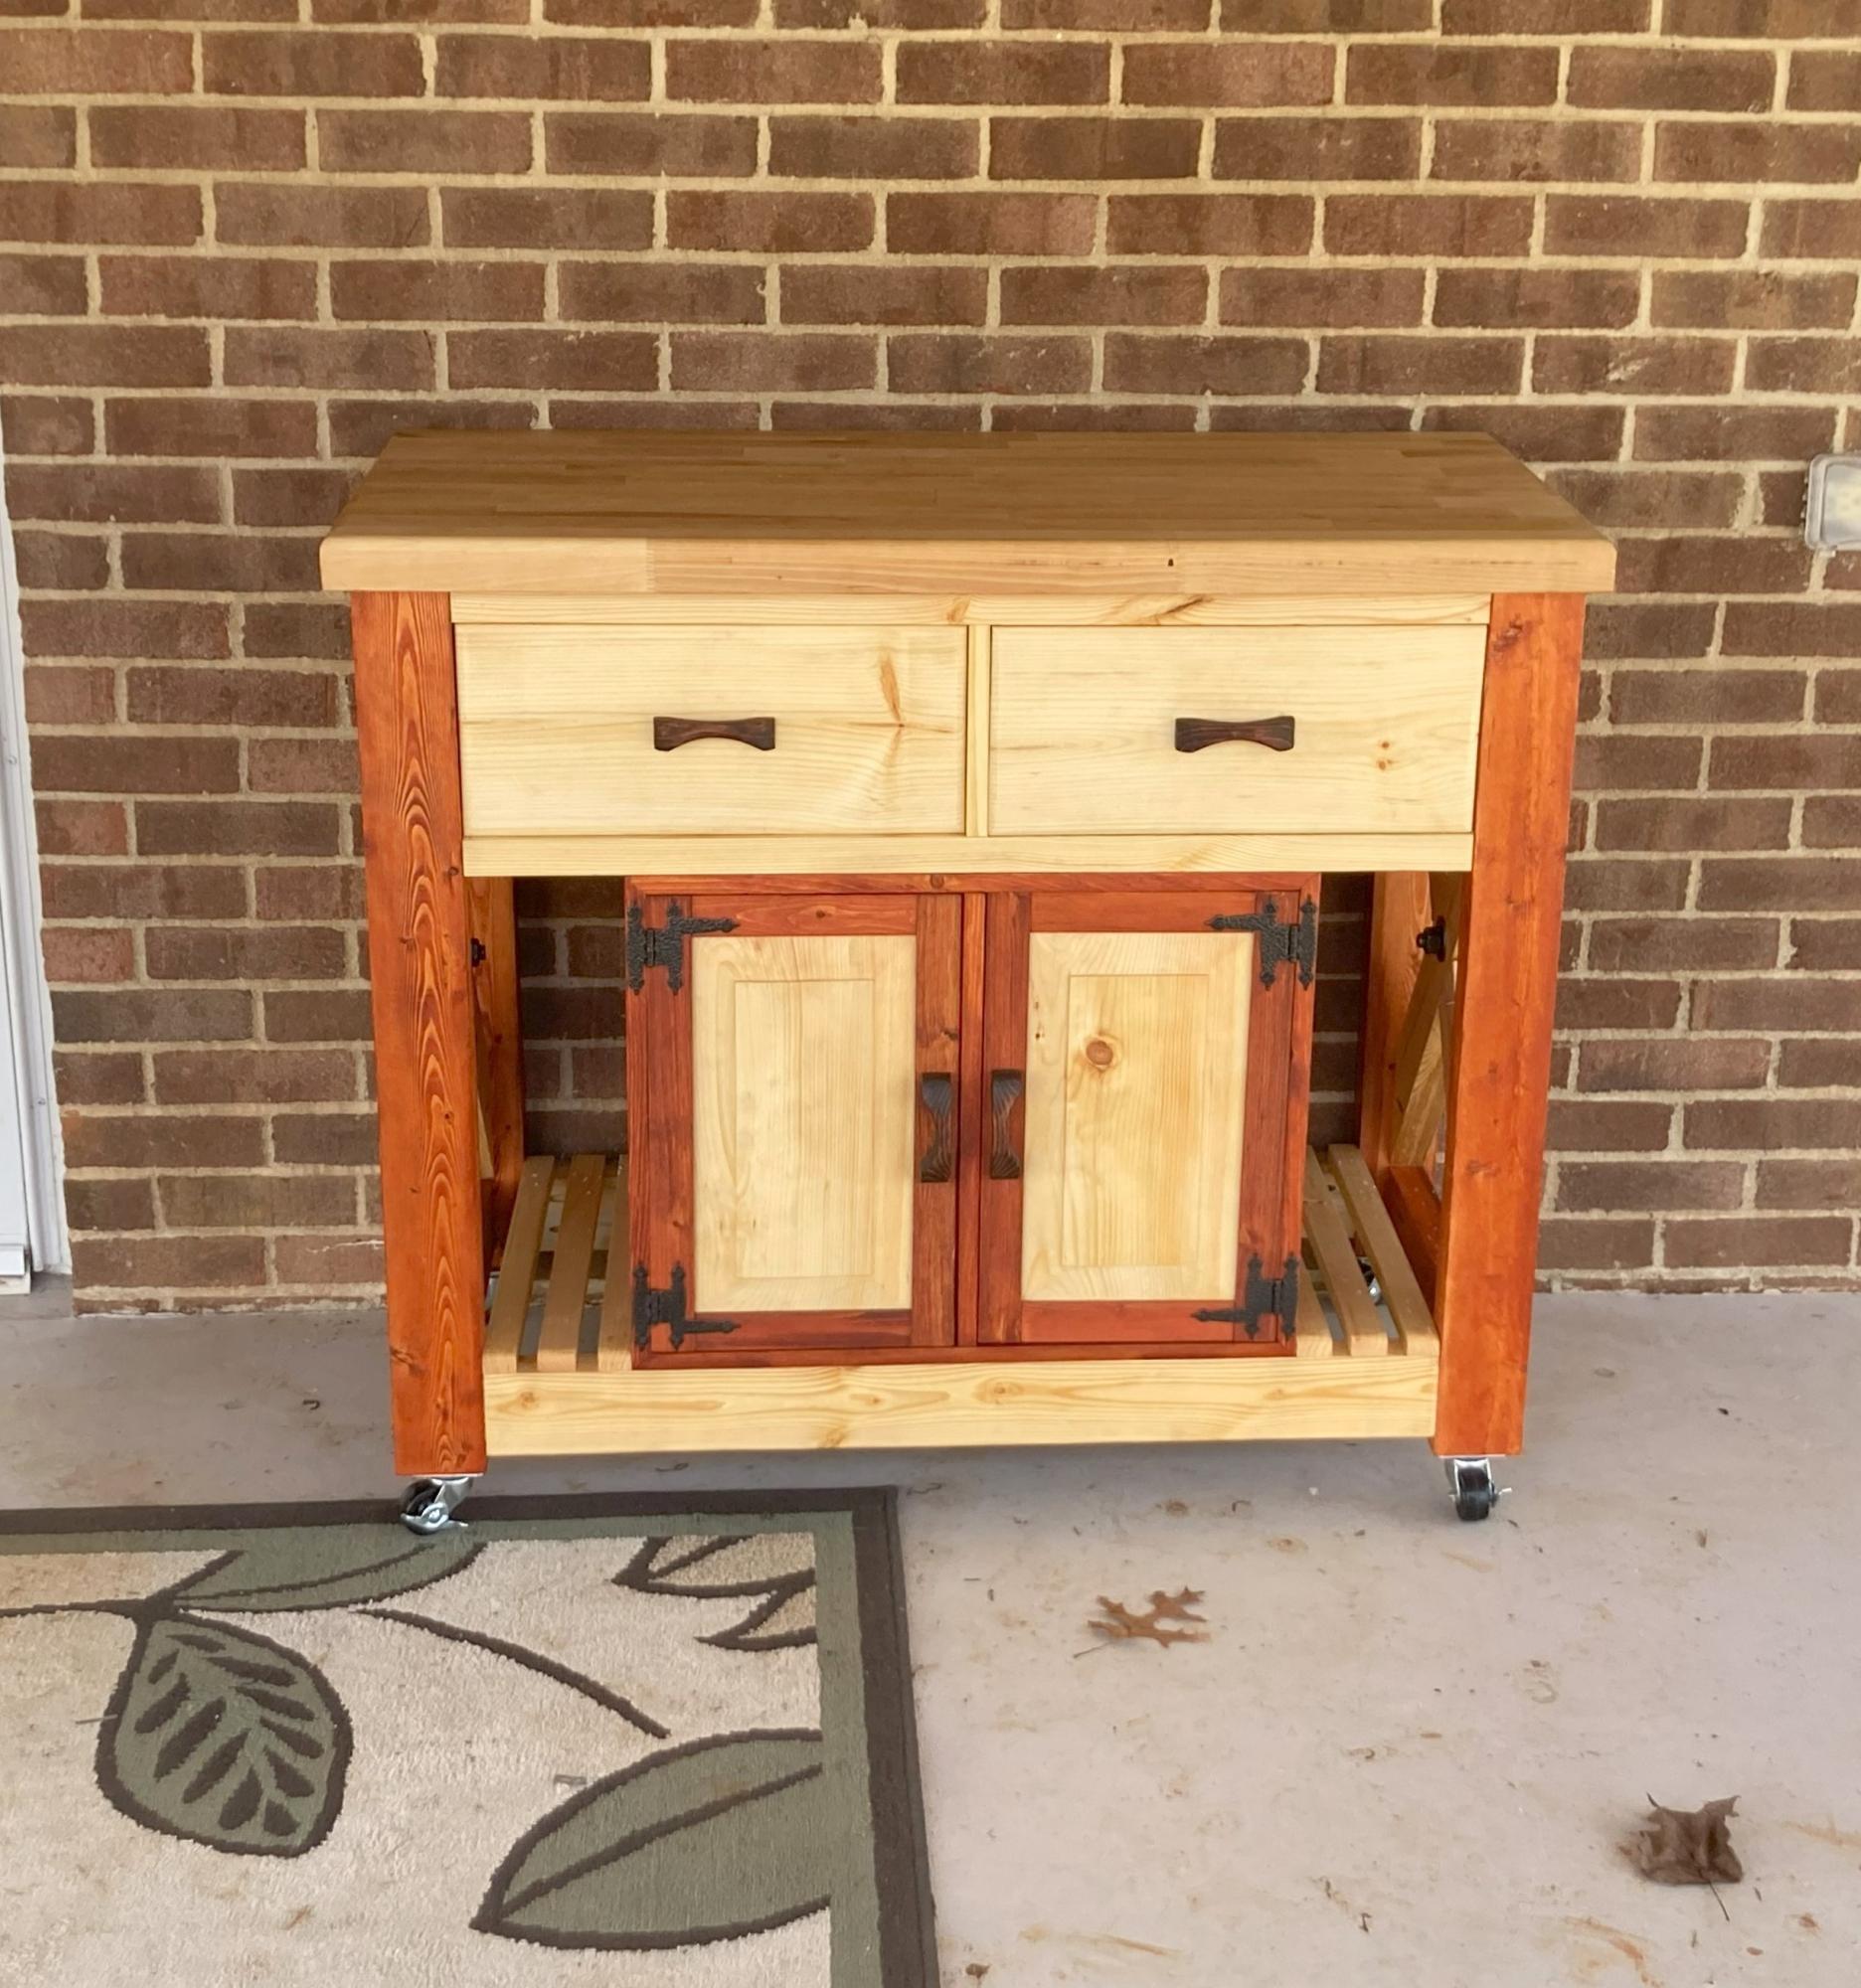
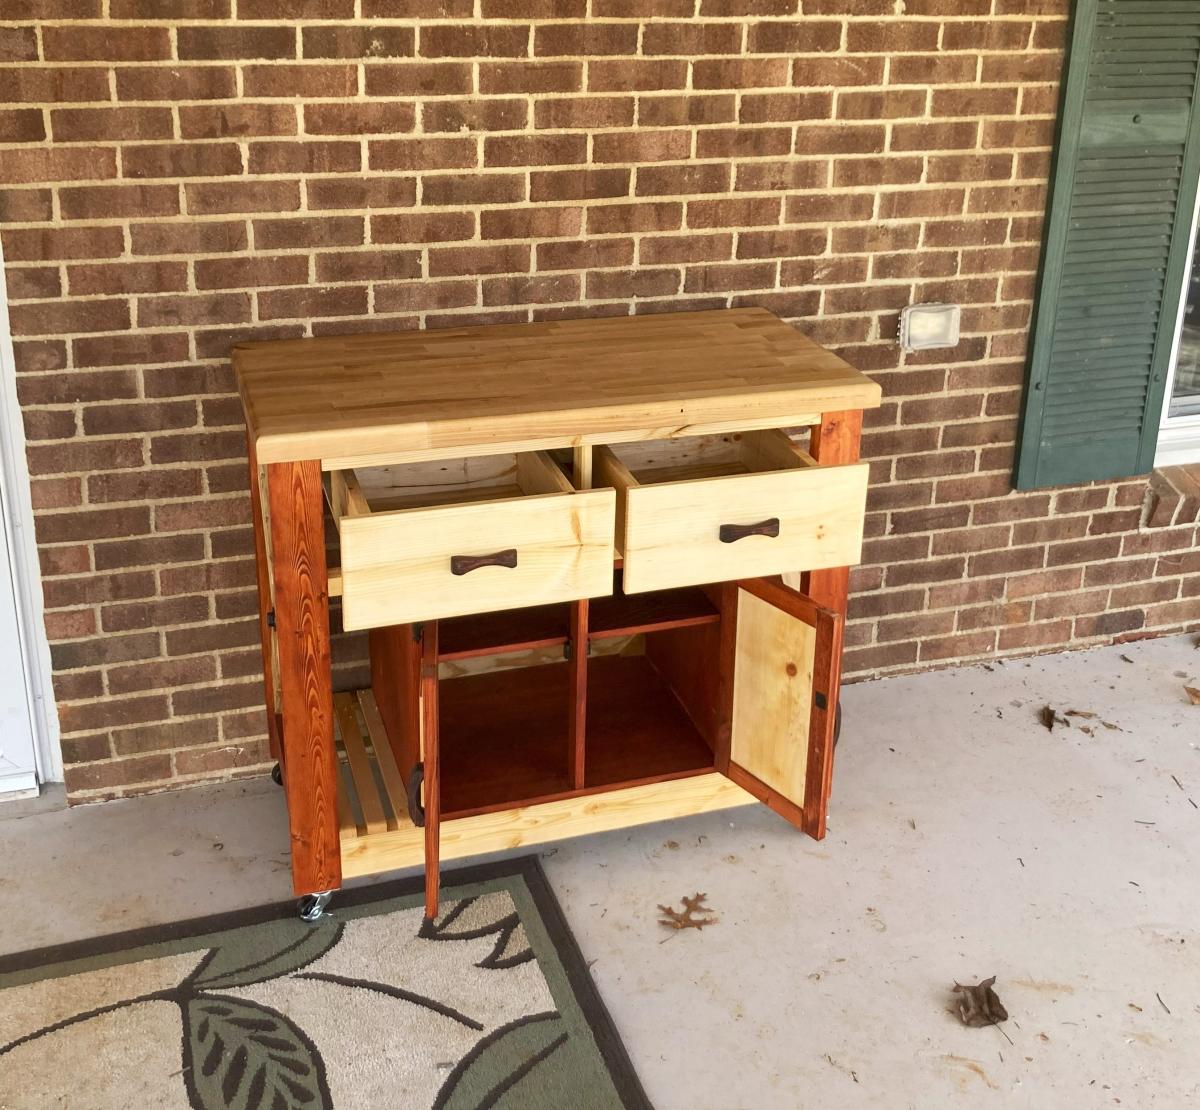
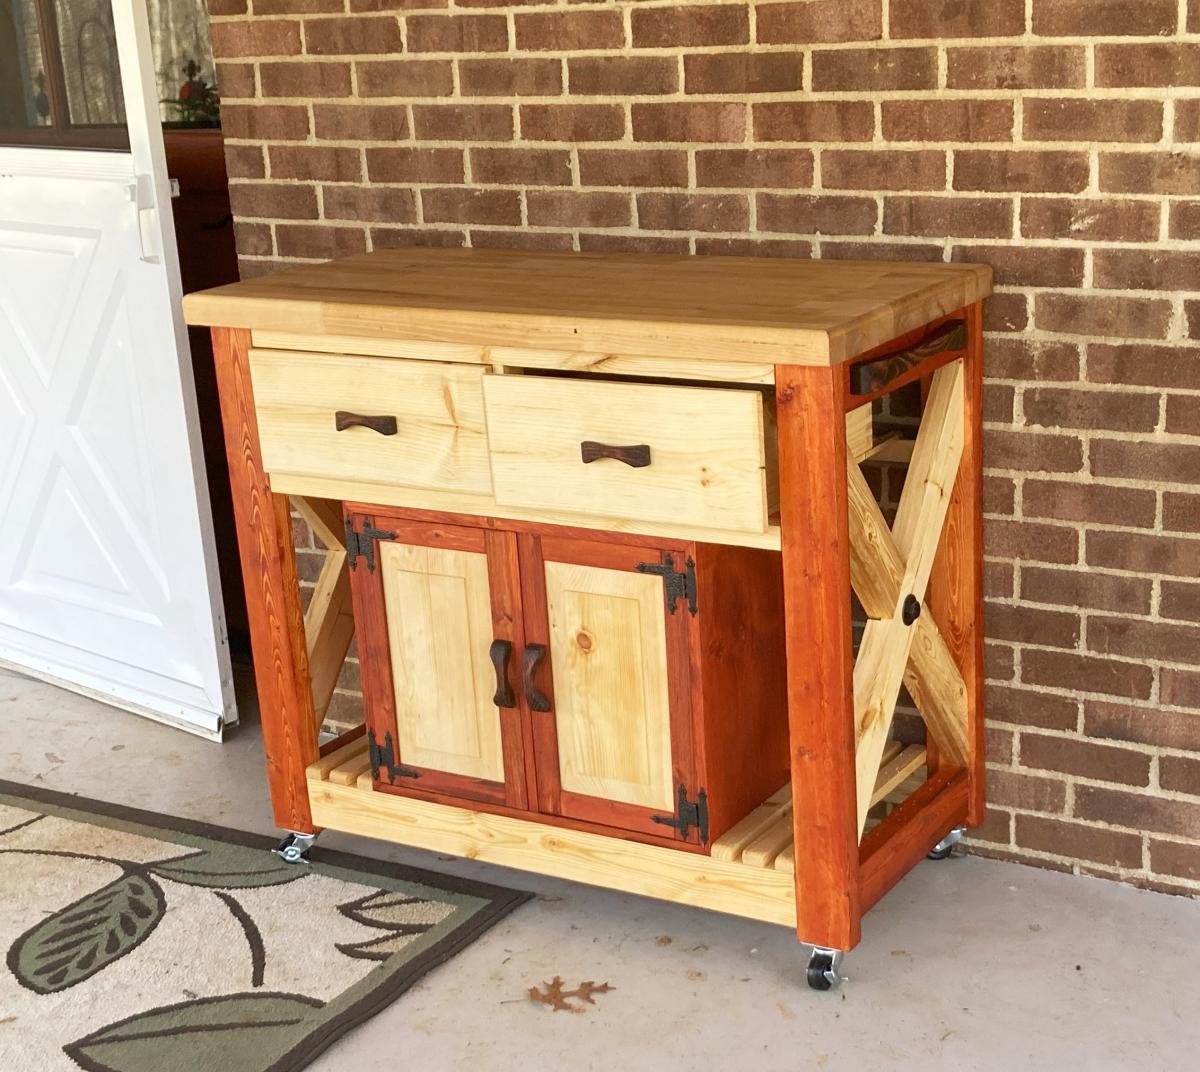
Hello - I am new to your projects post. I really like the projects that you post. I had been looking to make a "grill storage/prep" cart and came across your plans for the Rustic X Kitchen Island with drawers. I also saw a picture of another table and decided to merge the two. Attached are pictures of the finished project. I modified some of the dimensions to accommodate what I was trying to achieve. I used a half-lap on the X's on the sides. I also used center drawer slides so they would not be seen on my version. I would be happy to provide additional pictures, dimensions or project tips. Thanks for posting your projects. Keep 'em coming. I don't have a blog, Insta.

Tom Riley

Built from Plan(s)
Seasonal And Holiday

Rustic Table

I made this table before the PB plans came out on the this site. I used gate hinges on the corners and 3/4" piece of all thread on the bottom. The top was poured with the High Gloss glaze from Lowes. It fits 8 all around and you could squeeze in 12 if you really needed to. All together this only cost $350.

Estimated Cost
$350
Estimated Time Investment
Weekend Project (10-20 Hours)
Recommended Skill Level
Intermediate

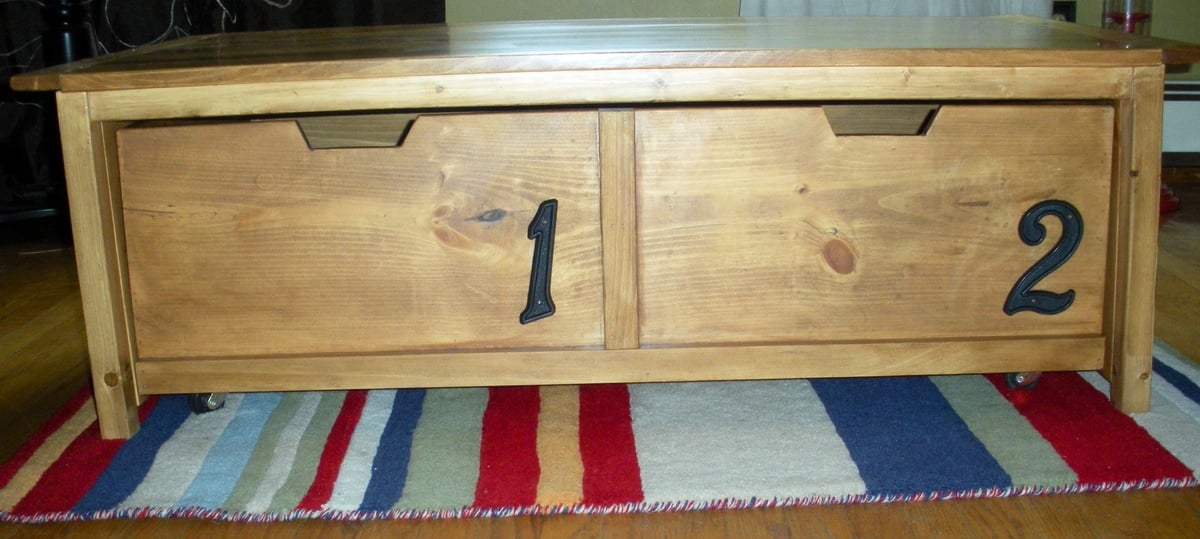
20 Second Tidy Up

This was a fun simple project. I added some fabric to the bottom of the trundle. If you have questions when building please let me know. Thank you for viewing.

Estimated Time Investment
Weekend Project (10-20 Hours)
Finish Used
Ipswich Pine - Minwax
Dark Walnut - Minwax
Recommended Skill Level
Beginner

My fire pit bench.

Submitted by Mandy D on Sun, 08/21/2016 - 16:59

This was my first furniture build & it was very easy. I had to have a second pair of hands to help hold the ends up but other than that I did it by myself. Thank you Ana for making this build so simple.  

Estimated Cost
$75
Estimated Time Investment
Afternoon Project (3-6 Hours)
Recommended Skill Level
Starter Project

Modern Adirondacks UK

Submitted by Anonymous (not verified) on Thu, 06/04/2020 - 11:16

Hi Ana

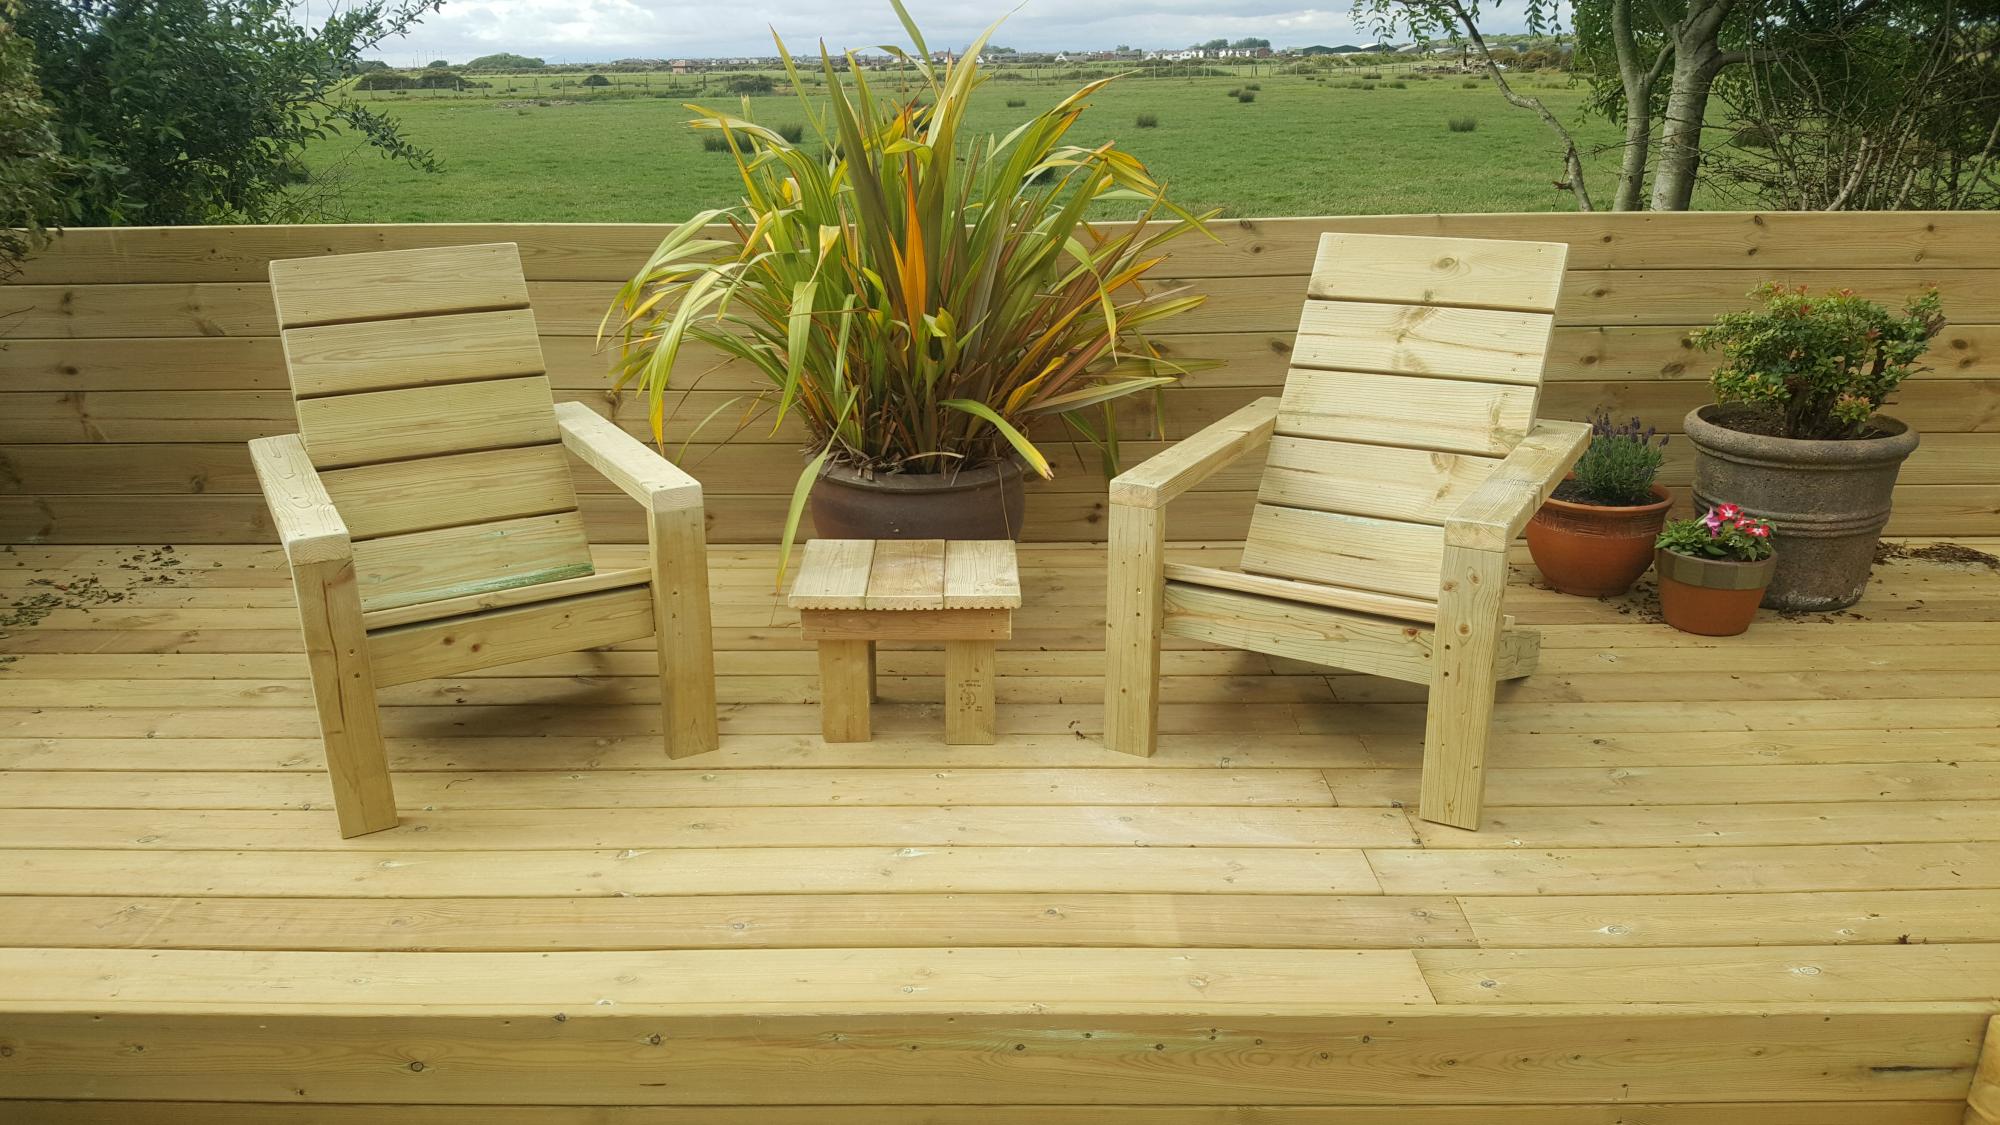
Just wanted to say thanks for the plans. Here's how ours came out!

Ben.

Estimated Cost
£50
Estimated Time Investment
An Hour or Two (0-2 Hours)
Finish Used
Tanalised pressure treated timber.
Recommended Skill Level
Intermediate

Wood Window Treatment

Submitted by Anonymous (not verified) on Sat, 03/02/2024 - 11:24

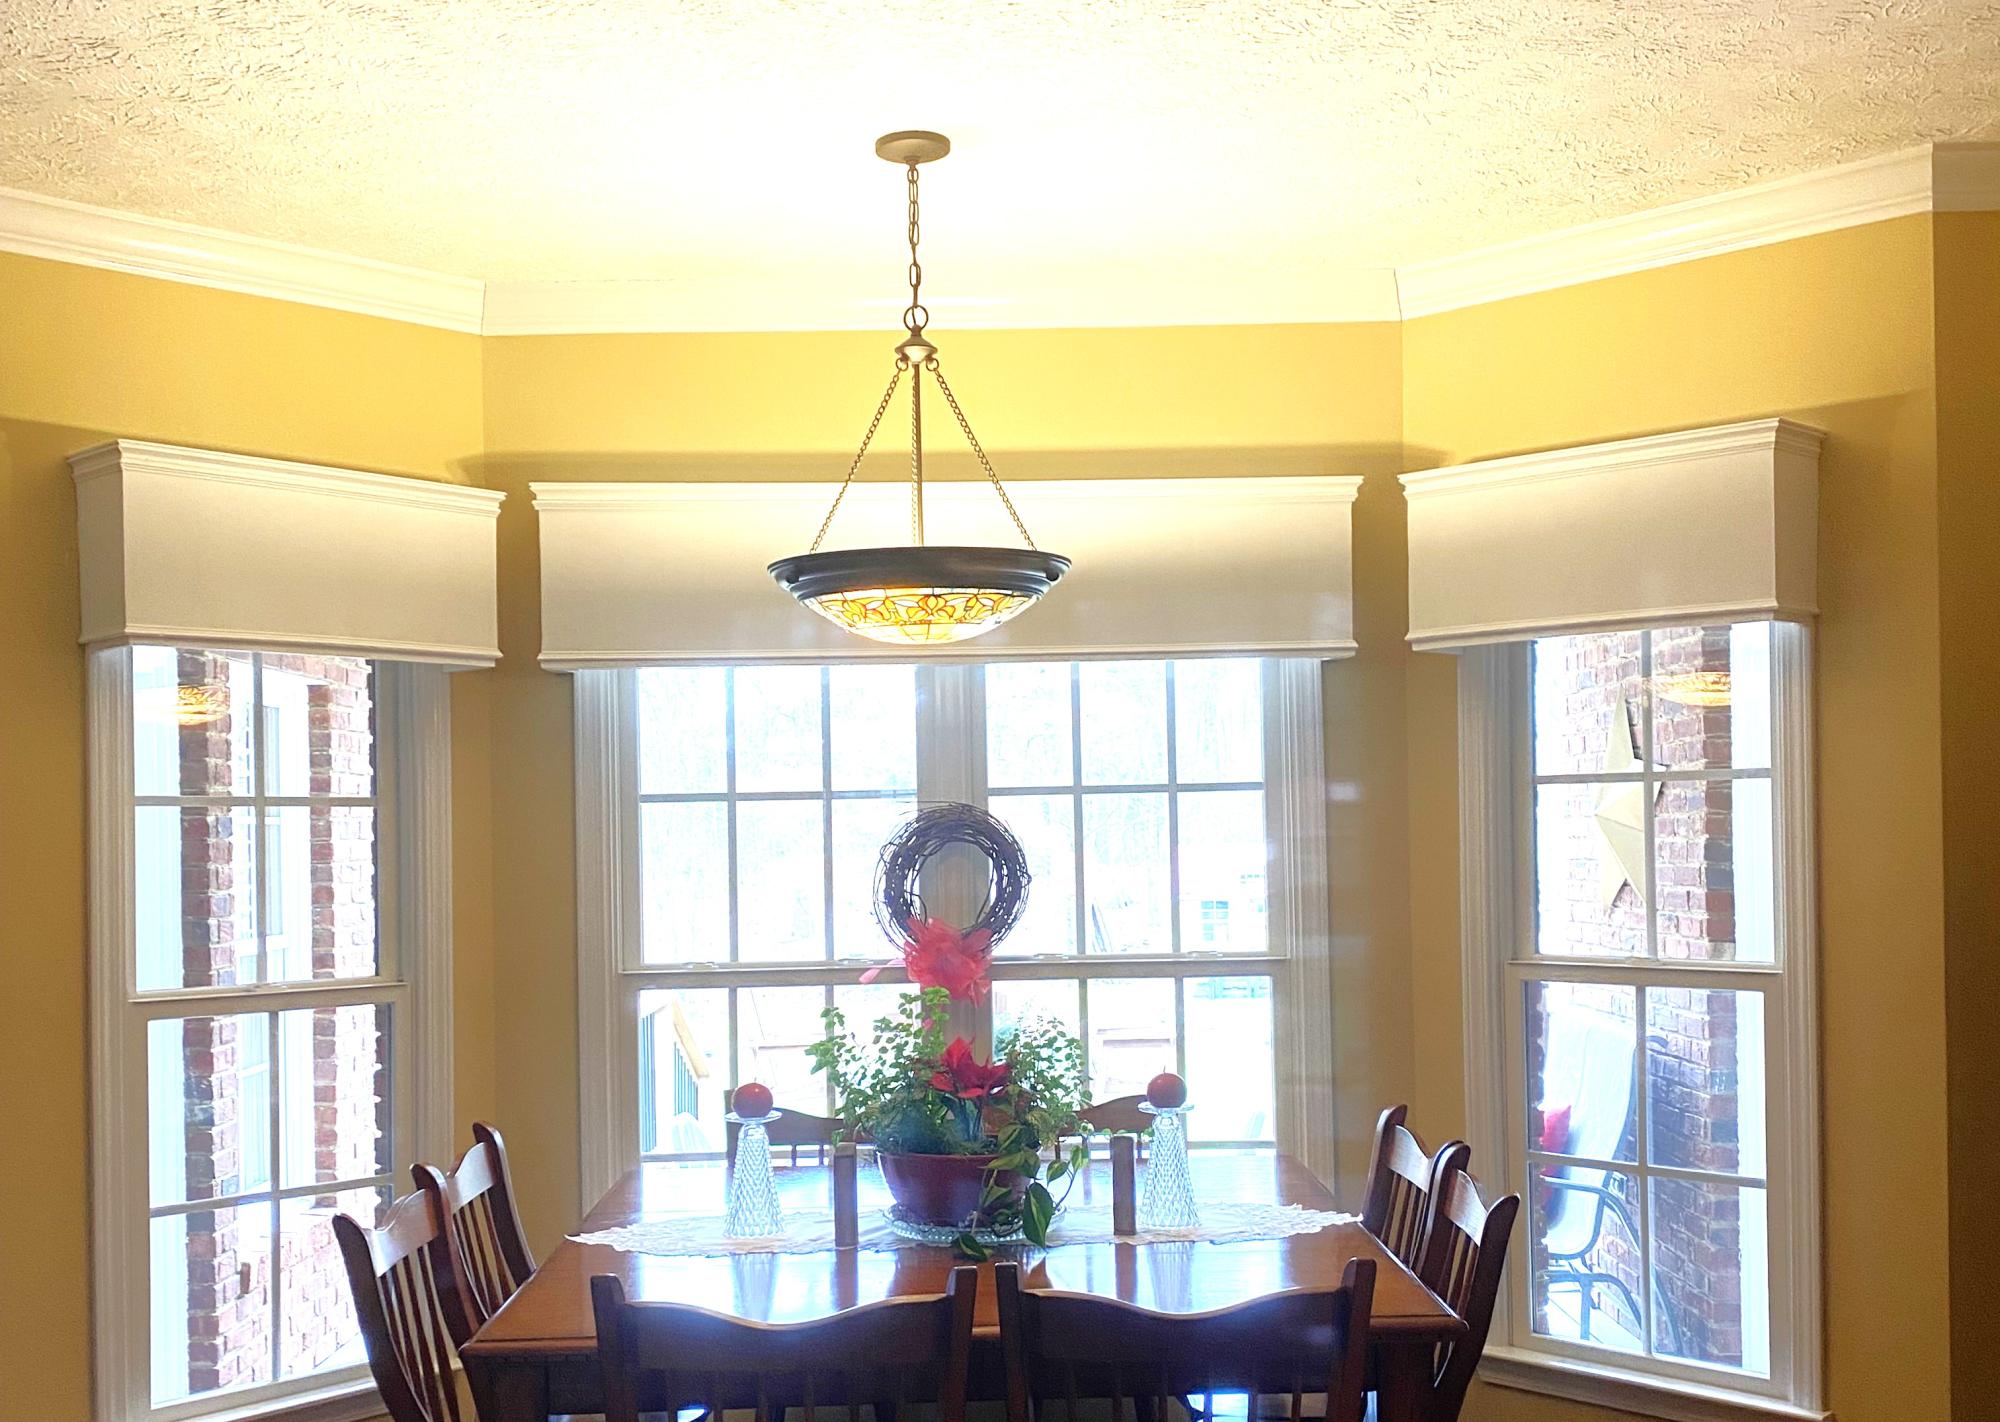
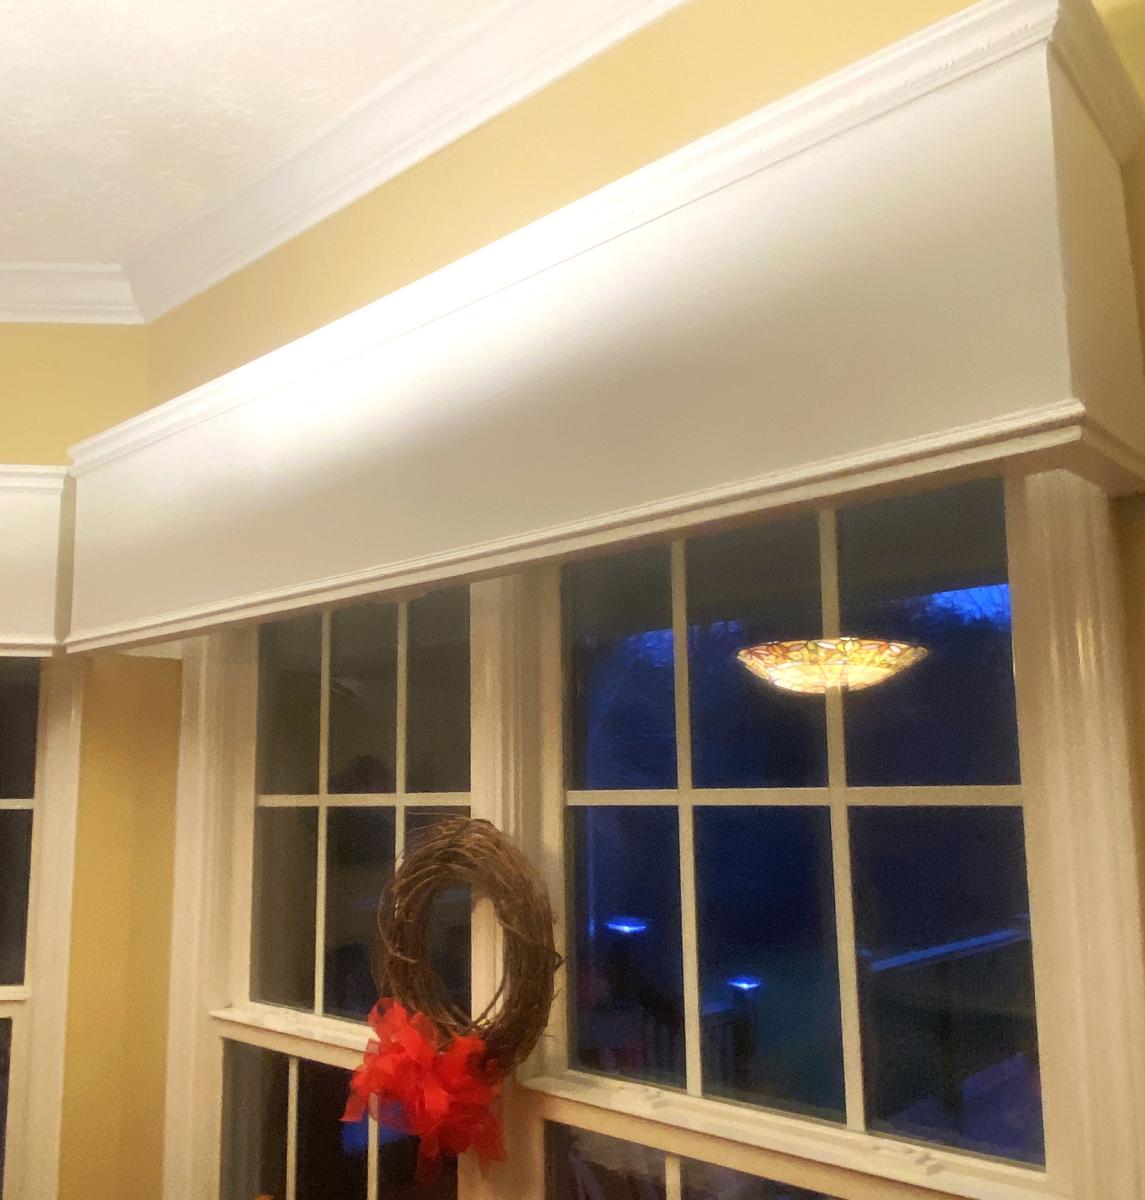
My has been wanting me to make some window treatments to replace aging Roman curtains on our bay windows. It was a challenge never made these before and she is well pleased with the results. The center window is 62 inches wide while the two side windows are 32 inches wide each. Each window treatment is 14 high.

Raymond Spears

Garage shelves

Shelves in garage

Estimated Time Investment
Day Project (6-9 Hours)
Finish Used
Glidden paint. Martha Stewart colors.
Recommended Skill Level
Beginner

Comments

Brittany Maughan (not verified)

Wed, 08/22/2012 - 22:07

You are a genius! lol I have been complaining about my garage and how I need to organize the clutter so I can build more. All along I just needed to build this. Could you tell me an estimate of what it cost you?

Simple Outdoor Bench

Submitted by coolove on Sat, 05/24/2014 - 21:24

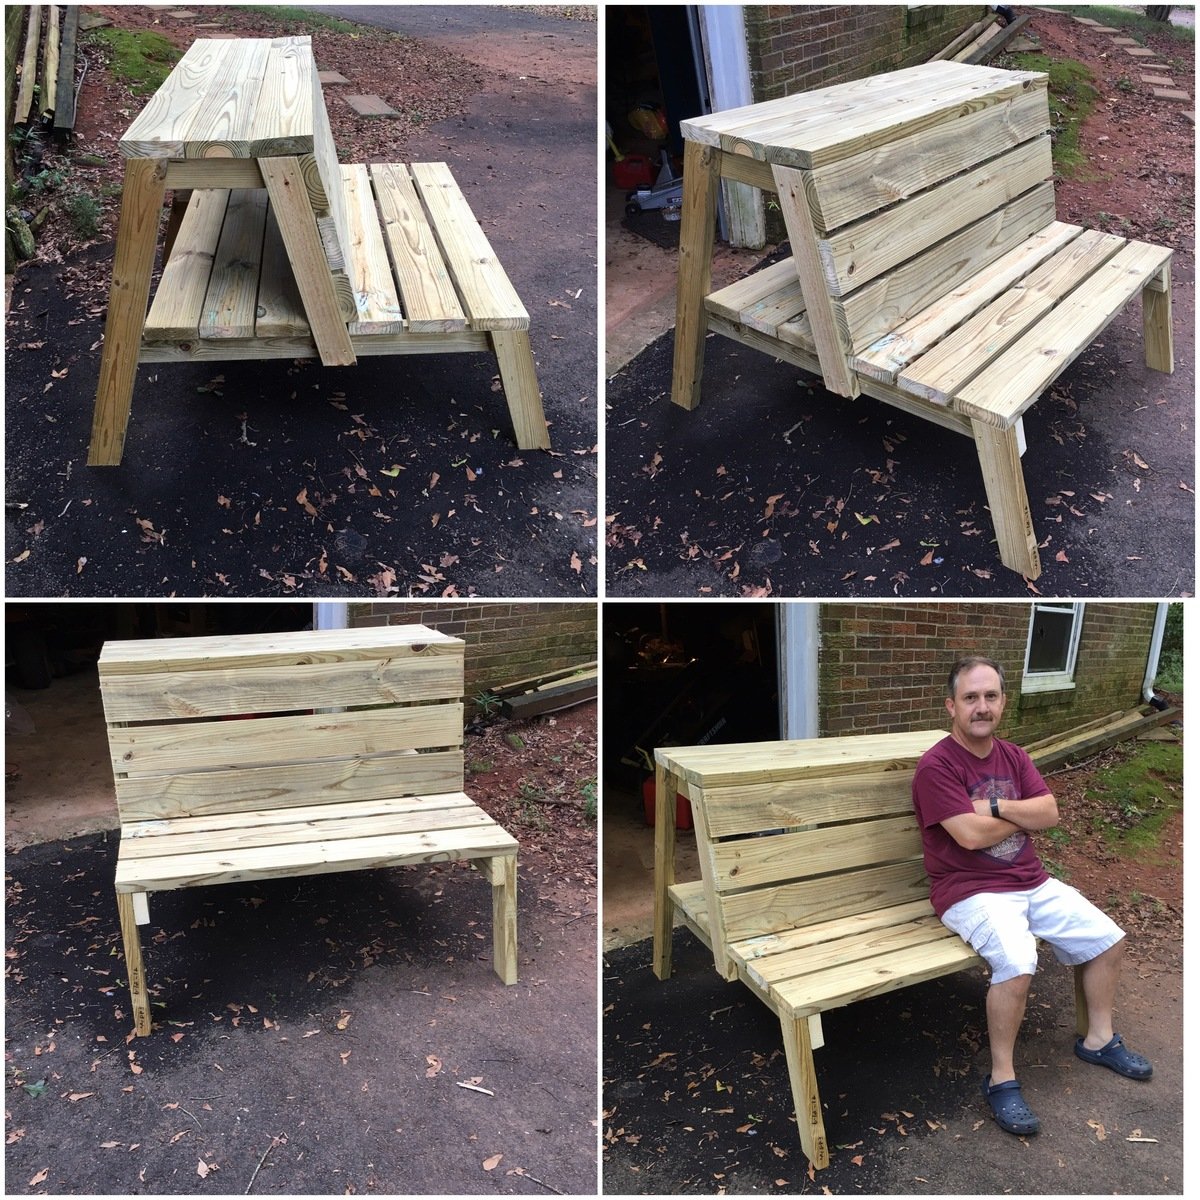
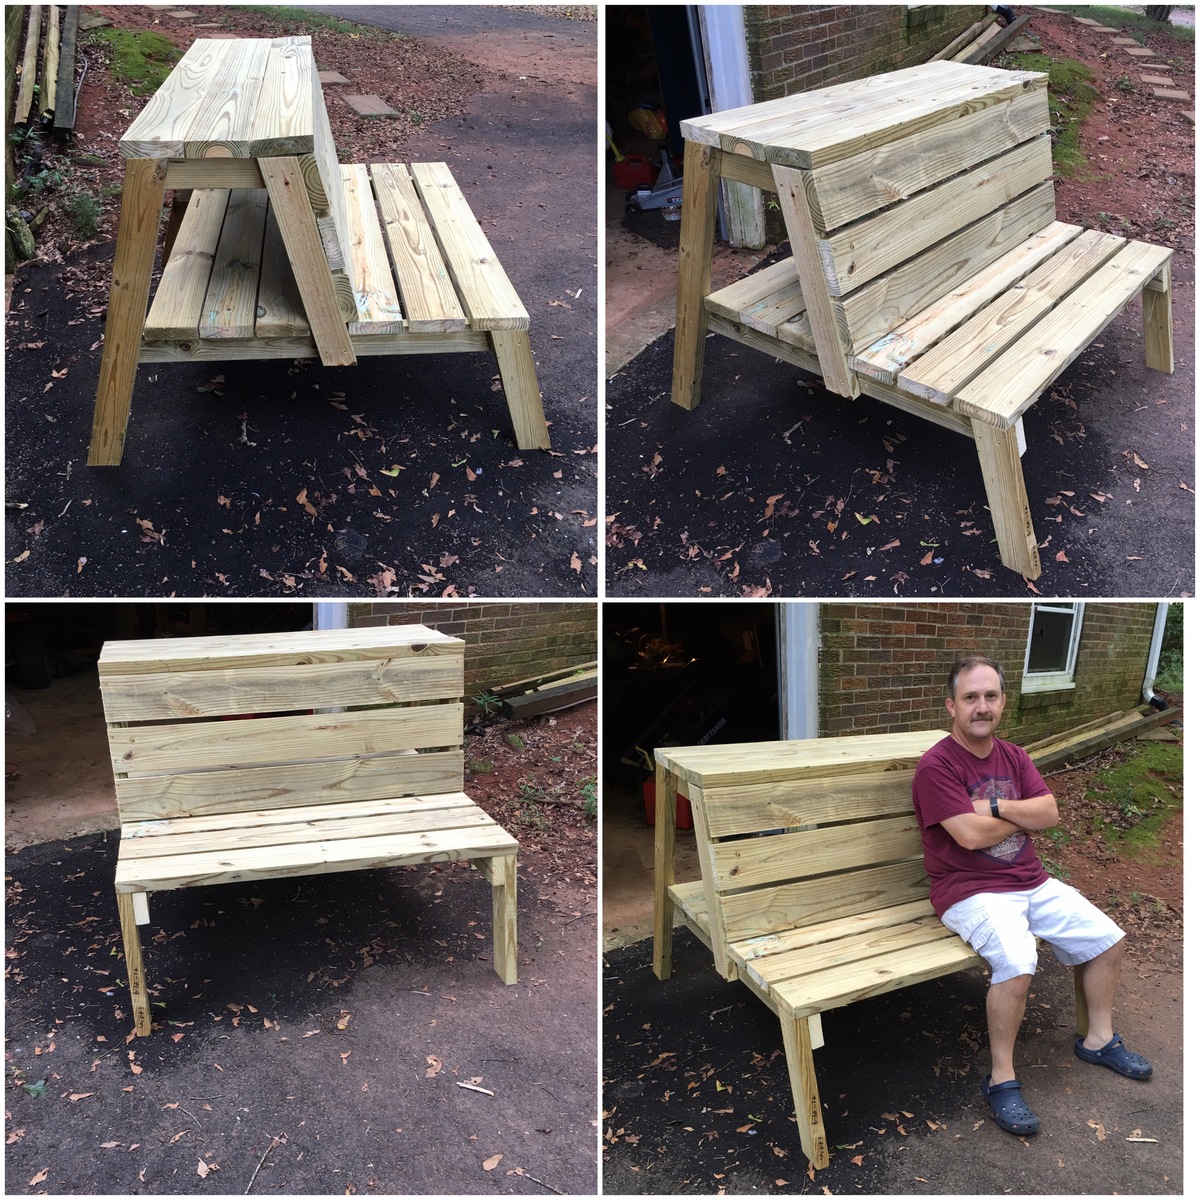
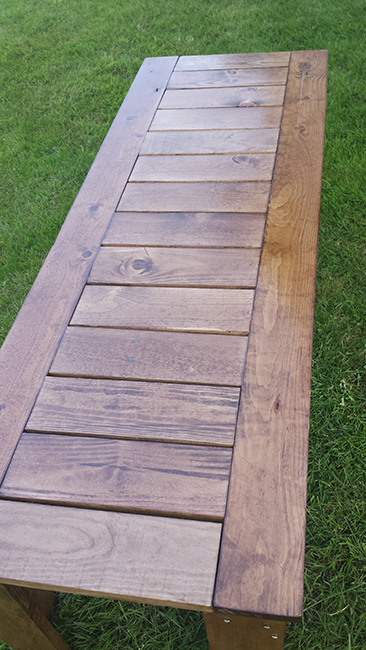
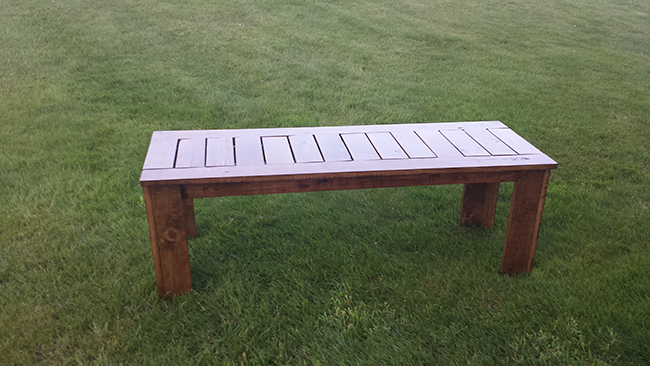
I wanted to make something for my mom so she could have a place to grow her herbs this year on the balcony for easier access instead of planting in the backyard. The project was stretched over a few days. Cutting on day one, sanding on day two, painting on day three and drilling and putting it together on day four.

With the exception of the legs, the entire bench was put together using the Kreg Jig mini. I added extra 1x4s to the legs. Though, next time I will change to either 2x4s or 4x4s for extra stability when sitting. I really love how it turned out. I almost don't want to put it outside.

Built from Plan(s)
Estimated Cost
$30 for wood
Estimated Time Investment
Weekend Project (10-20 Hours)
Finish Used
Varathane Dark Walnut and Cabot Semi-gloss Spar Varnish. The finish had been sitting in my garage unmixed for a few months. It came out a lighter color then I expected but I love the outcome.
Recommended Skill Level
Beginner

Comments

lbadger

Wed, 11/25/2015 - 16:28

I love how your bench came out! I am looking at doing something similar - two in sectional arrangement to use as project/work space seating and convert to spillover sleeping area (the table will lower to bench height). I have a question about stability.Even with the additioanl 1x4 are you finding this bench not very stable?

thanks!

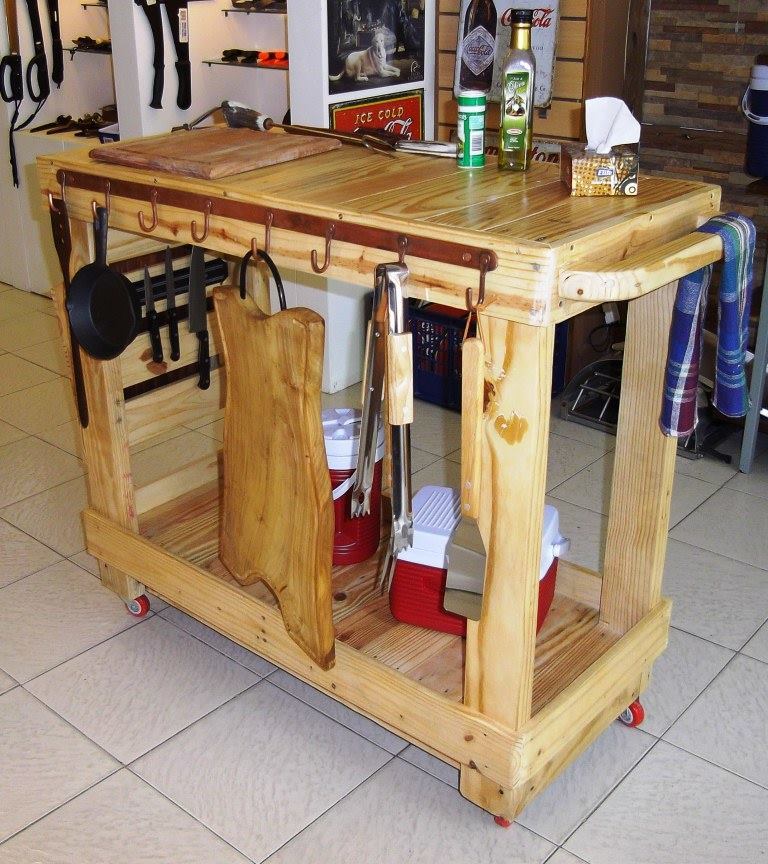
Rolling Cart - pallet recovered wood

Submitted by jgrunwaldt on Thu, 08/25/2016 - 19:36

Rolling bar cart made entirely from recovered pallet wood.

Based on original Ana White's plan, I've just added a side pocket and rails on the lower shelf to prevent sliding of items placed on it. 

Later on I made another one for a friend who attached a hanger plate and a magnetic knife holder.

Built from Plan(s)
Estimated Time Investment
Weekend Project (10-20 Hours)
Finish Used
wax
Recommended Skill Level
Intermediate

Toy Box

Submitted by Sgeisinger on Sun, 06/07/2020 - 08:16

This design turned out to be perfect! It was super simple and easy to build! Easy to follow plans! Great beginner project!

Estimated Cost
Around $40 in lumber
Estimated Time Investment
Day Project (6-9 Hours)
Finish Used
Varathane Premium Wood Stain in Red Mahogany
Recommended Skill Level
Beginner

Comments

Bed for Small Room

Submitted by Anonymous (not verified) on Wed, 03/06/2024 - 12:17

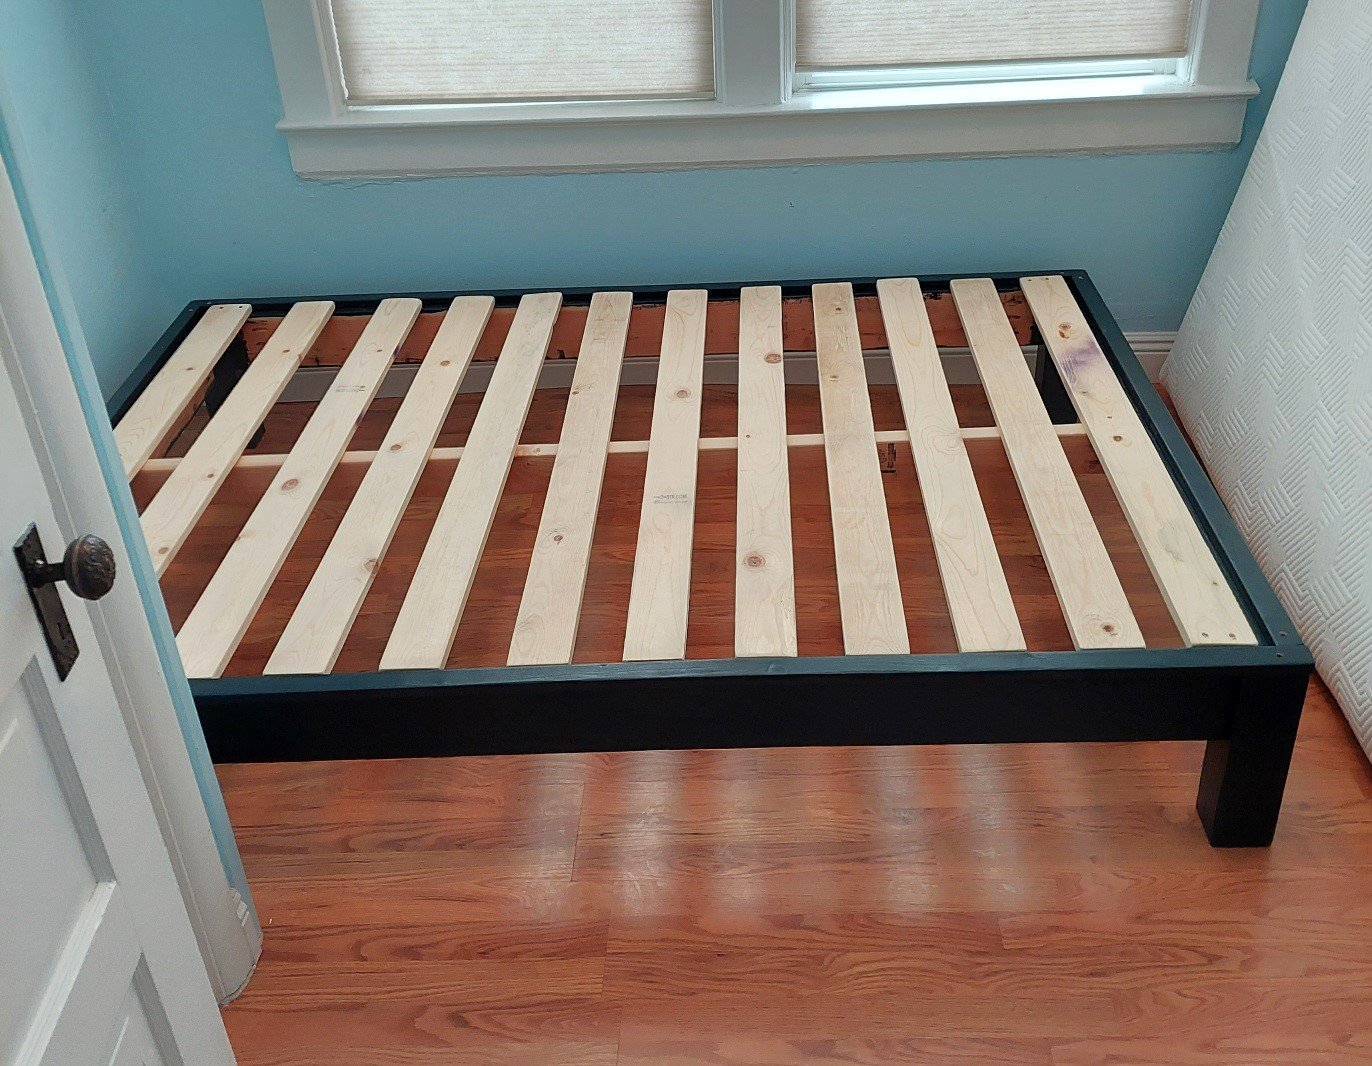
In my new house we have a small room that can fit a full but also have a tall family, so when I found out that there is a Full XL, I went on the hunt for bed frames and not many choices, so I turned to Ana's site and found/used the essential bed frame for all sizes plan and adjusted it for a FullXL. Our house theme is black and white so we painted it with Ink Black by Behr. Whole frame built for $50 as I already had the paint. My wife loves the frame.

Back