Disney inspired SeeSaw

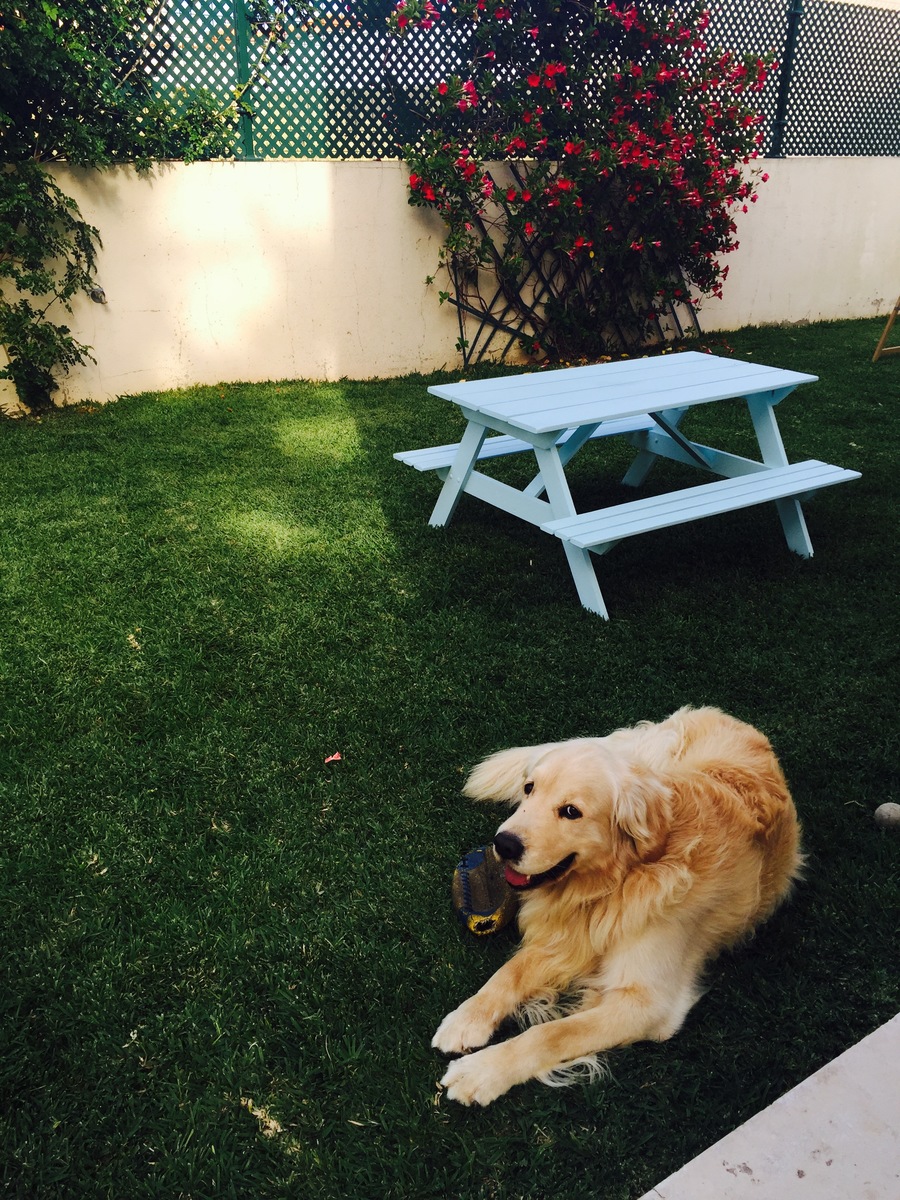
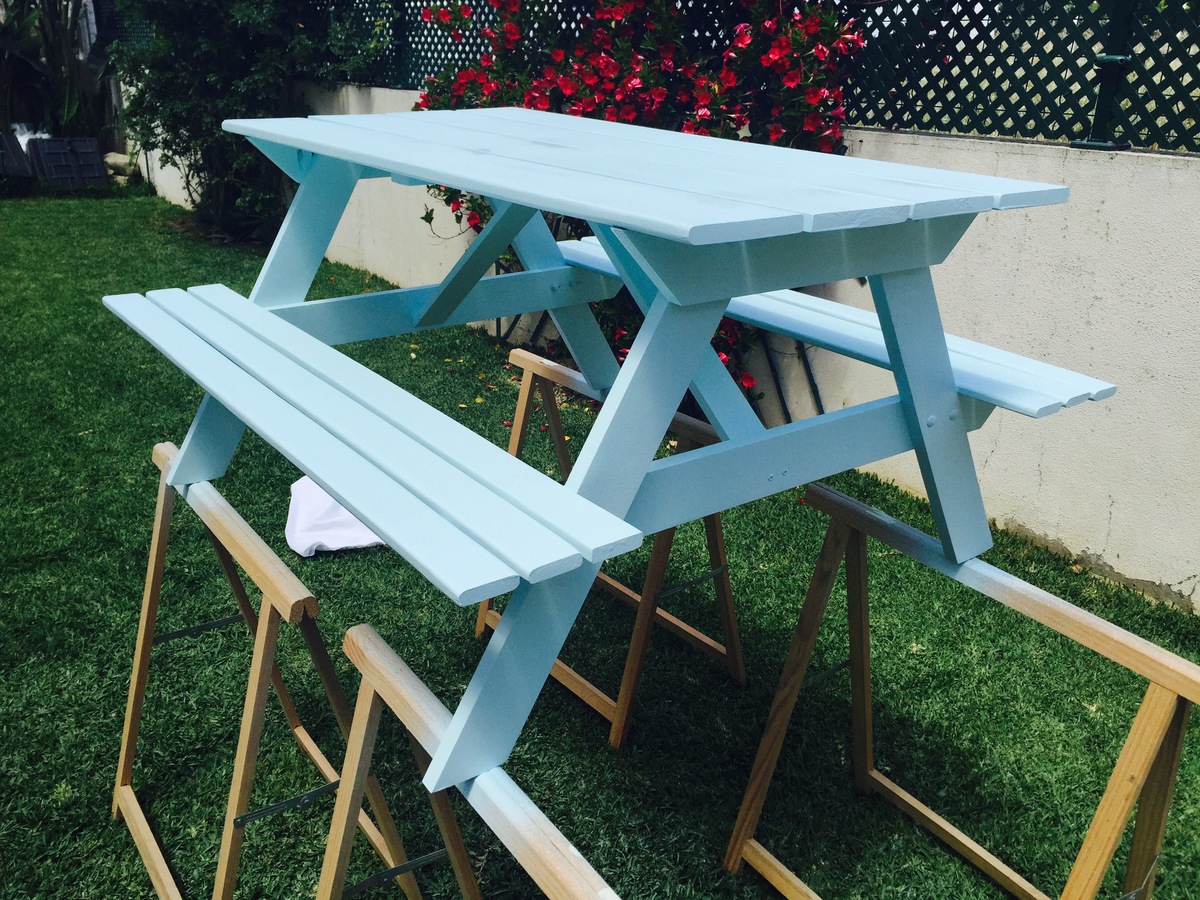
Our 2 year old granddaughter loves seesaws, so my husband built this one for her. We had just been to Disney World and decided to make the seat Mickey shaped for a little extra fun. He used his bandsaw to cut the seat.
The seesaw is plenty stable enough for us to go on it with her and has been a BIG hit with the neighborhood kids.
More pictures on our blog: http://yearoflivingdisney.wordpress.com/2014/03/03/disney-ride-at-home/
Thank you, Ana, for these plans!

Built from Plan(s)
Estimated Cost
wood was minimal cost, the paint was the expense!
Estimated Time Investment
Afternoon Project (3-6 Hours)
Finish Used
exterior semigloss
Recommended Skill Level
Beginner